

Build Log: Skype Desk
I originally built Skype Station for hardwood floors and as such, I could get away with a fairly shallow (front to back) footprint. At this house though, the upstairs office has carpet, can lead to some fleeting moments of excitement when you bump into the desk and the desk rocks backwards.
After build the LED Slat Wall last weekend, I opted to convert the existing desk into a side table of sorts. In the interim, I pulled out one of the ubiquitous plastic banquet tables and pressed it into service as a computer desk. Even when directly clamping onto steel under-frame, over the course of the week, I could see the plastic top deforming under the clamping force of the monitor-arms.
Guess I’m building a desk then.
Quick Links
Goals and Objectives
By far, the primary objective was to get a desk that addressed three things:
It needed to be sturdy and stable — I was planning on mounting monitors to the desk, I didn’t want to deal with a tippy, unbalanced desk. To make things harder, remember that everything is on carpet as well
I wanted the desk to fit into the rest of the aesthetics of the room
I wanted to substantially reduce the cable clutter behind the desk
As a bonus, I wanted this to be a quick build from materials I had on hand.
Rough Design
I originally planned on making a desk similar to the existing one: square ‘wheels’ out of 2x4s connected with a few stretchers and with a plywood topper on top. After doing the slat wall though, I was really on a streak for nice, hard, crisp edges so I ultimately decided against that. I wanted something that was more ‘skeleton’ like.
Rough plan for the desk
Since I’m paranoid about tipping, I debated adding an anti-tip leg - something to catch the desk and forcibly keep it from tipping backwards. I wasn’t sure if I was going to need it or not, but I kept this as a backup plan.
Plan for attaching an anti-tip leg that gets bolted to catch the desk if it tilts backwards
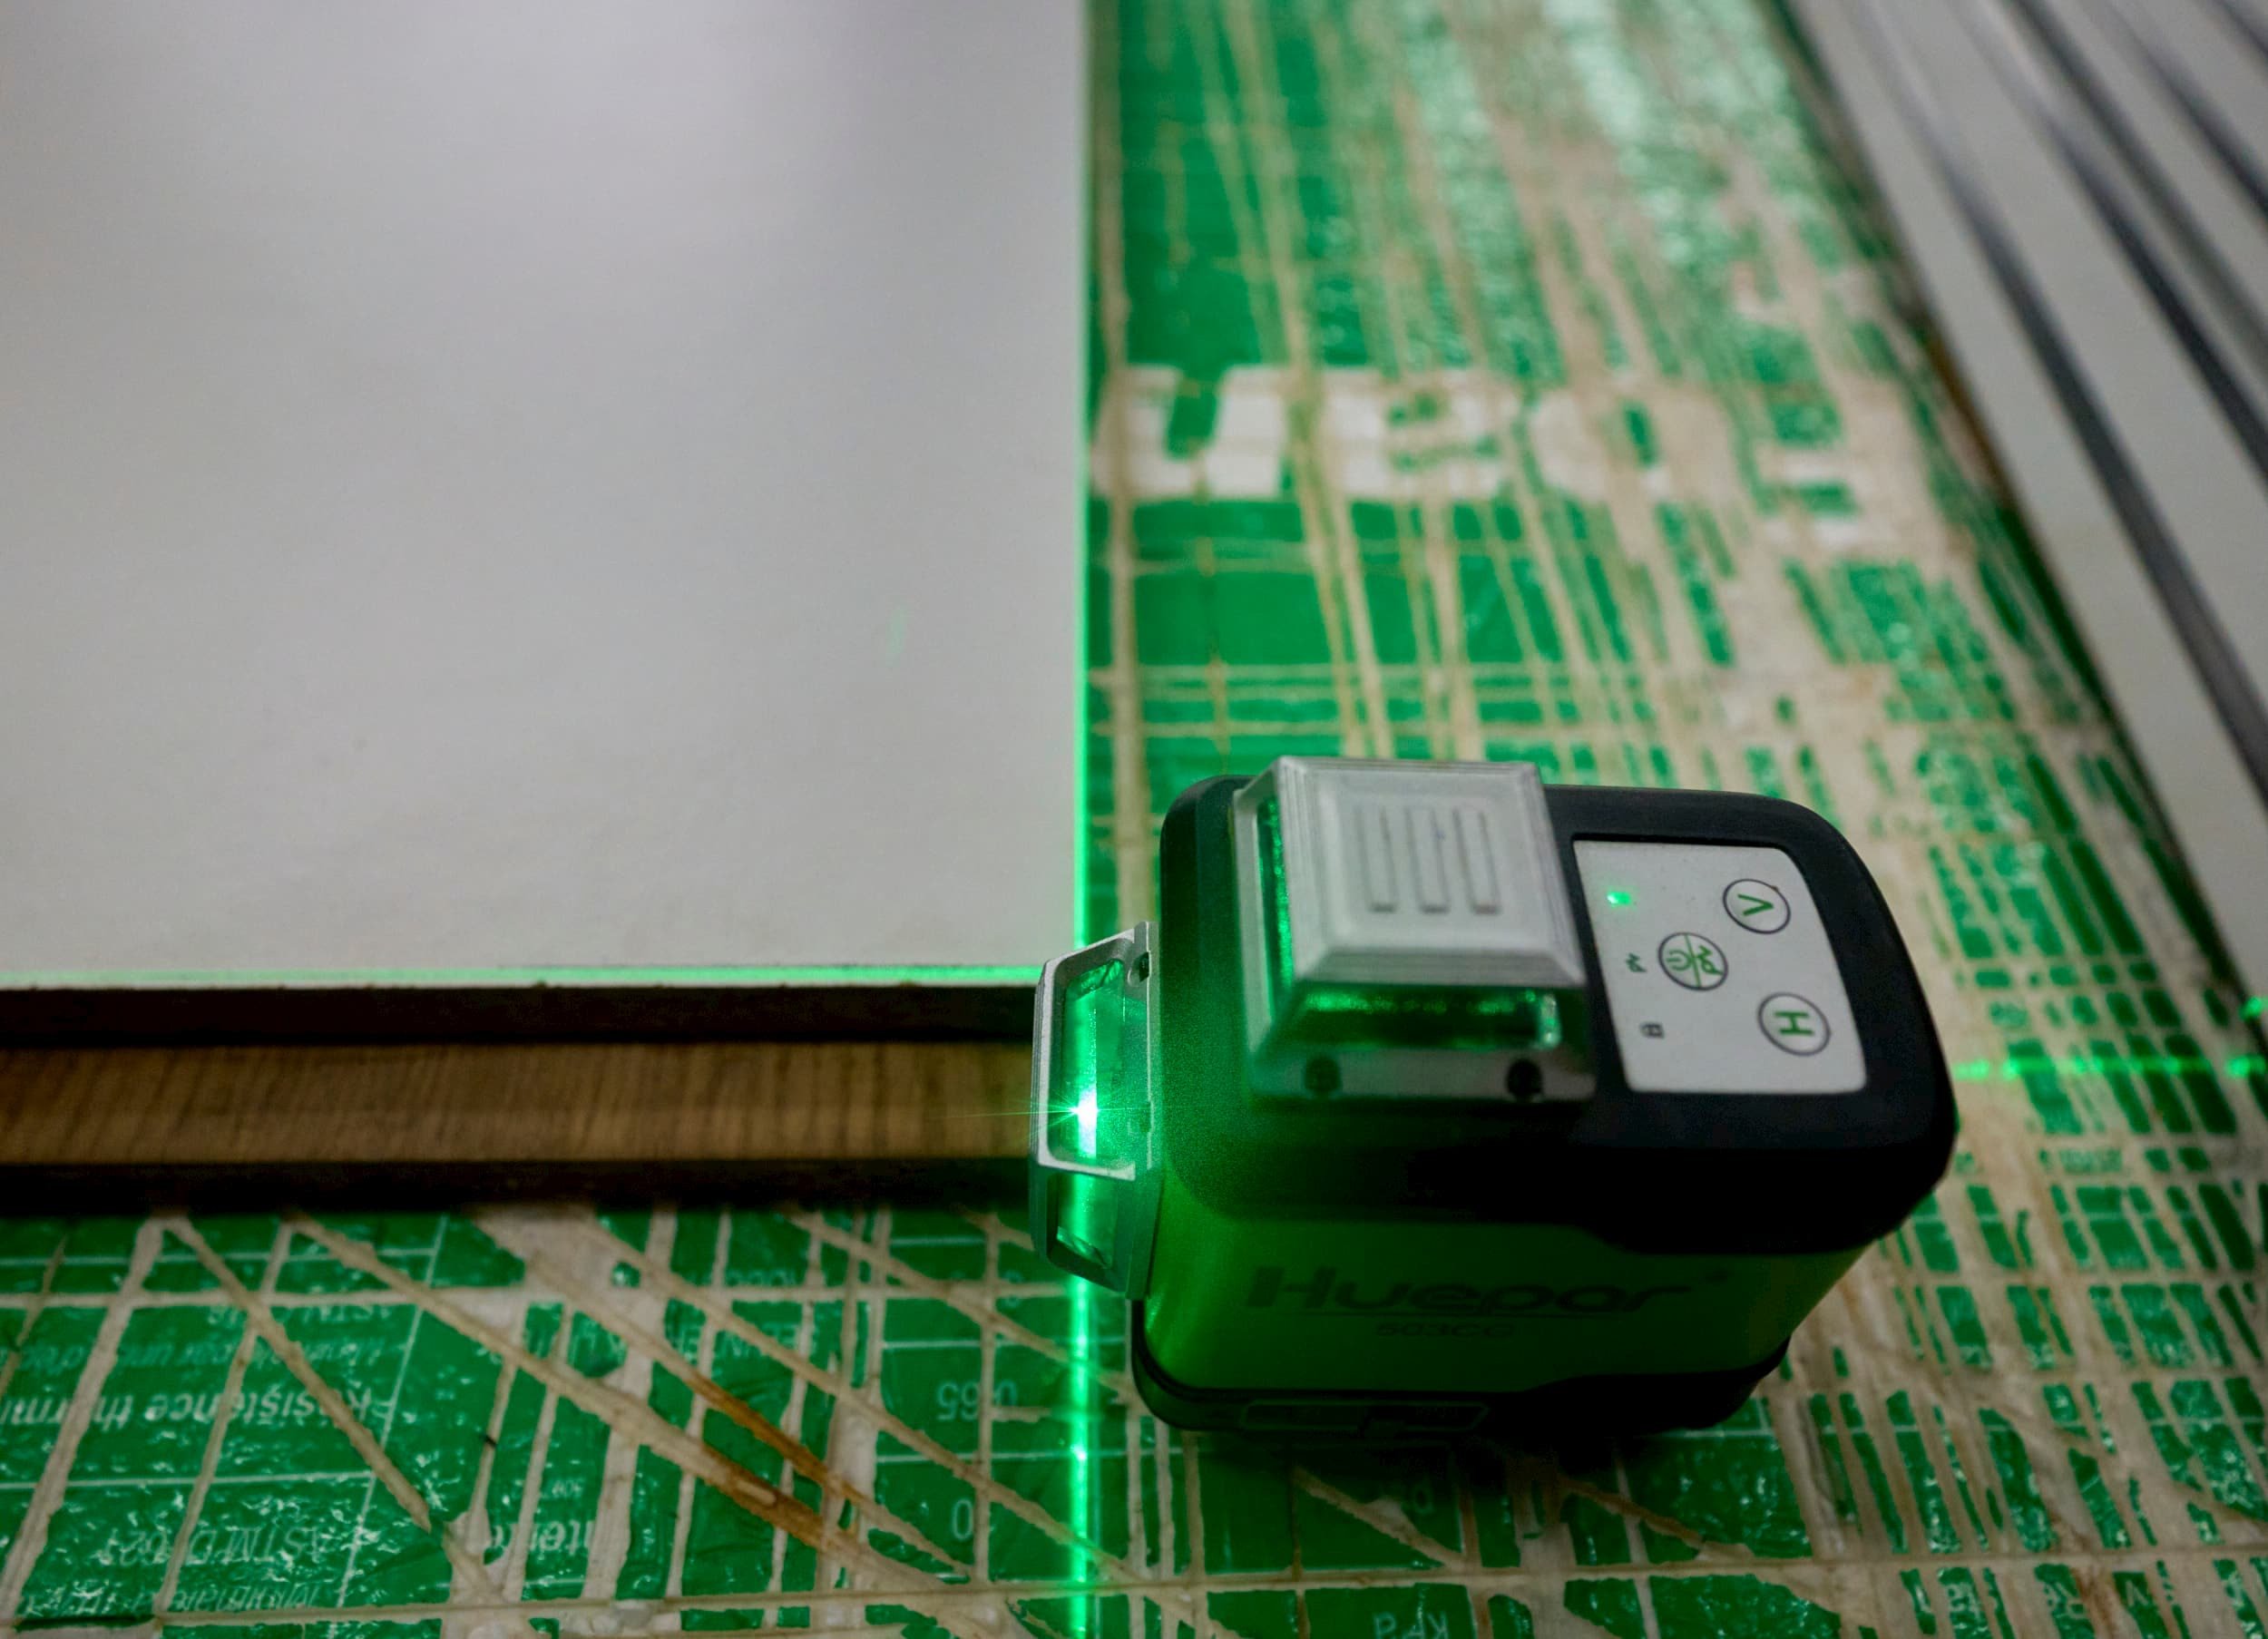
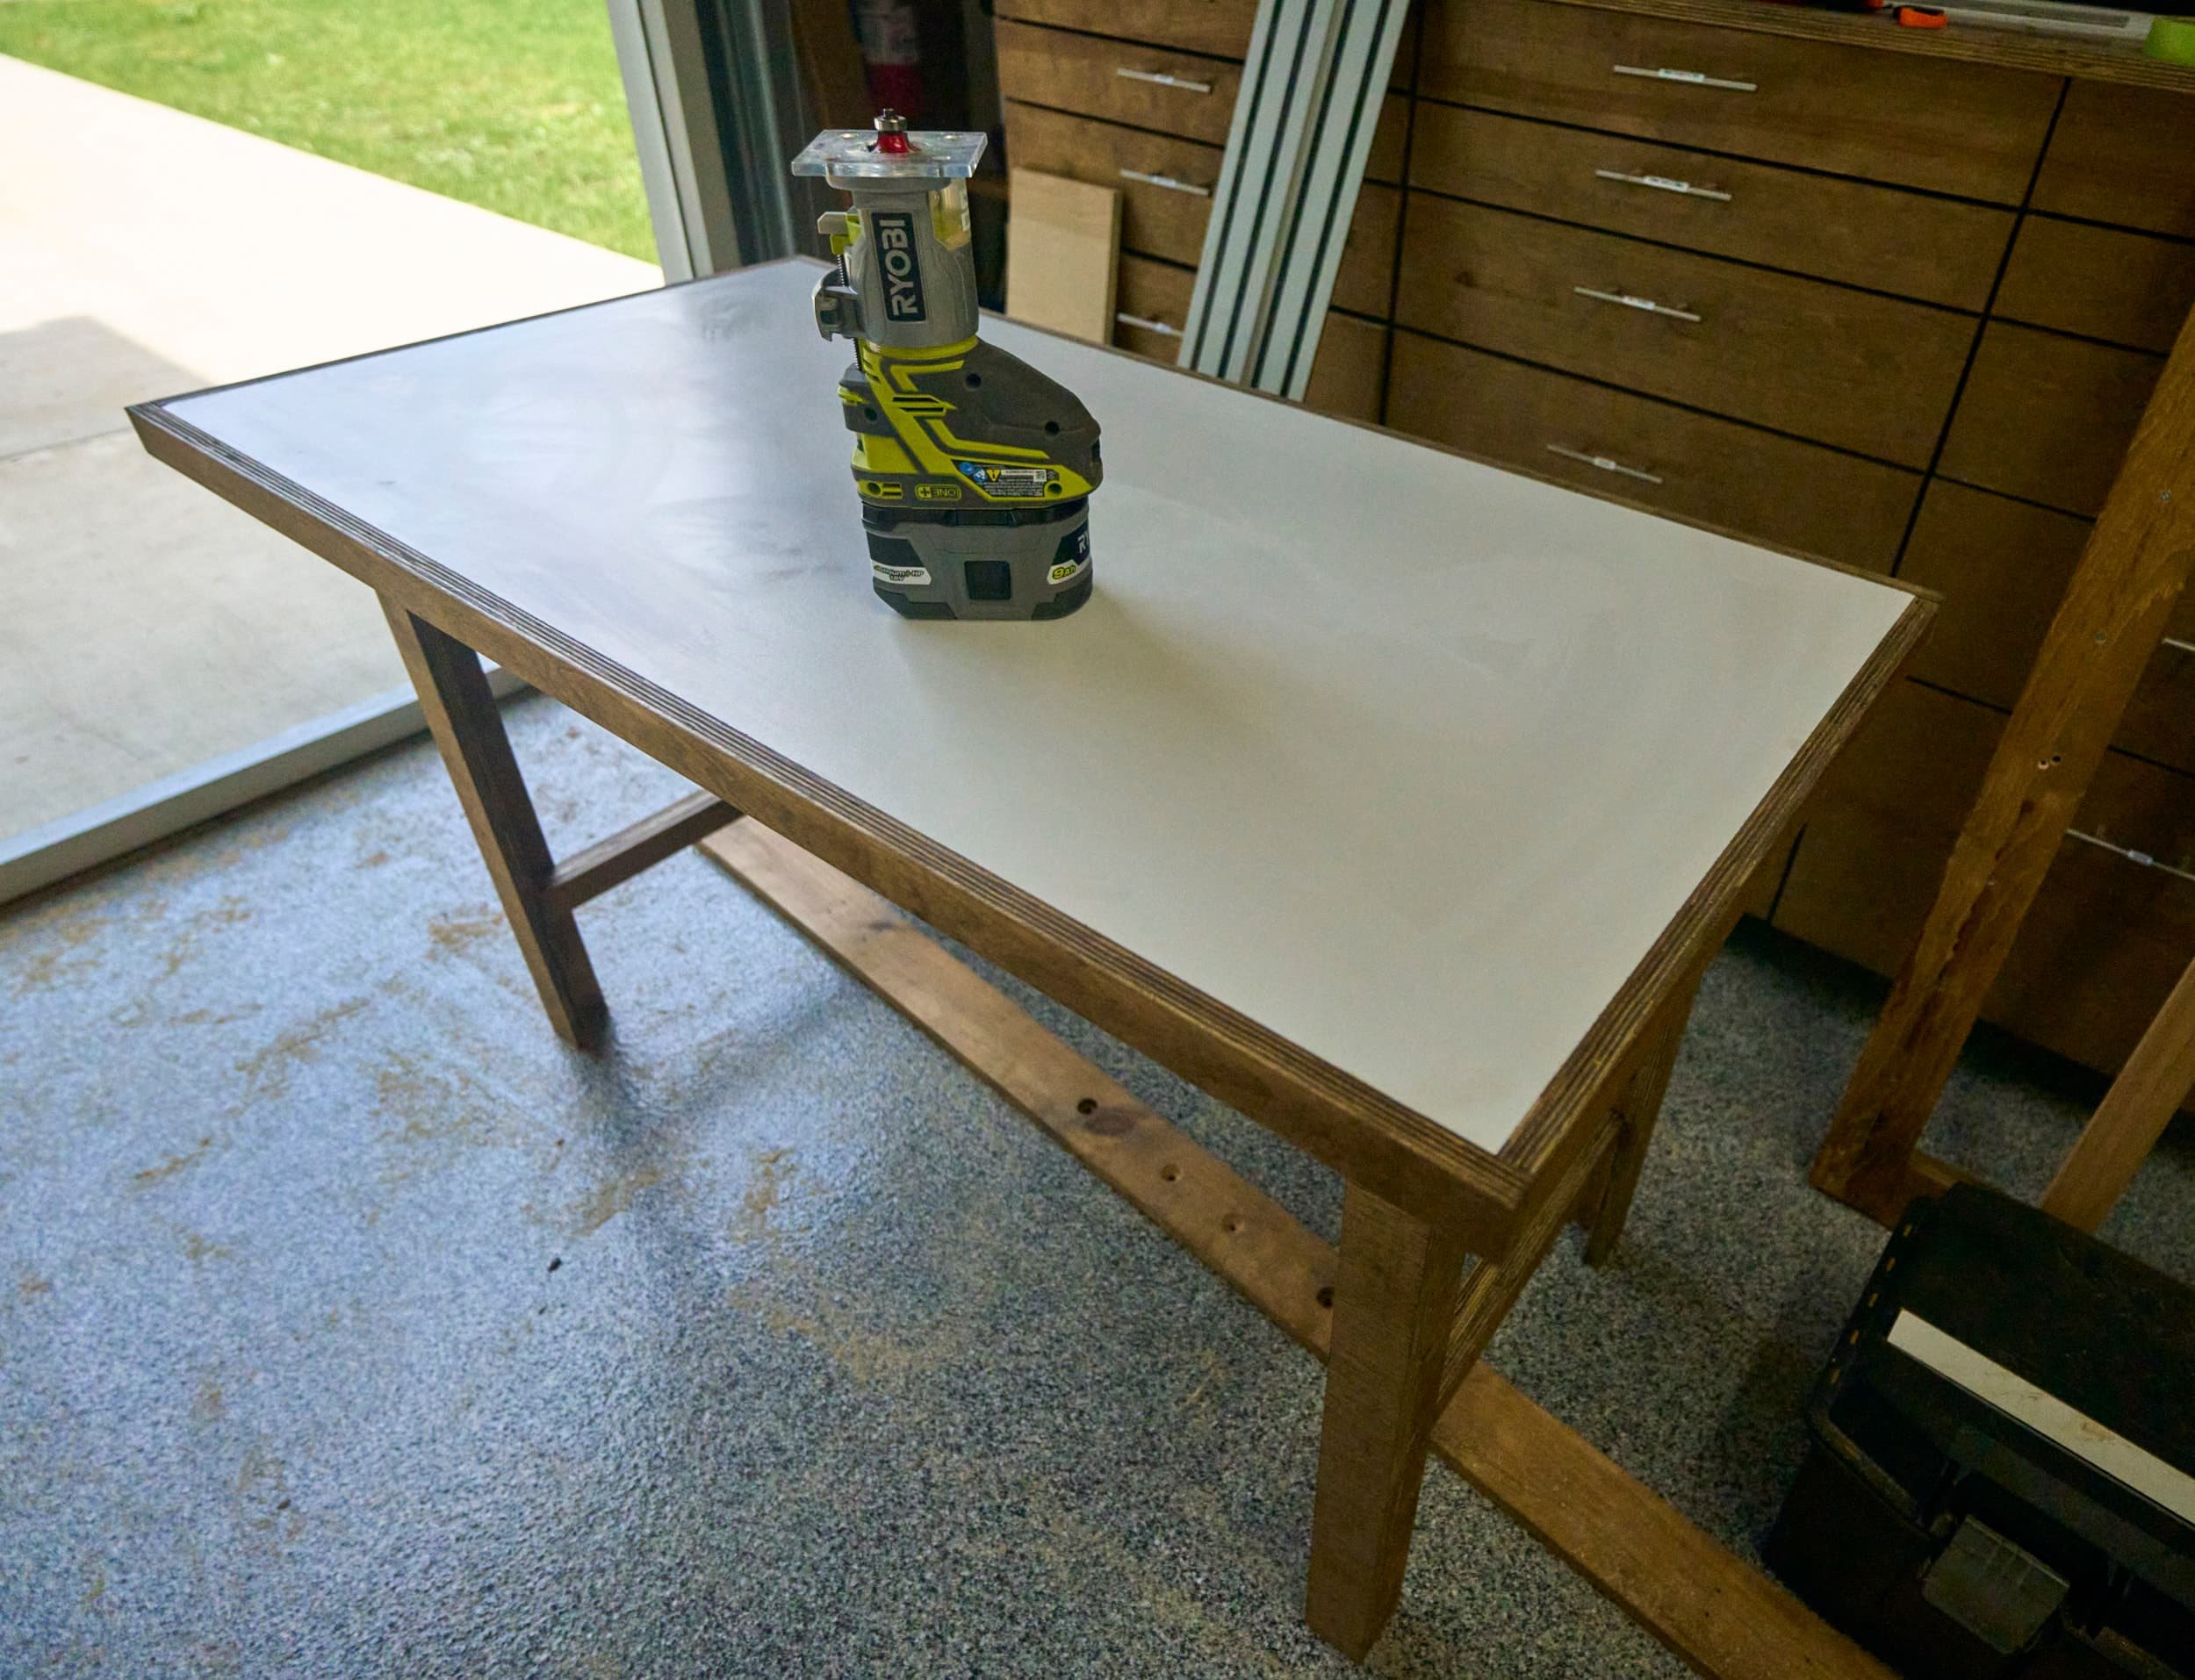
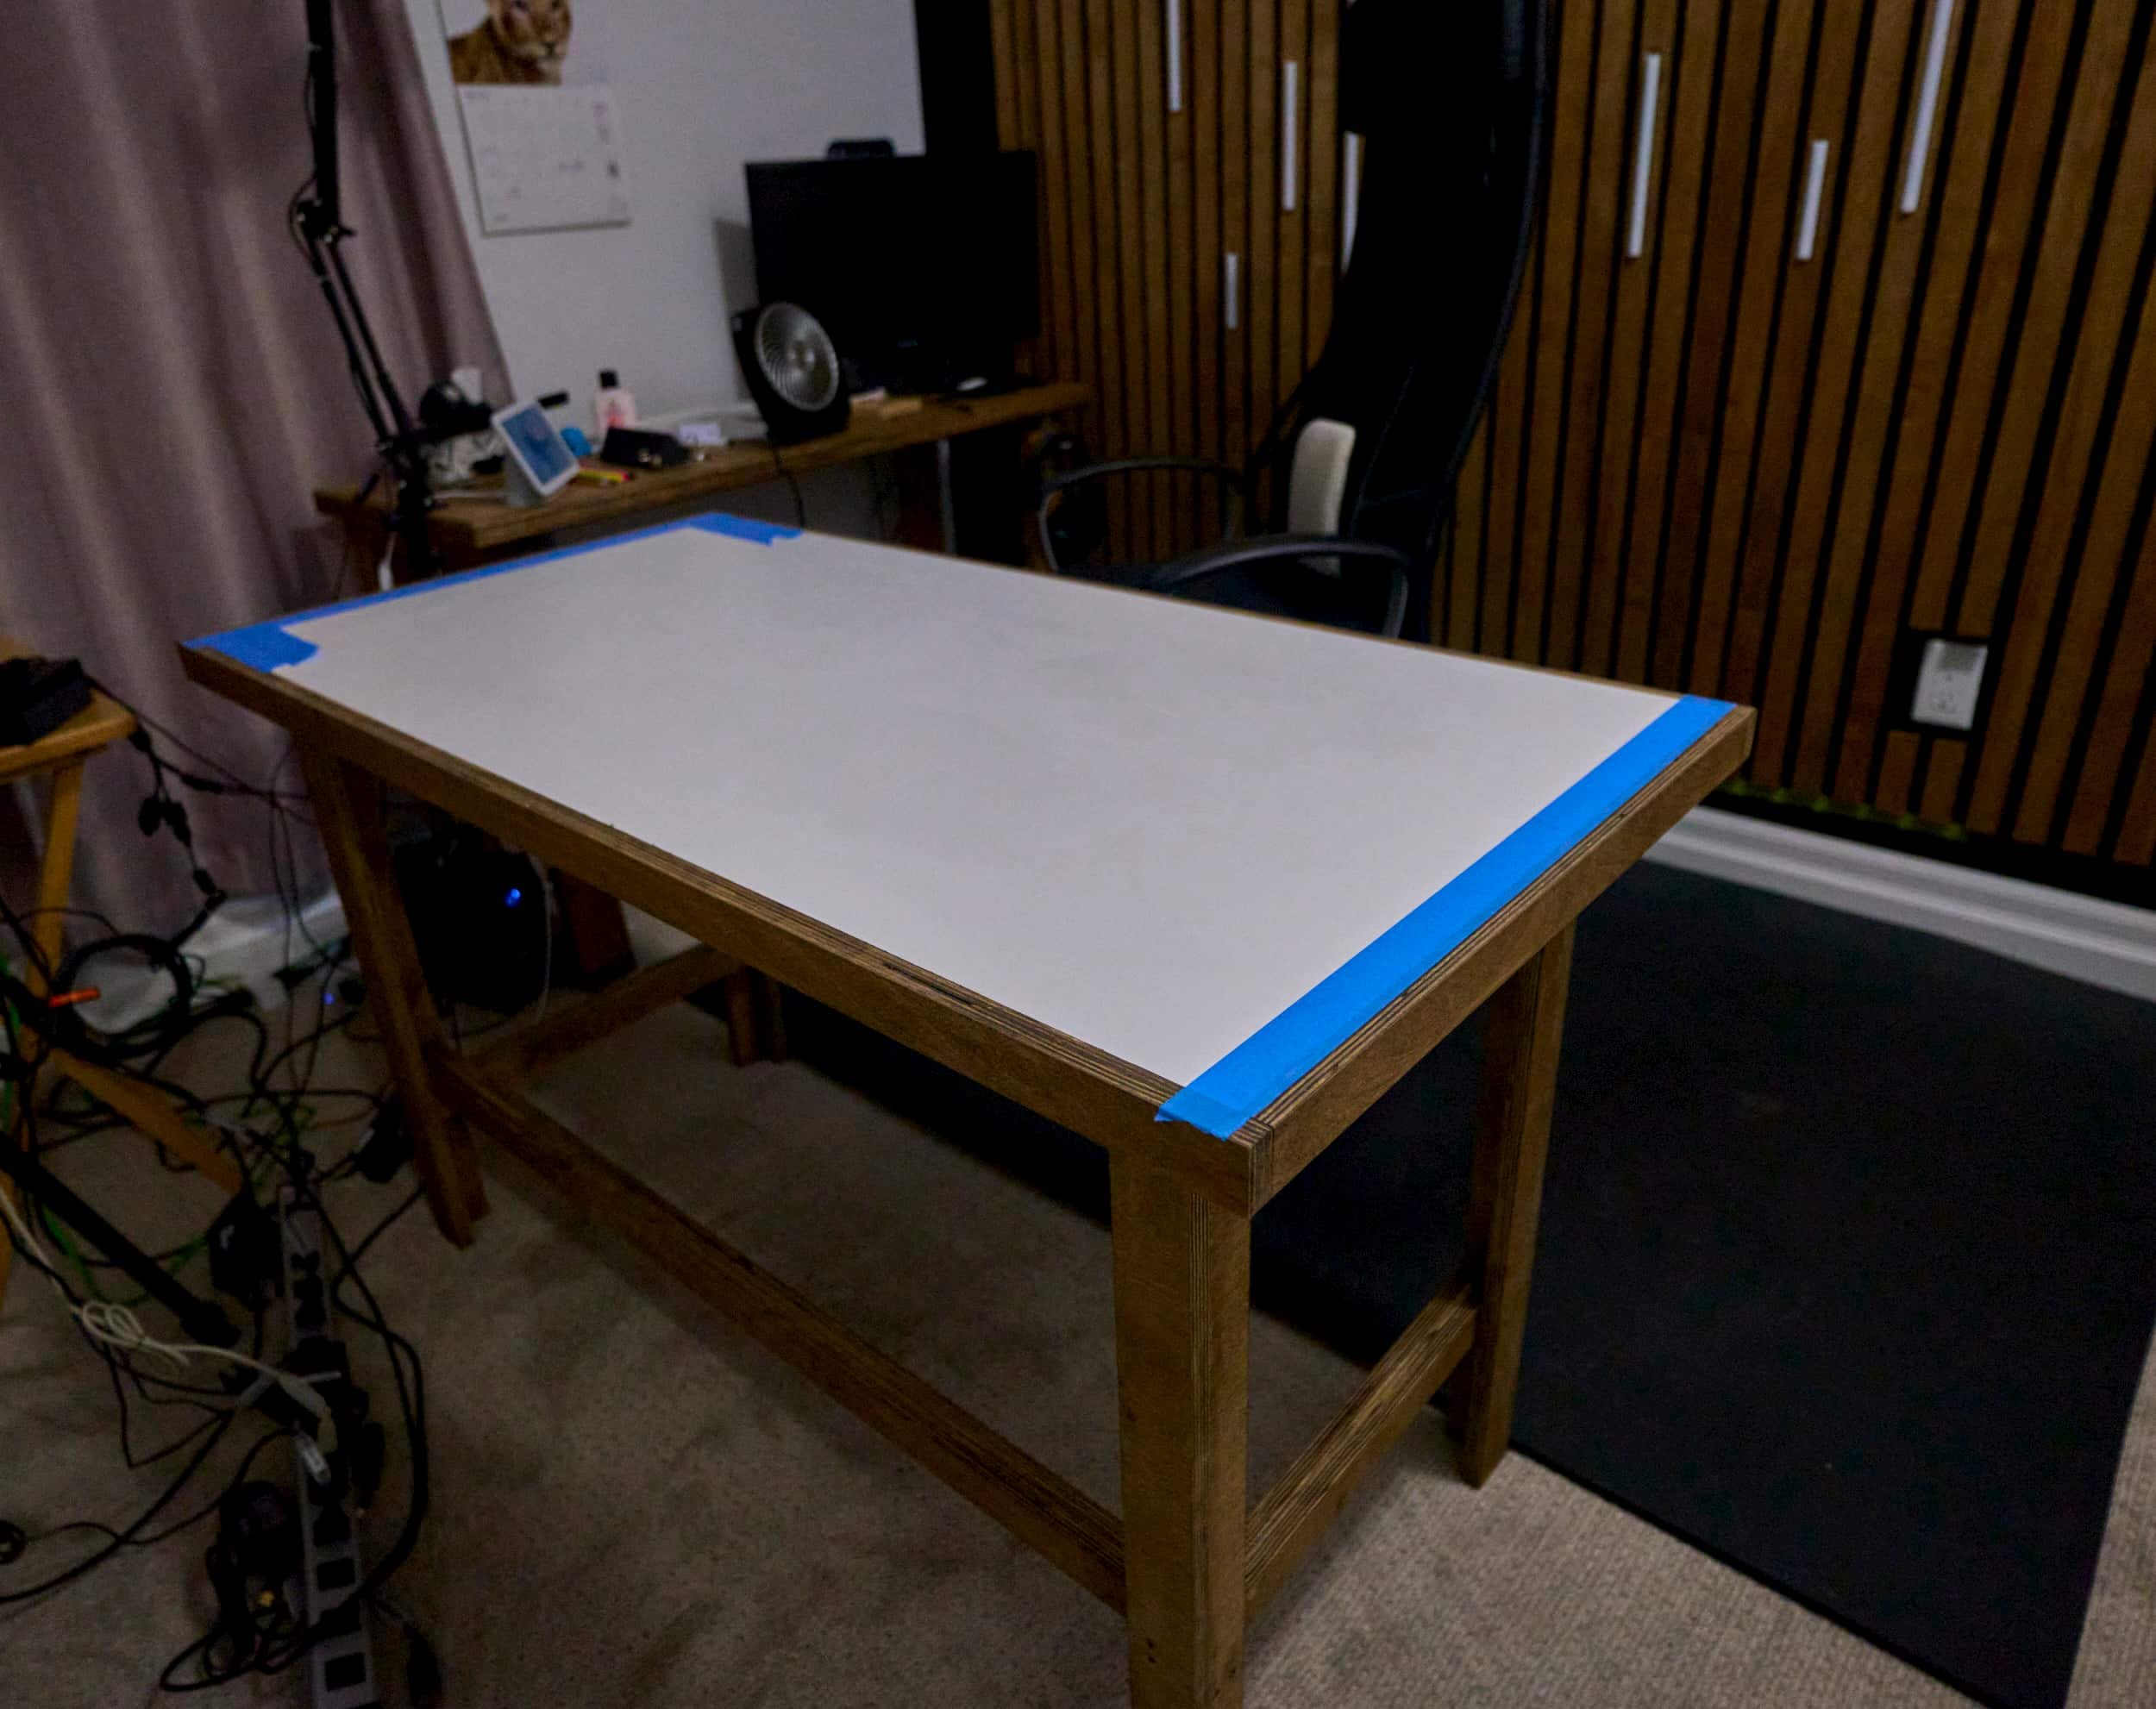
Step 1 - Making the top
A little while back I had bought a [damaged] sheet of melamine (with red-oak veneer on the opposing side); the sheet I bought was supposed to be 5/8 but with some of the post-damage swelling, it was closer to 3/4 in thickness and there was a definite bow to it. I knew I wanted to laminate two layers of this together to make the top — but which faces to sandwich together? I originally wanted to have melamine exposed on one side and red oak on the other — and make the desk top symmetrical so we have the flexibility to flip the top if desired but I don’t have any melamine glue so that plan was dashed.
The four different options to laminate two sheets together
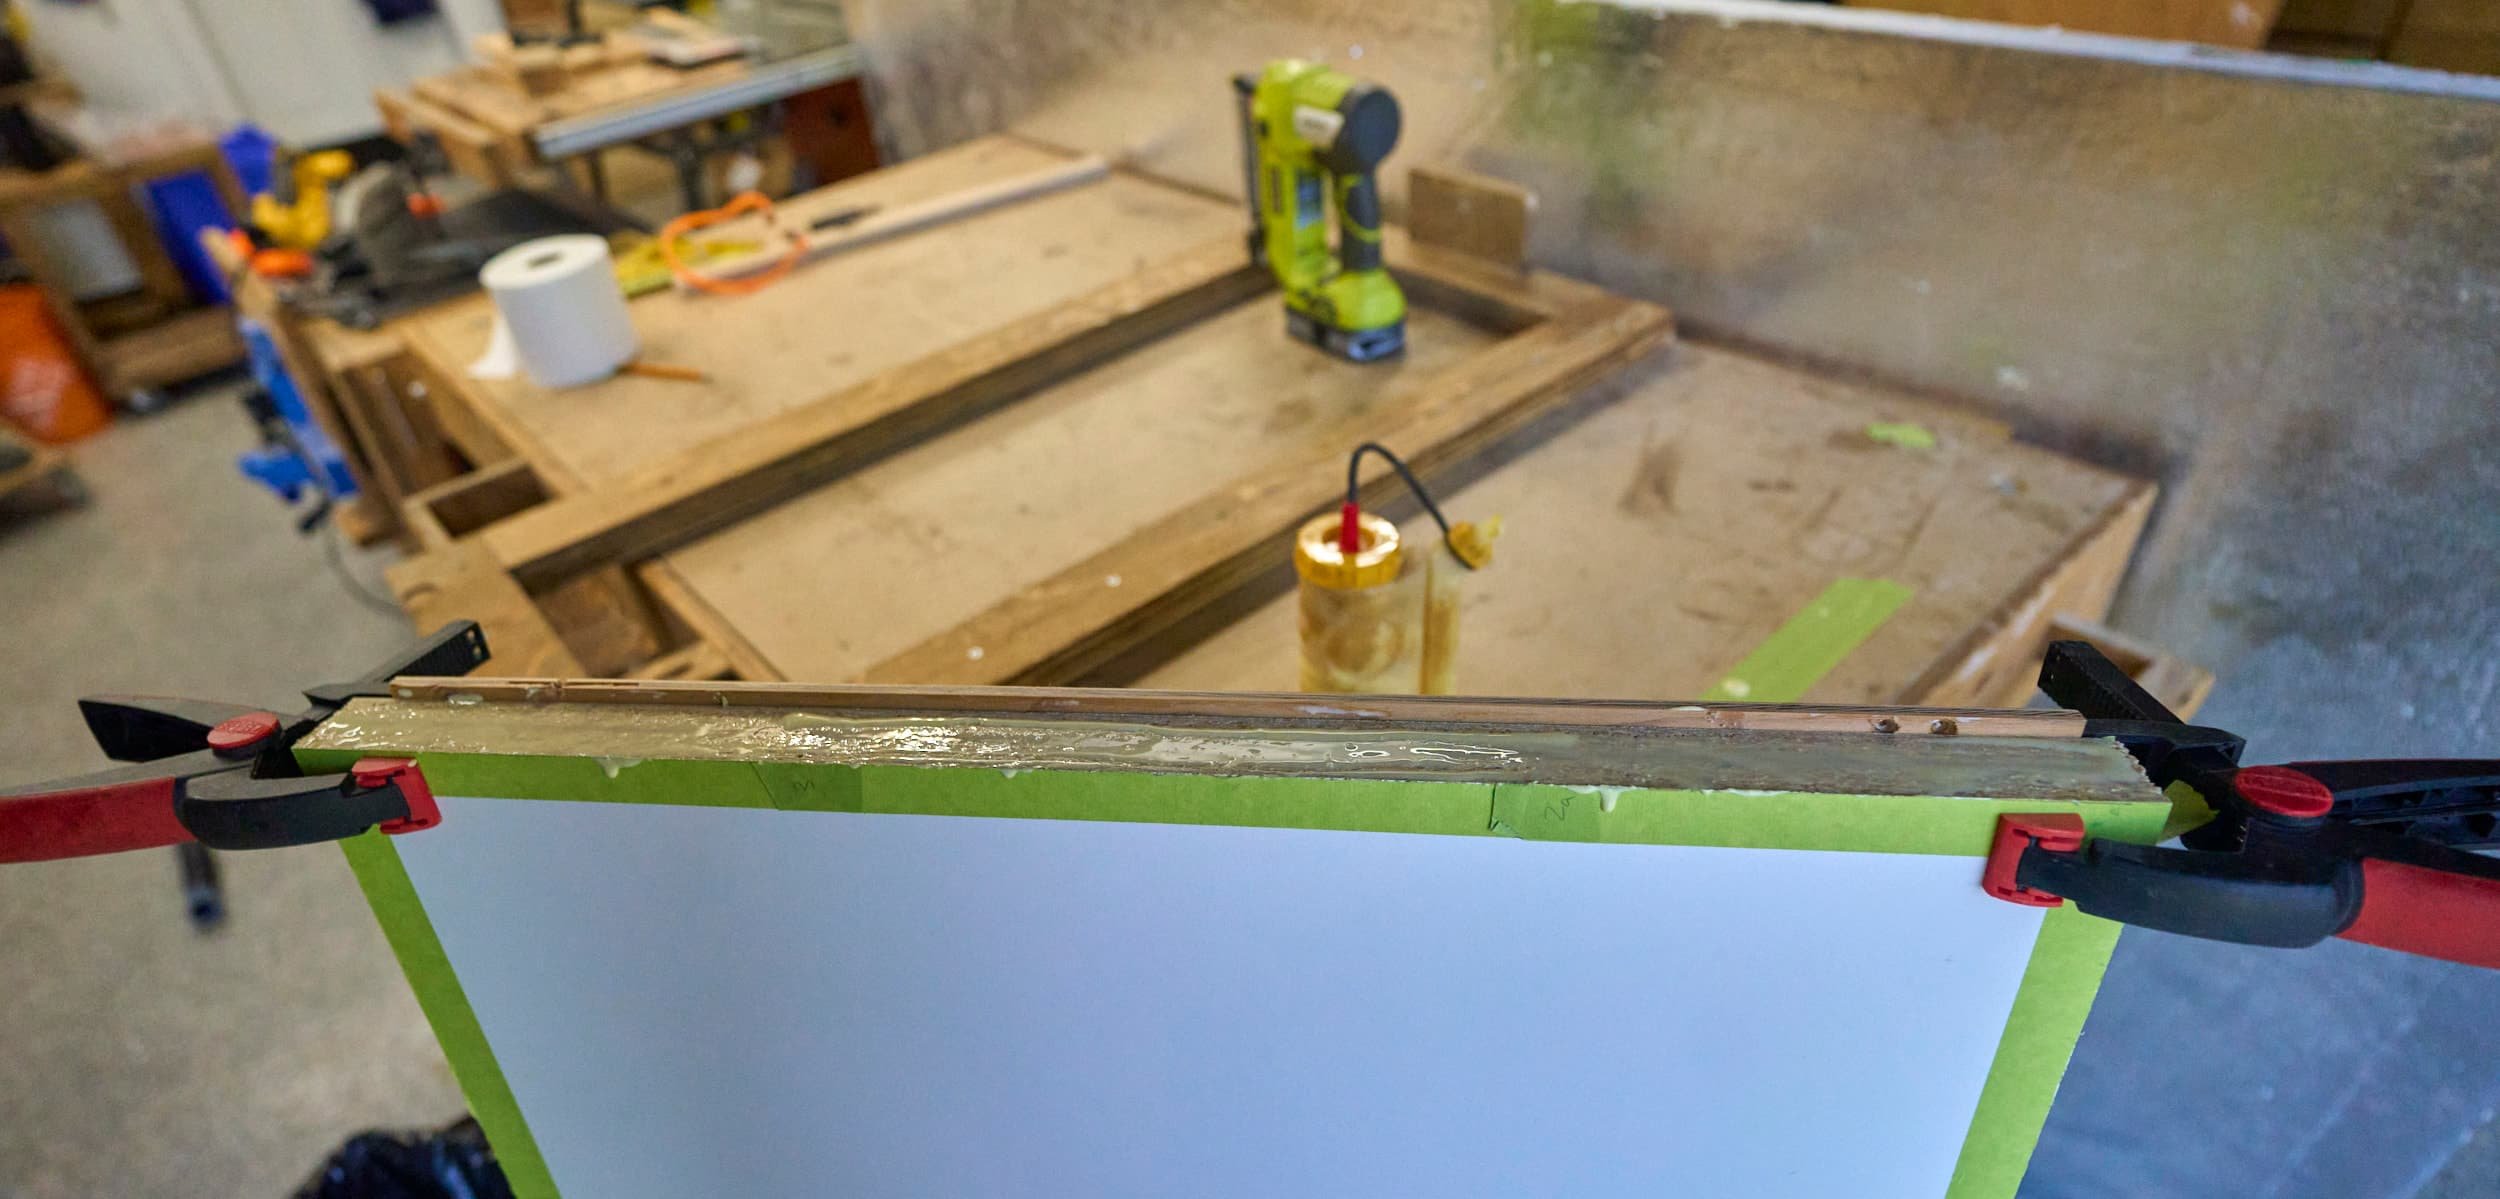
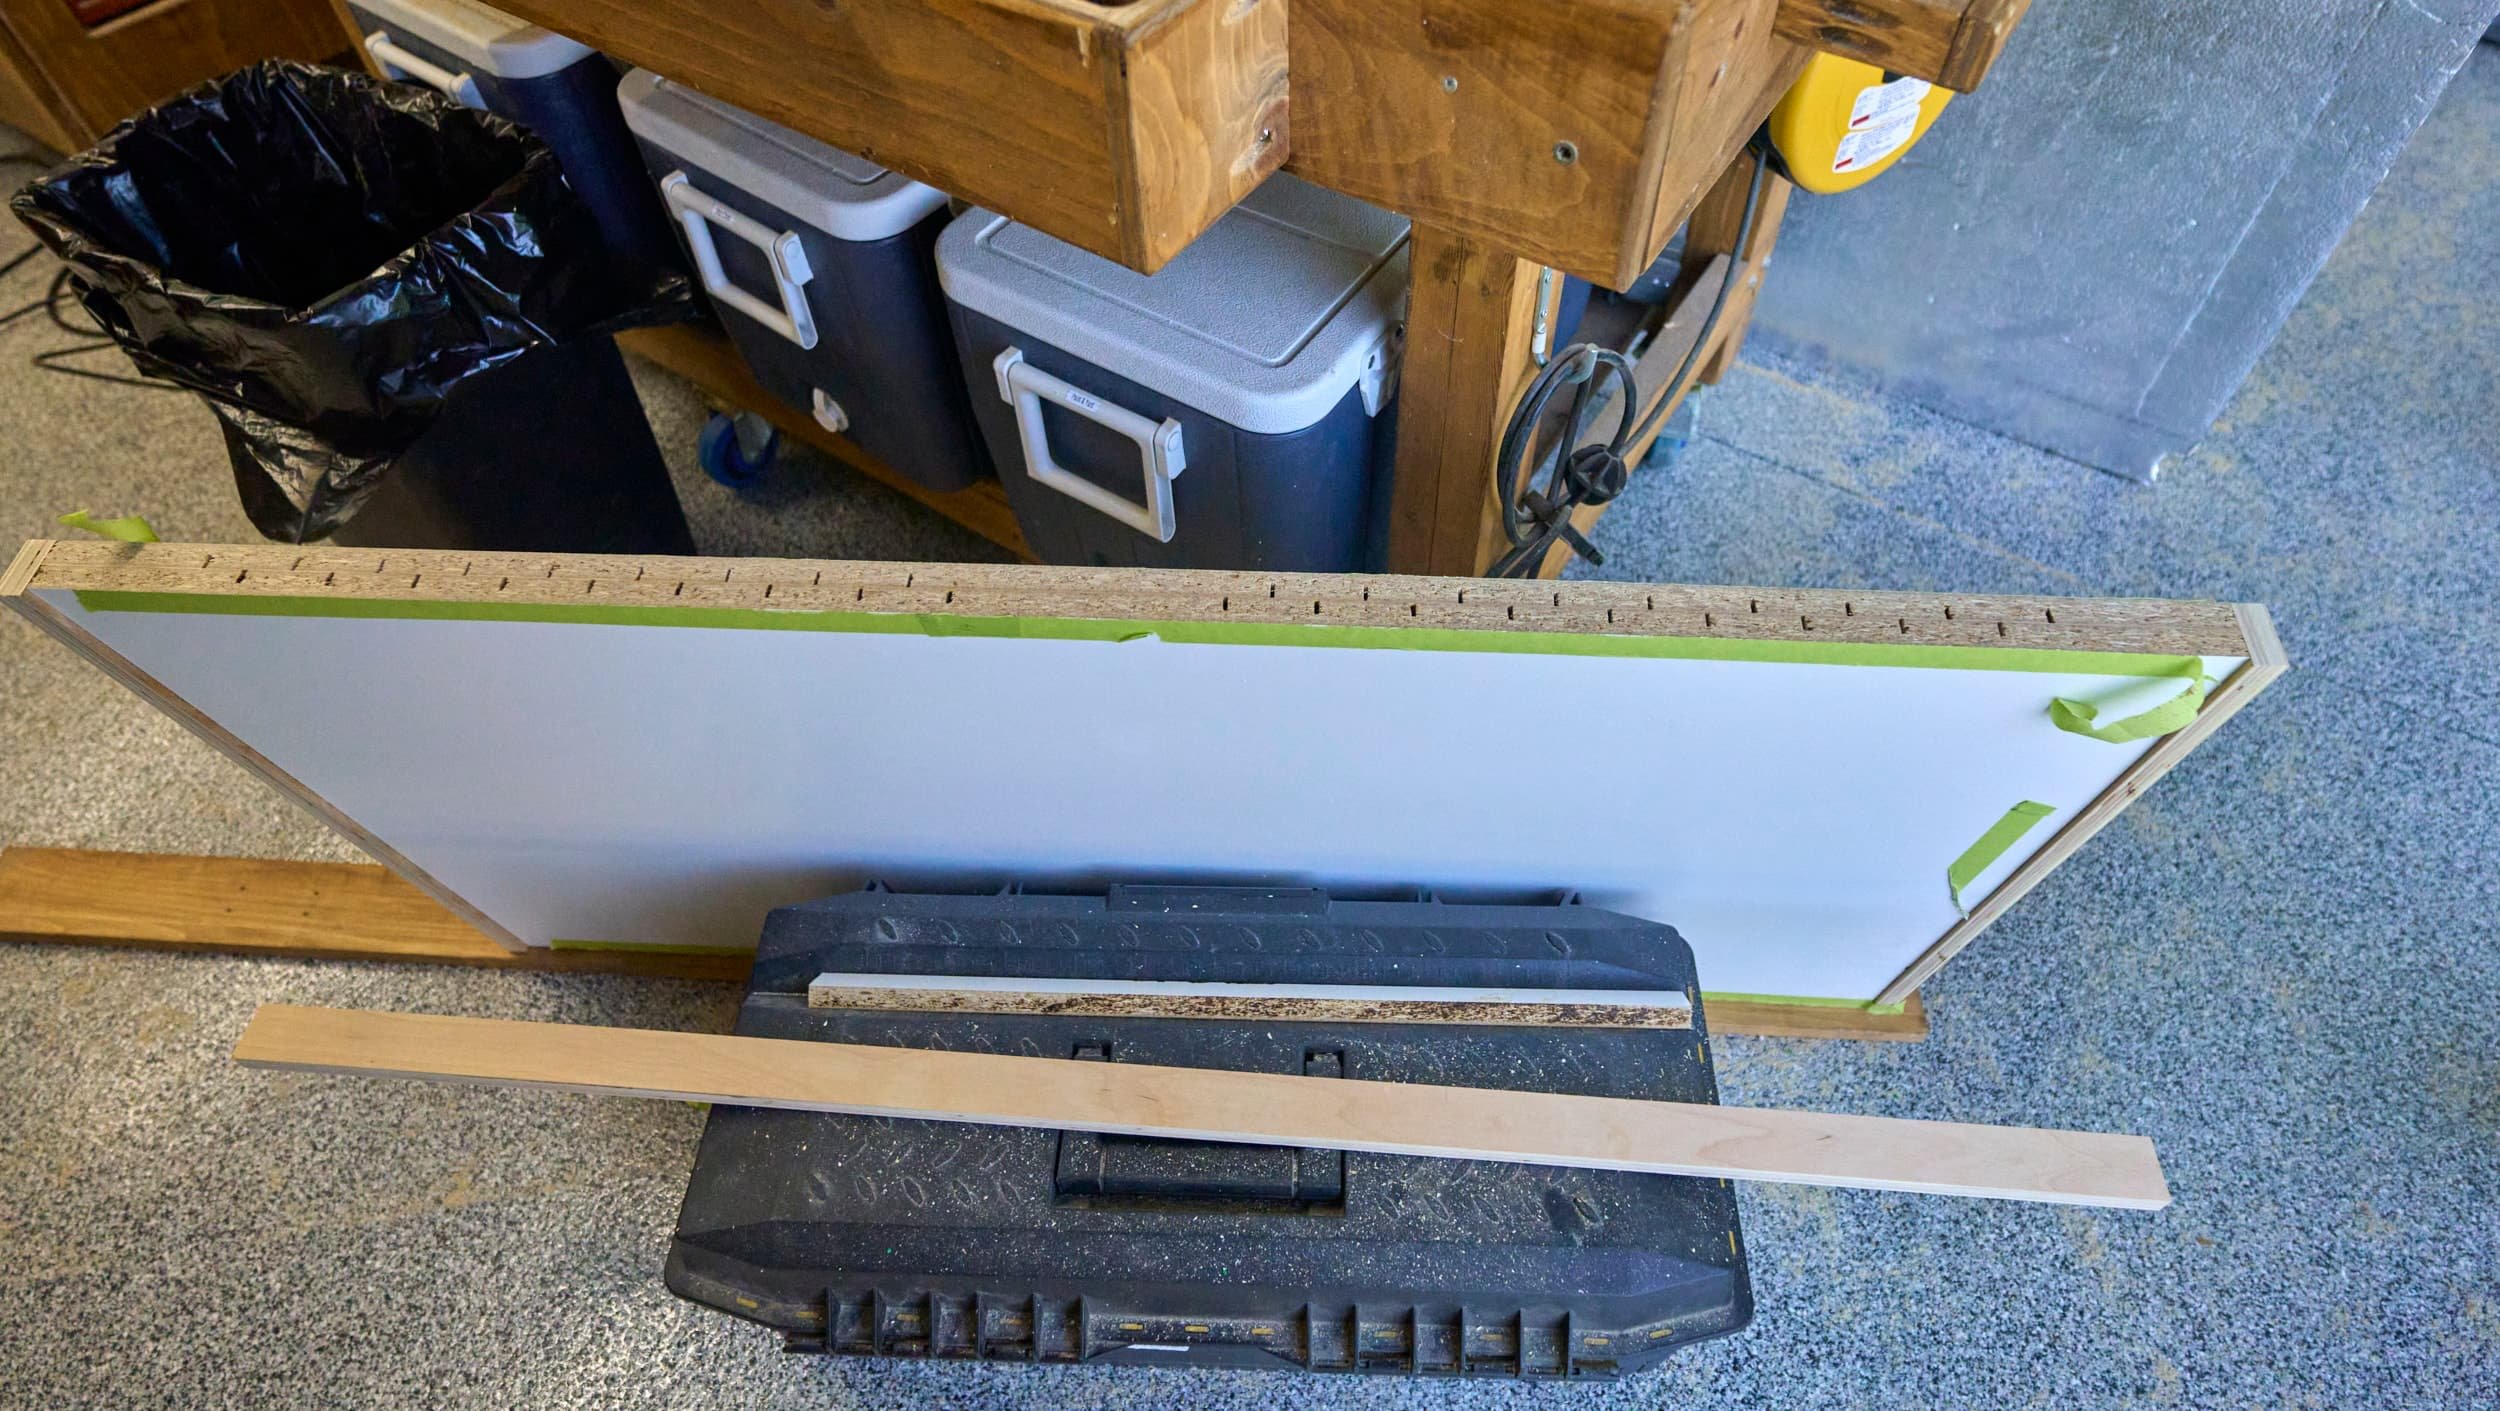
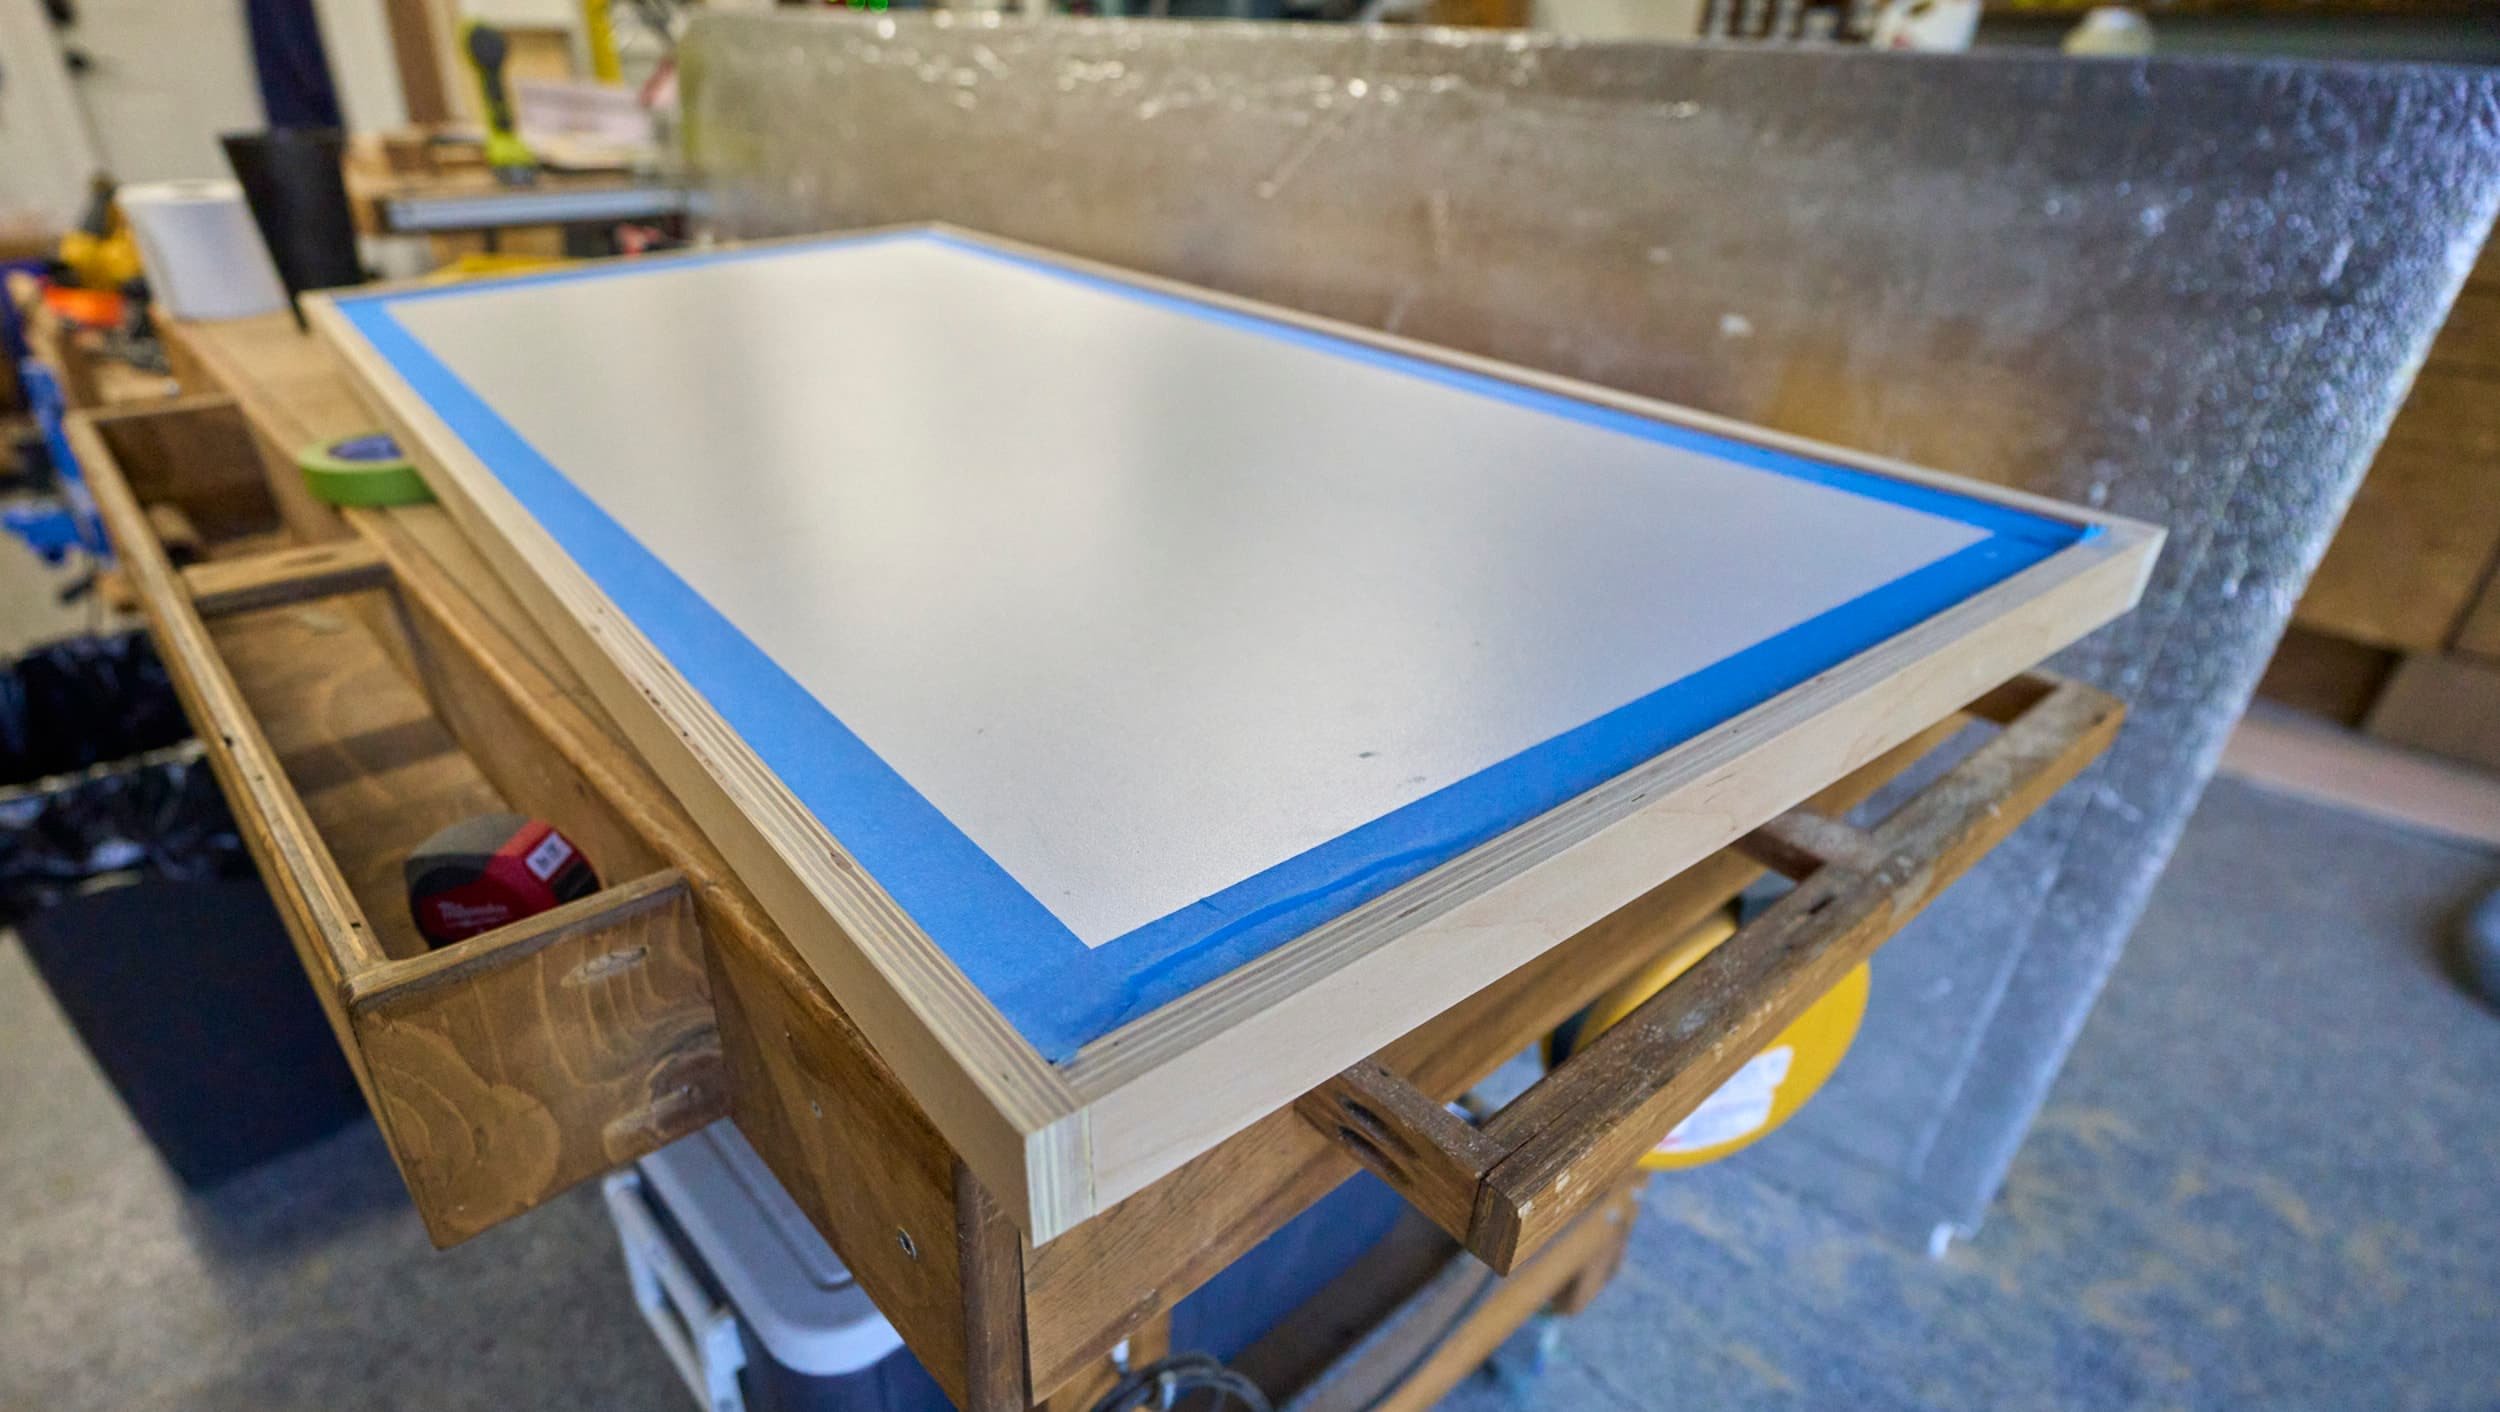
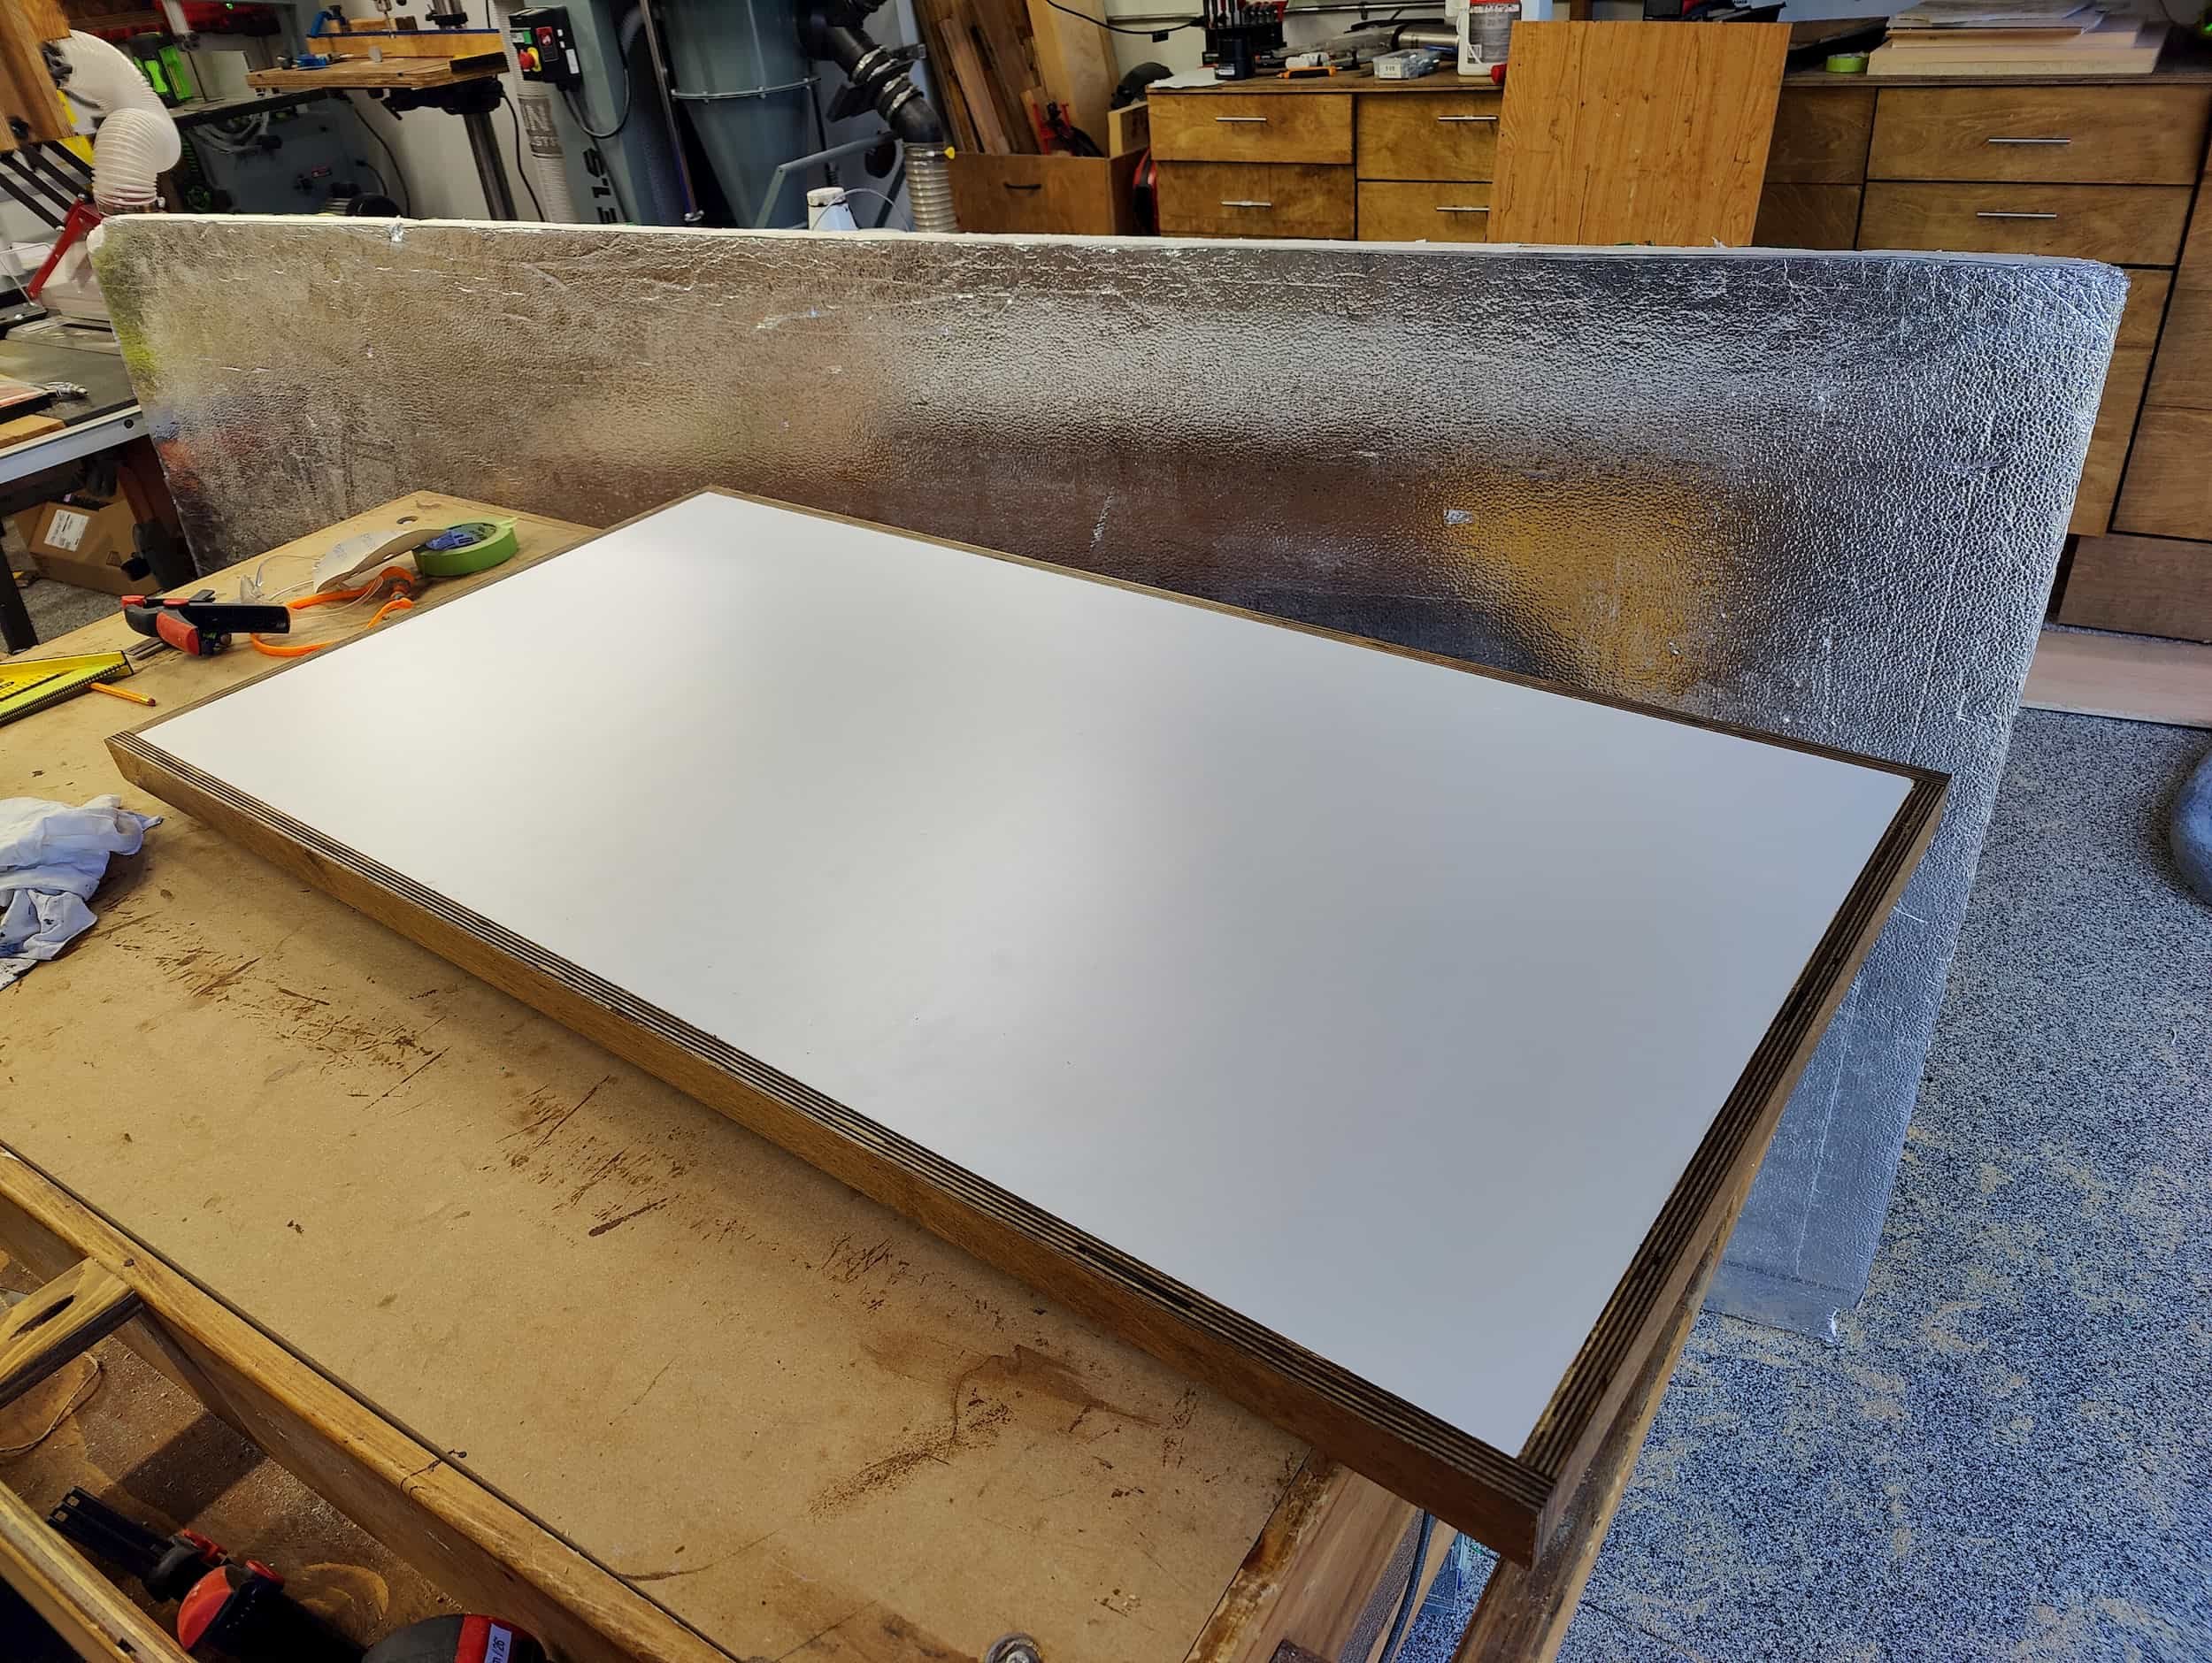
I definitely didn’t want to rely on mechanical fasters so this decision ended up being straightforward — the only option available to me was to glue the two wood-surfaces together. My next problem though was that the sheet had a substantial bow in it — I would have to cut slits into the sheet so that it could lay flat. I marked off slits on both surfaces (making sure to offset them so that a slit would not be across from another slit) and after cutting a bunch of slits, the sheet laid flat for easy gluing.


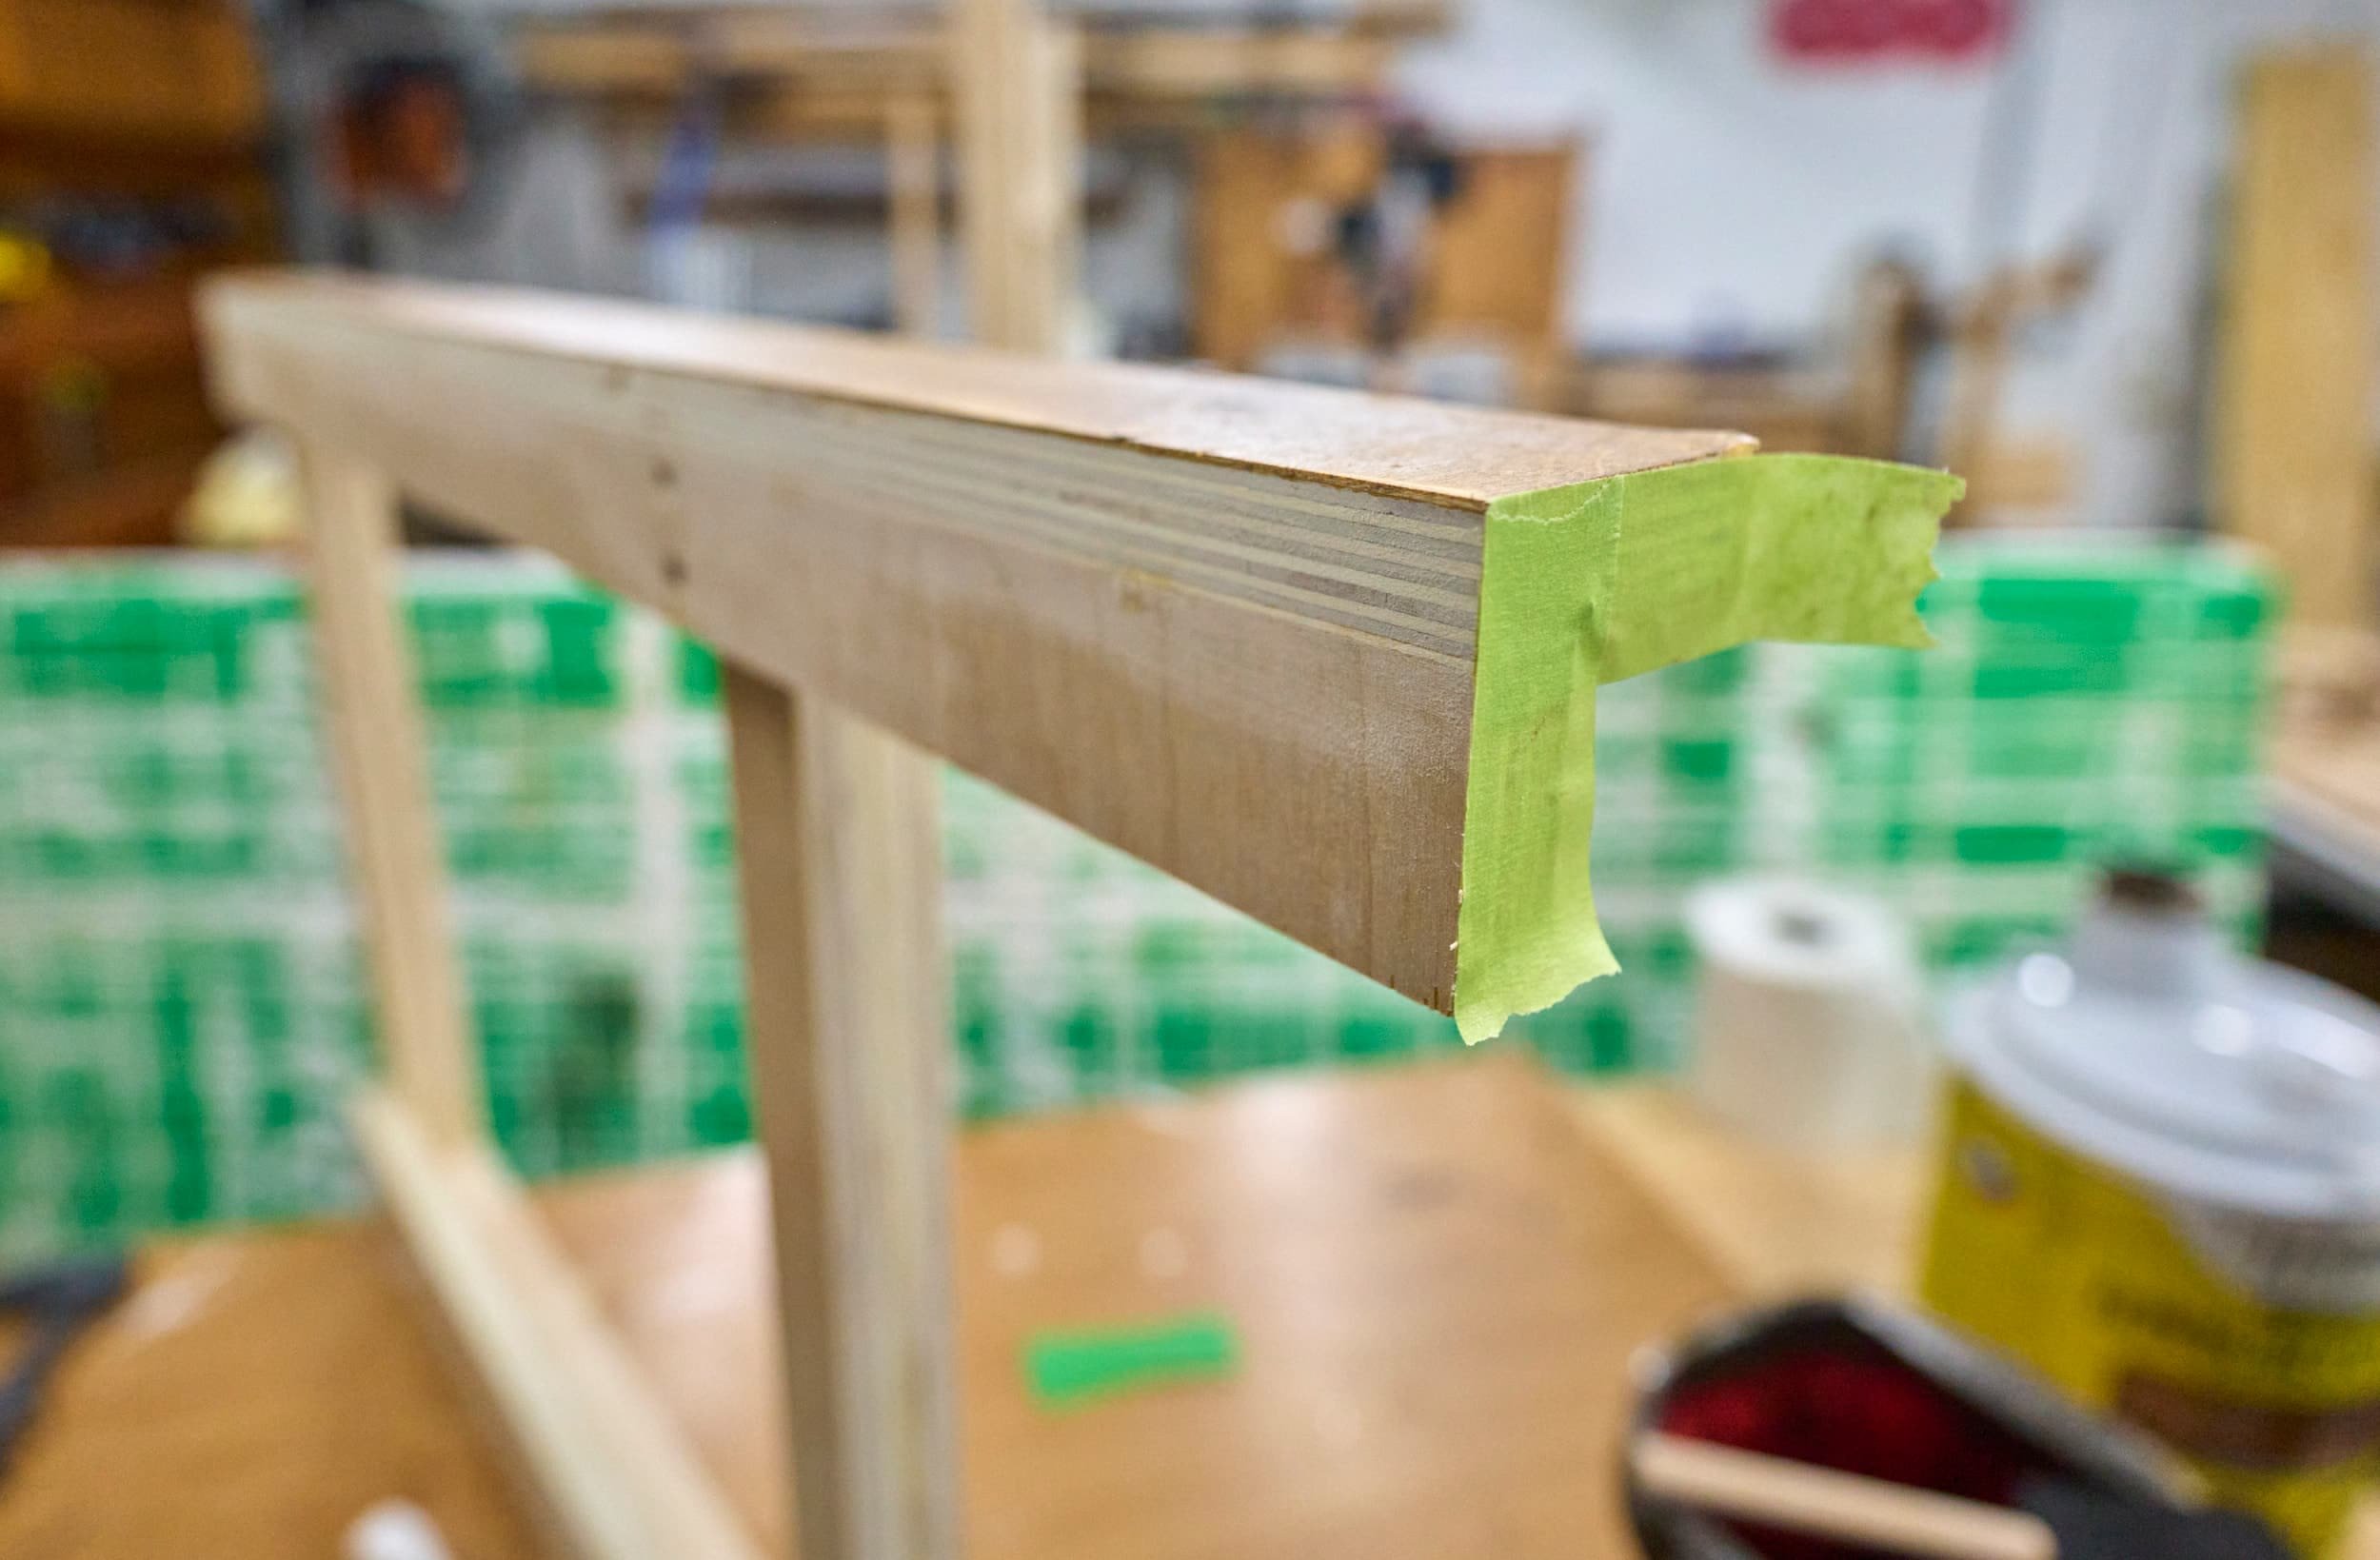
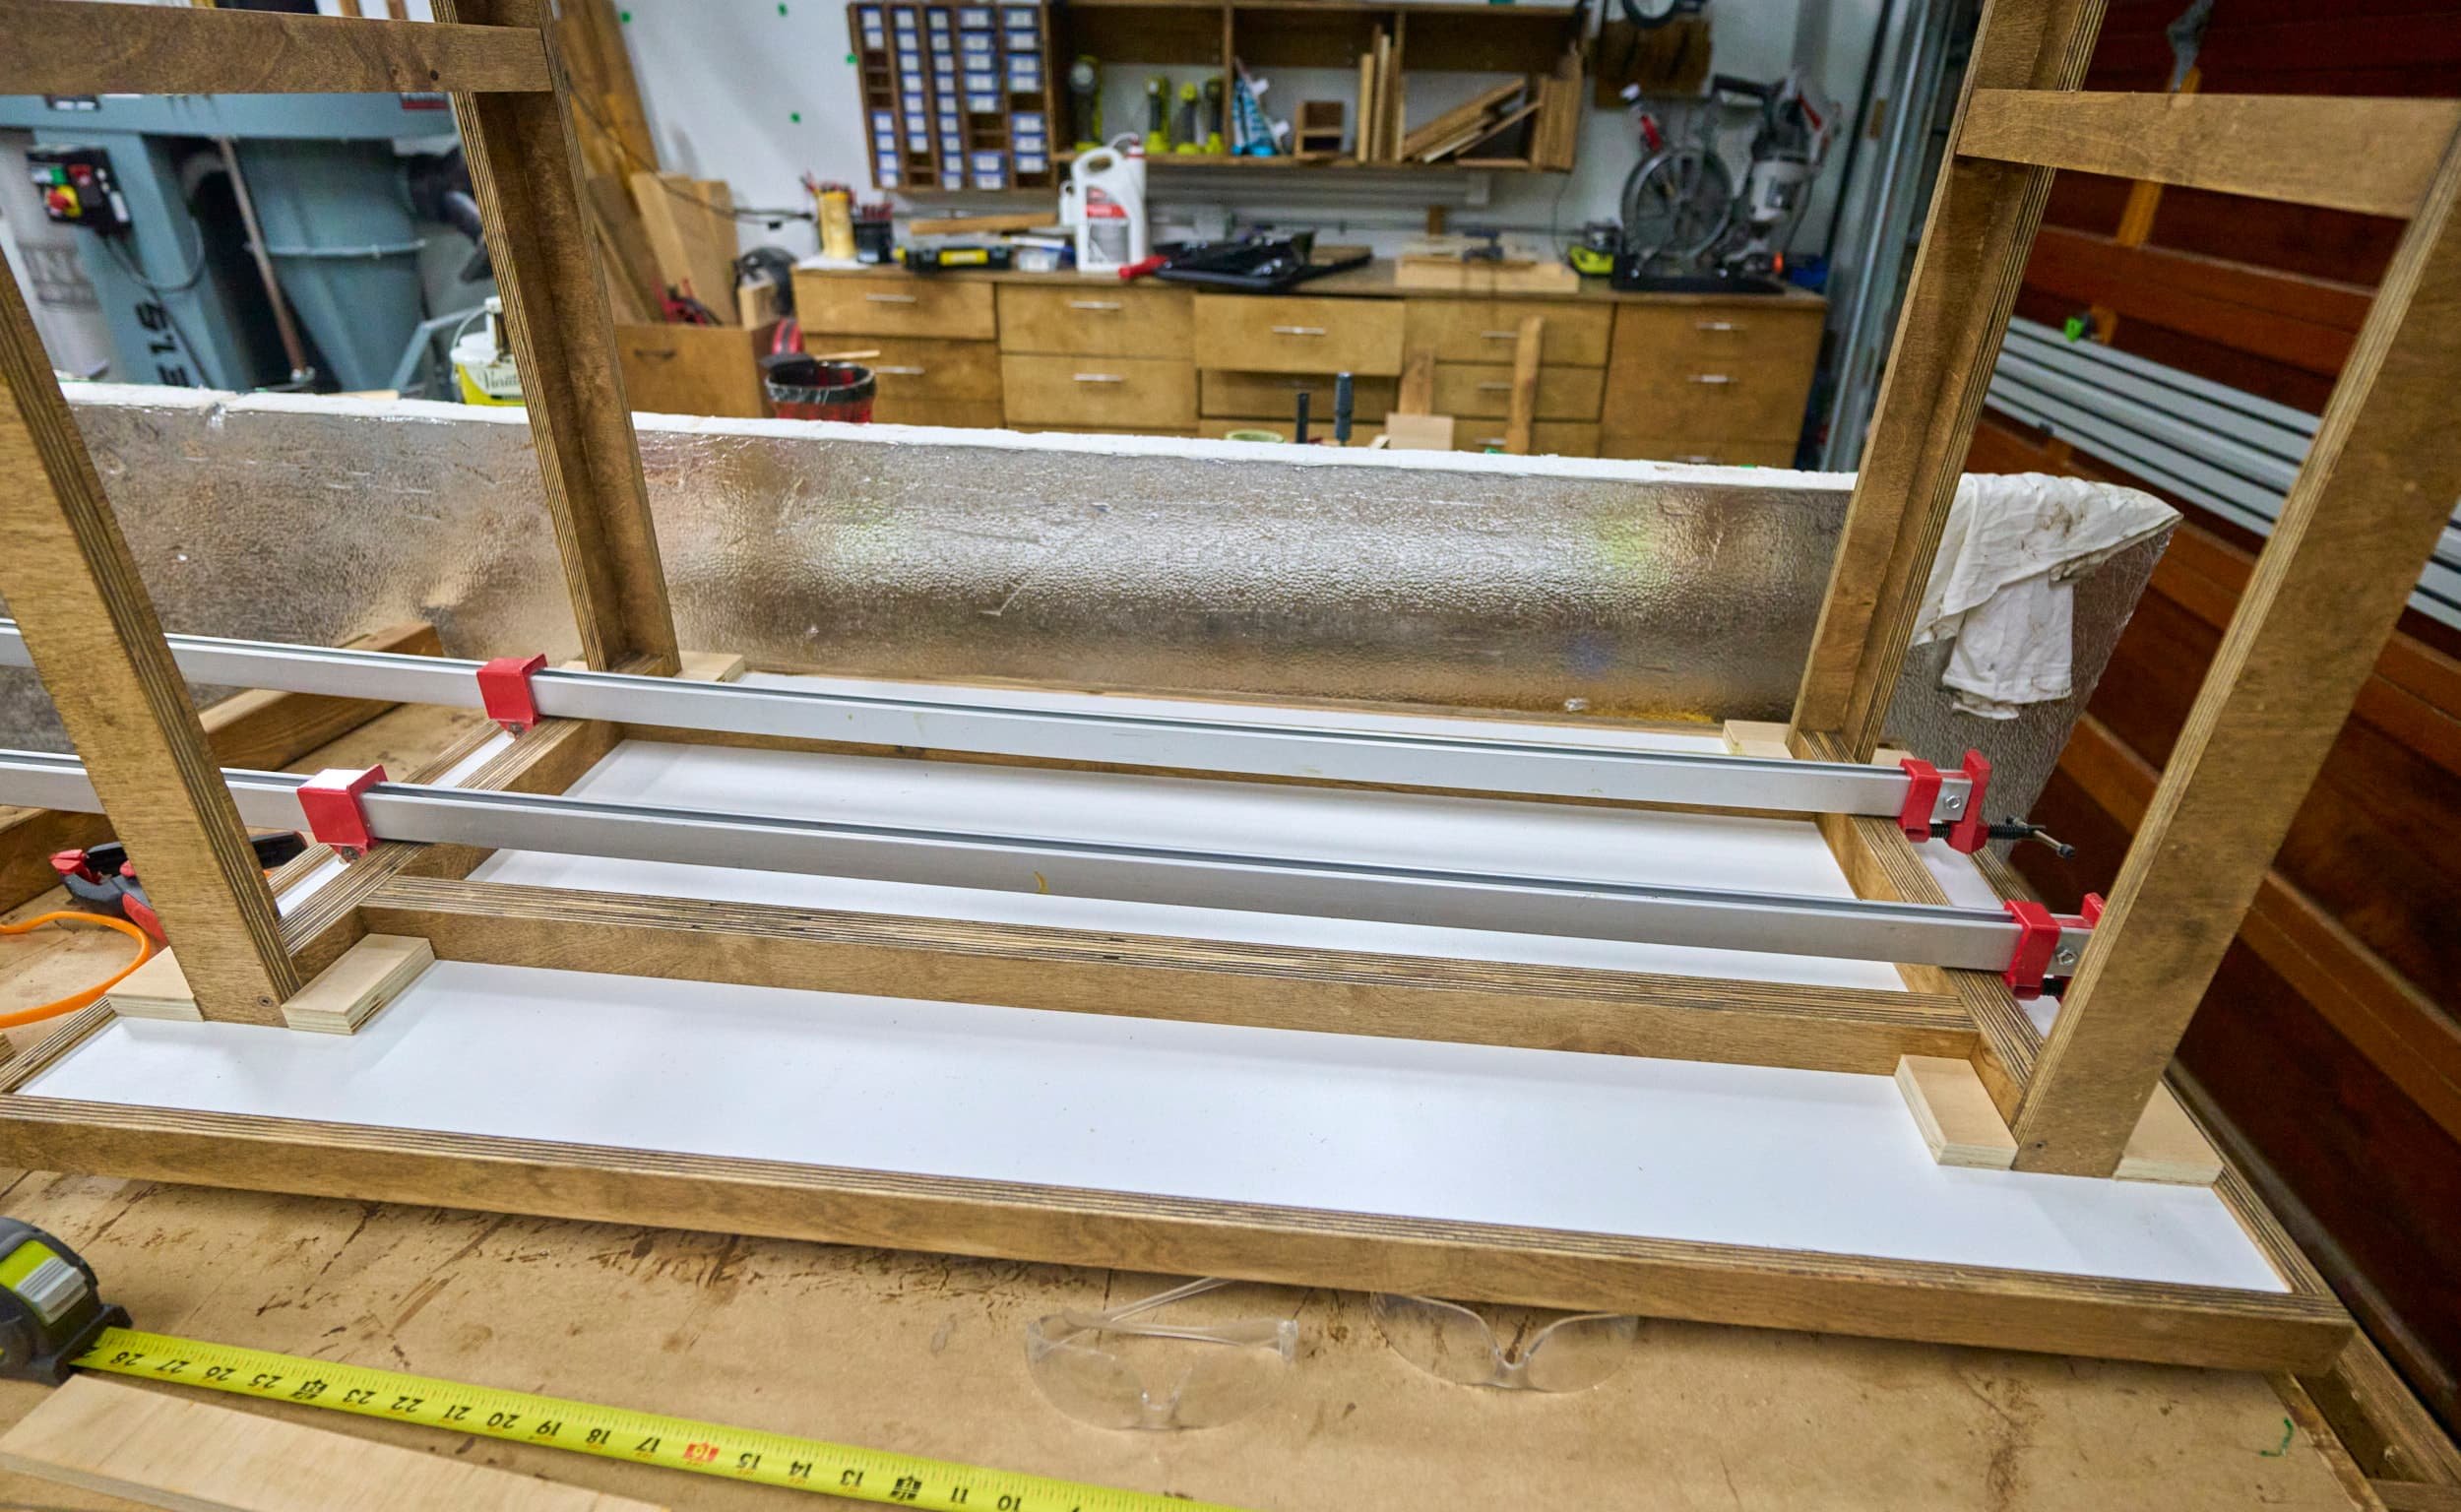
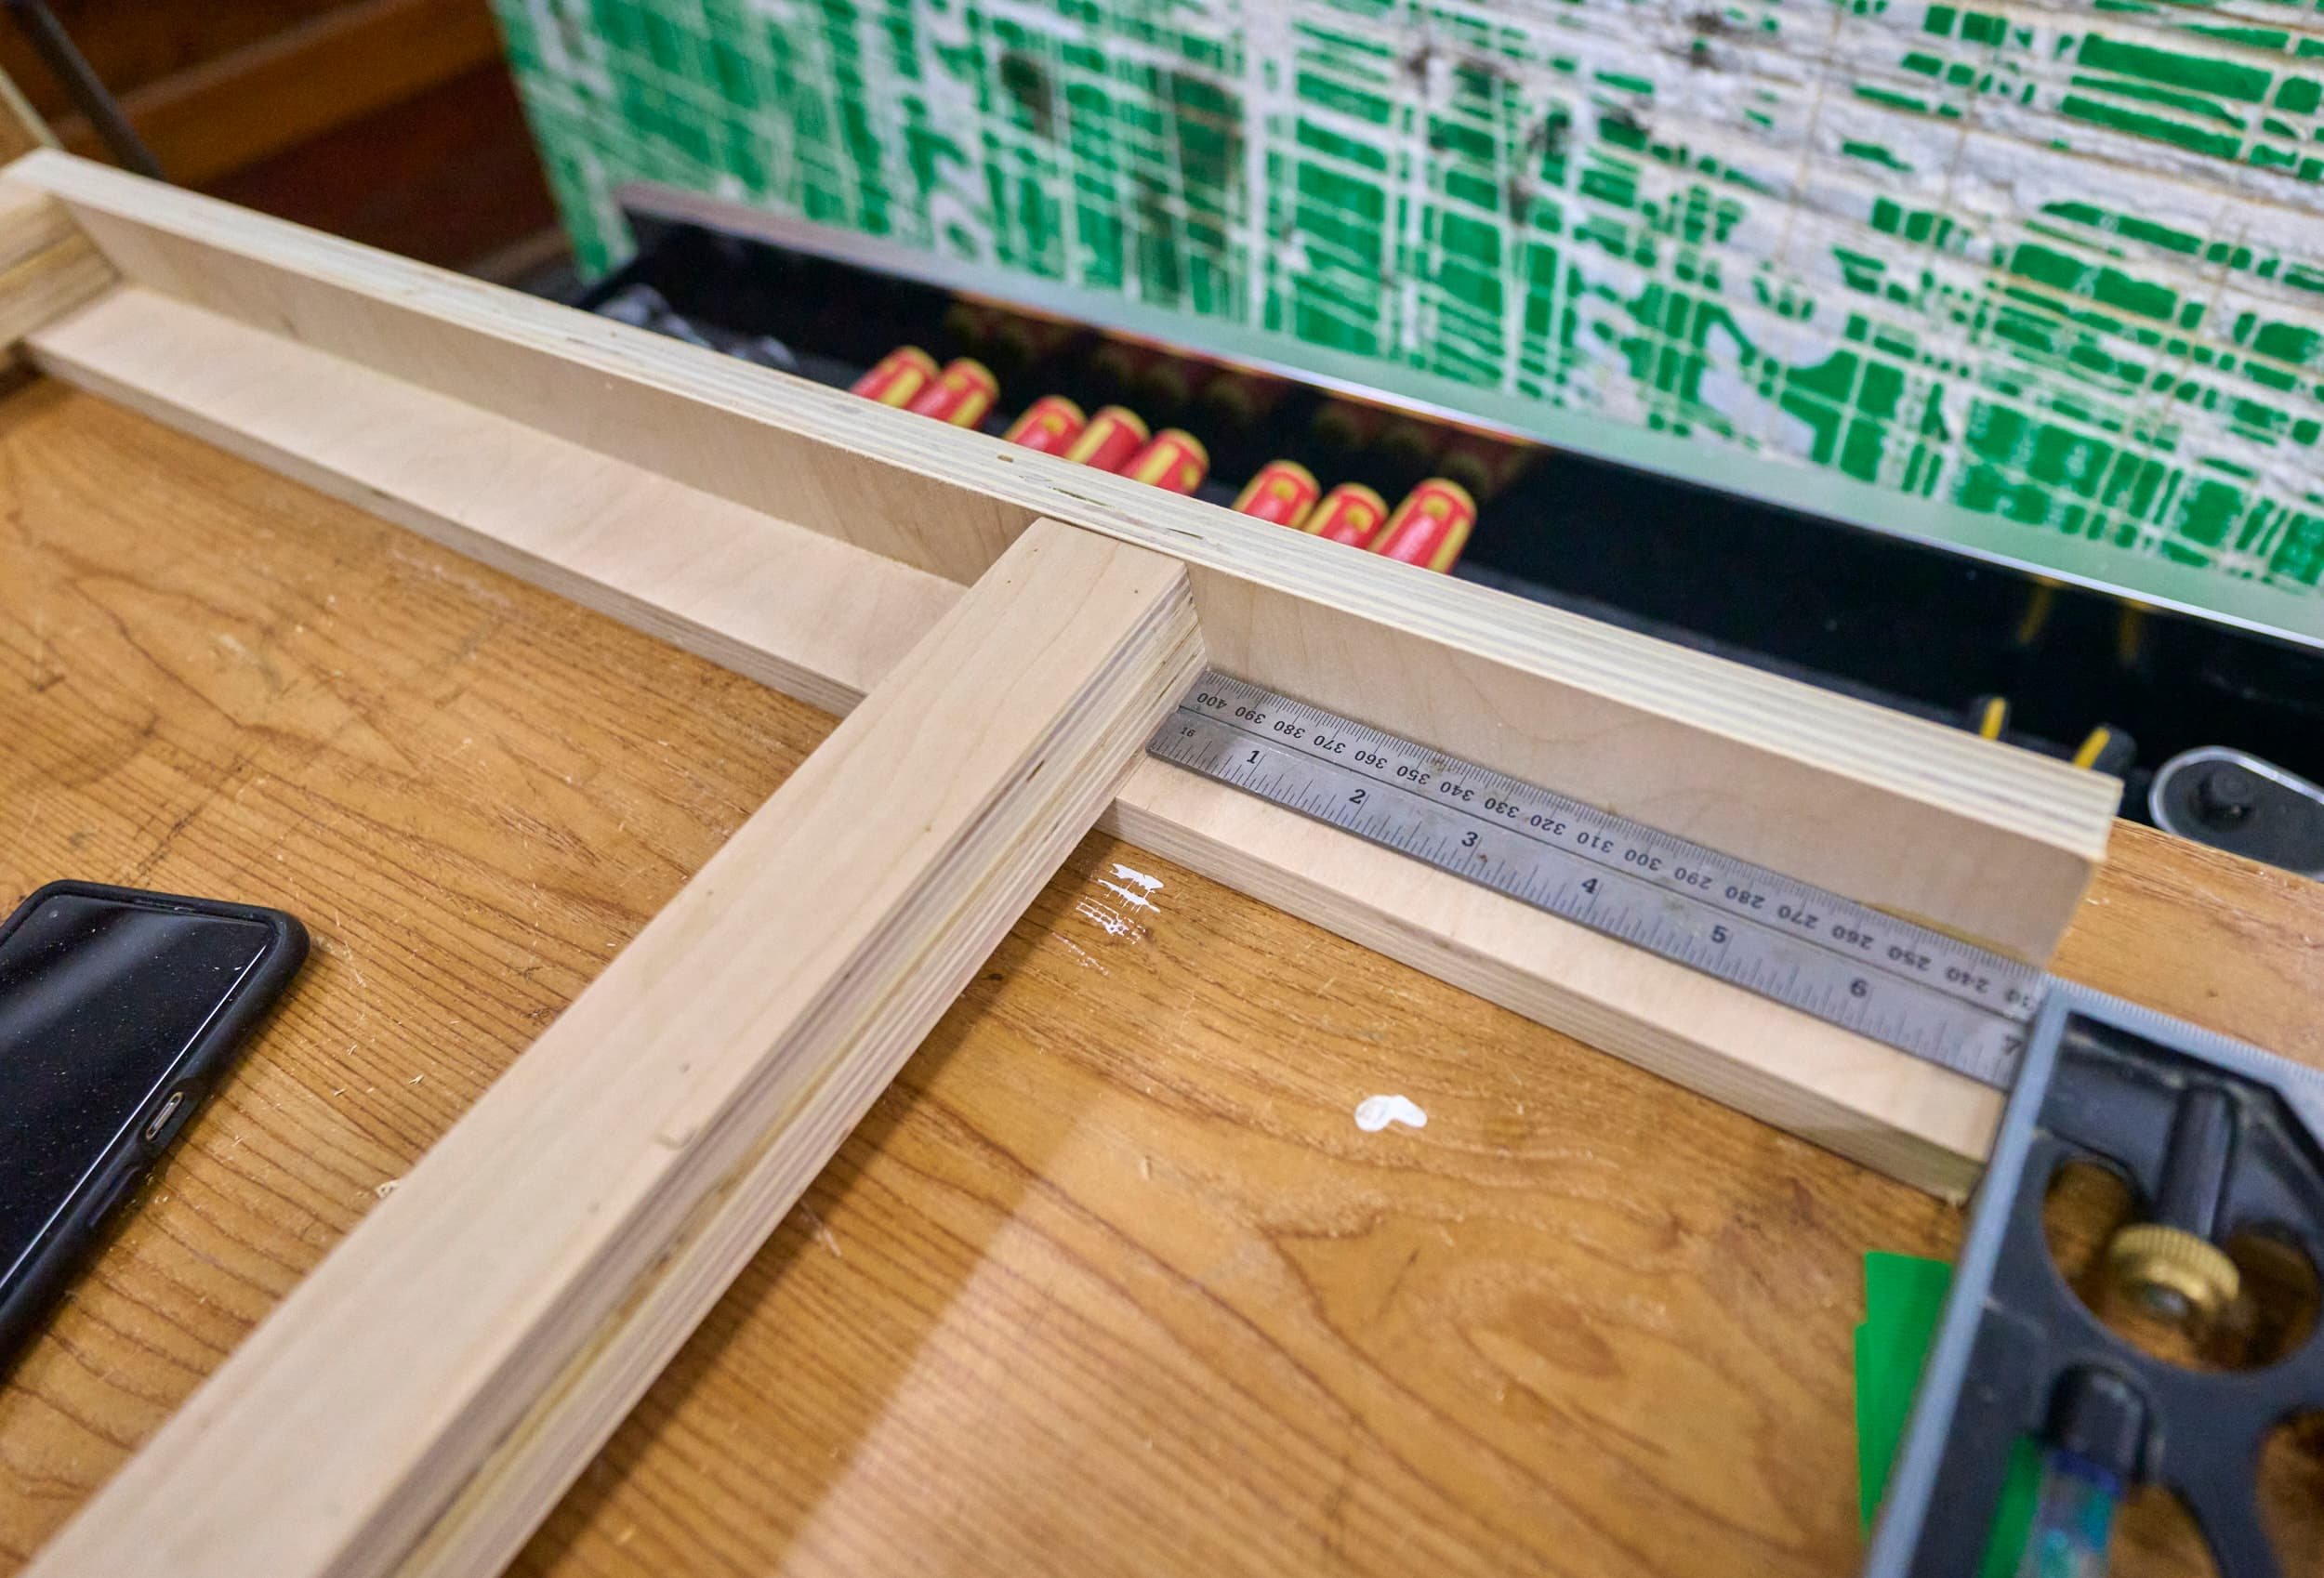
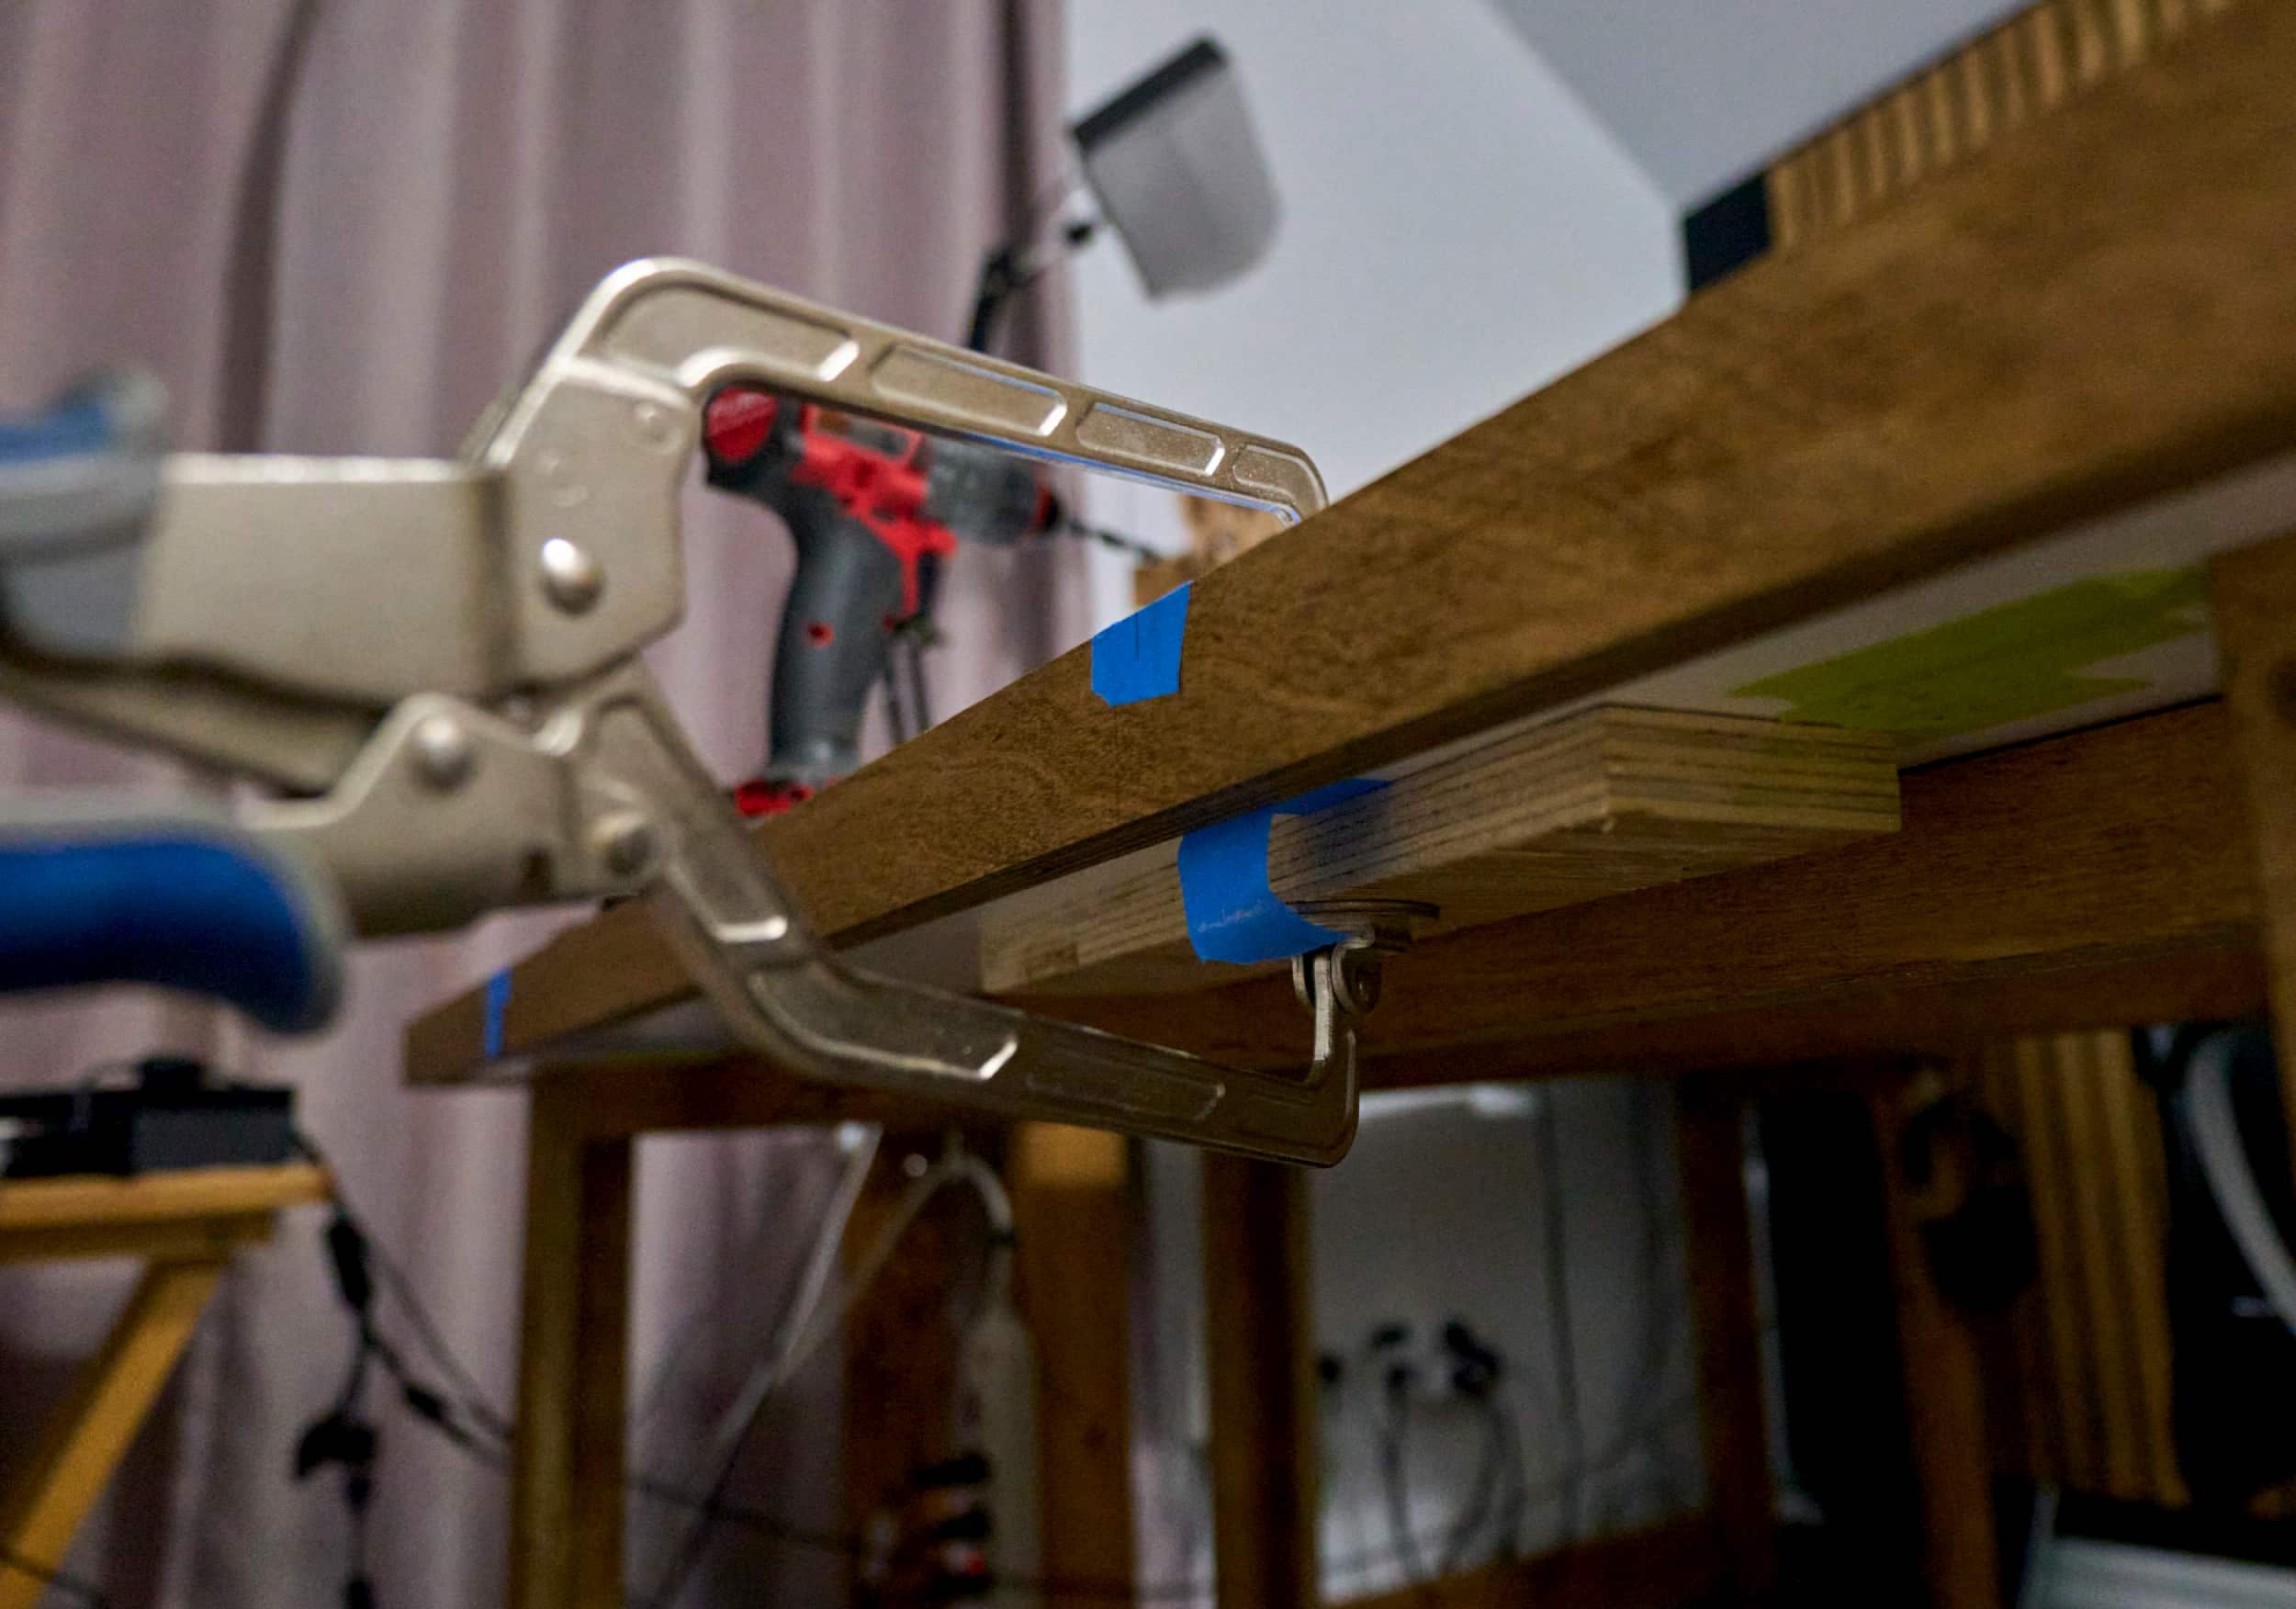
To trim out the perimeter, I debated going with walnut for the incredible contrast but I didn’t have the right lengths handy (and wasn’t in the mood to rip and join smaller strips together). I kept this simple and just used plywood. I cut the edging 1/4” wider than needed and very carefully glued the edging to be perfectly flush with the top side; I had planned to come back and flush-trim the bottom edge, but ultimately didn’t since I just didn’t trust the router to not make a disaster of the melamine. I might revist that down the road as it’s easy enough to do.
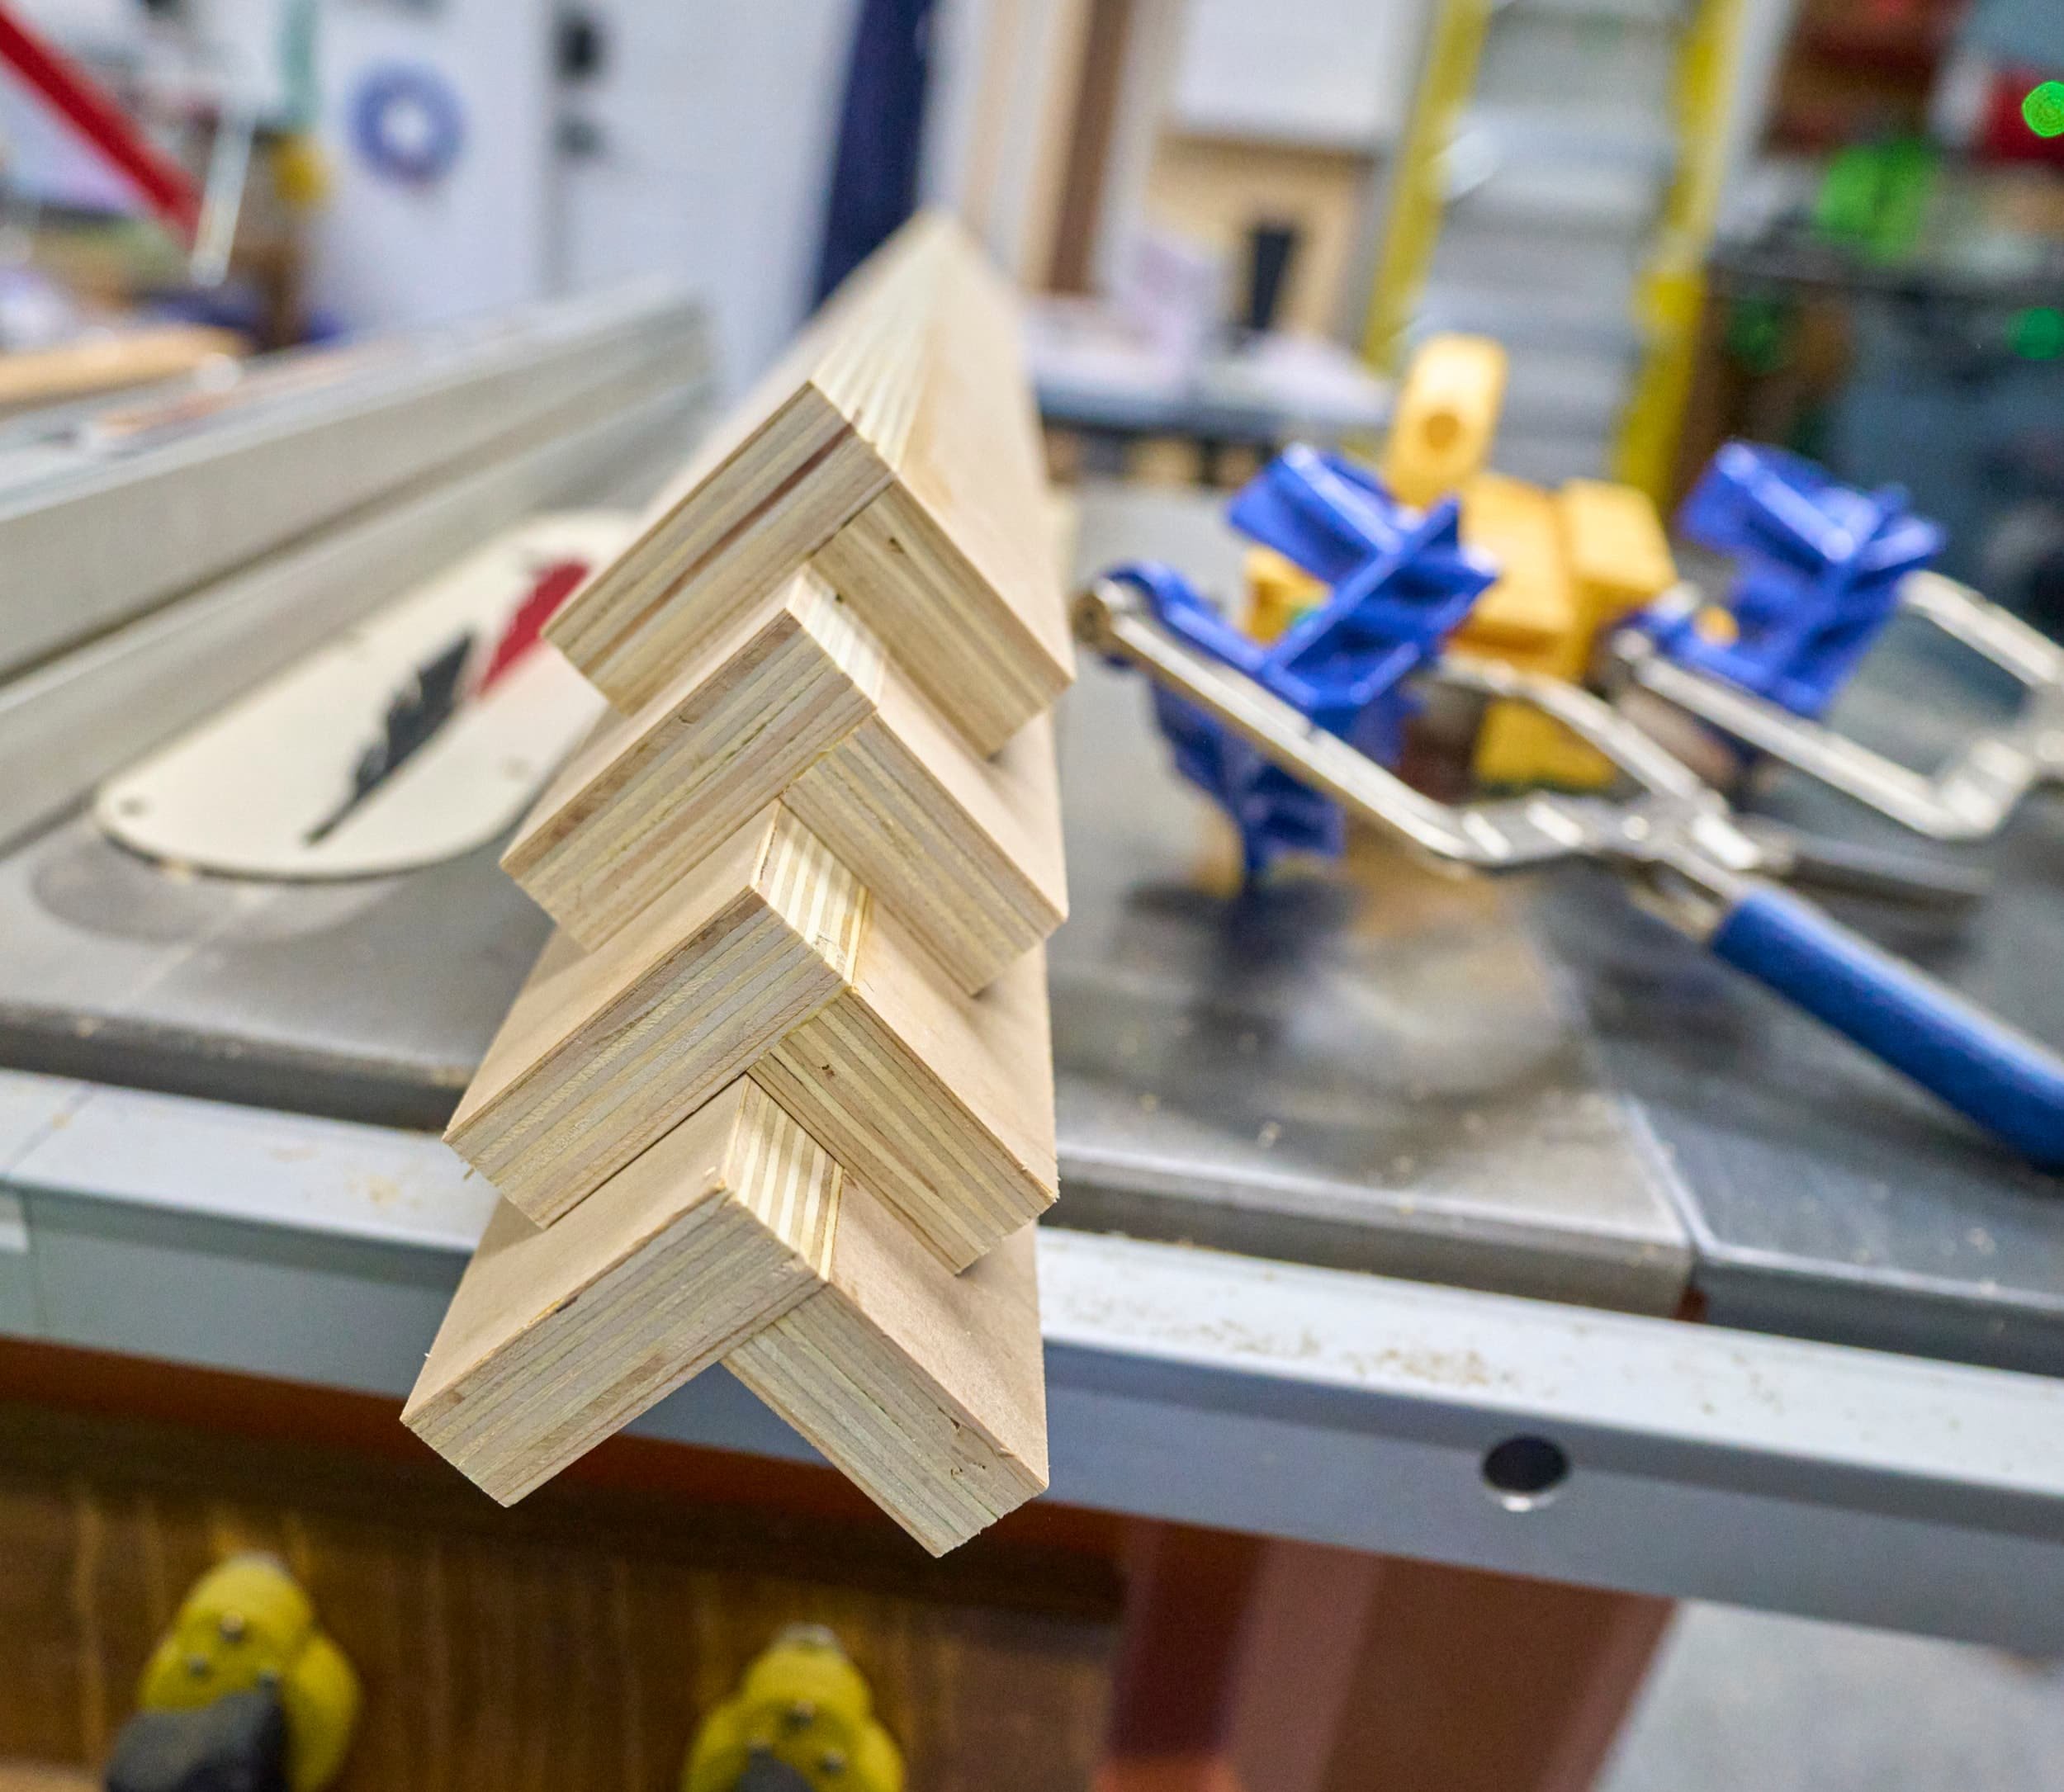
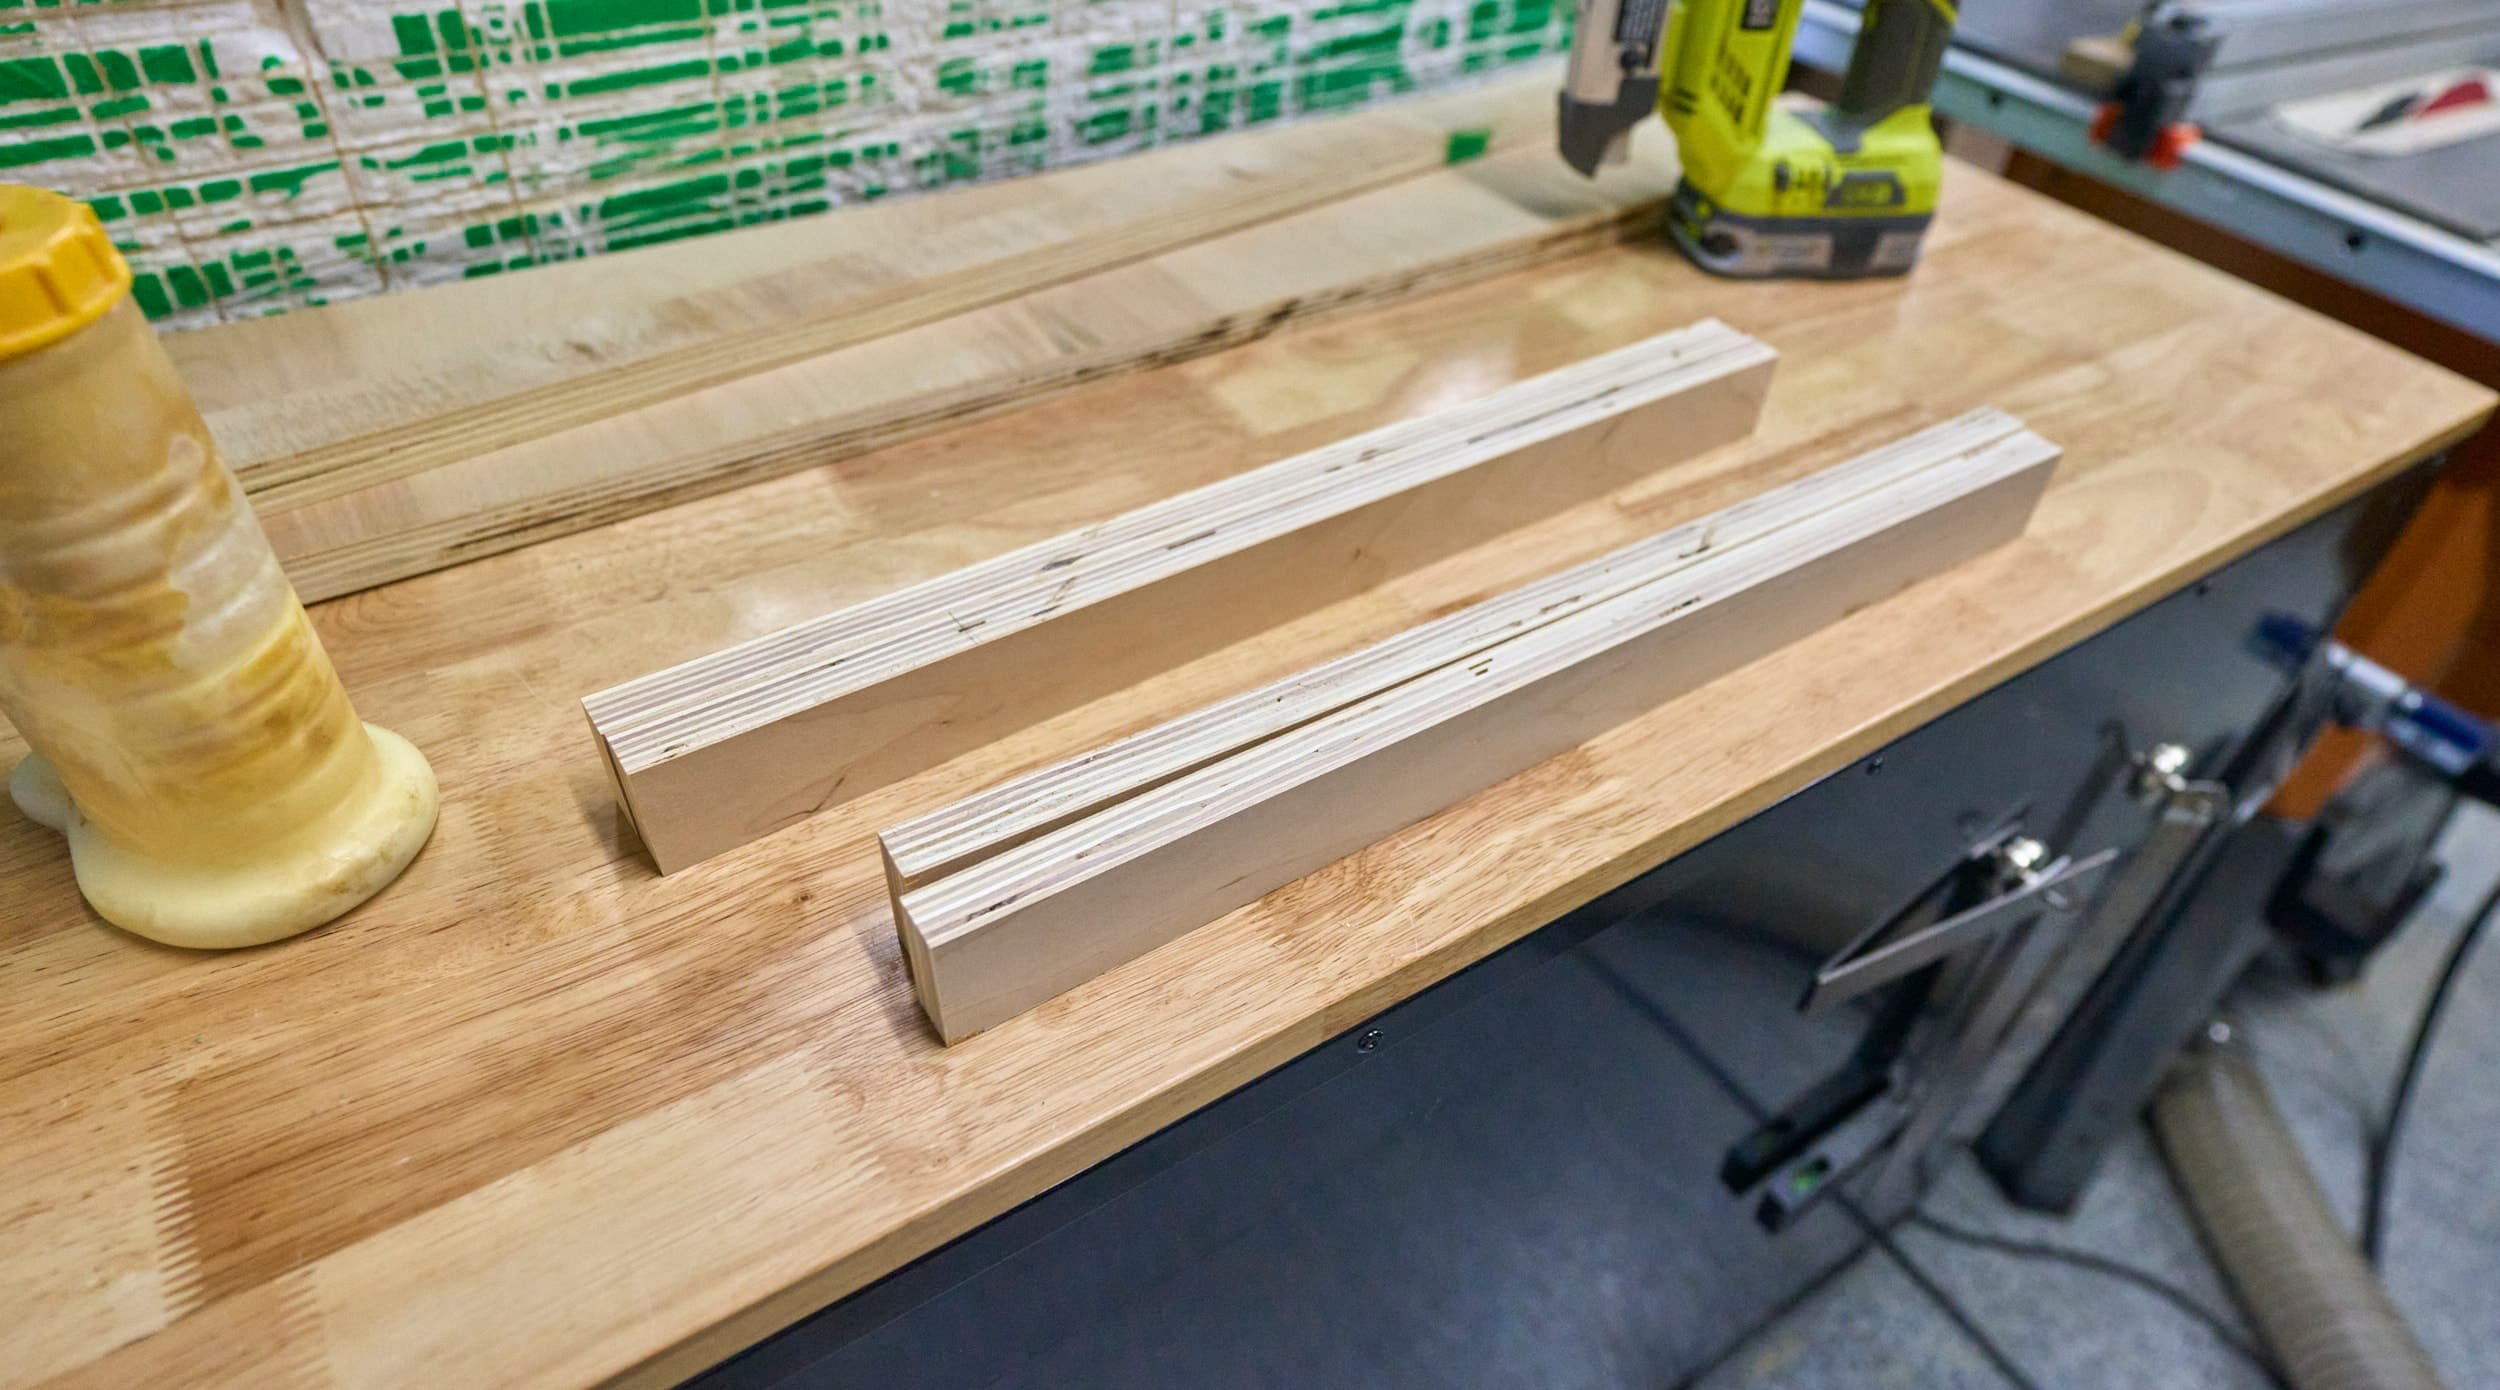
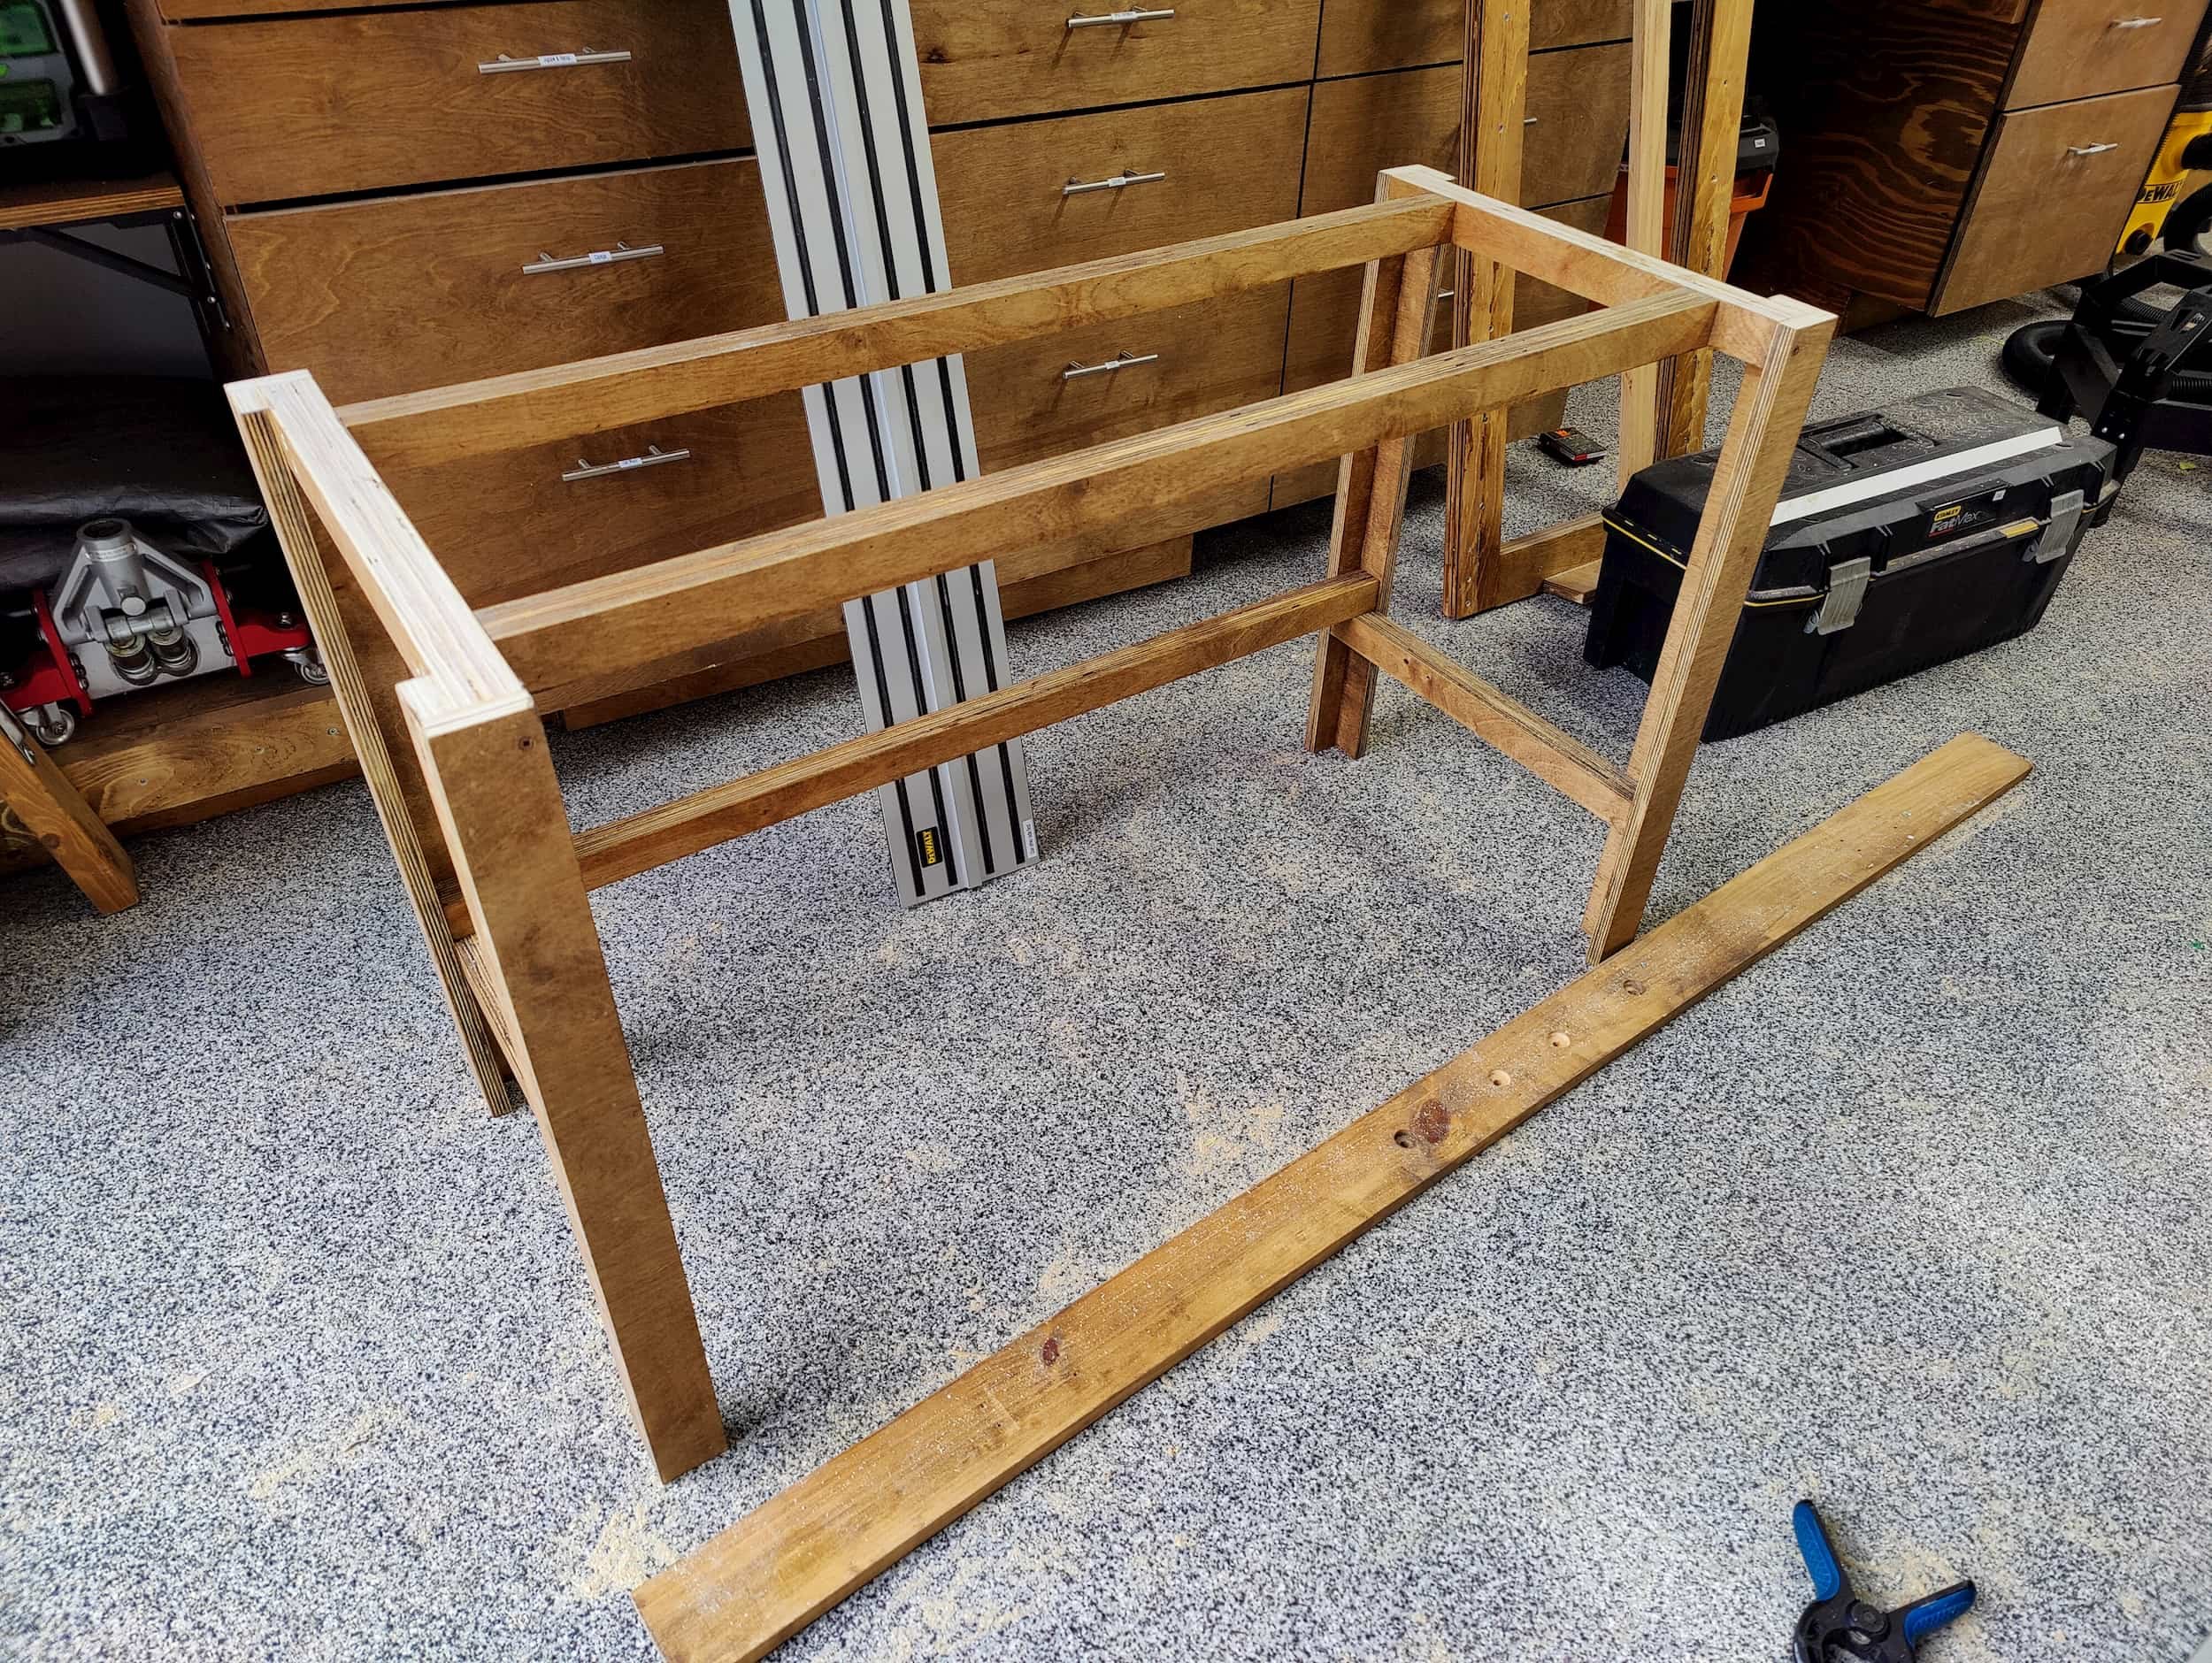
Step 2 - Making the legs
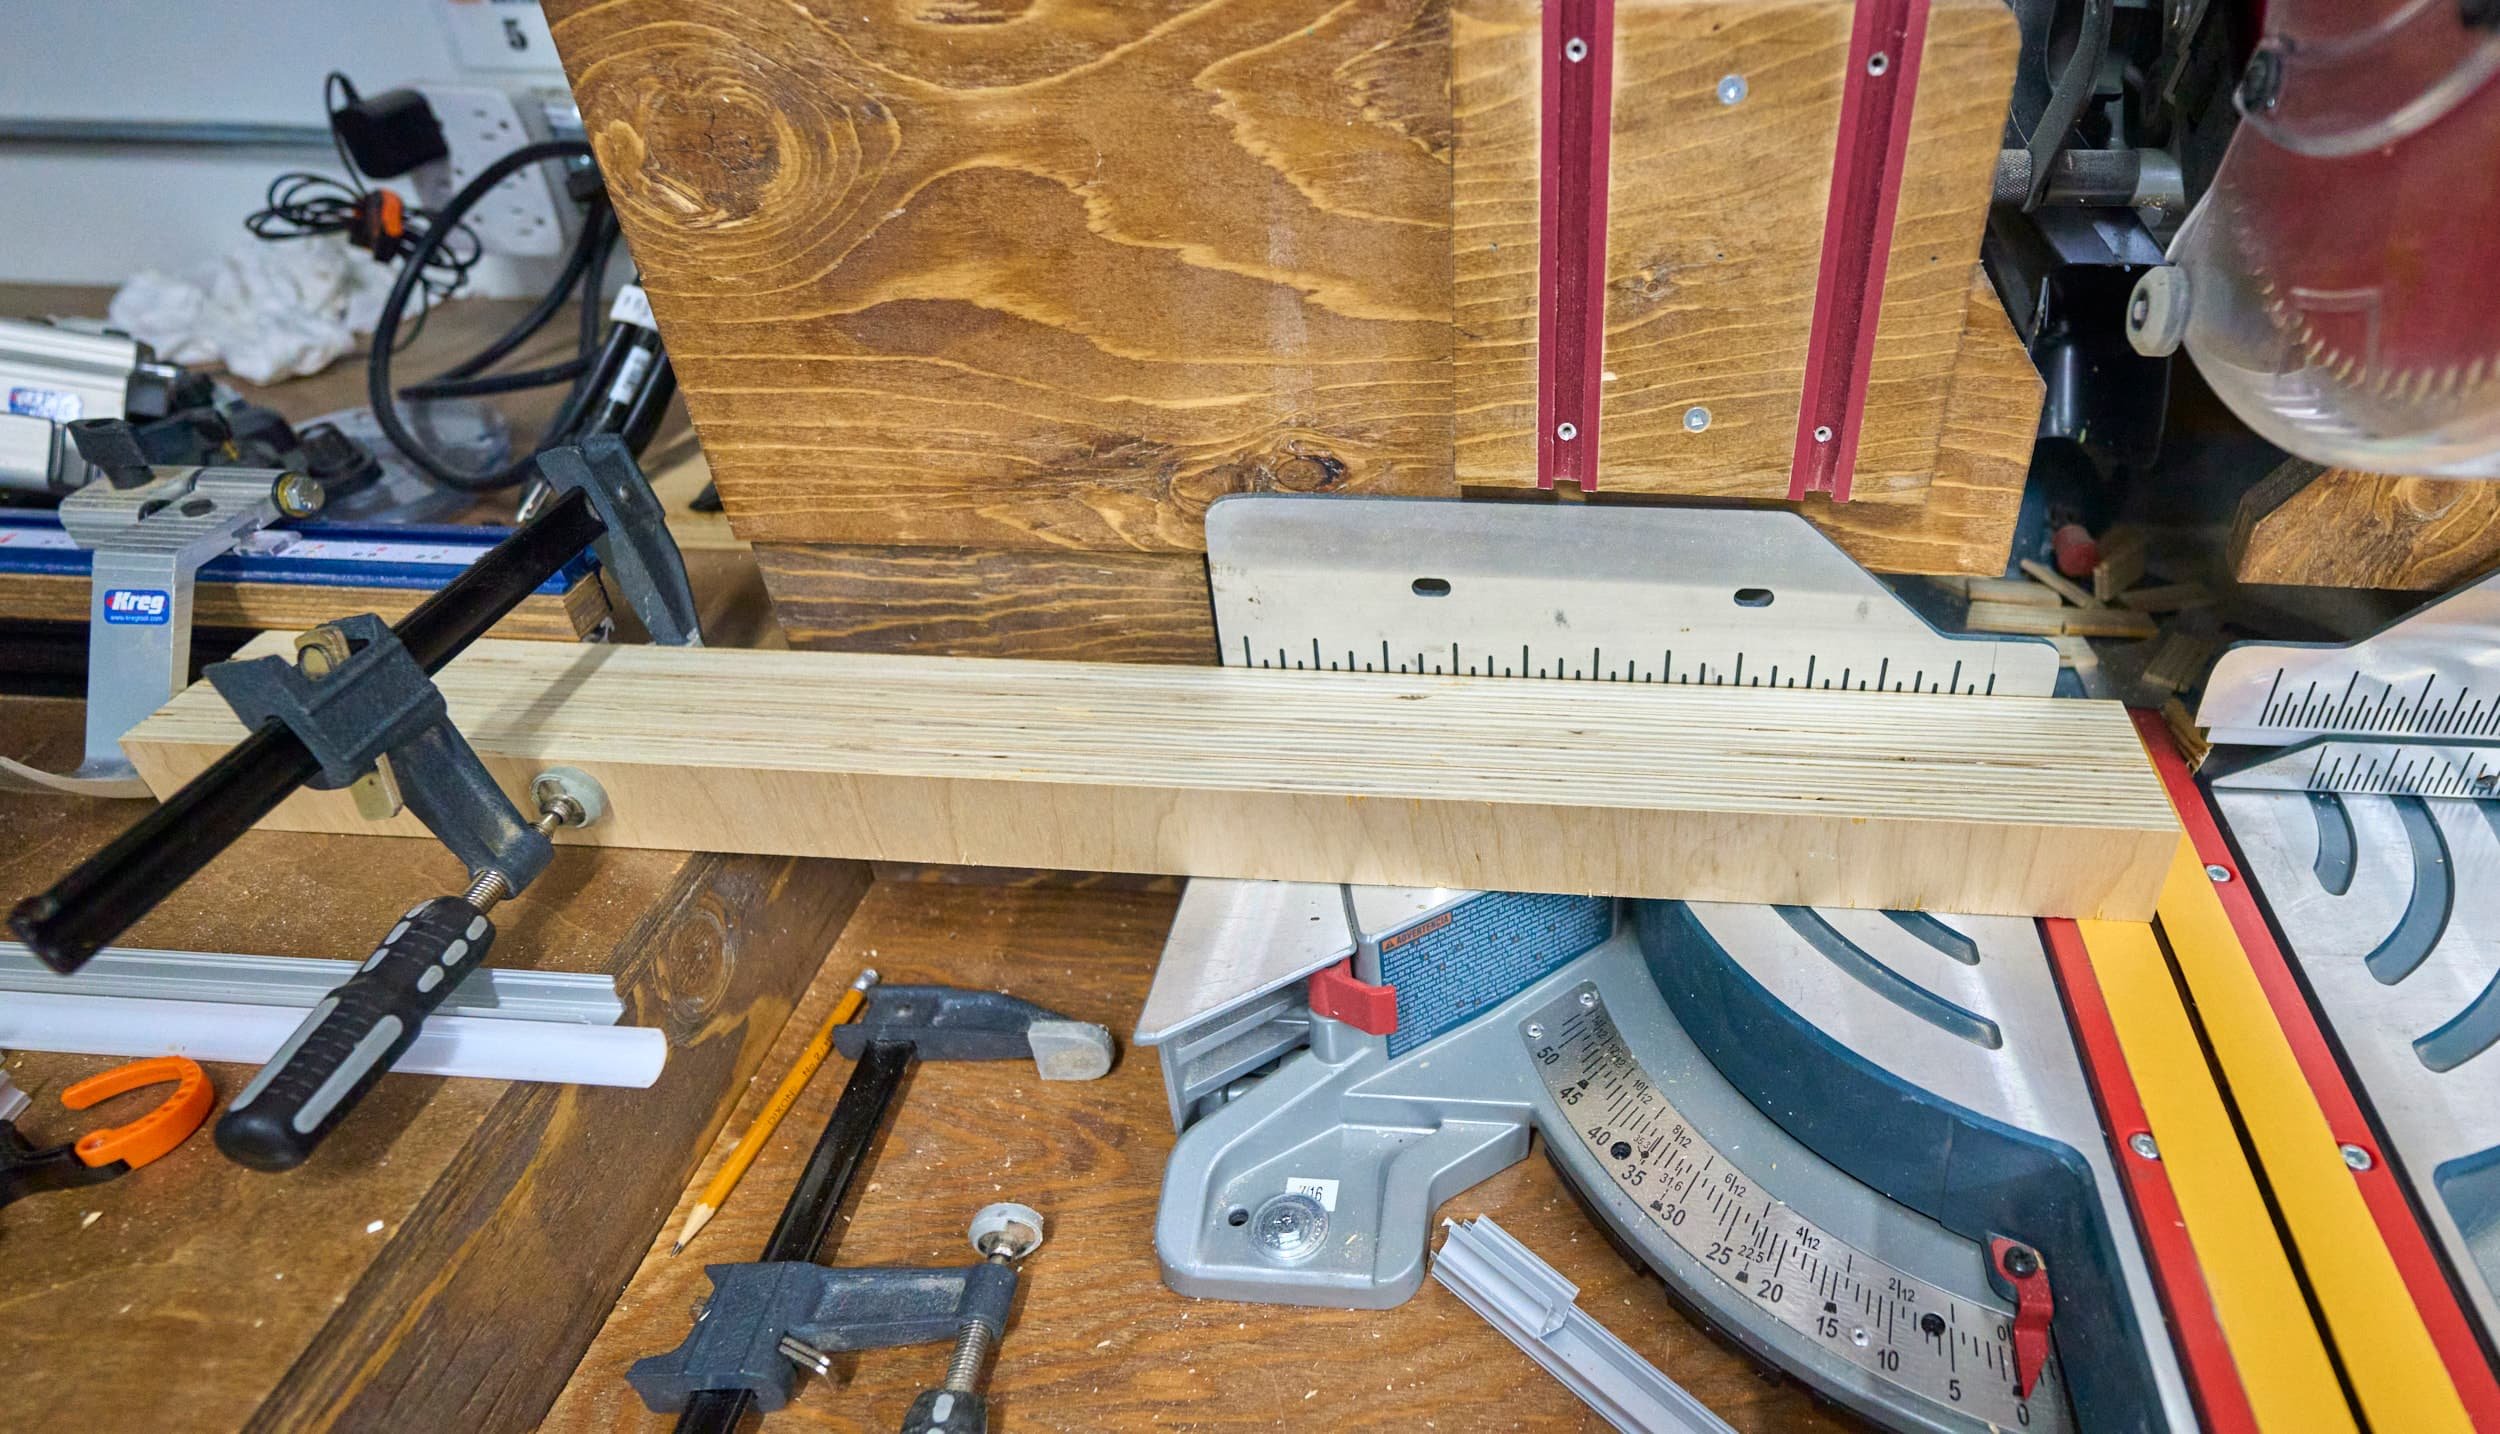
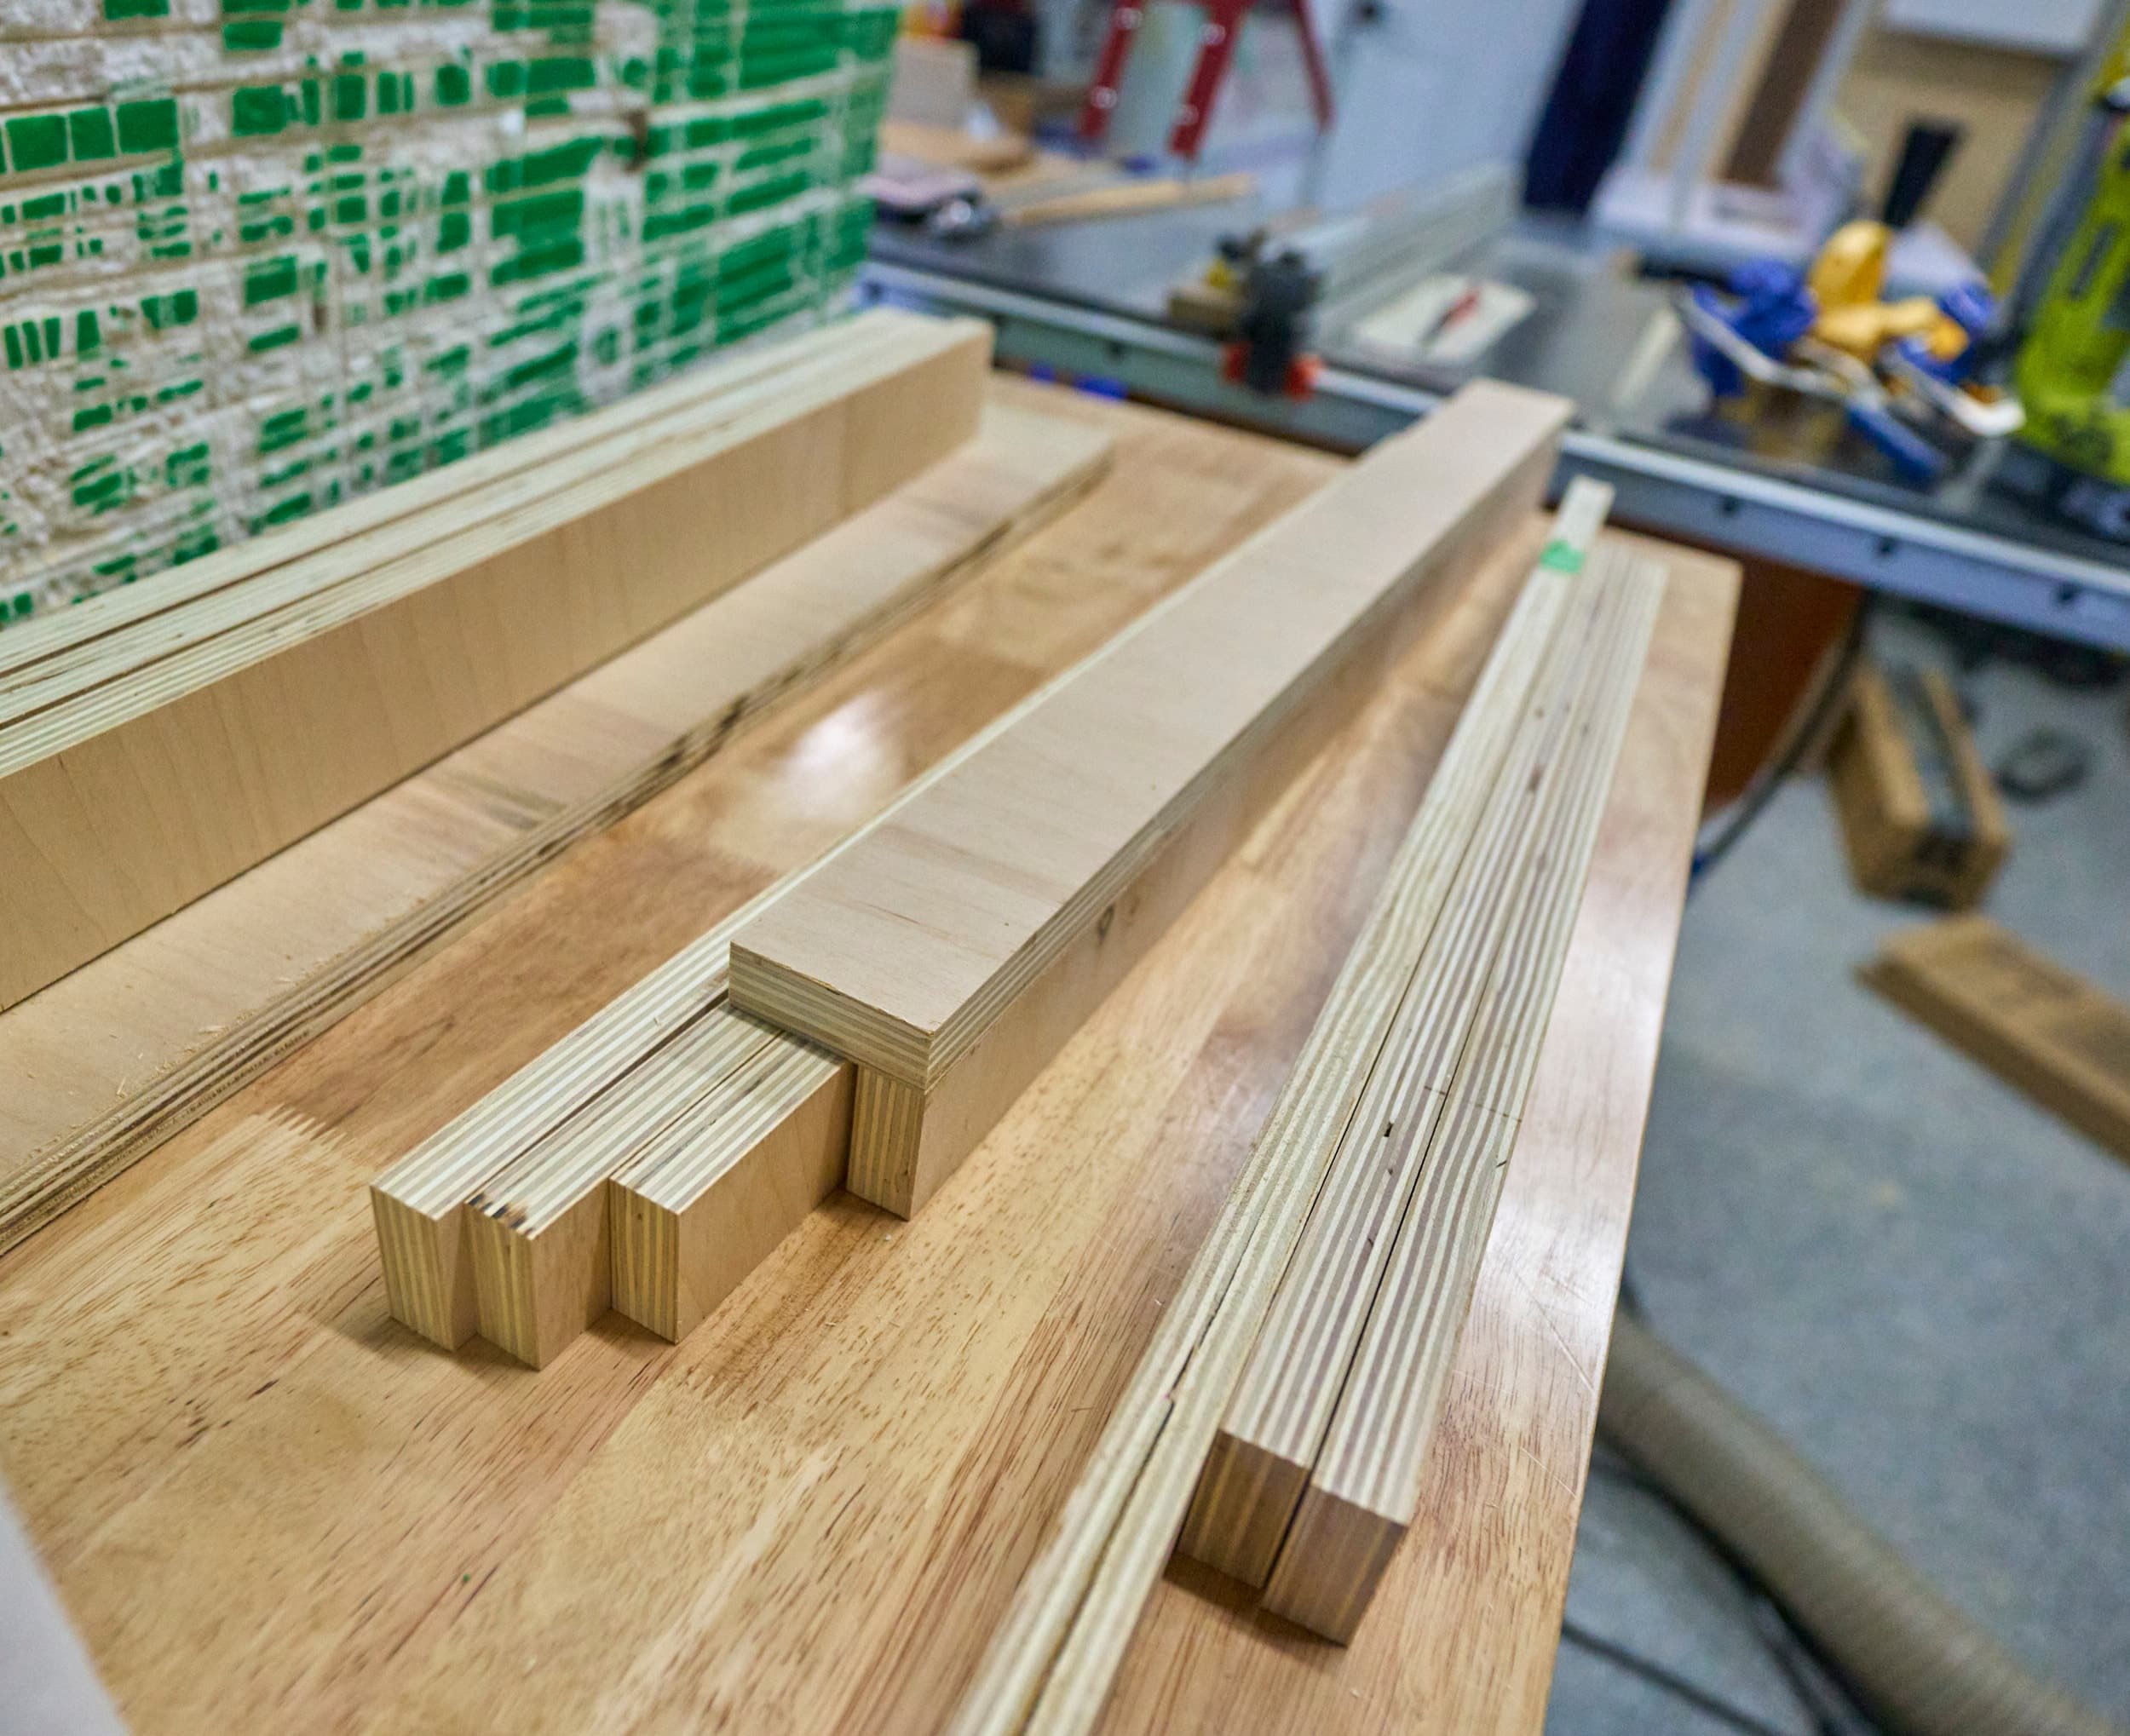
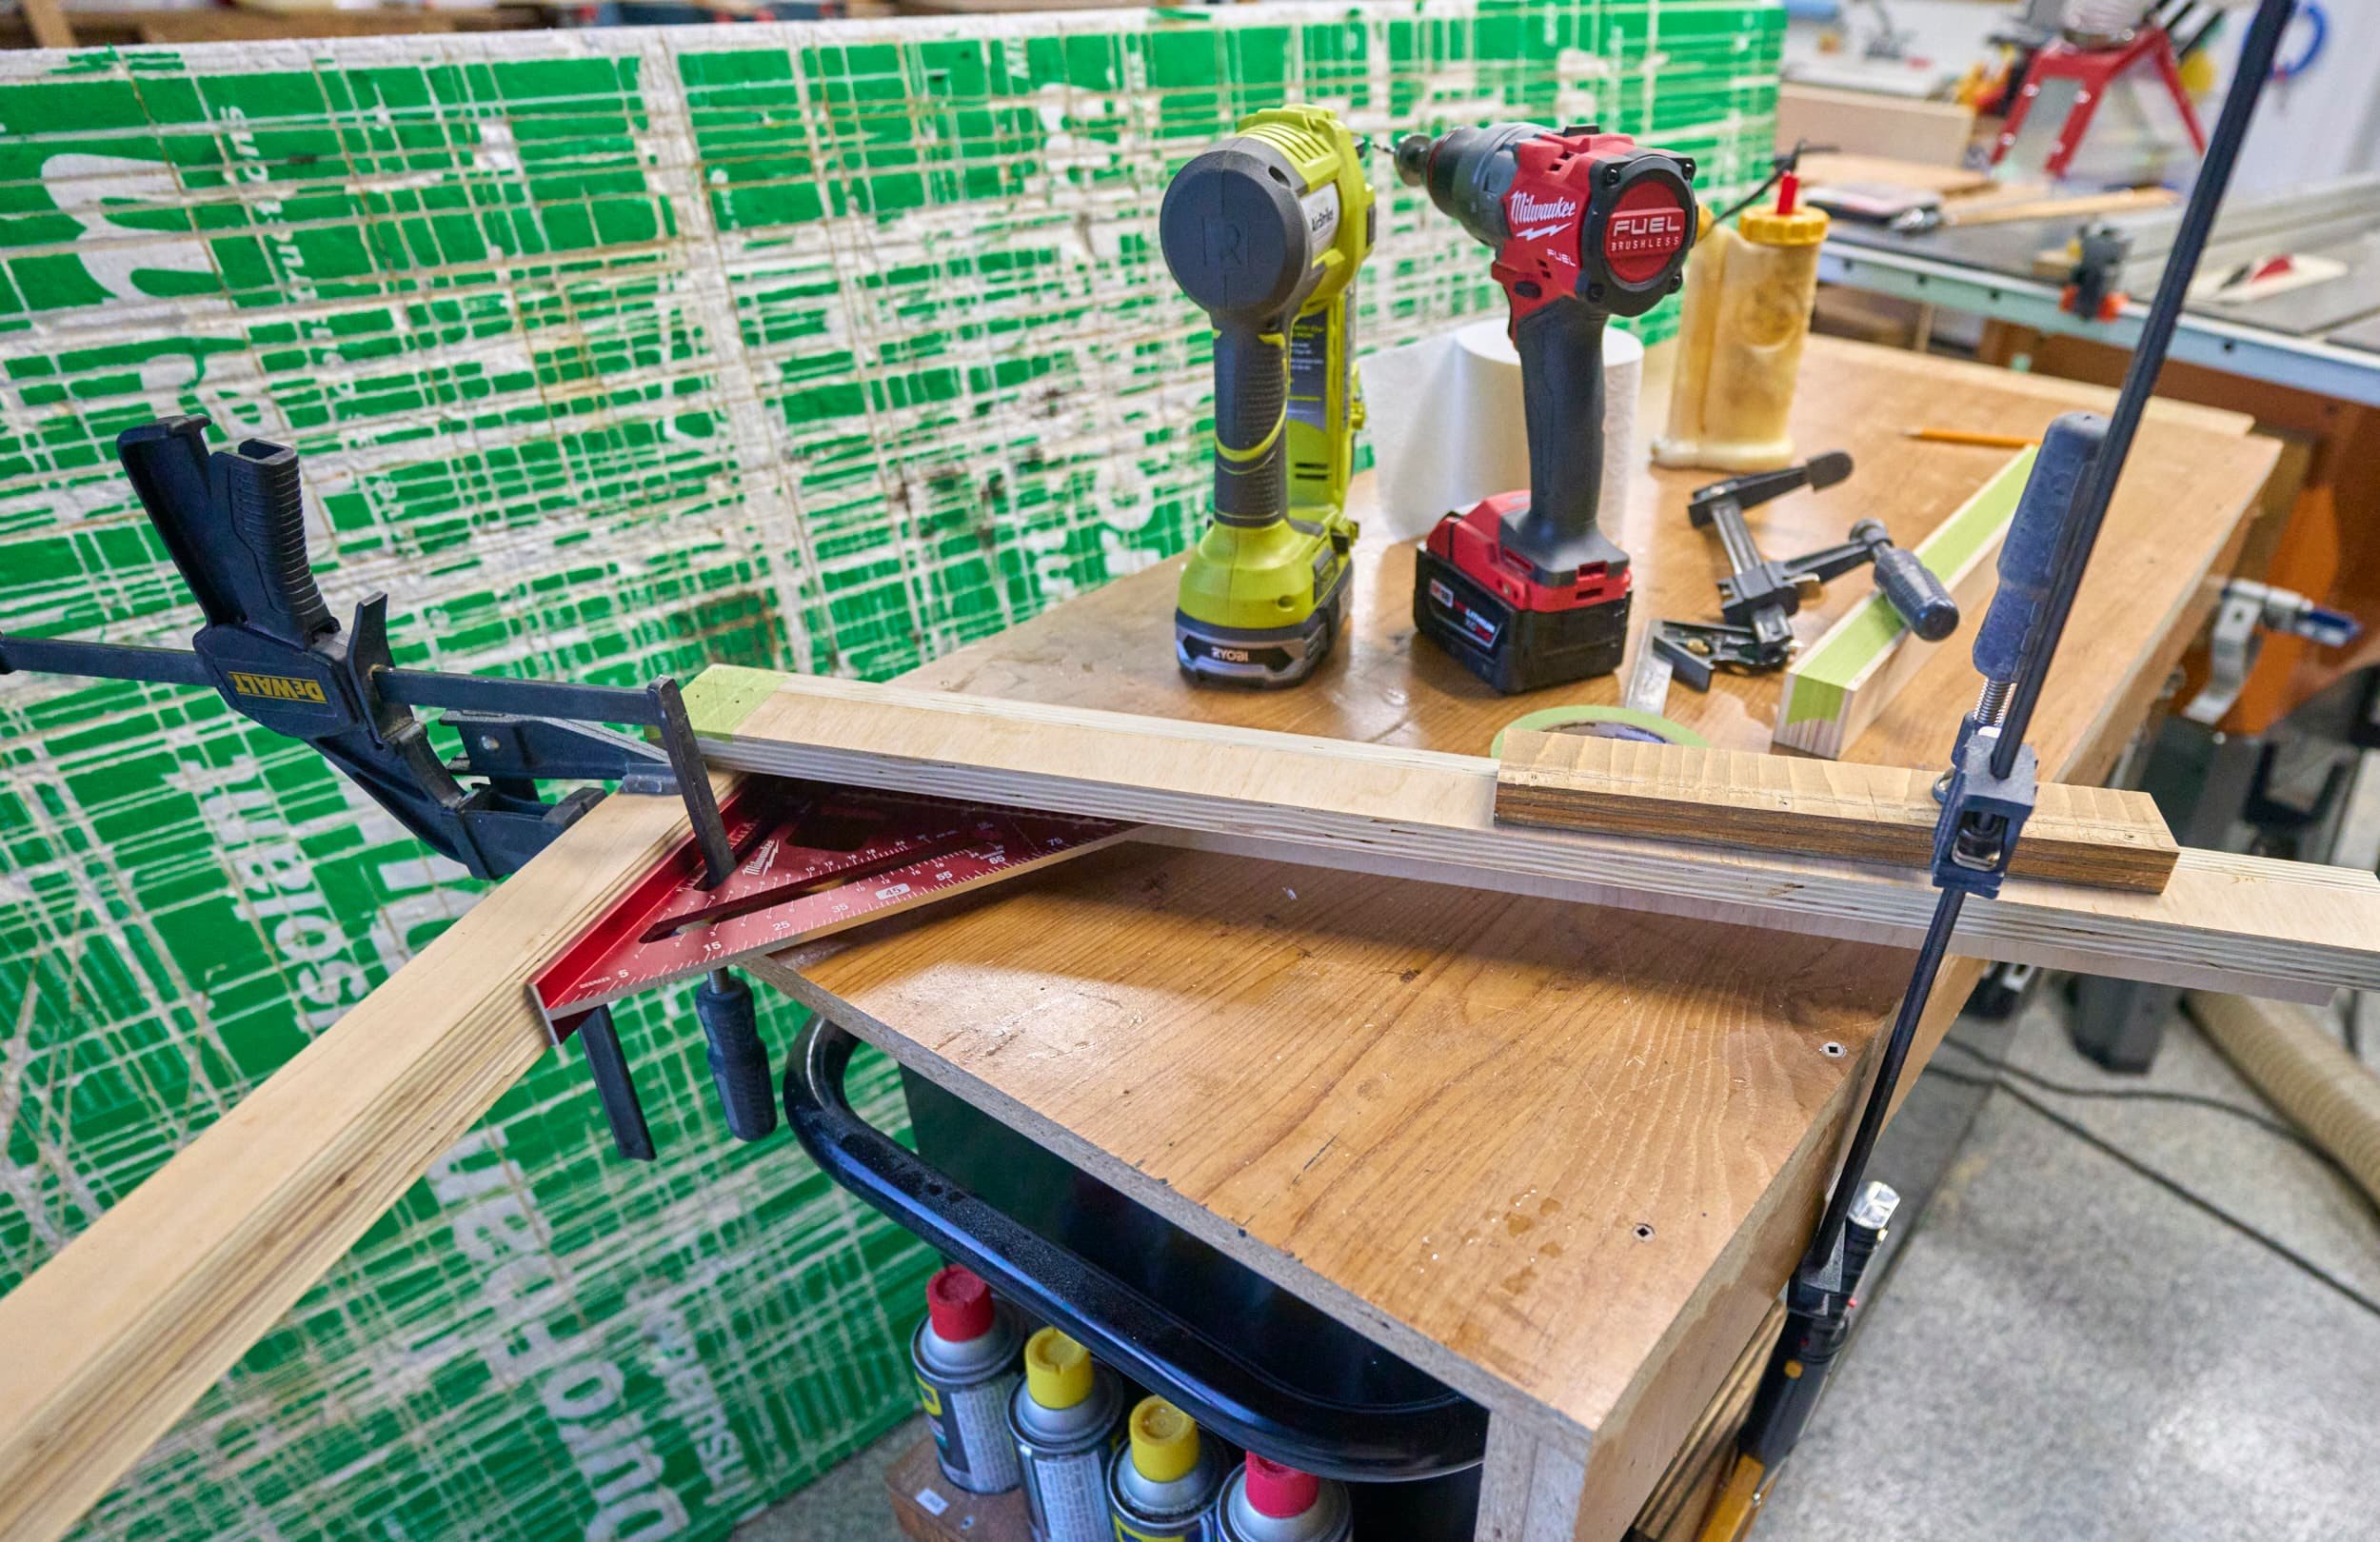
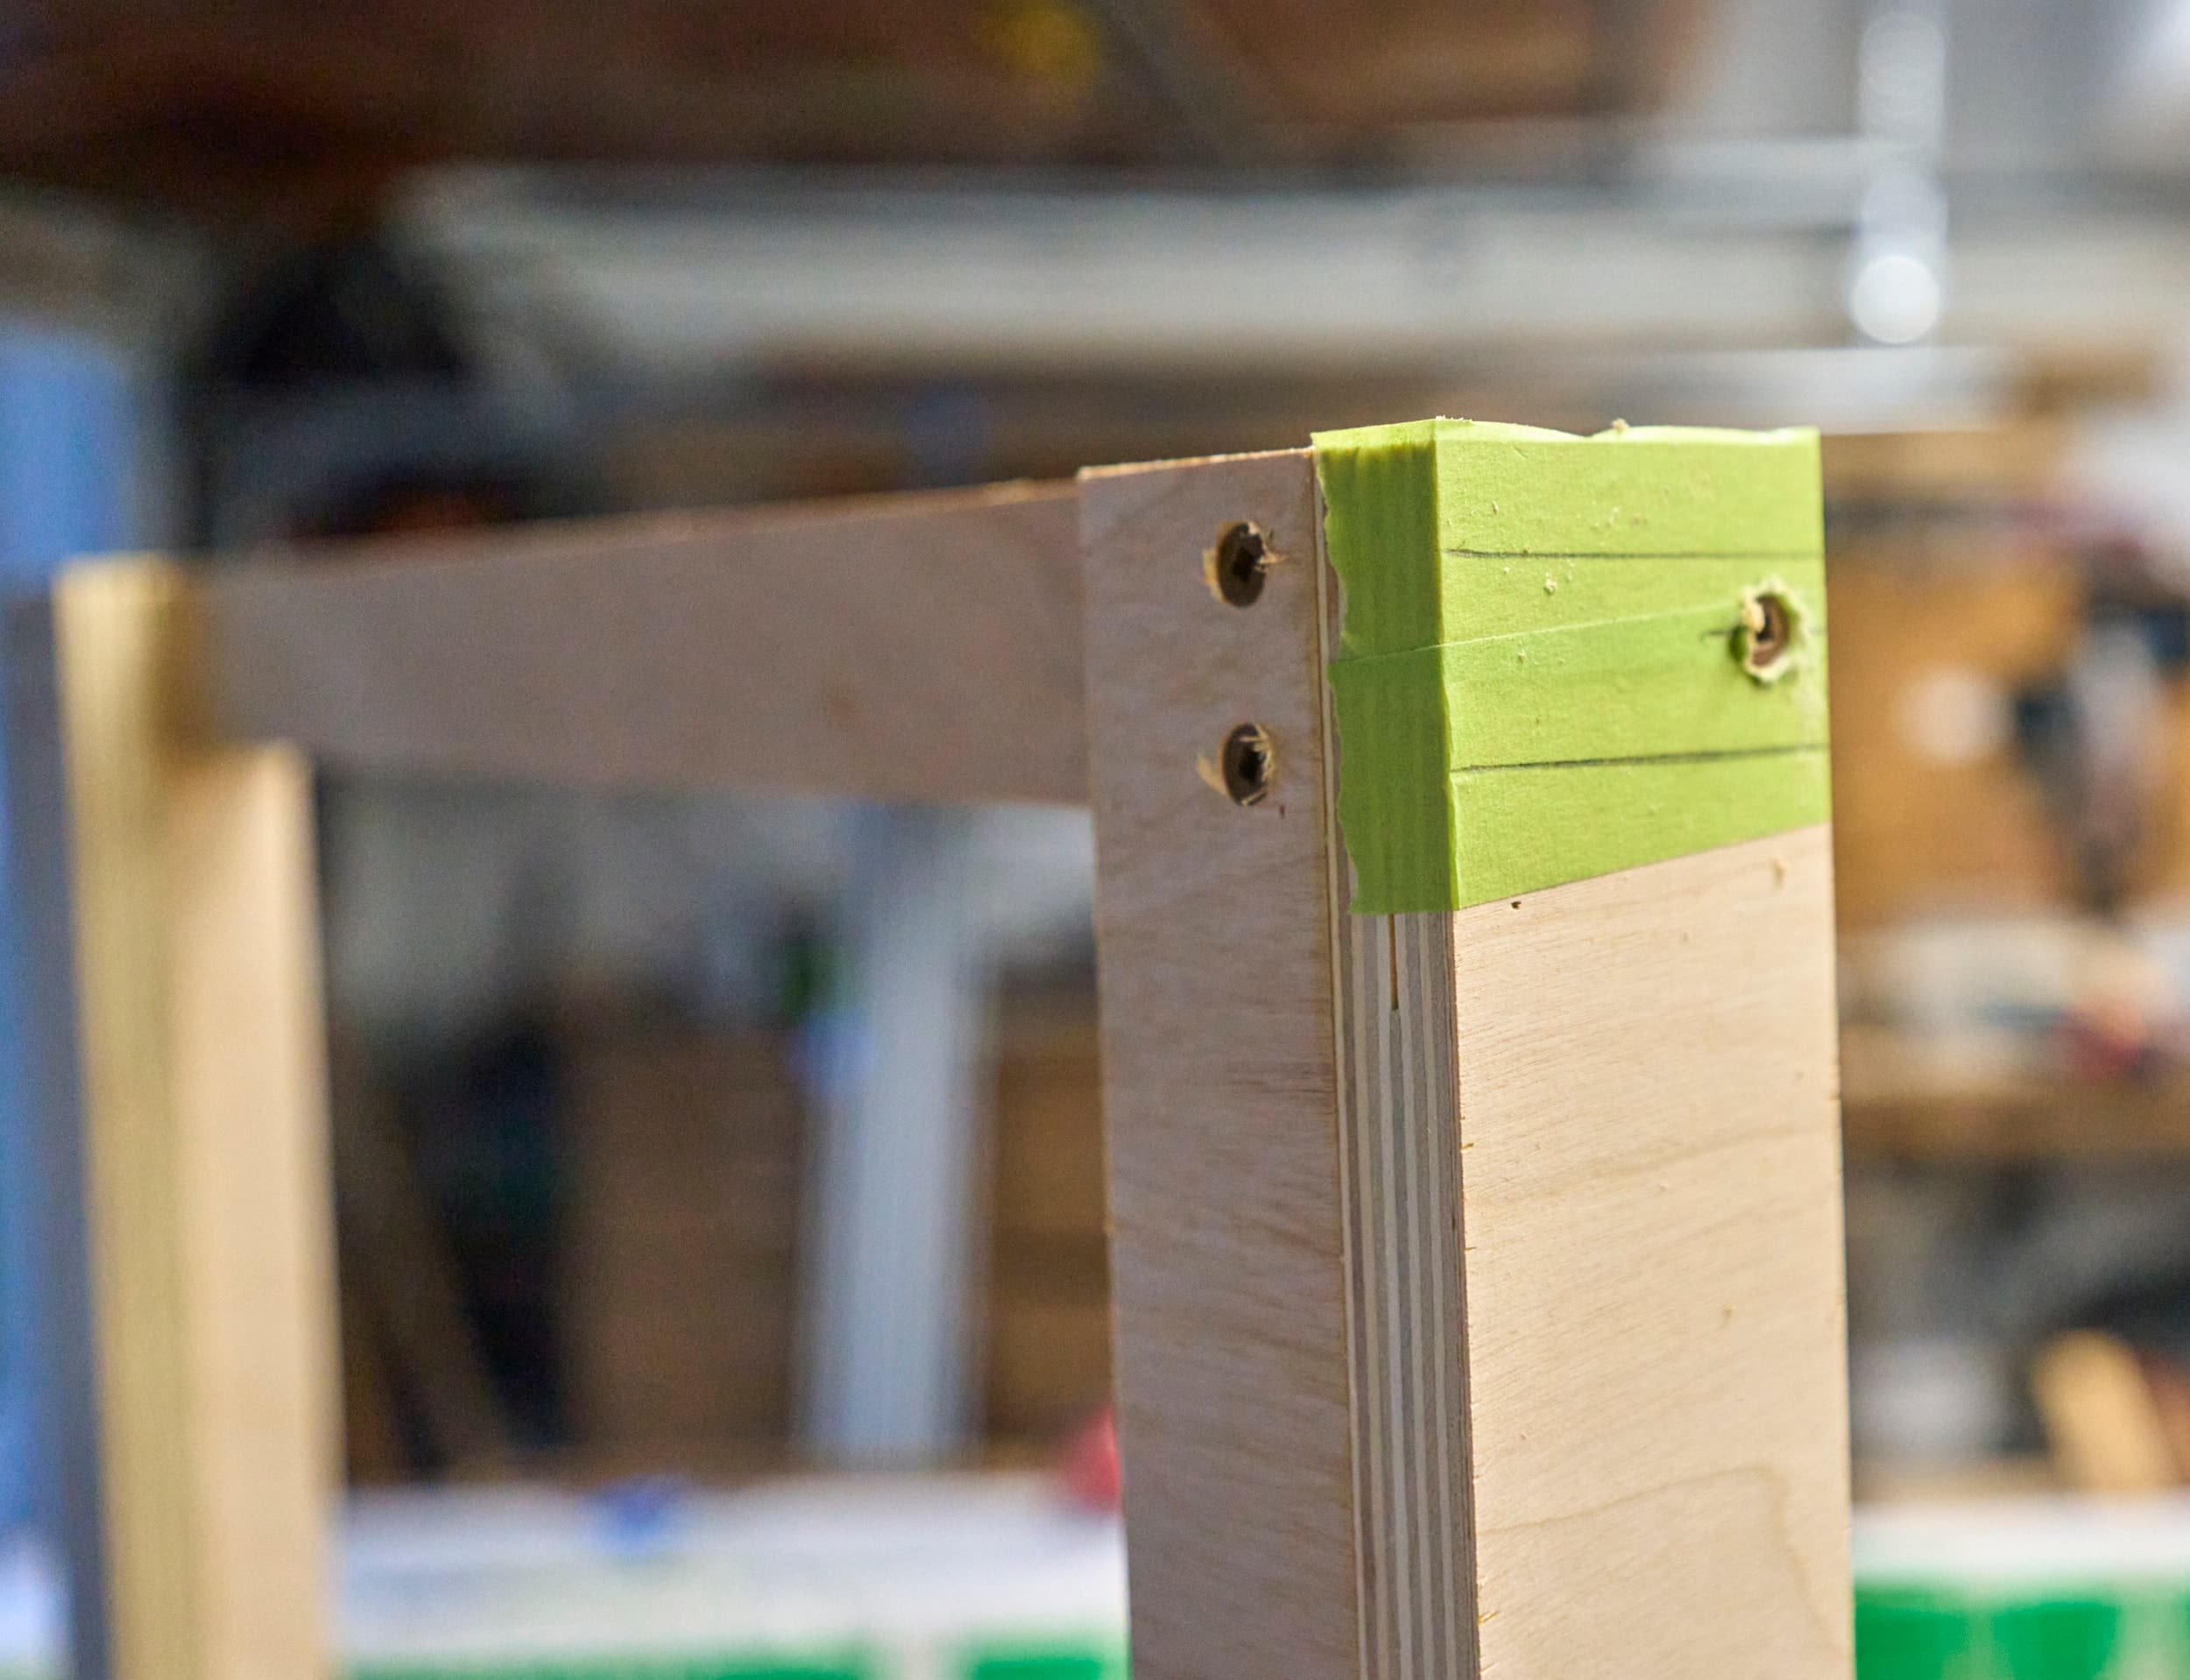
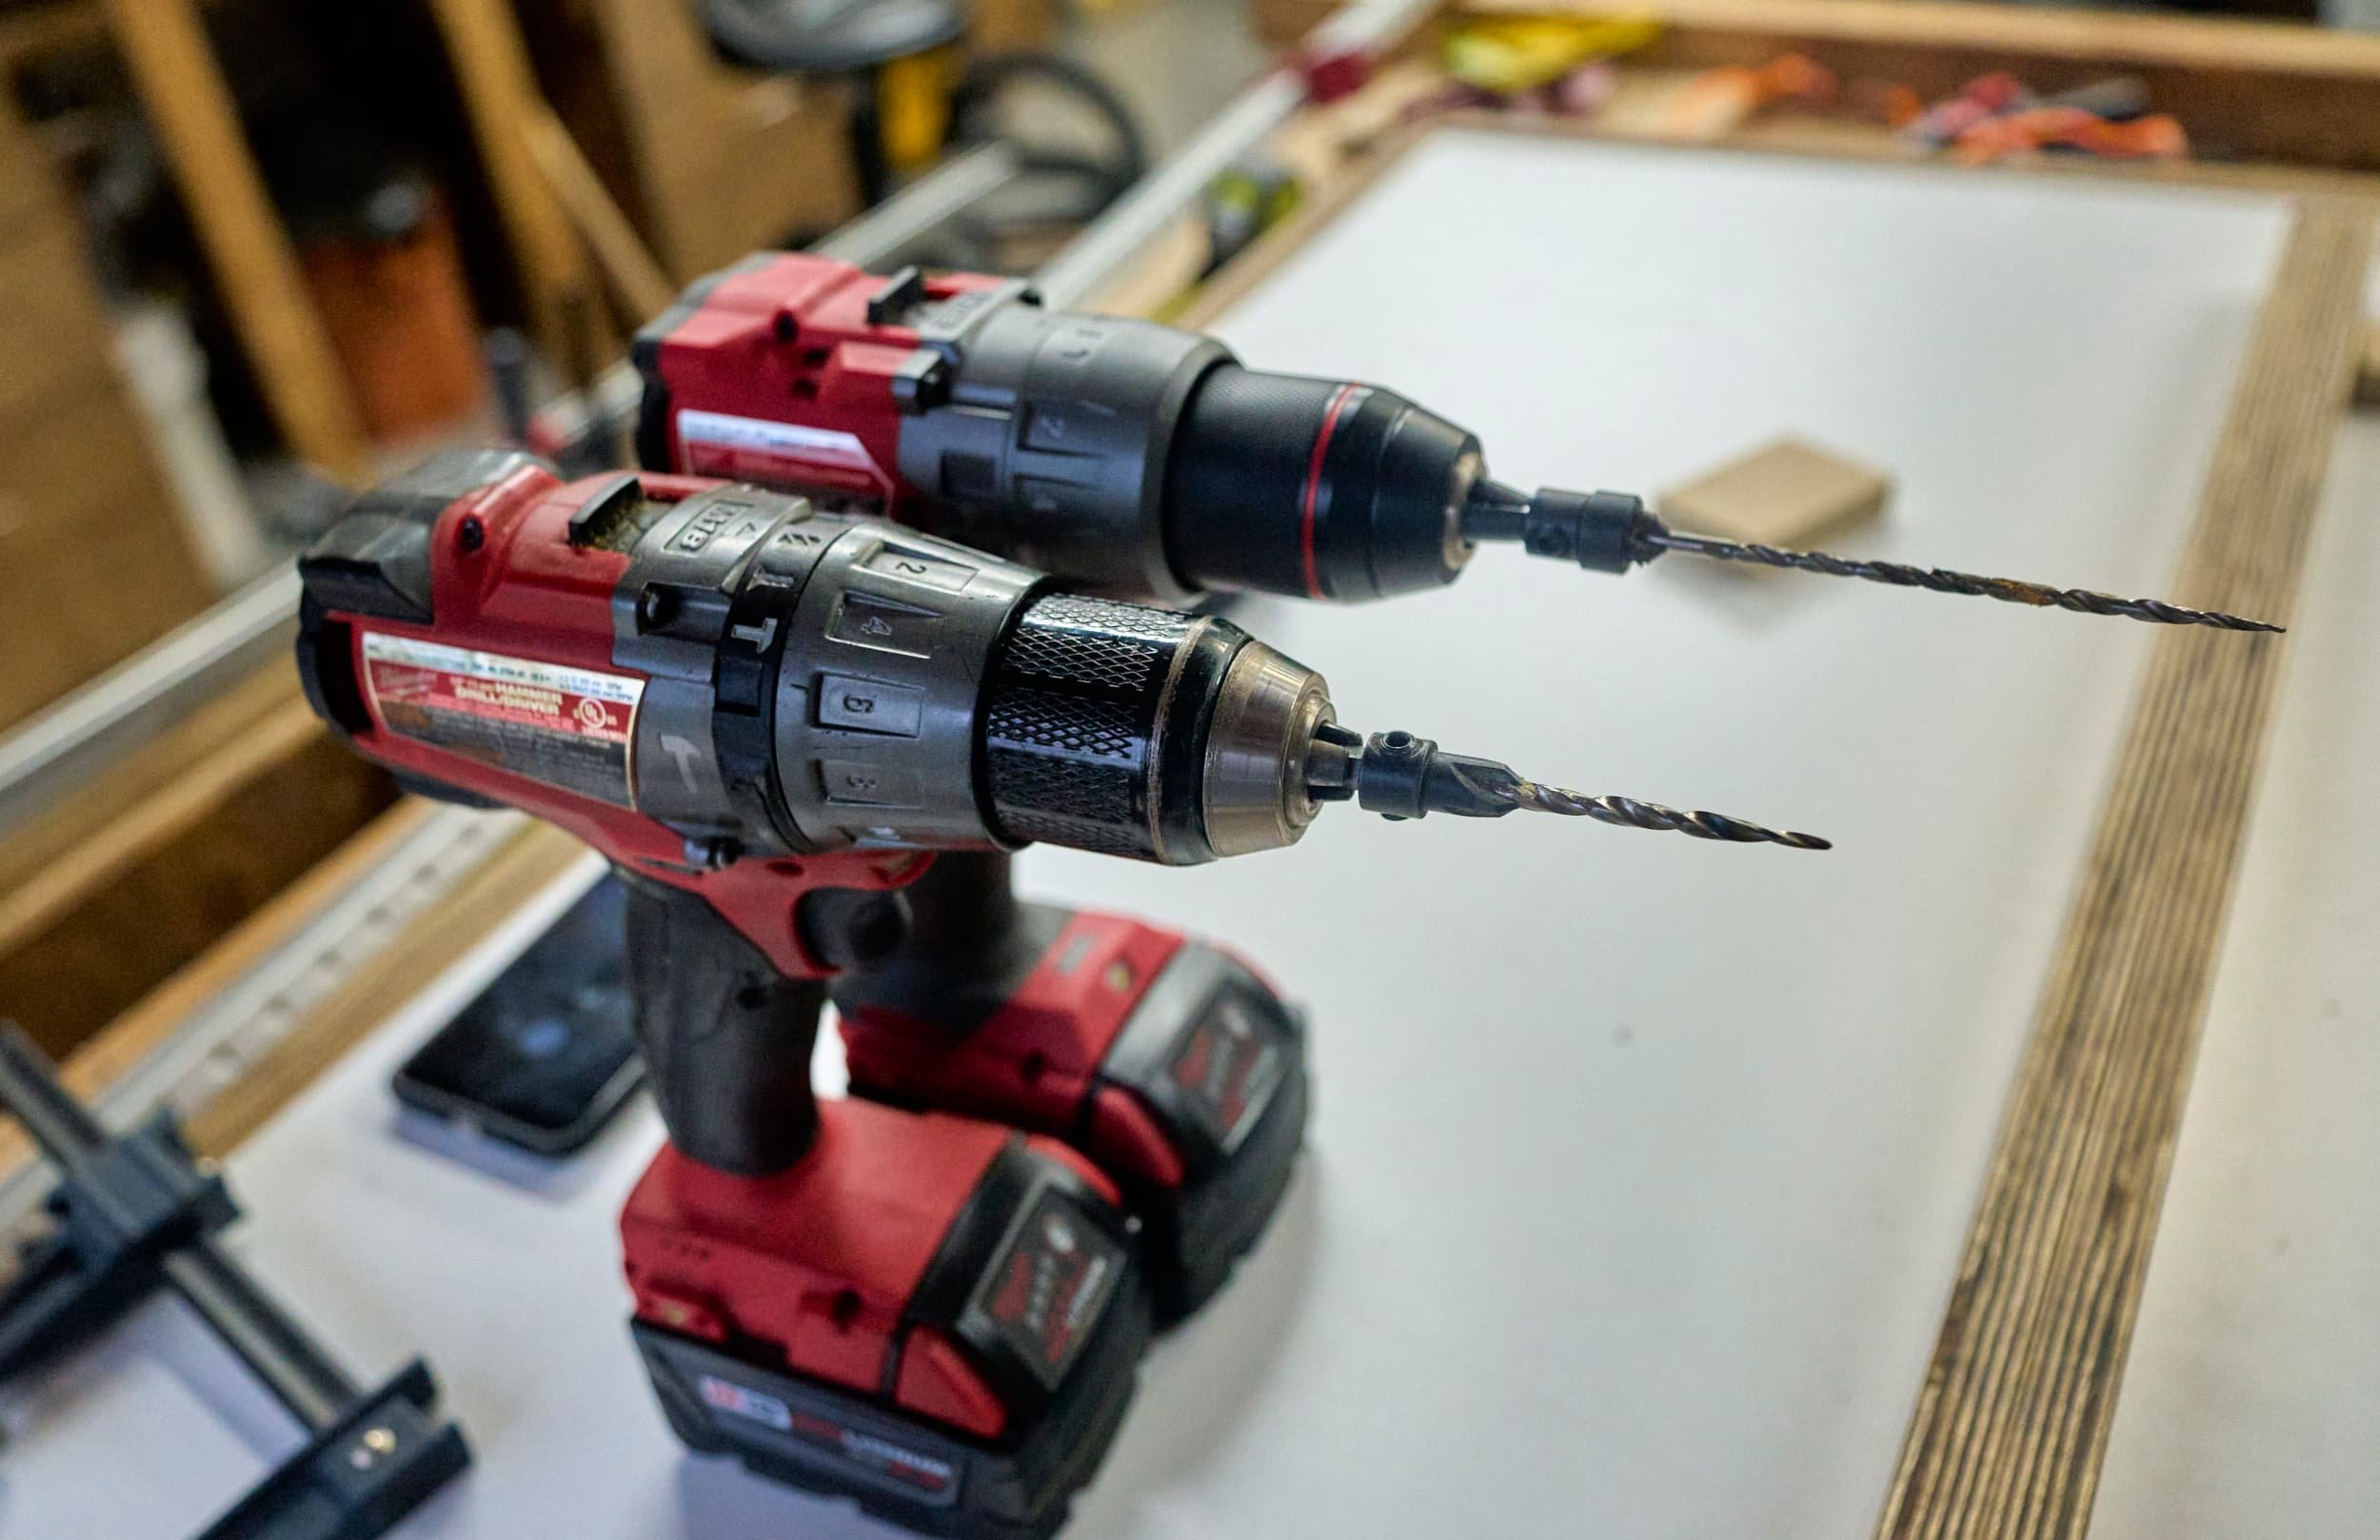
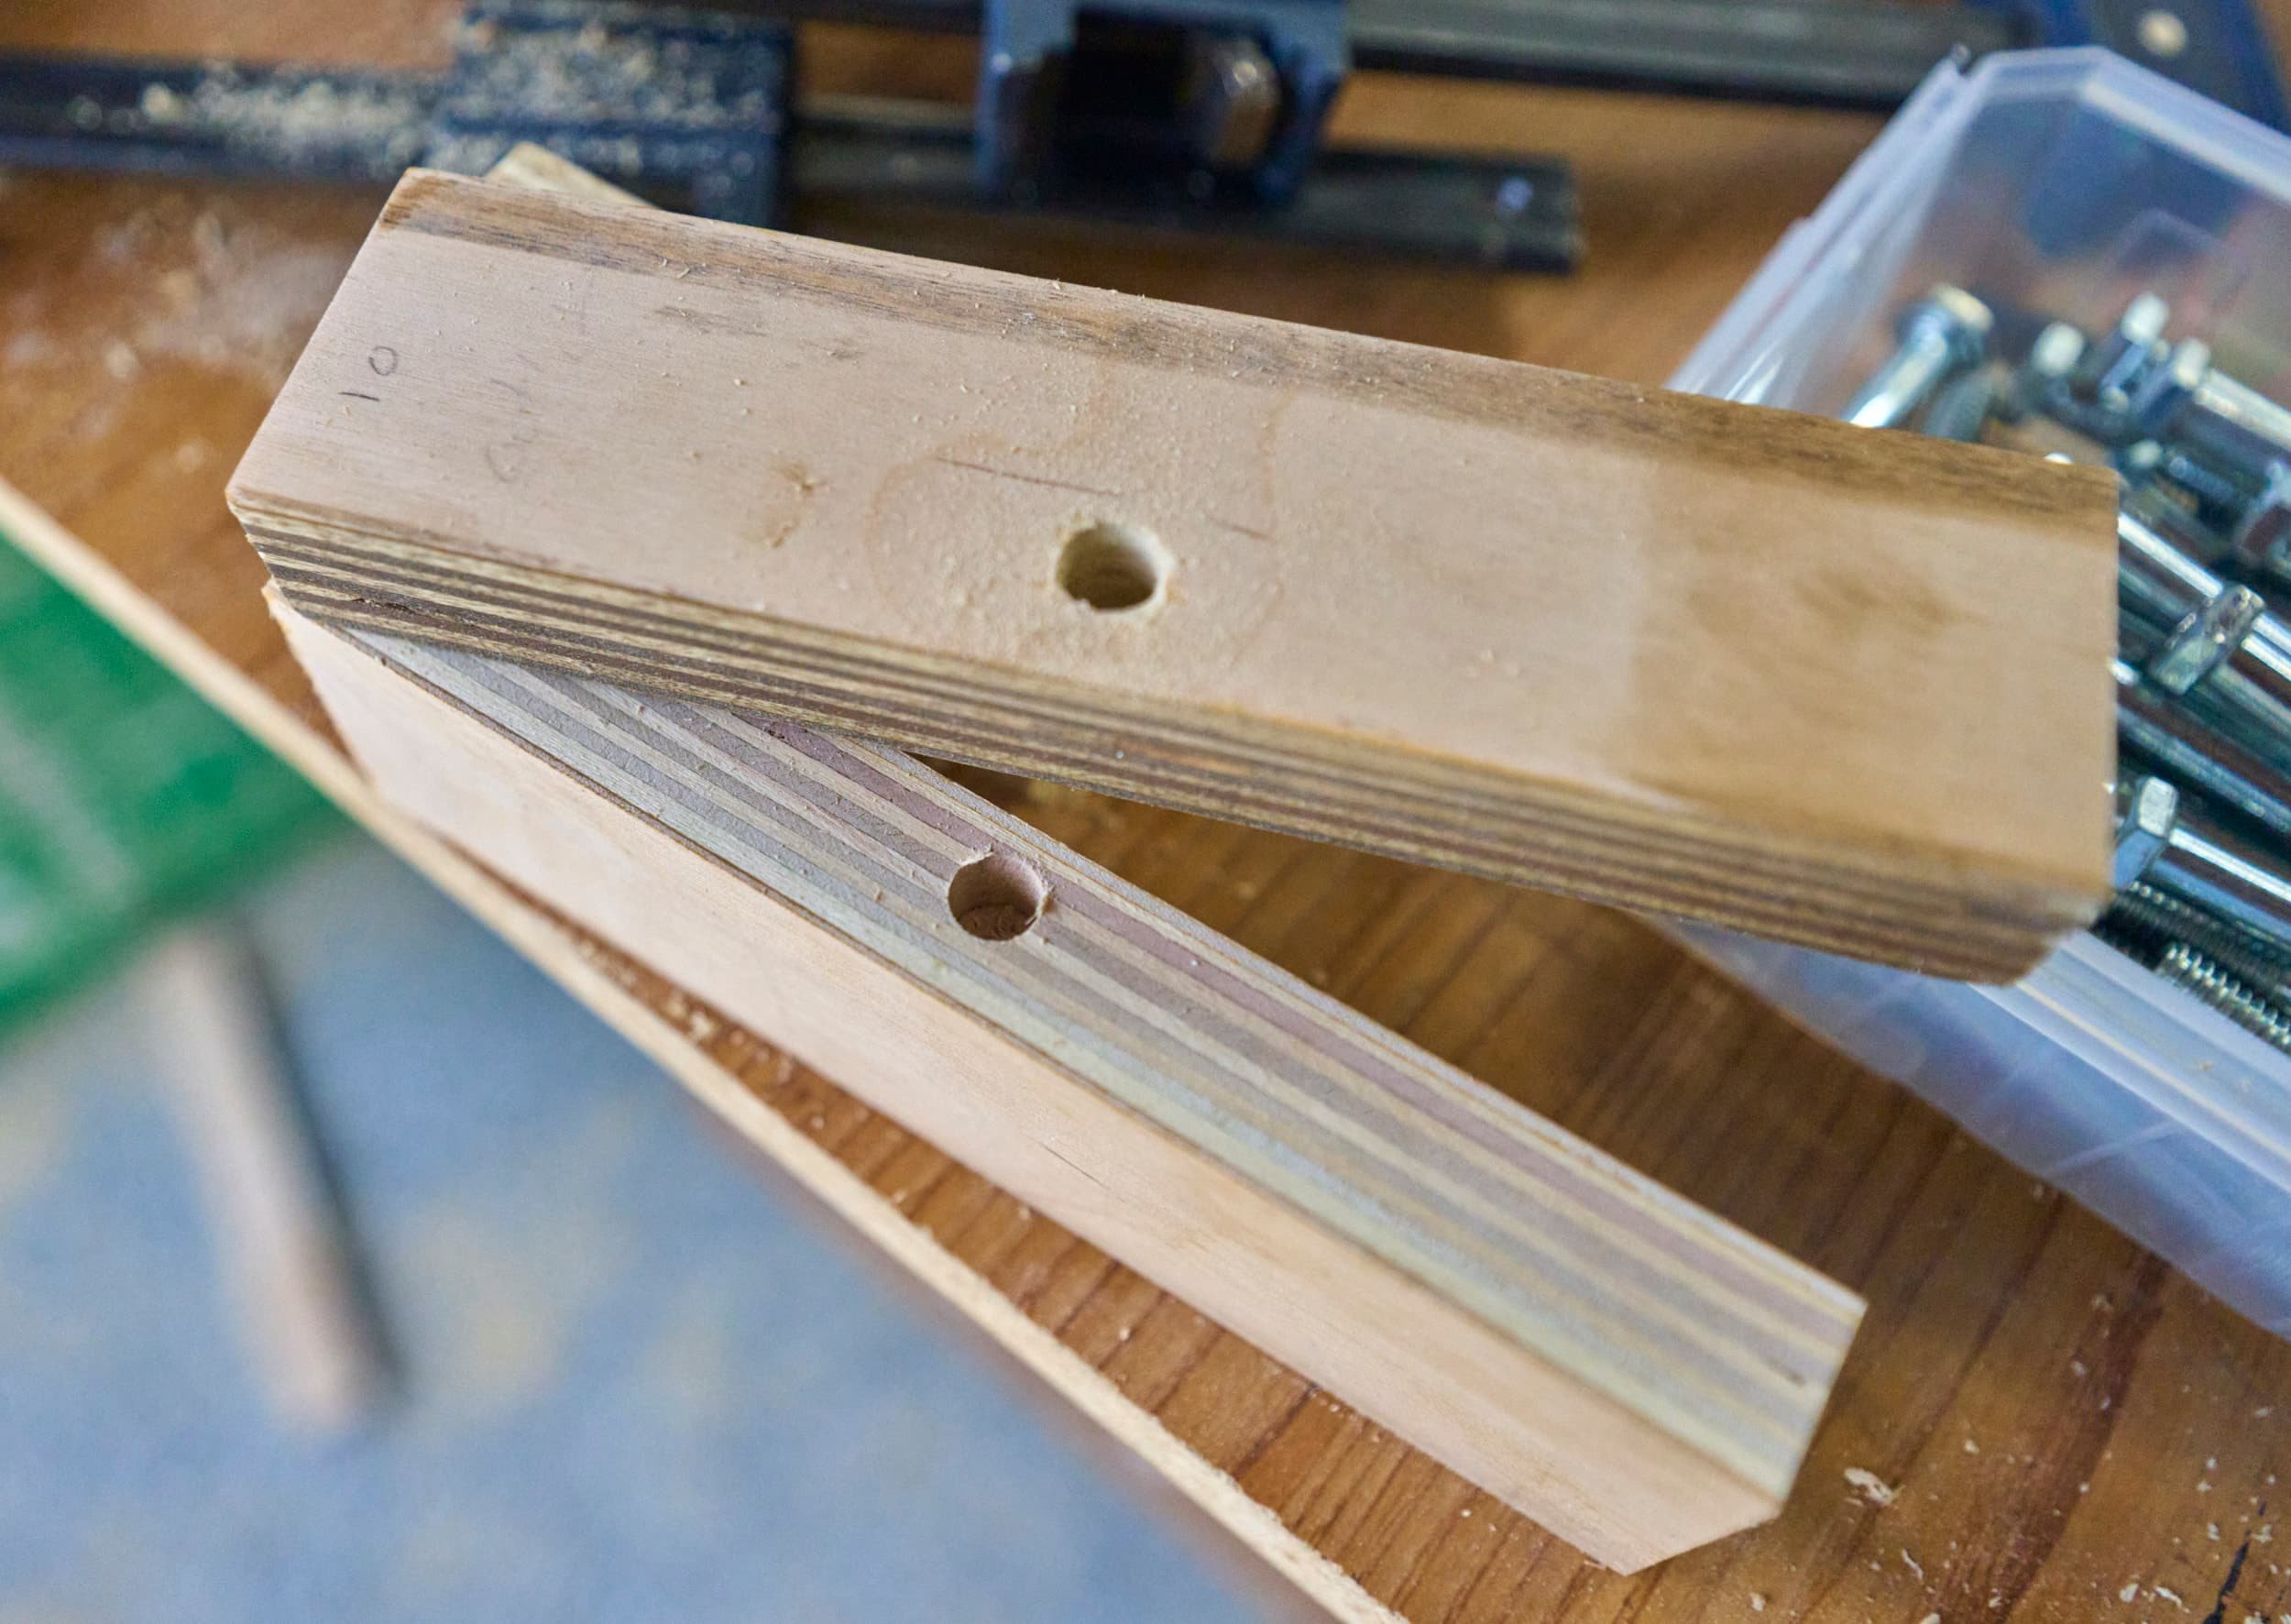
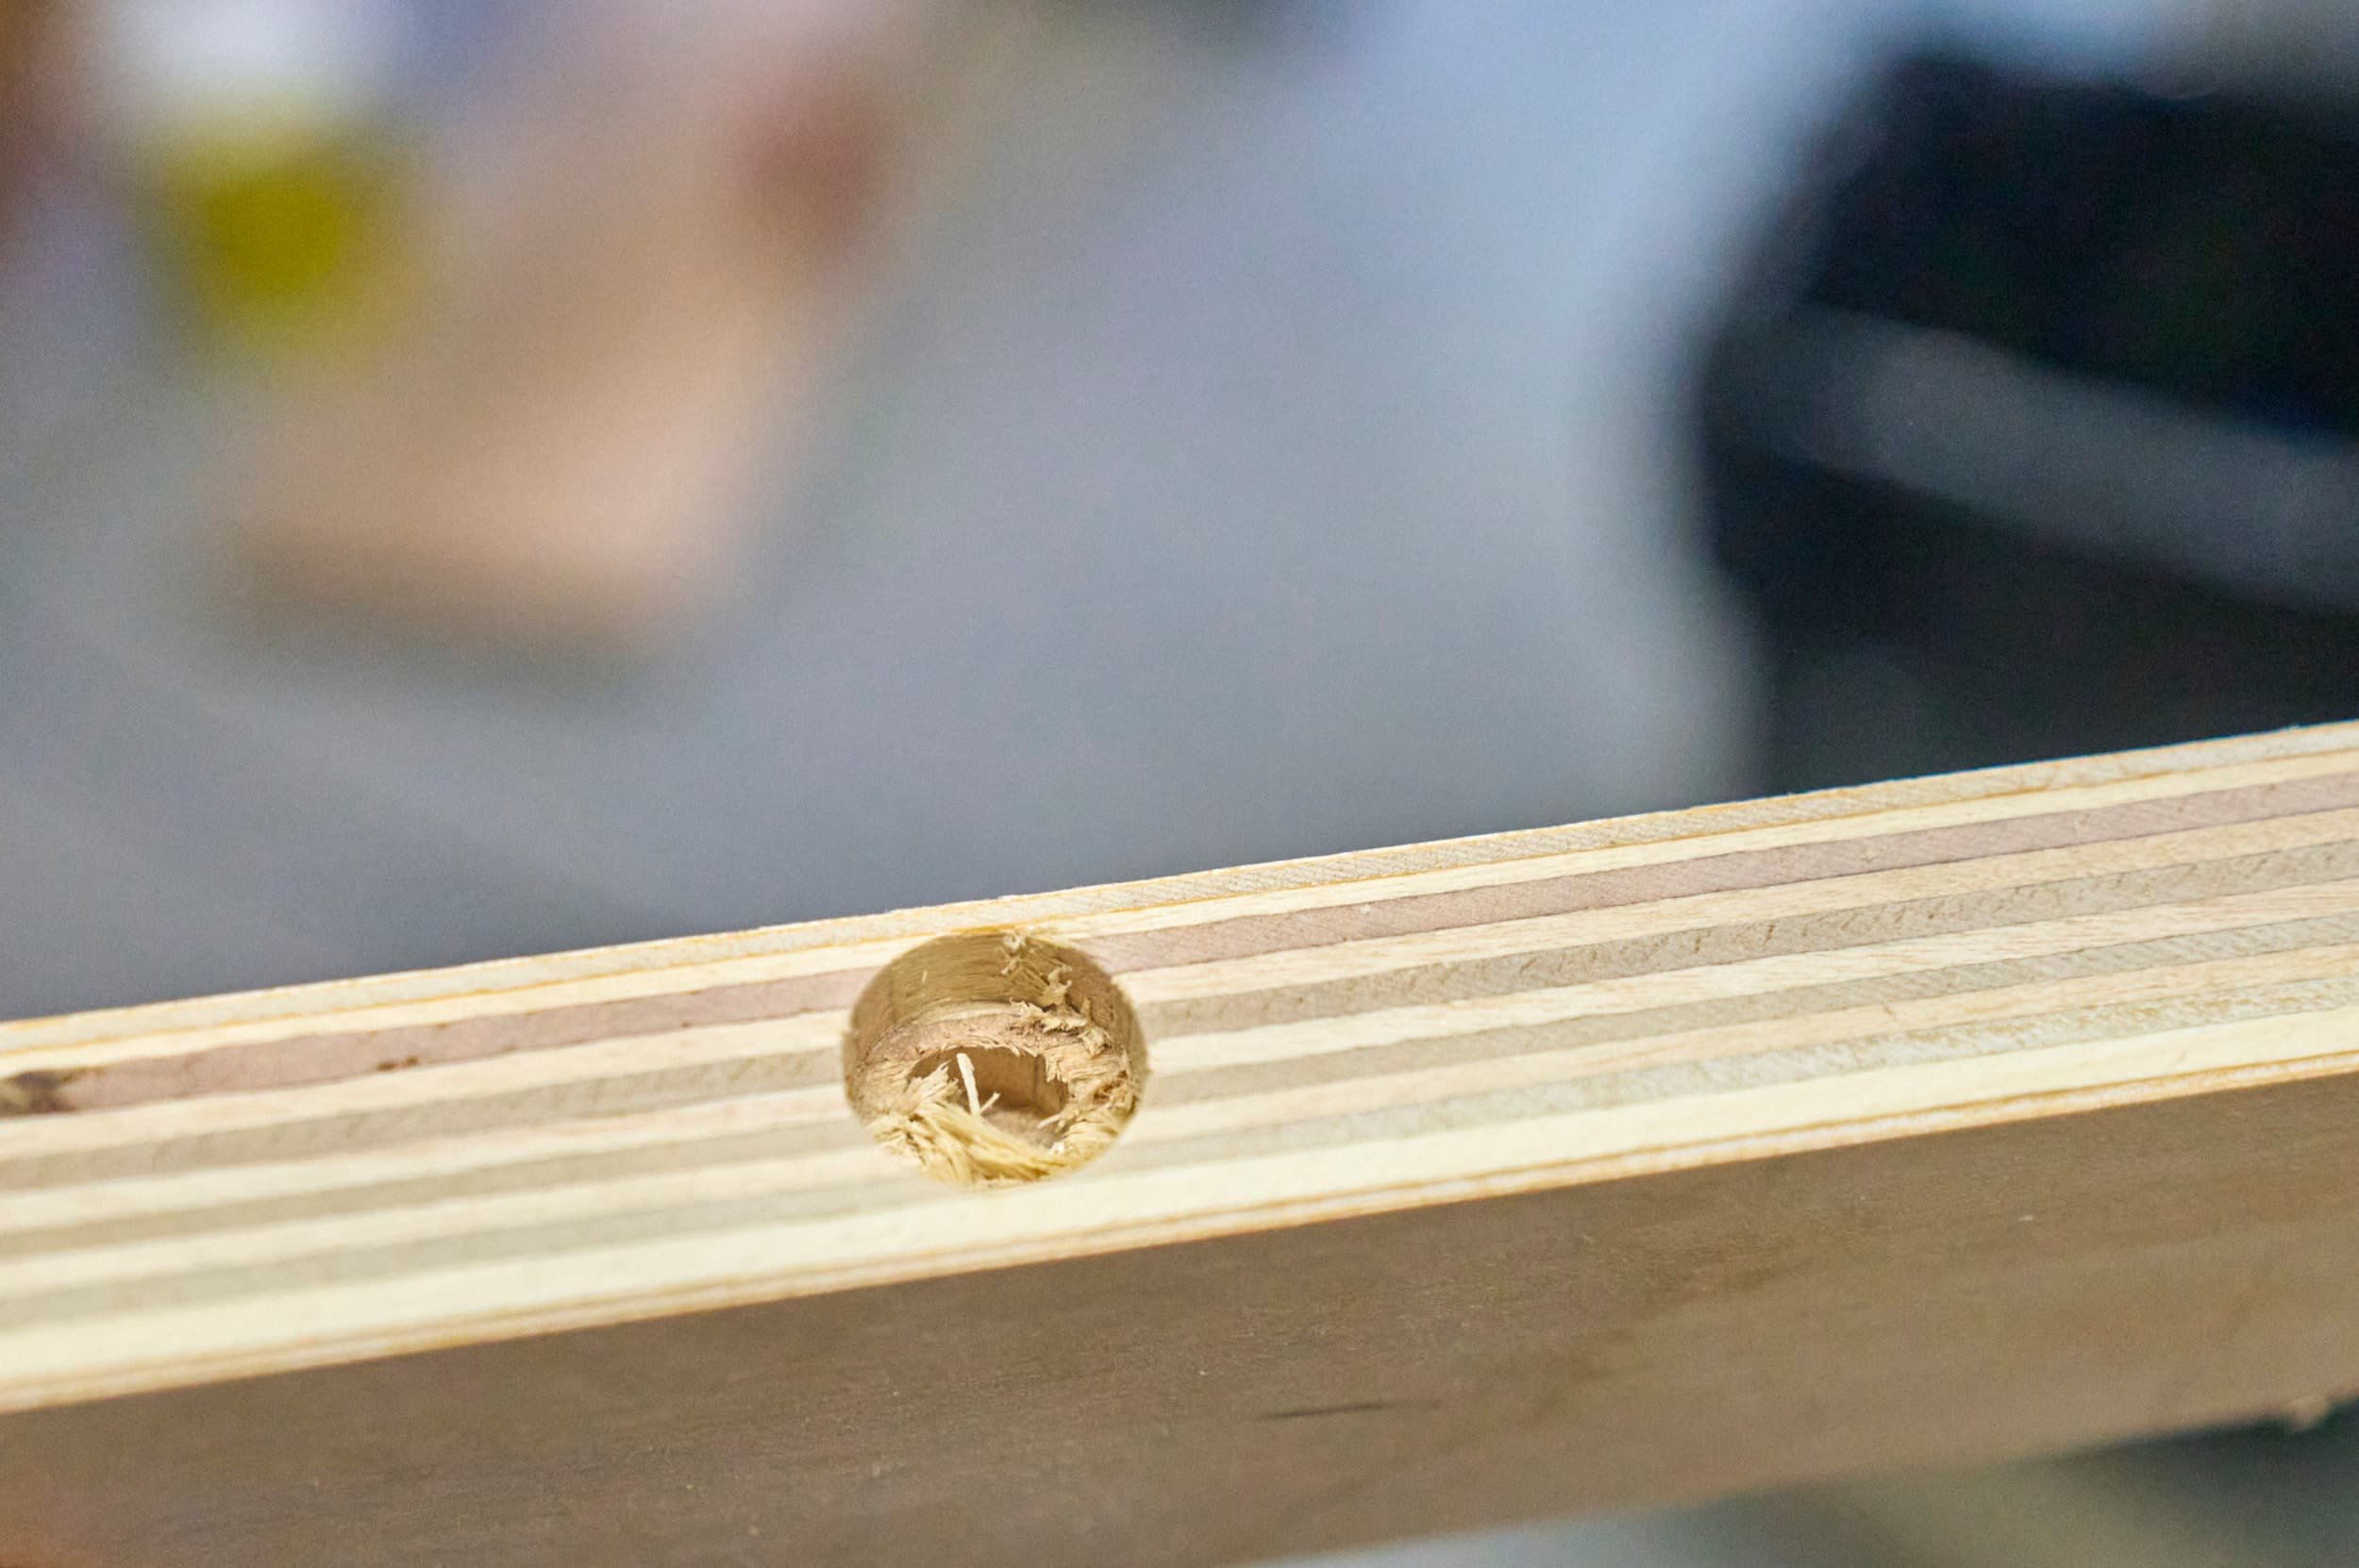
Based on my existing desk, I wanted to hit a top-side height of roughly 29-inches, working backwards, I figured out I needed to cut 27-1/4” legs give or take (the carpet does allow for some extra give). To ensure things were as rigid as possible, I made the legs from plywood glued at 90-degrees. I ripped the two necessary strips so that, after joining, they would be equally sized. To keep everything as consistent as possible, I gang-cut all the strips where possible — and the offcuts made for perfect spacers to position the legs on the top!

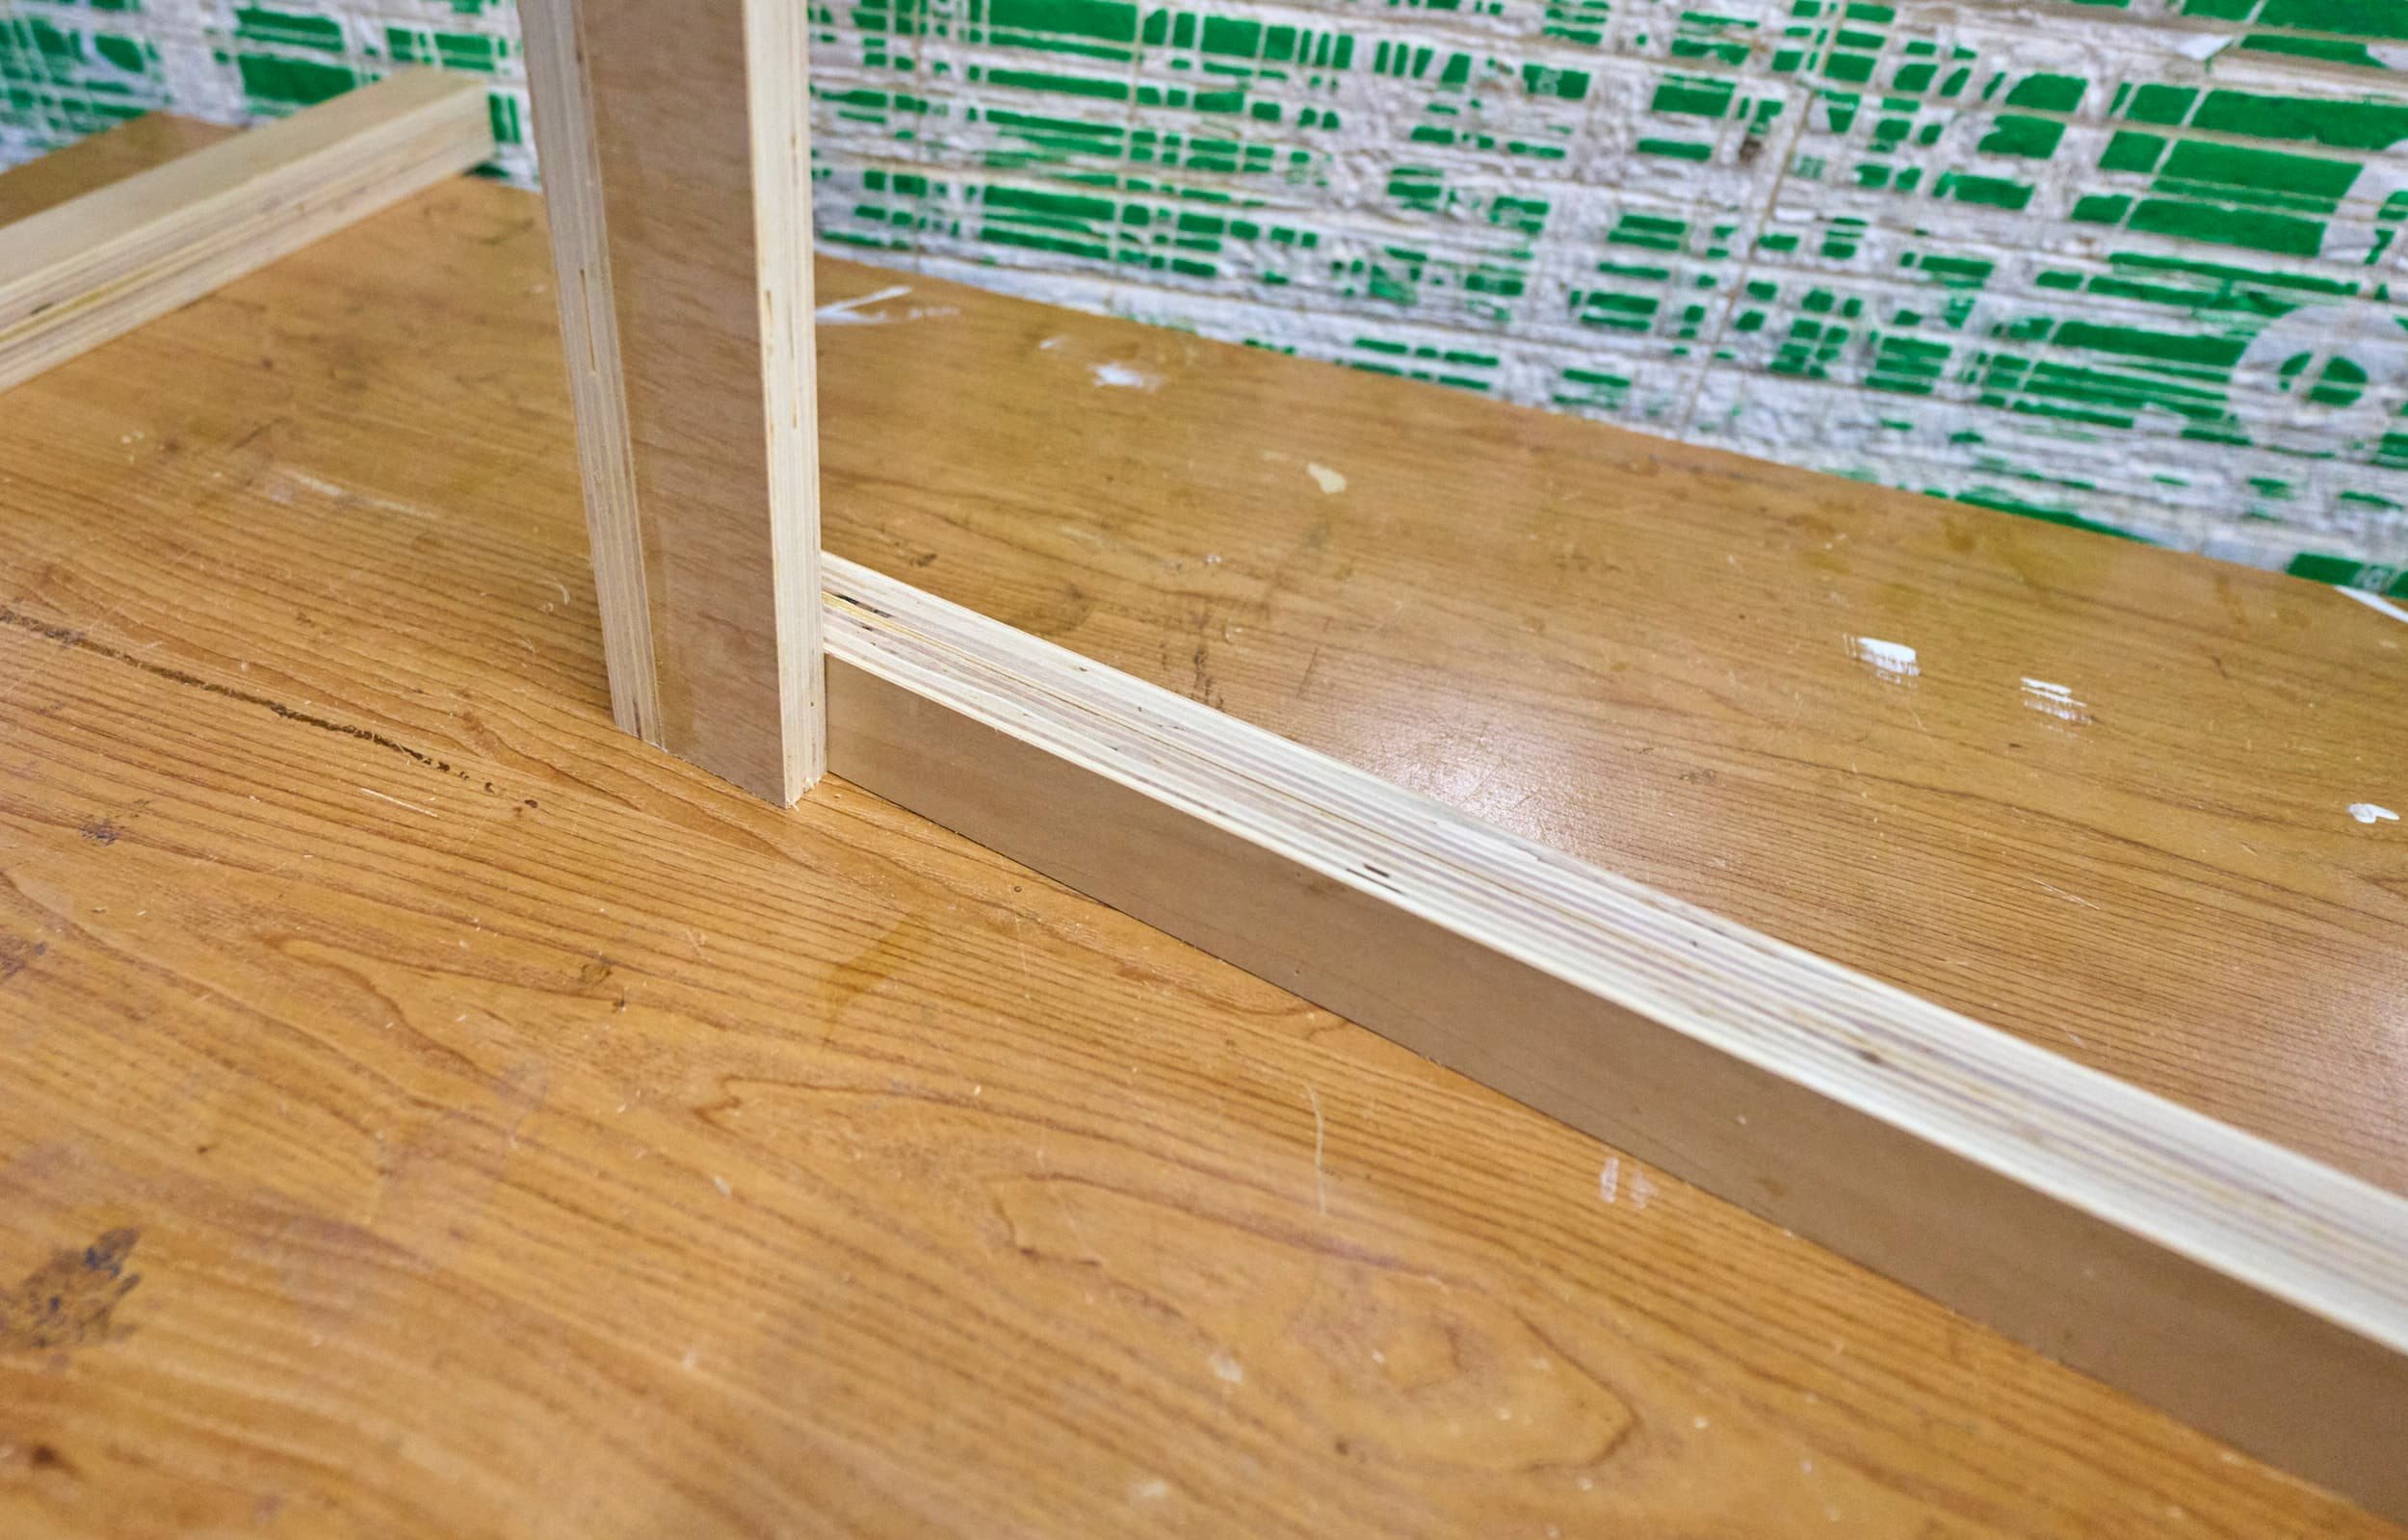
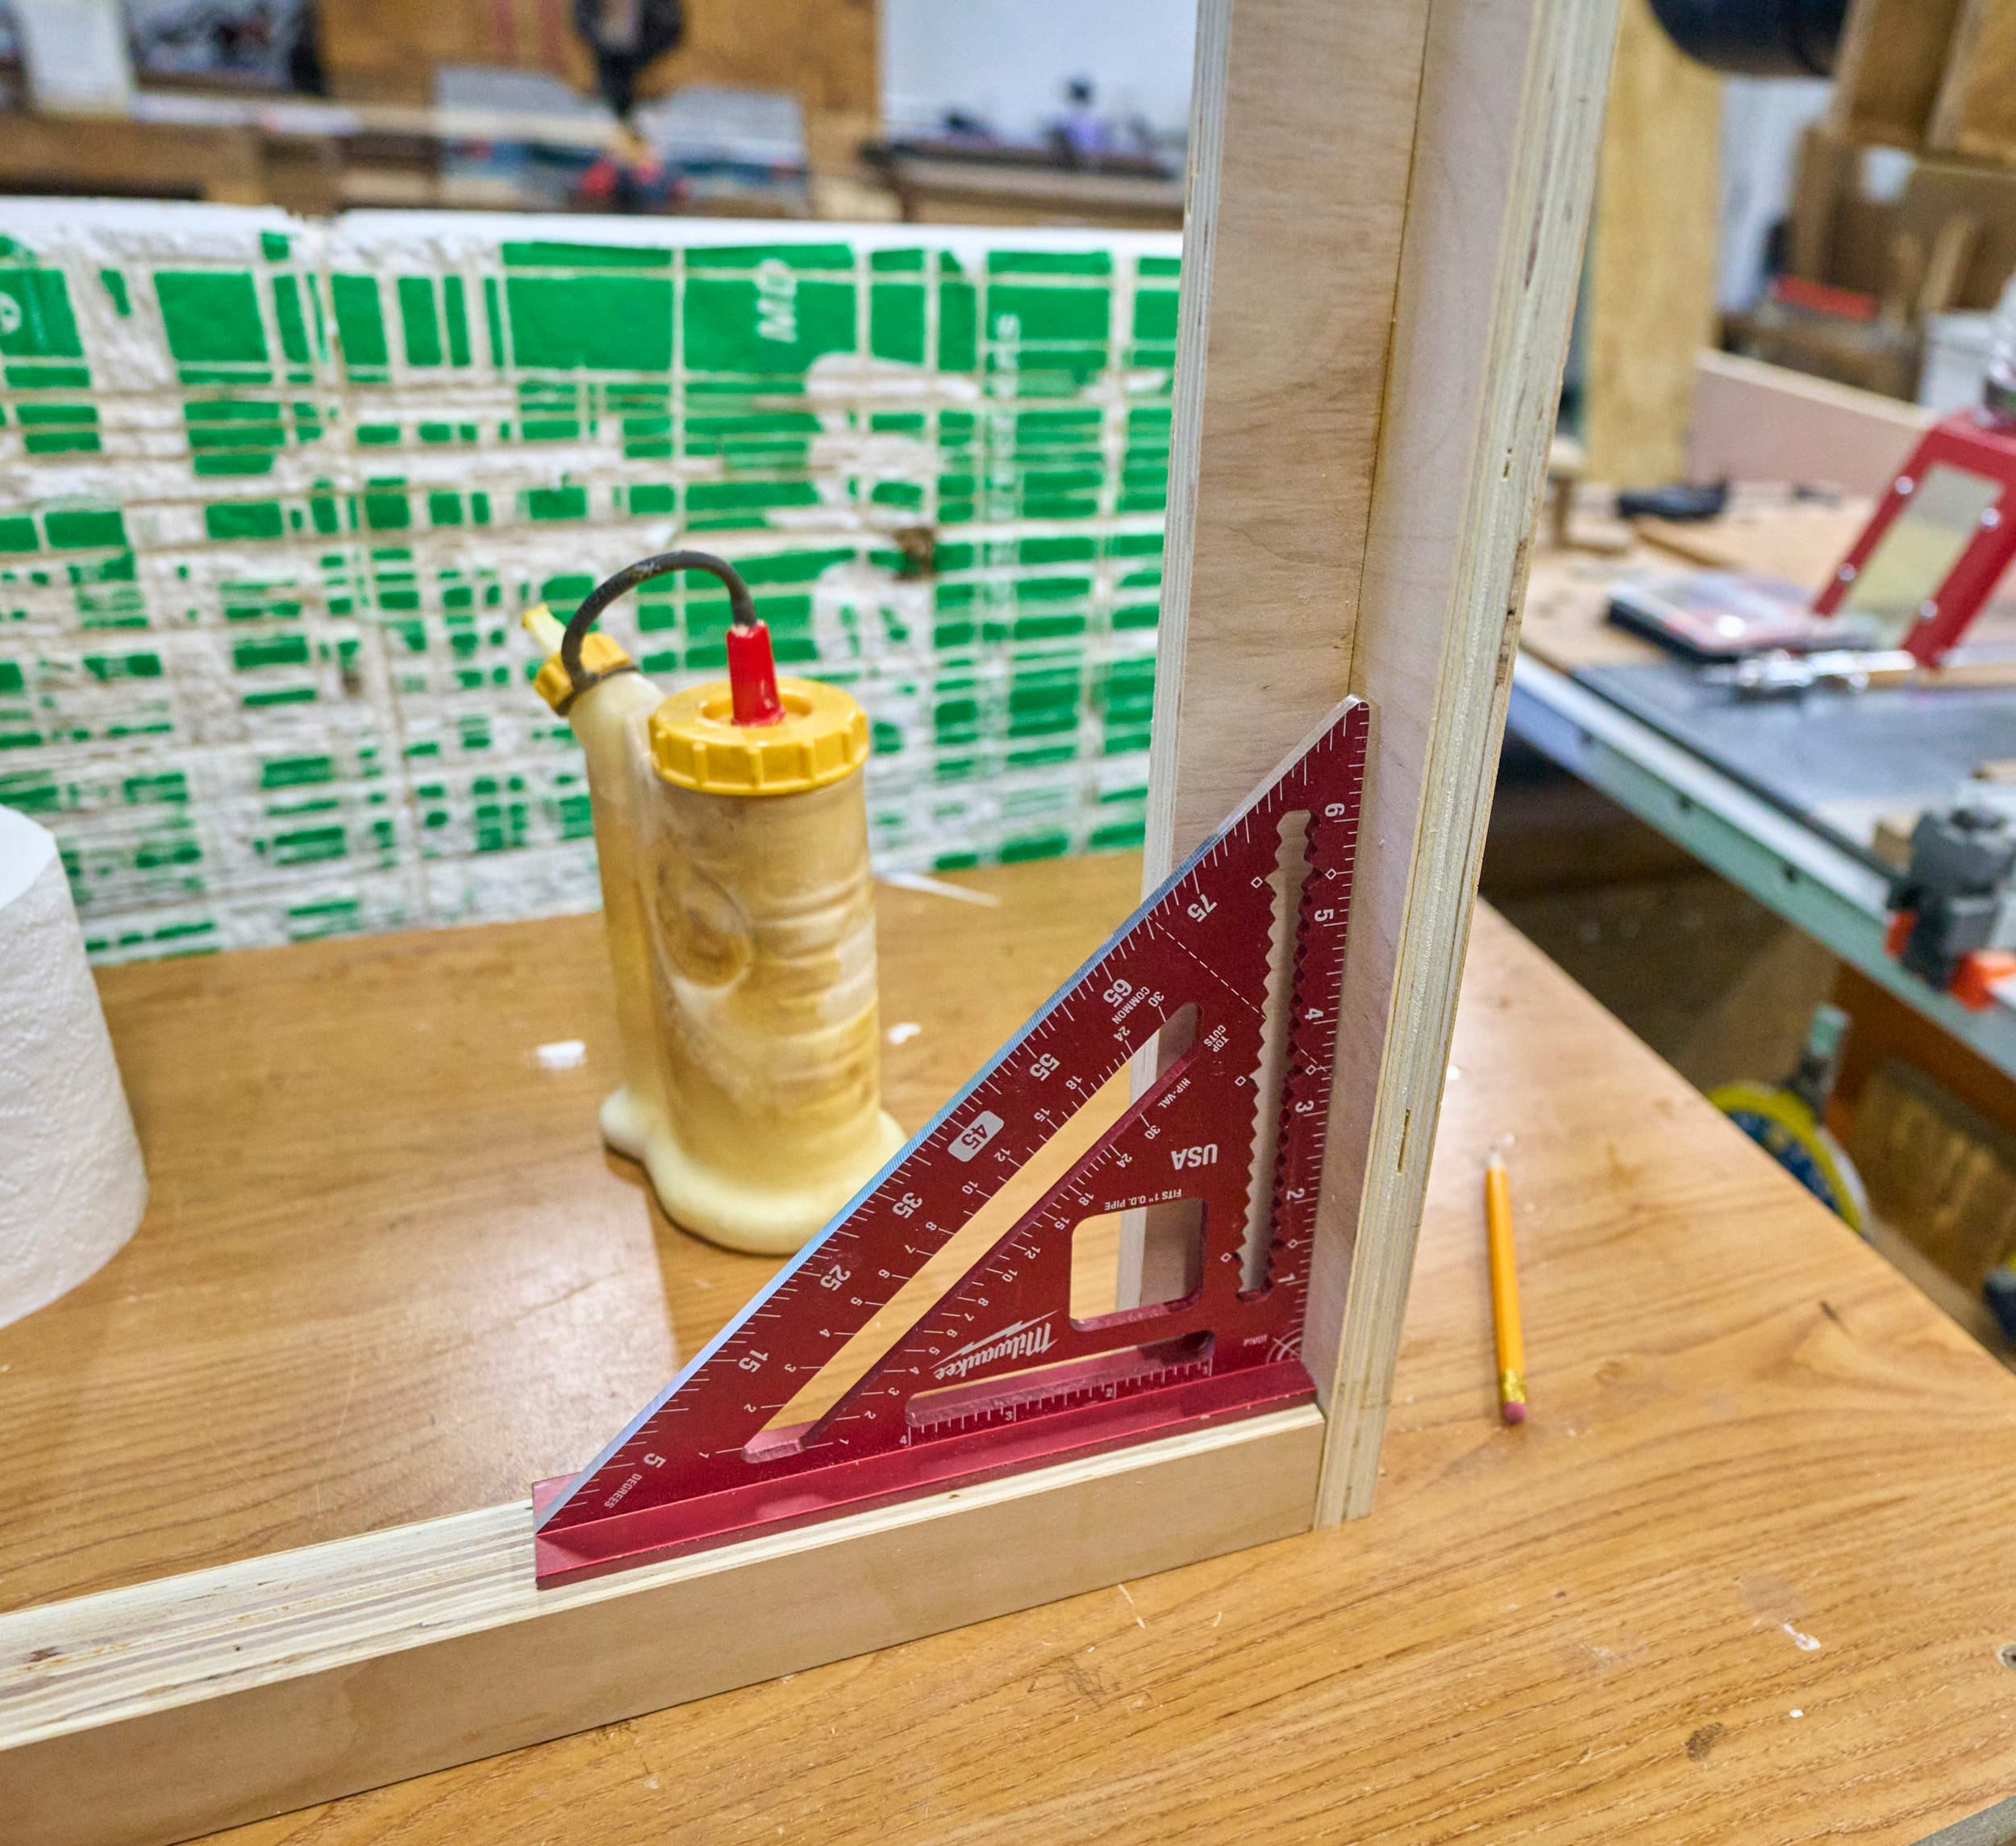
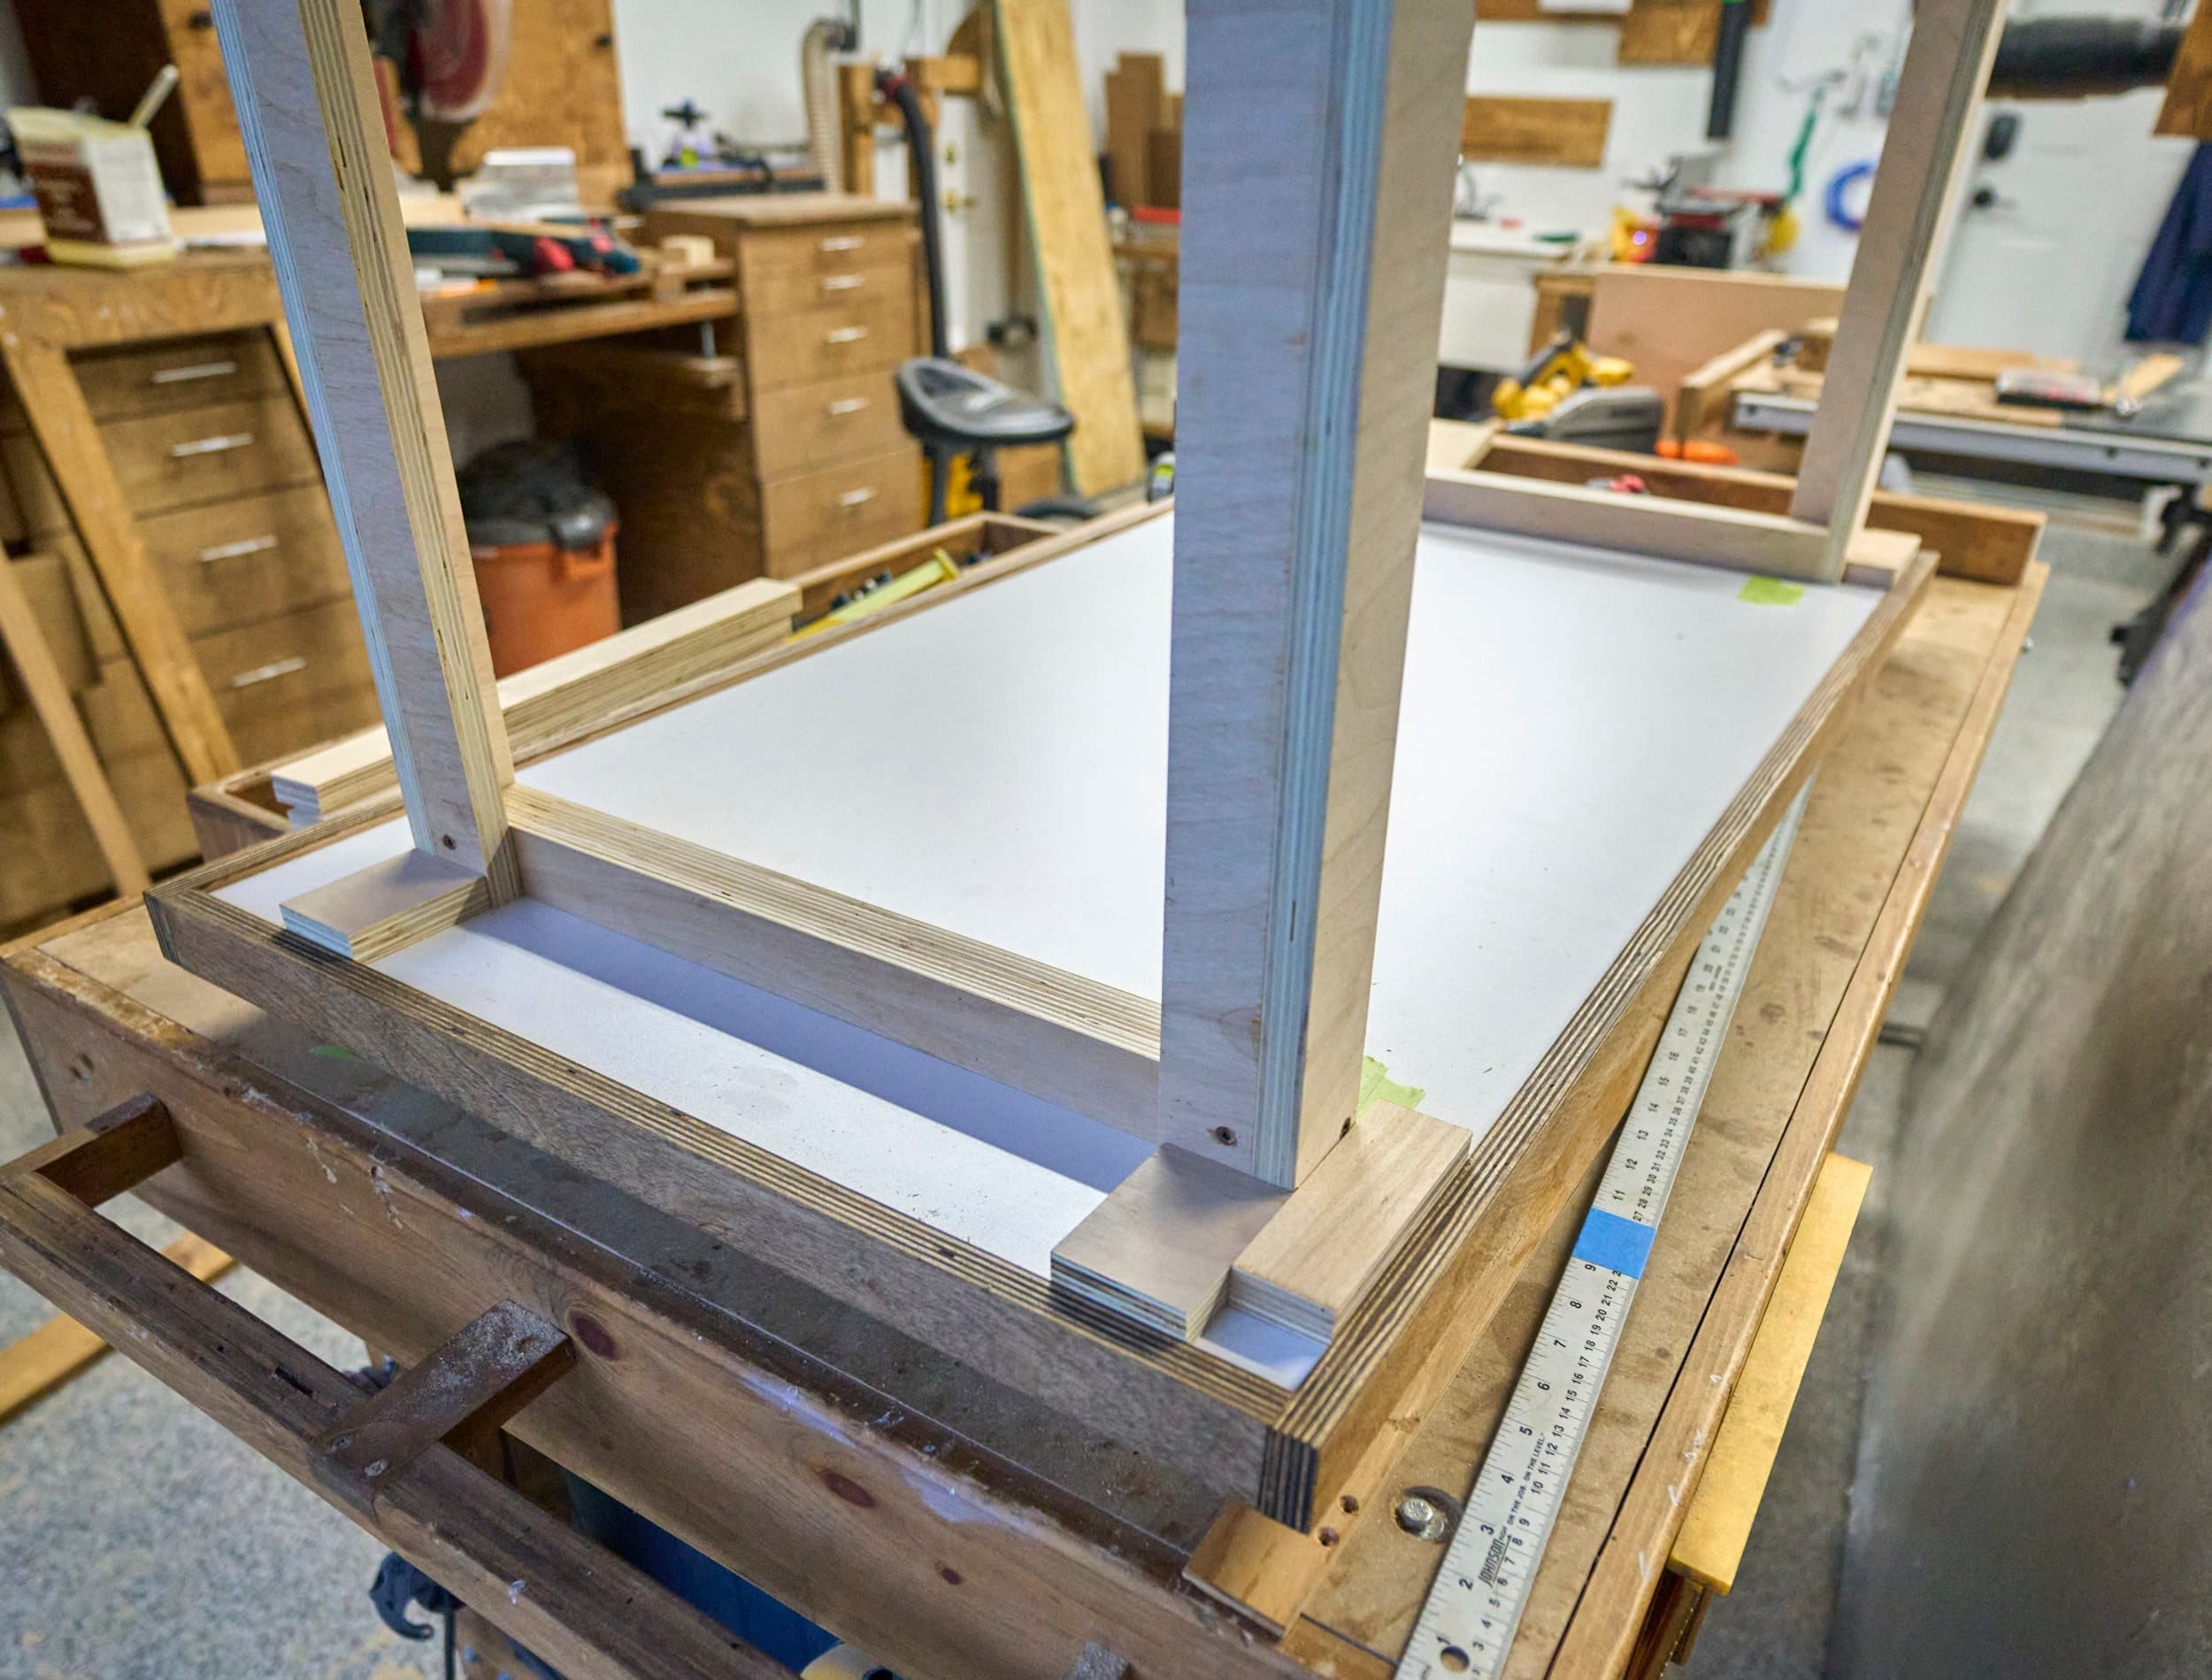
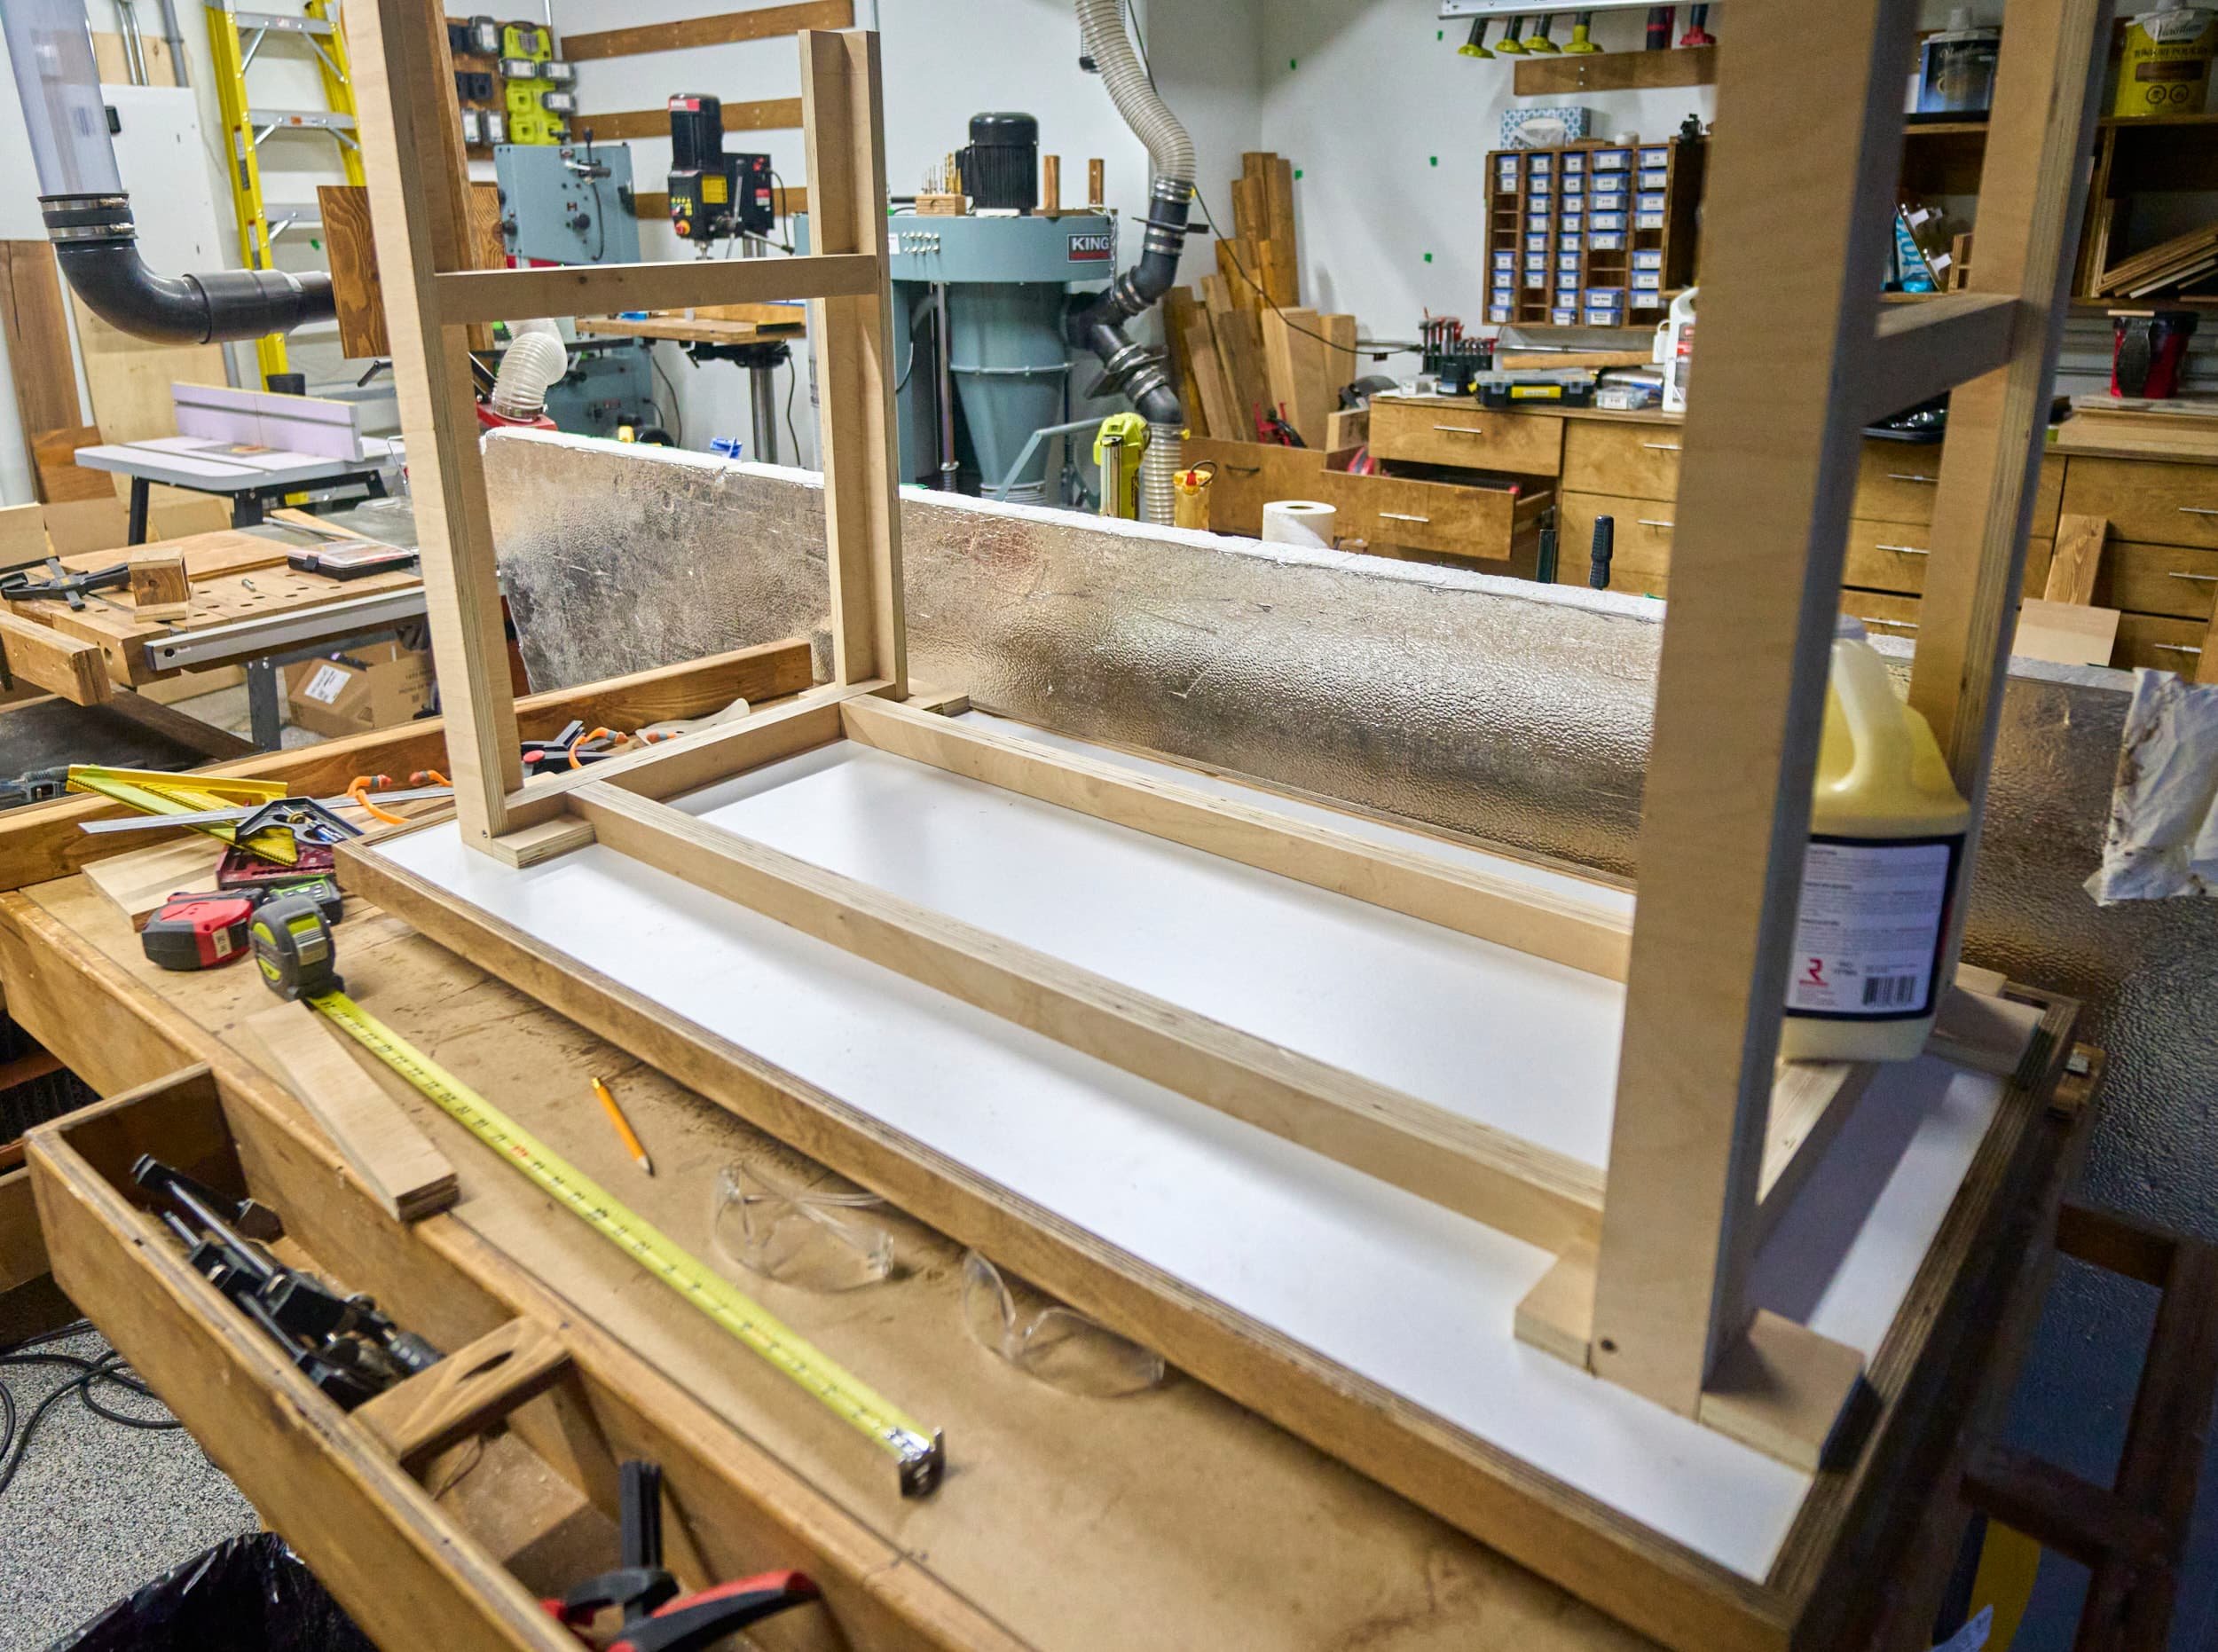
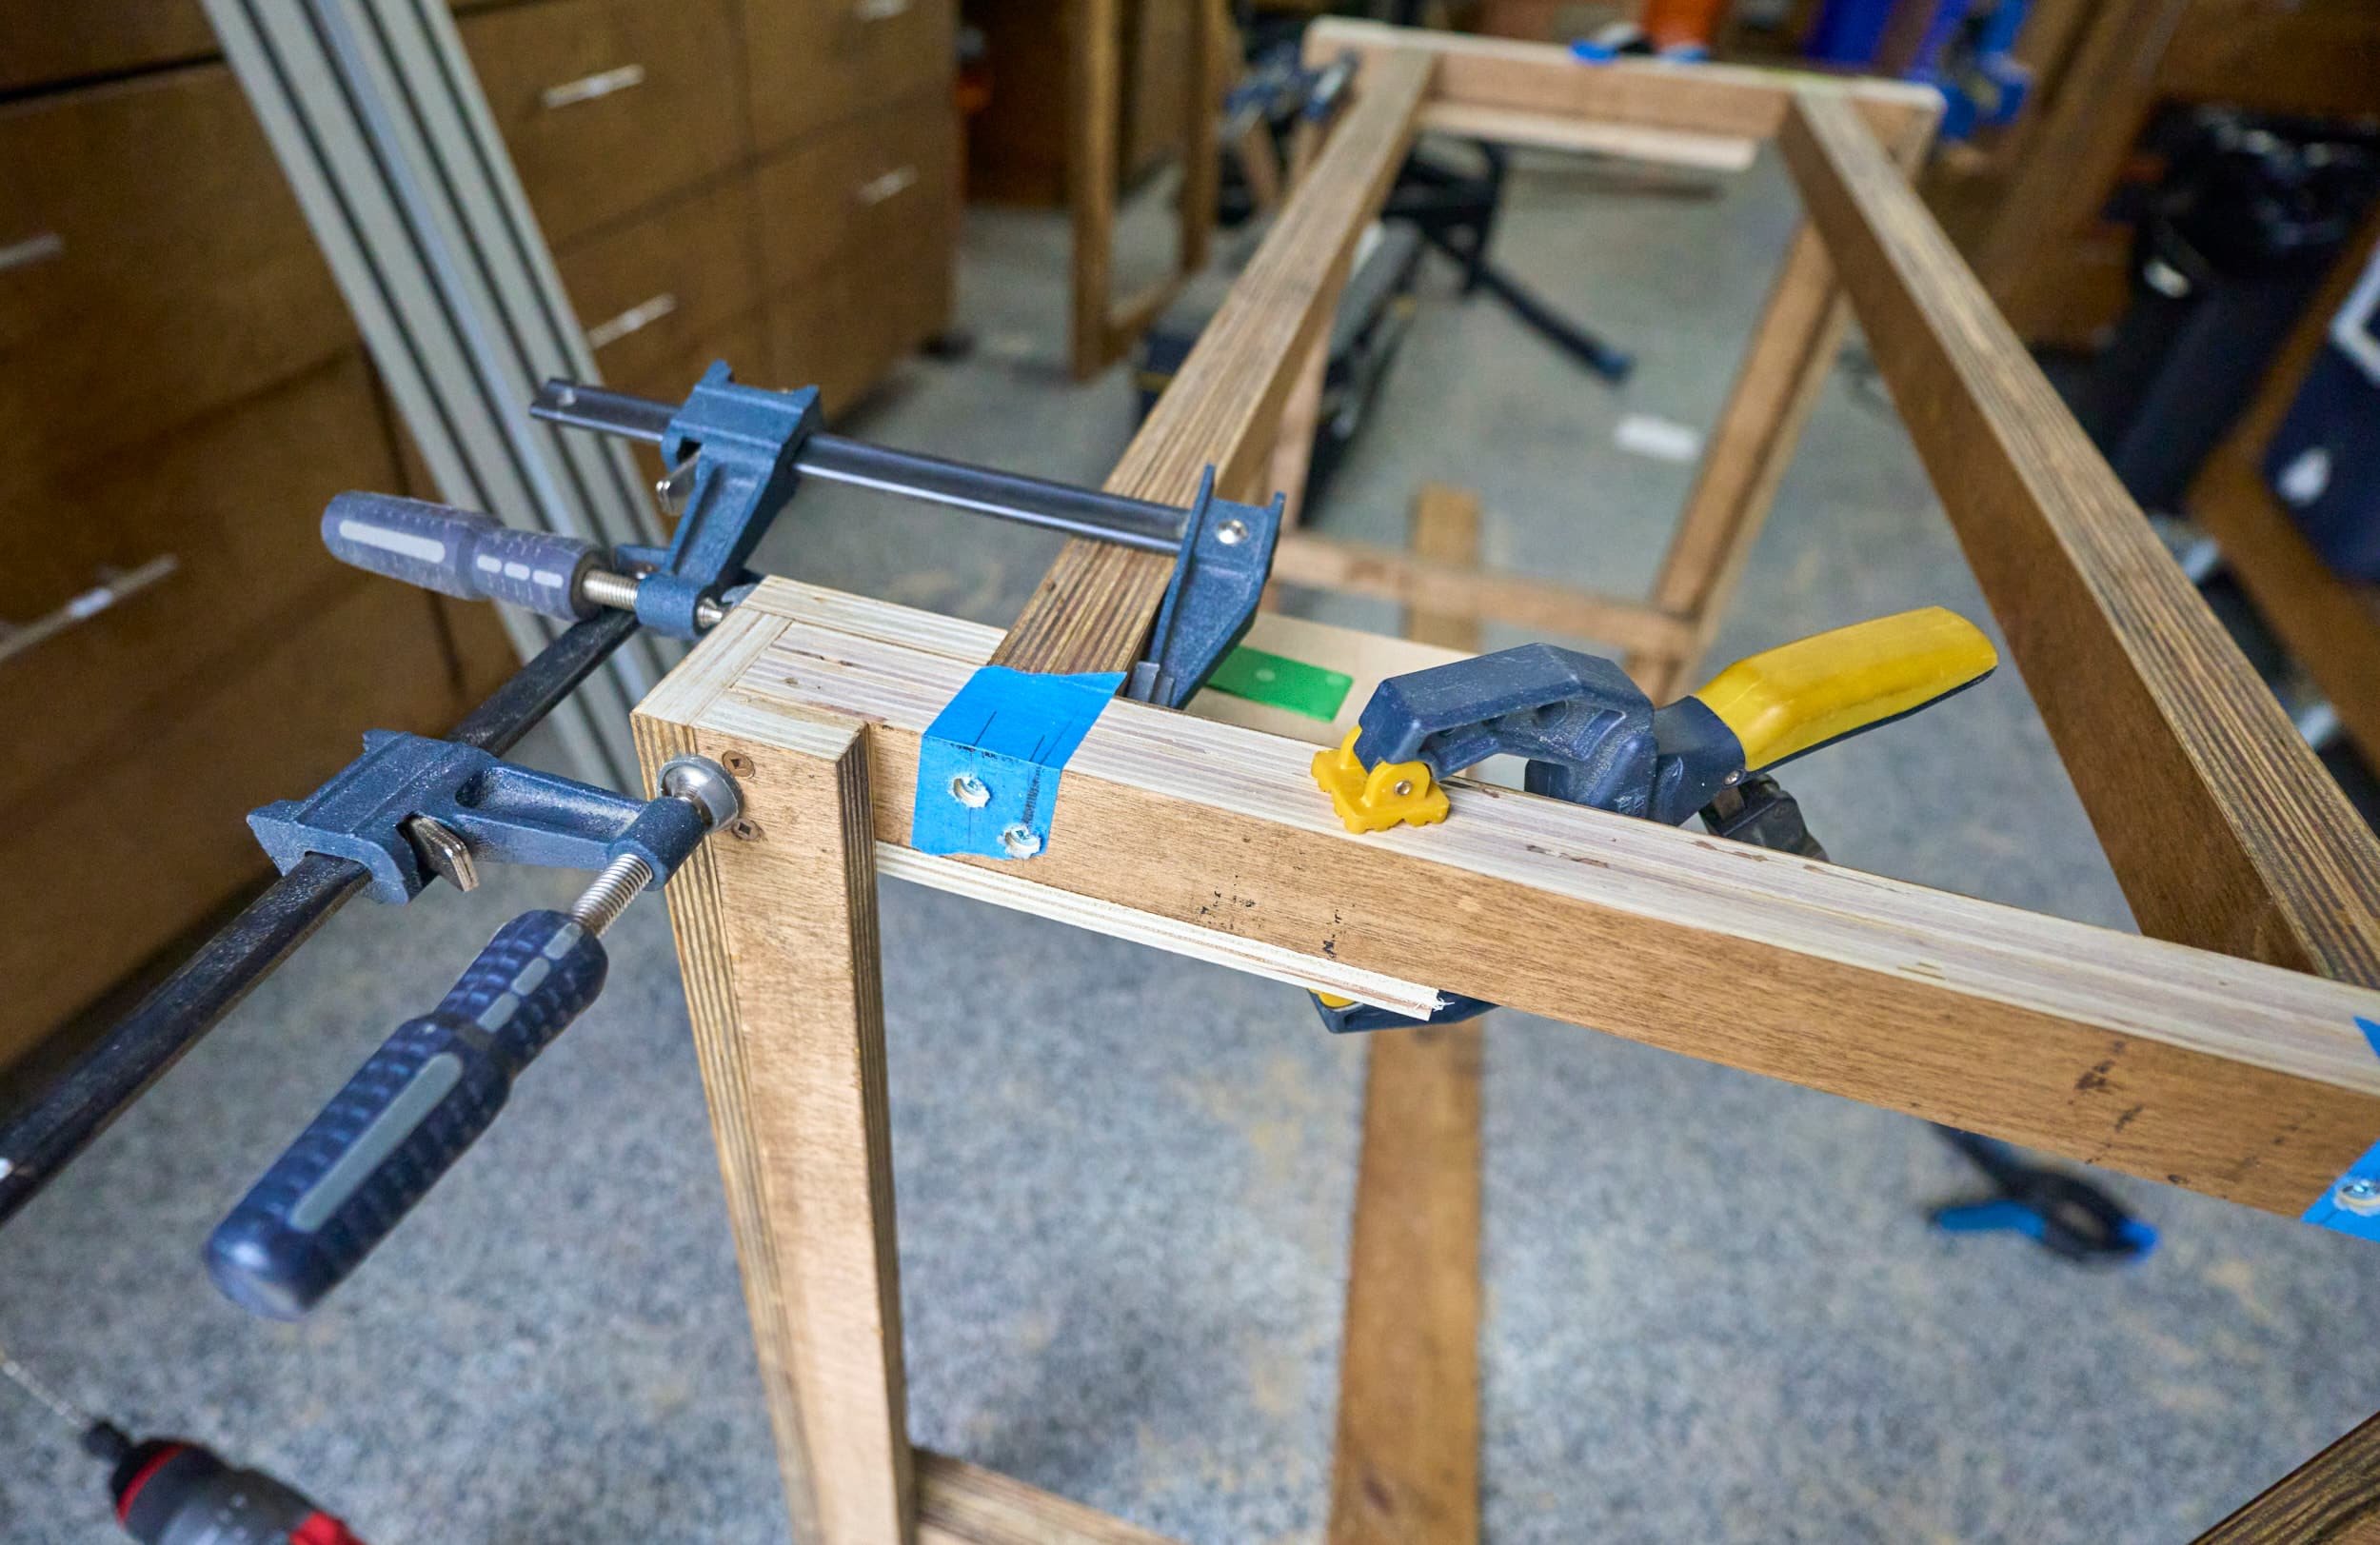
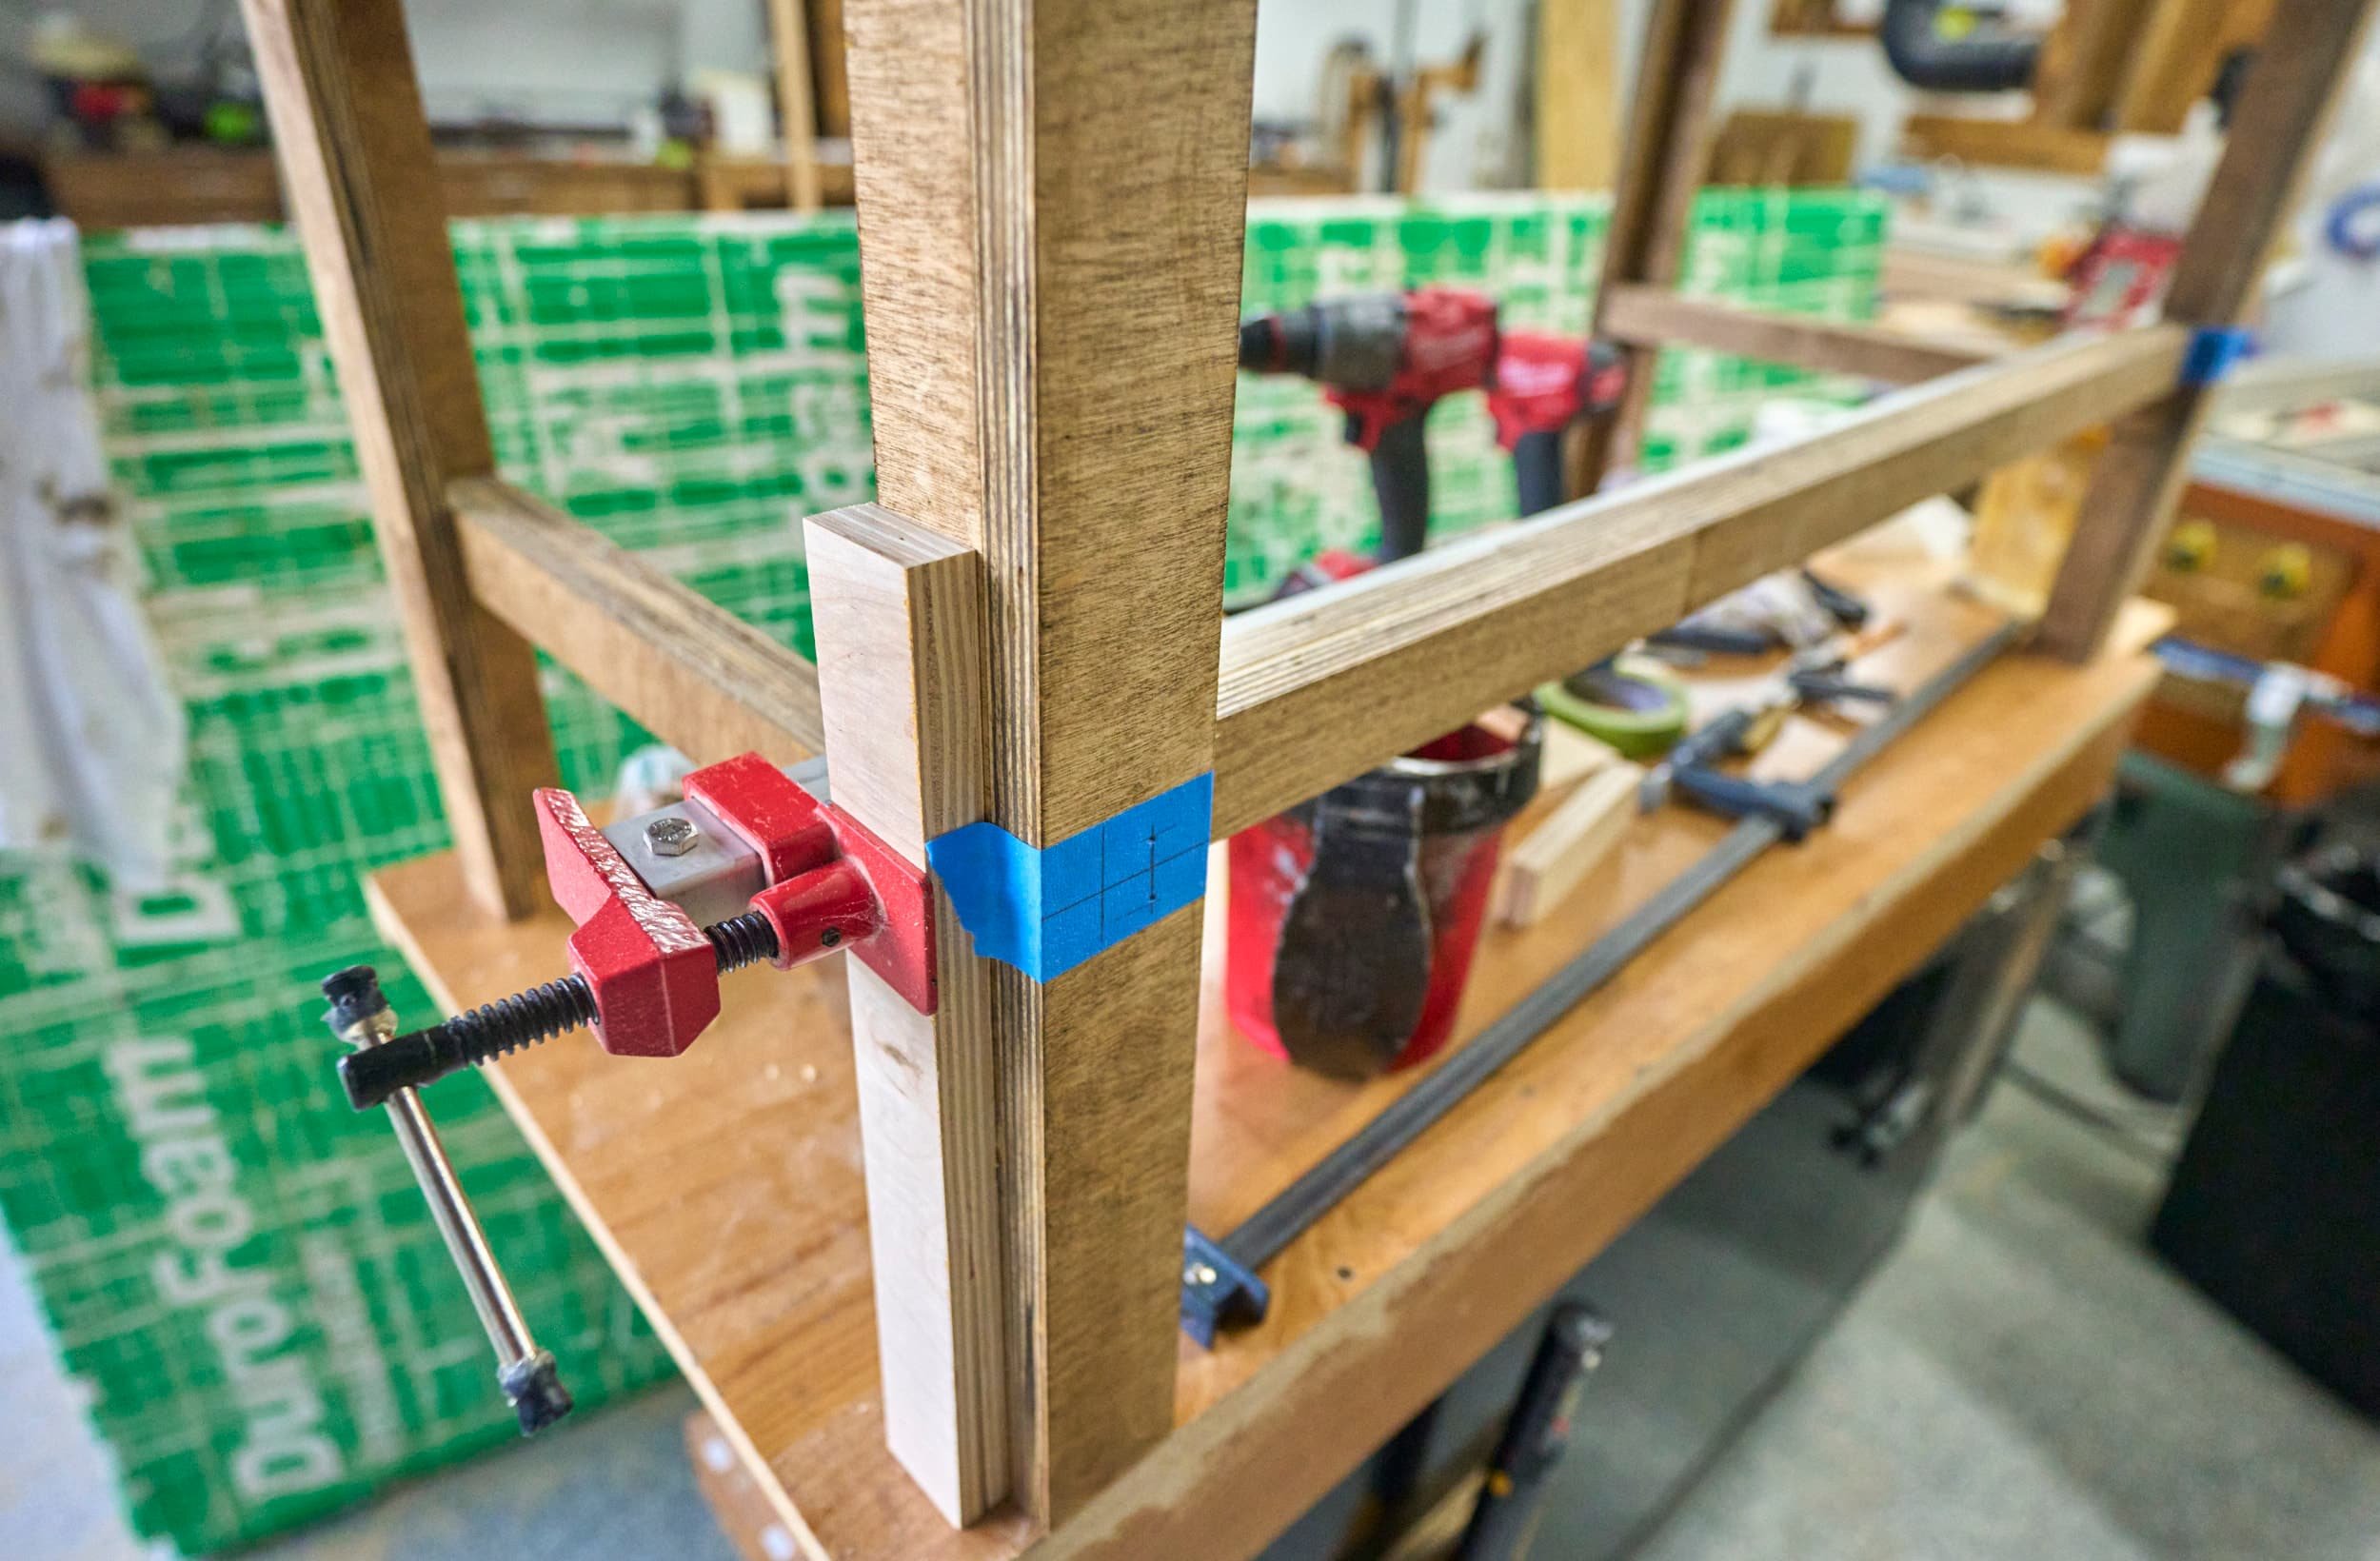
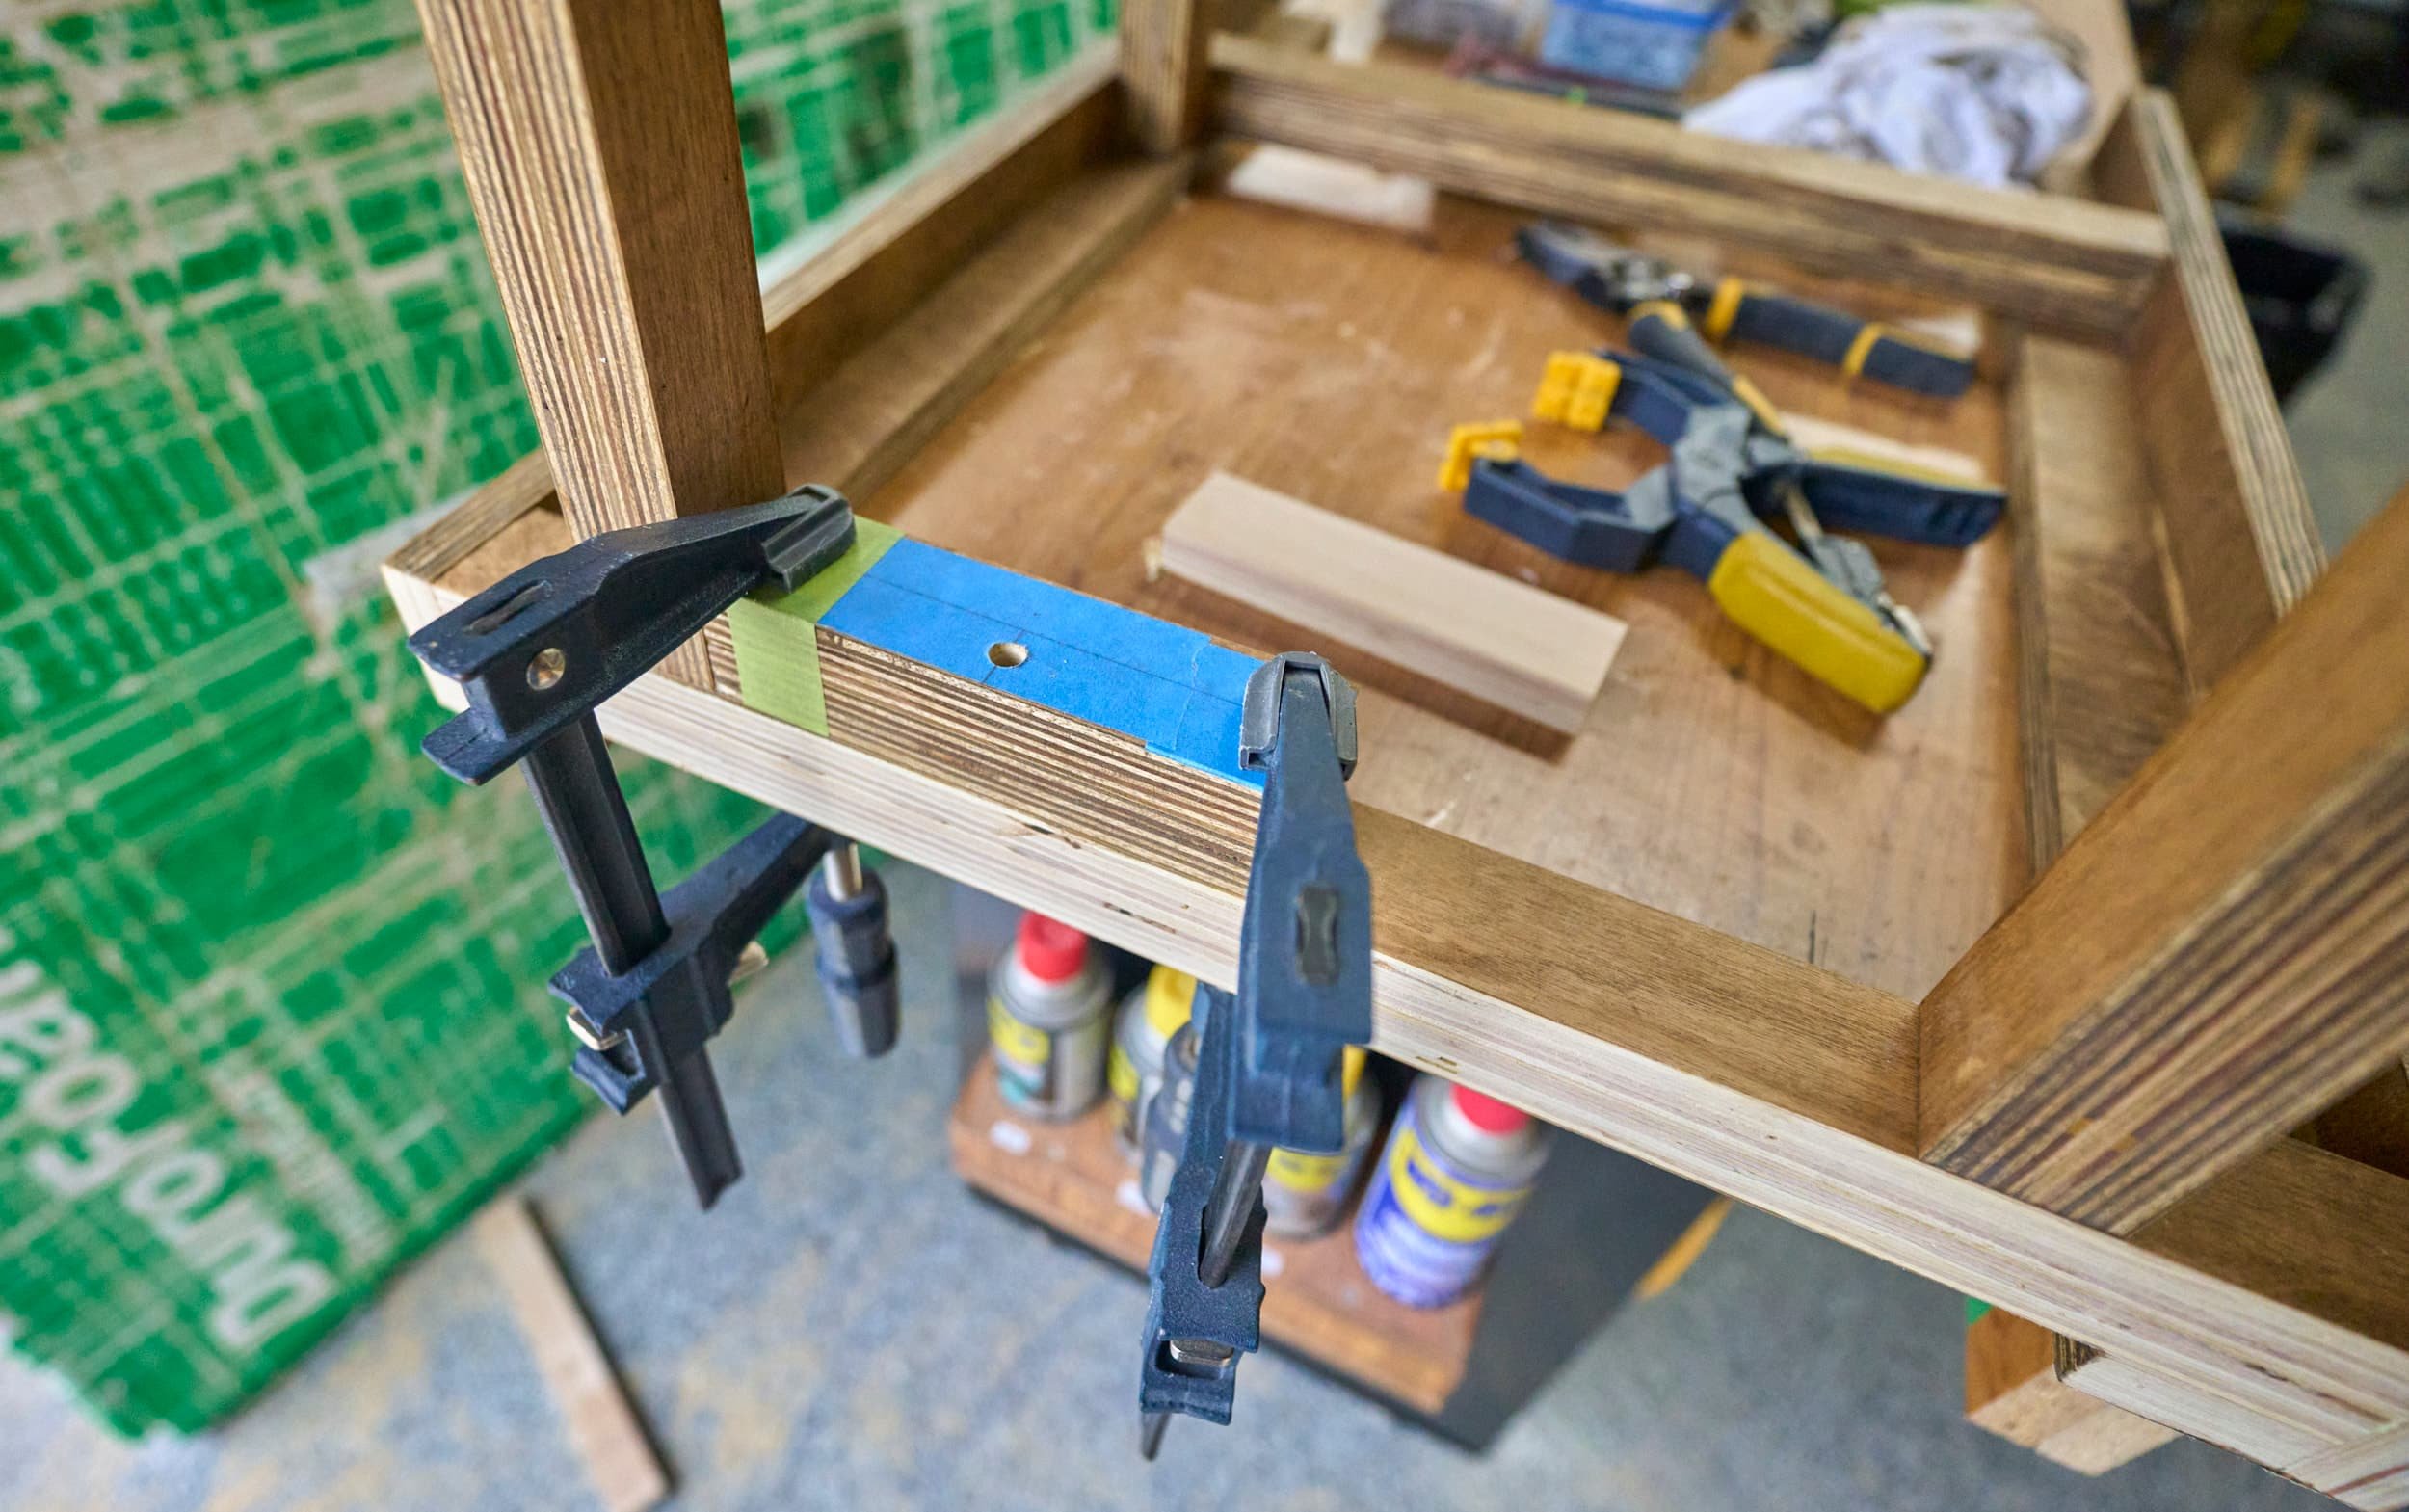
Step 3 - Connecting the legs and top
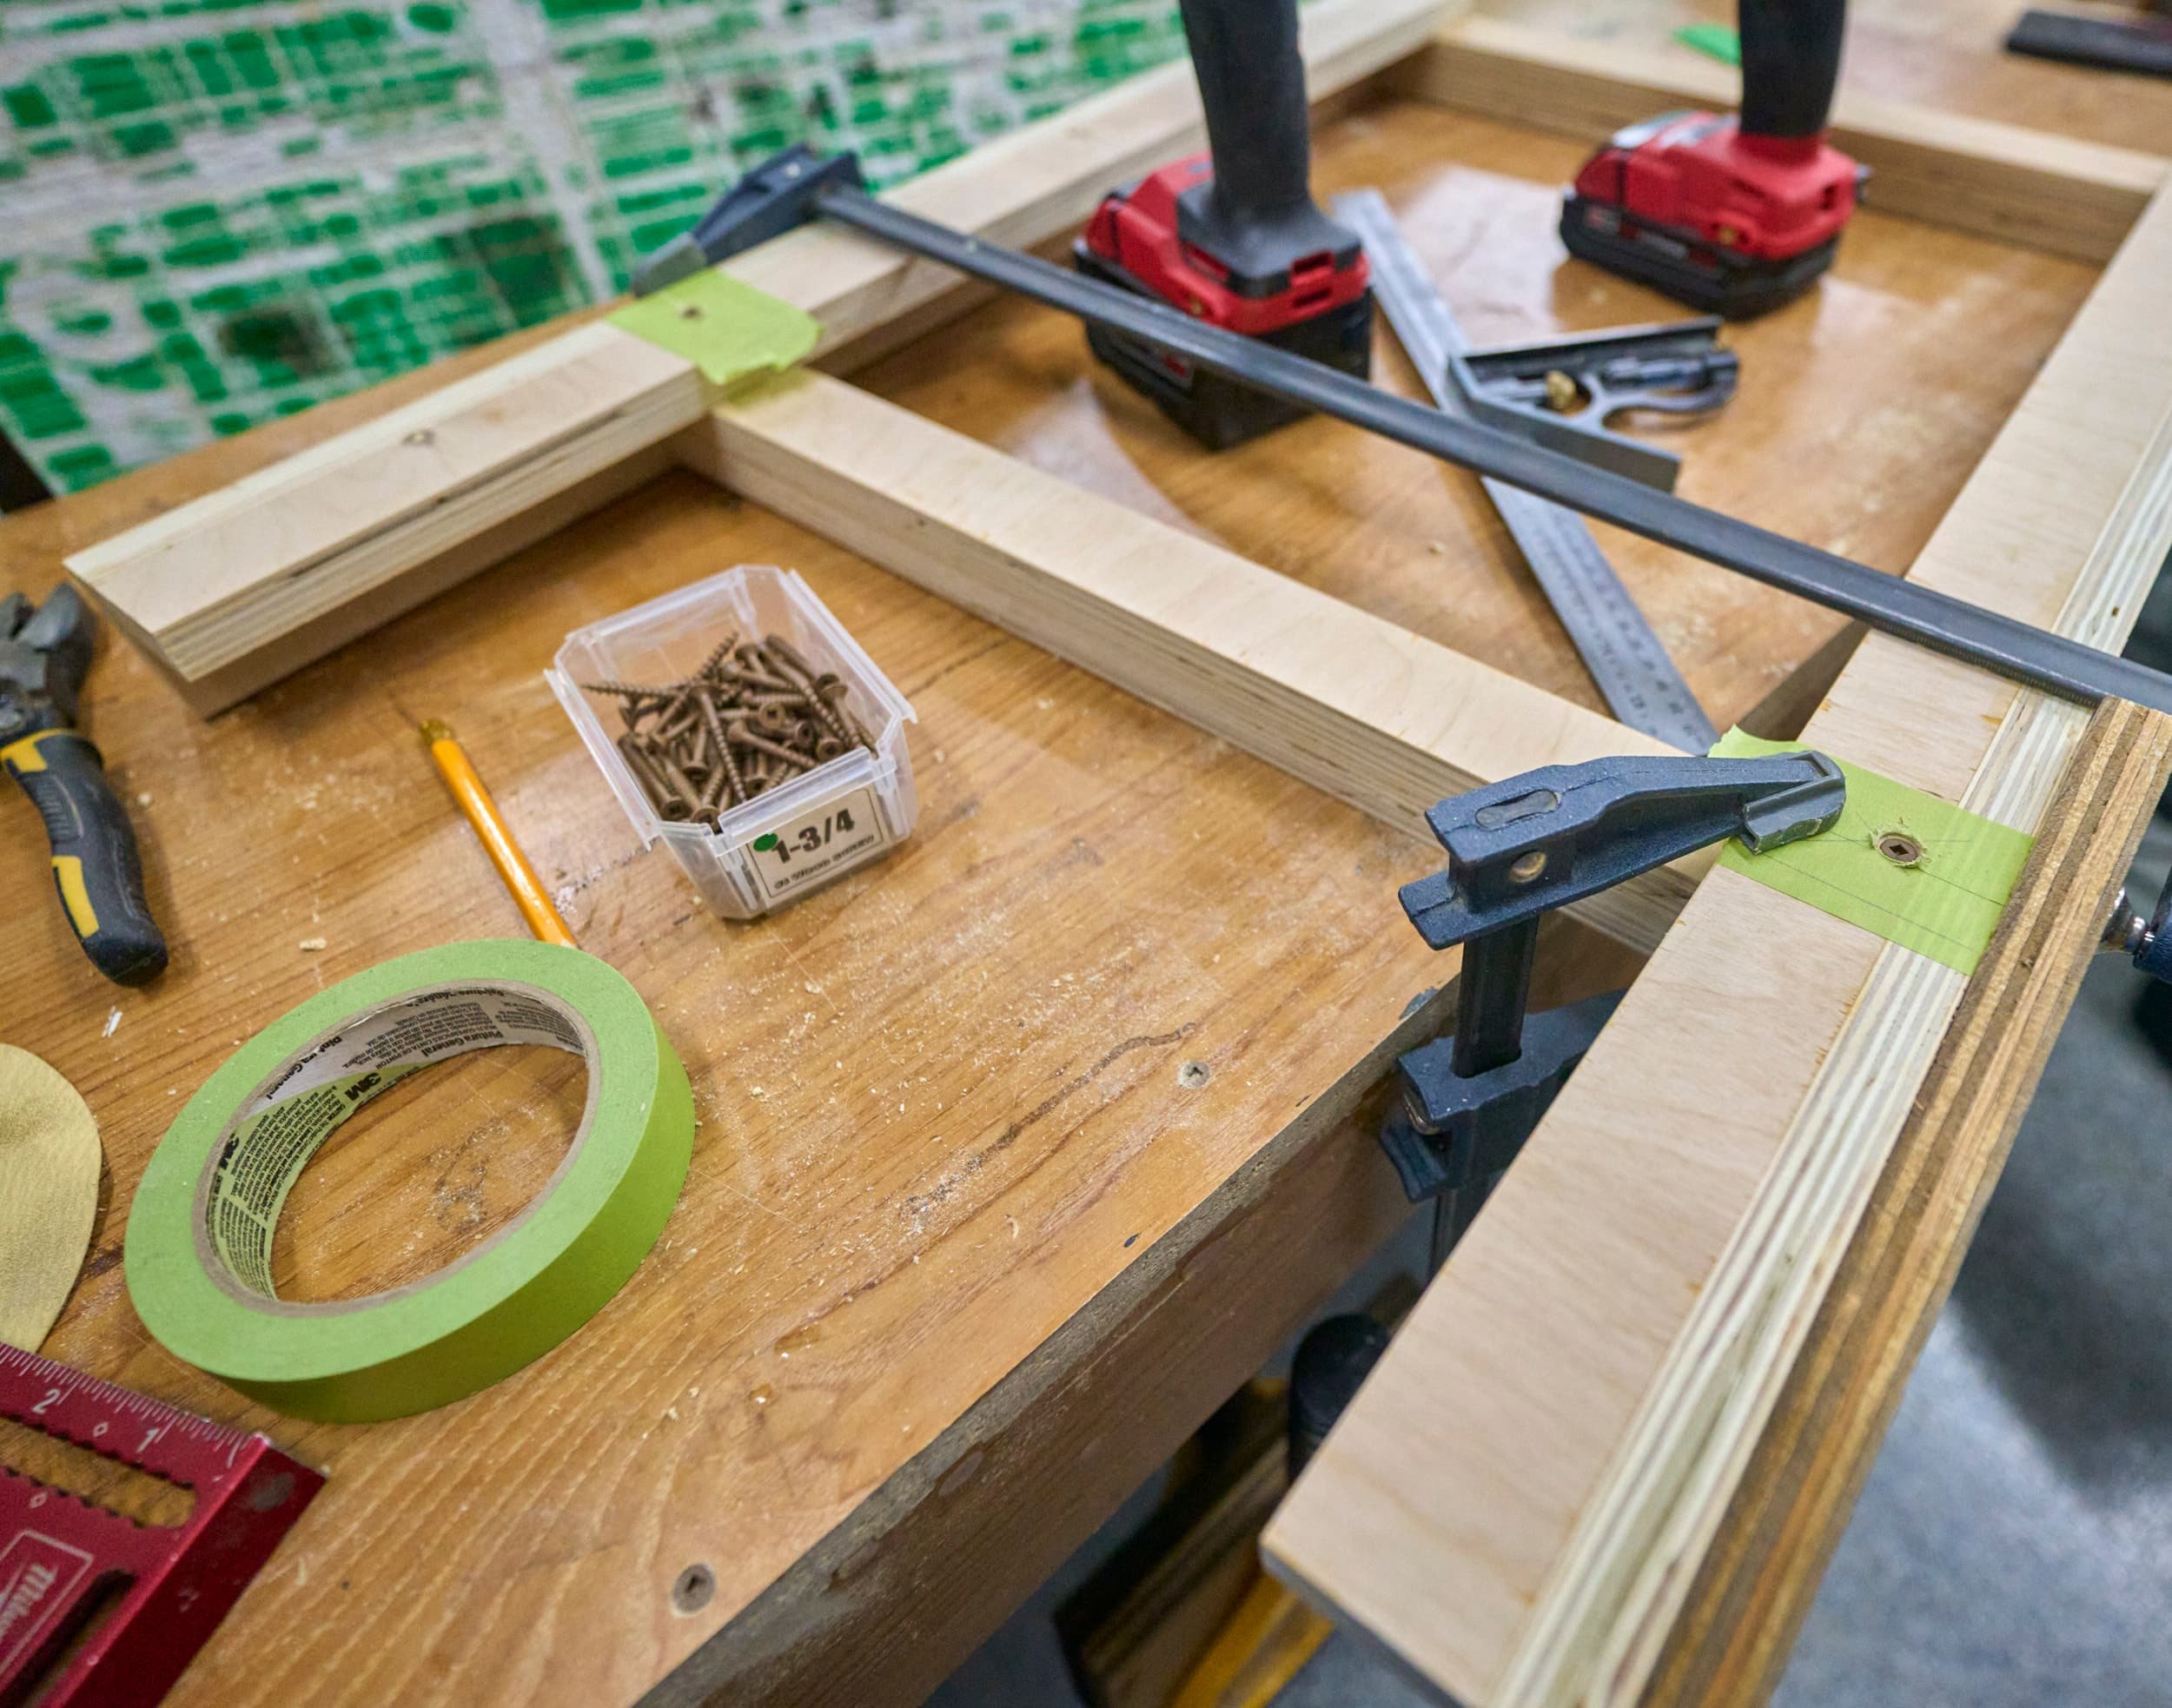
With the individual legs done, the next step was to connect the two sets of legs with a pair of left-right stretchers and then somehow, connect the table top to the legs. Note that the connection between the two pairs of legs does not need to be super strong — the weight is being loaded down through the legs directly. The stretcher is there to minimize any sagging in the table top and to keep the two sets of legs physically connected to make it easier to handle. I opted to screw-only here, in case I ever wanted to take this apart.

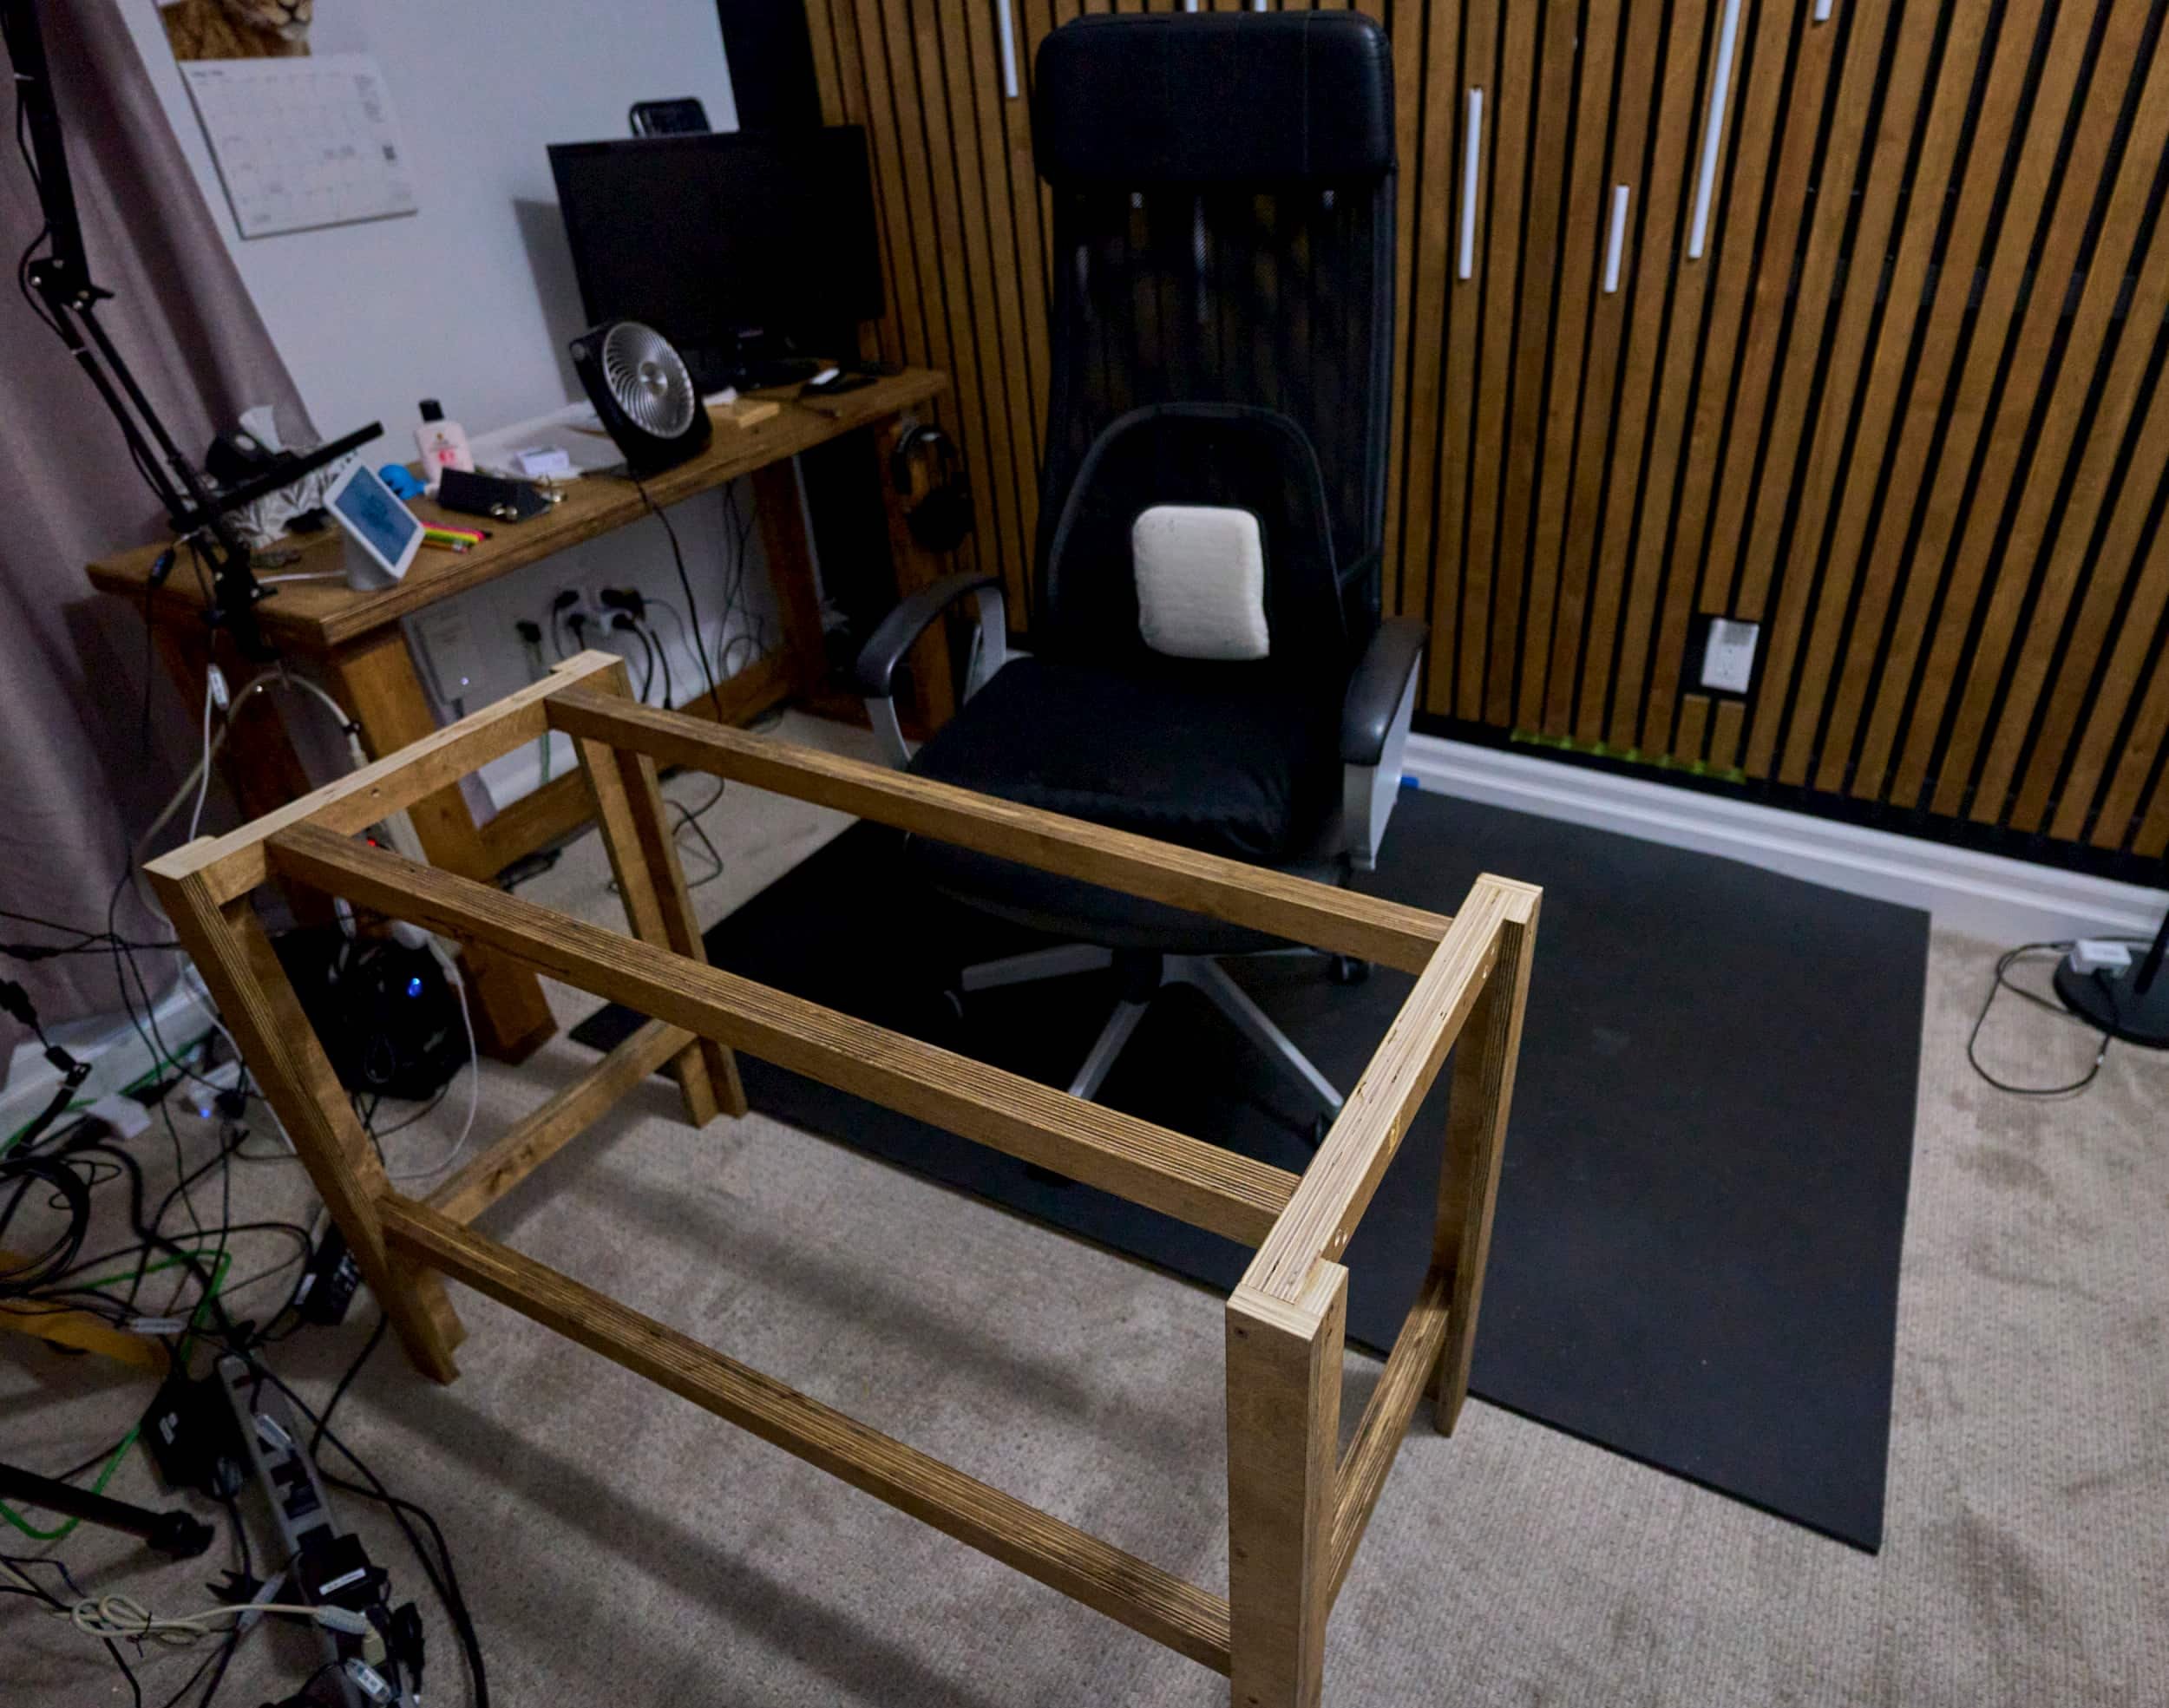
Step 4 - Installation
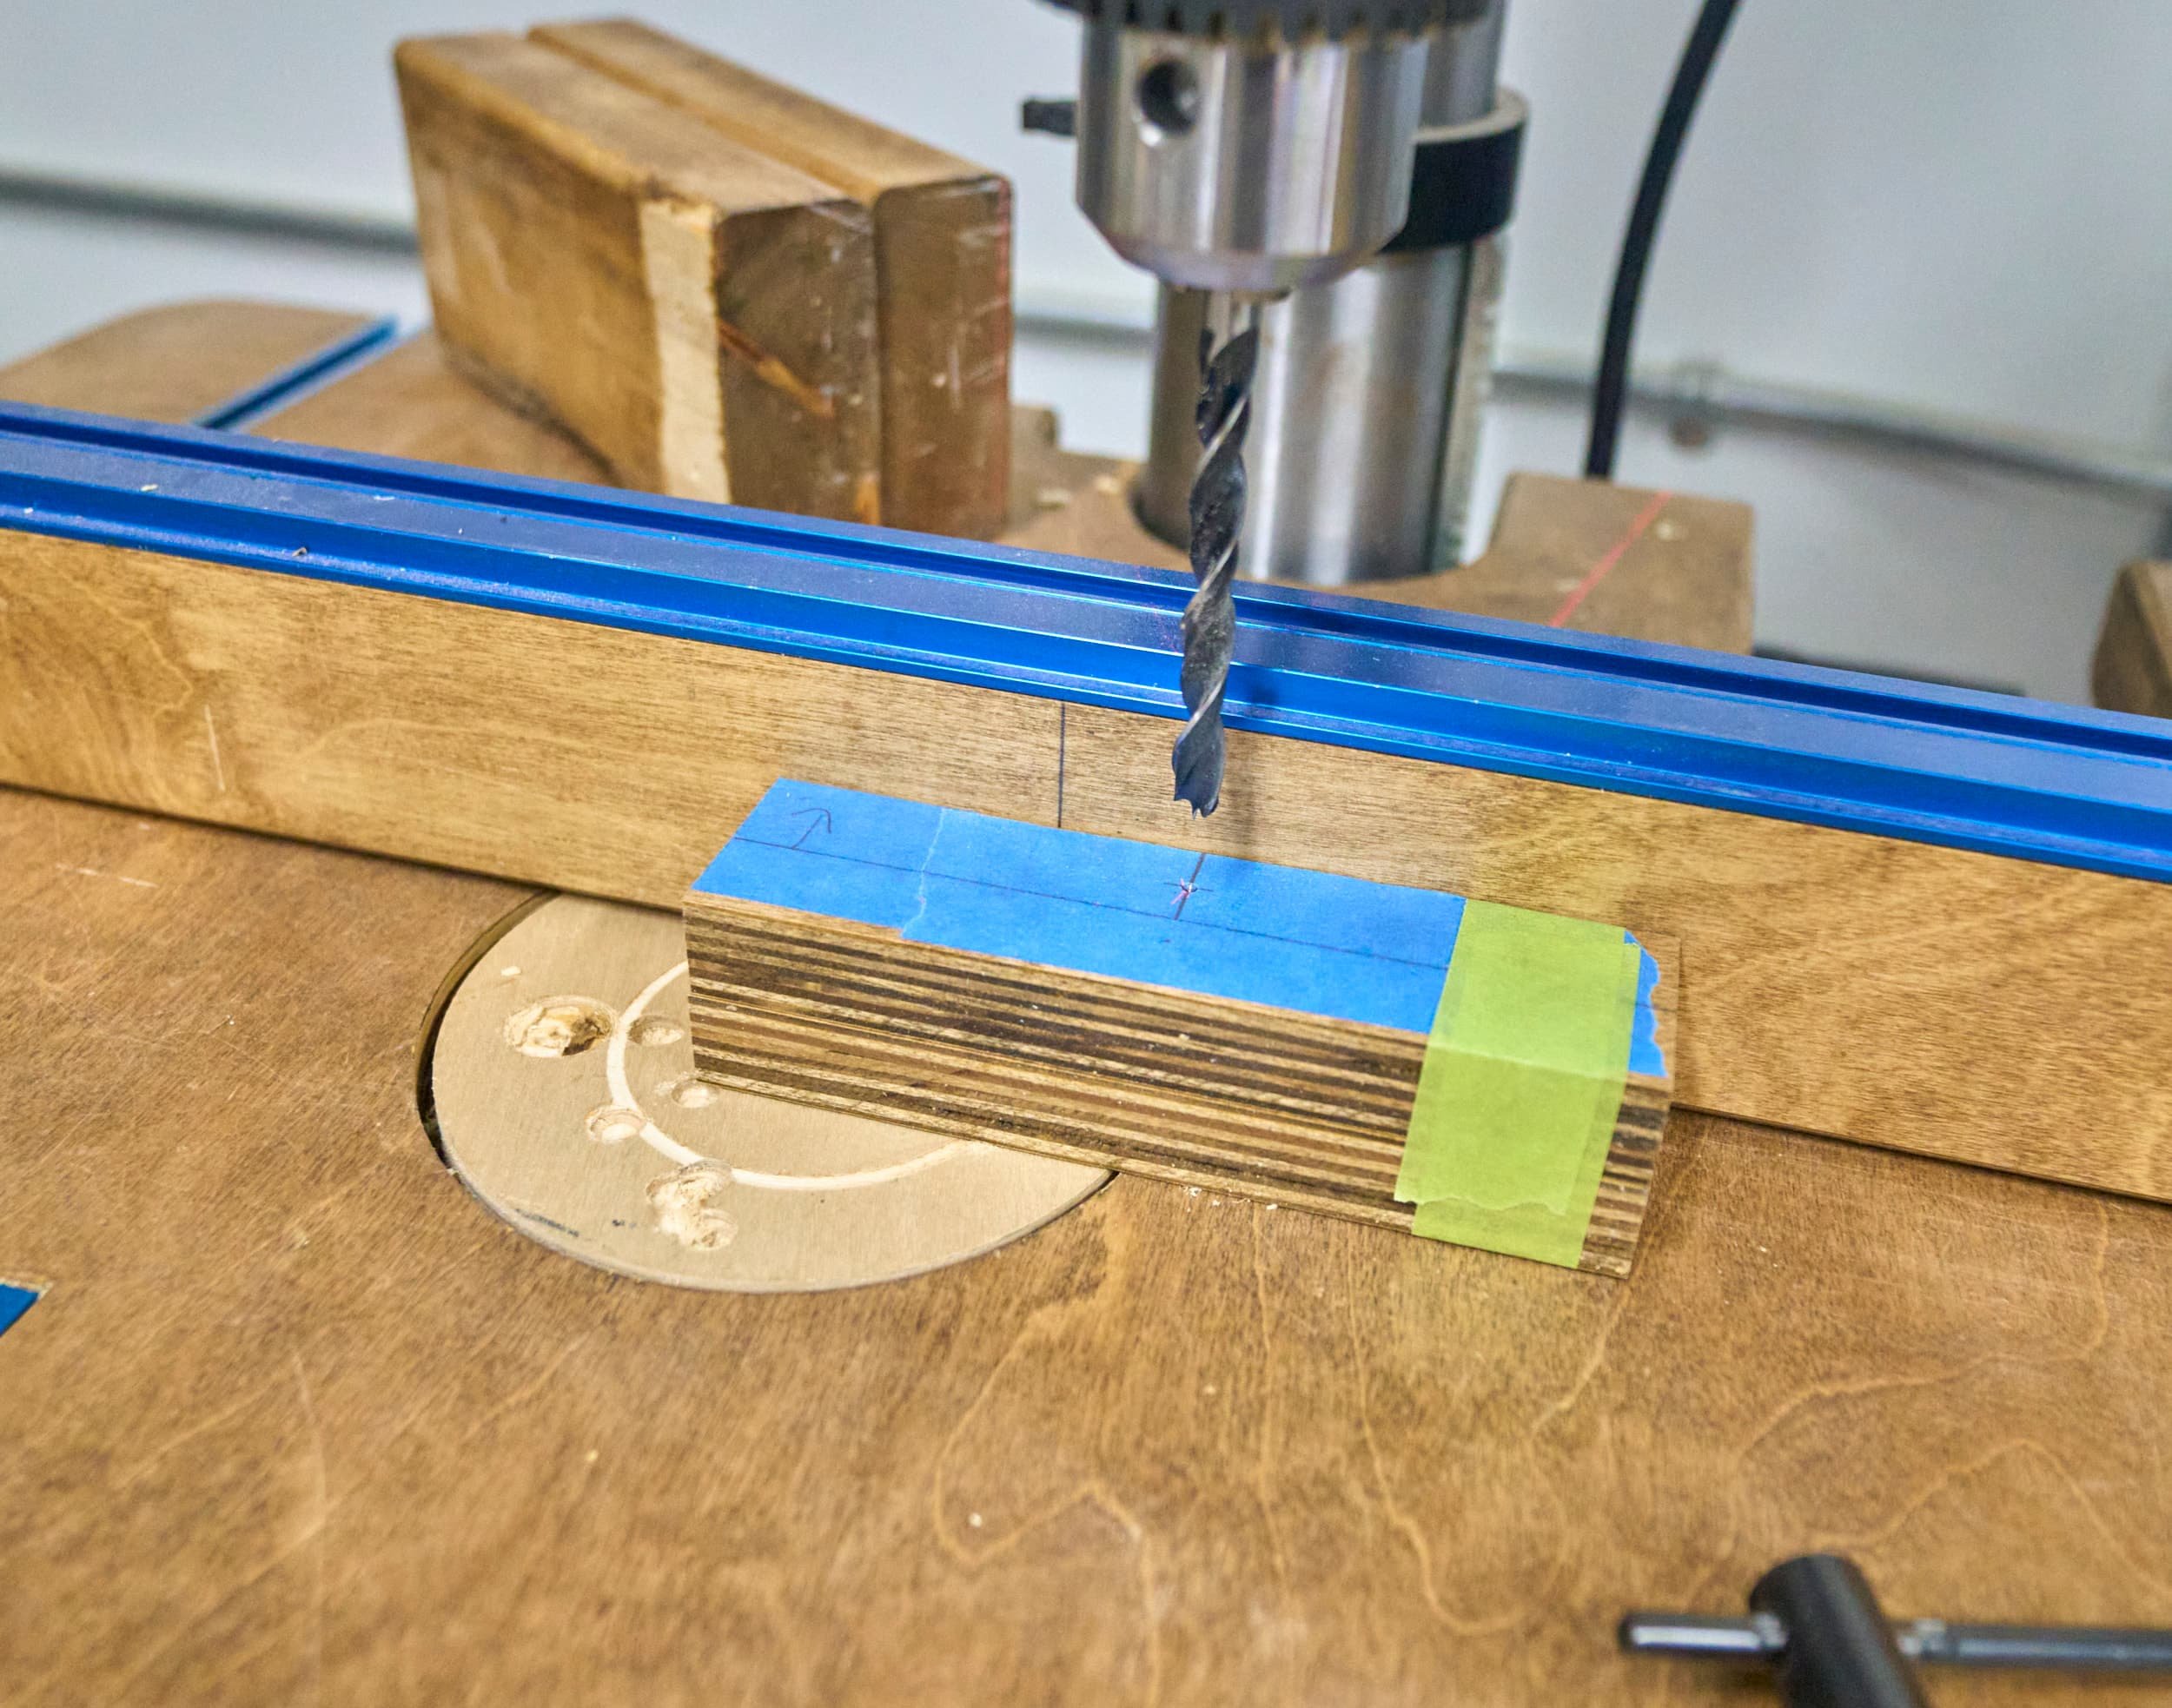
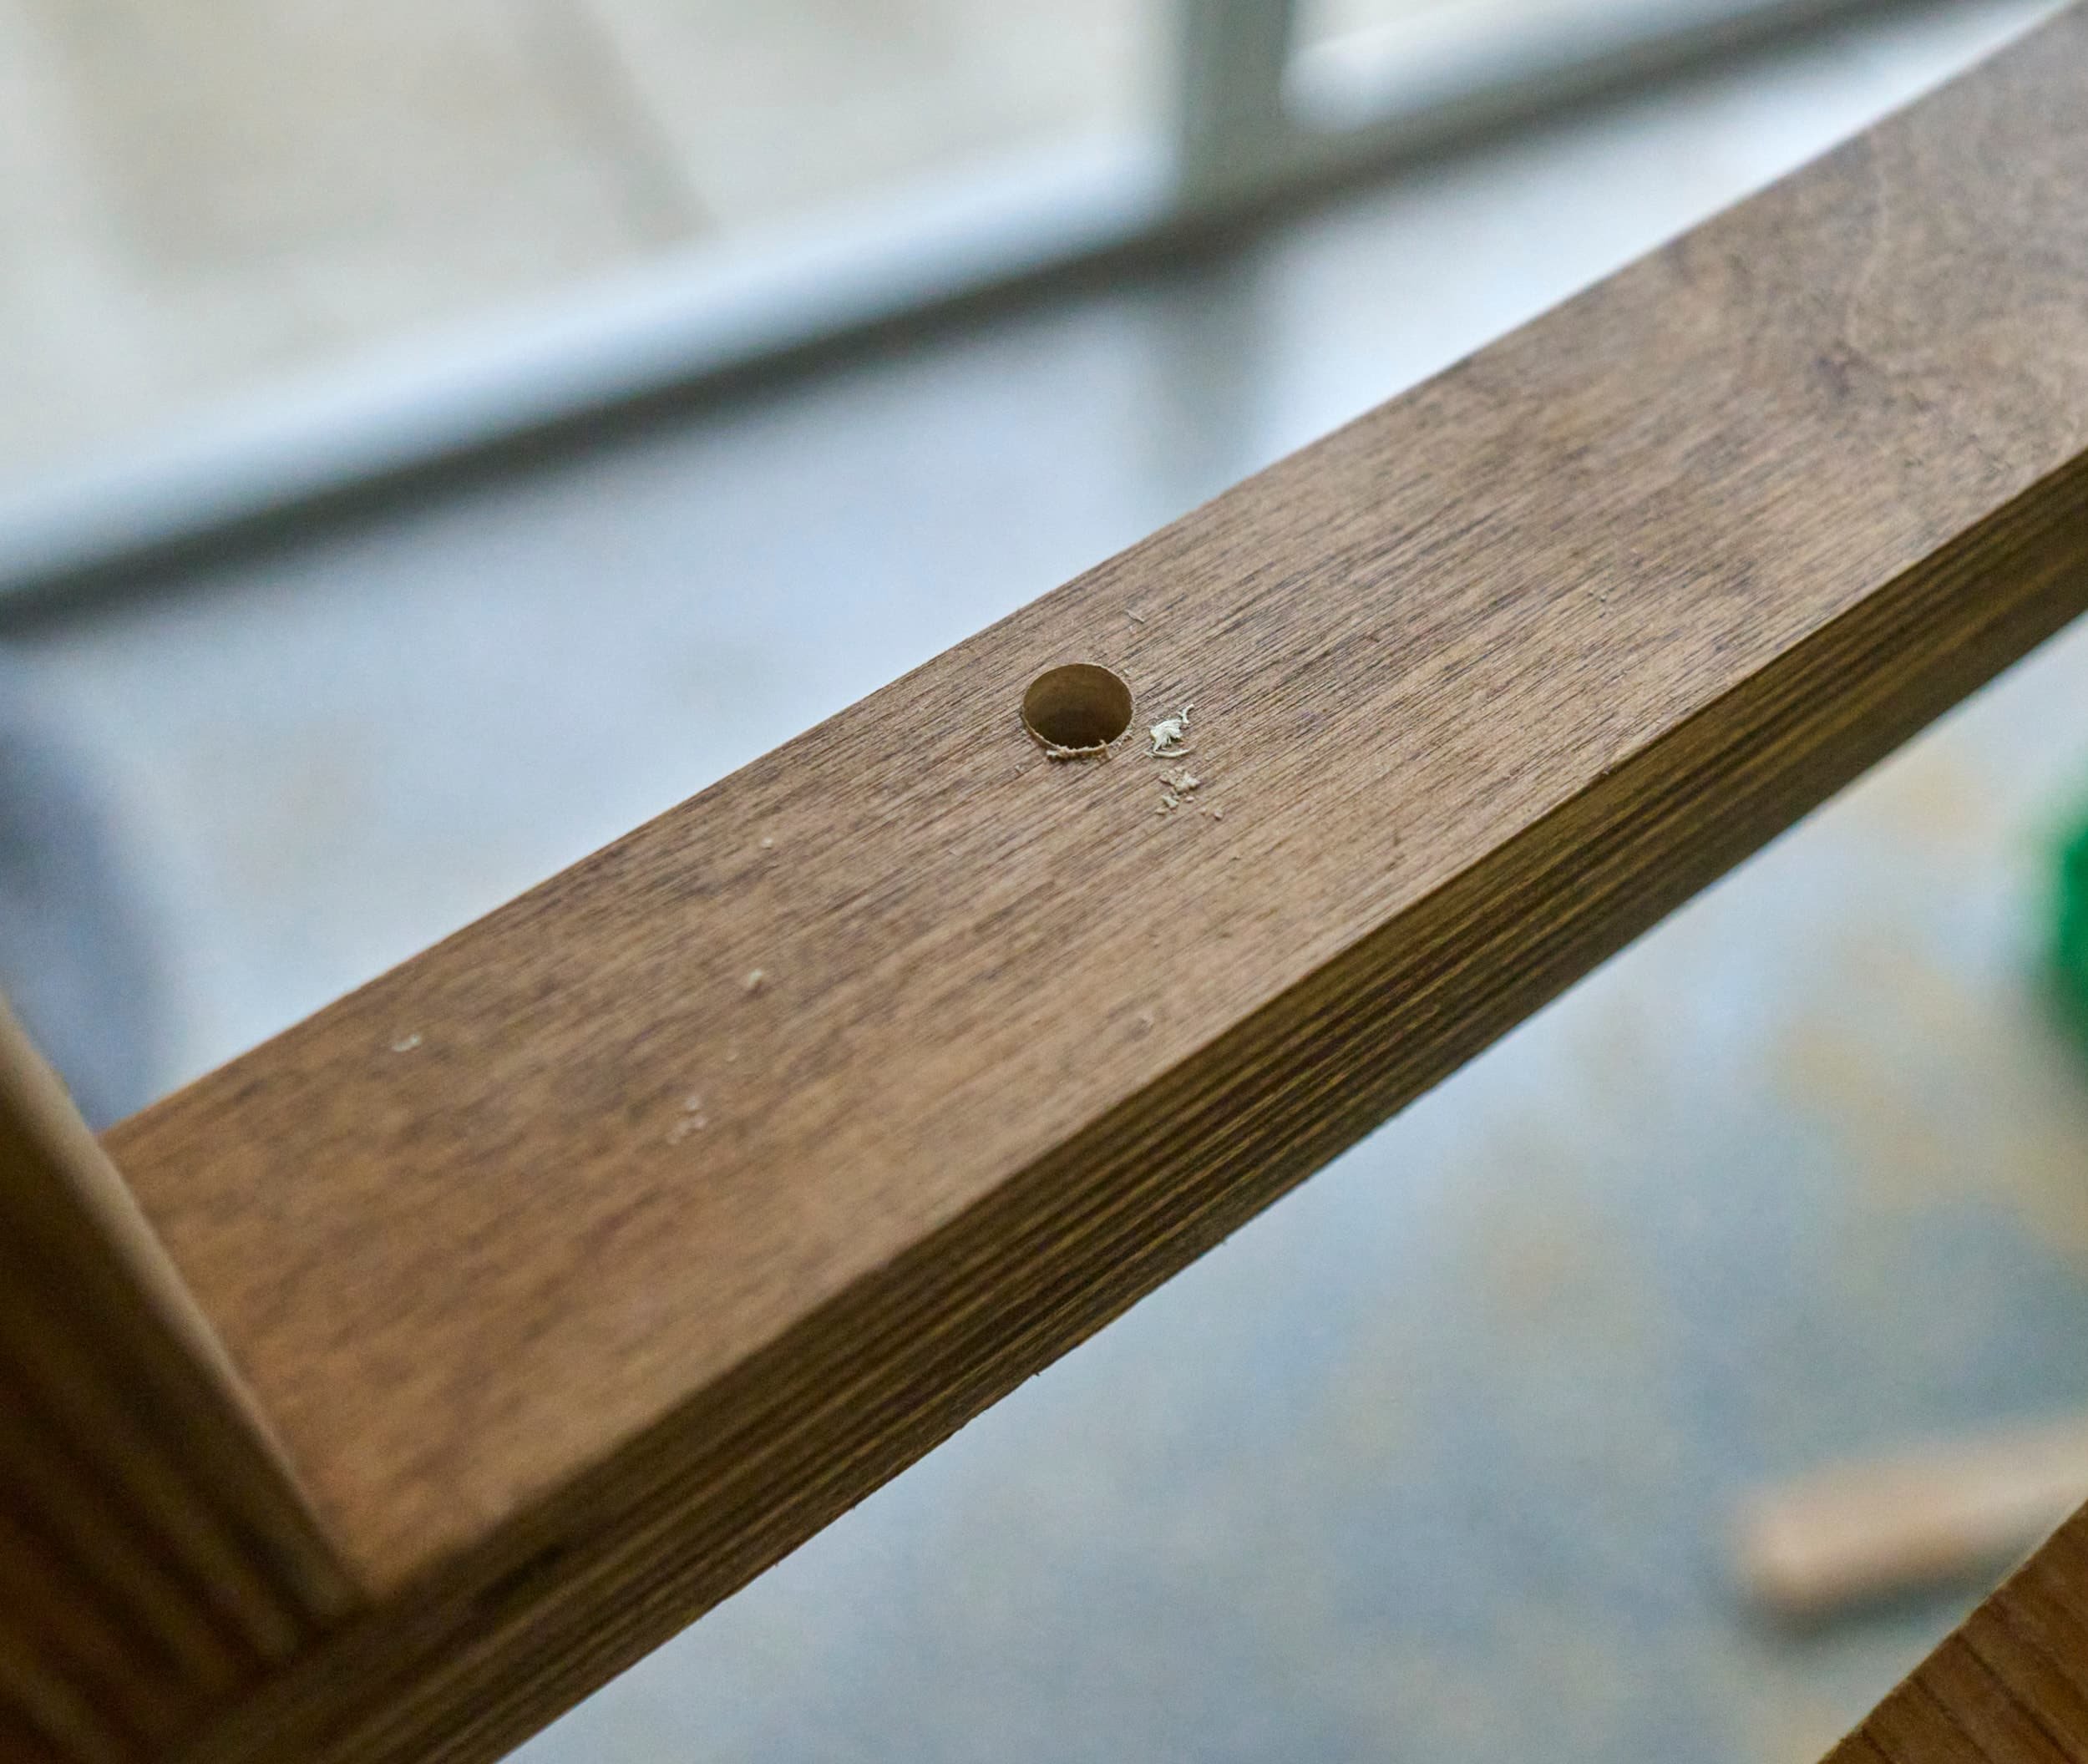
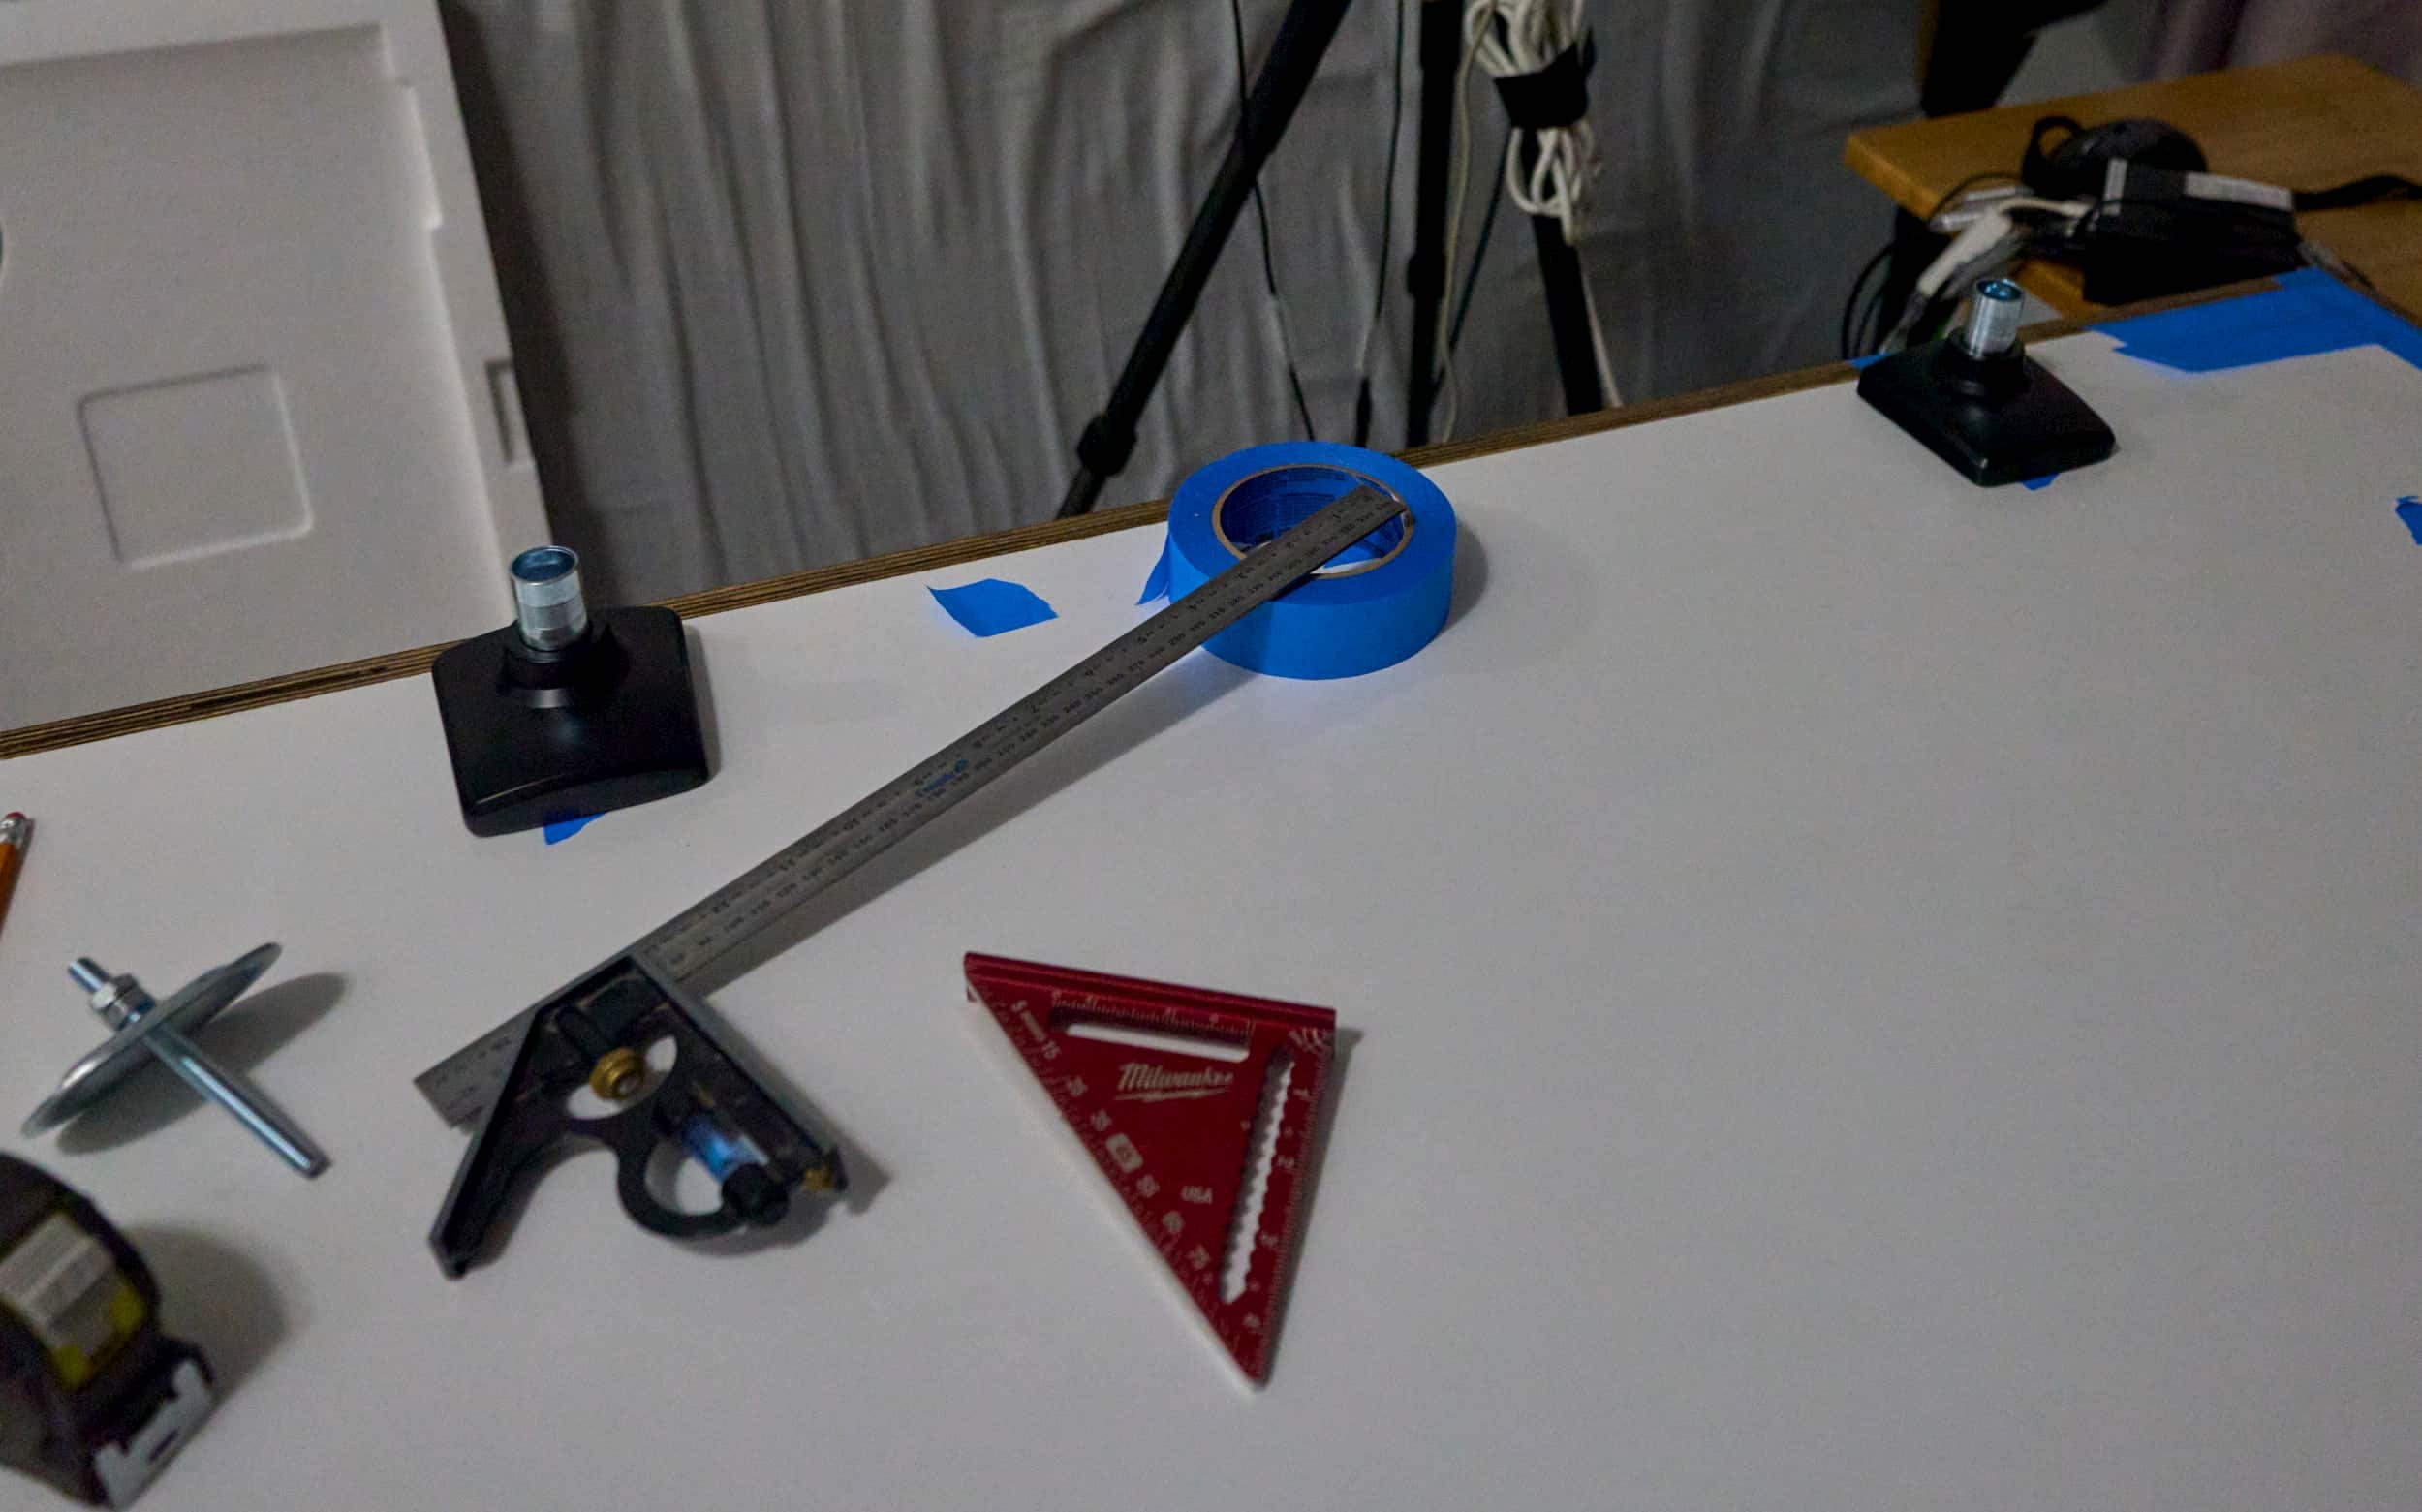
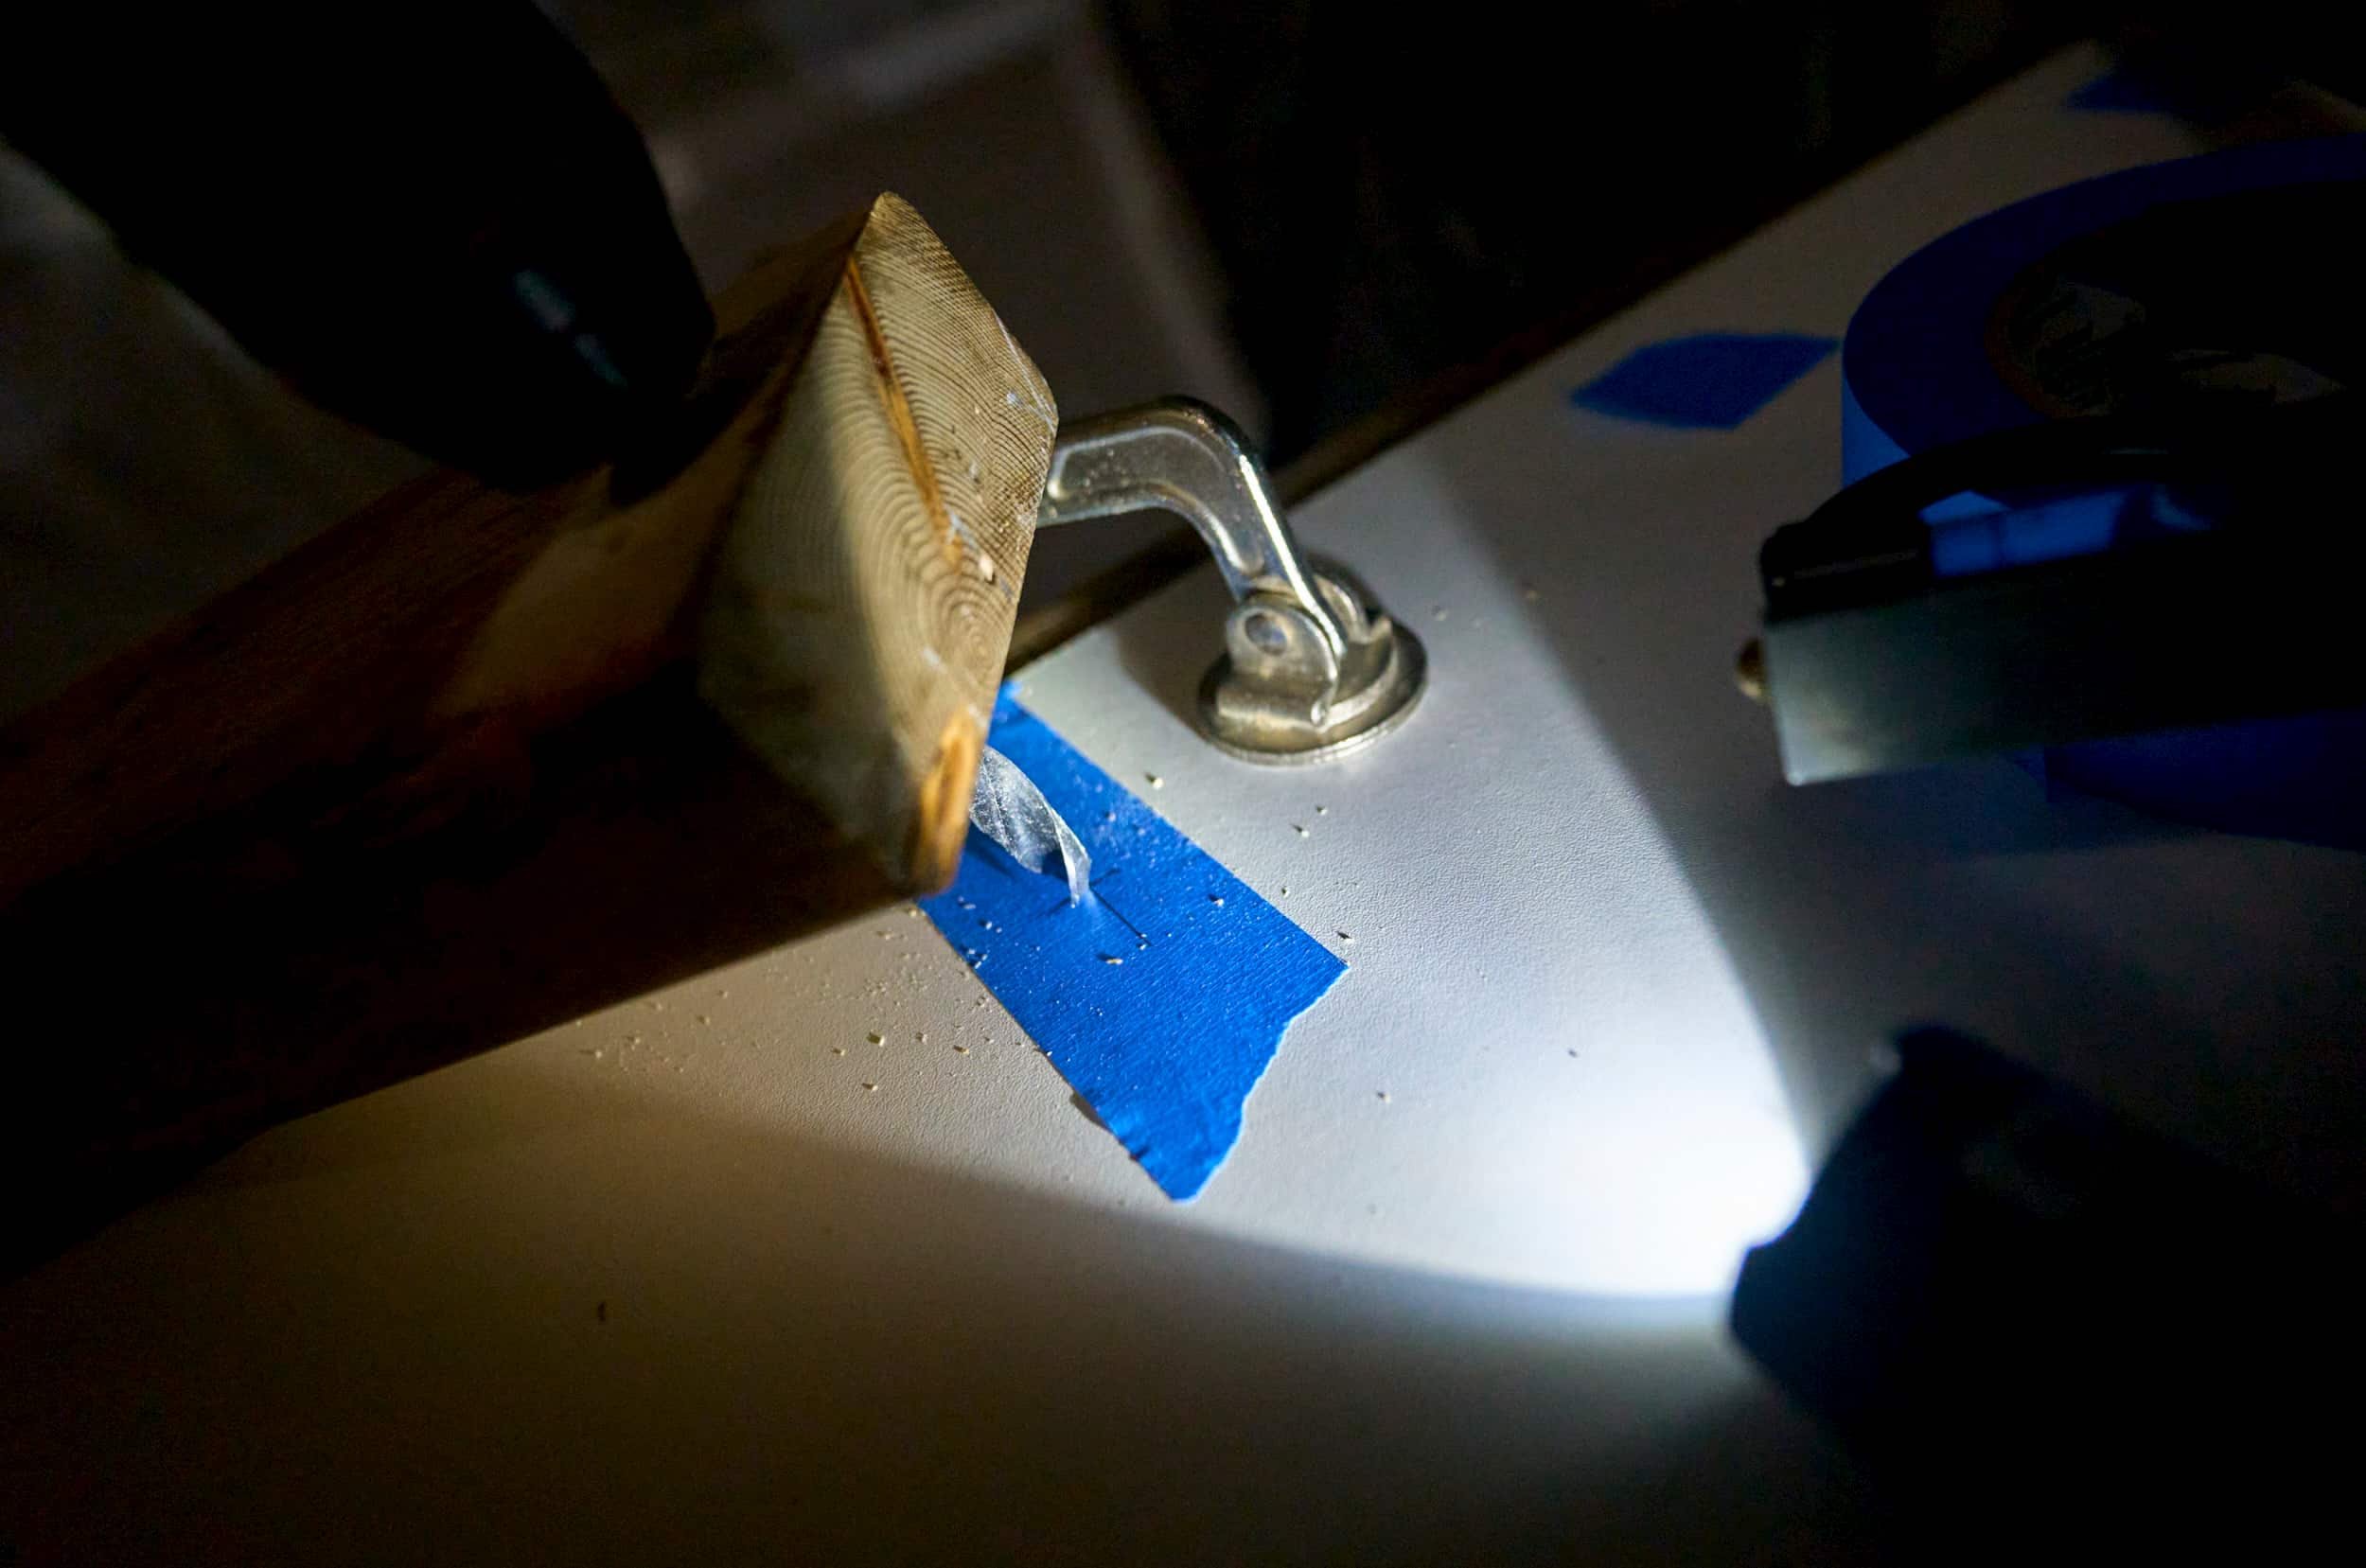
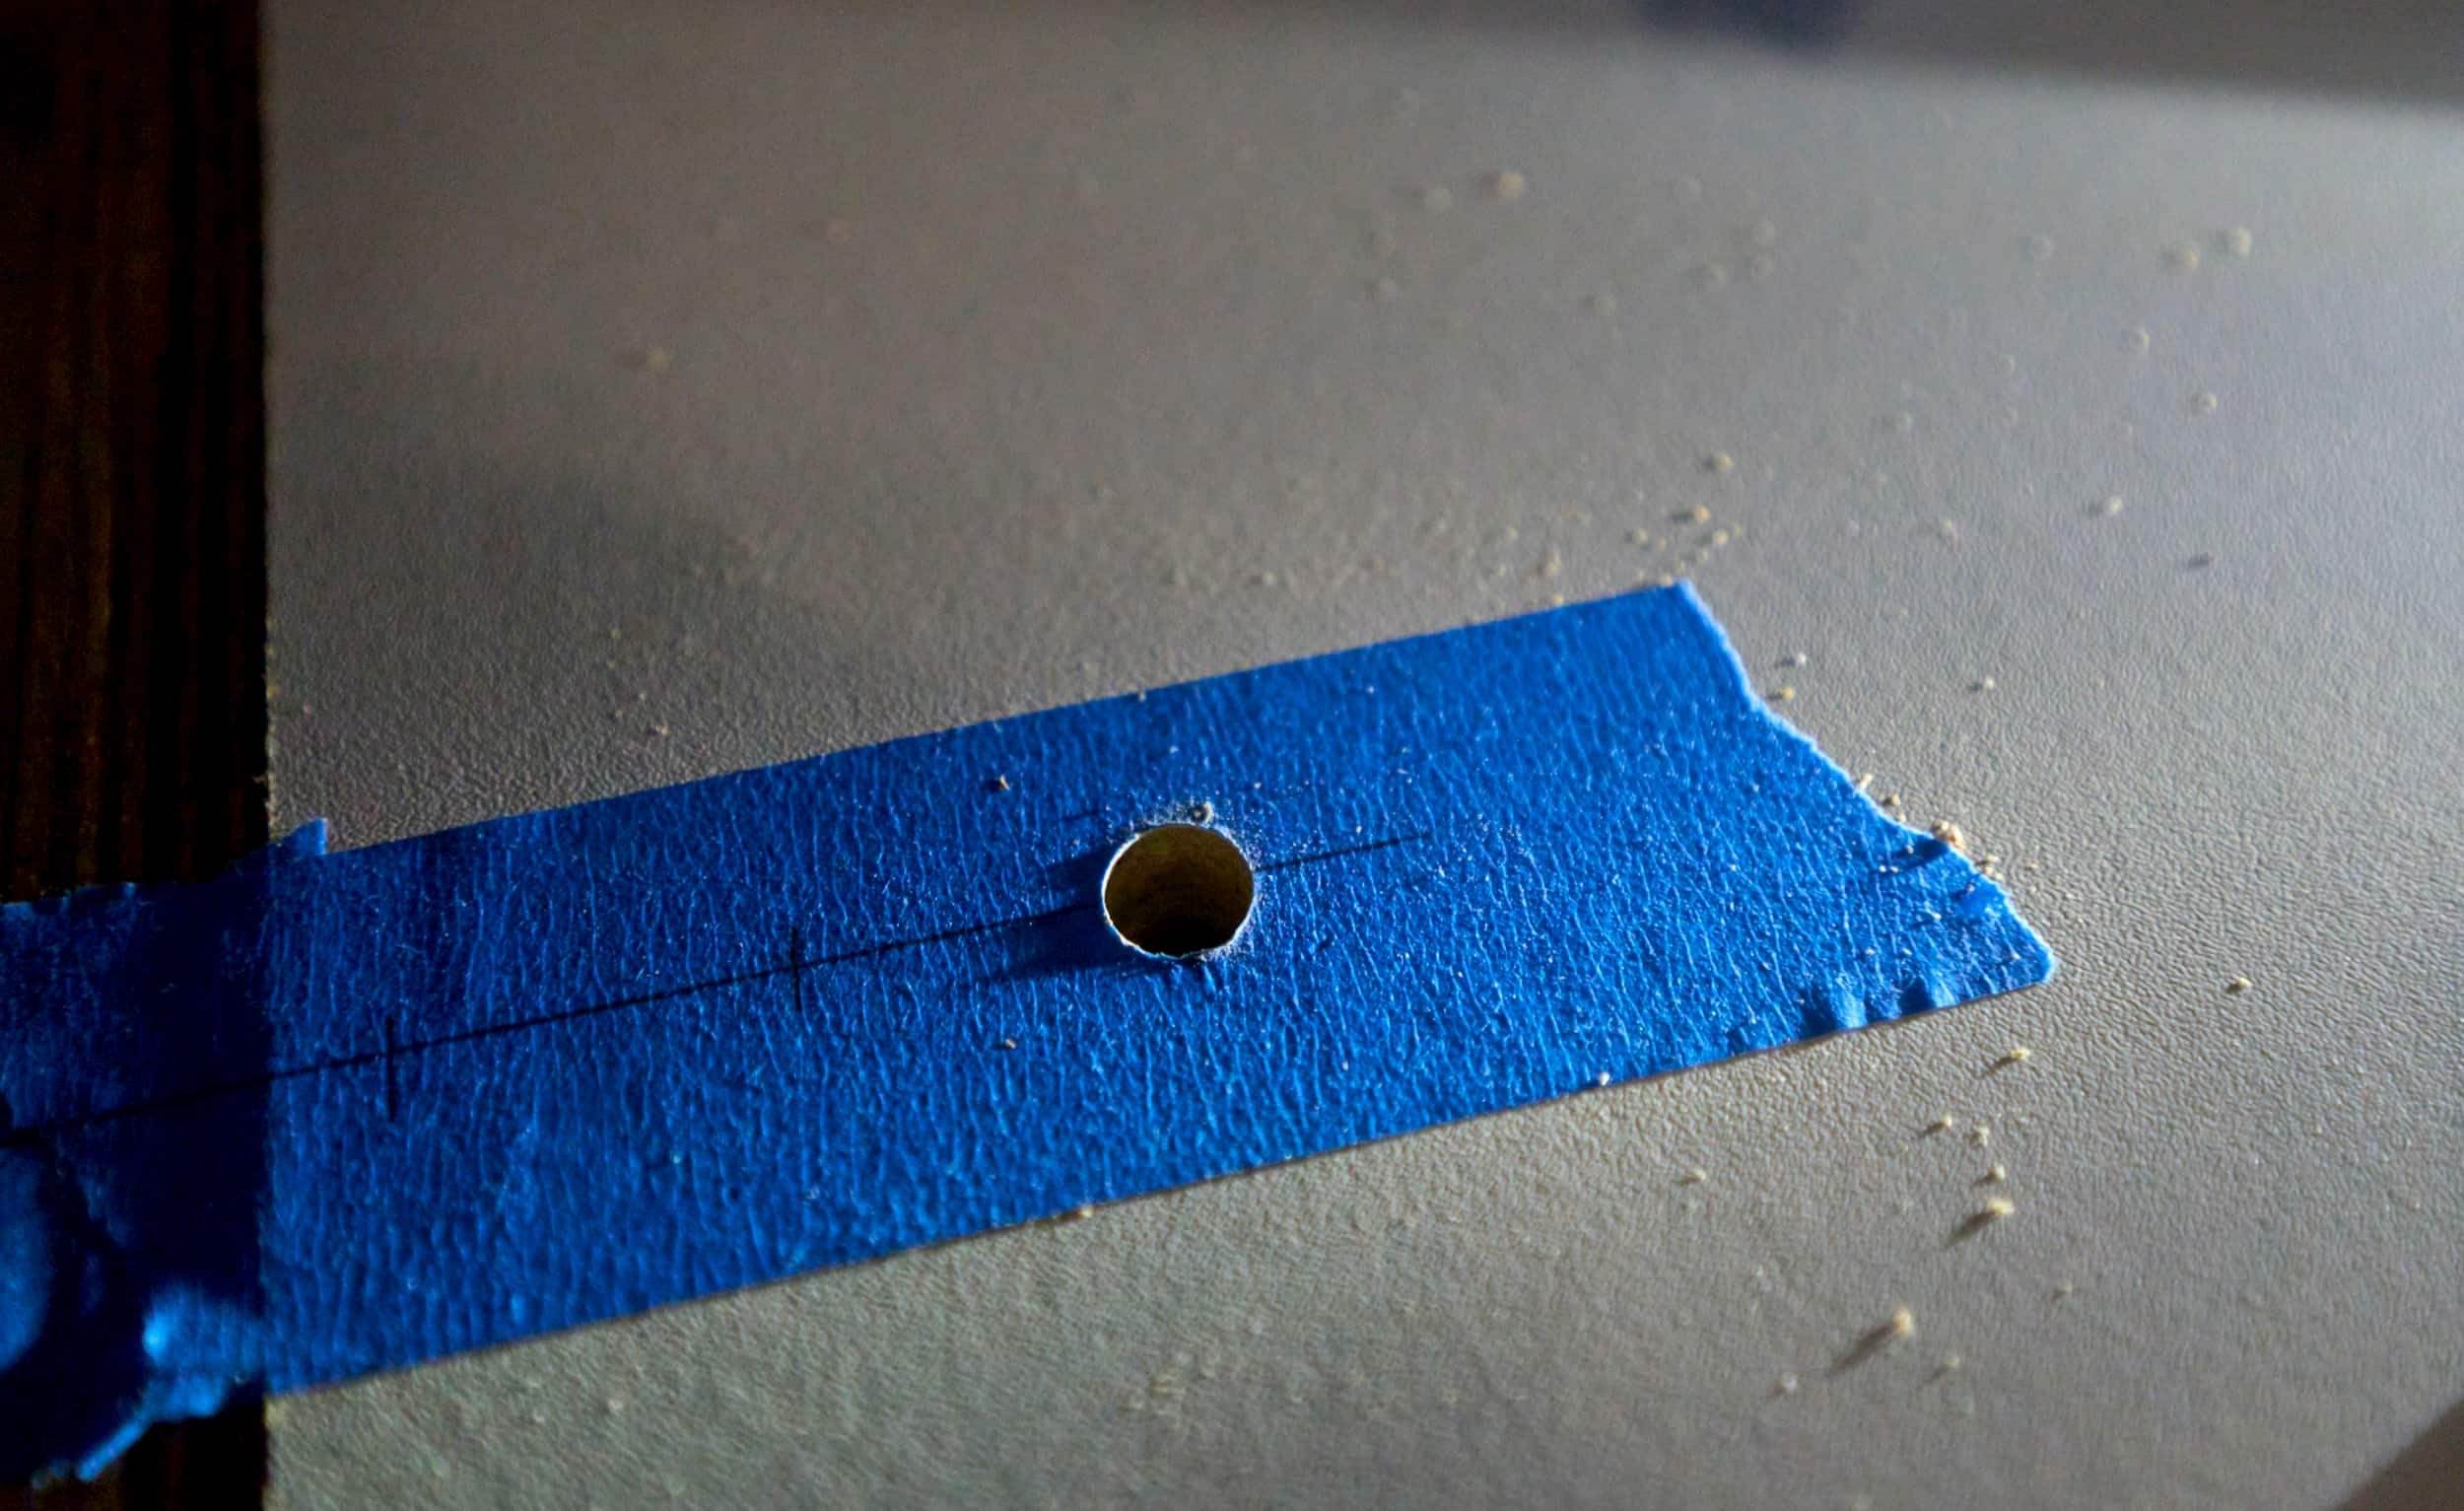
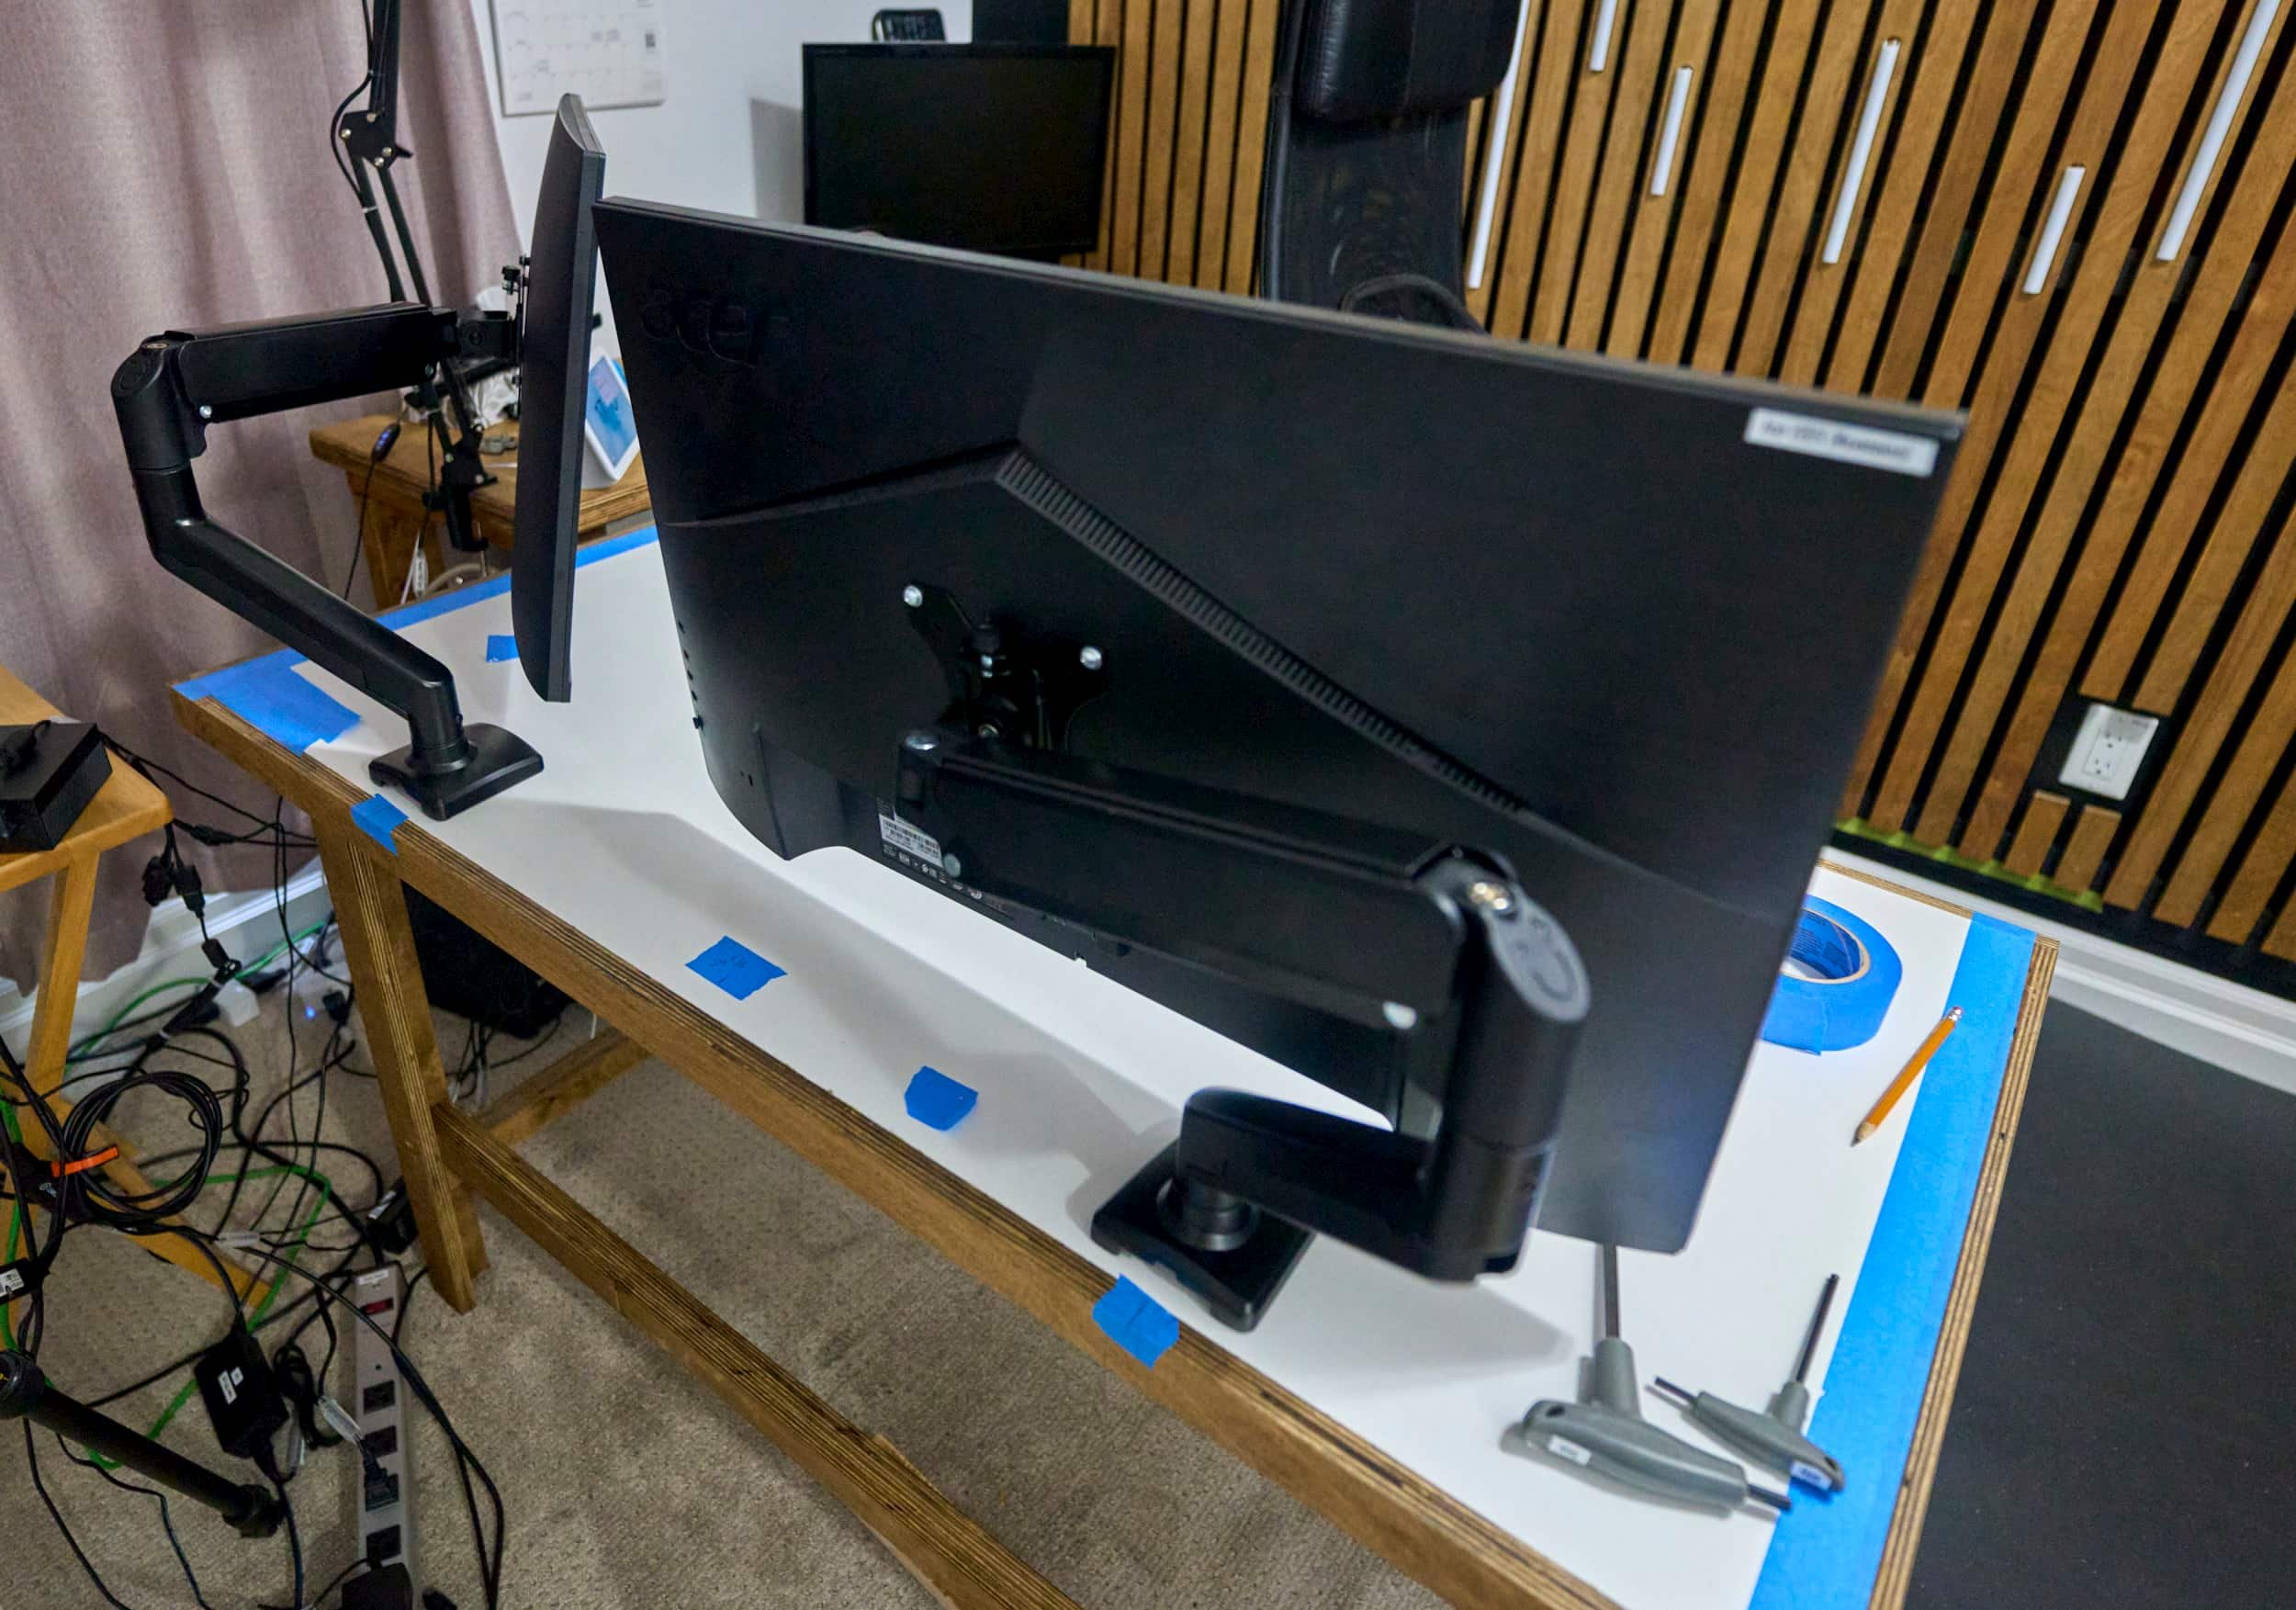
Being comprised of two separate parts made this super easy to bring inside and install in place. As part of the desk upgrade, I put a trailer bed mat down to be a chair mat: figuring out which way to spin the mat and the underlying plywood mat (which I took from my original office desk build) took us the better part of an hour. In the end, we didn’t need to cut anything (which was great, I wasn’t looking forward to trying to cut the mat). The last major thing to do was figure out where to place the monitor arms — which then determines where to drill the grommet hole.

Step 5 - Positioning
In order to get the positioning, we needed to work backwards a bit
The camera was centered against the center of the wall
The monitor was centered on that same centerline
The came centerline would focus on the user’s left eye
The floor mat is then adjusted to be centered relative to the user
The desk is shifted to be appropriate for the user’s relative position
The second monitor is then place at a slight angle
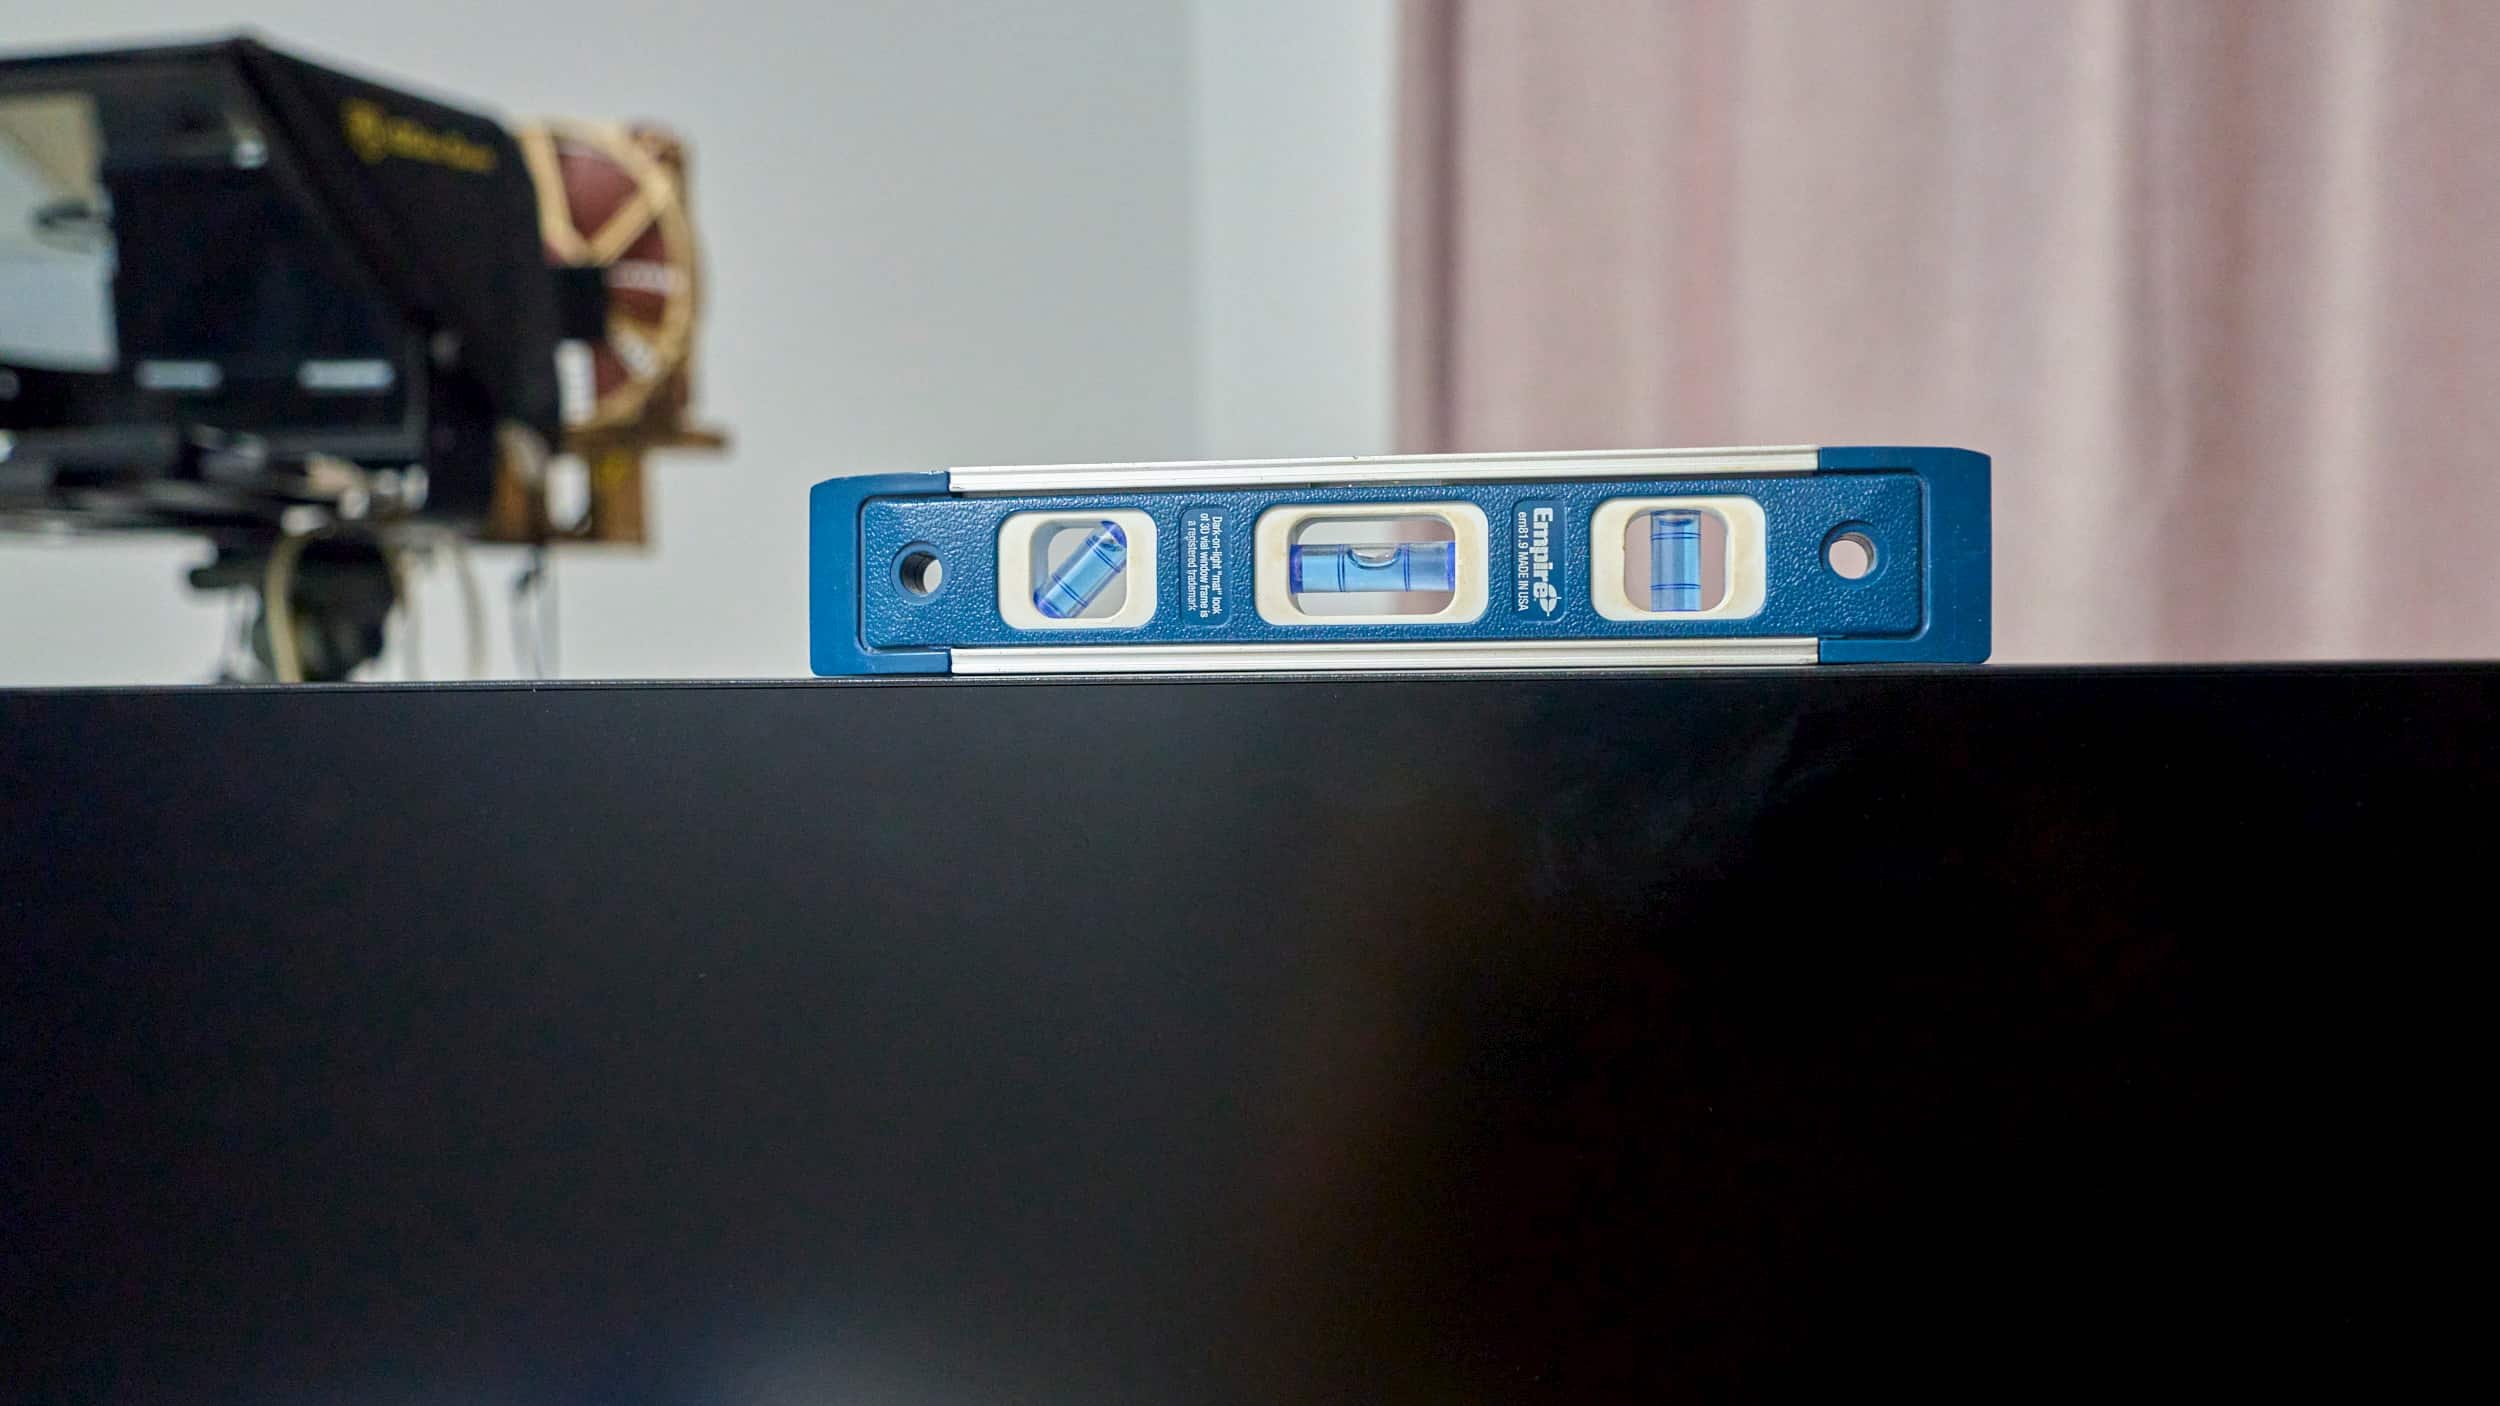
The elevation of the tripod and monitors is adjusted to frame the user
The microphone is placed out of frame


Milestone
This was a fairly quick project where things mostly fell into place and I’m super grateful for that. I had actually originally planned on doing this desk as part of the LED Slat Wall build last week (albeit as a simpler version) but the wiring woes chewed up all my time.
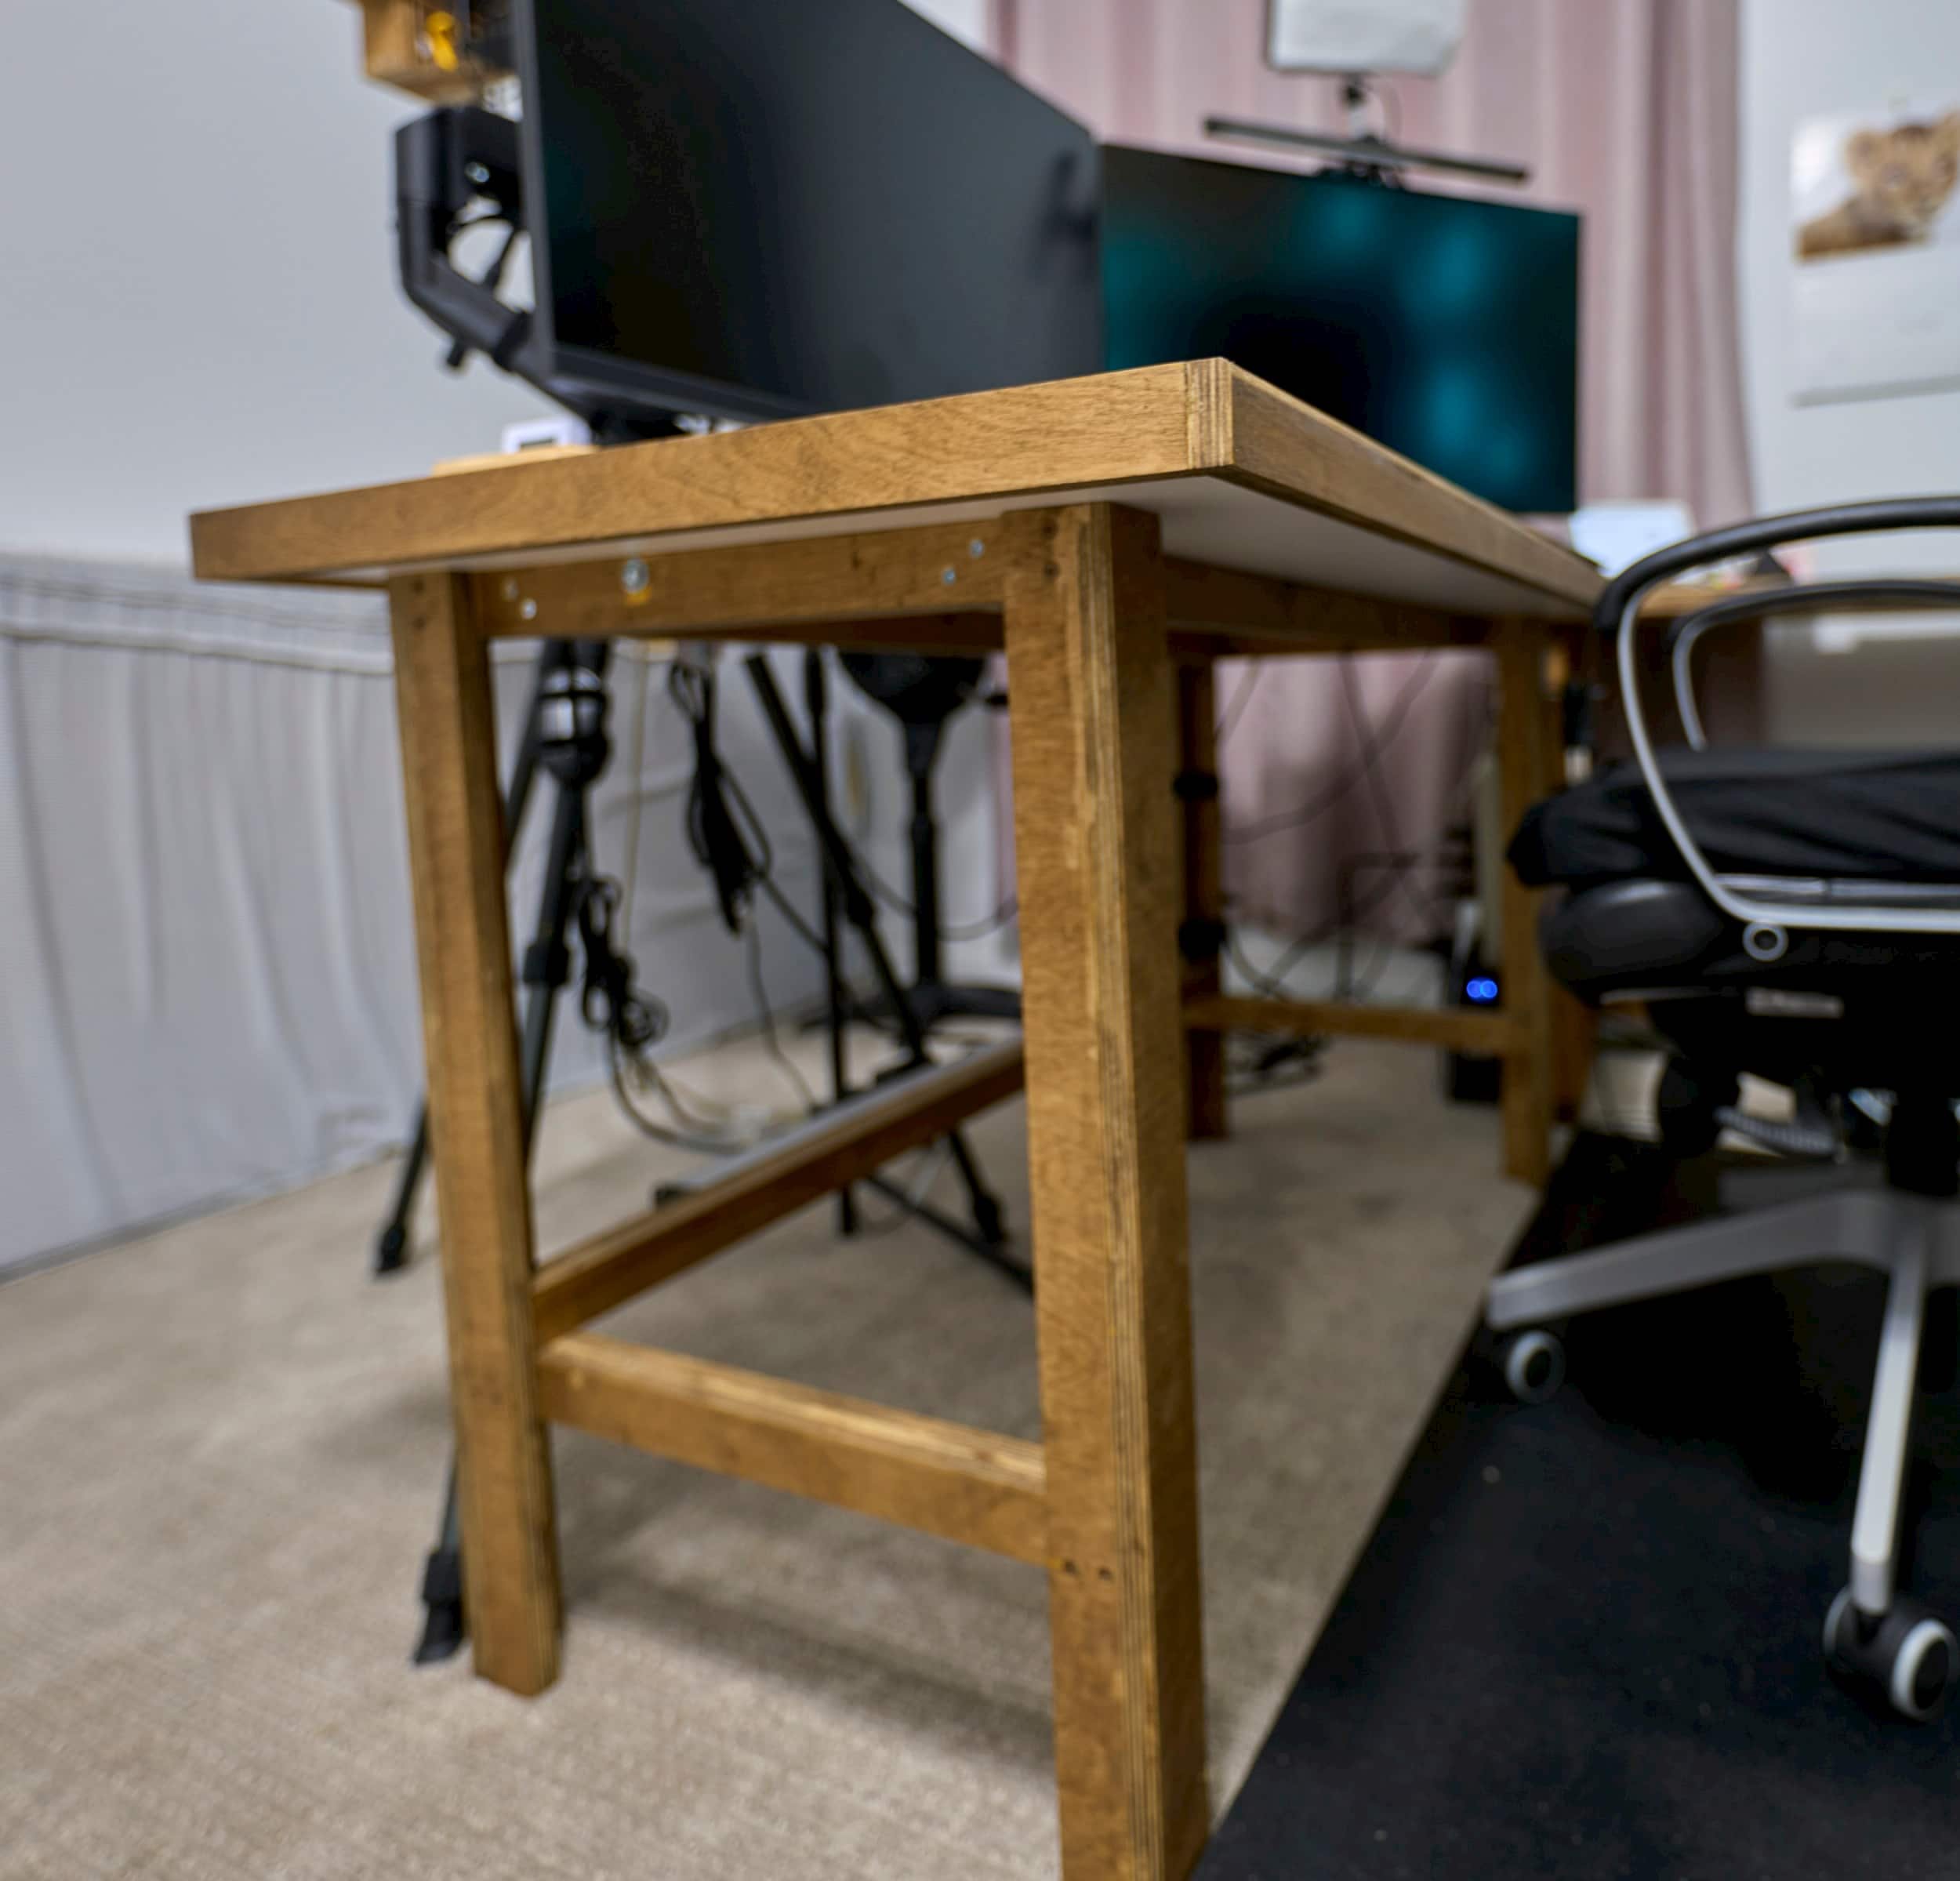
So far, I don’t think I need to add any kind of anti-tip leg (although it’s not hard to retrofit that down the road if needed).
Desk all done for now
Appendix
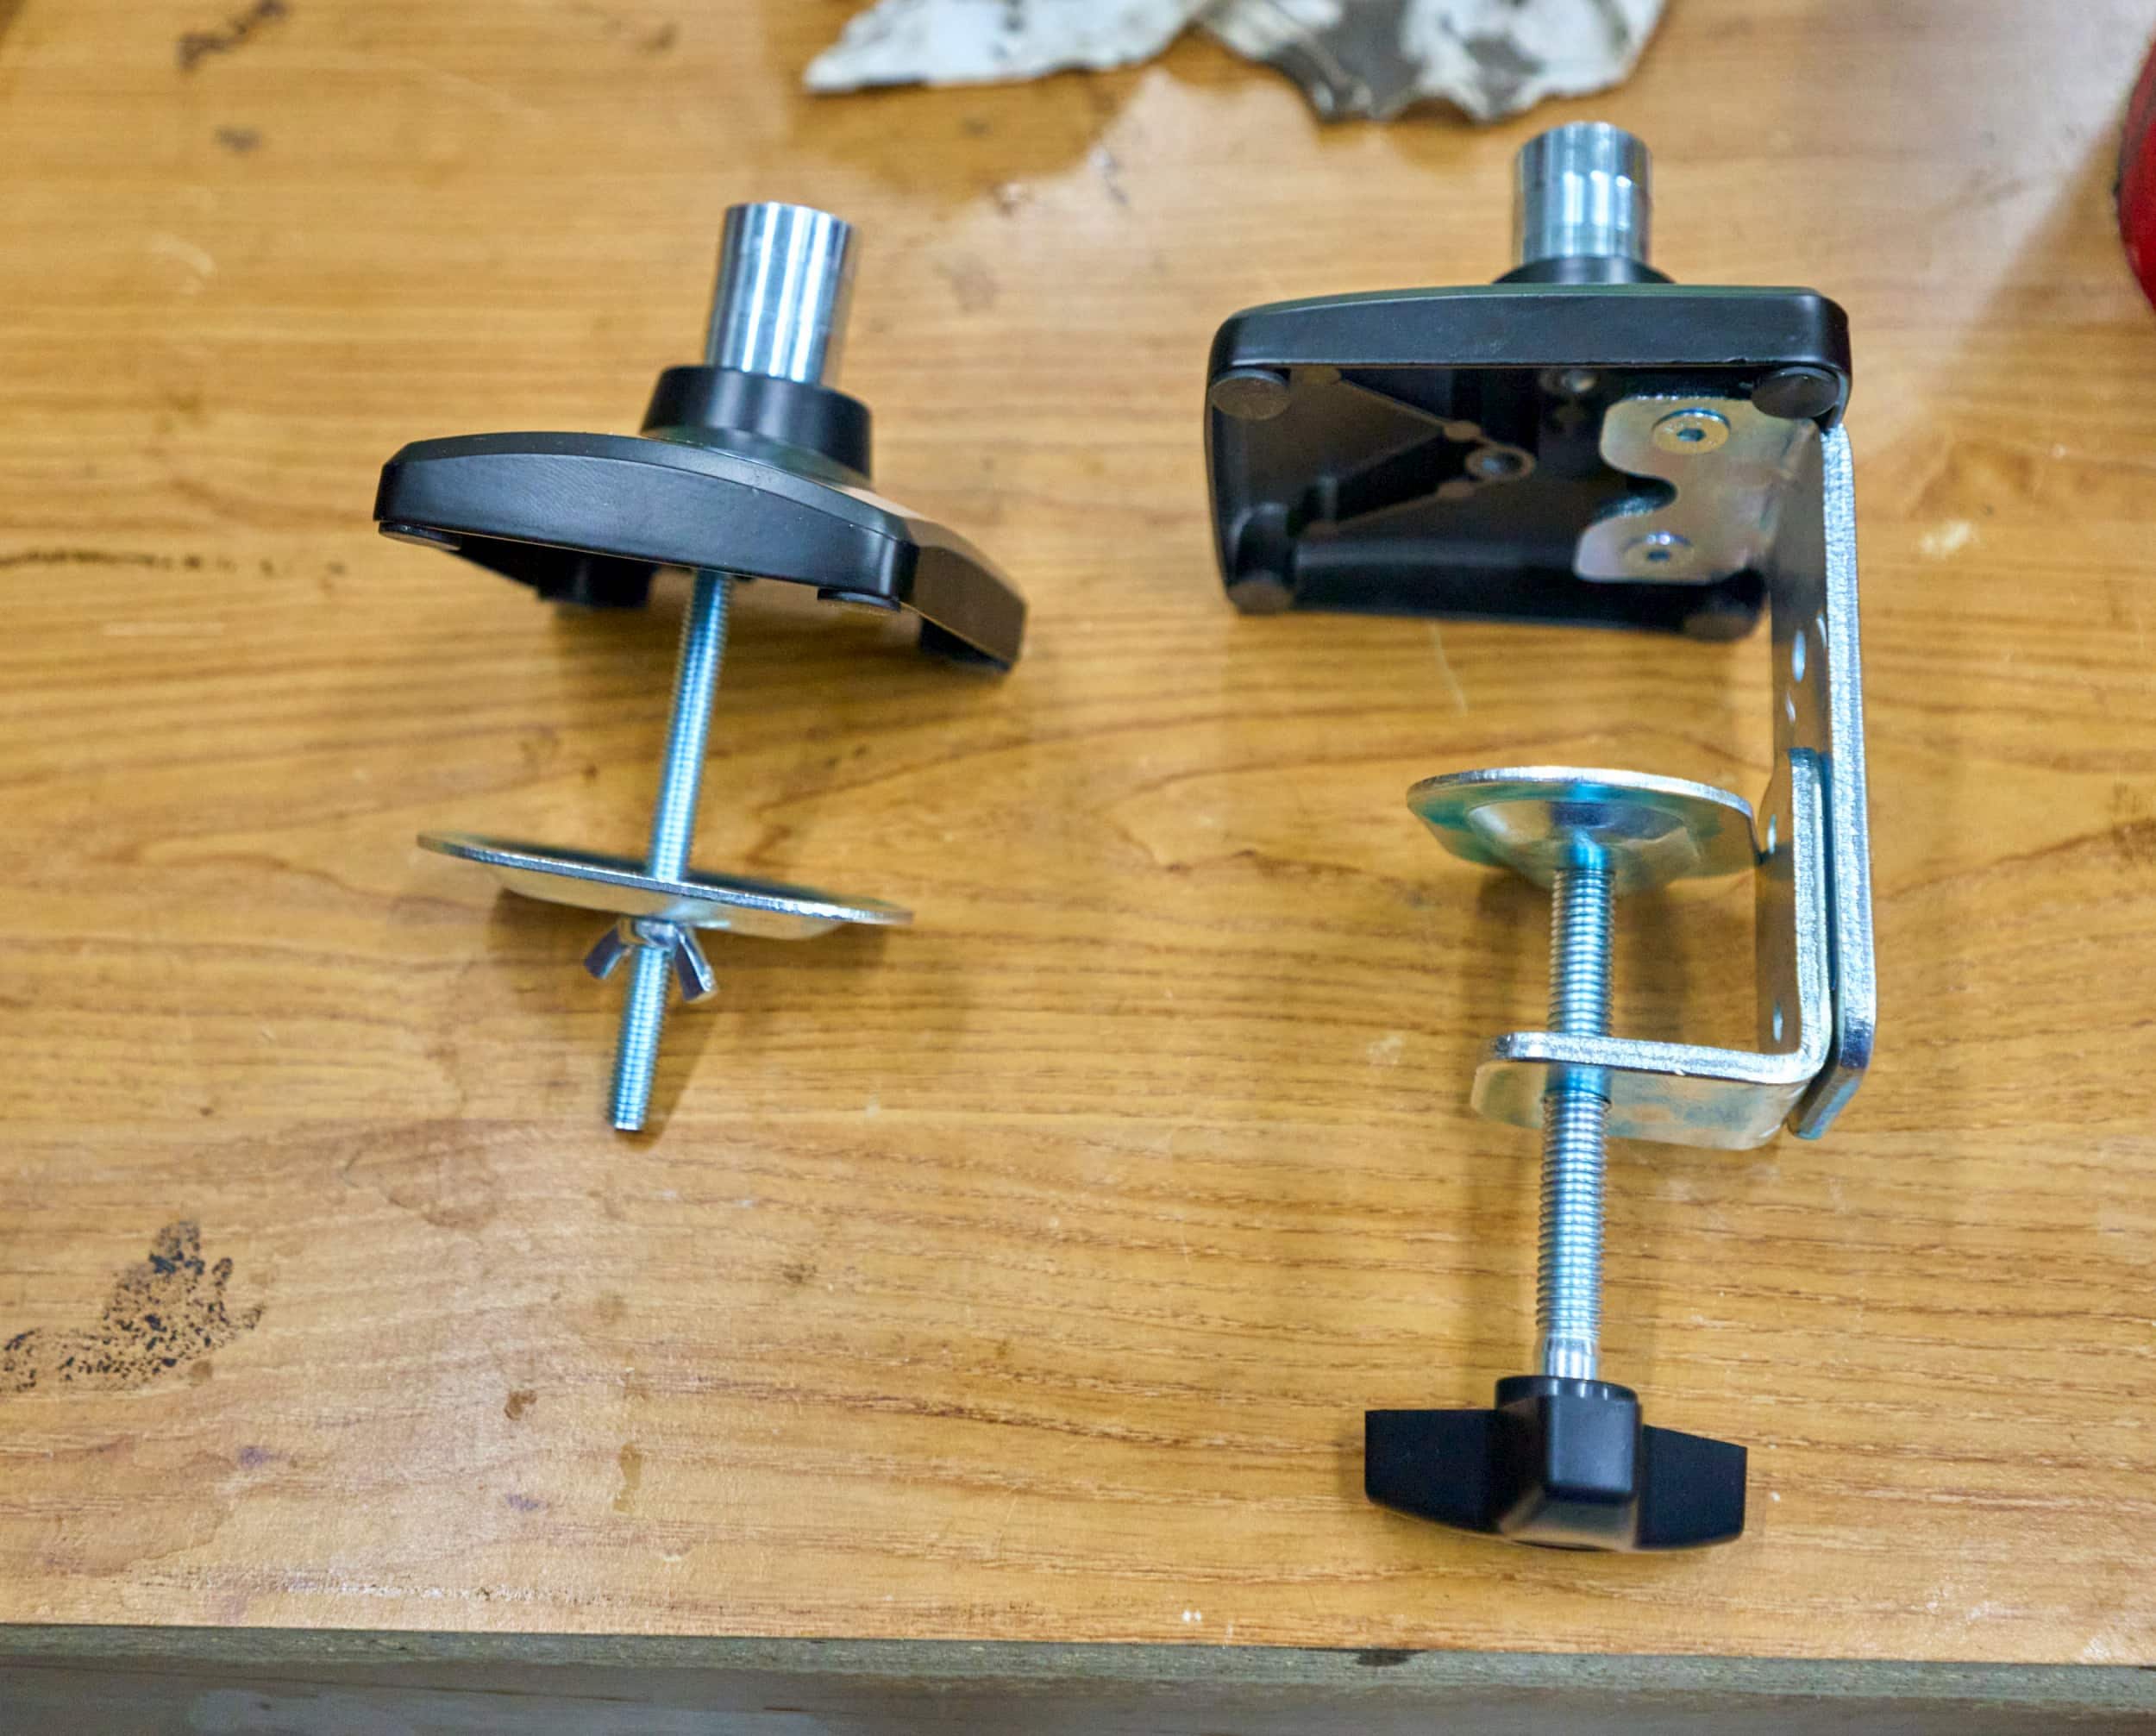
Monitor arms: Charmount Single monitor arm gas-spring mount (max load, 19.8lb, 2.3” grommet capacity, 3.3” clamp capacity). Since the grommet is just an M8 bolt, you could theoretically replace this with whatever custom length you need (if you needed more than 2.3” capacity). I specifically went with two single-mounts rather than a single double-mount as this gives me better flexibility on placement and better weight/force distribution
Mat: 4x6x5/8 trailer bed mat. Alternatively, you could also go with a 4x6x3/4 horse stall mat
Product links may be affiliate links: MinMaxGeek may earn a commission on any purchases made via said links without any additional cost to you.