

Build Log: Wall-Desk Mk I
Cable management has always been a big deal for me.
In an ideal world, cables should either be exact length, or wrapped as such. And labeled. They must be labeled. Everything must be labeled.
For the longest time, I’ve made do with half-measures. Cables are labeled, tied and bunched as best as I can but due to [room] layout and circumstance, there’s always straggler cables going every which way. This wall? desk? — Wall-Desk, represents a first pass at getting things organized.
Quick Links
Where we started...
For the longest time, I’ve been using a Costco folding table — it’s cheap, easy to transport, easy to clean, holds a ton of weight and is pretty dang durable. Some of the more recent models even allow you to adjust the table height. Not a lot of complaints as far as raw utility goes but obviously, this is holding me back in a few key areas
The folding feature that makes this so convenient to move? The hinge mechanism doesn’t open totally flat so there’s always a ridge in the middle of the desk
The legs the struts always get in the way
Being 2¼ to 2½ inches thick, this can be a bit thick for many ‘clamp on’ accessories (and the table isn’t for strong compressive force)
Since we rent, this rules out any major “built it into the wall” options


Goals and Constraints
I wanted to make a desk both specific for my computer but also generic for future computers (and houses) — furniture as infrastructure if you will. There were three broad categories of features/requirements to consider:
[1] Clean up this desk. This was the initial motivator for this project, to reduce the amount of wire and cable chaos for this desk.
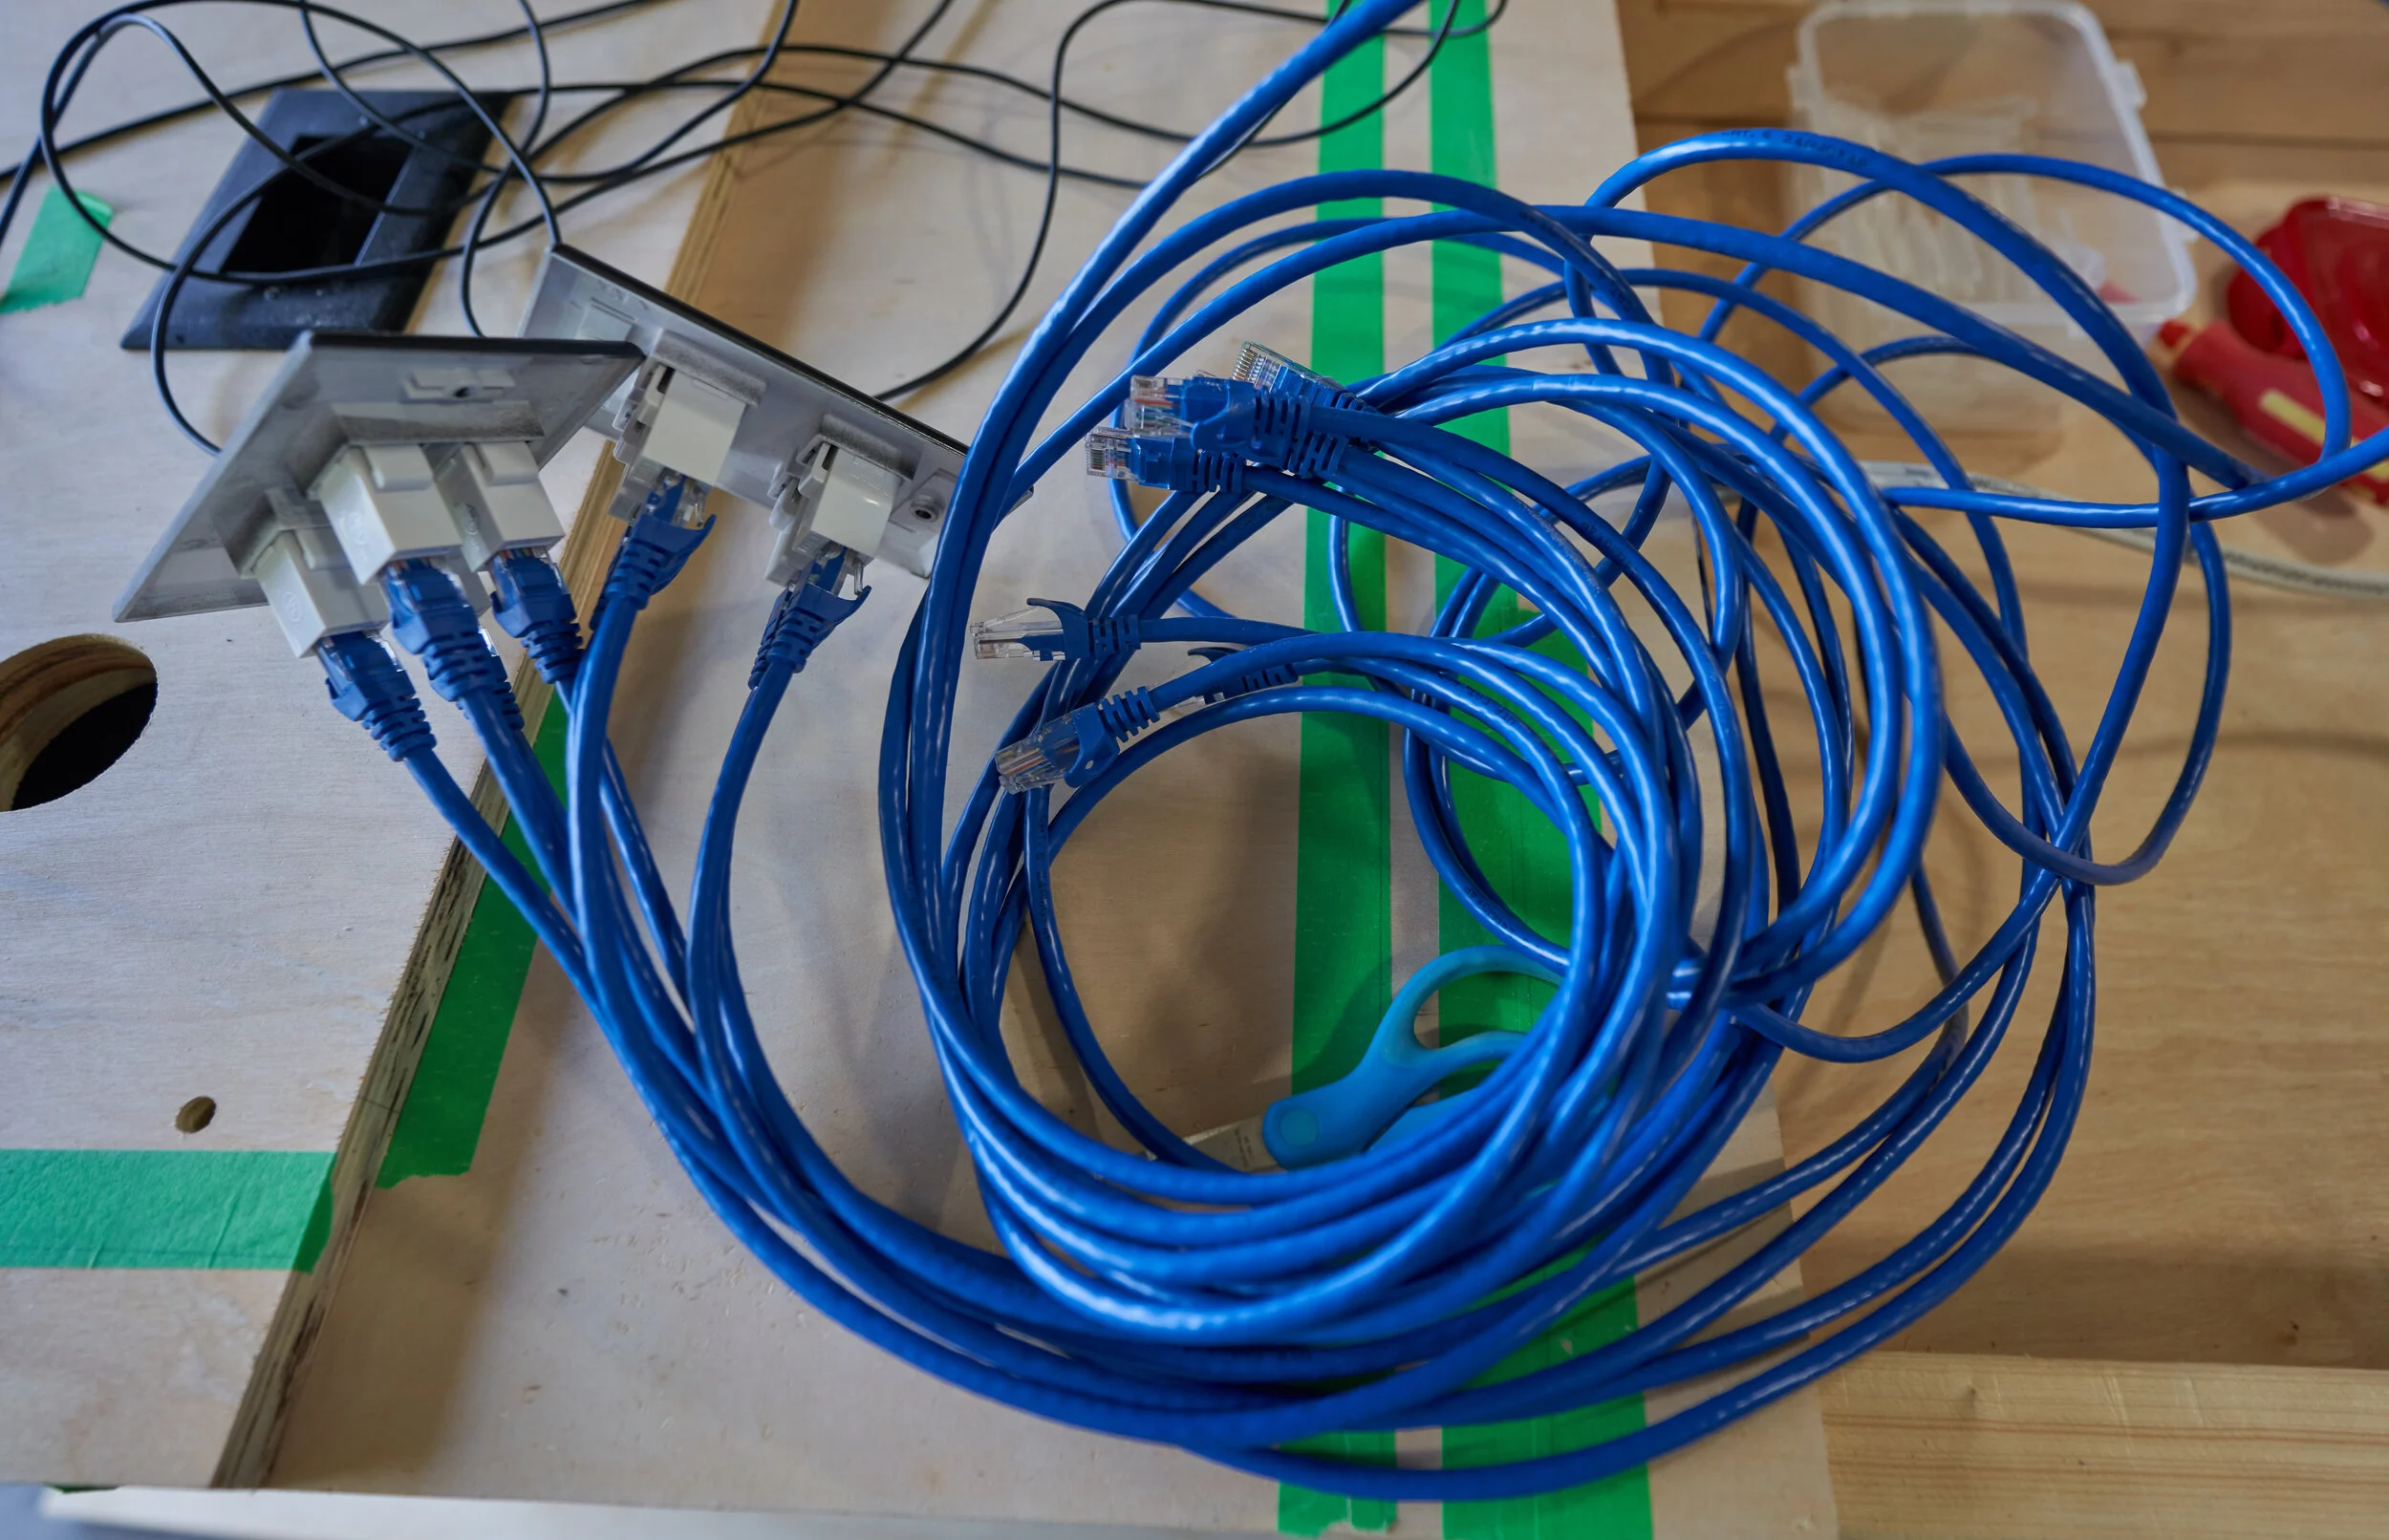
Eliminate the cables running across the floor for power for the speakers
Eliminate cables running from the floor (computer) up to the desk
Monitor mounting decoupled from the desk (mounted to the wall)
Front speakers decoupled from the desk (mounted to the wall)
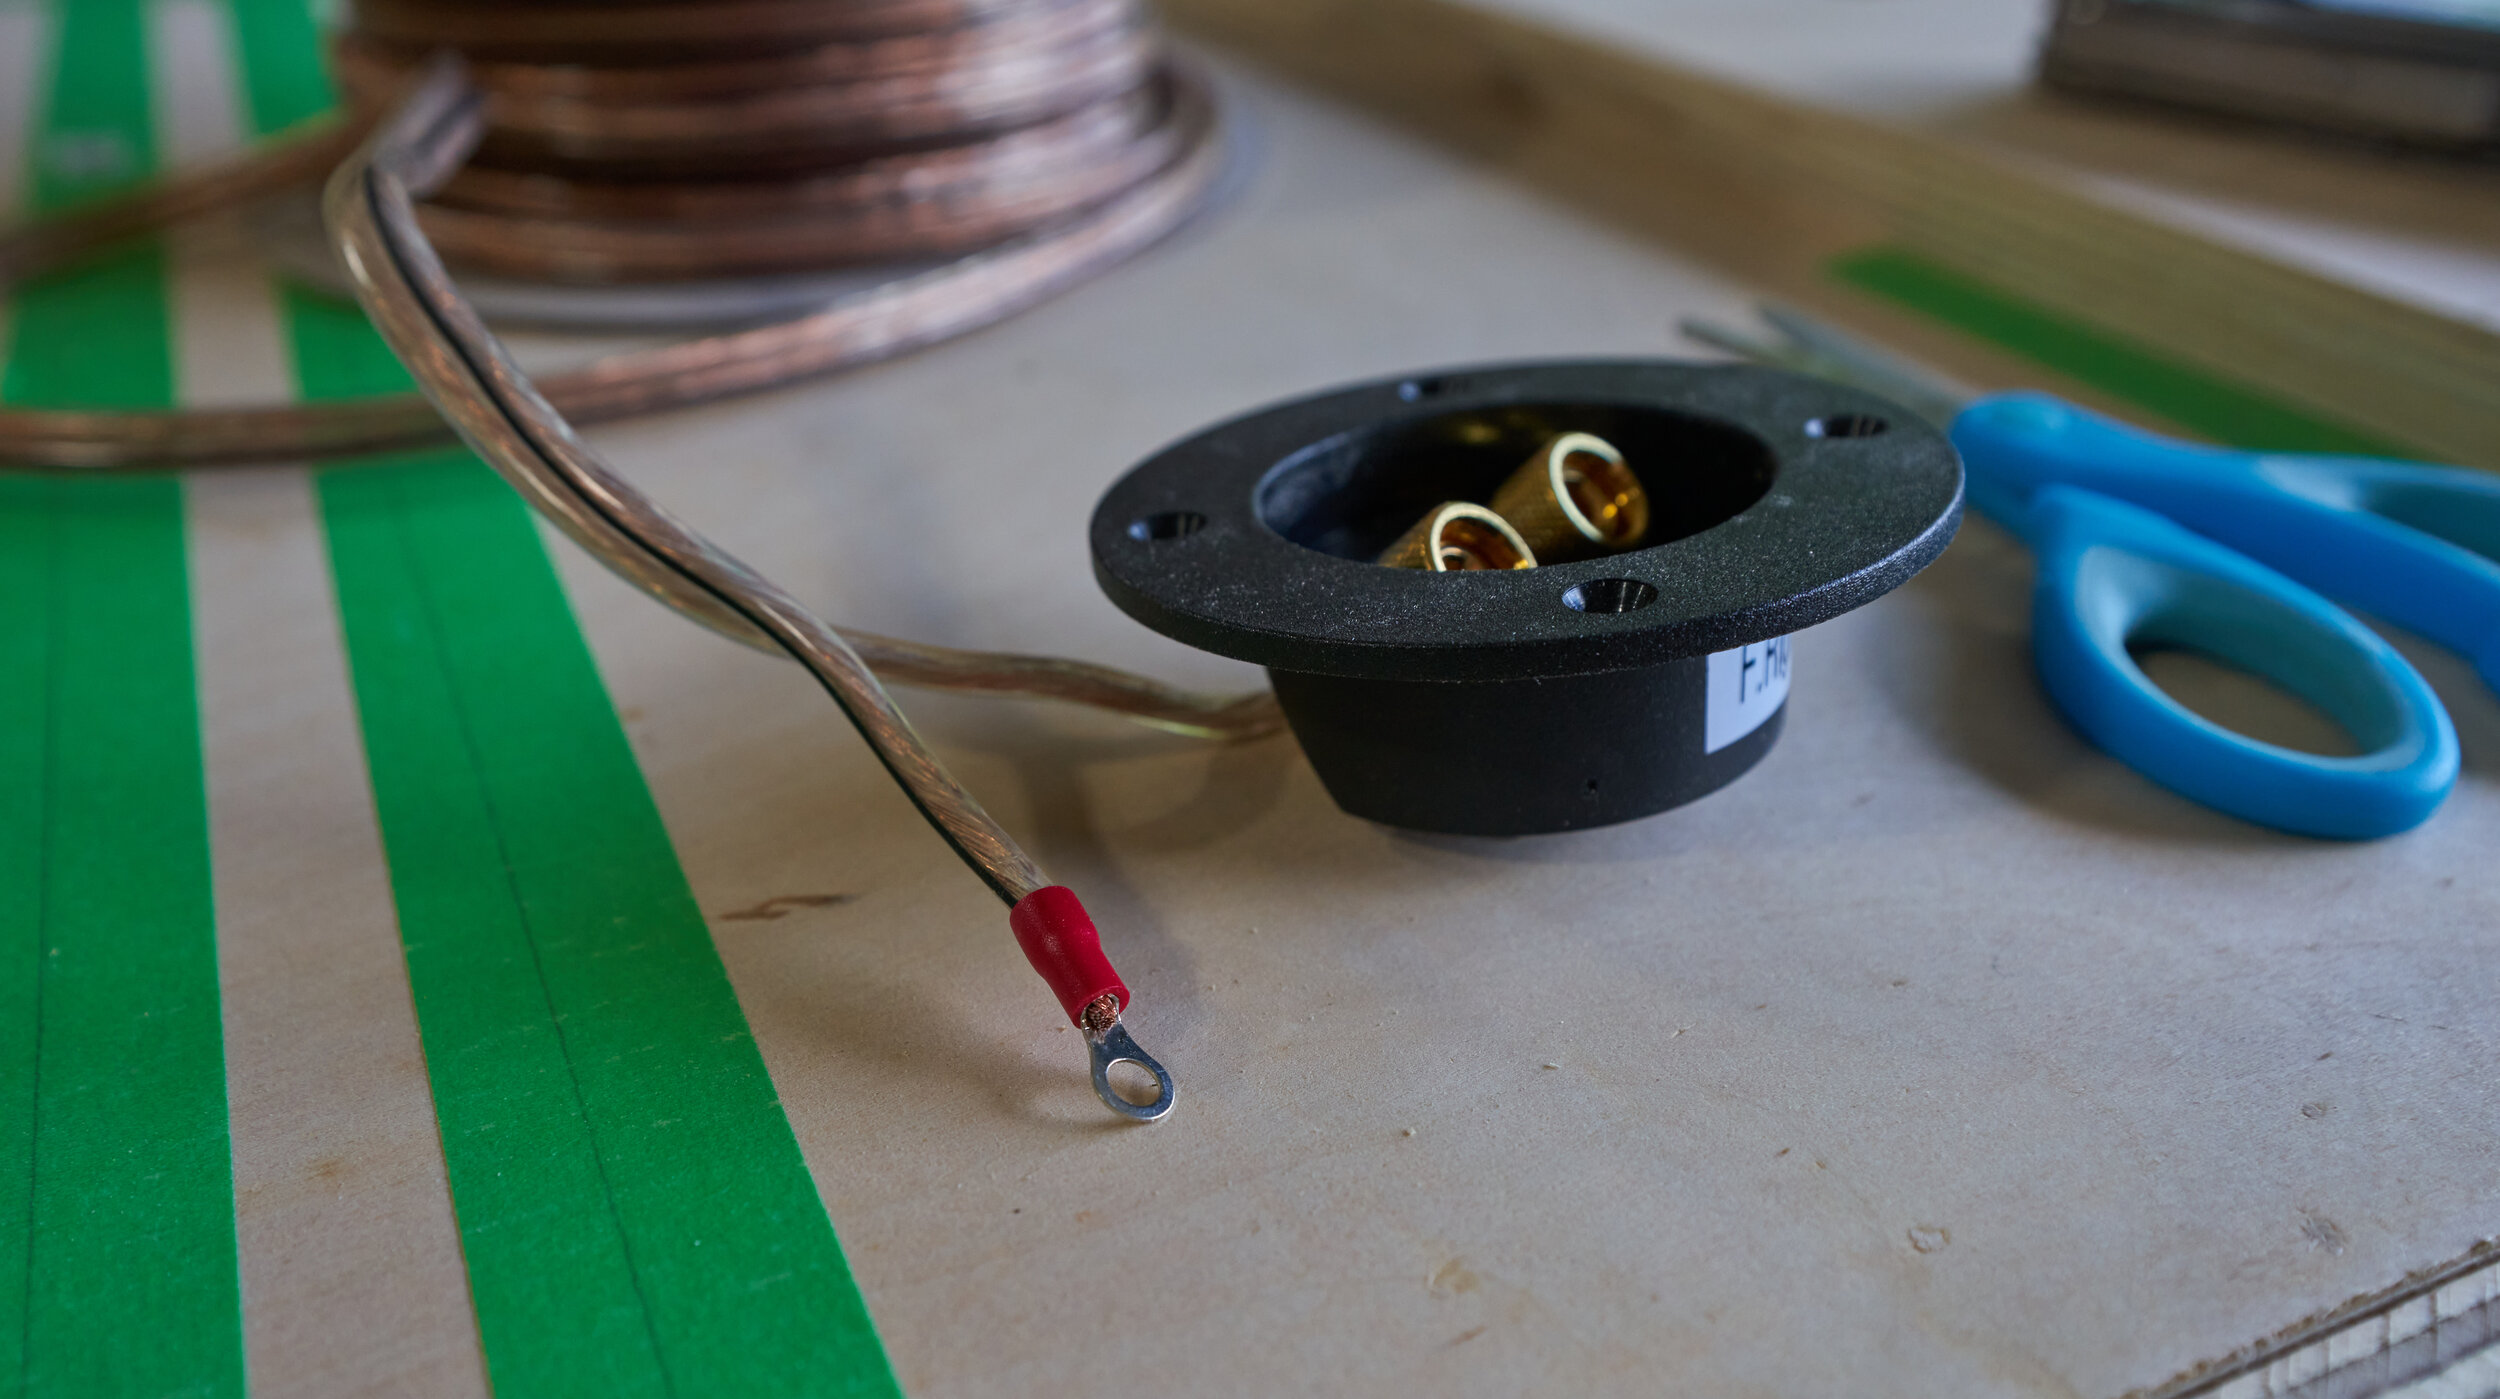
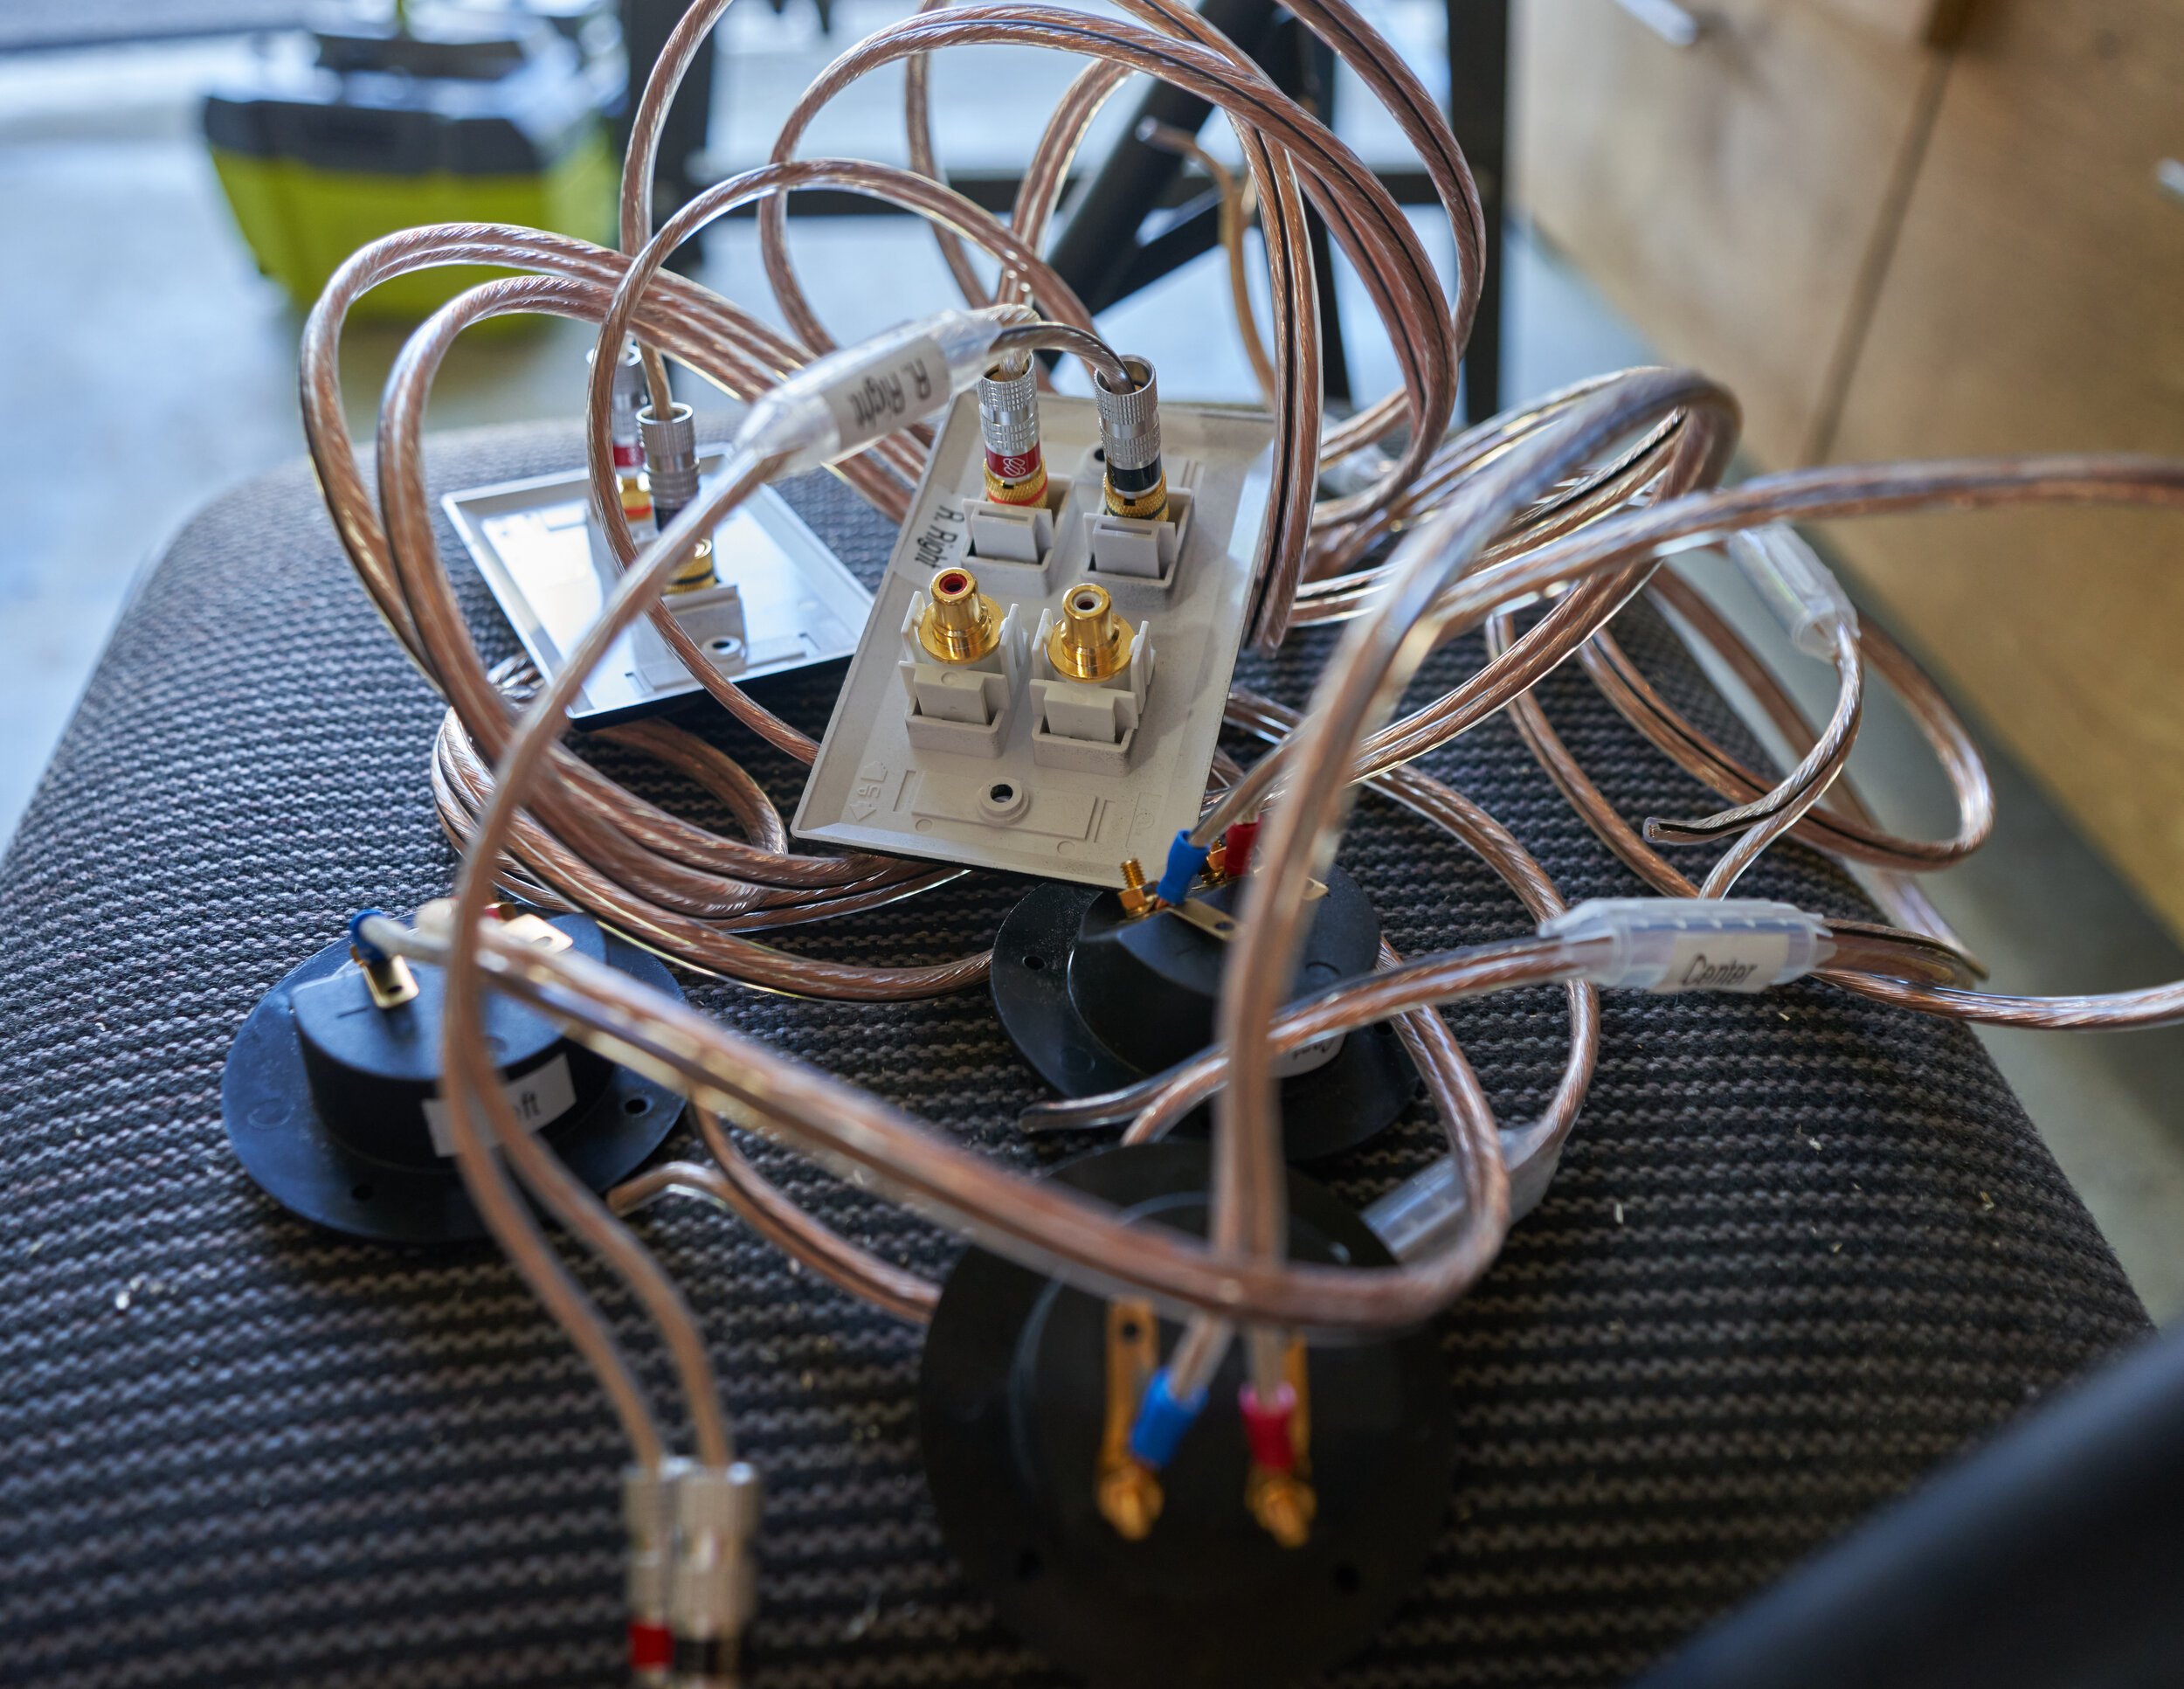
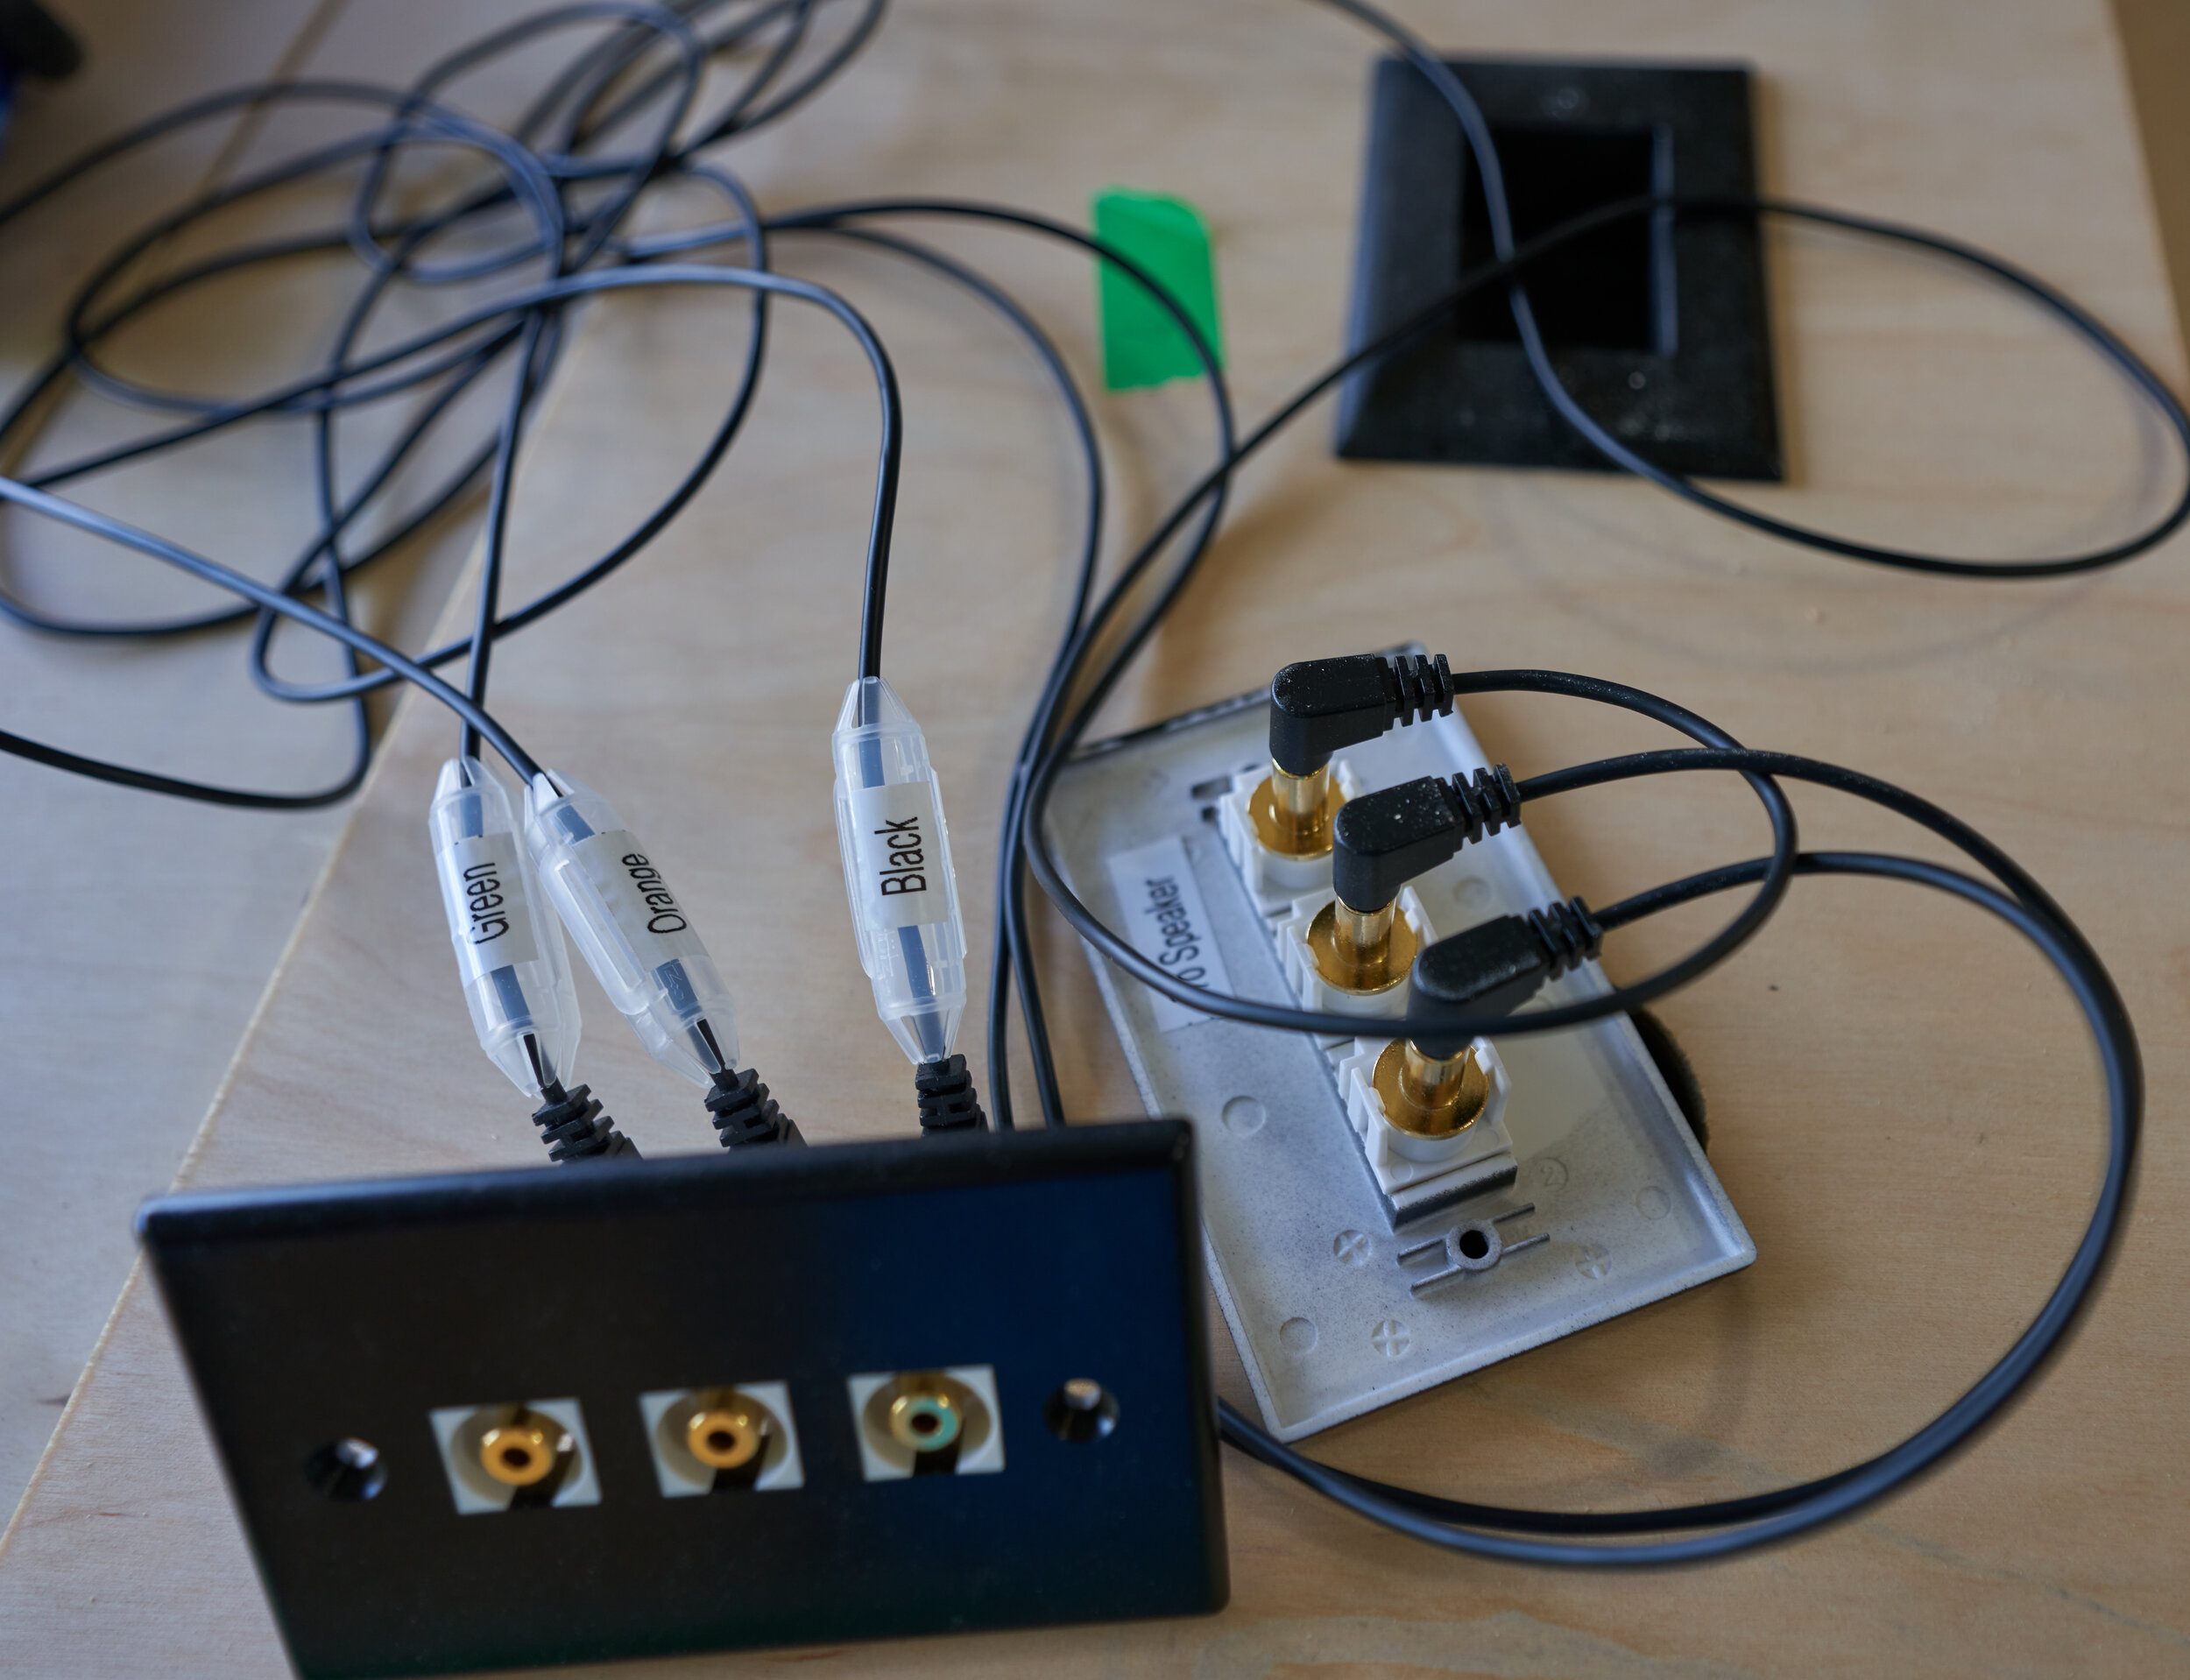
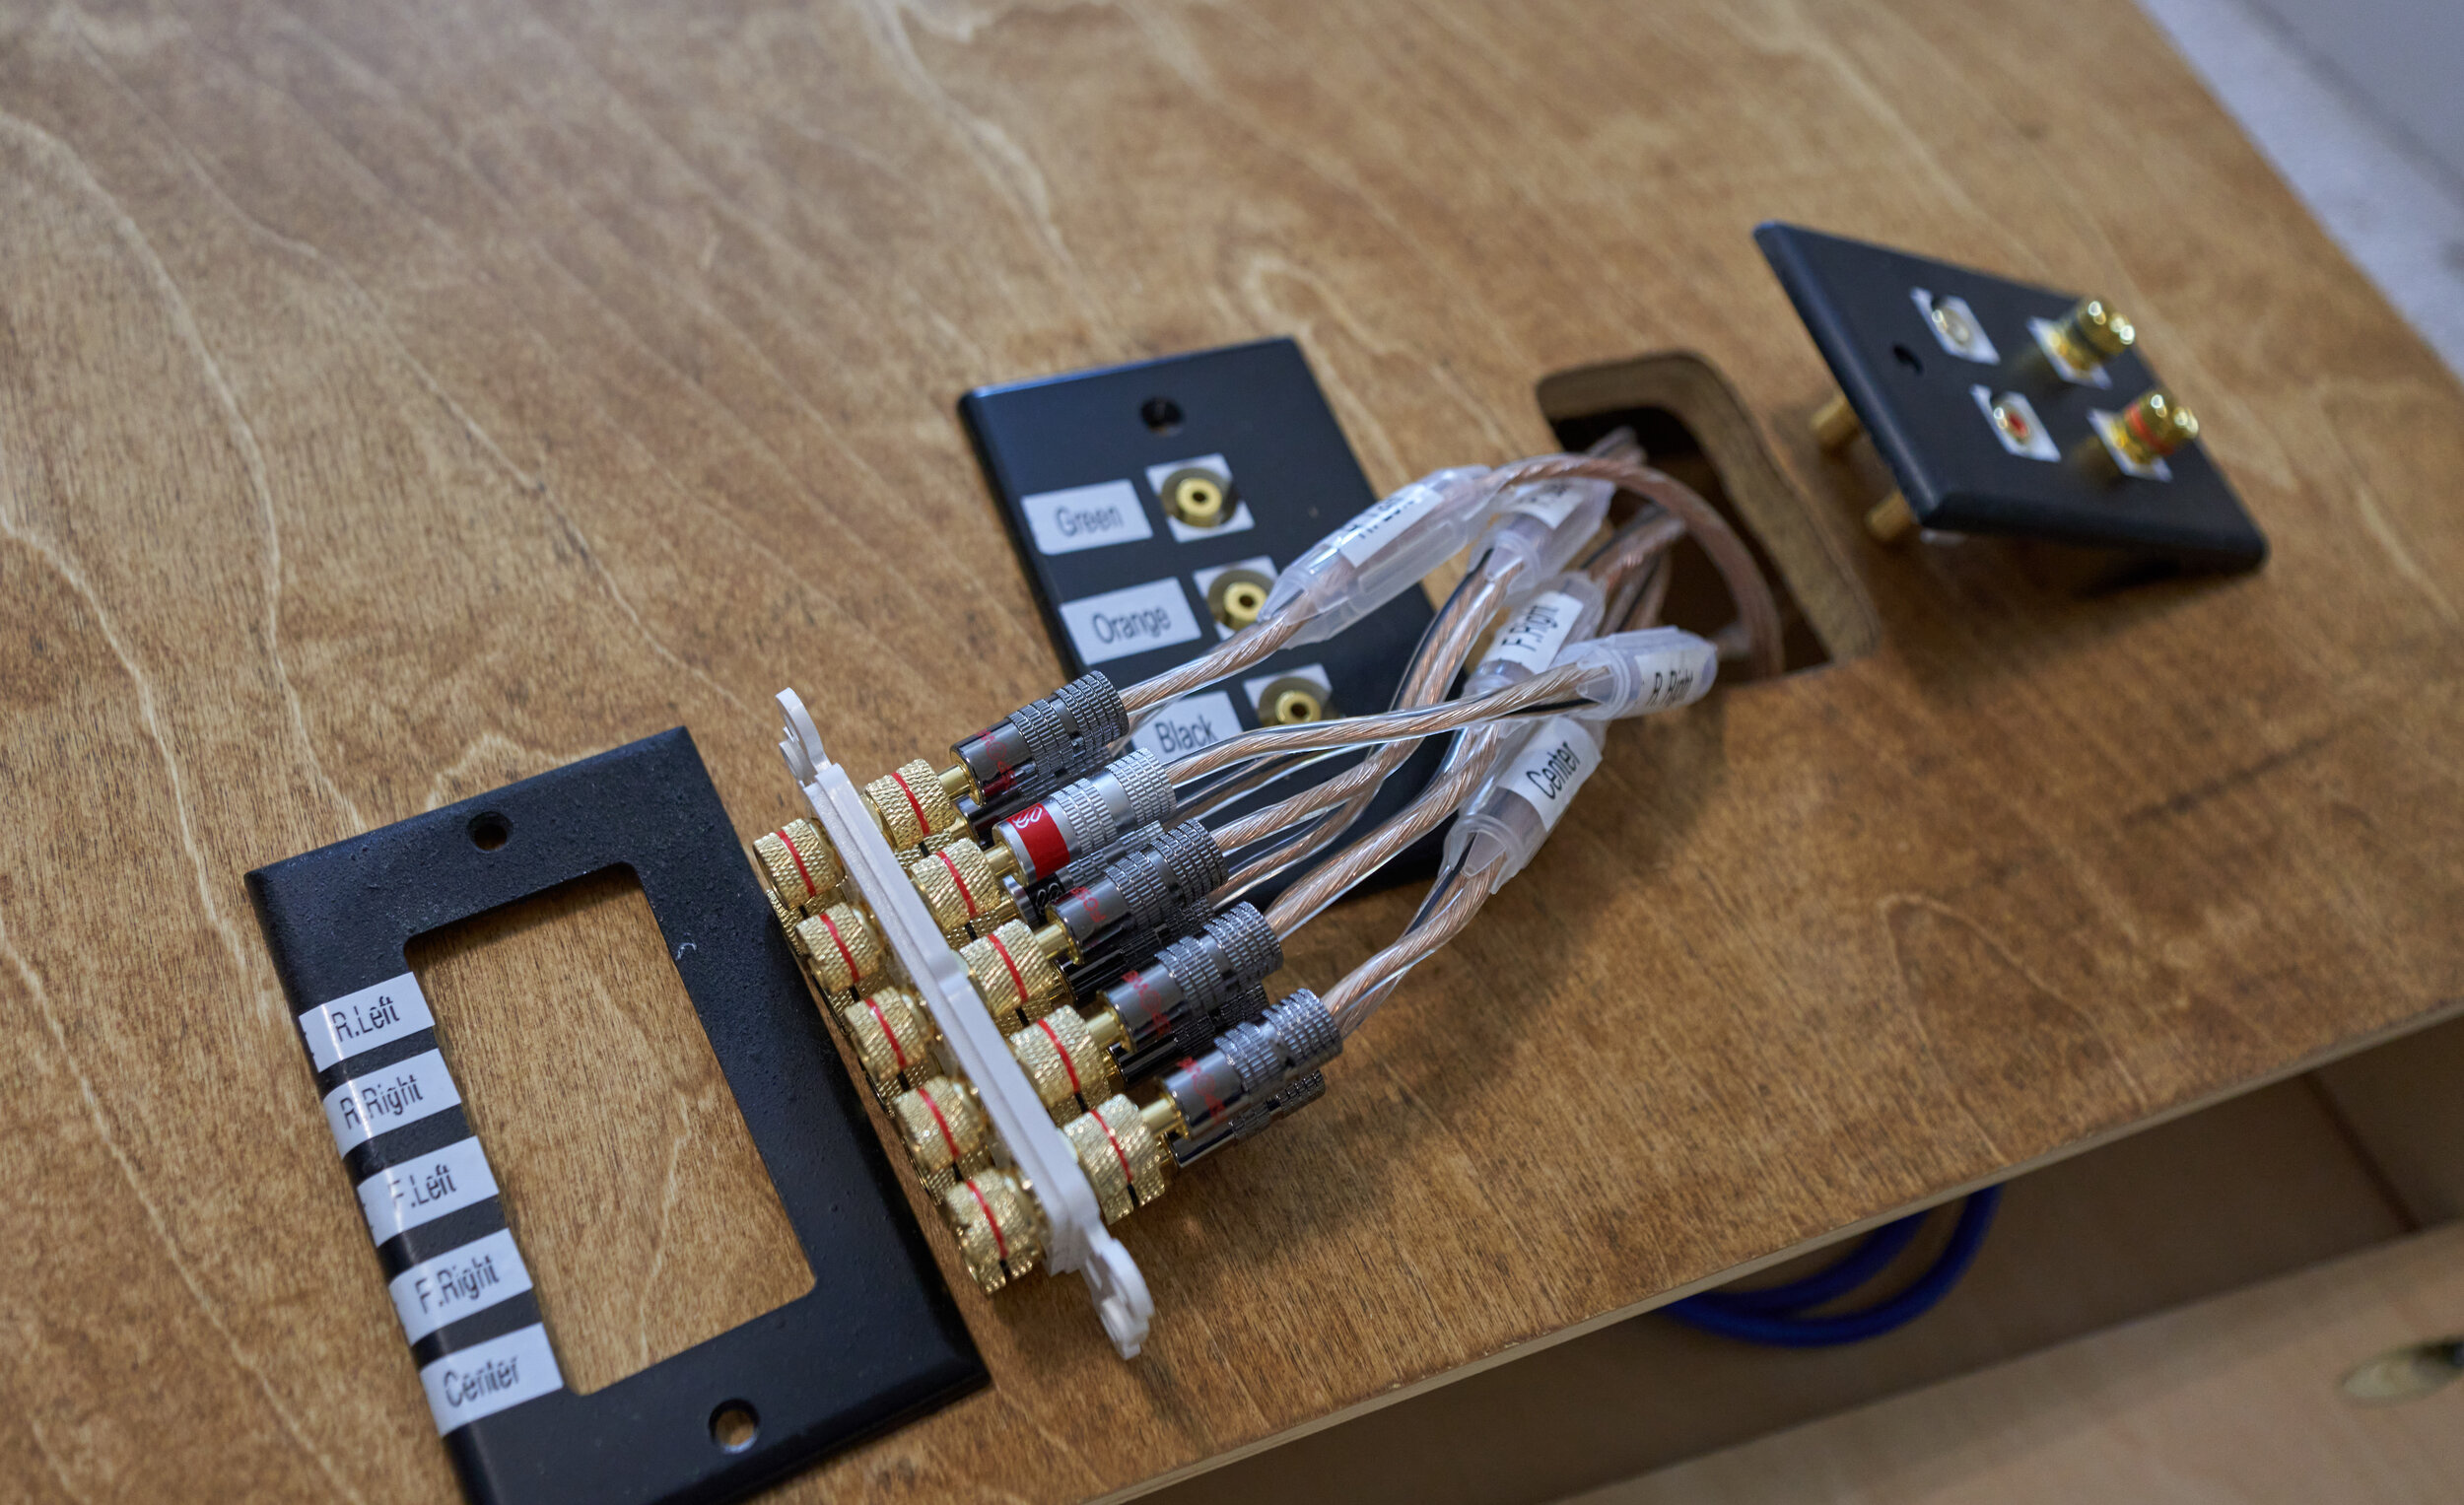
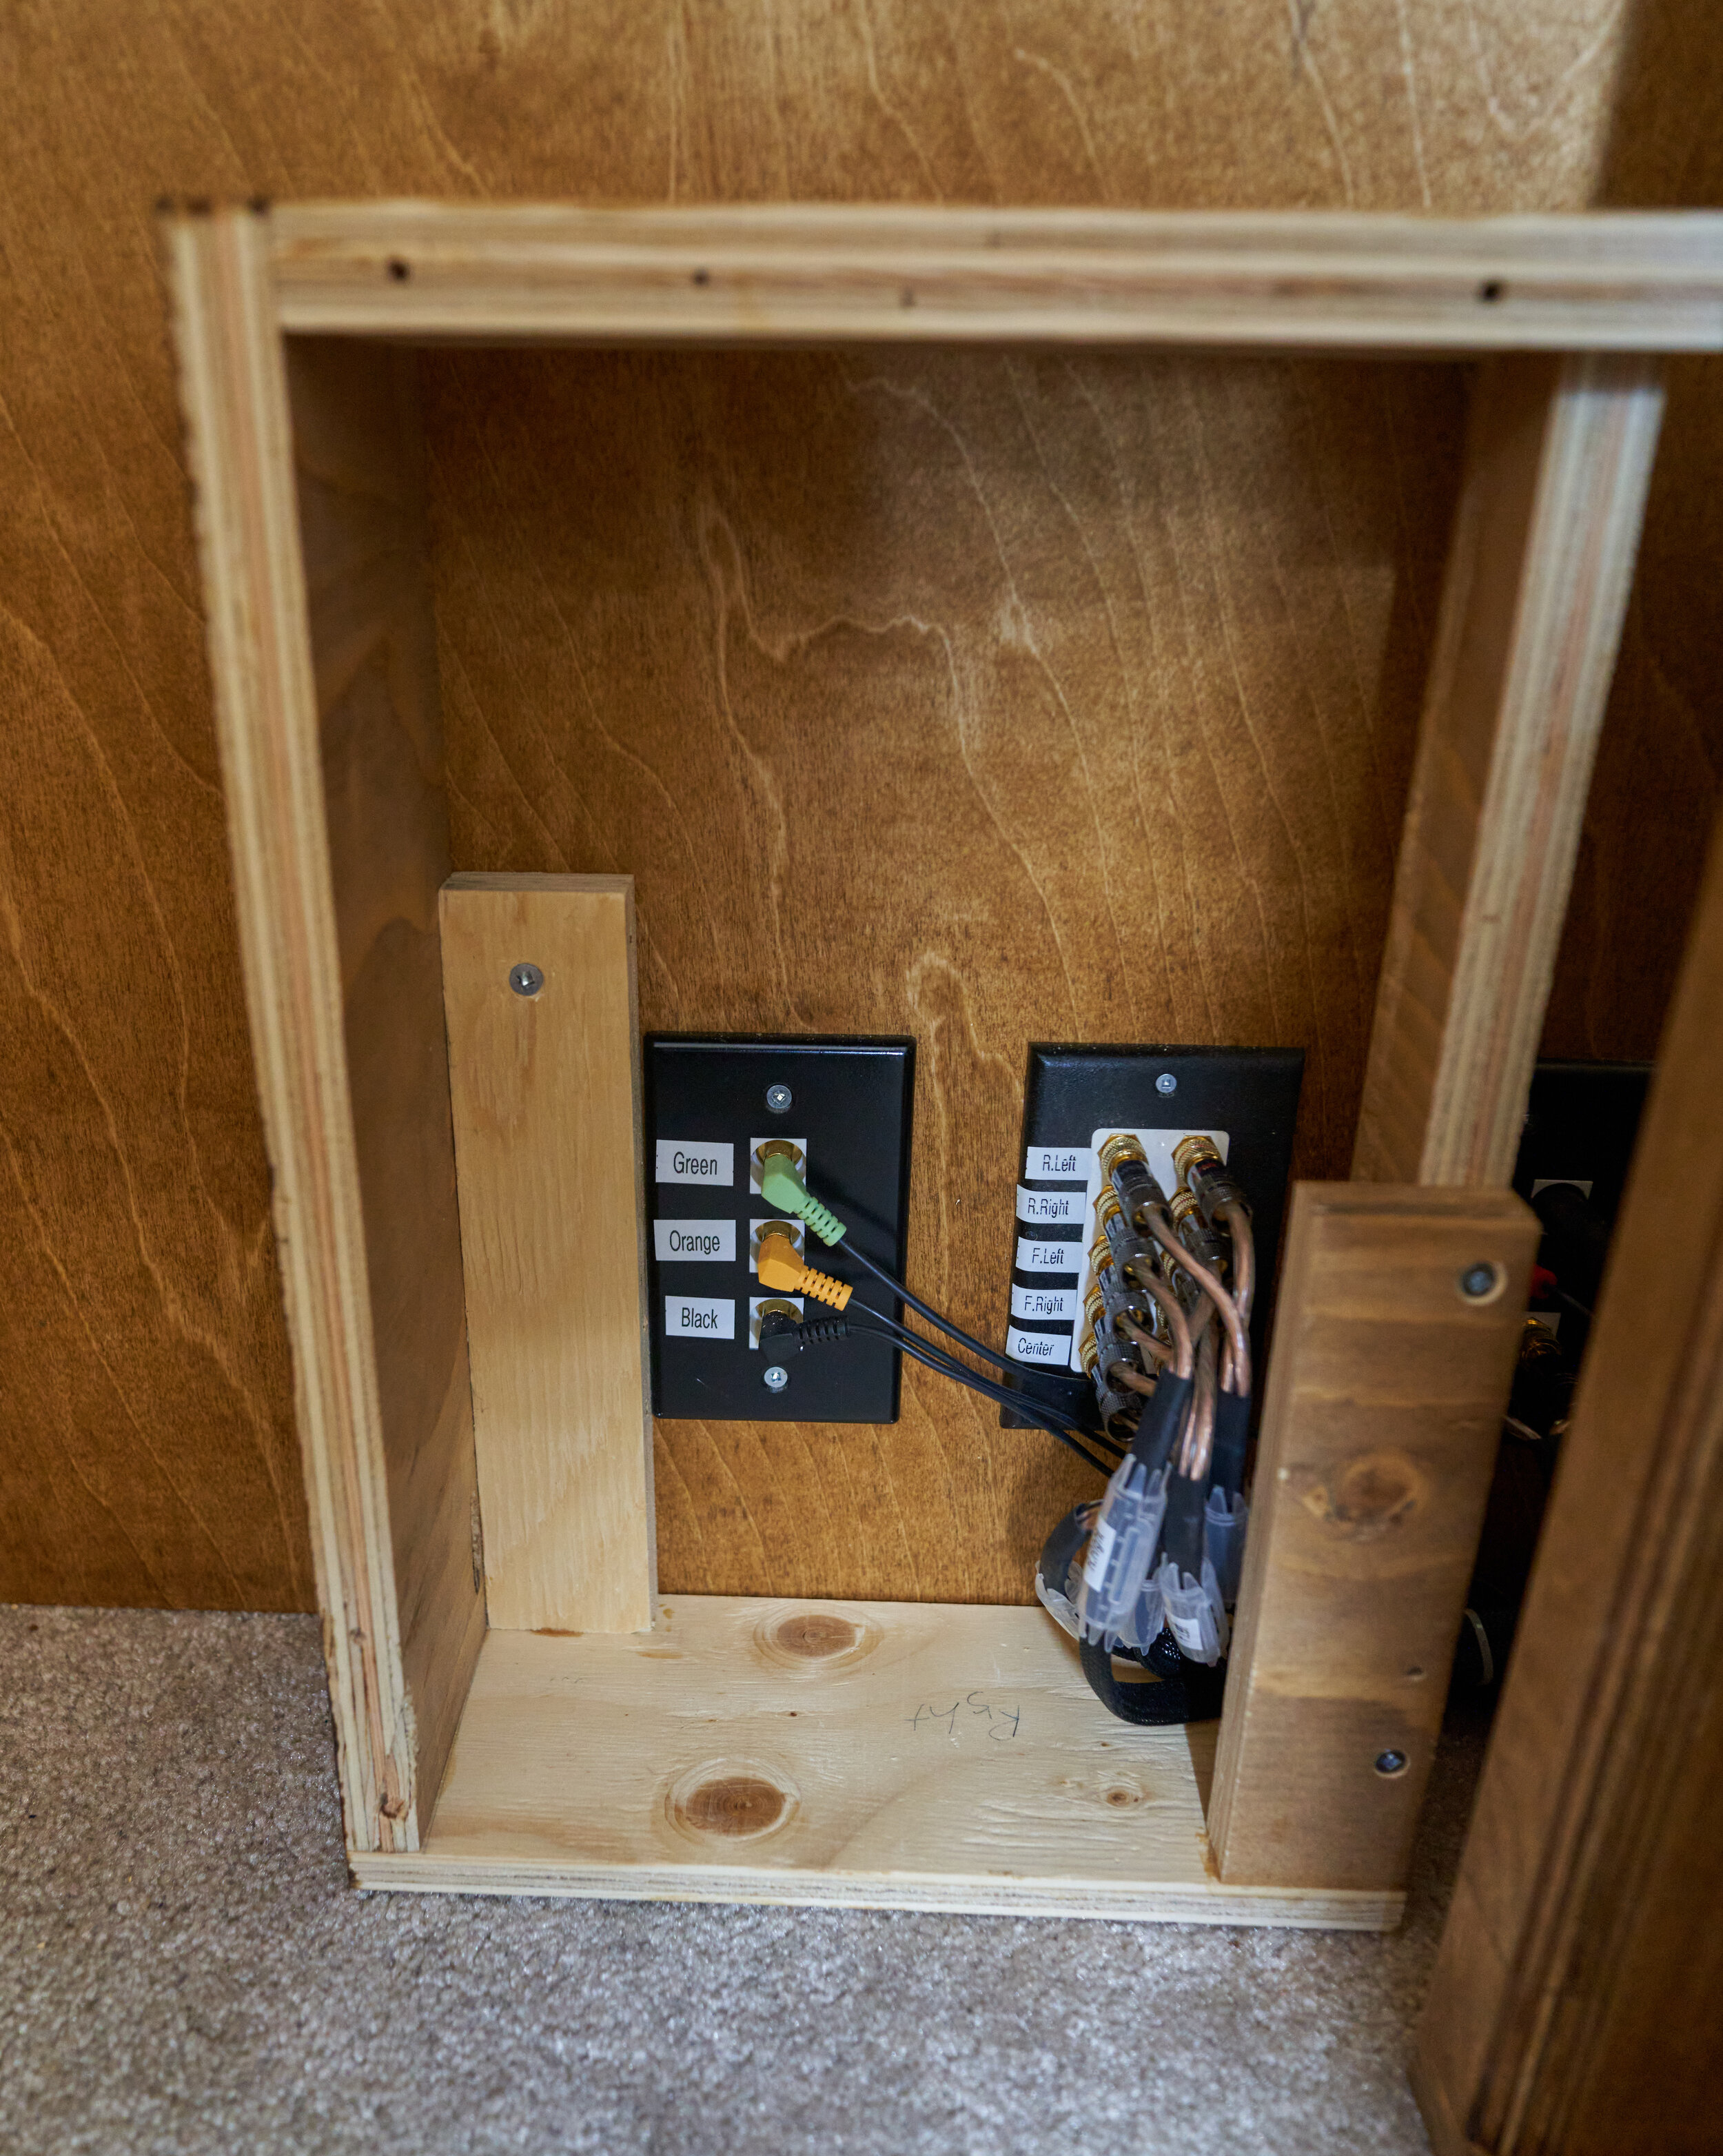
Eliminate cable runs for hooking up the 5.1 speakers
[2] Reduce the clutter between the desks. I was going to build my wife a desk too. Due to the unique layout of this room, there is only one outlet and it’s on my left. Conveniently this lends itself to a waterfall flow from one desk to the next.
My wife’s desk would follow a similar ethos — reduce the amount of cable clutter running across the floor and between the floor and the desk. Extending waterfall flow to additional machines down the road follows the same.
[3] Since we rent, the following additional considerations came into play:
Nothing too dependent on the layout, shape or size of a room
Had to be somewhat self-contained and/or able to be broken down for eventually moving
Certainly, there are going to be just-in-time requirements that will come up during the build.
Rough Design
At the core, this project was going to break down into five components
The faux-wall: a framed plywood wall that I would attach the monitor mounts to and hide cables inside, routing them left-right and up-down
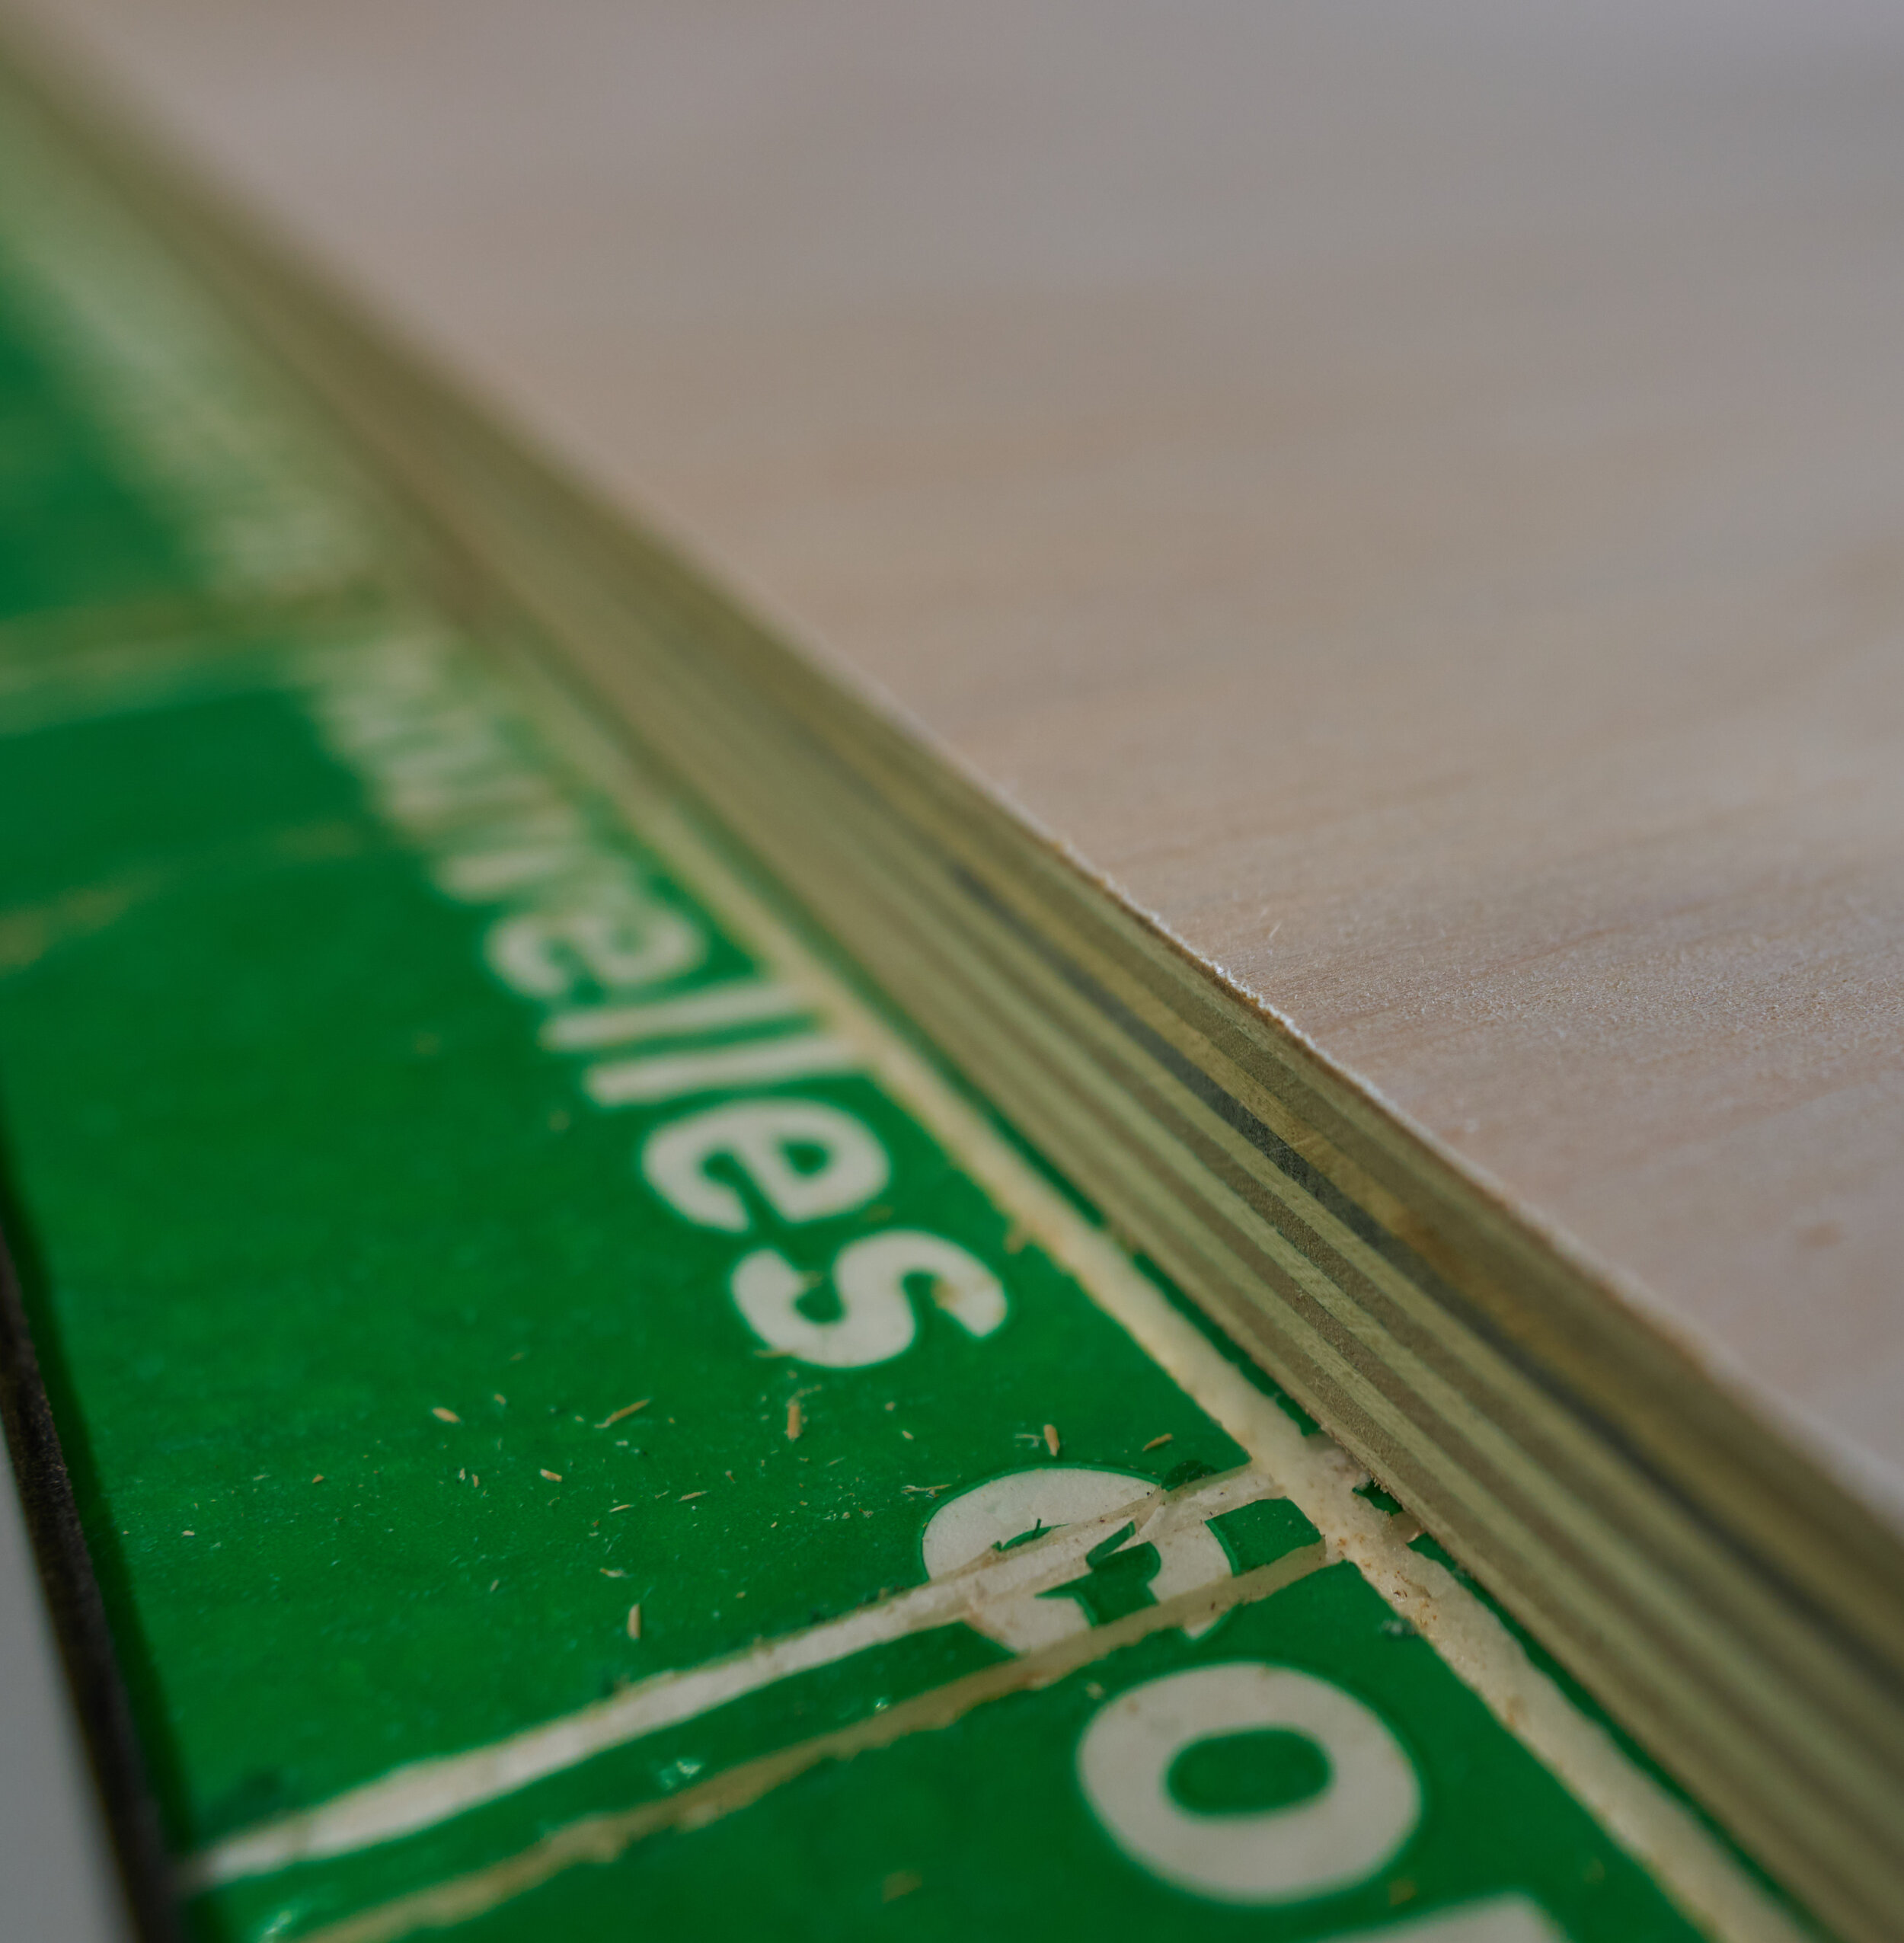
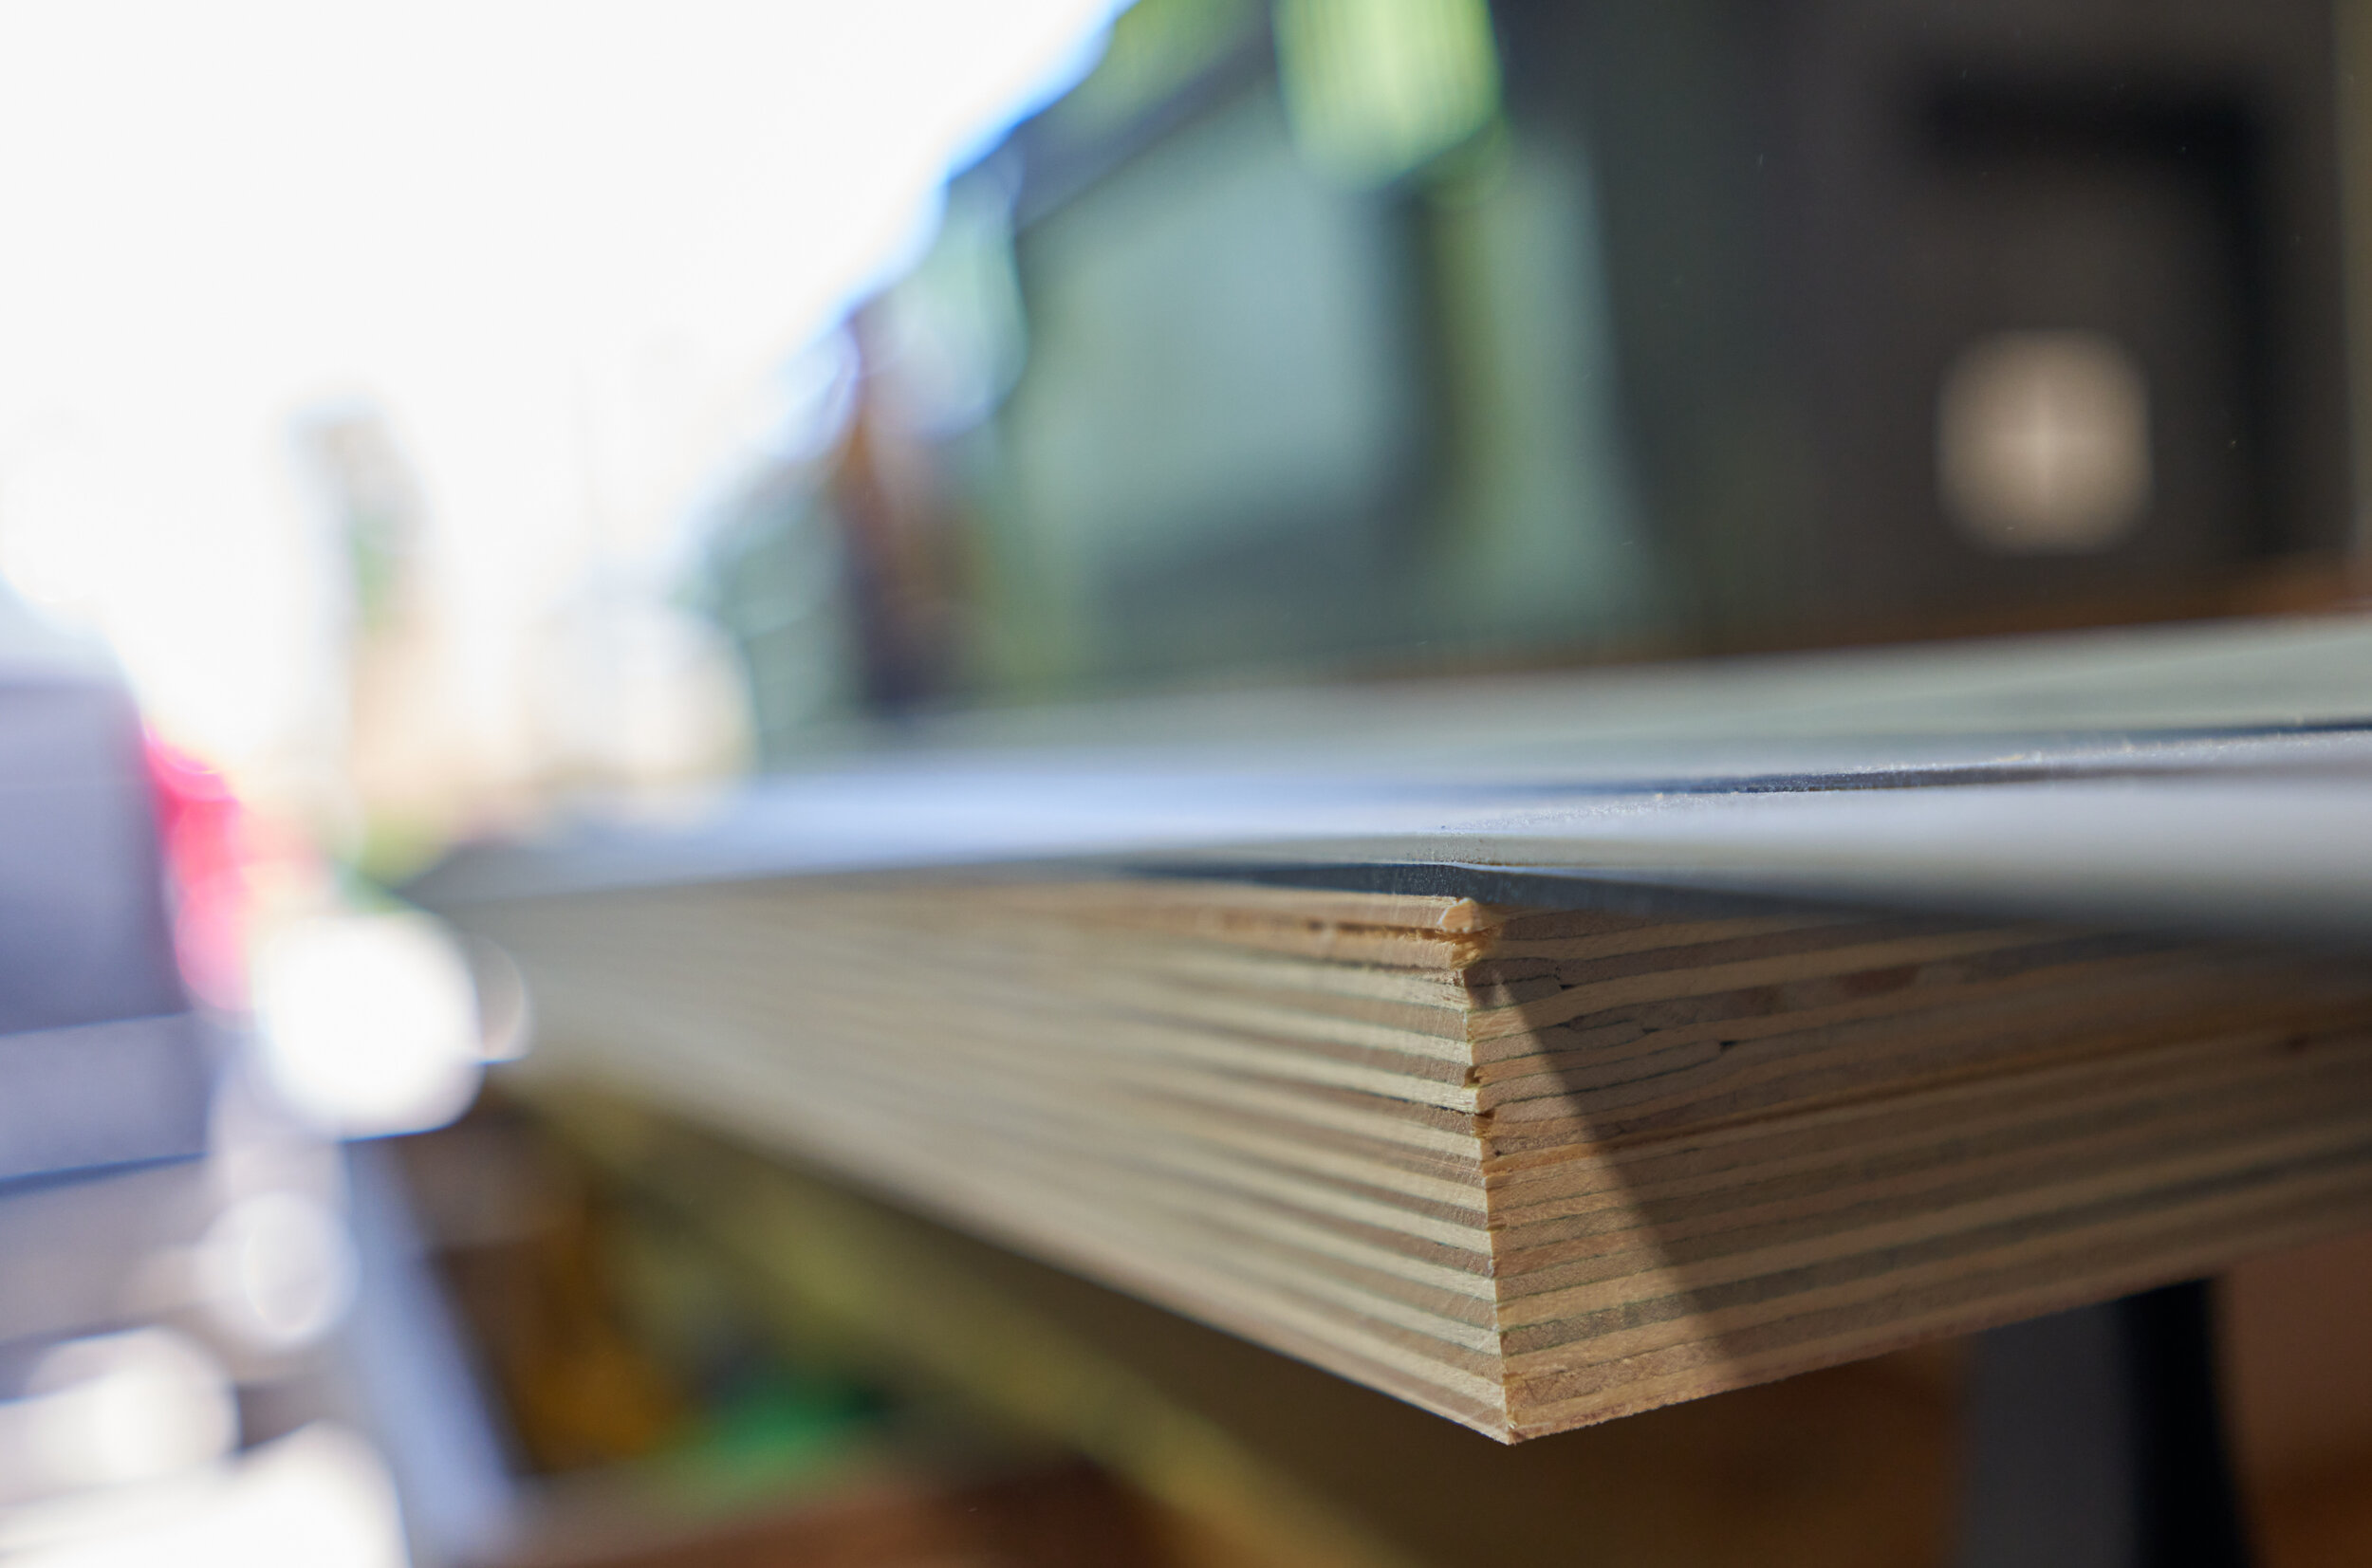
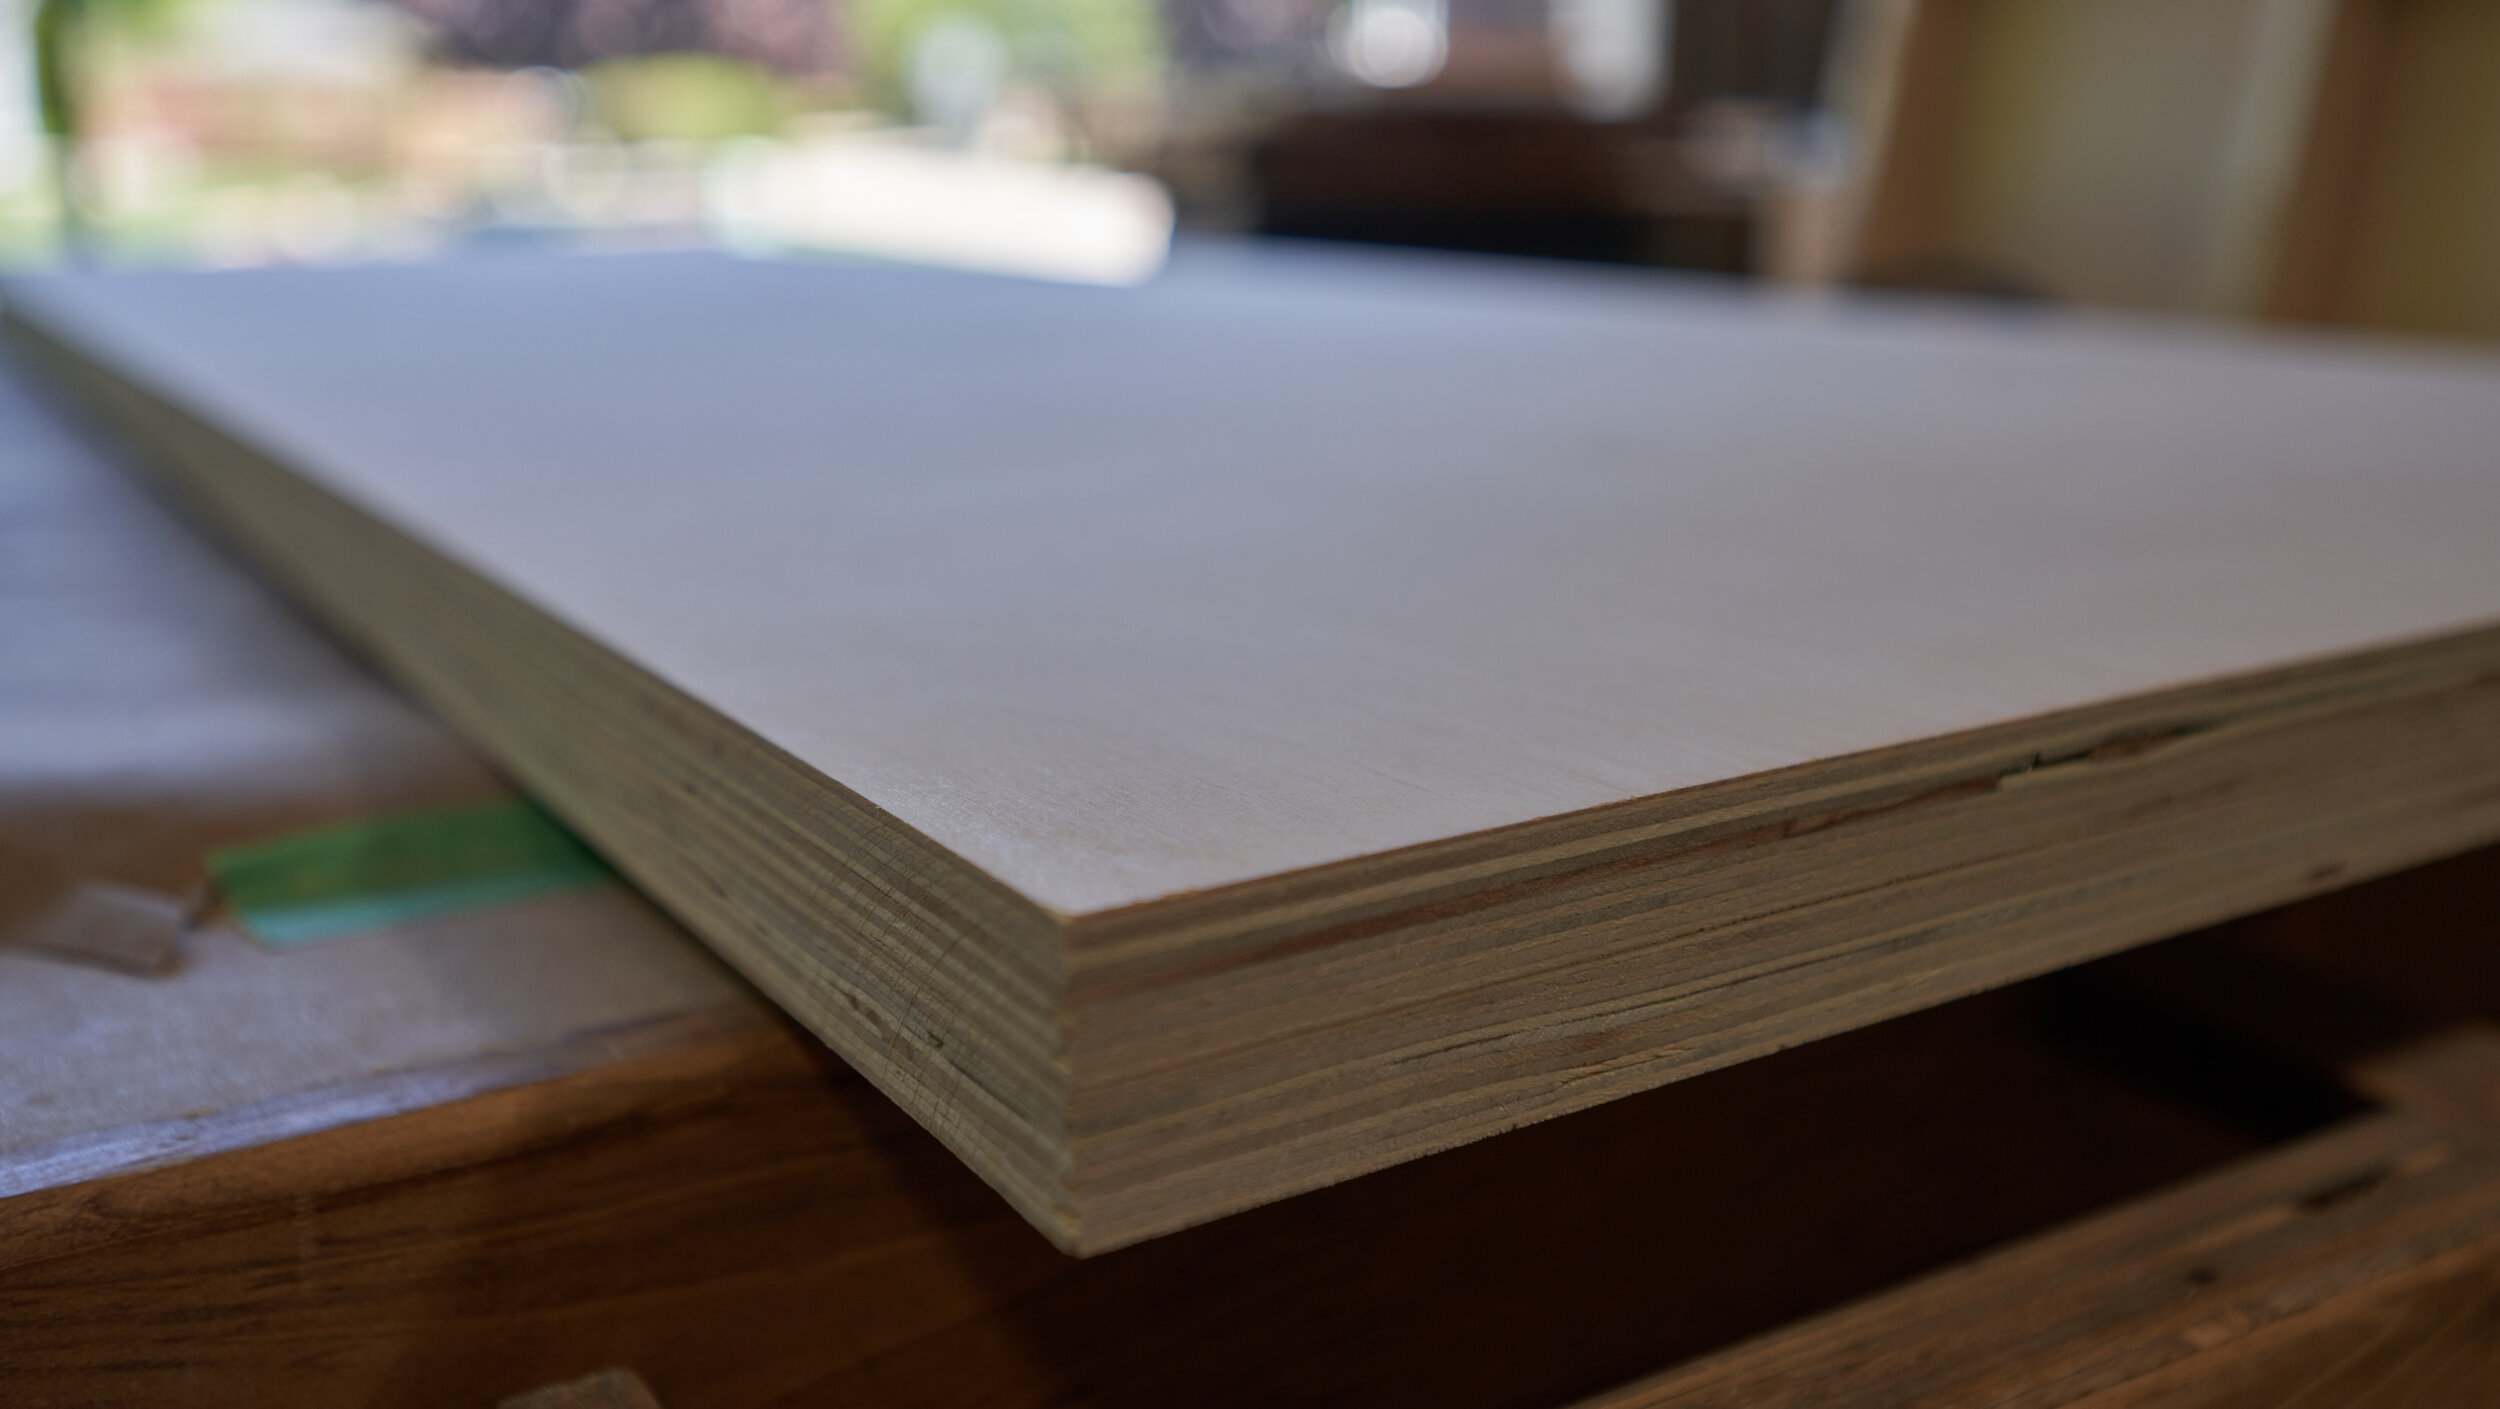
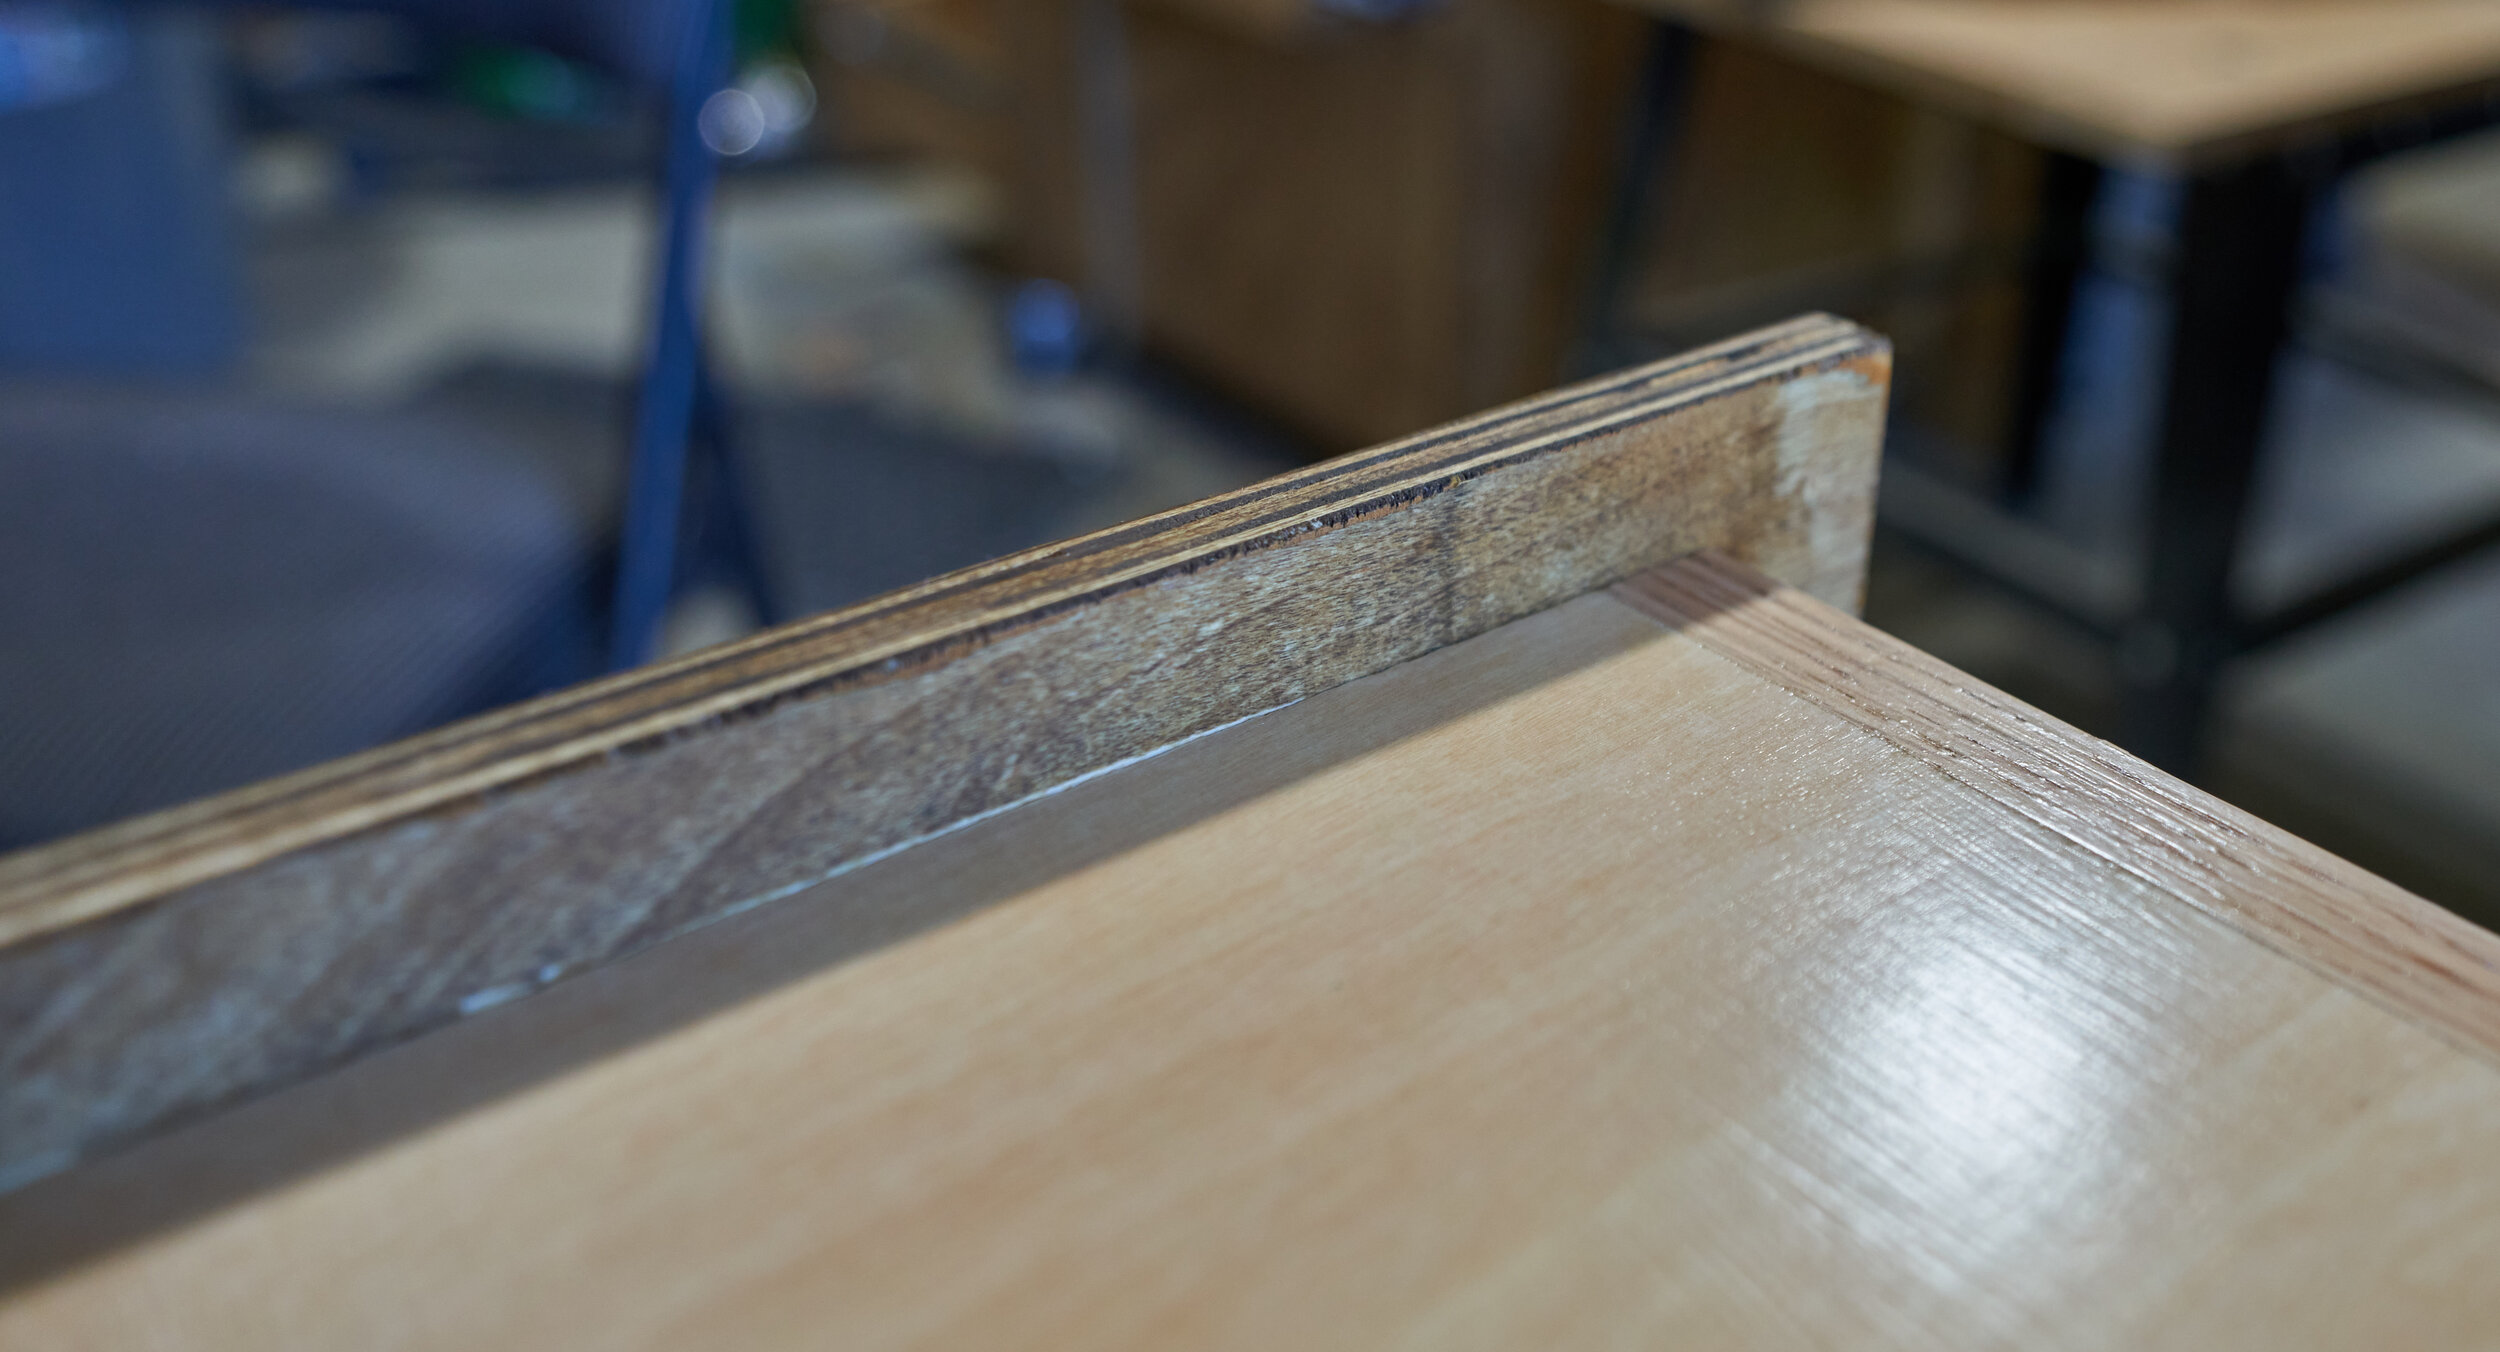
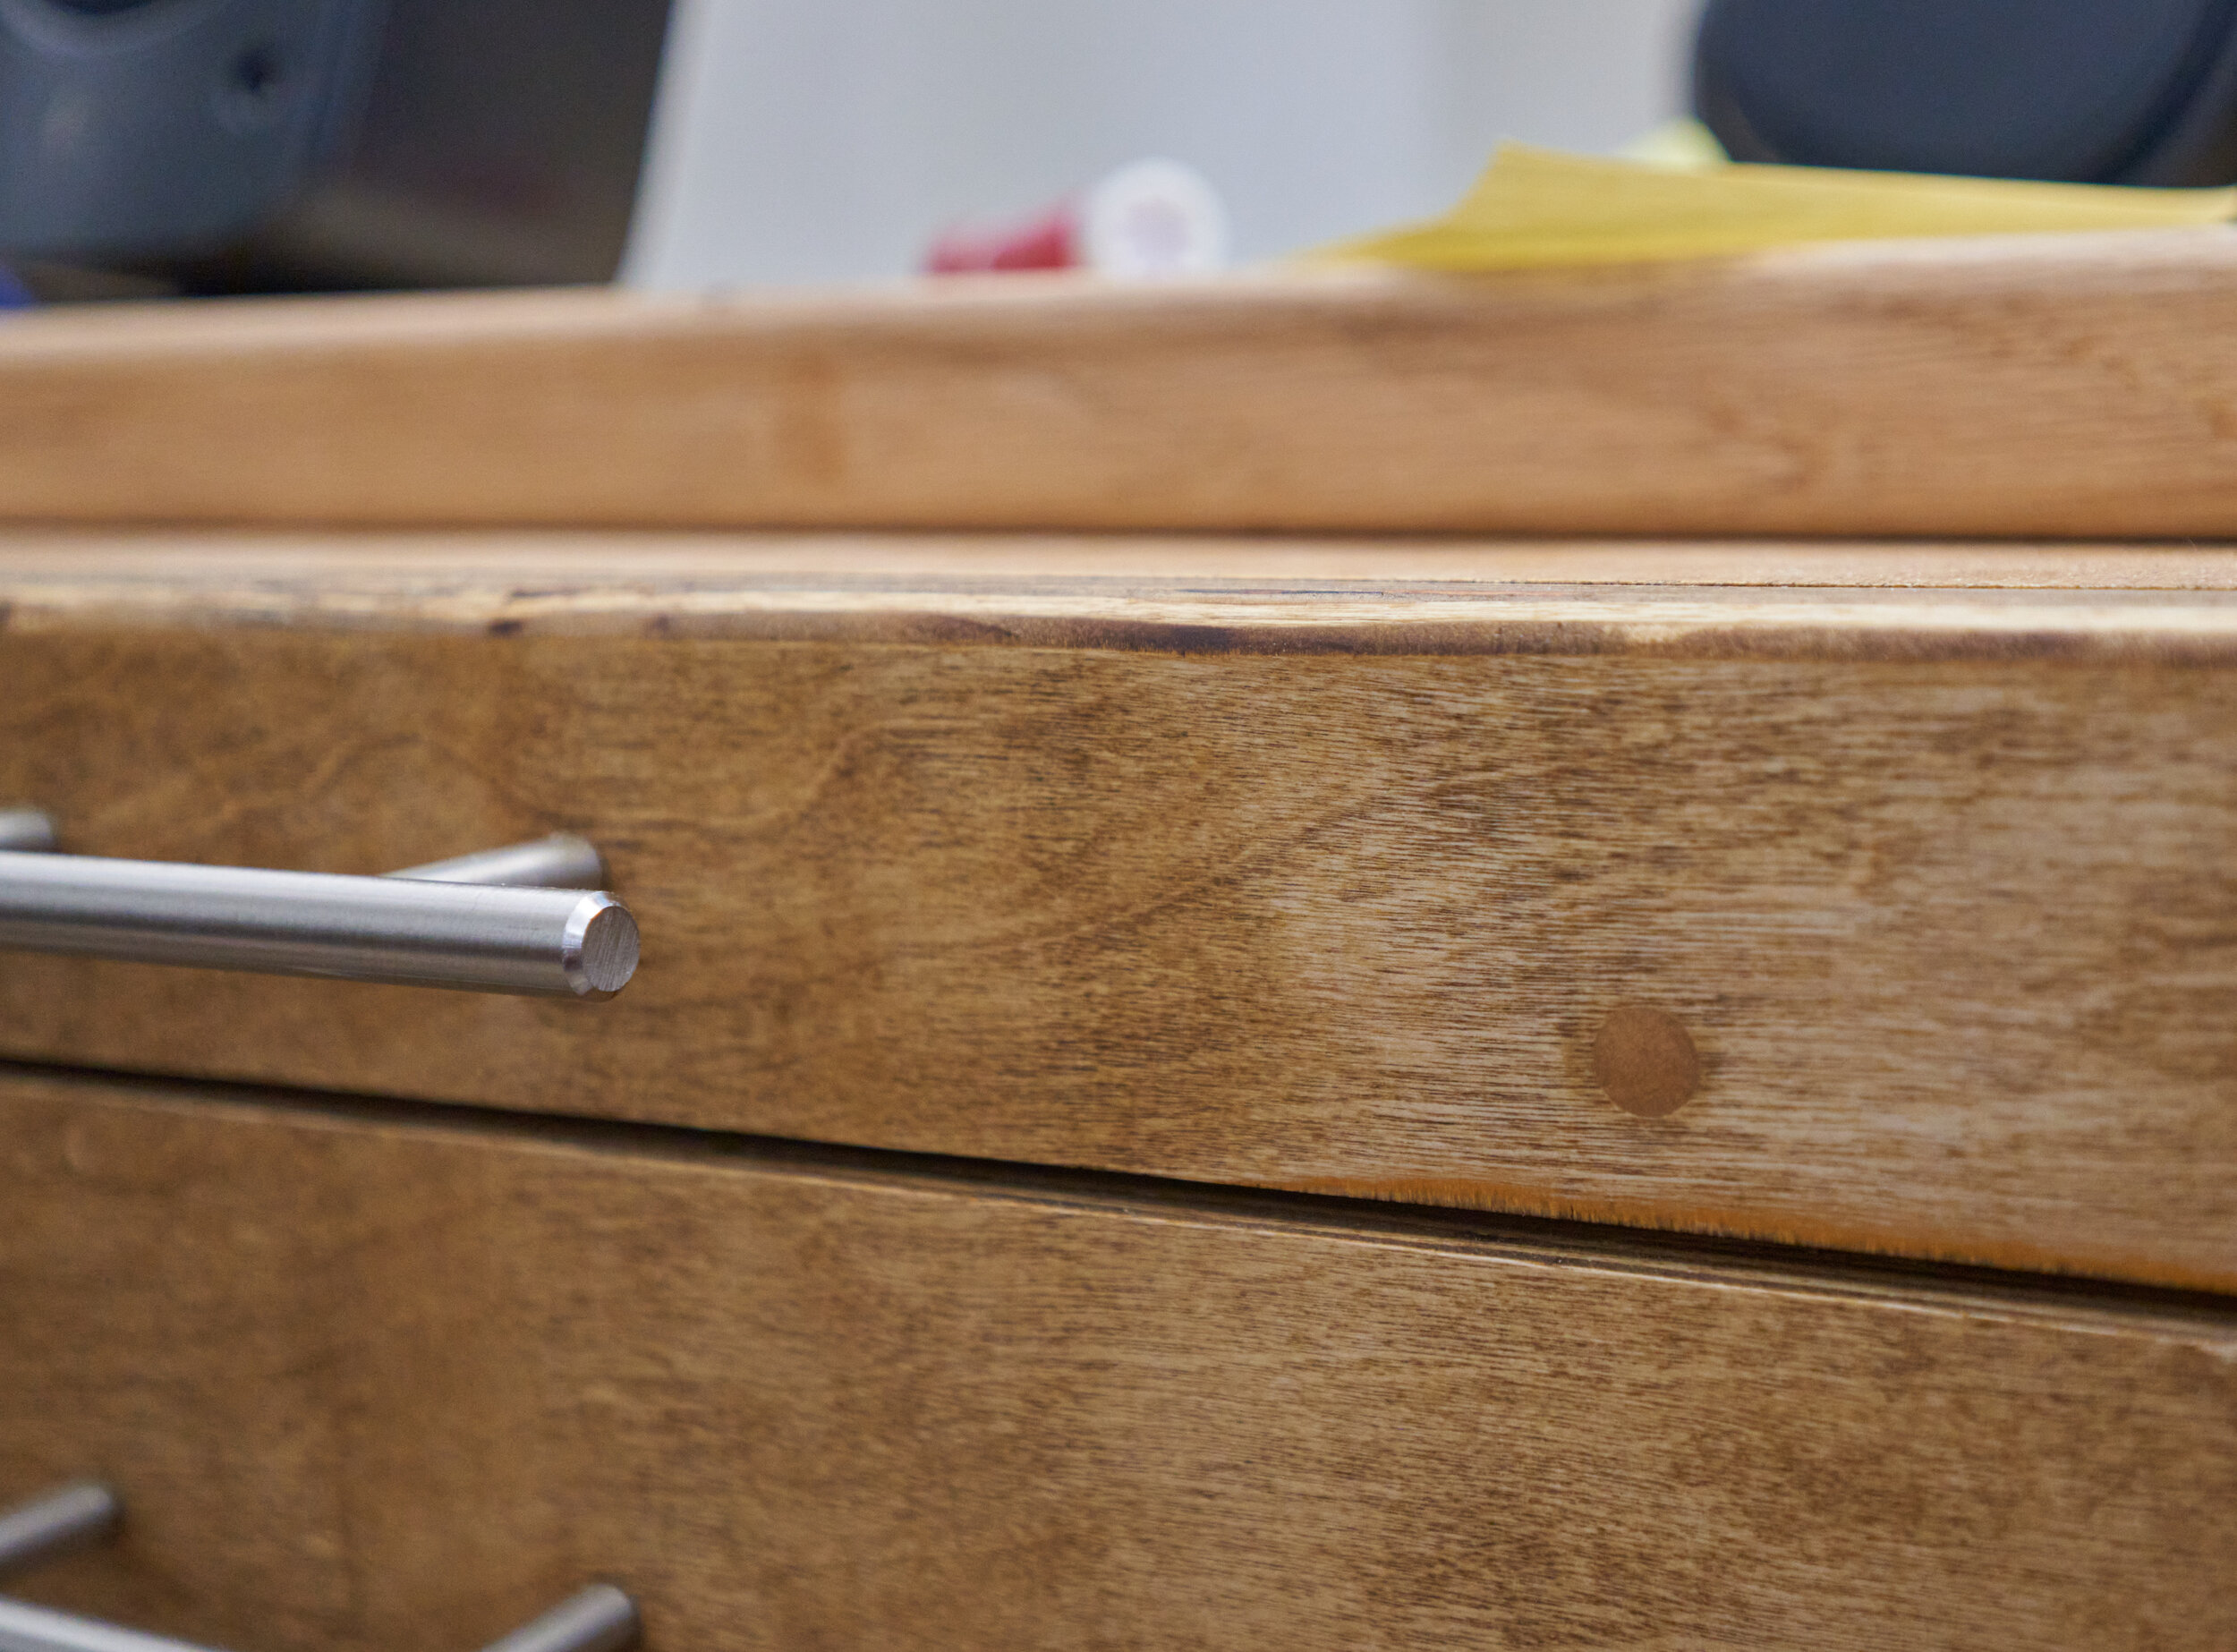
A laminated-ply desk top. While I appreciate the process of milling and joining lumber to make solid wood tops, it’s hard to argue with the ease of working with nice ply - and I like the laminated edges. I planned to trim up the front edge both to reduce wear and for some contrast
A left cabinet which would house the computer,
A right cabinet which would house my subwoofer and the majority of my drawers and lastly,
Some form of overhead storage
I had never built anything like this before so there was a lot of running up and down the stairs to get some rough numbers to add to my sketches.

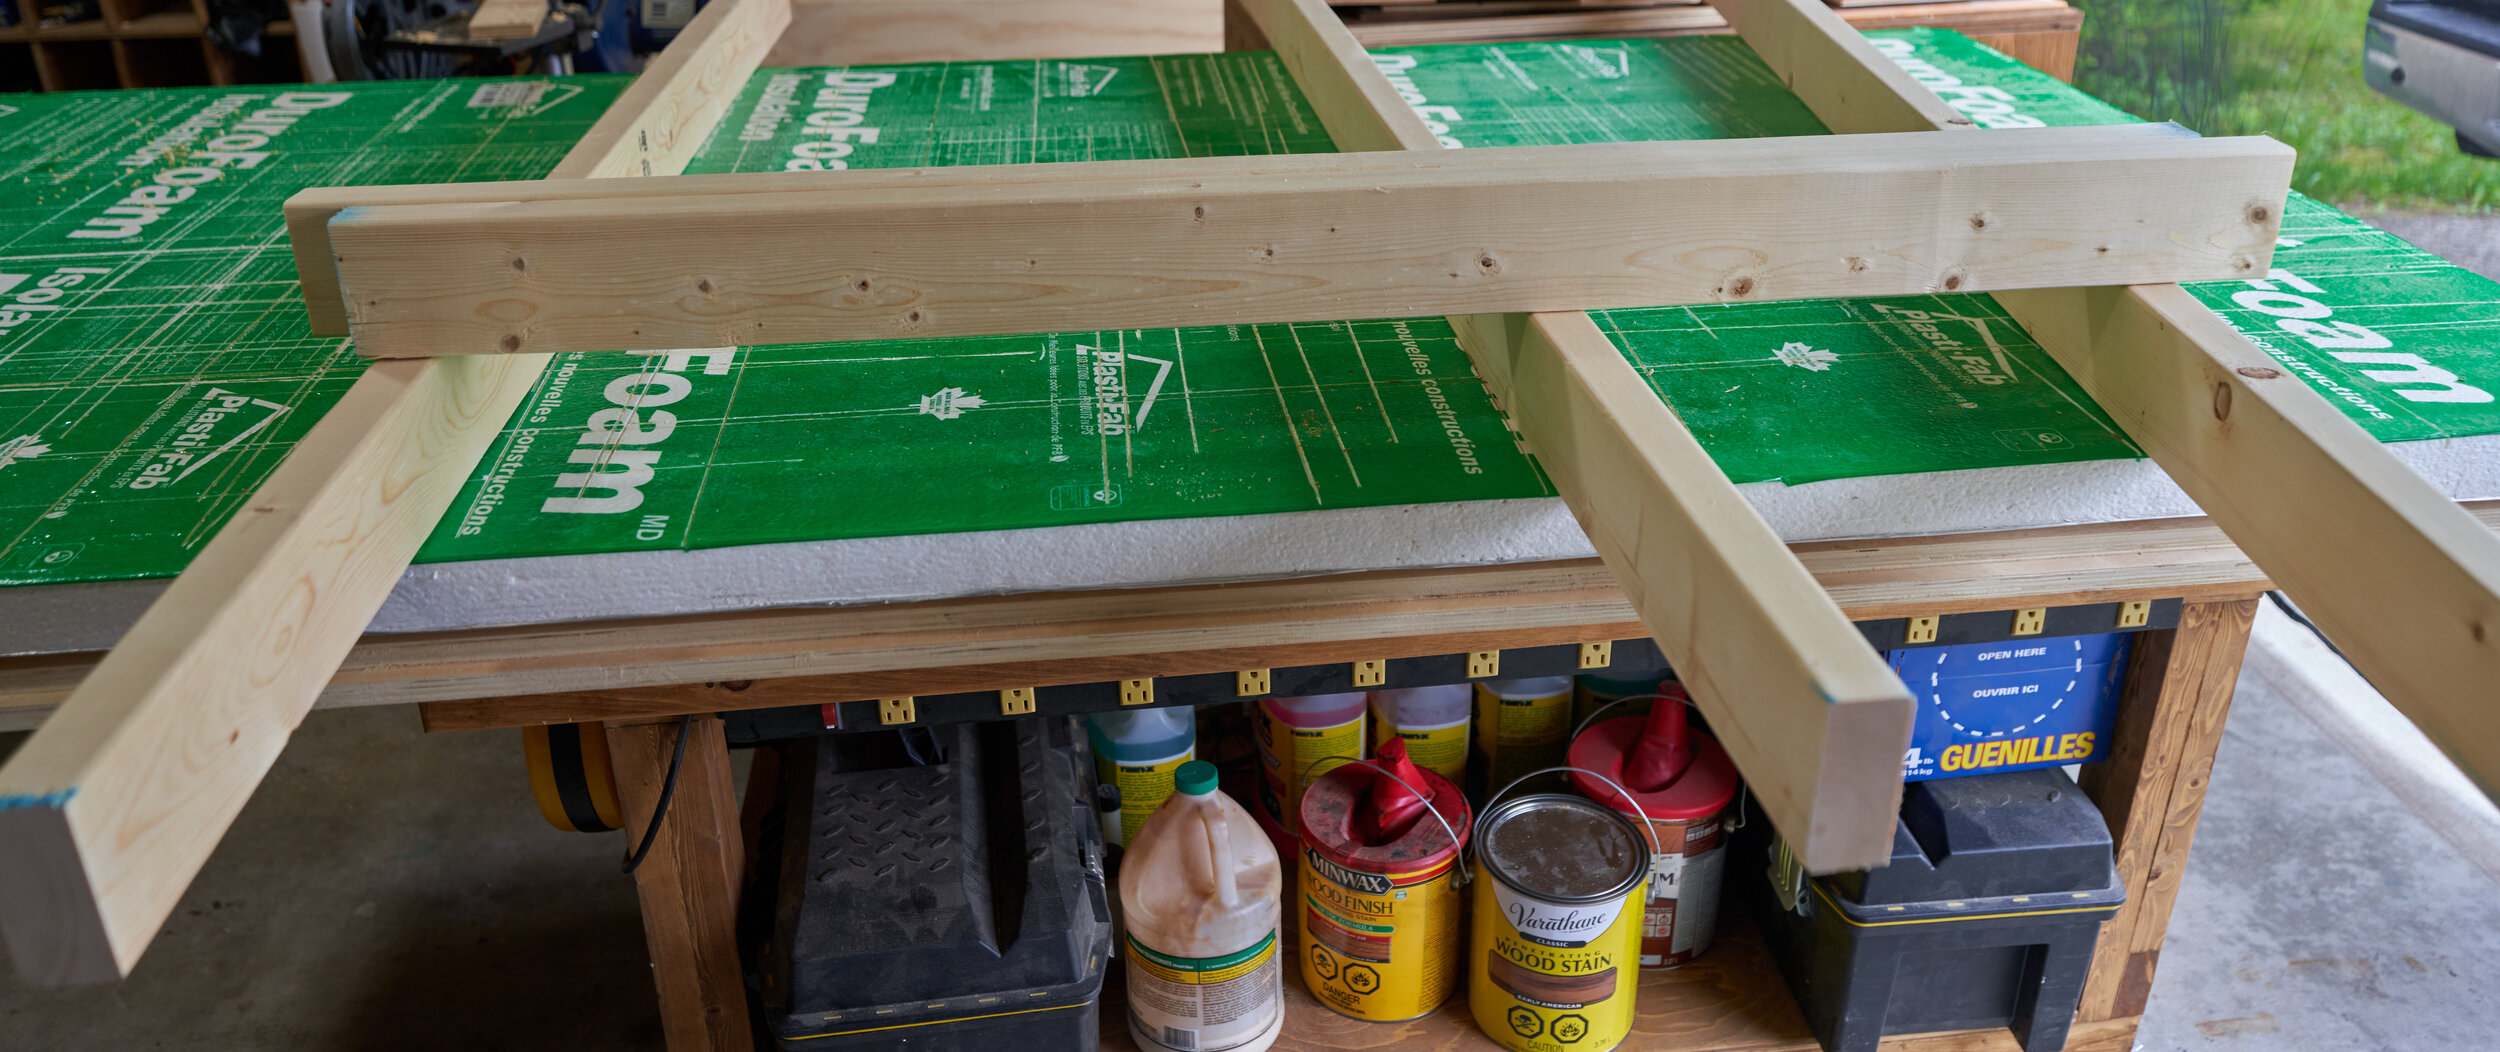
Initial Framing
The width was easy, 48” to line it up with plywood and the height I chose in such a way to get this through doorways (and tall enough that I can’t see the top surface). If you don’t need any kind of upper cabinet, by all means chop this way down in height.
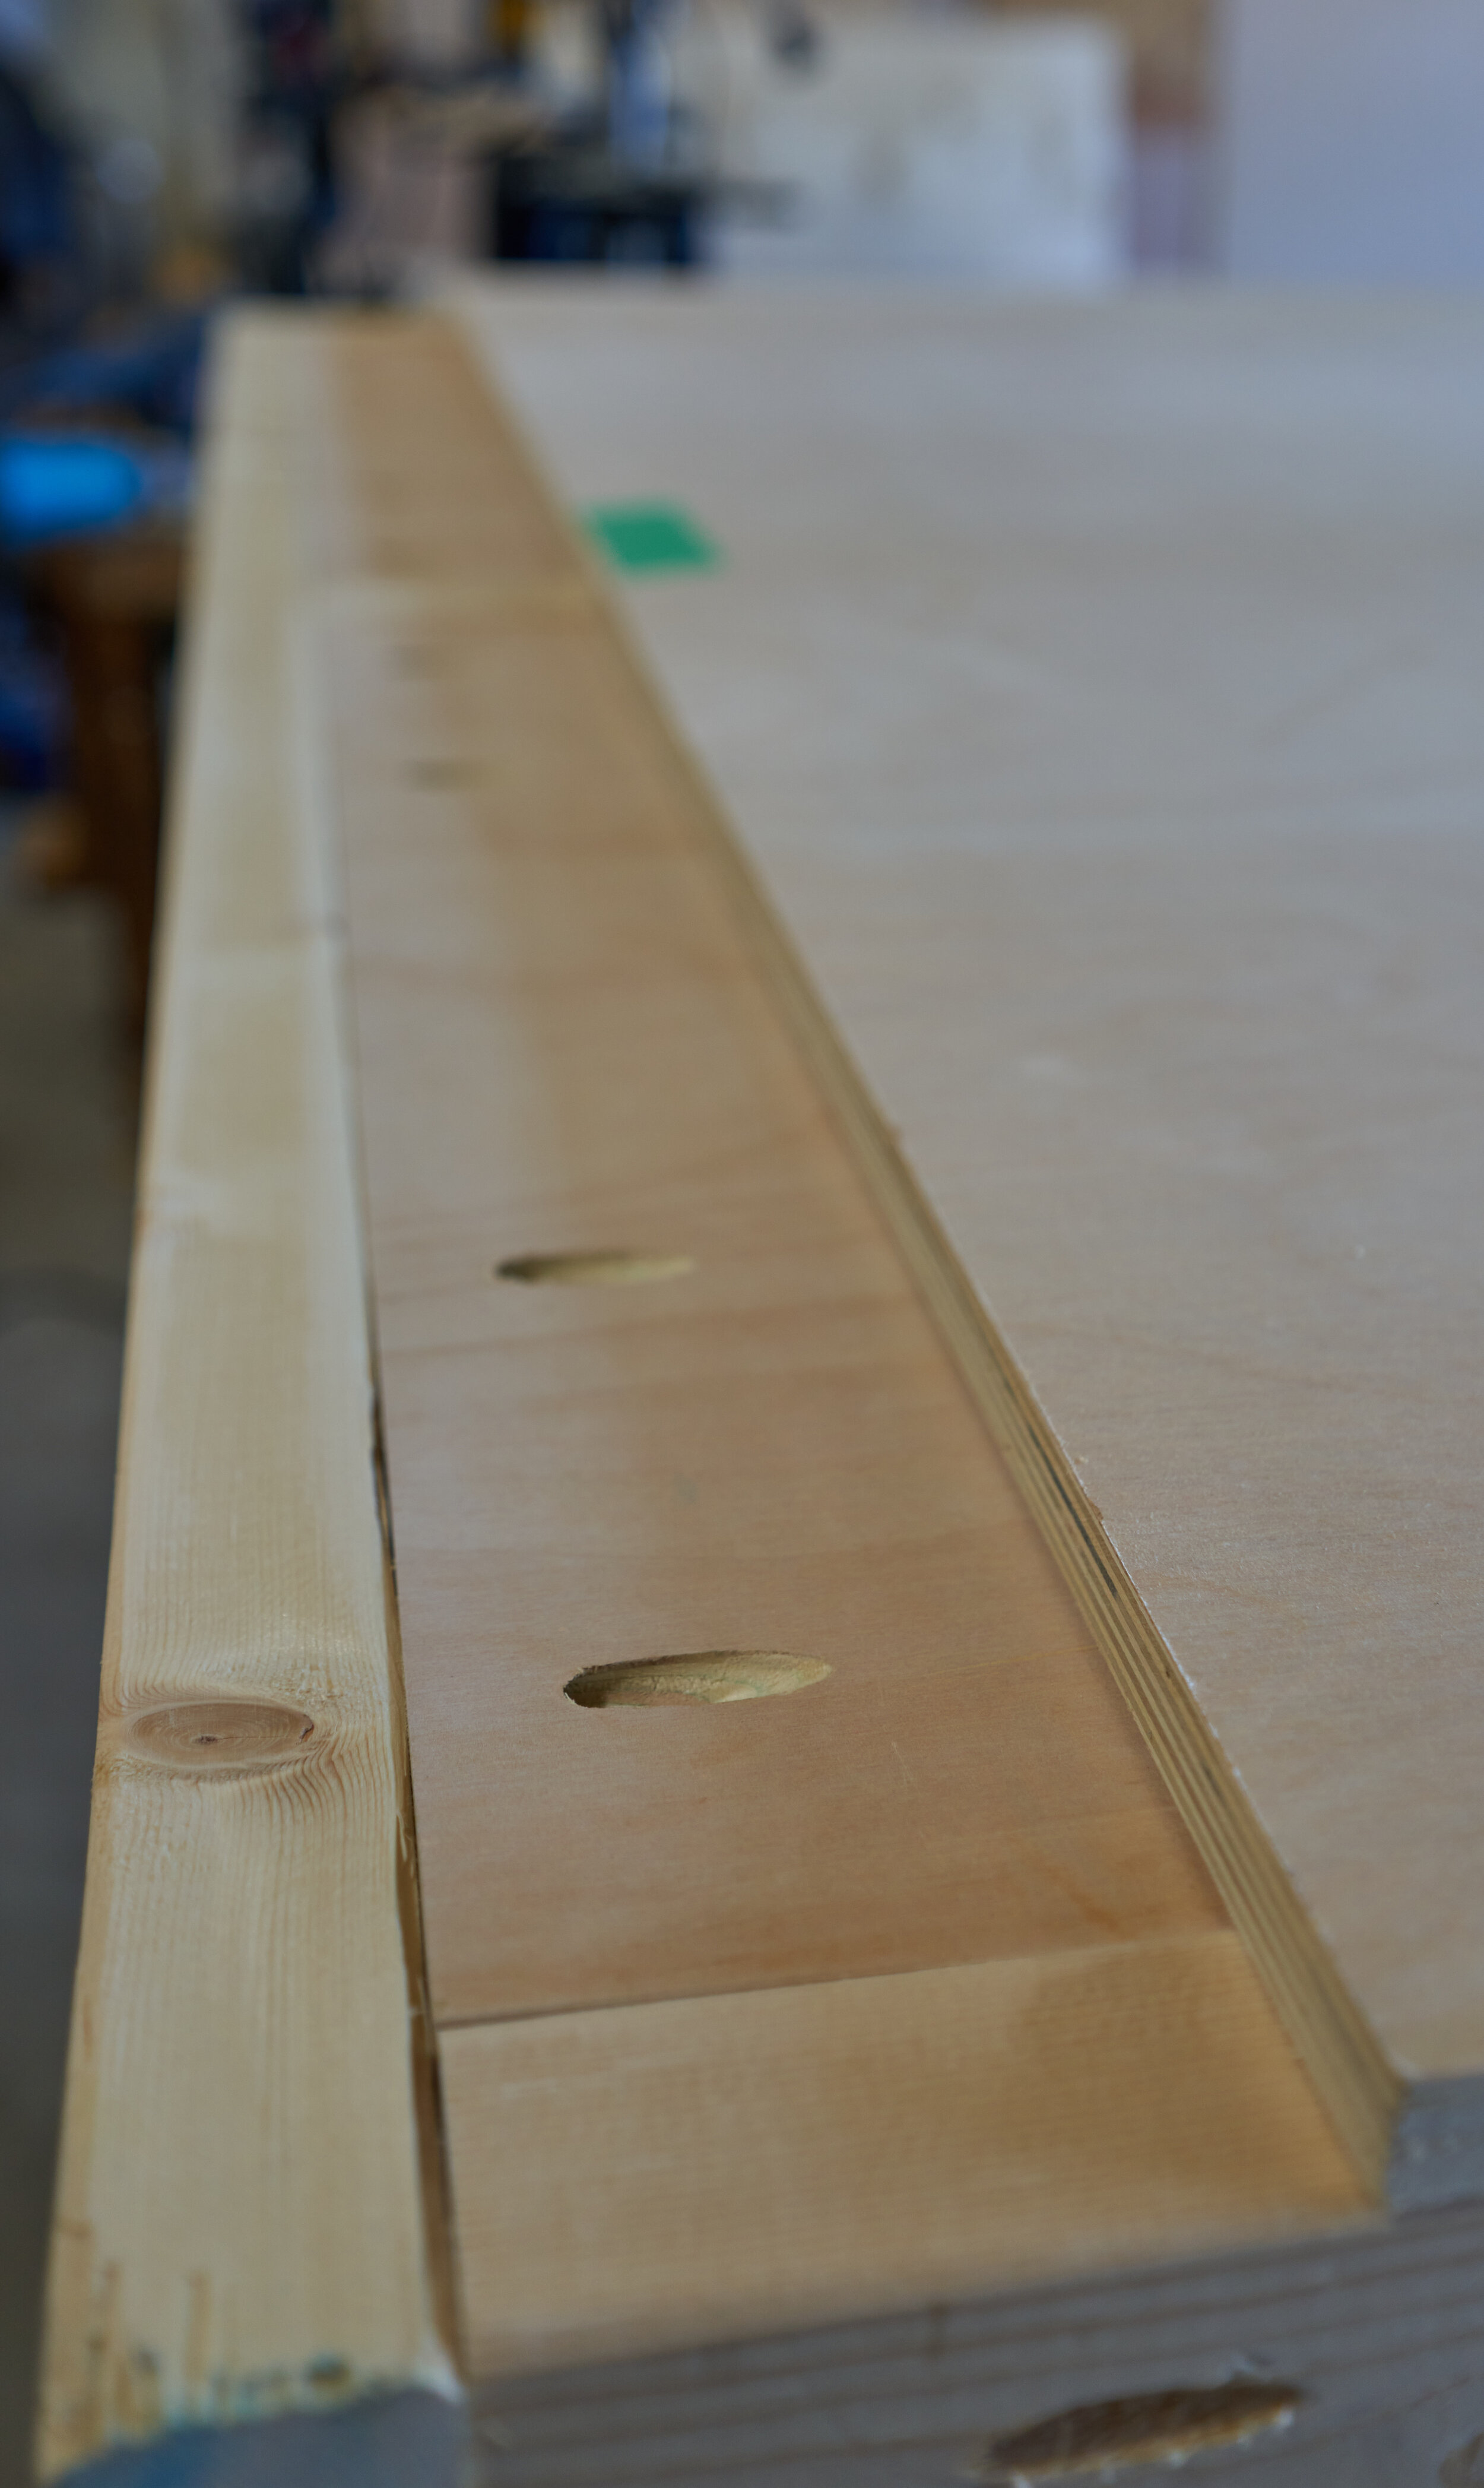
The horizontal members I offset so that there would be no chance for the pocket-hole screws to run into each other.
There as a bit of trial and error, trying to figure out where to put the horizontal members. How I arrived at the 26¾ bottom measurement:
I wanted the bottom side of the desk to be about 30” high
The [bottom side of the] left horizontal 2x4 should then be 1½” lower
Offsetting the right horizontal 2x4 should be an additional 1½” lower
Give myself a bit of wiggle room (¼”)
The good news is it doesn’t really matter since this will be behind the plywood anyways and the rest of the setup is plenty strong.
At this point, I hadn’t figured out the 16¼” value yet — I determine this in the next step: figuring out the size of the middle panel and ‘whatever is left’

Sizing the bottom panel
To determine the height of the bottom panel, we need to figure out where the bottom side of the desk will be.
Depending on your height and the availability of chairs that adjust well for you, you may want to spend more time dialing the height of the bottom side of the desk. I’m 6’ and with average chairs, found that I could get an ideal seating position from the 29¾”.
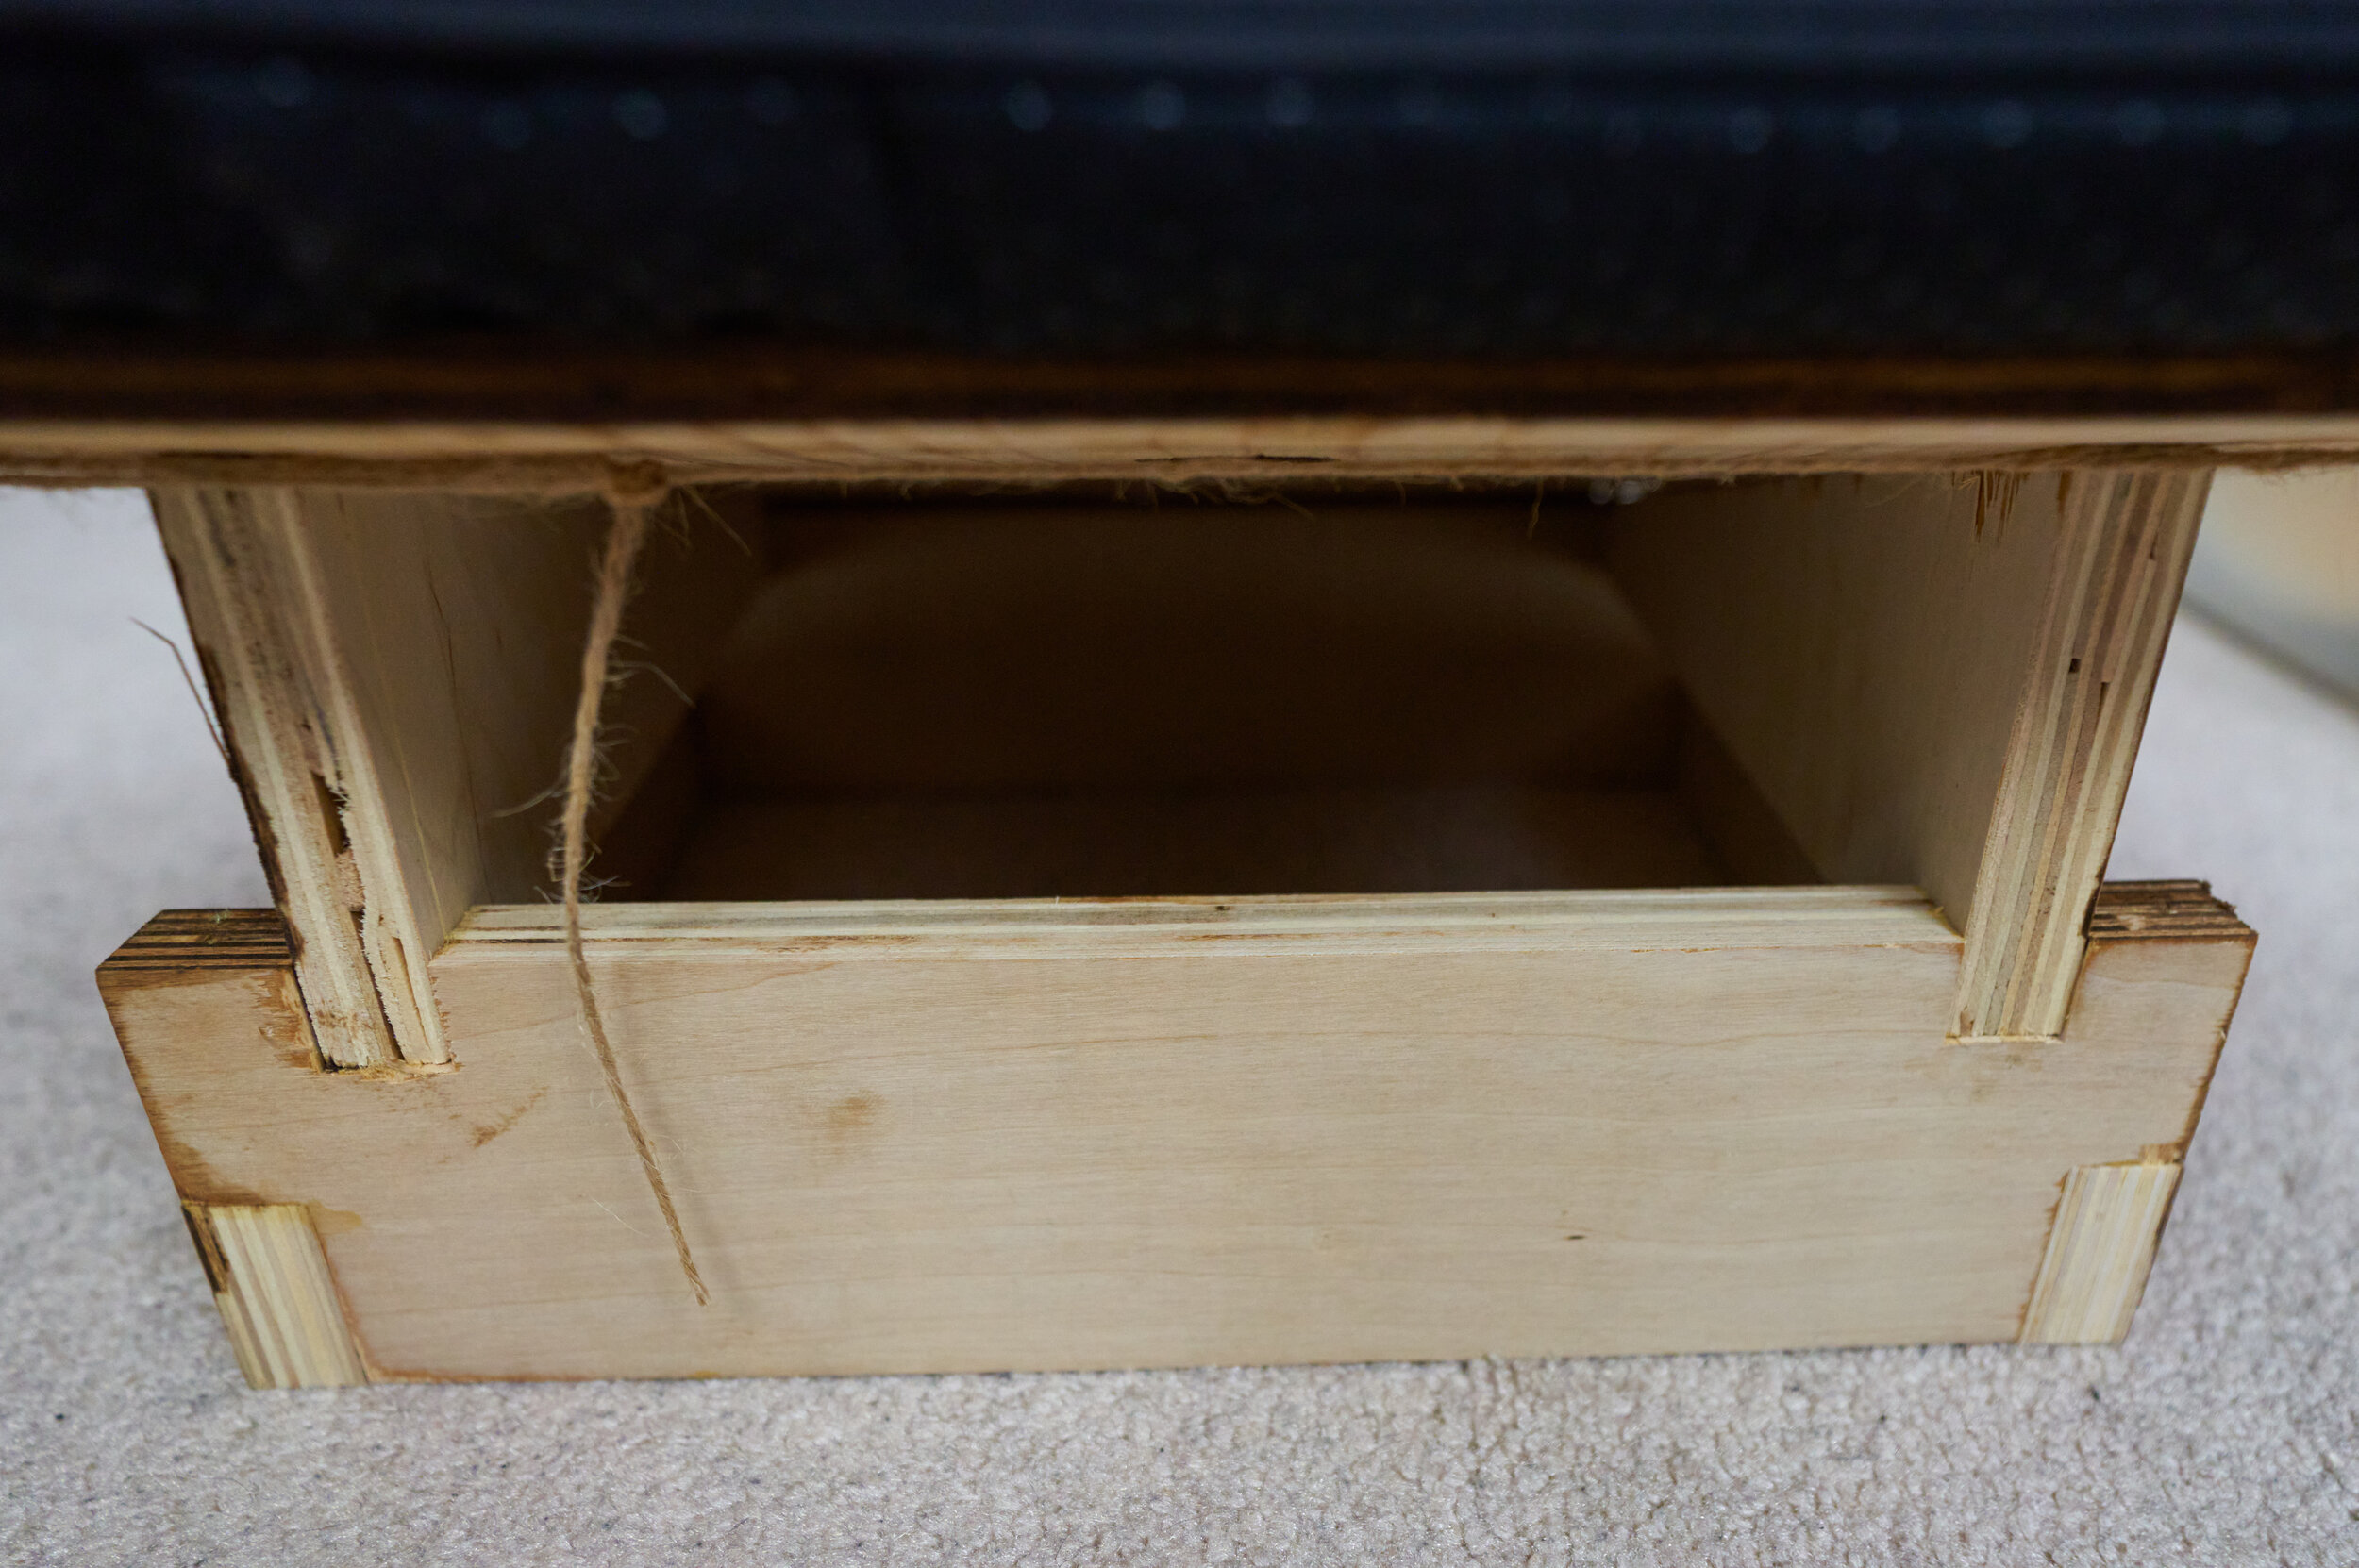
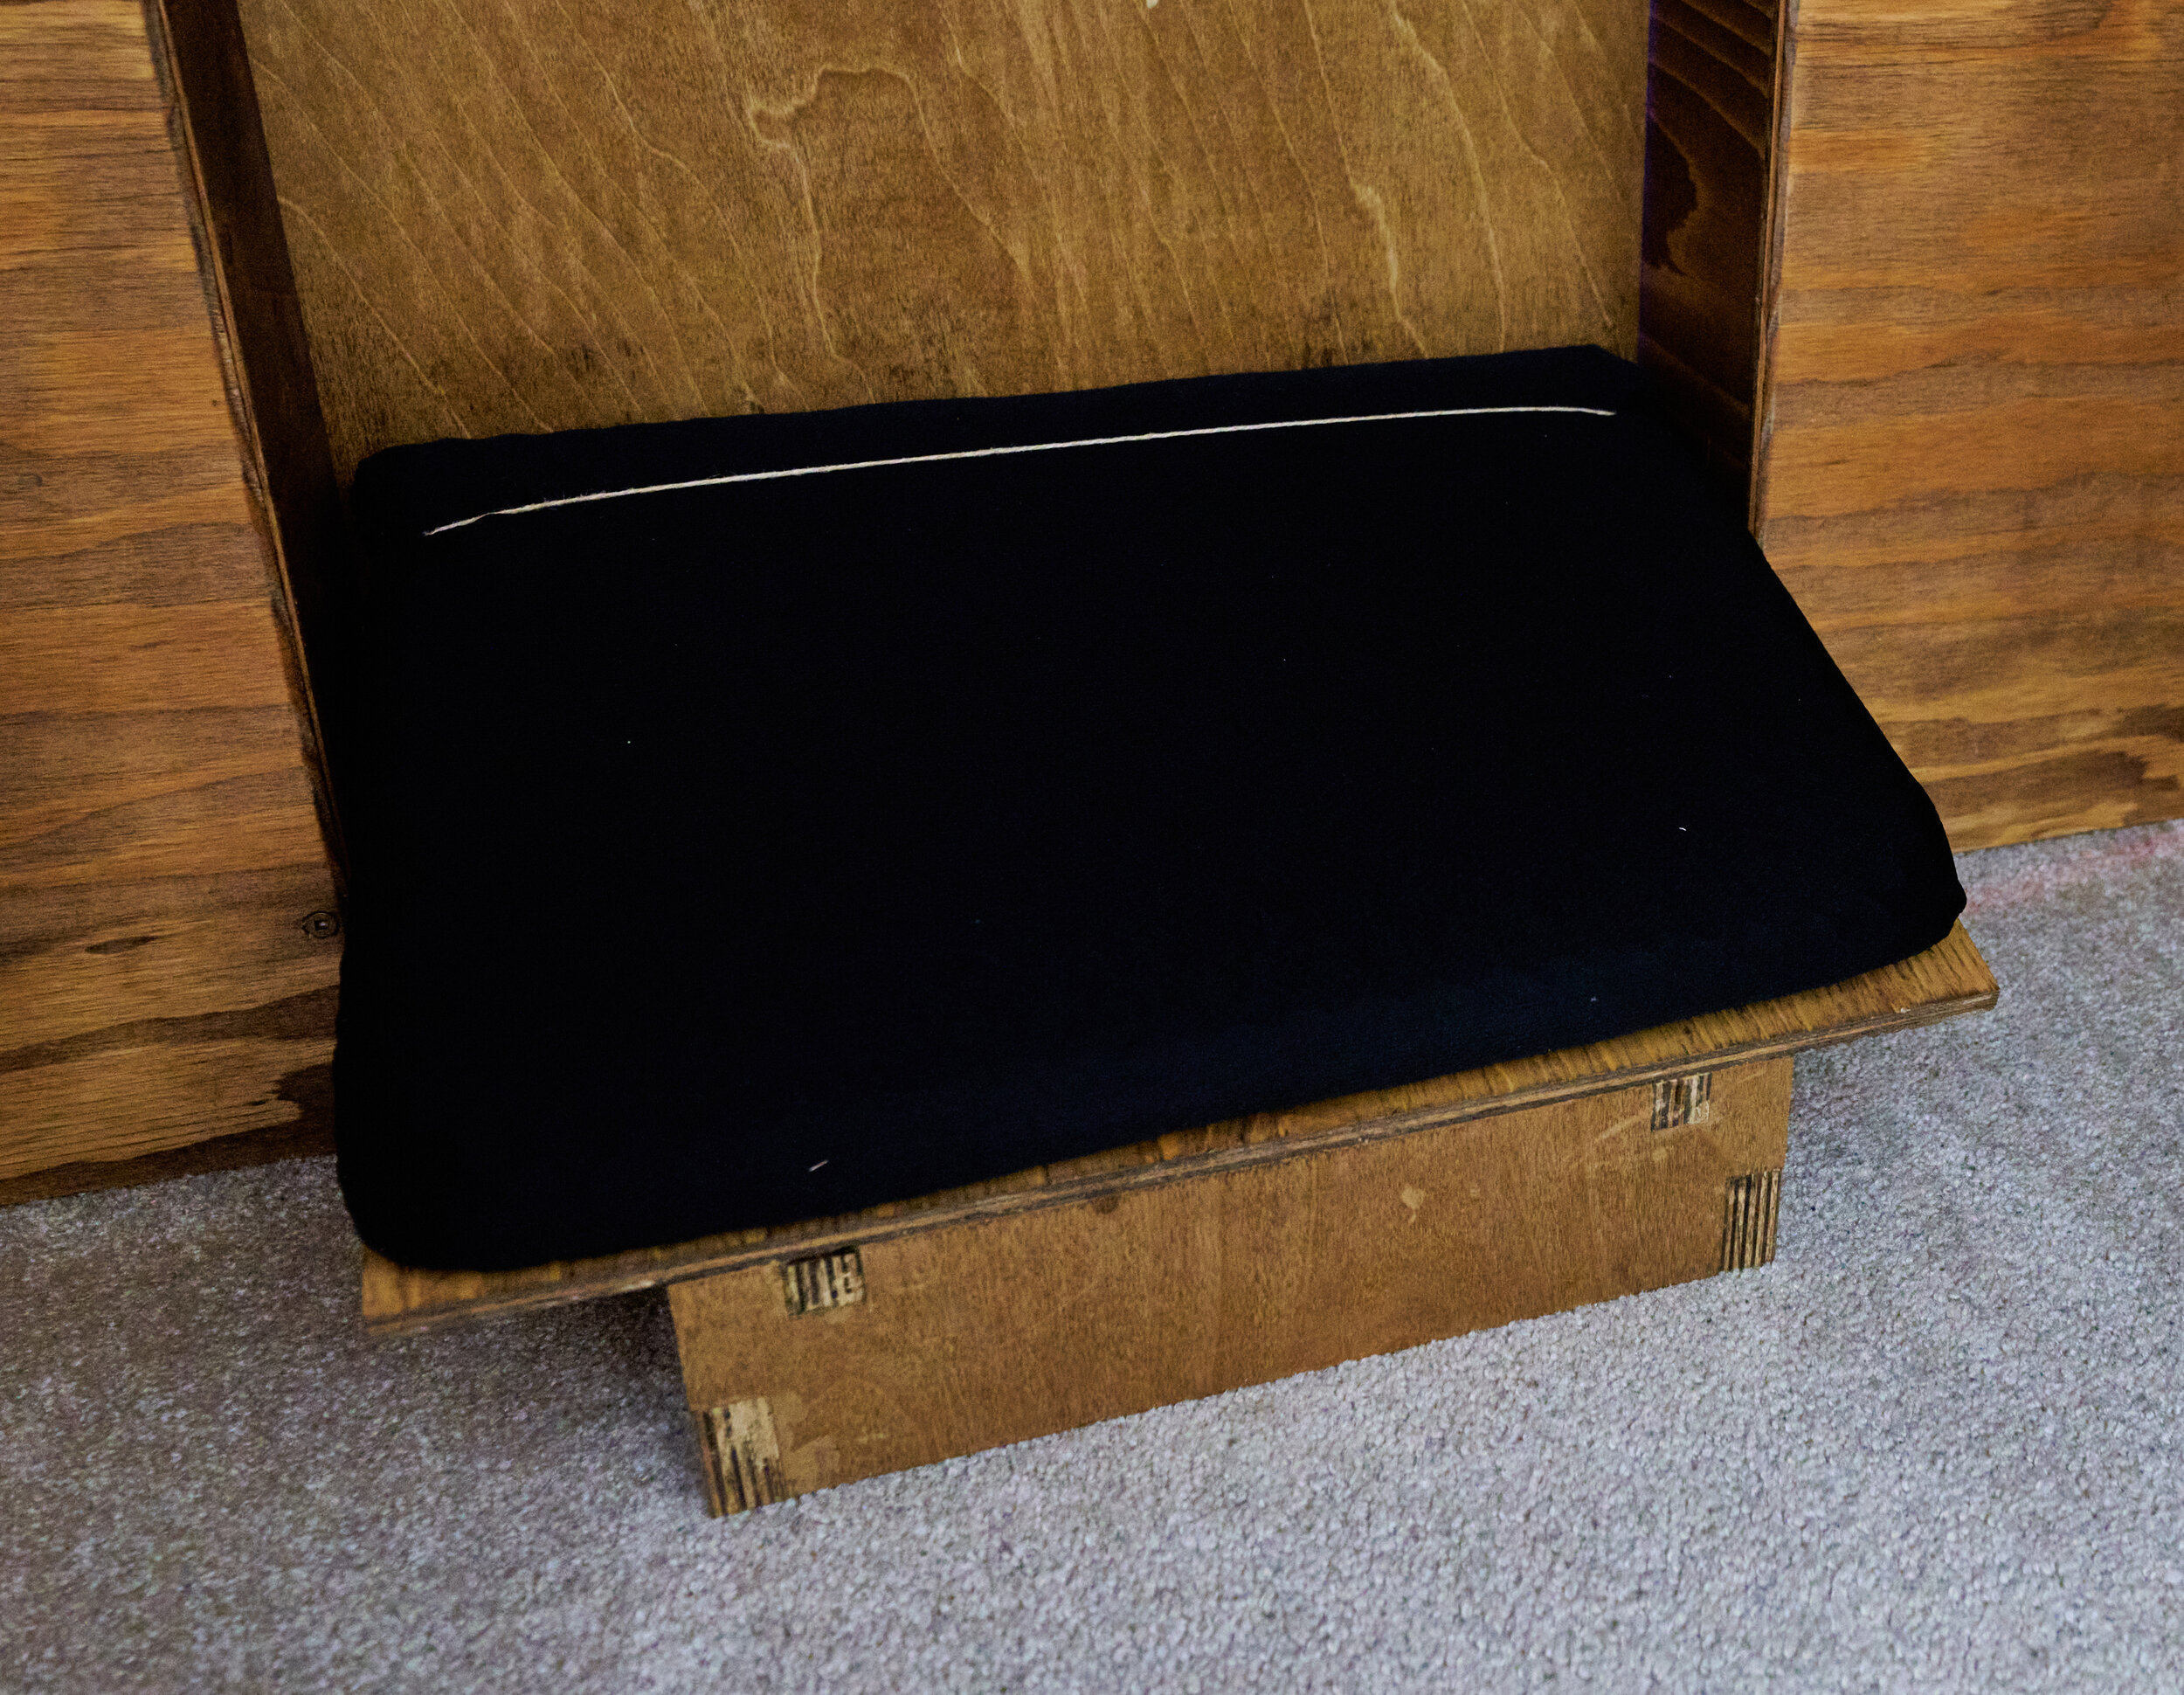
Here, note that the middle panel extends past the bottom of the desk (or another way to look at it: the desk is placed higher than the bottom panel). This means that the plywood seam is hidden.
I wanted to double up on the plywood where the monitor mounts would be installed. To install the my monitor mounts, I needed a 13” plate. Making it slightly narrower (46½”) means that I can easily center the this without worrying about exact fits.
We’ll get to the remaining numbers in the next step.

The remaining panels
This next step we need to size the 12¼” value. Again, if you’re particularly short/tall or and/or you are using particularly small or large monitors (or want to use a monitor in portrait mode) then you’ll need to spend more time with this step. If you are using gas strut type monitor arms, you have a lot more flexibility with vertical adjustment (but they cost more)
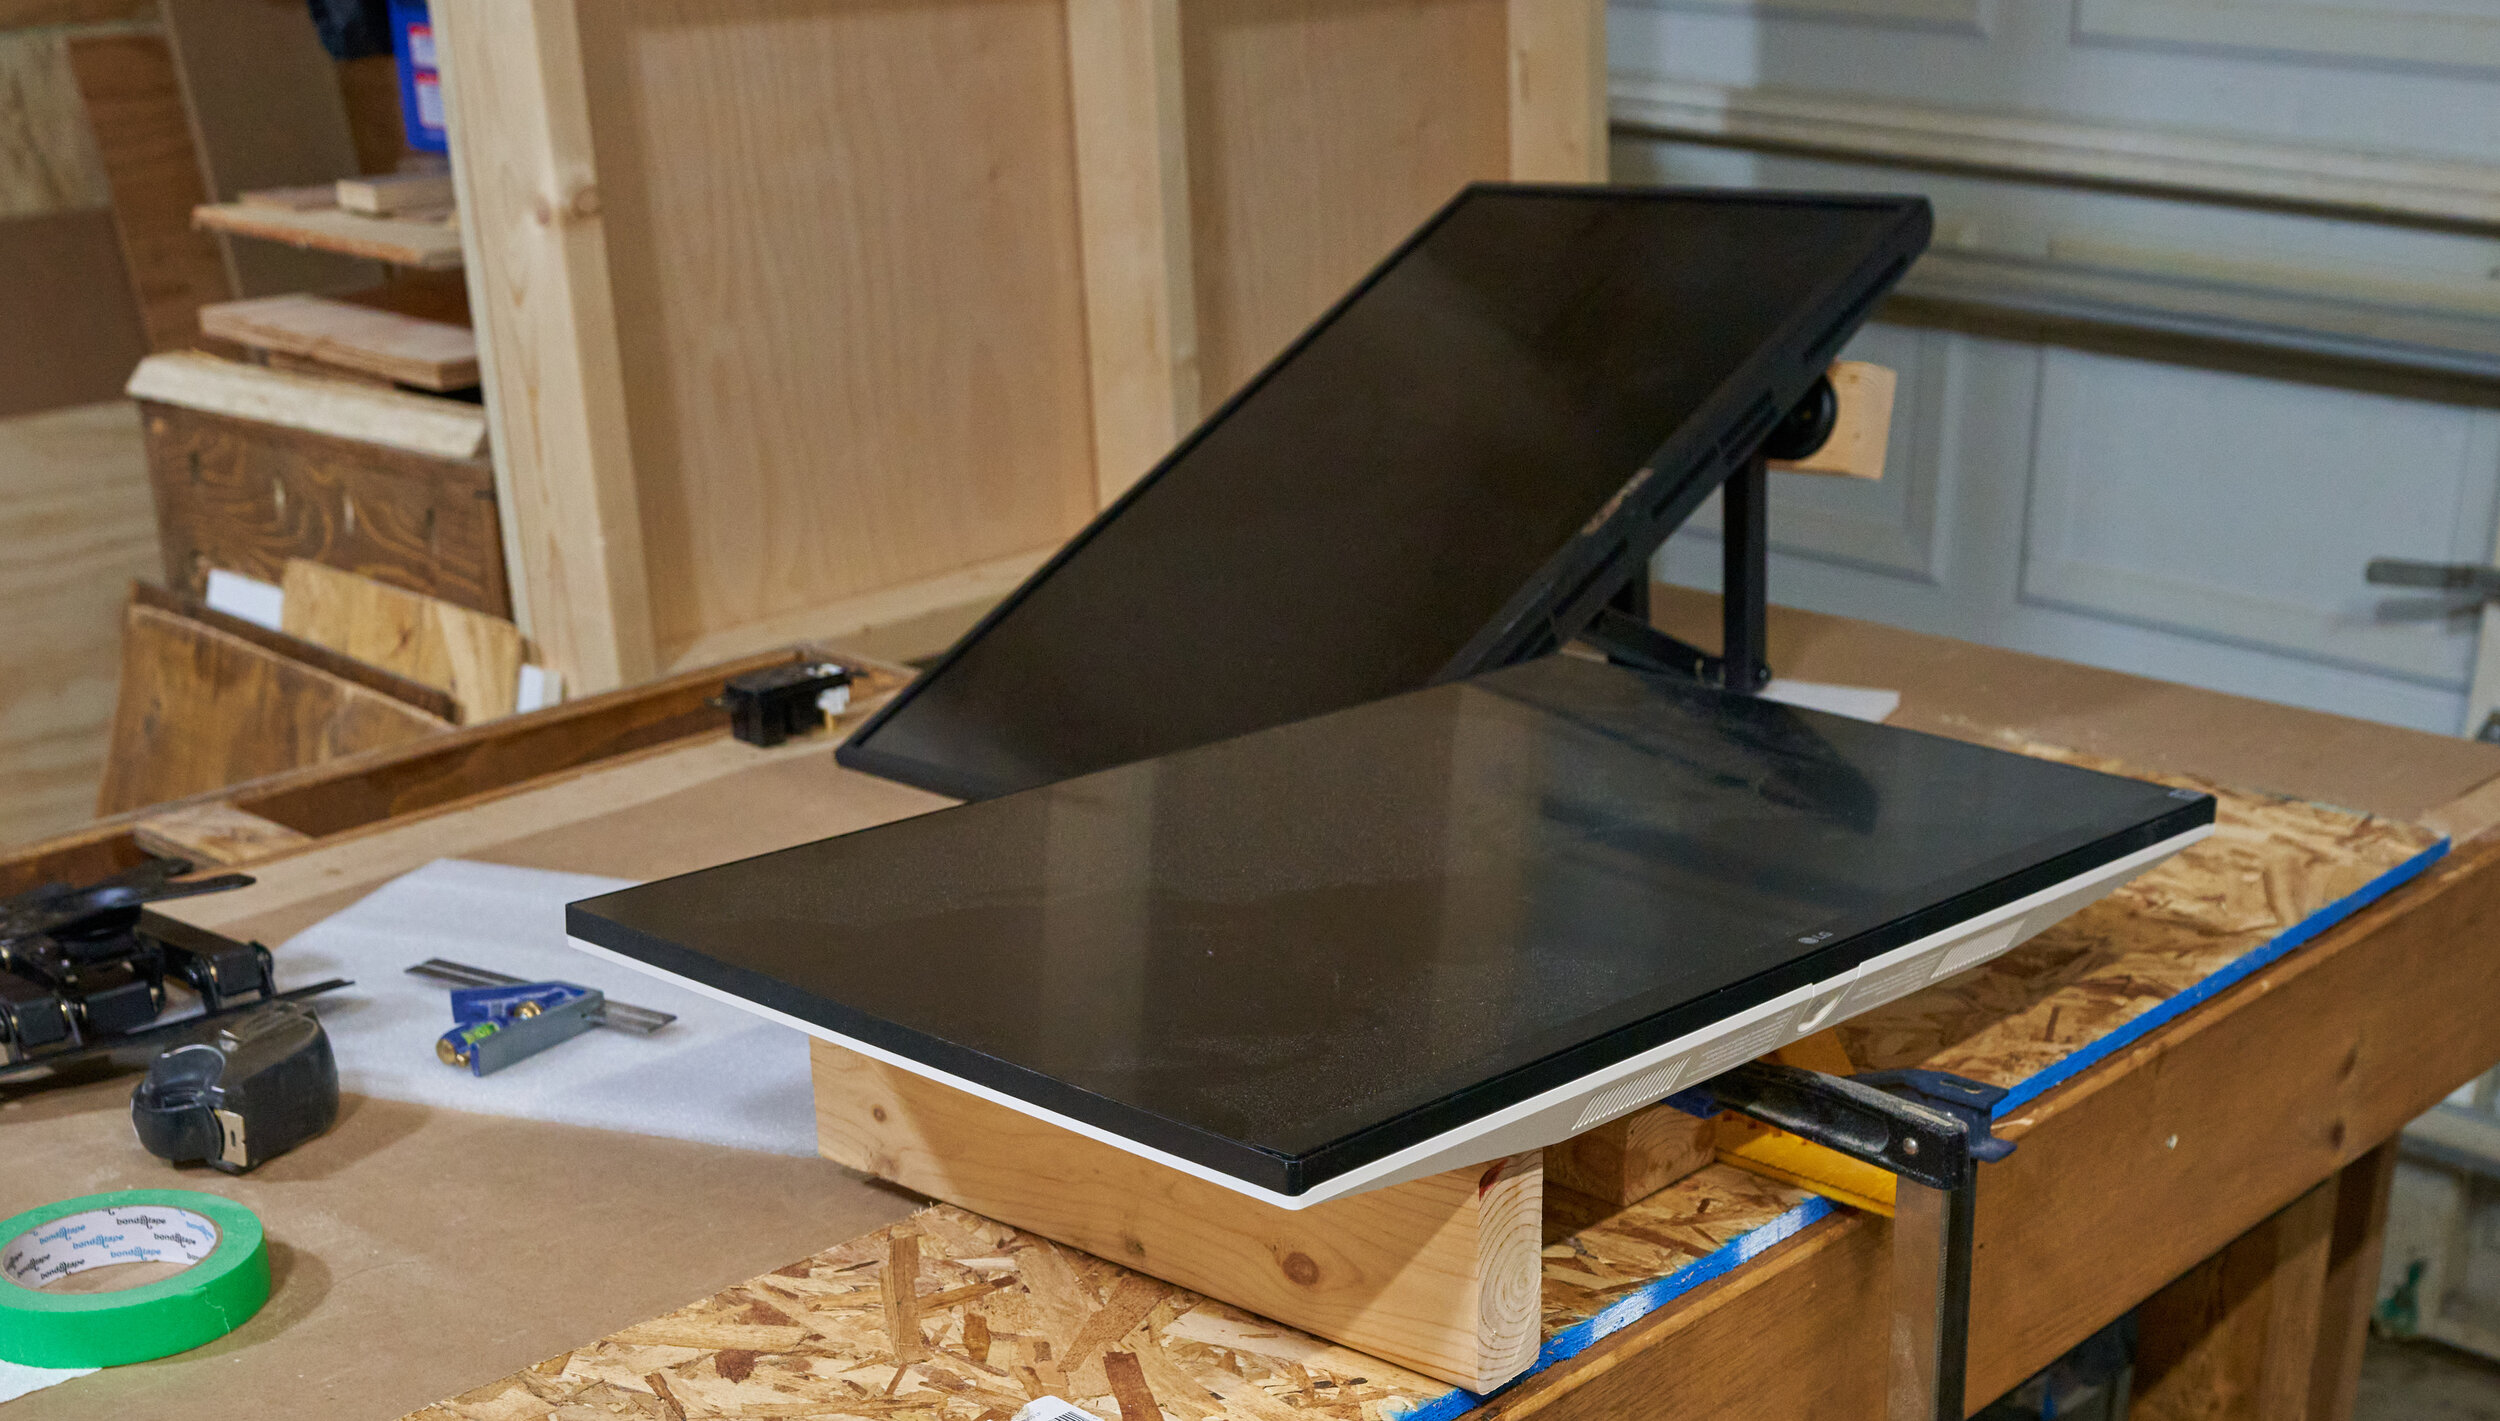
Knowing that I was going to have my desktop surface 29¾” off the ground (meaning the actual top side was 31¼” off the ground). I could work out roughly where I wanted the inset plate to go, vertically. It helps a lot to have a scrap piece of plywood (or even cardboard) to use as a mock table top.
Once you’ve figured out how high up you want to slide the inset panel up, it’s a good idea to have a few extra inches above the plate — this plywood seam will generally be hidden by your monitors (in my case, I have 4” extra).
This means that whatever plywood is left, becomes the very top panel. Easy peasy.

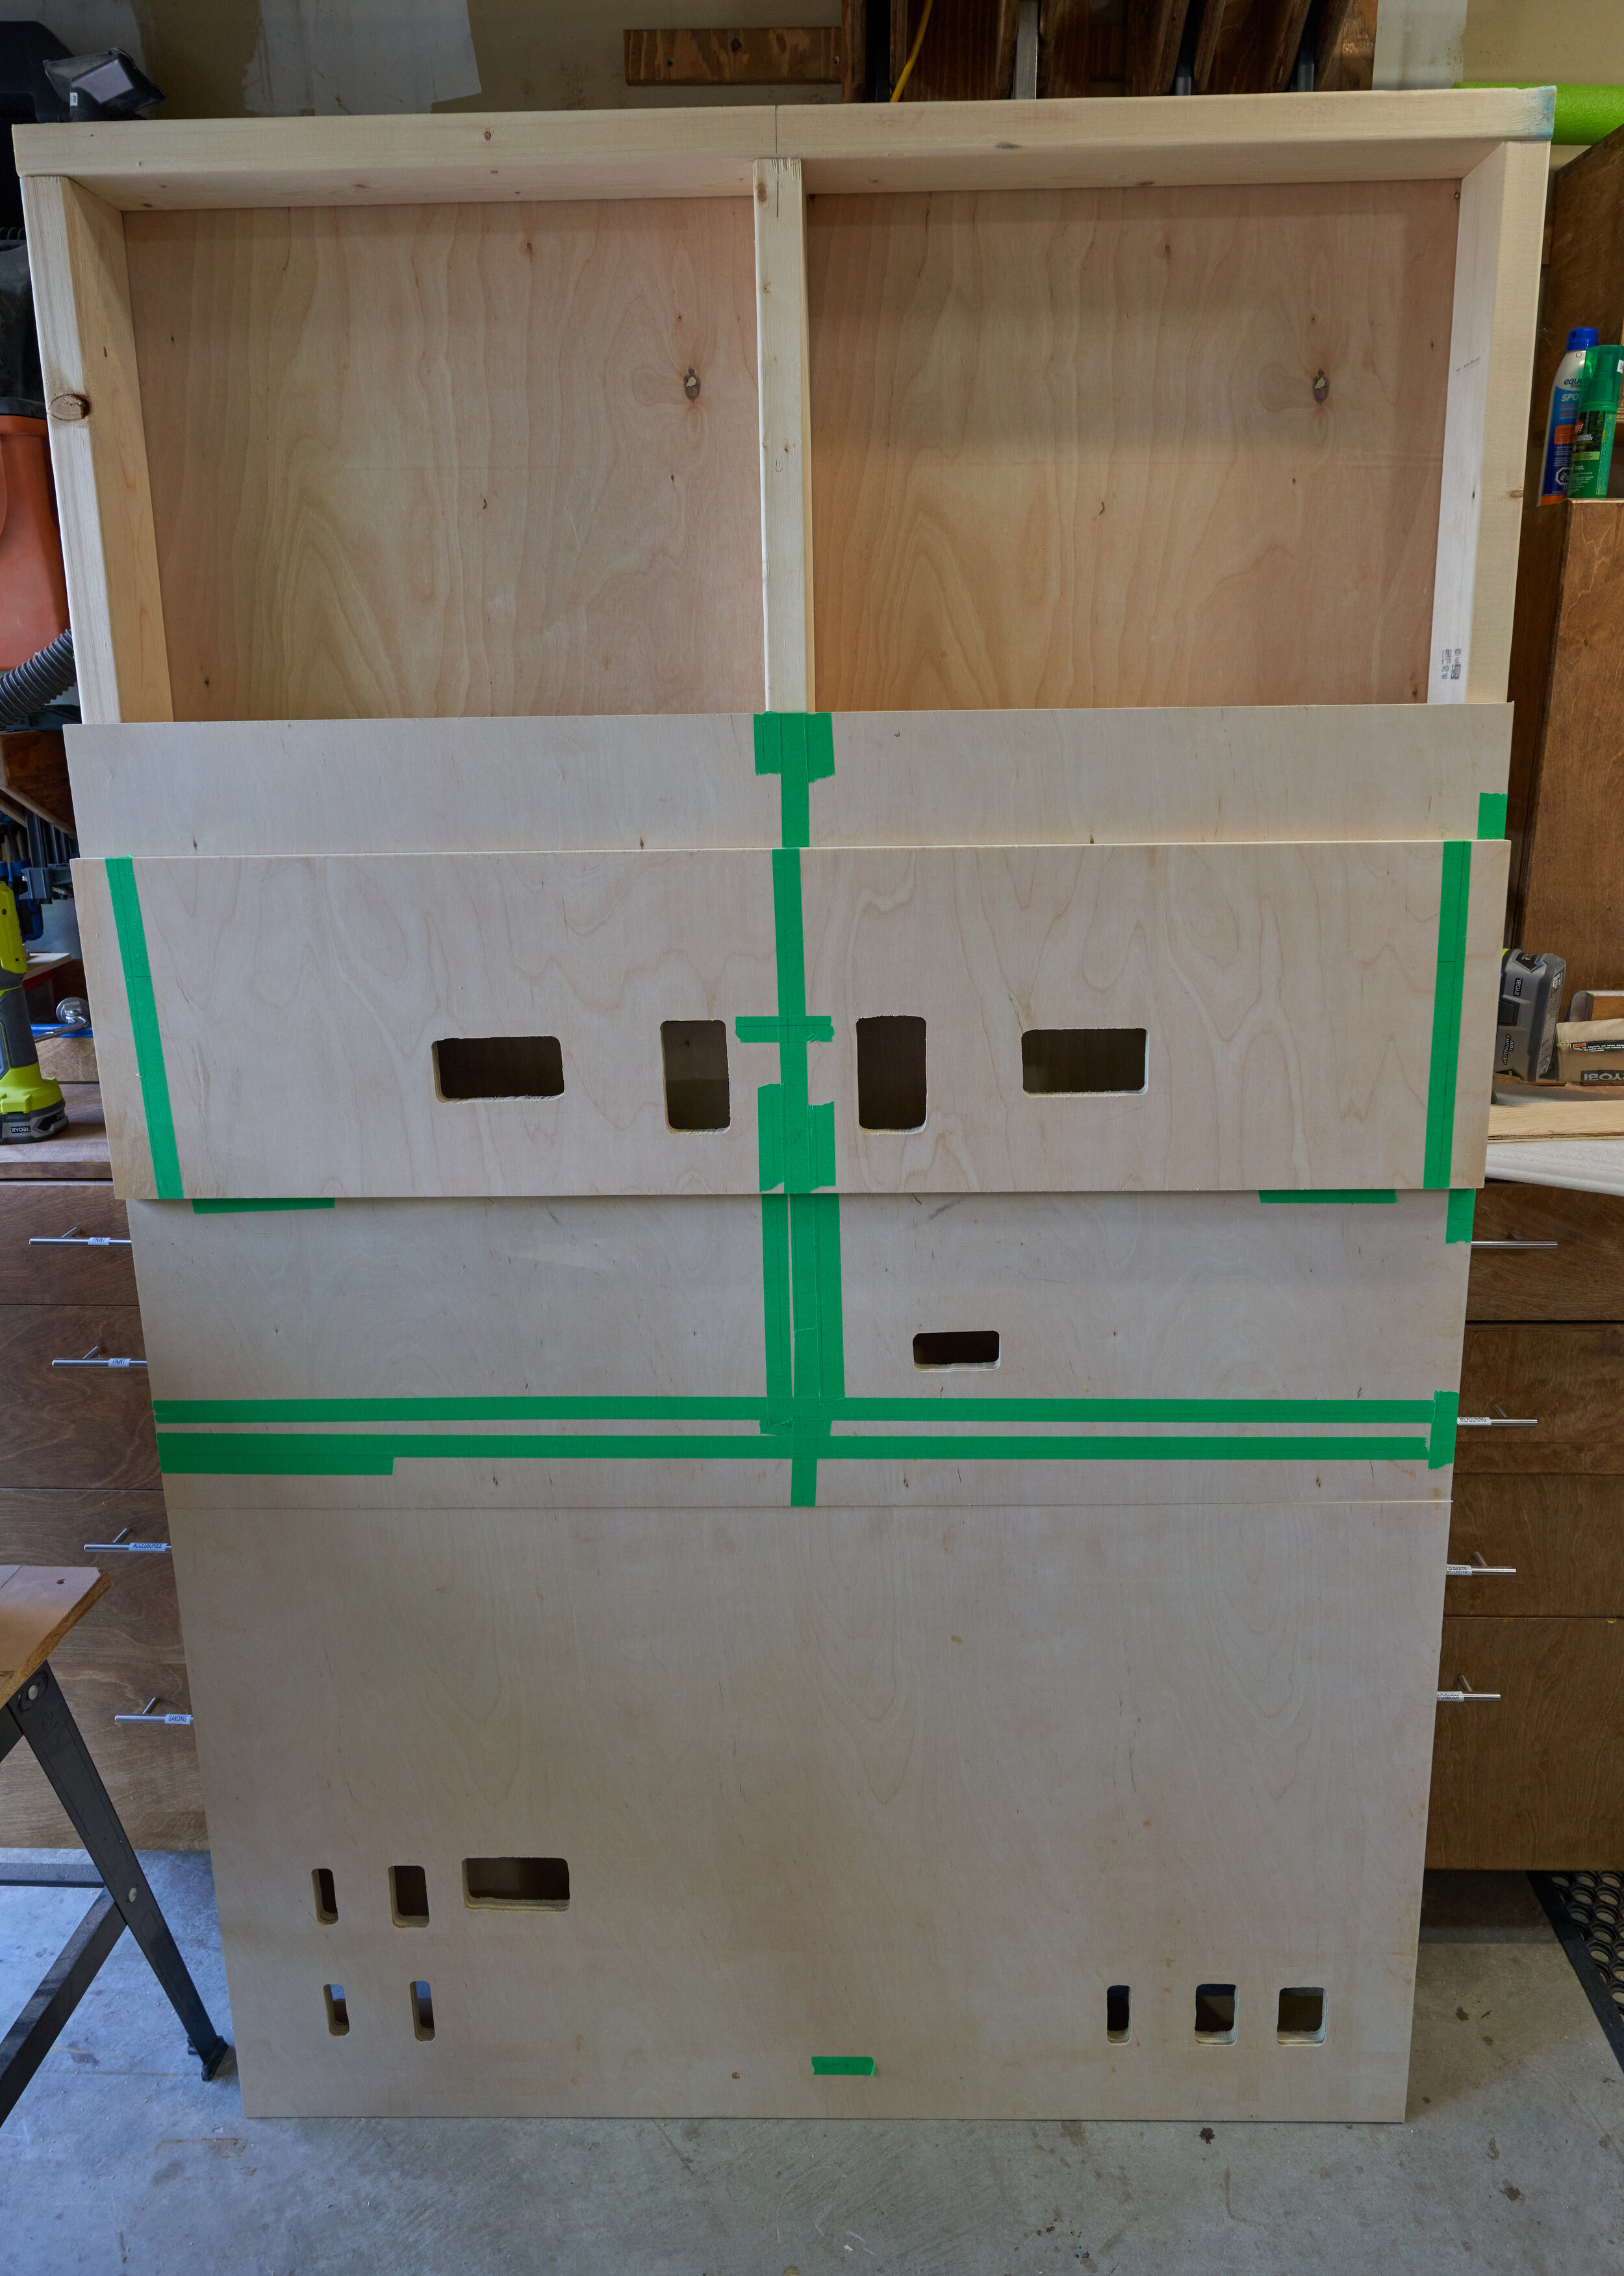
All together now
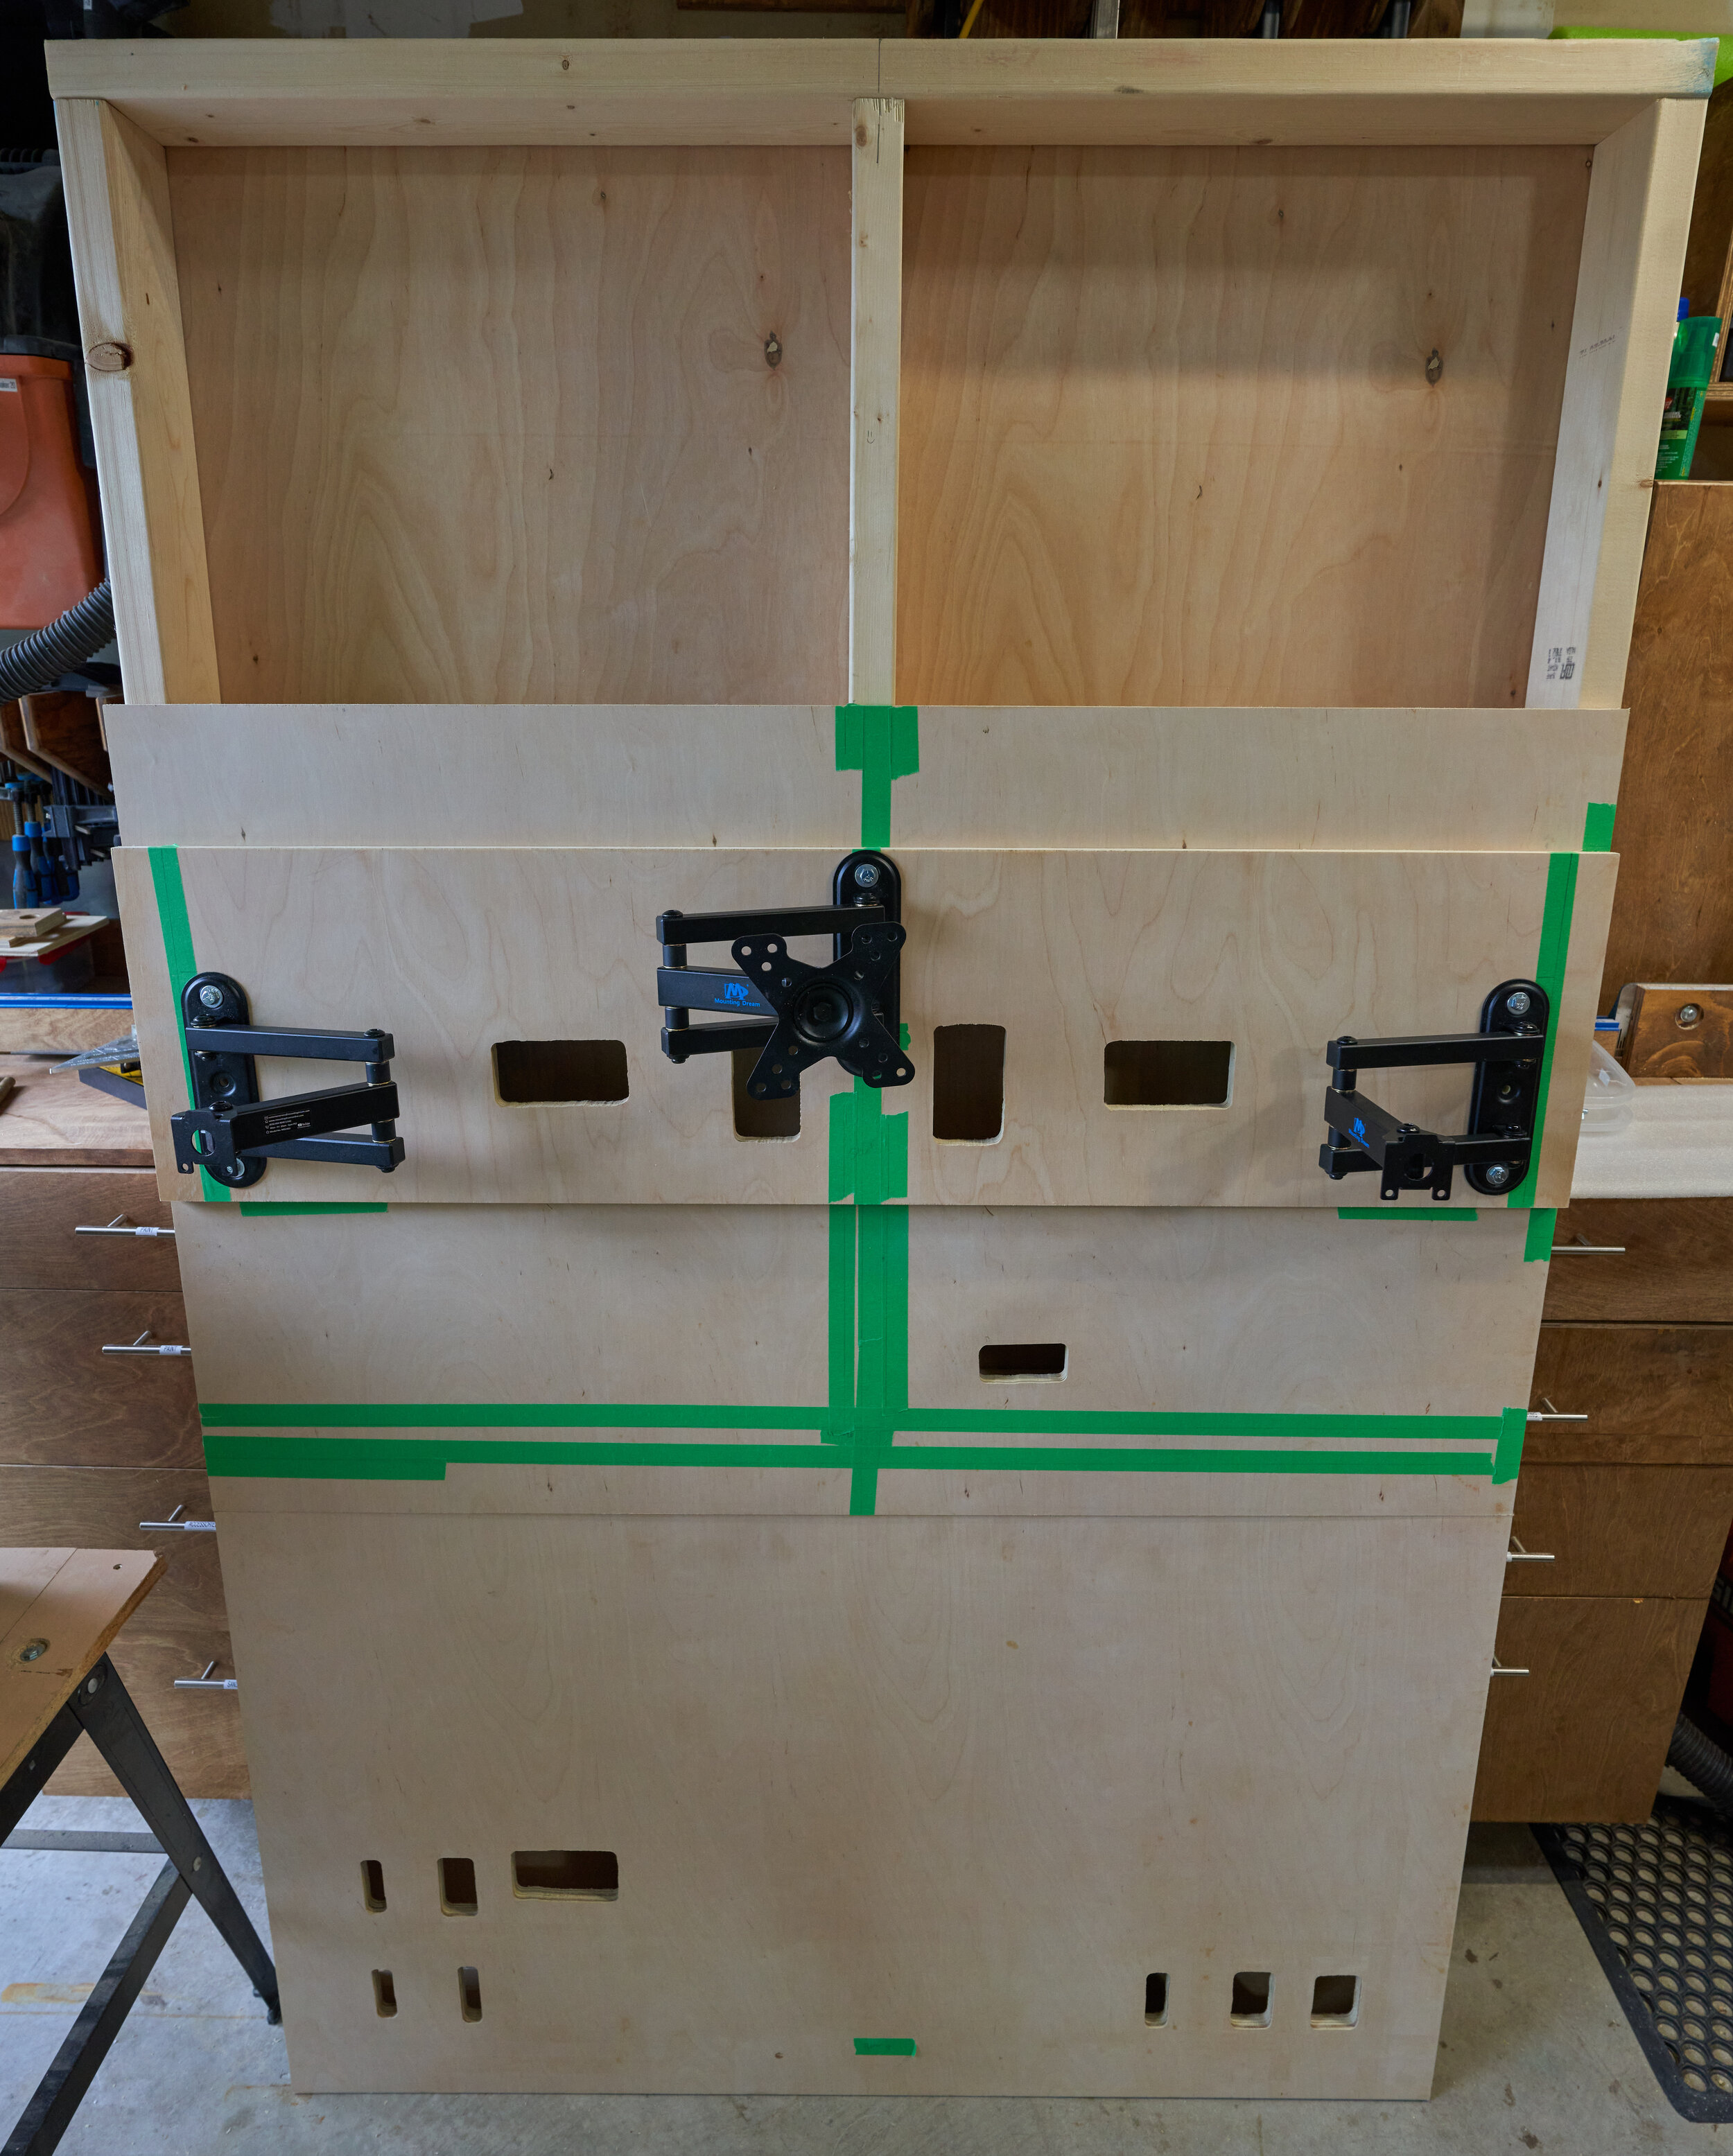
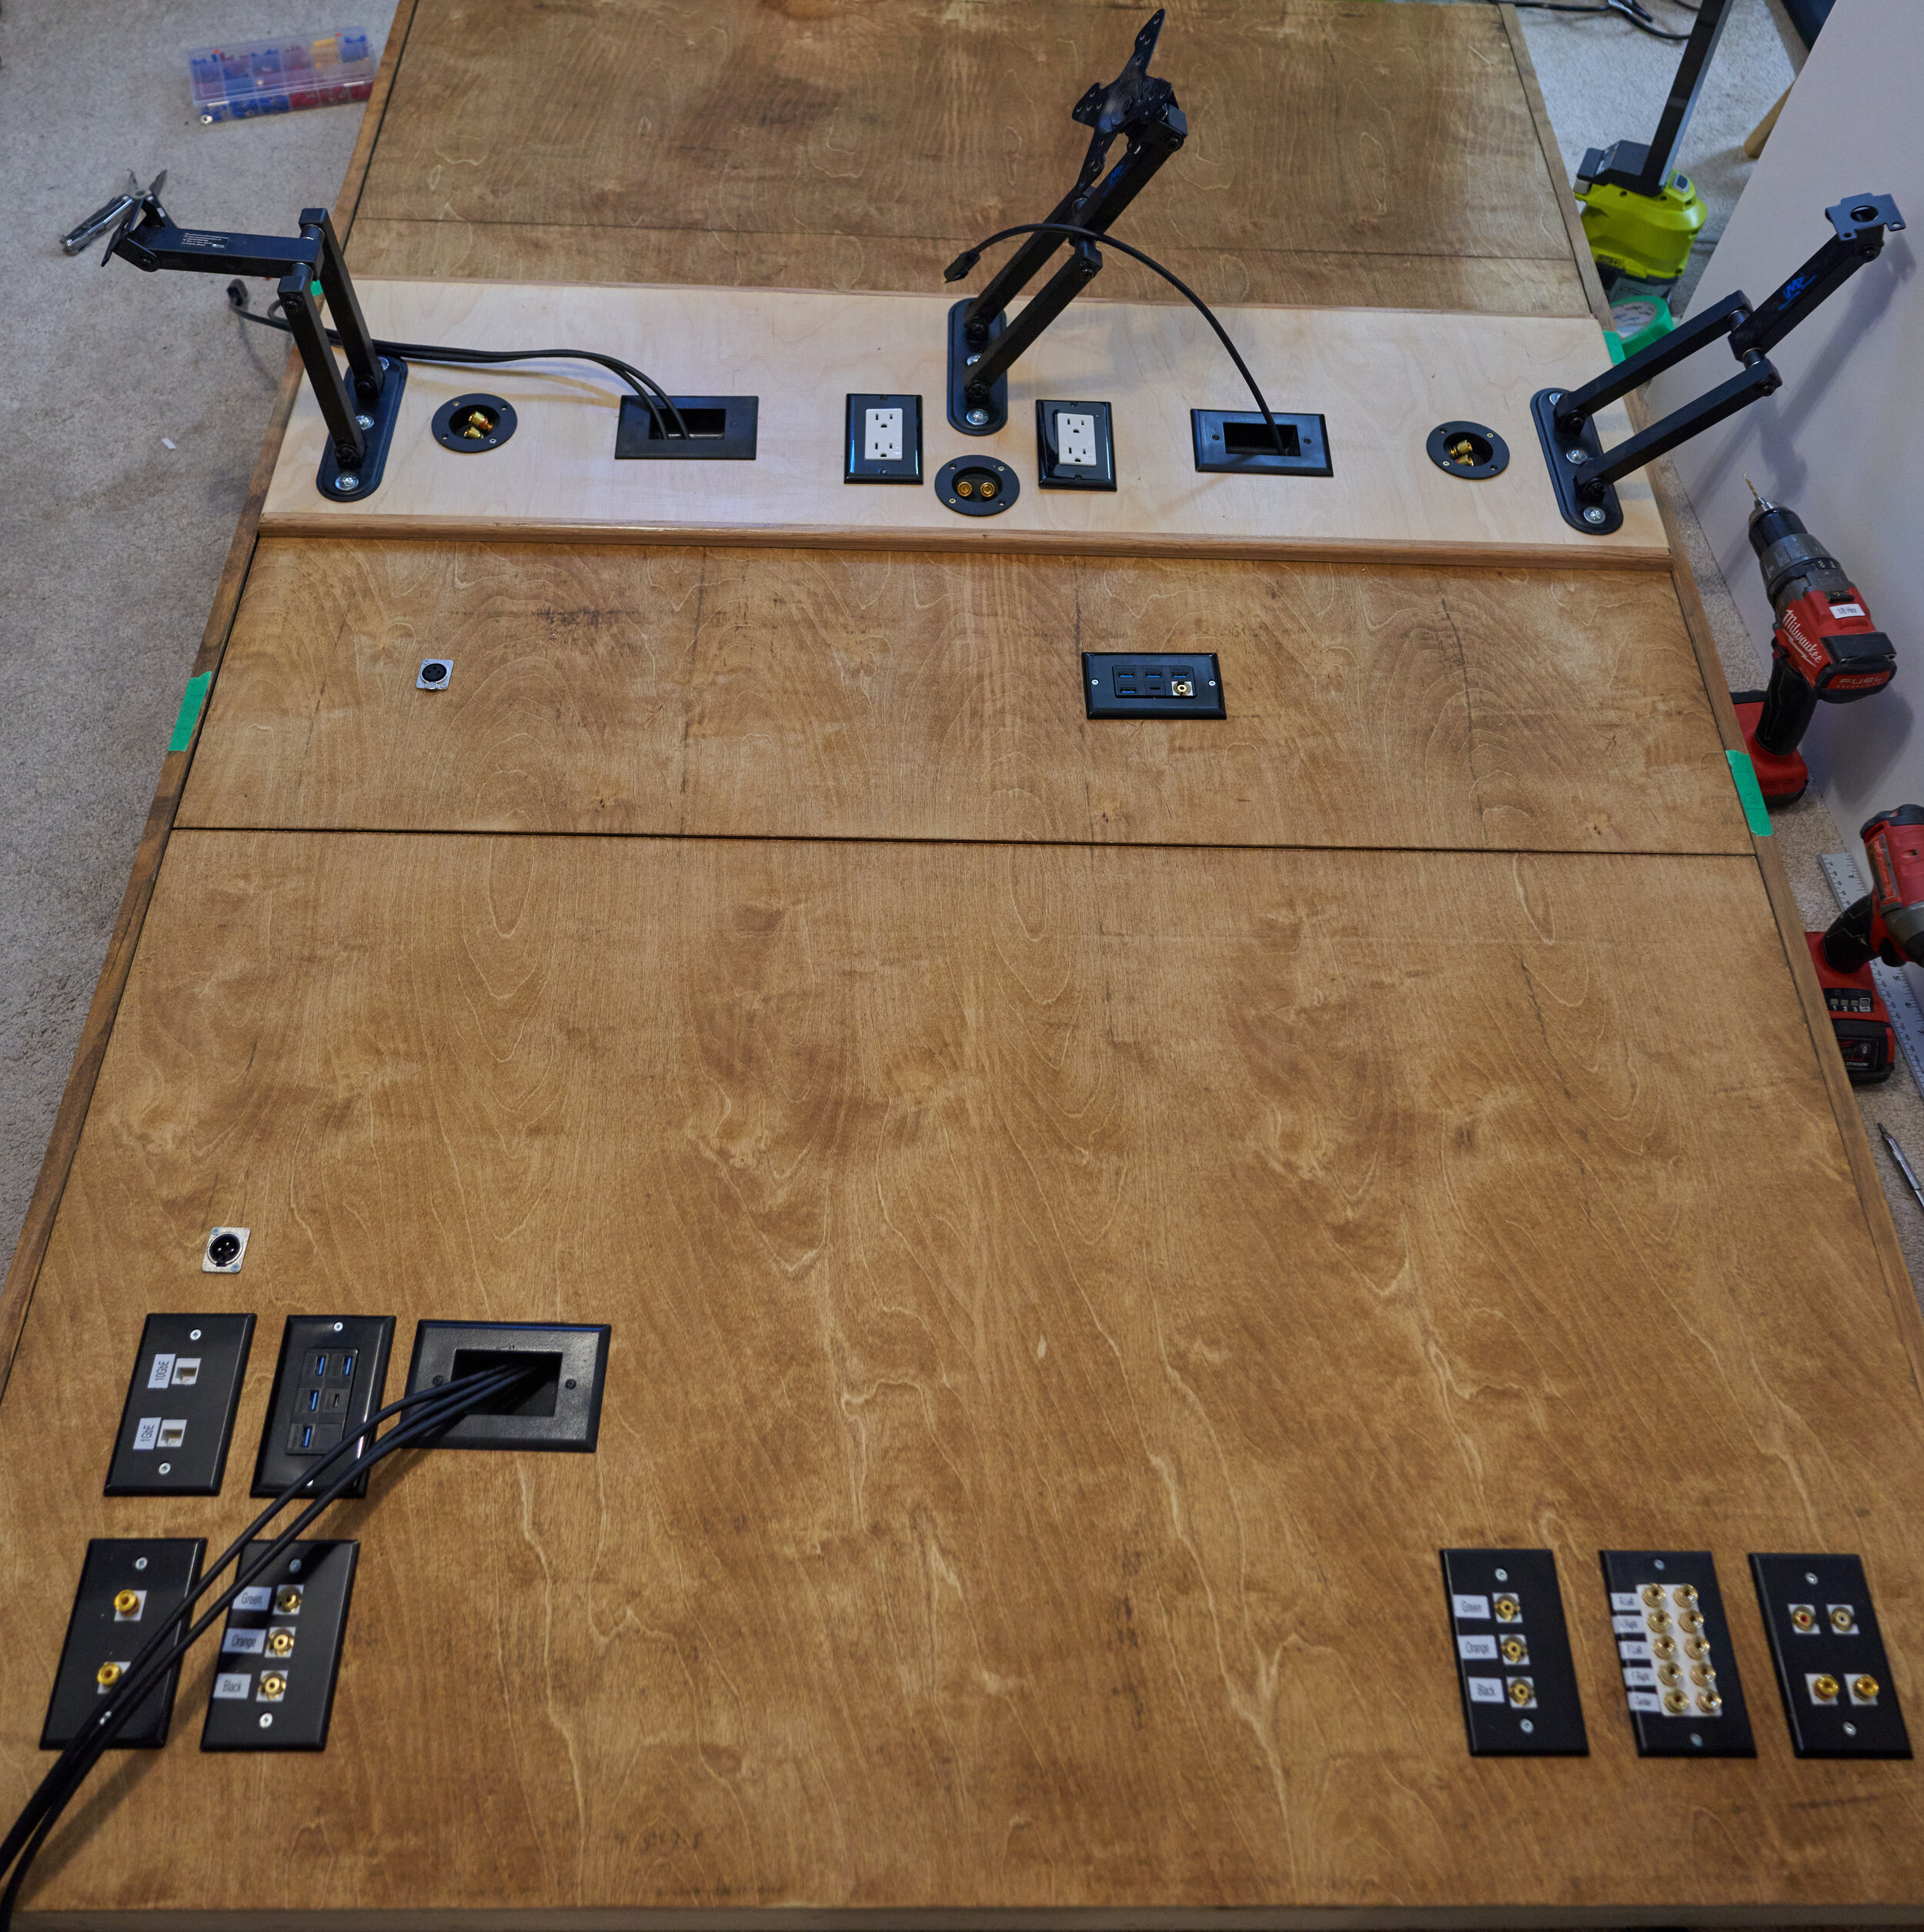
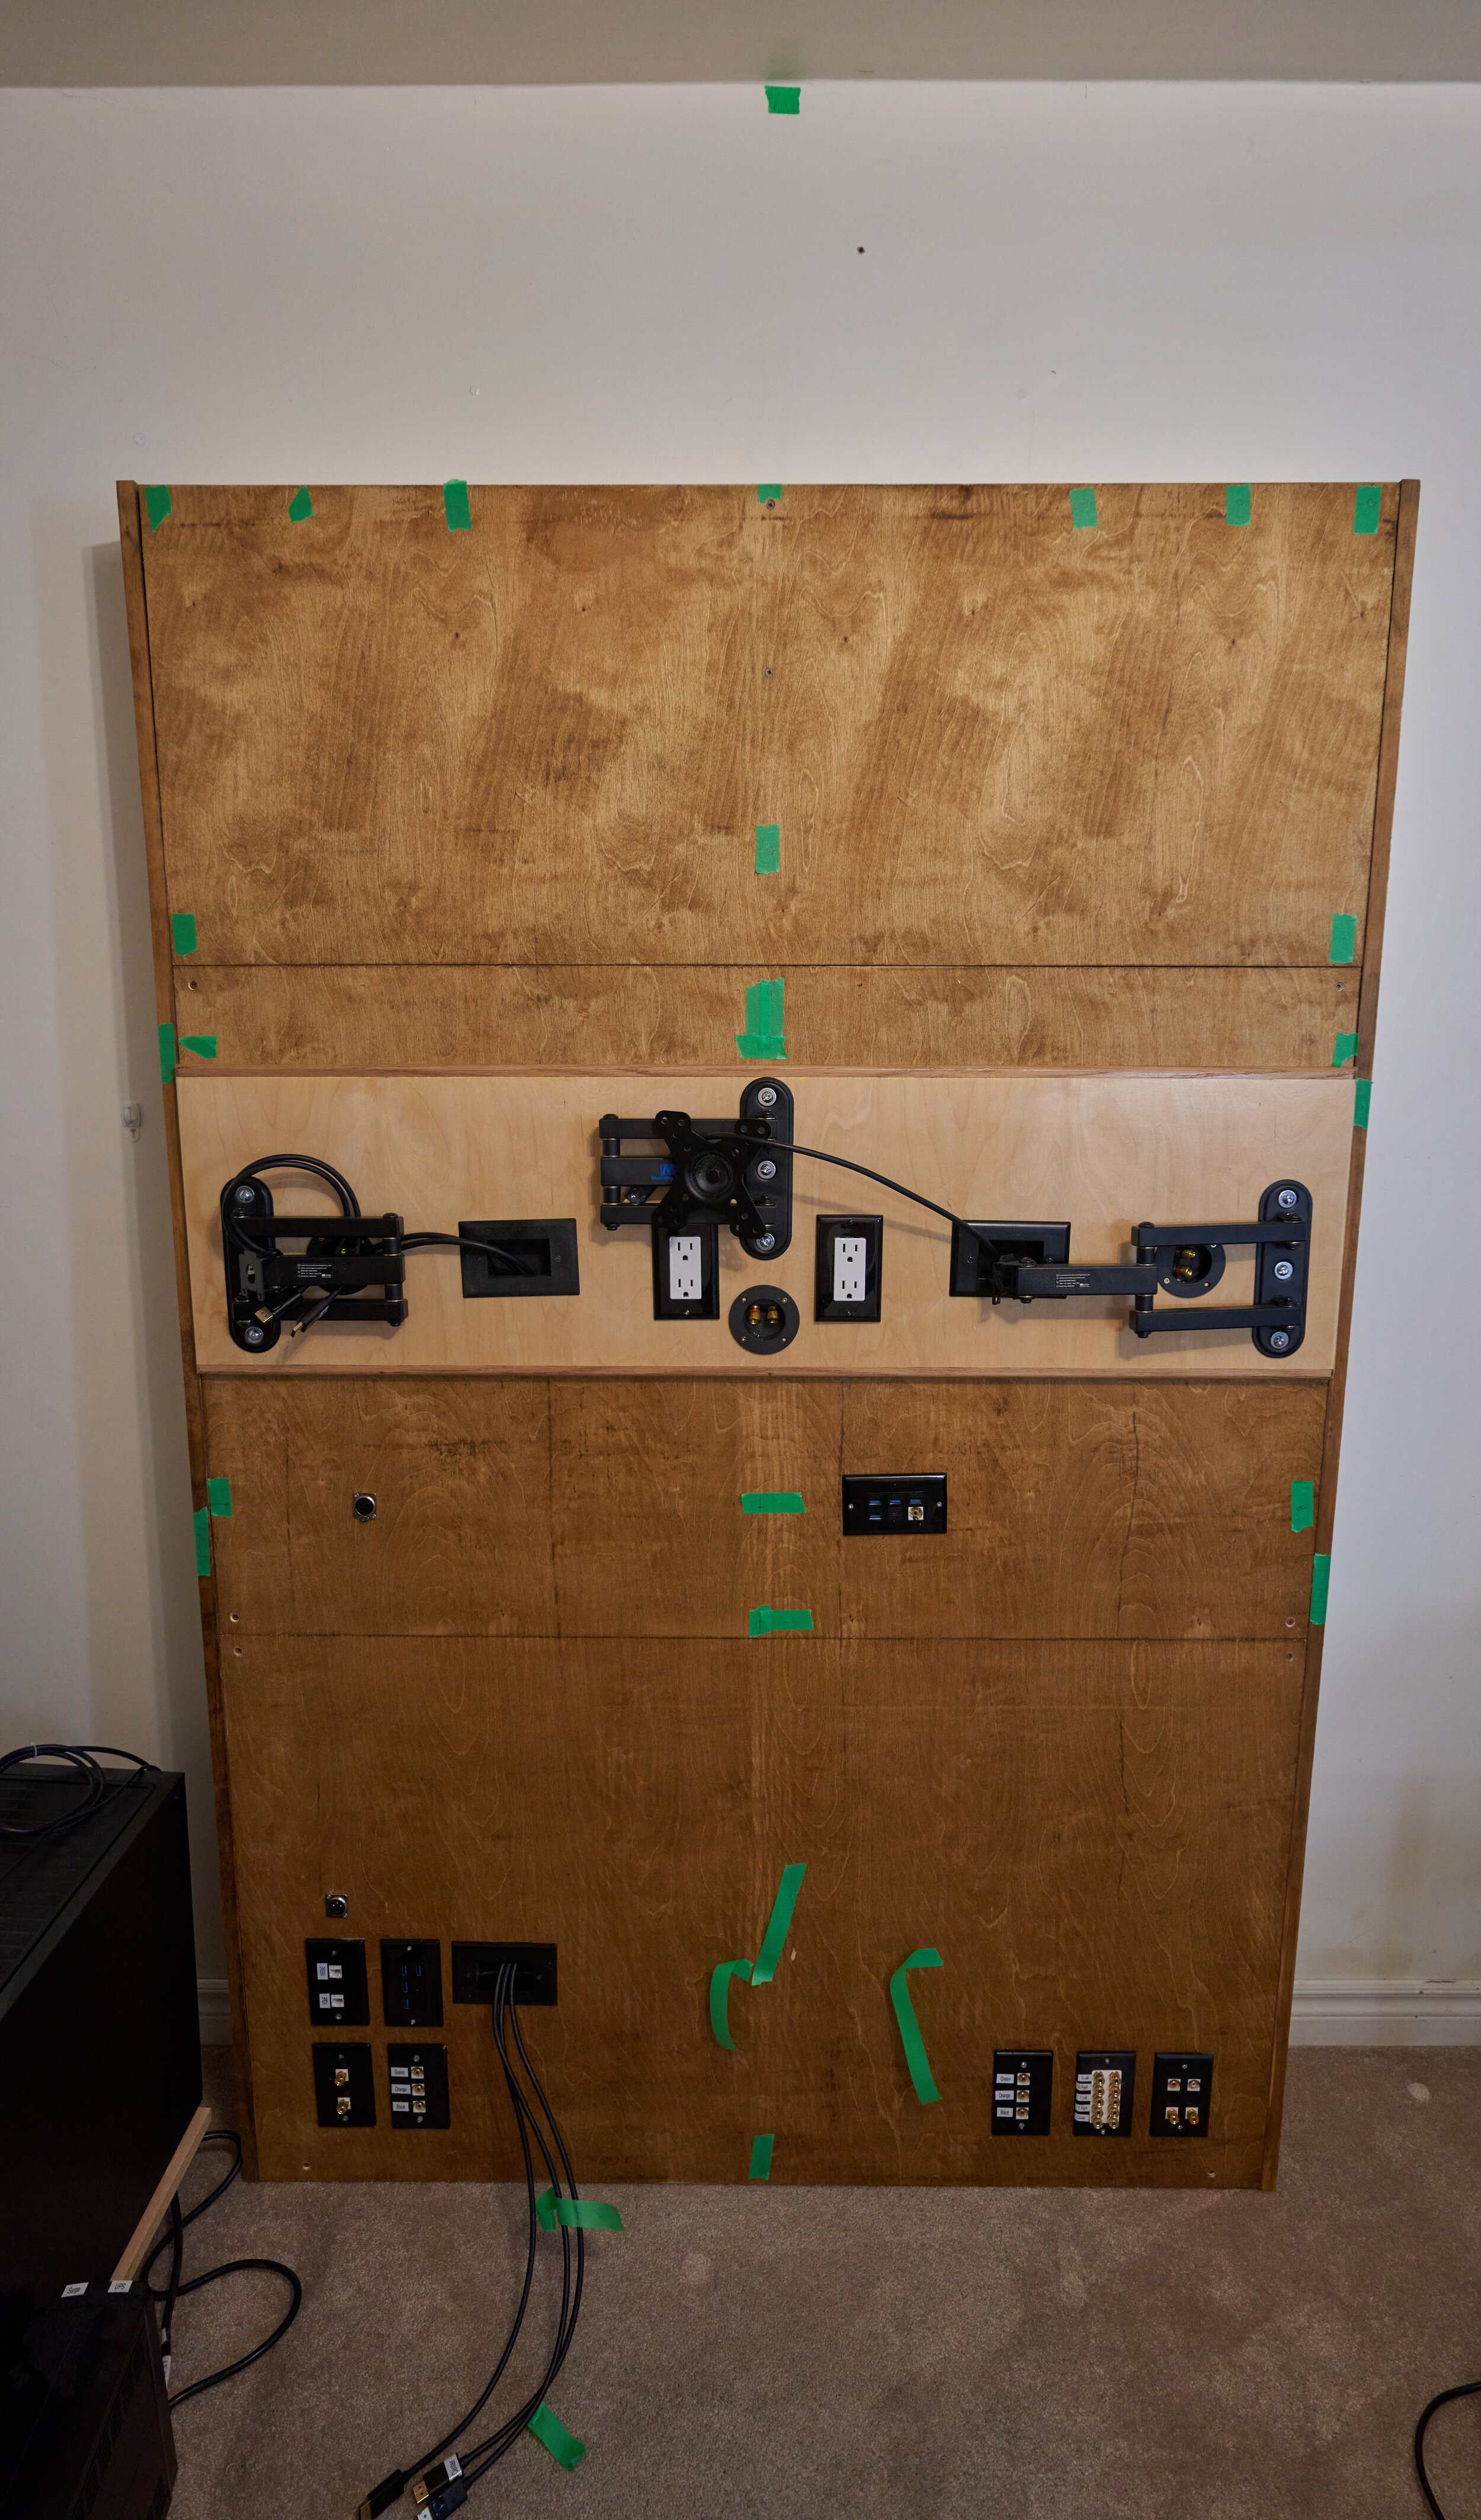
So here we have the final mock for building out the faux-wall!
You can see that the bottom seam will be hidden by the desk-top surface and the top will be hidden by the monitor array.
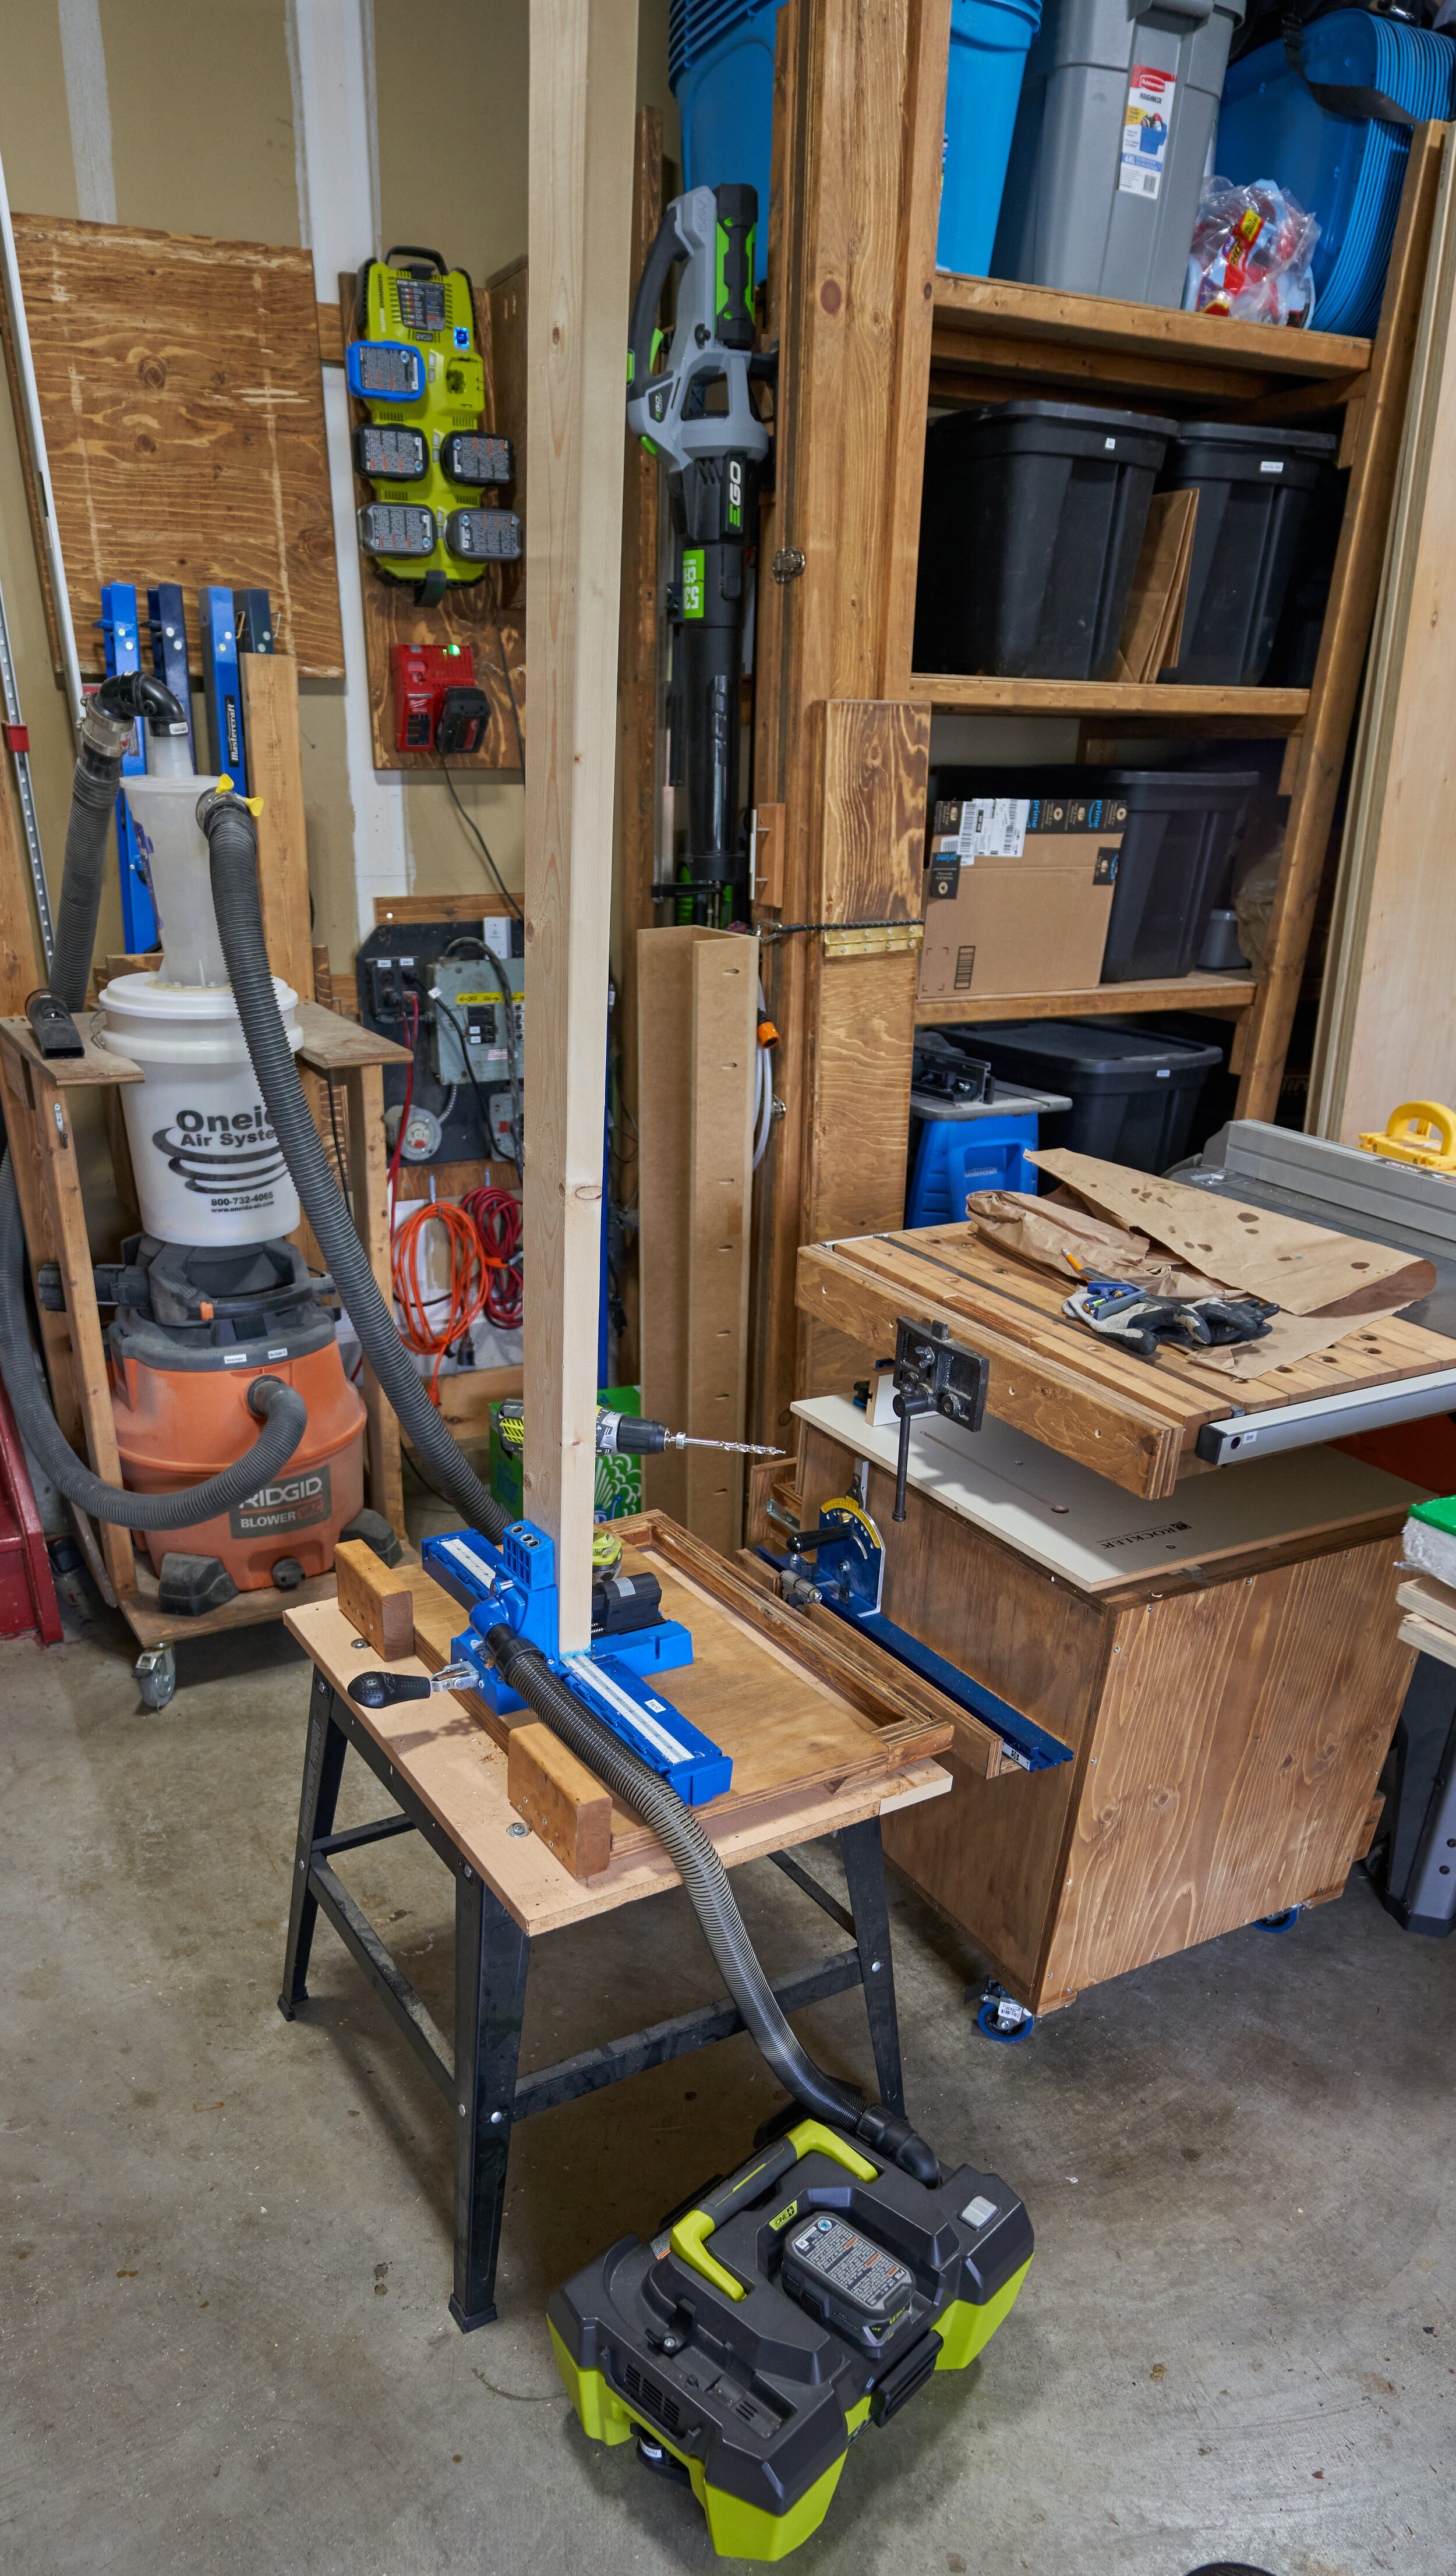
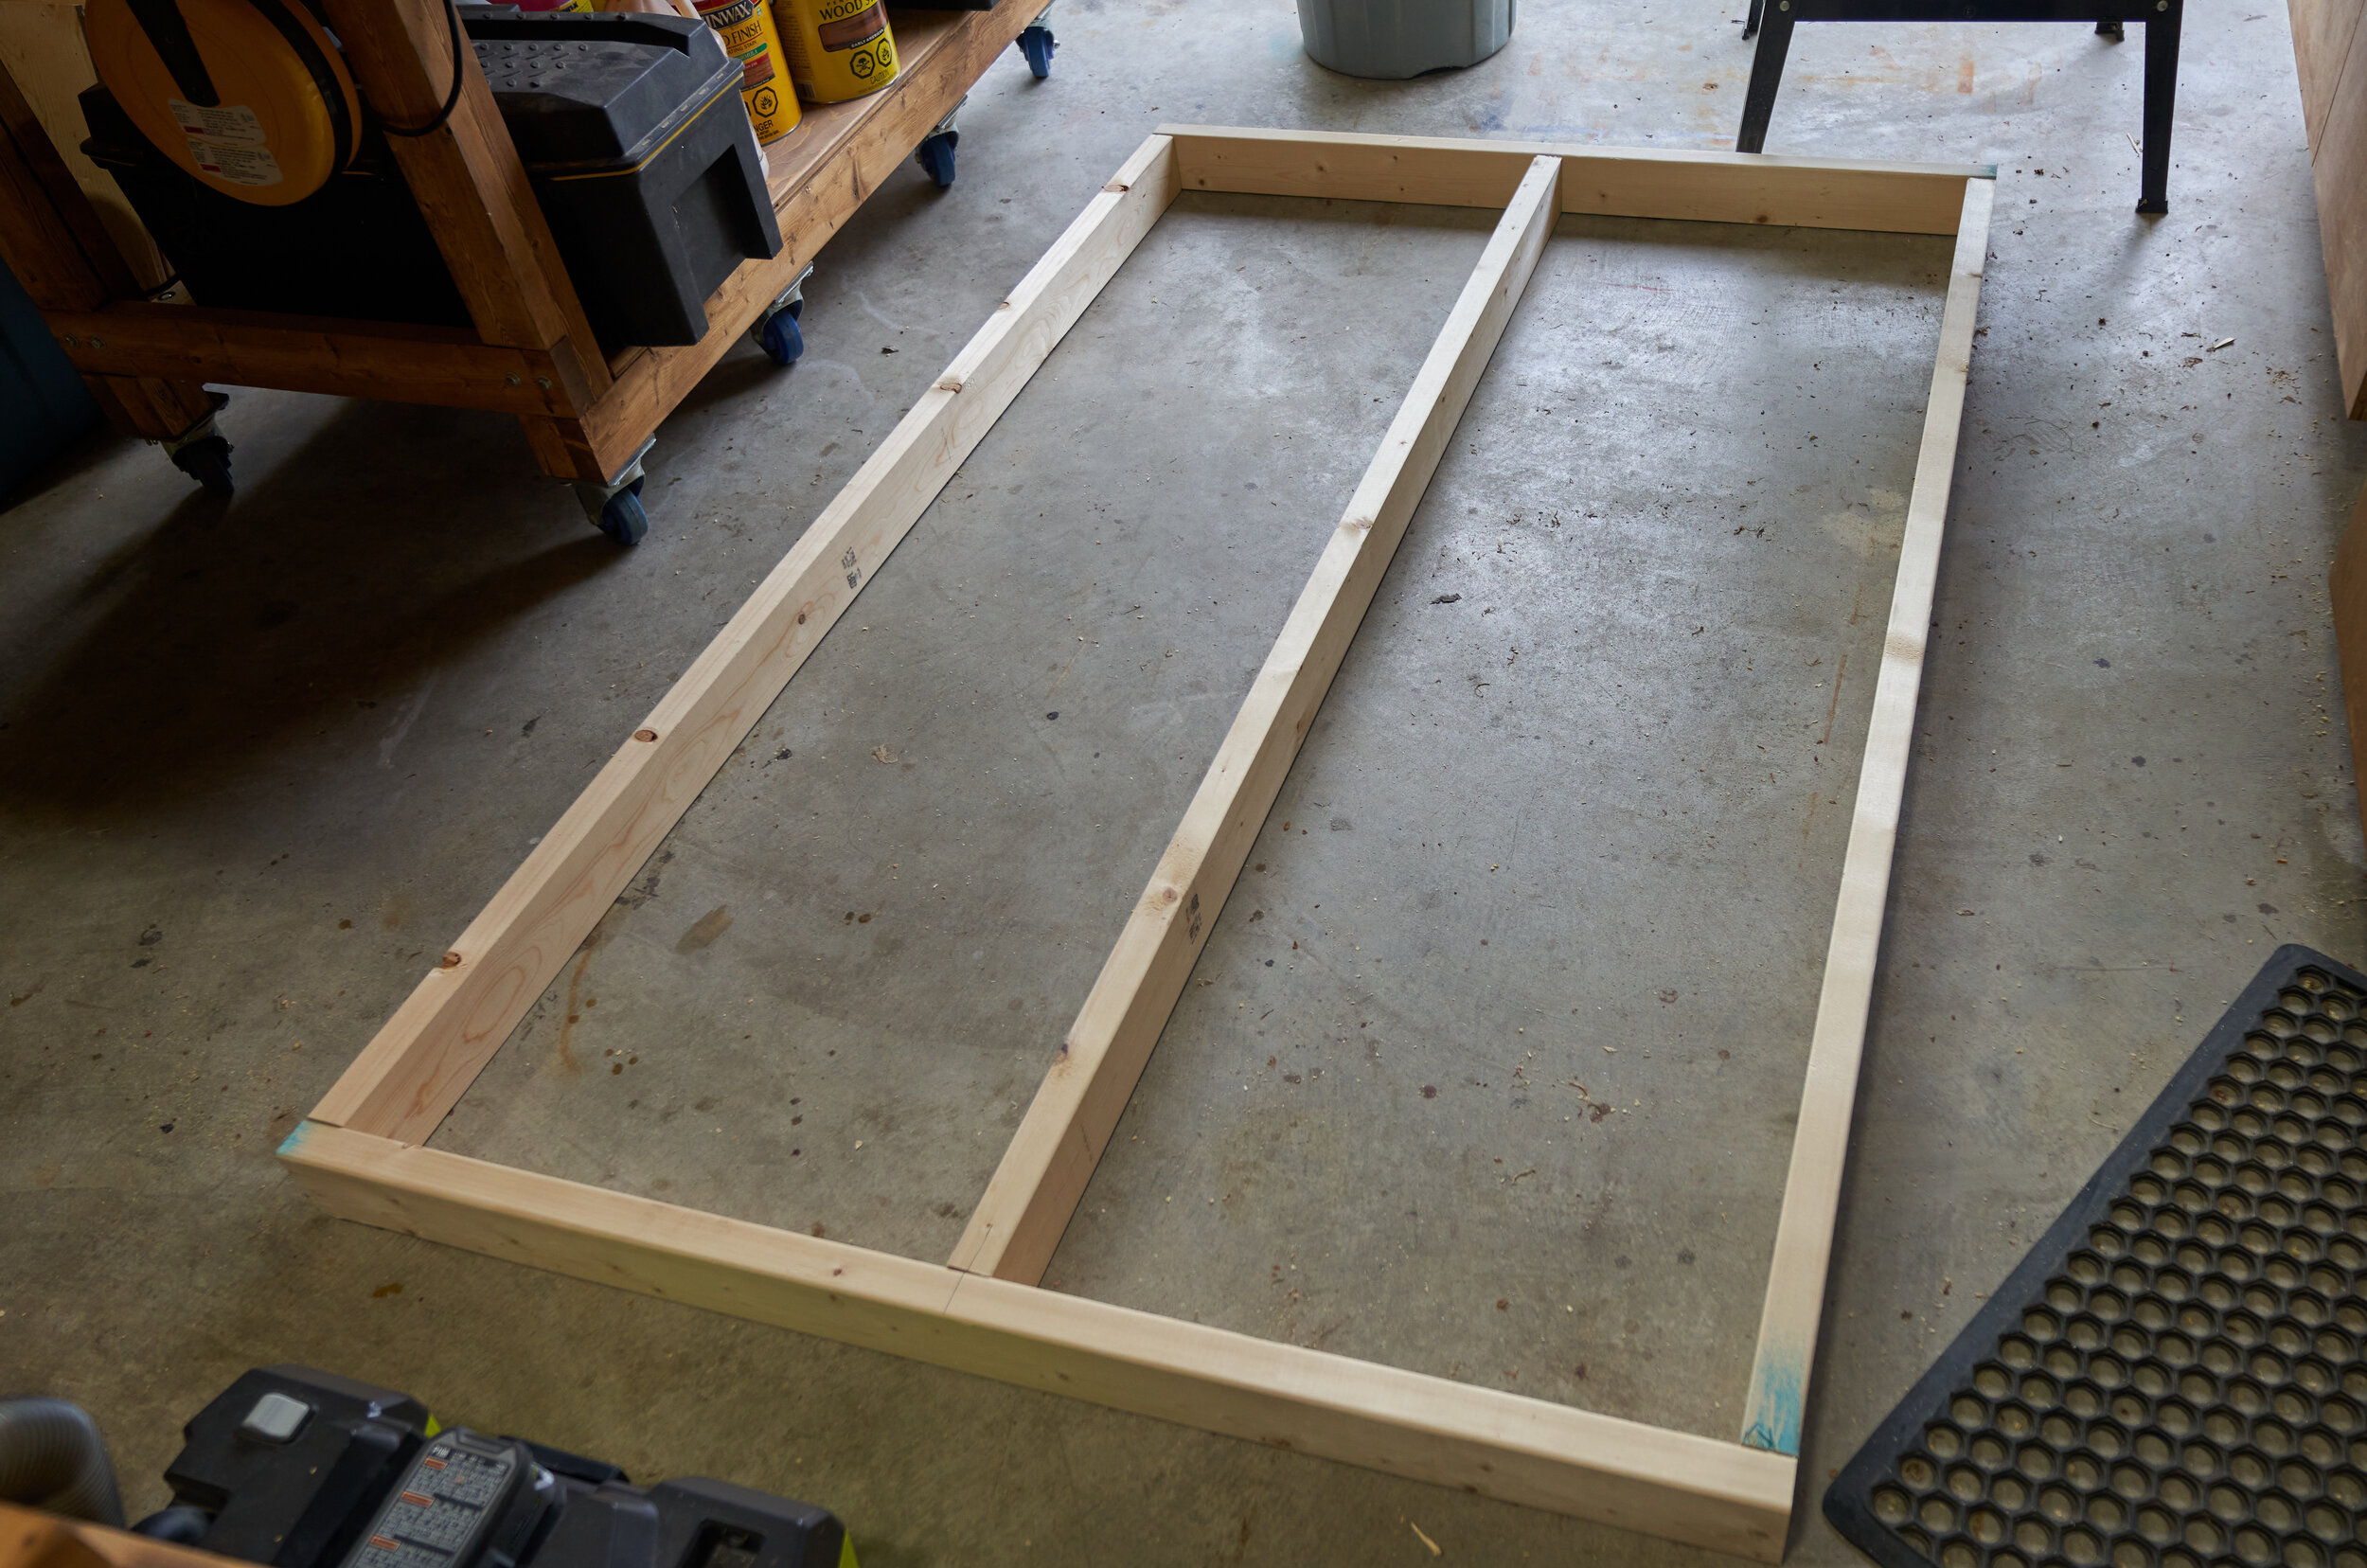
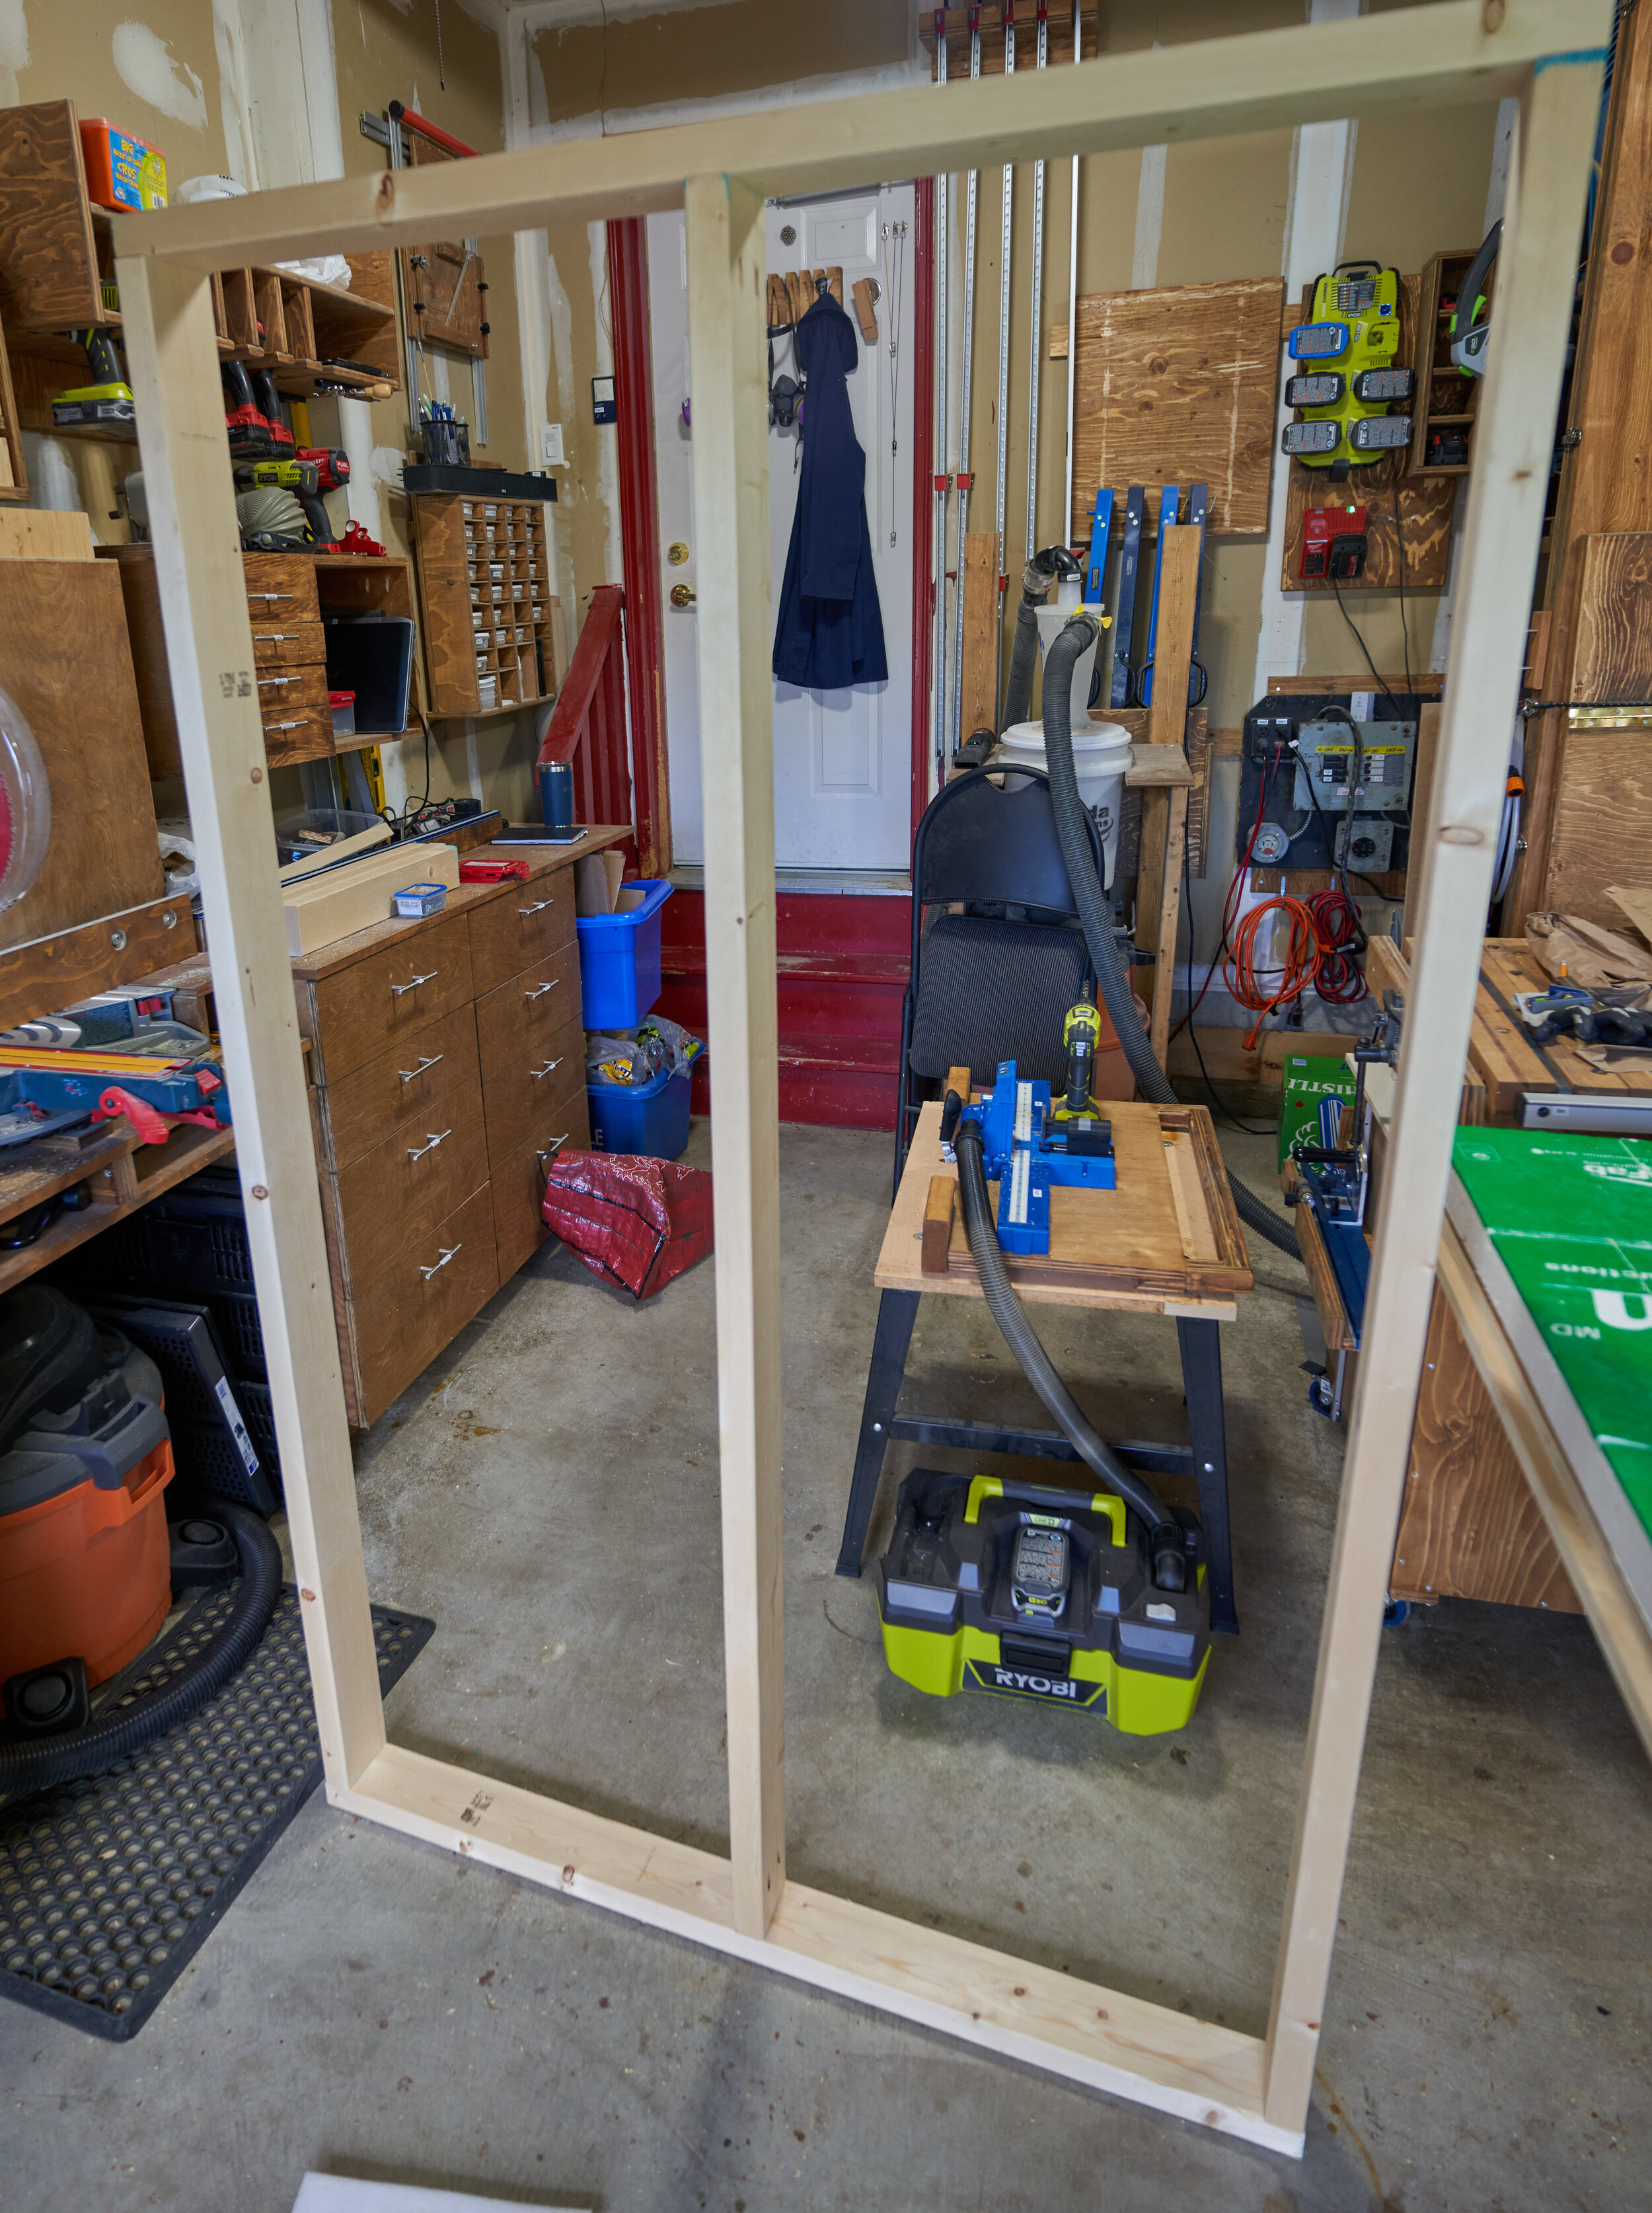
Step 1: Framing the Faux-Wall
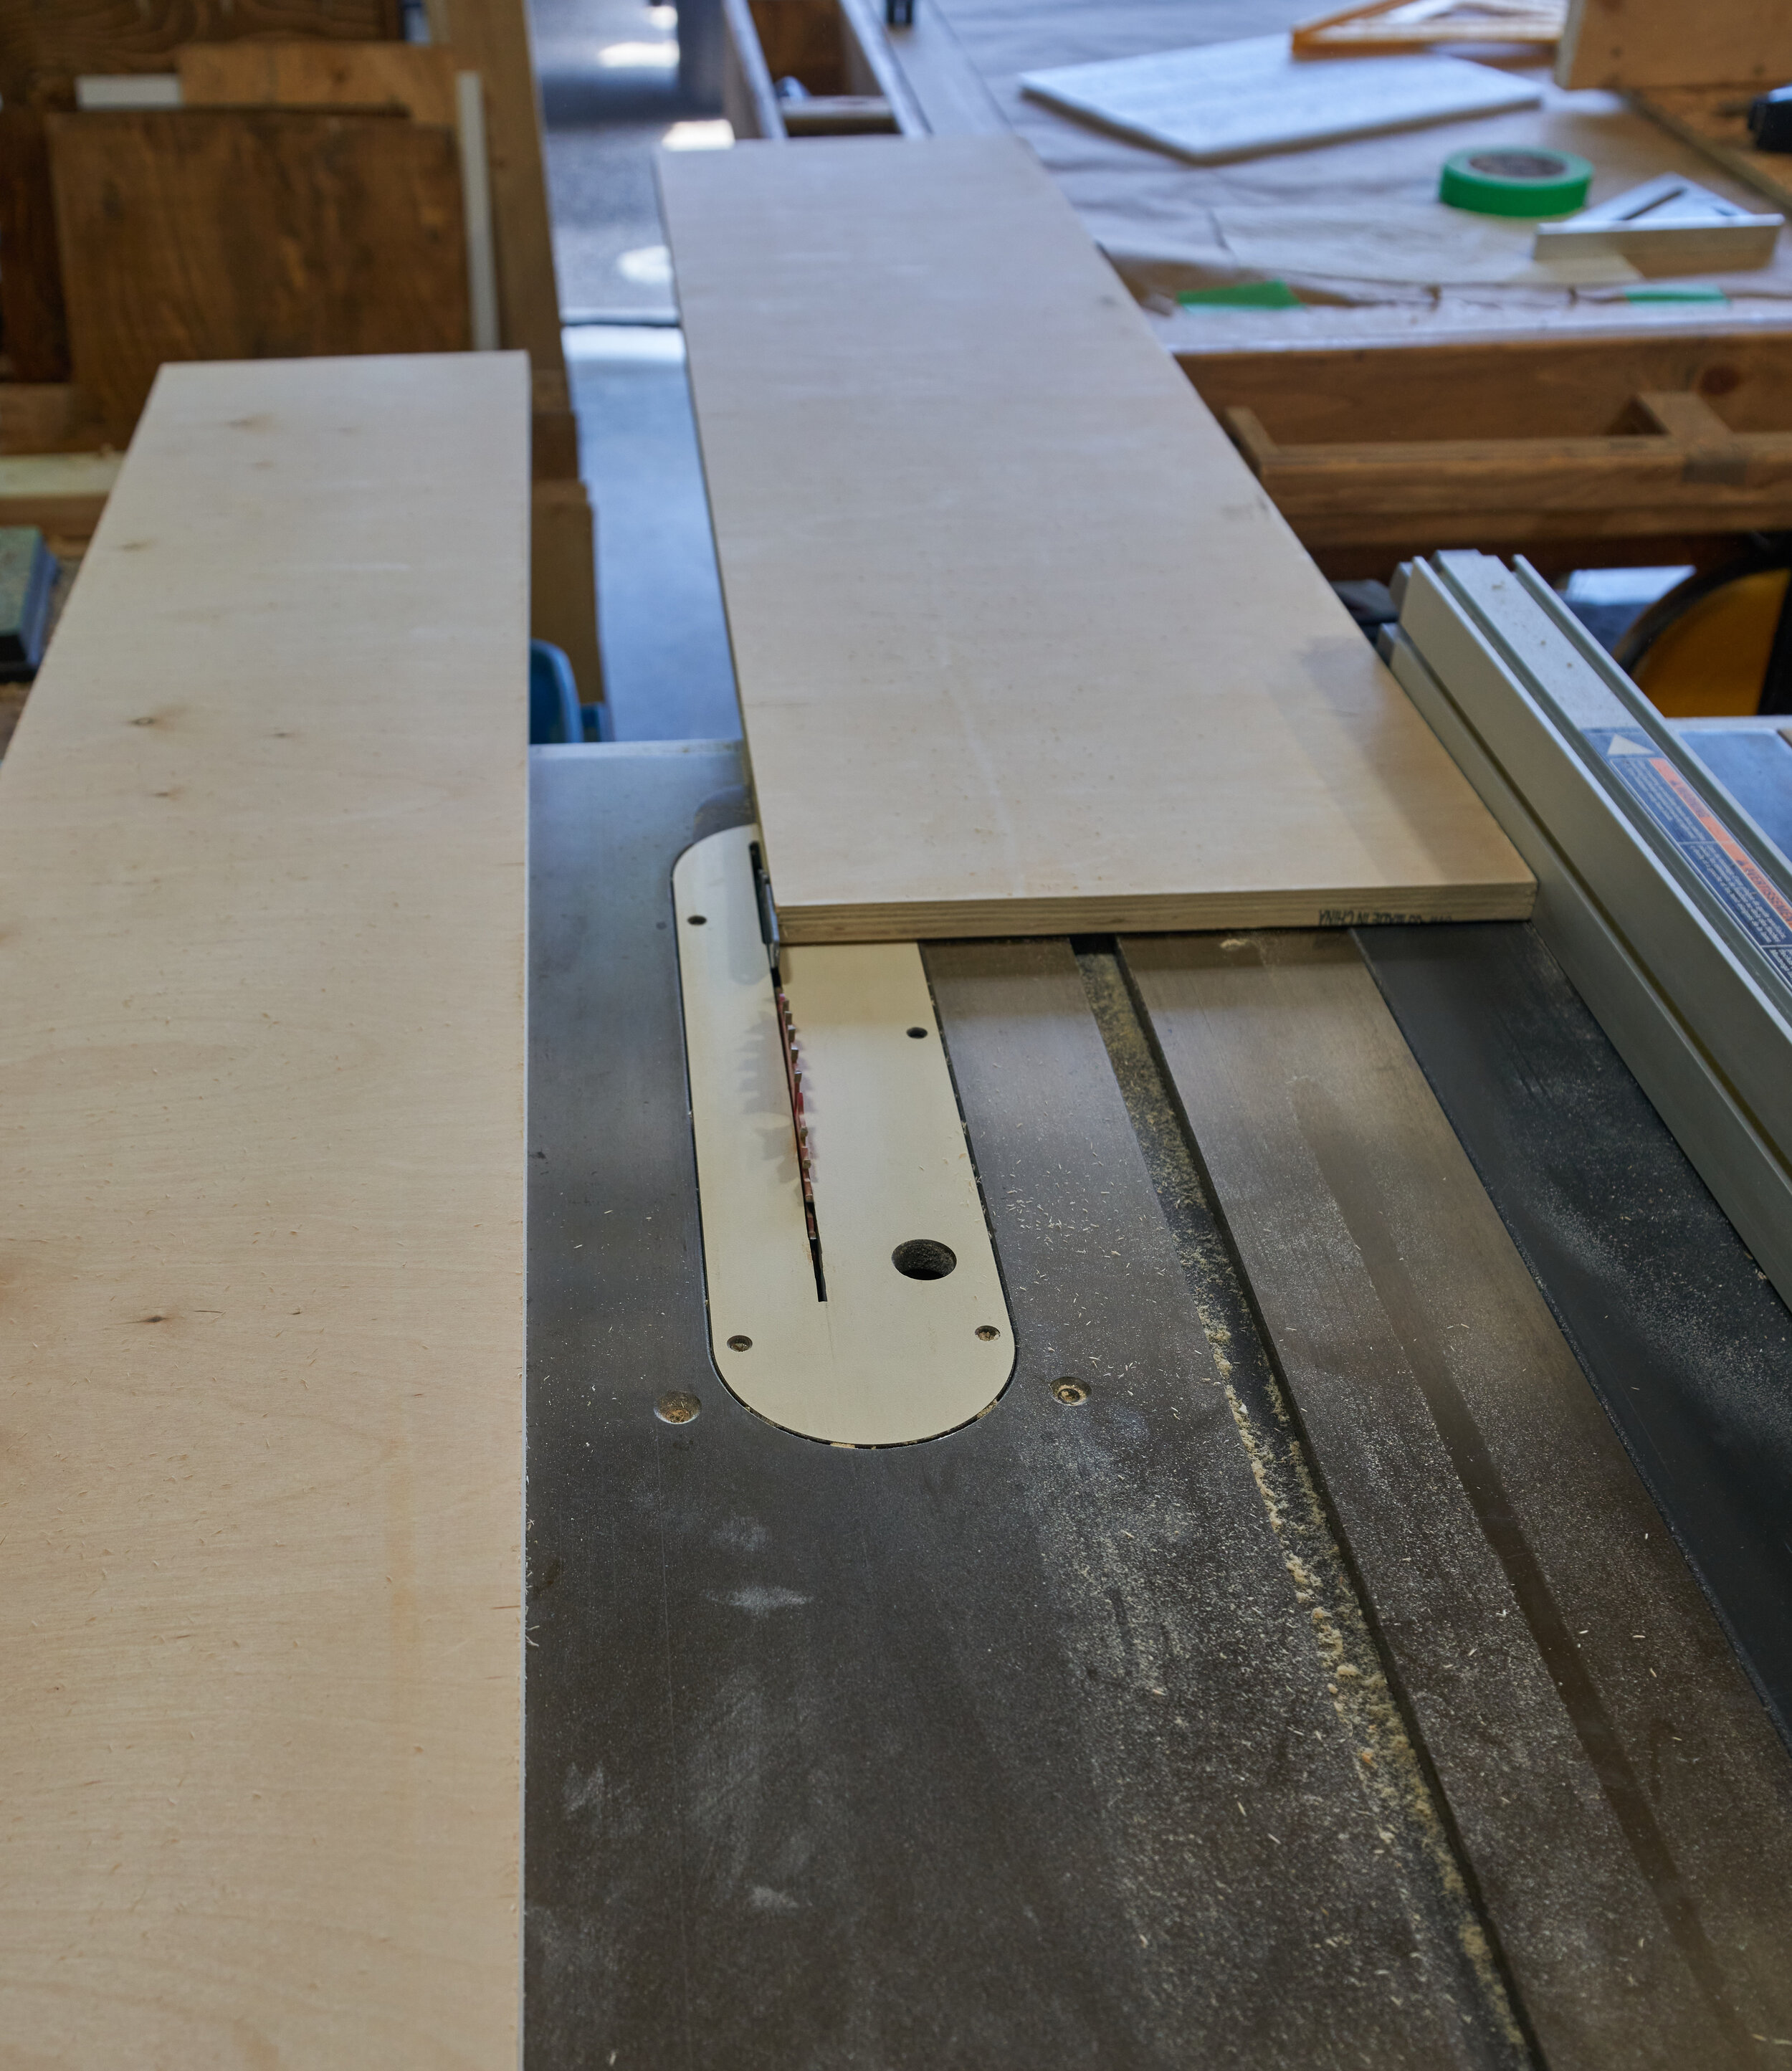
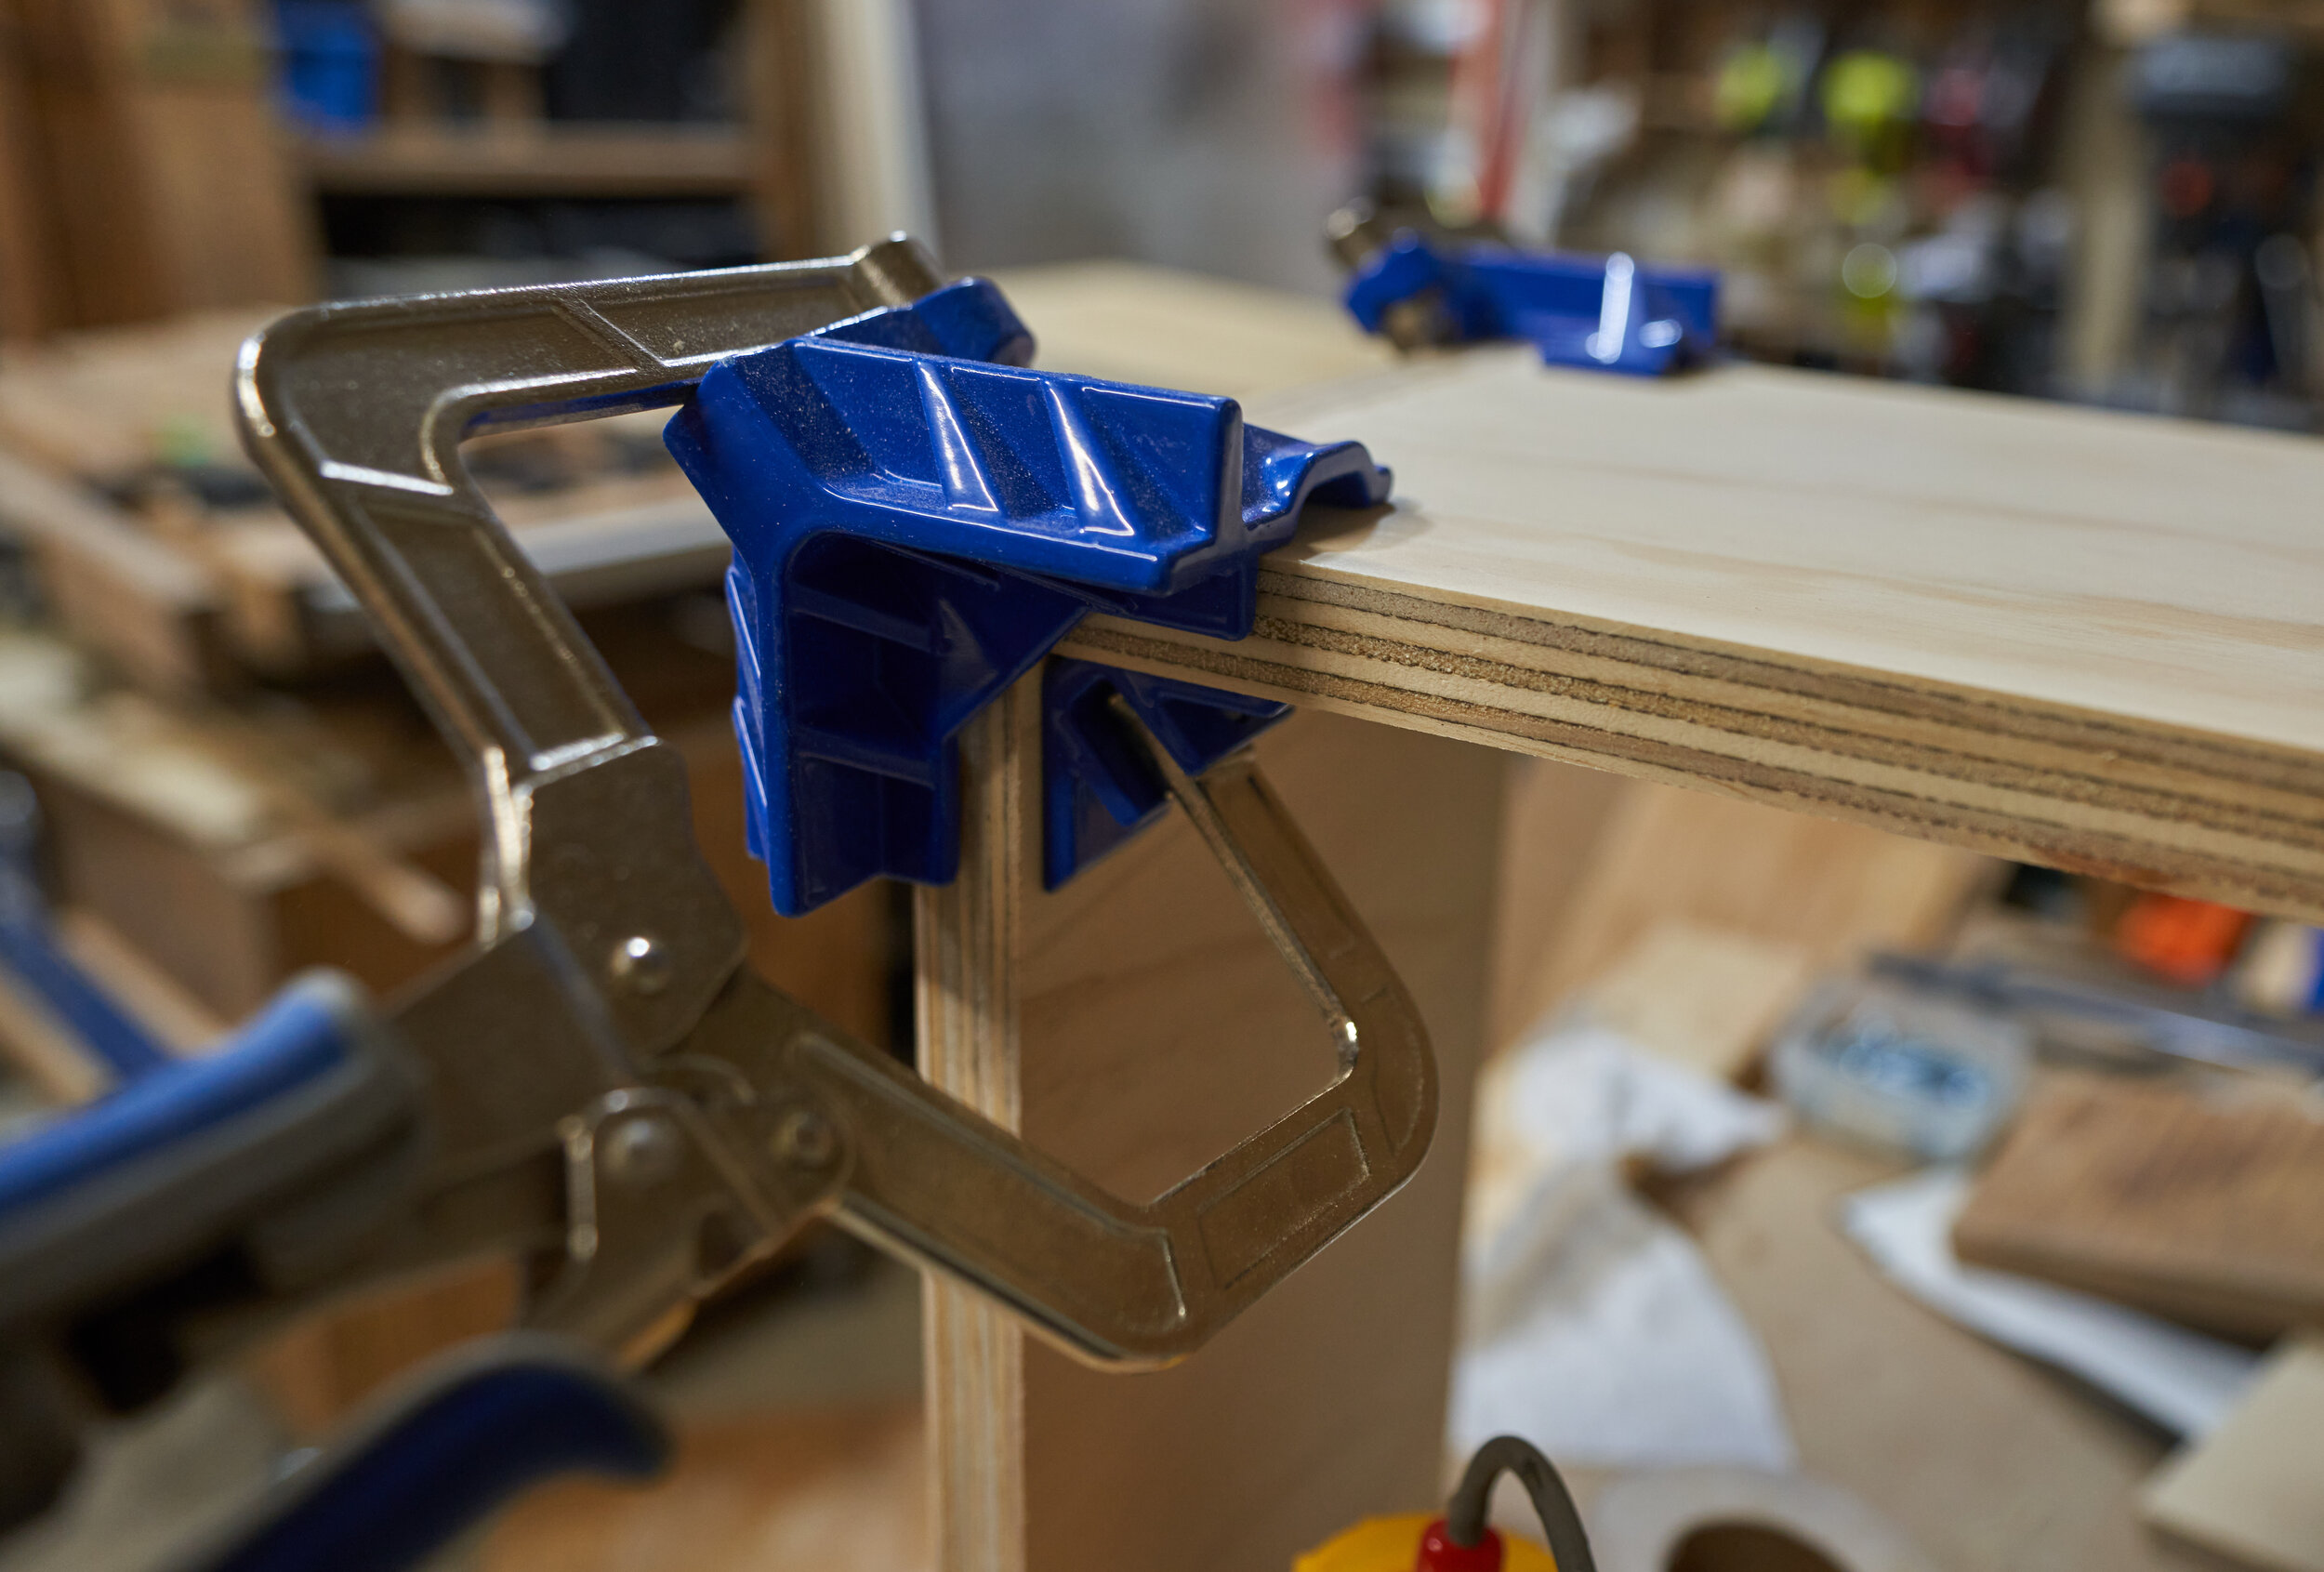
This is one of the easier stages, we’re just framing up a basic wall. The only thing to be aware of is when cutting the front-panels to size, these are final cuts so they should be cut with clean finish-edges in mind.

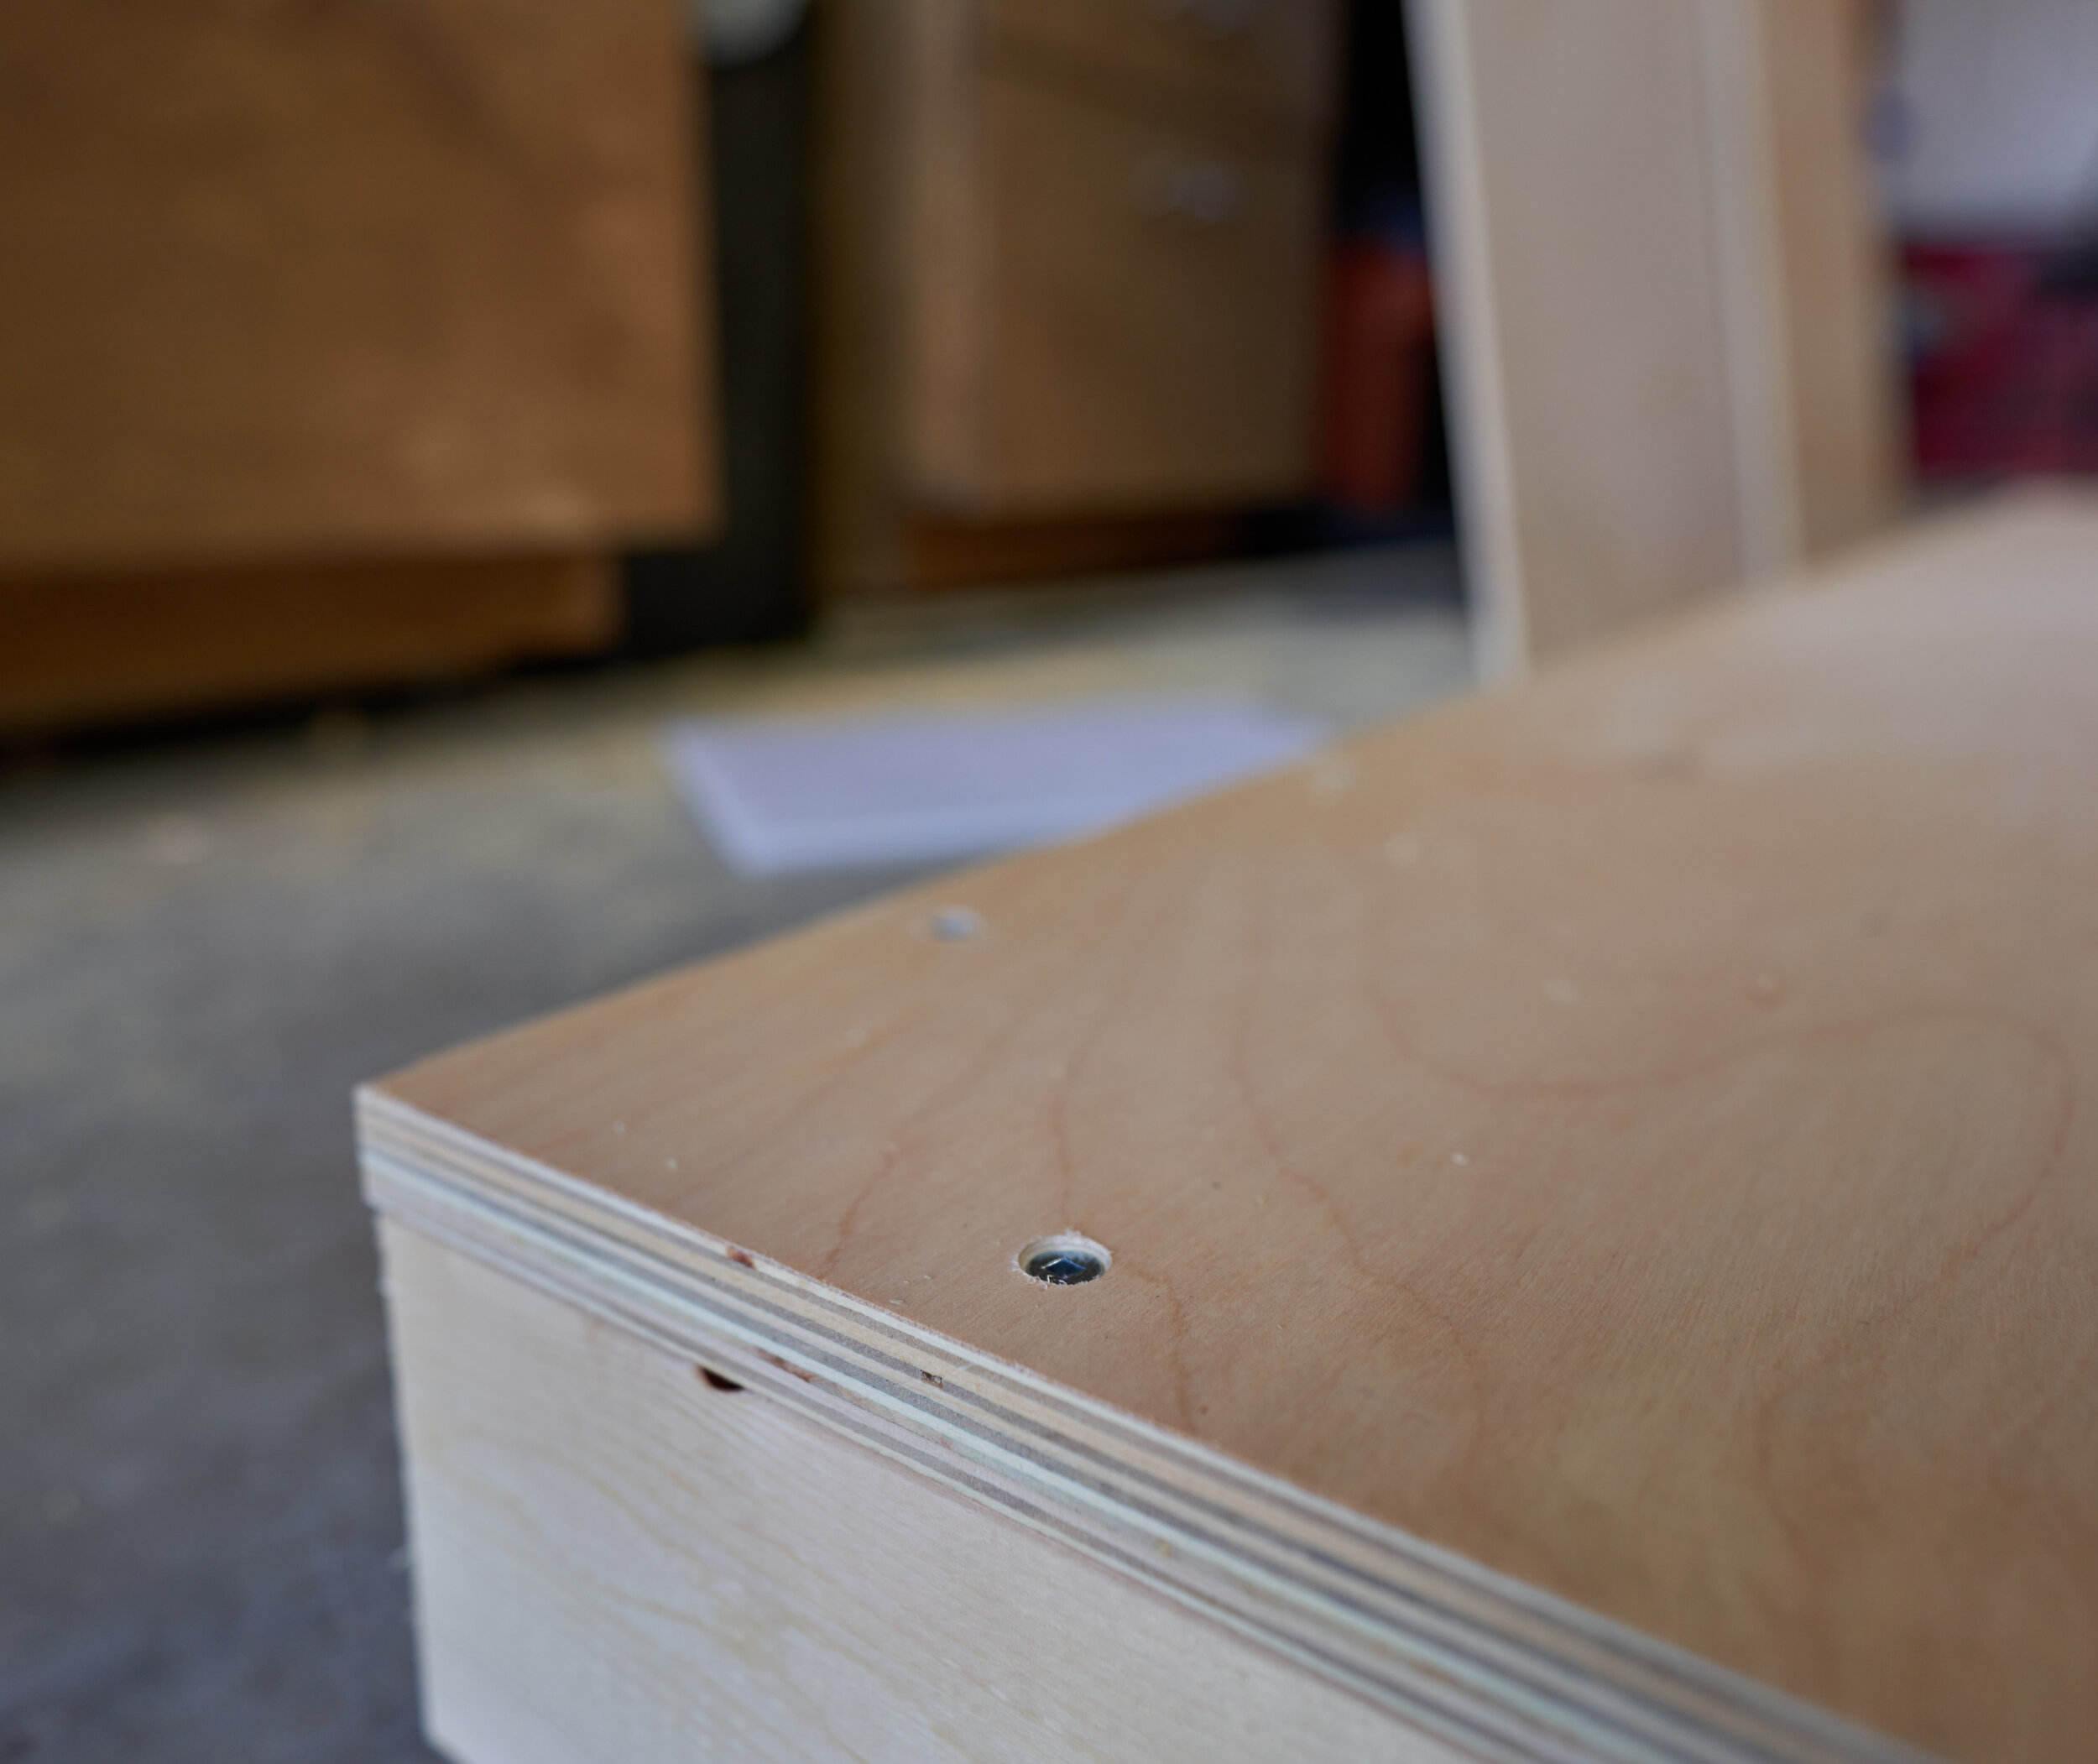

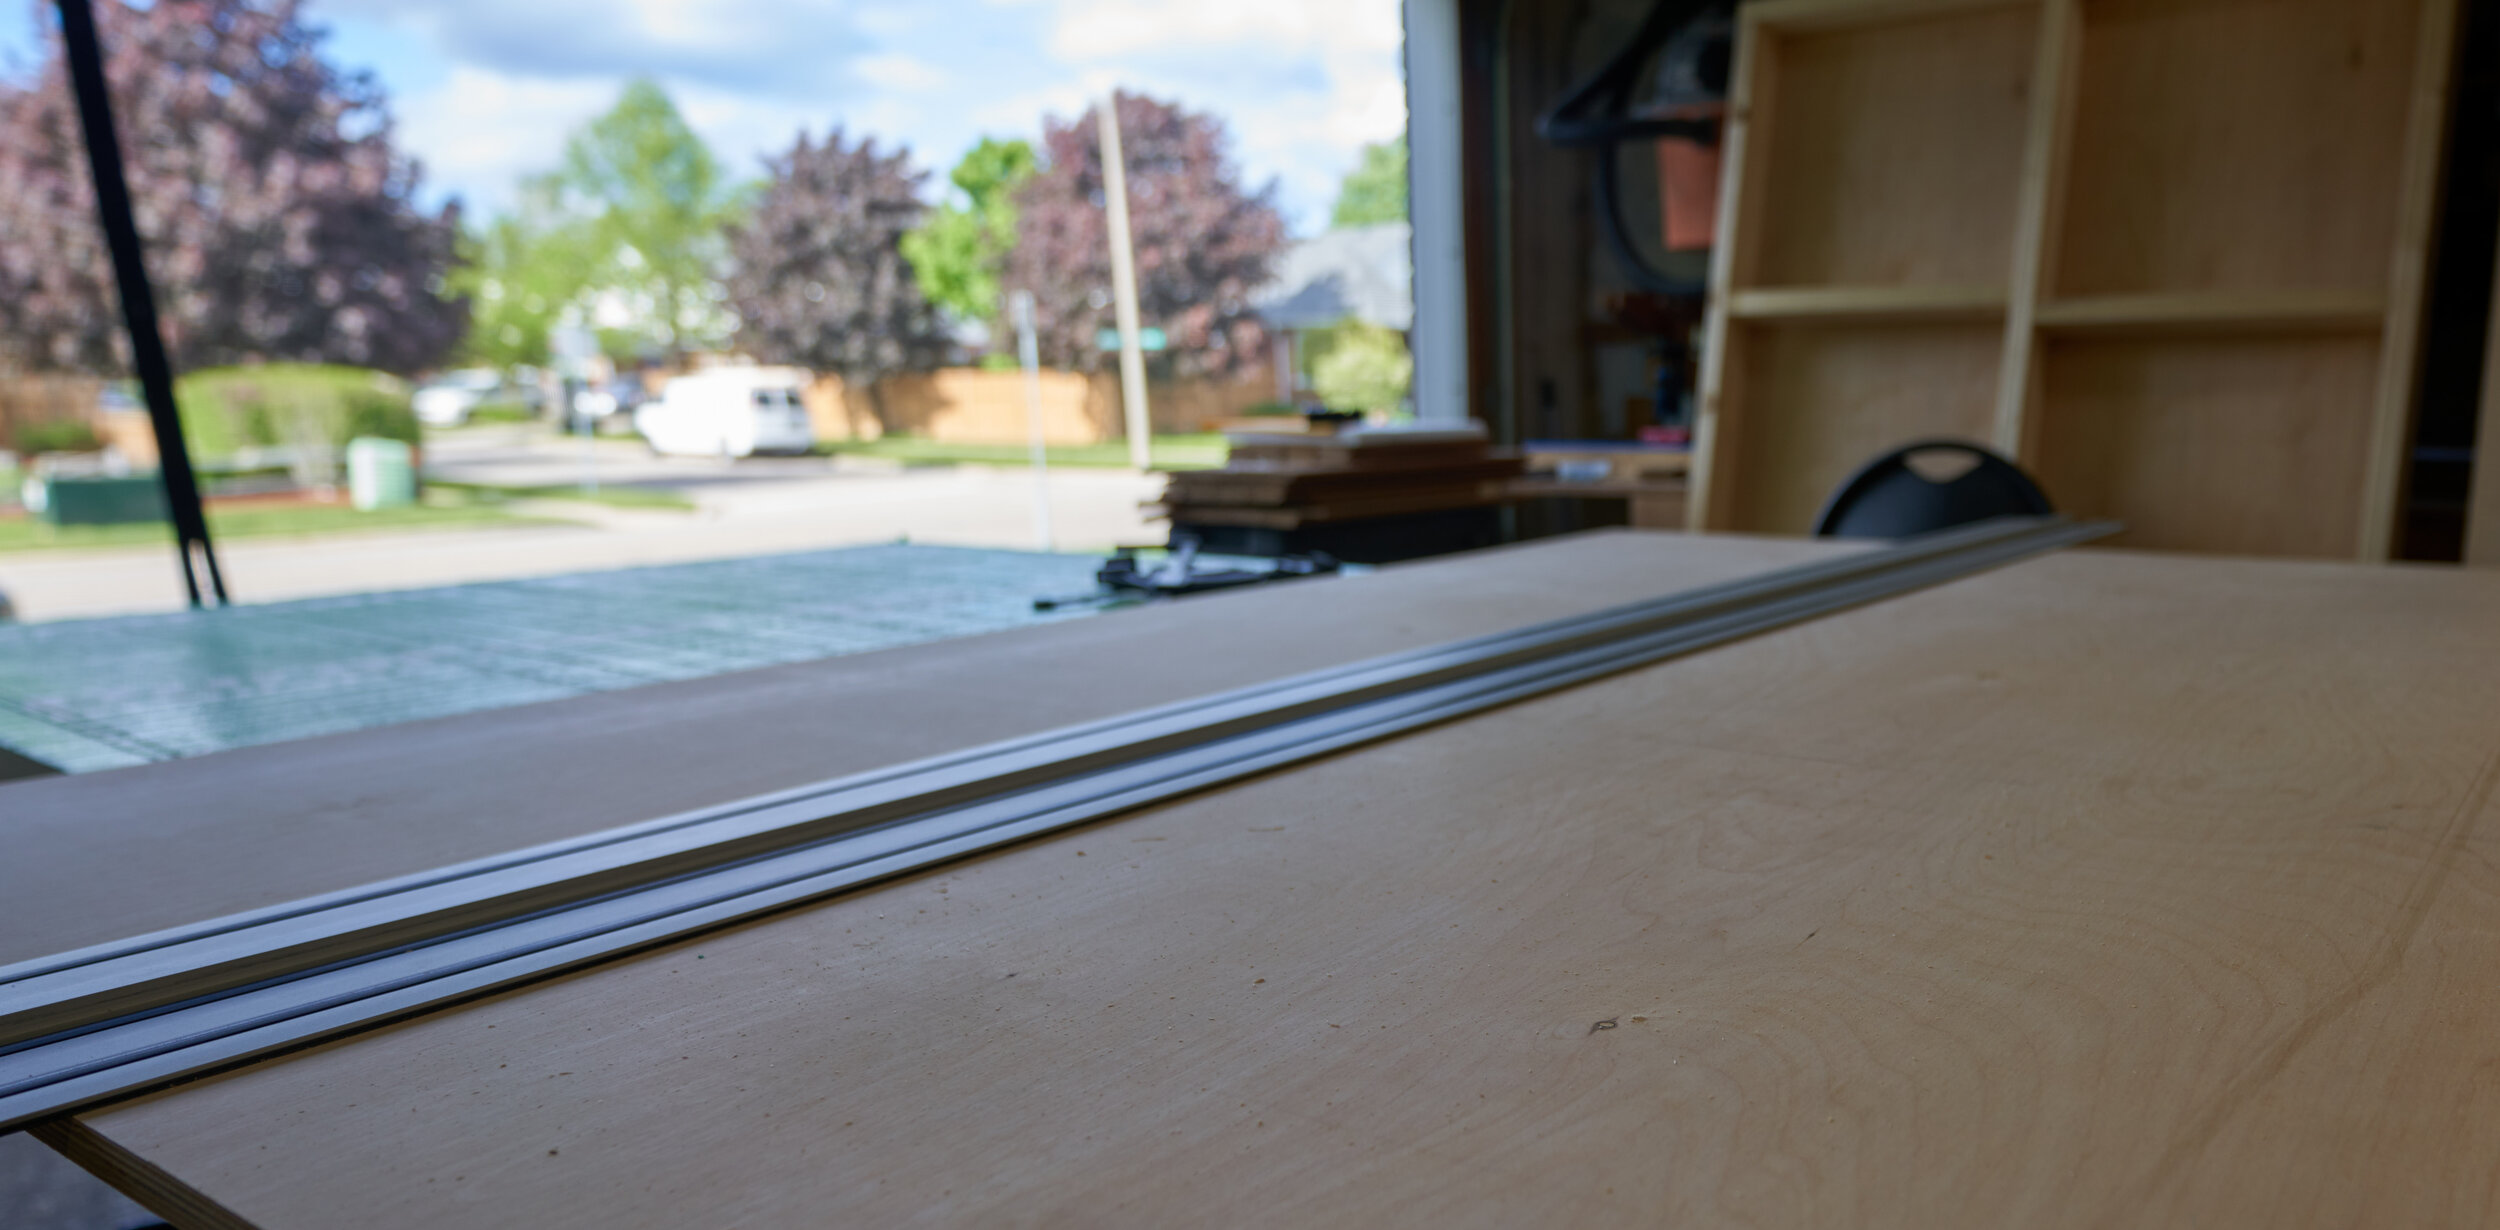
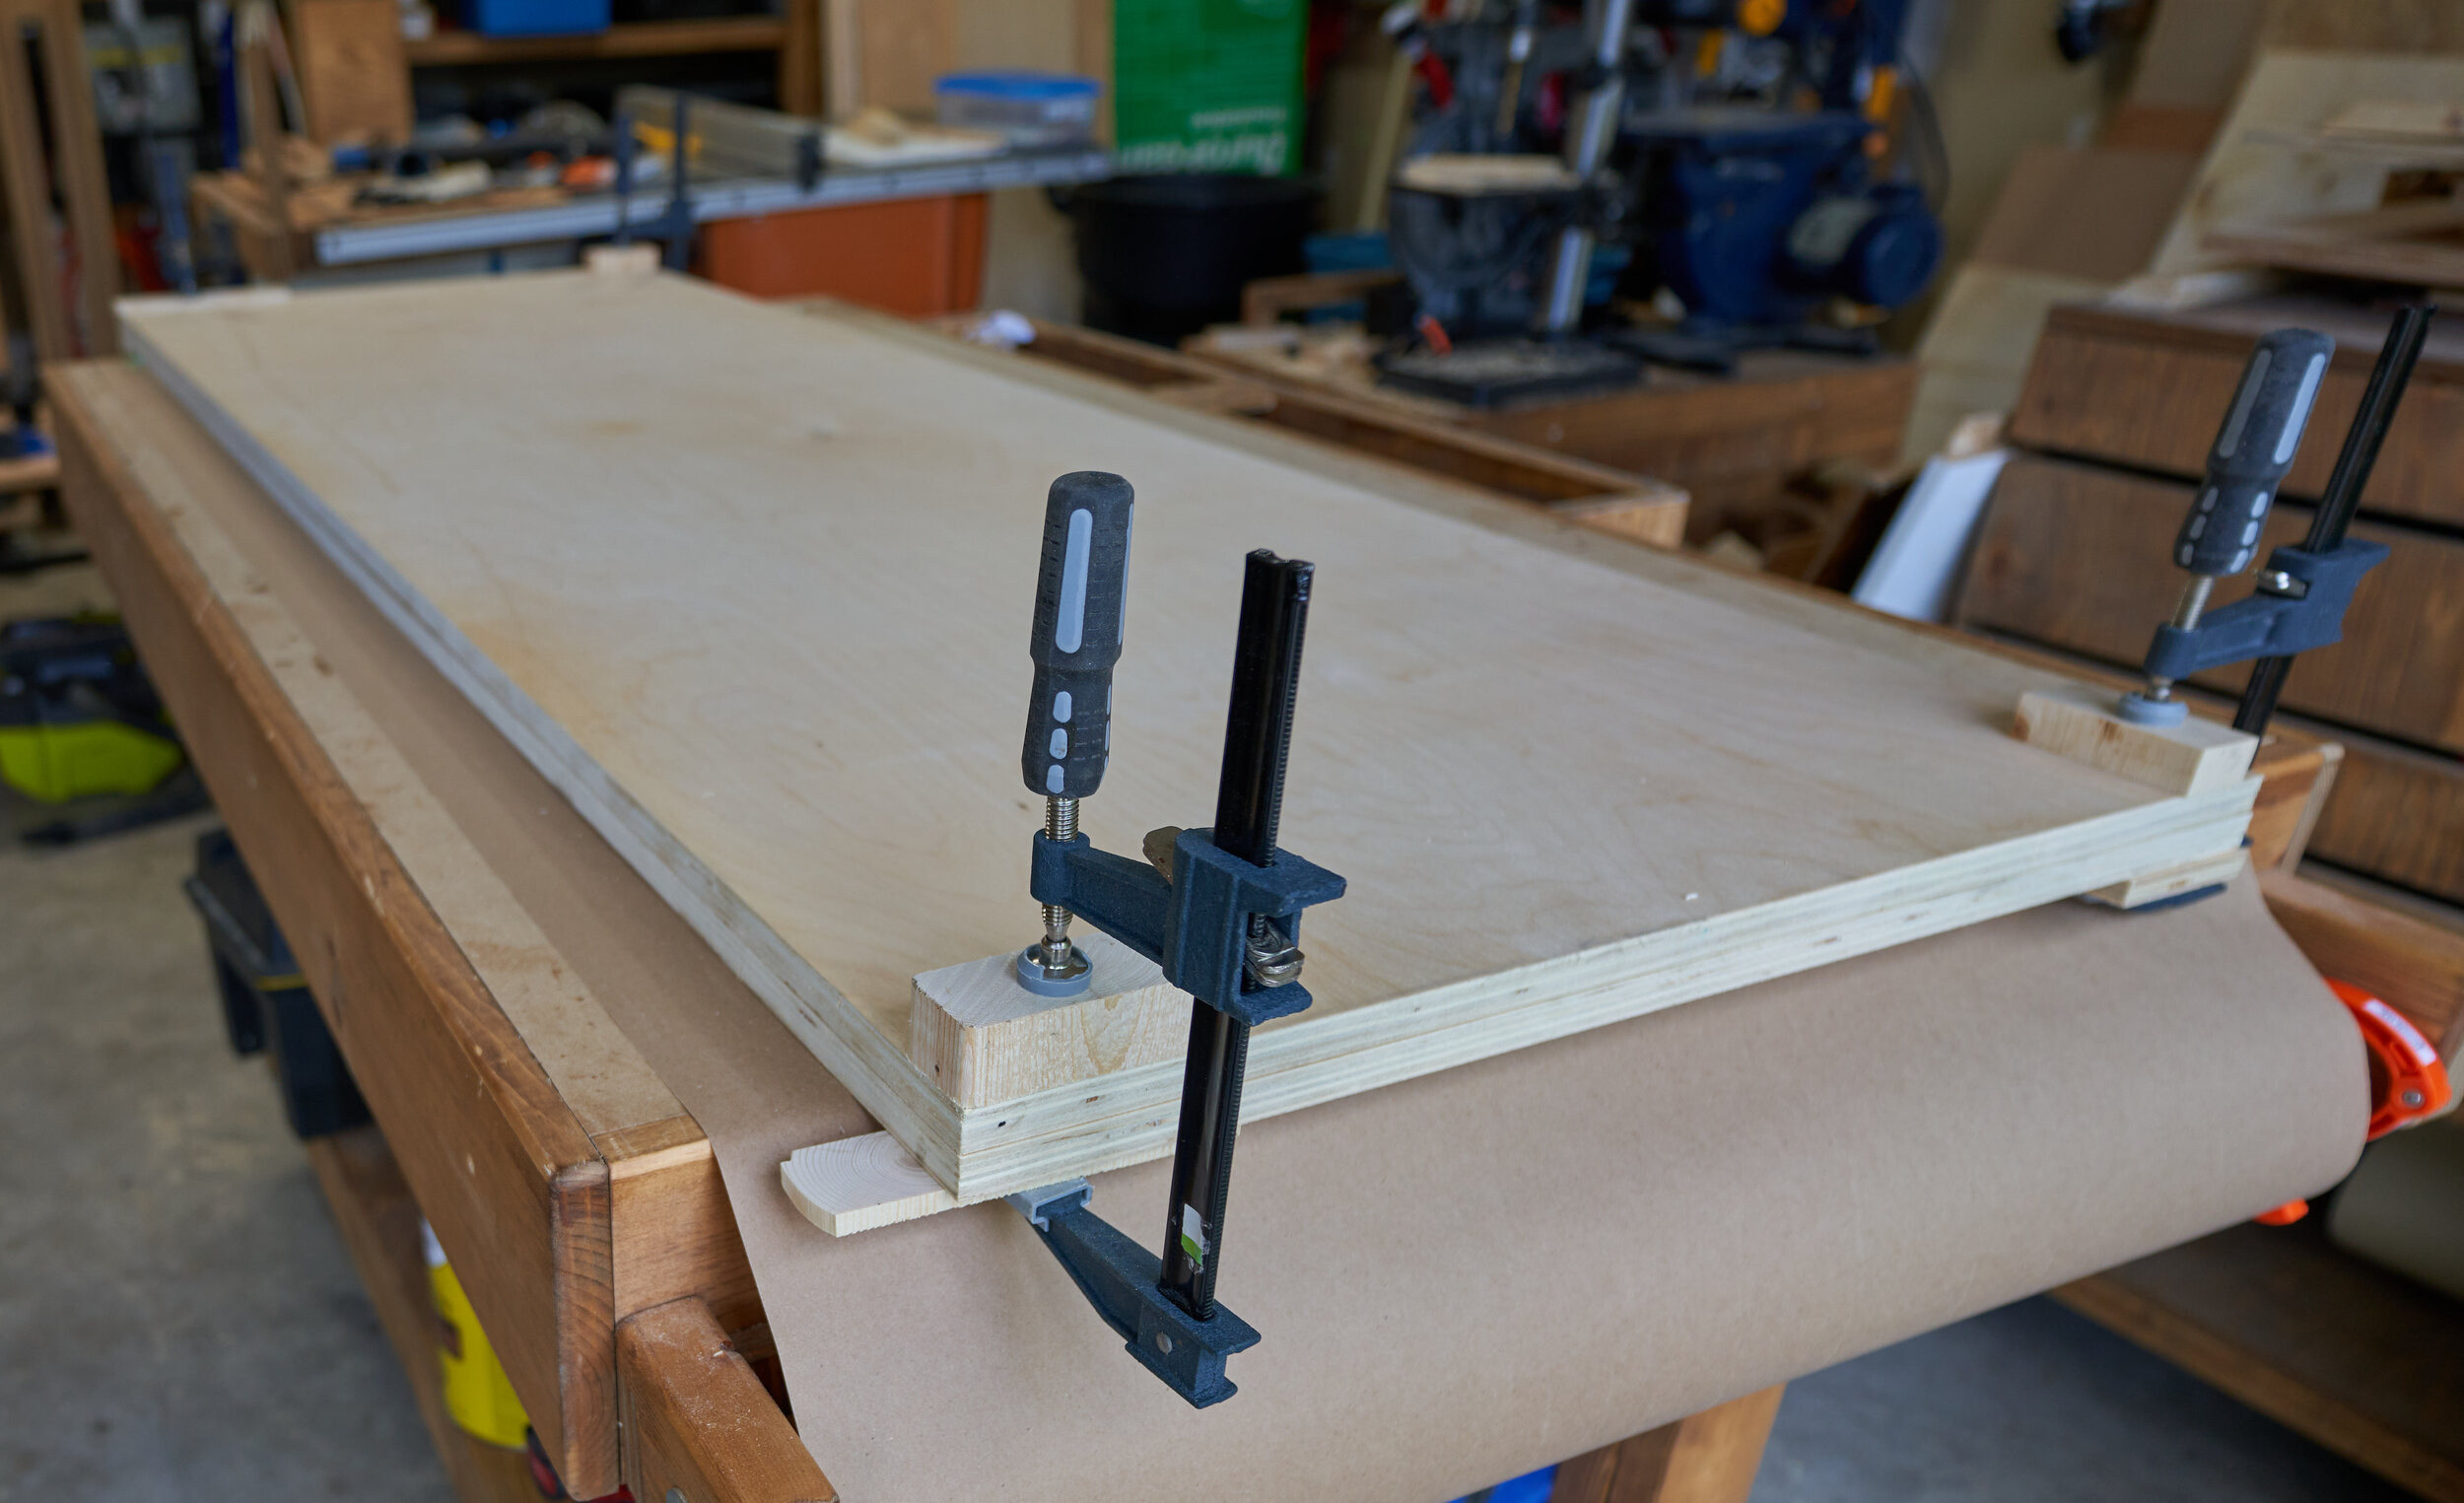
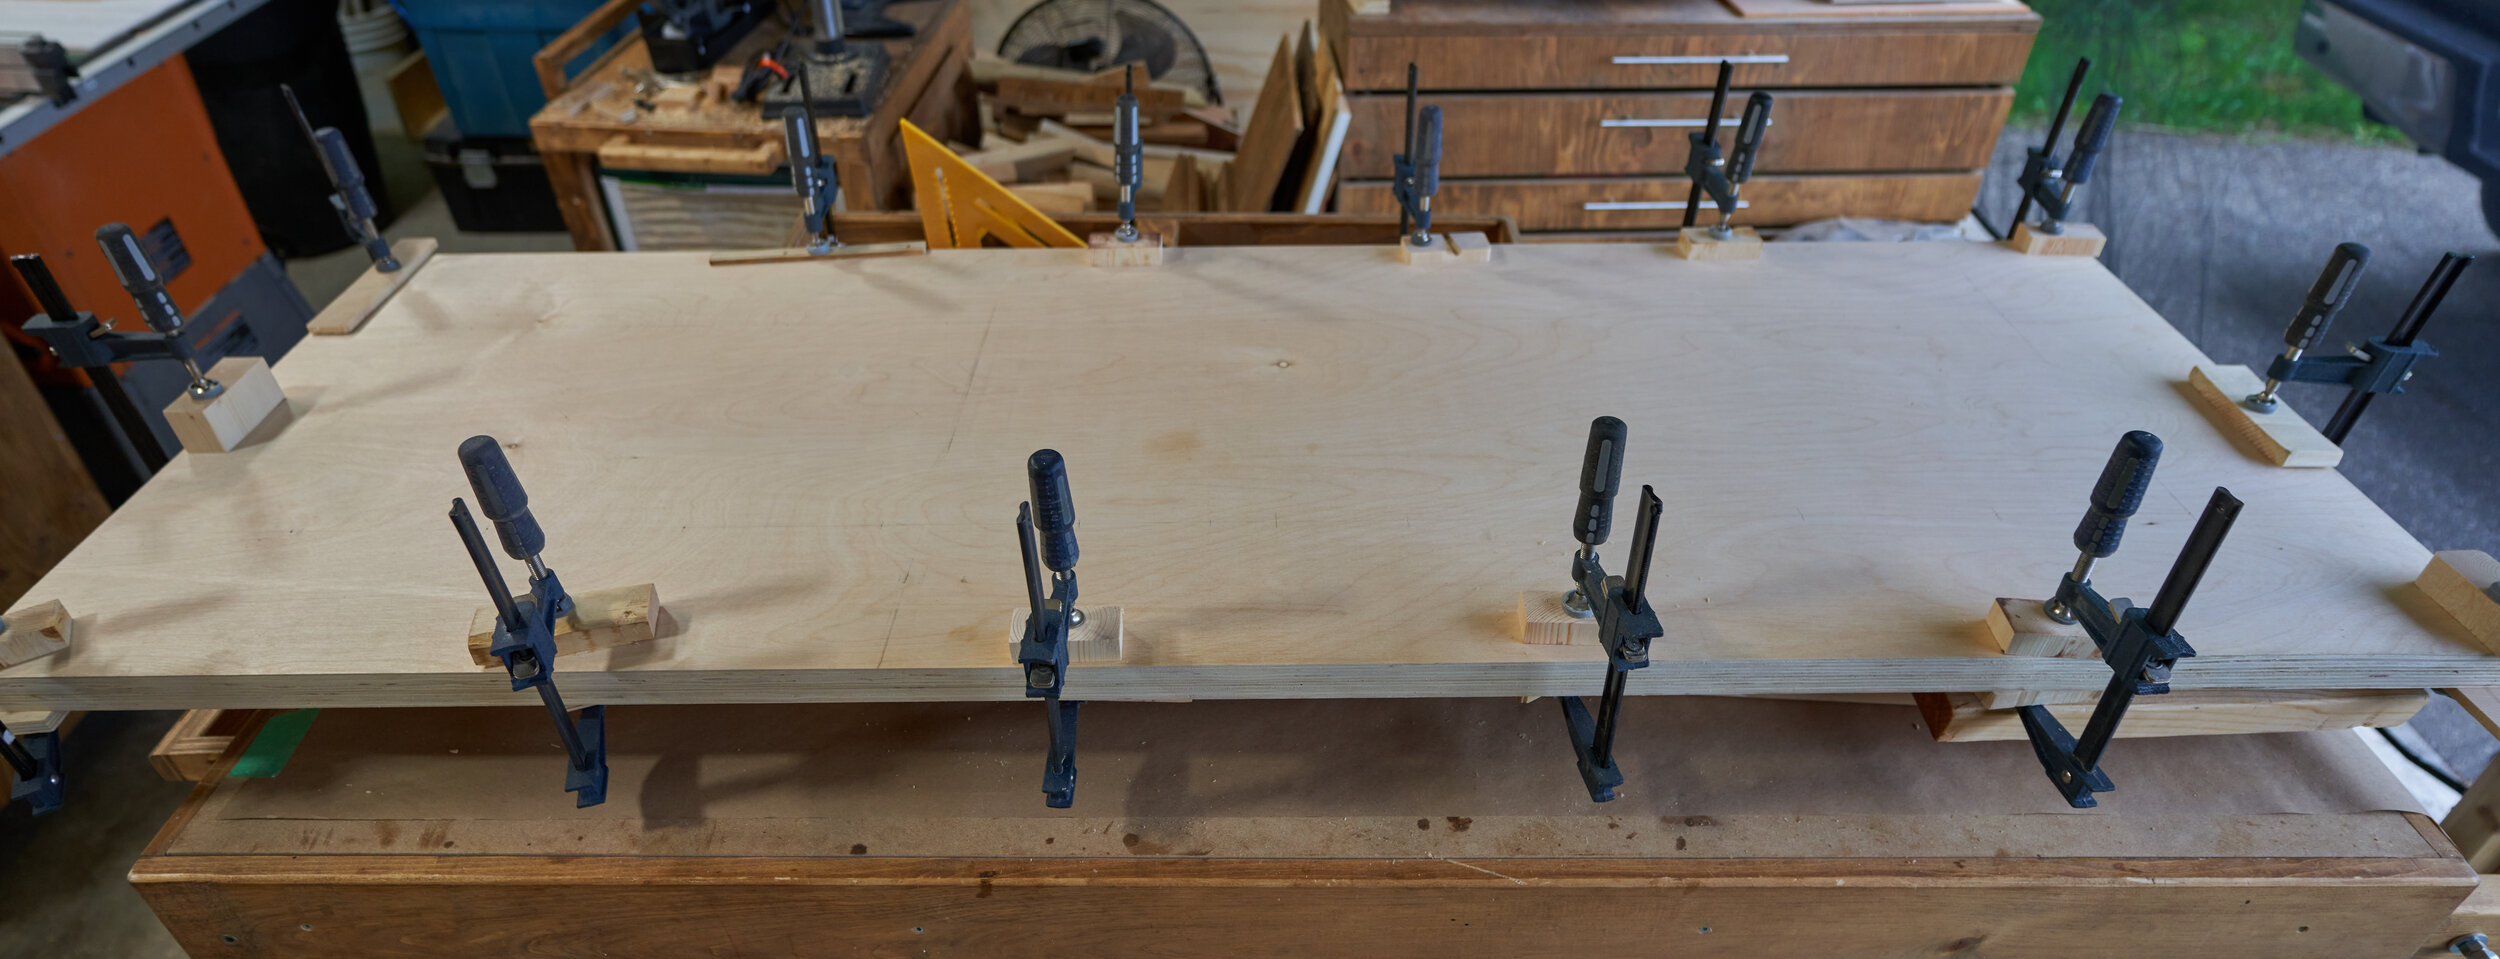
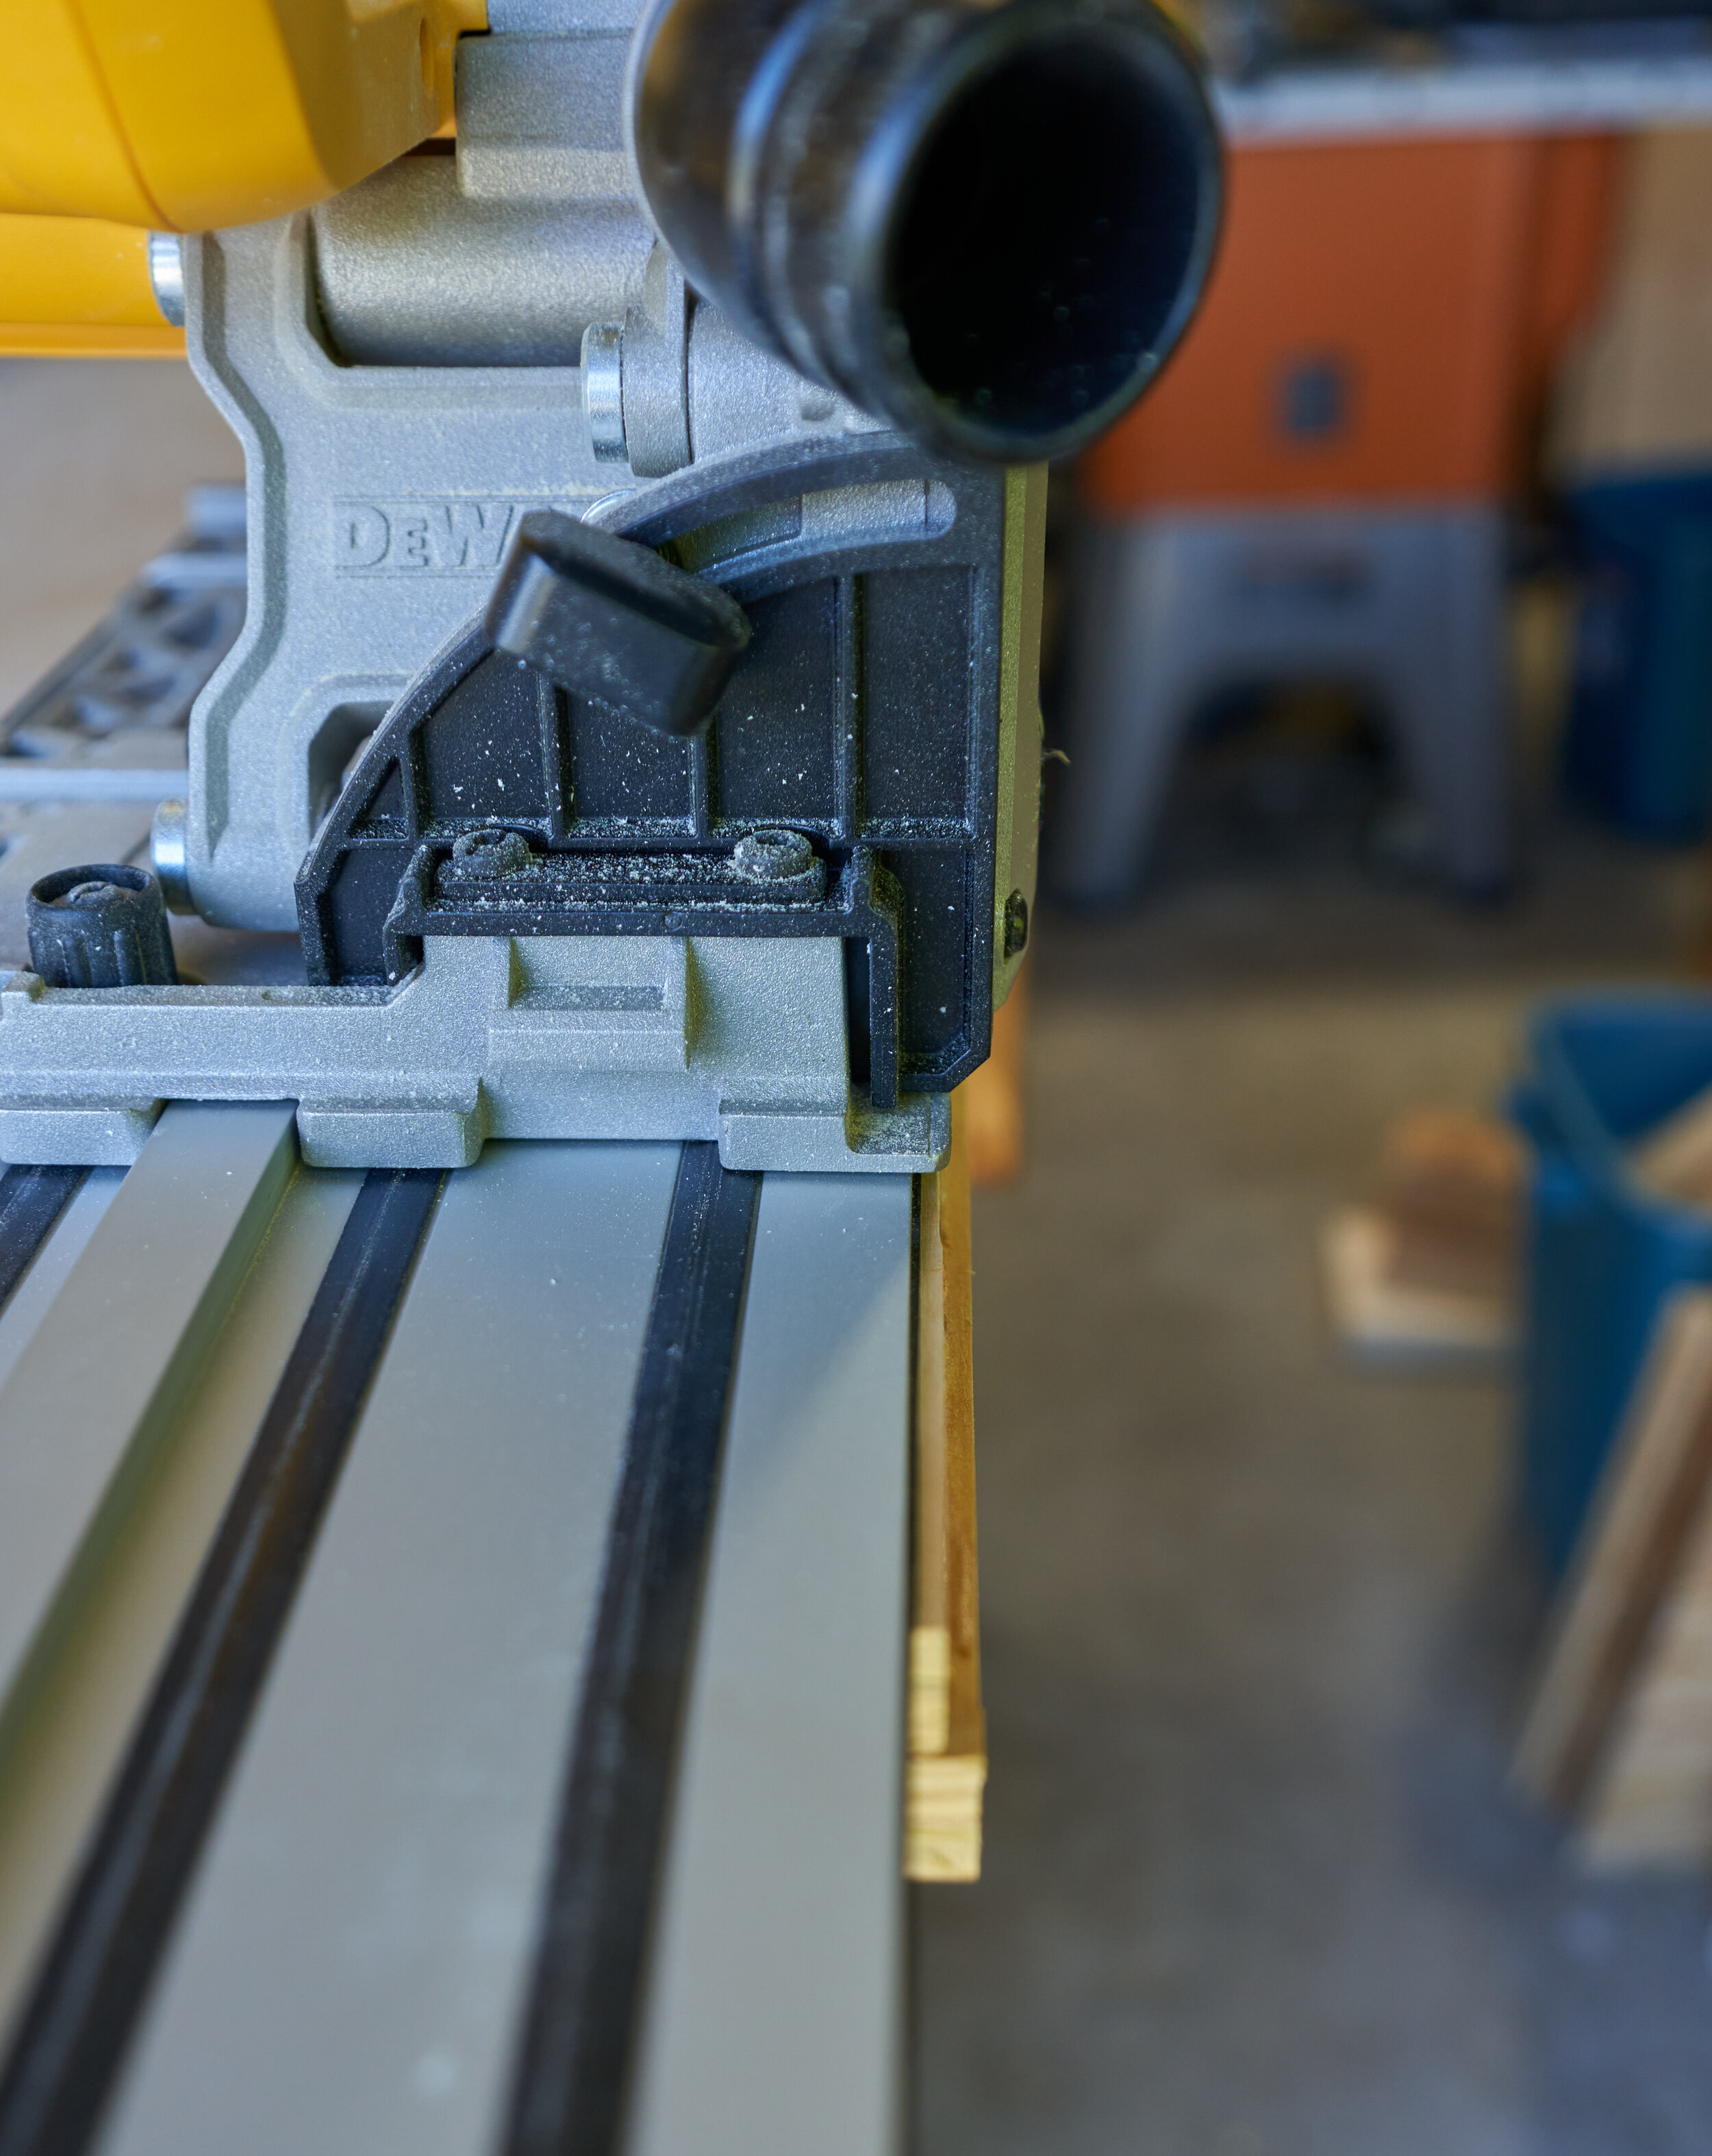
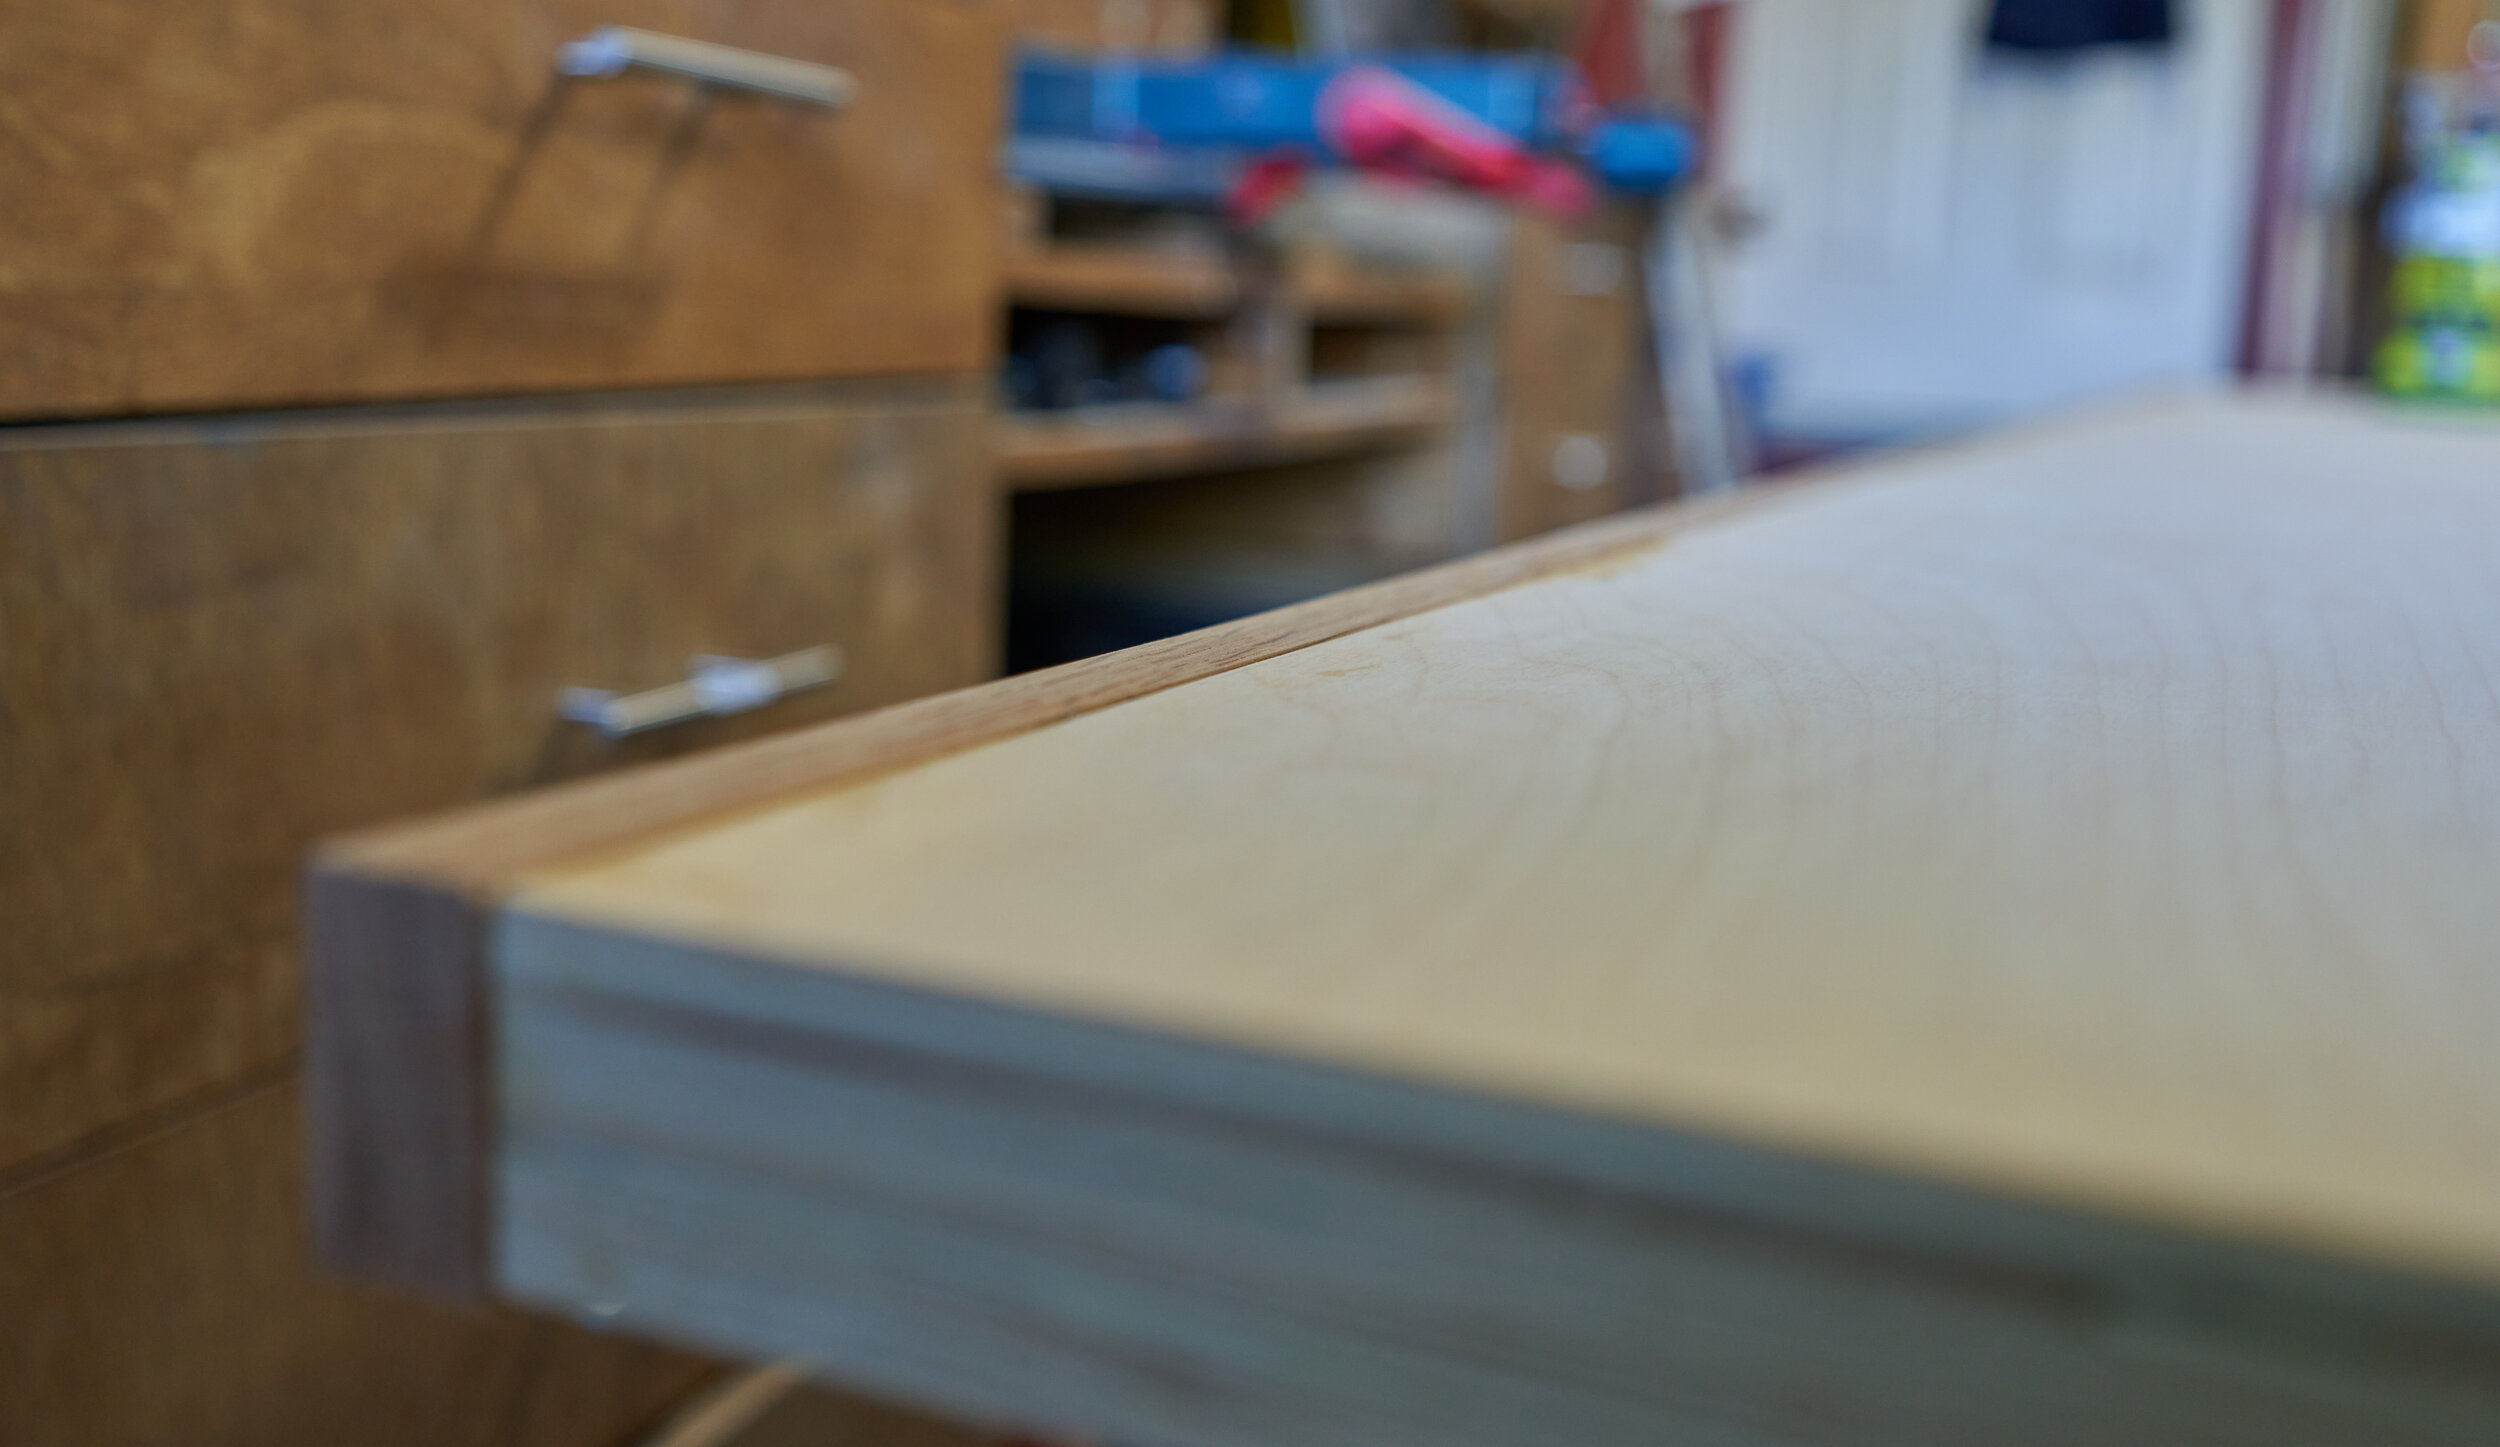
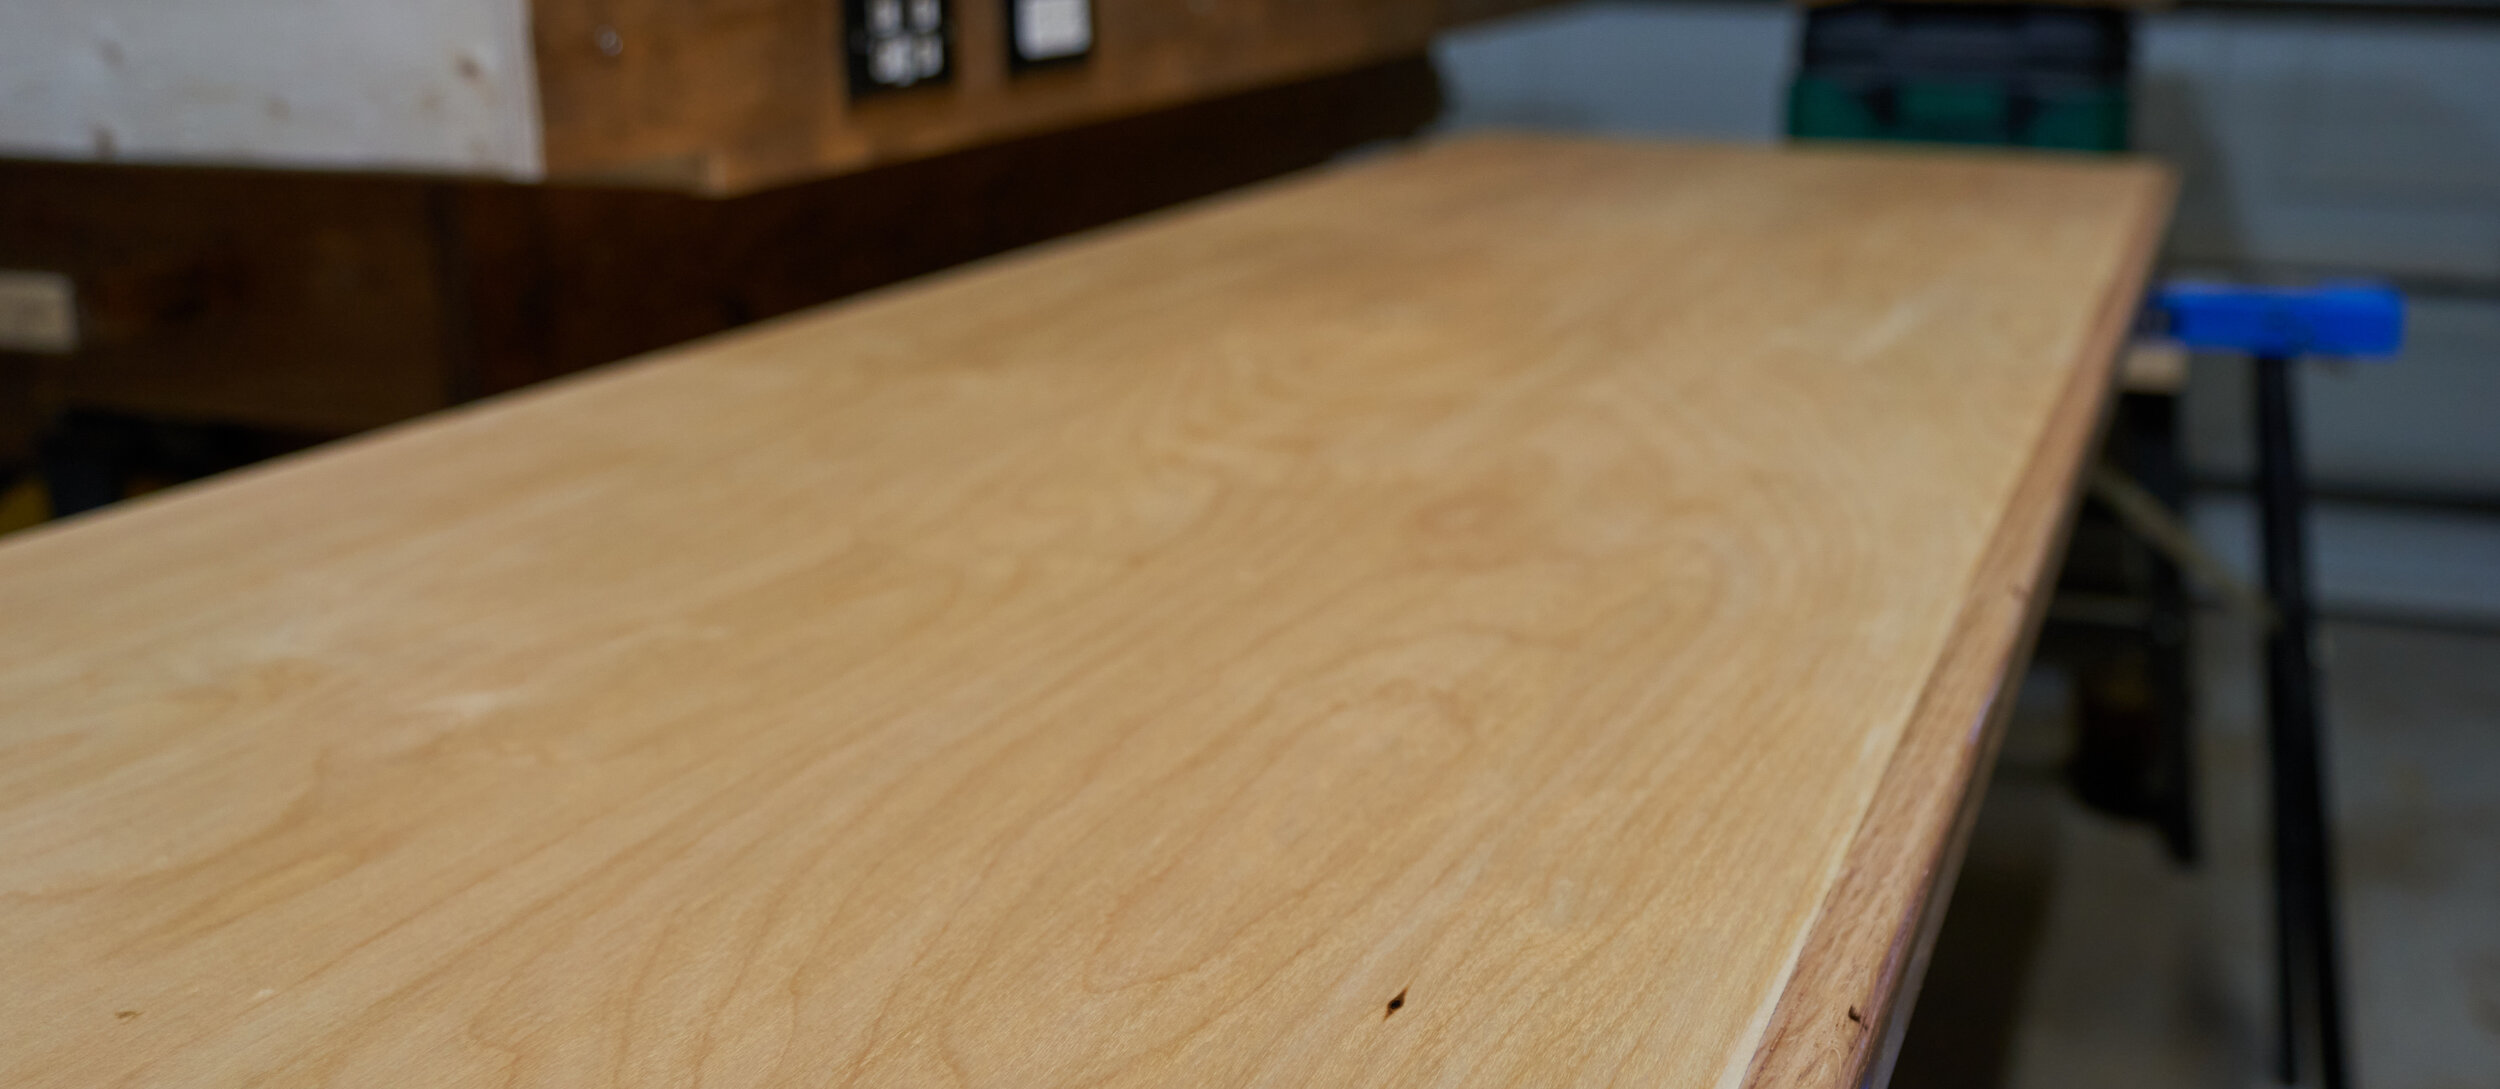
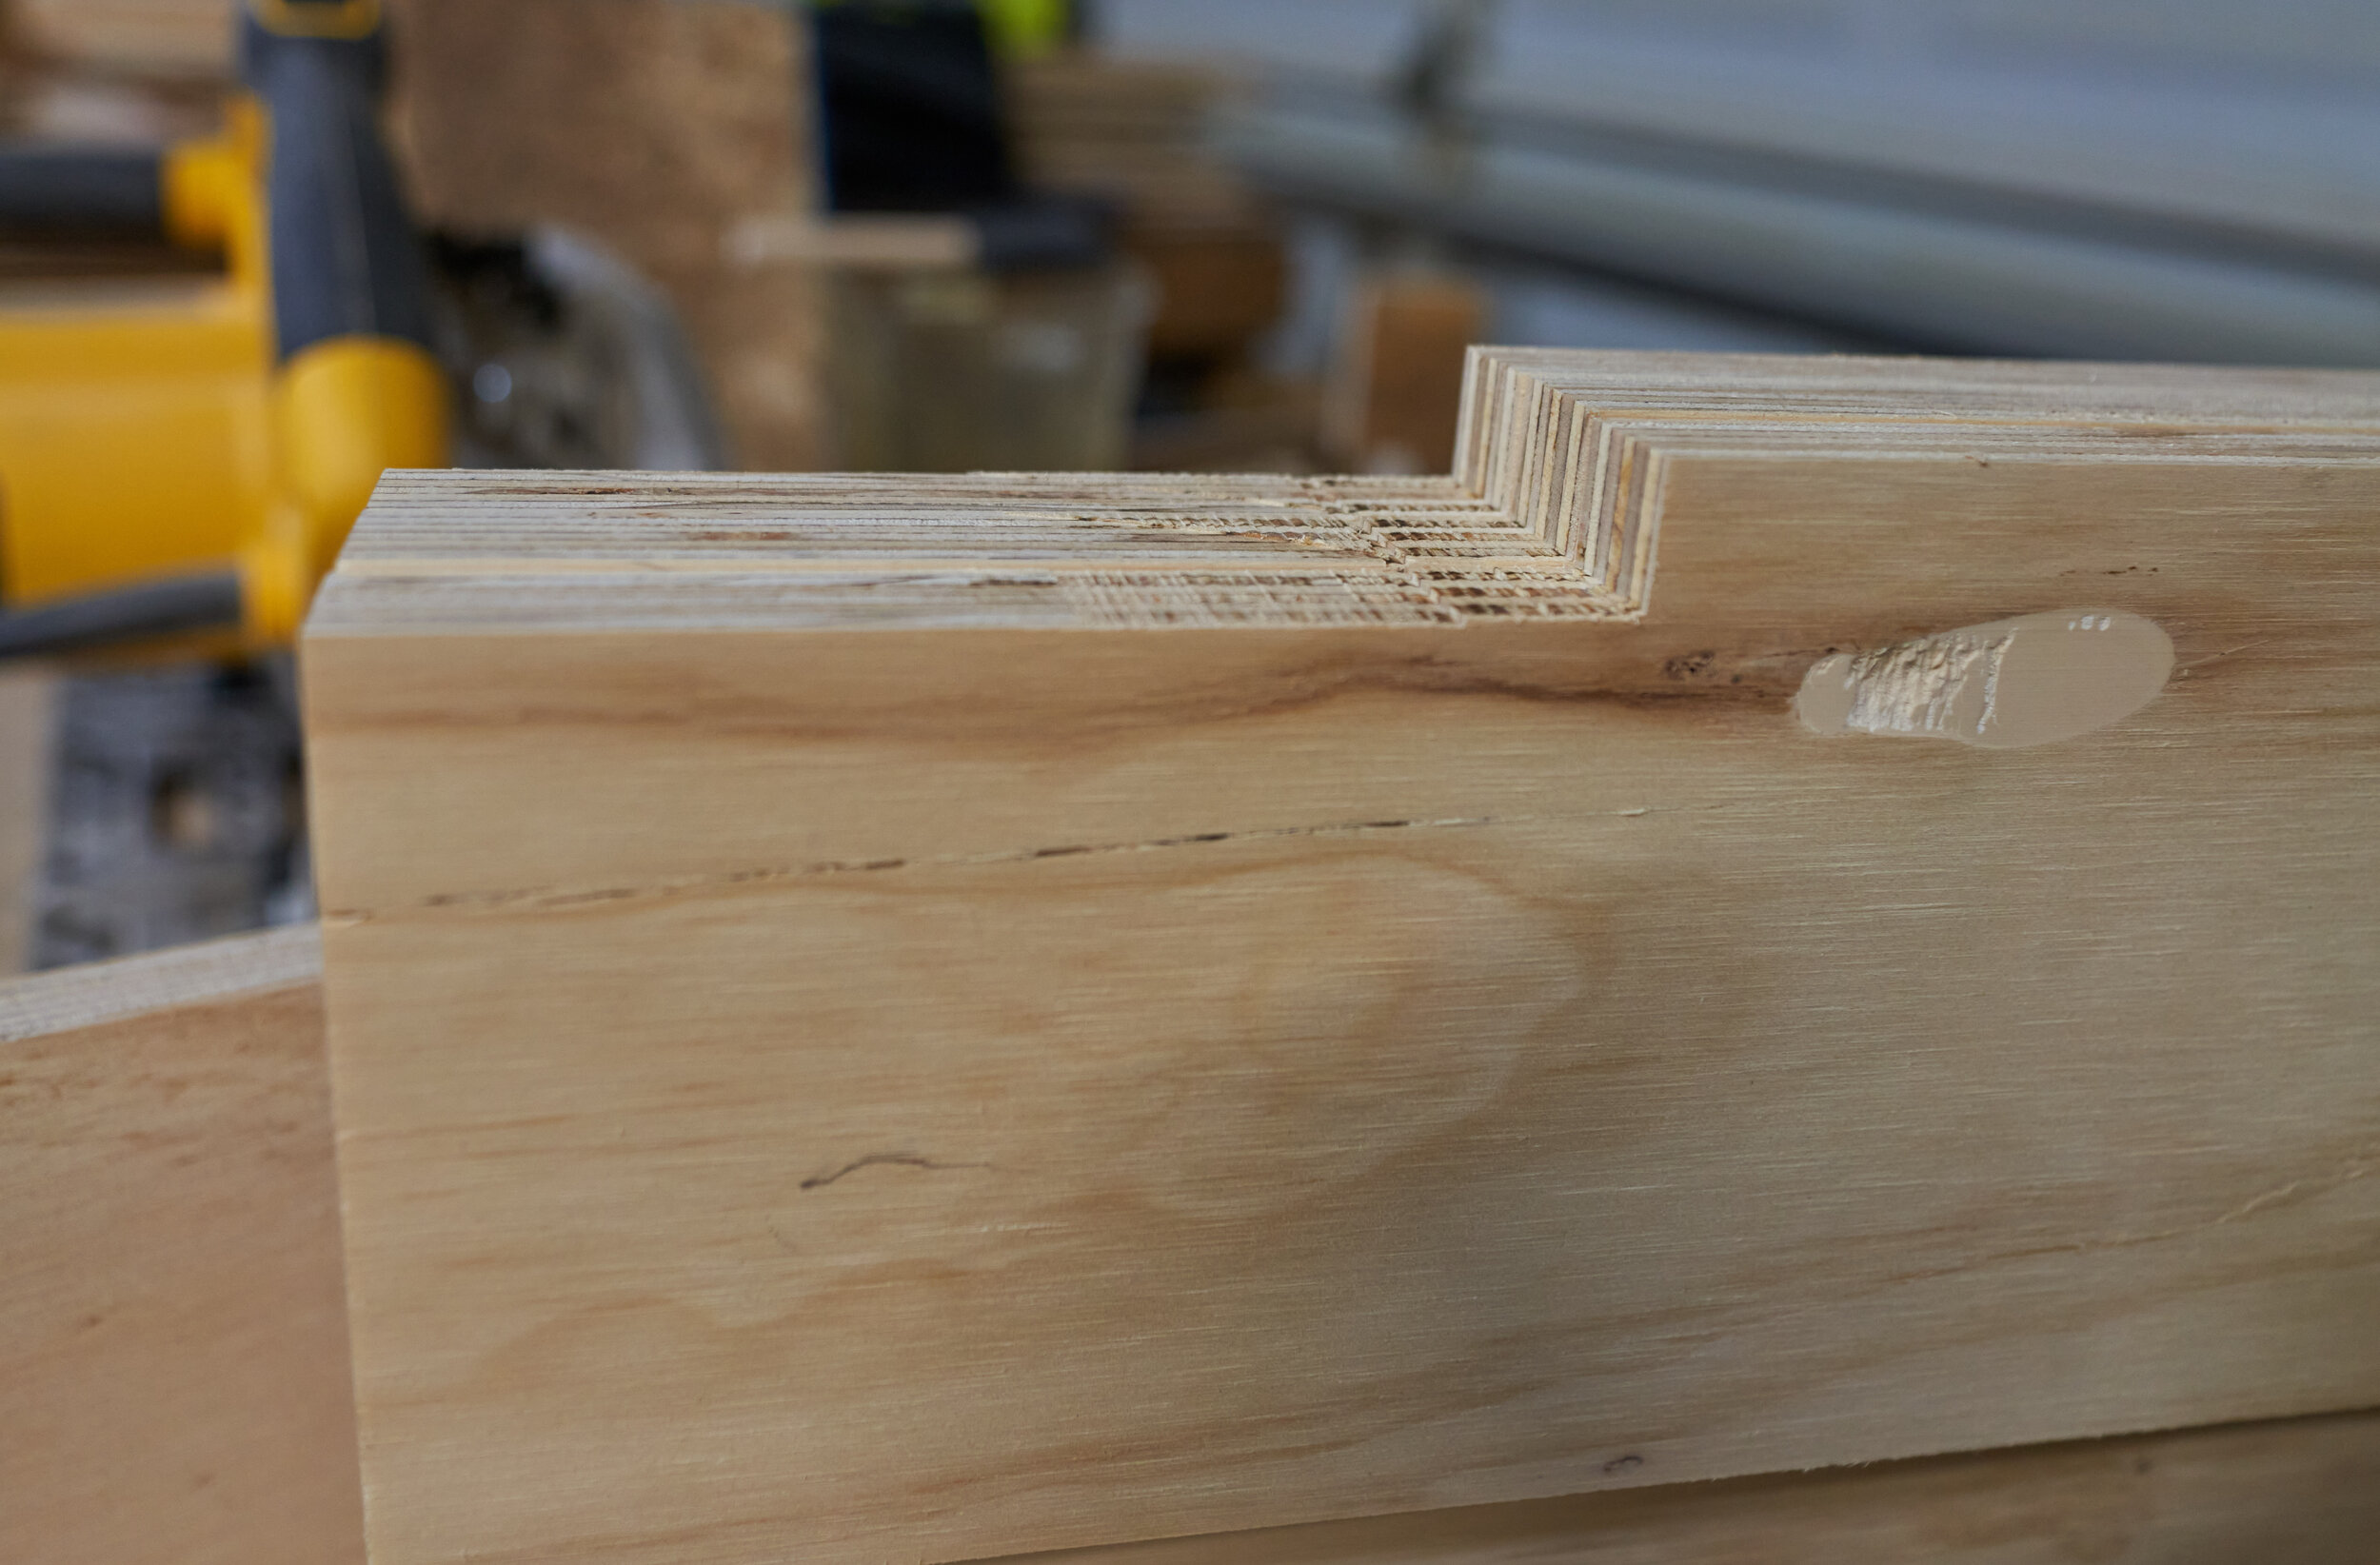
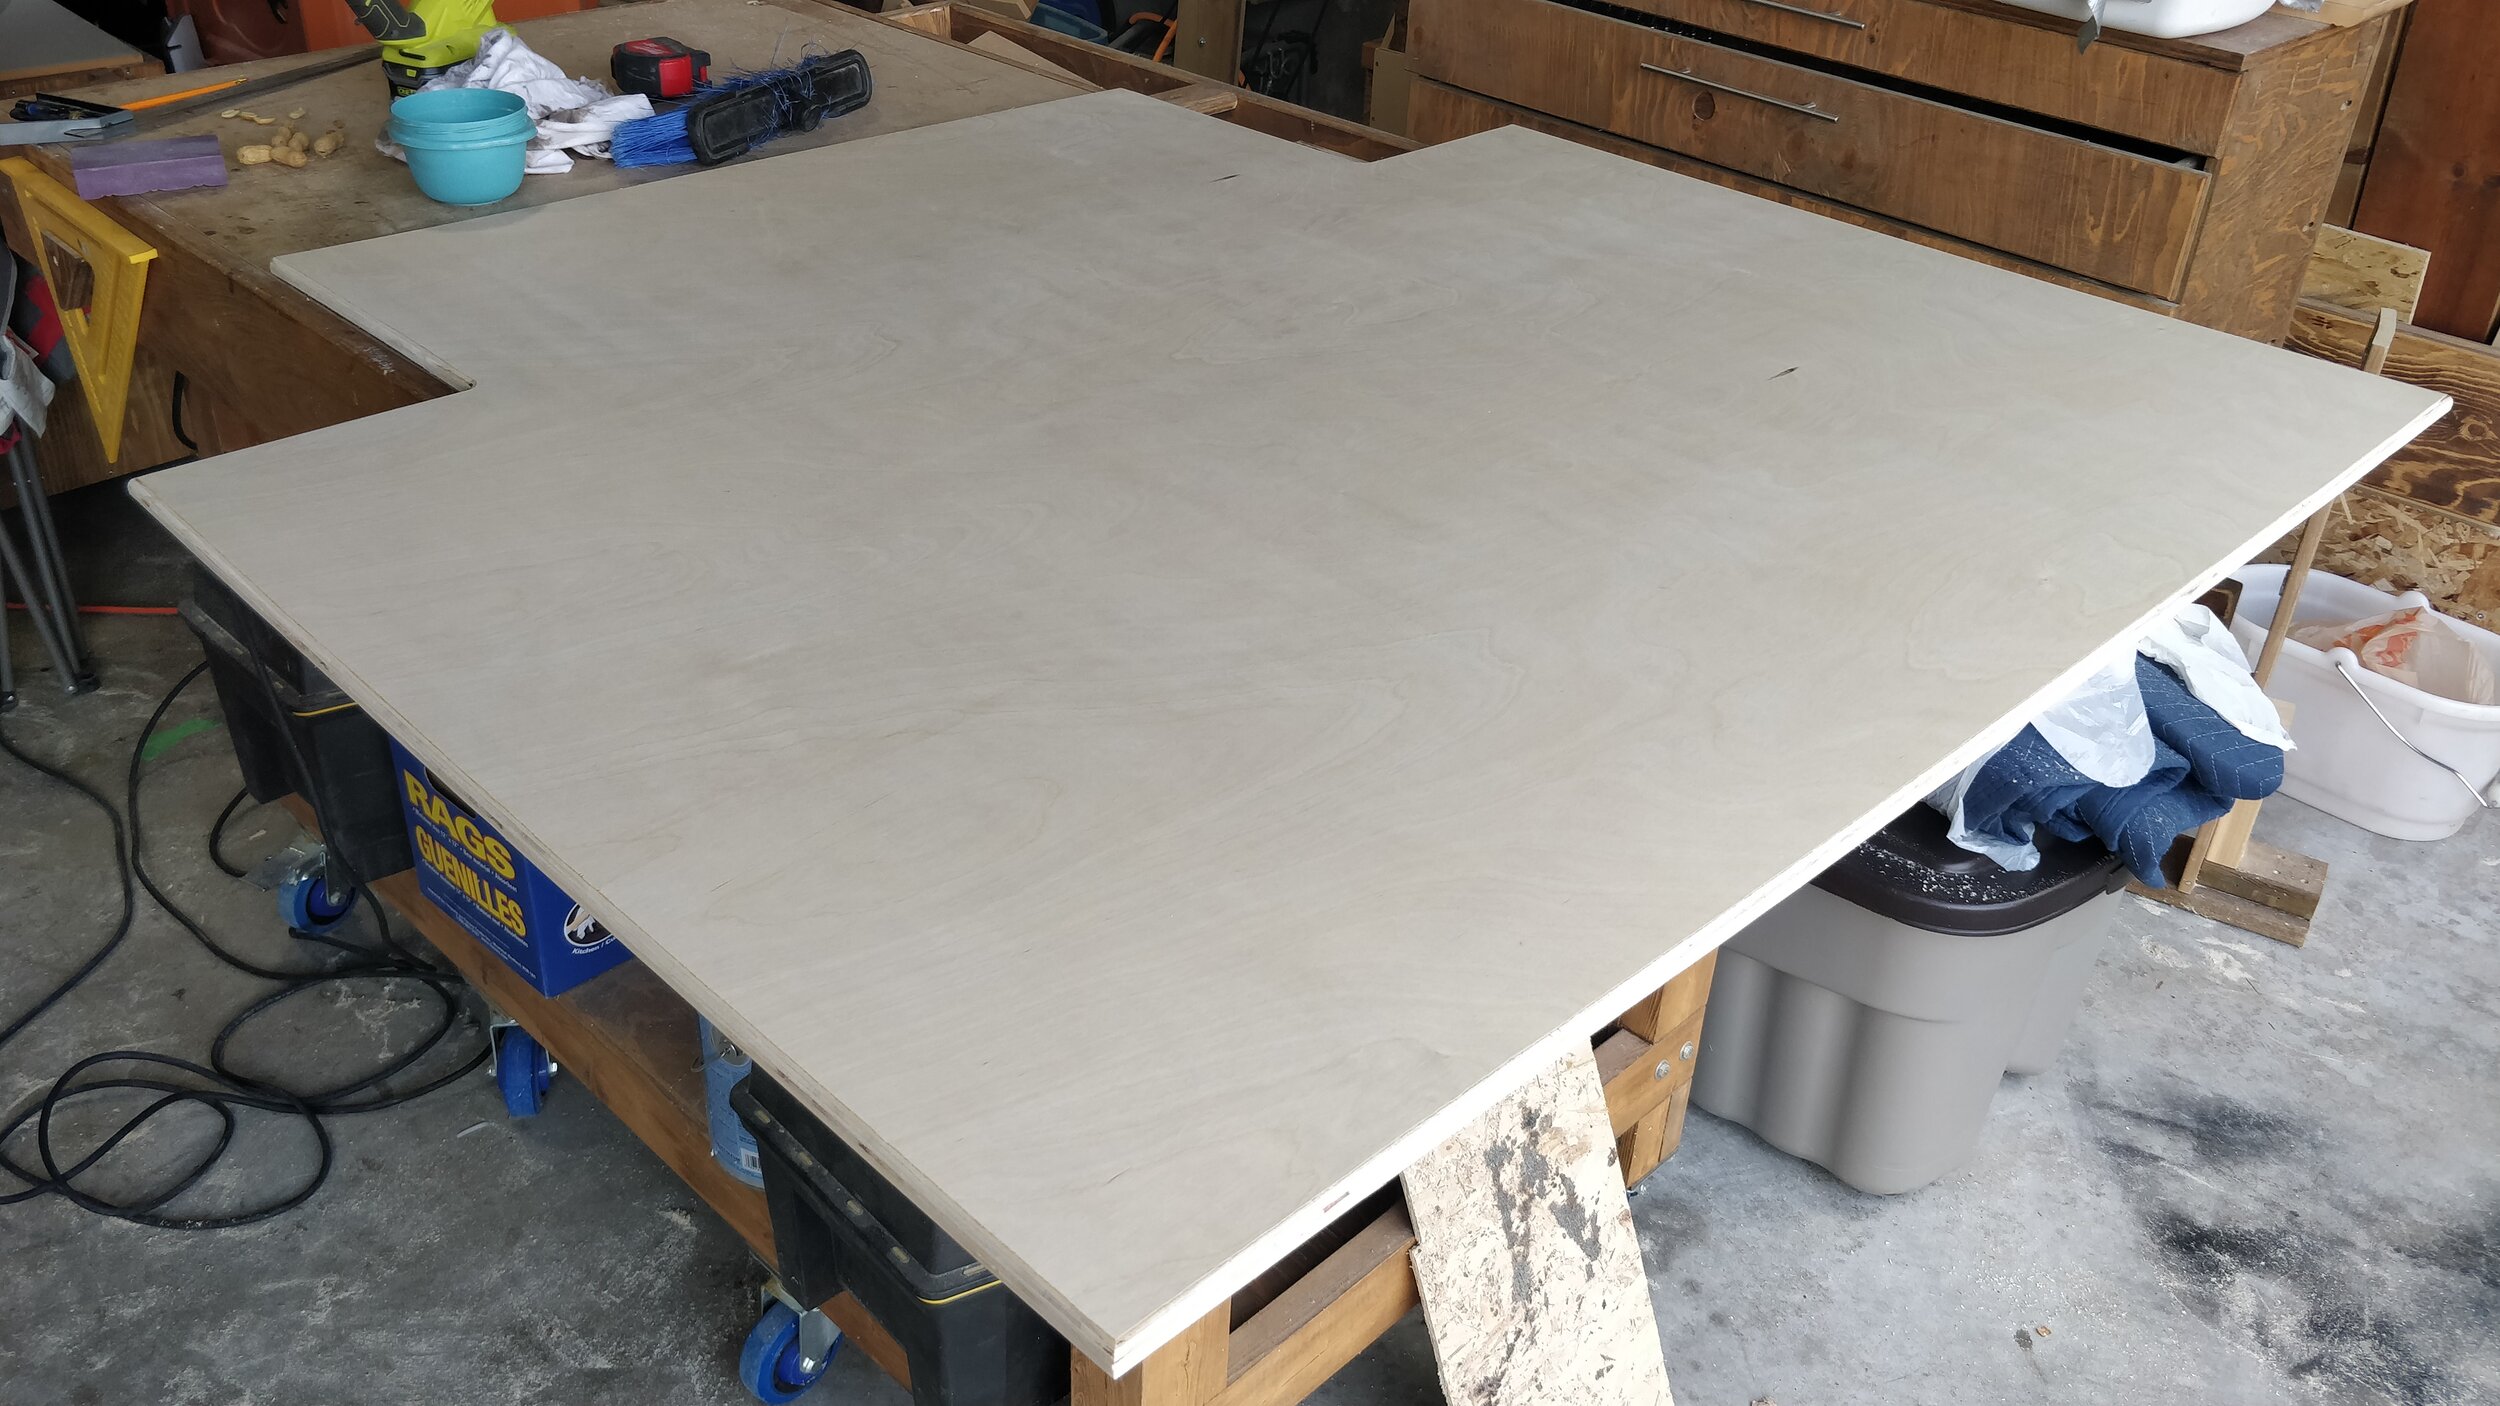
Step 2: Making the Top
This is the last easy stage: just laminating together two panels of plywood. I’ll come back to this later to add some hardwood trim on the leading edge, both to give it a hint of color but also to improve the durability on that high-touch edge.


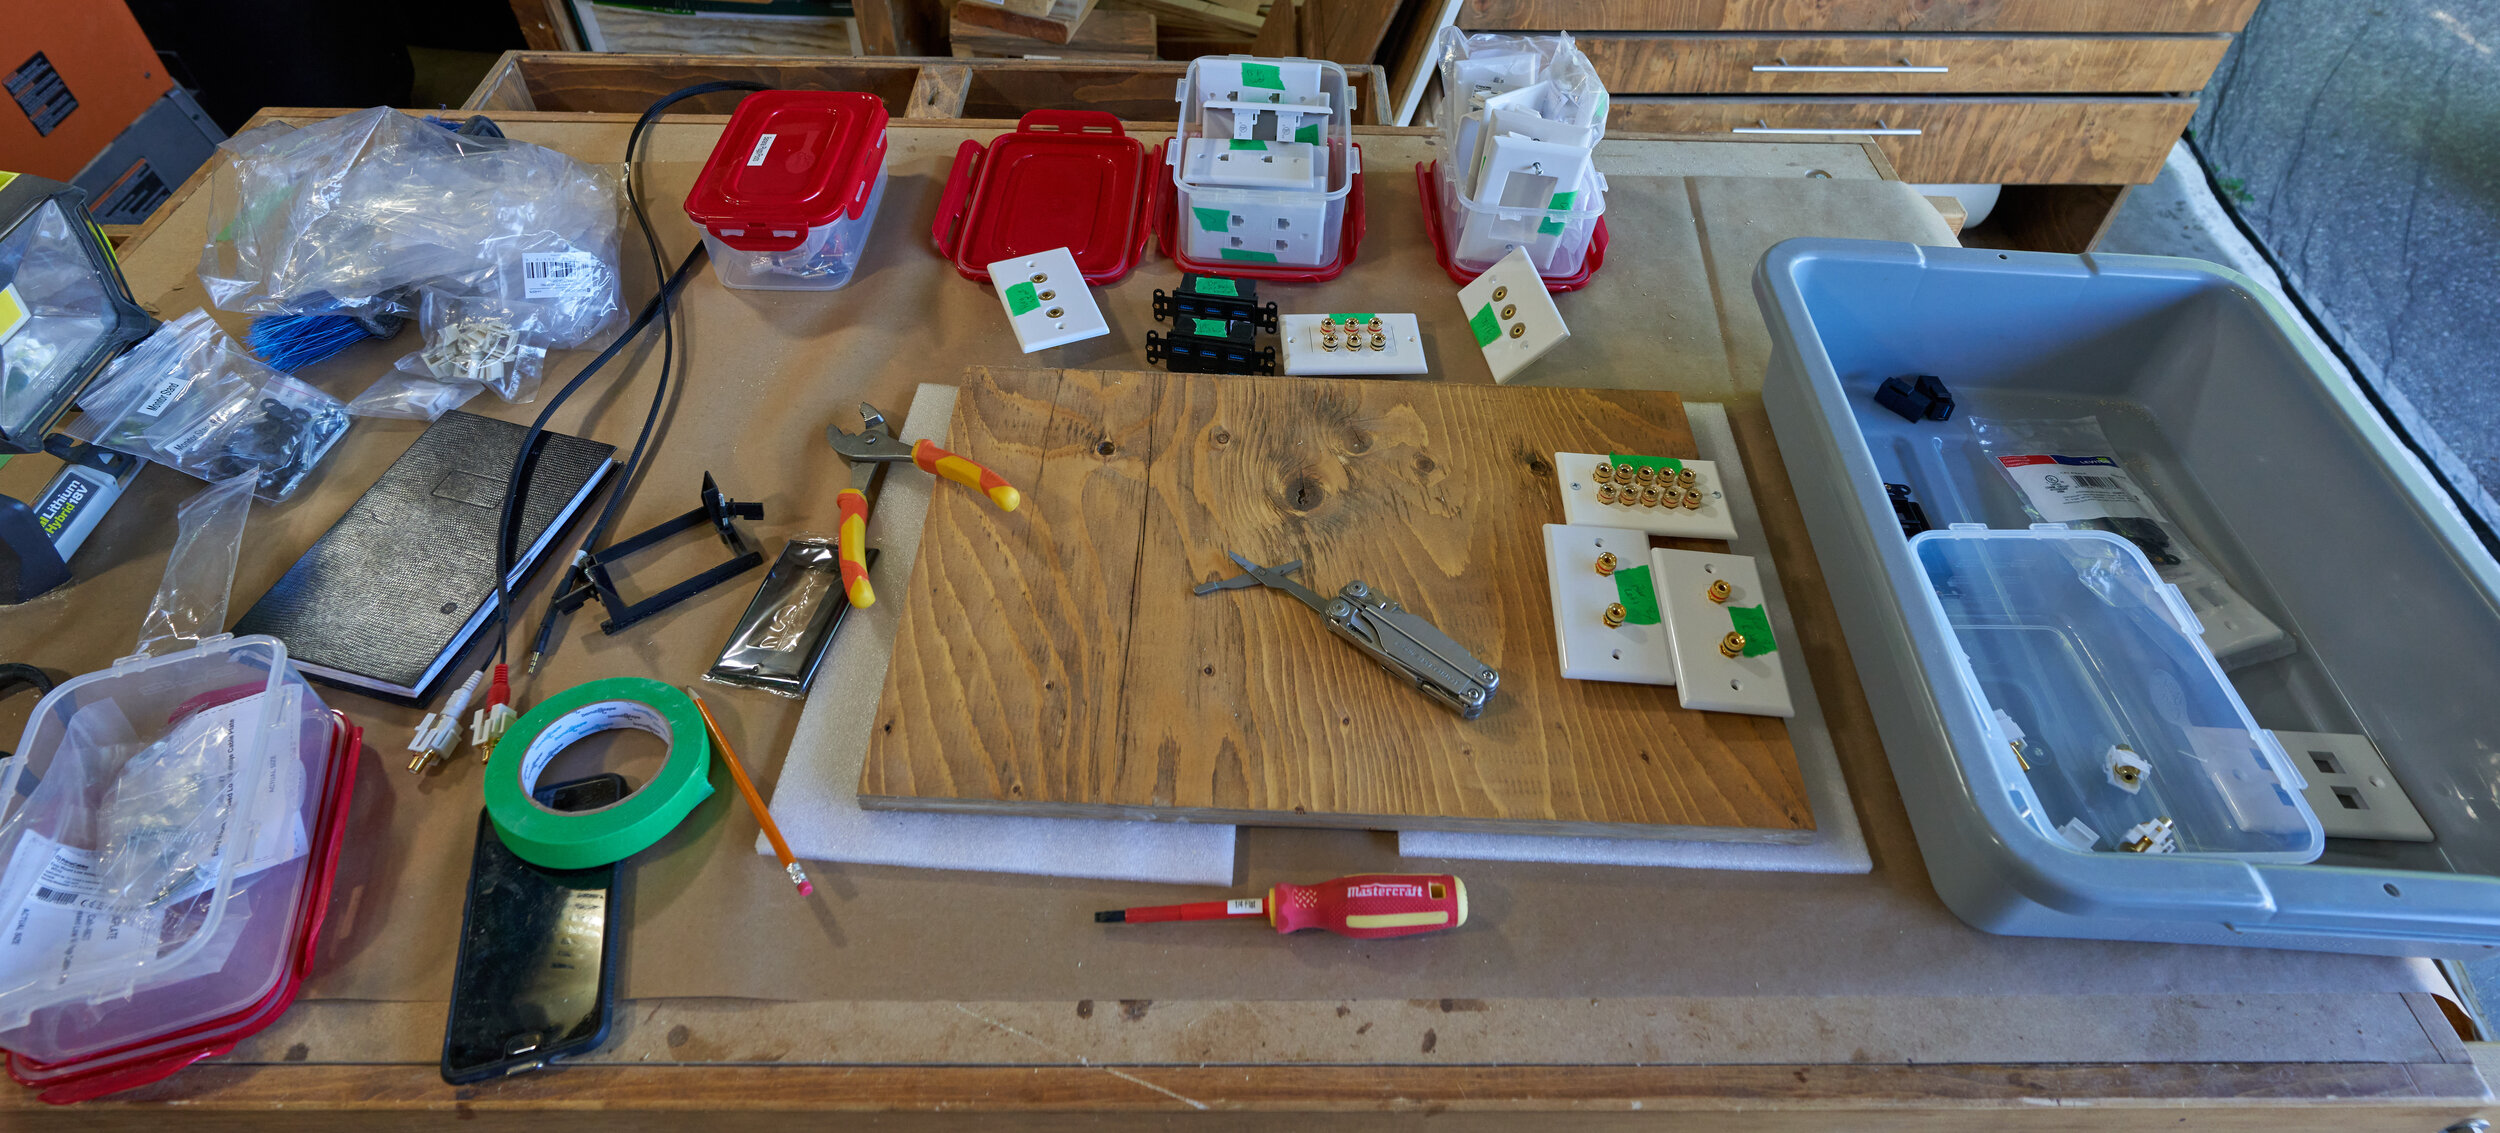
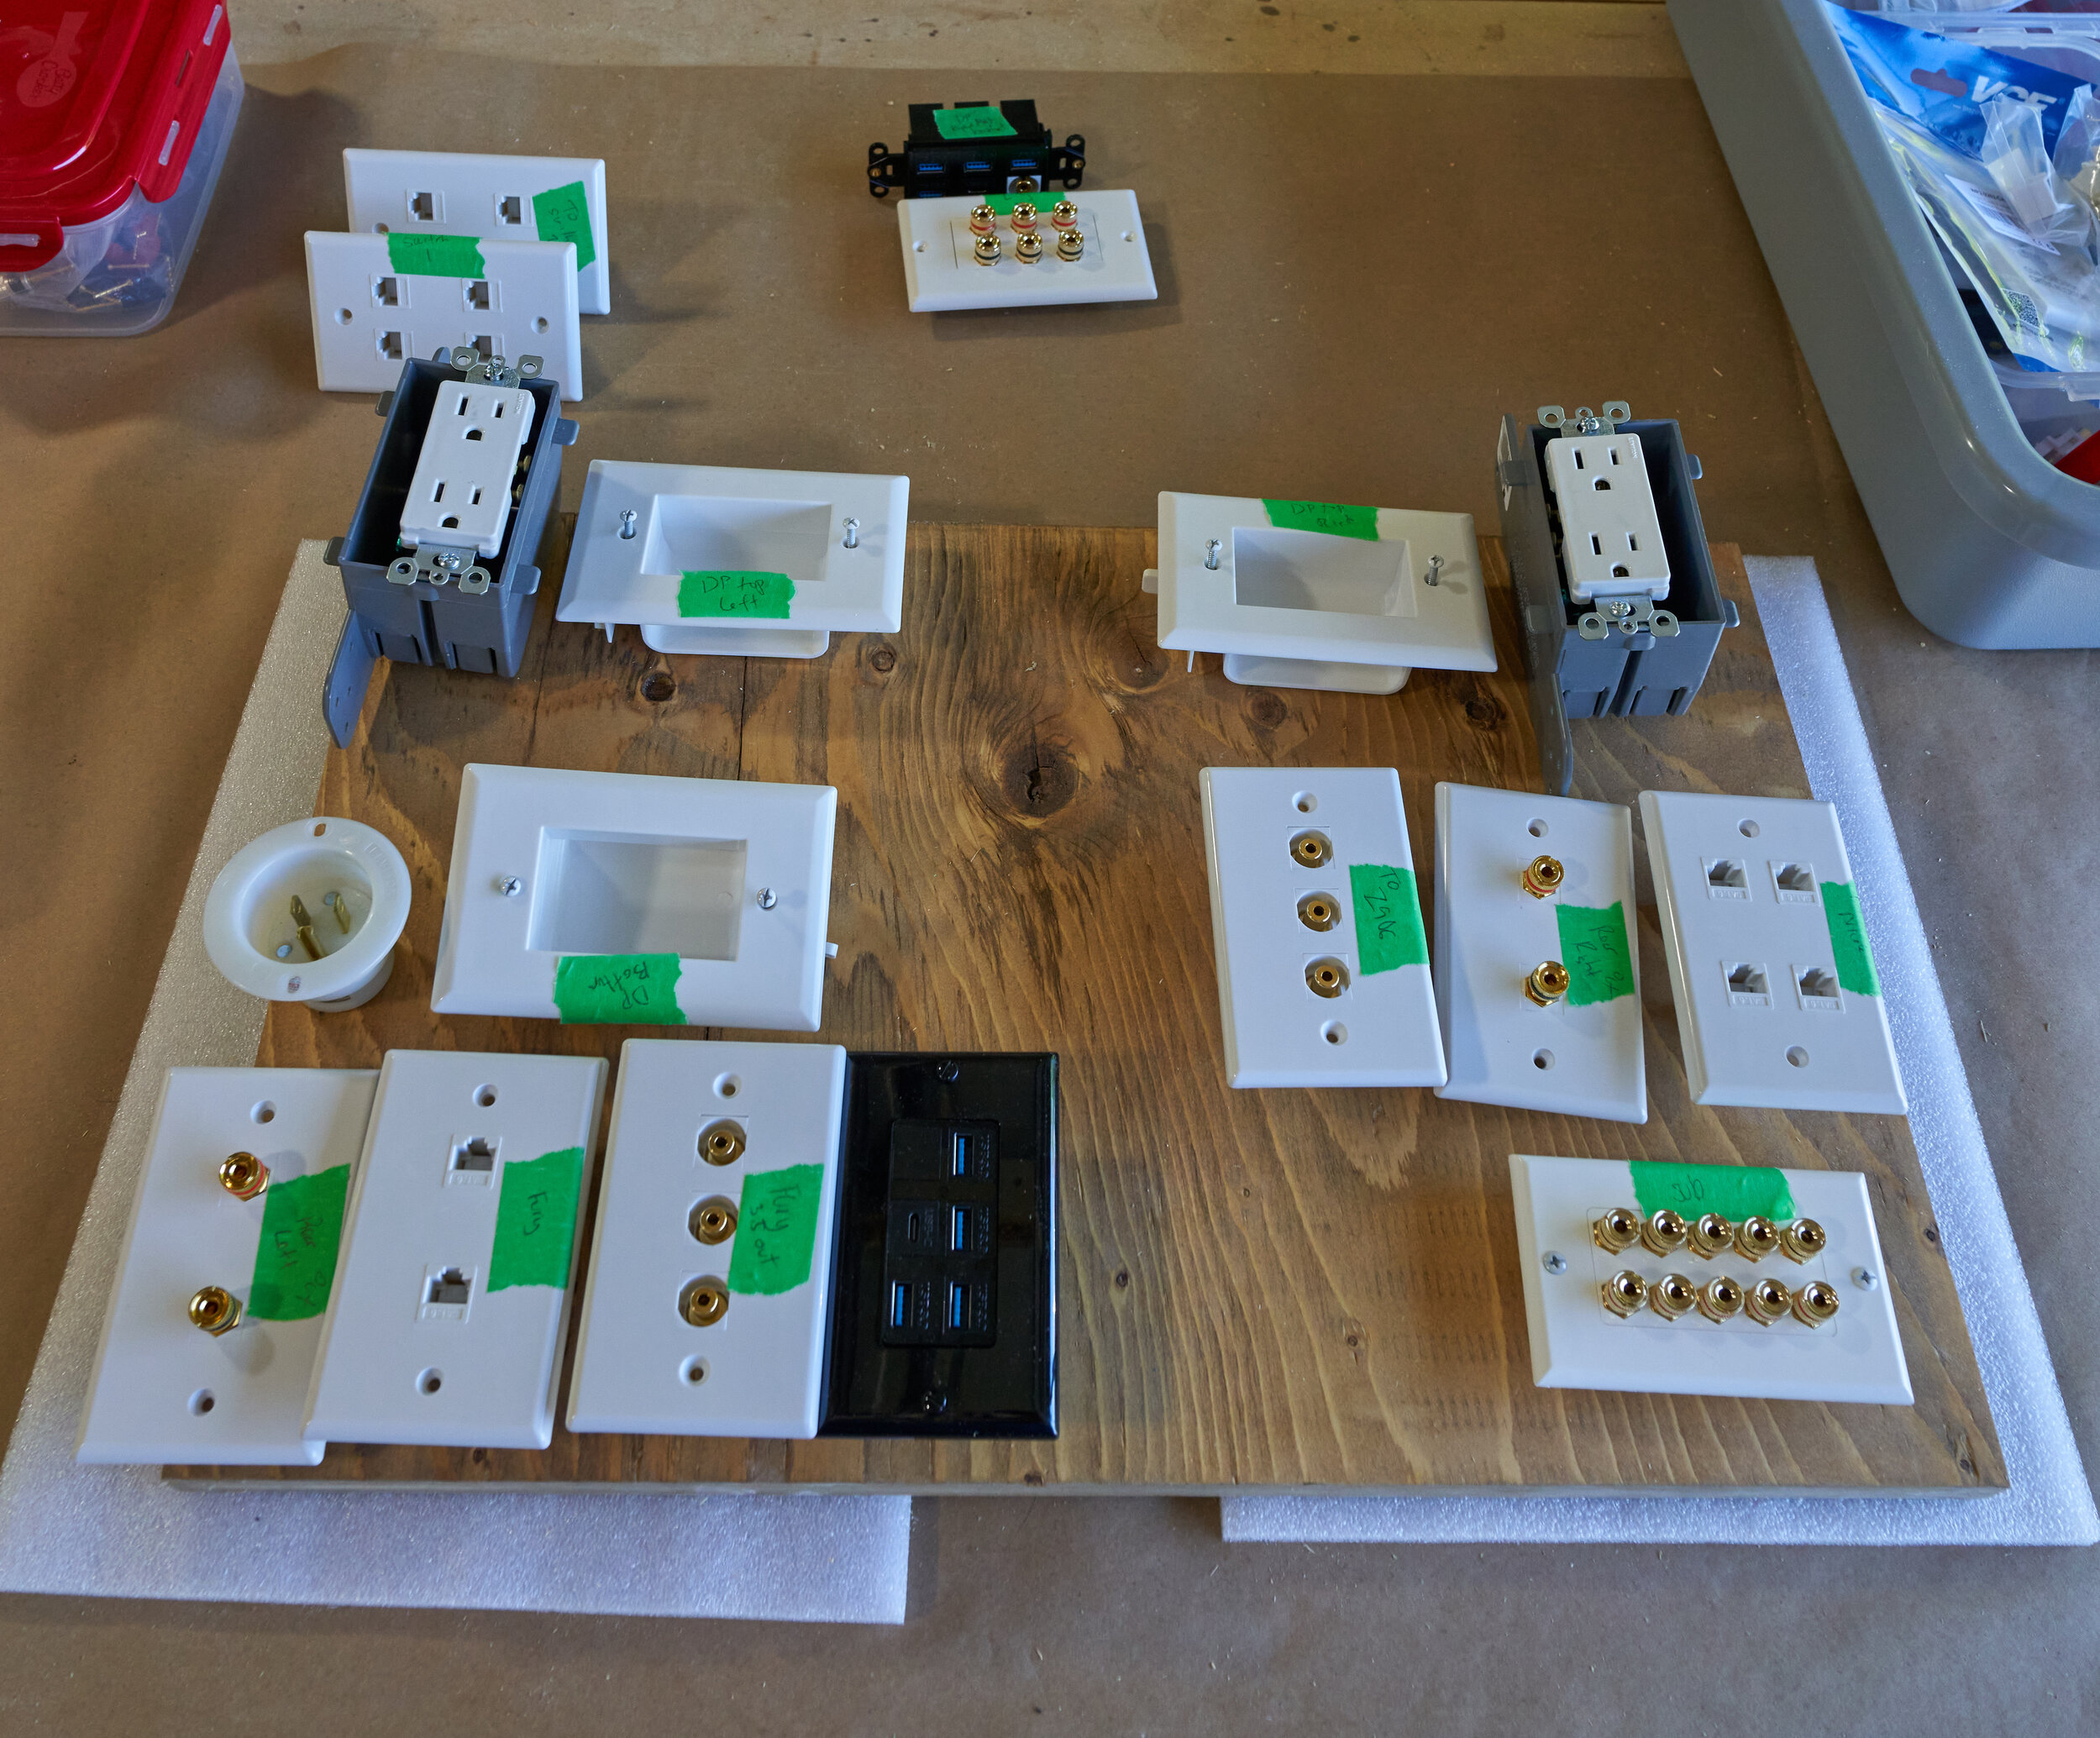
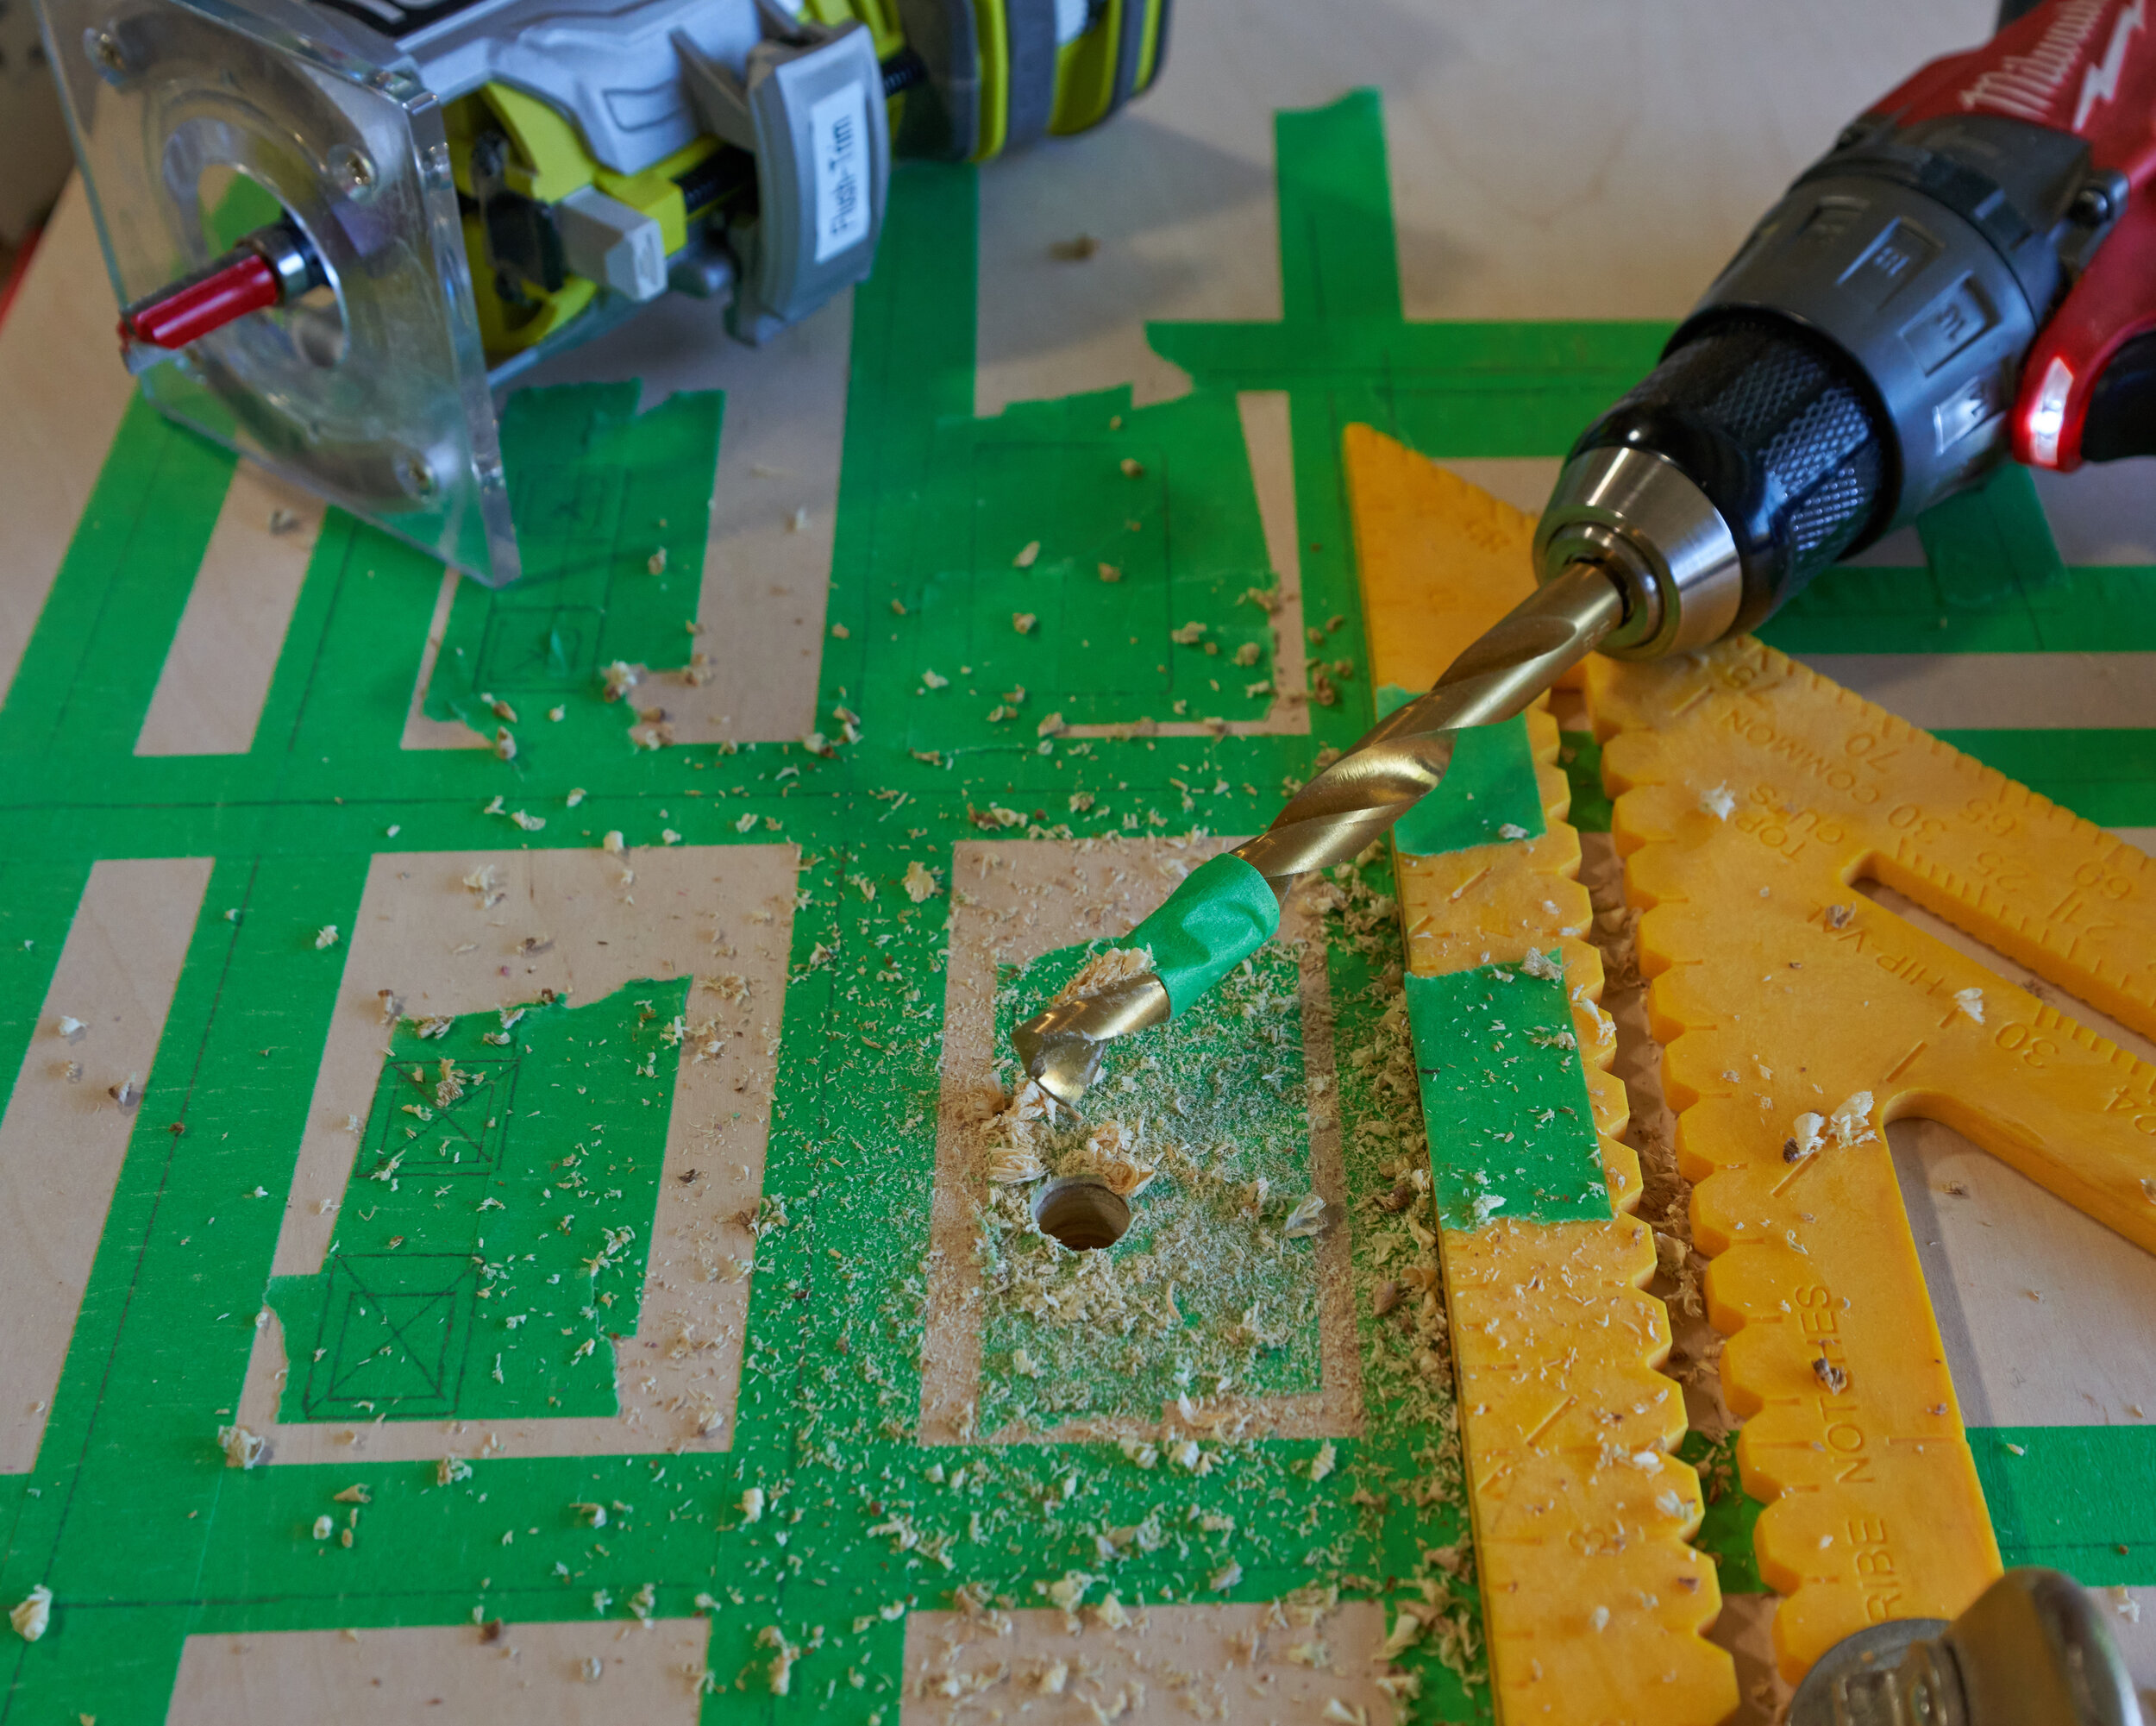
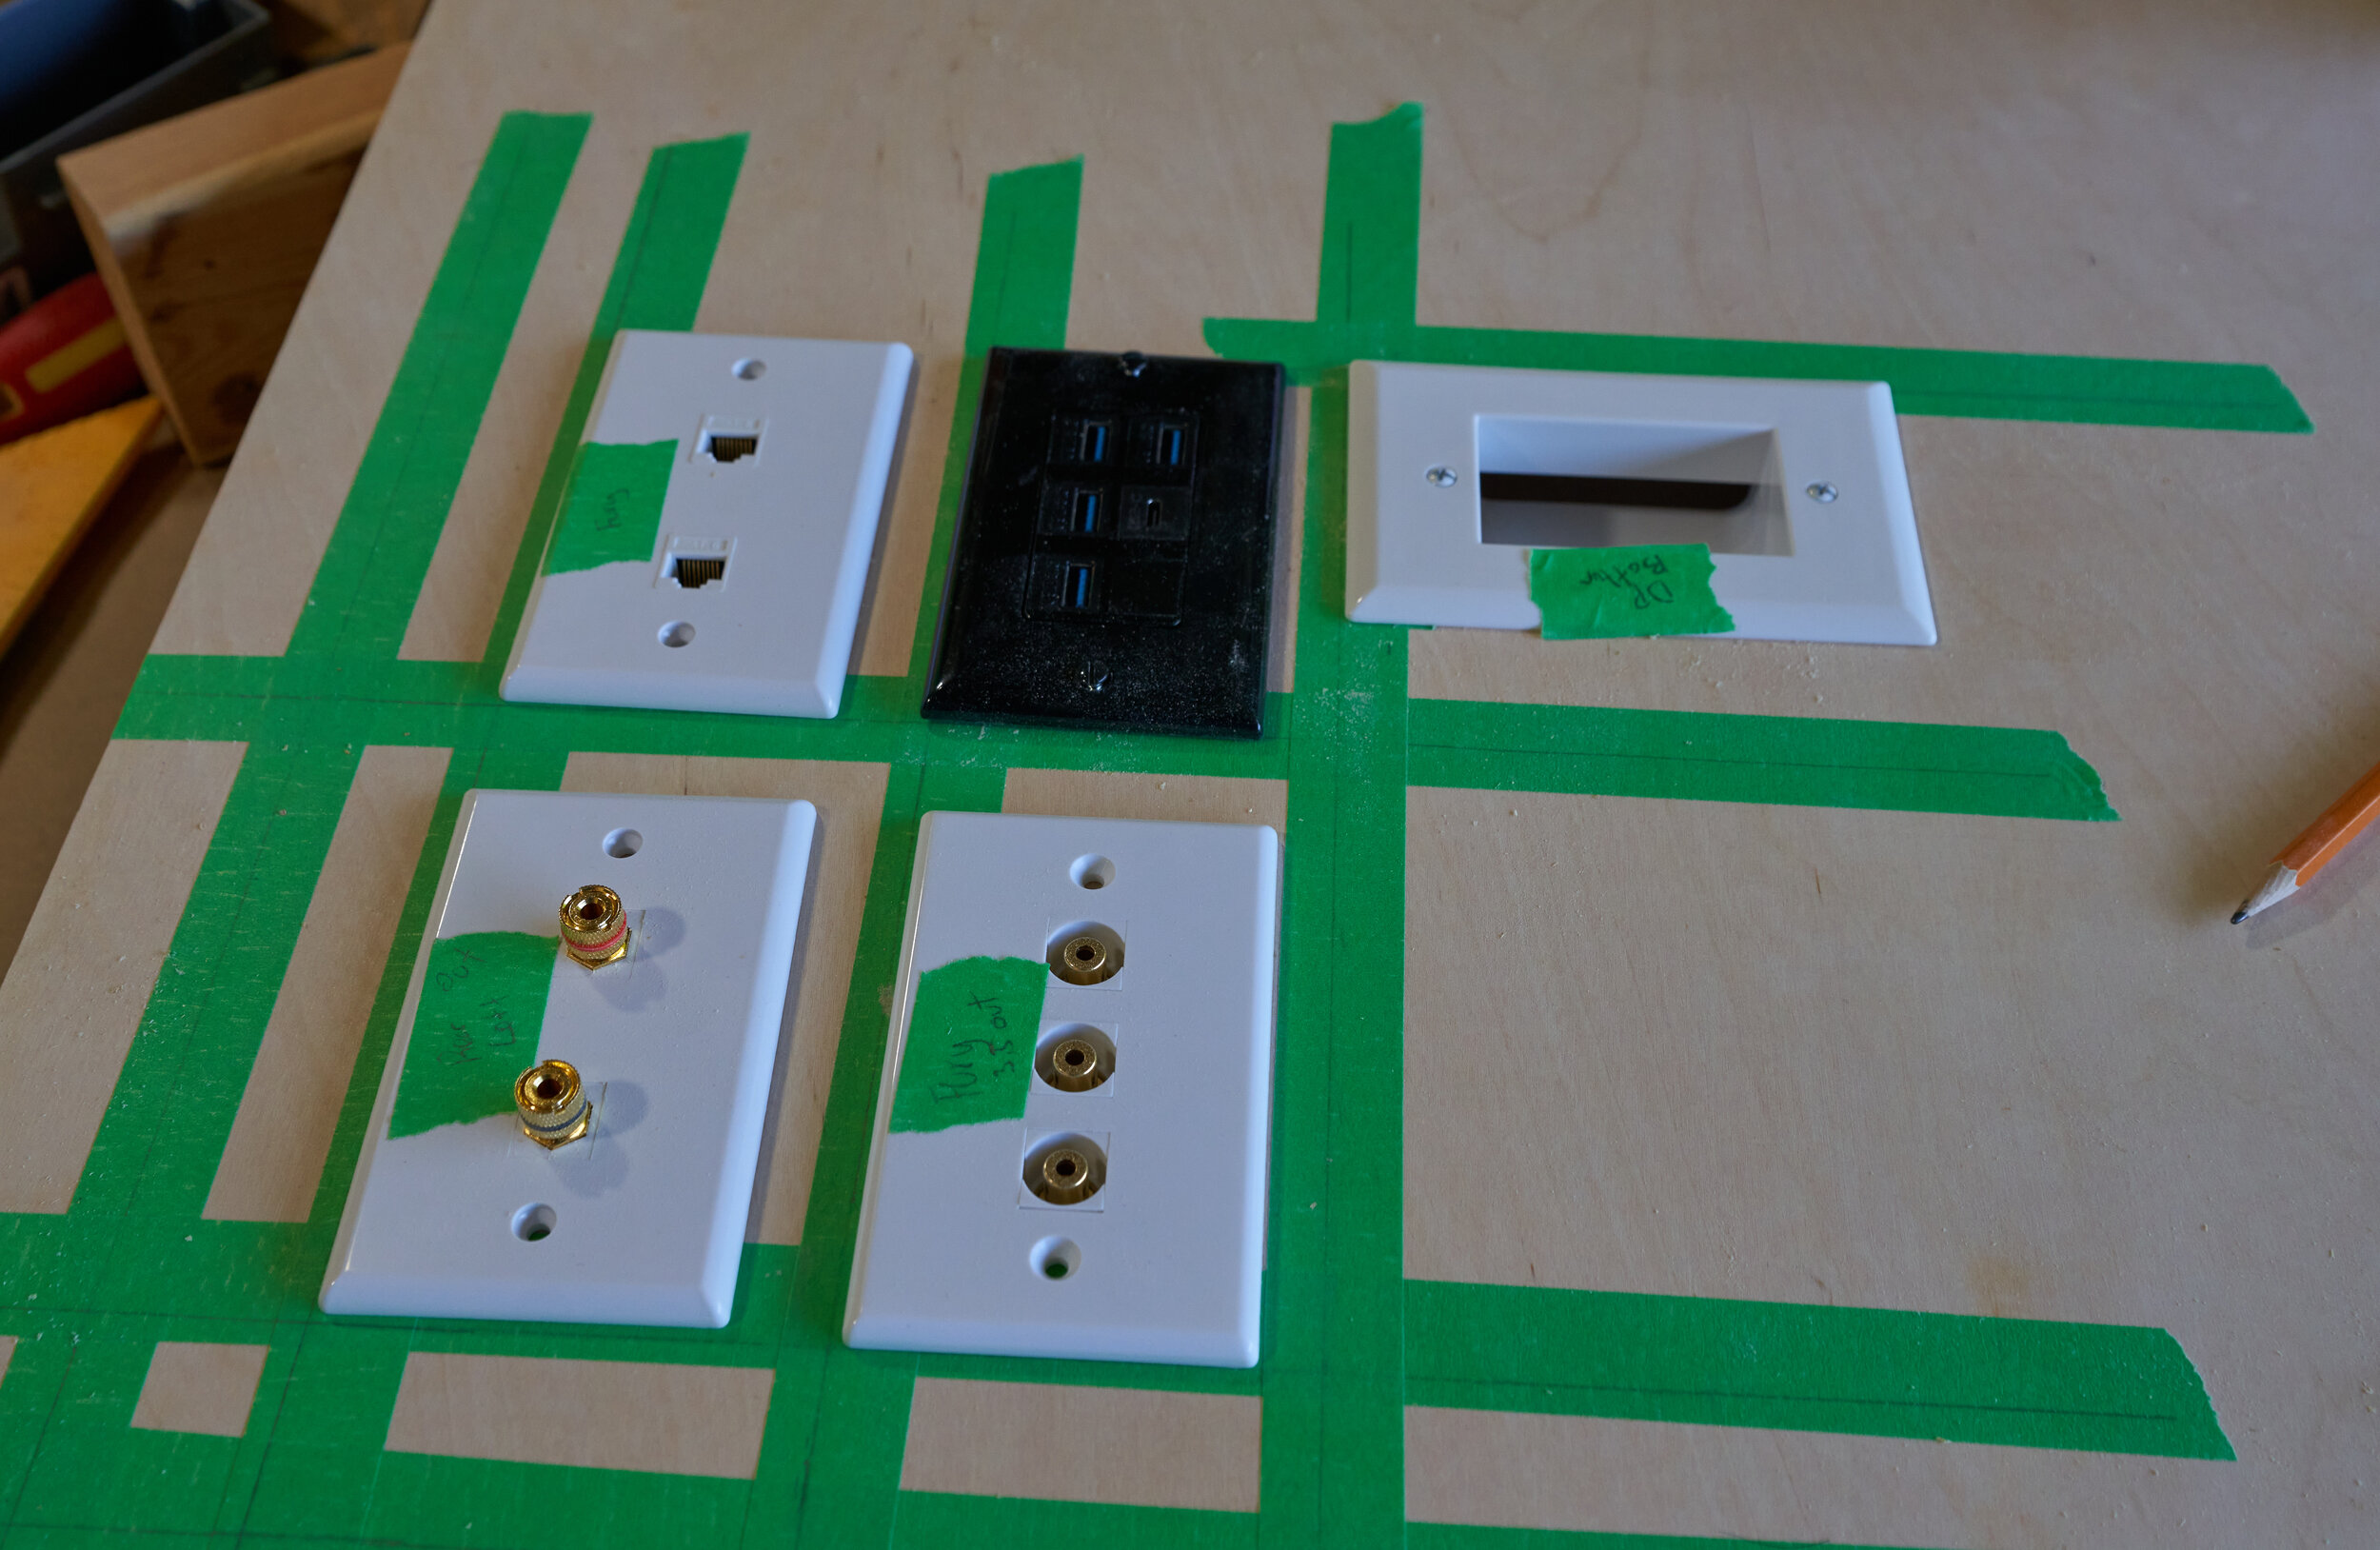
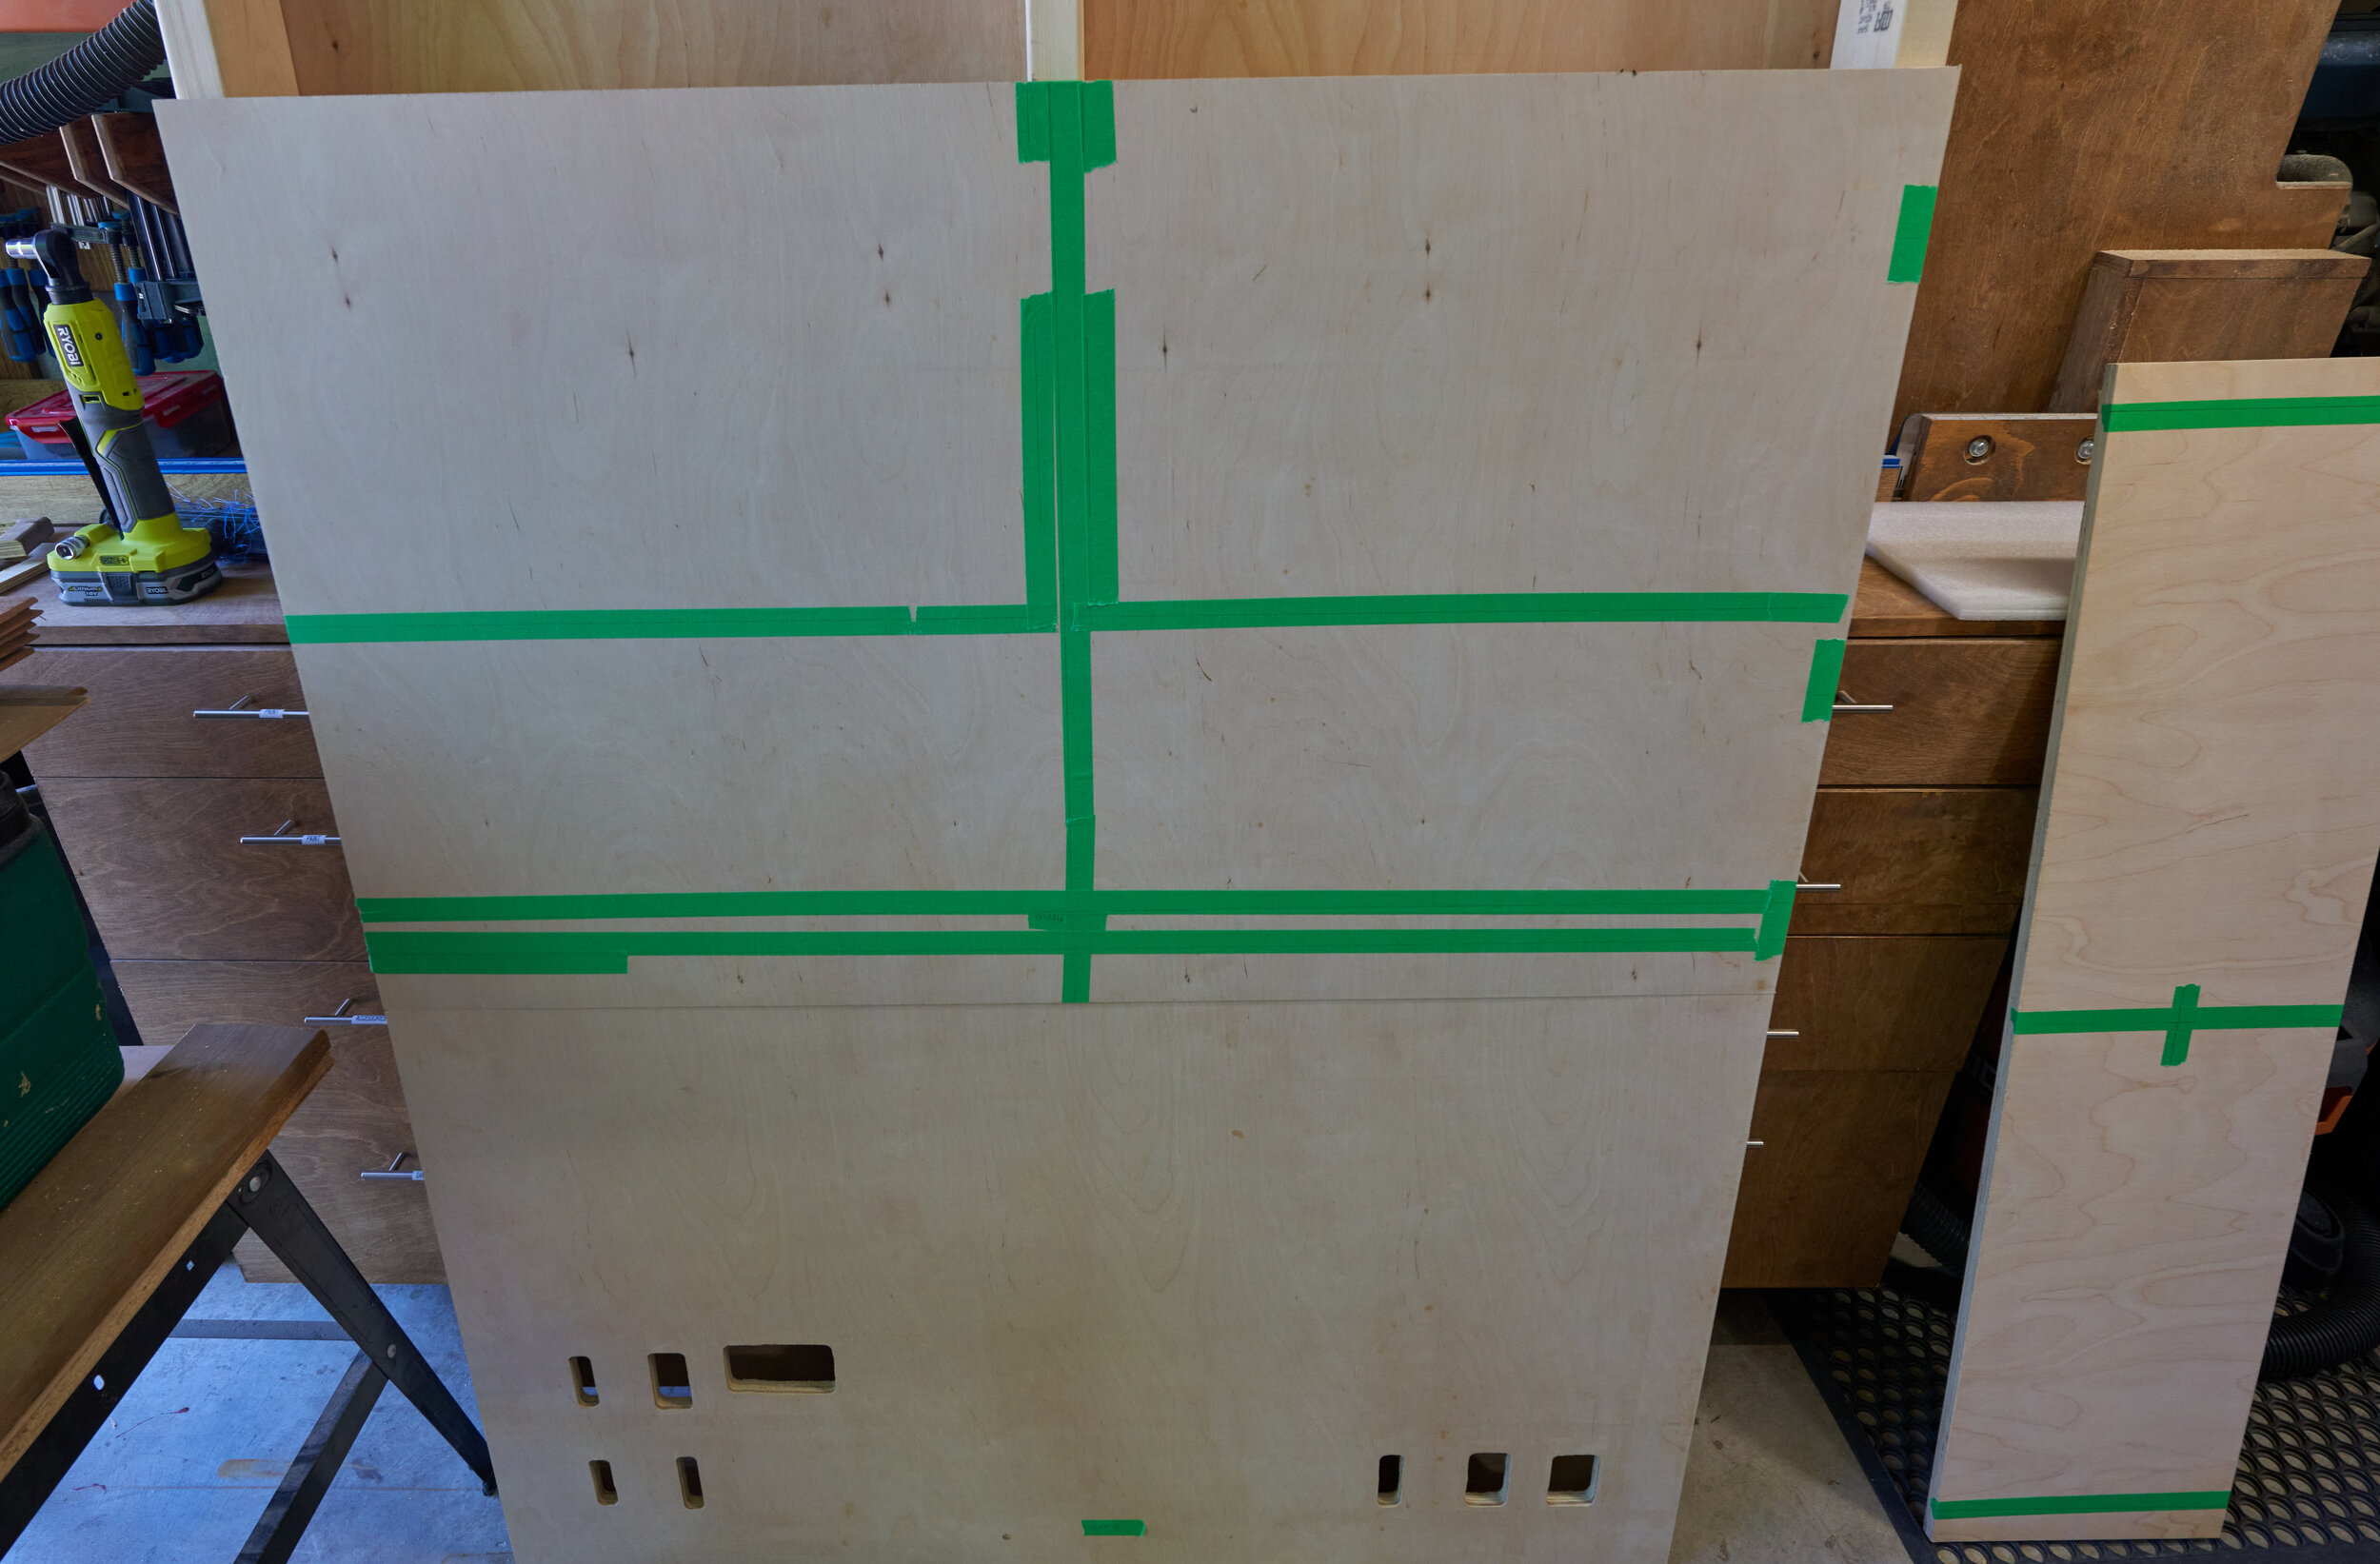
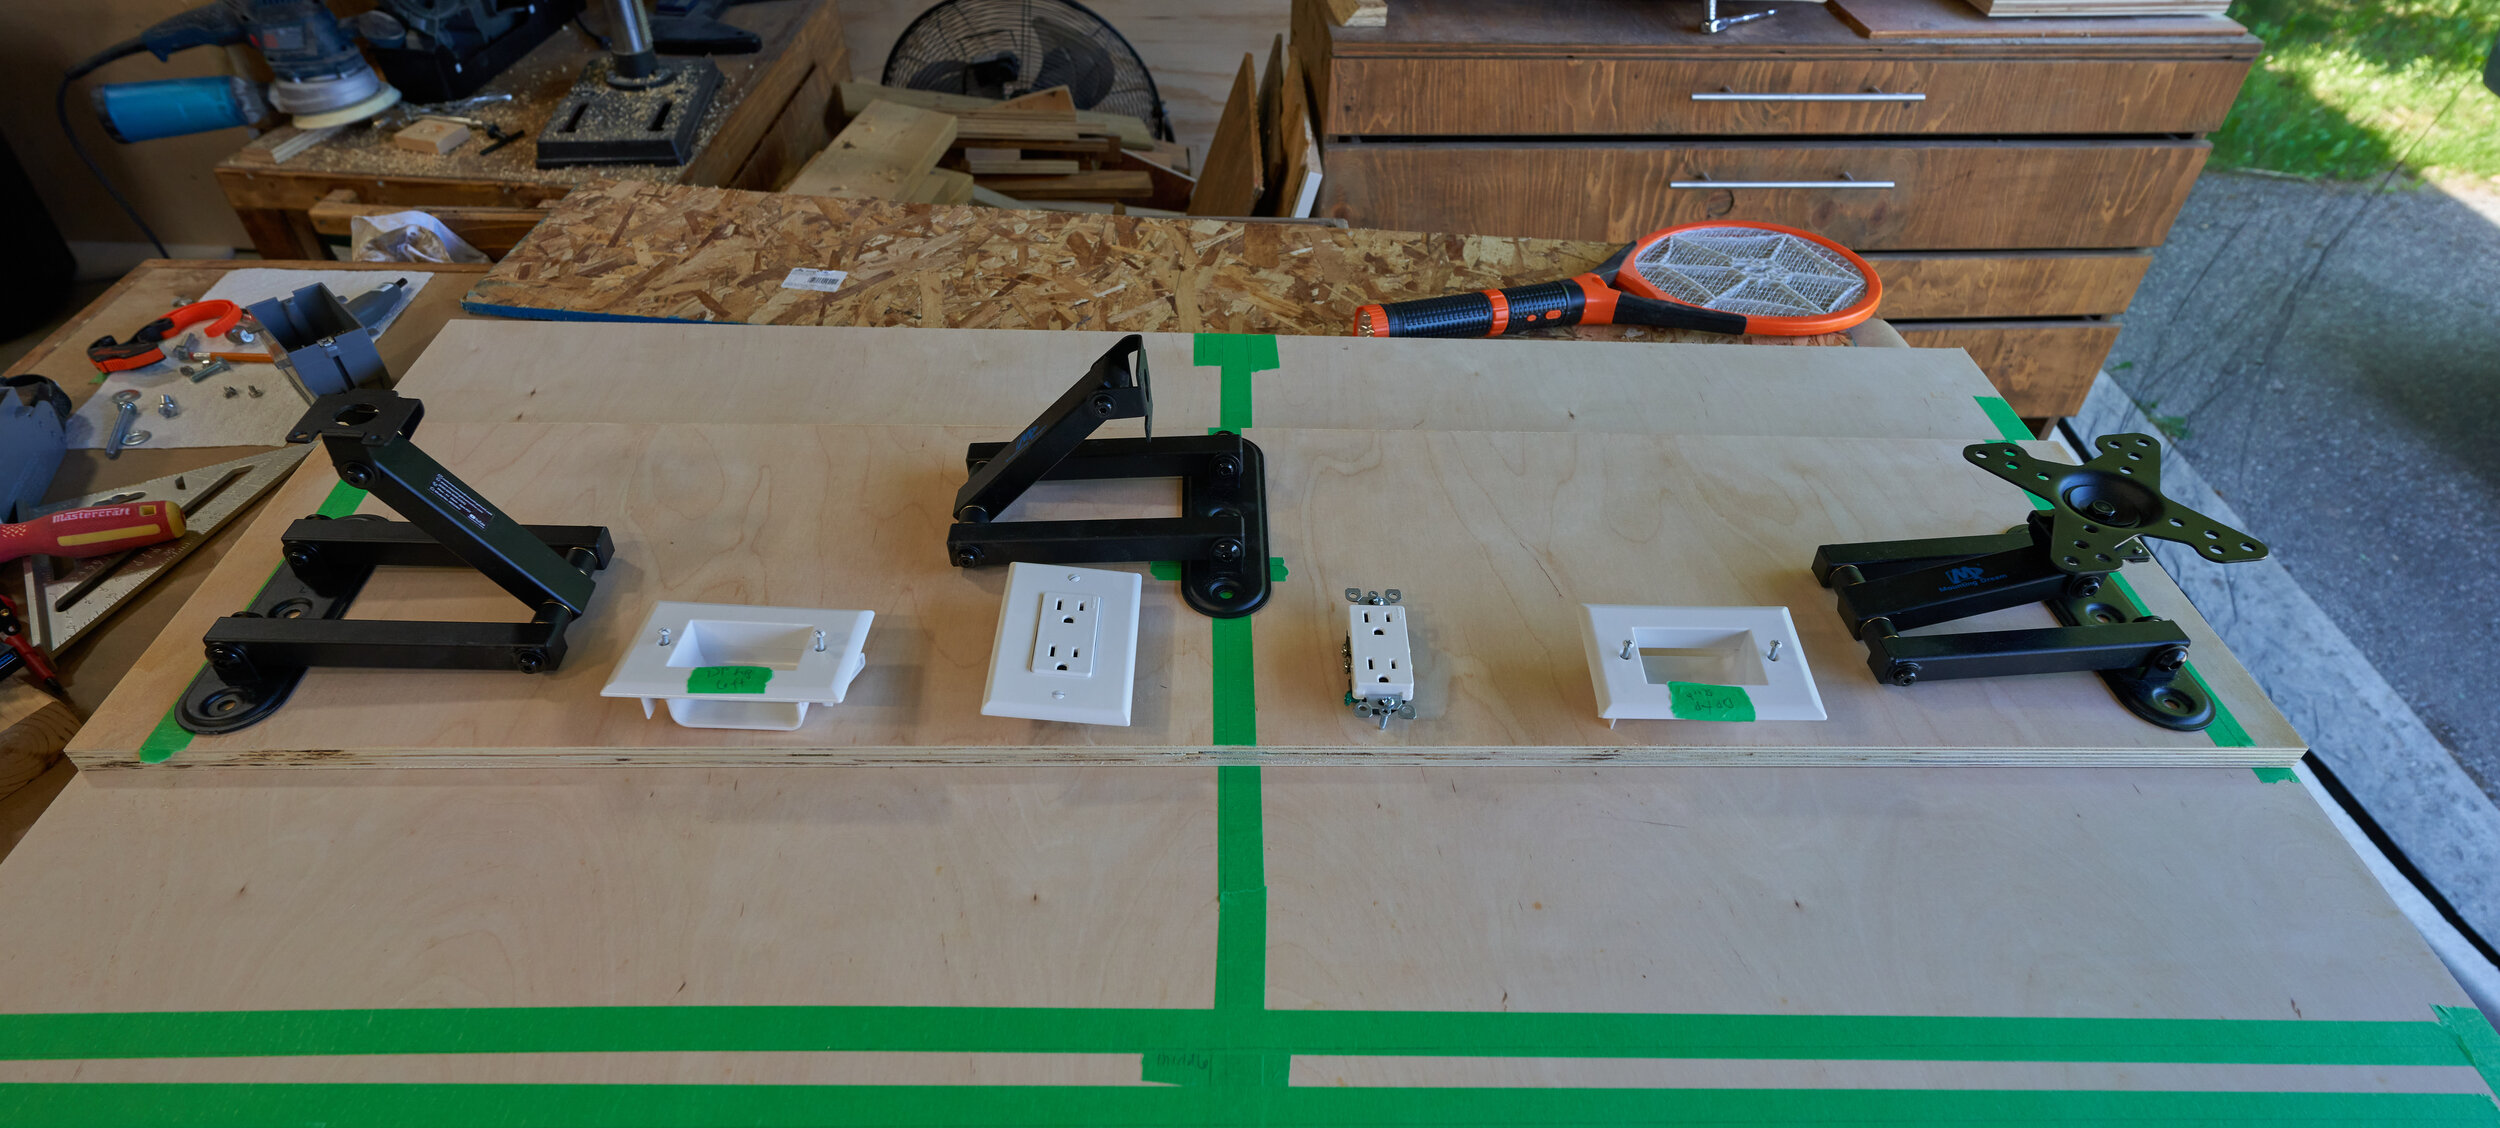
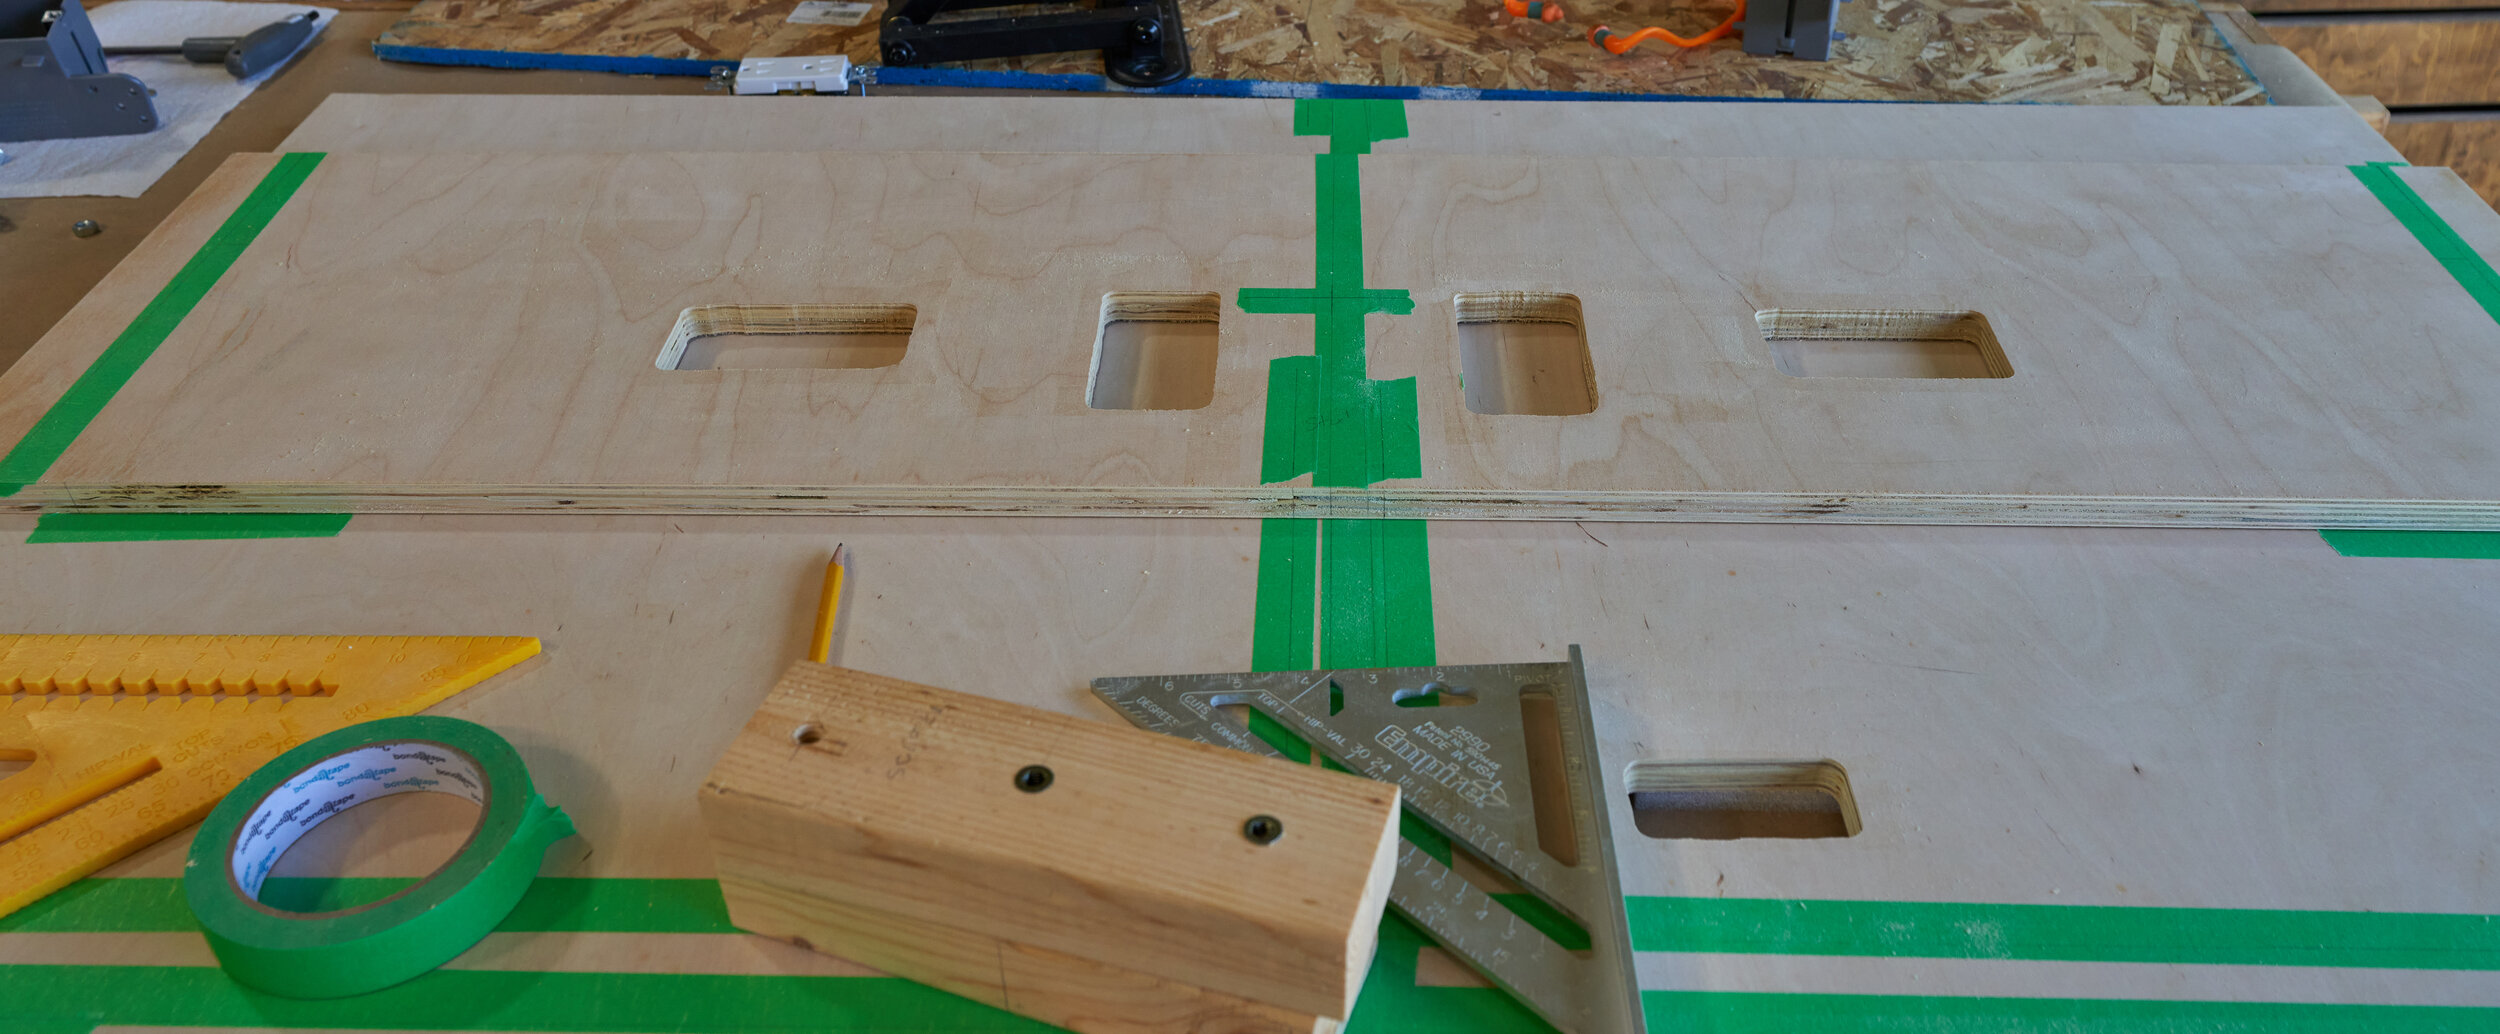
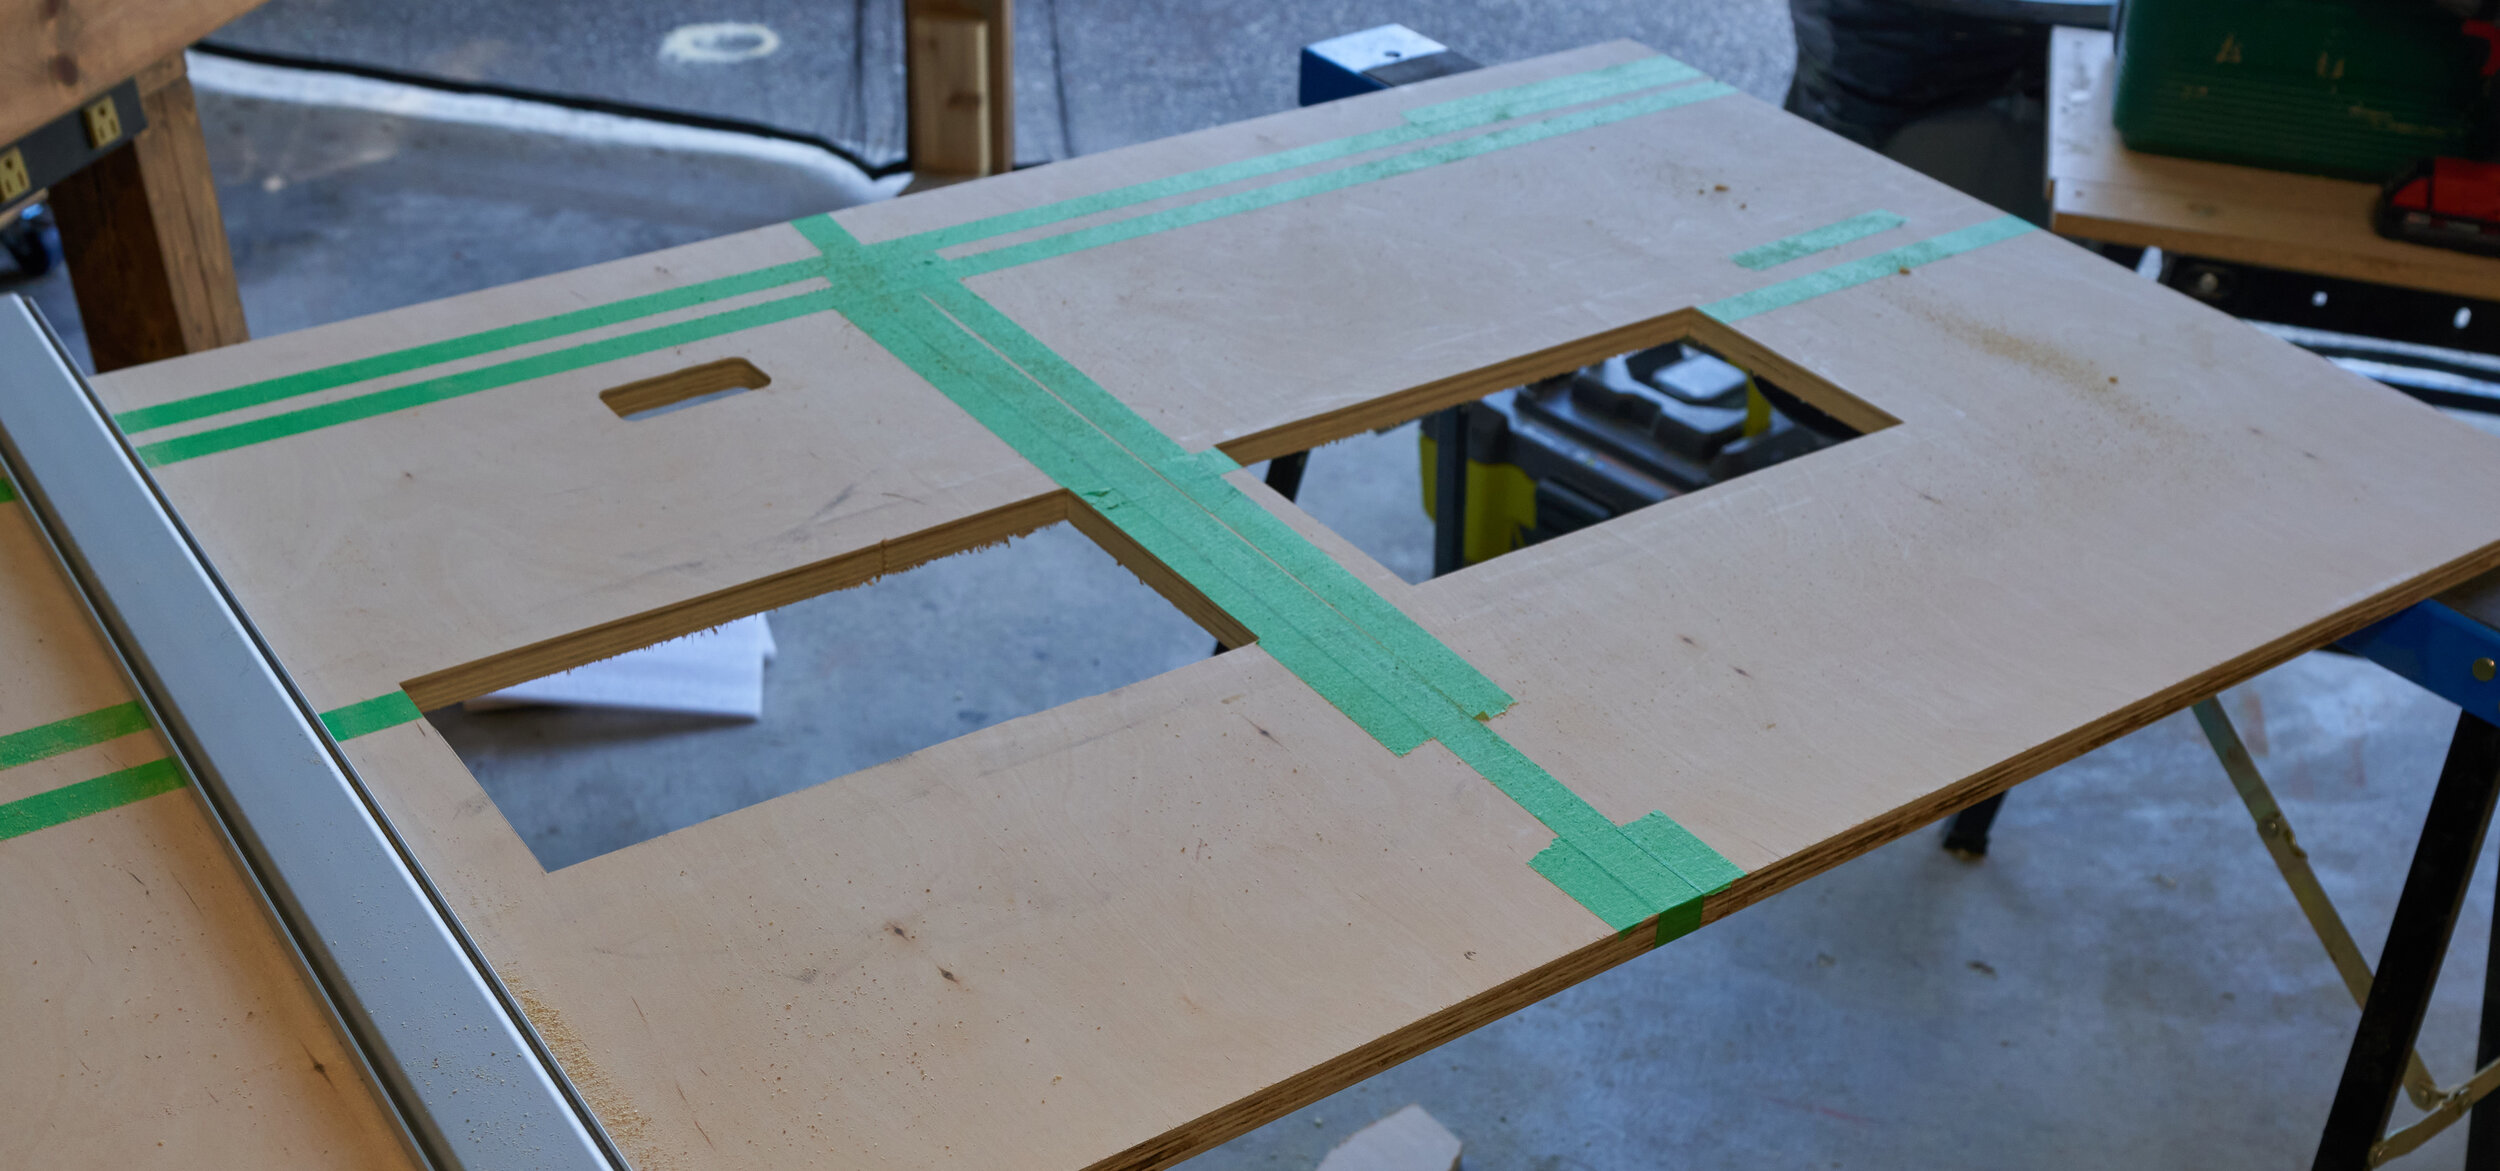
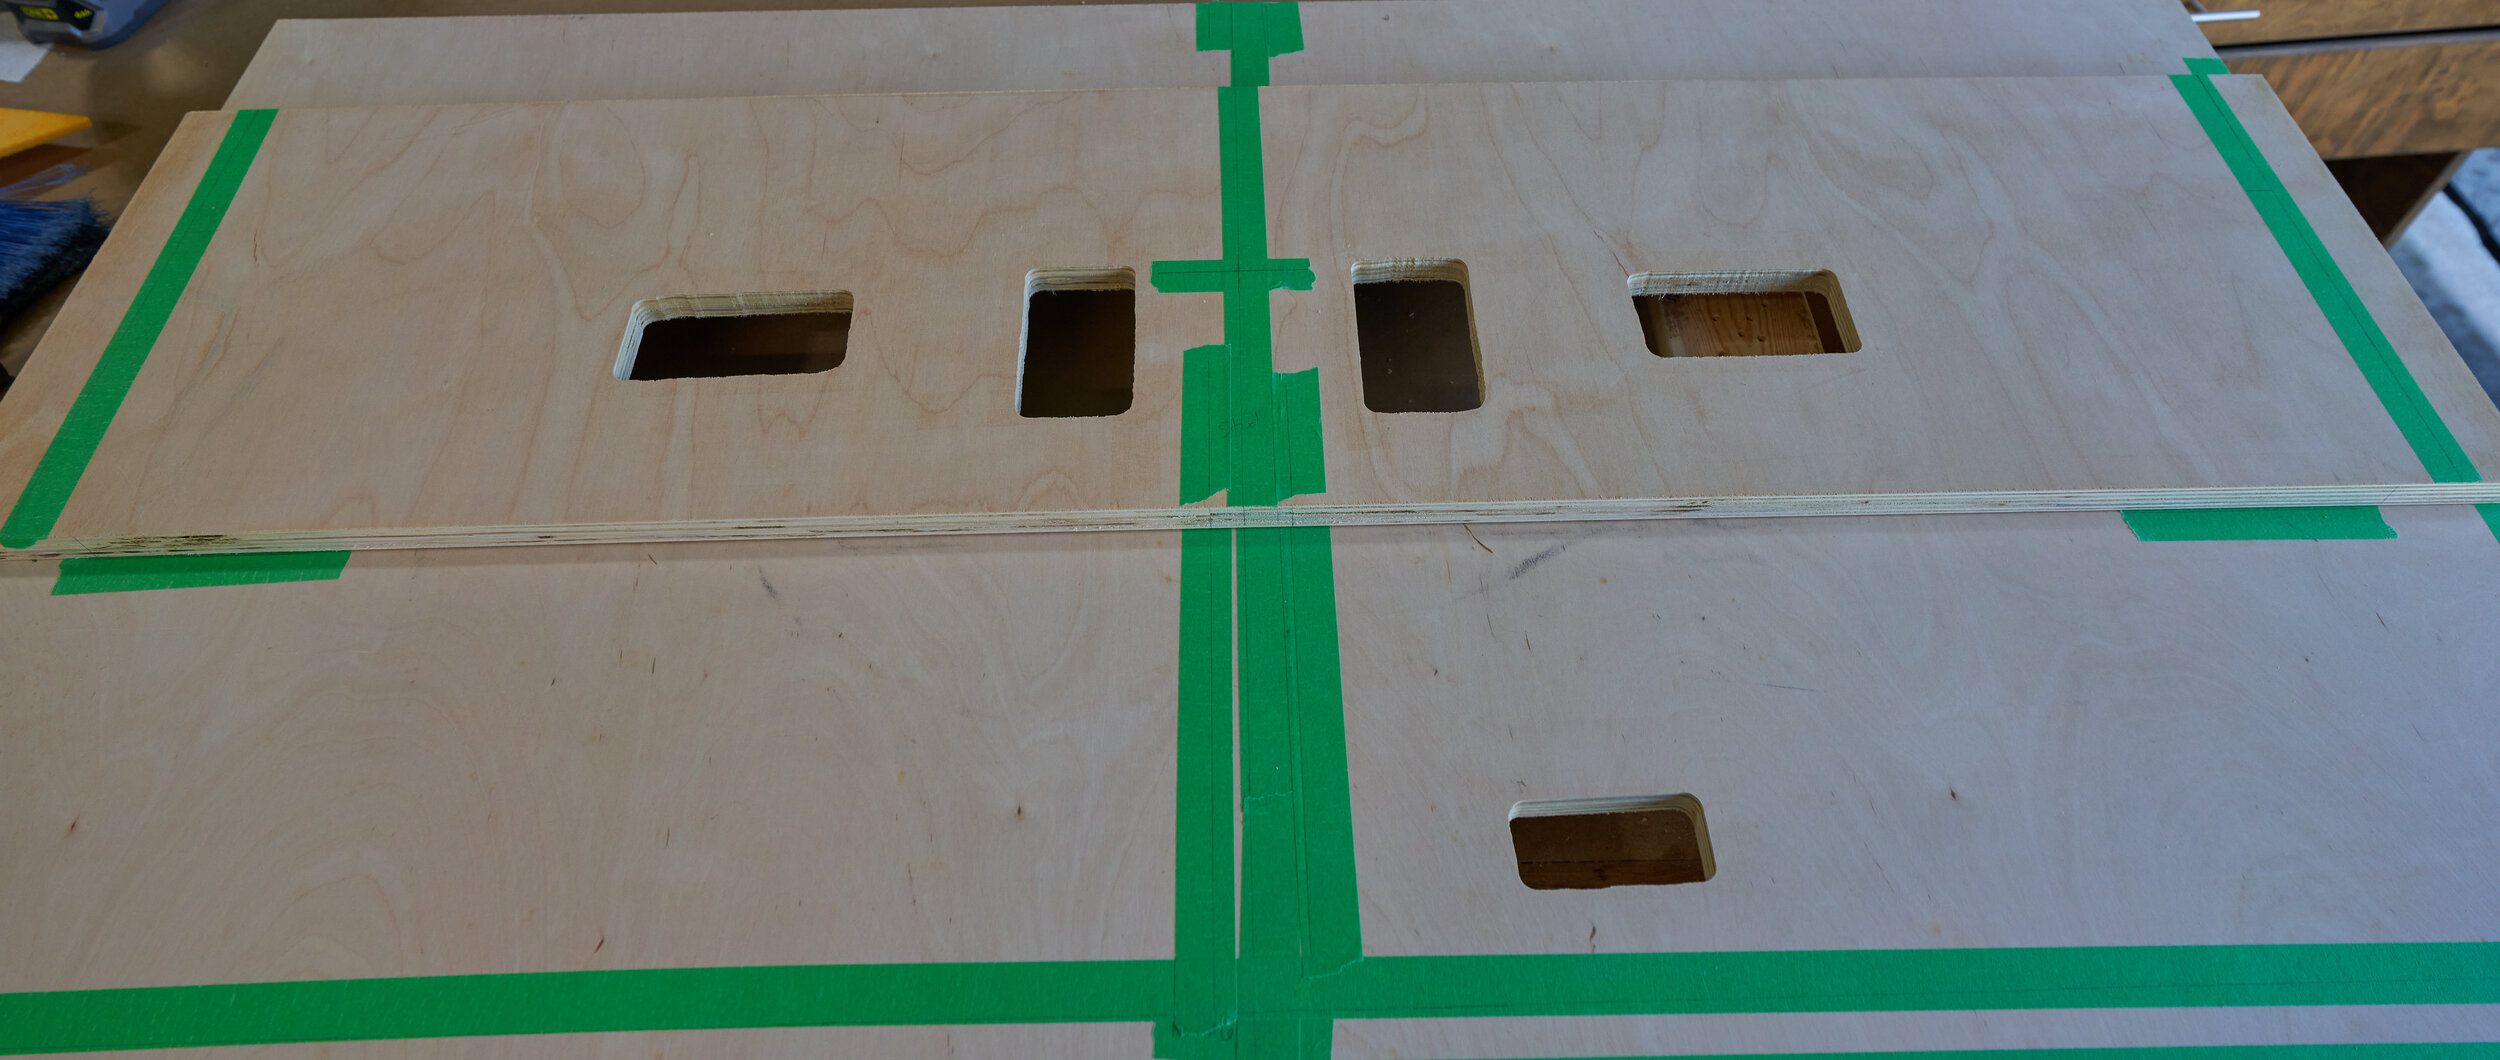
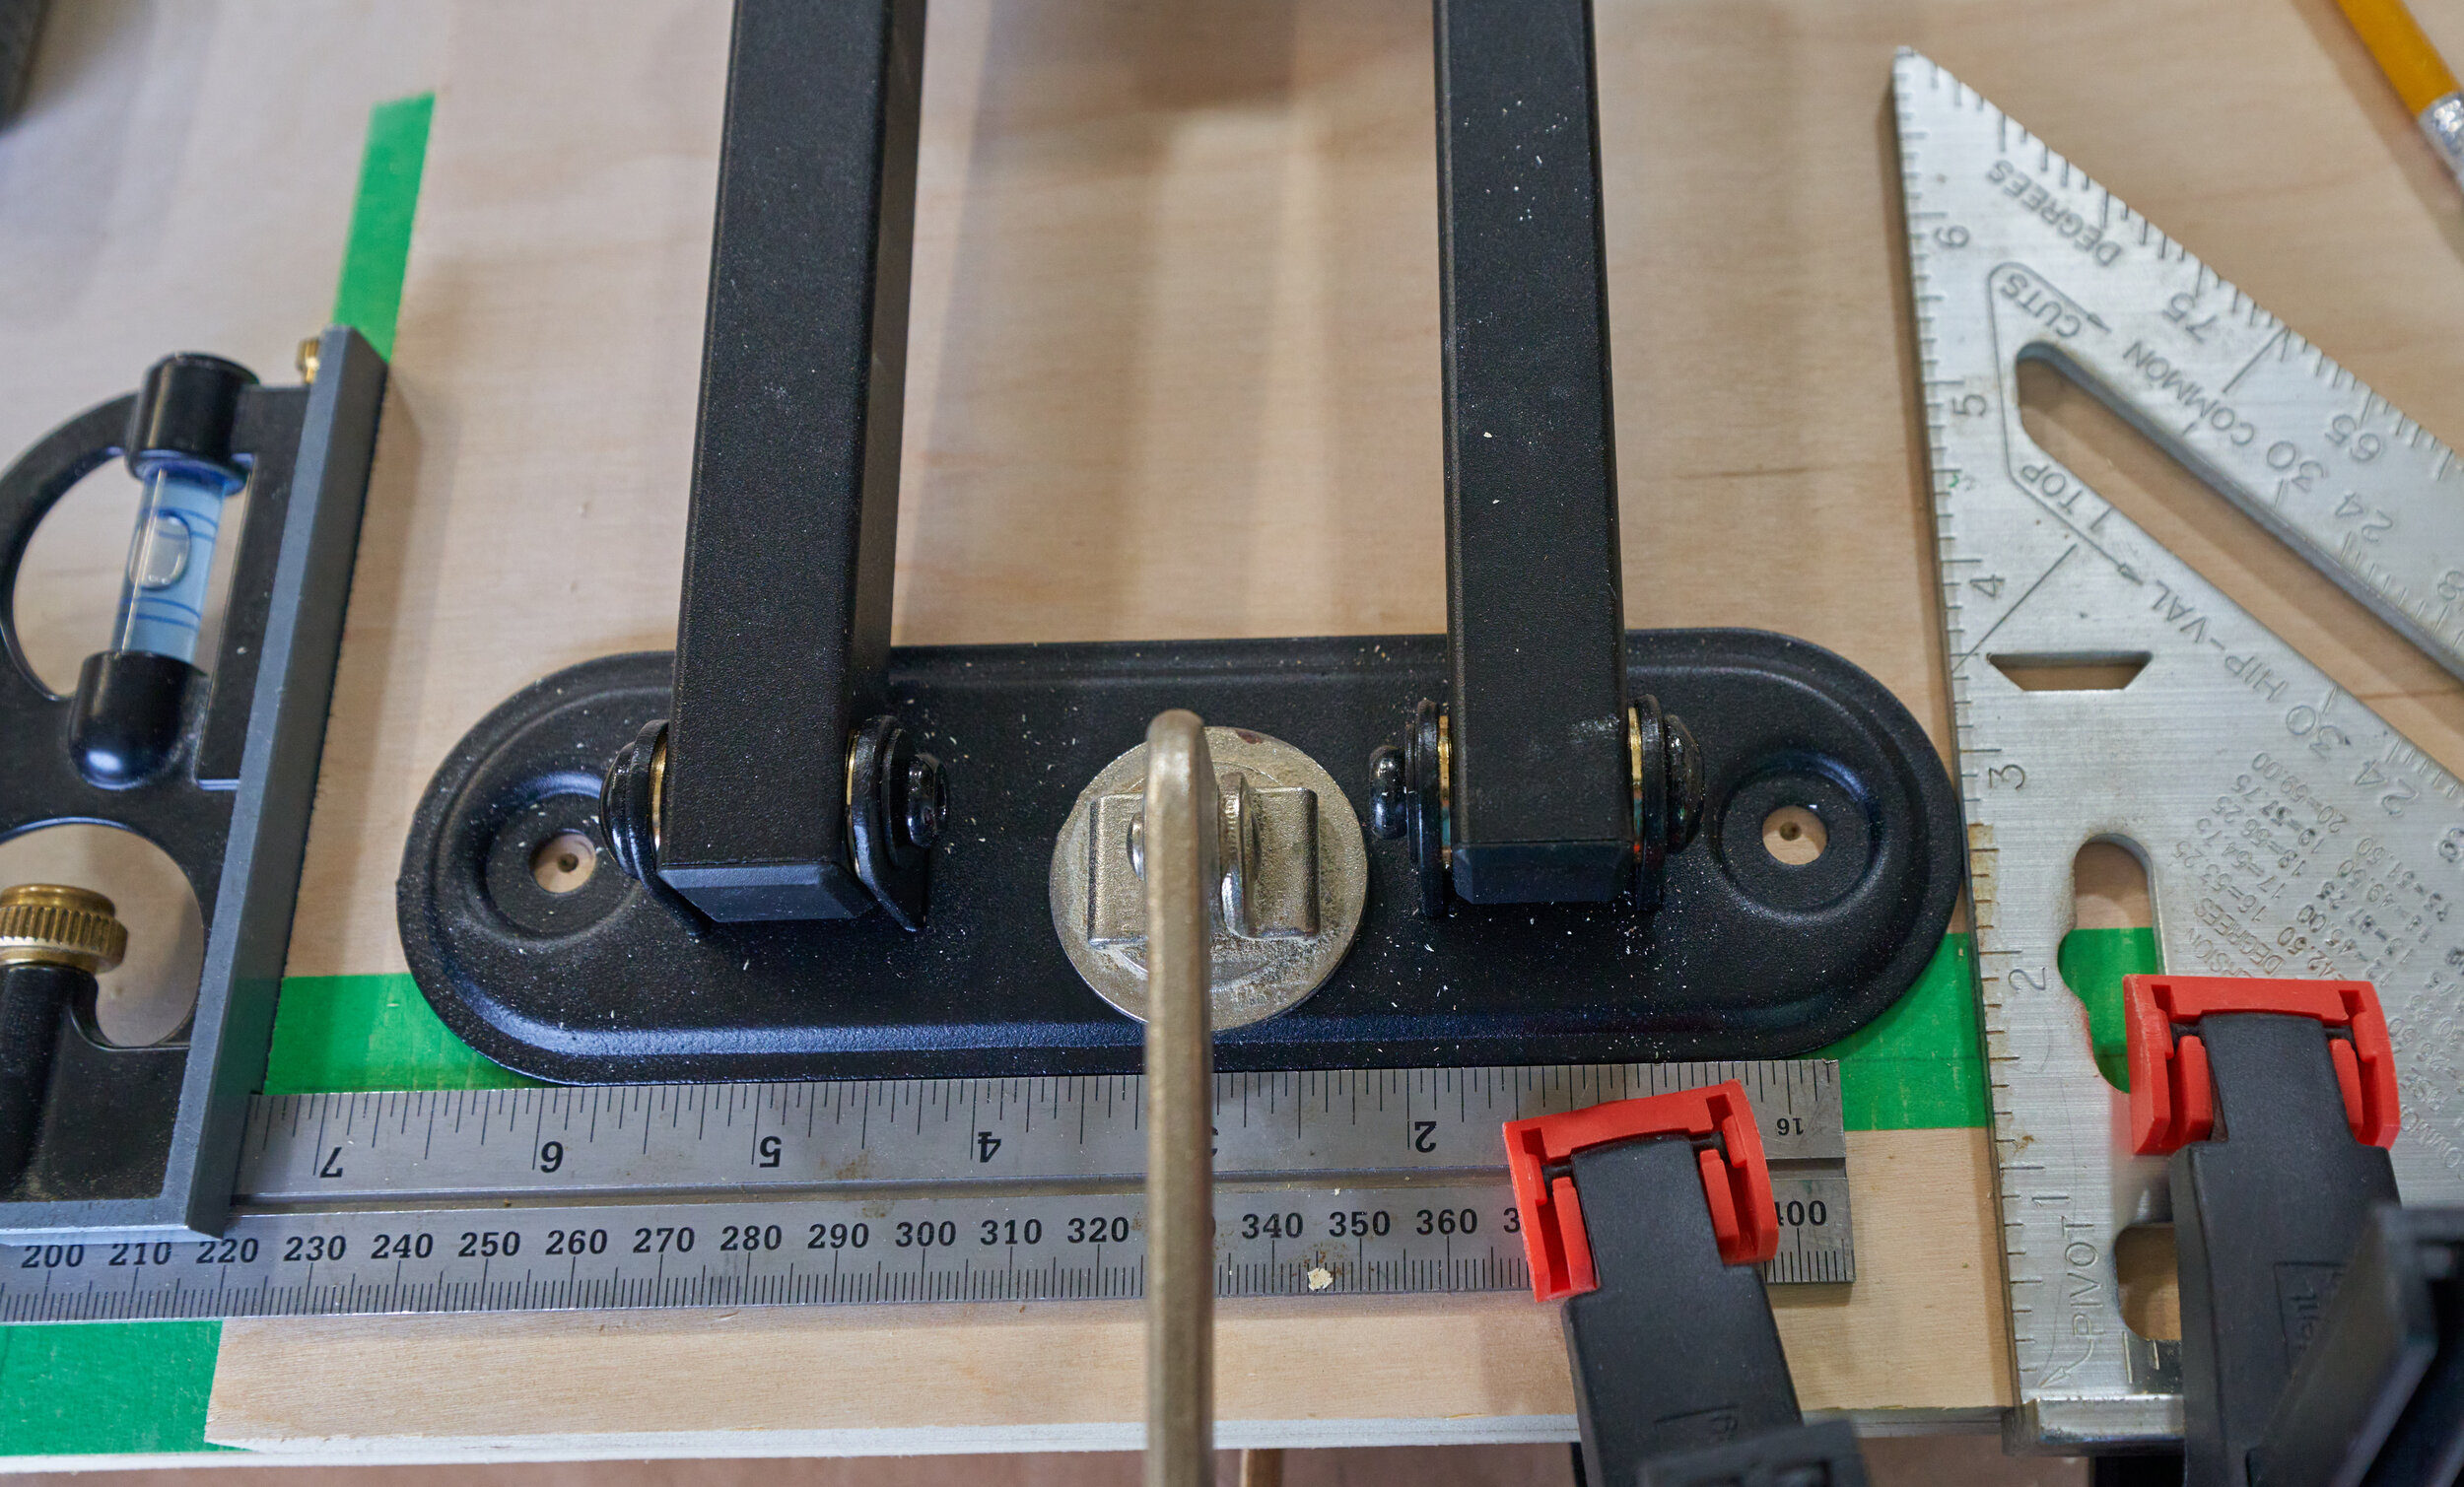
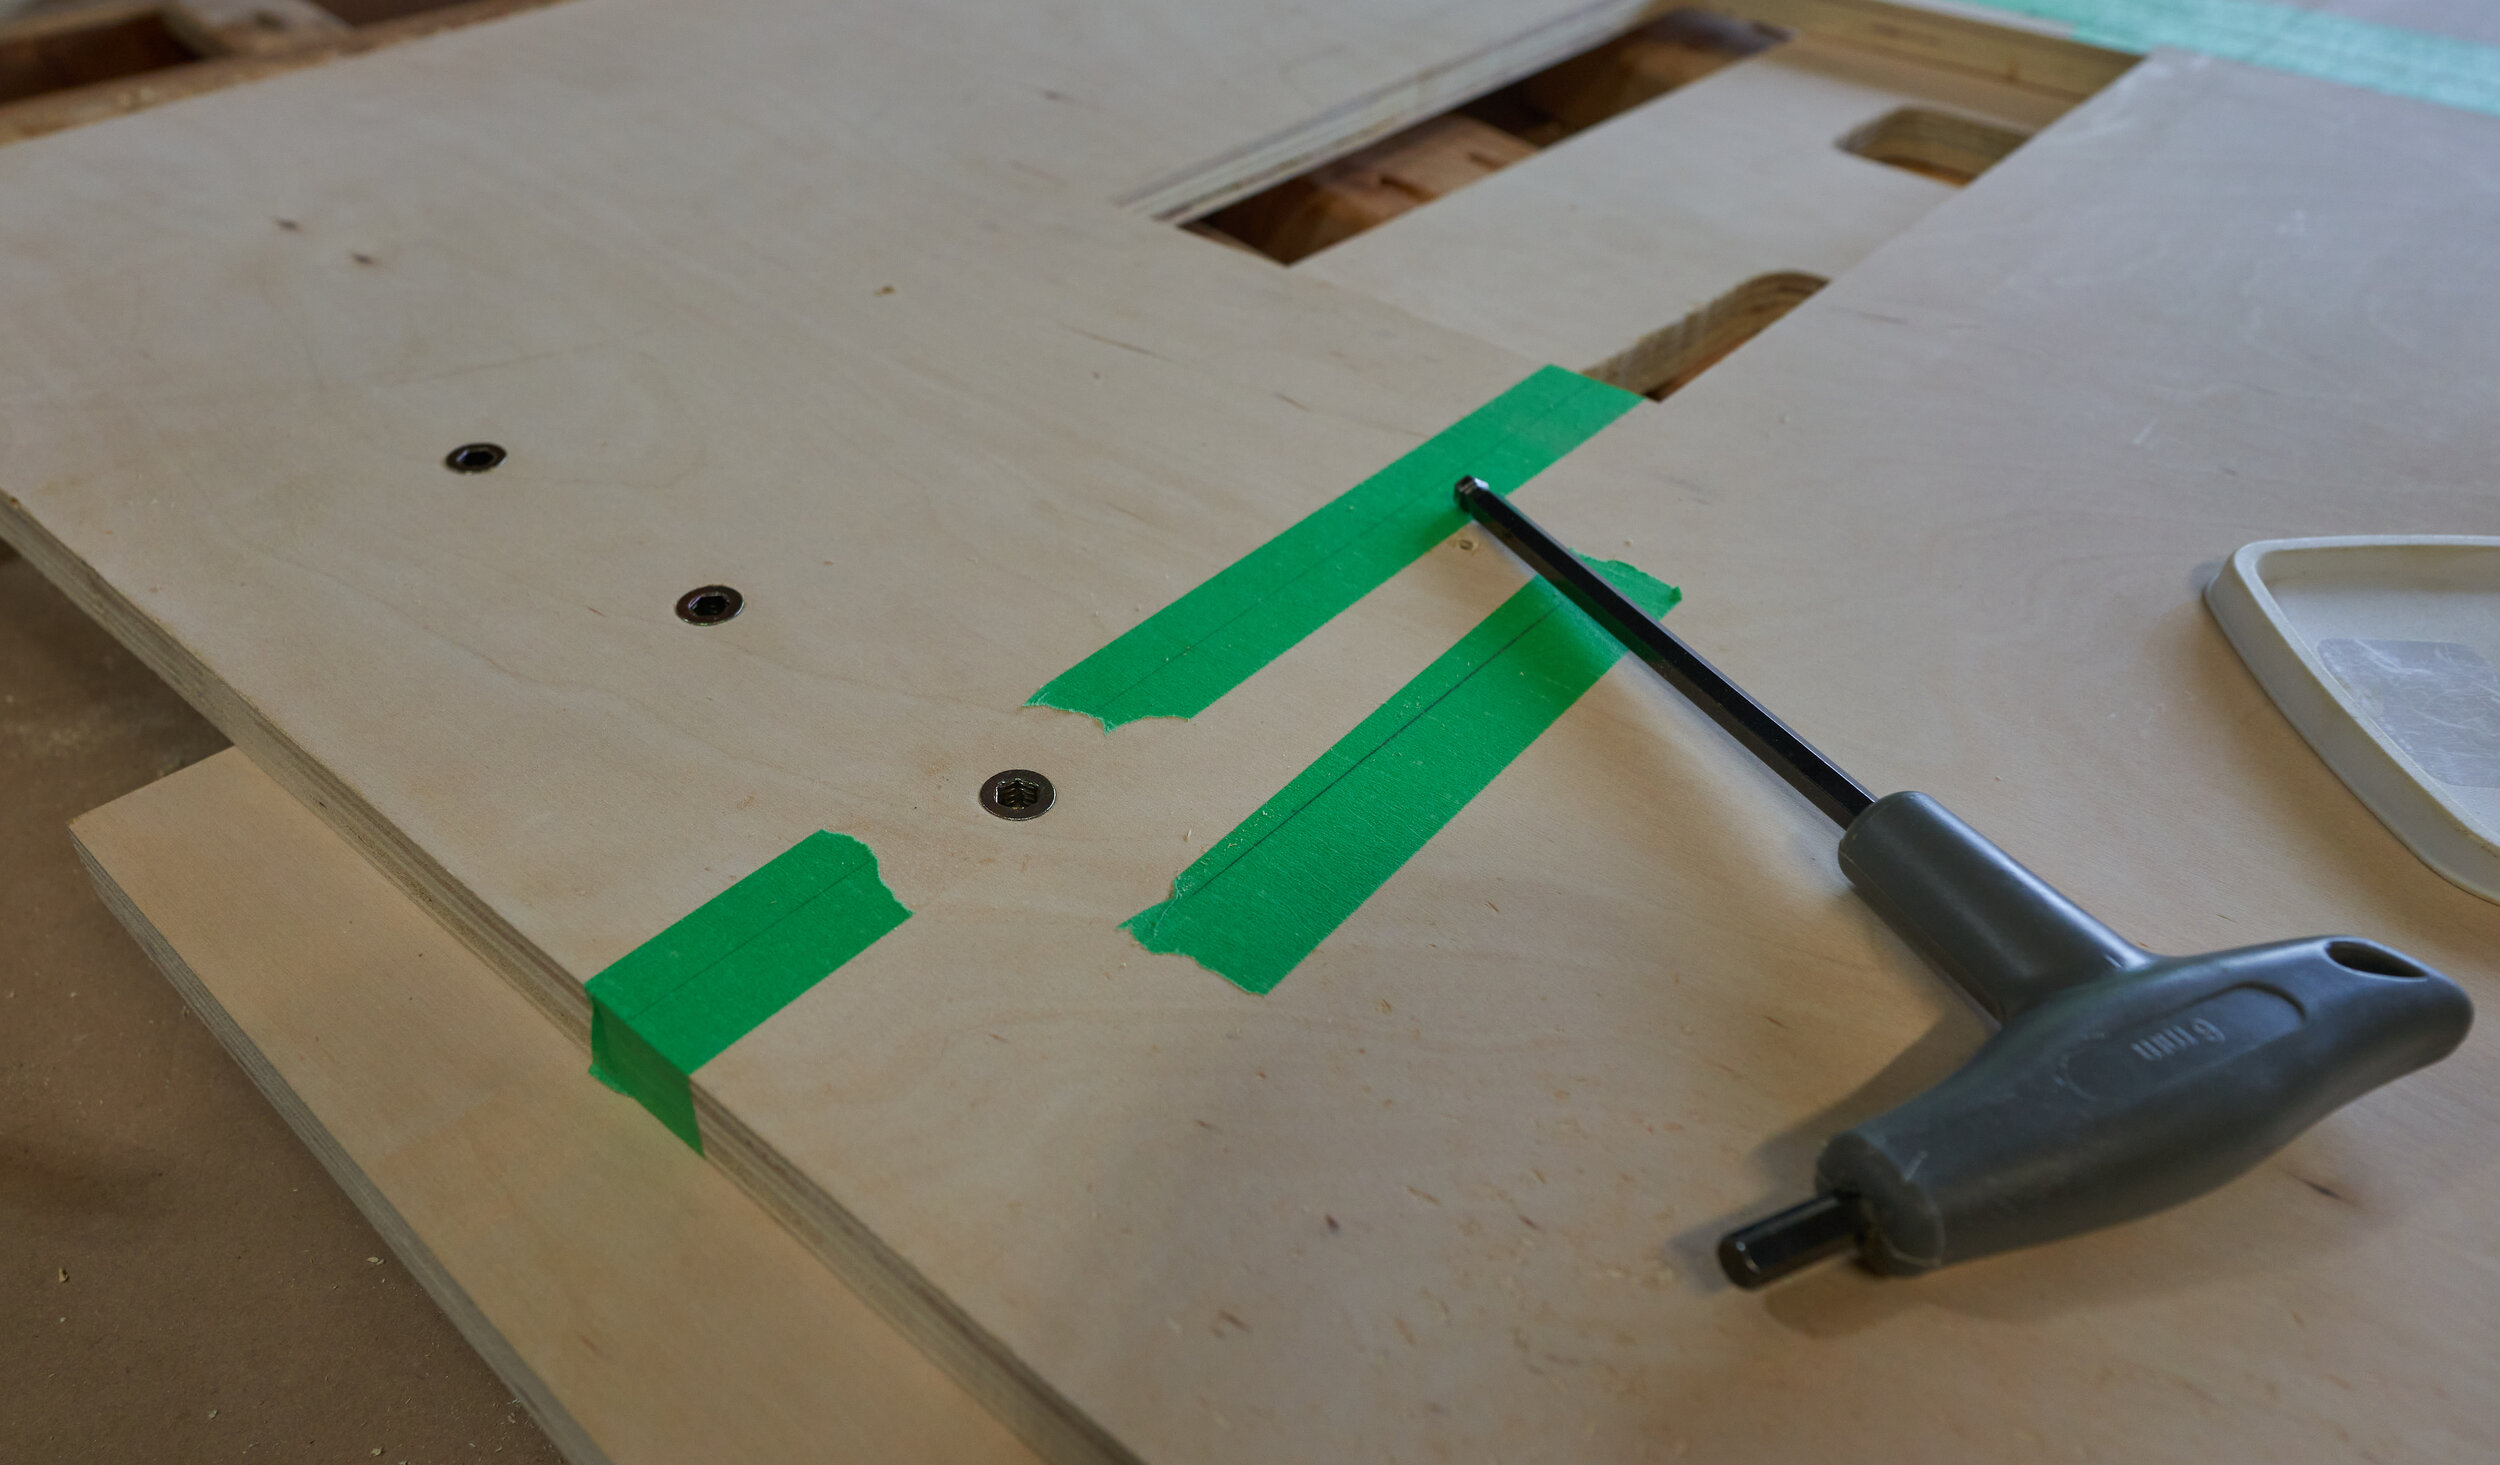
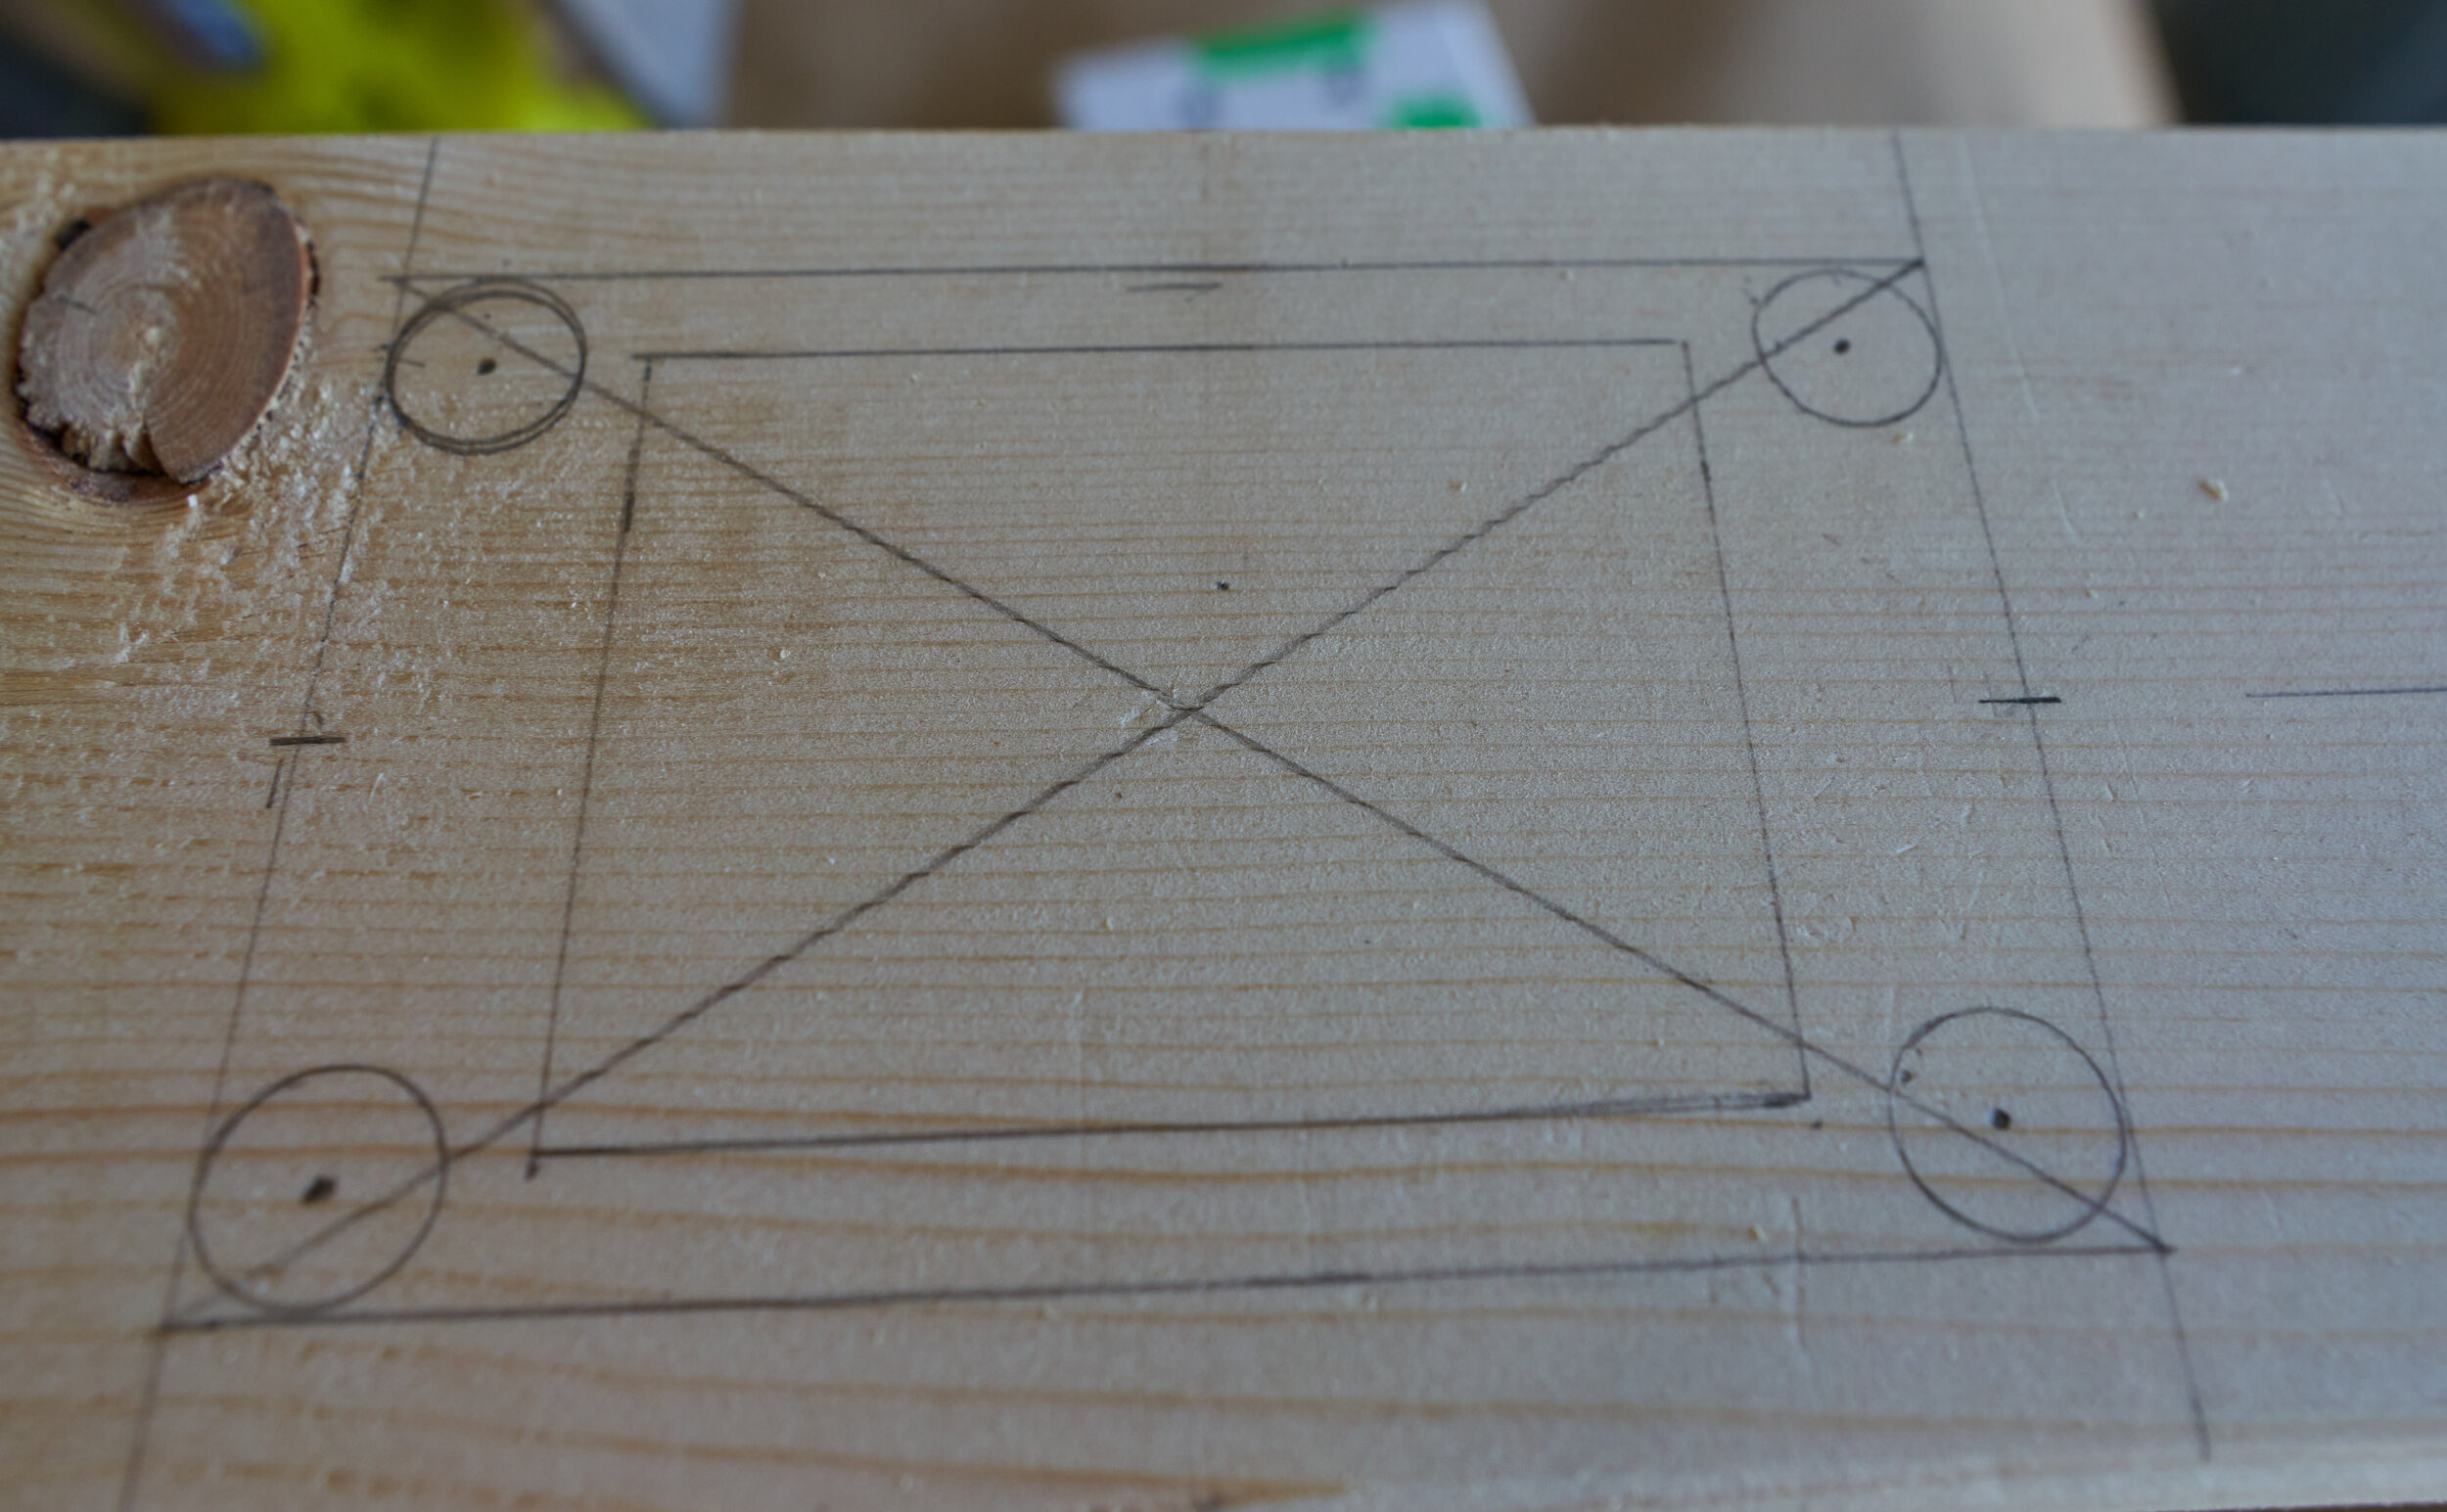
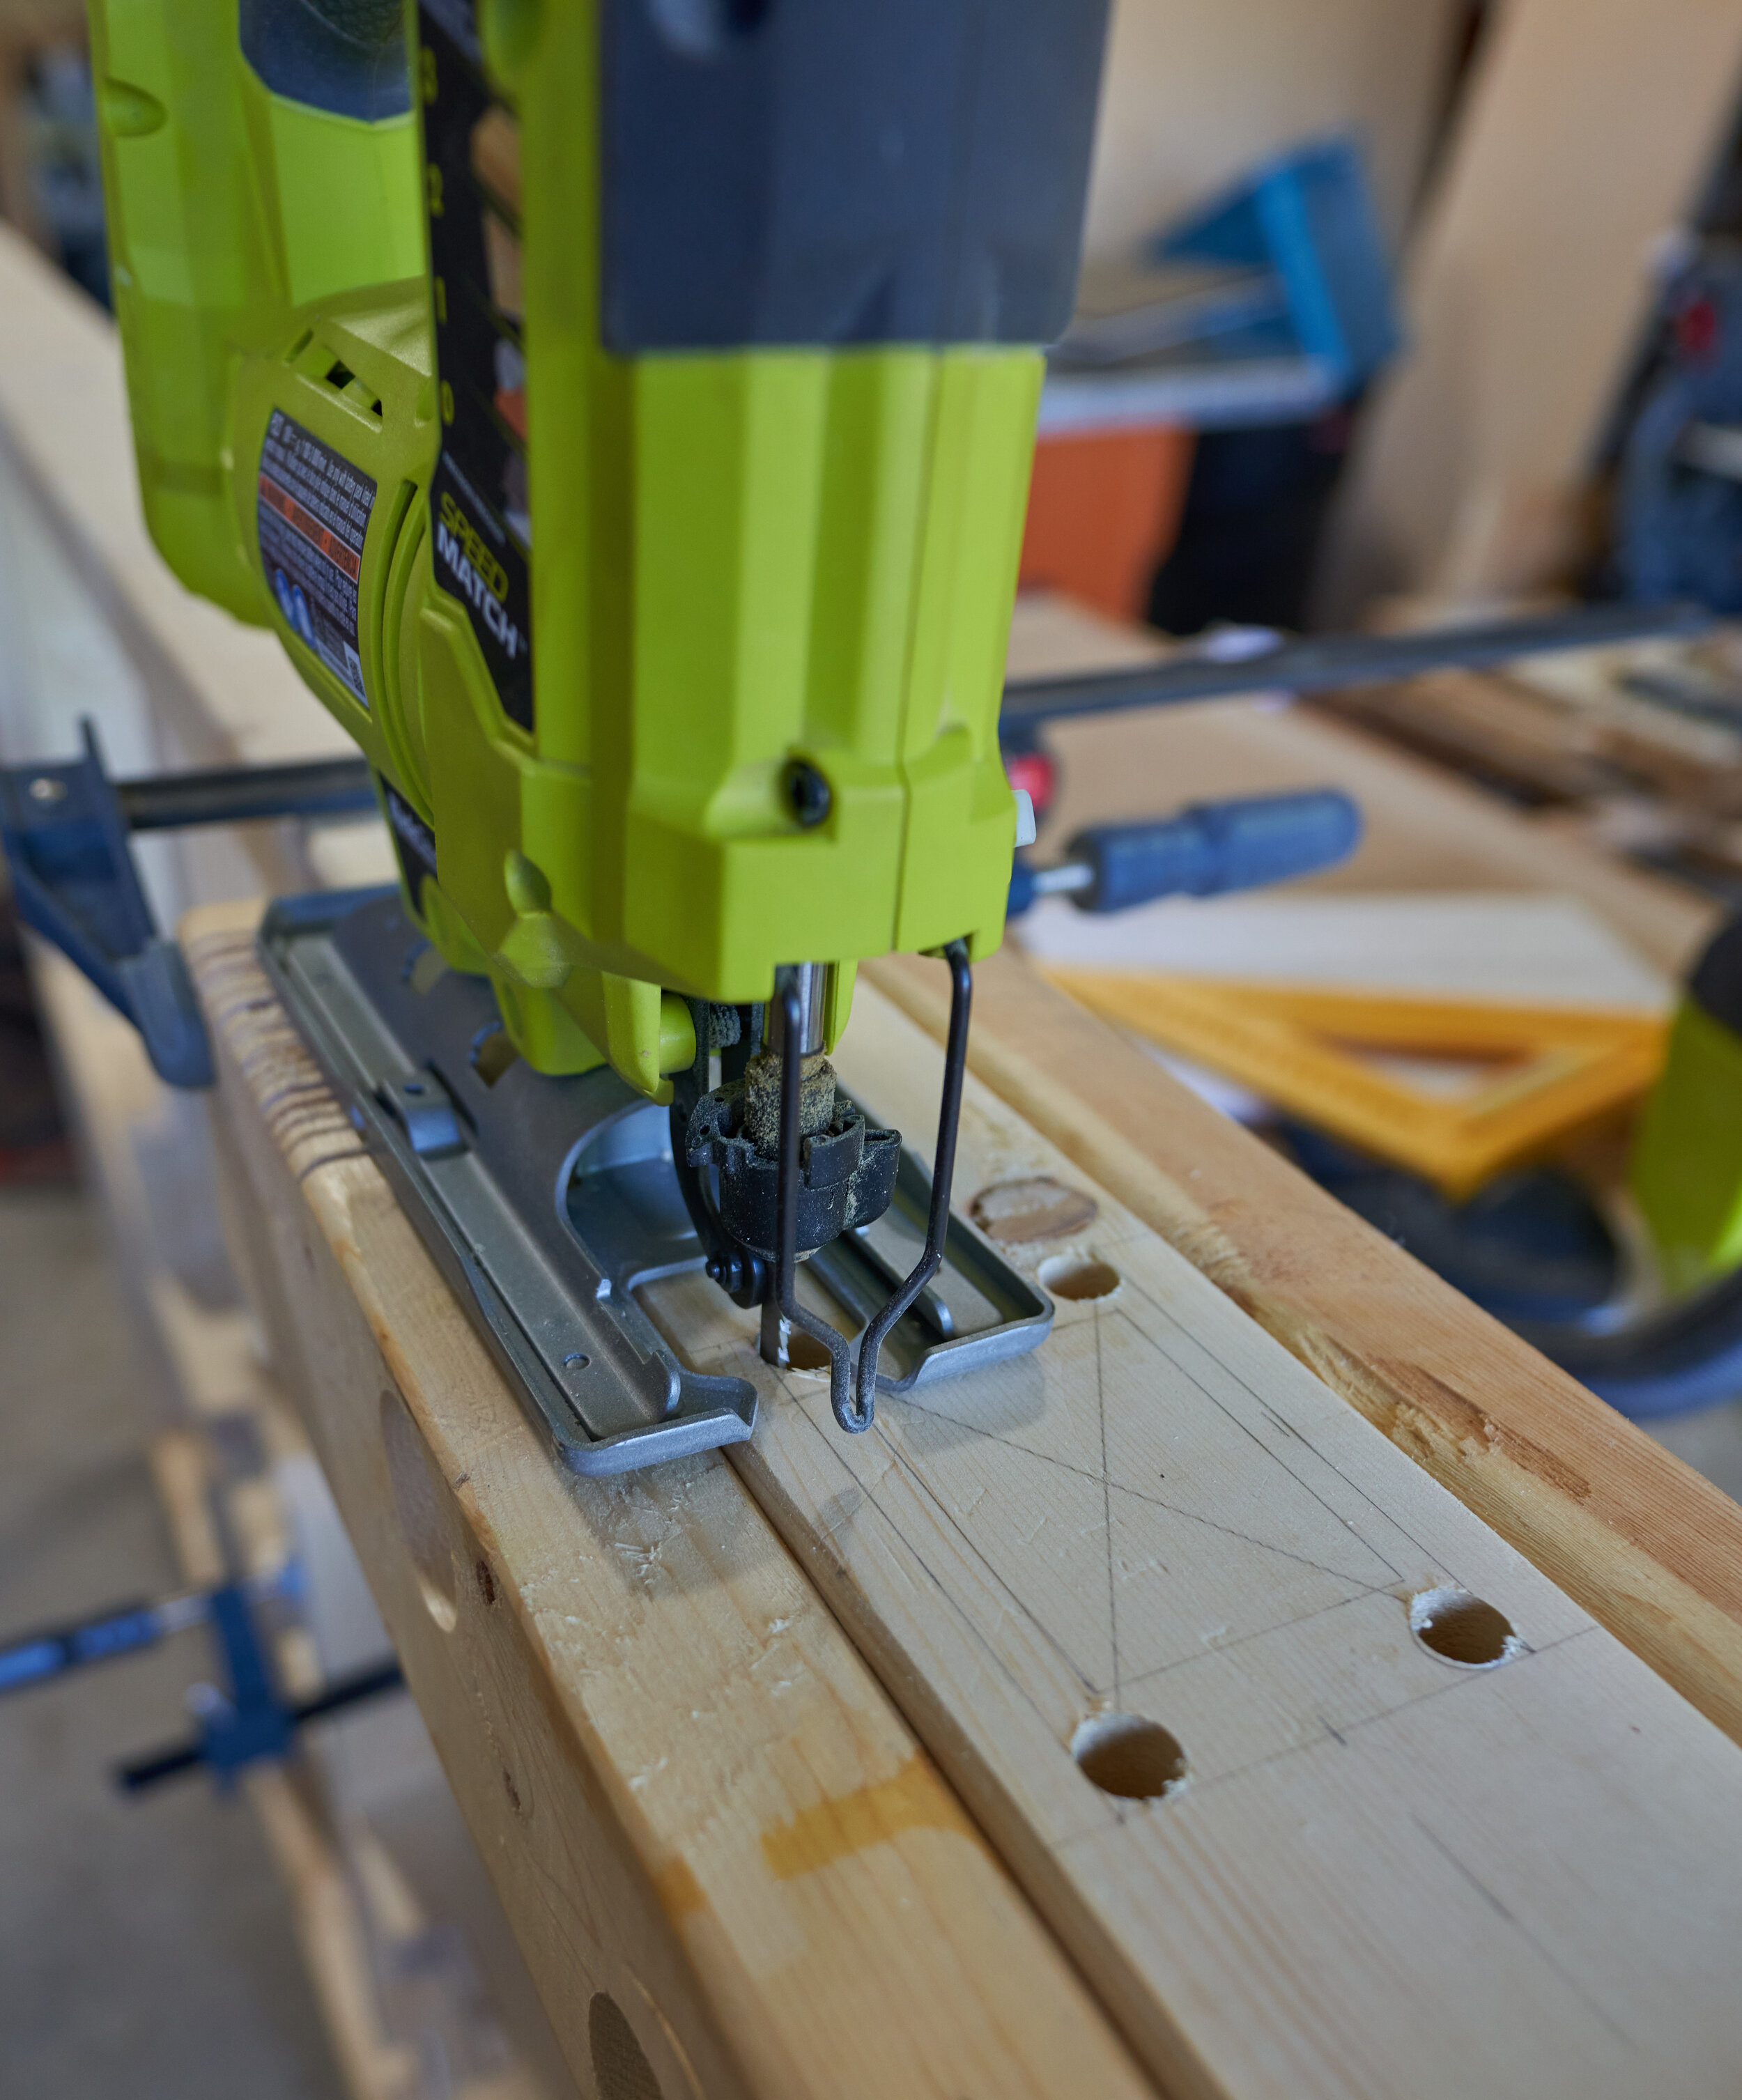
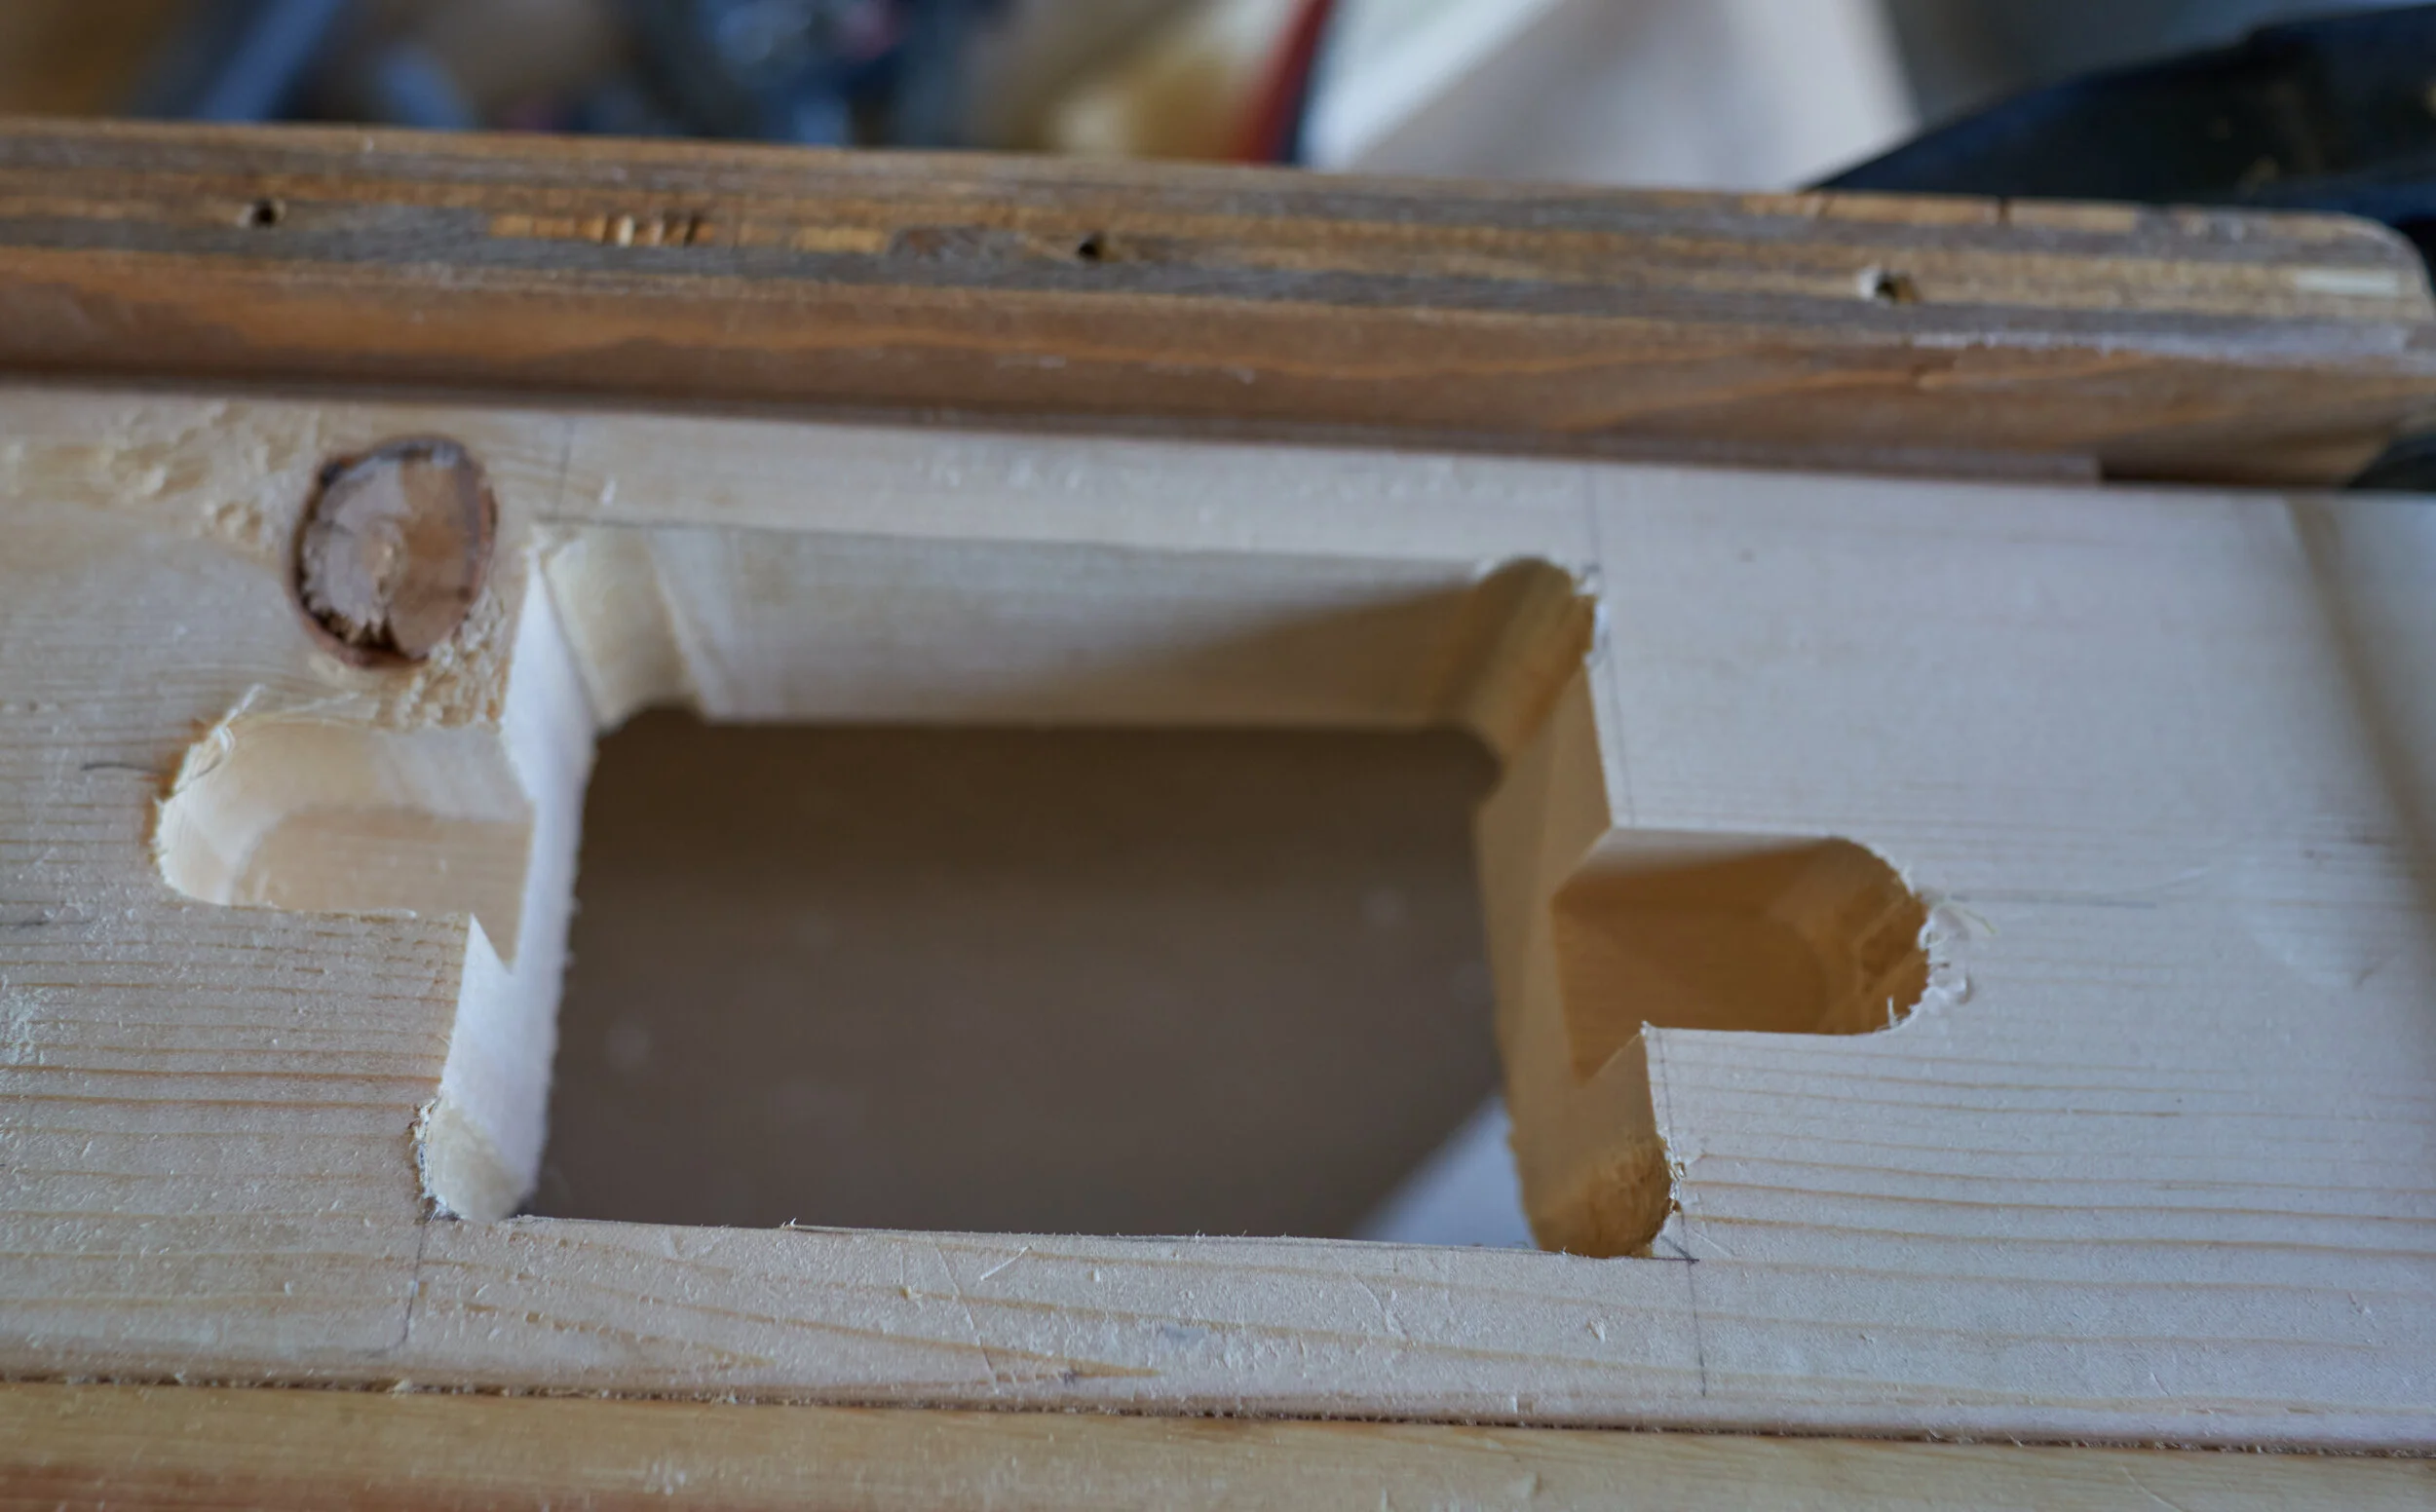
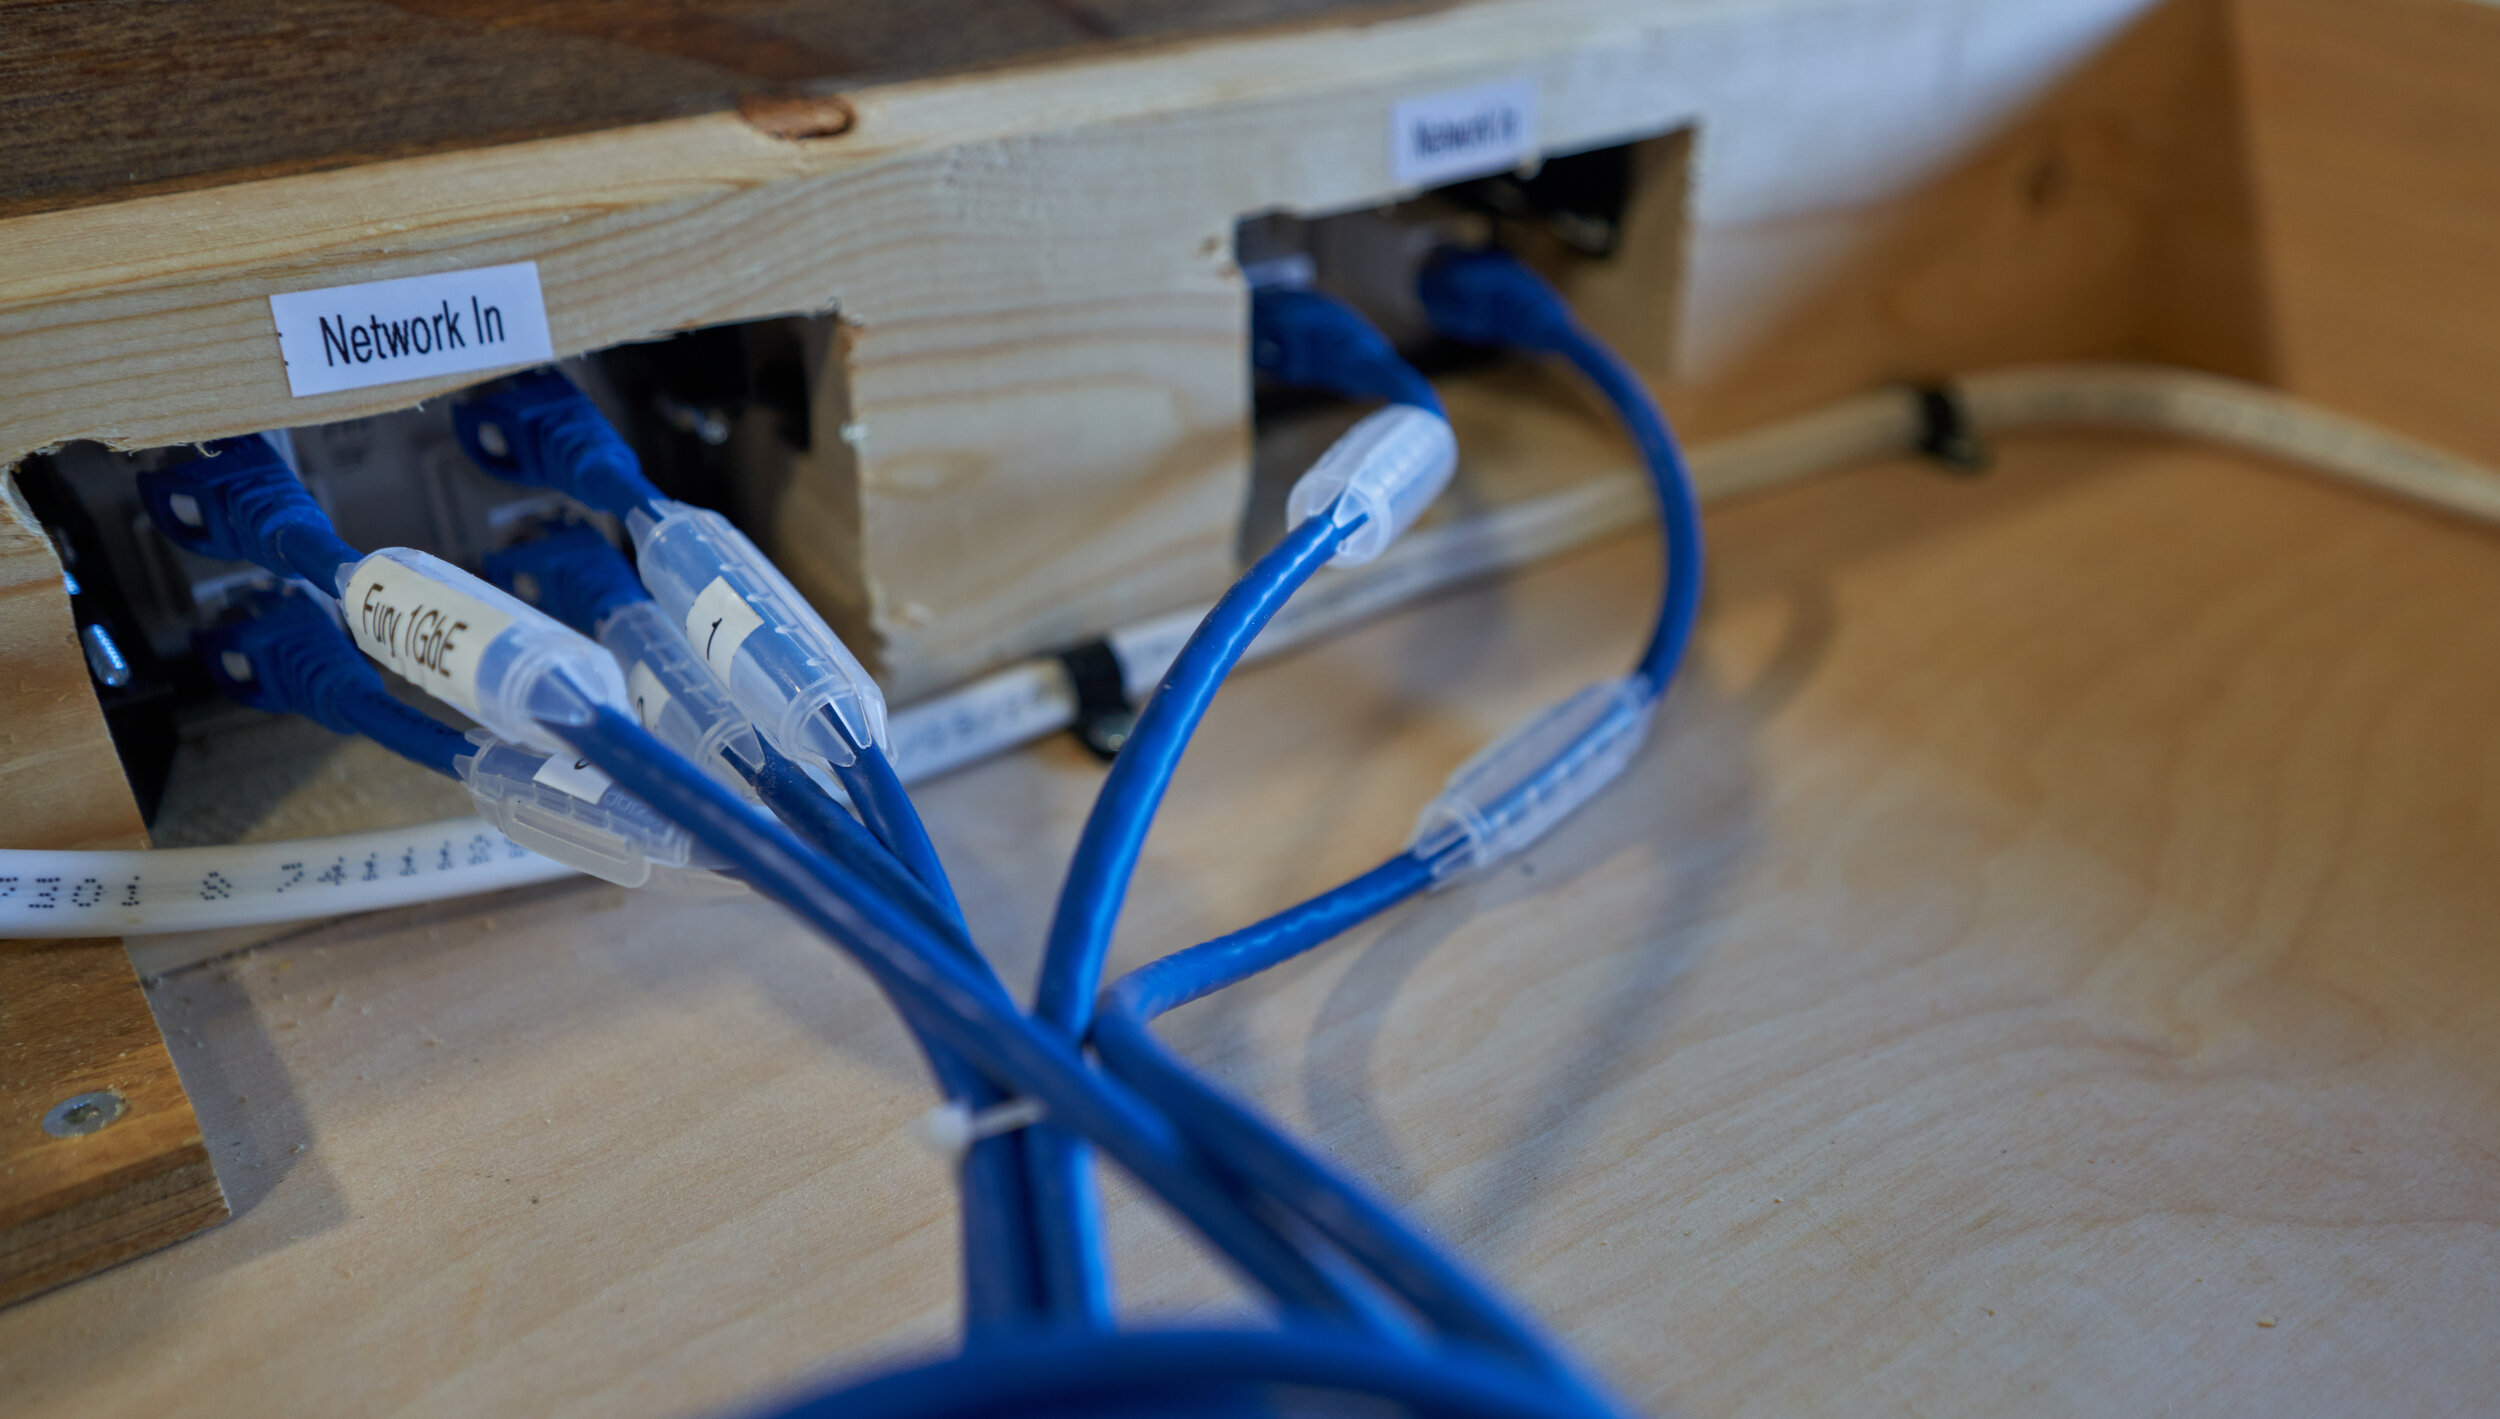
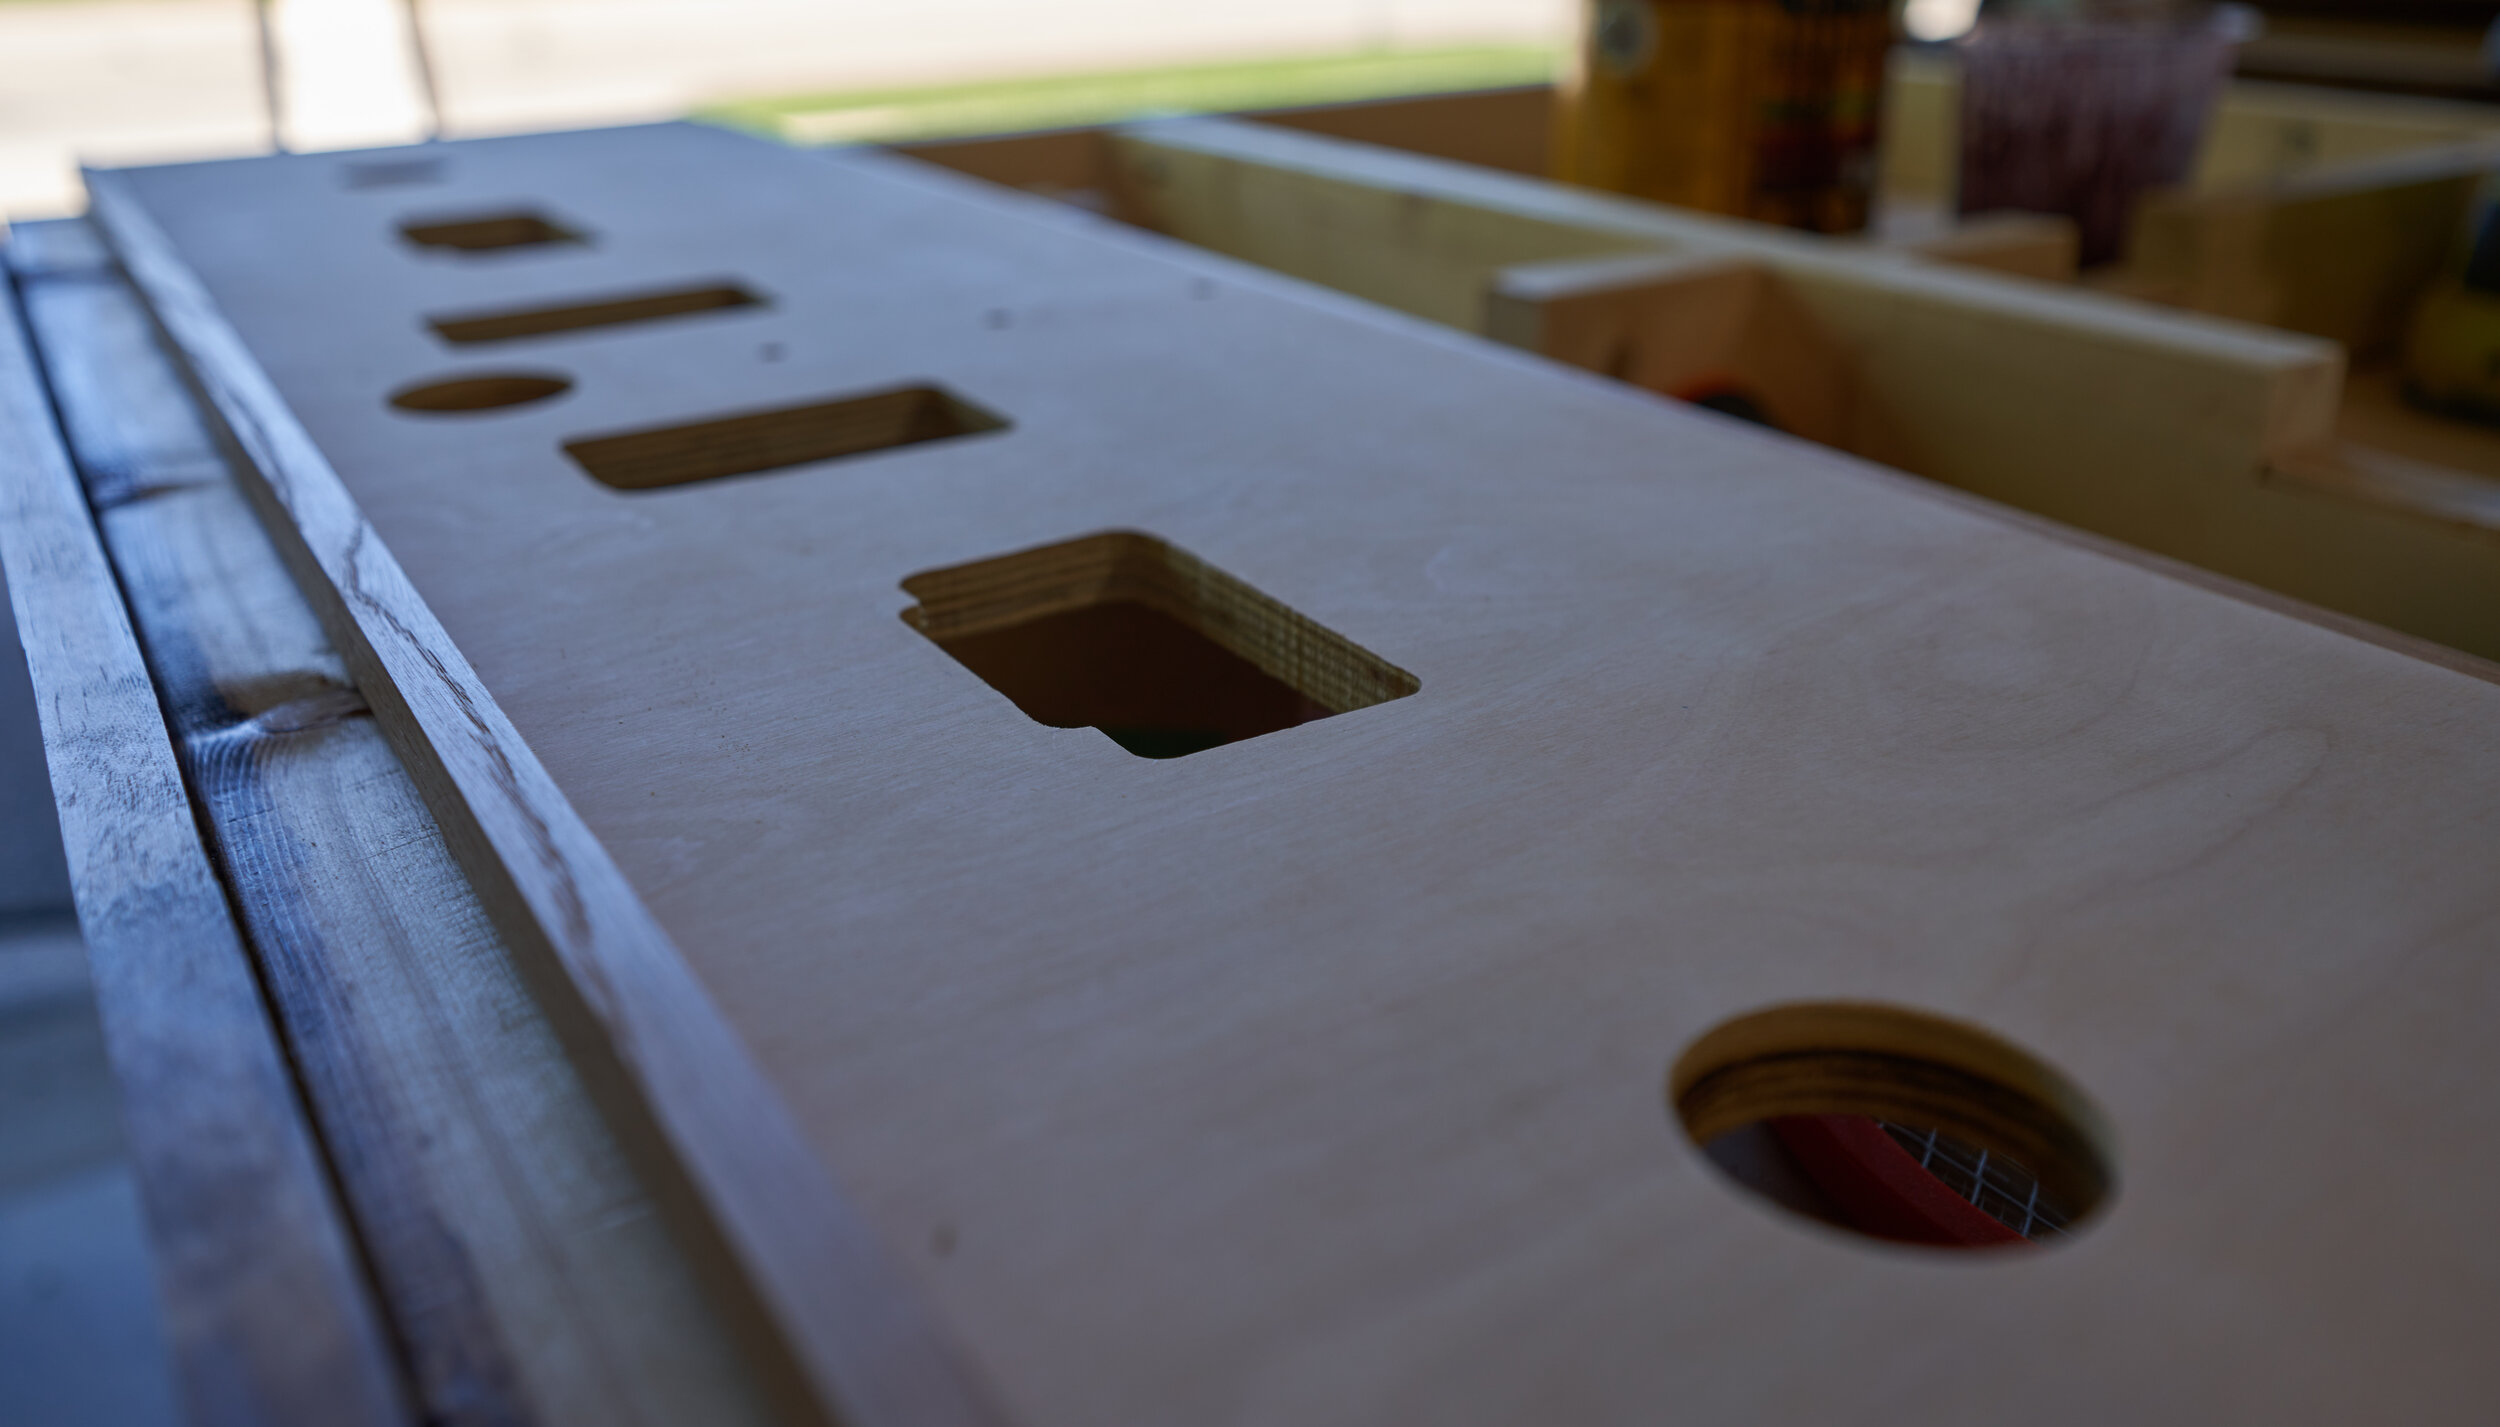
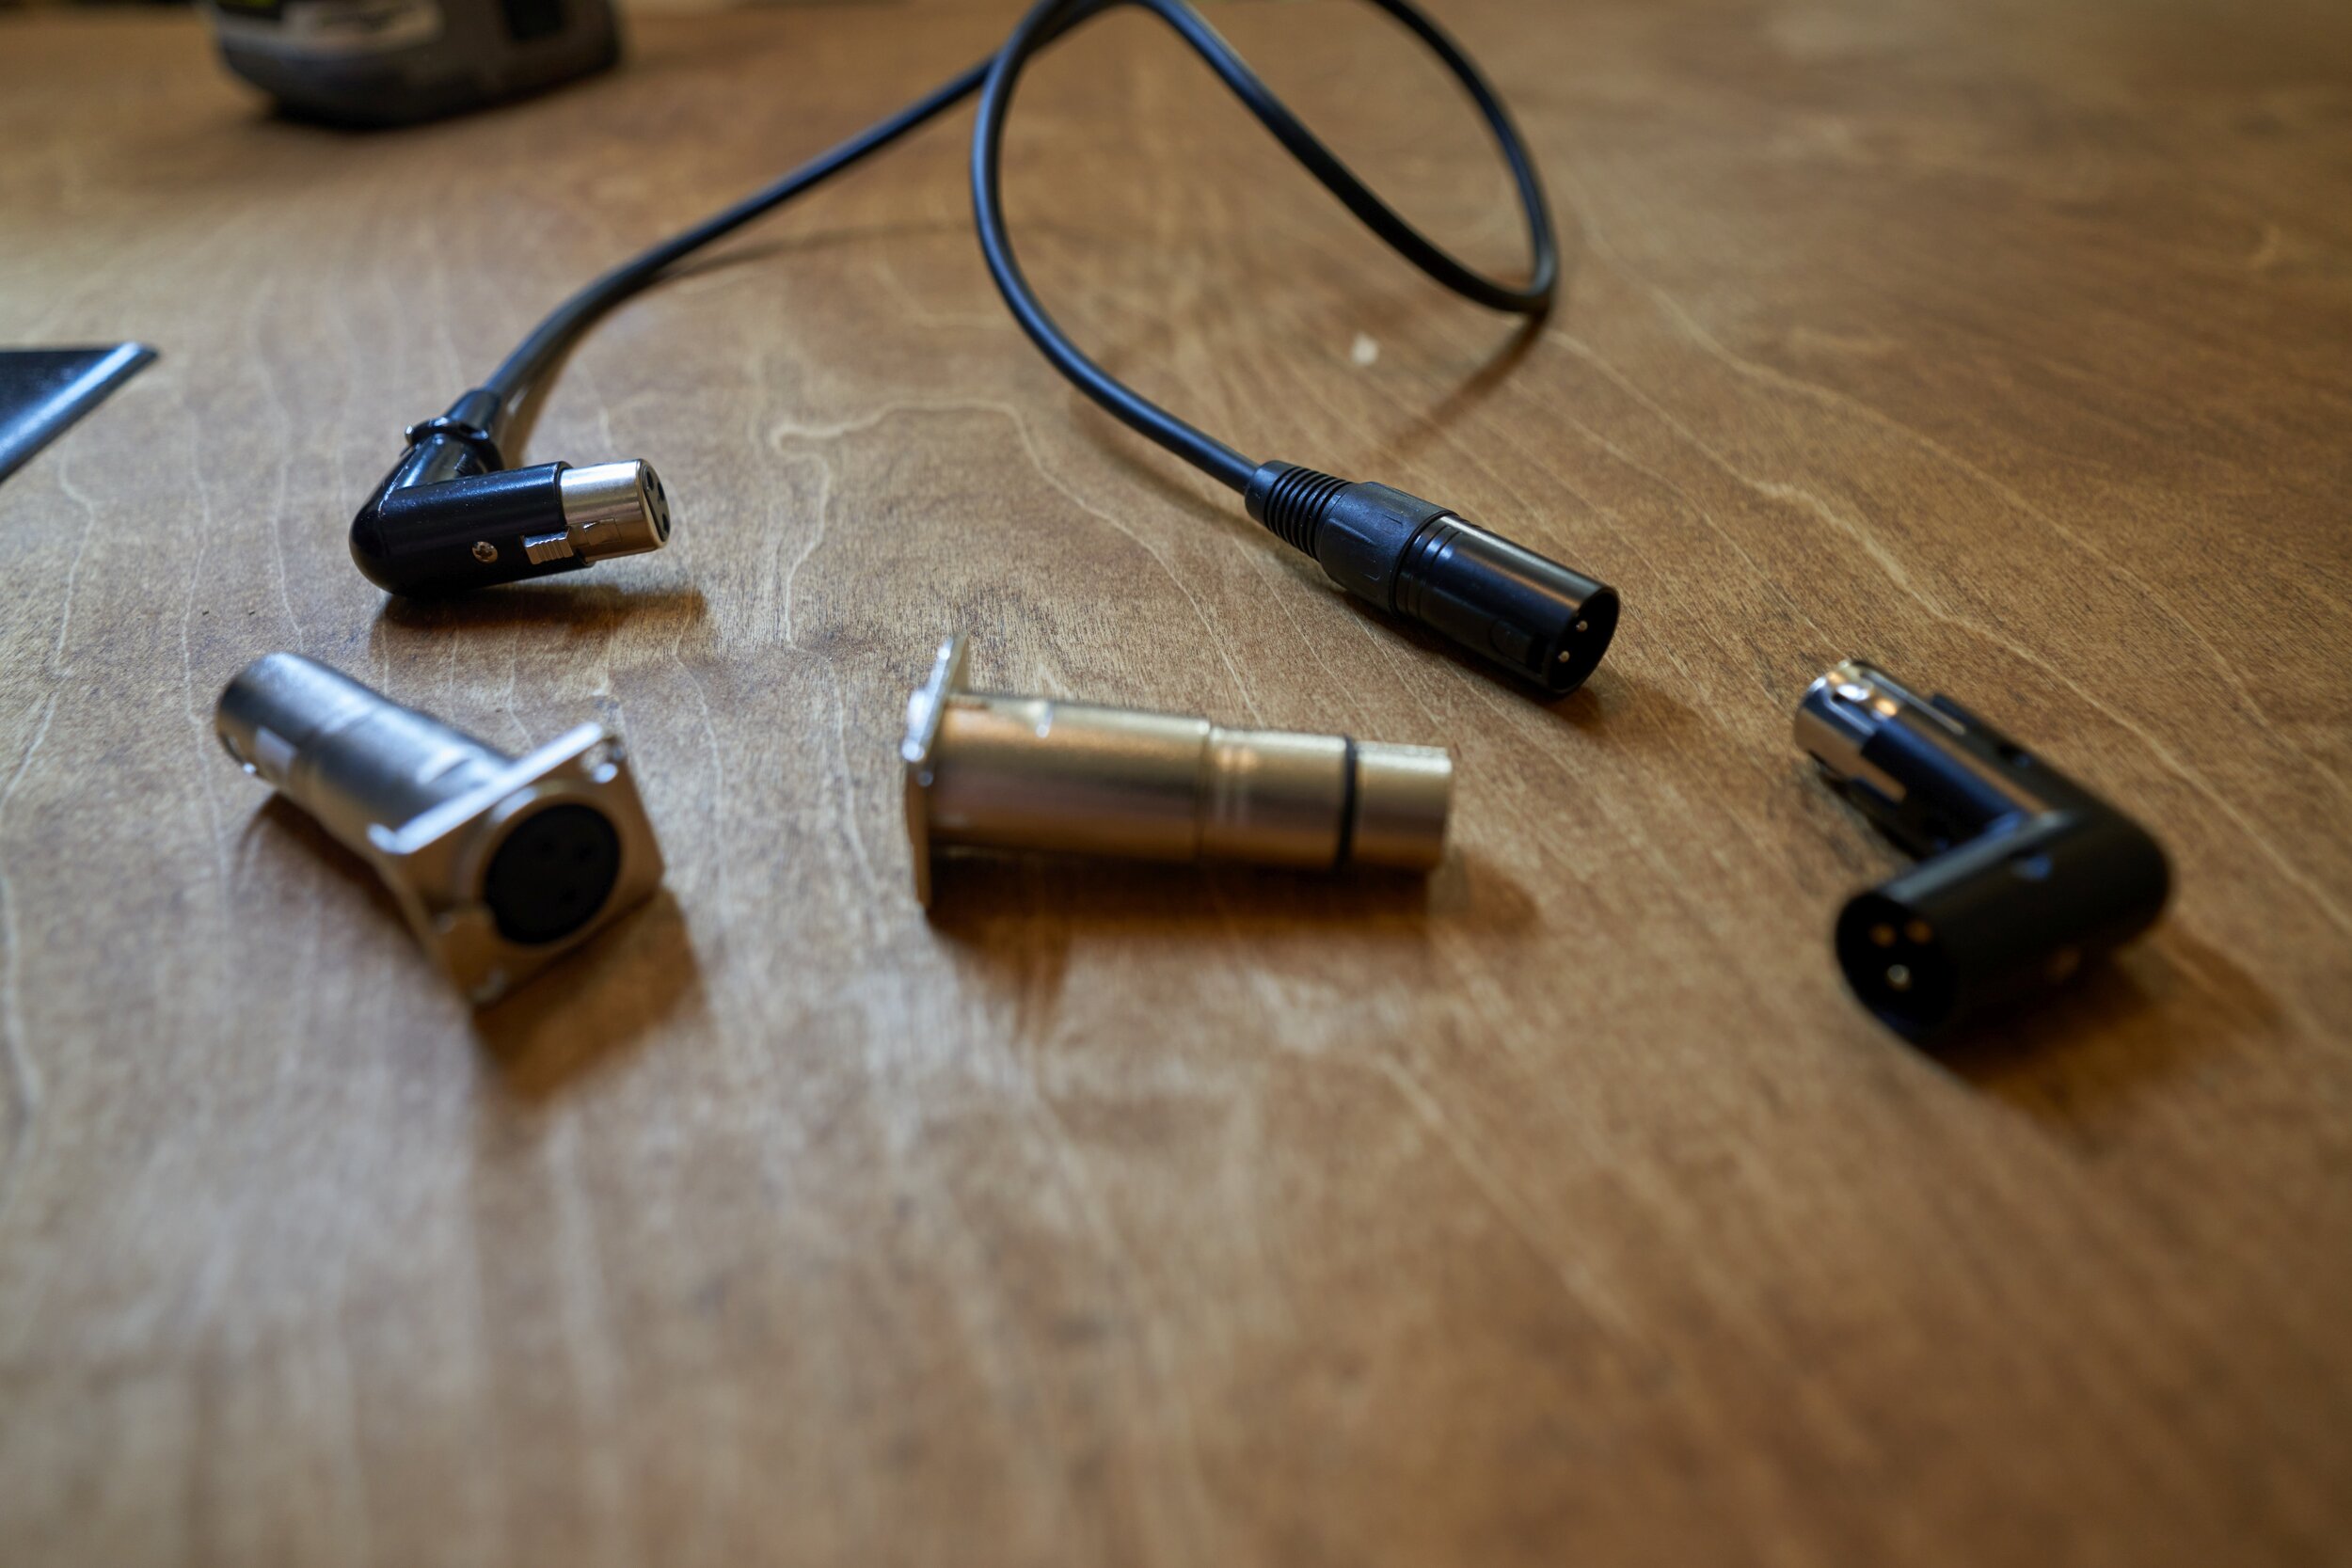
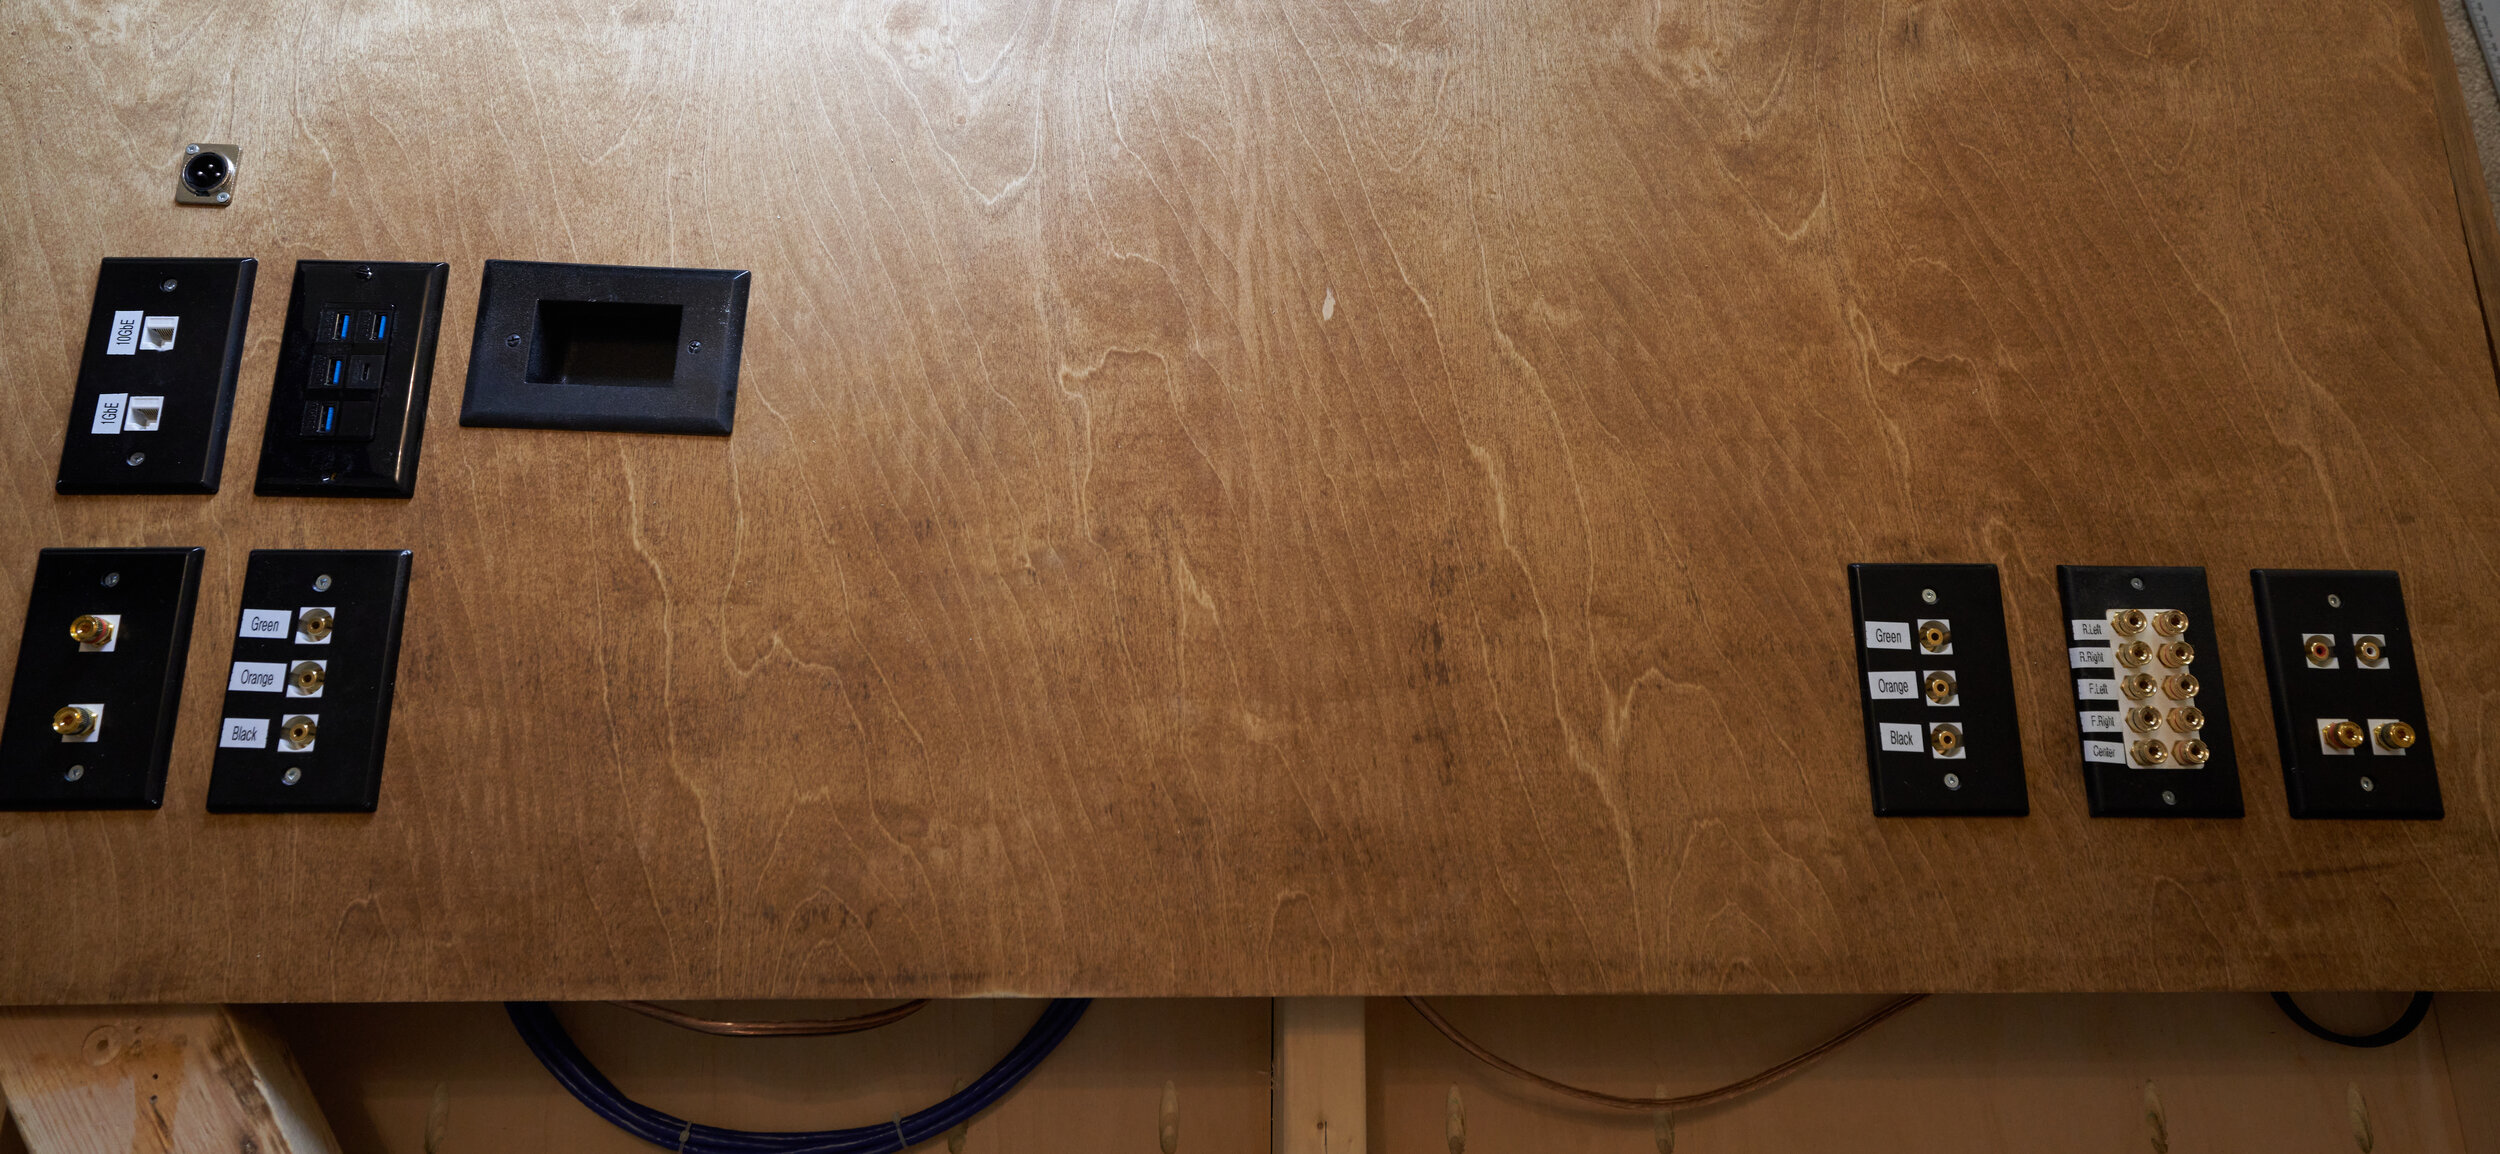
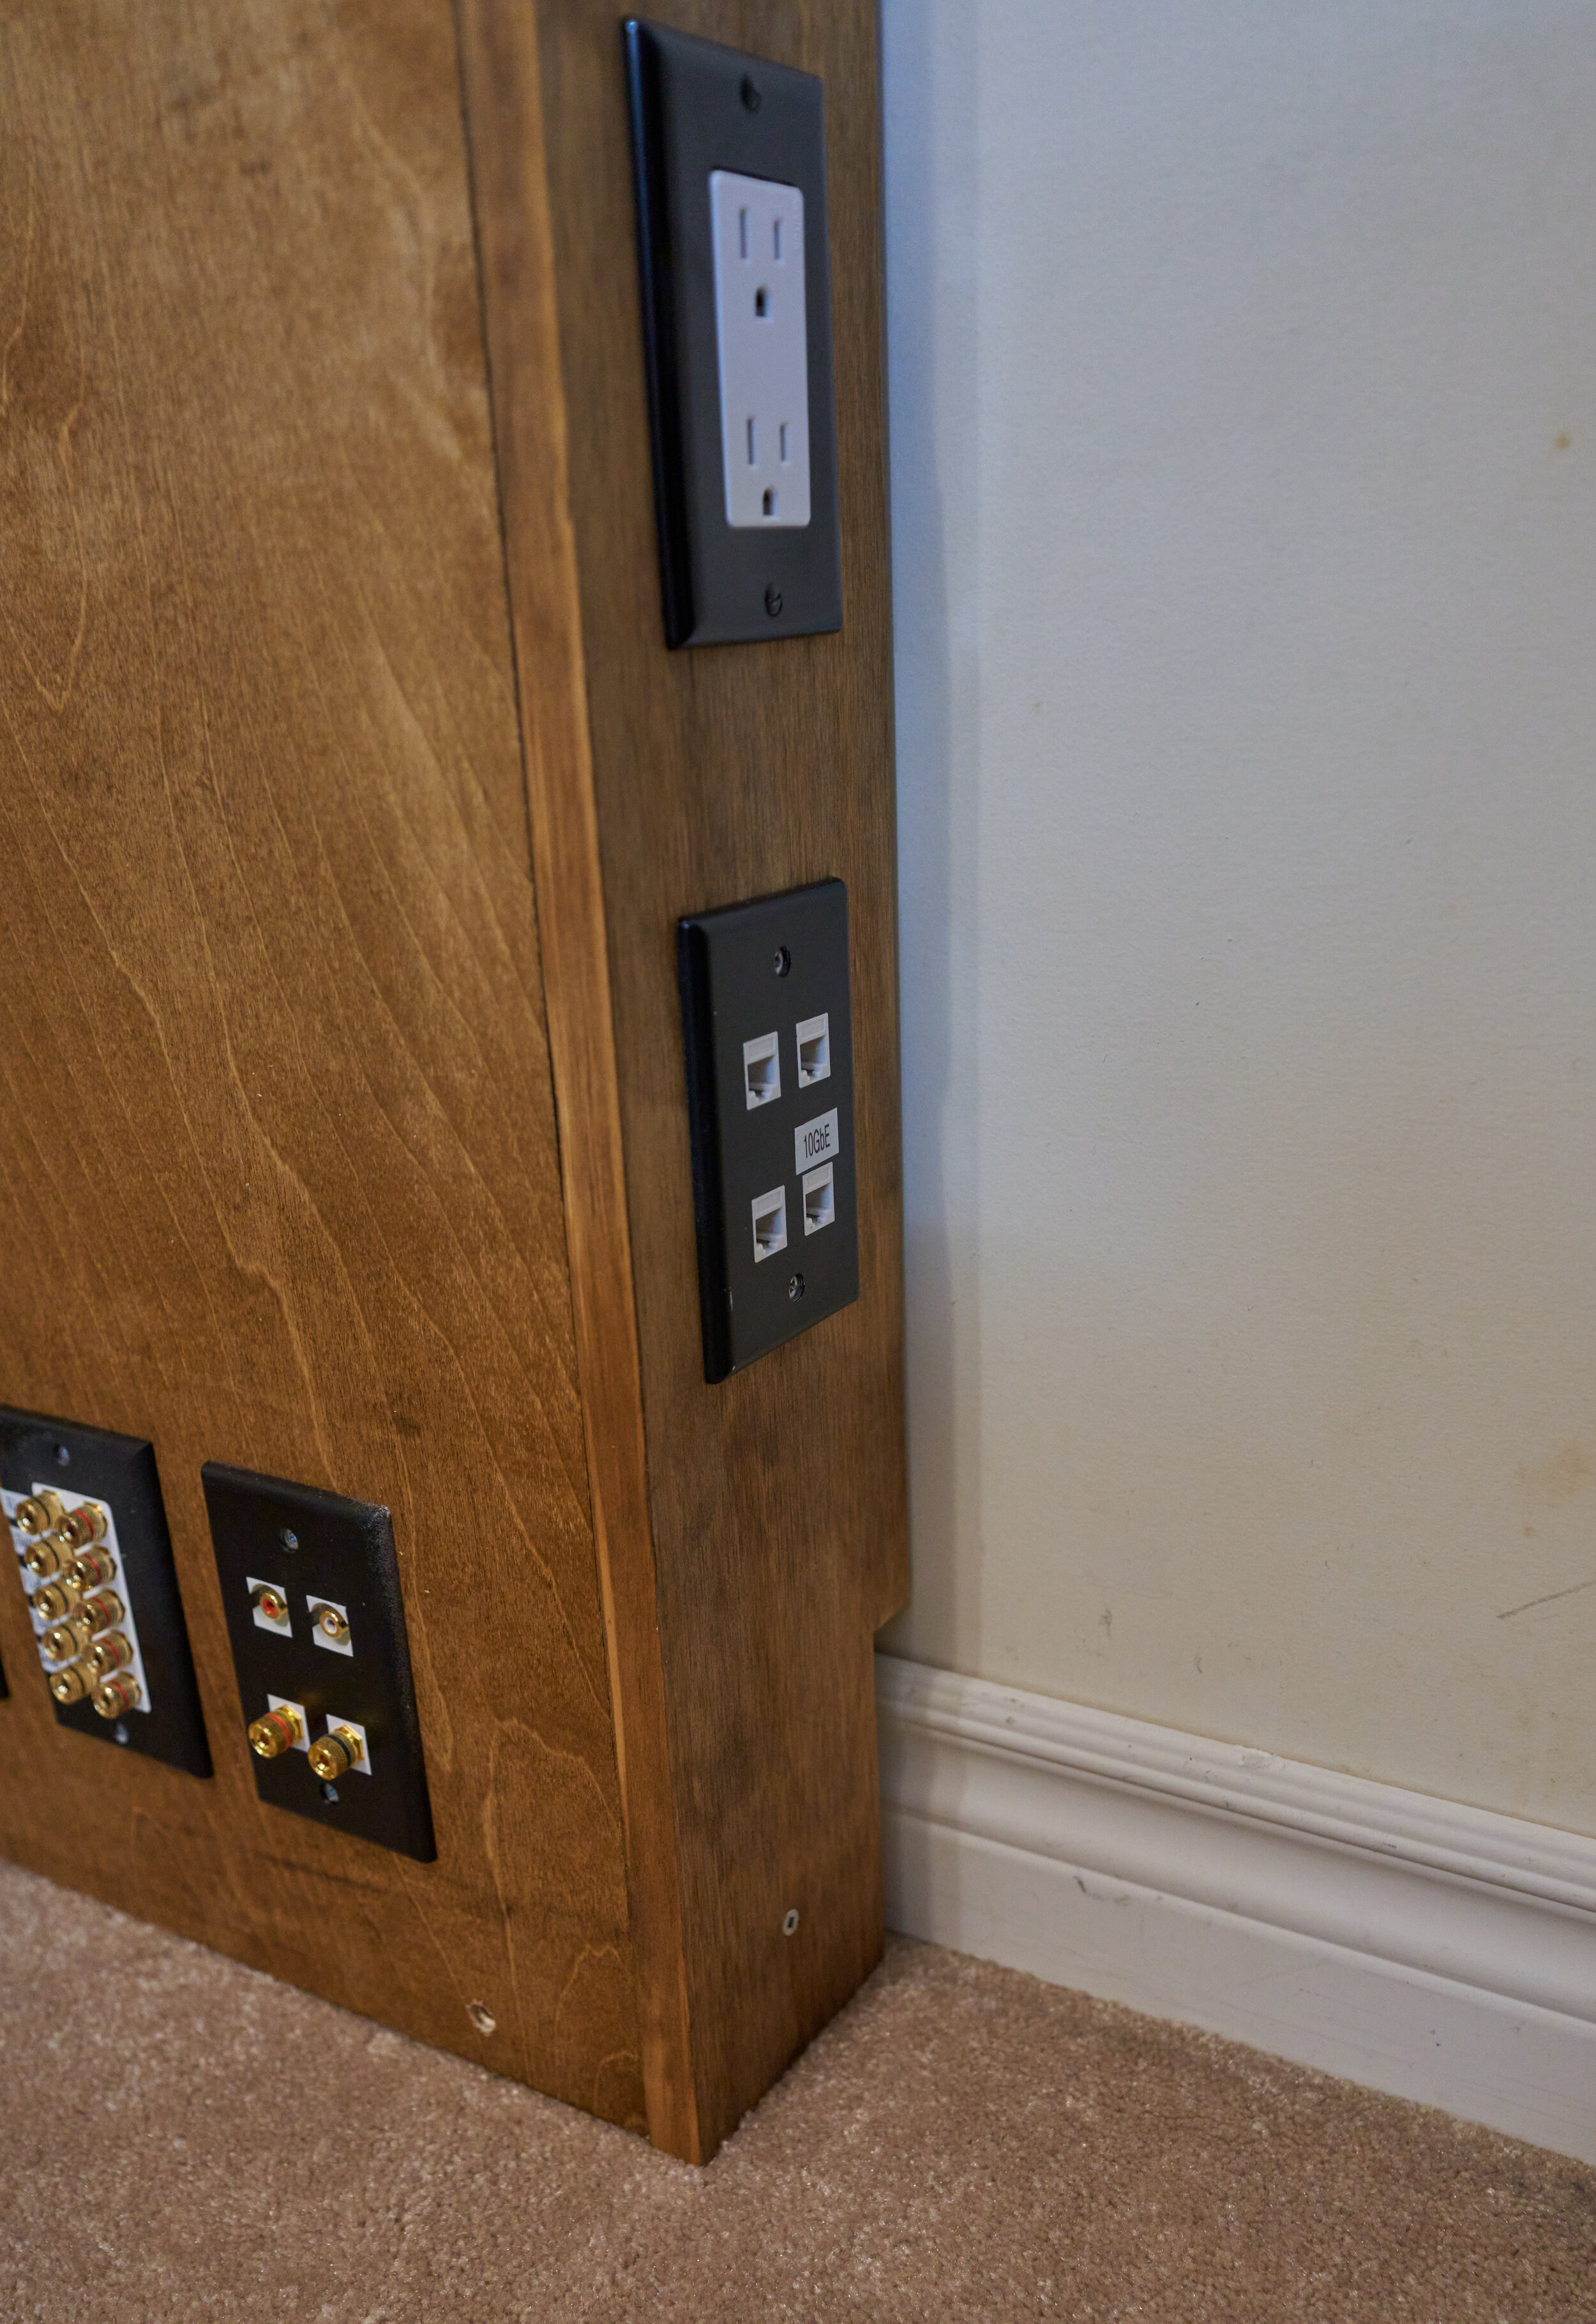
Step 3: Cutting inserts for keystones
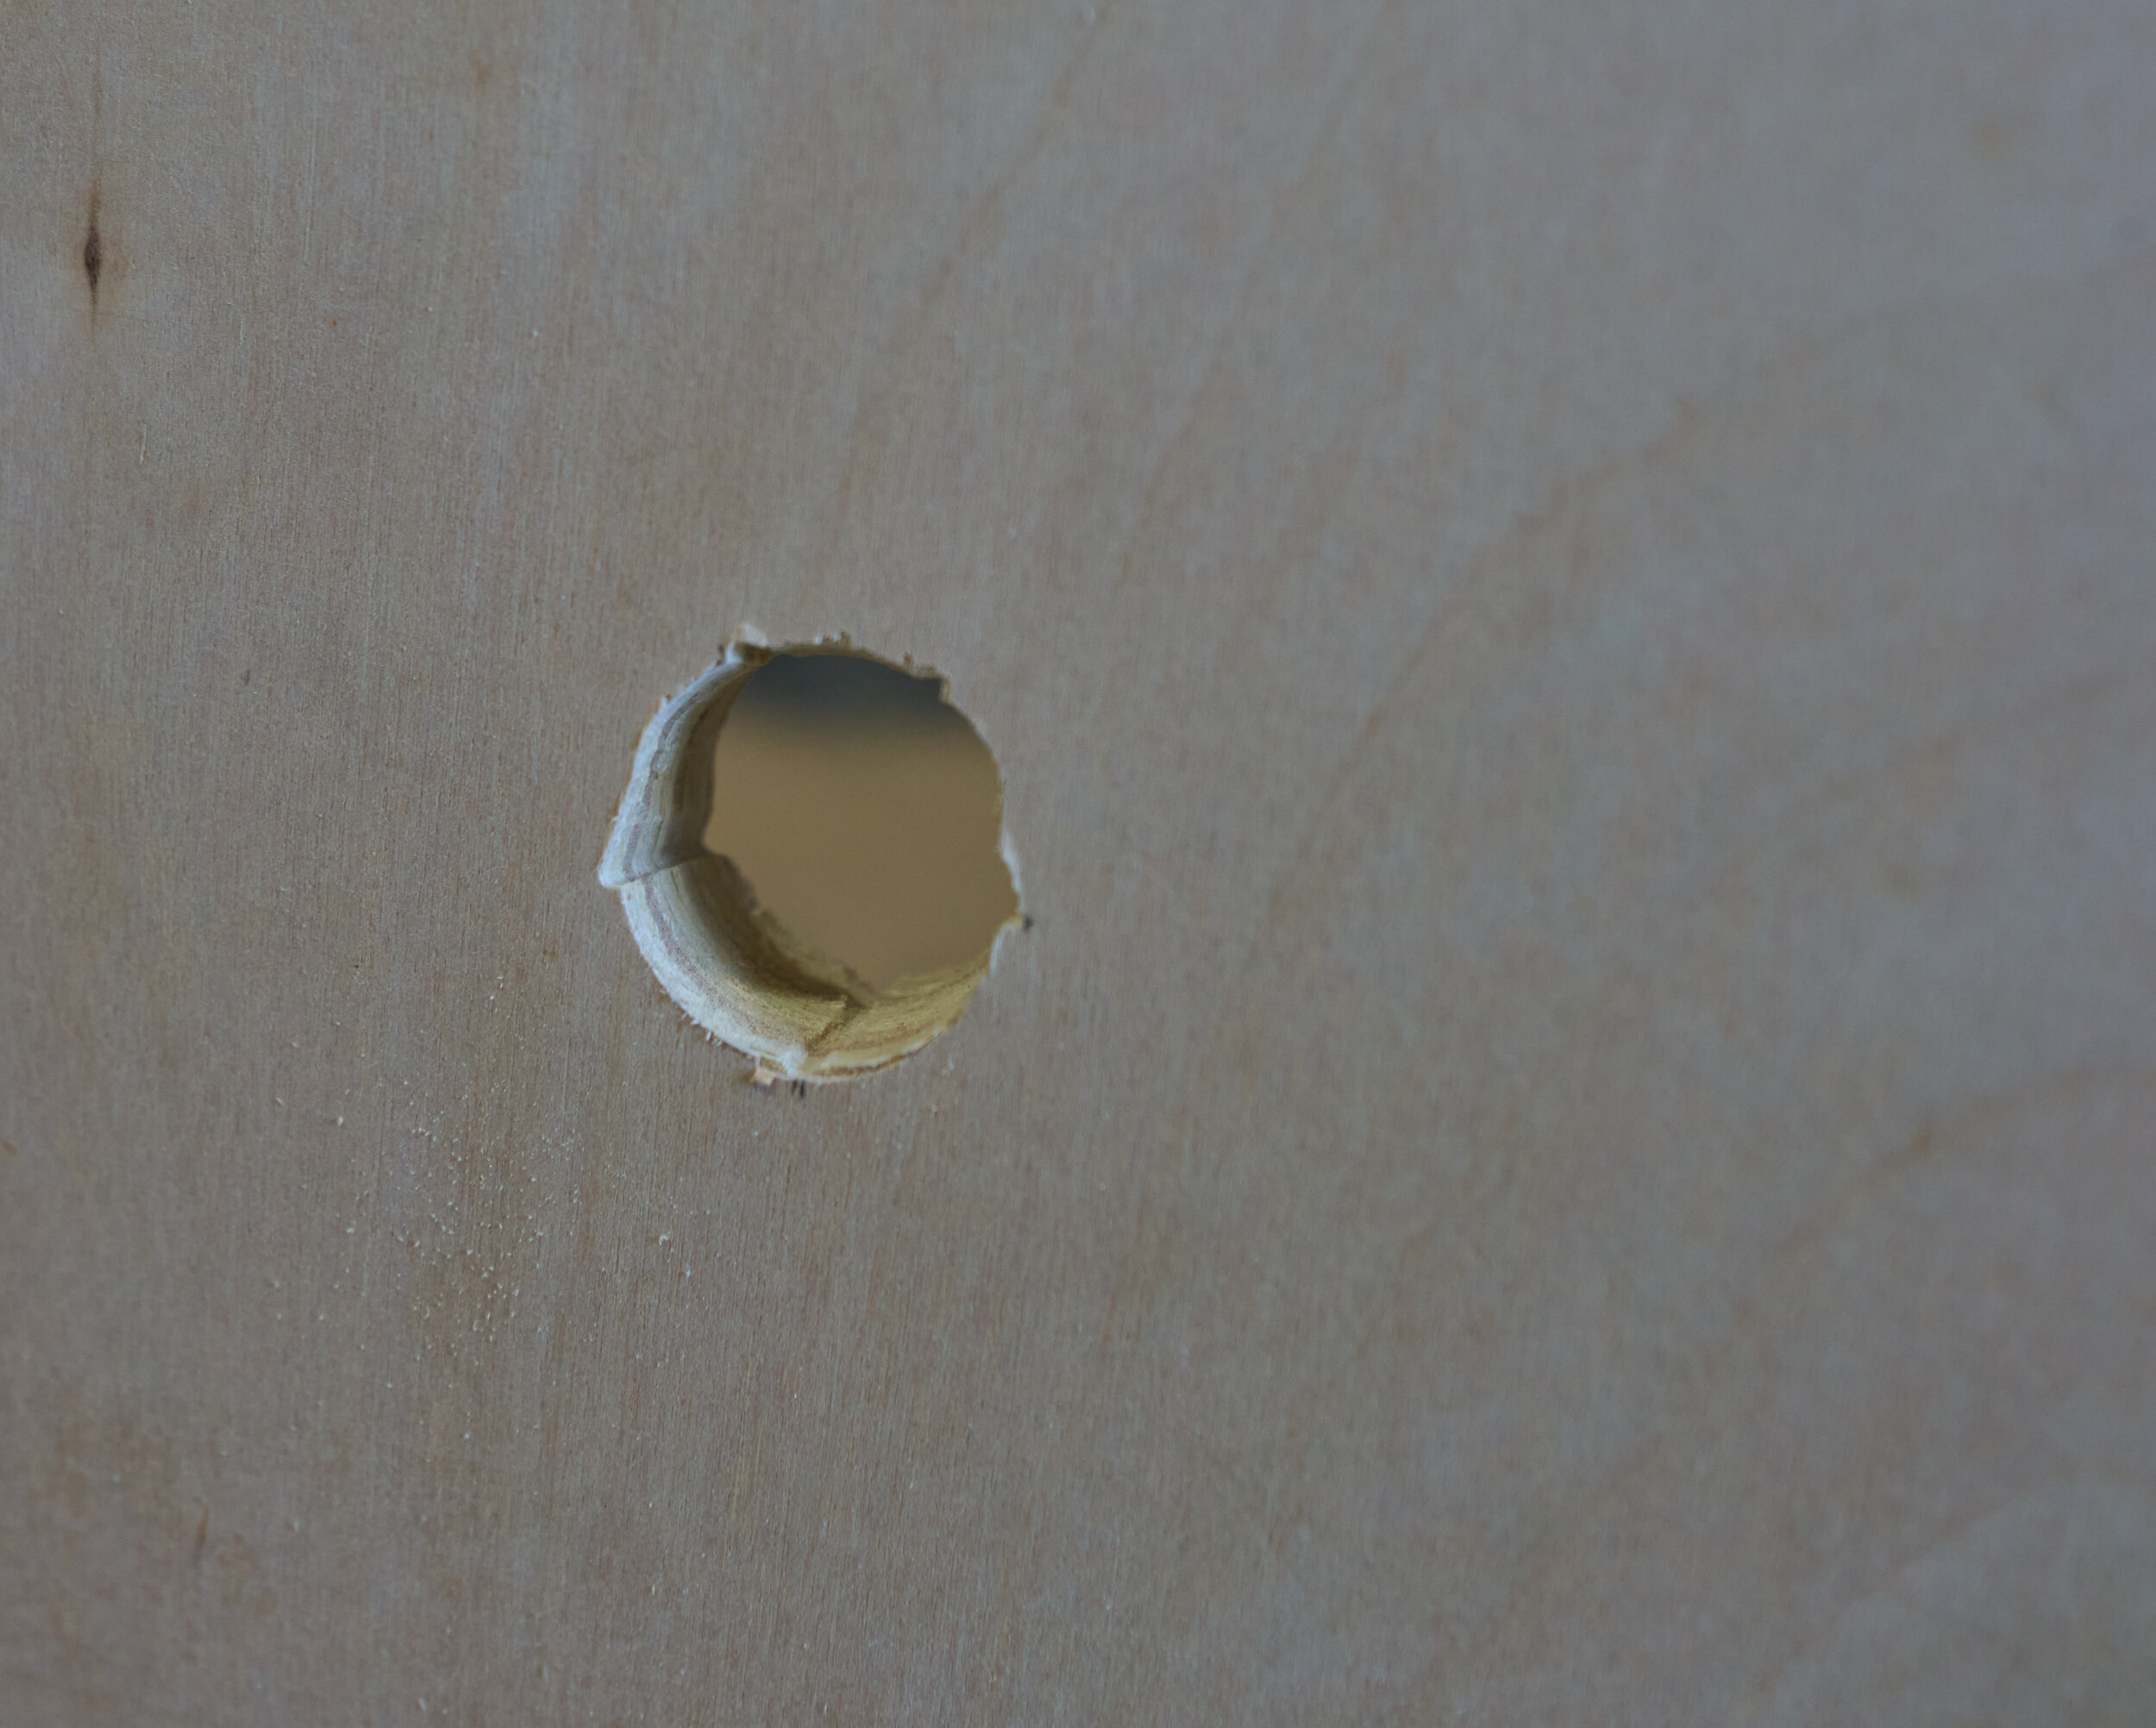
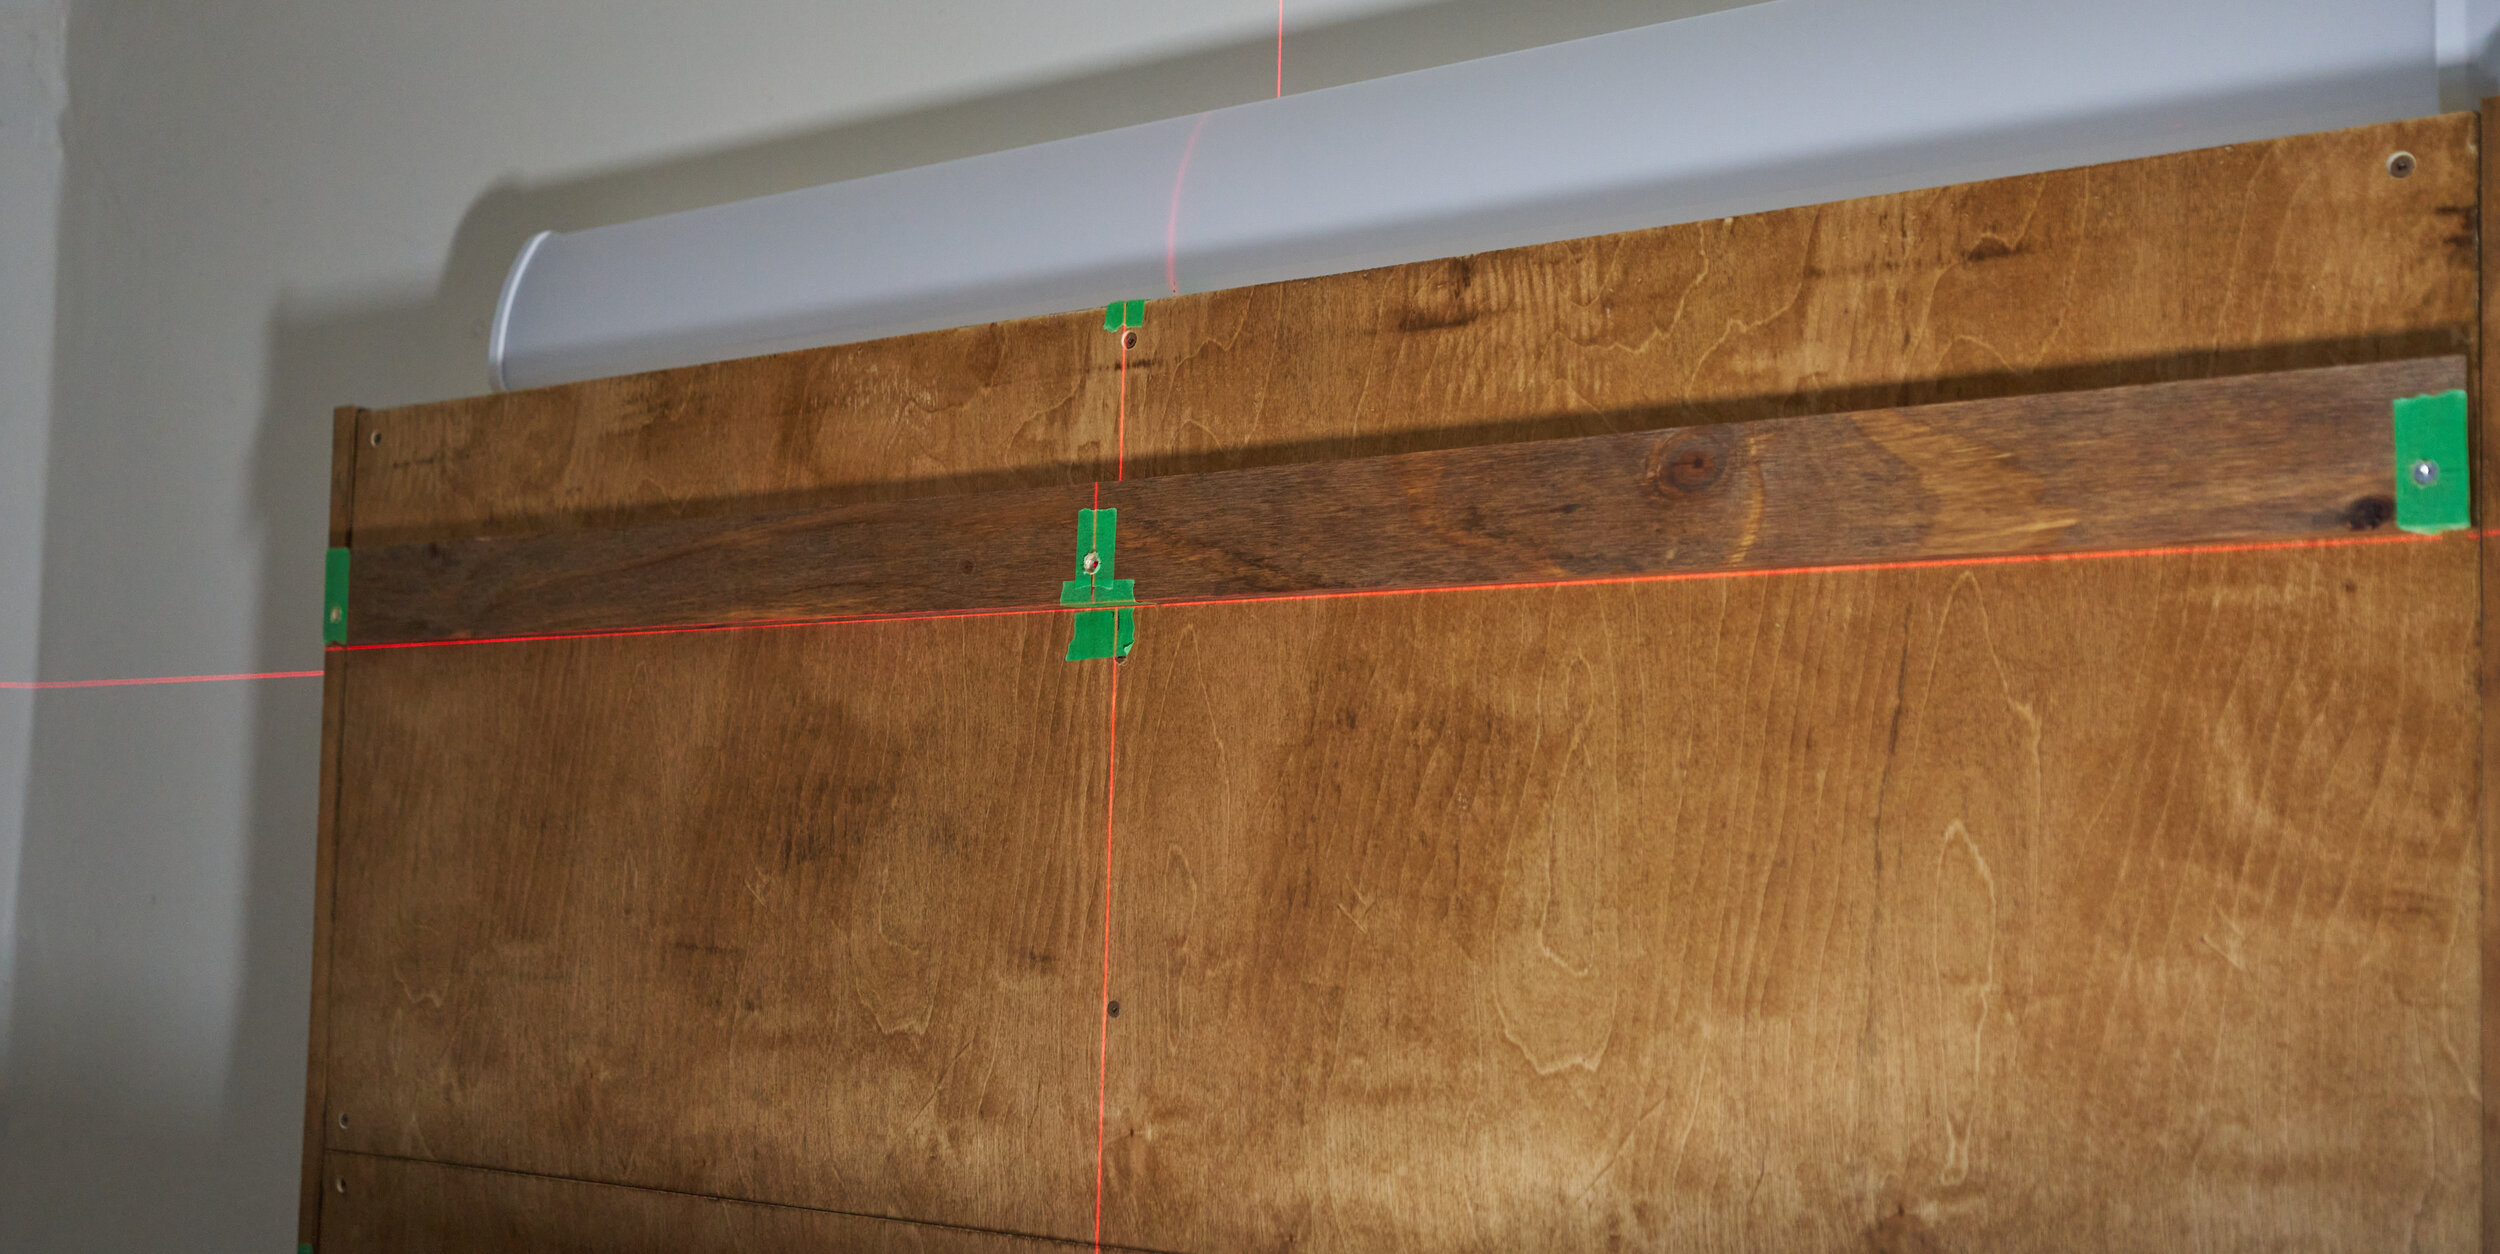
This must have been the longest week of my life filled with an endless stream of holes to cut for boxes and covers. The big lesson from this is “if it’s behind a plastic cover plate, it doesn’t matter - just get it close”.


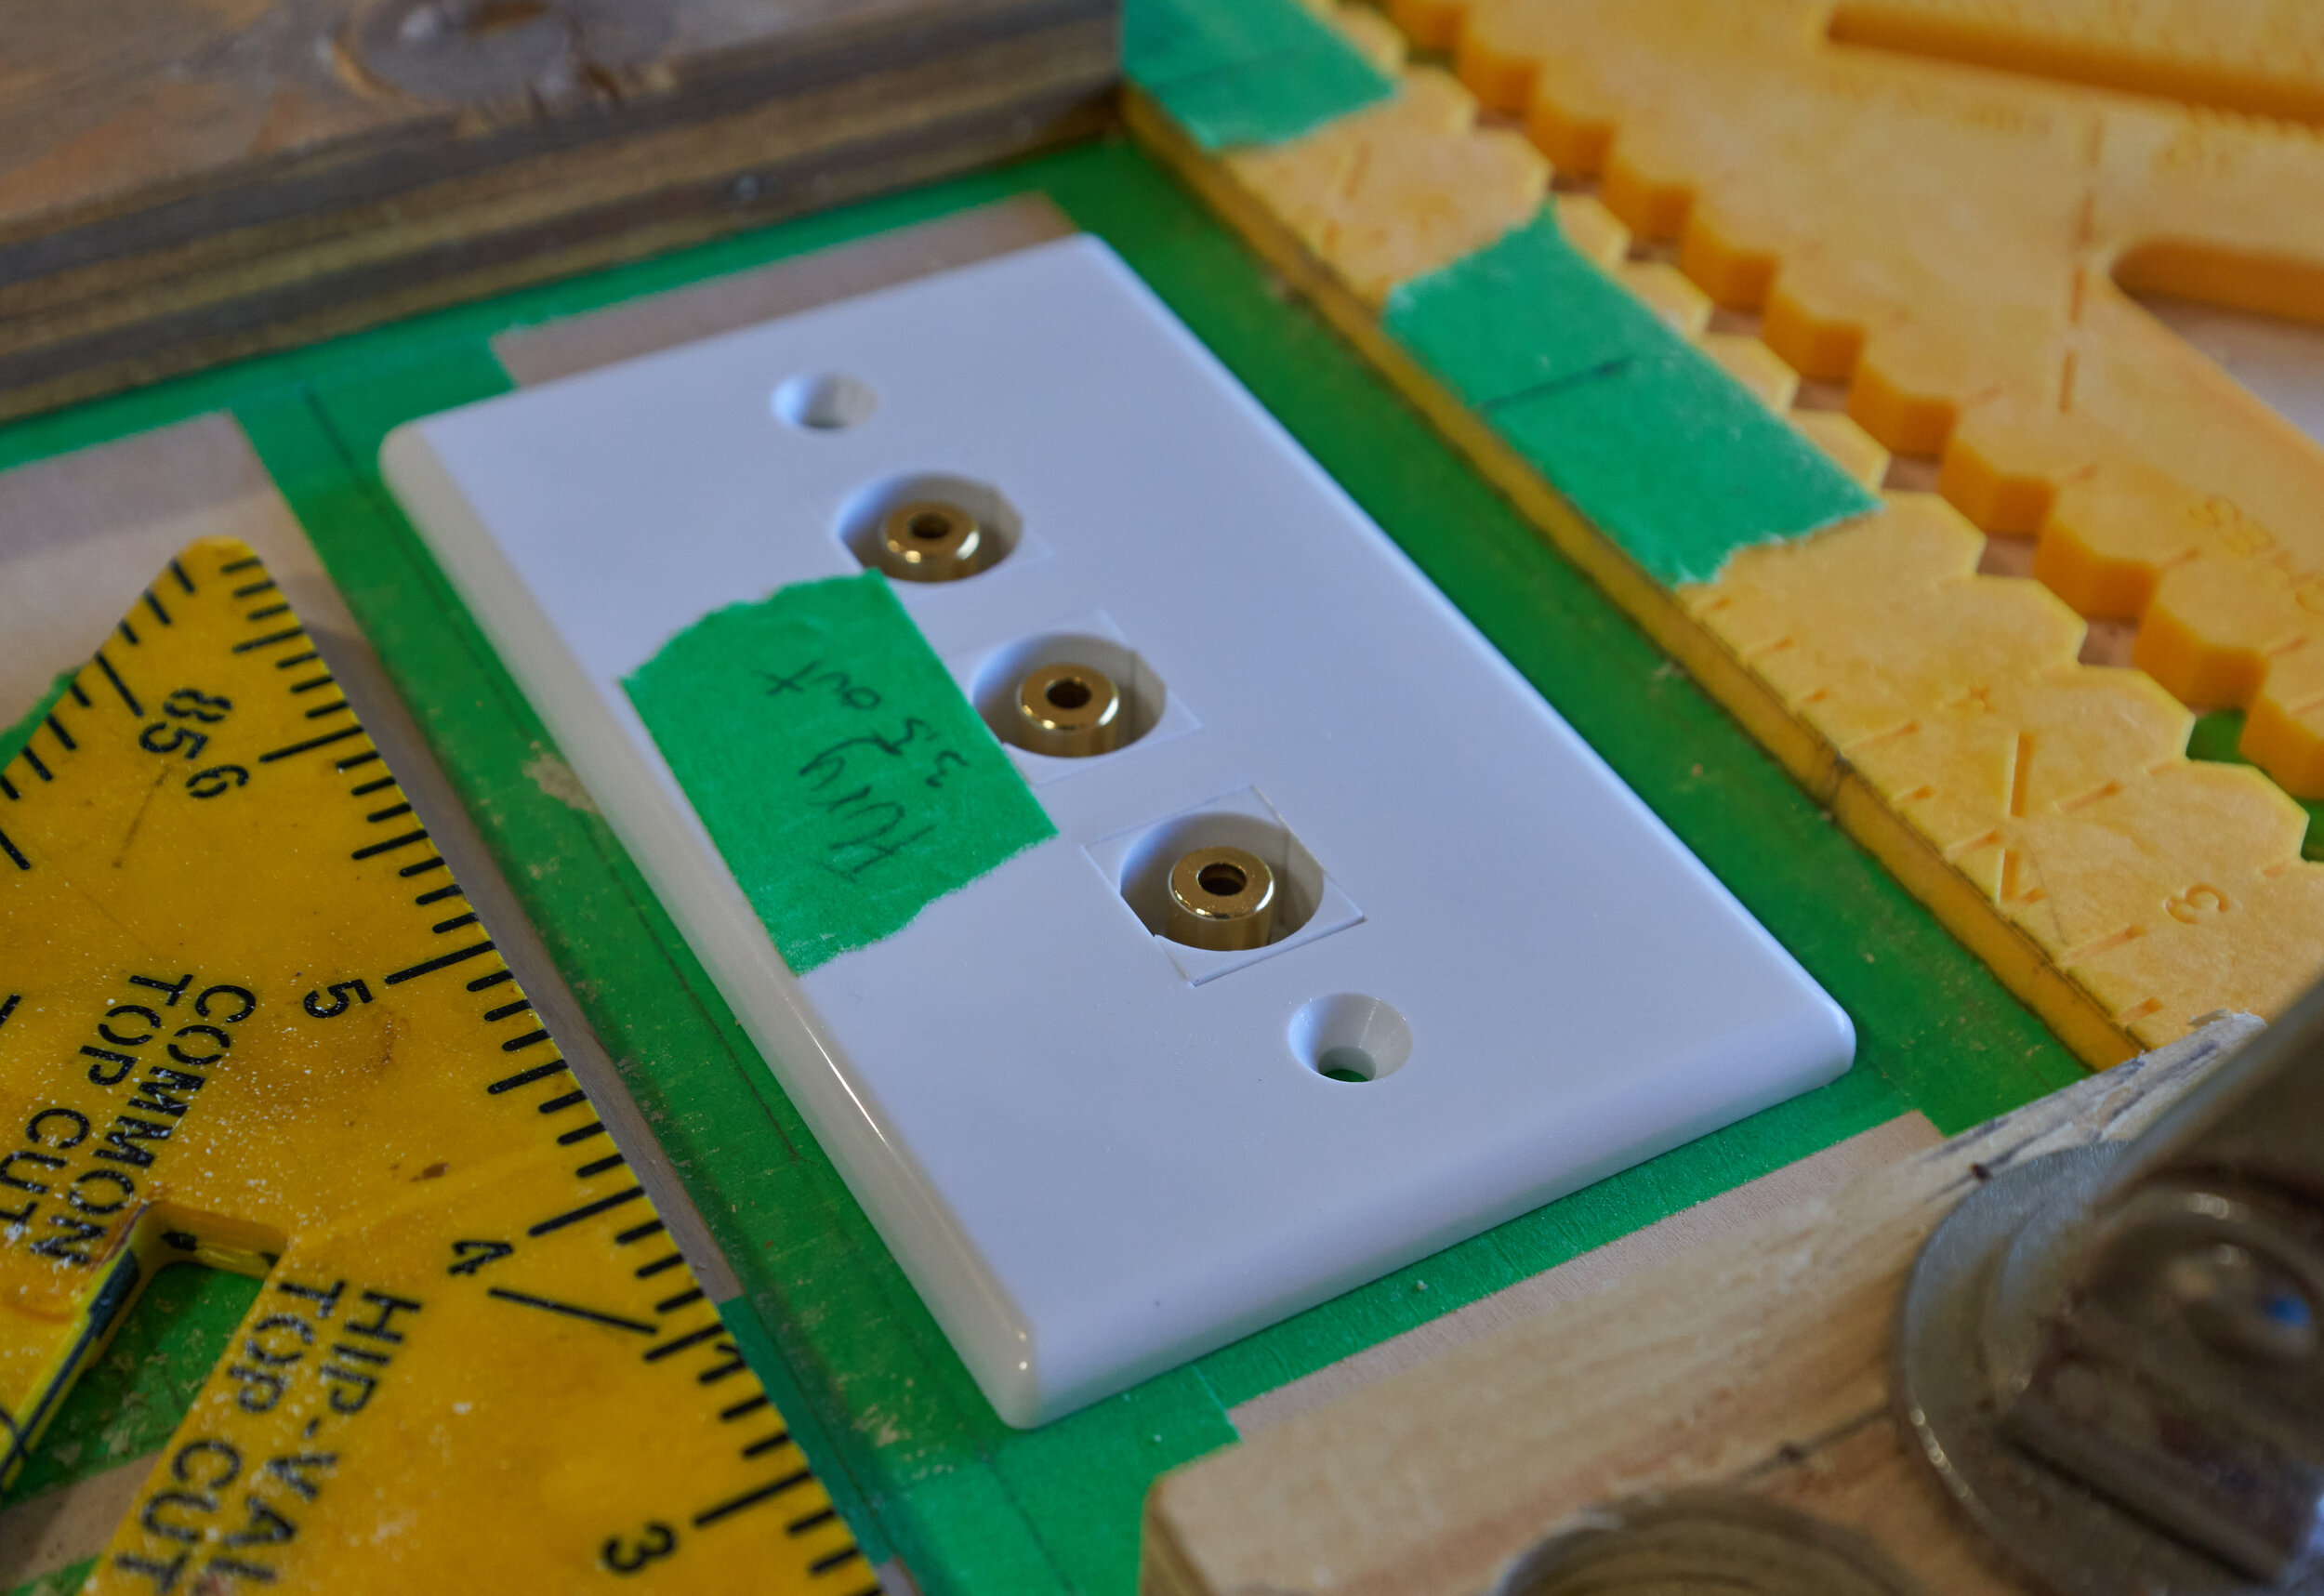

![[Pre]Aligning the monitors](https://images.squarespace-cdn.com/content/v1/6020ac0b21a9b86f0577e29e/1612928456676-LL4NHLSNFOWK57WVFCMJ/DPN07303.jpg)


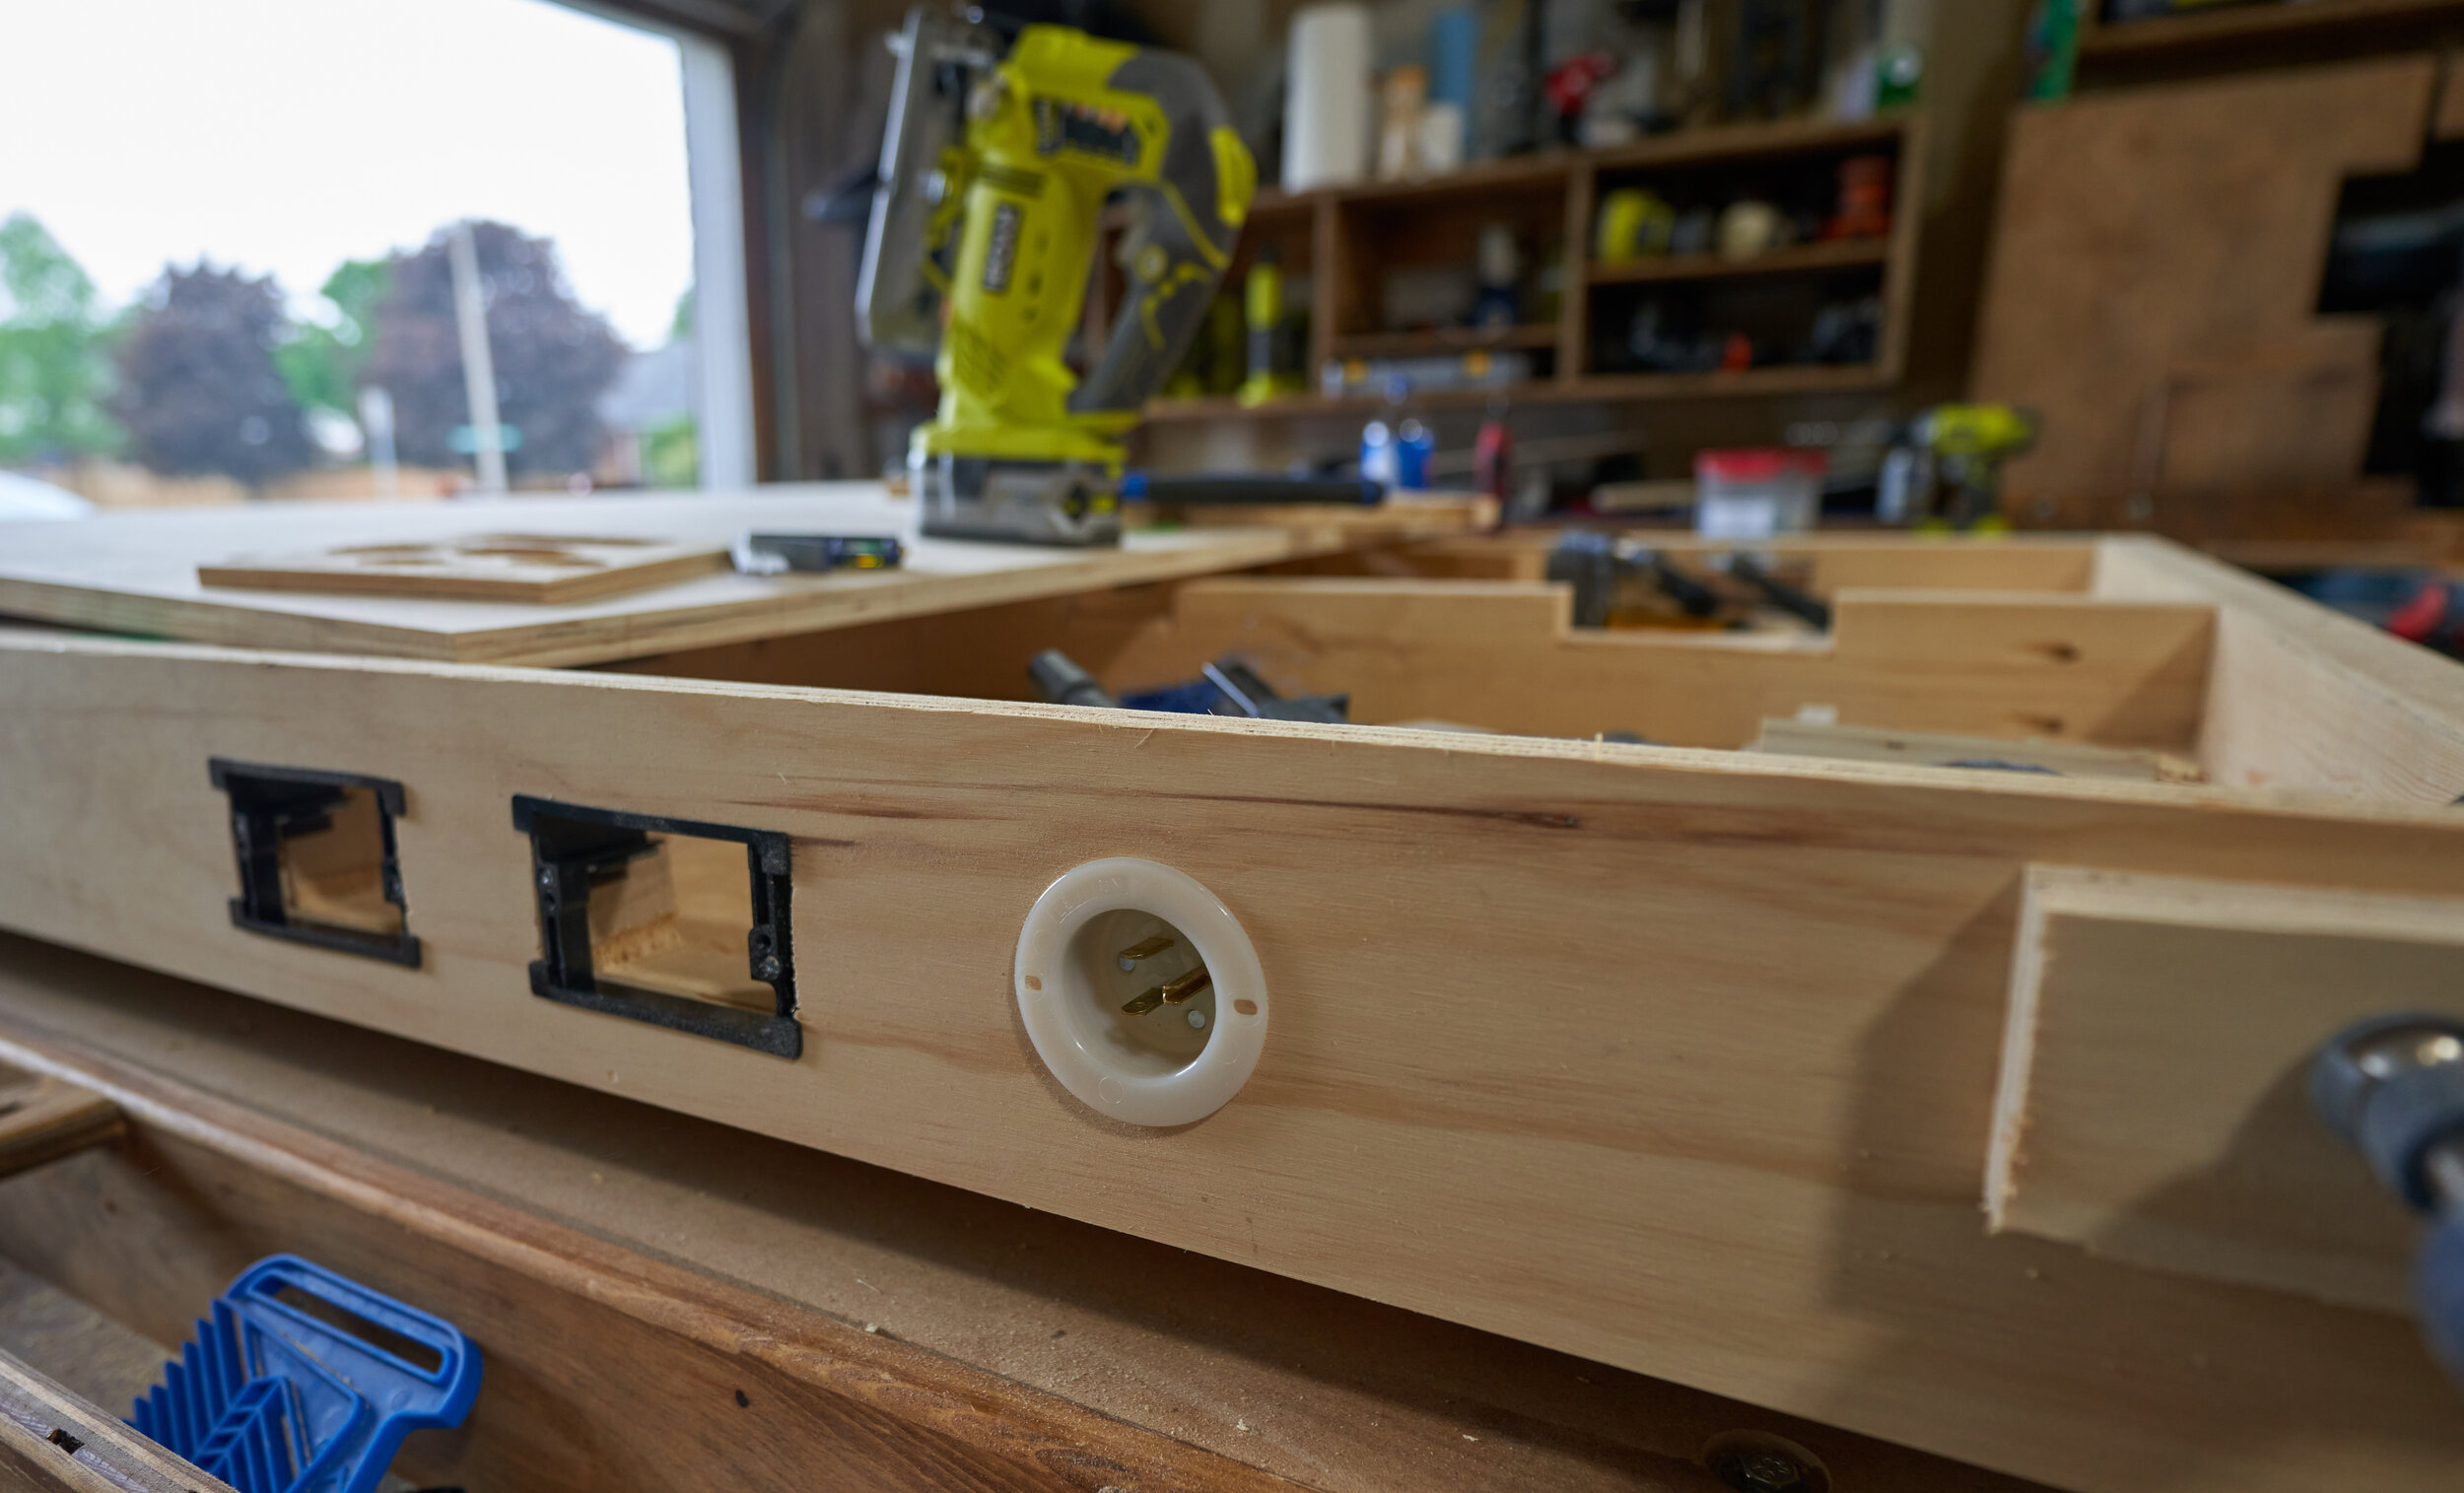

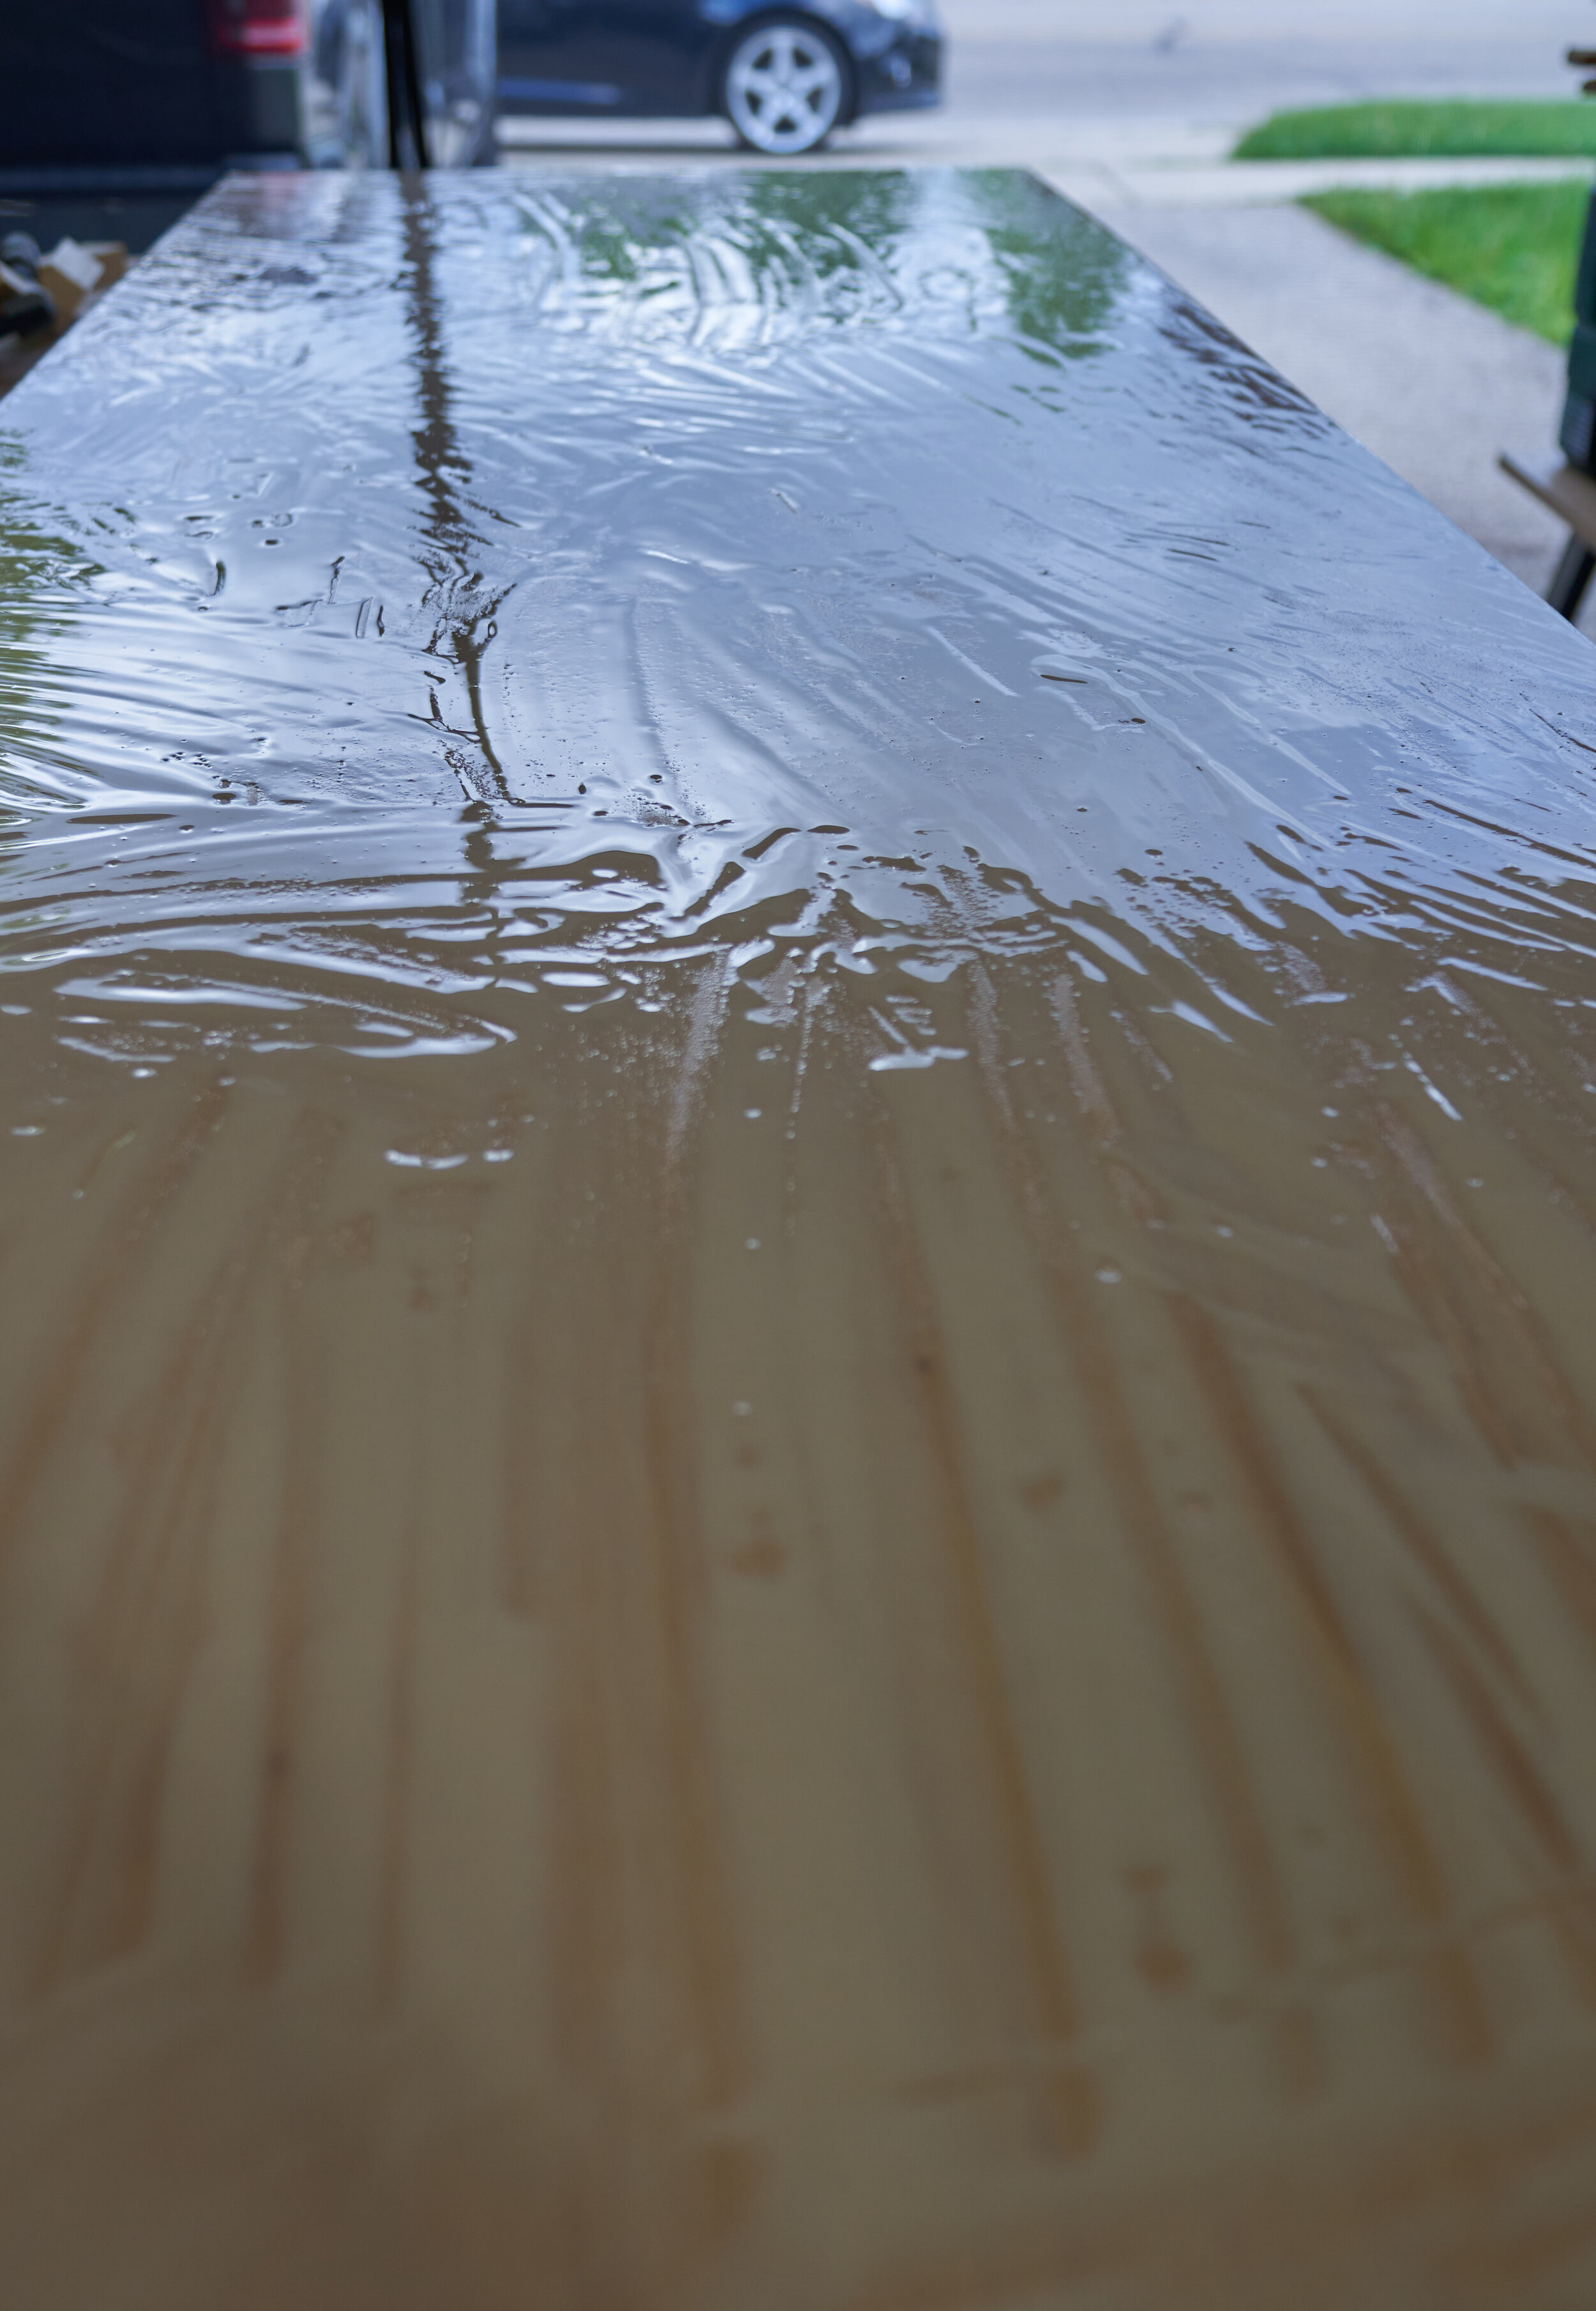
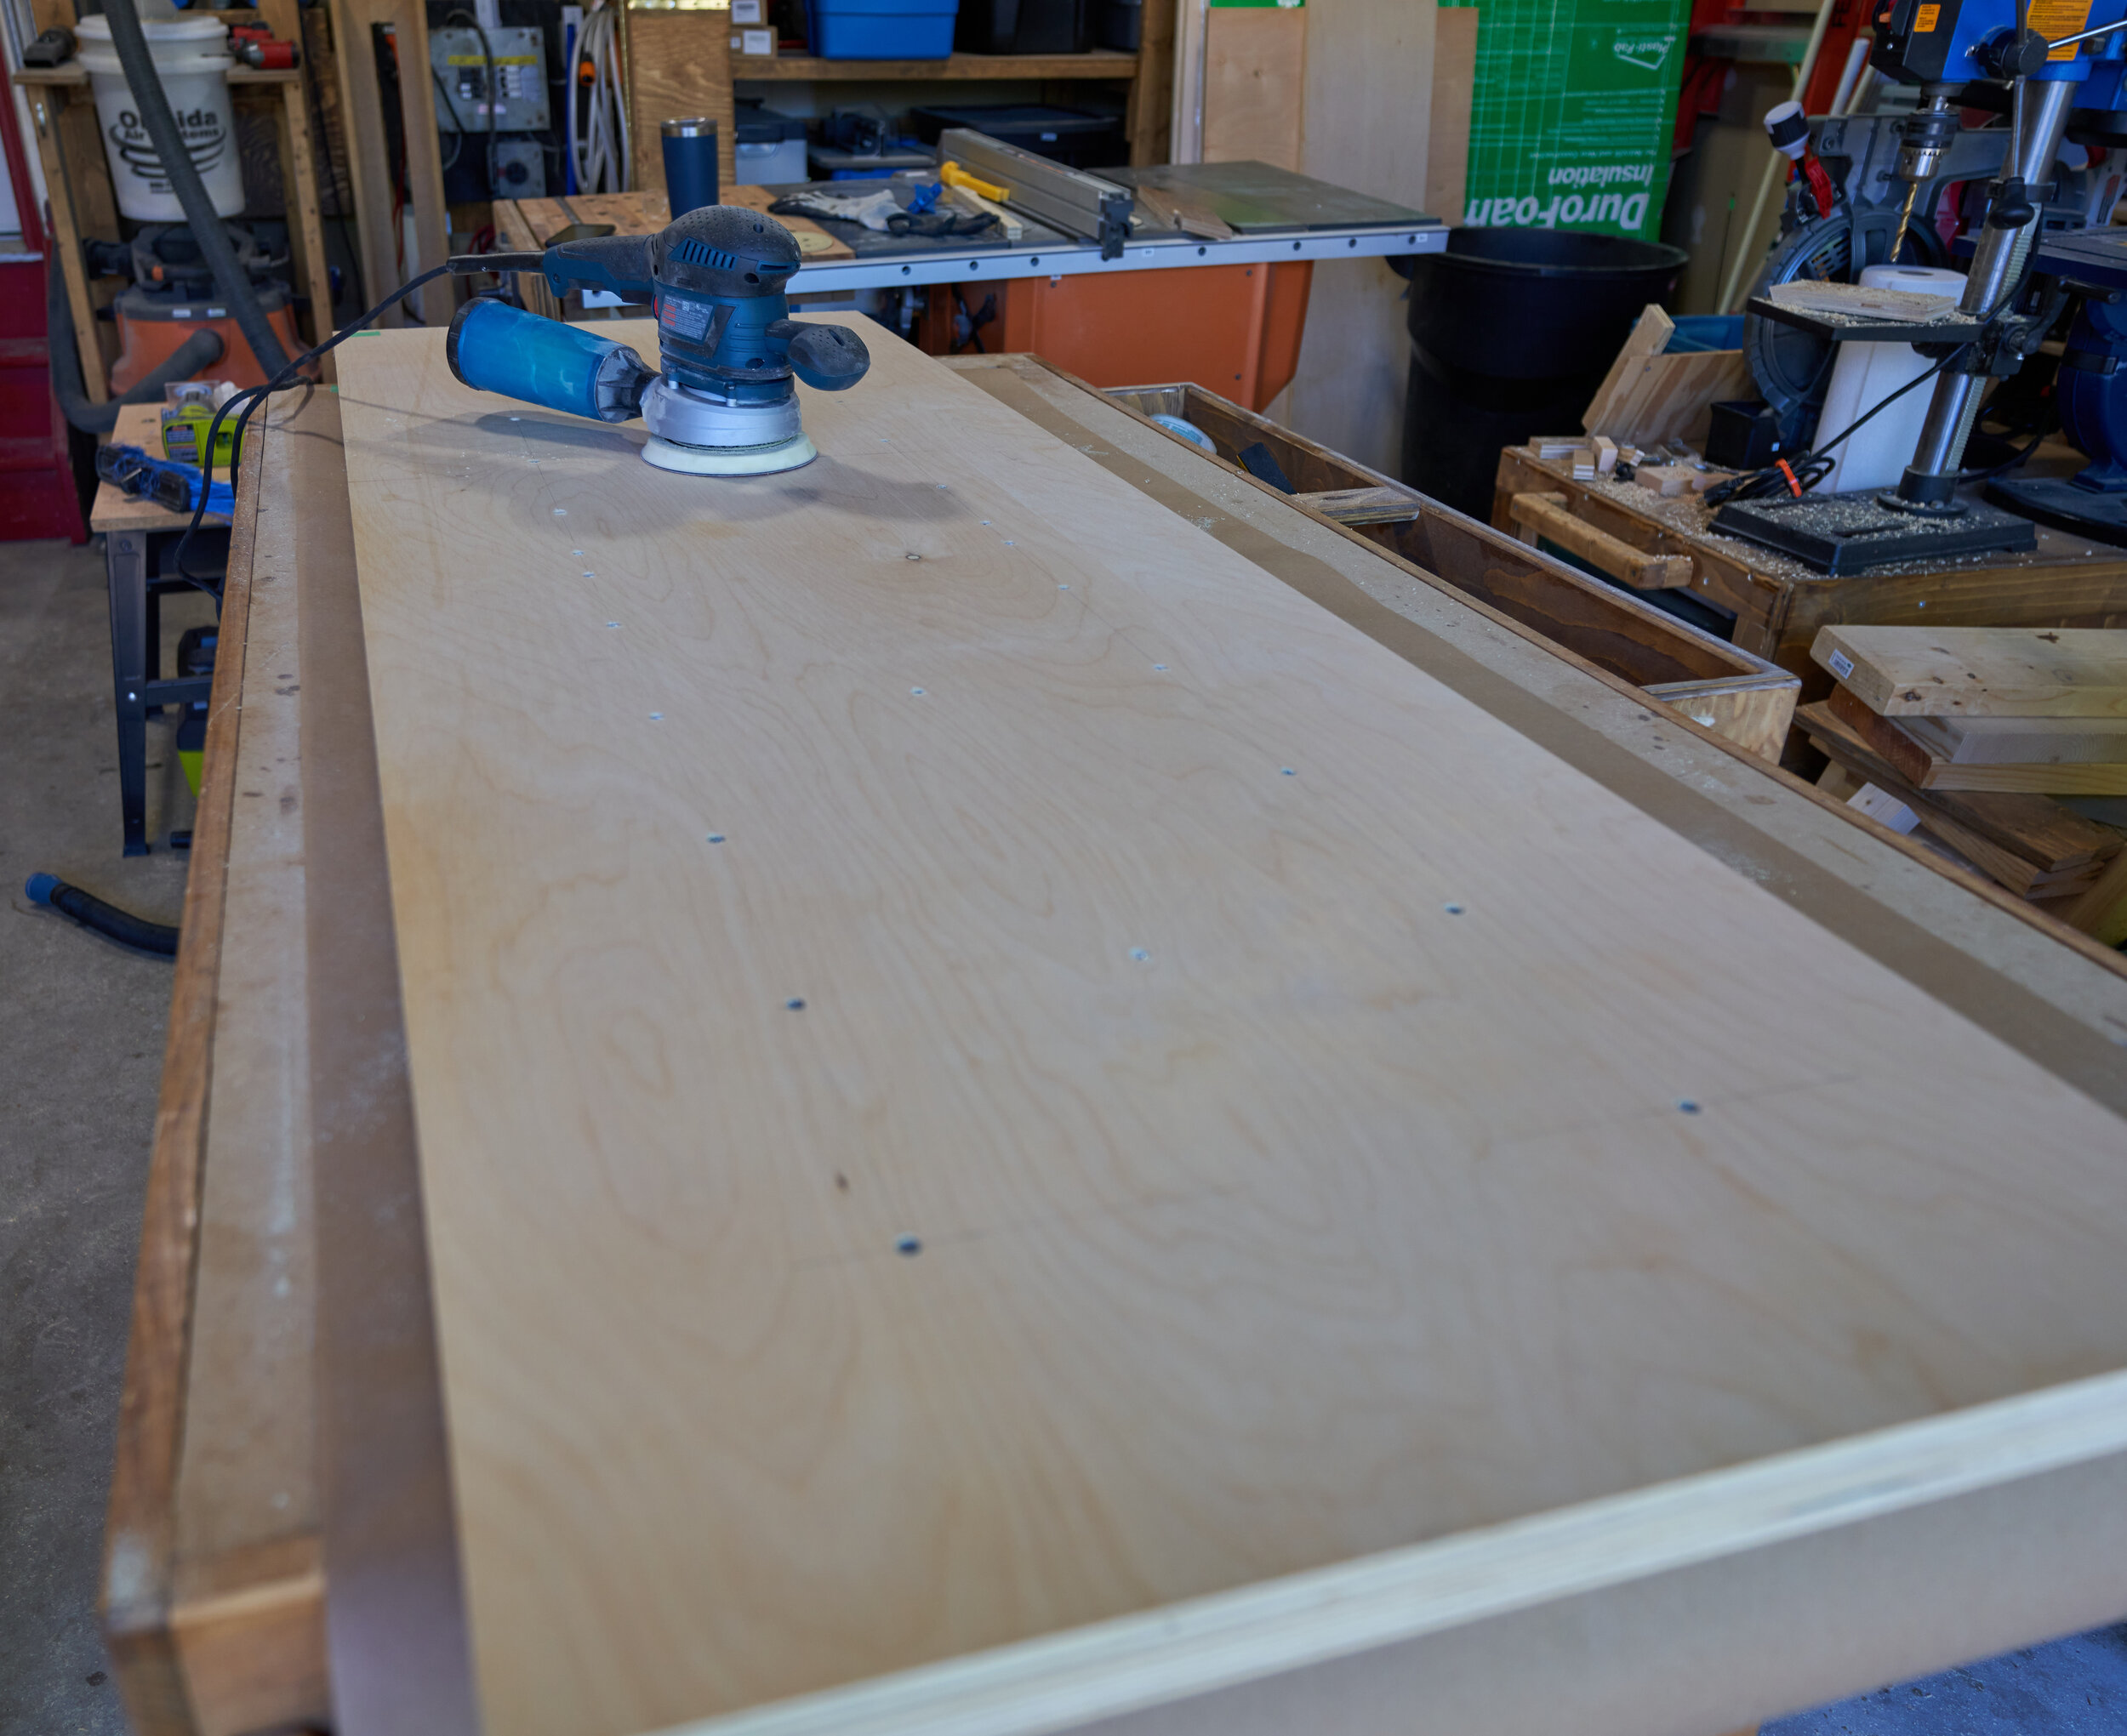
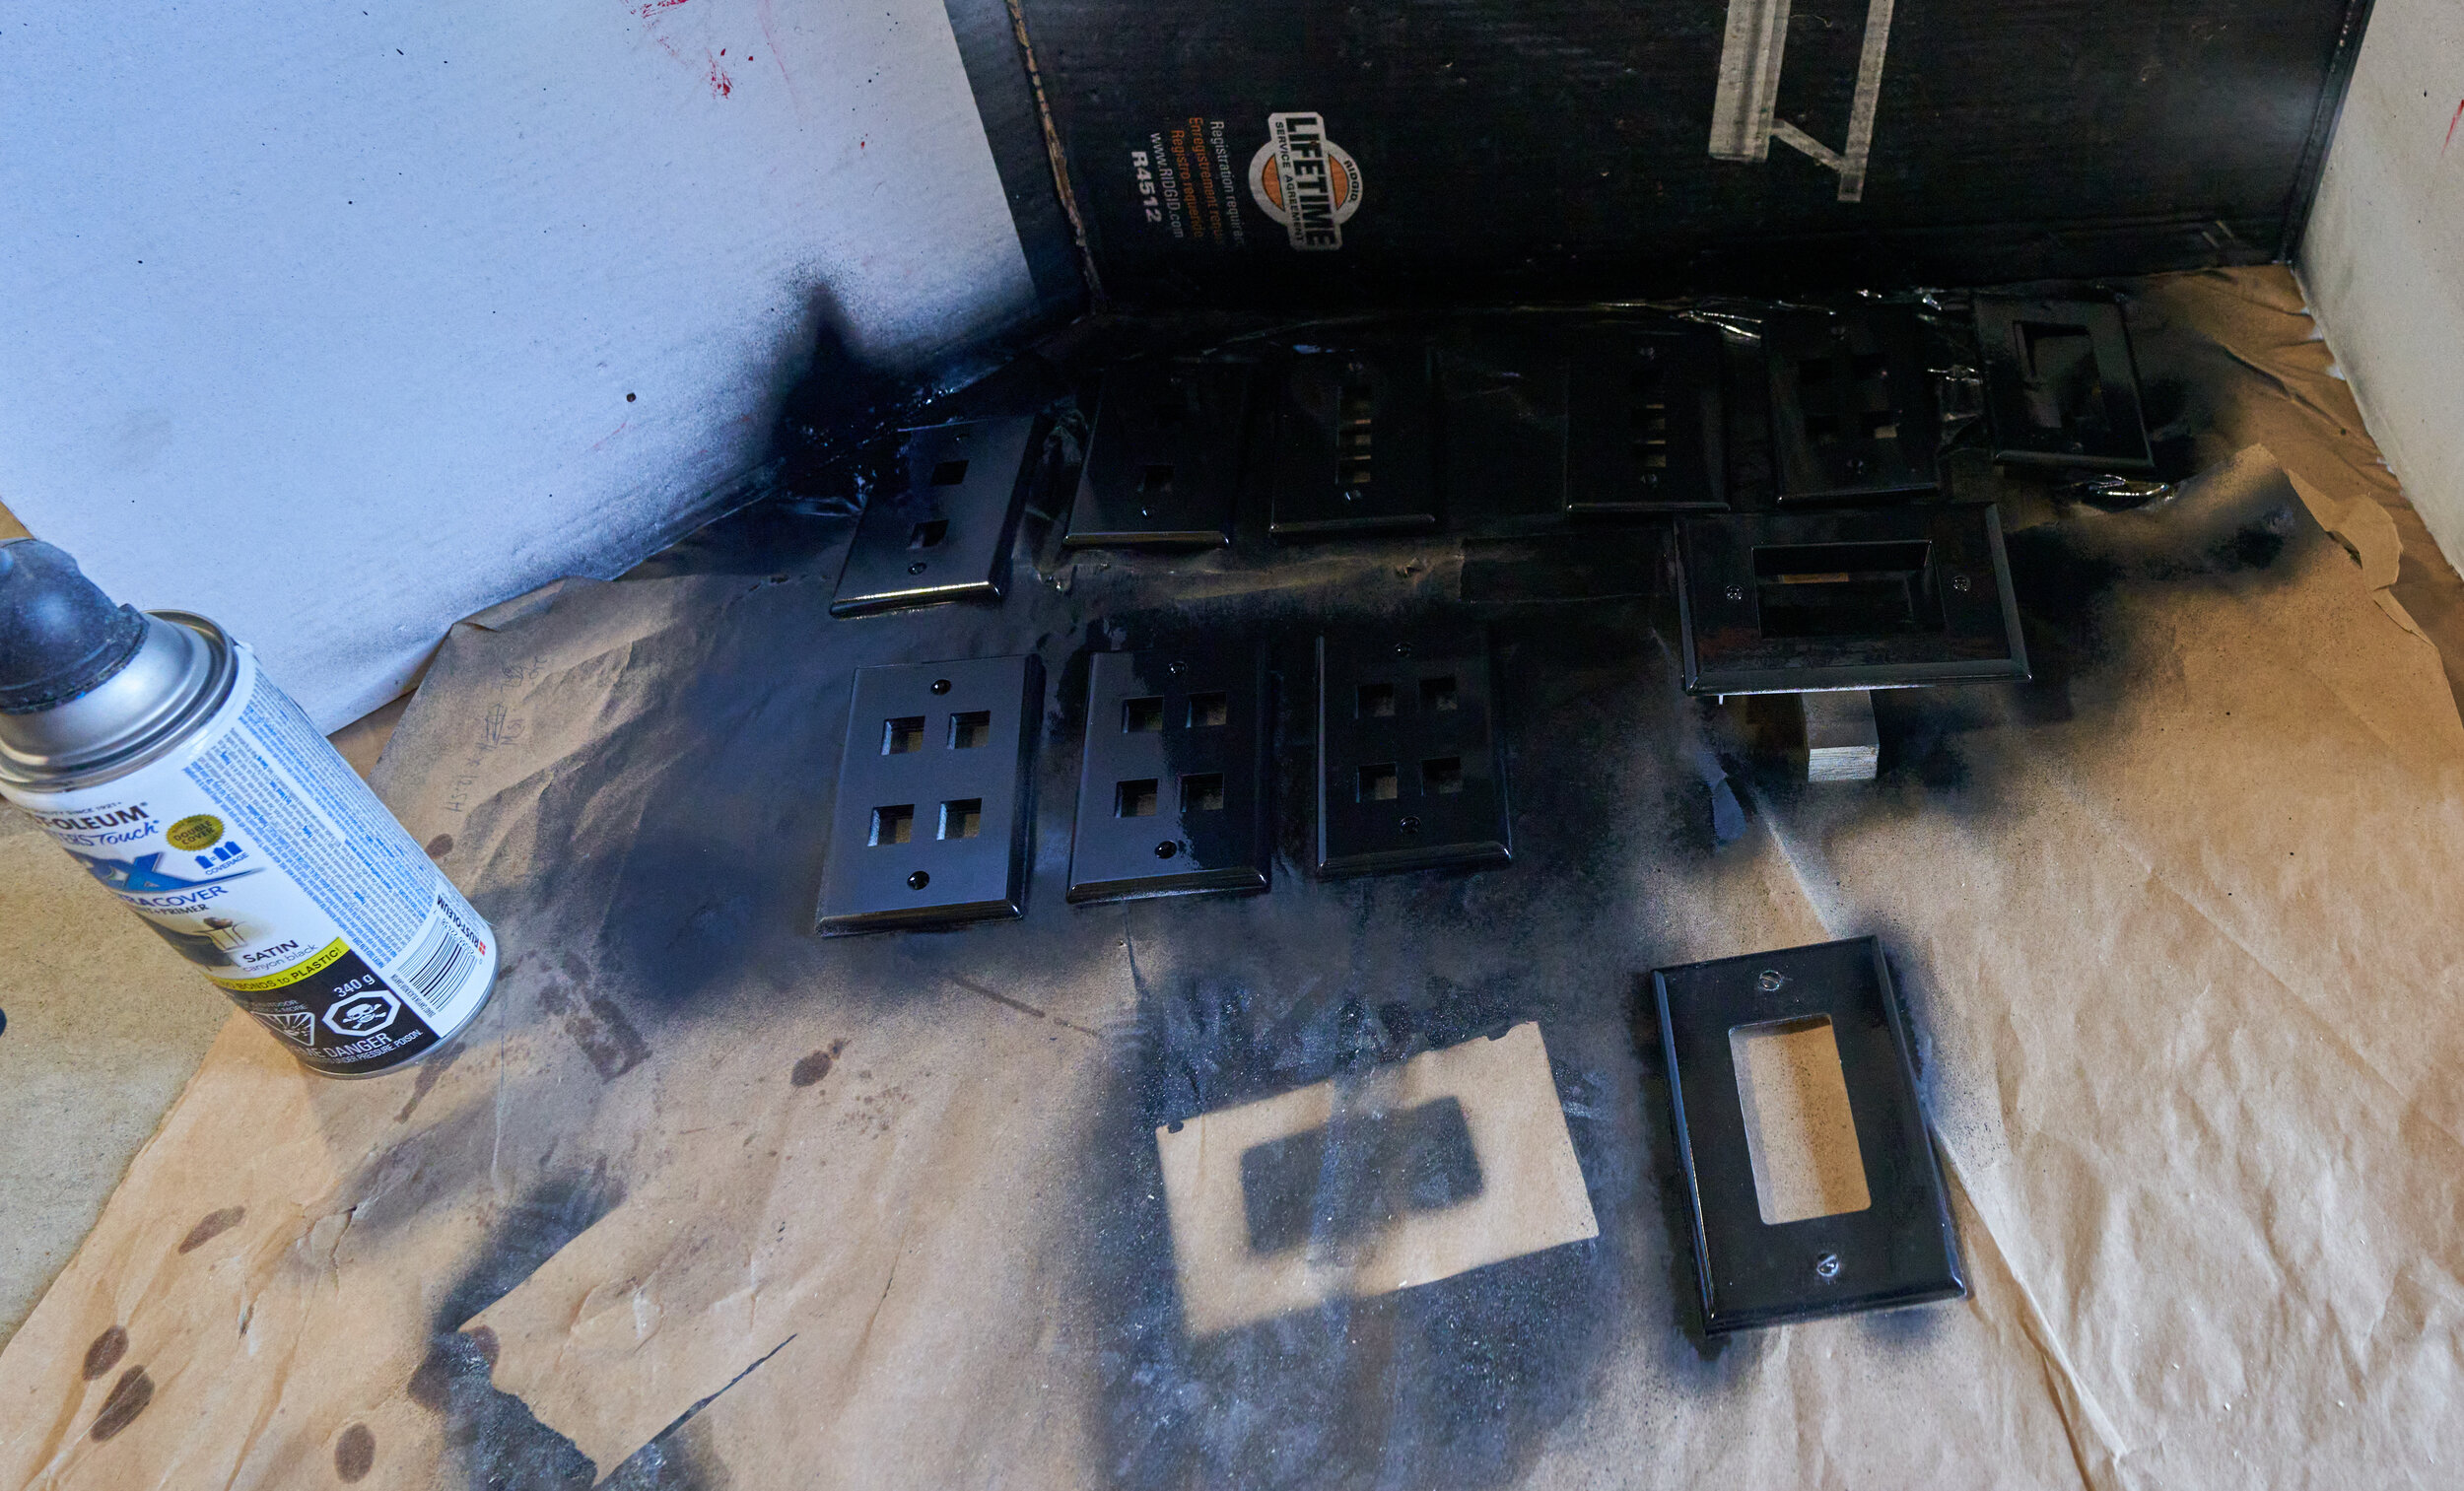
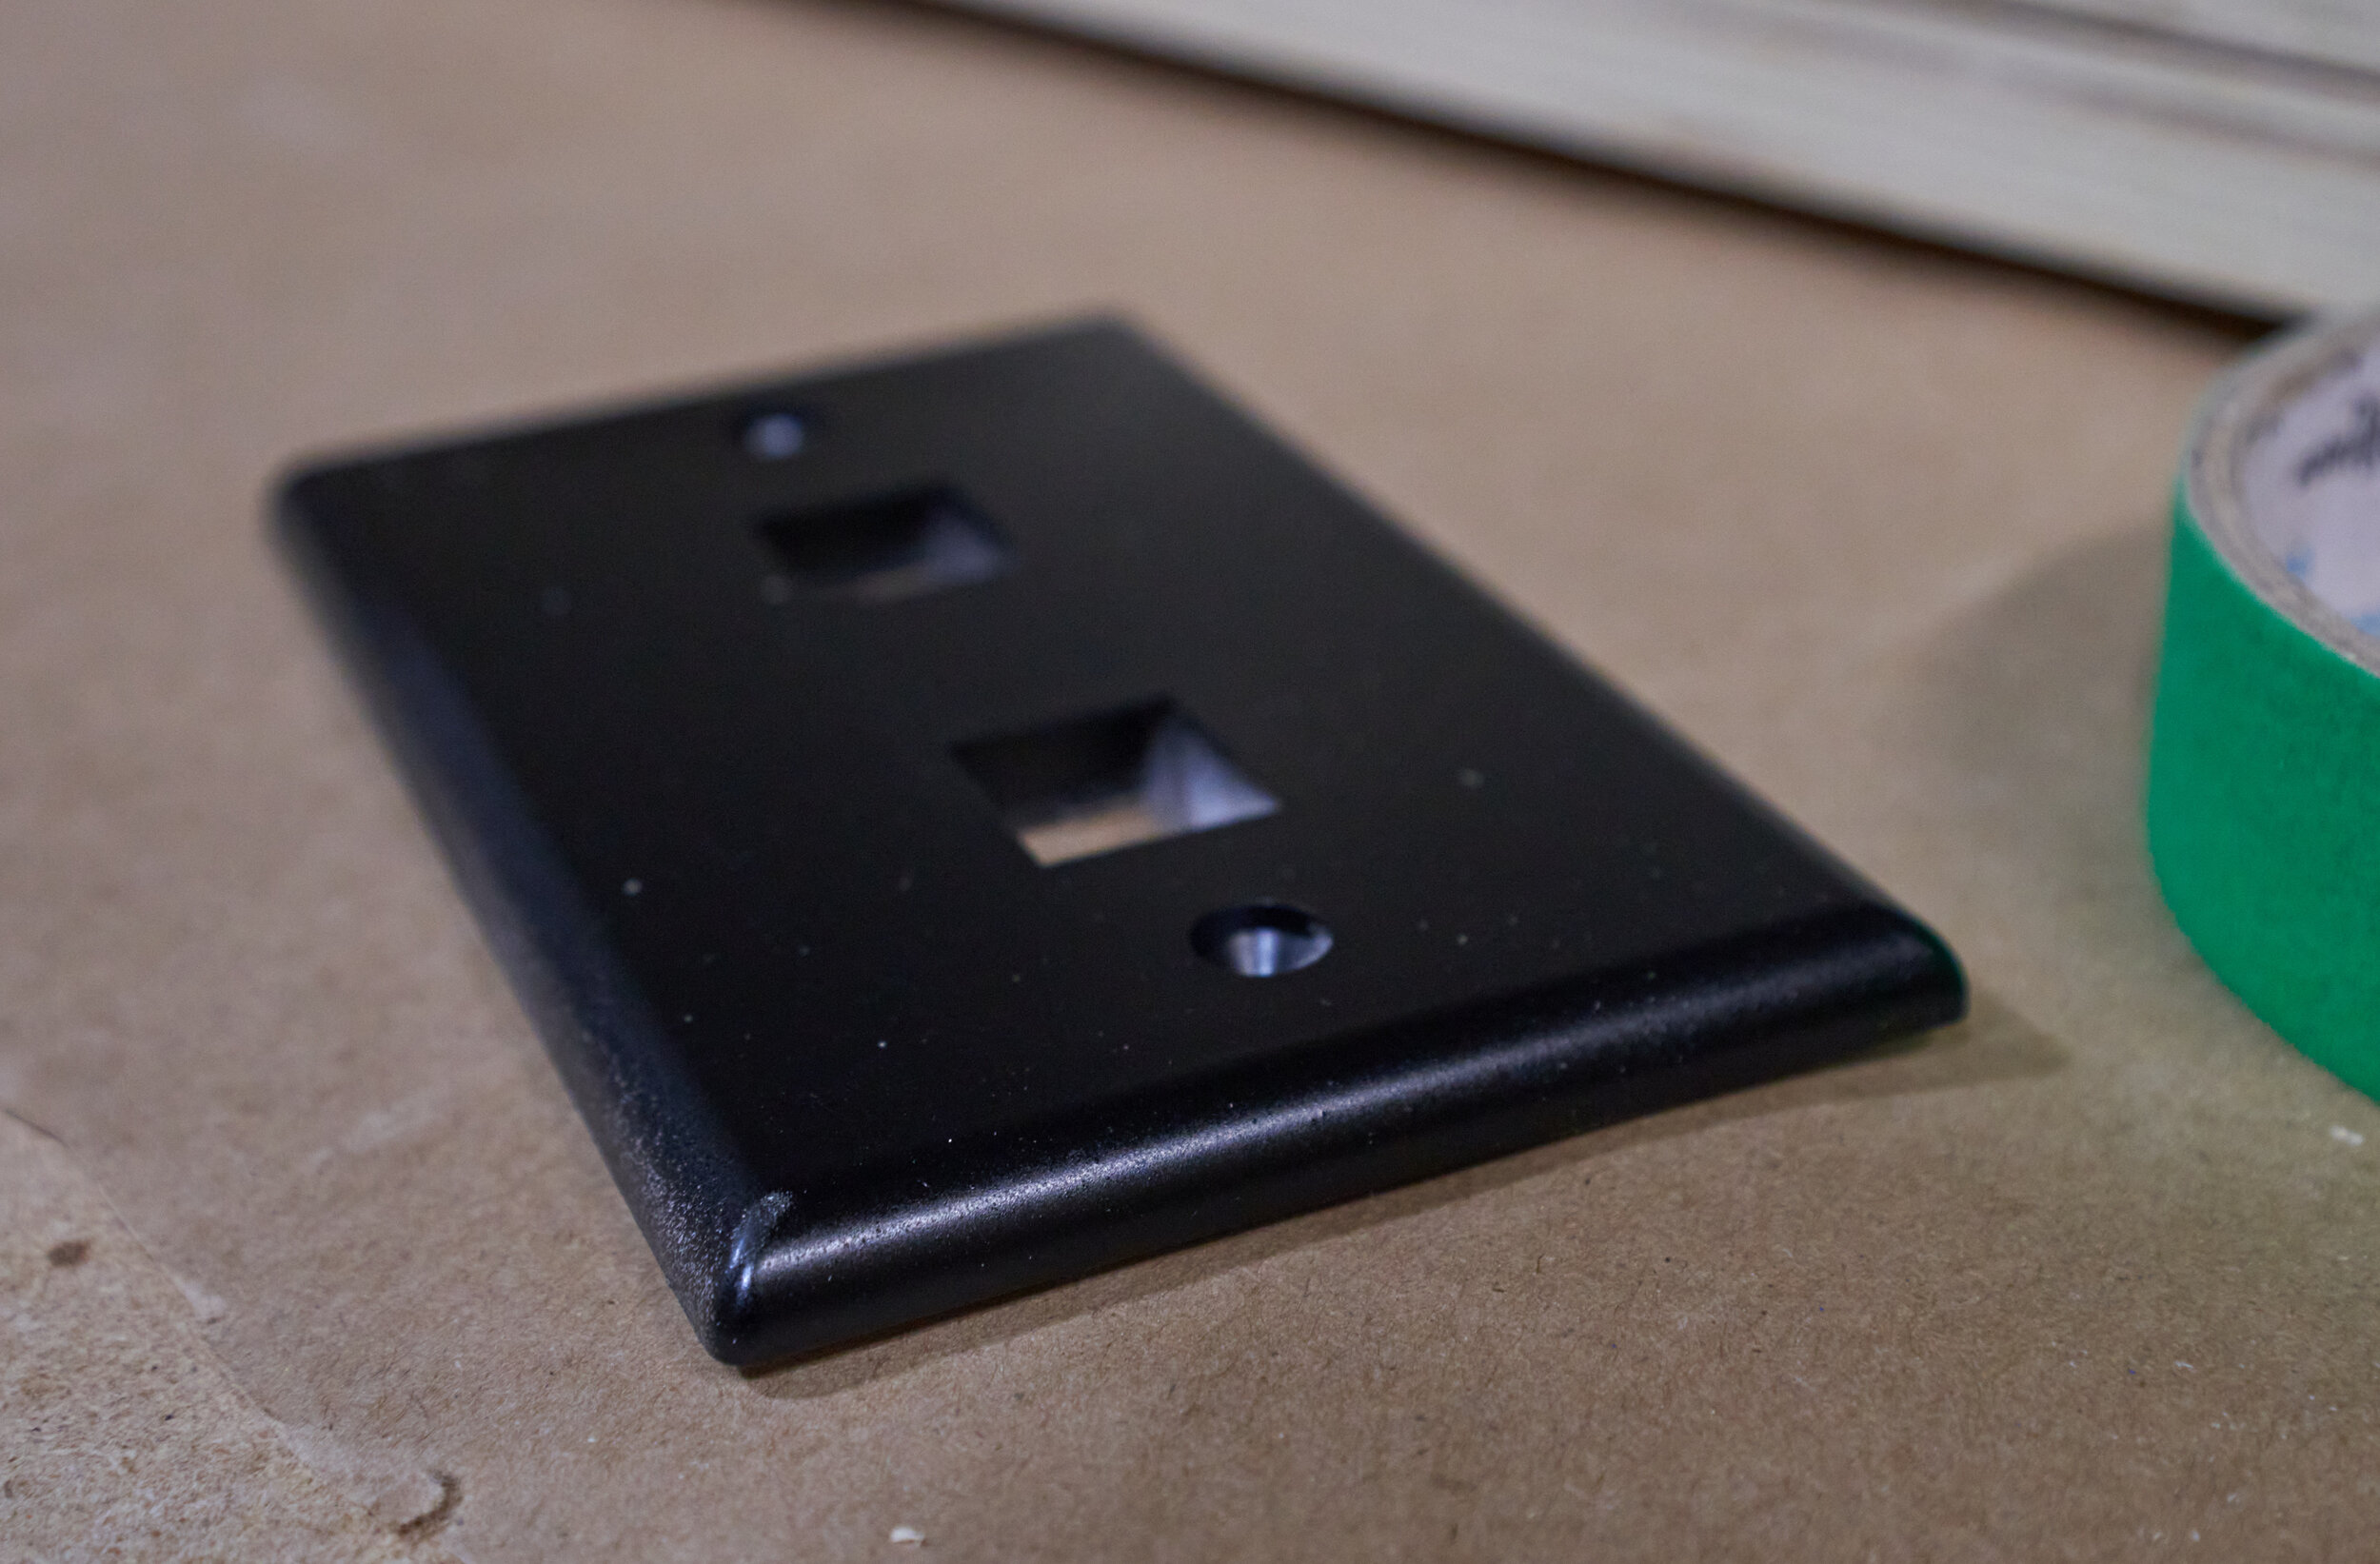
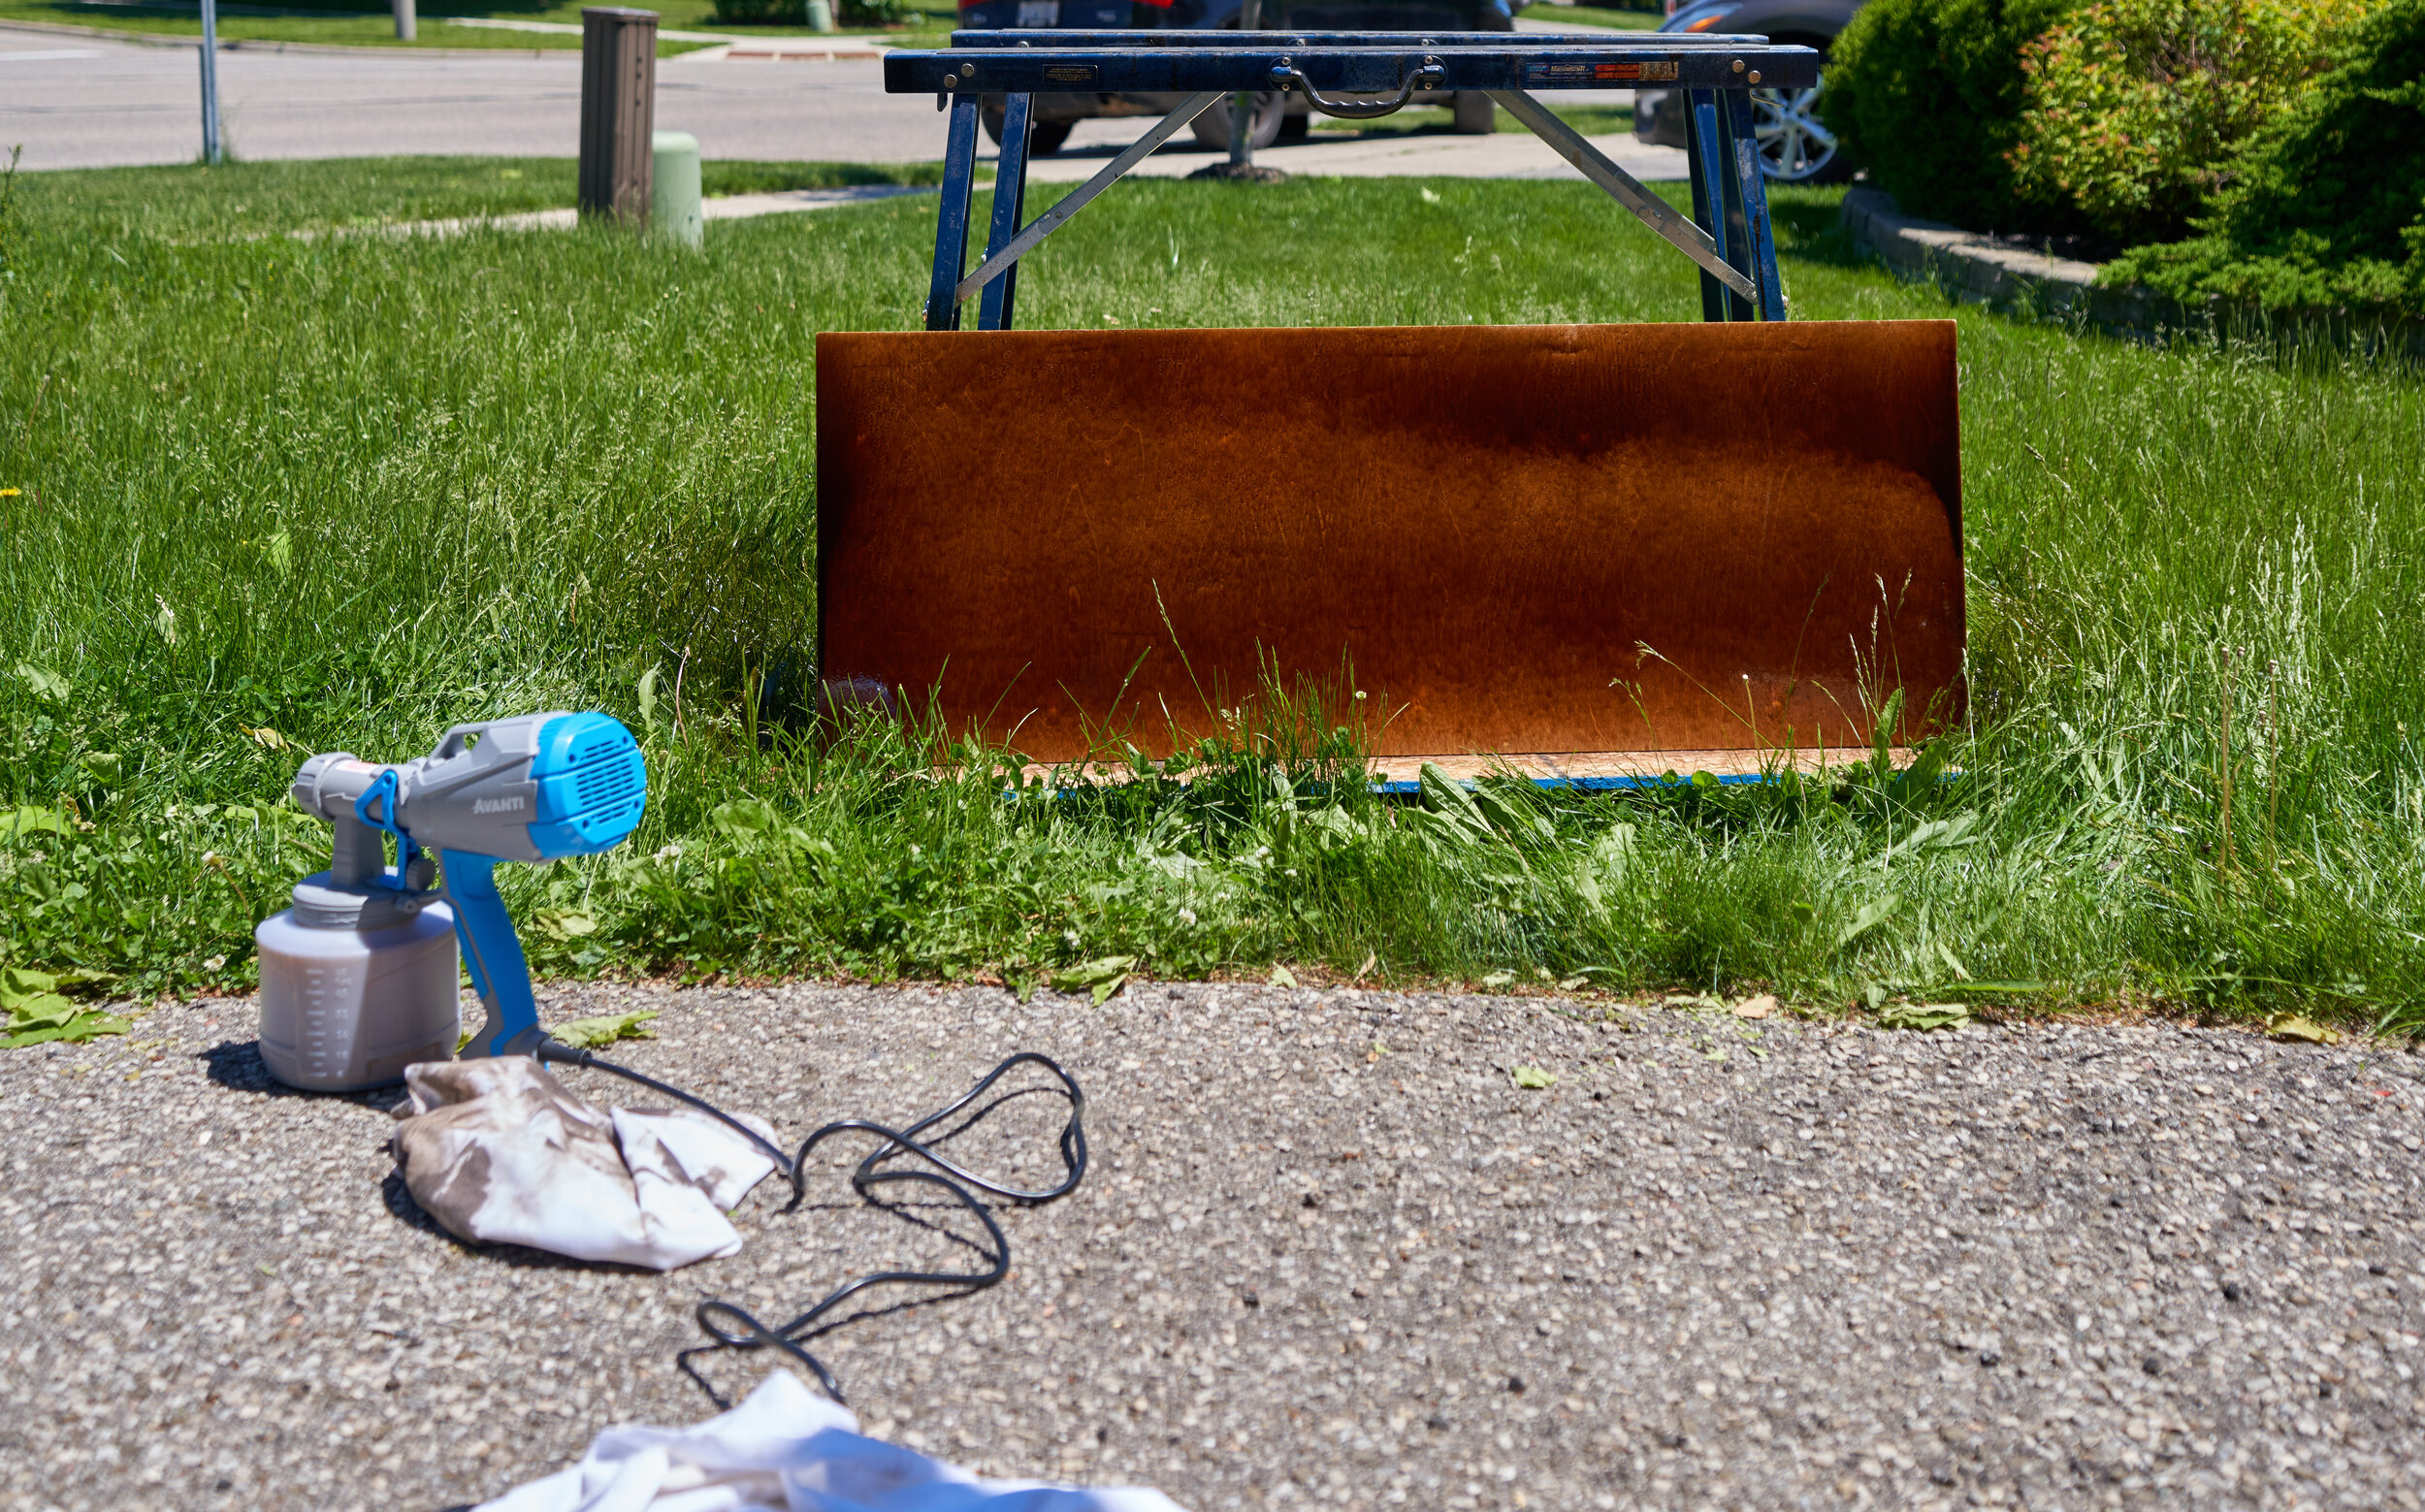
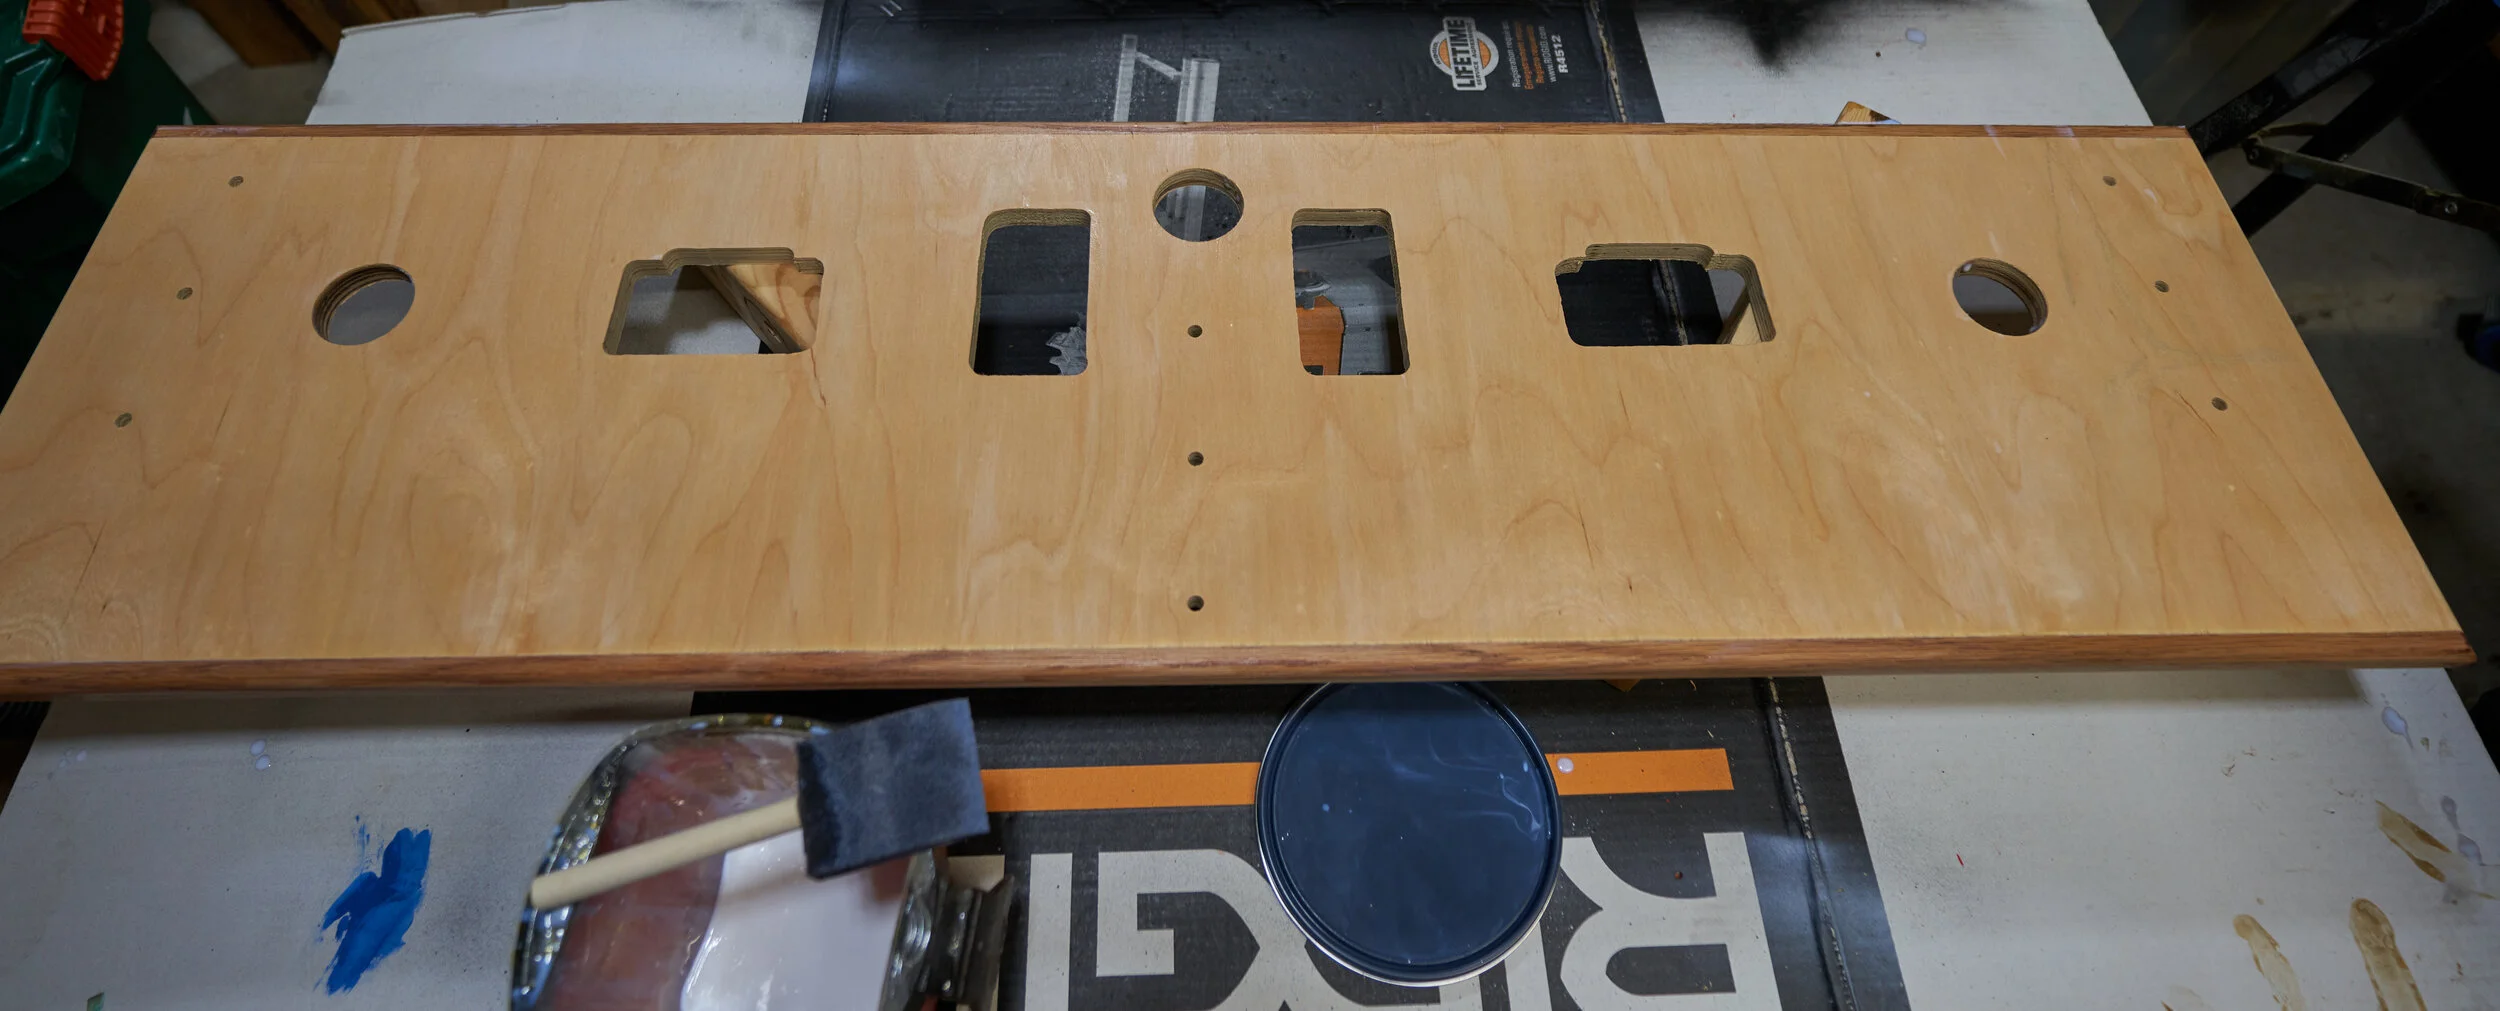
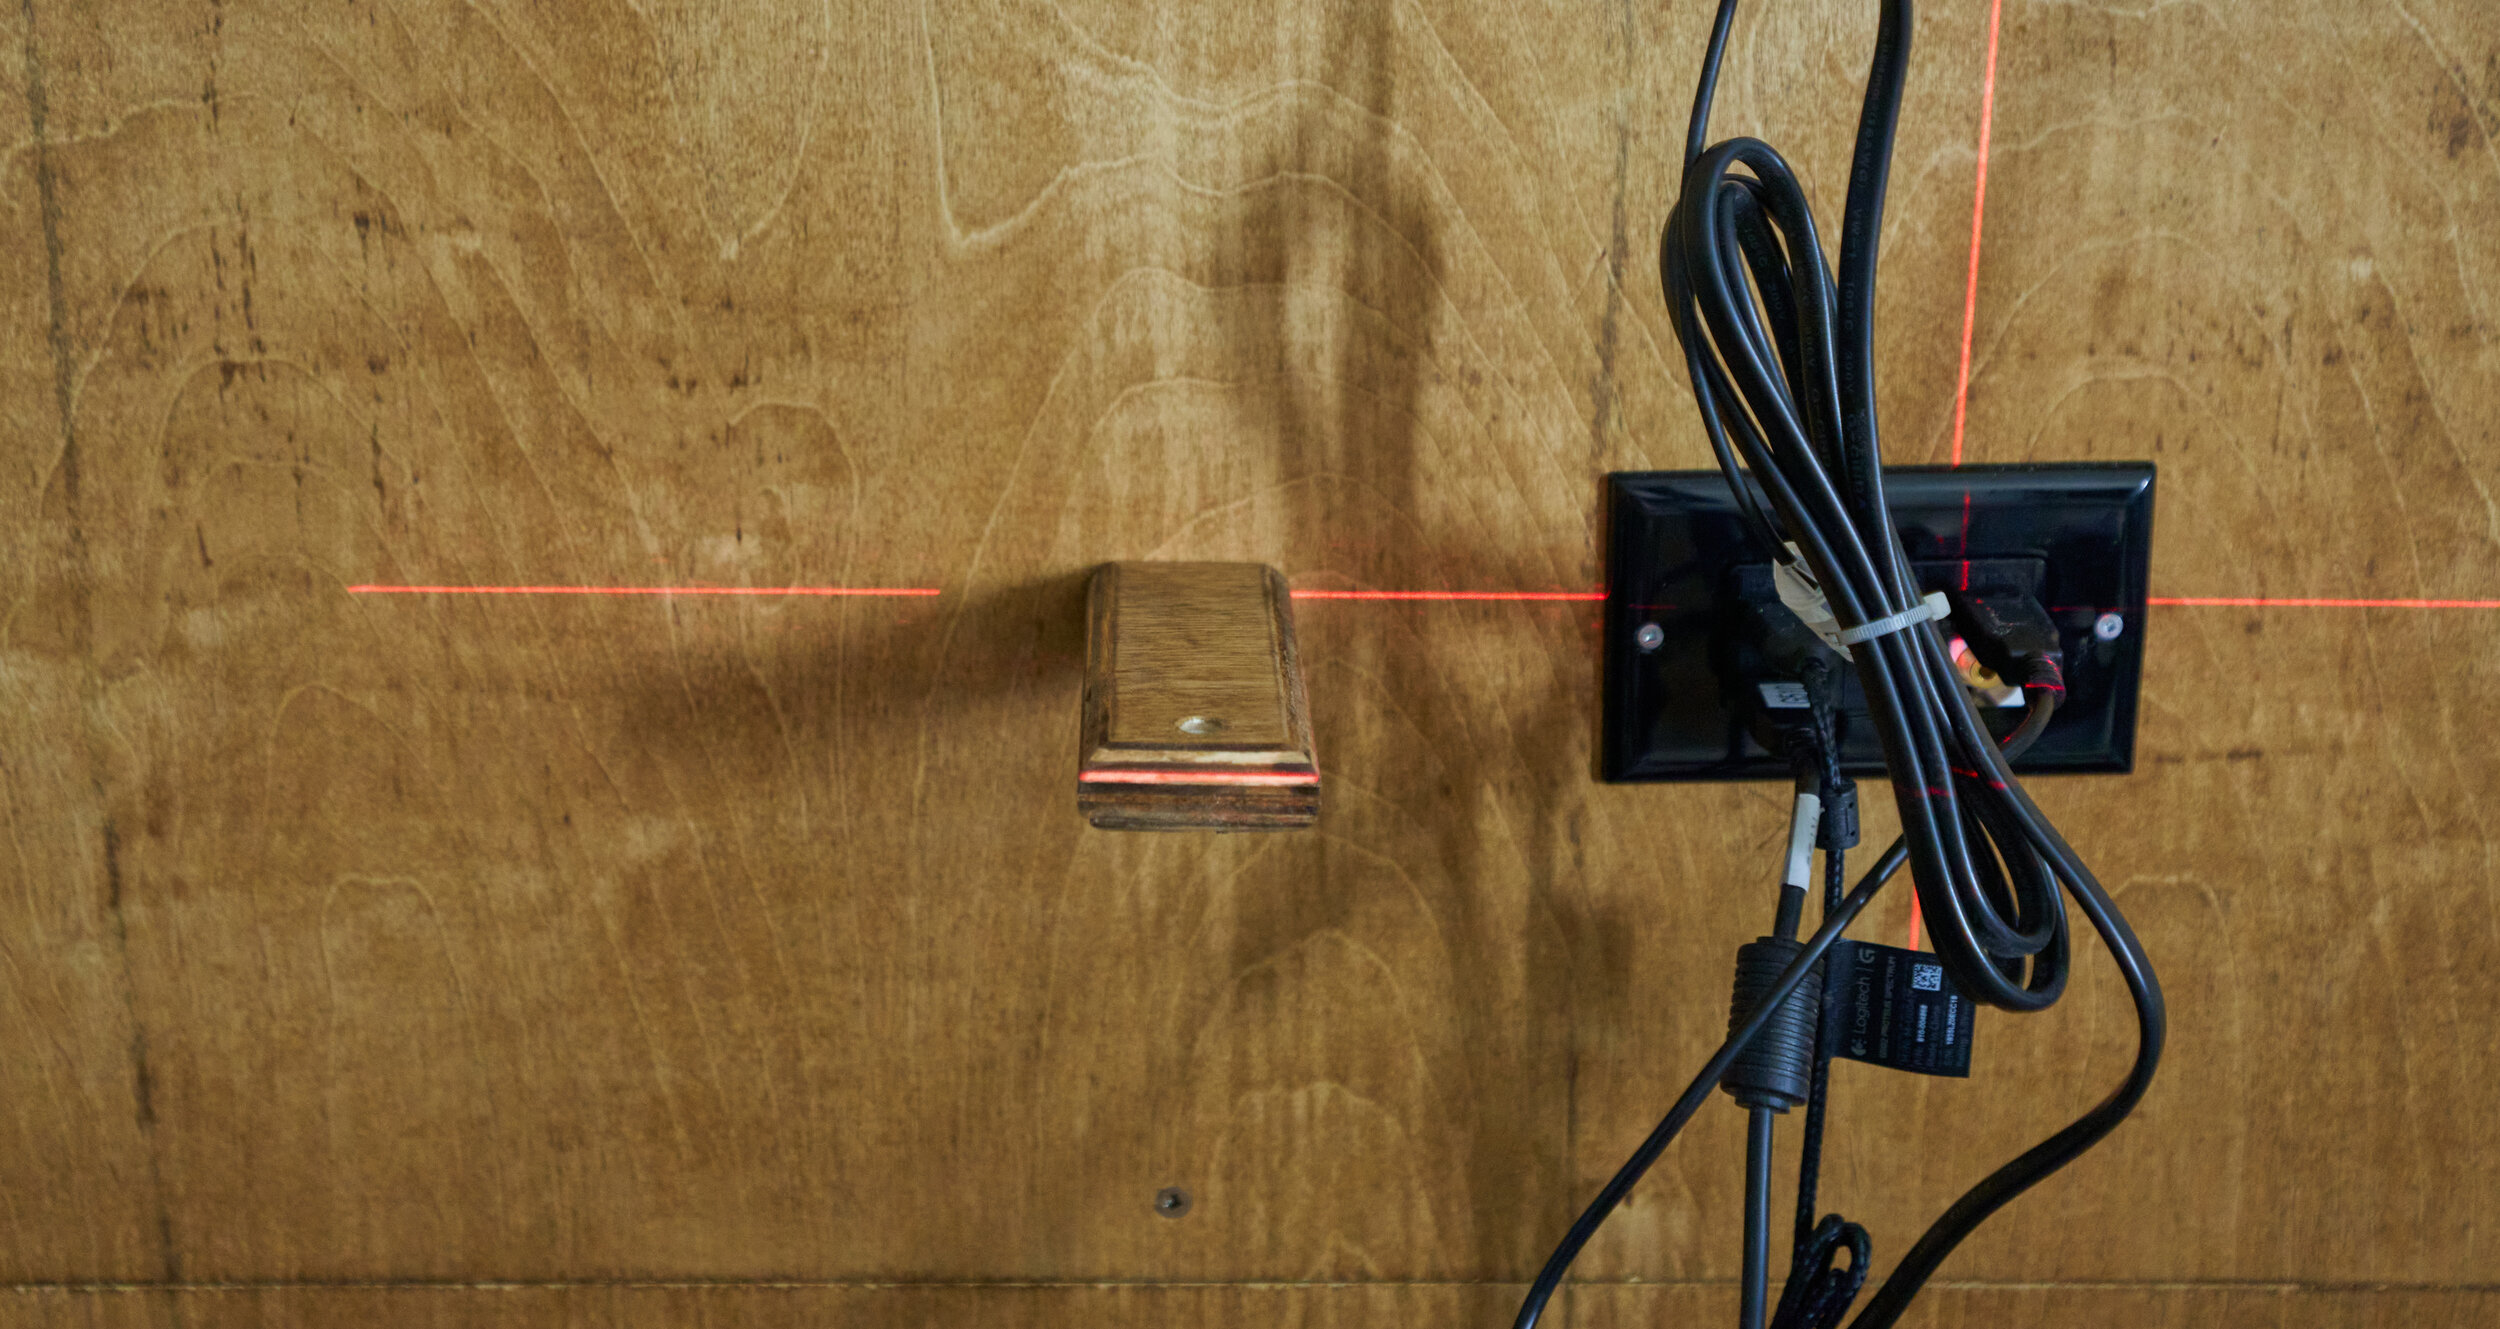
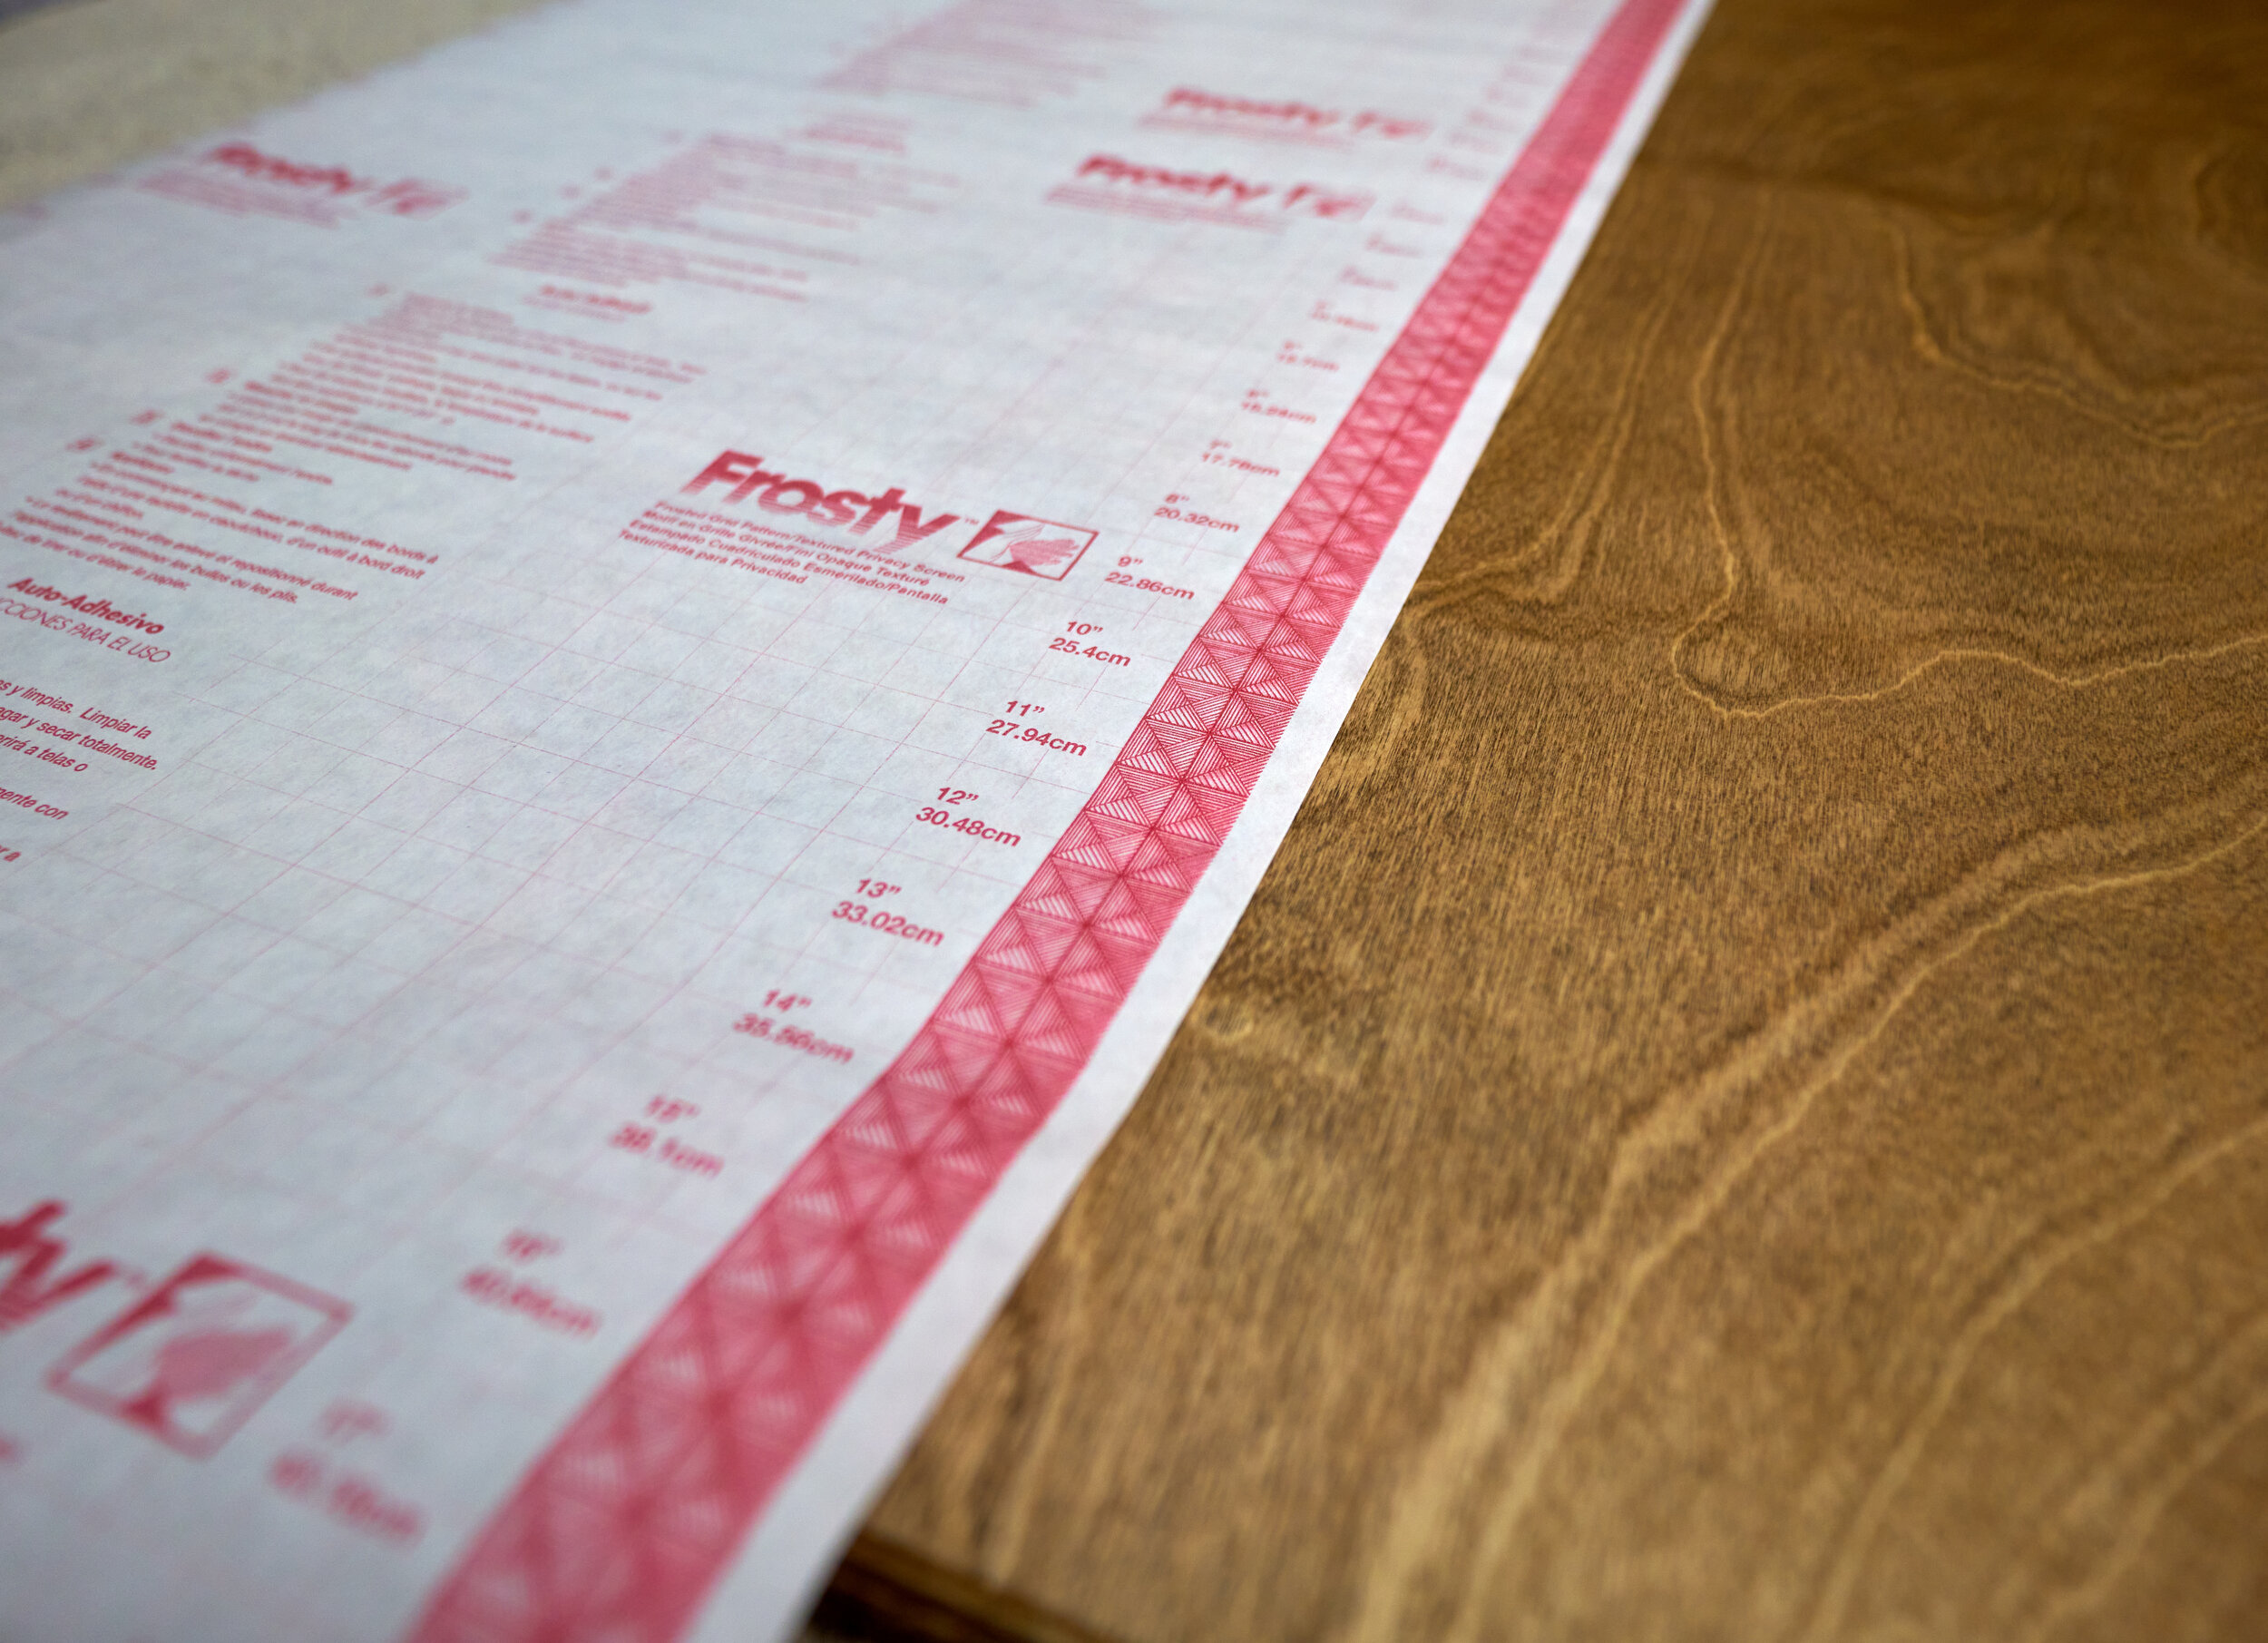
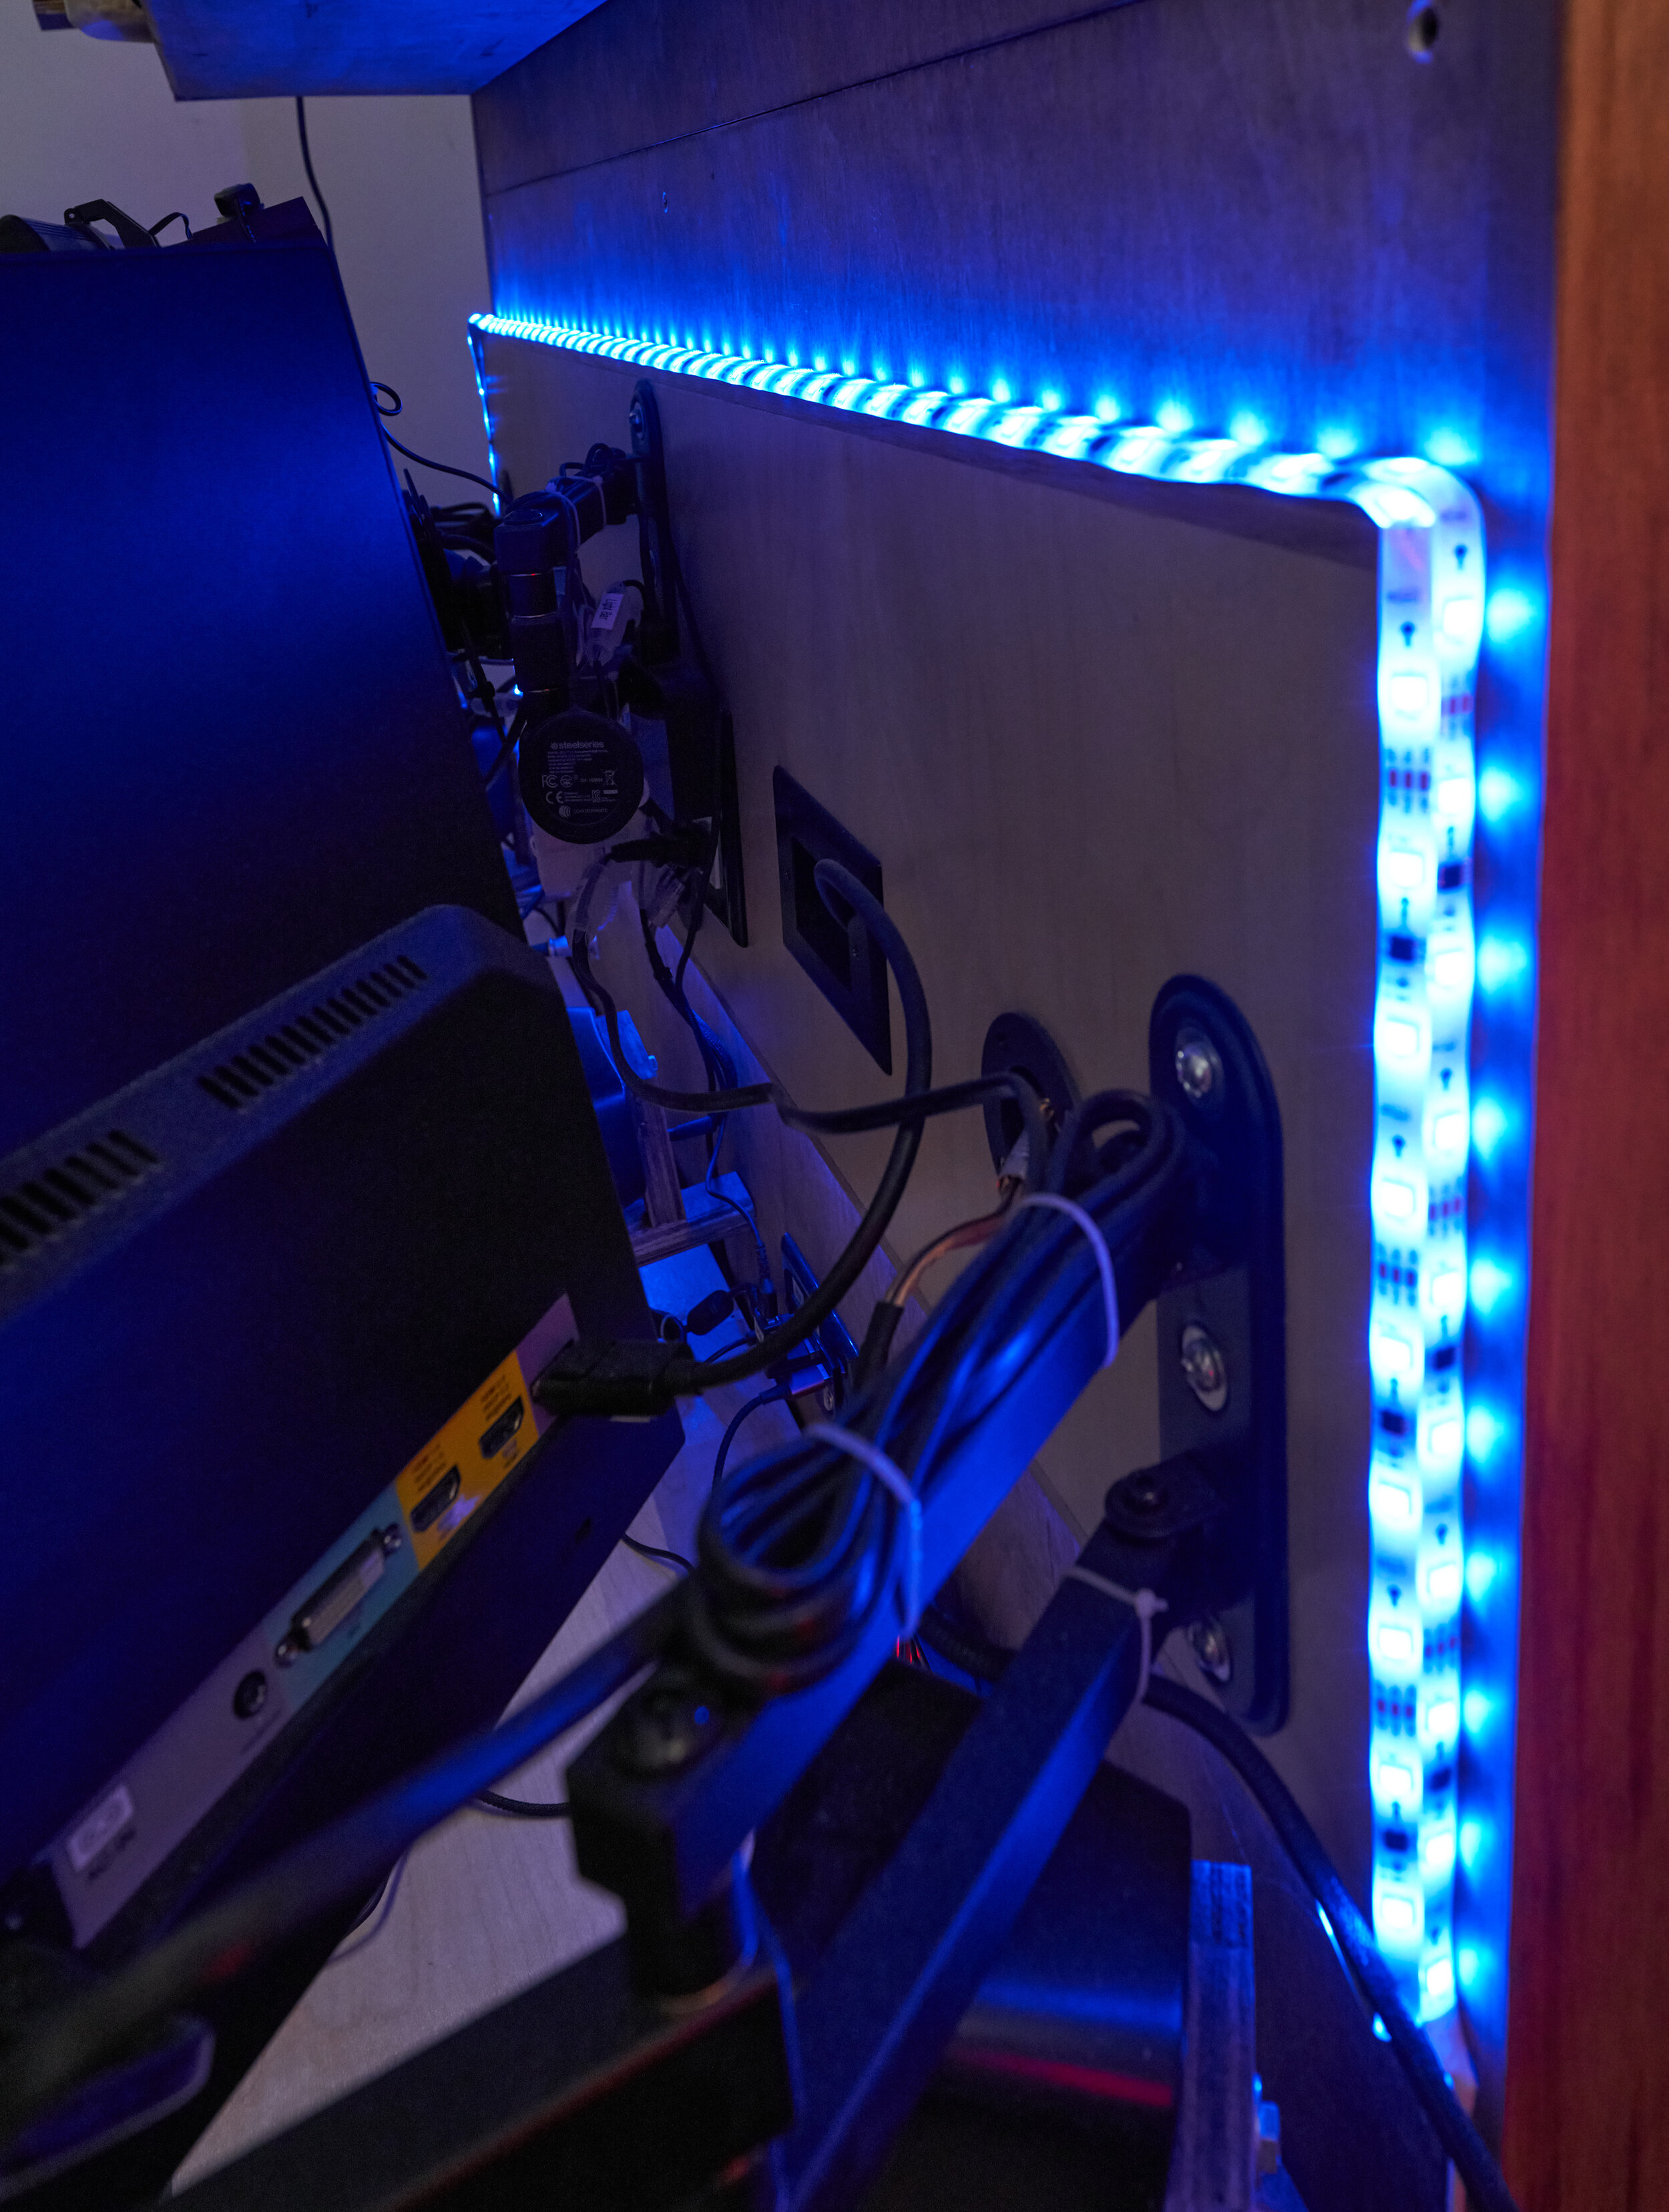
Step 4: Applying finish & rough wiring
Coming off a high from finally finishing with the hole cutting festival, this was an upbeat step with lots of visual progress. The three major sub-steps were:
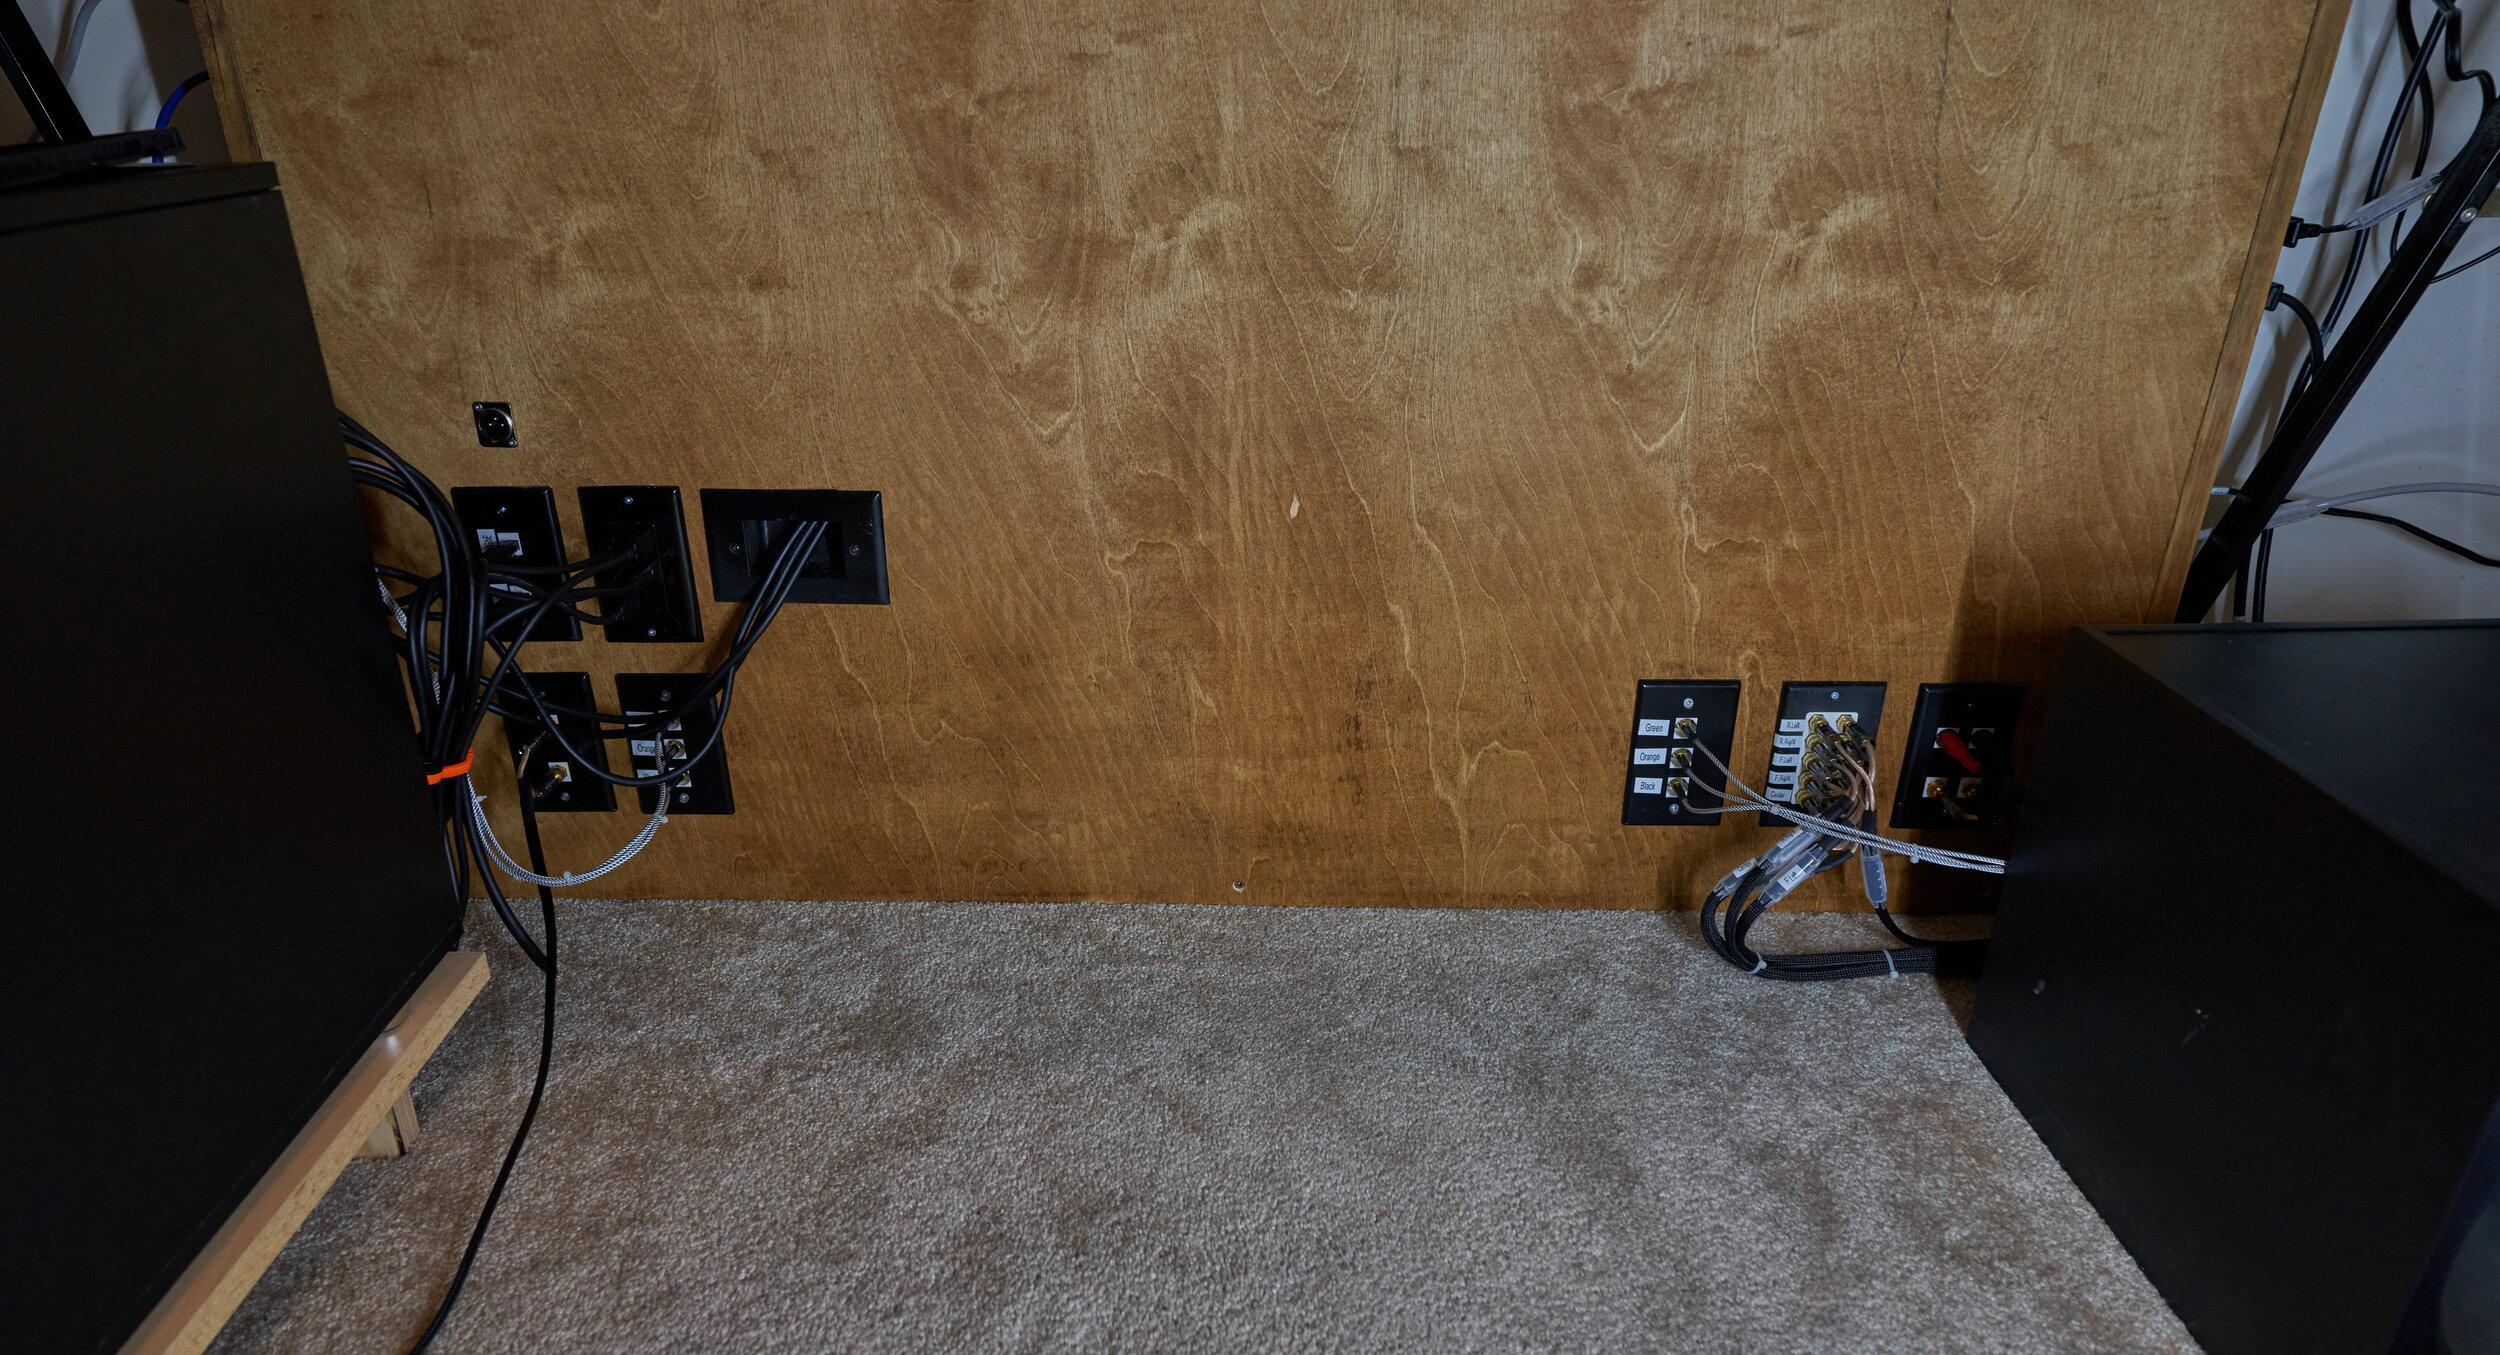
Roughing in the wires
Trimming out the desktop and the inset panel
Applying finish and sealer

Milestone 1
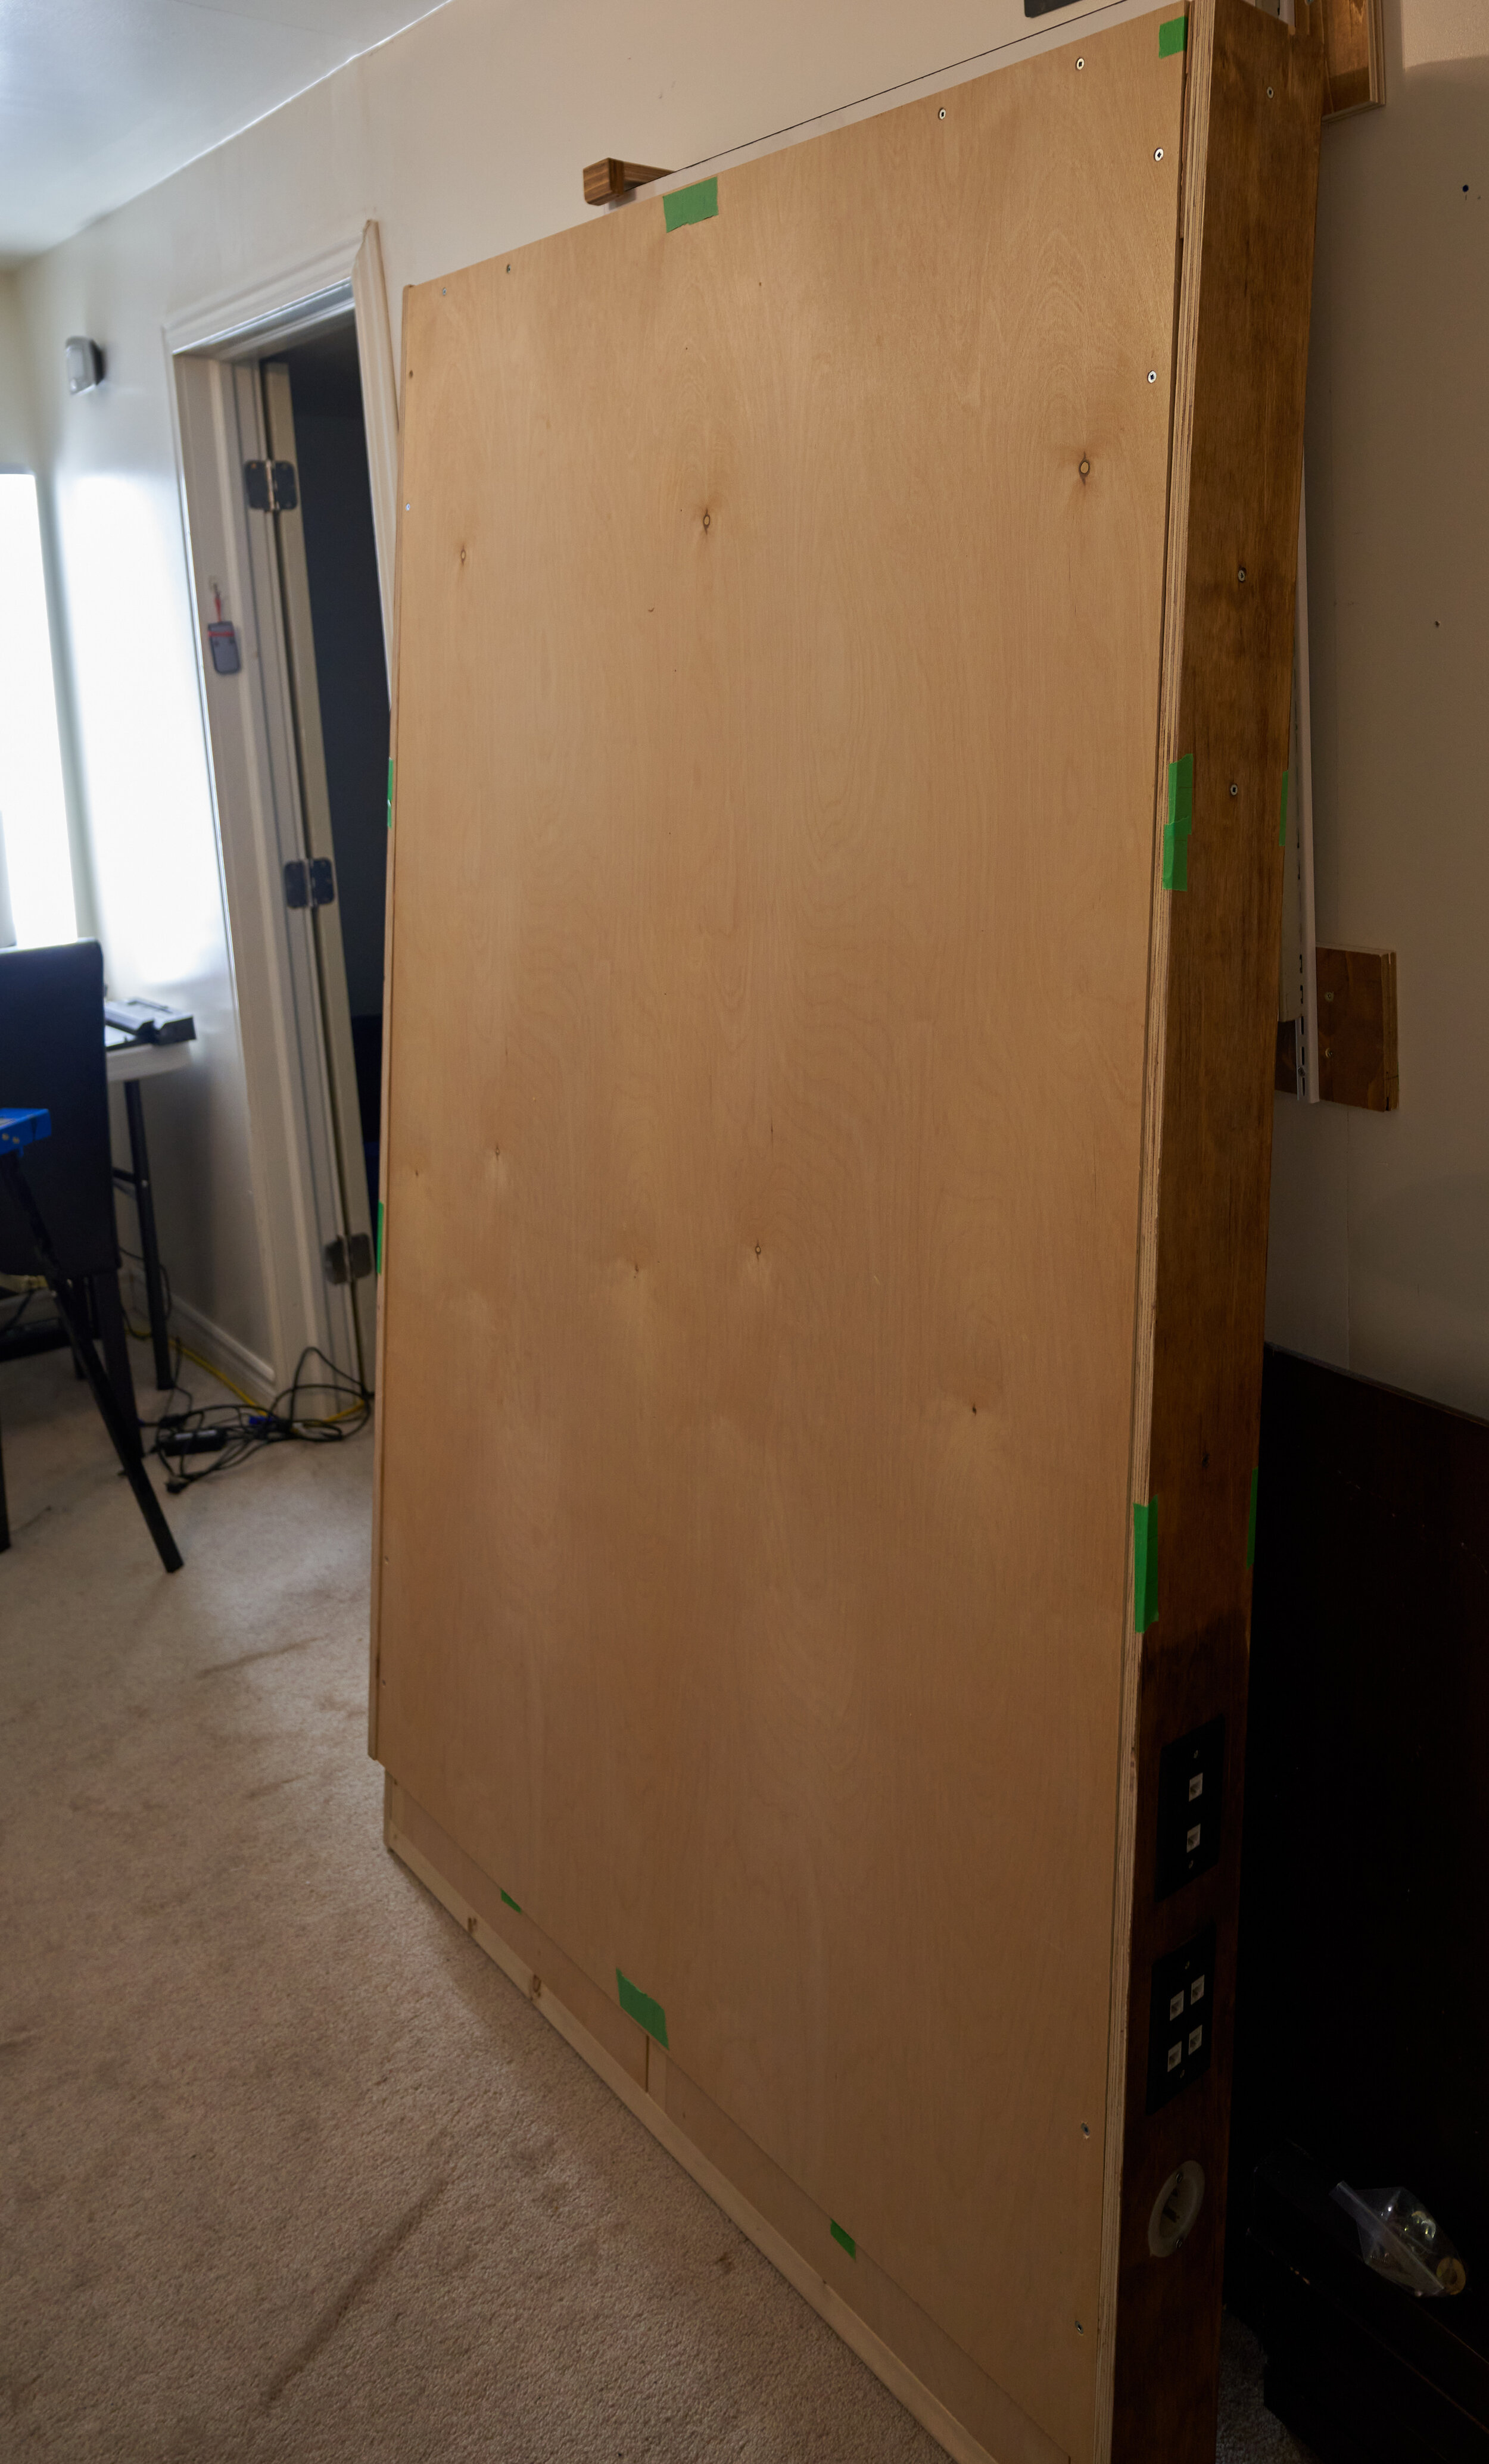
Finally. We’re getting the faux-wall into the house.


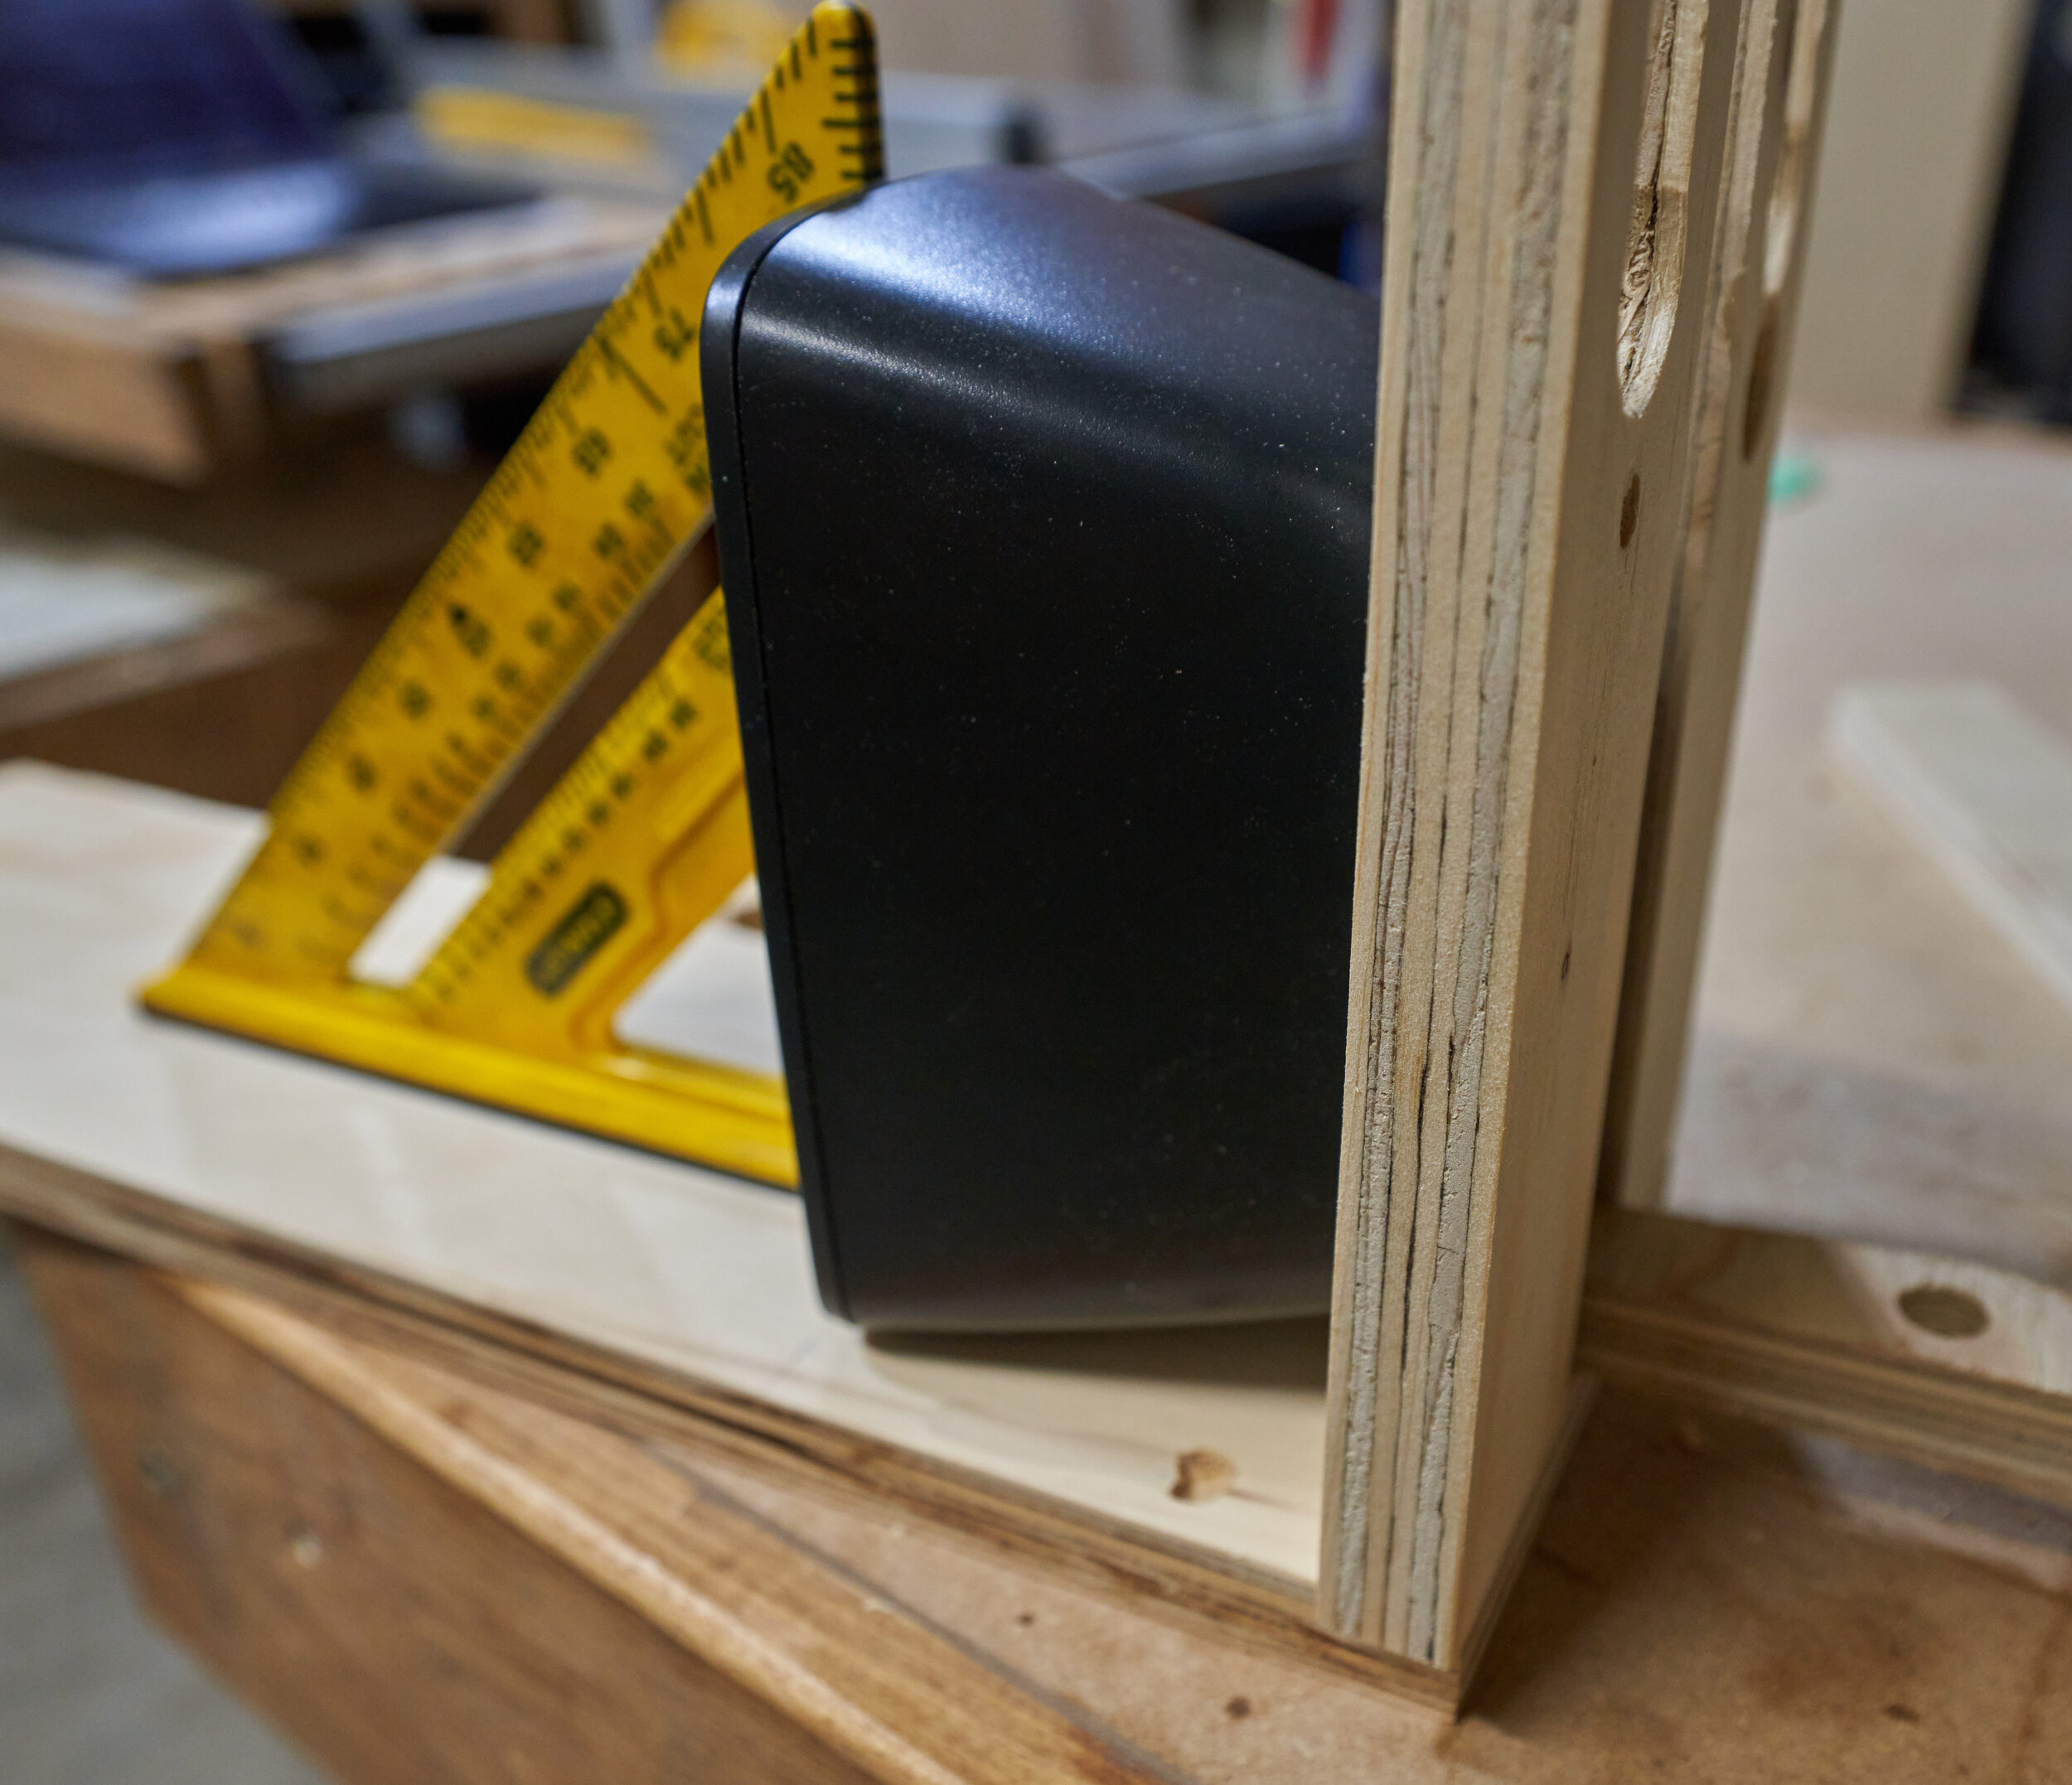
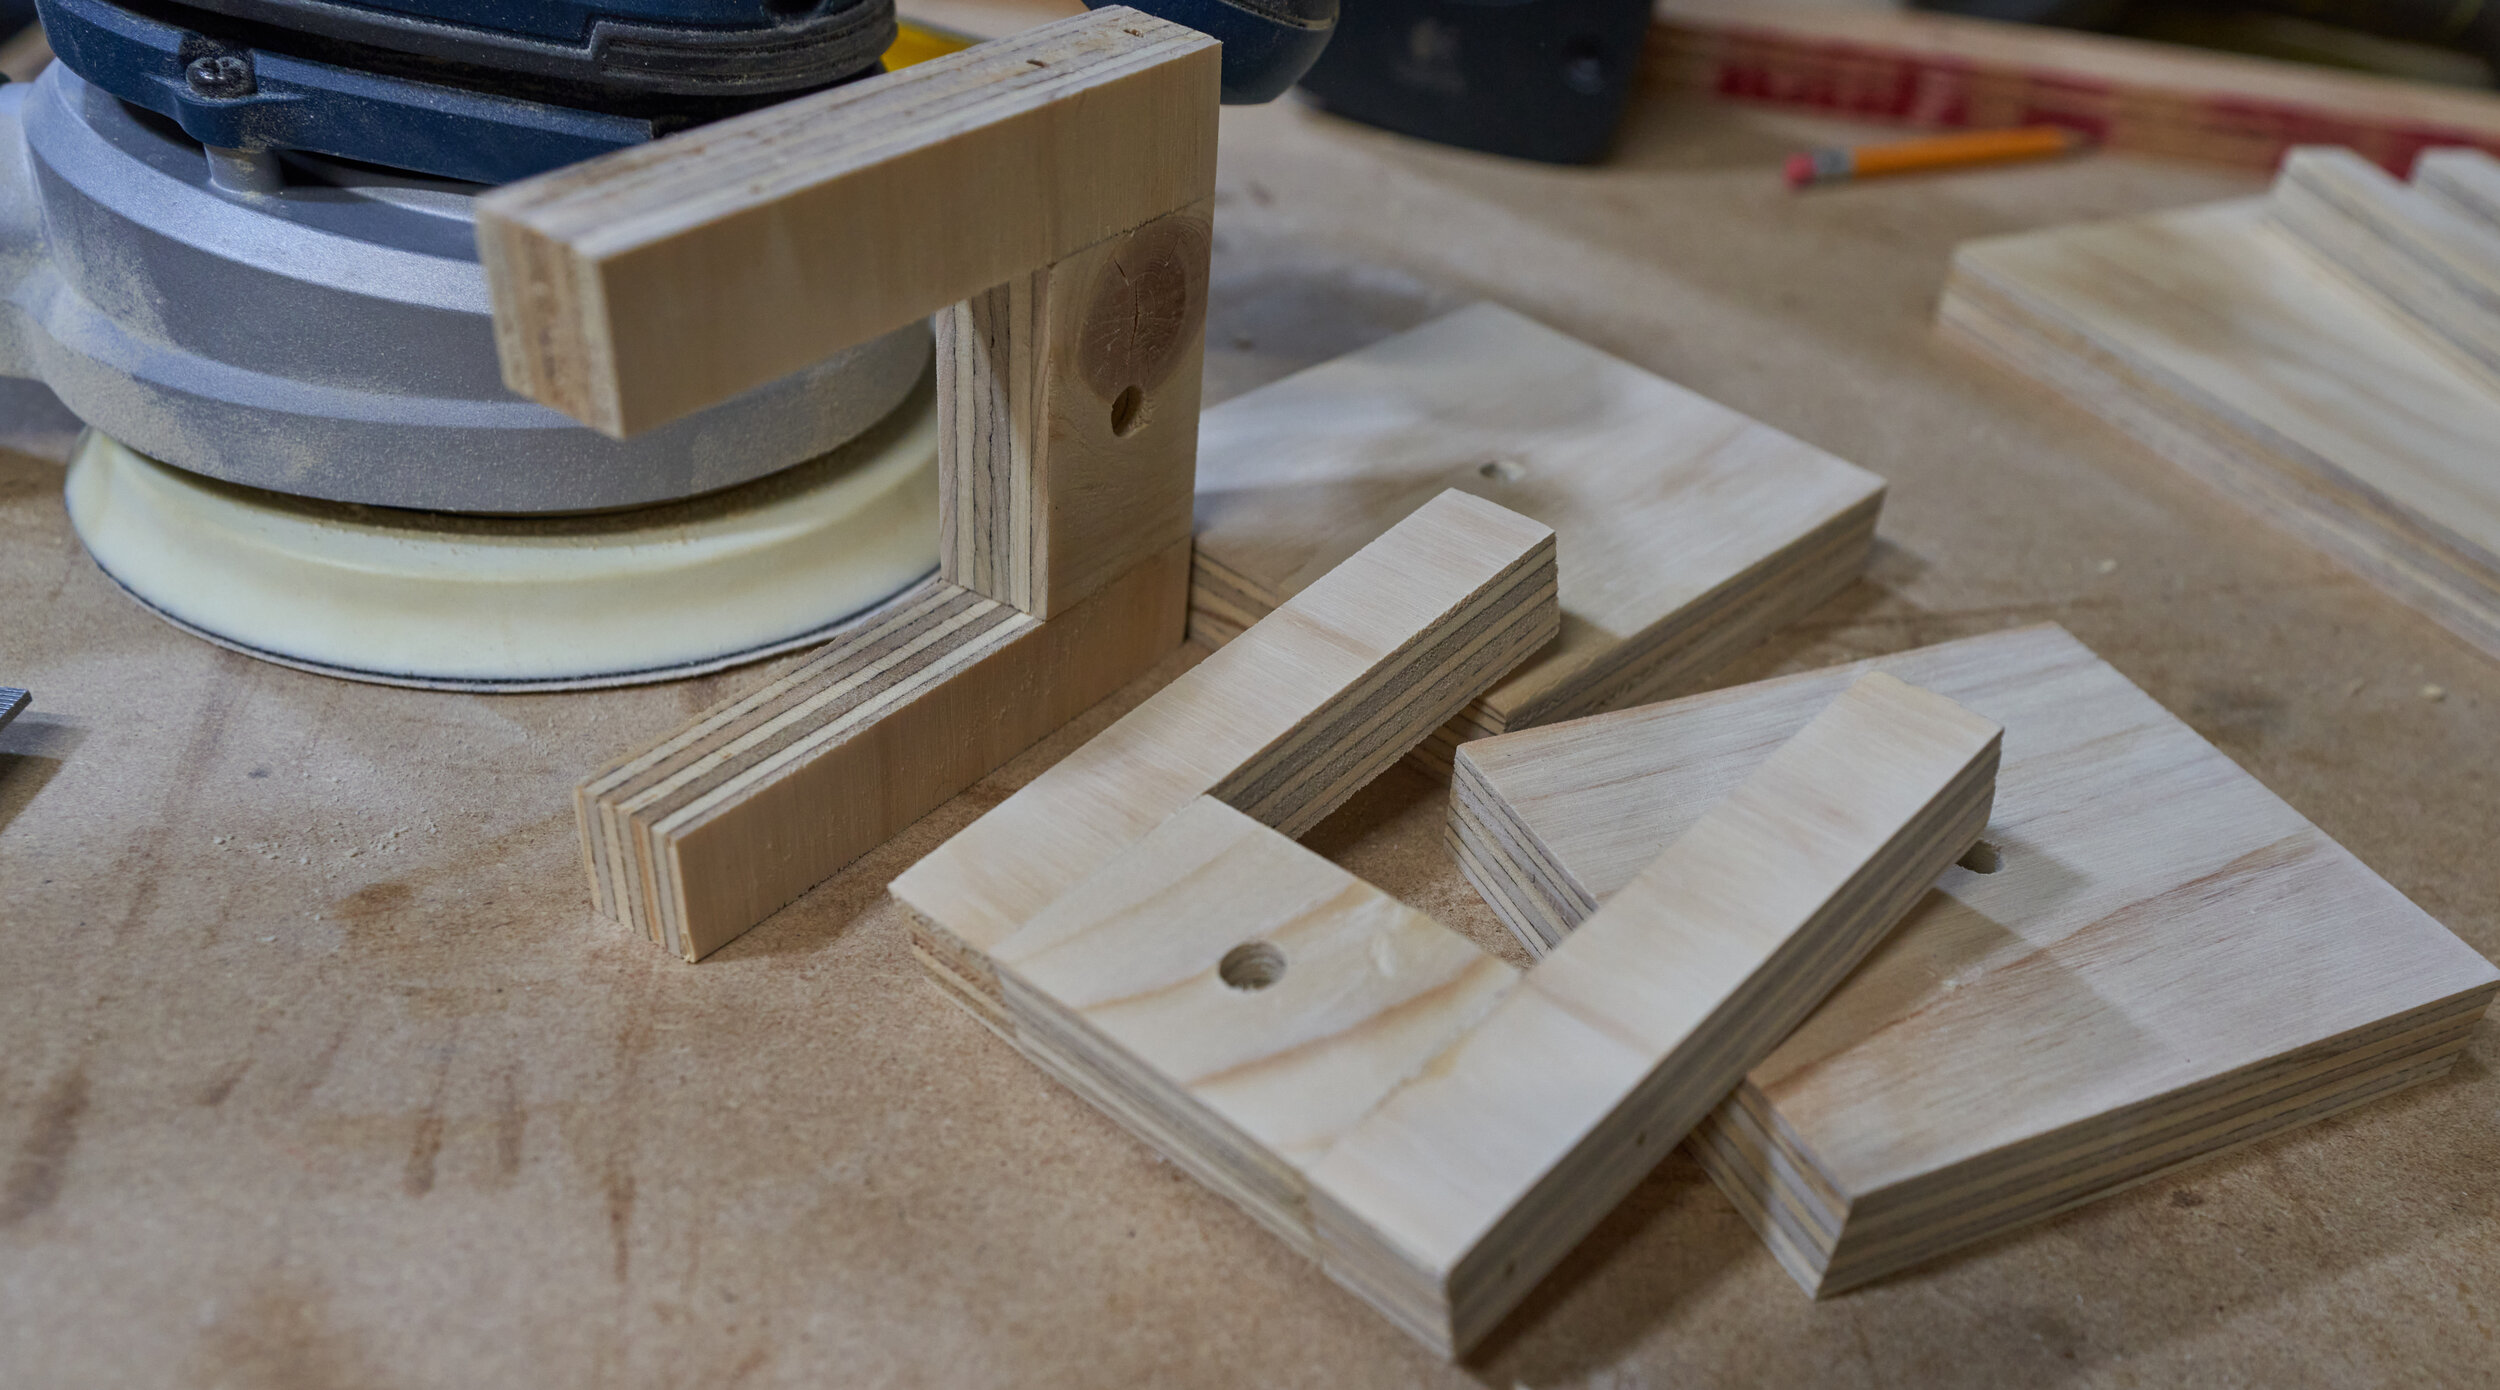
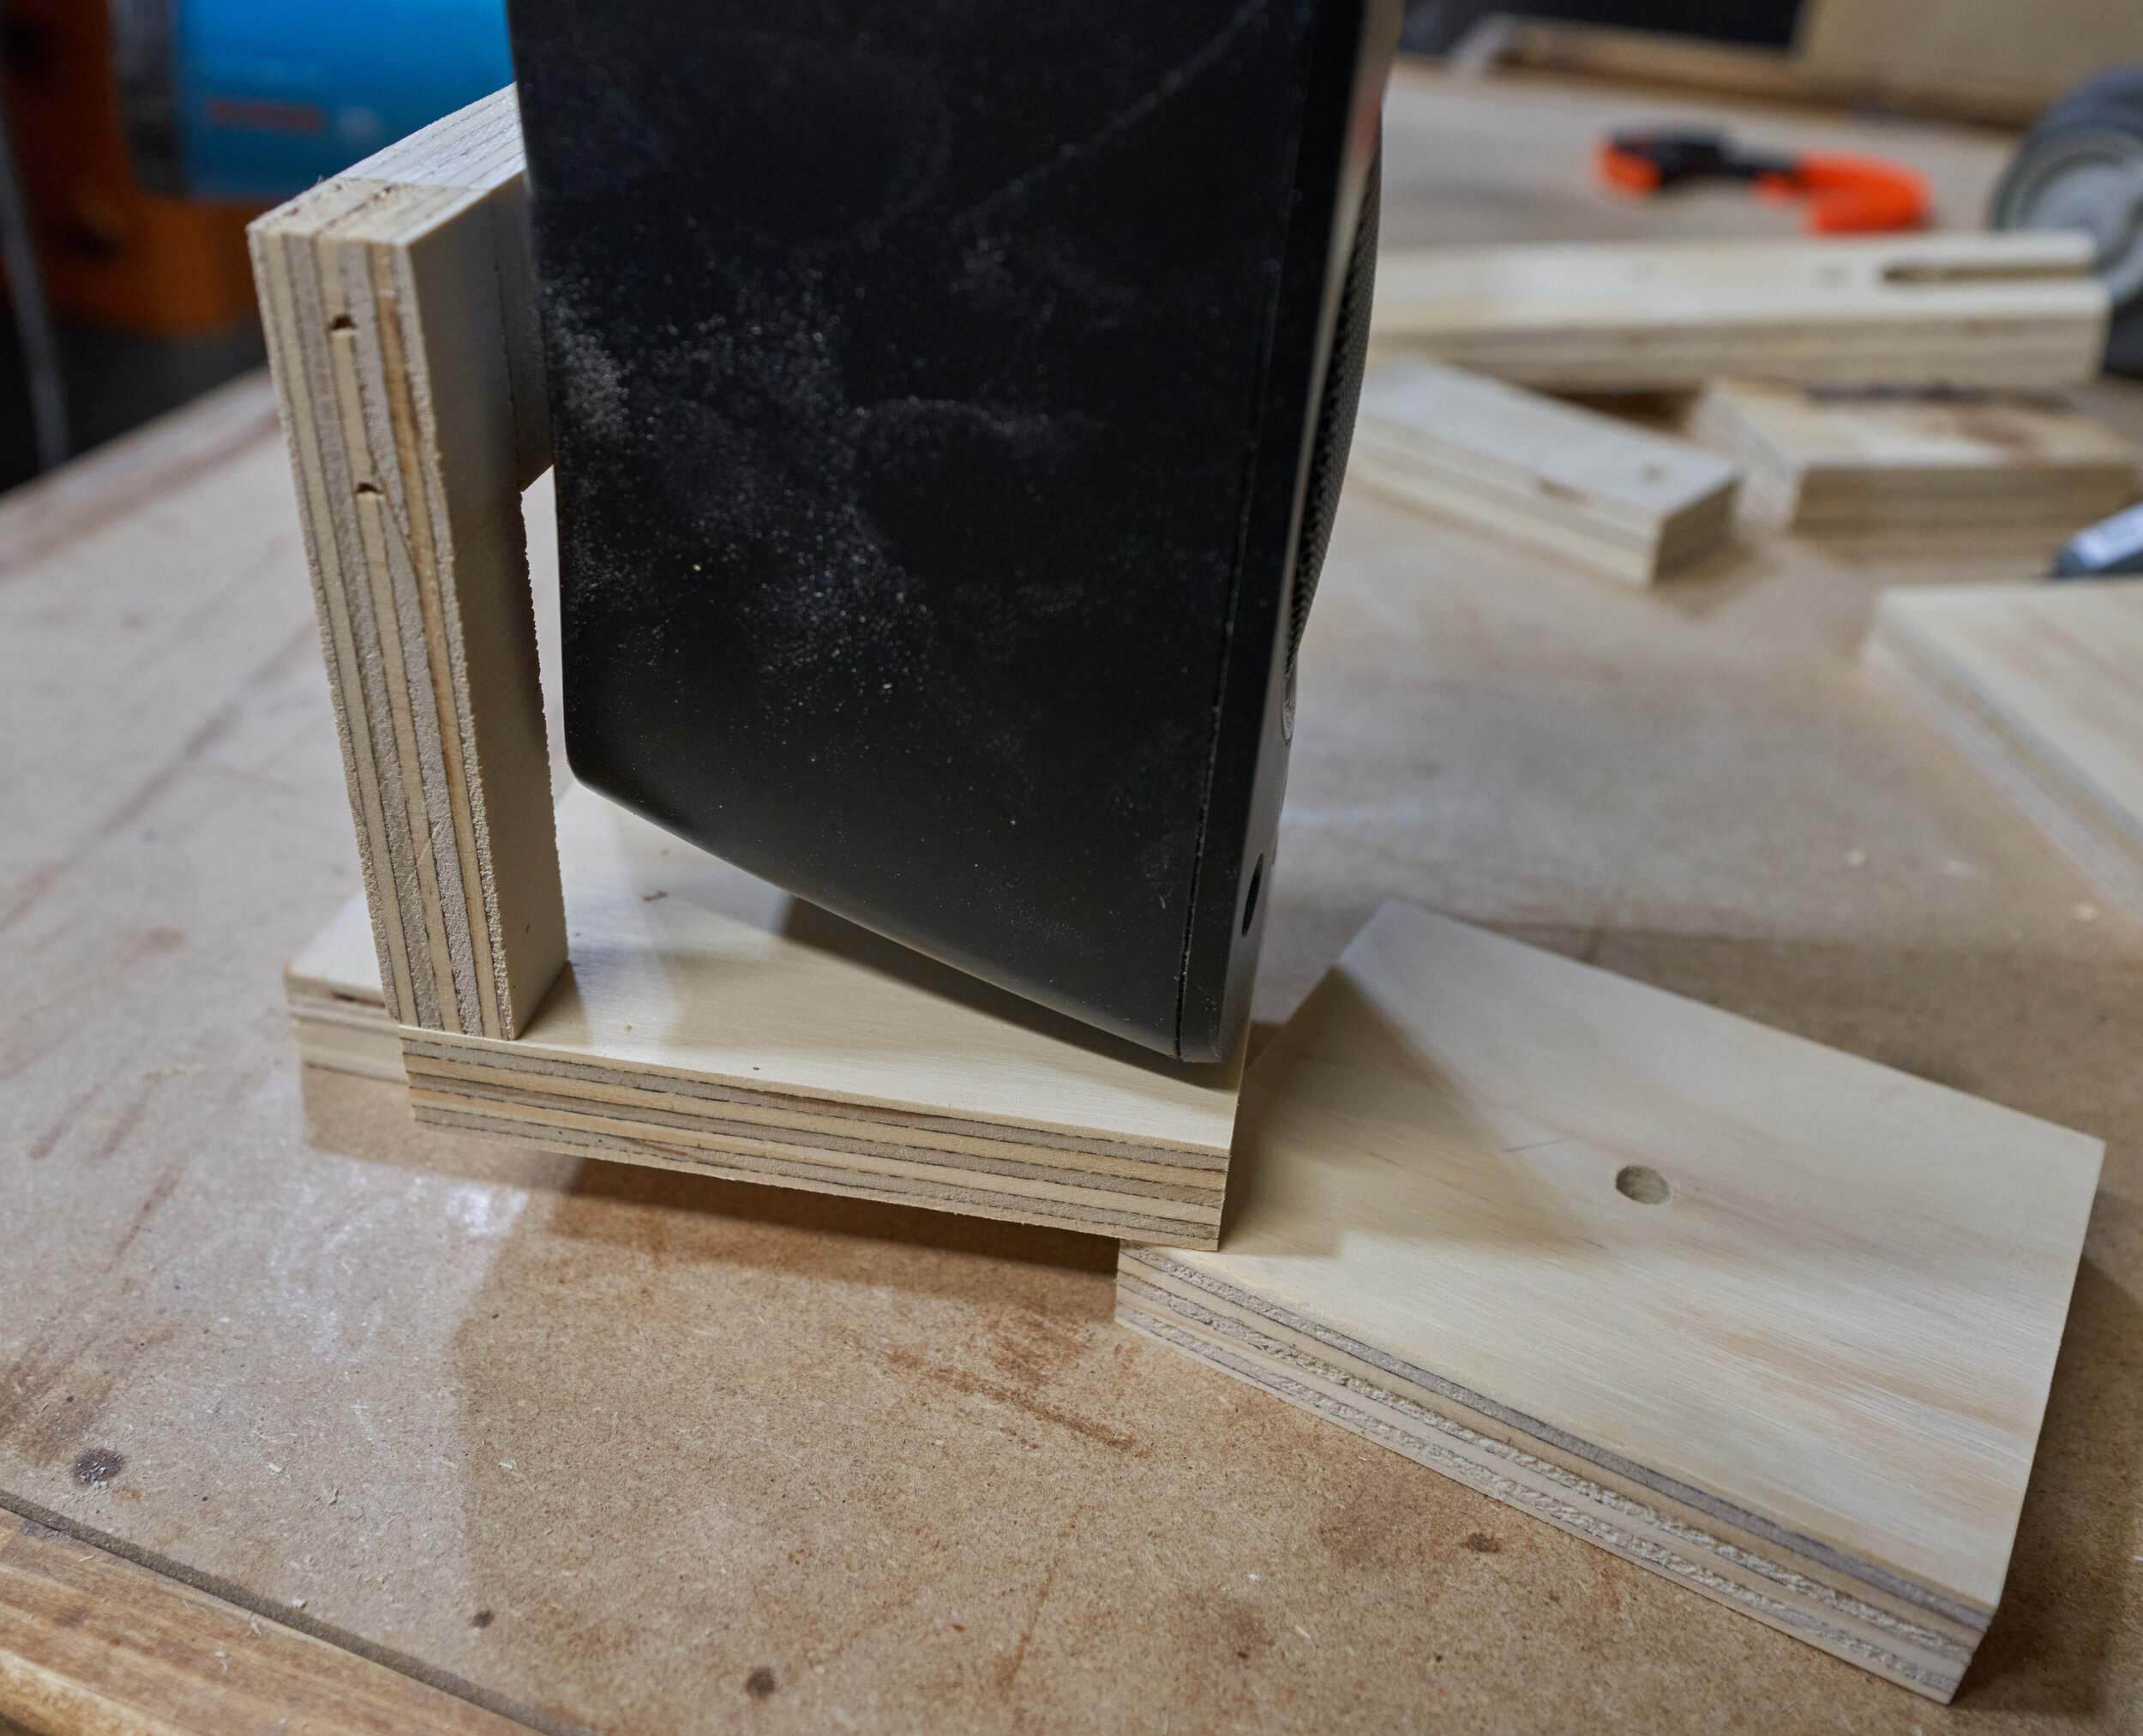
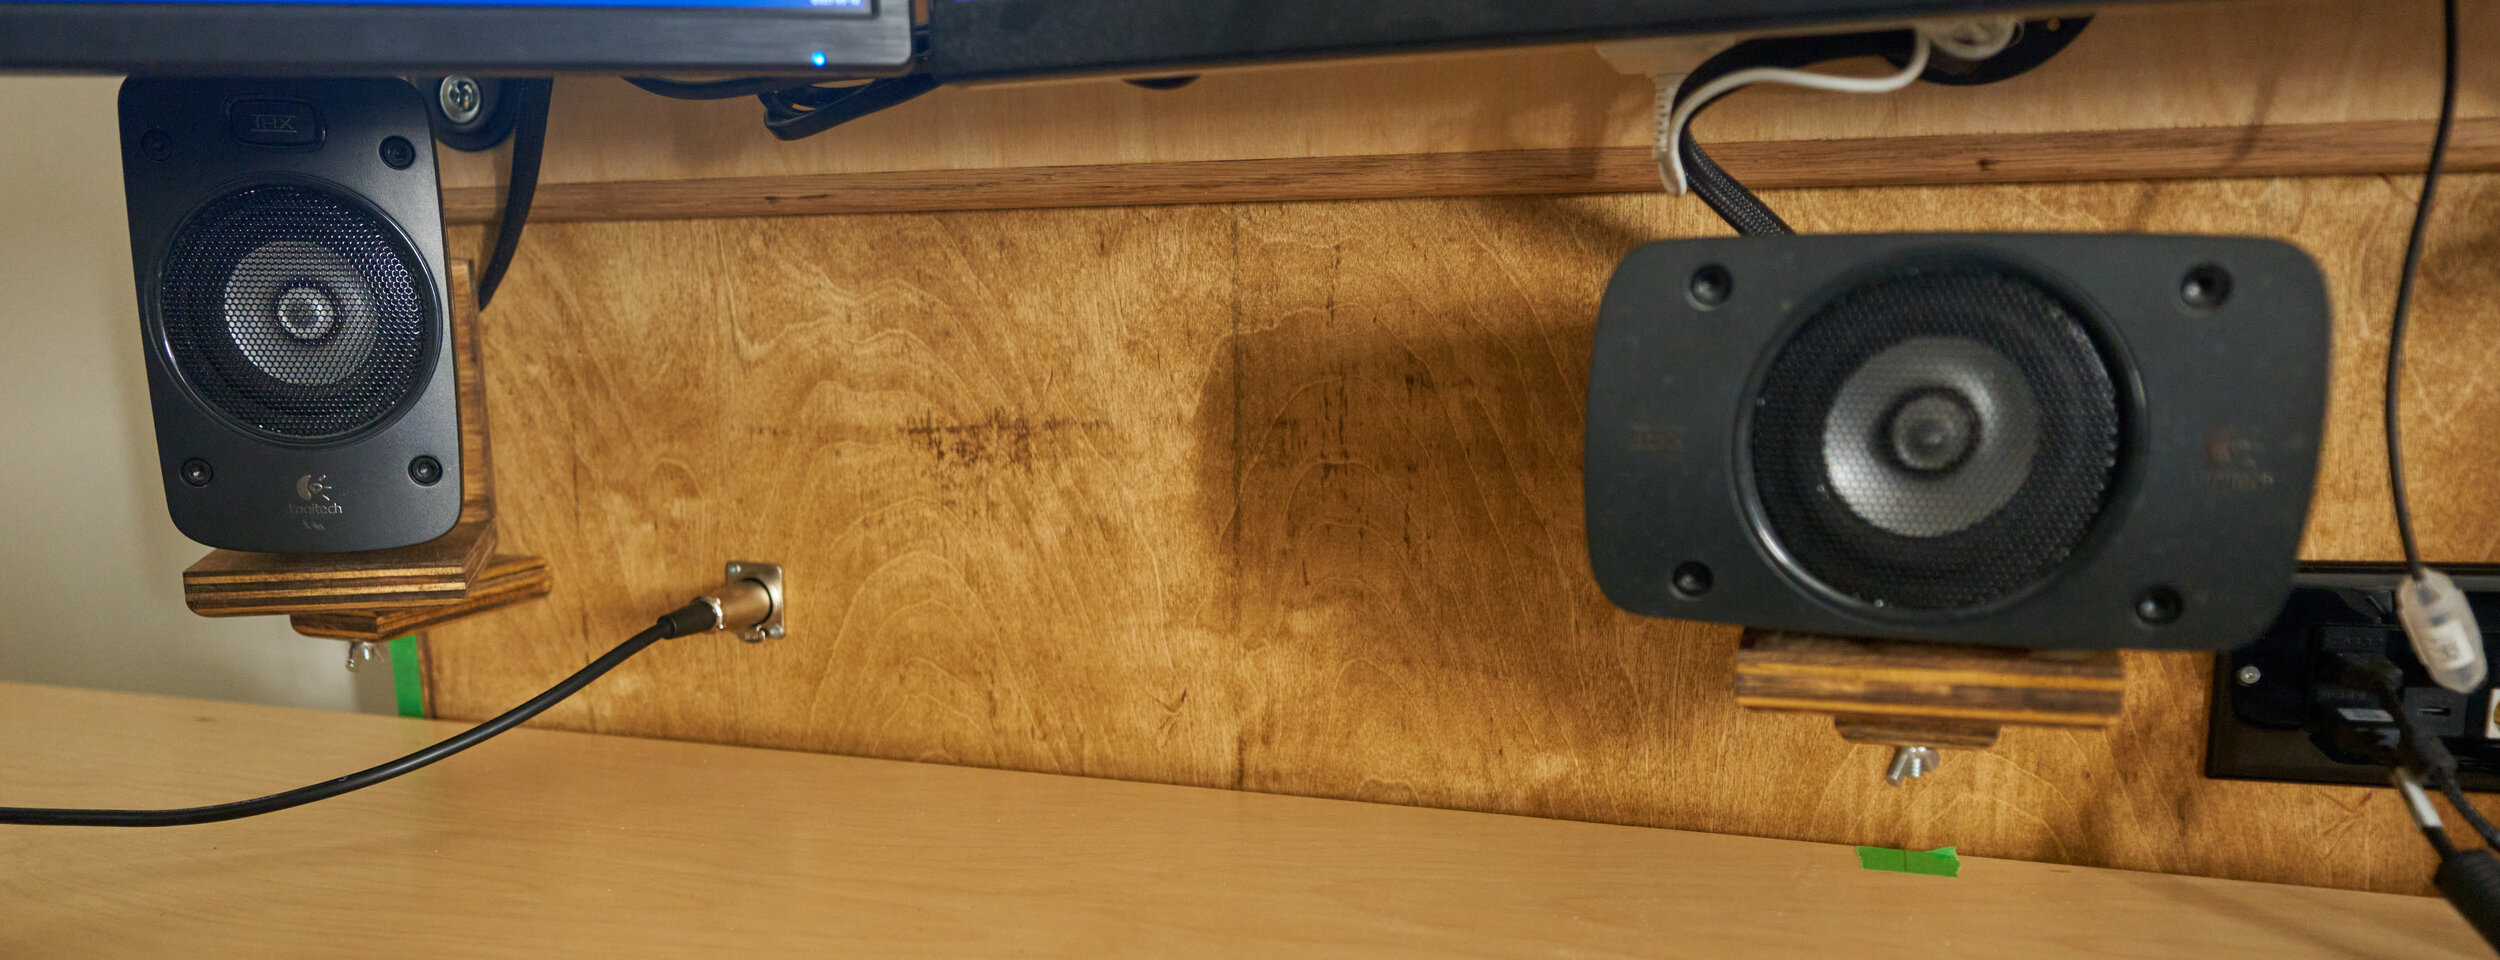
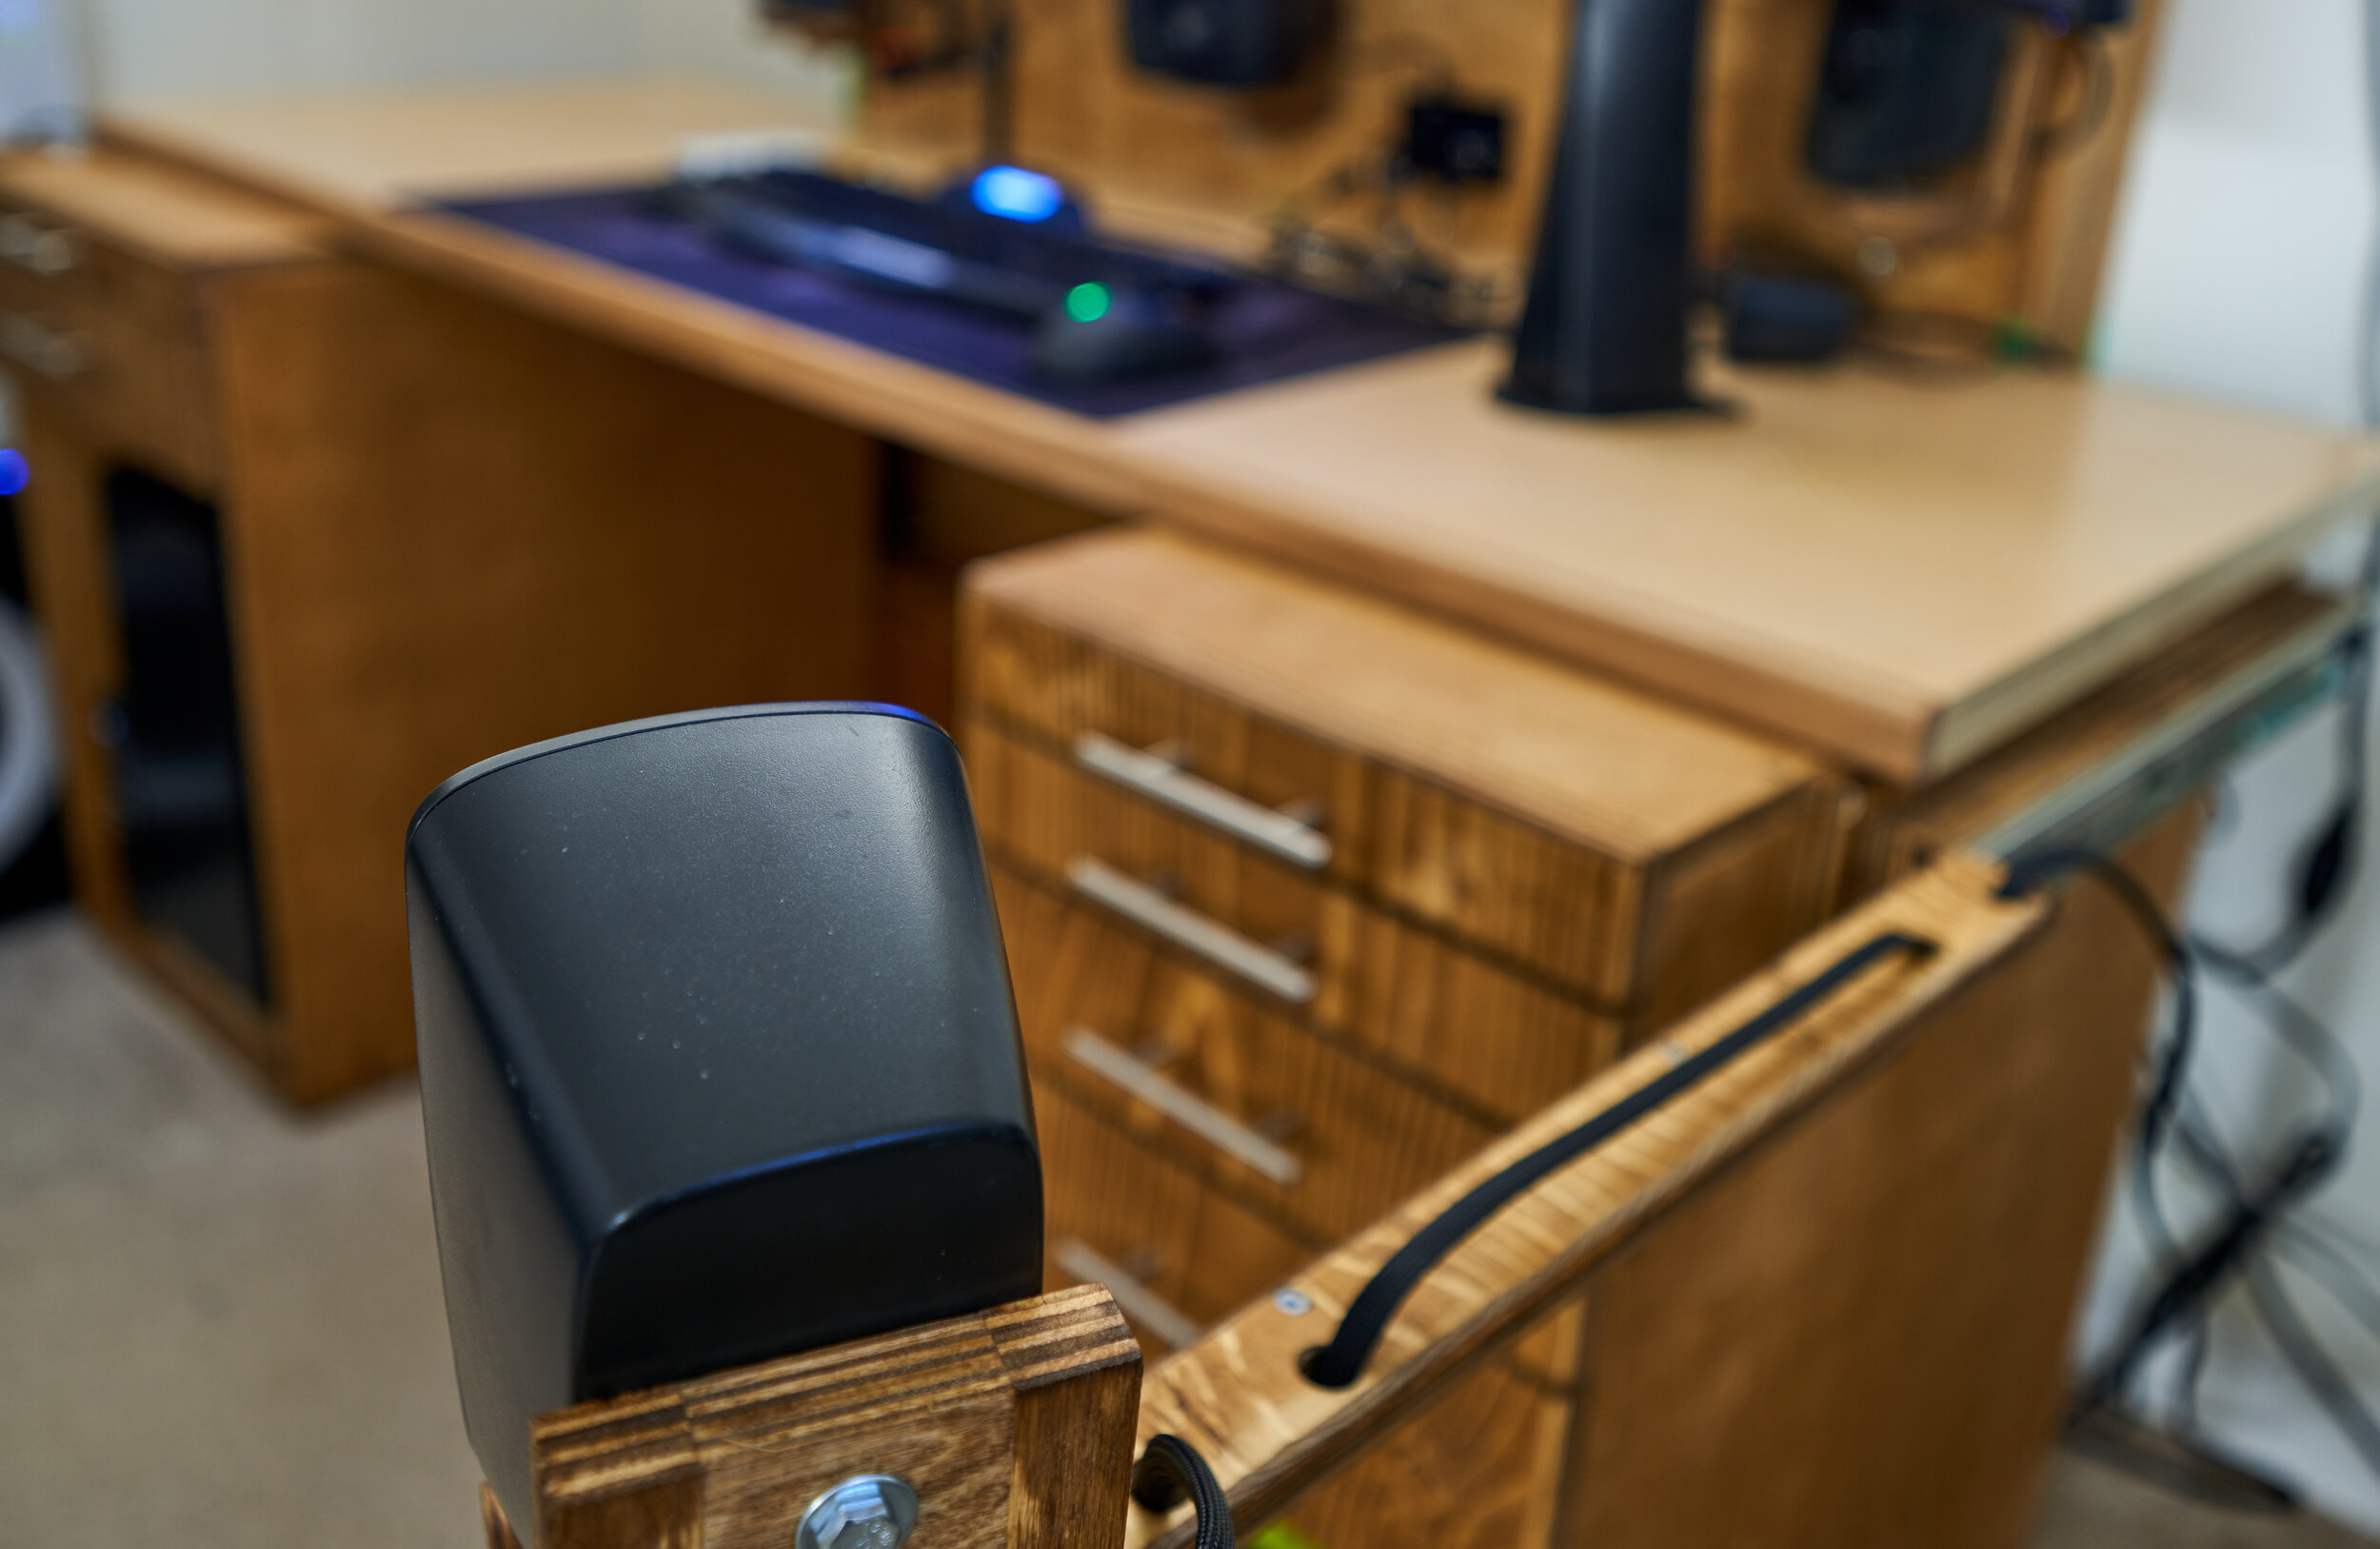
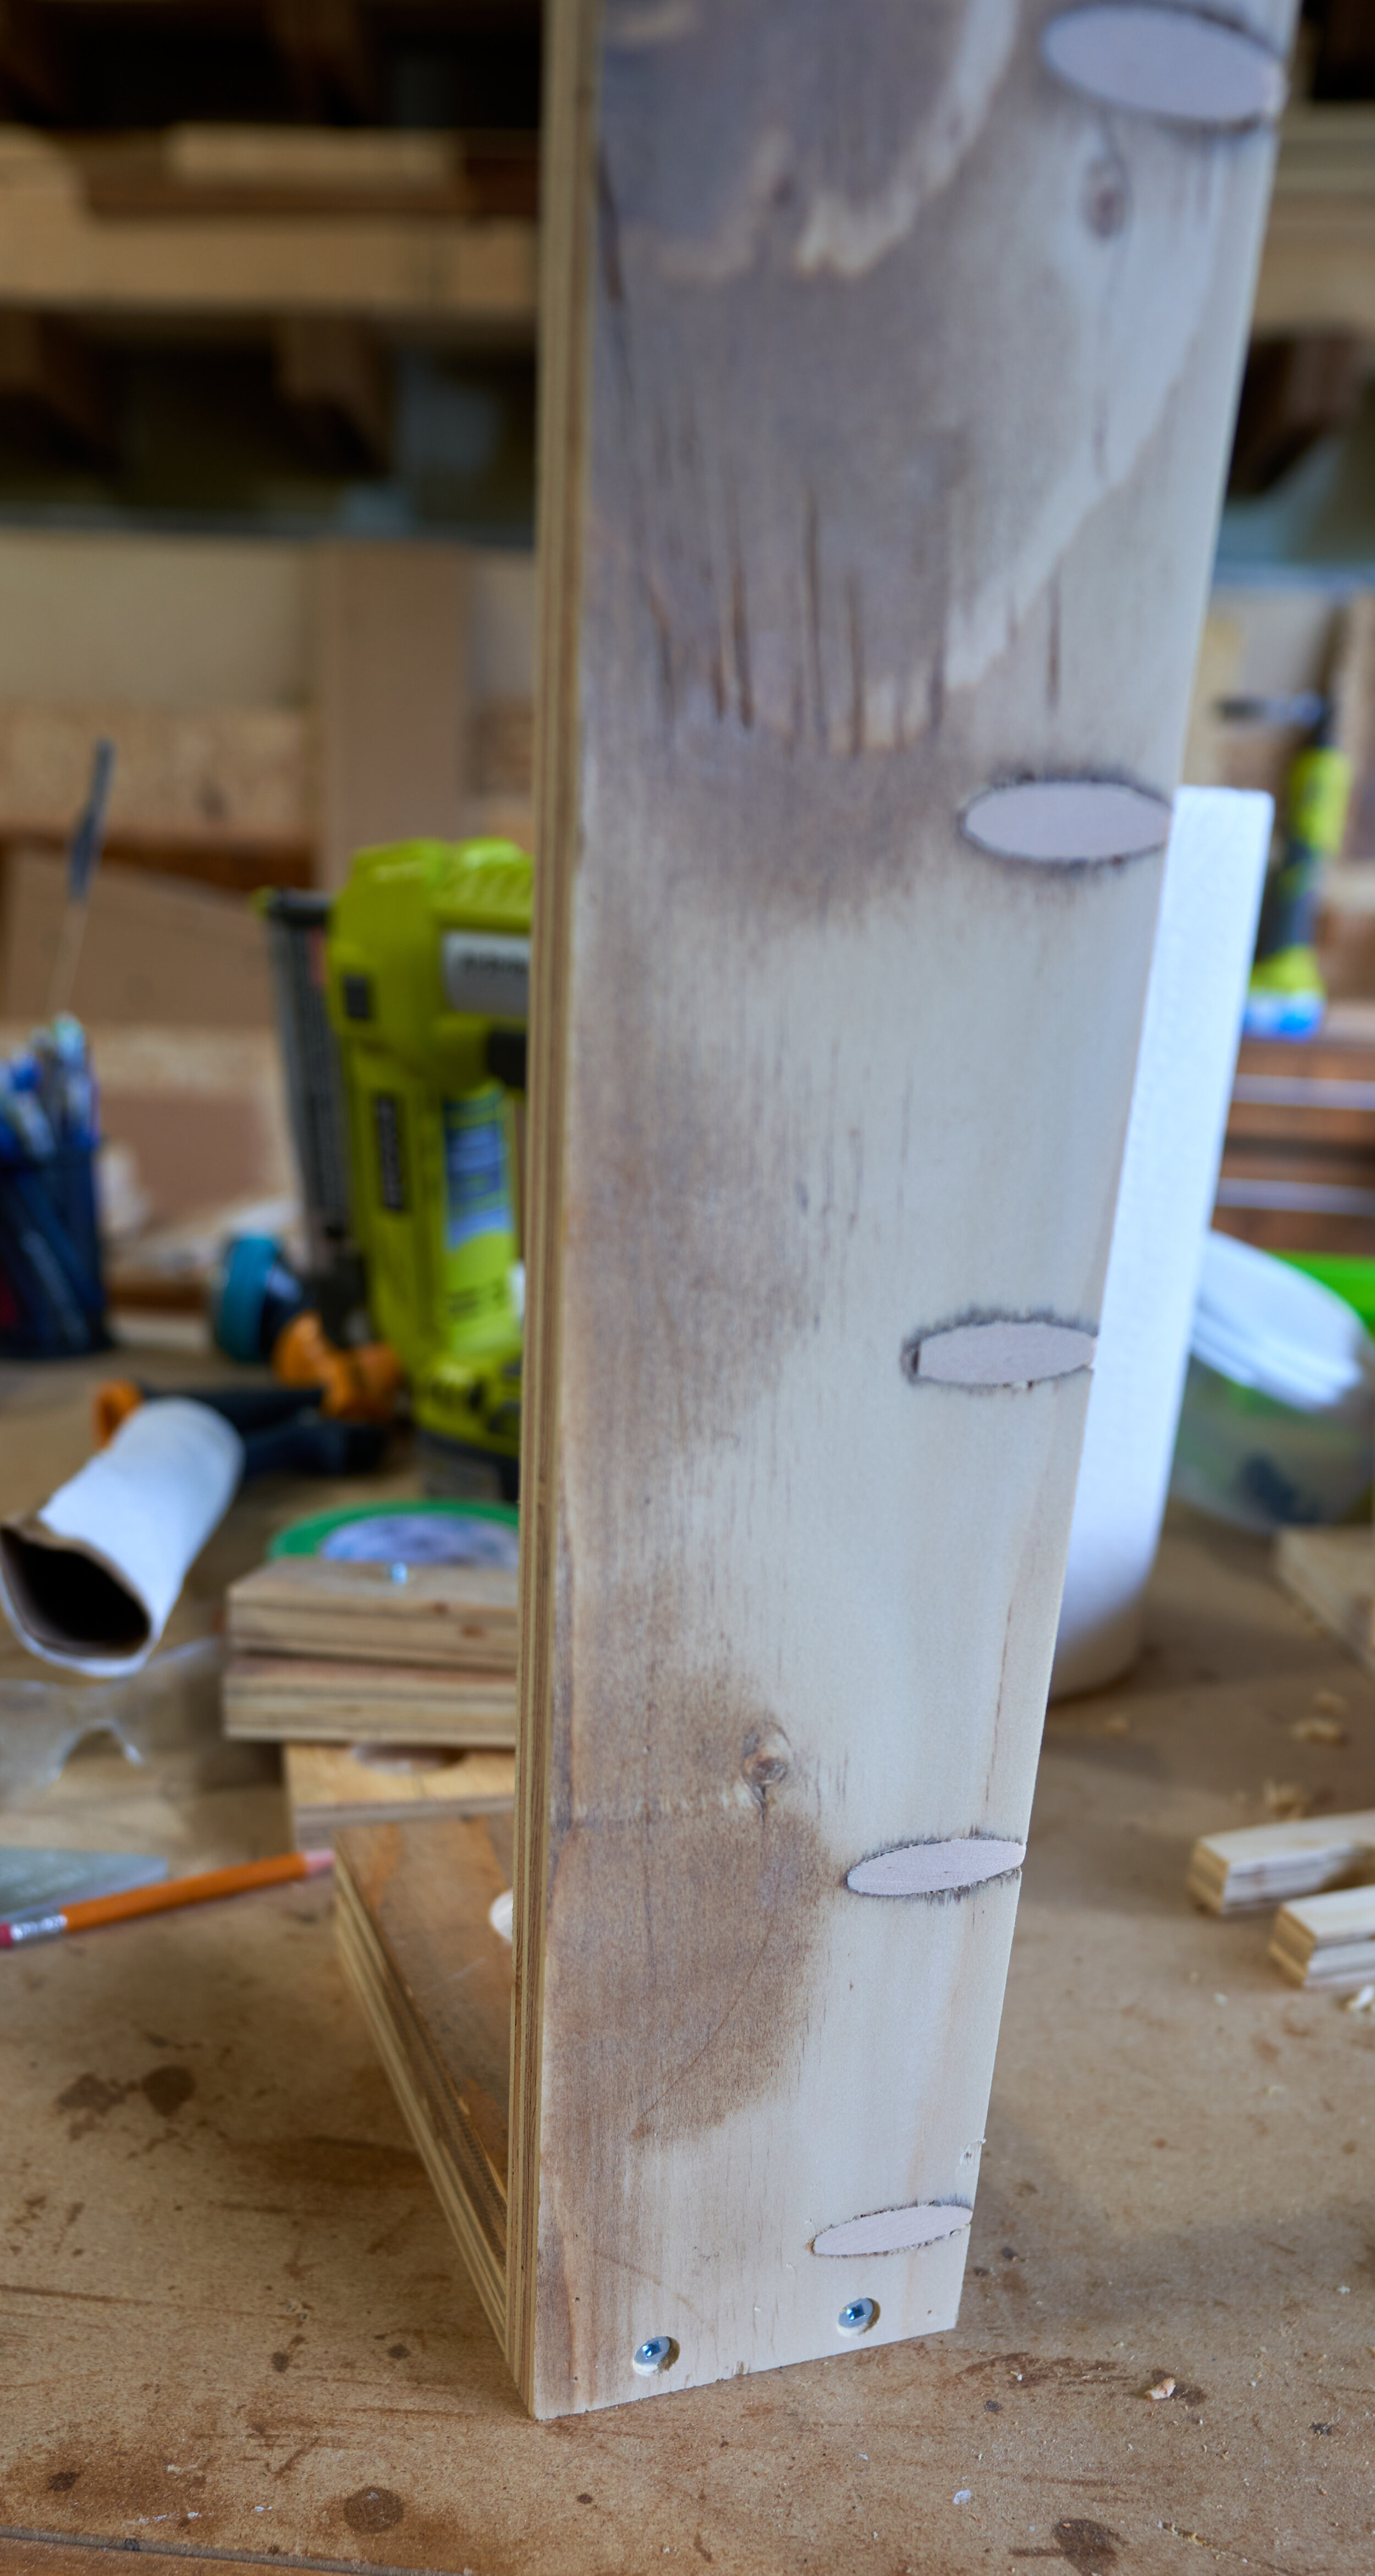
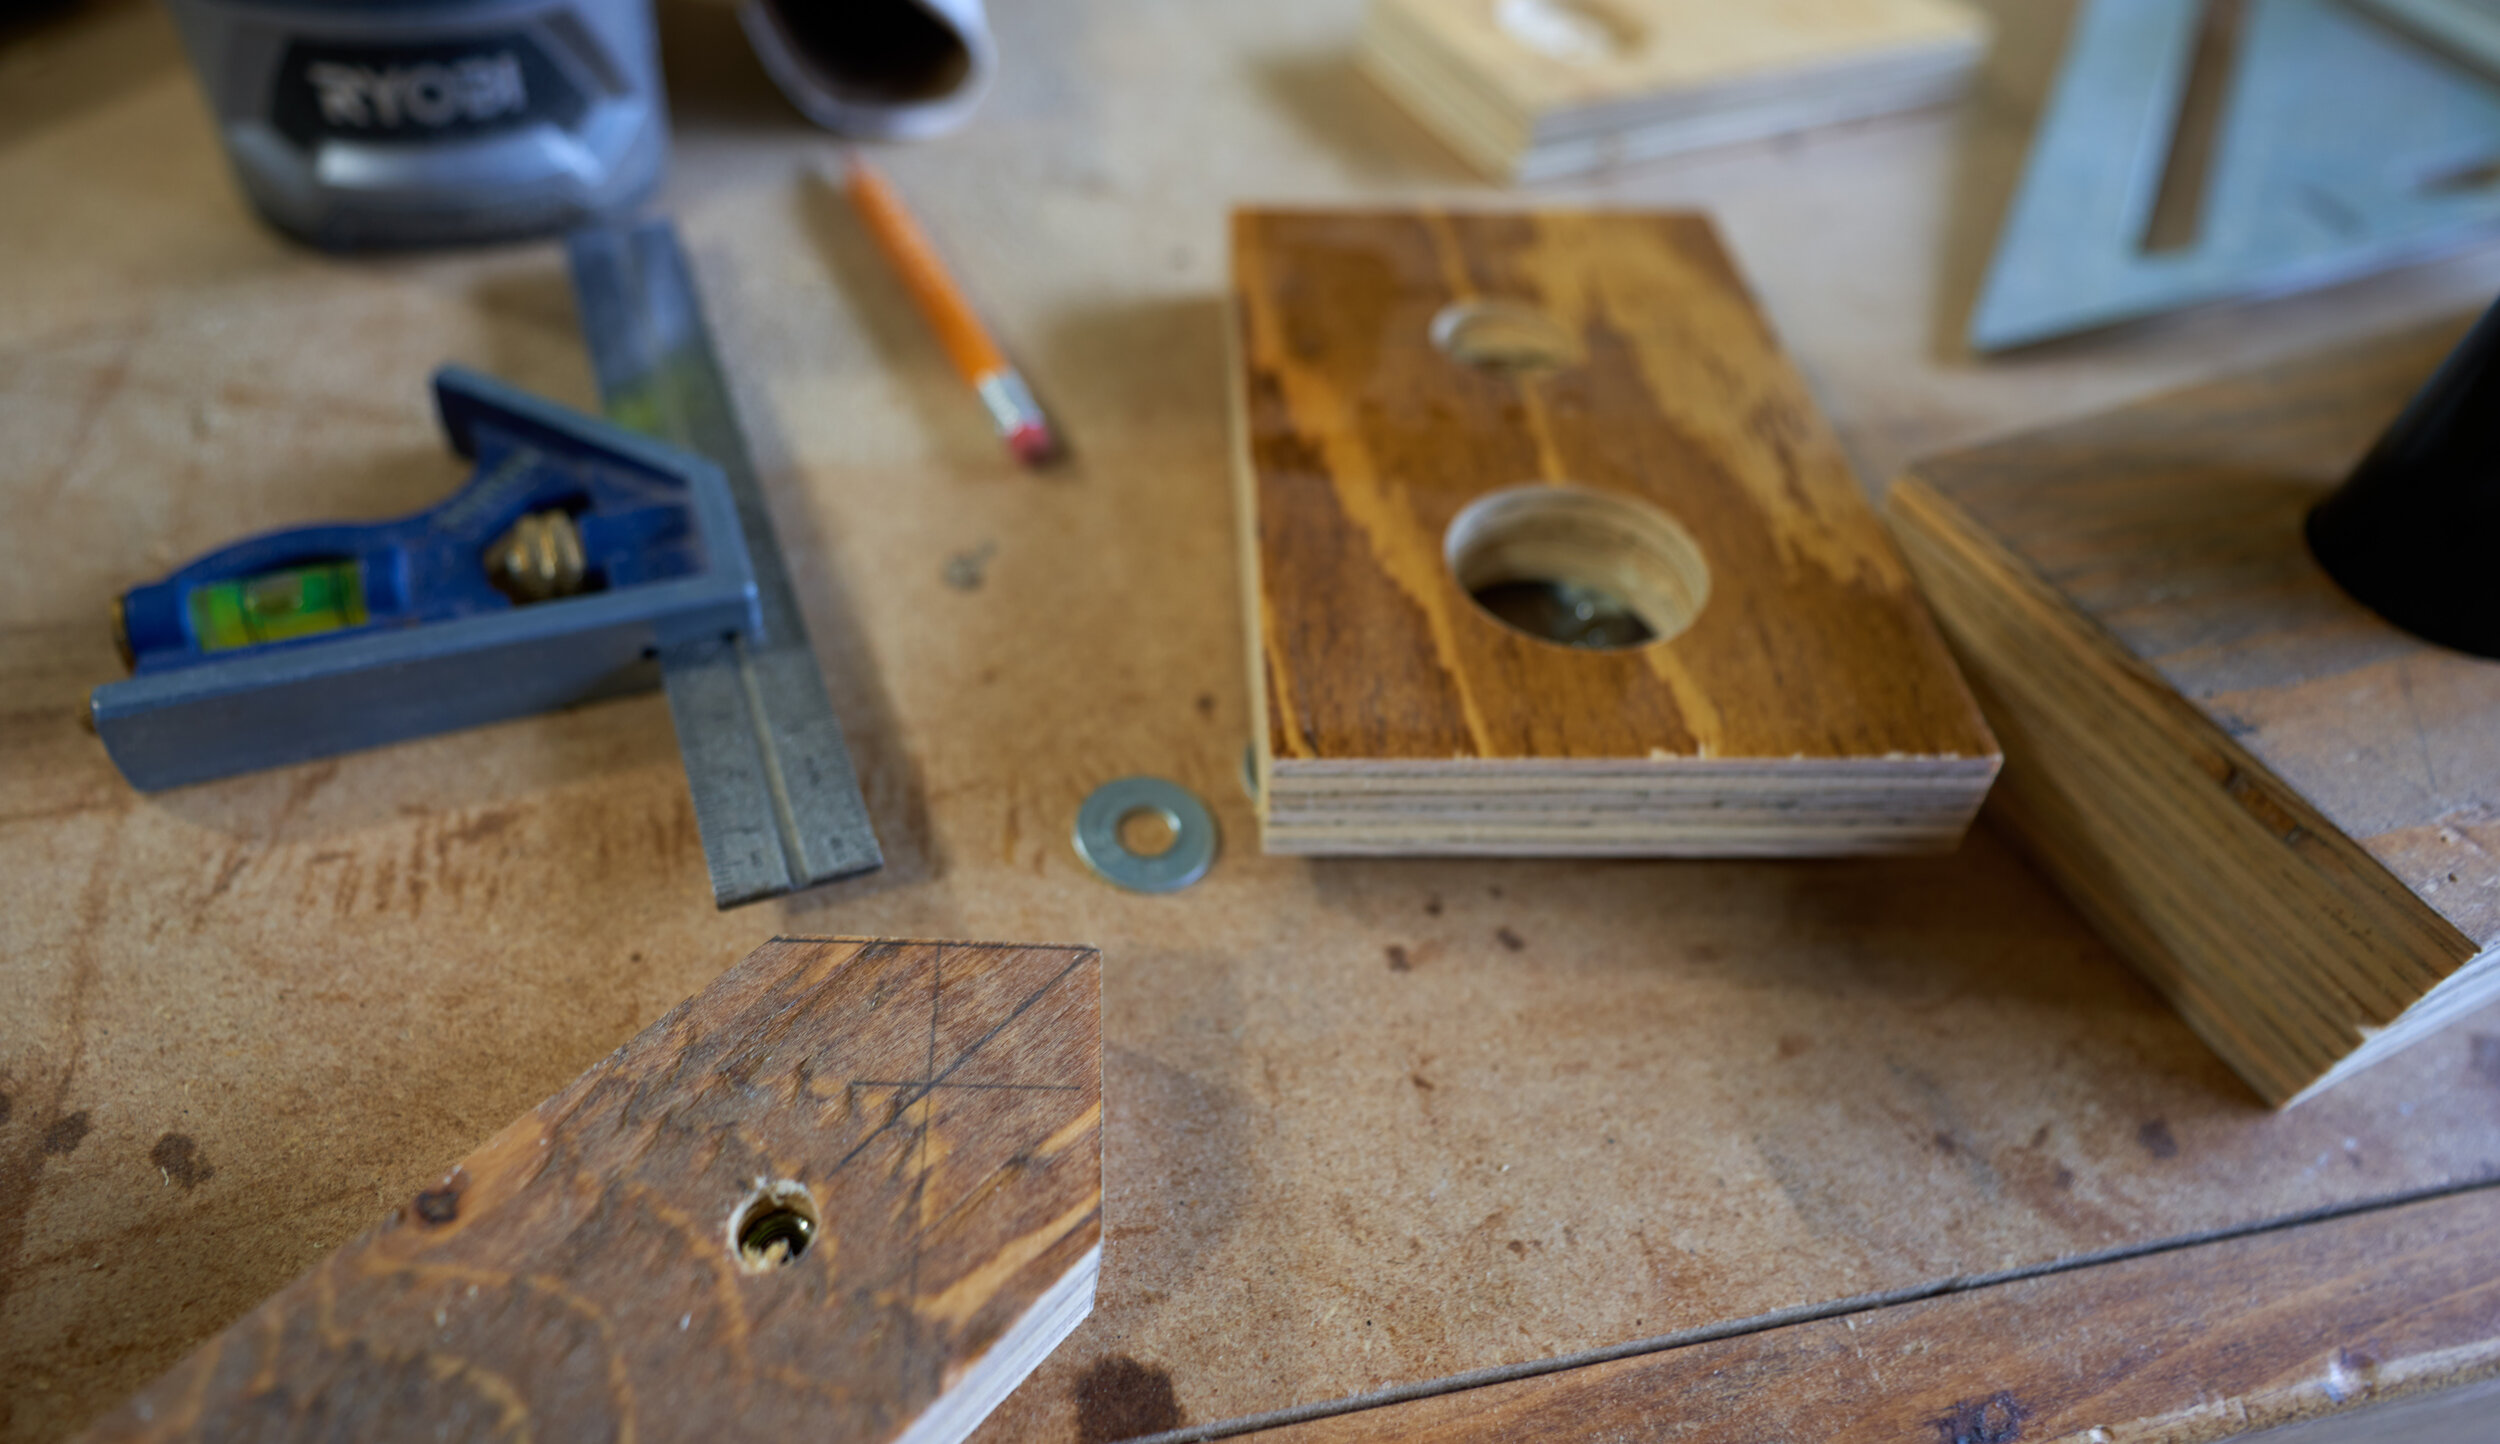
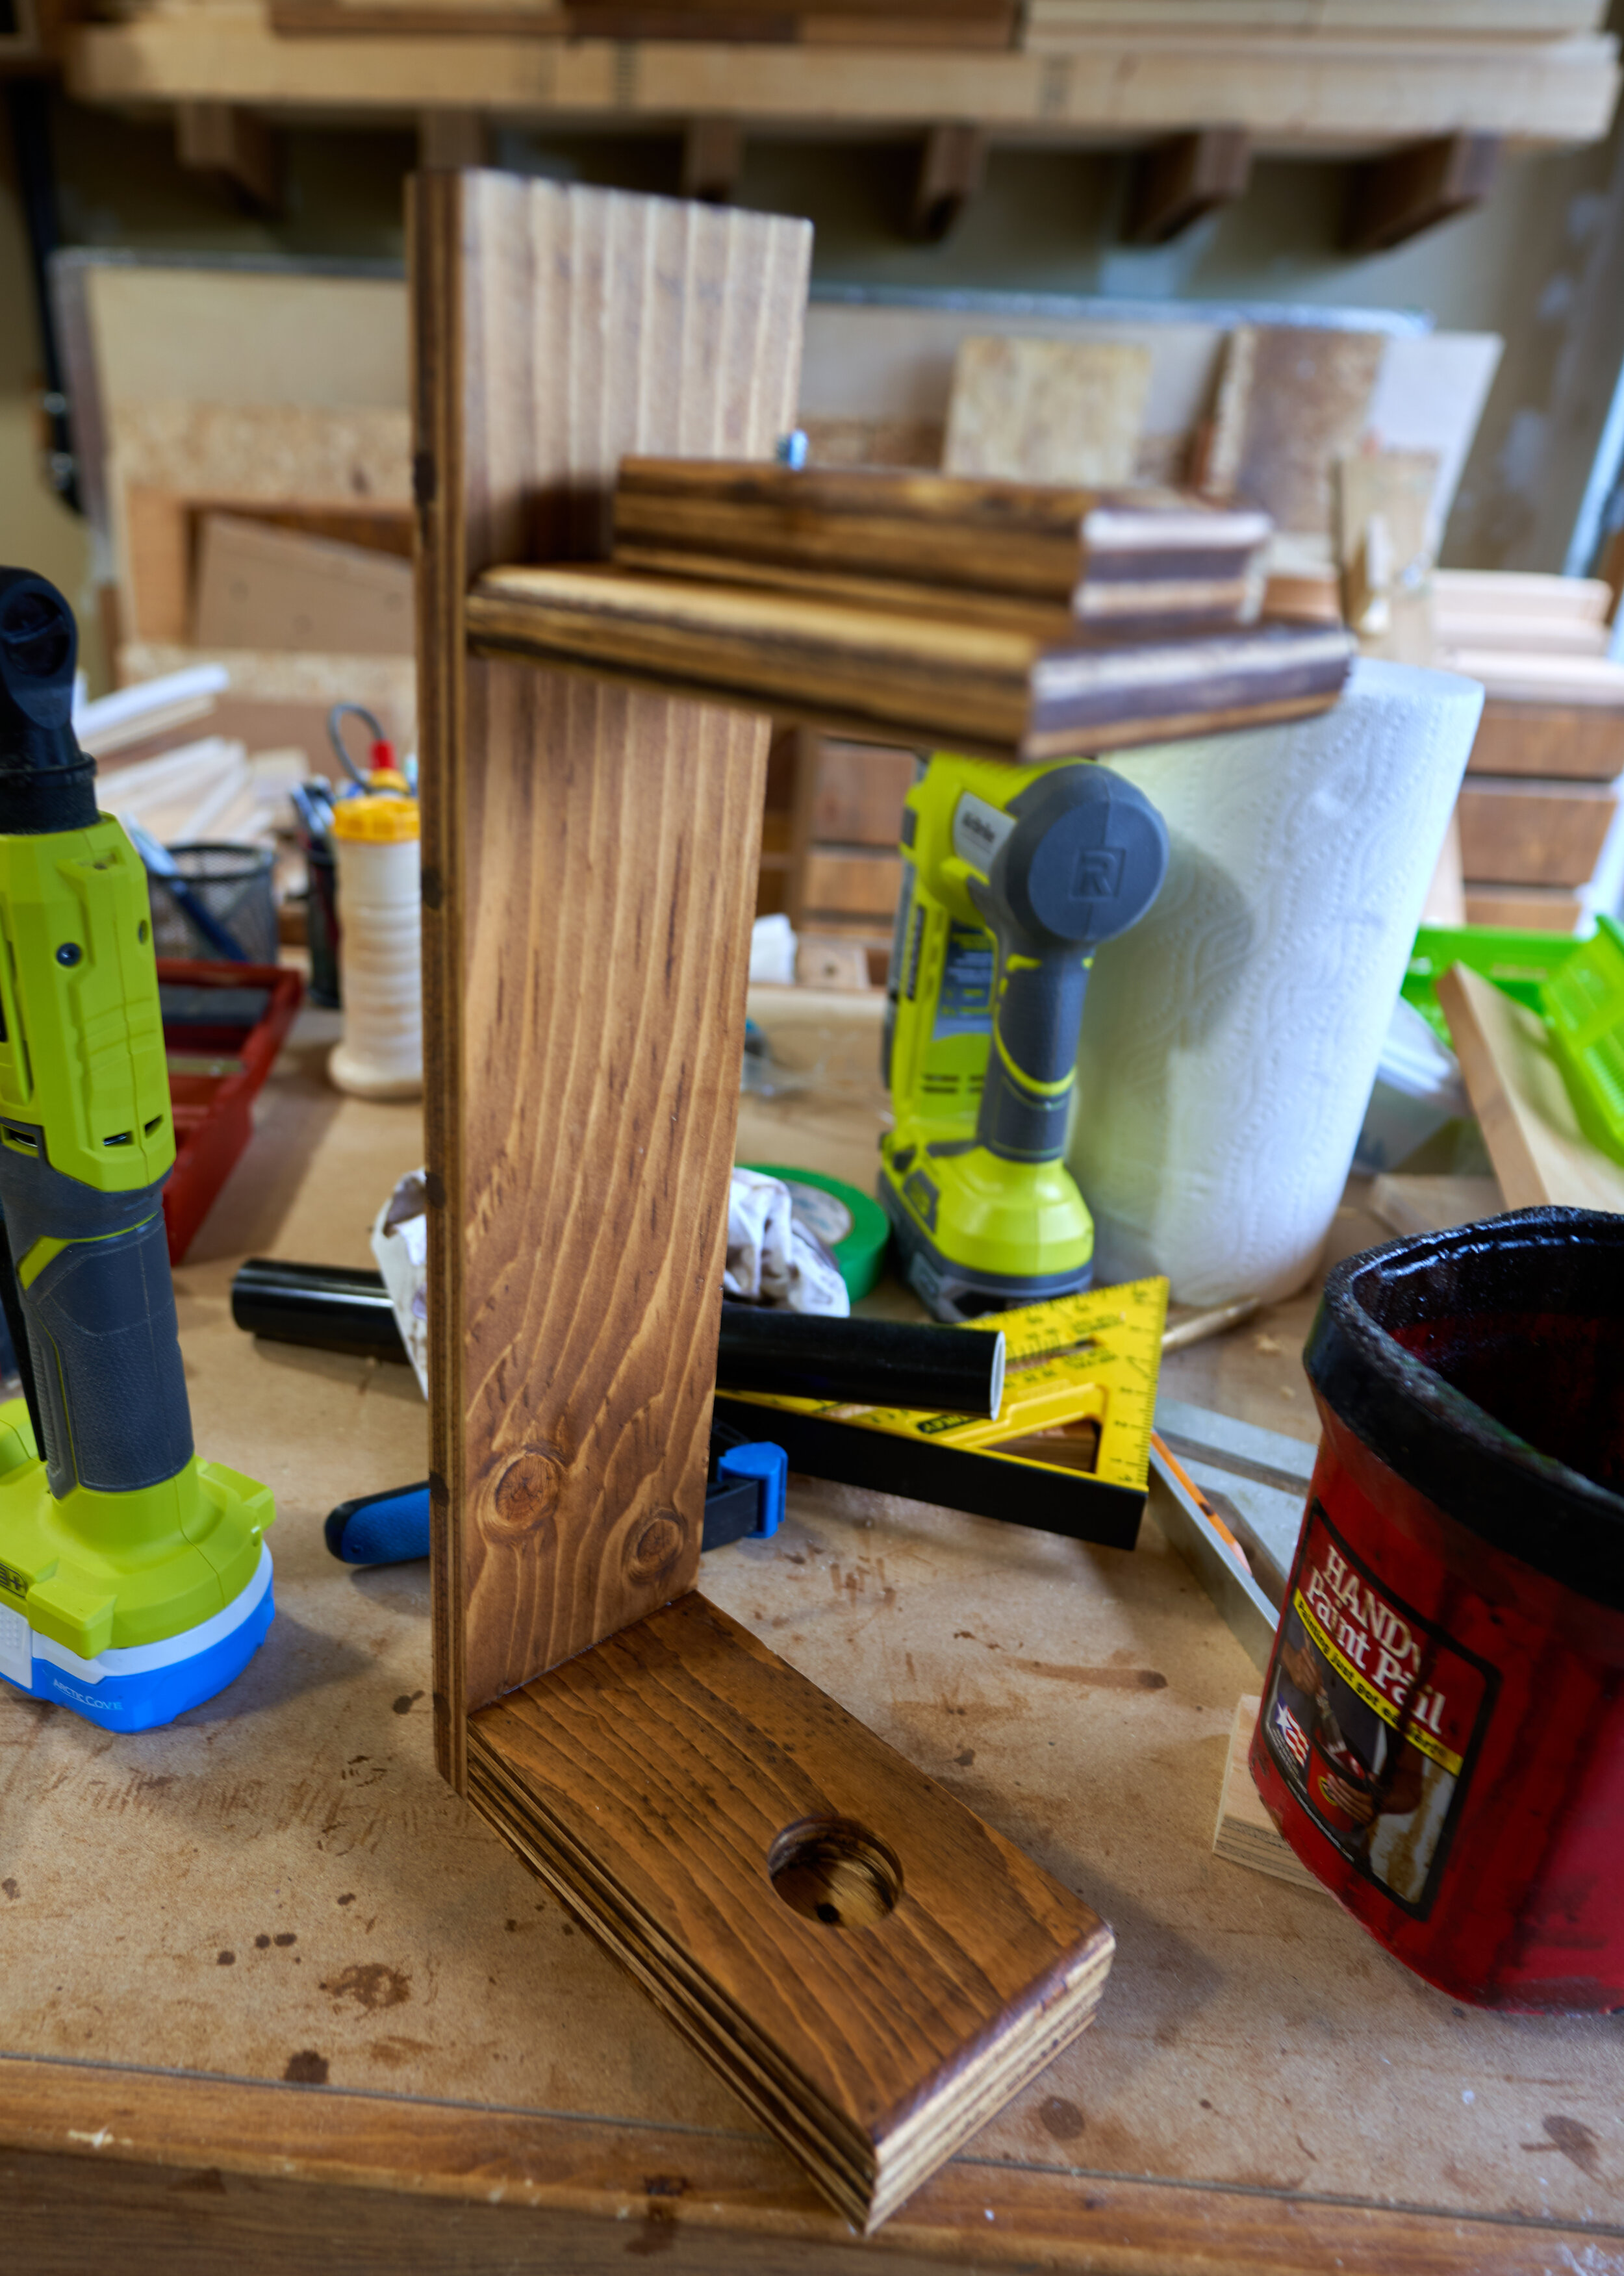
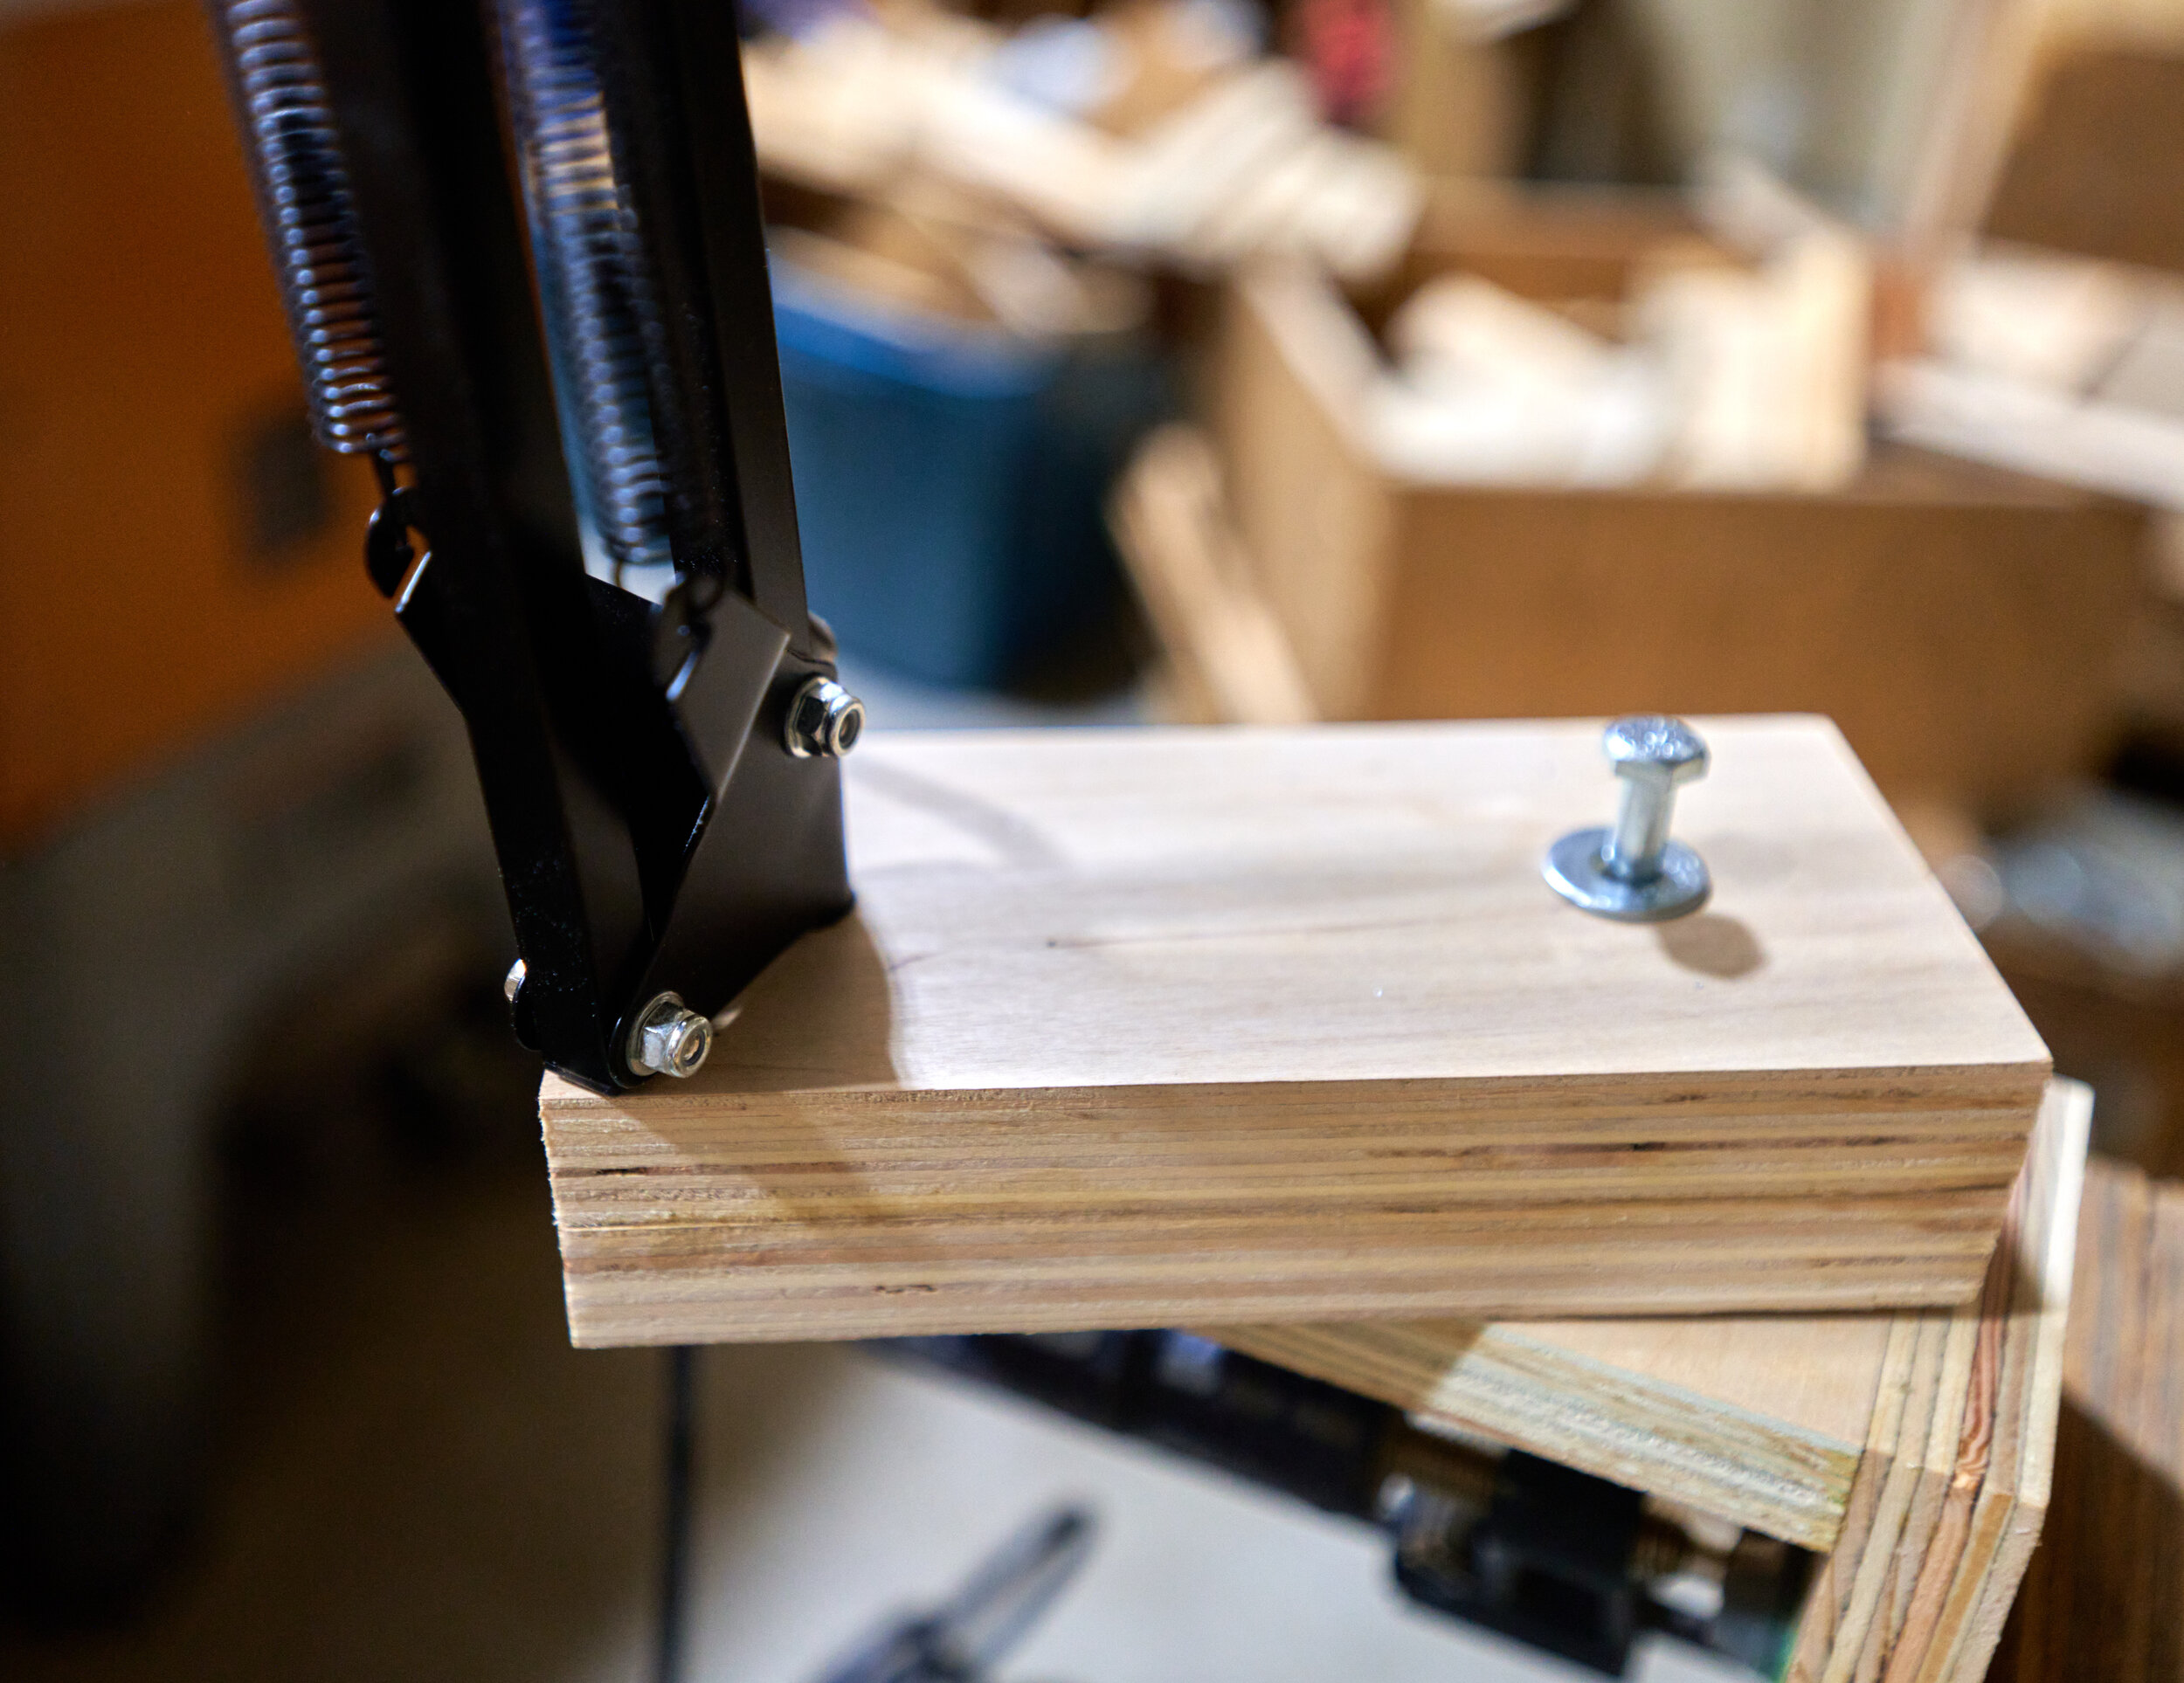
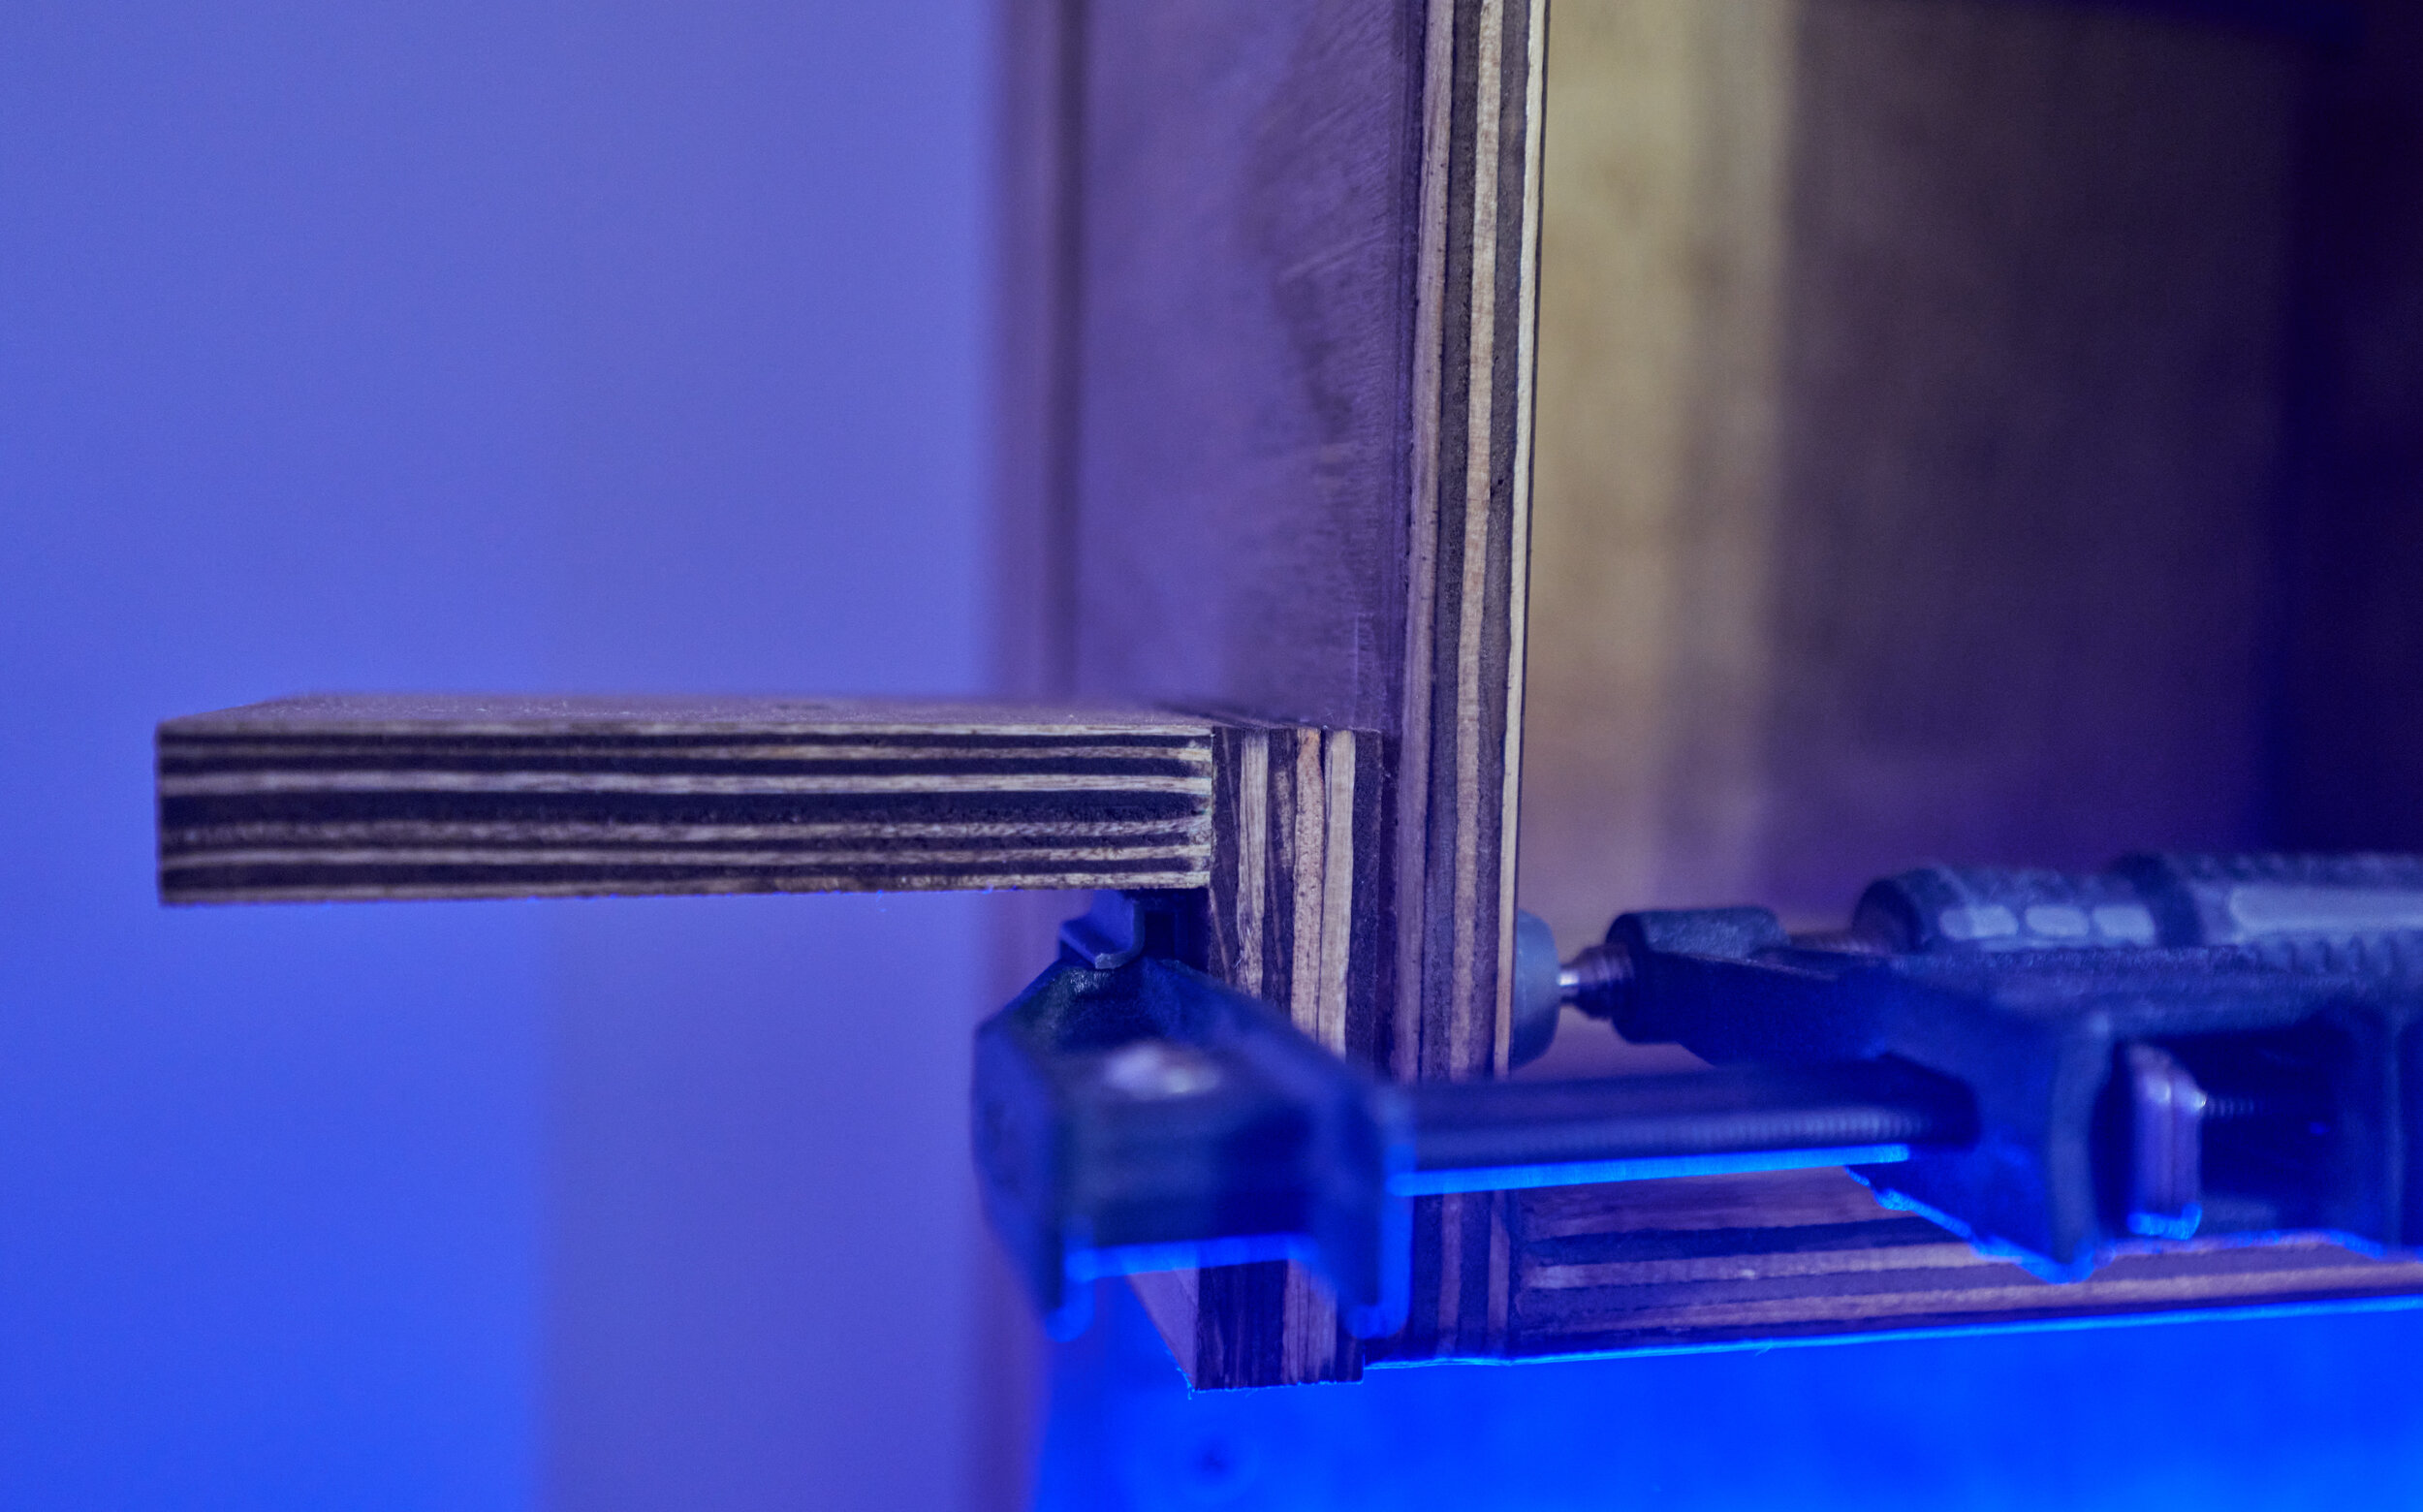
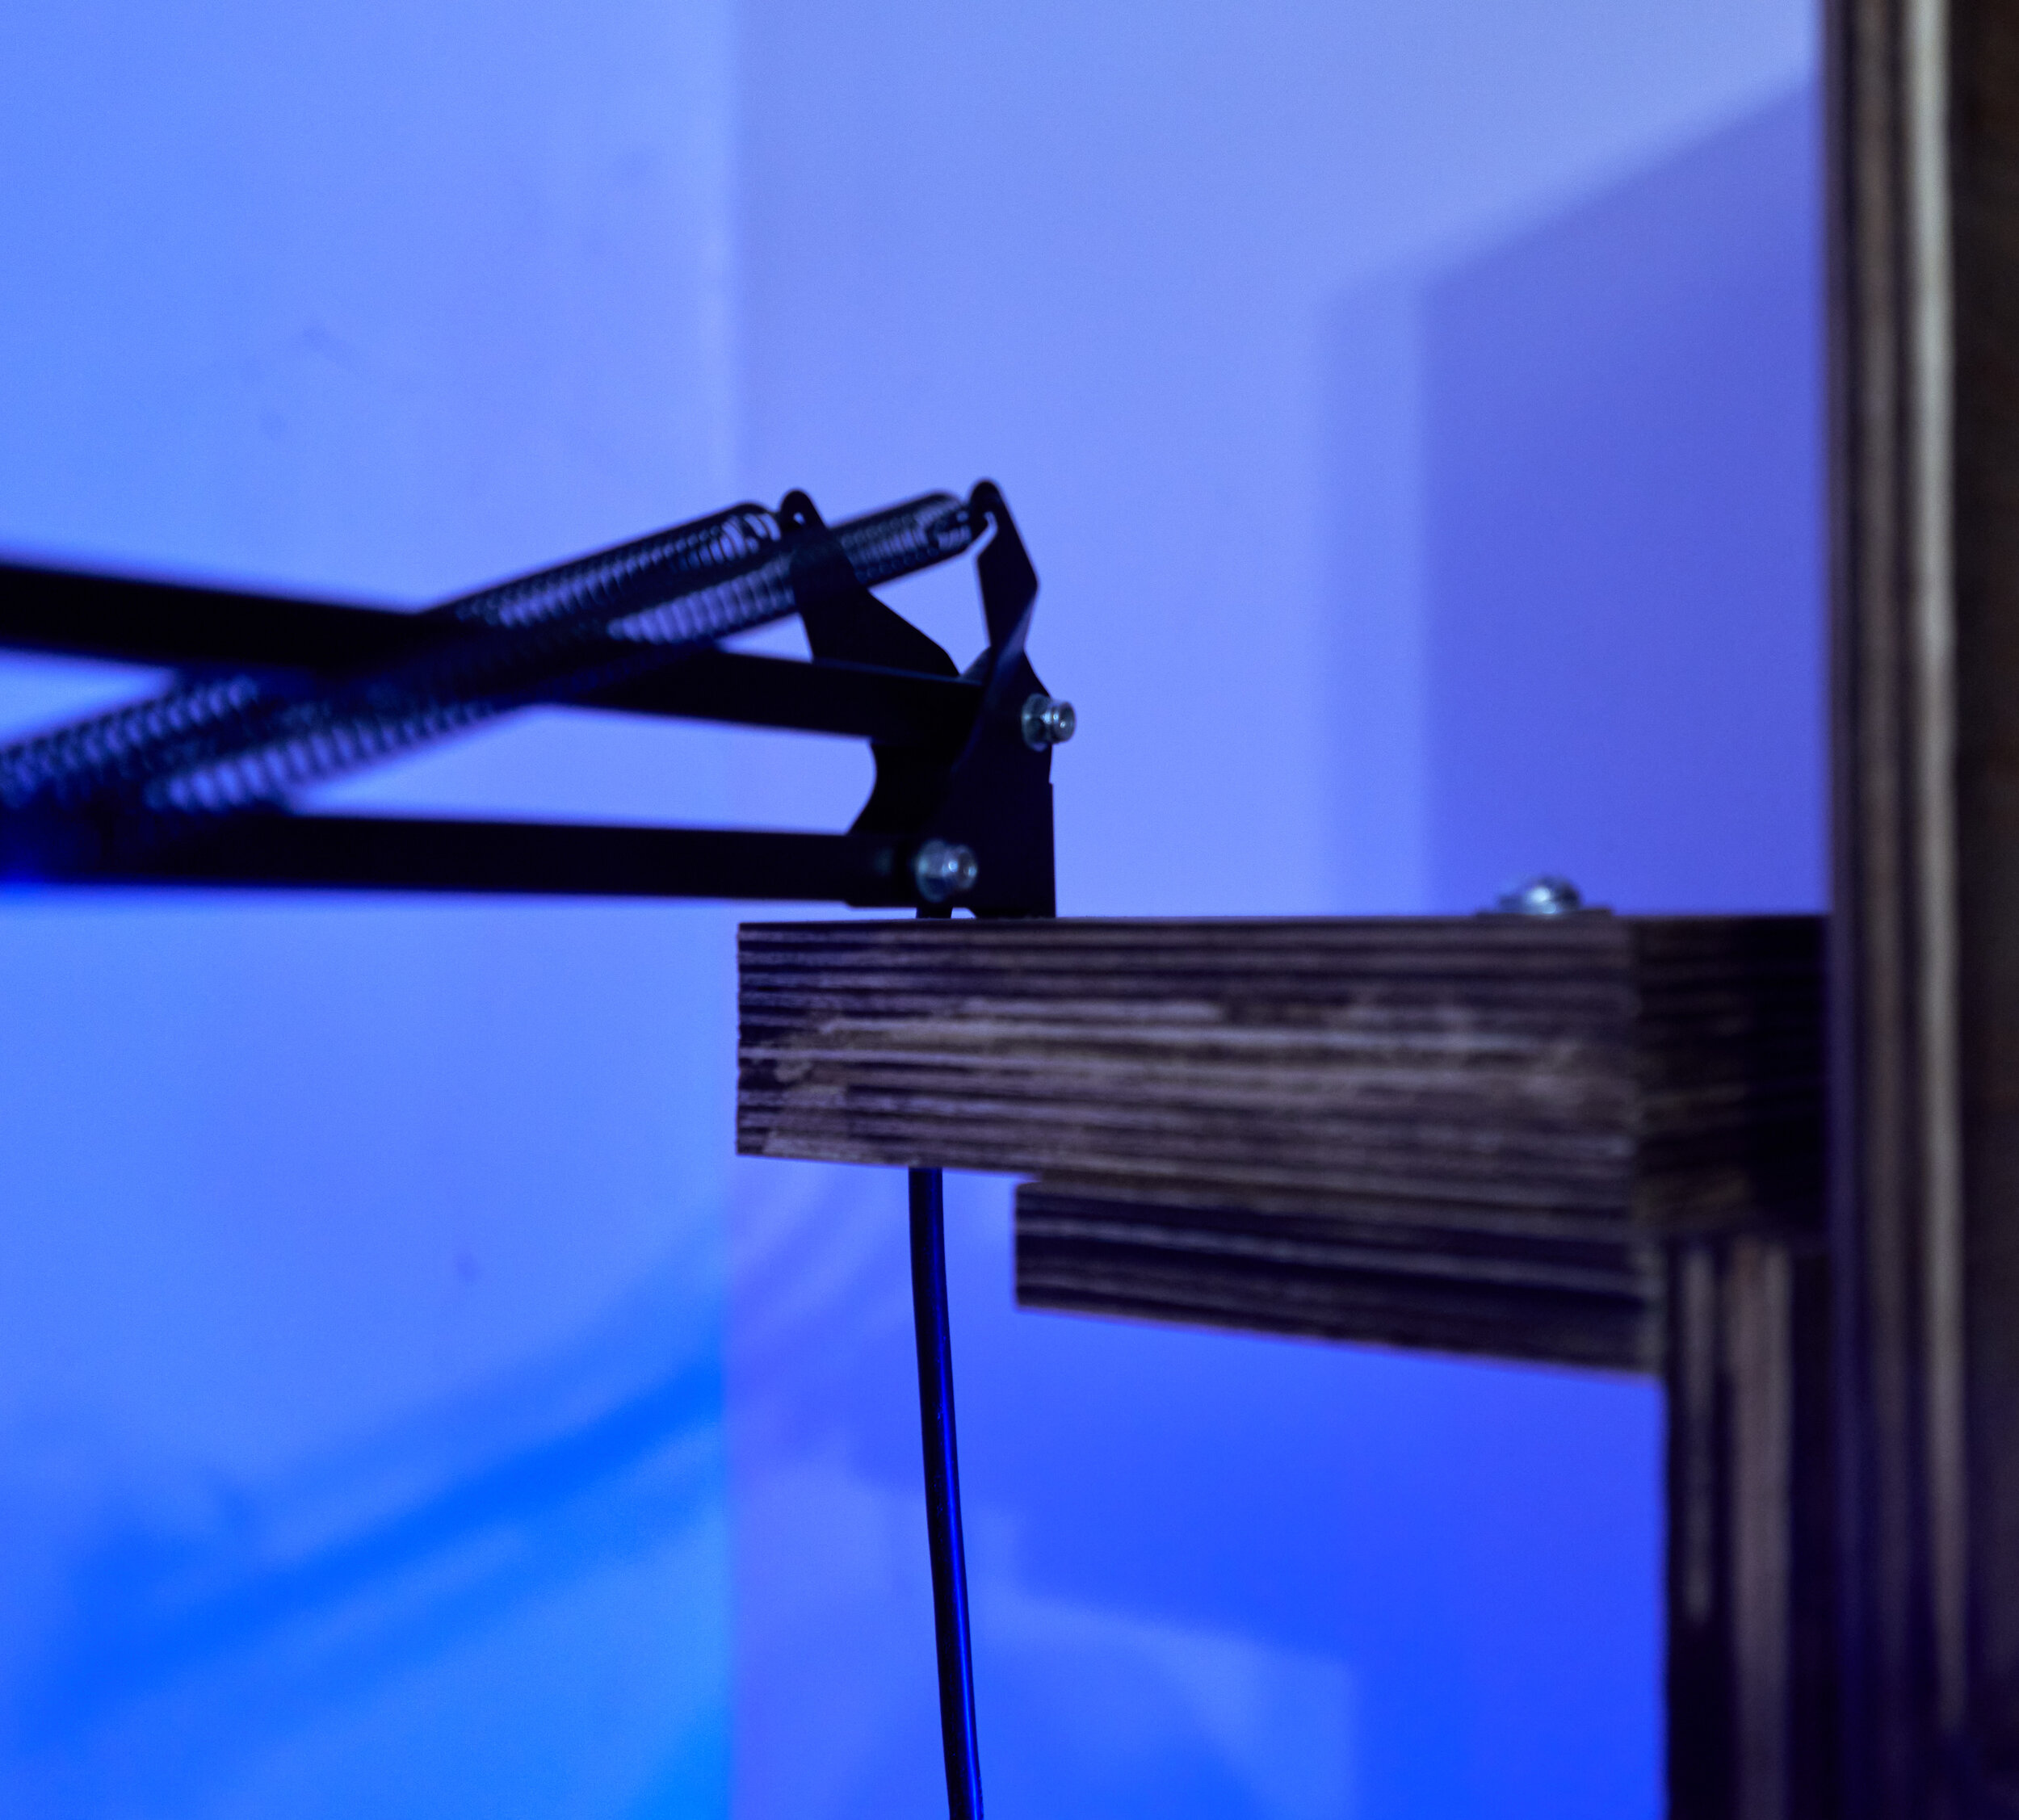
Step 6: Mounting the front speakers
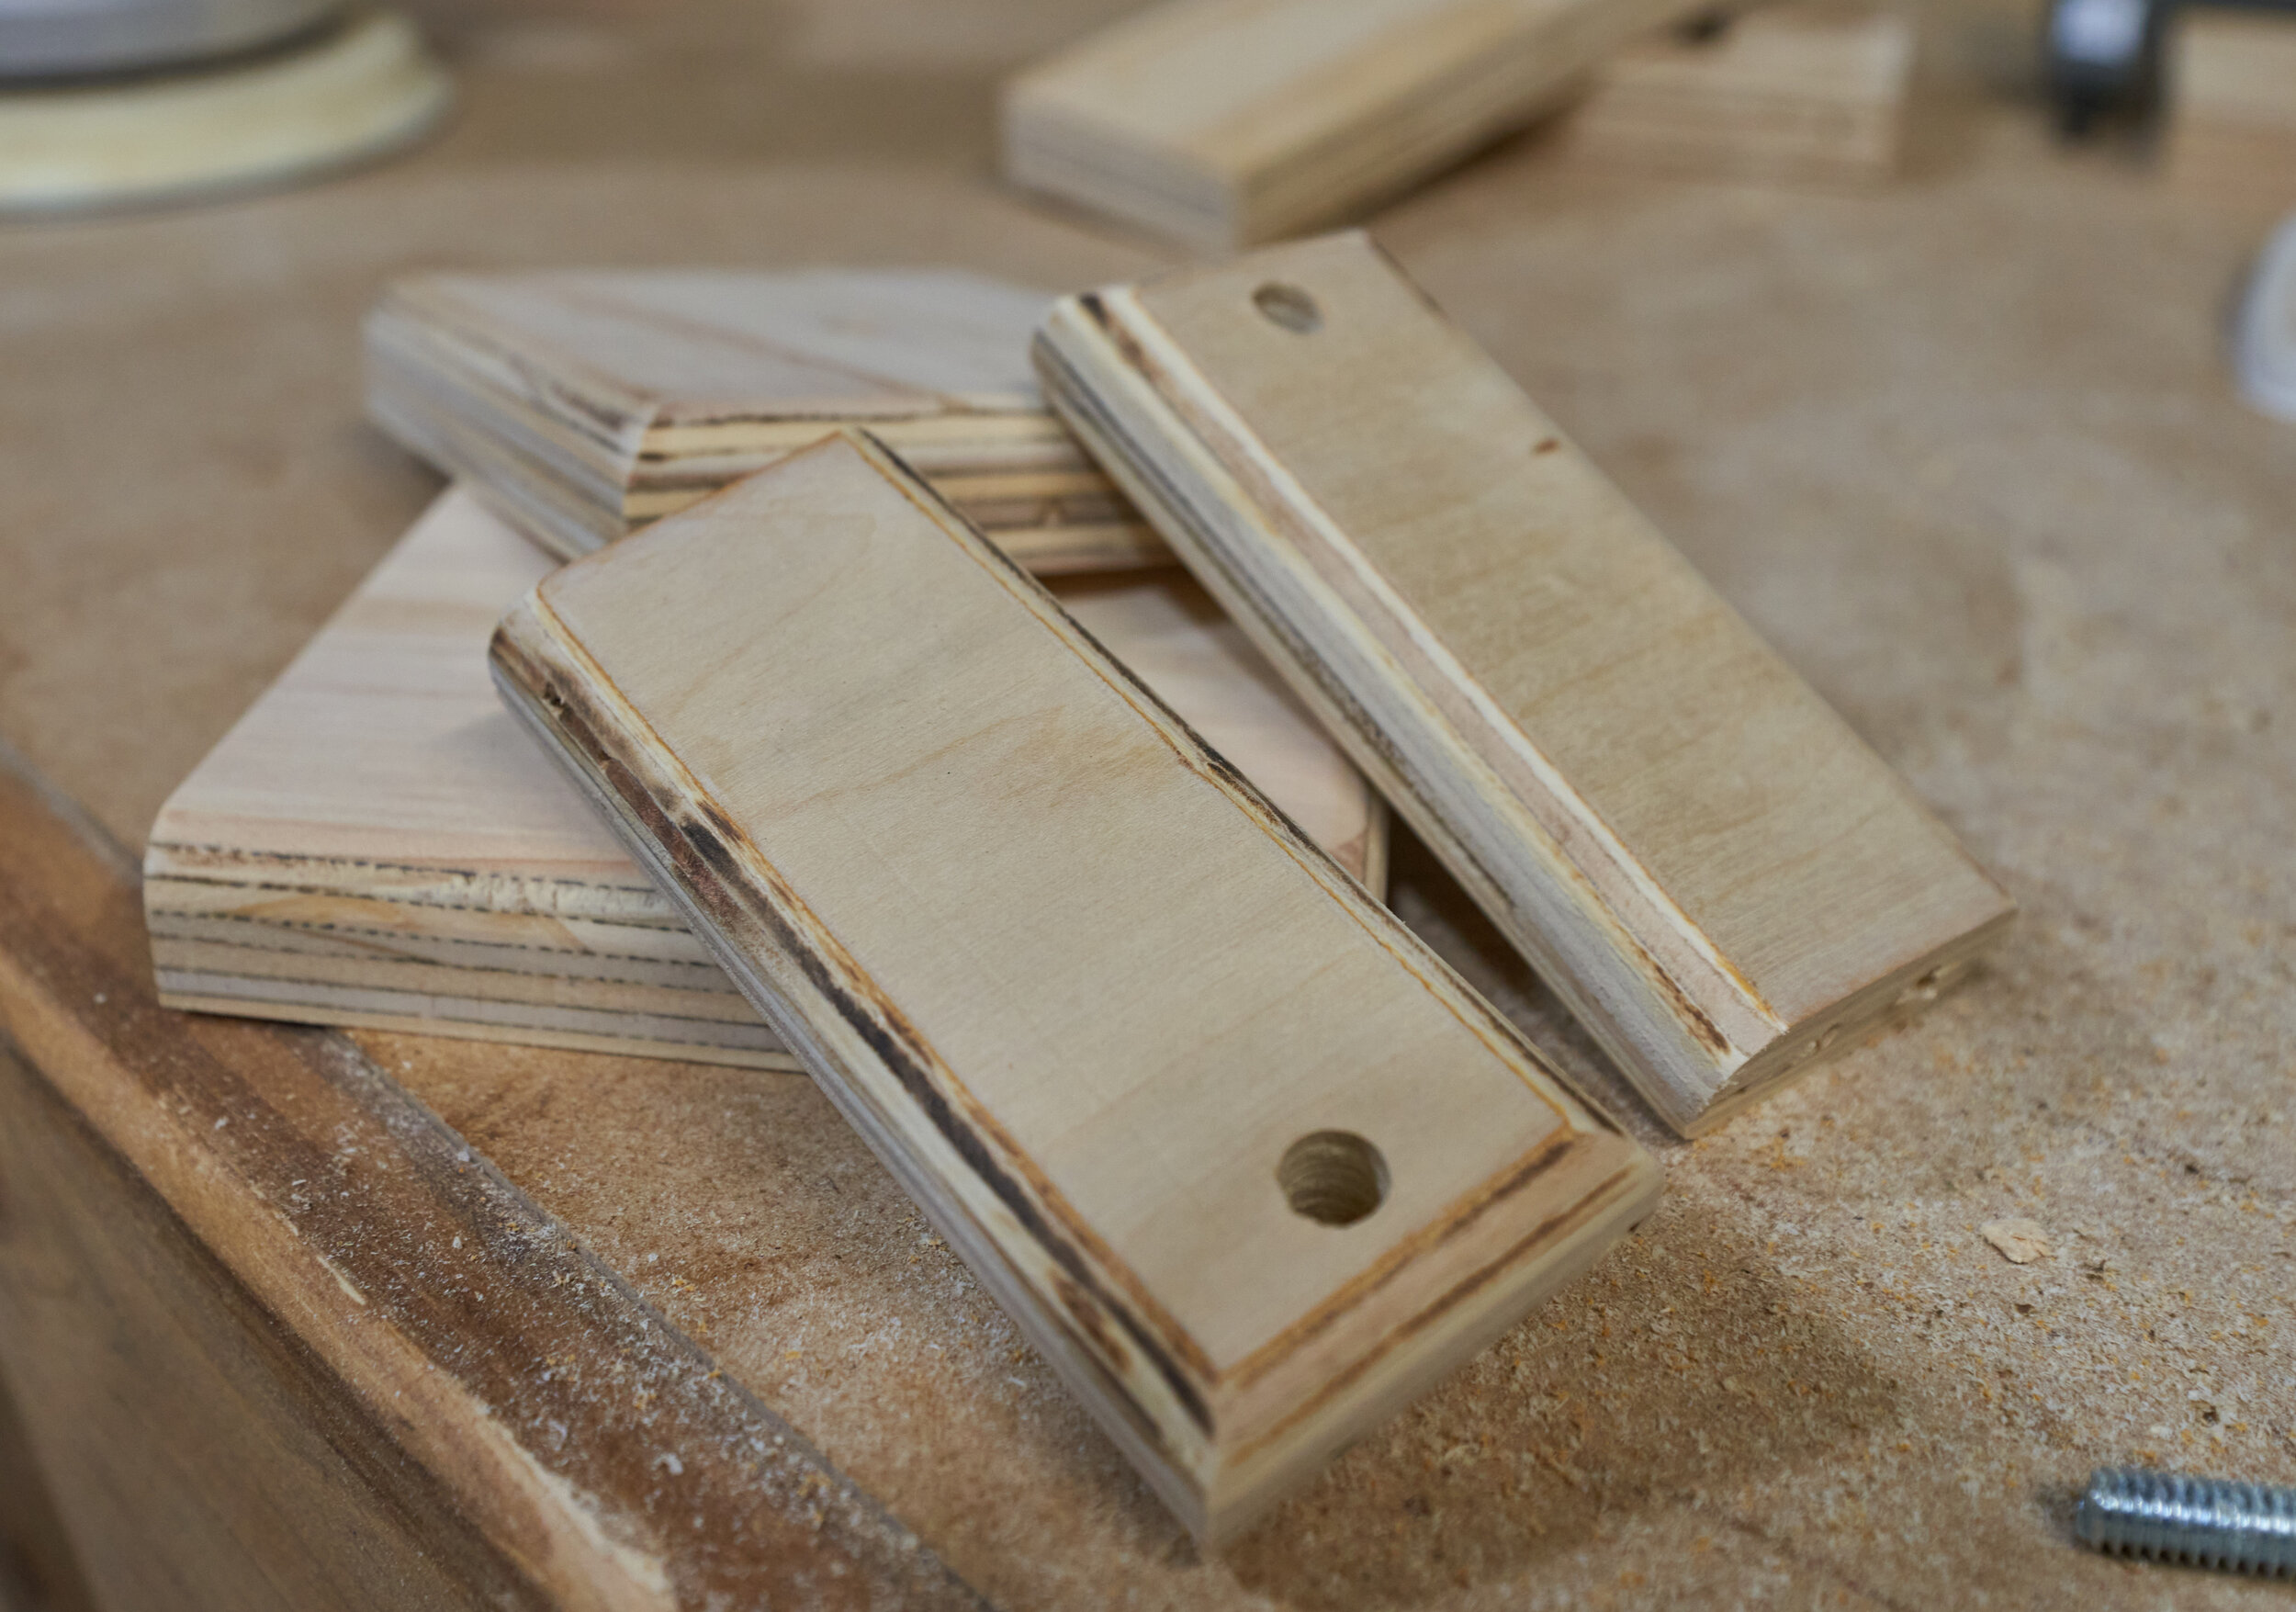
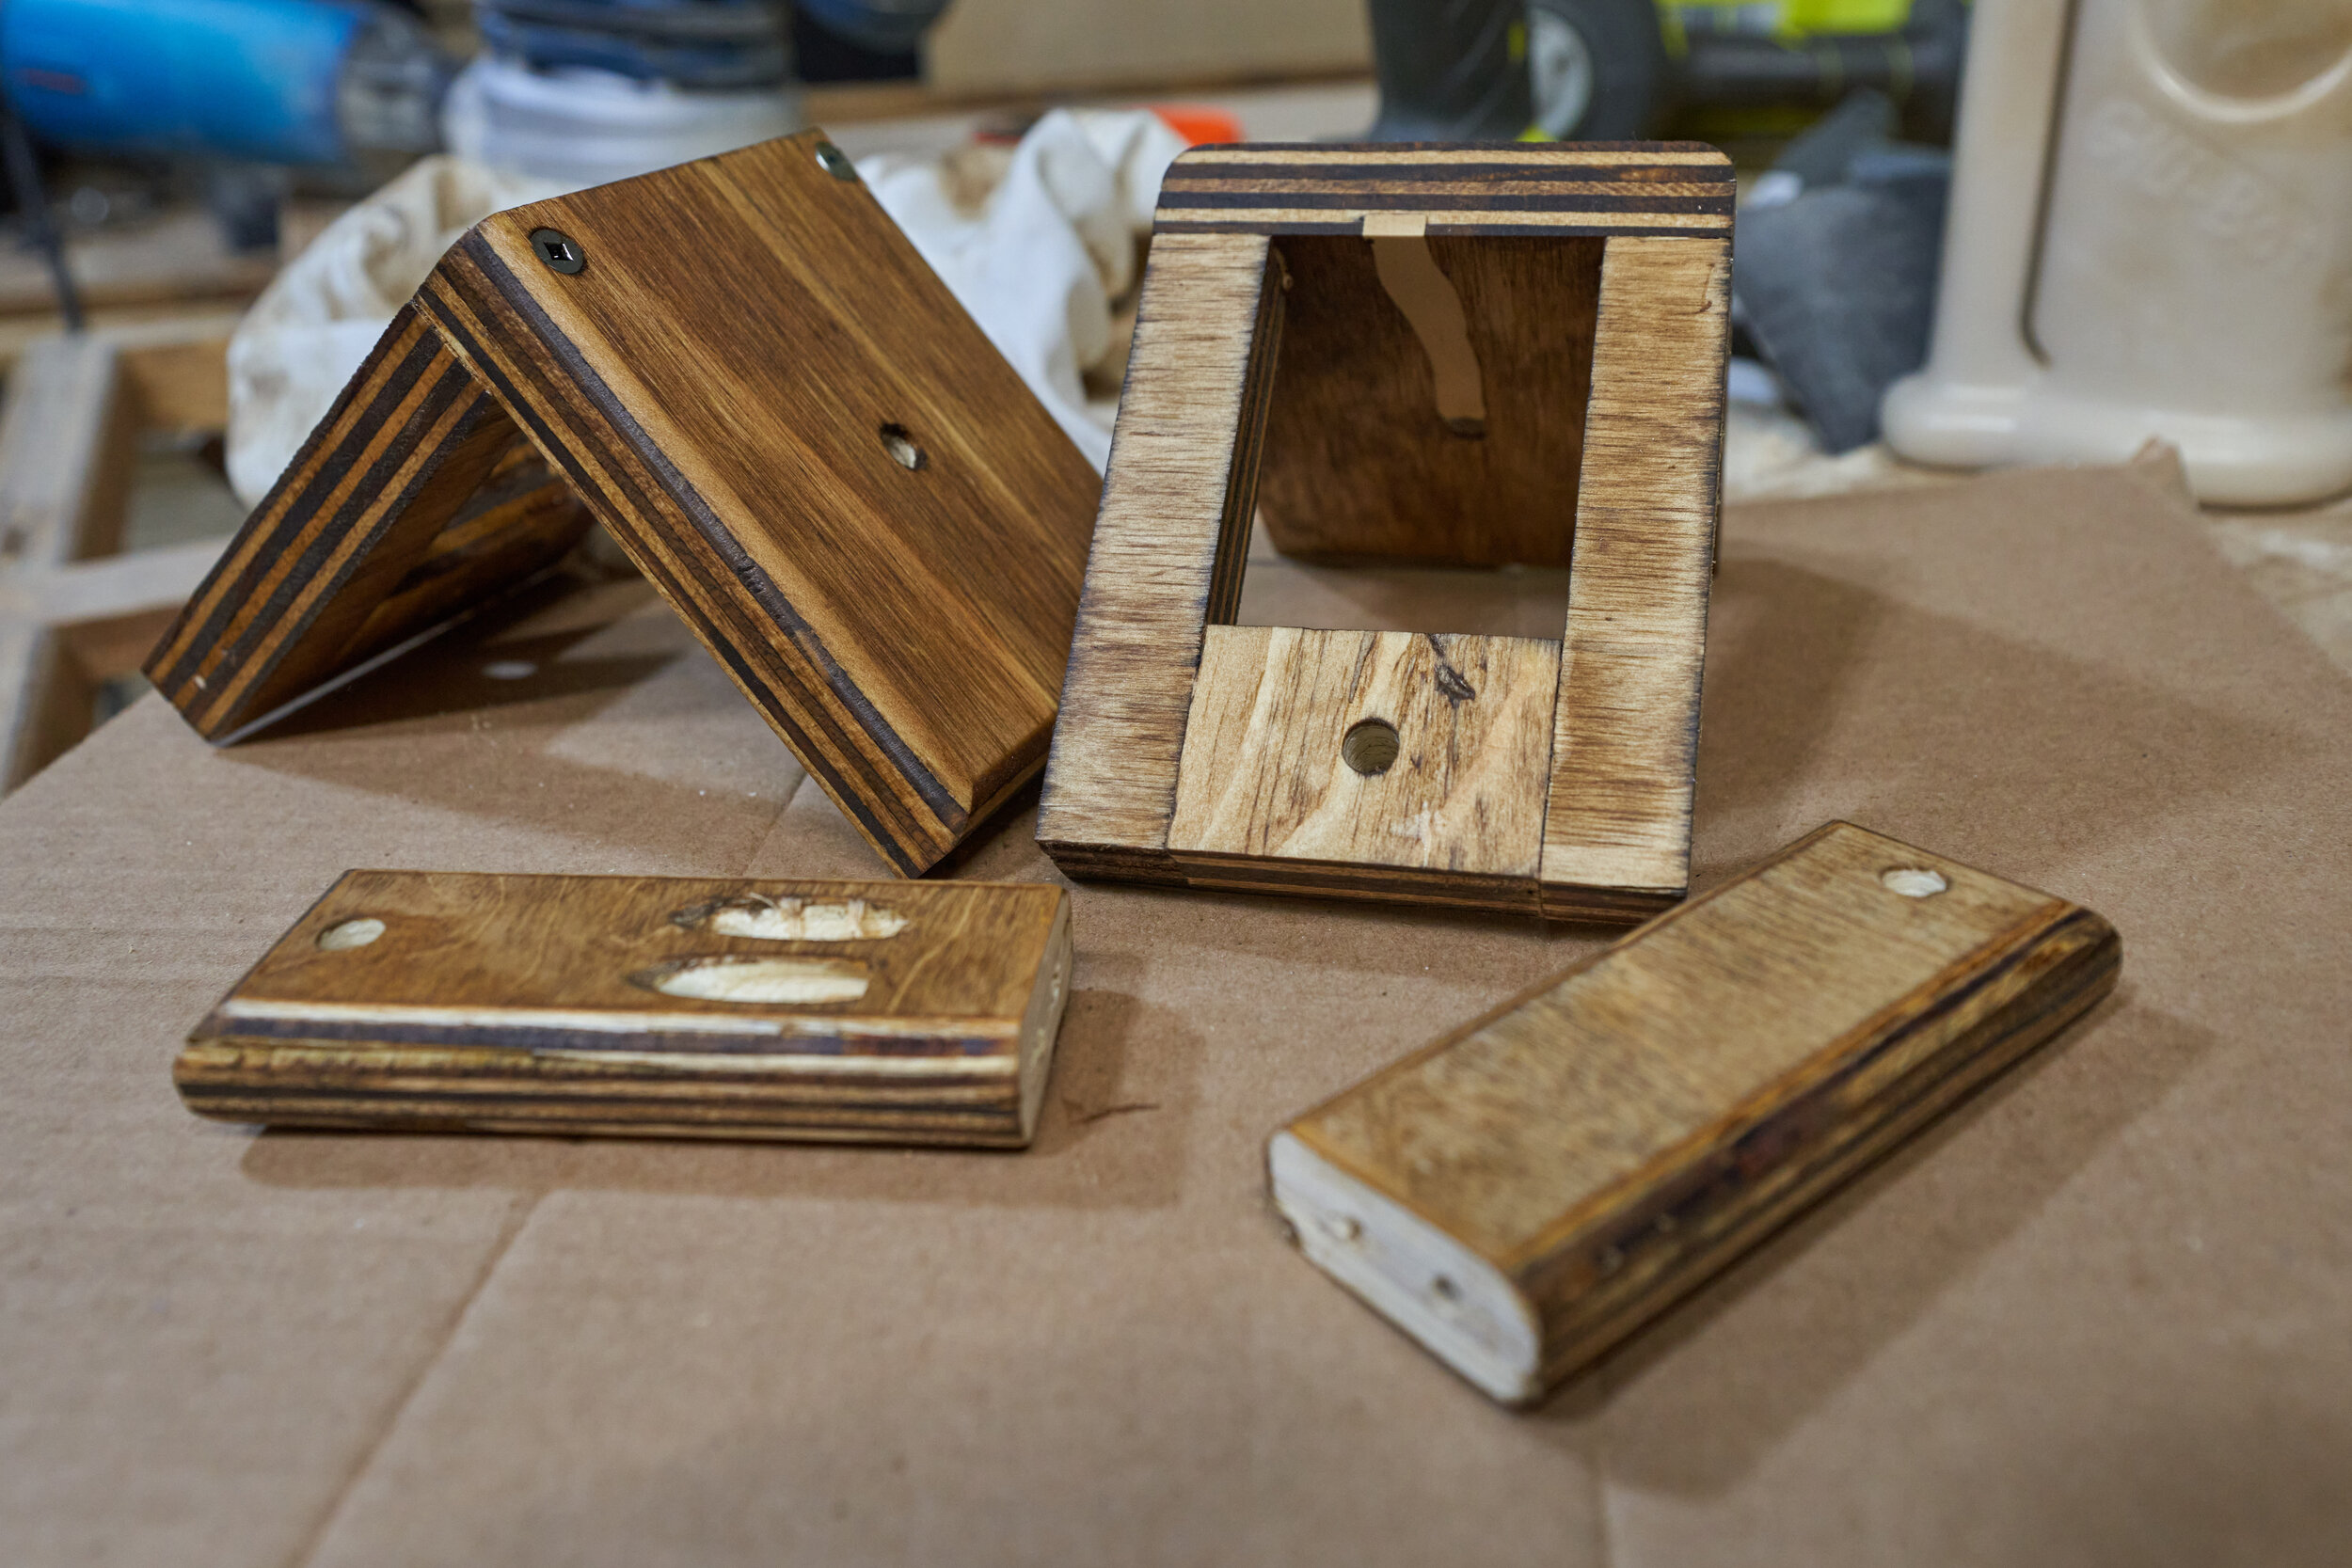
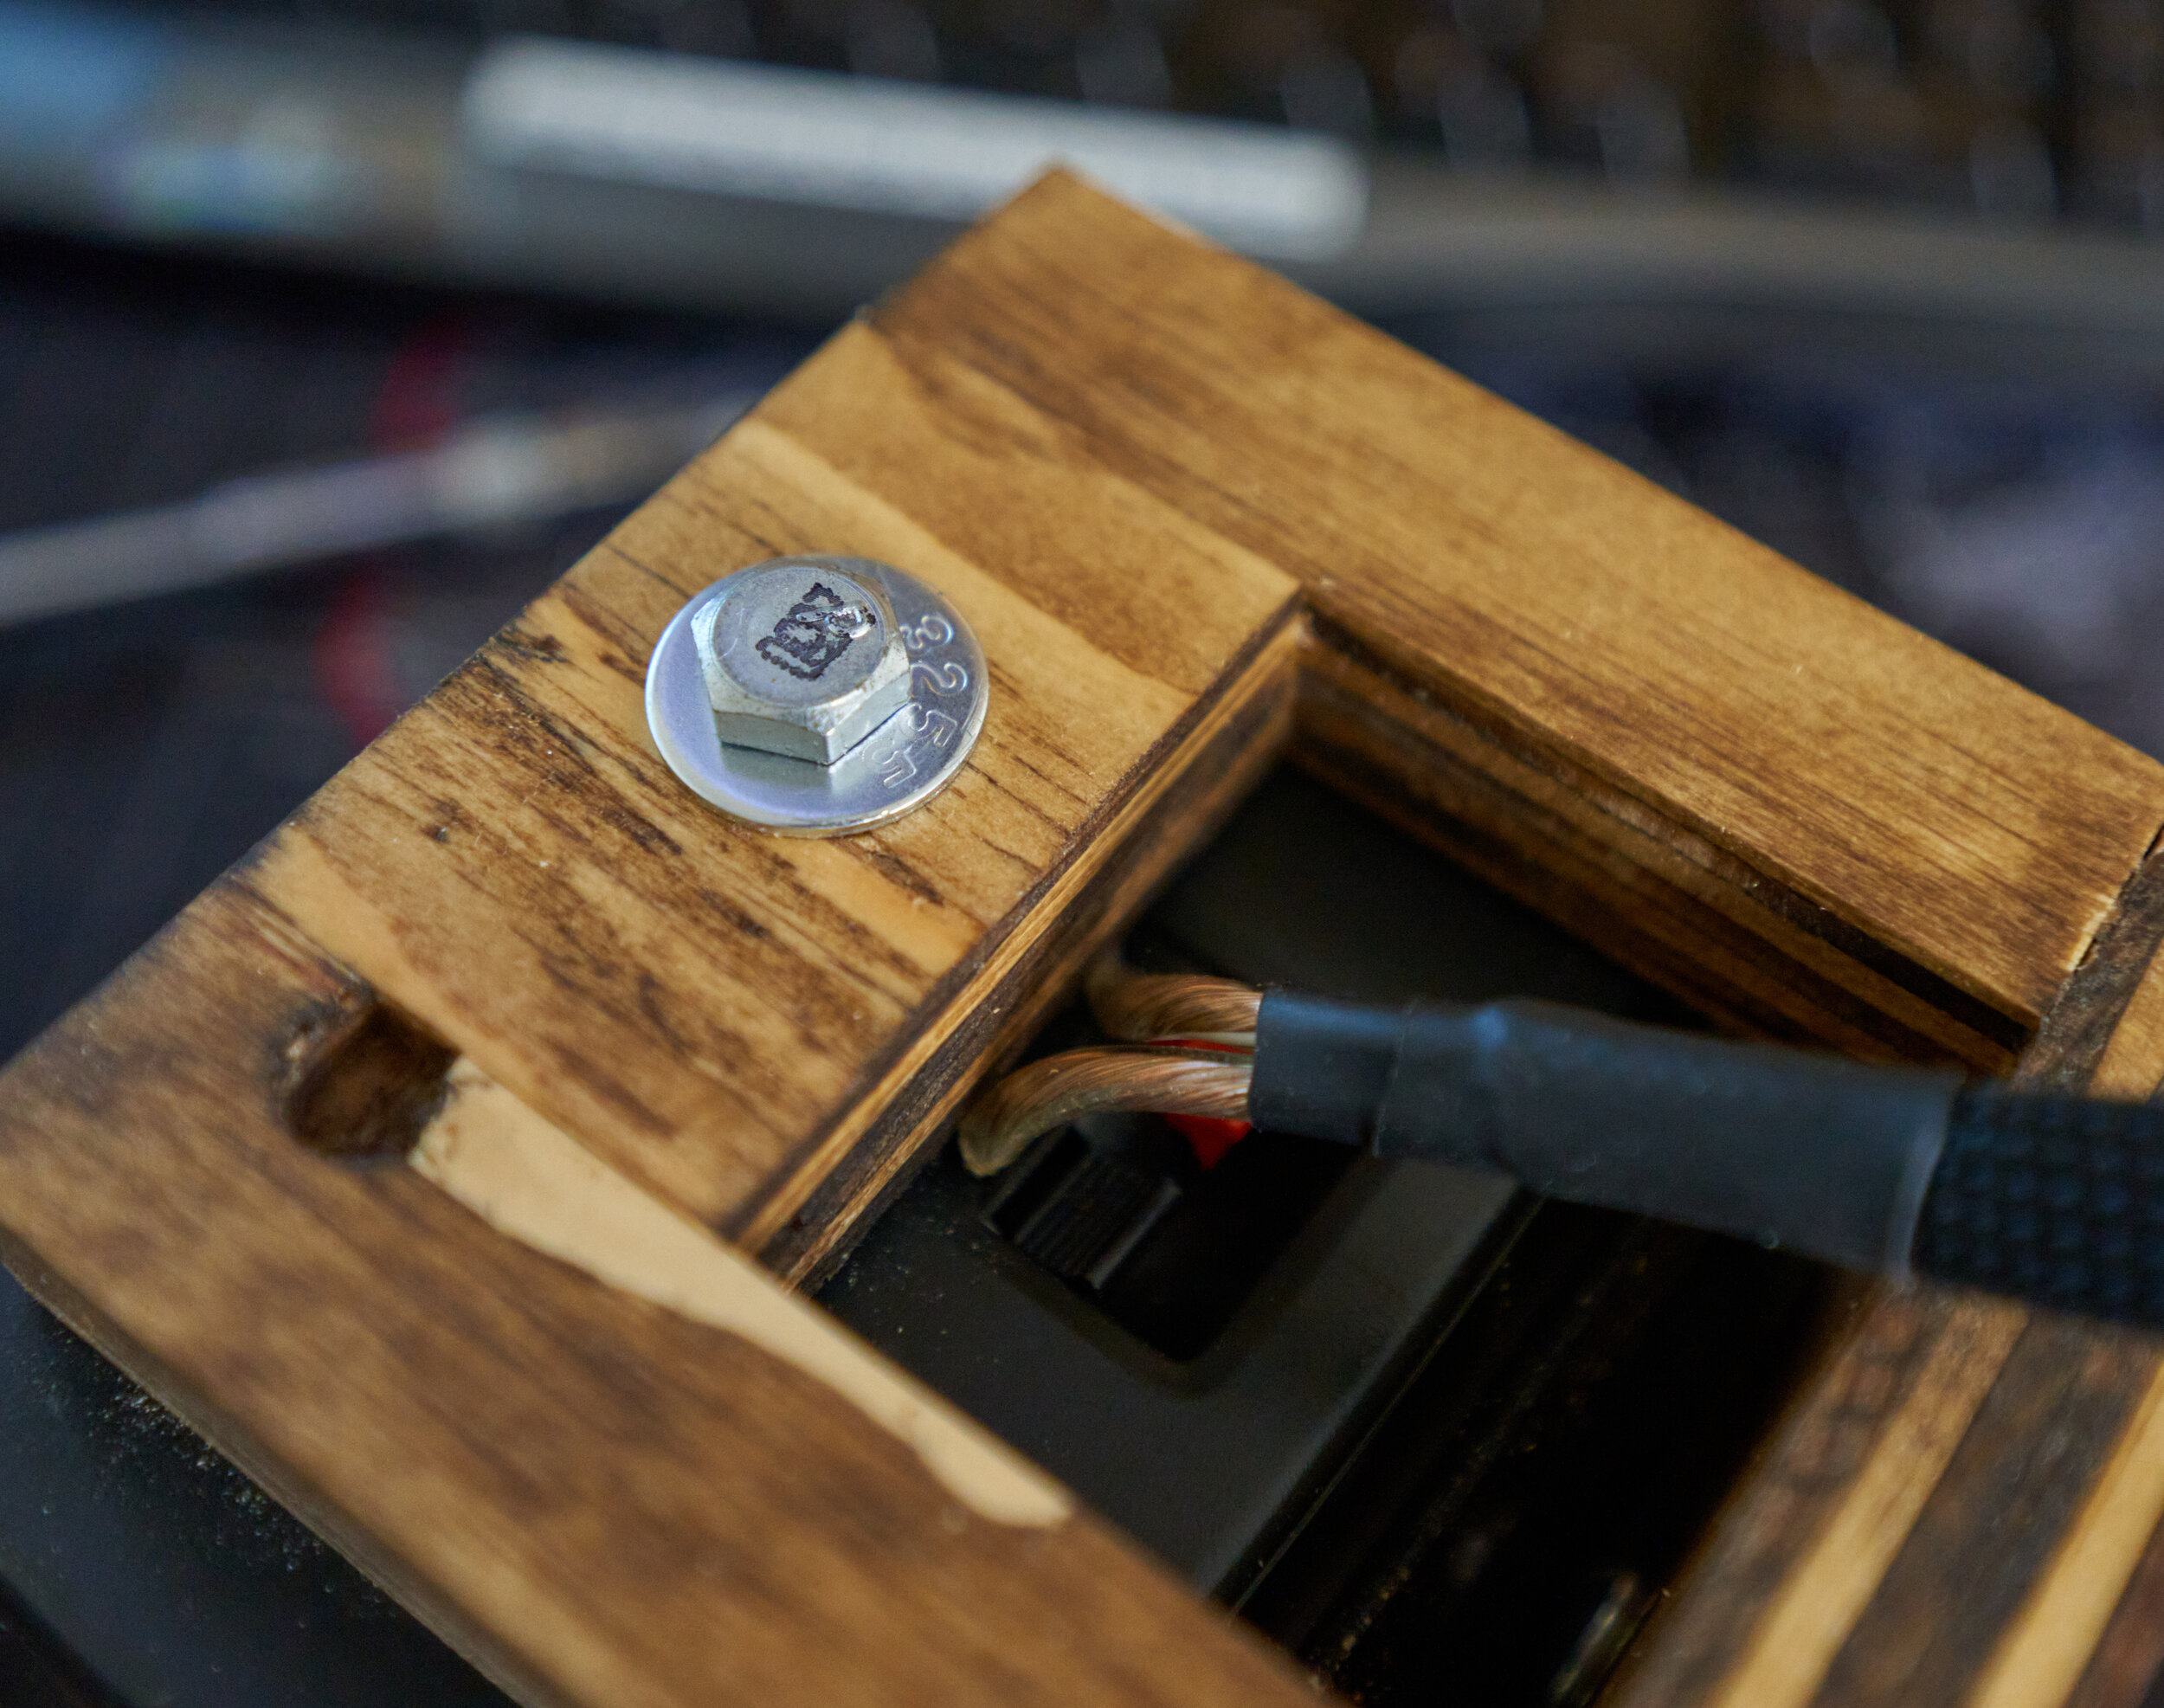
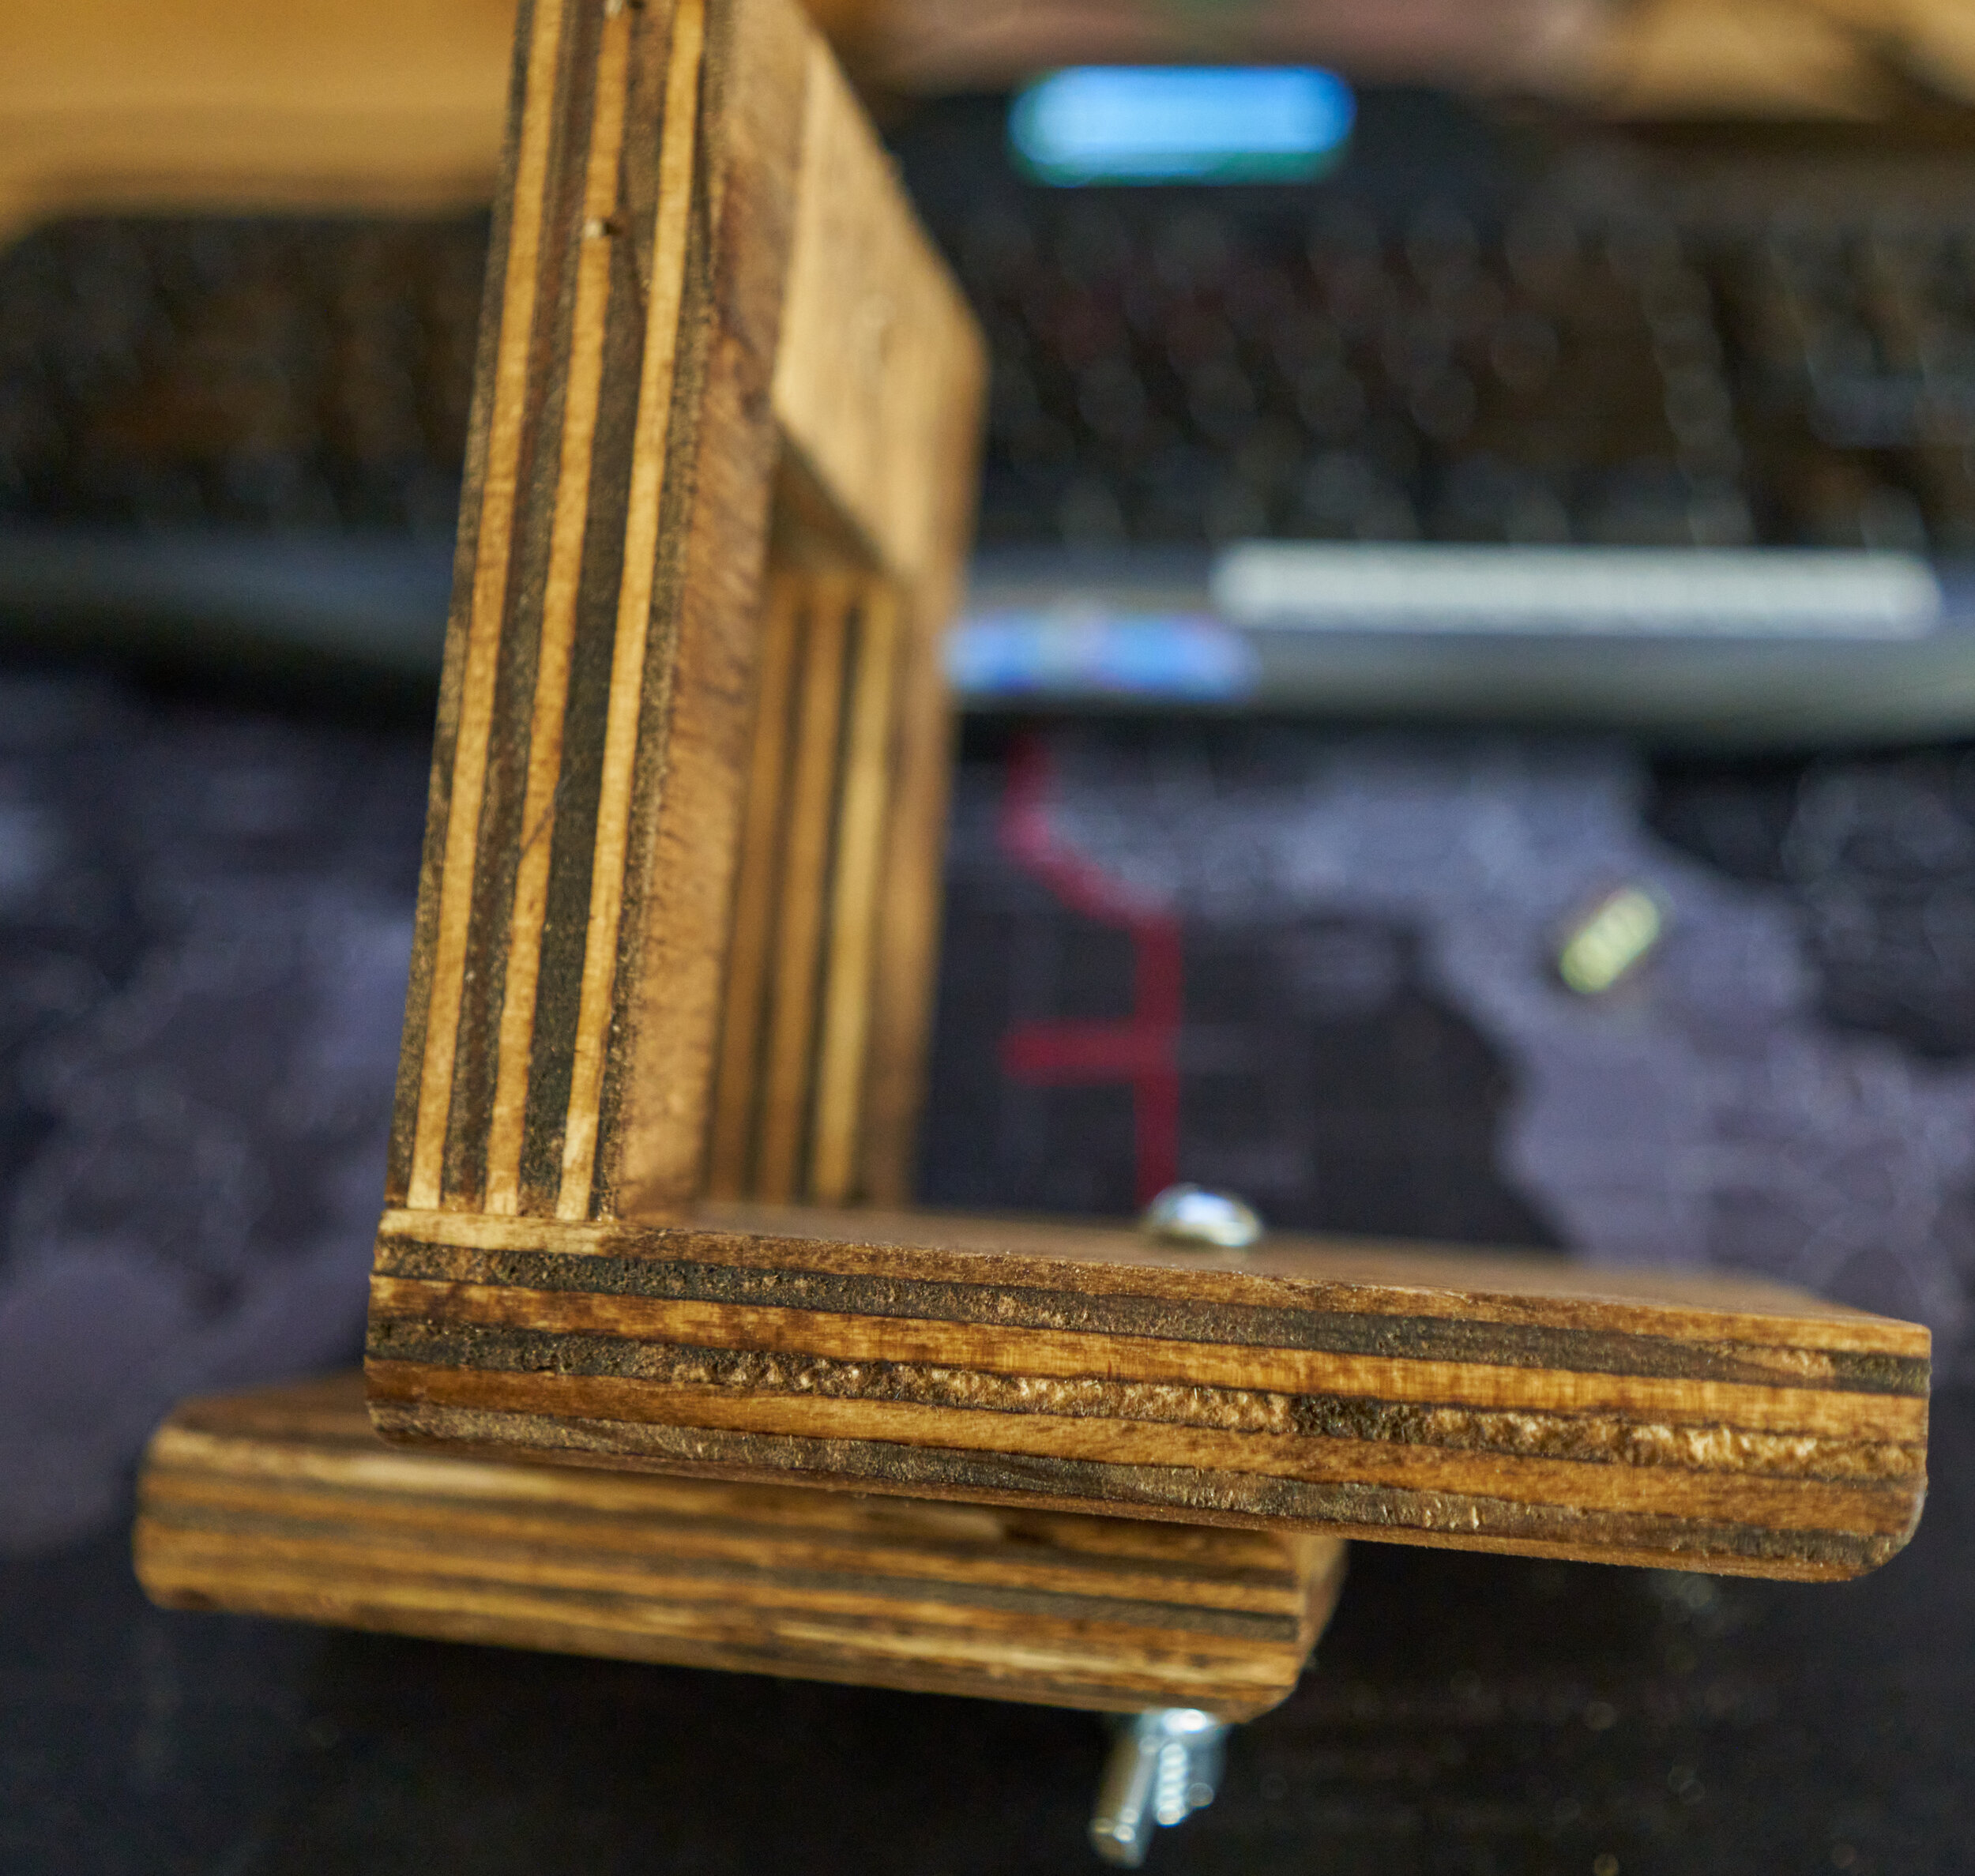
Both as an easier side task and because I really did need to get the front speakers off the desk, I made some adjustable wall mounts from various bits of scrap wood. I considered (and really wanted) to buy some off the shelf speaker-mounts but read more than a few reviews indicating that the fit for some of the cheaper mounts I was looking at (which weren’t exactly cheap either) were a little too tight. So the least frustrating solution would be to make my own.
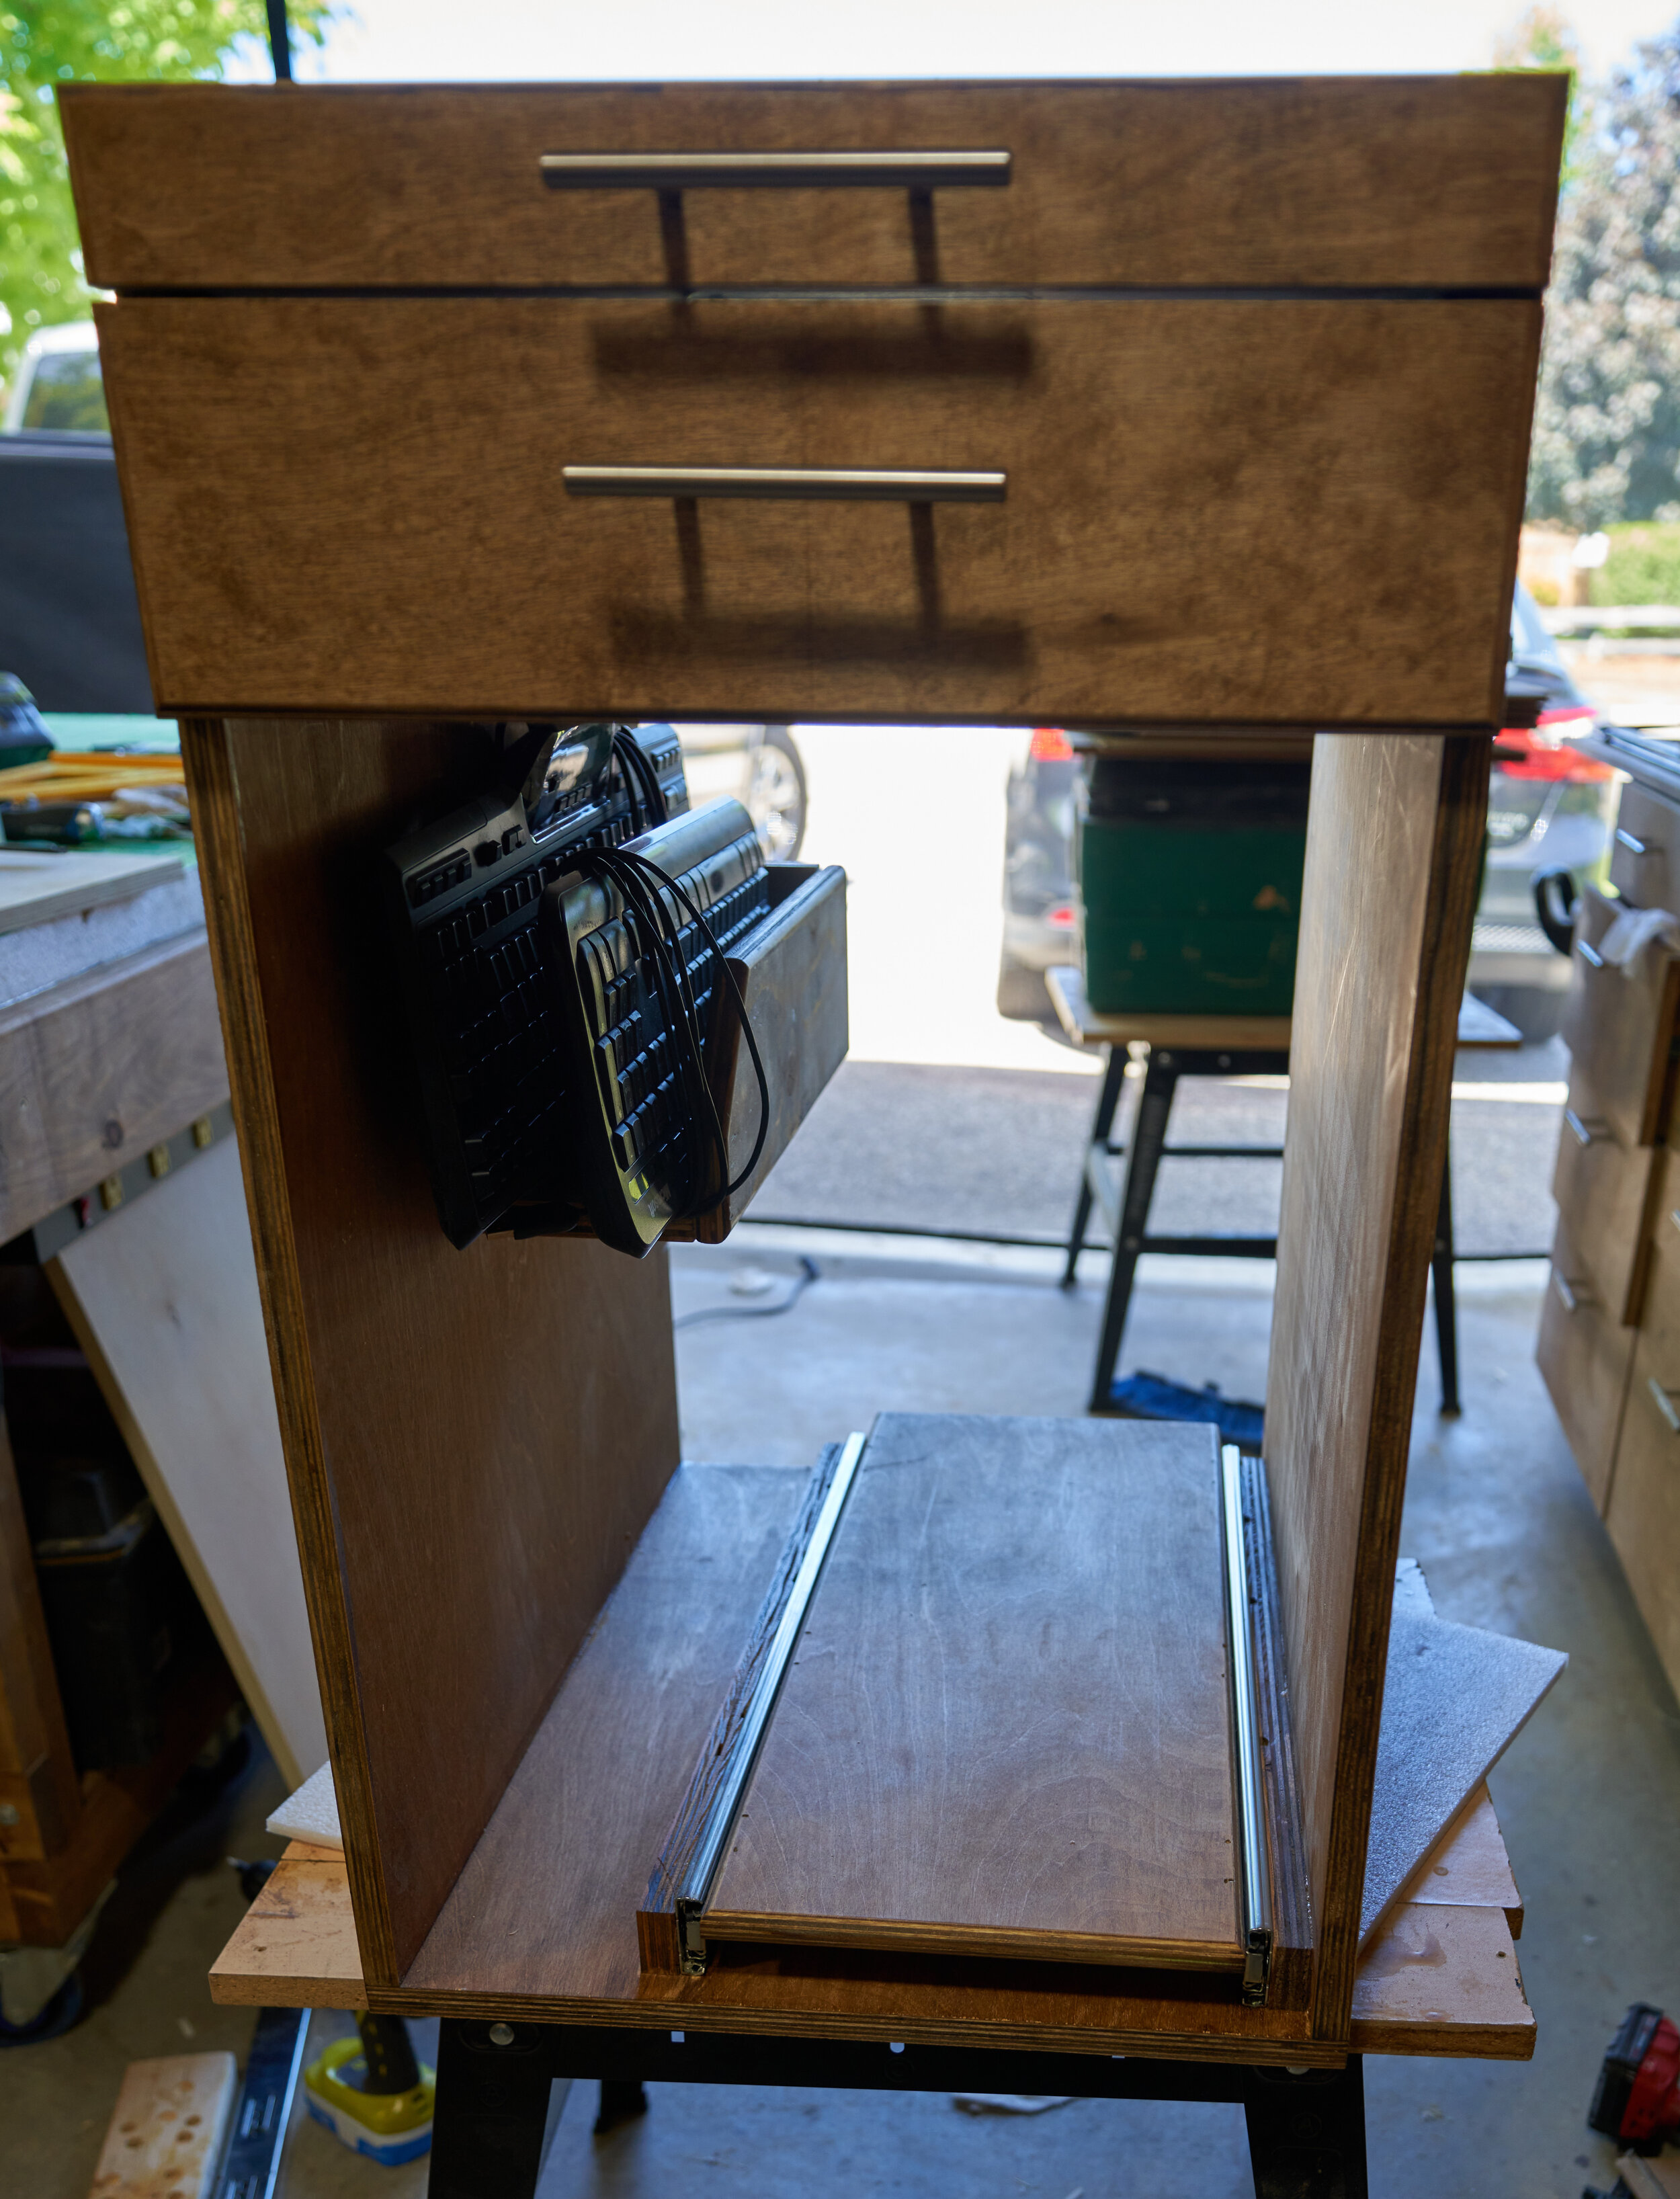
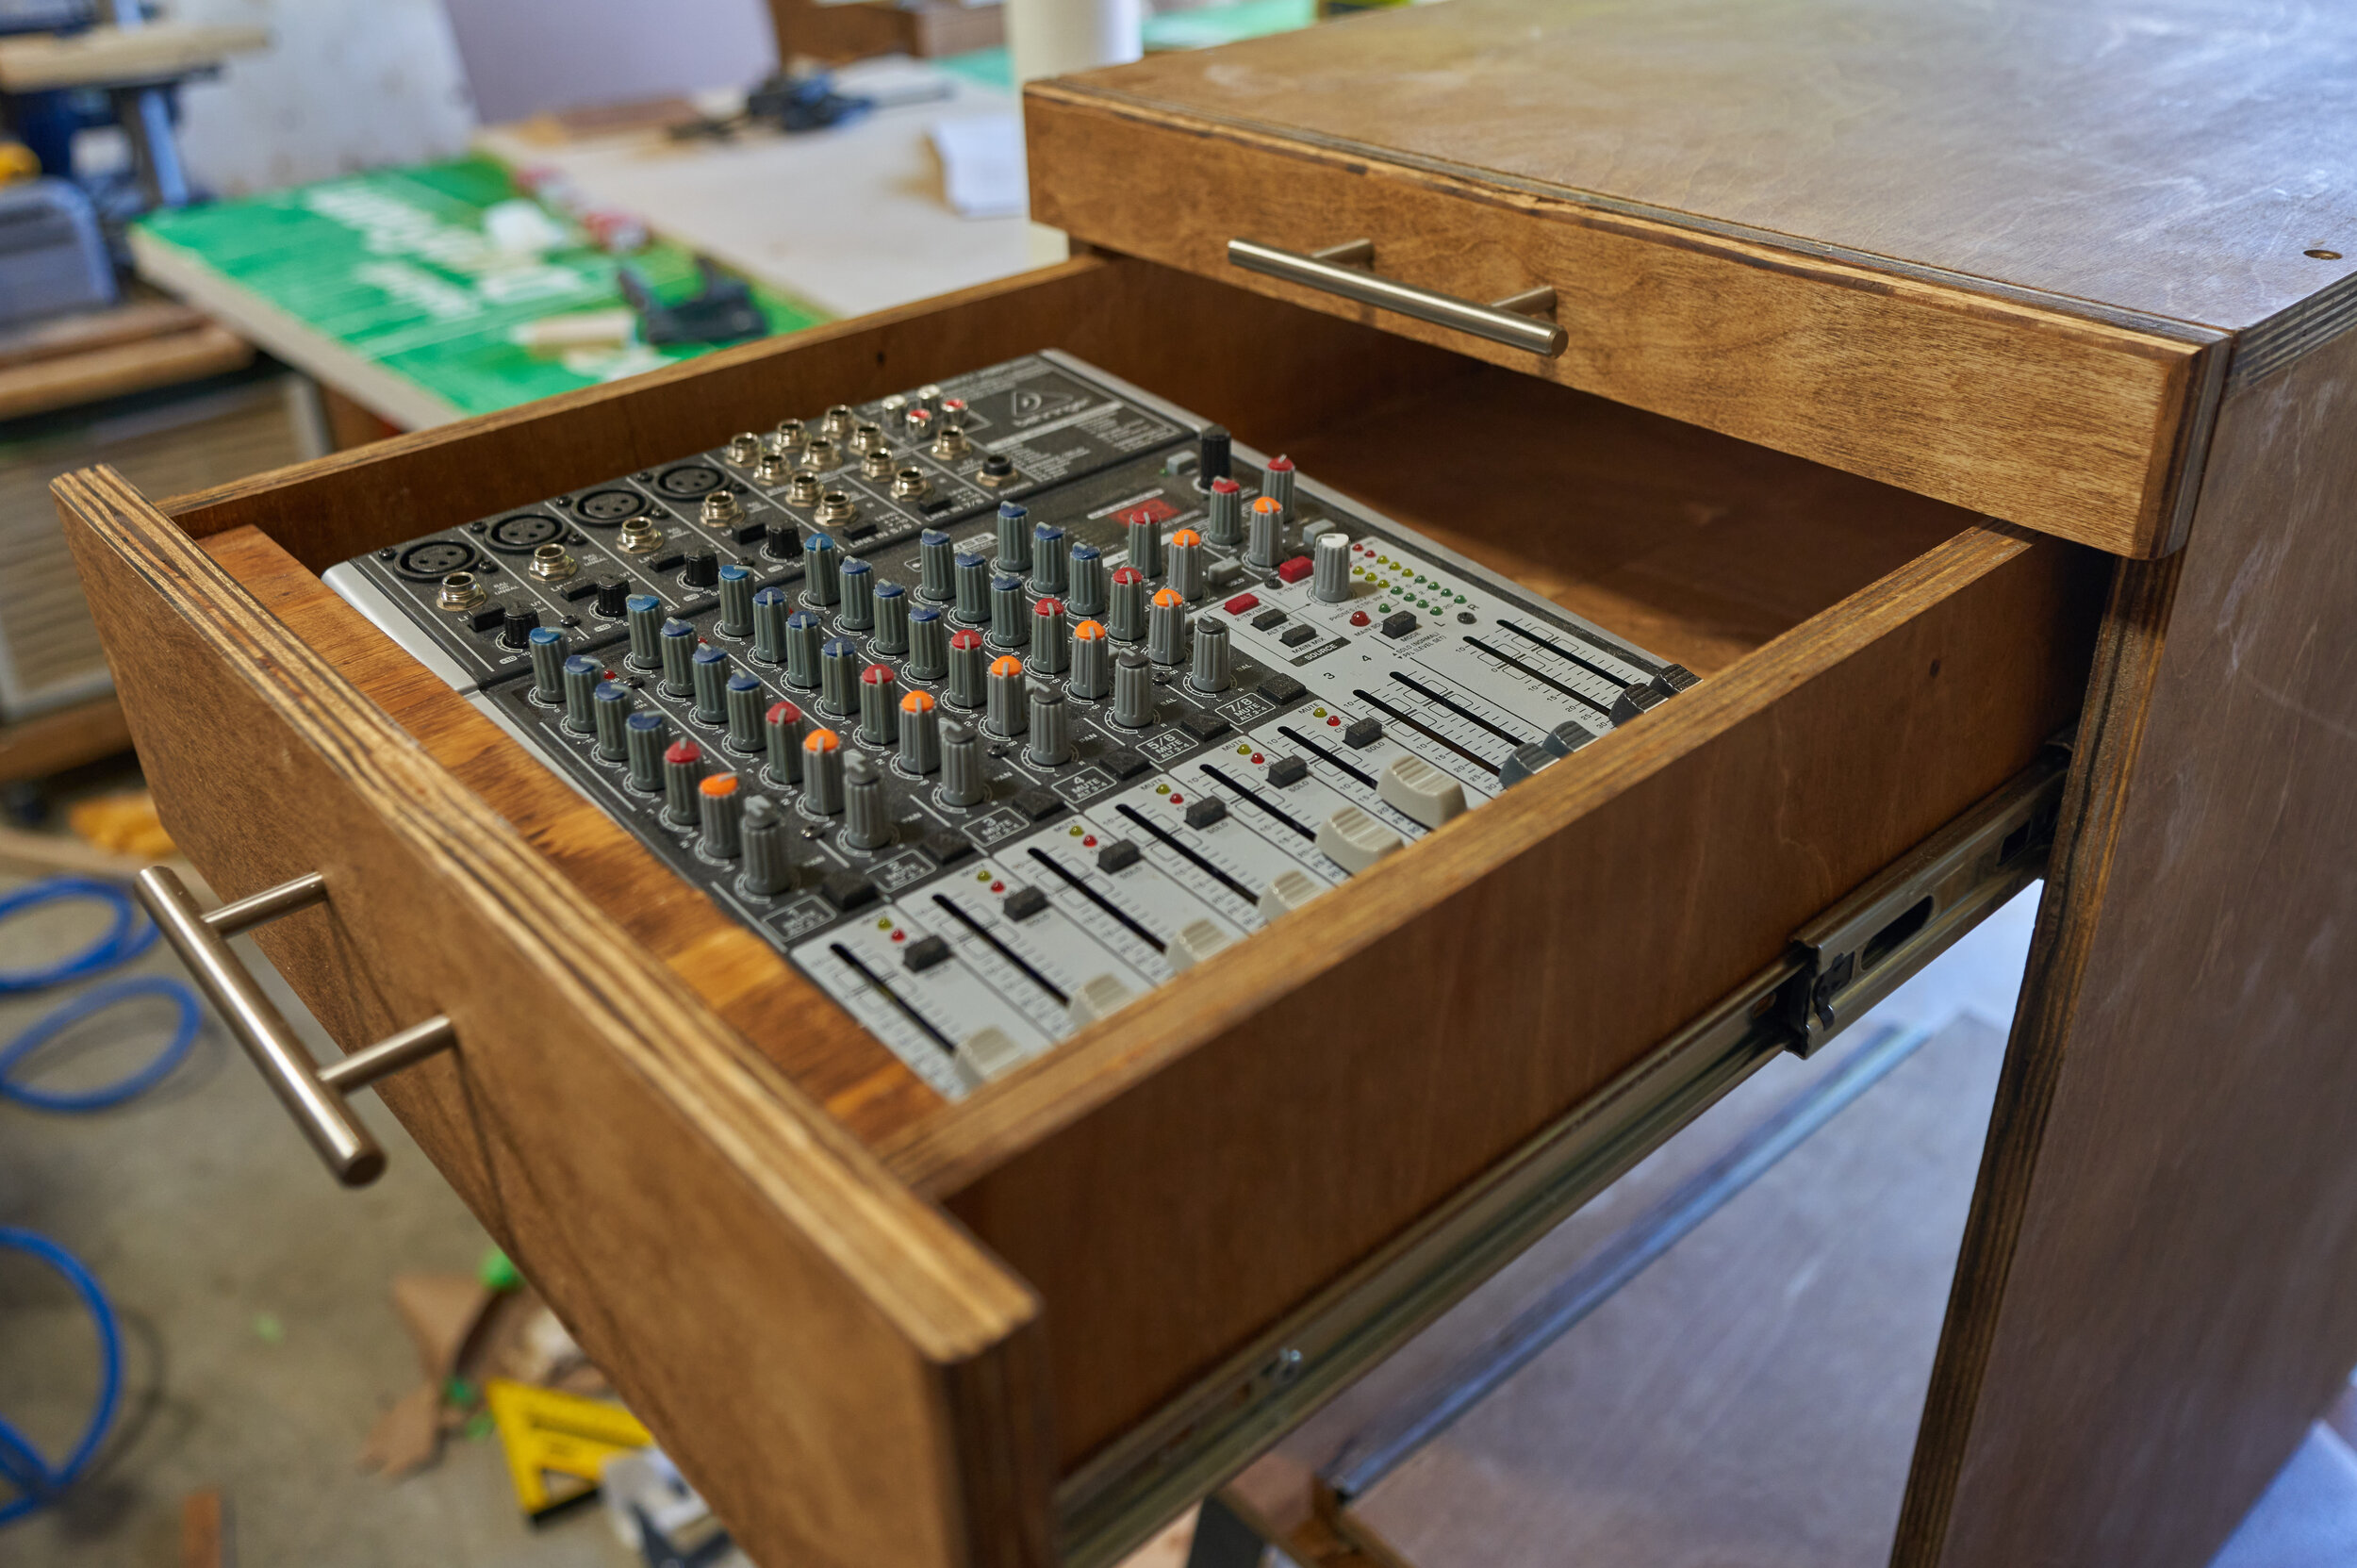
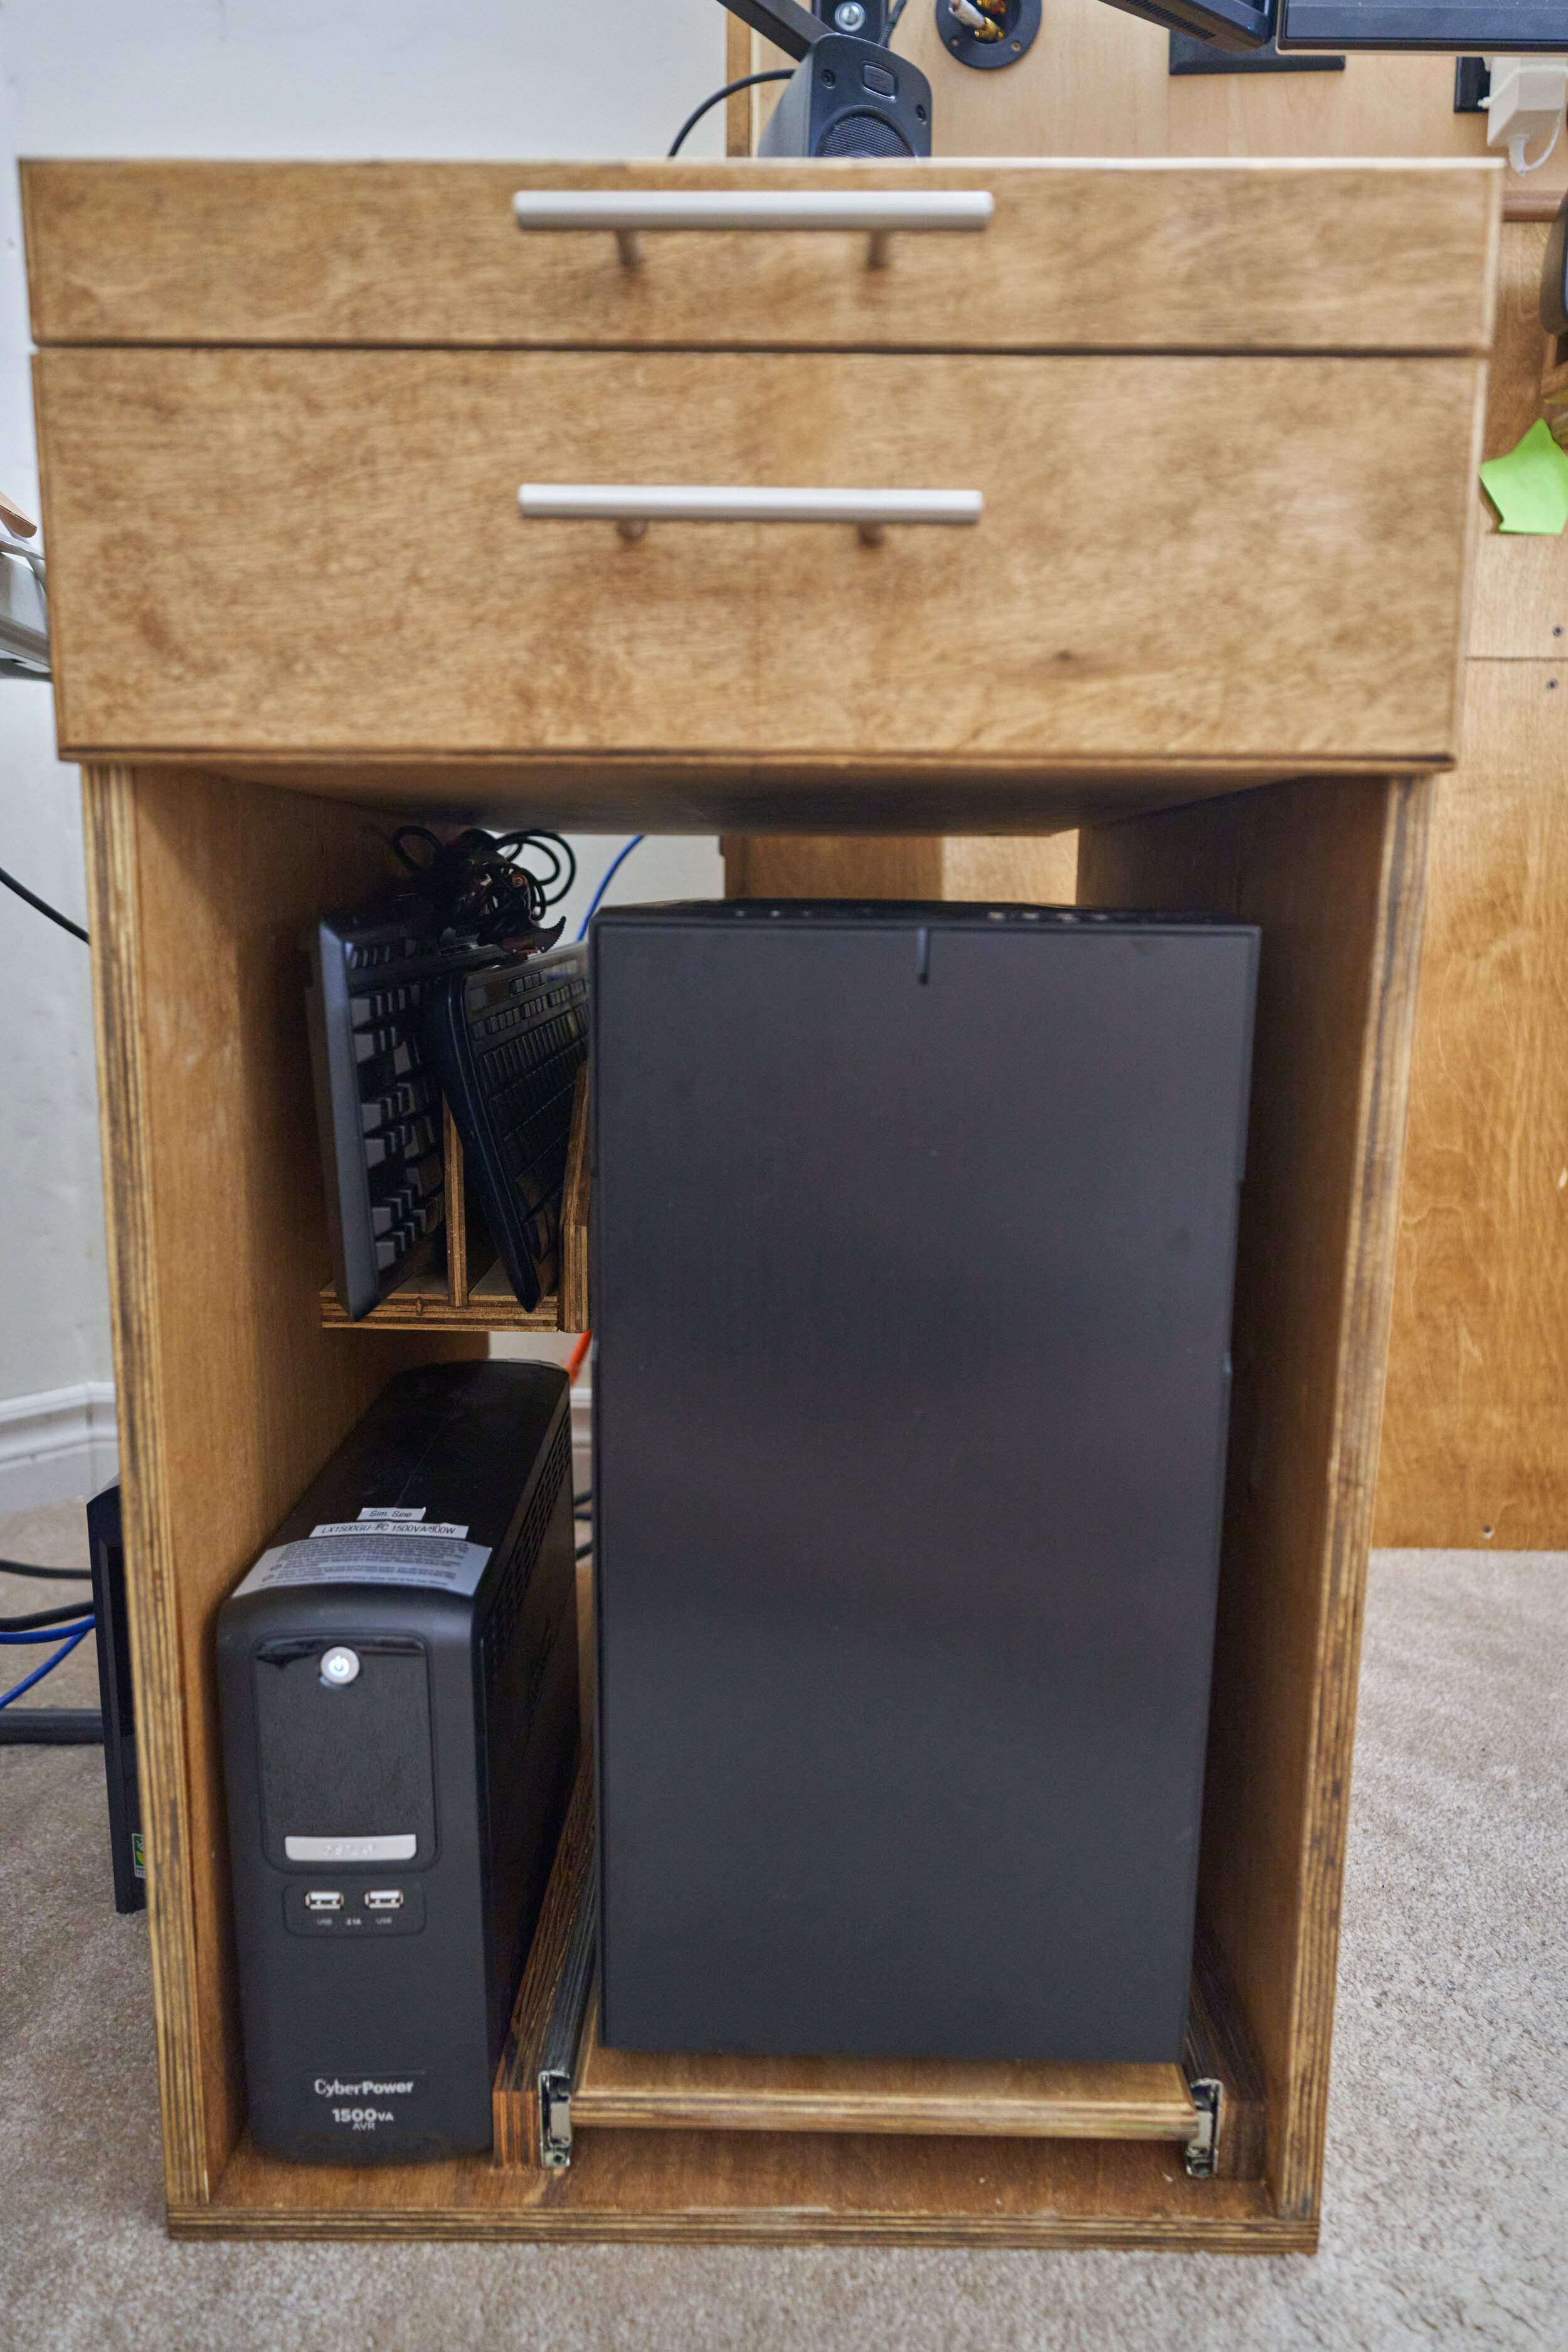
Step 7: The Left Cabinet
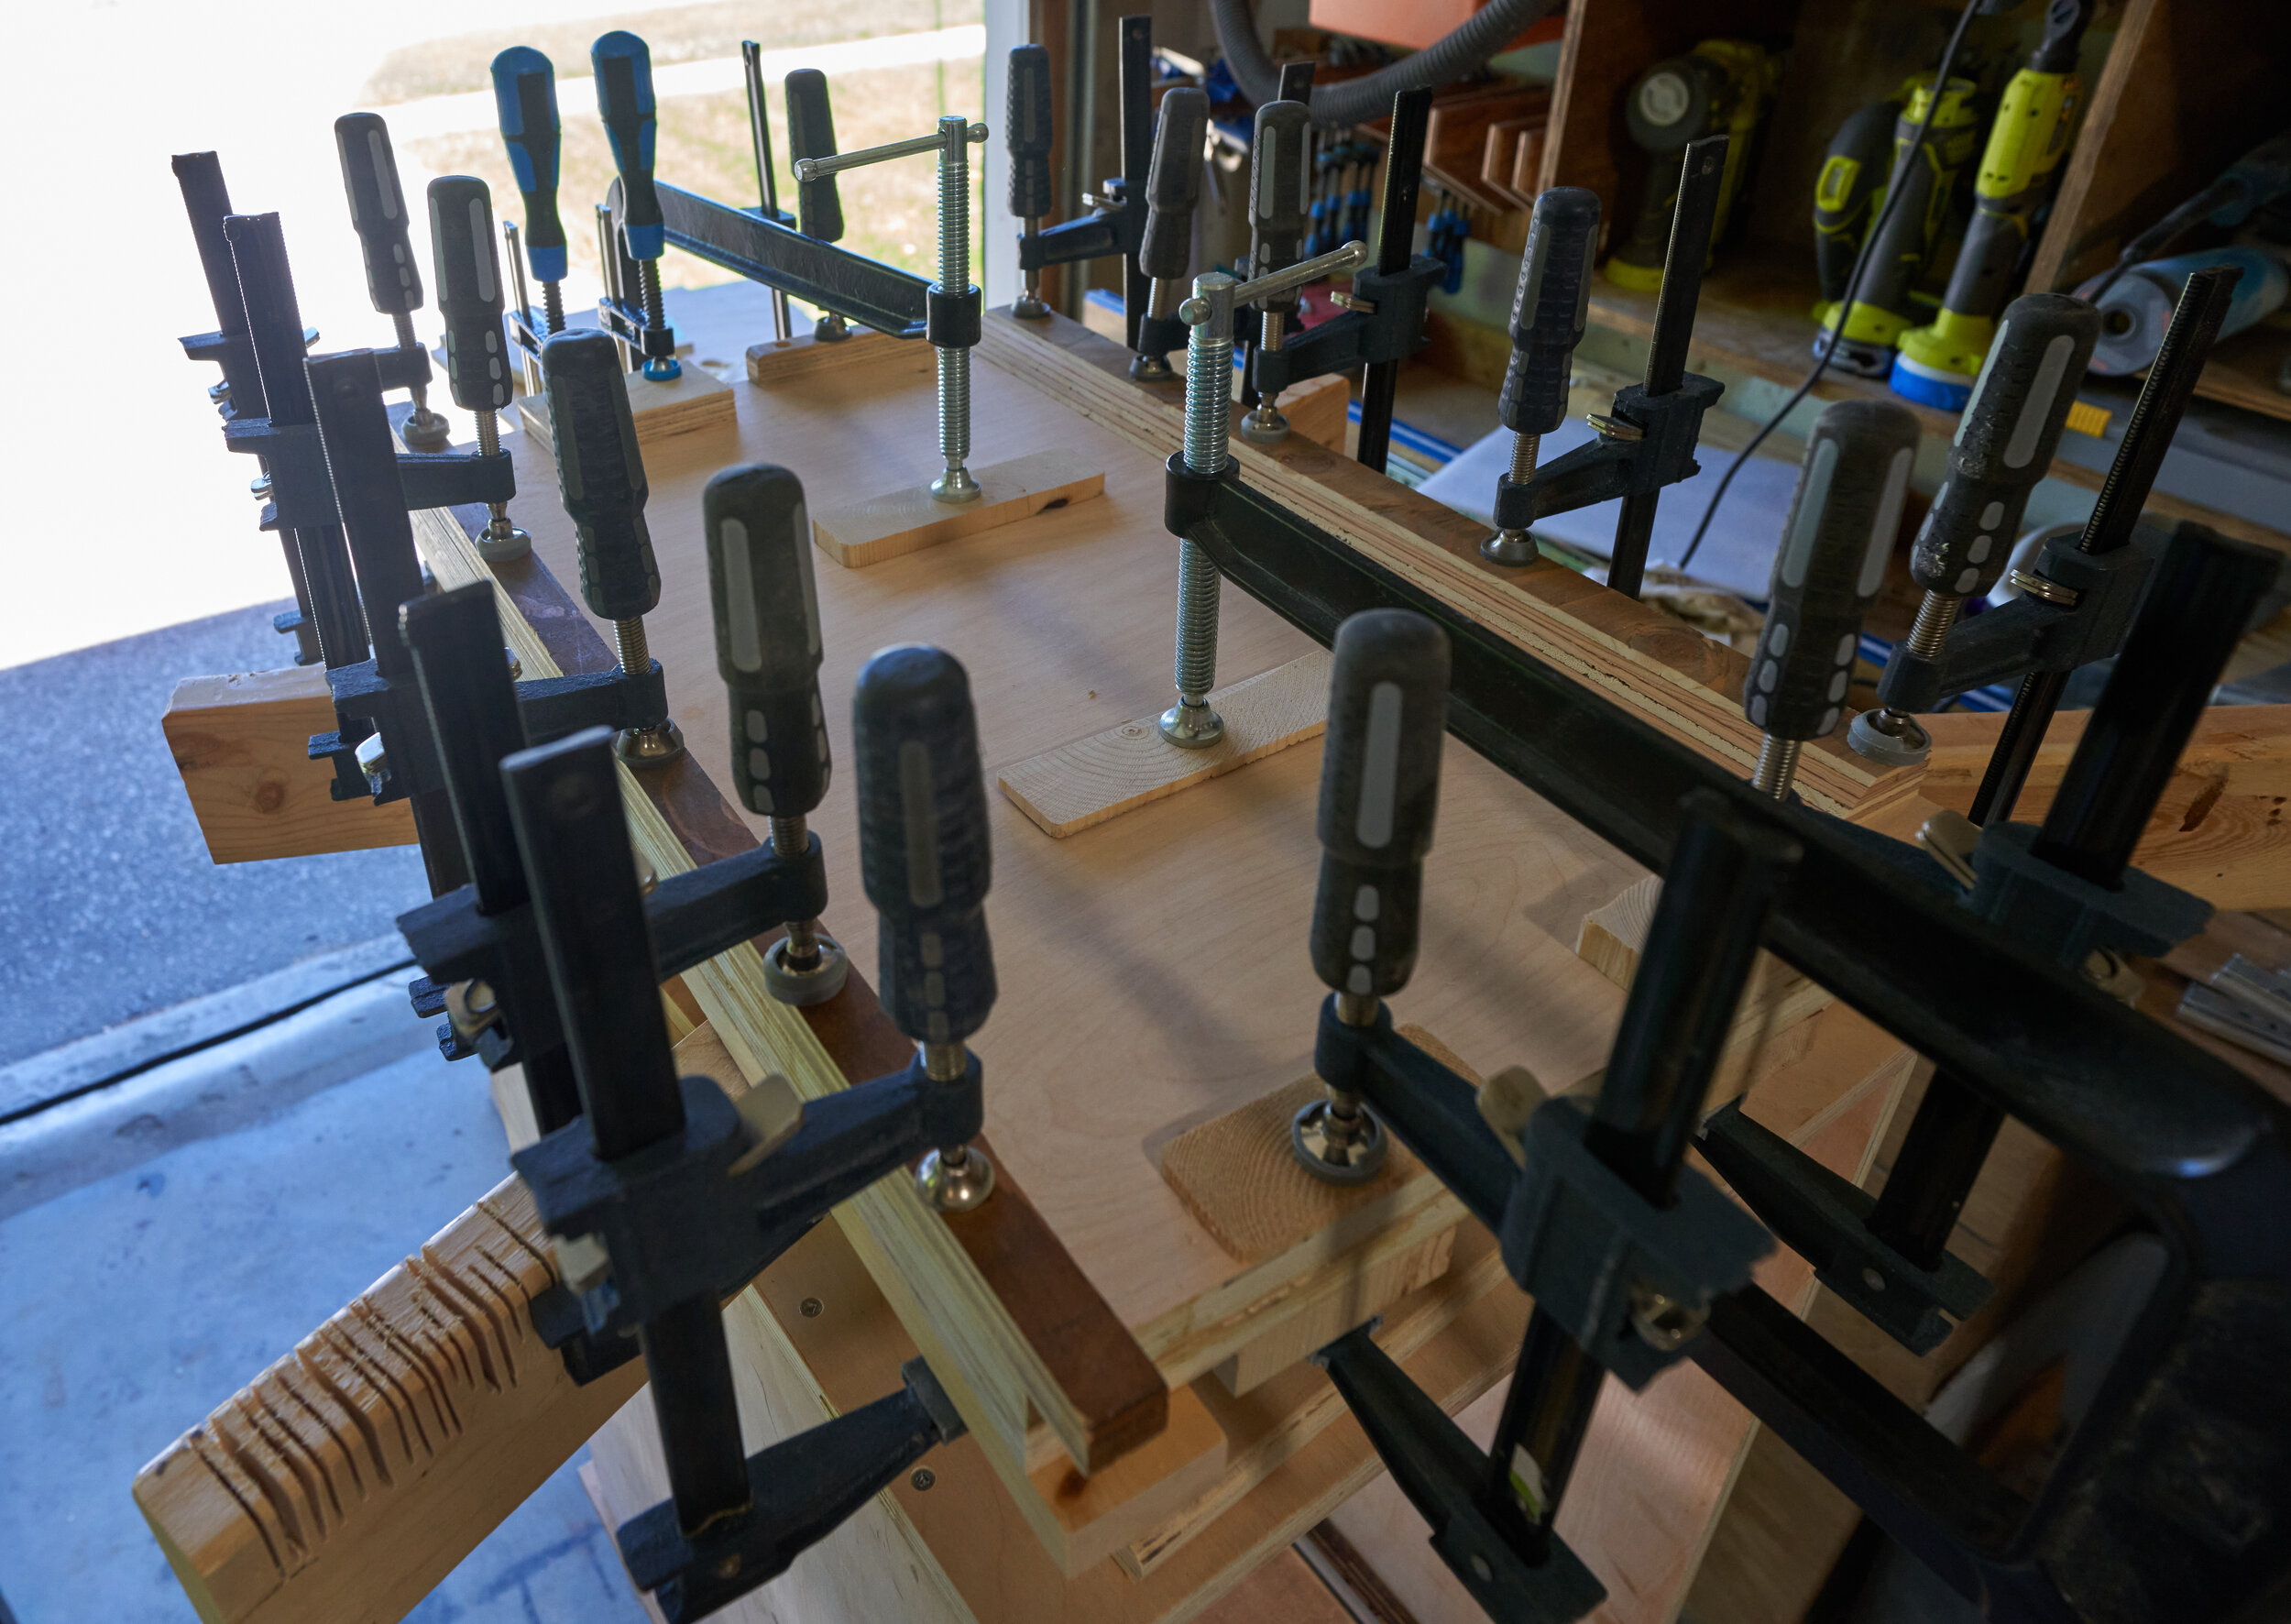
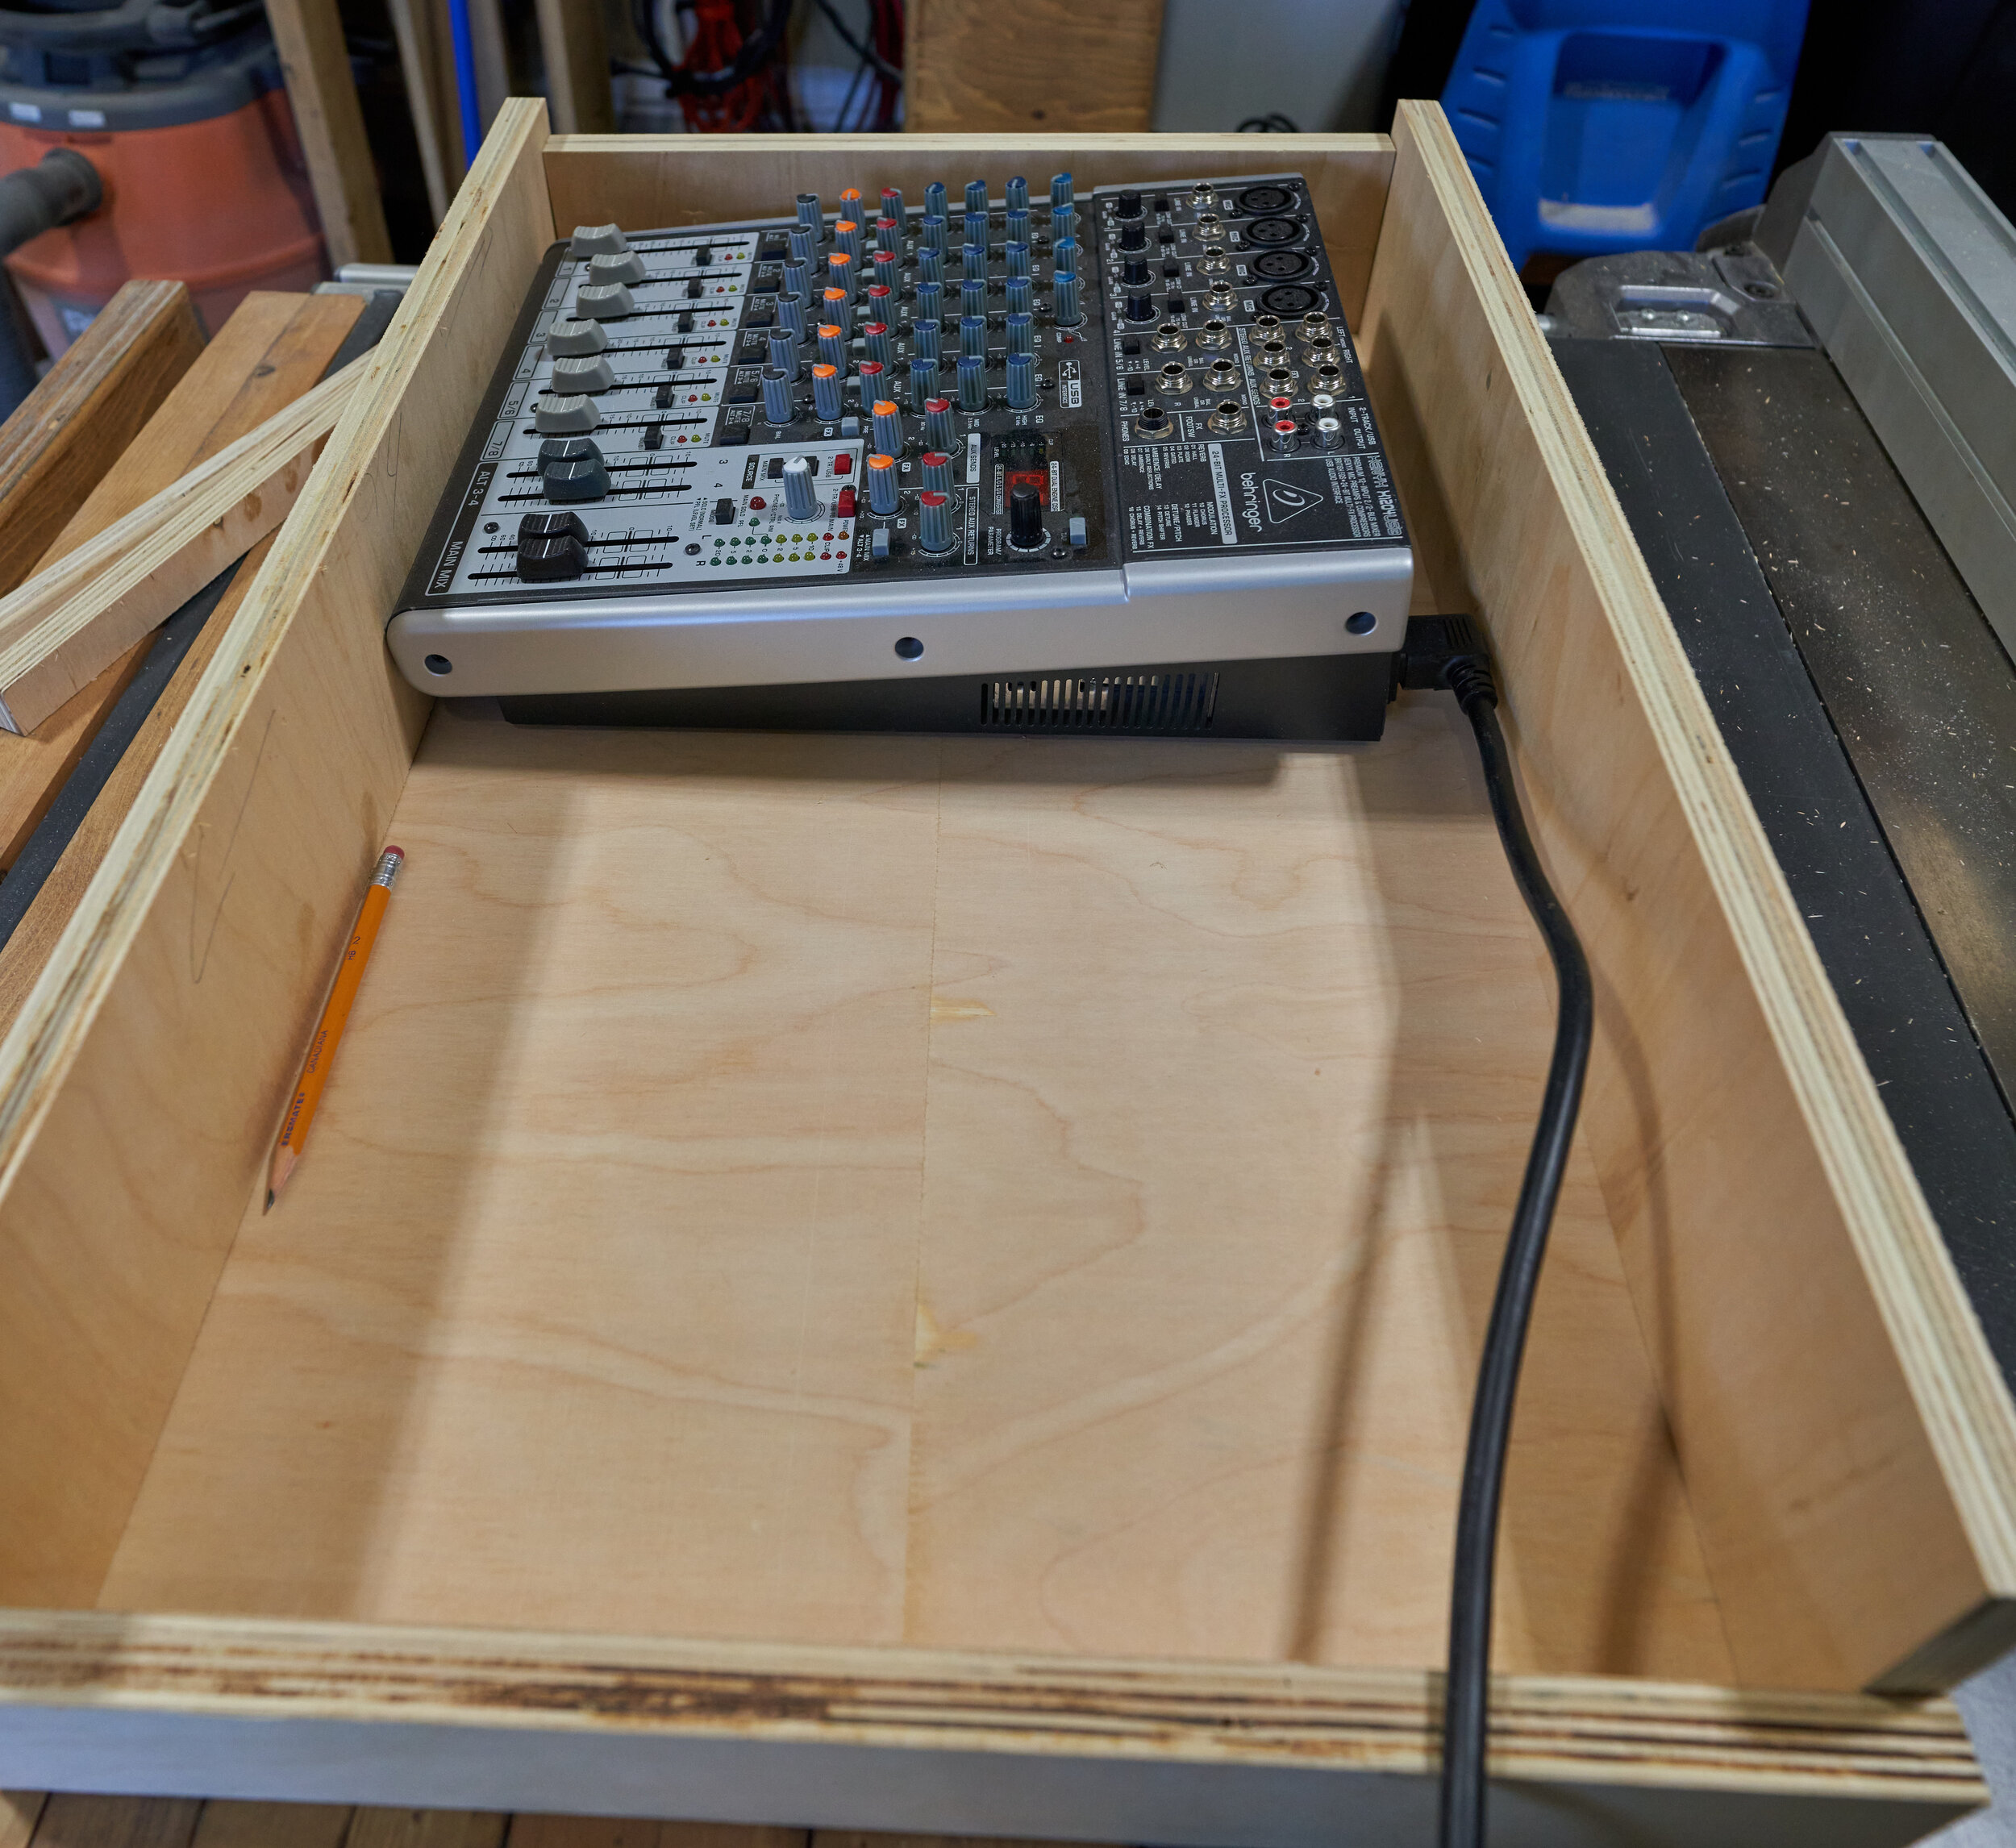
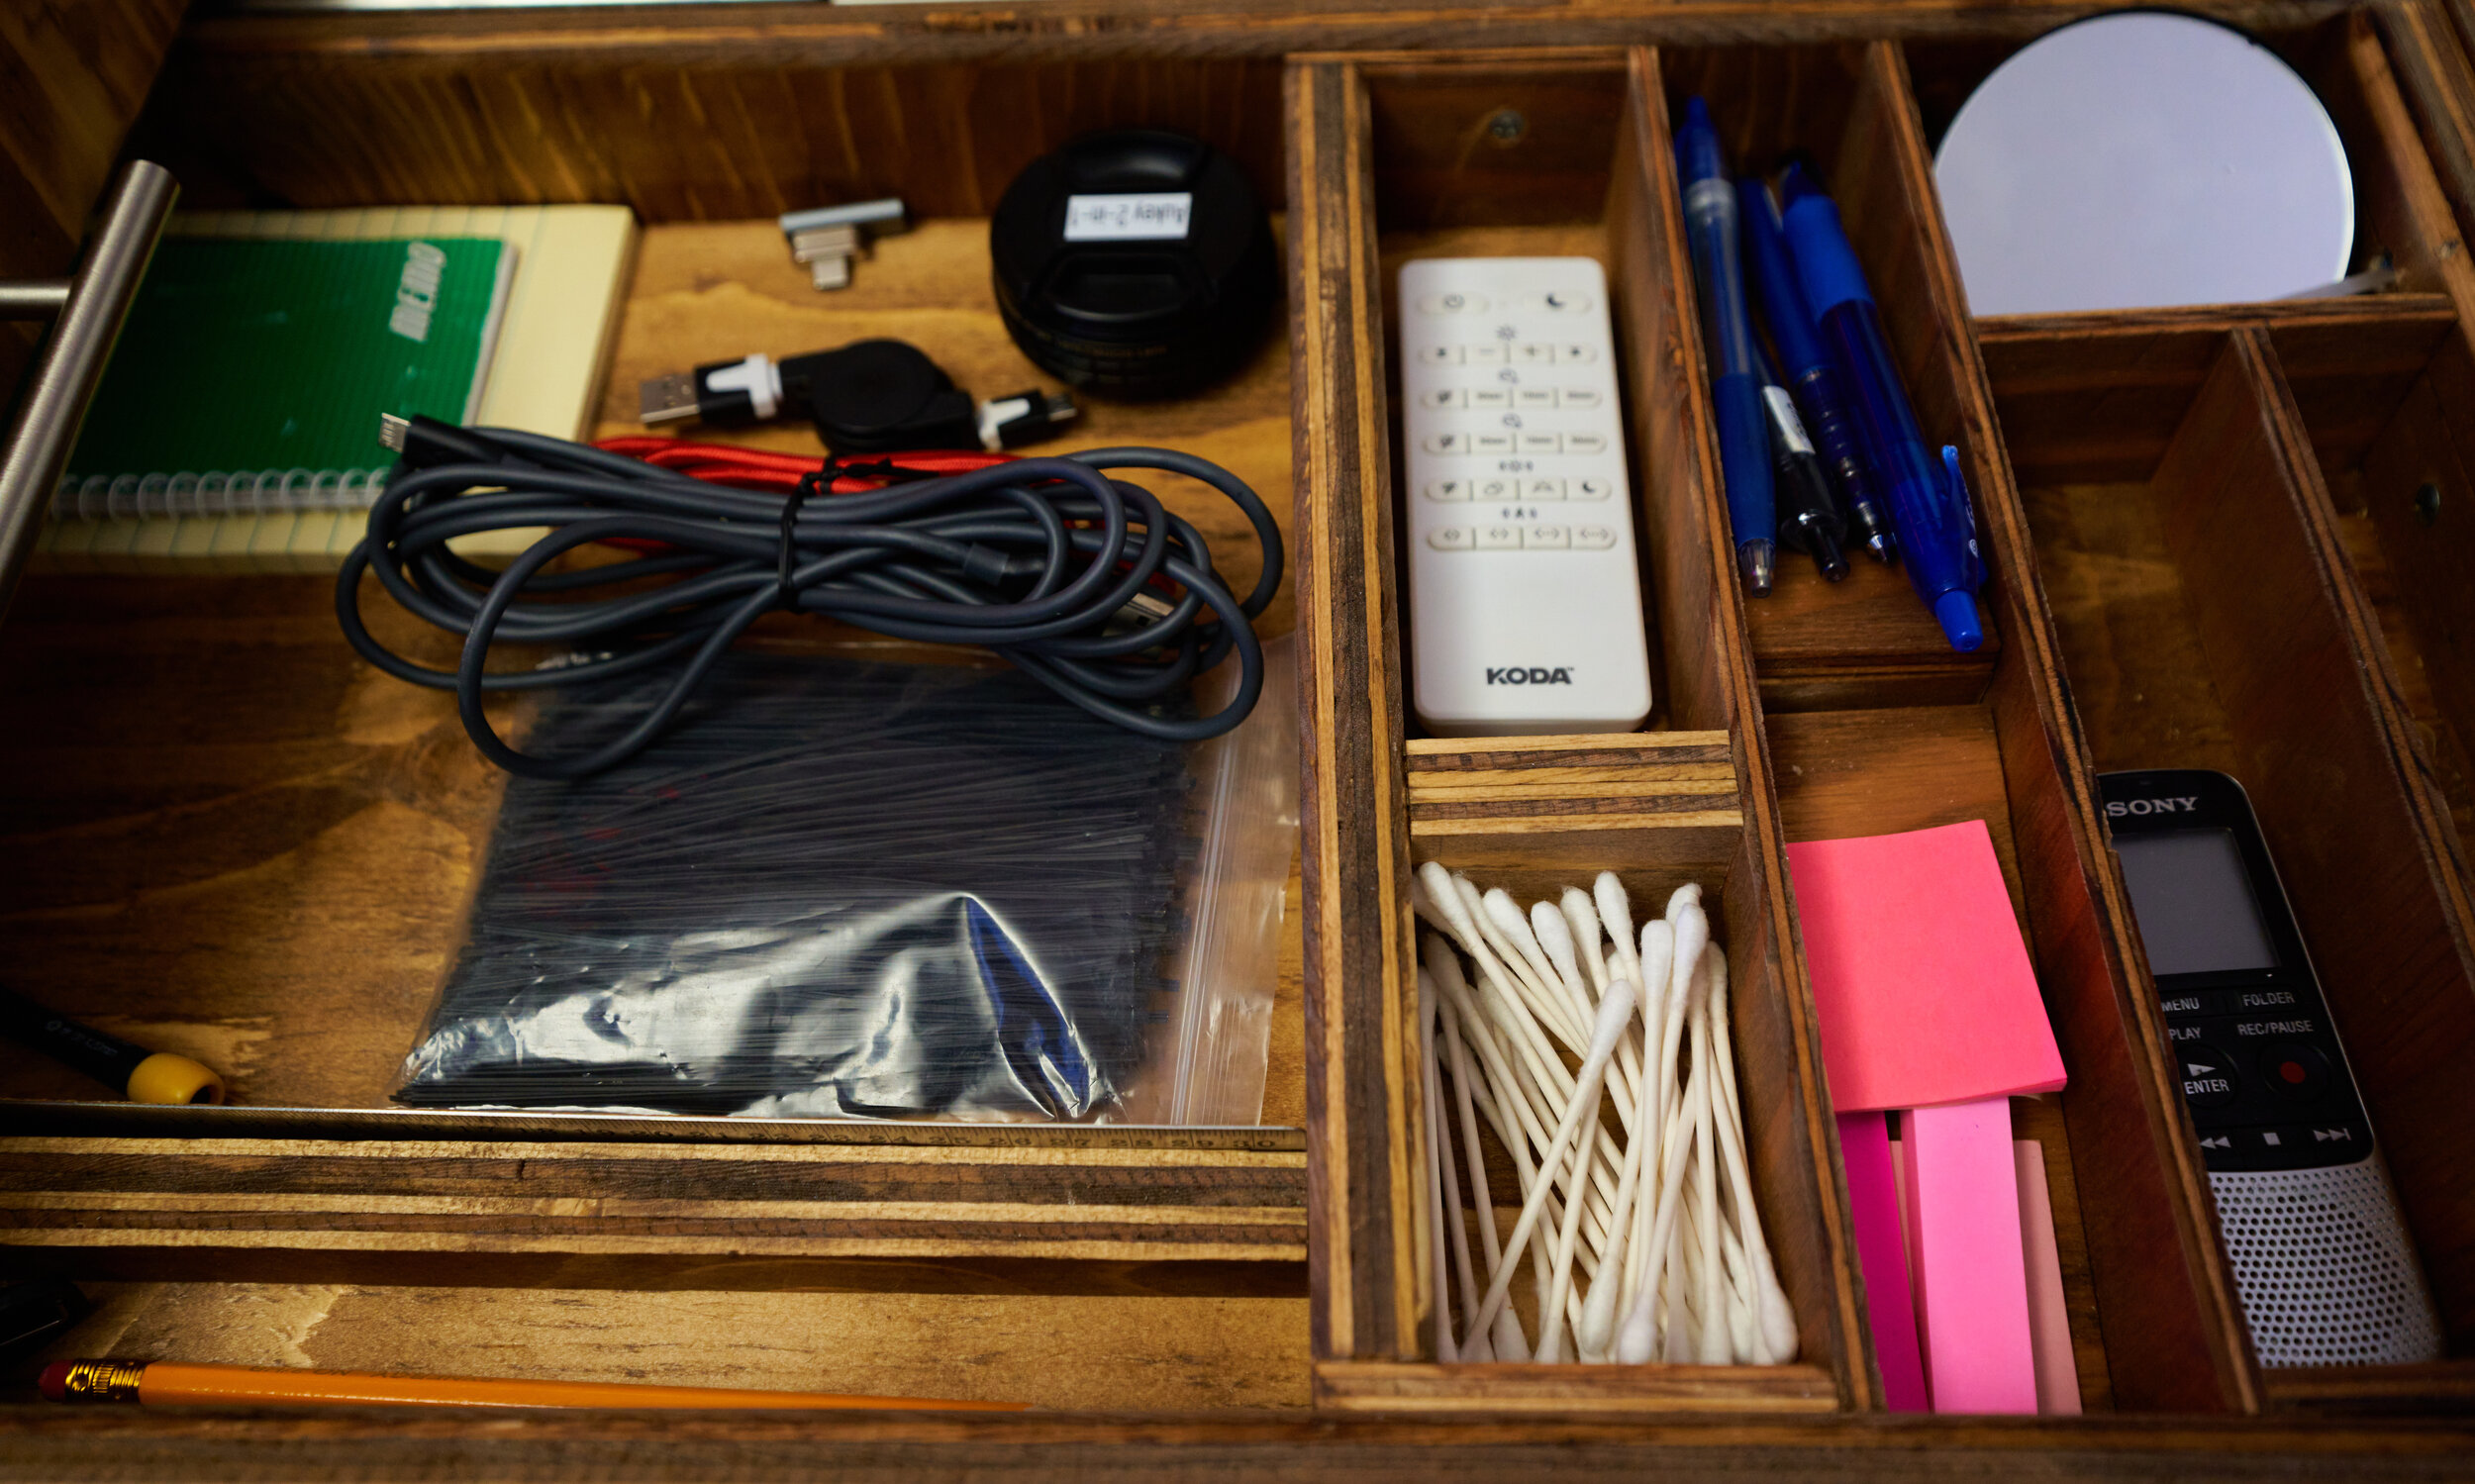
So the left cabinet will house the computer, it’s UPS, my audio mixer (in a drawer) and a pull out flat-surface. If you have a larger case, you may not be able to fit all of this in. The cabinet was large enough that, even after making room for the computer case, I had room to store some extra peripherals.
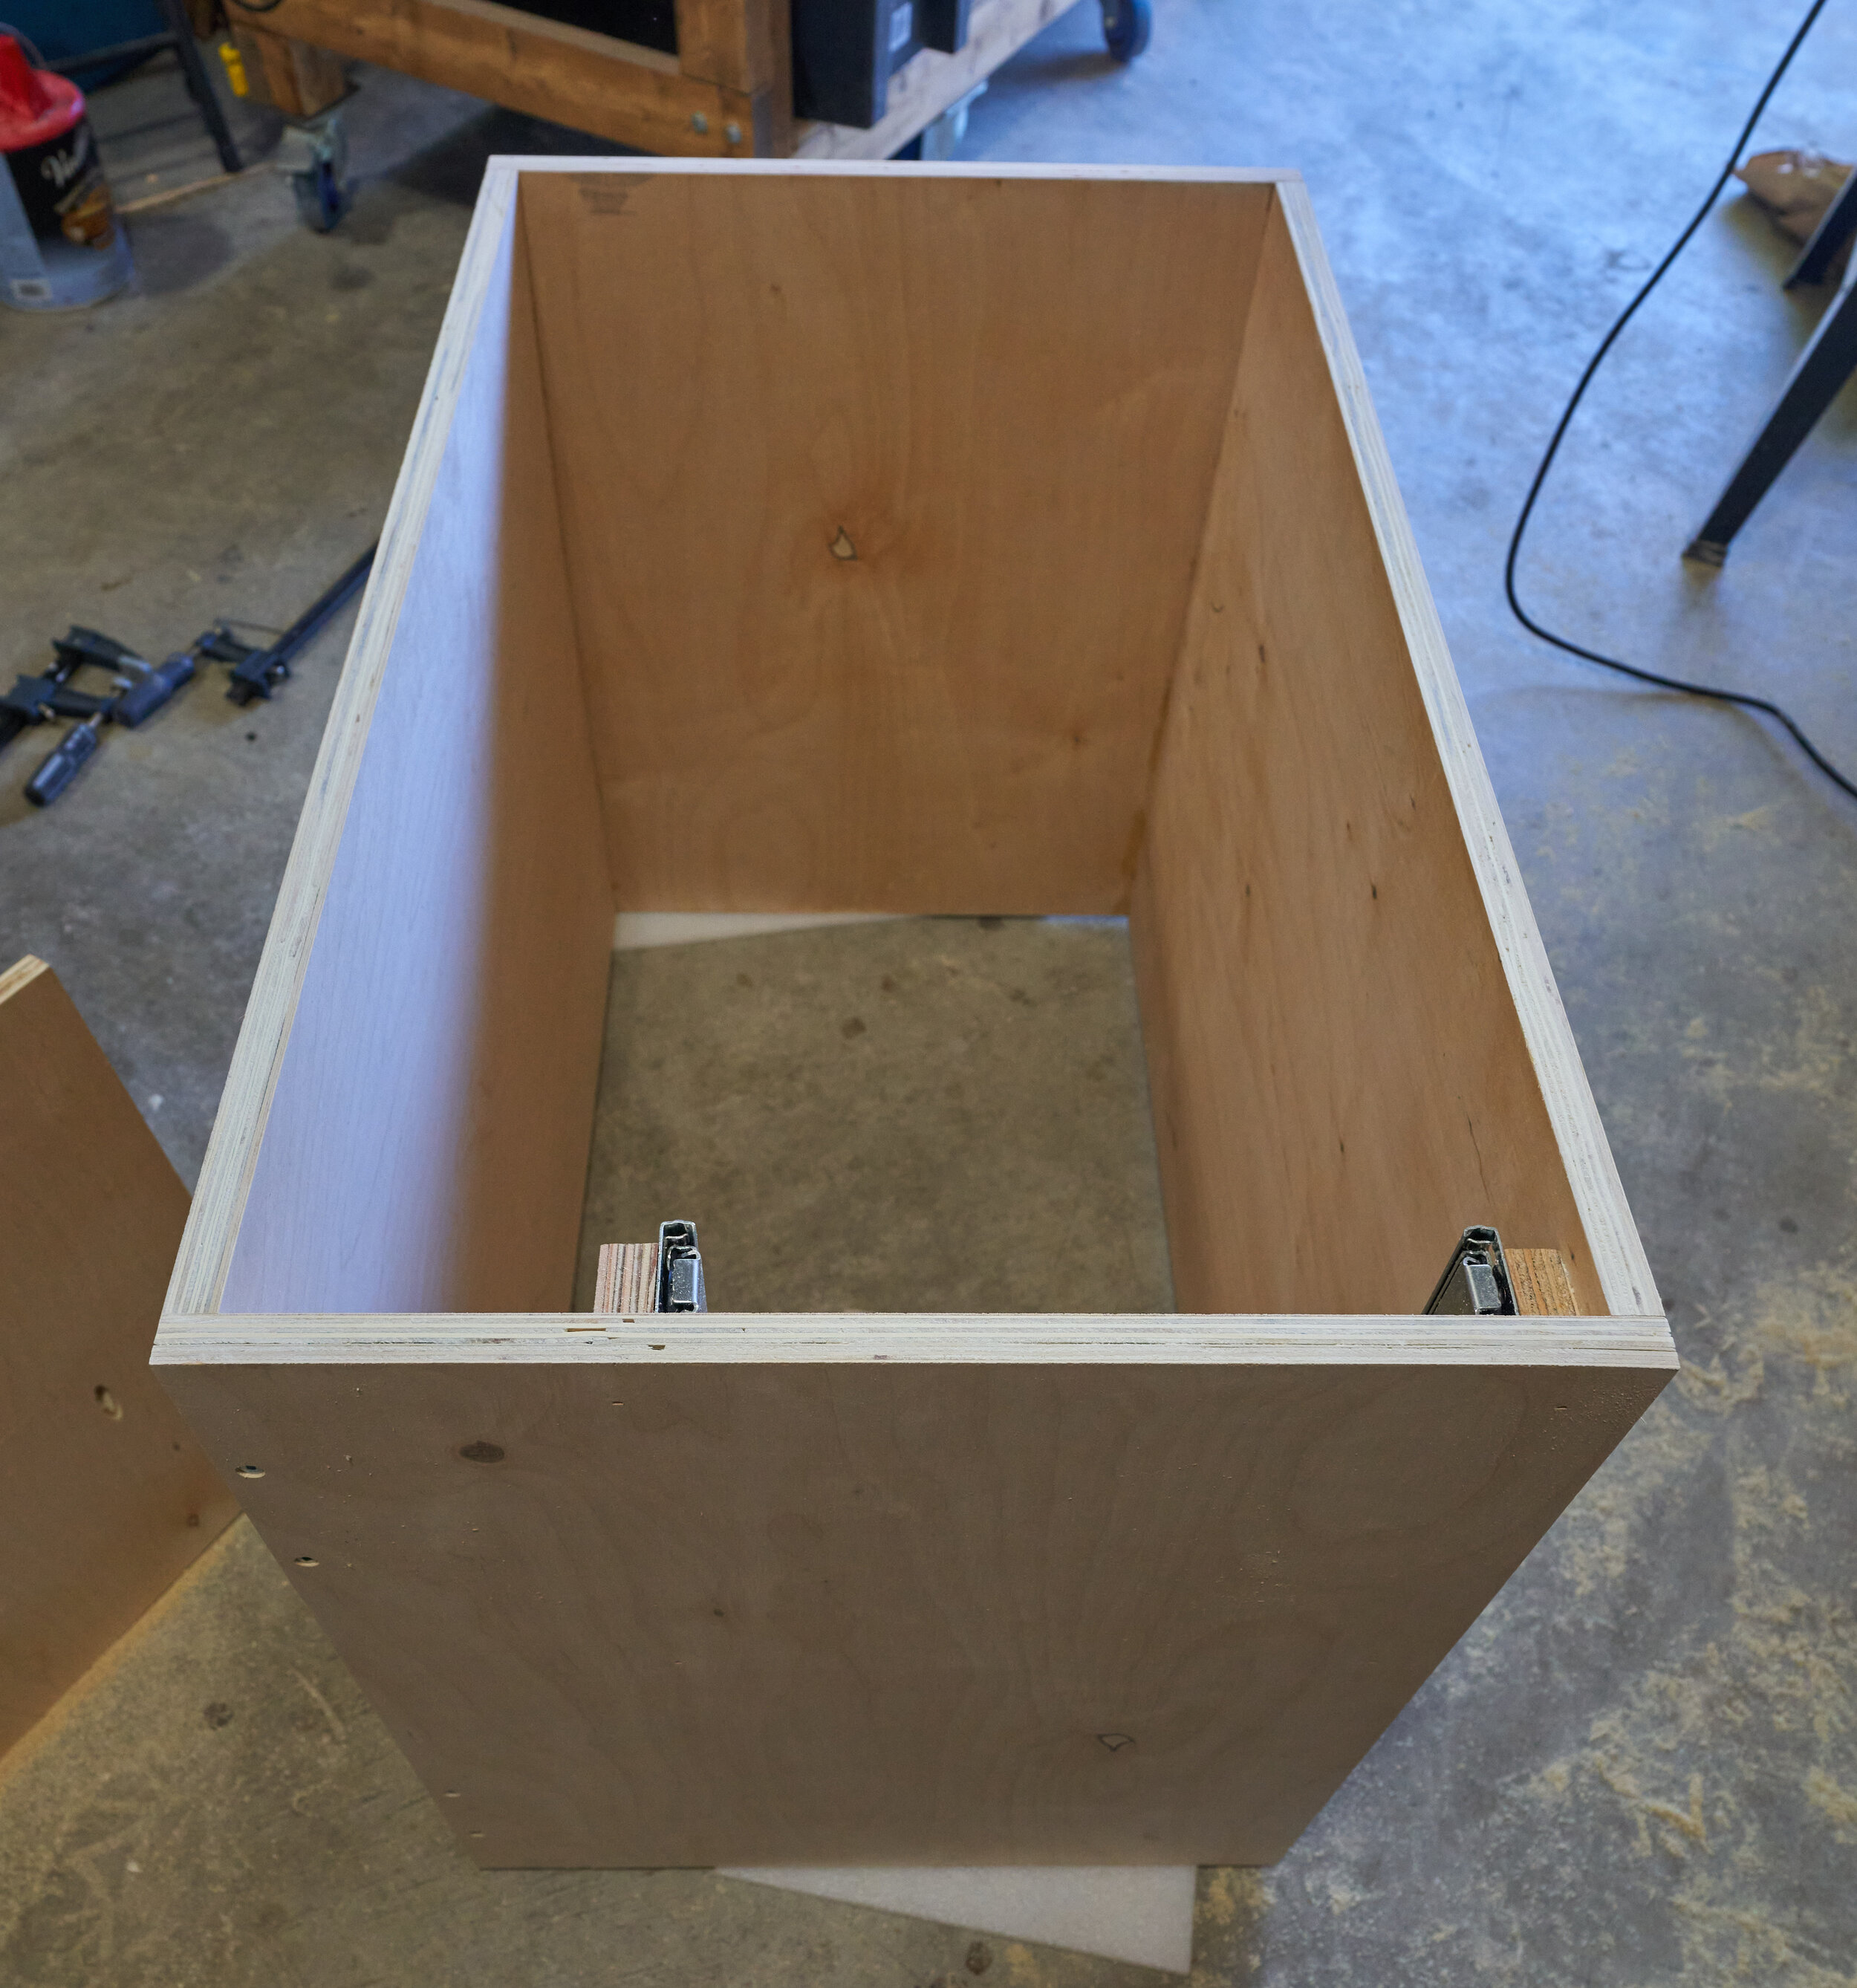


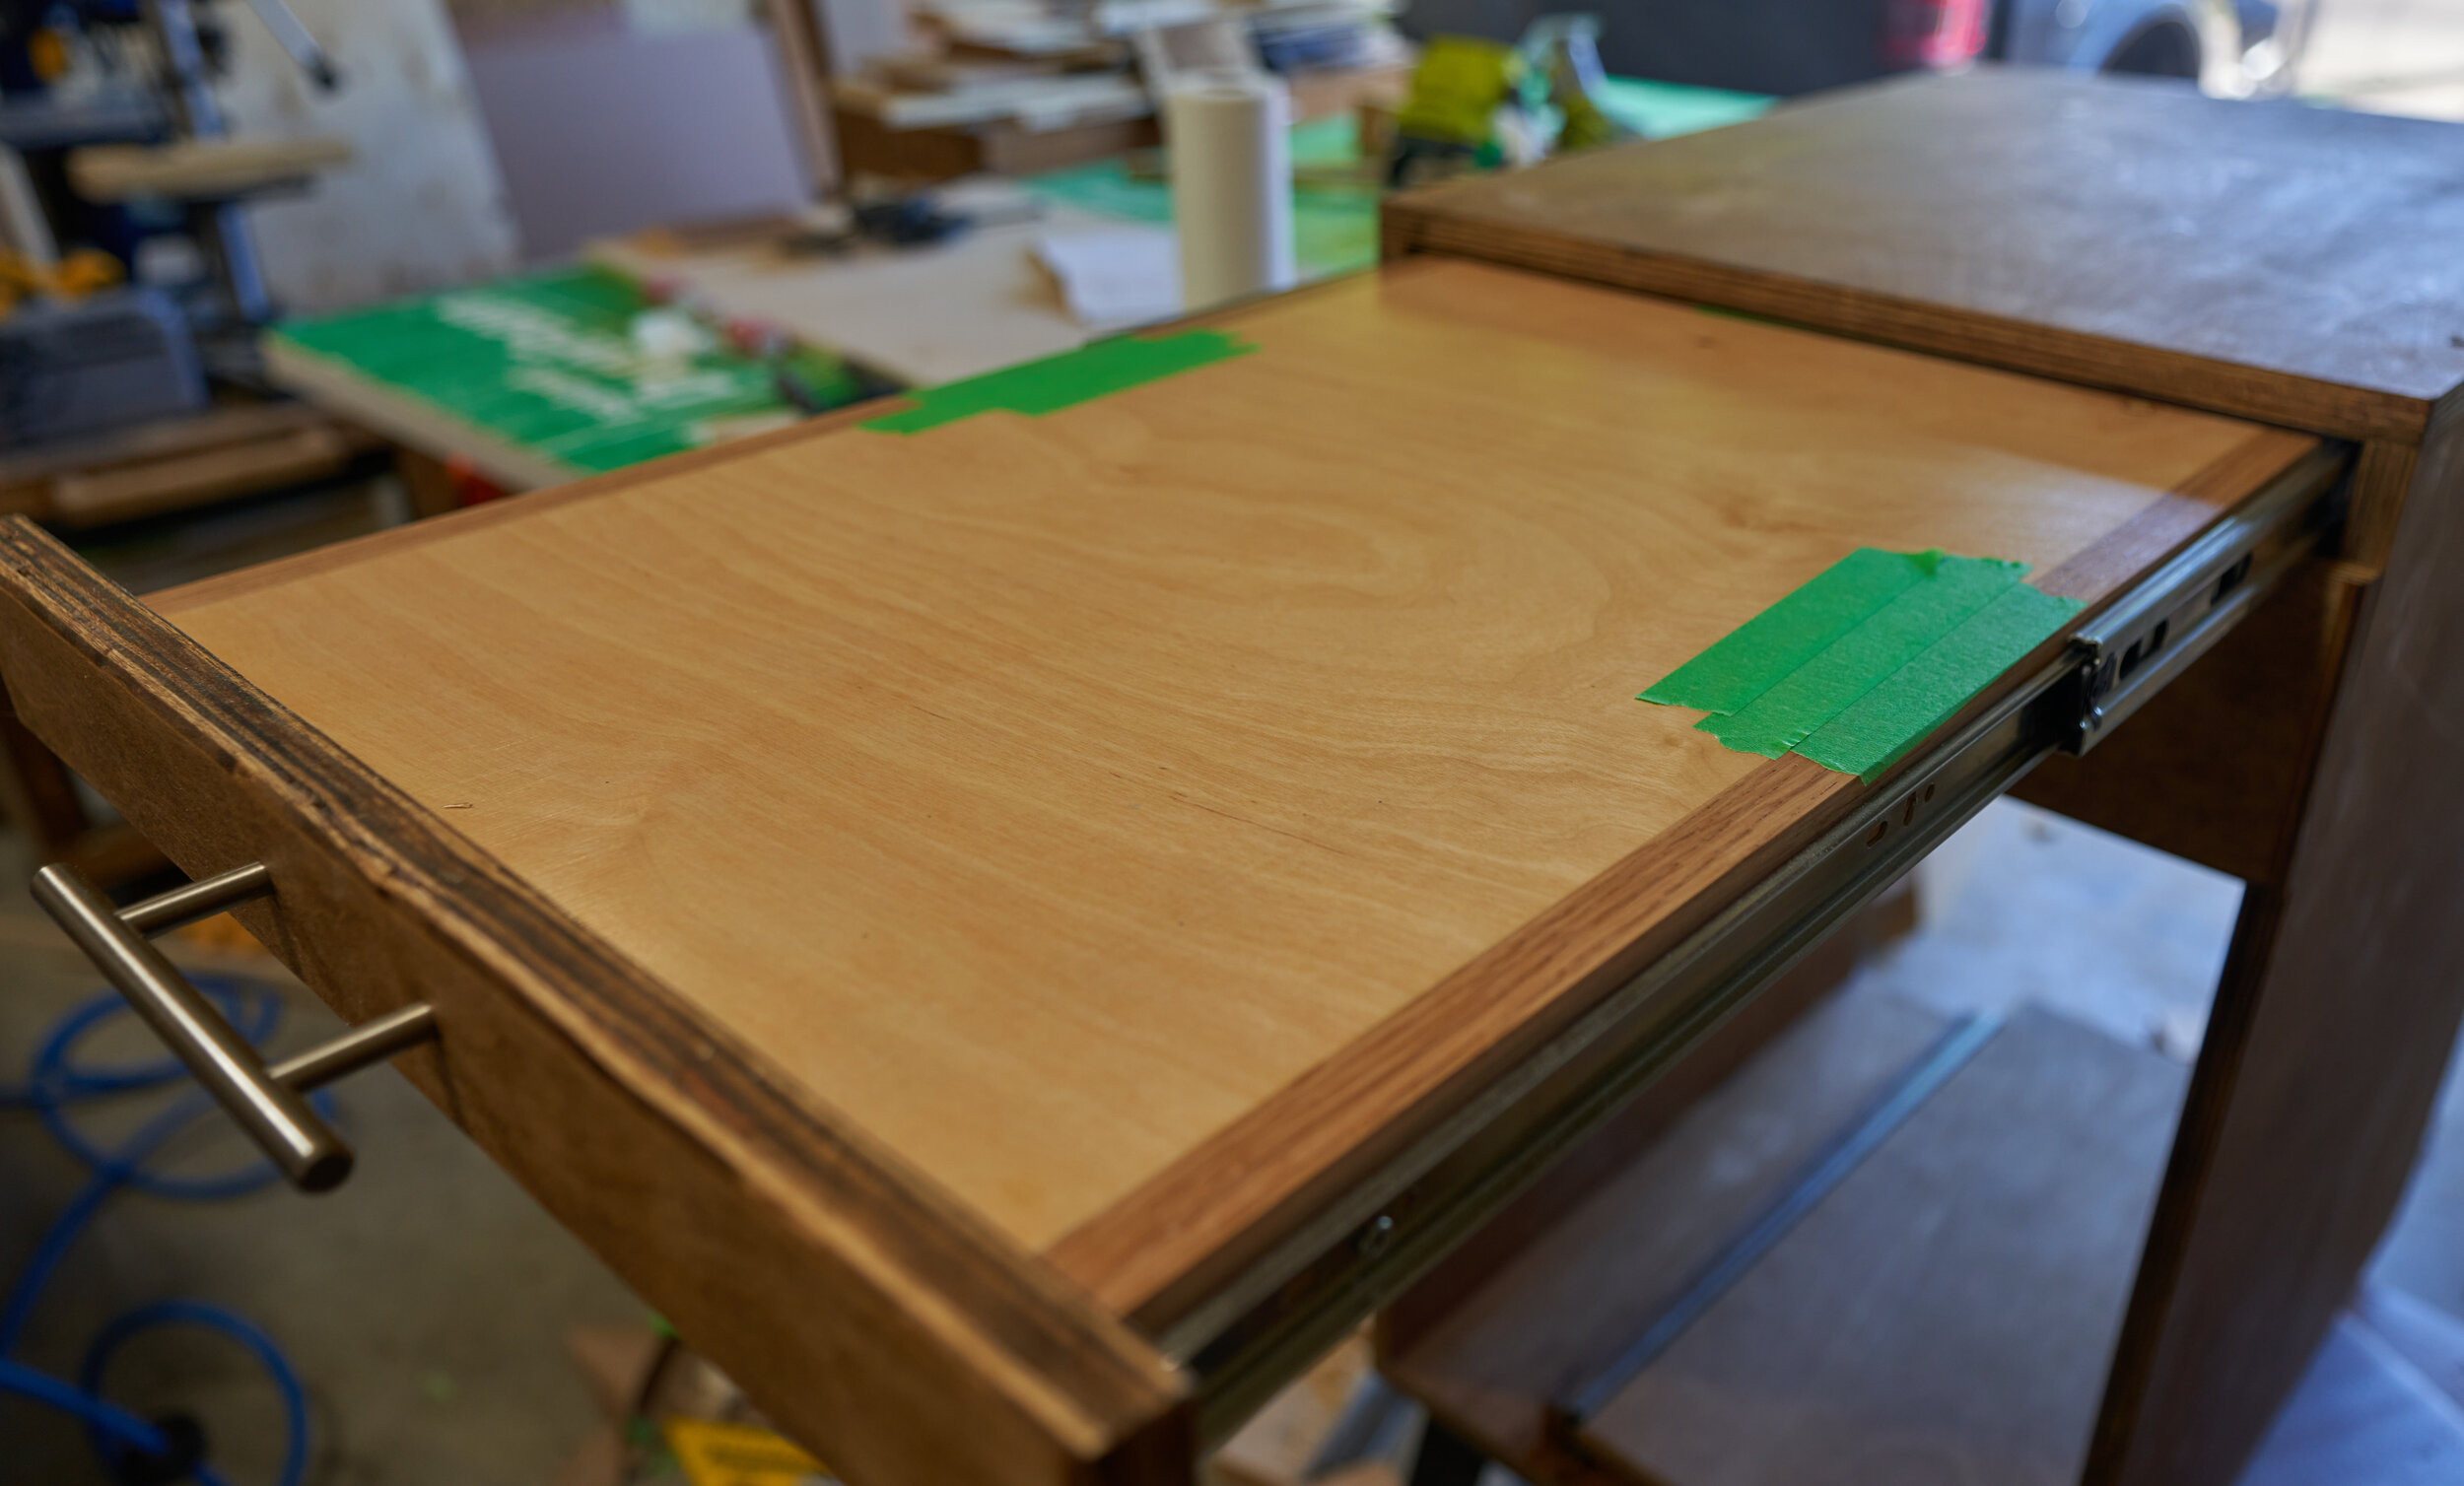
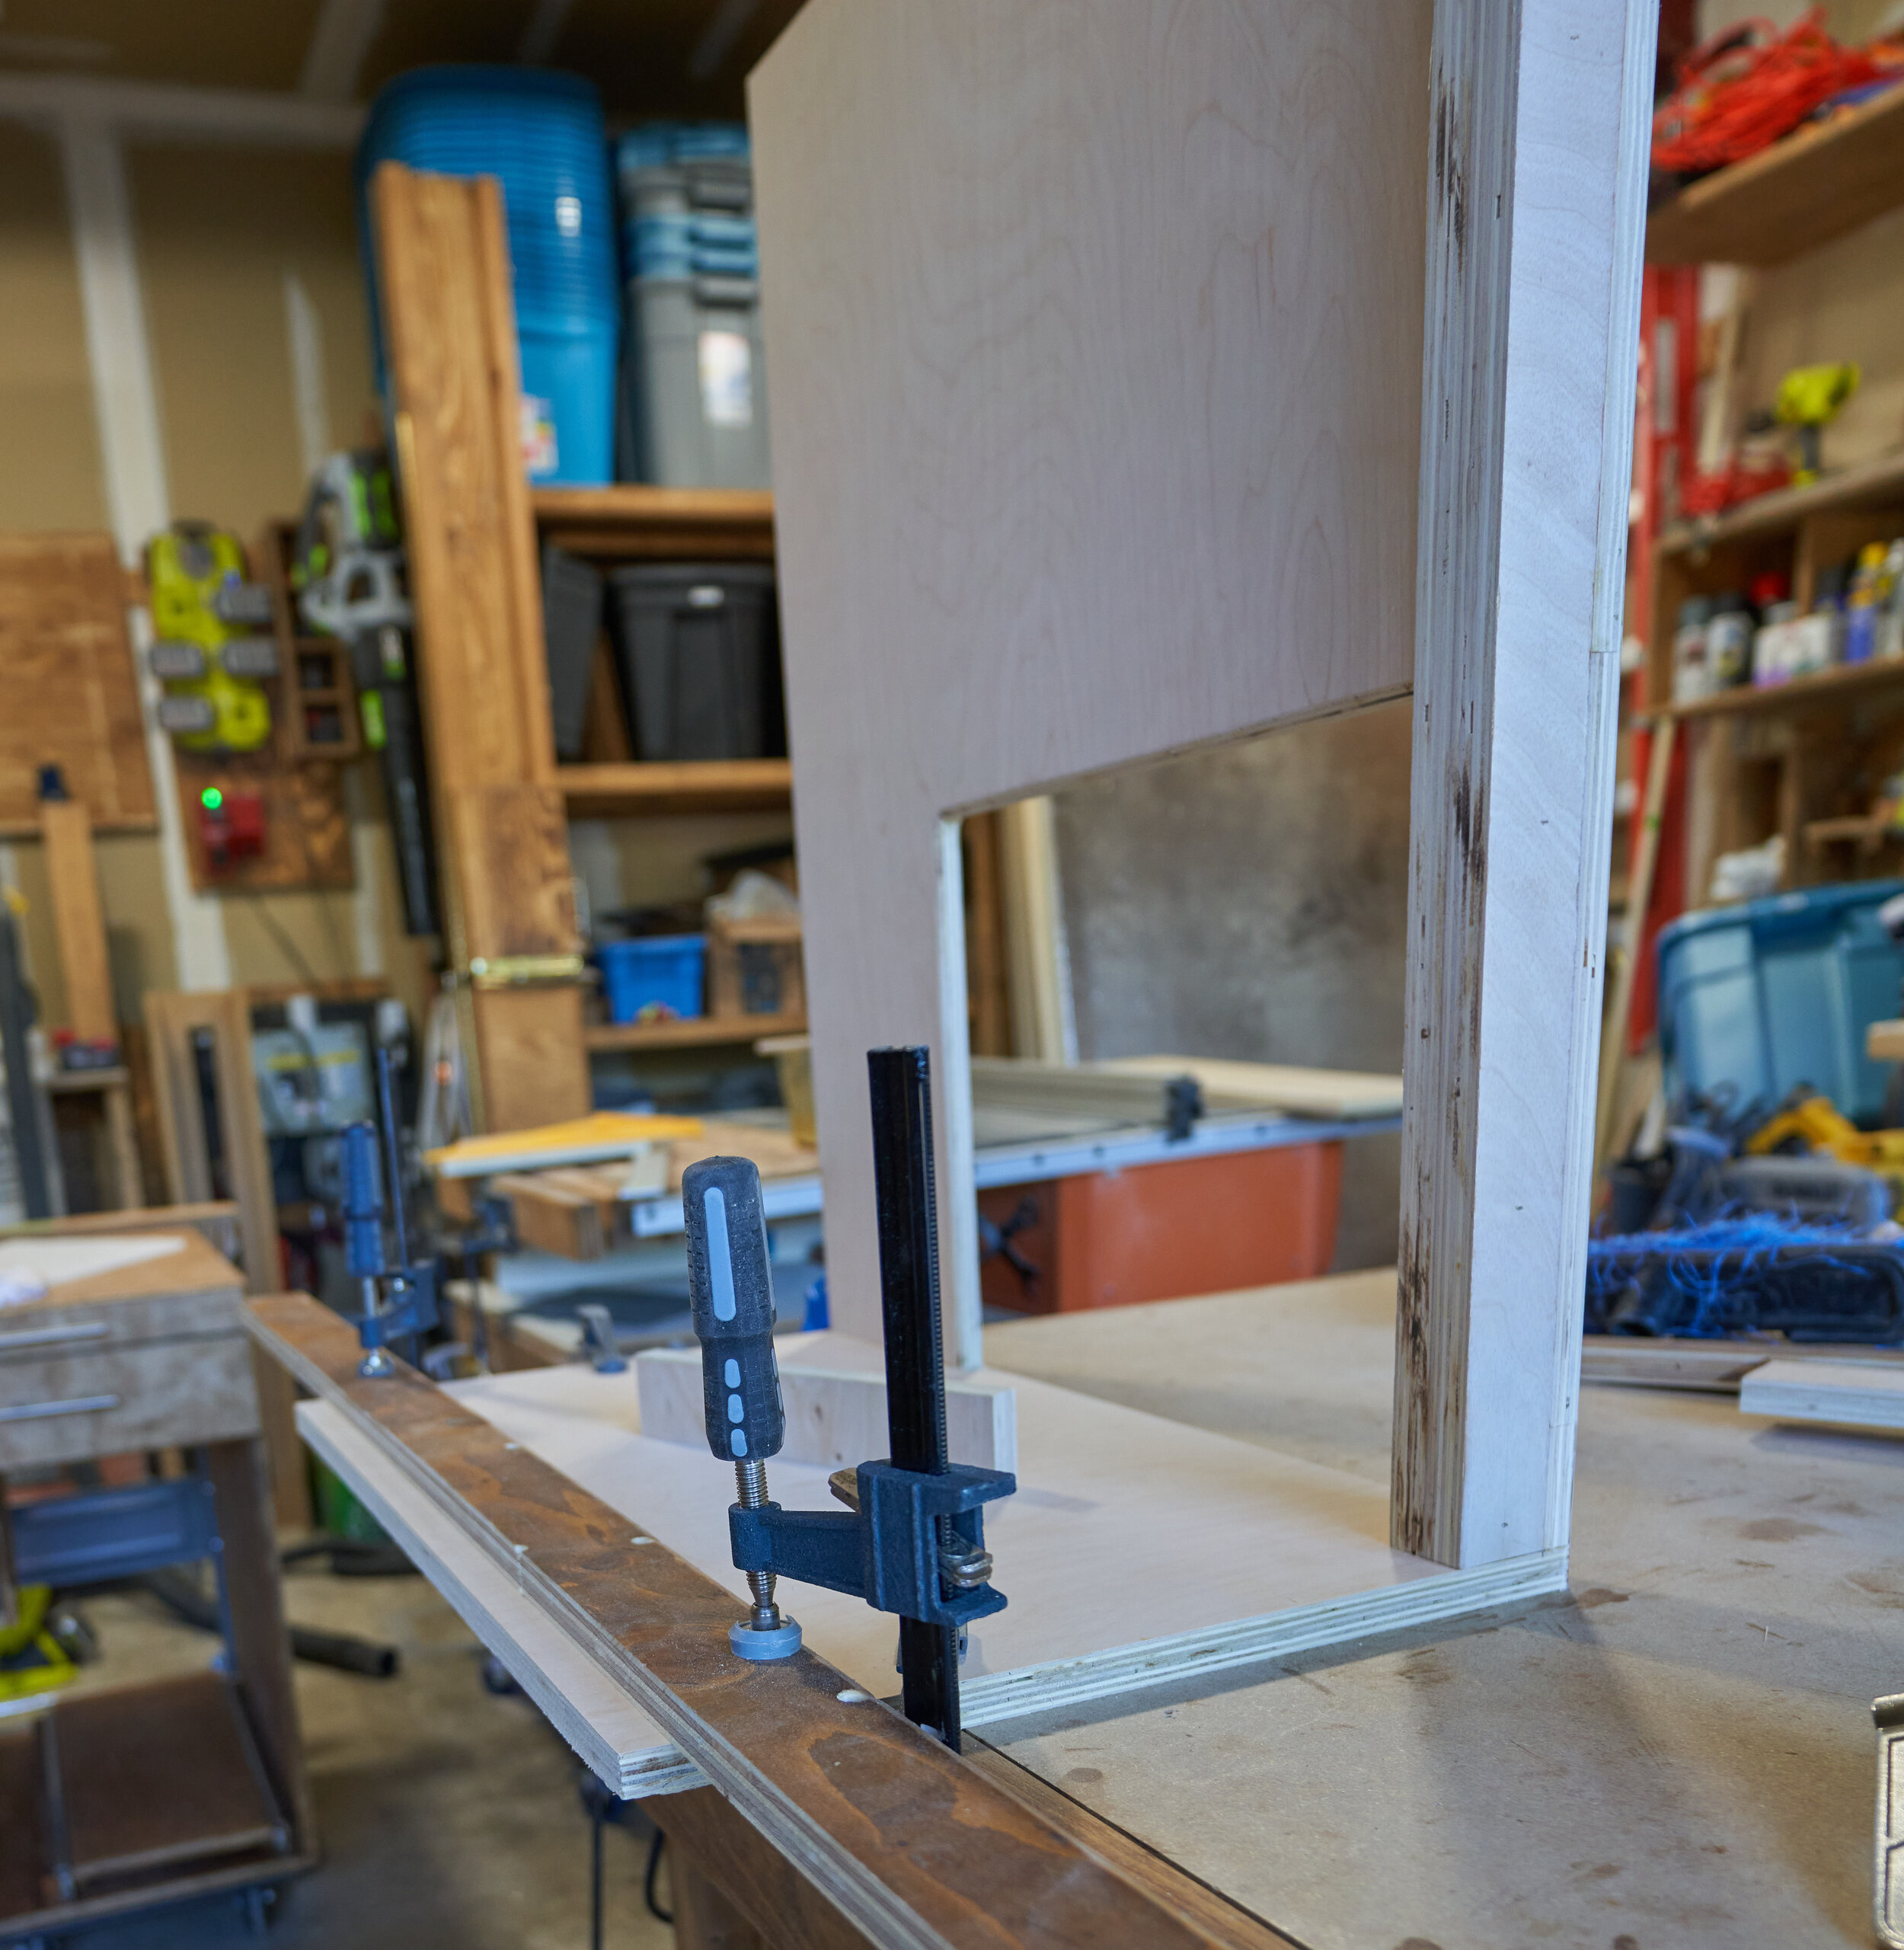
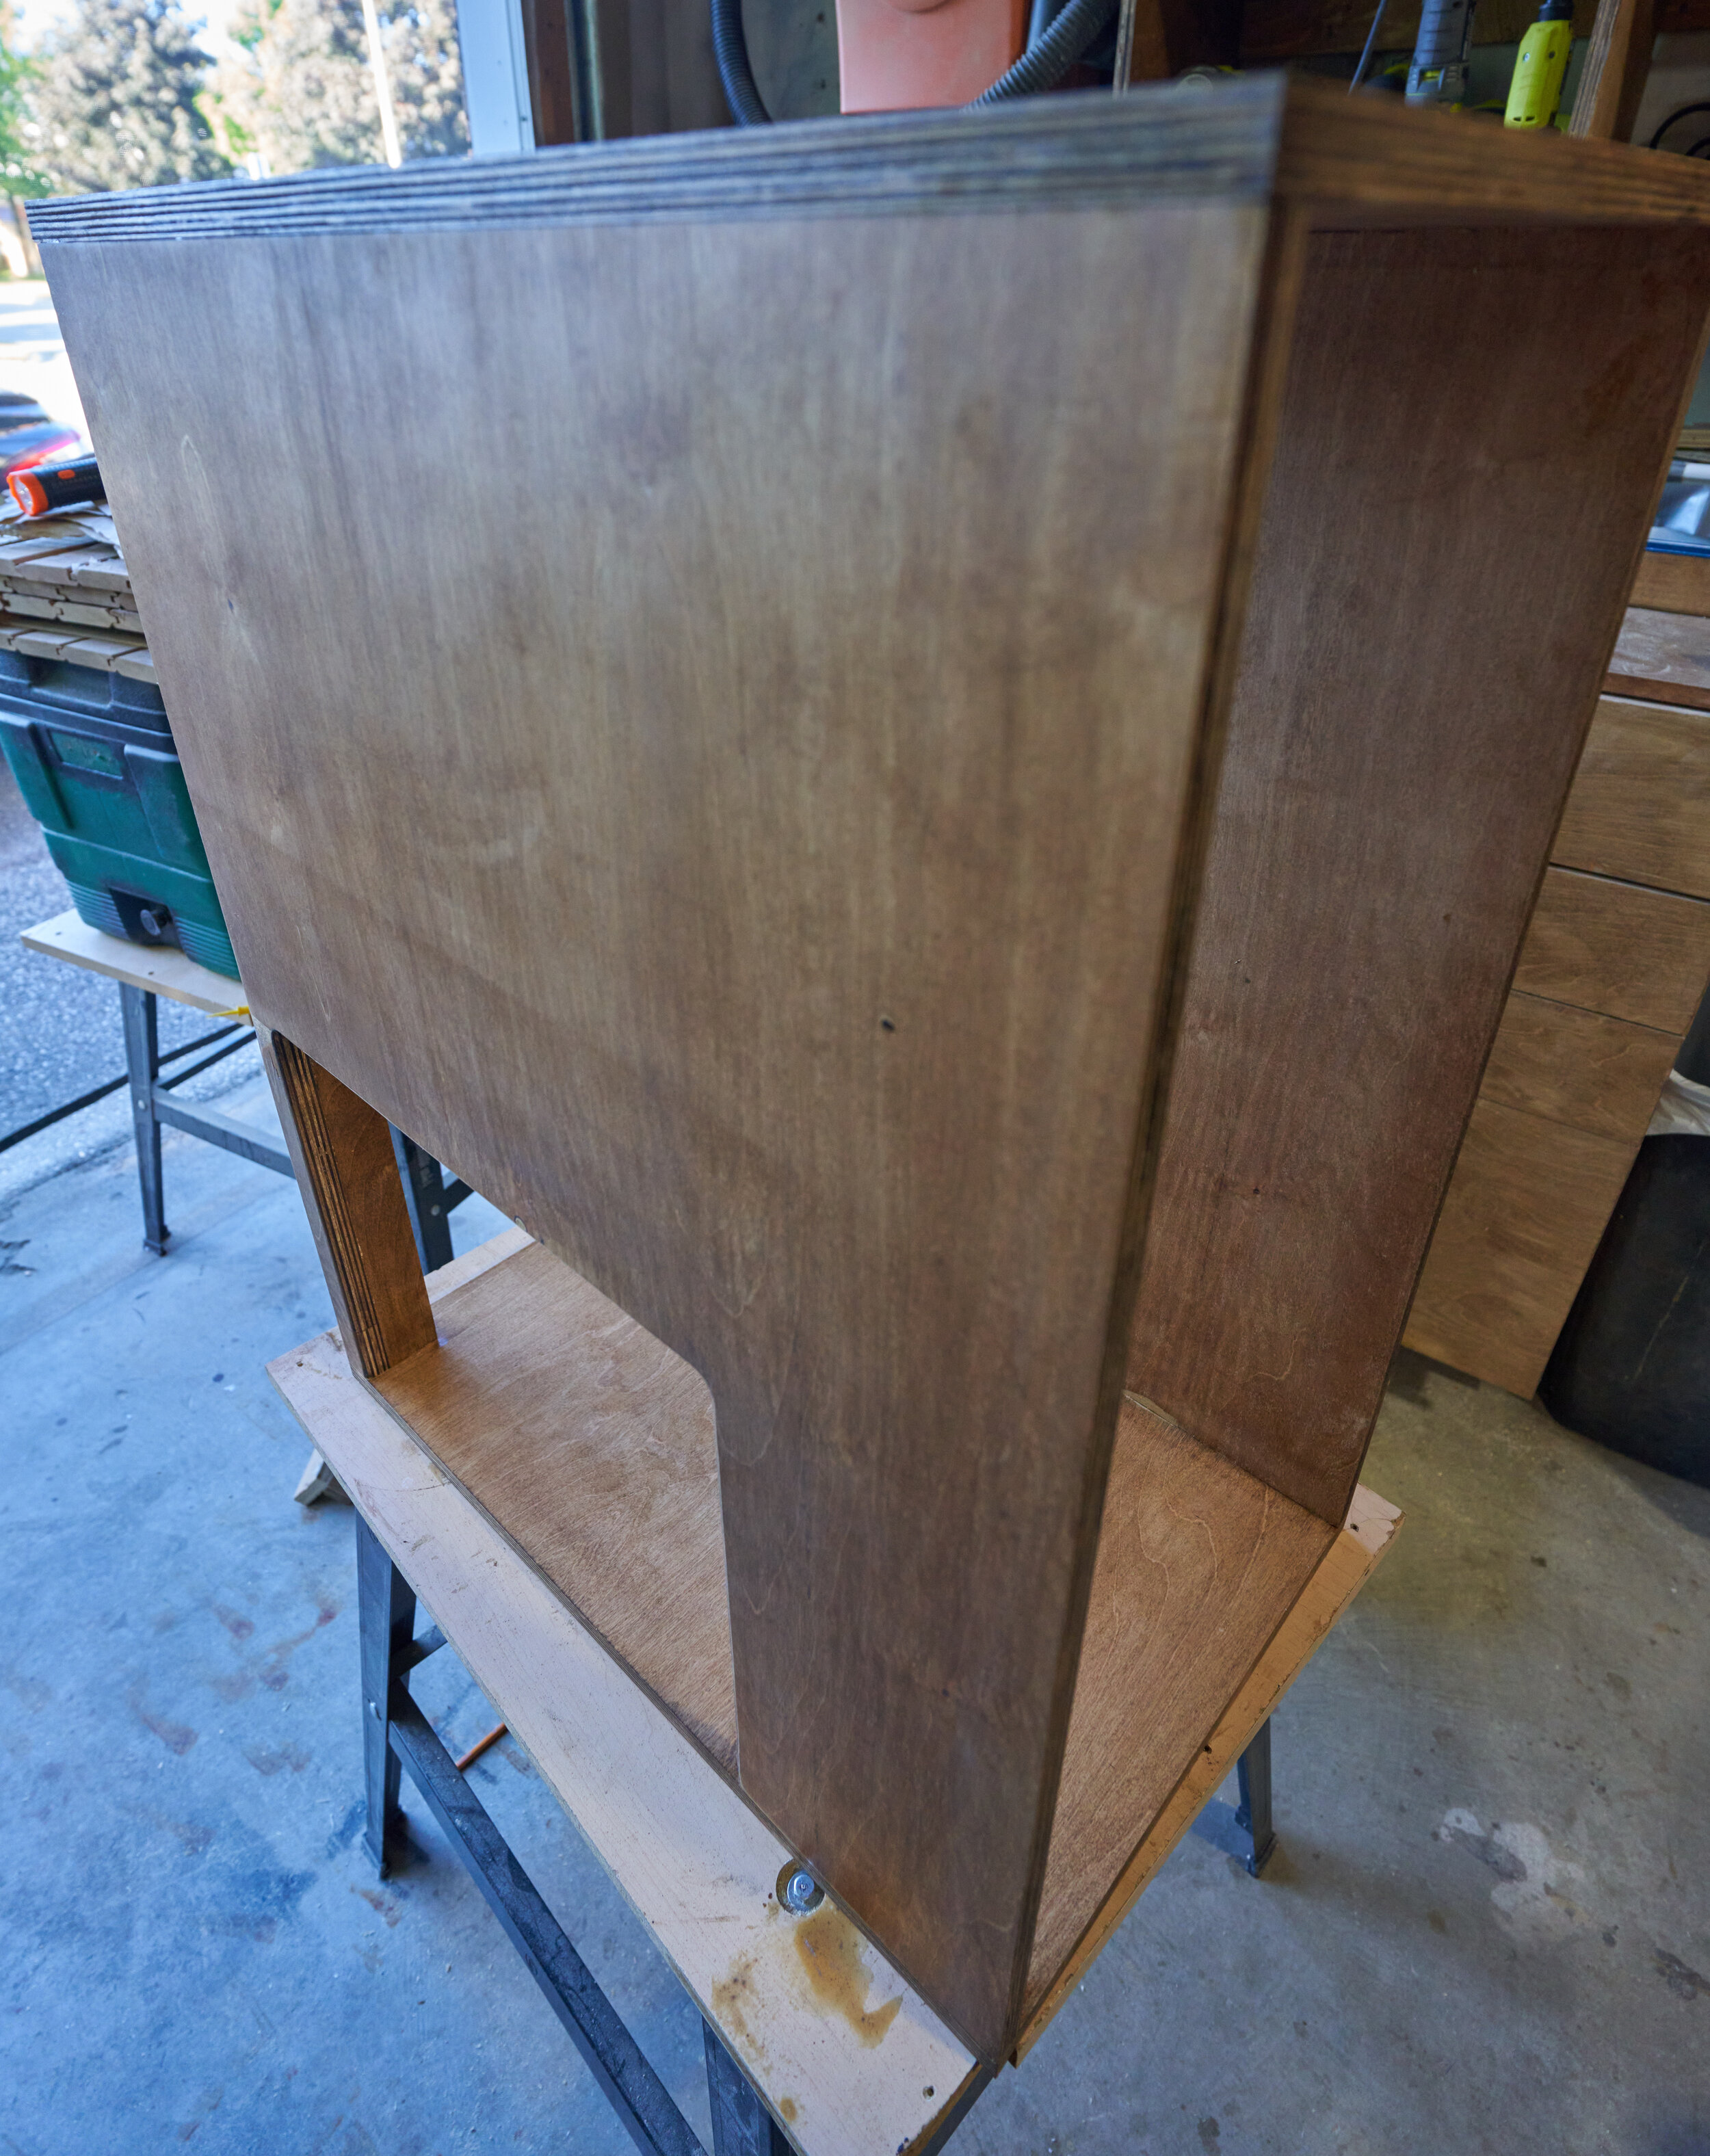
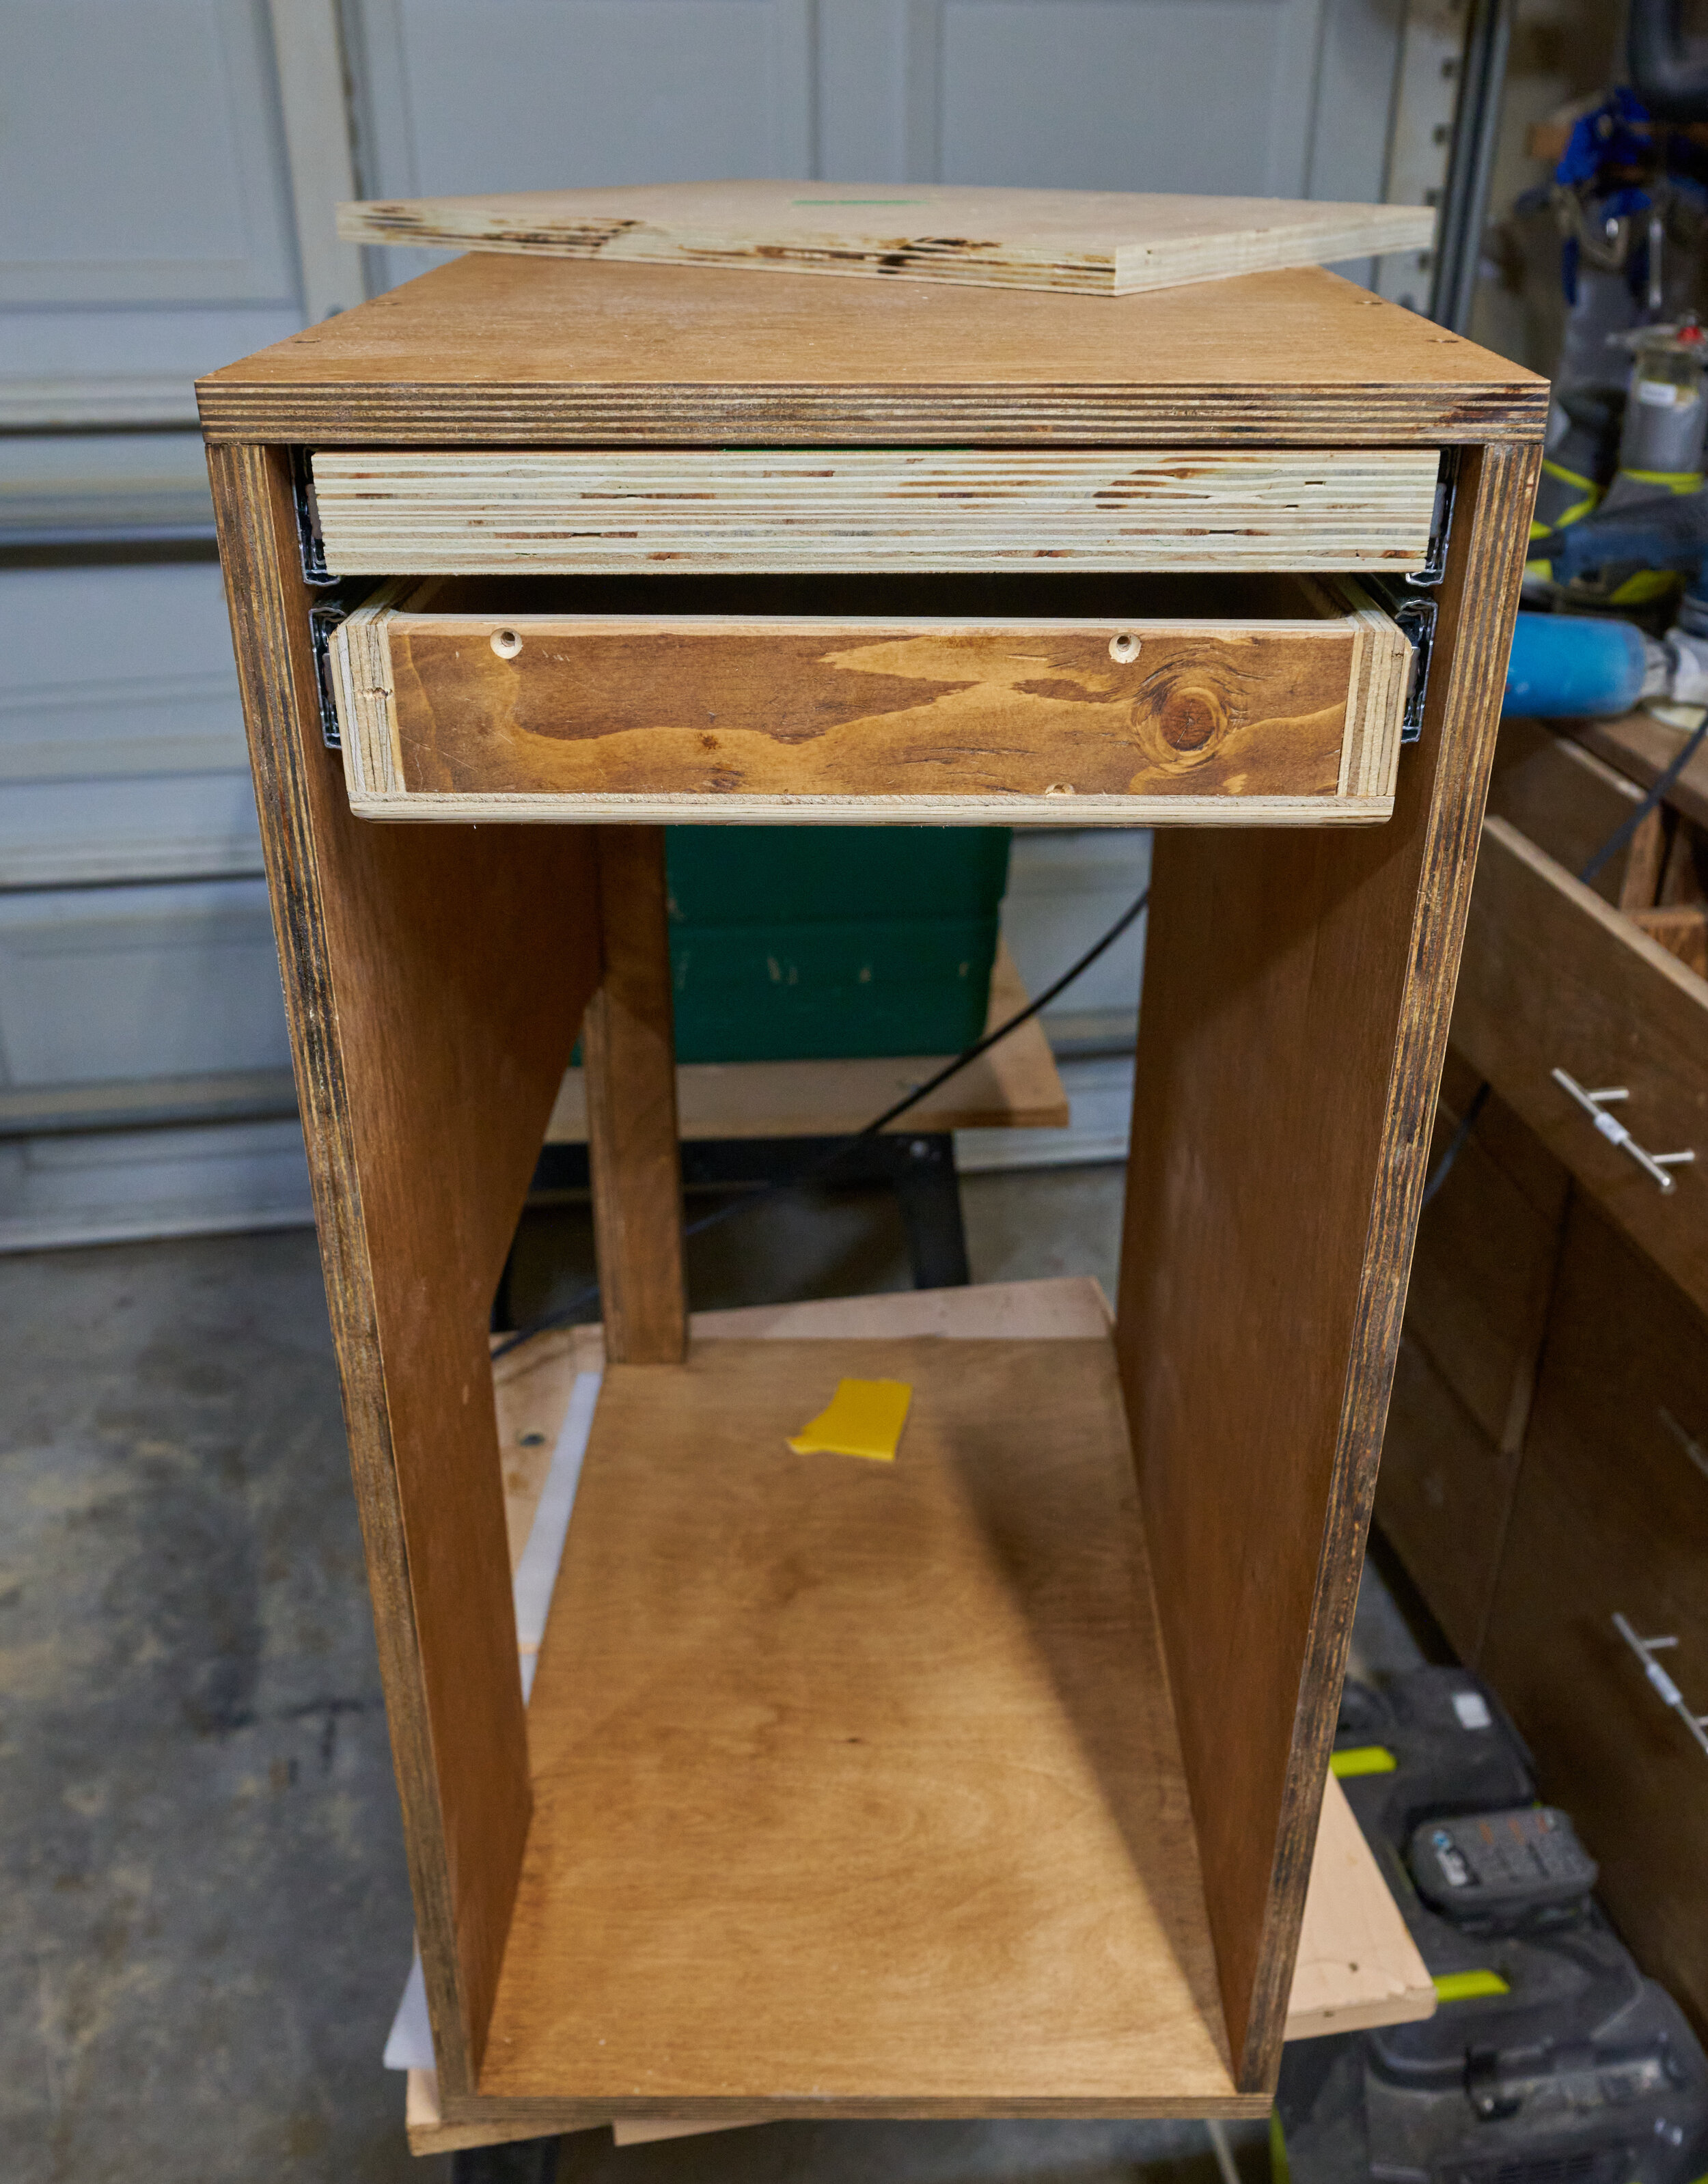
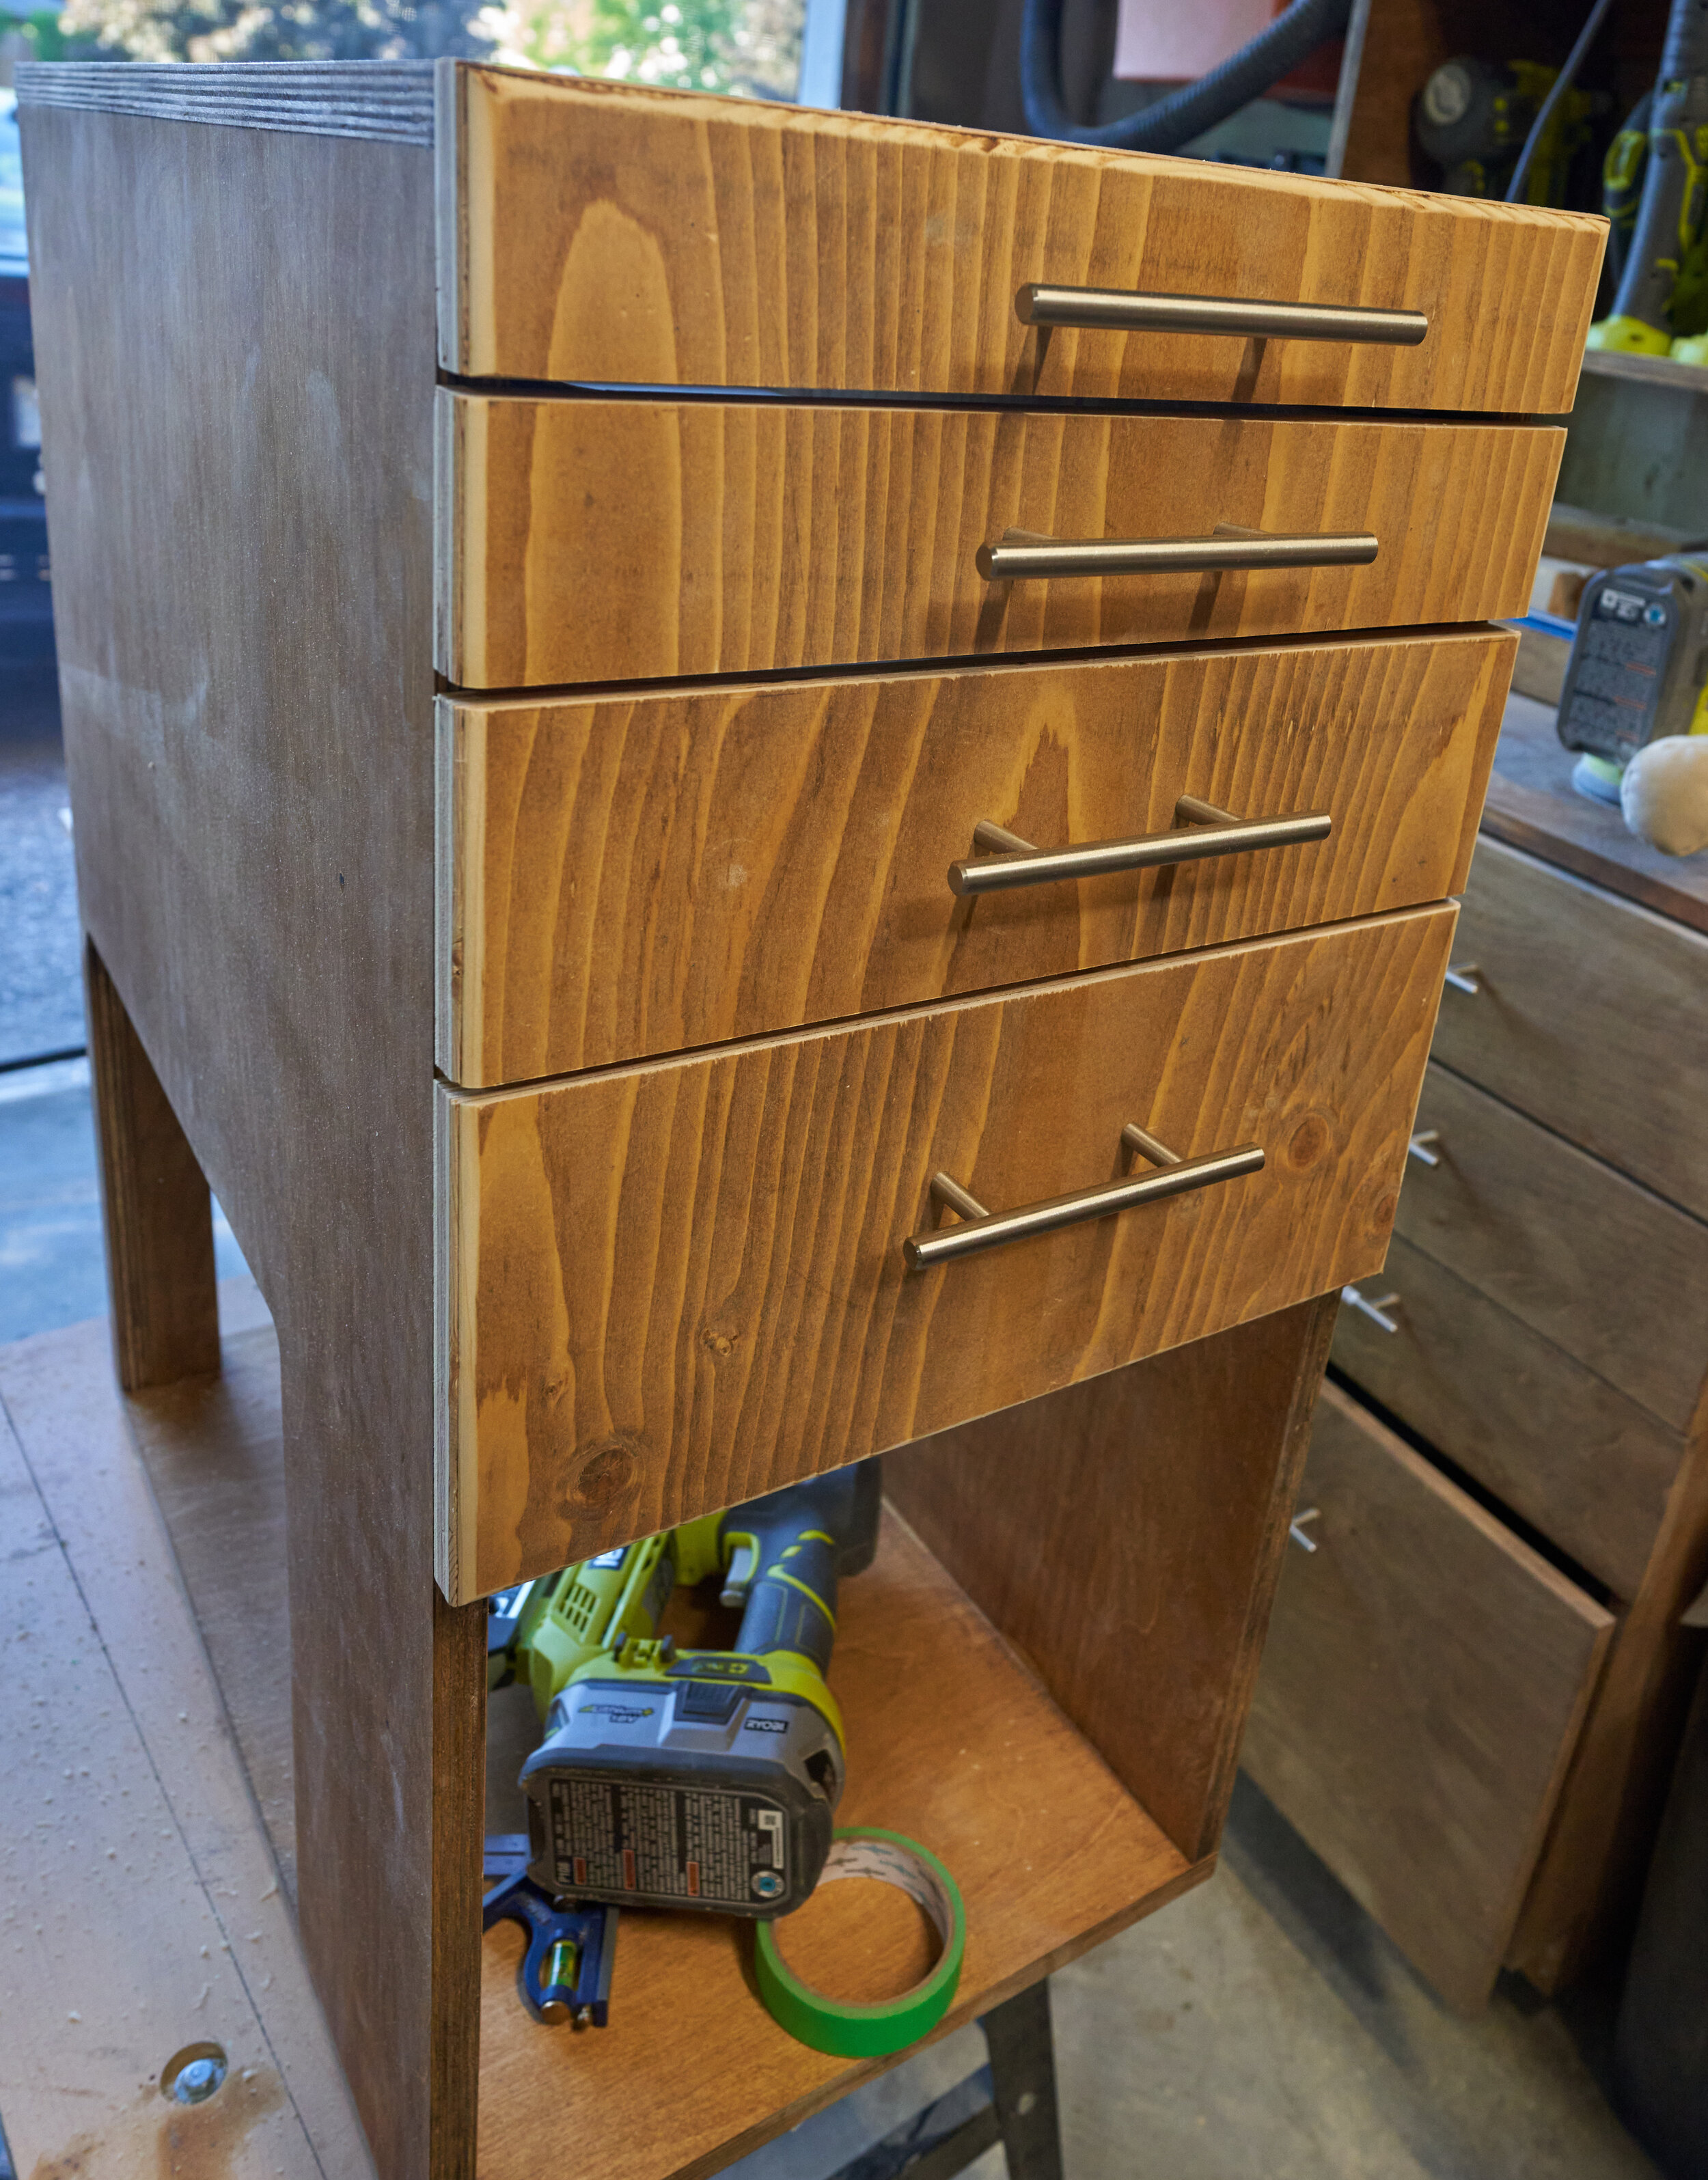
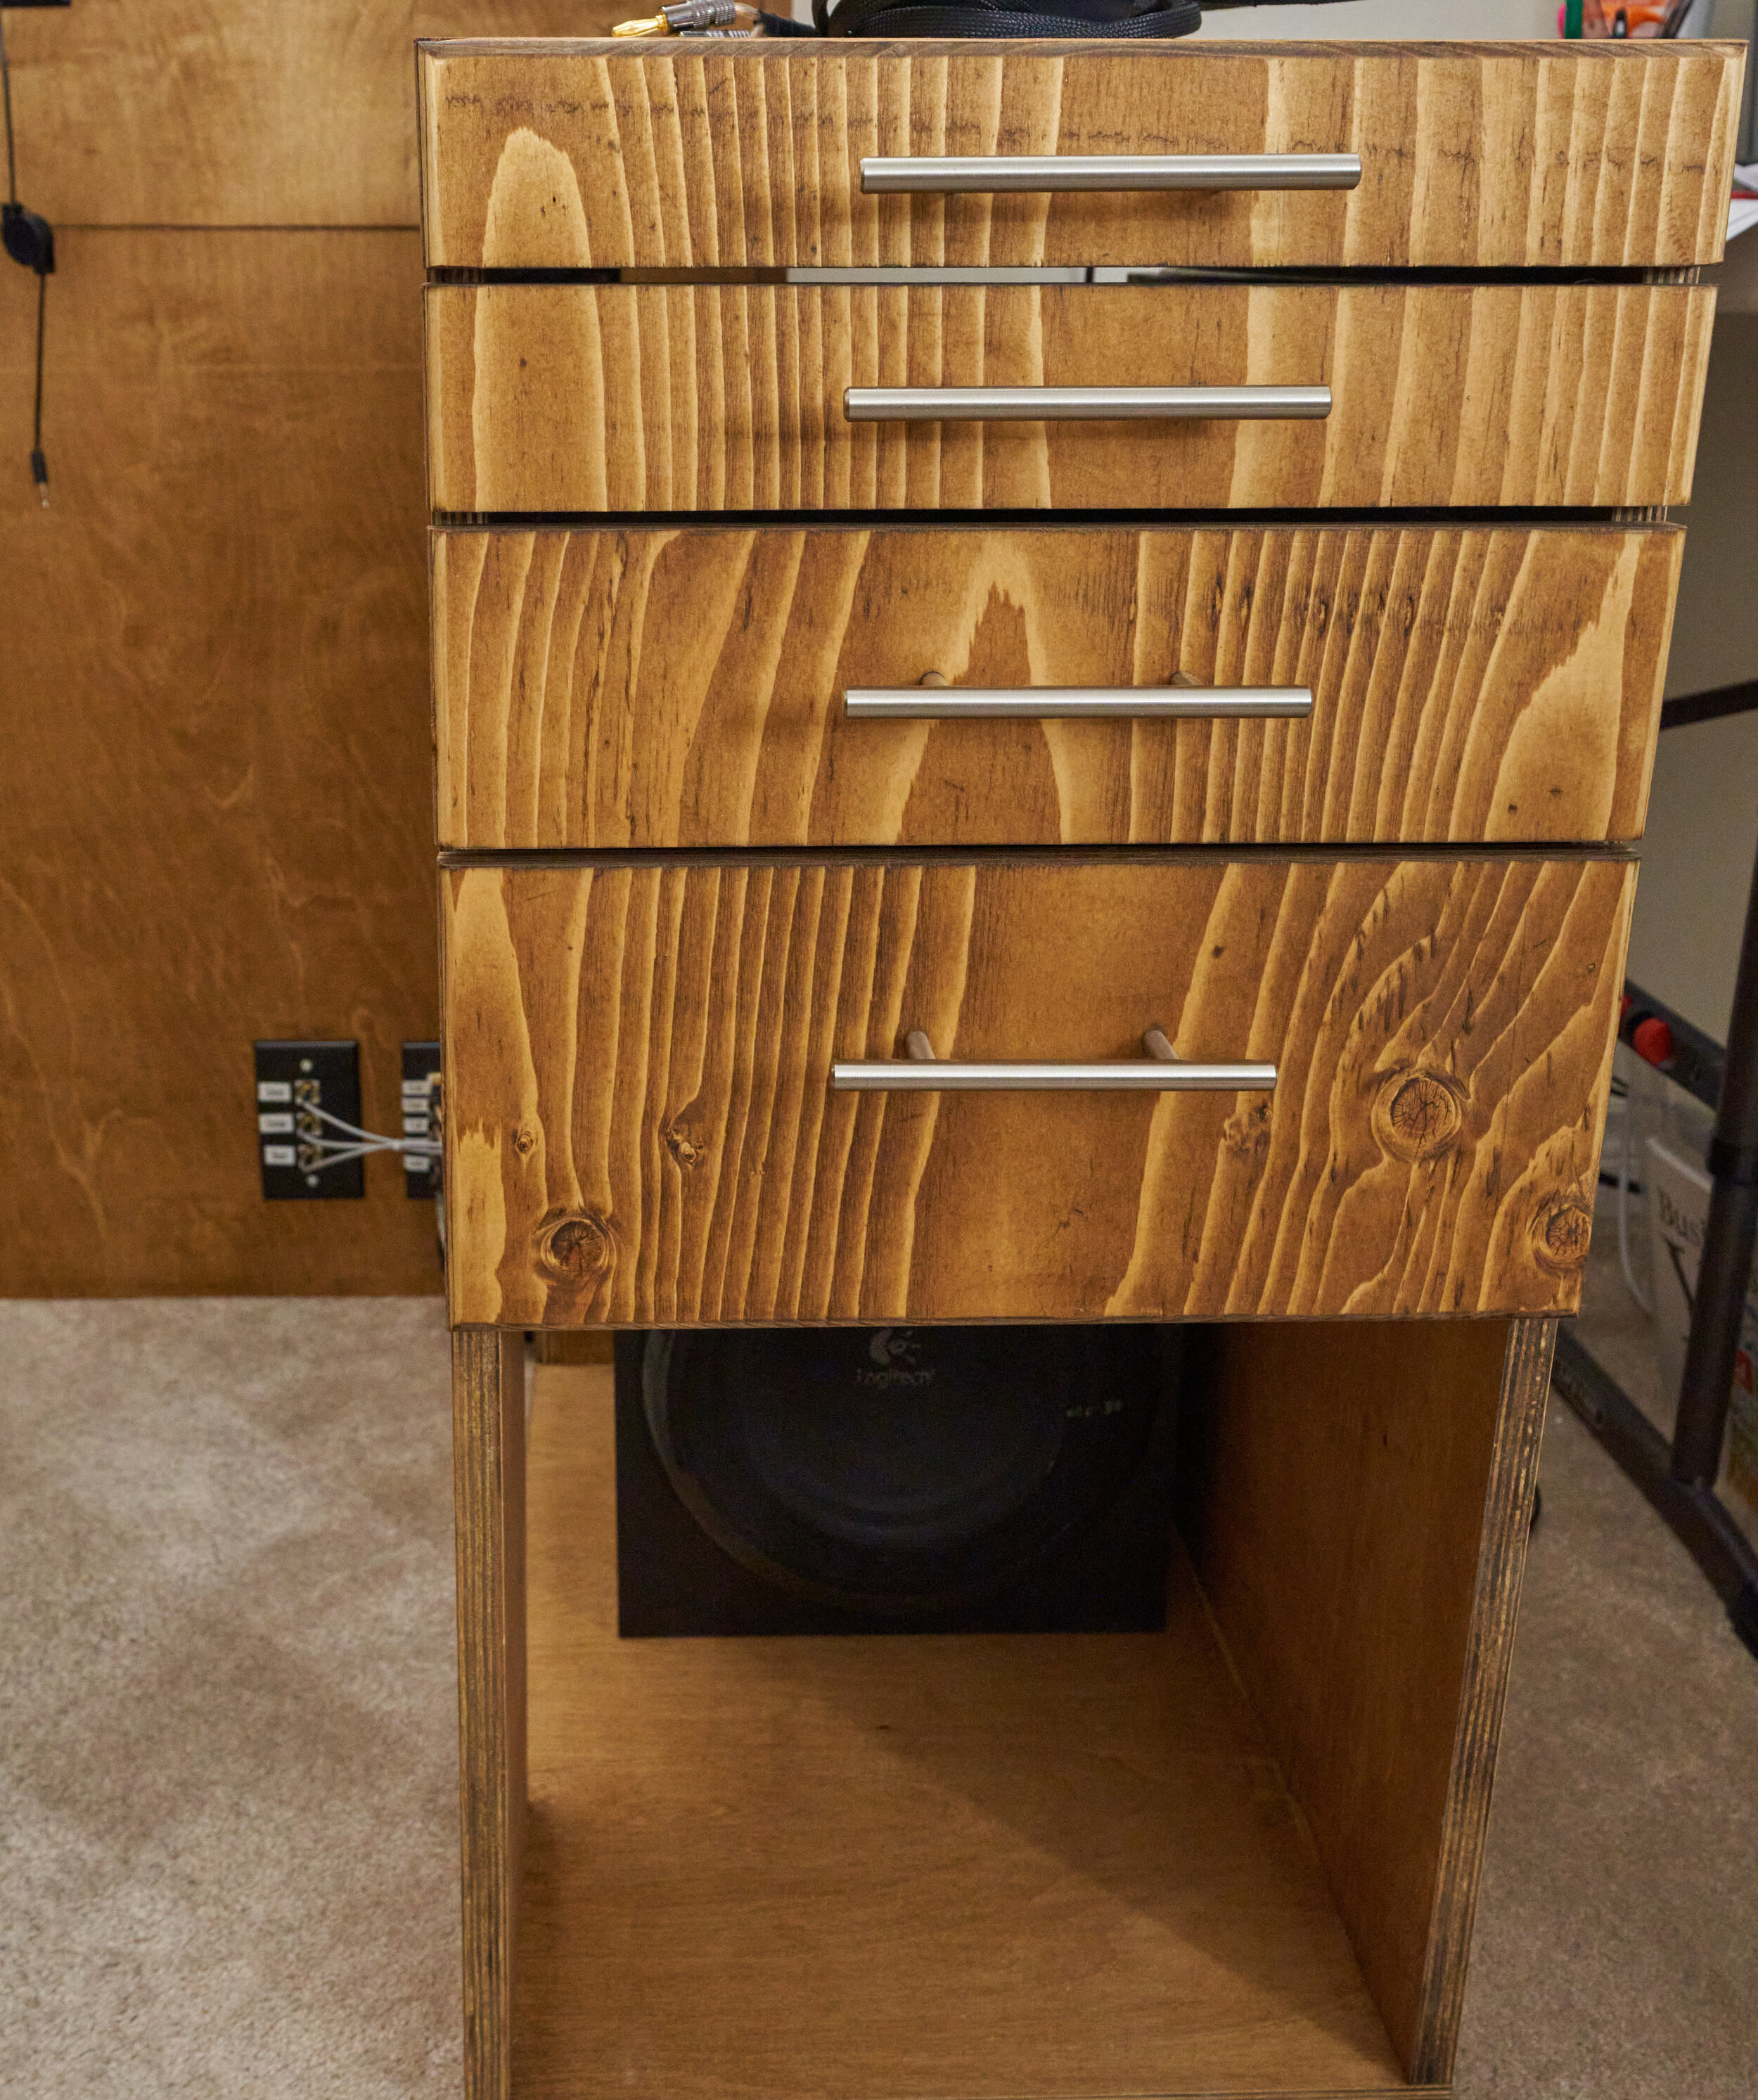
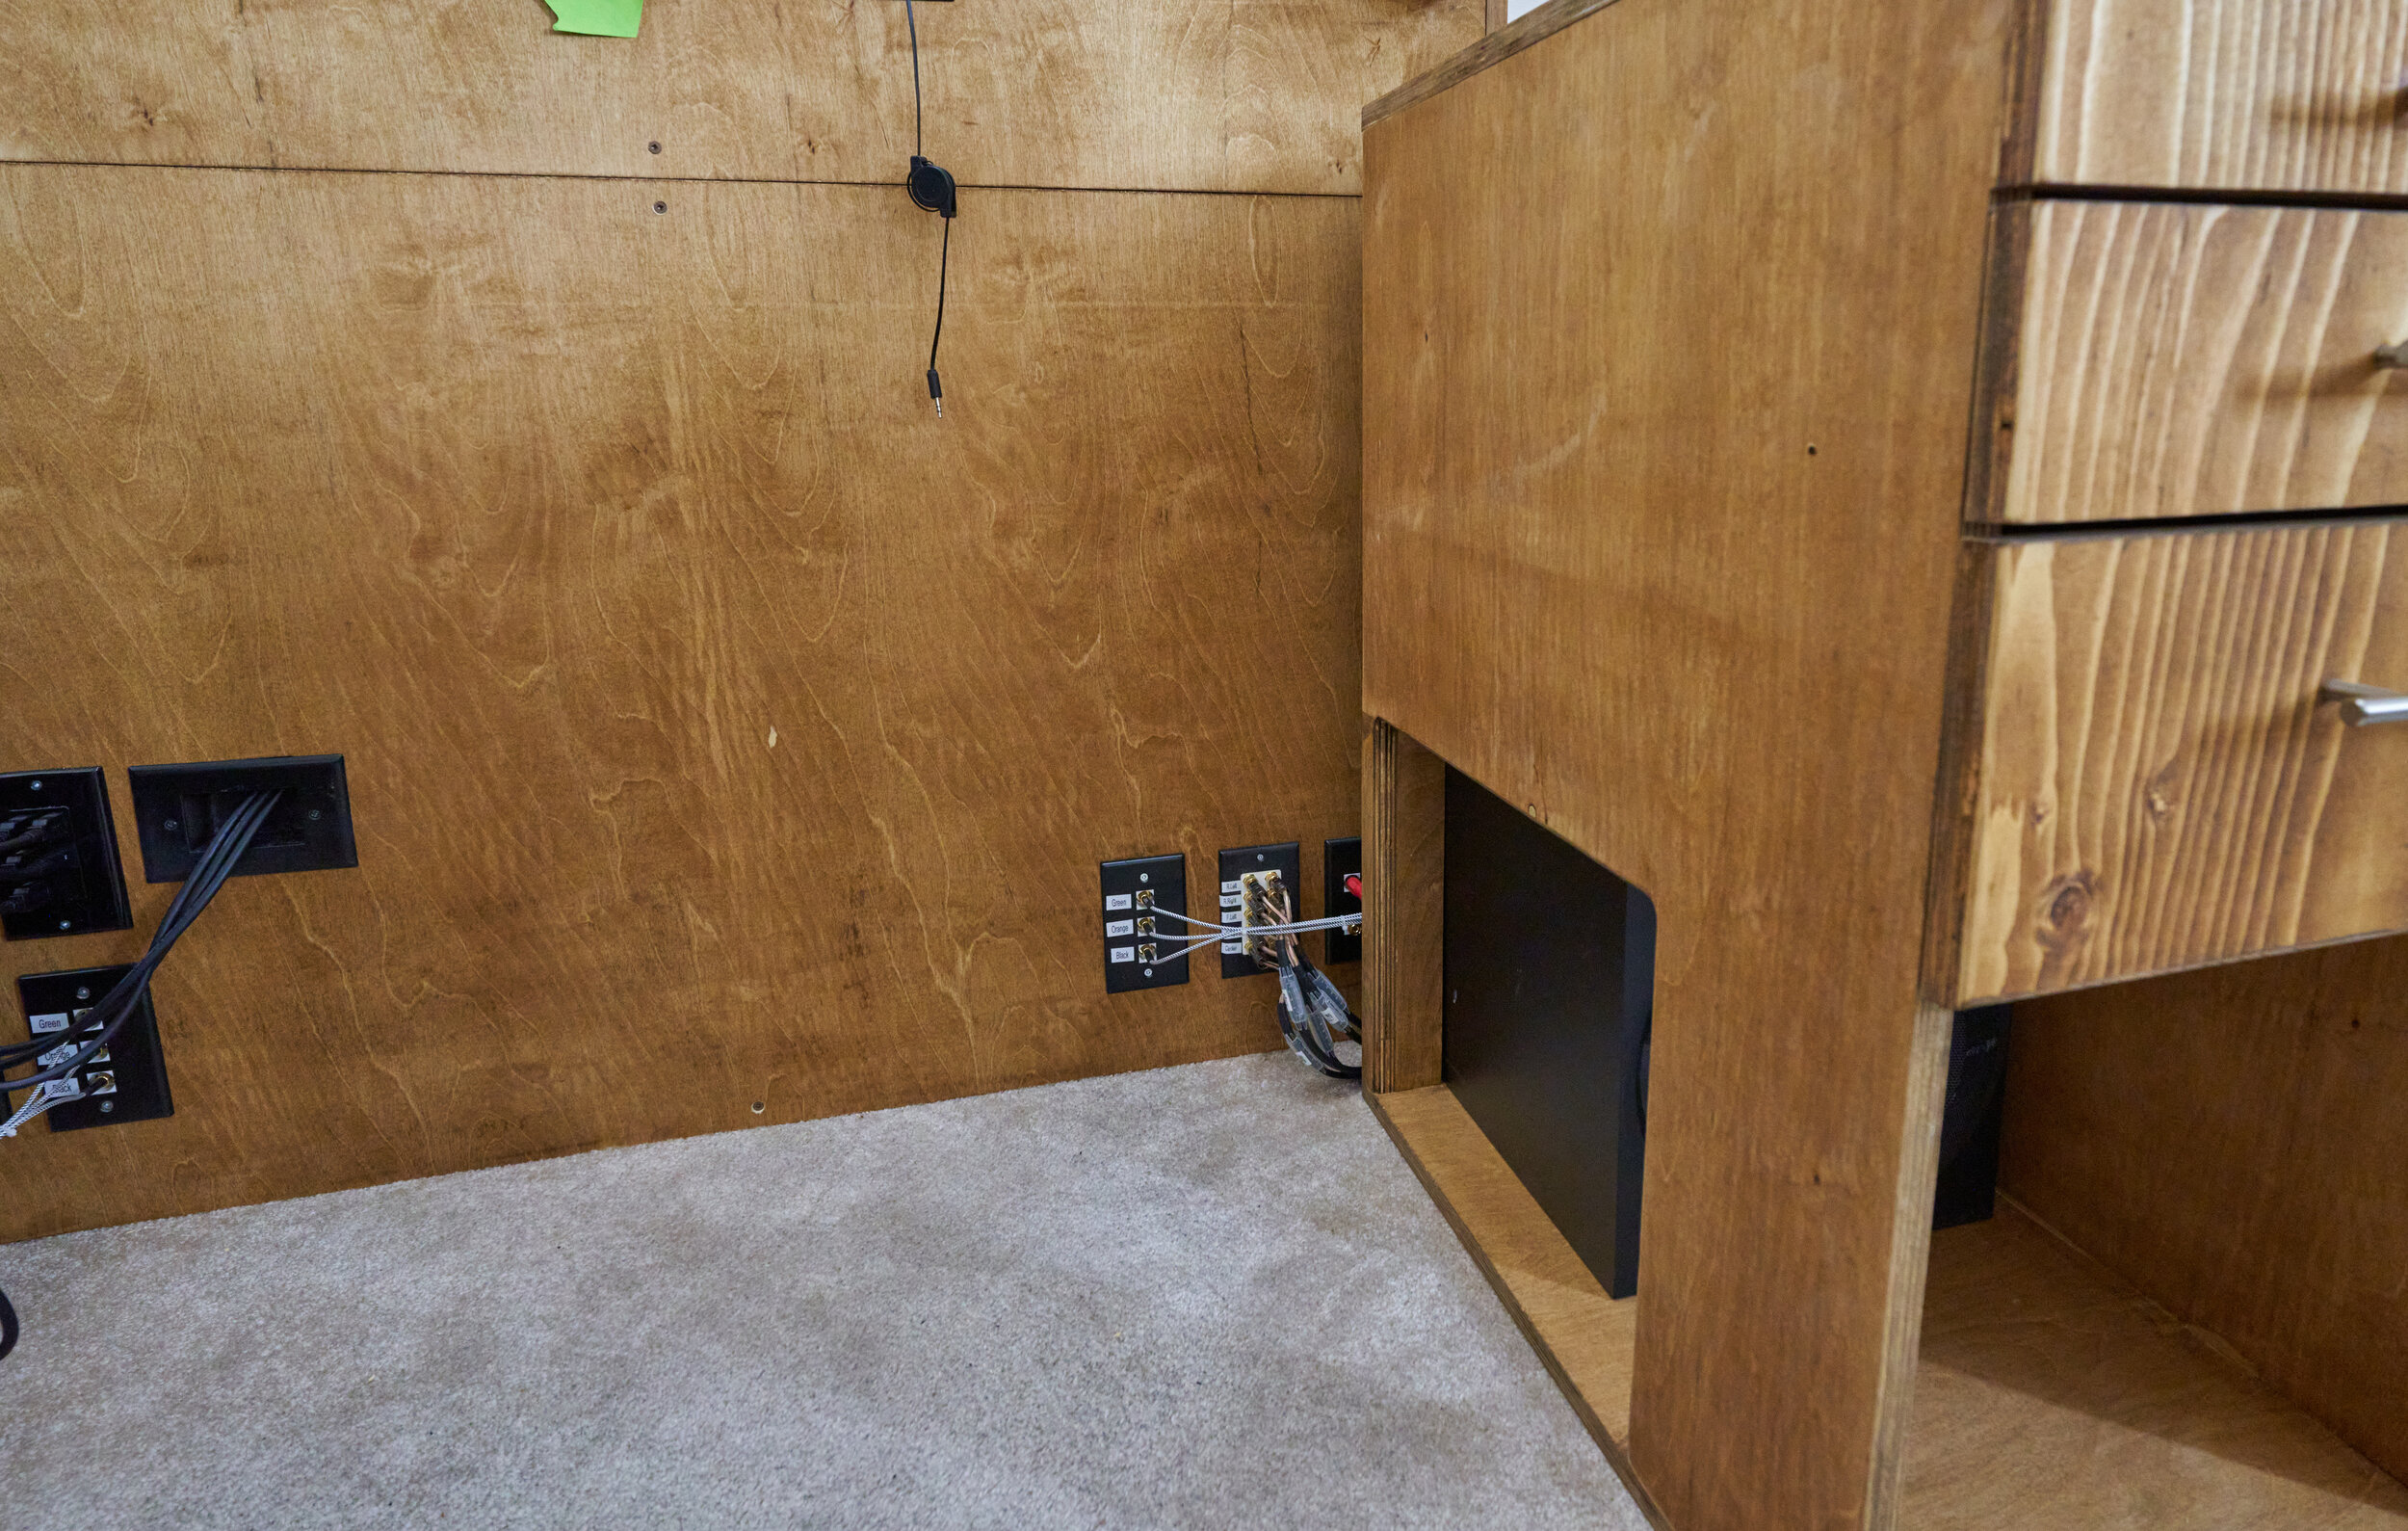
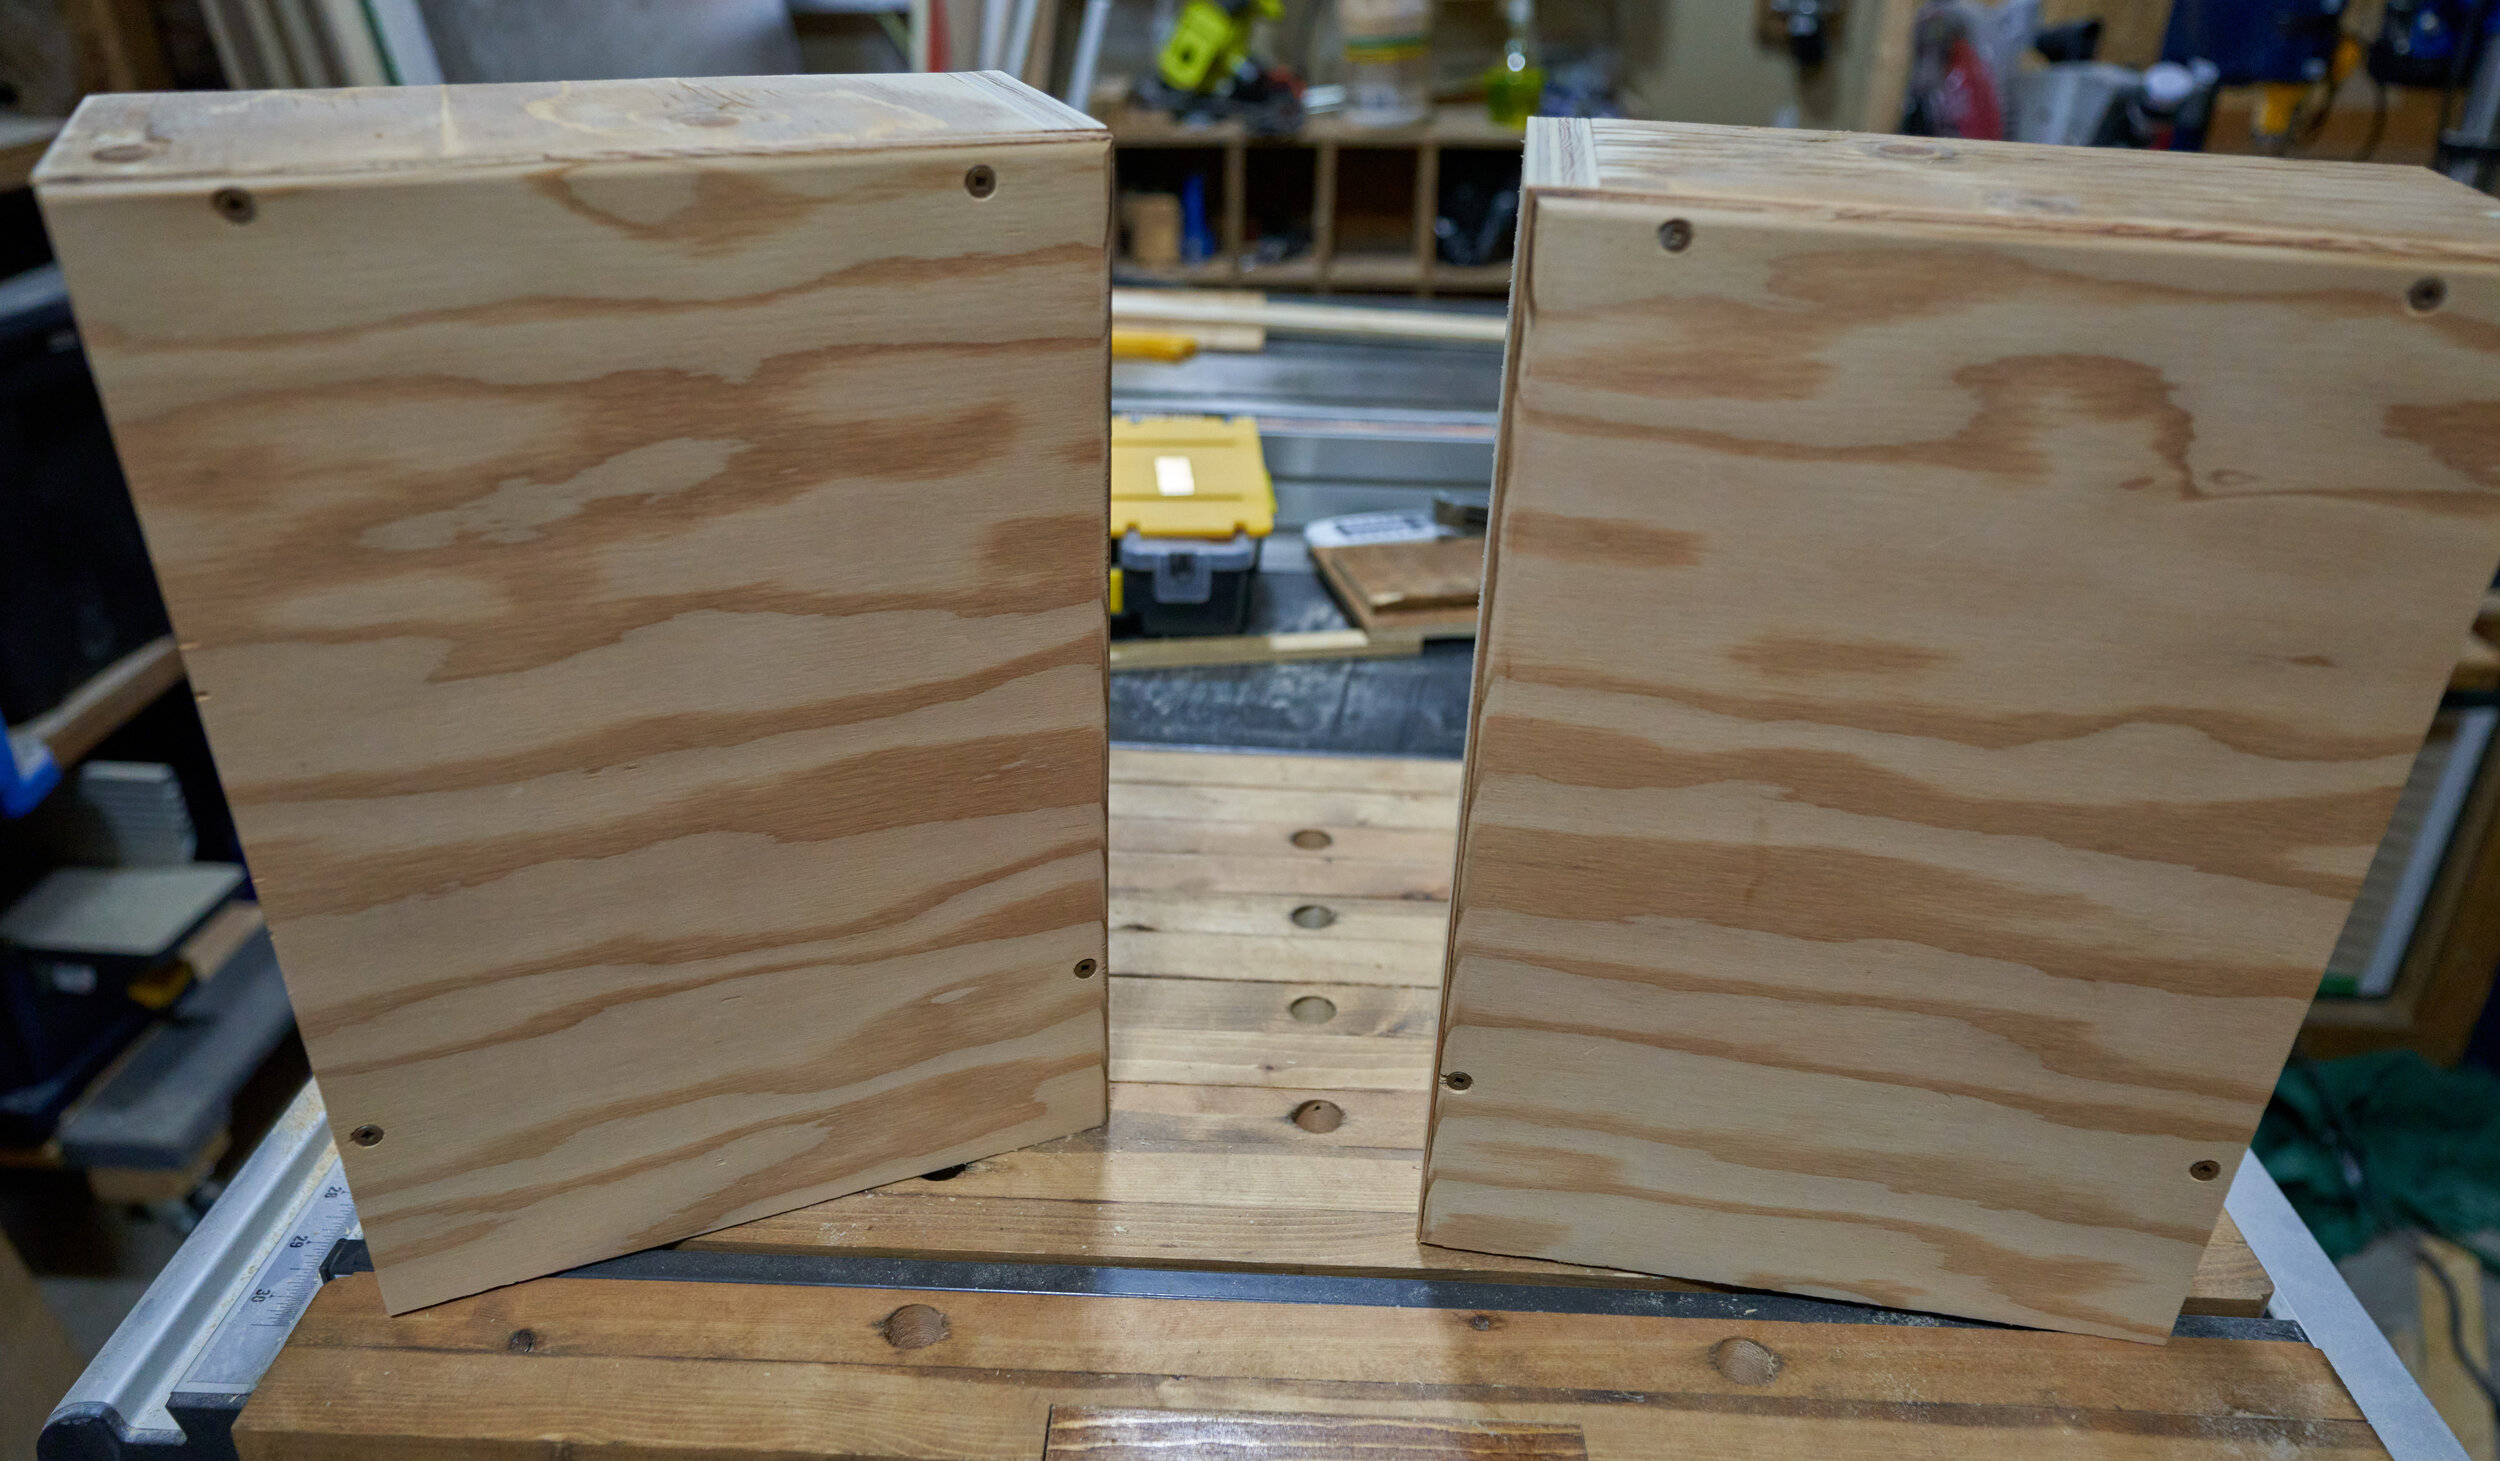
Step 8: The Right Cabinet
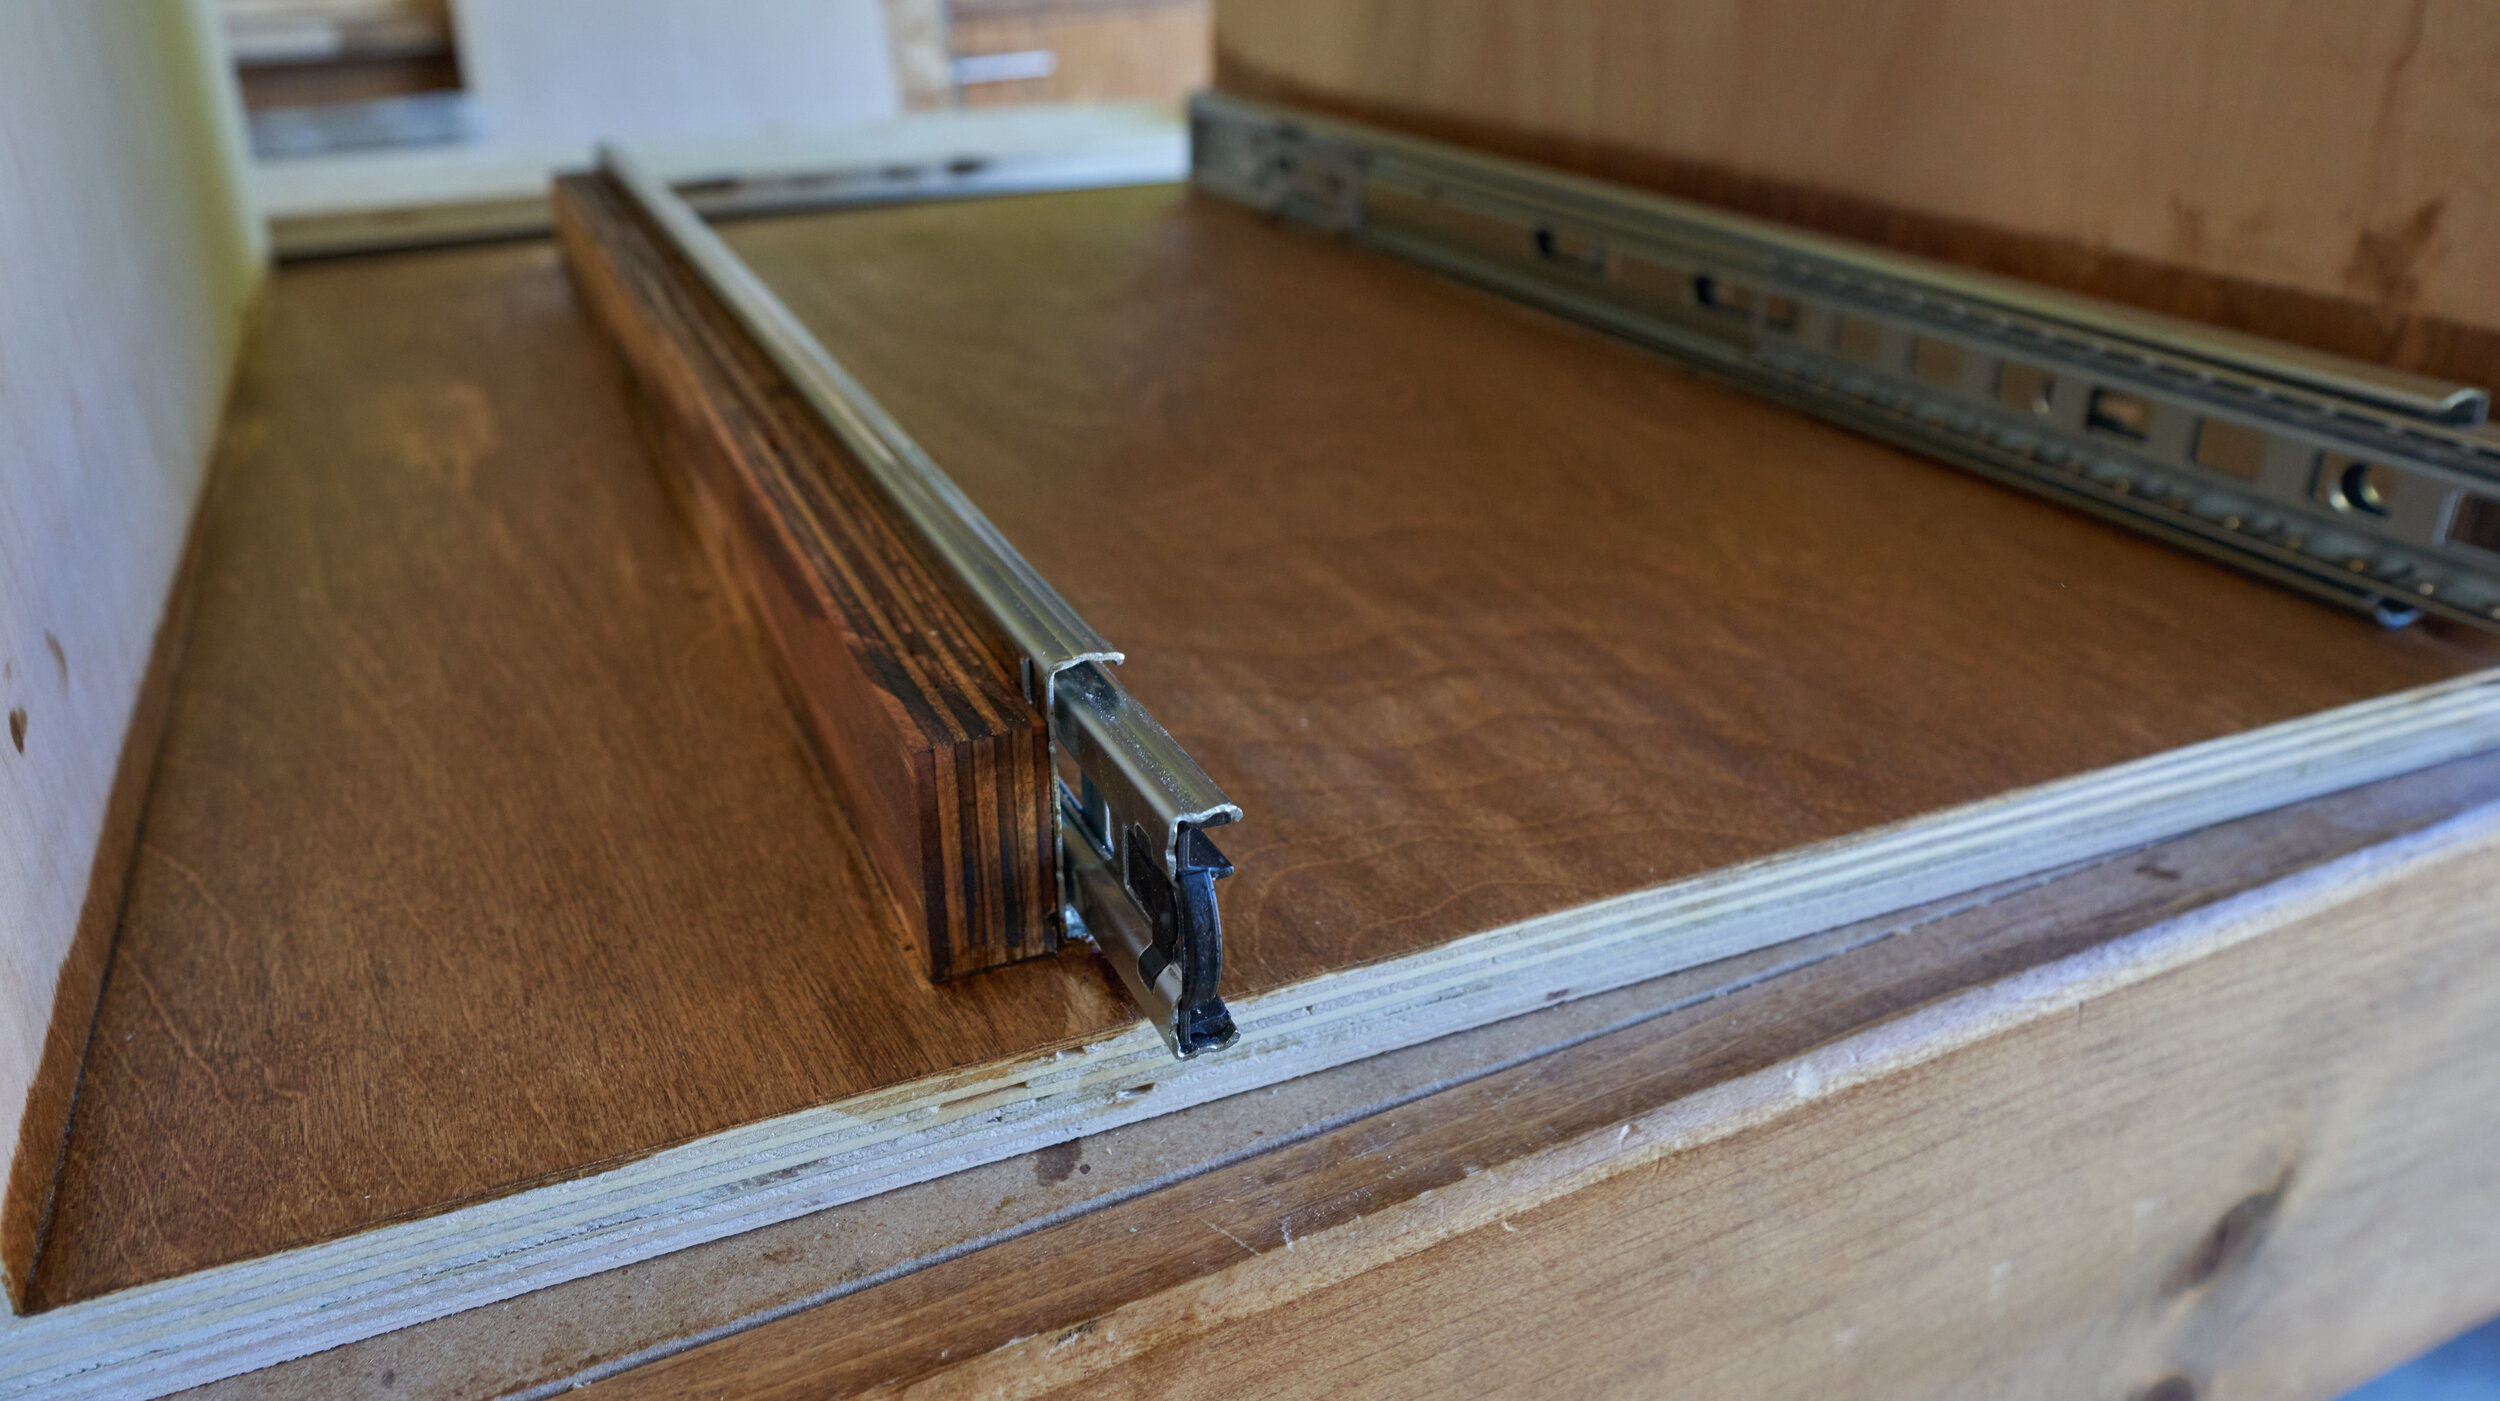
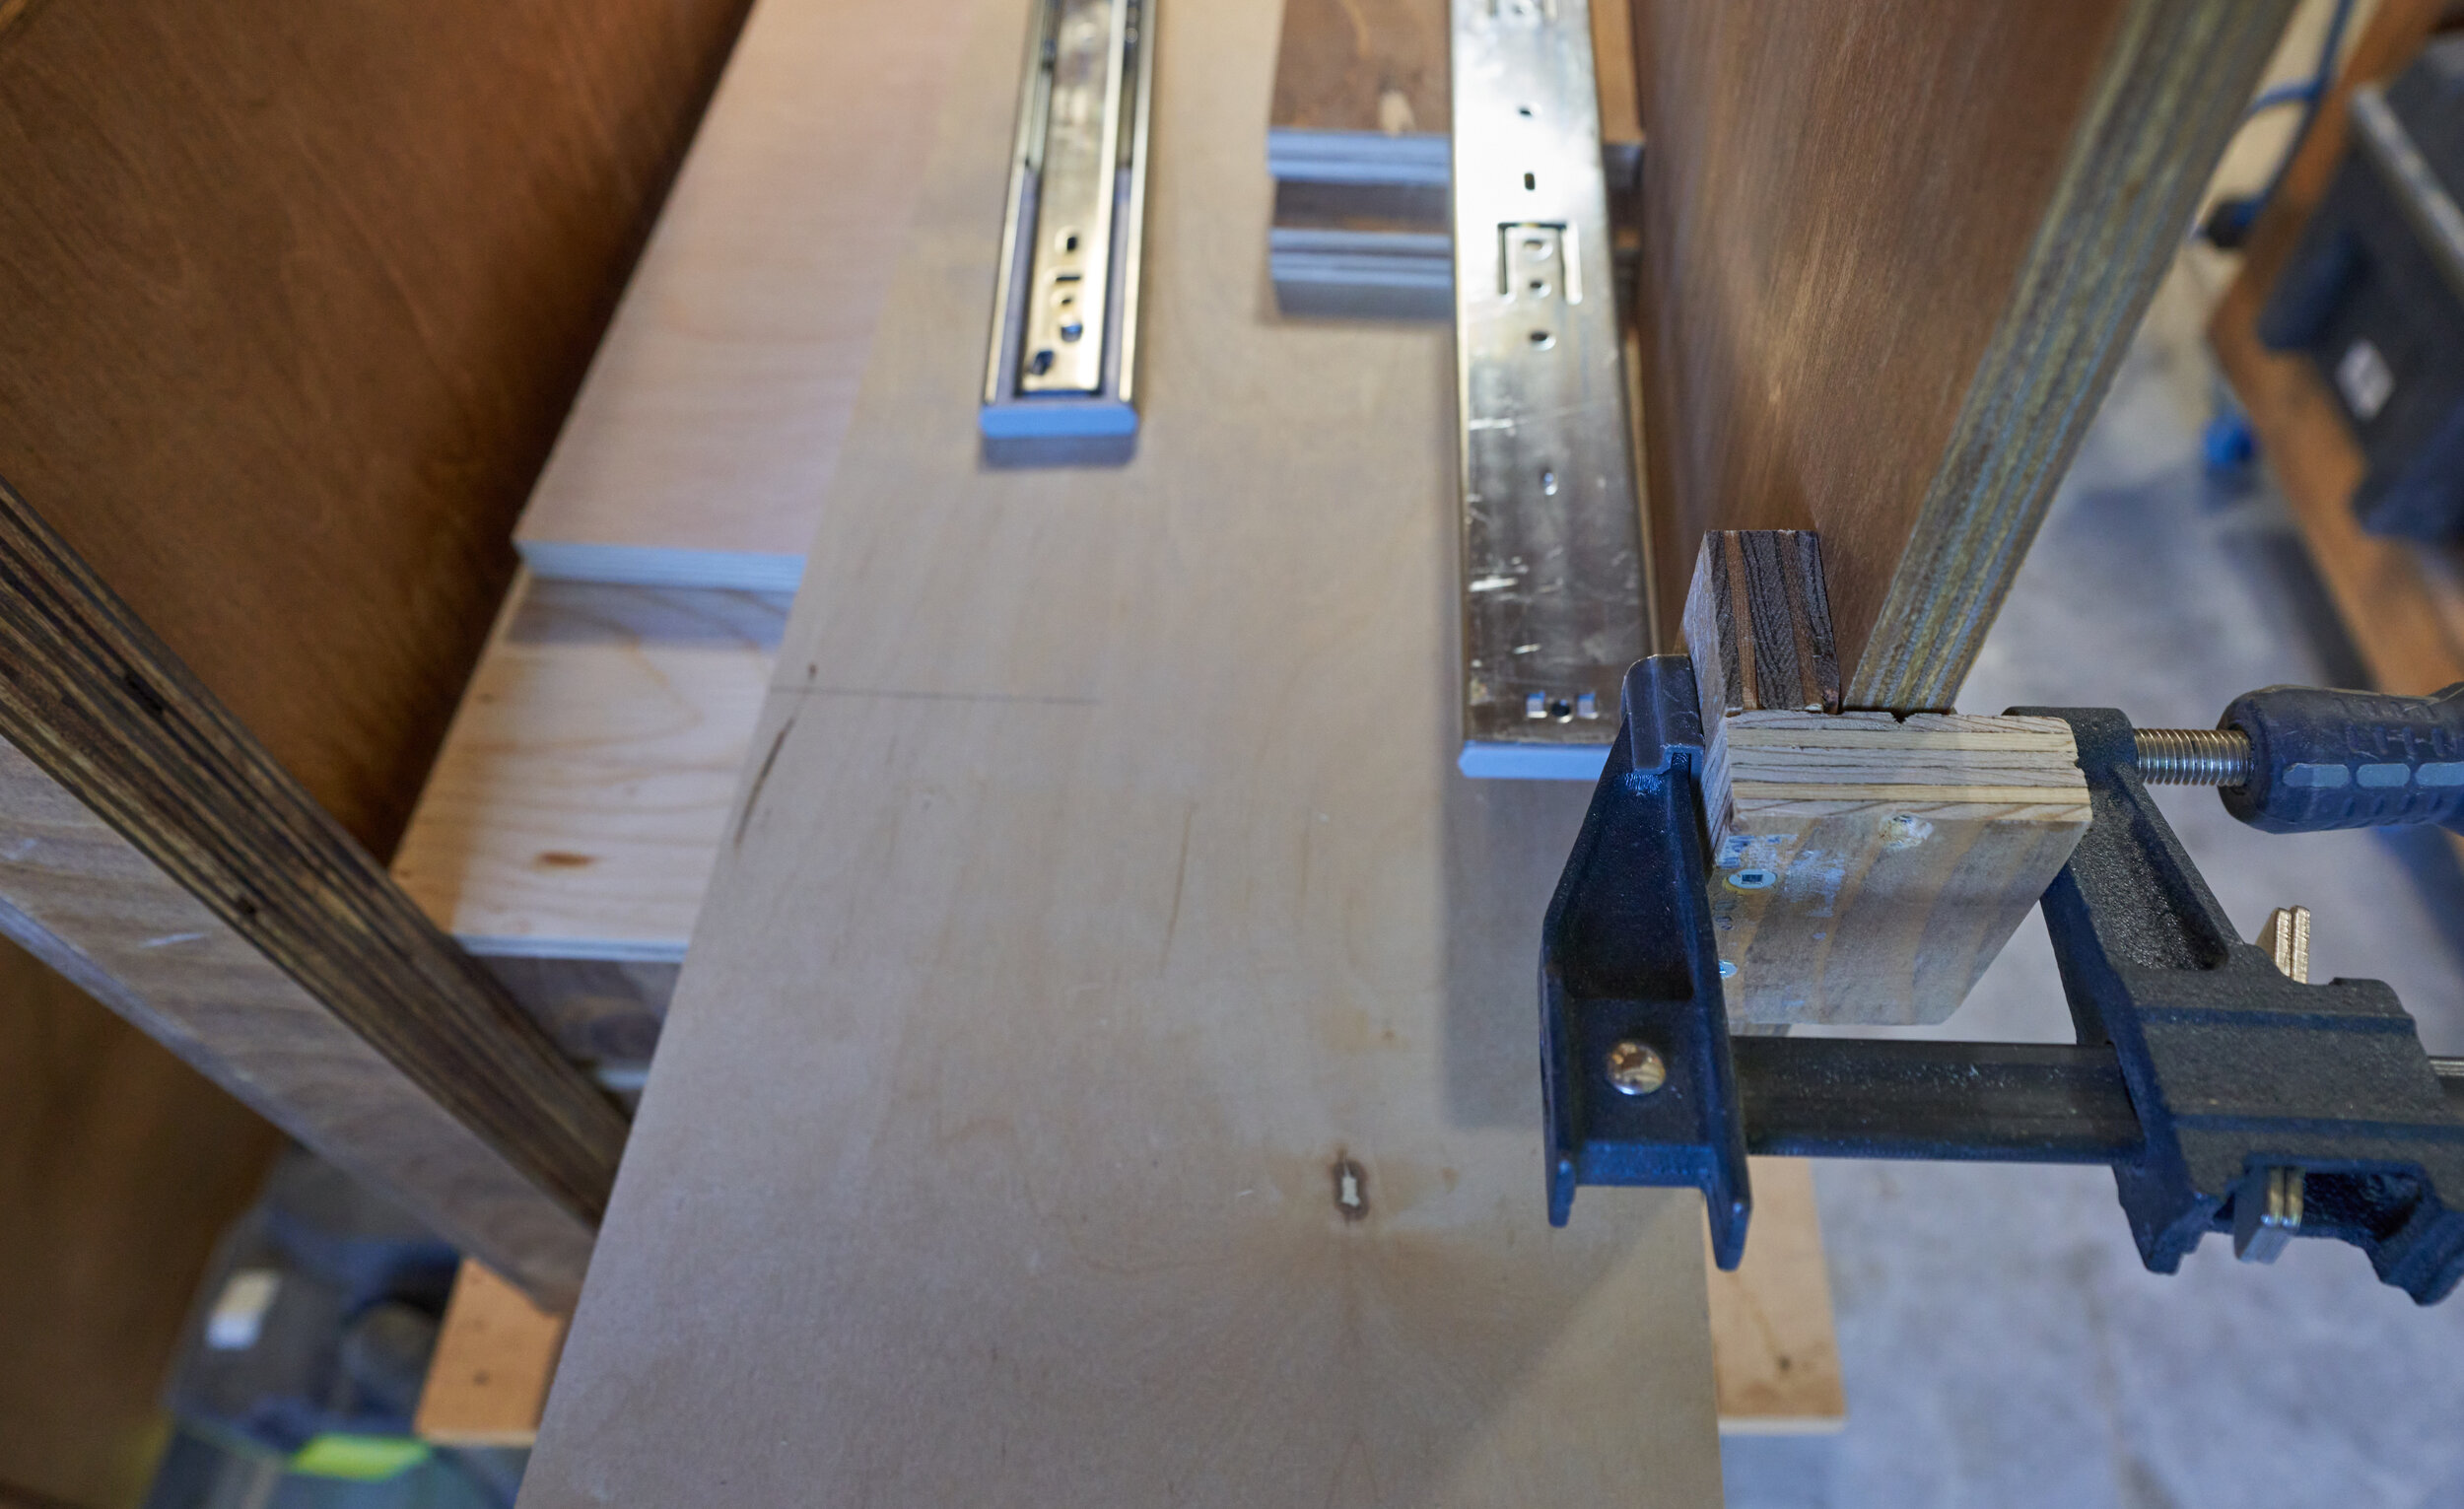
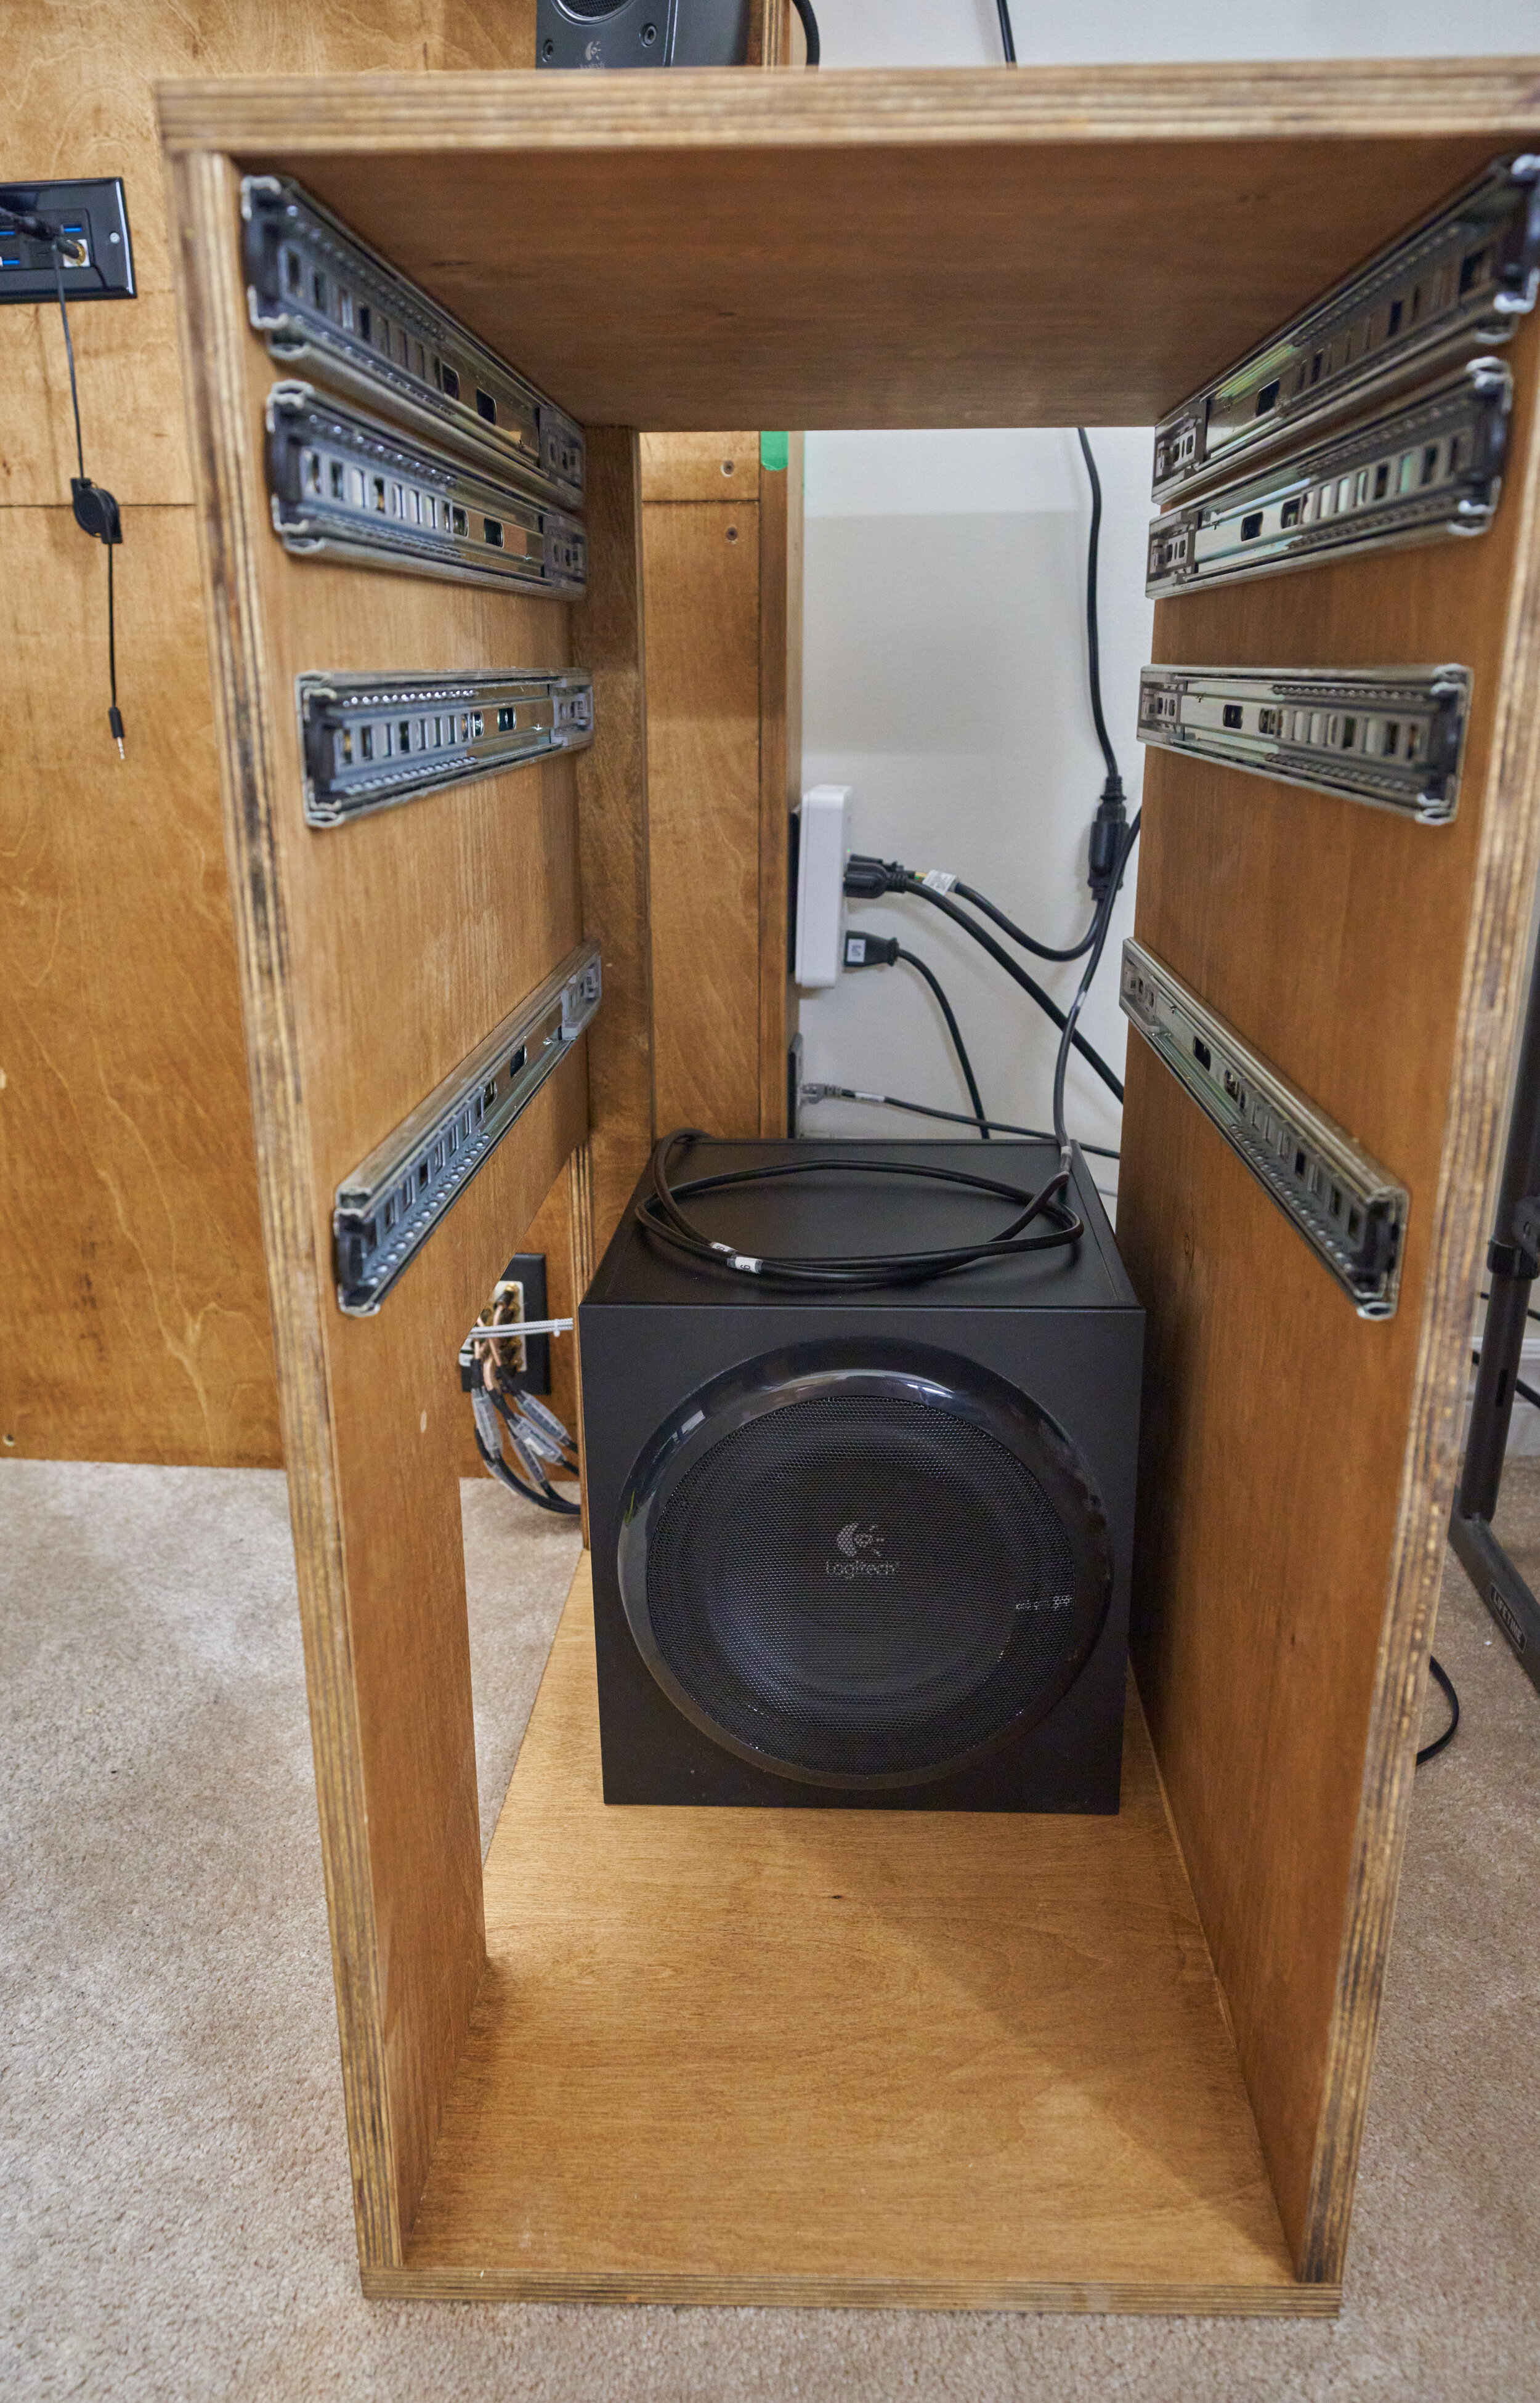
The right cabinet will be built in a similar fashion as the left cabinet. It will have a worktop, a few drawers and instead of a pull-out tray for a PC, it will have a cutout for me to slide the subwoofer into. The substantial cutout for the subwoofer means that I need to add a support leg to transfer the weight down. I originally wanted to have two drawers for laptops but there just wasn’t enough space to add it.
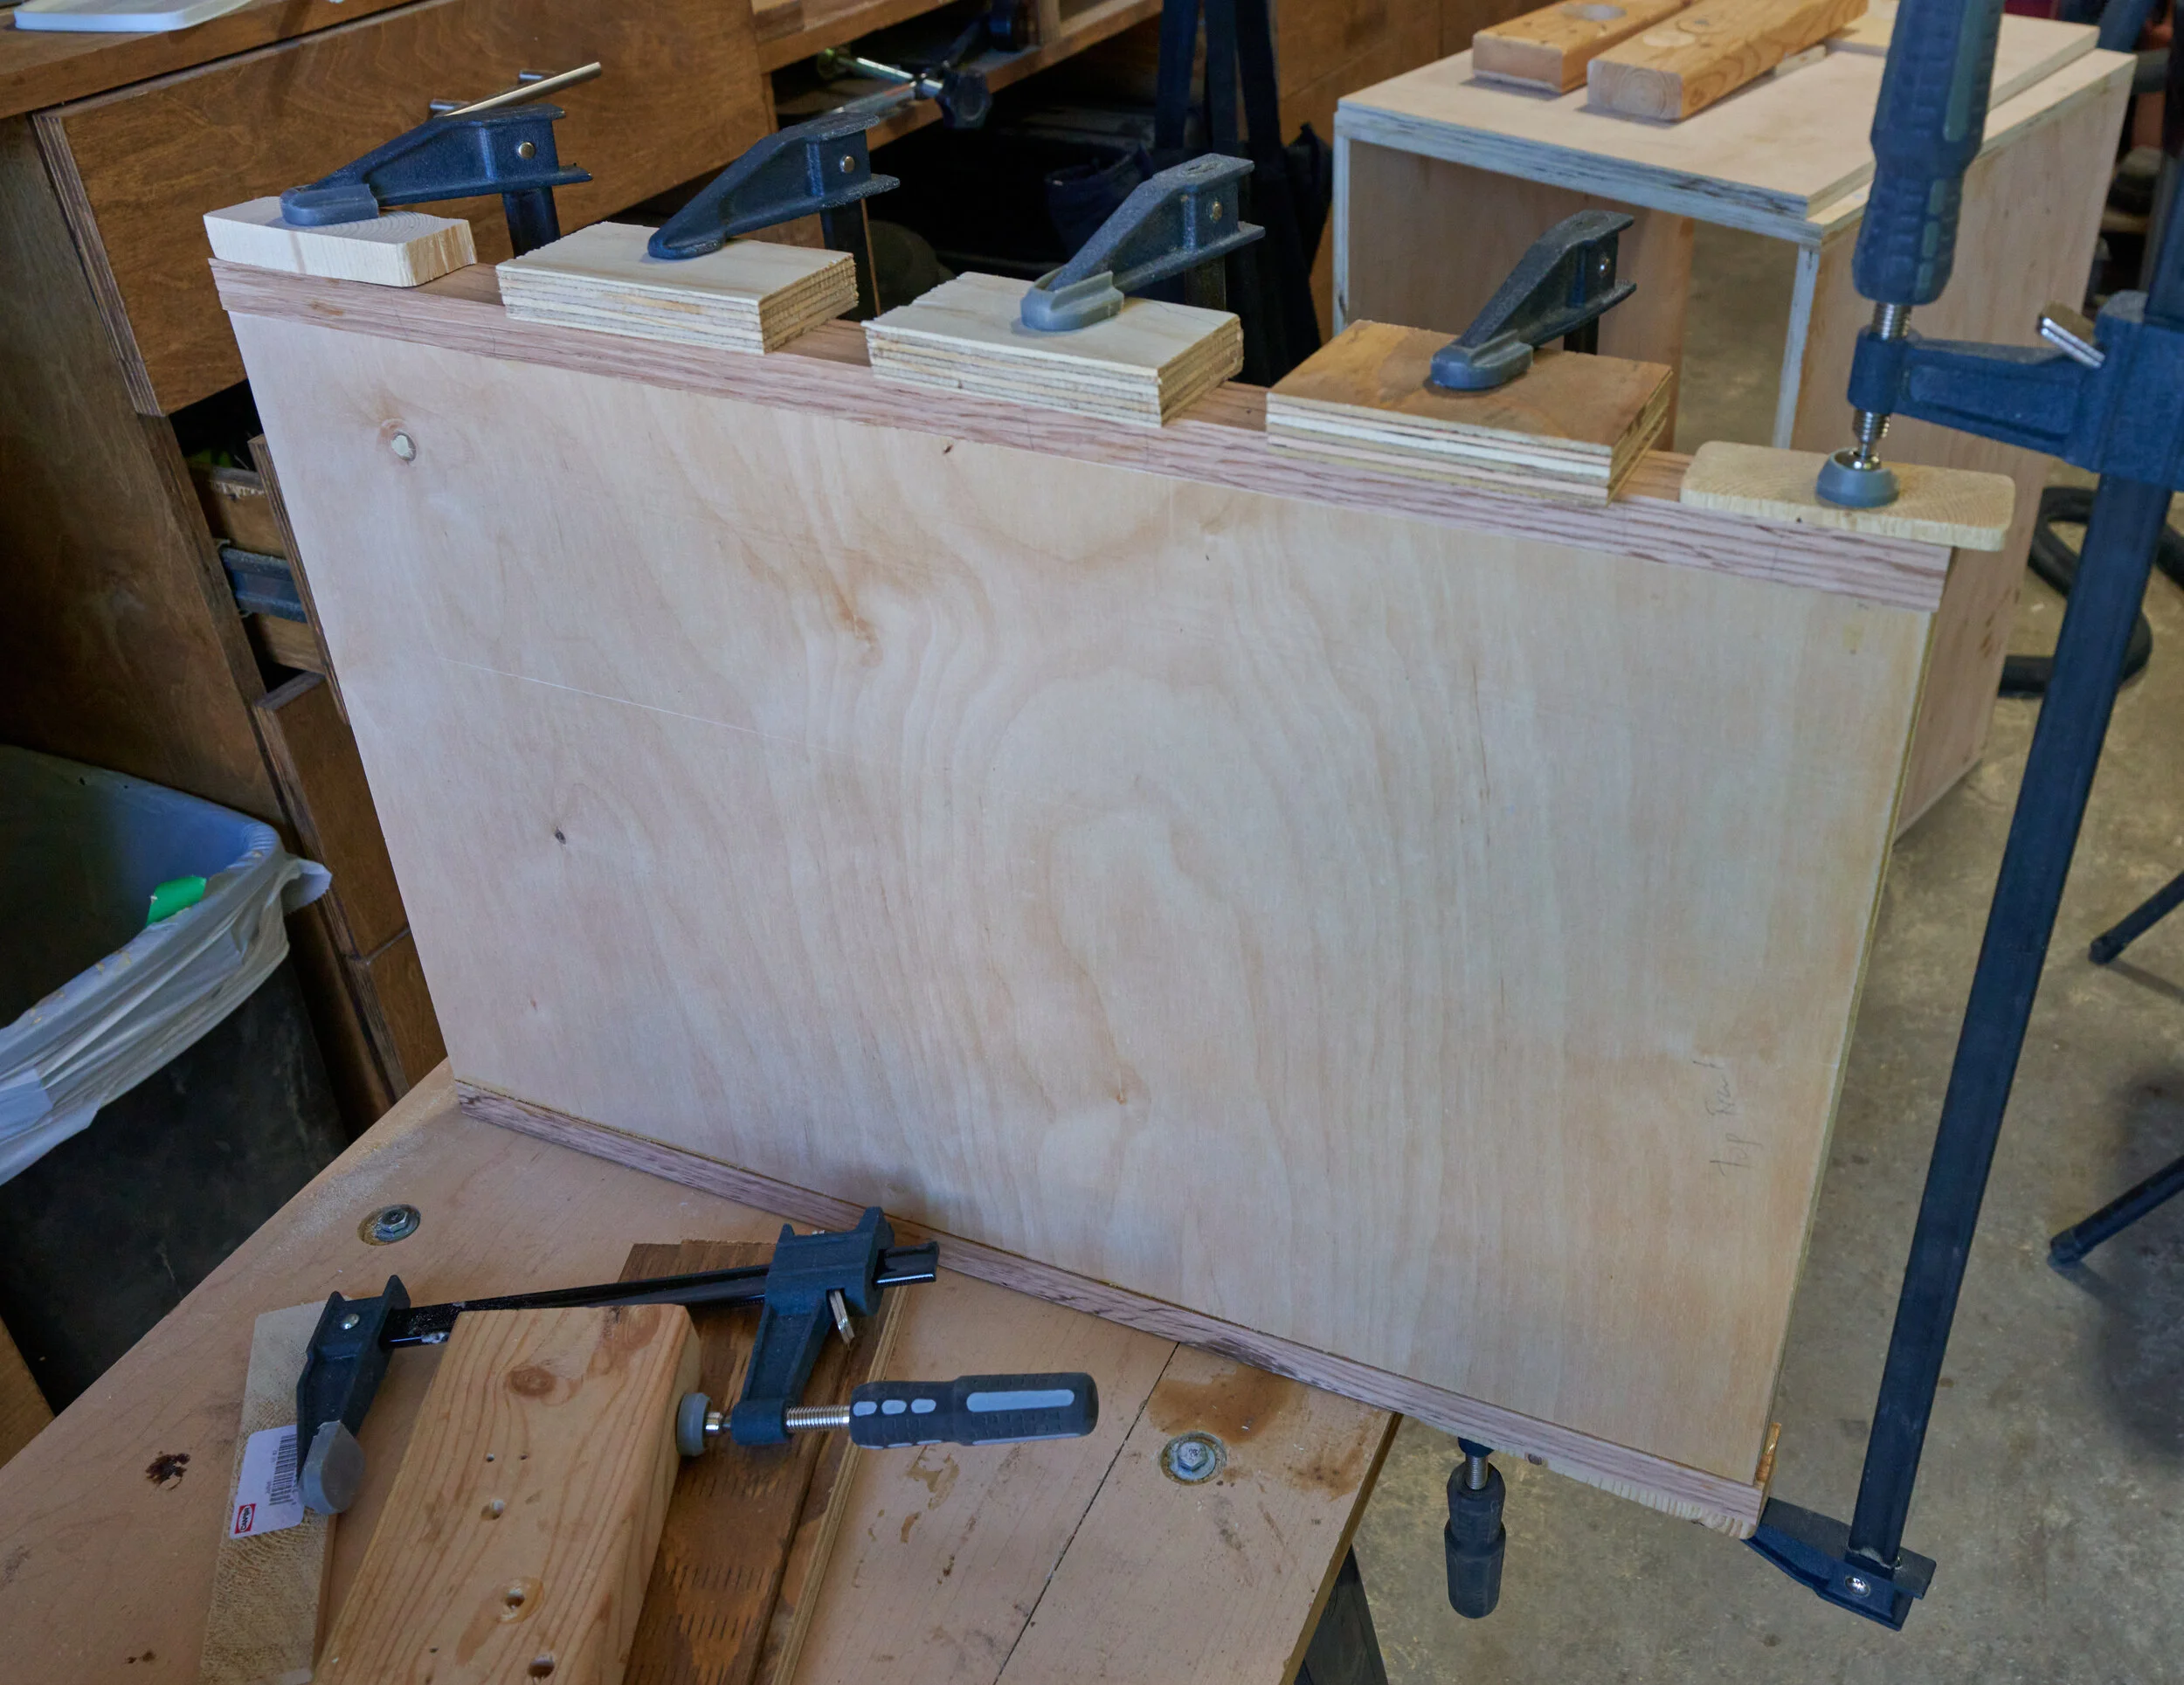
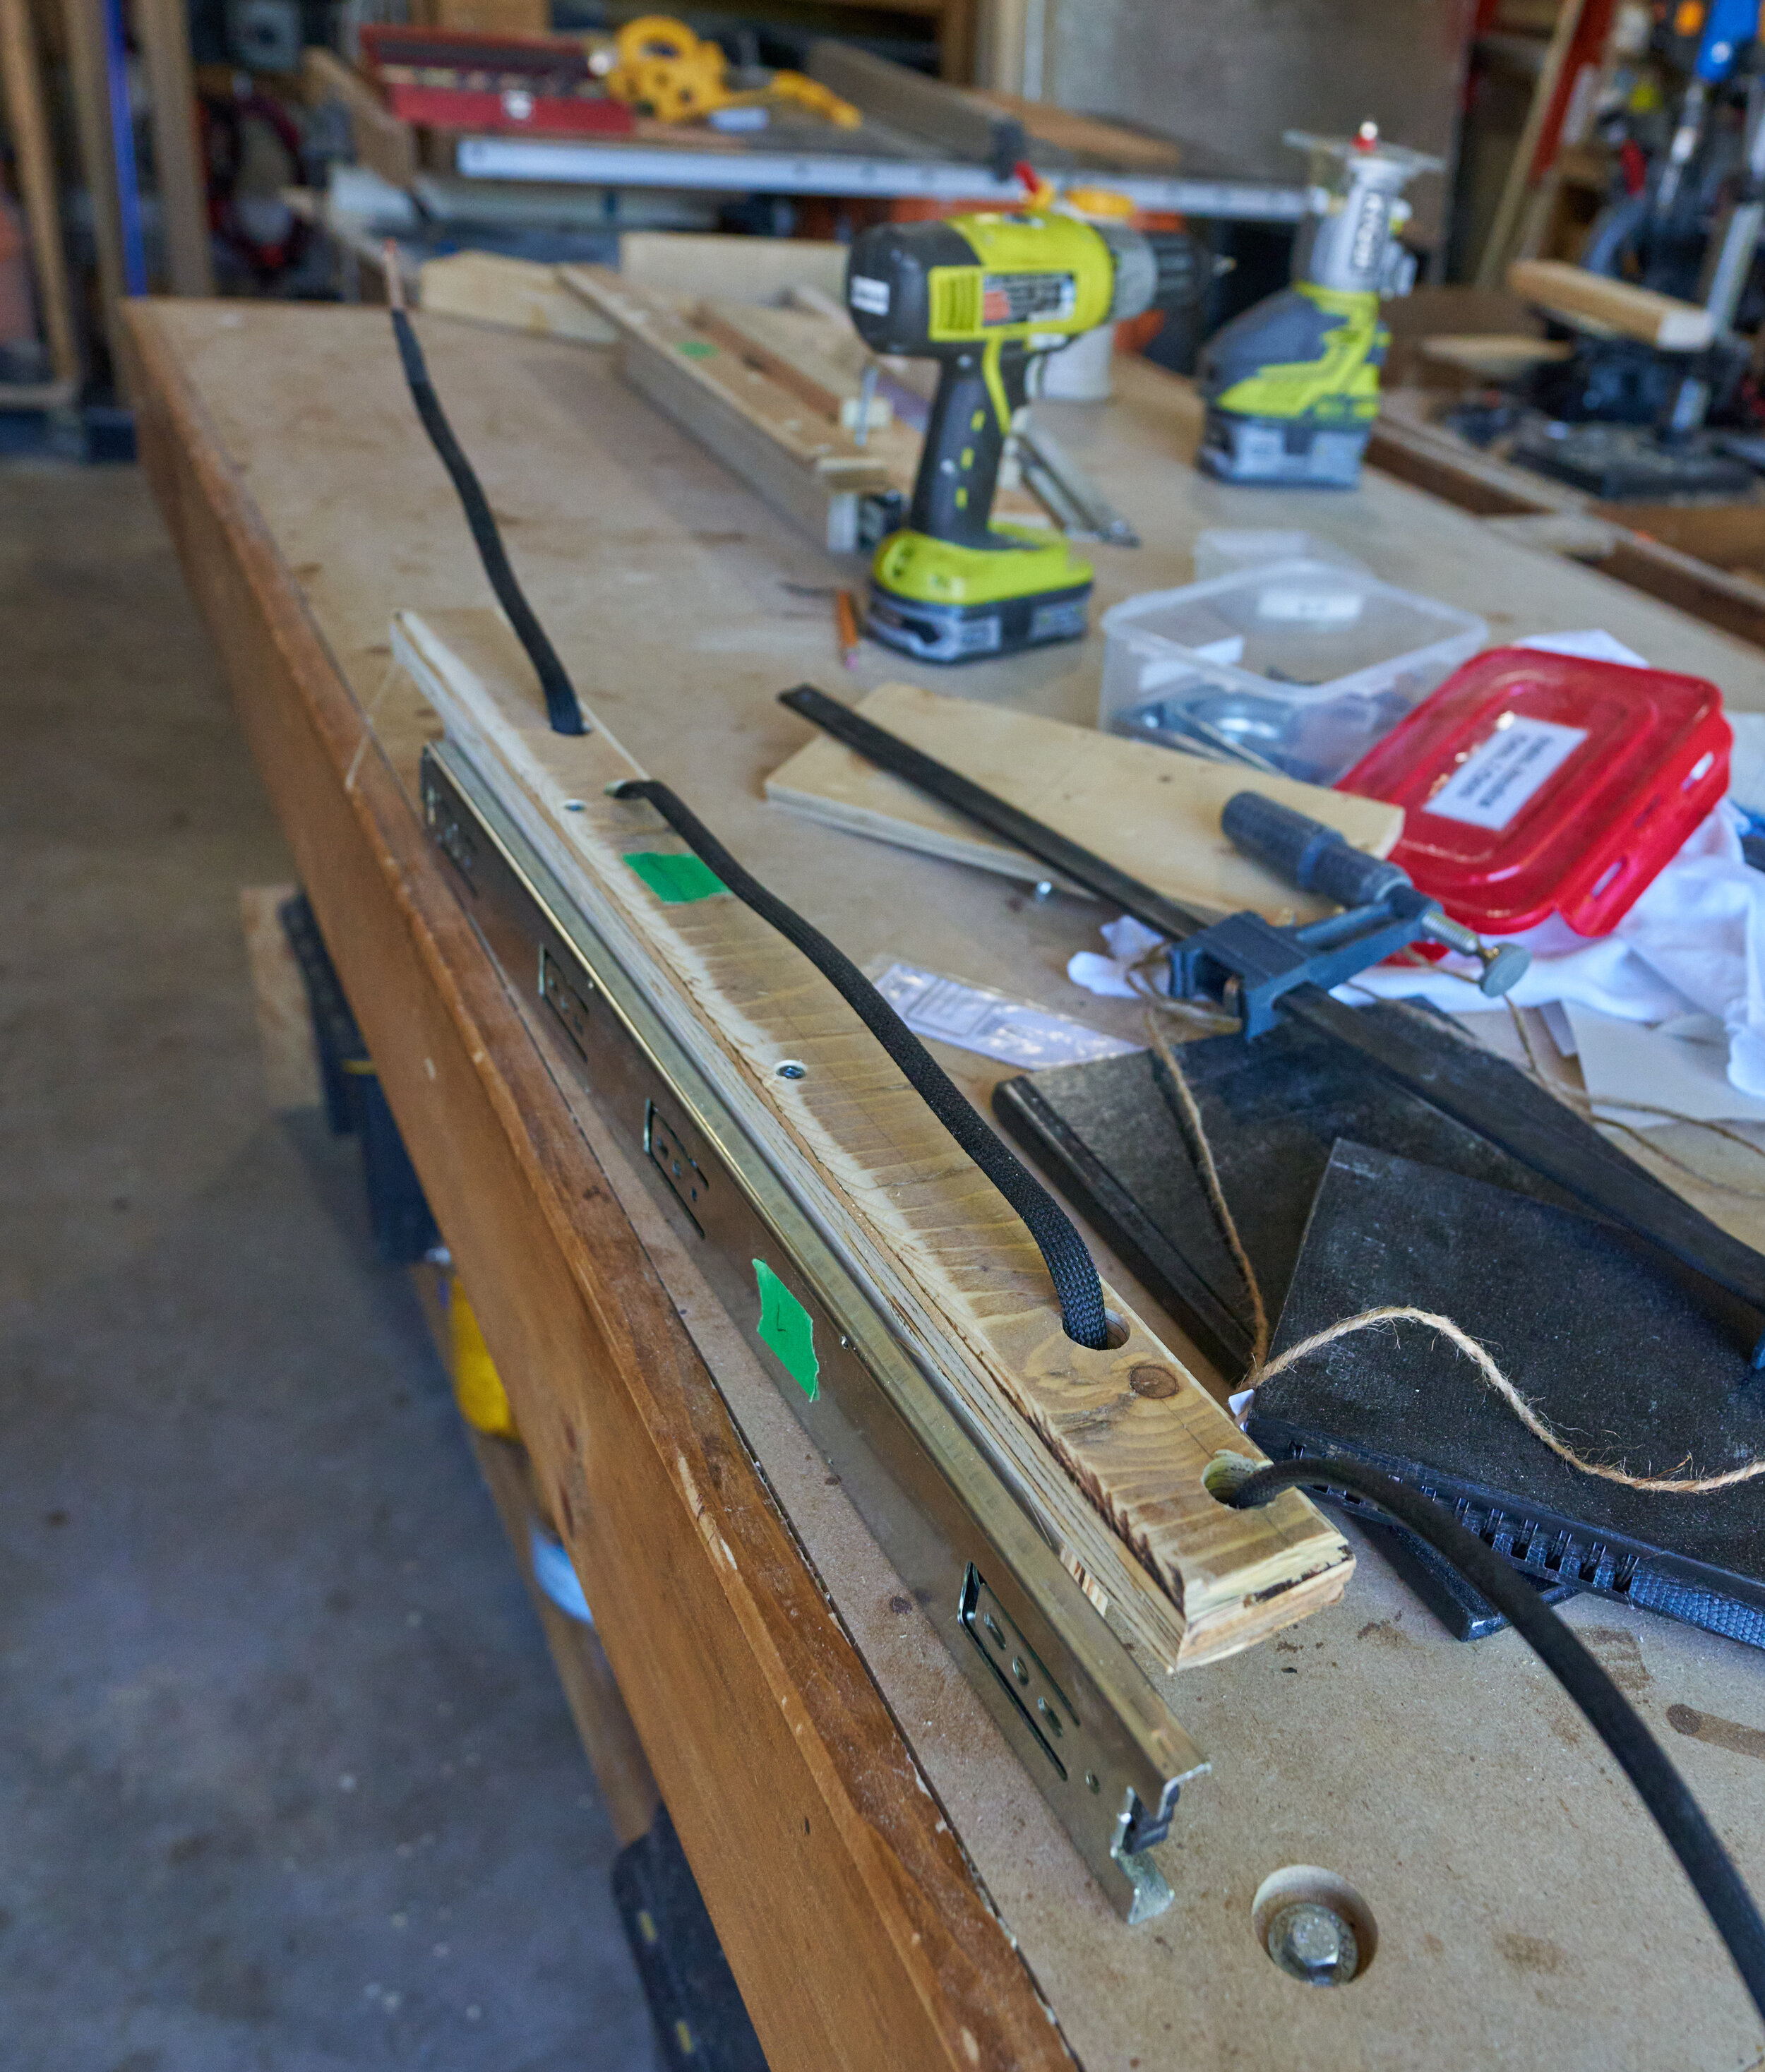
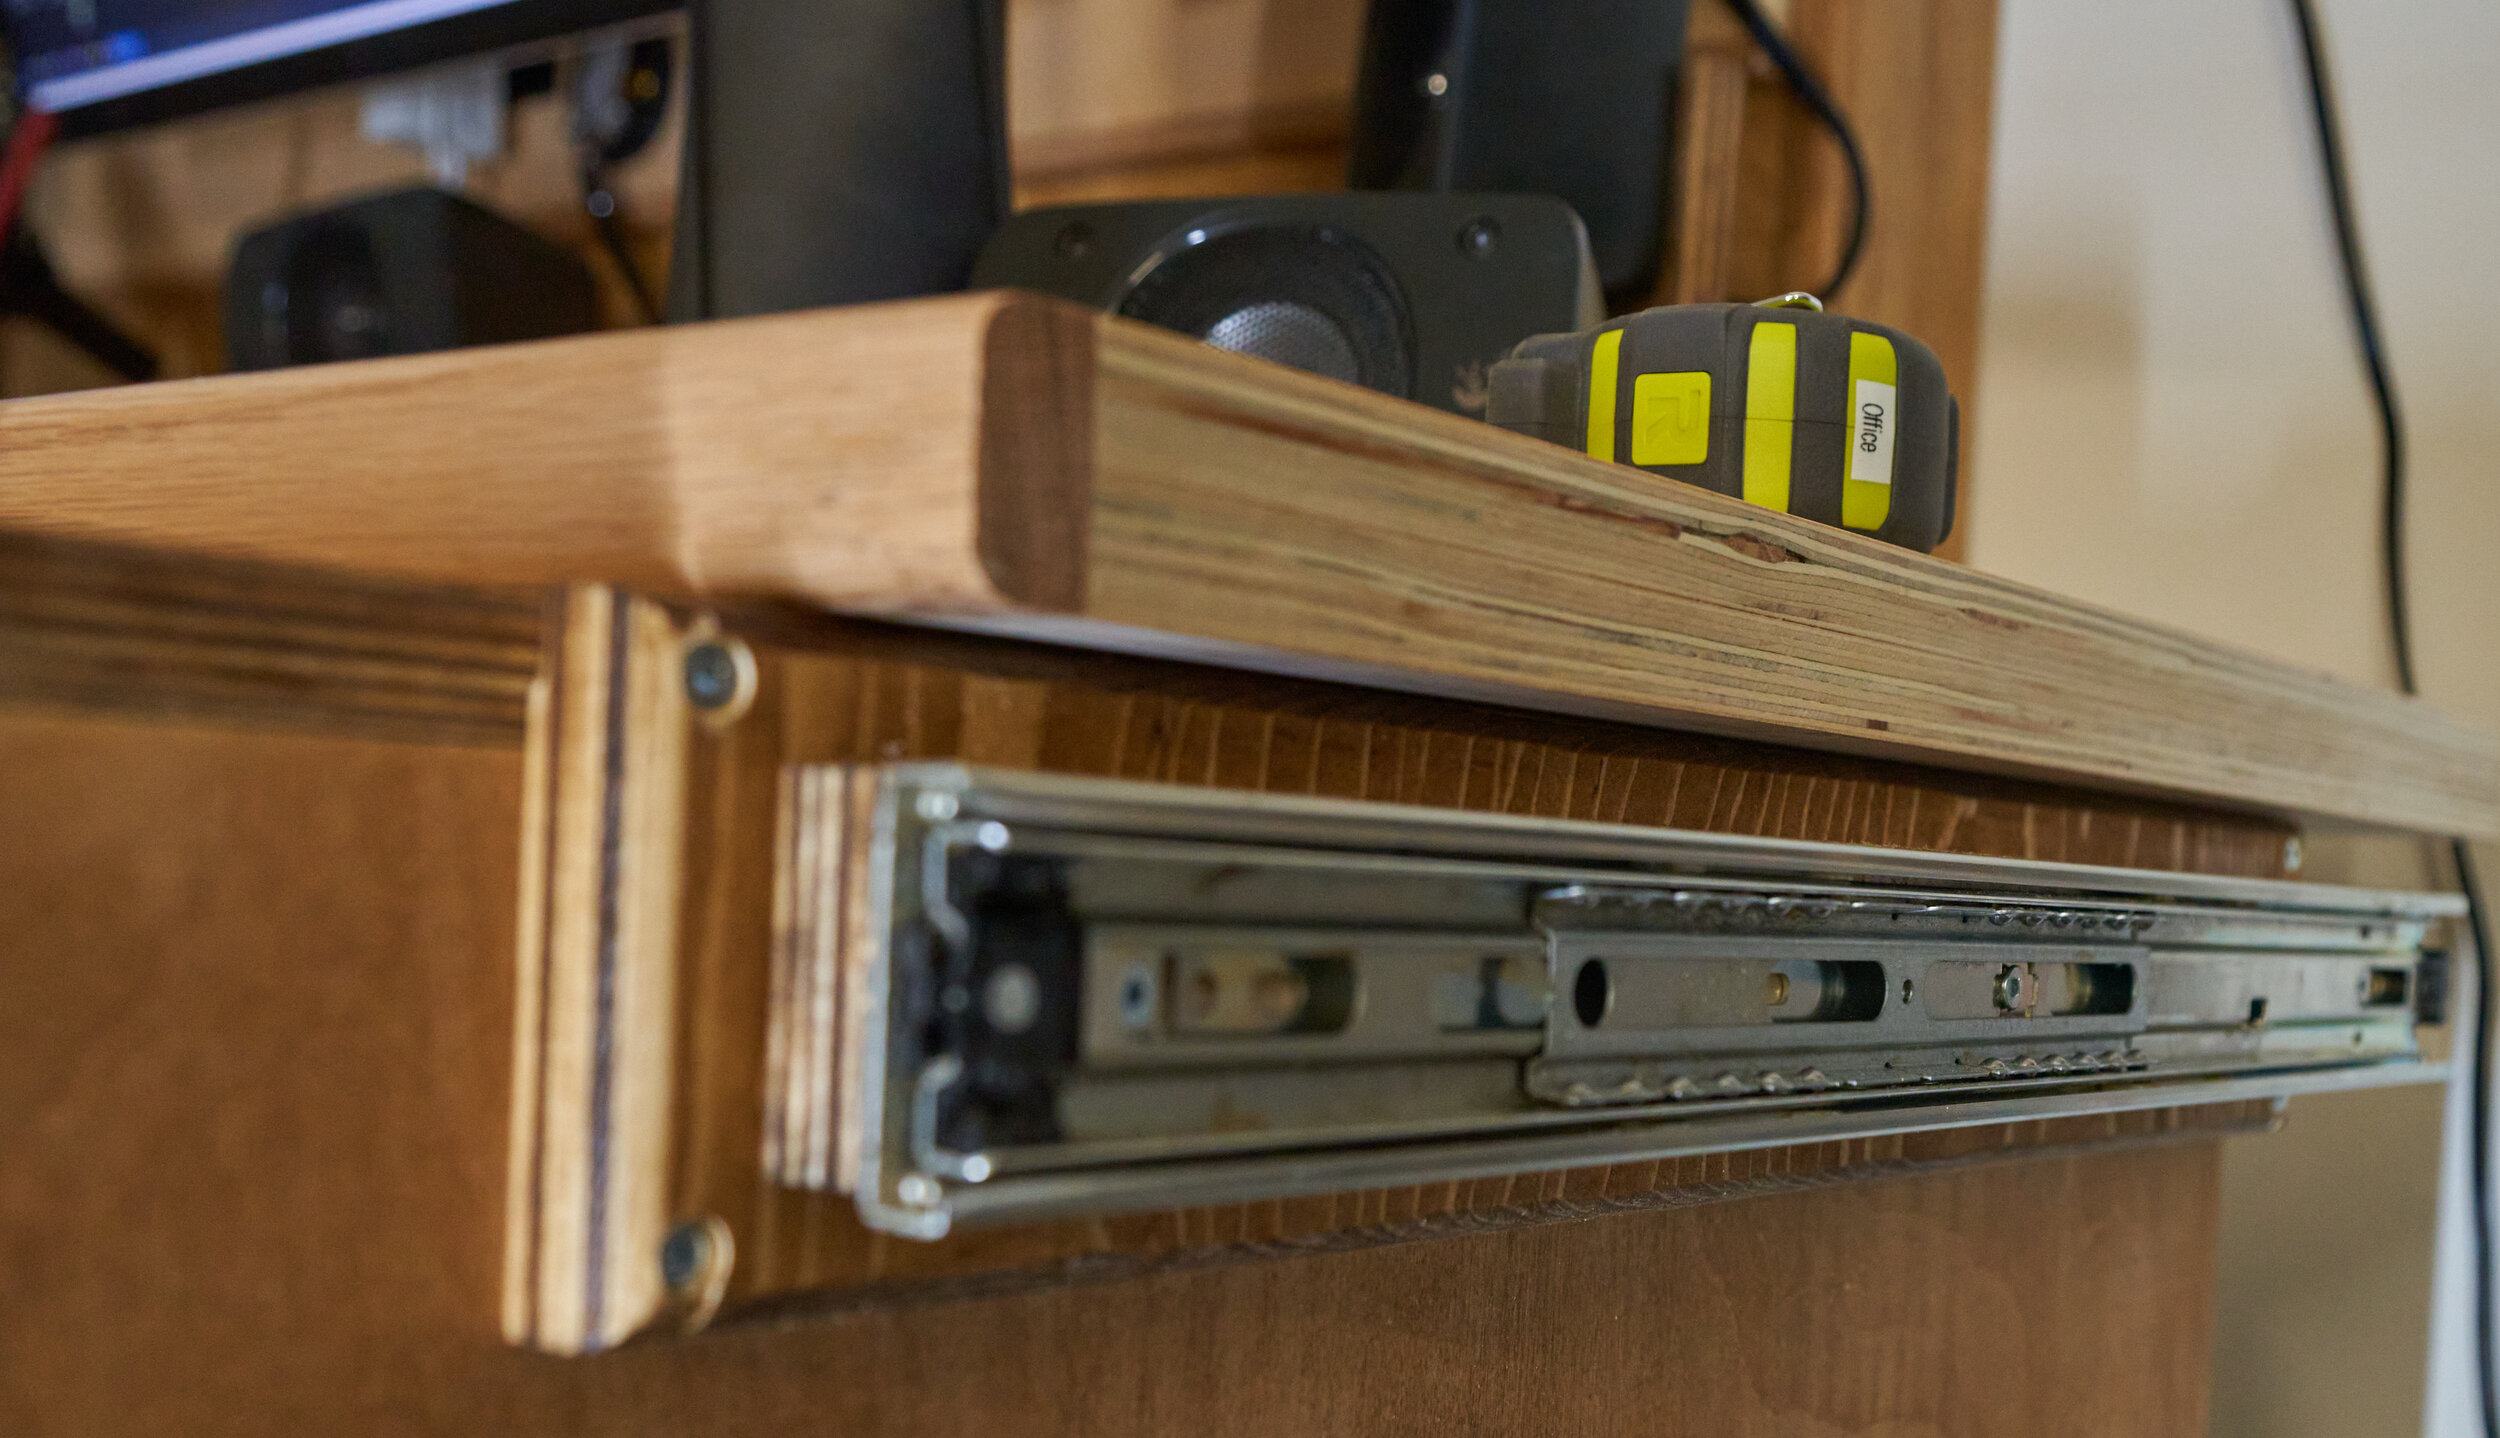
I should note that for both of these drawers, I went with soft-close drawer slides (my first time working with them) … and I’m torn. When the soft-close action works, it’s great - gives everything a nice, well-polished feel. On the other hand, it takes substantially more force to open the drawer (to overcome the self-closing mechanism). In hindsight, I wouldn’t go with soft closing drawer slides in the future.
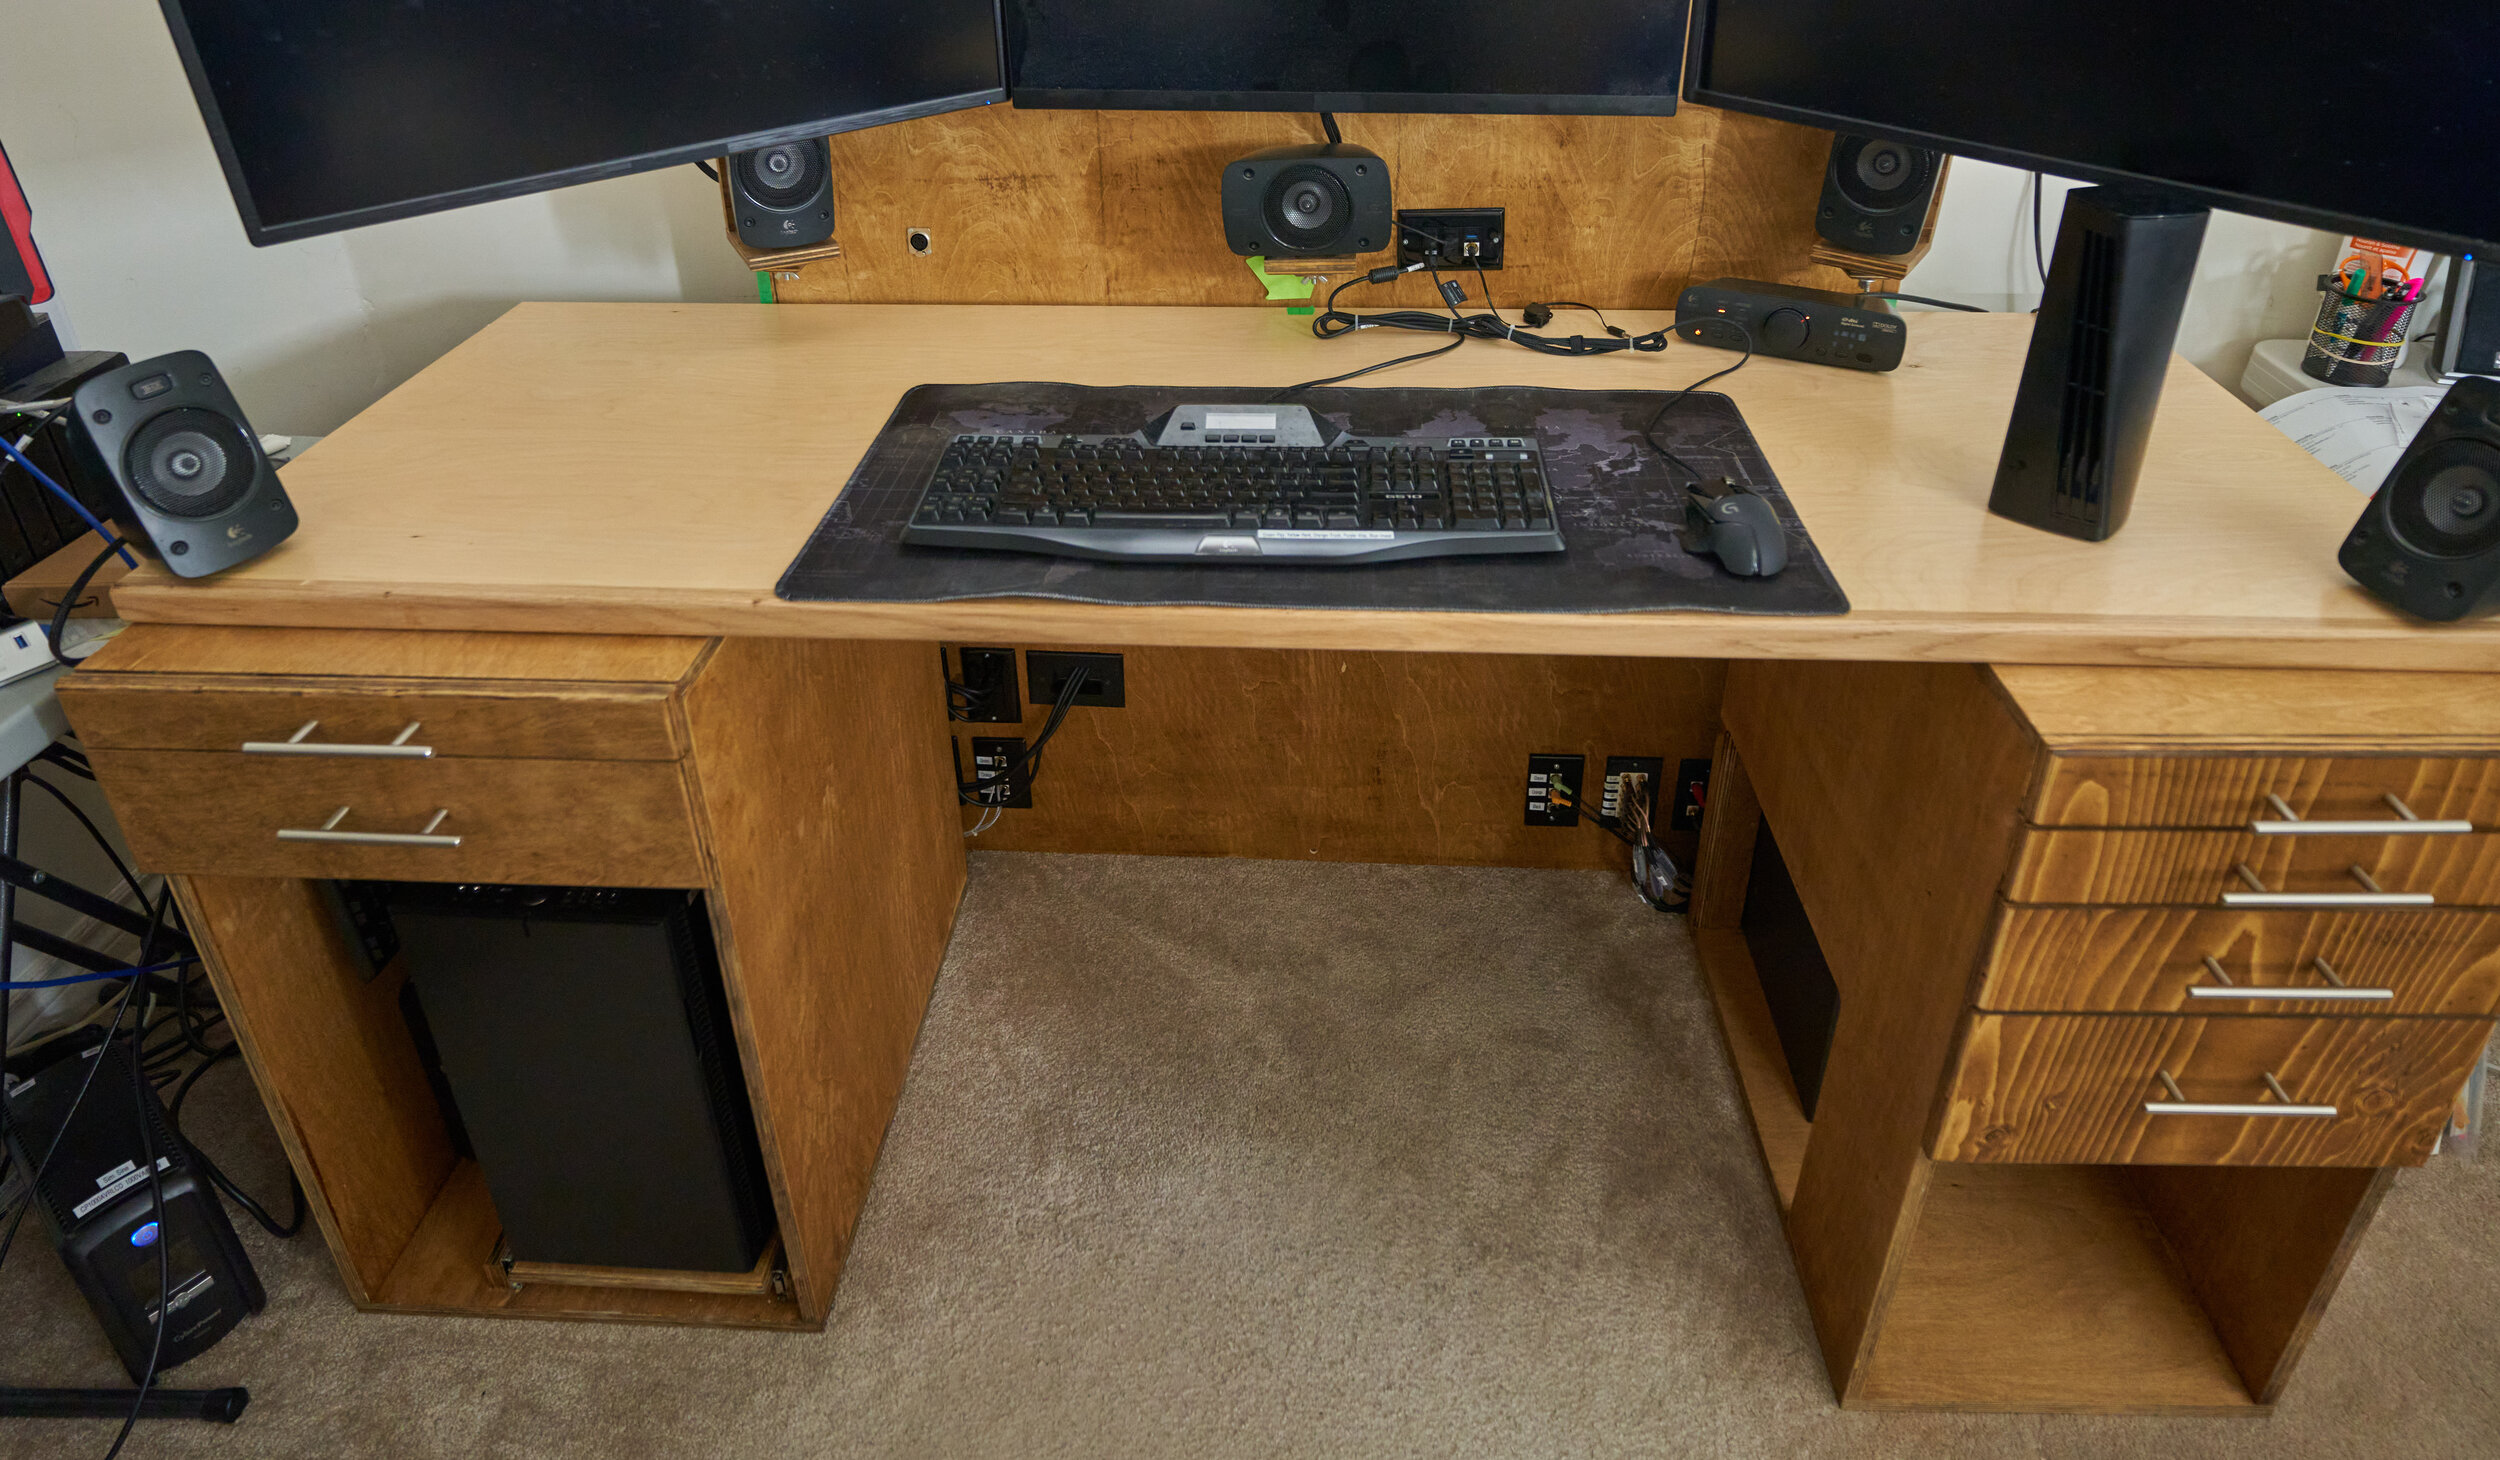
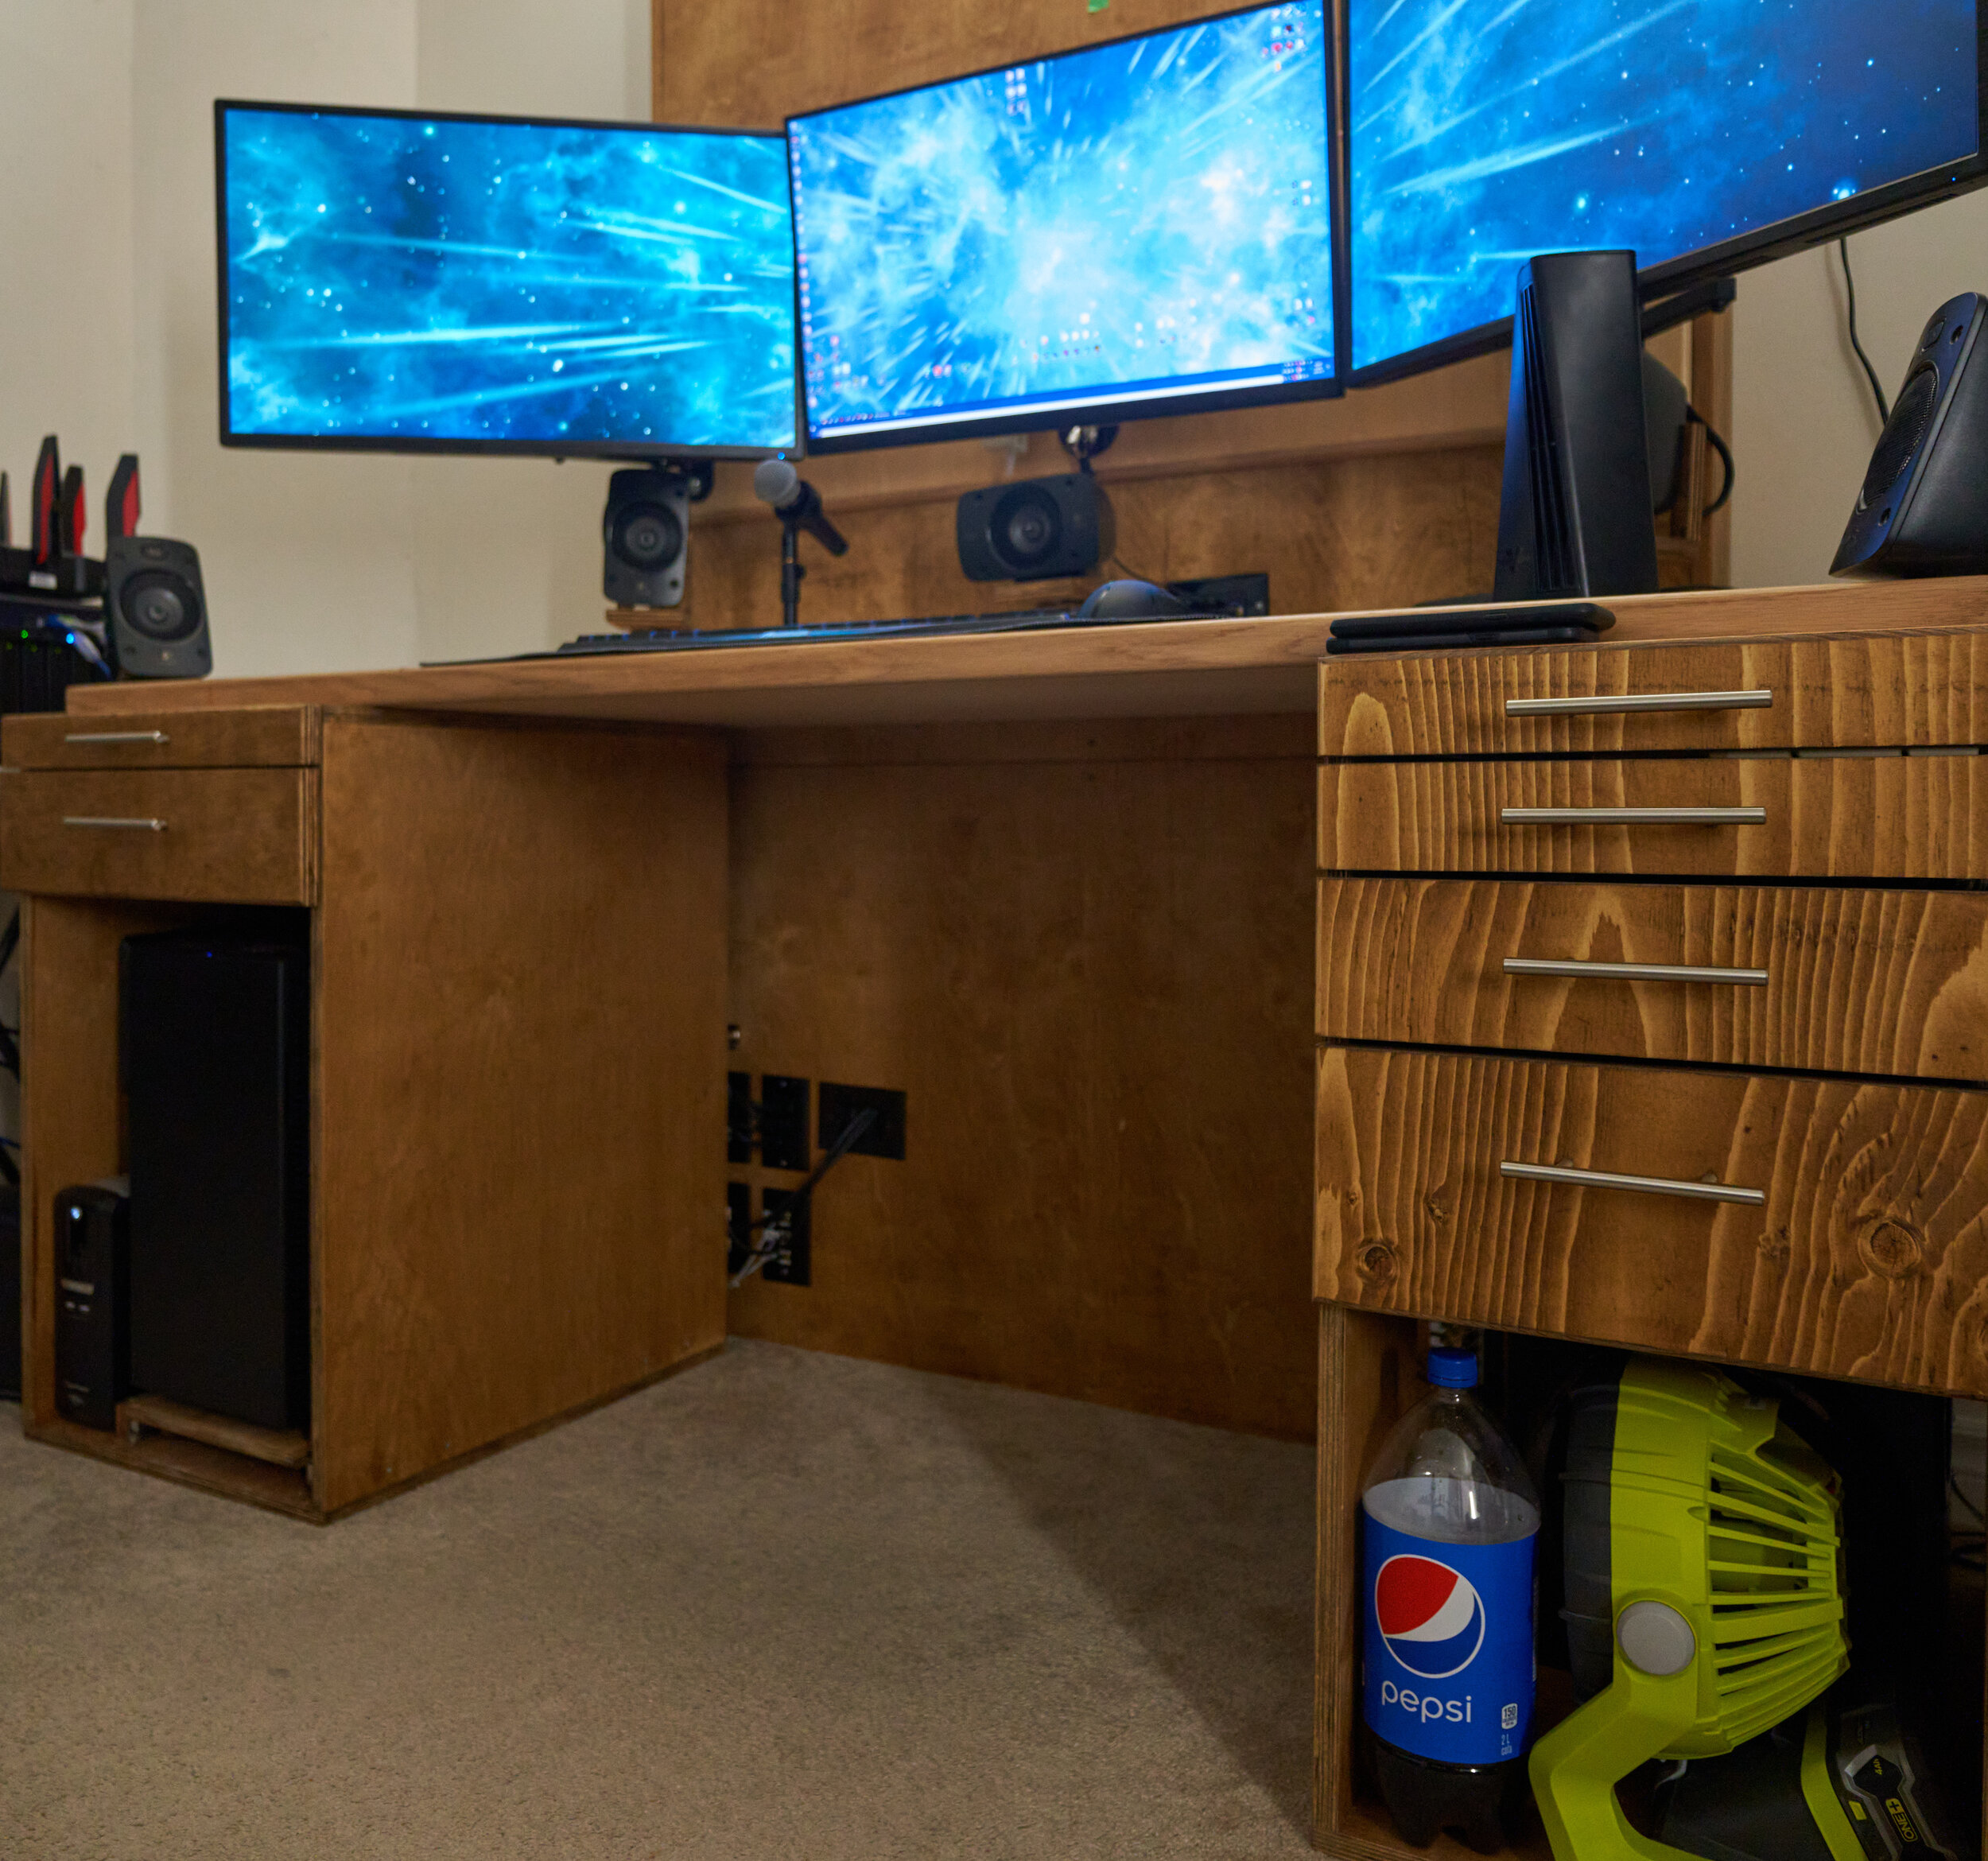
Milestone 2
This is huge: this milestone brings the desk into a daily-drivable state and I can focus on addons and tweaks.

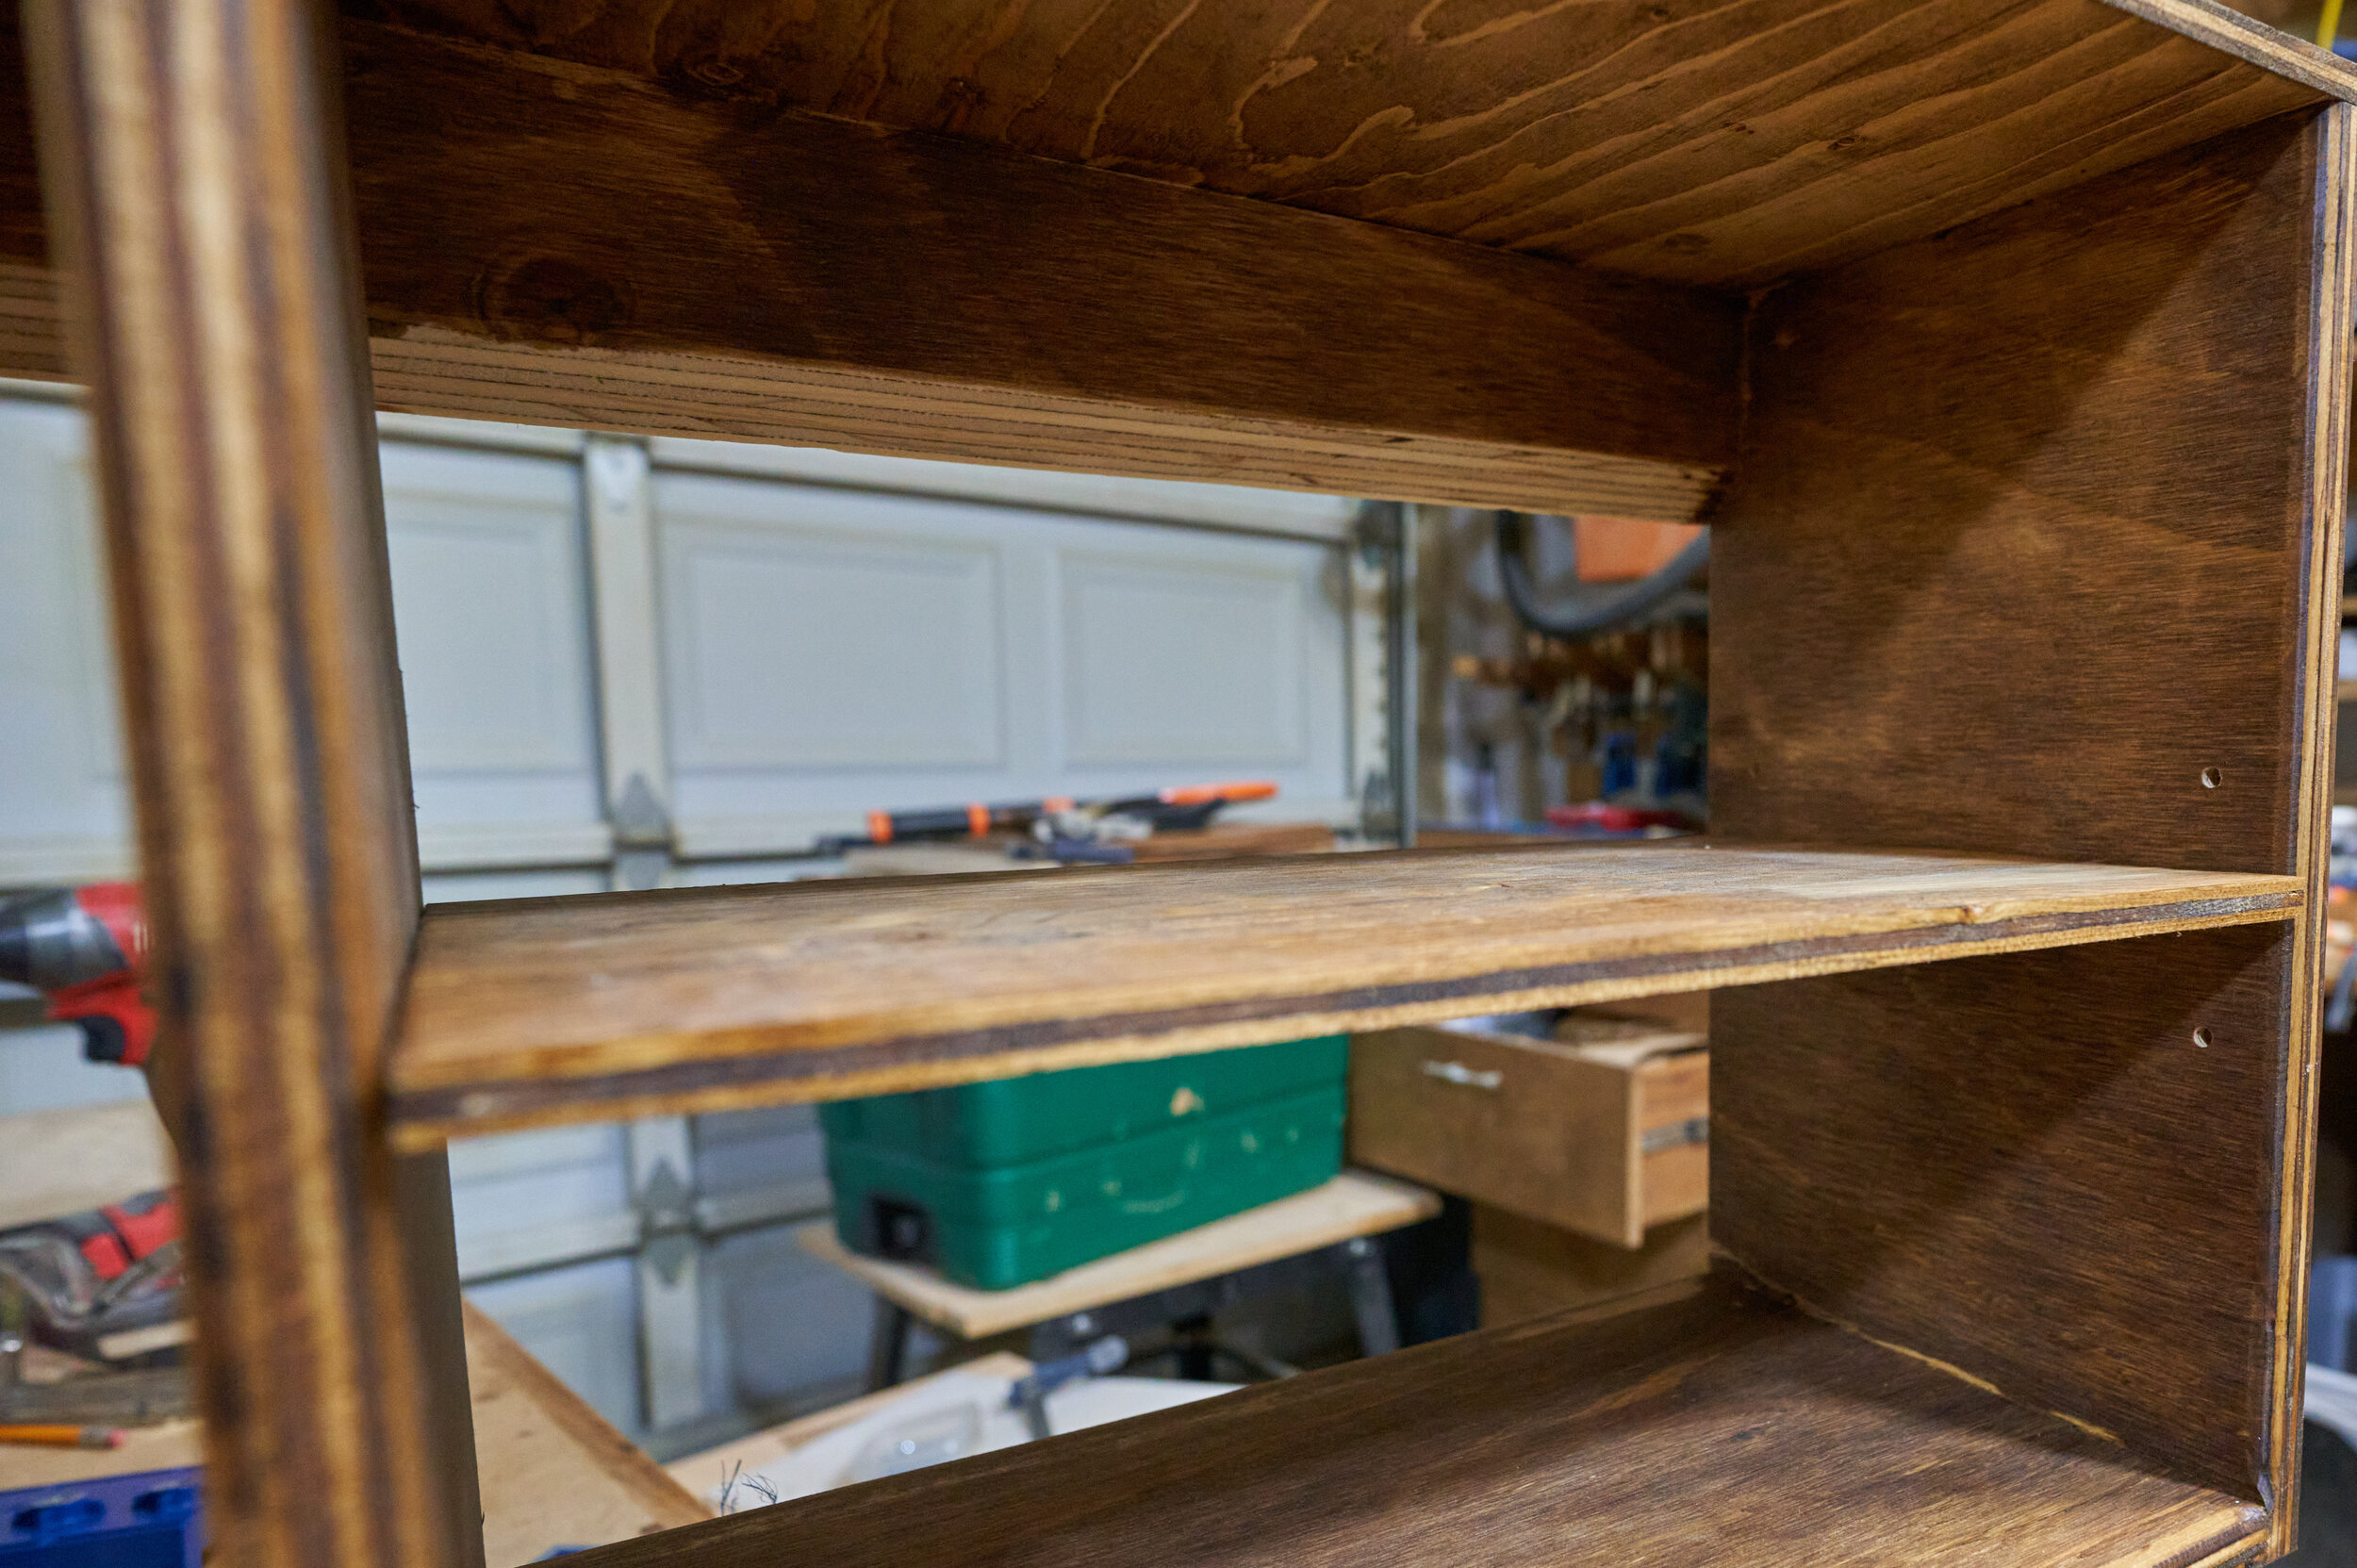
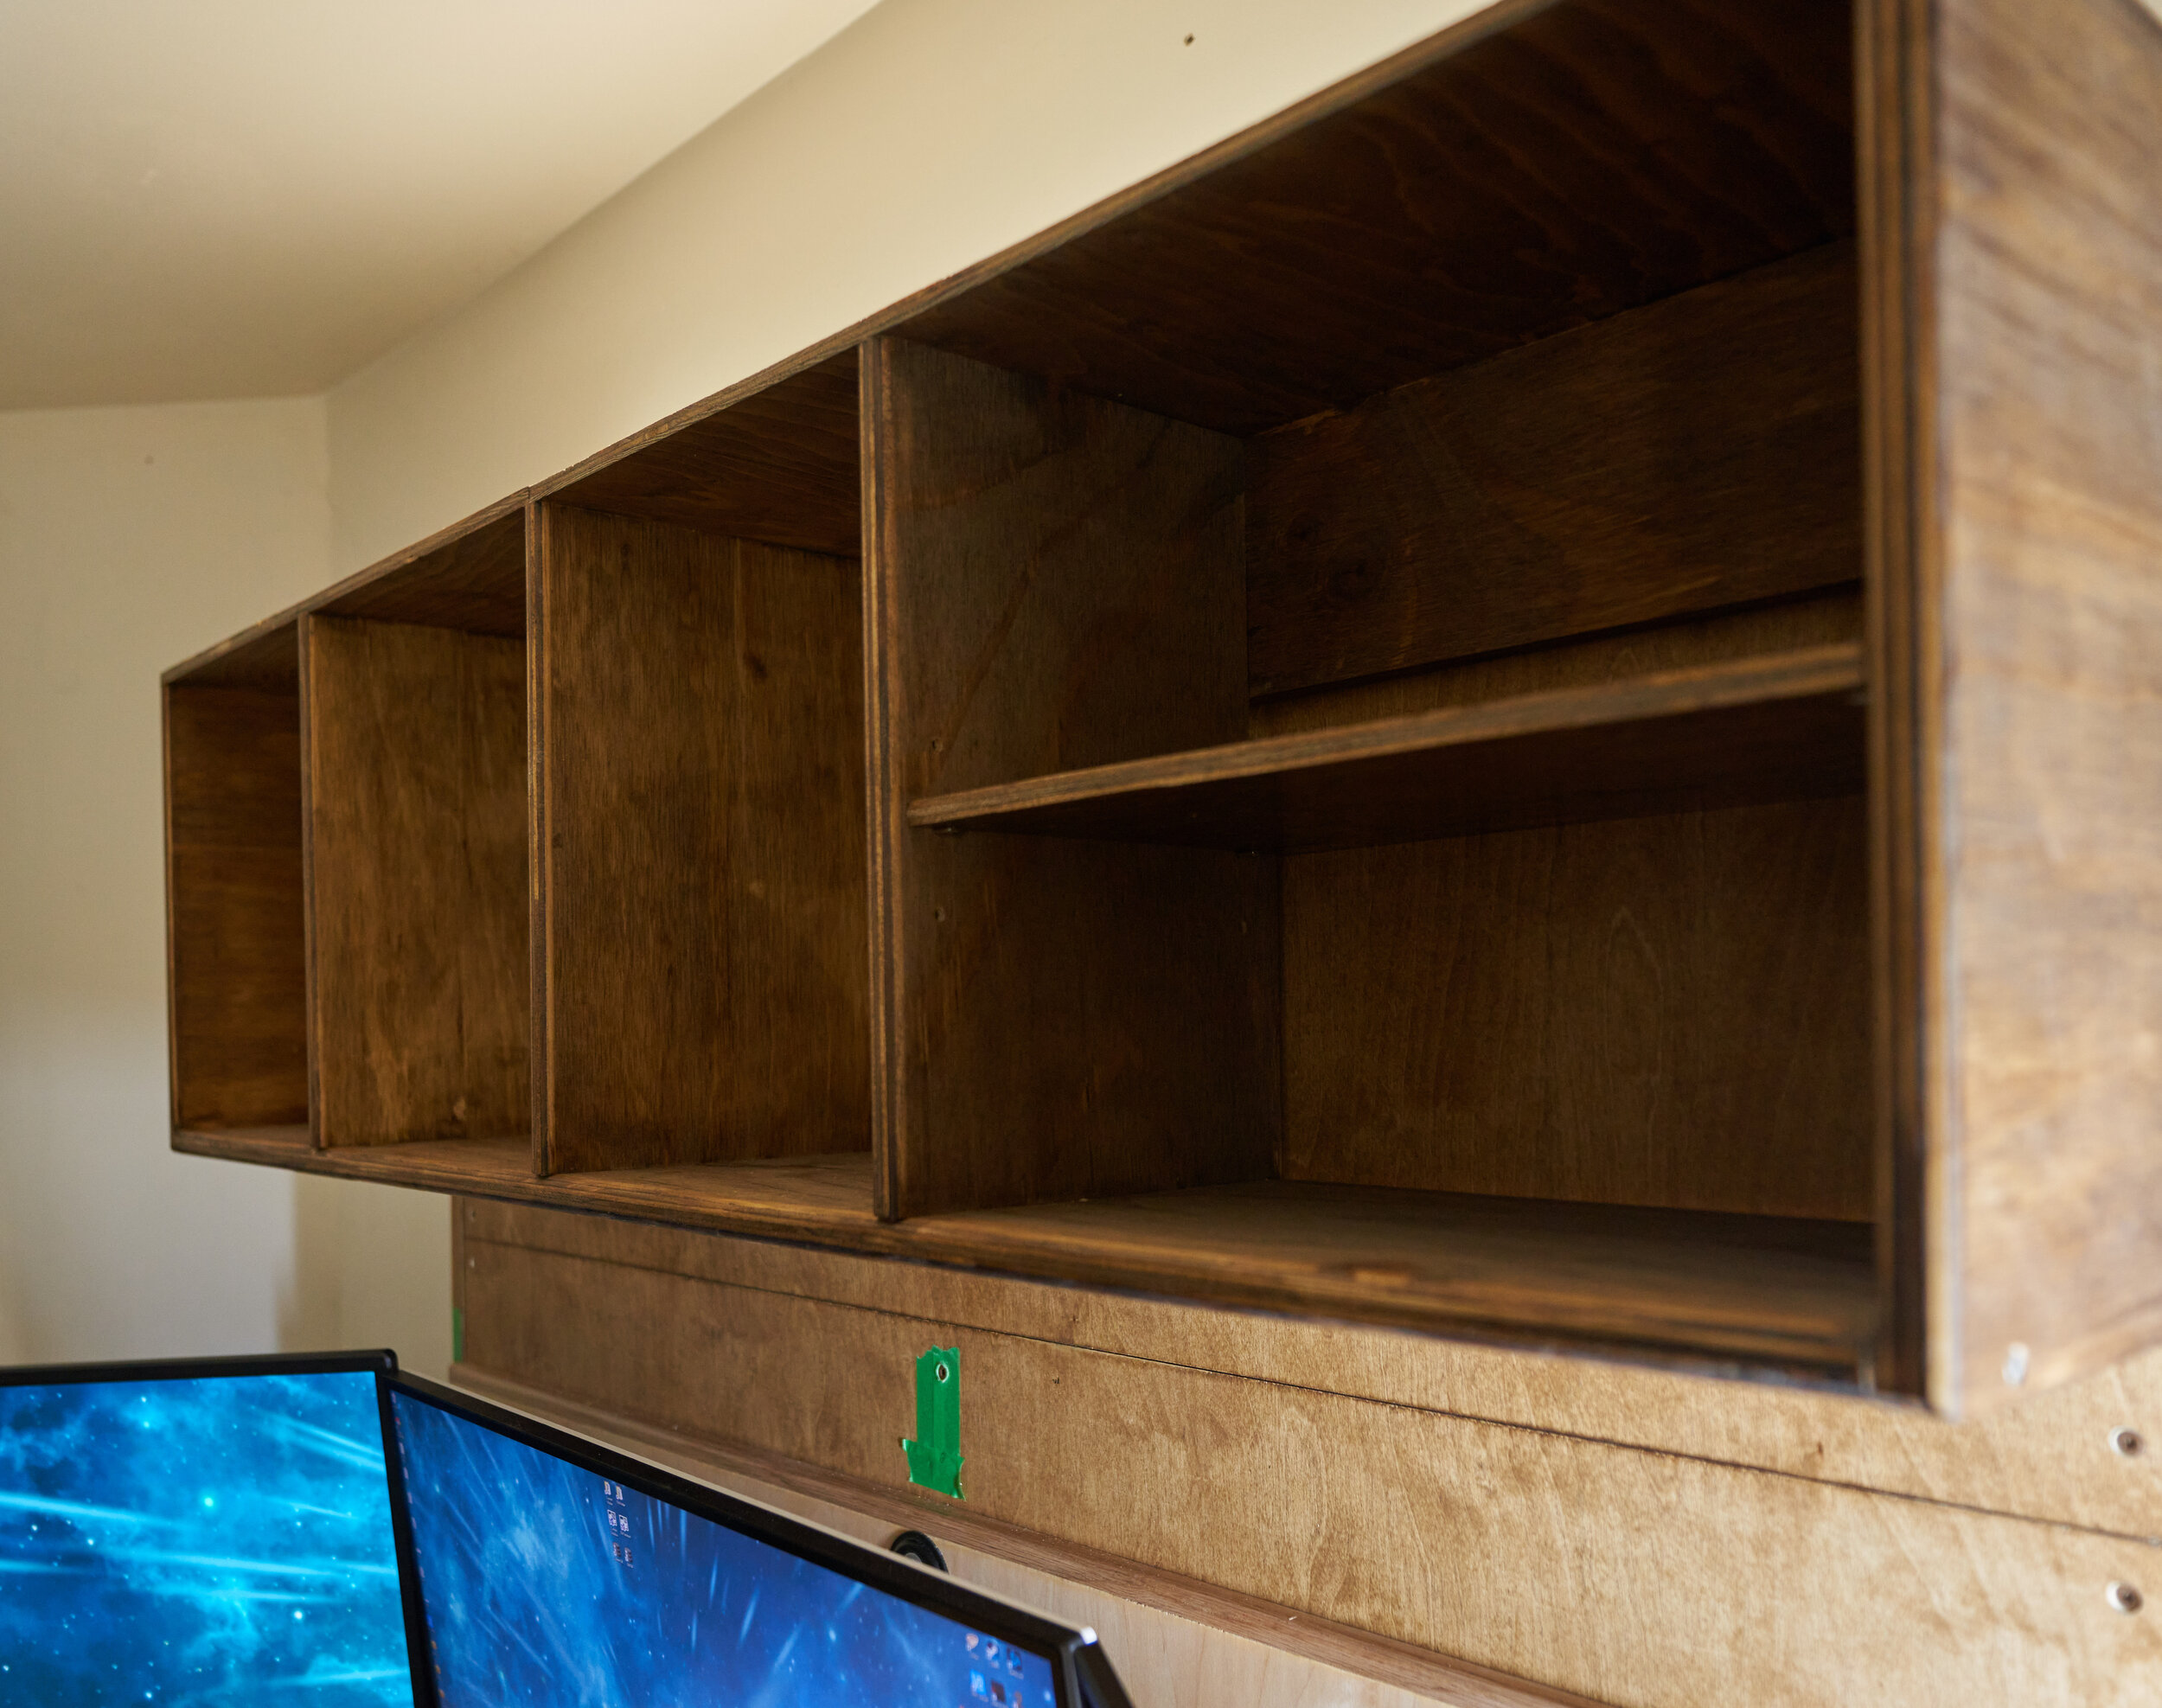
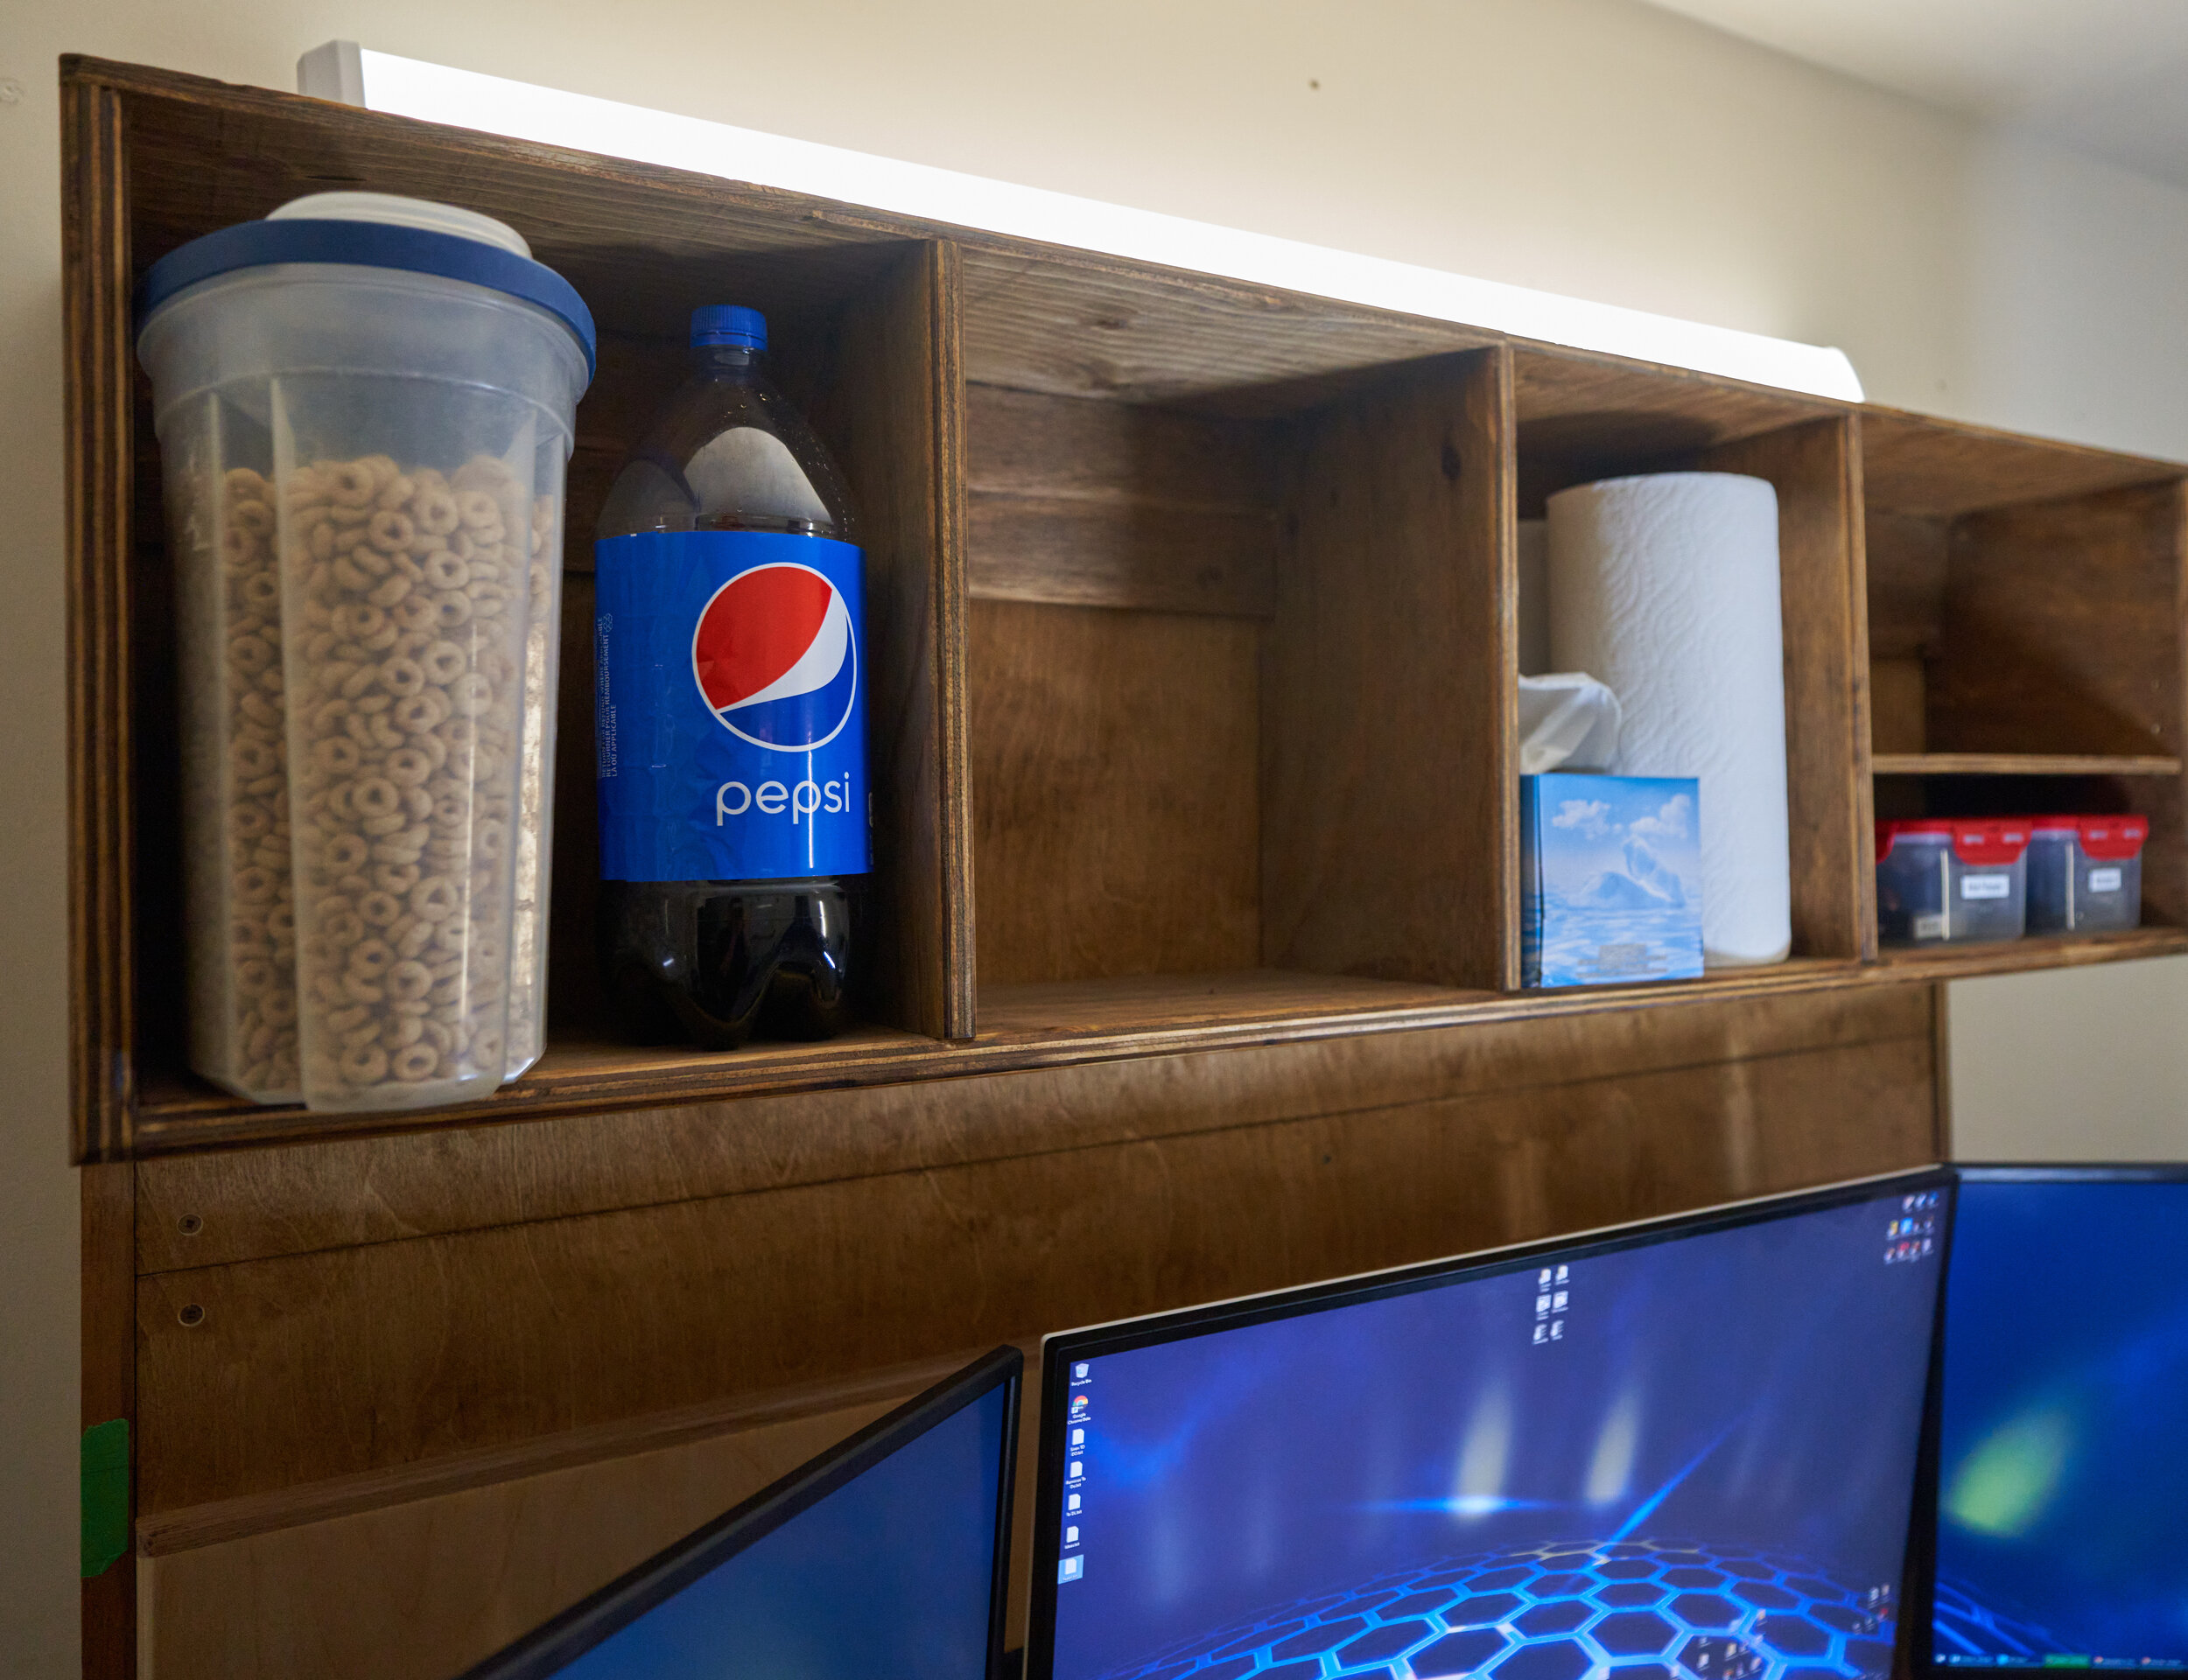
Step 10: Overhead cubby
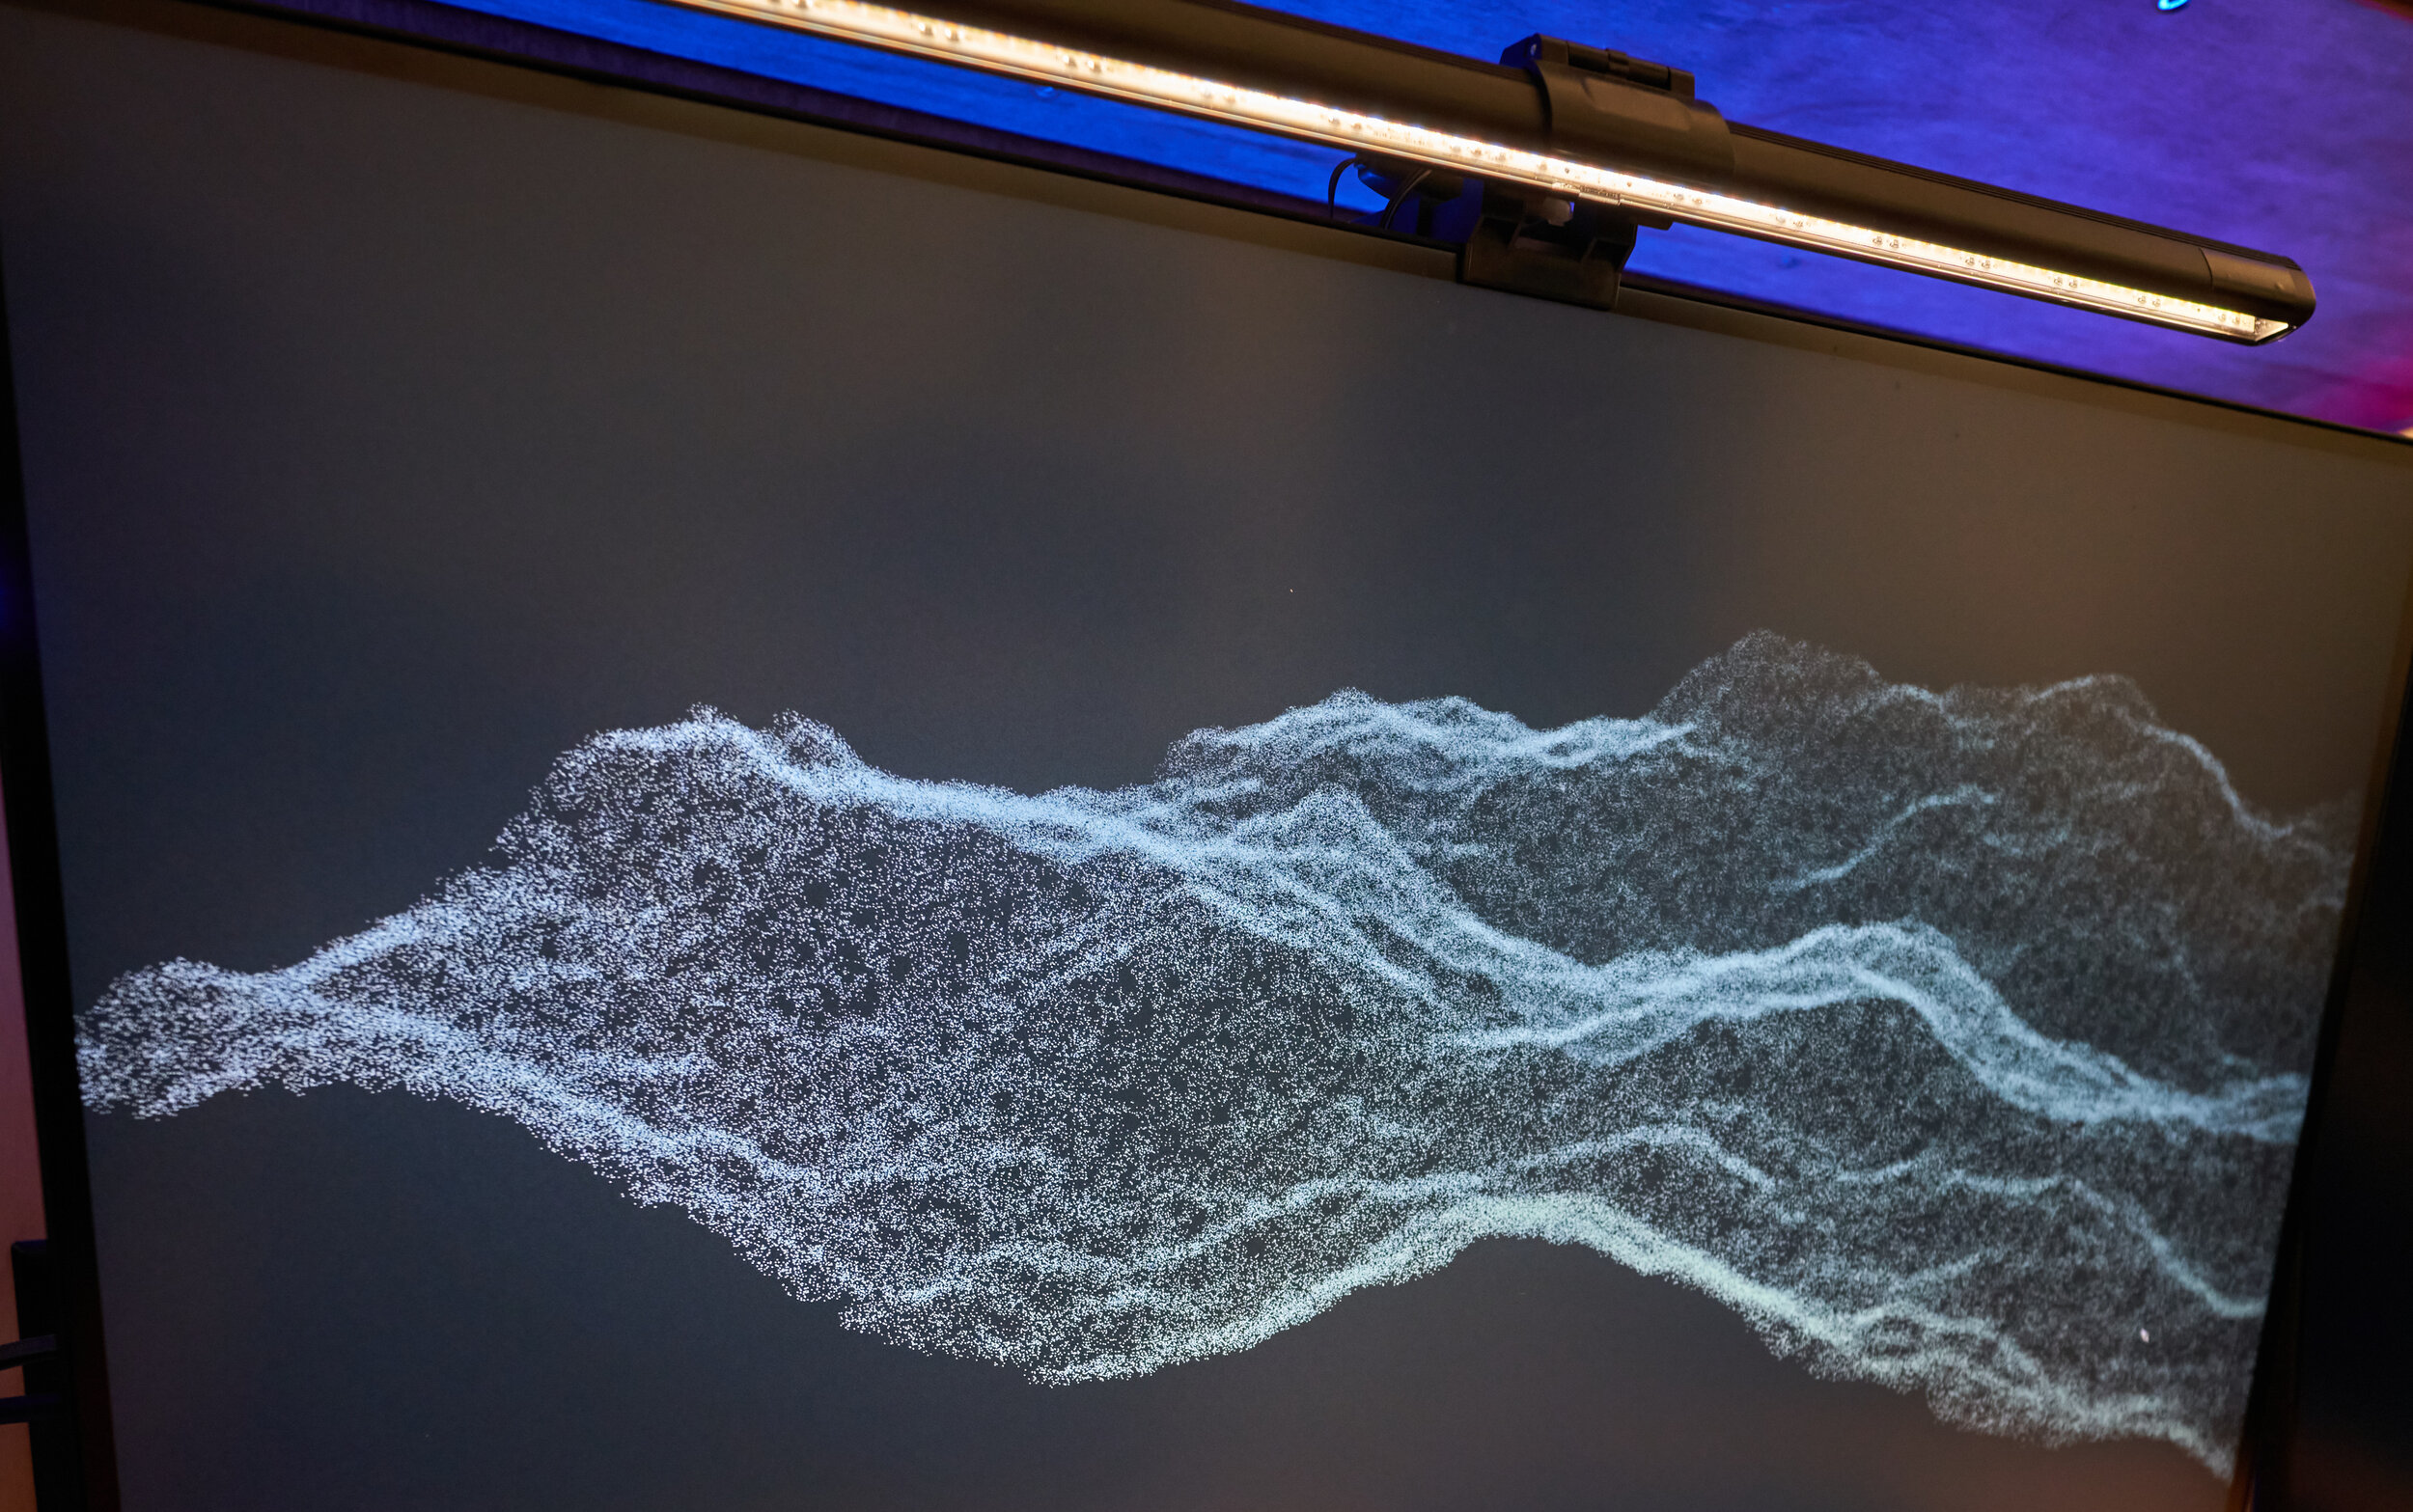
Originally I was planning on surface mounting a light fixture to the top portion of the faux wall but due to some conflicts with the lights I bought, this didn’t work out. To make use of the space, I added a quick French-cleat cubby.


Step 11: Mounting the rear speakers
Previously, I mounted the front speakers of my 5.1 setup to the wall. I had originally thought of a convoluted way of snaking speaker wire for the rear speakers up and over my head, running along the ceiling, to the wall behind me and mount the speakers there. This was needlessly complicated and wouldn’t necessarily be guaranteed for the next house and certainly doesn’t fit the ethos of “build as much as you can into this framework”.

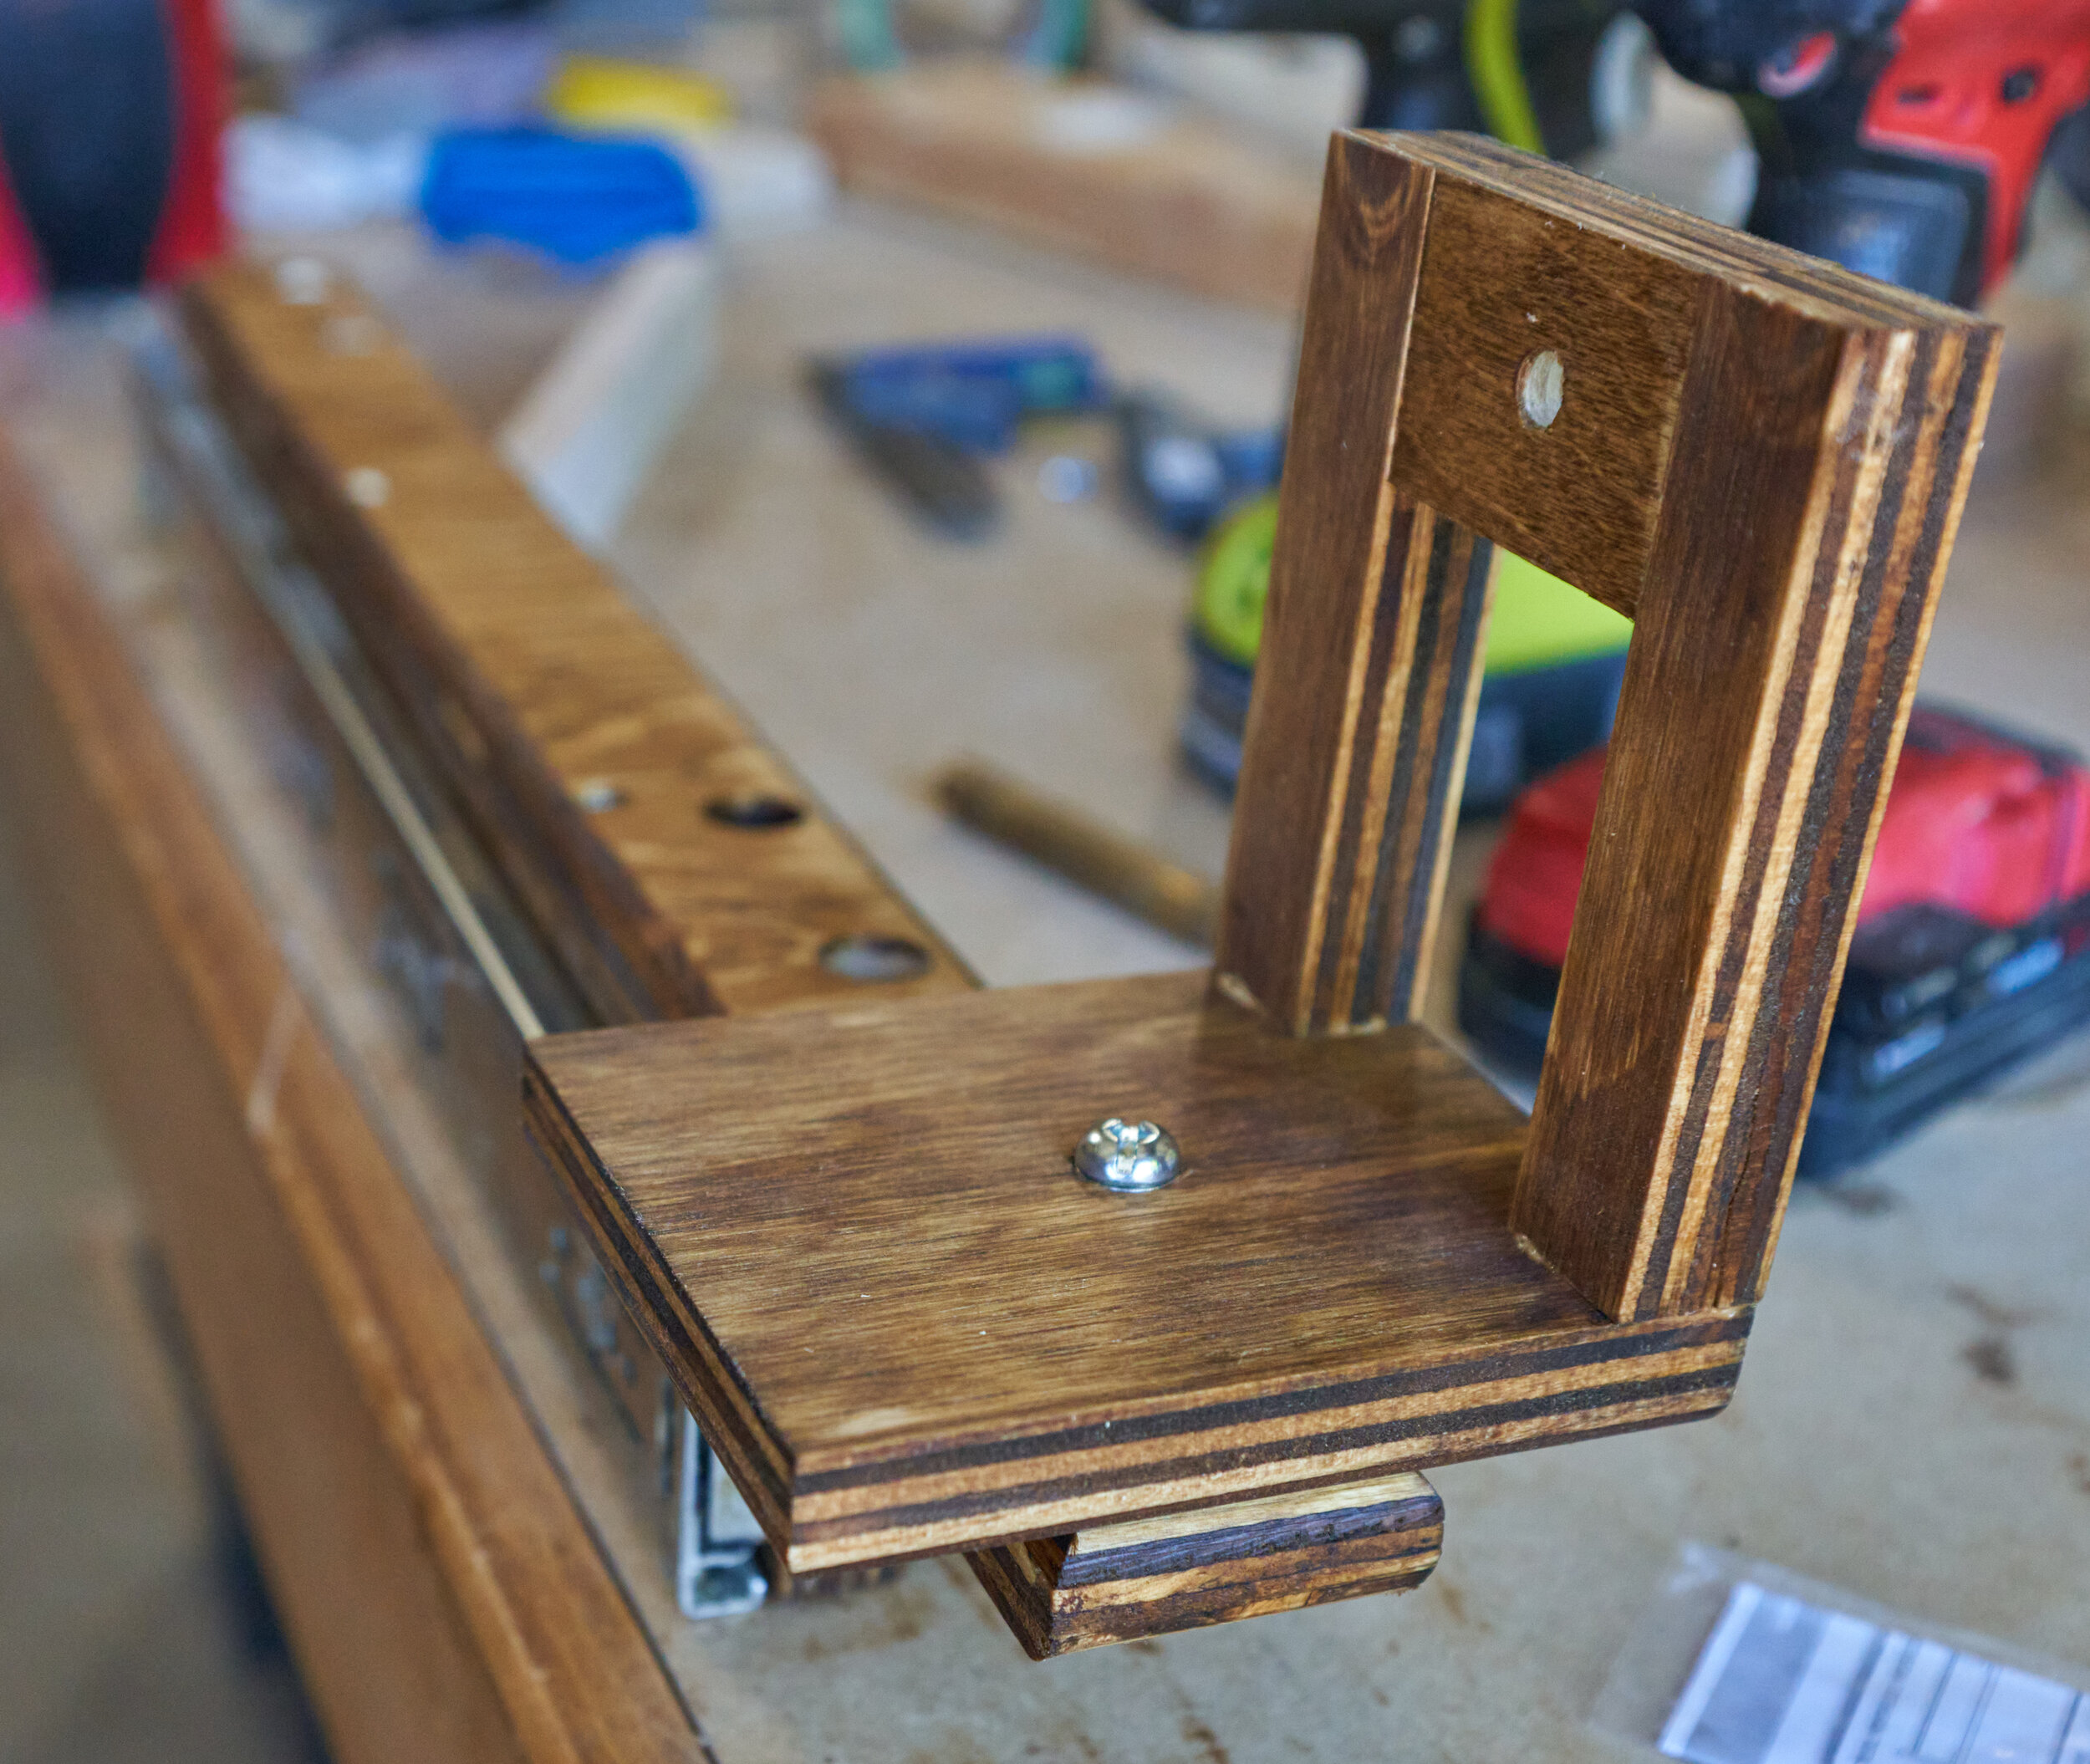

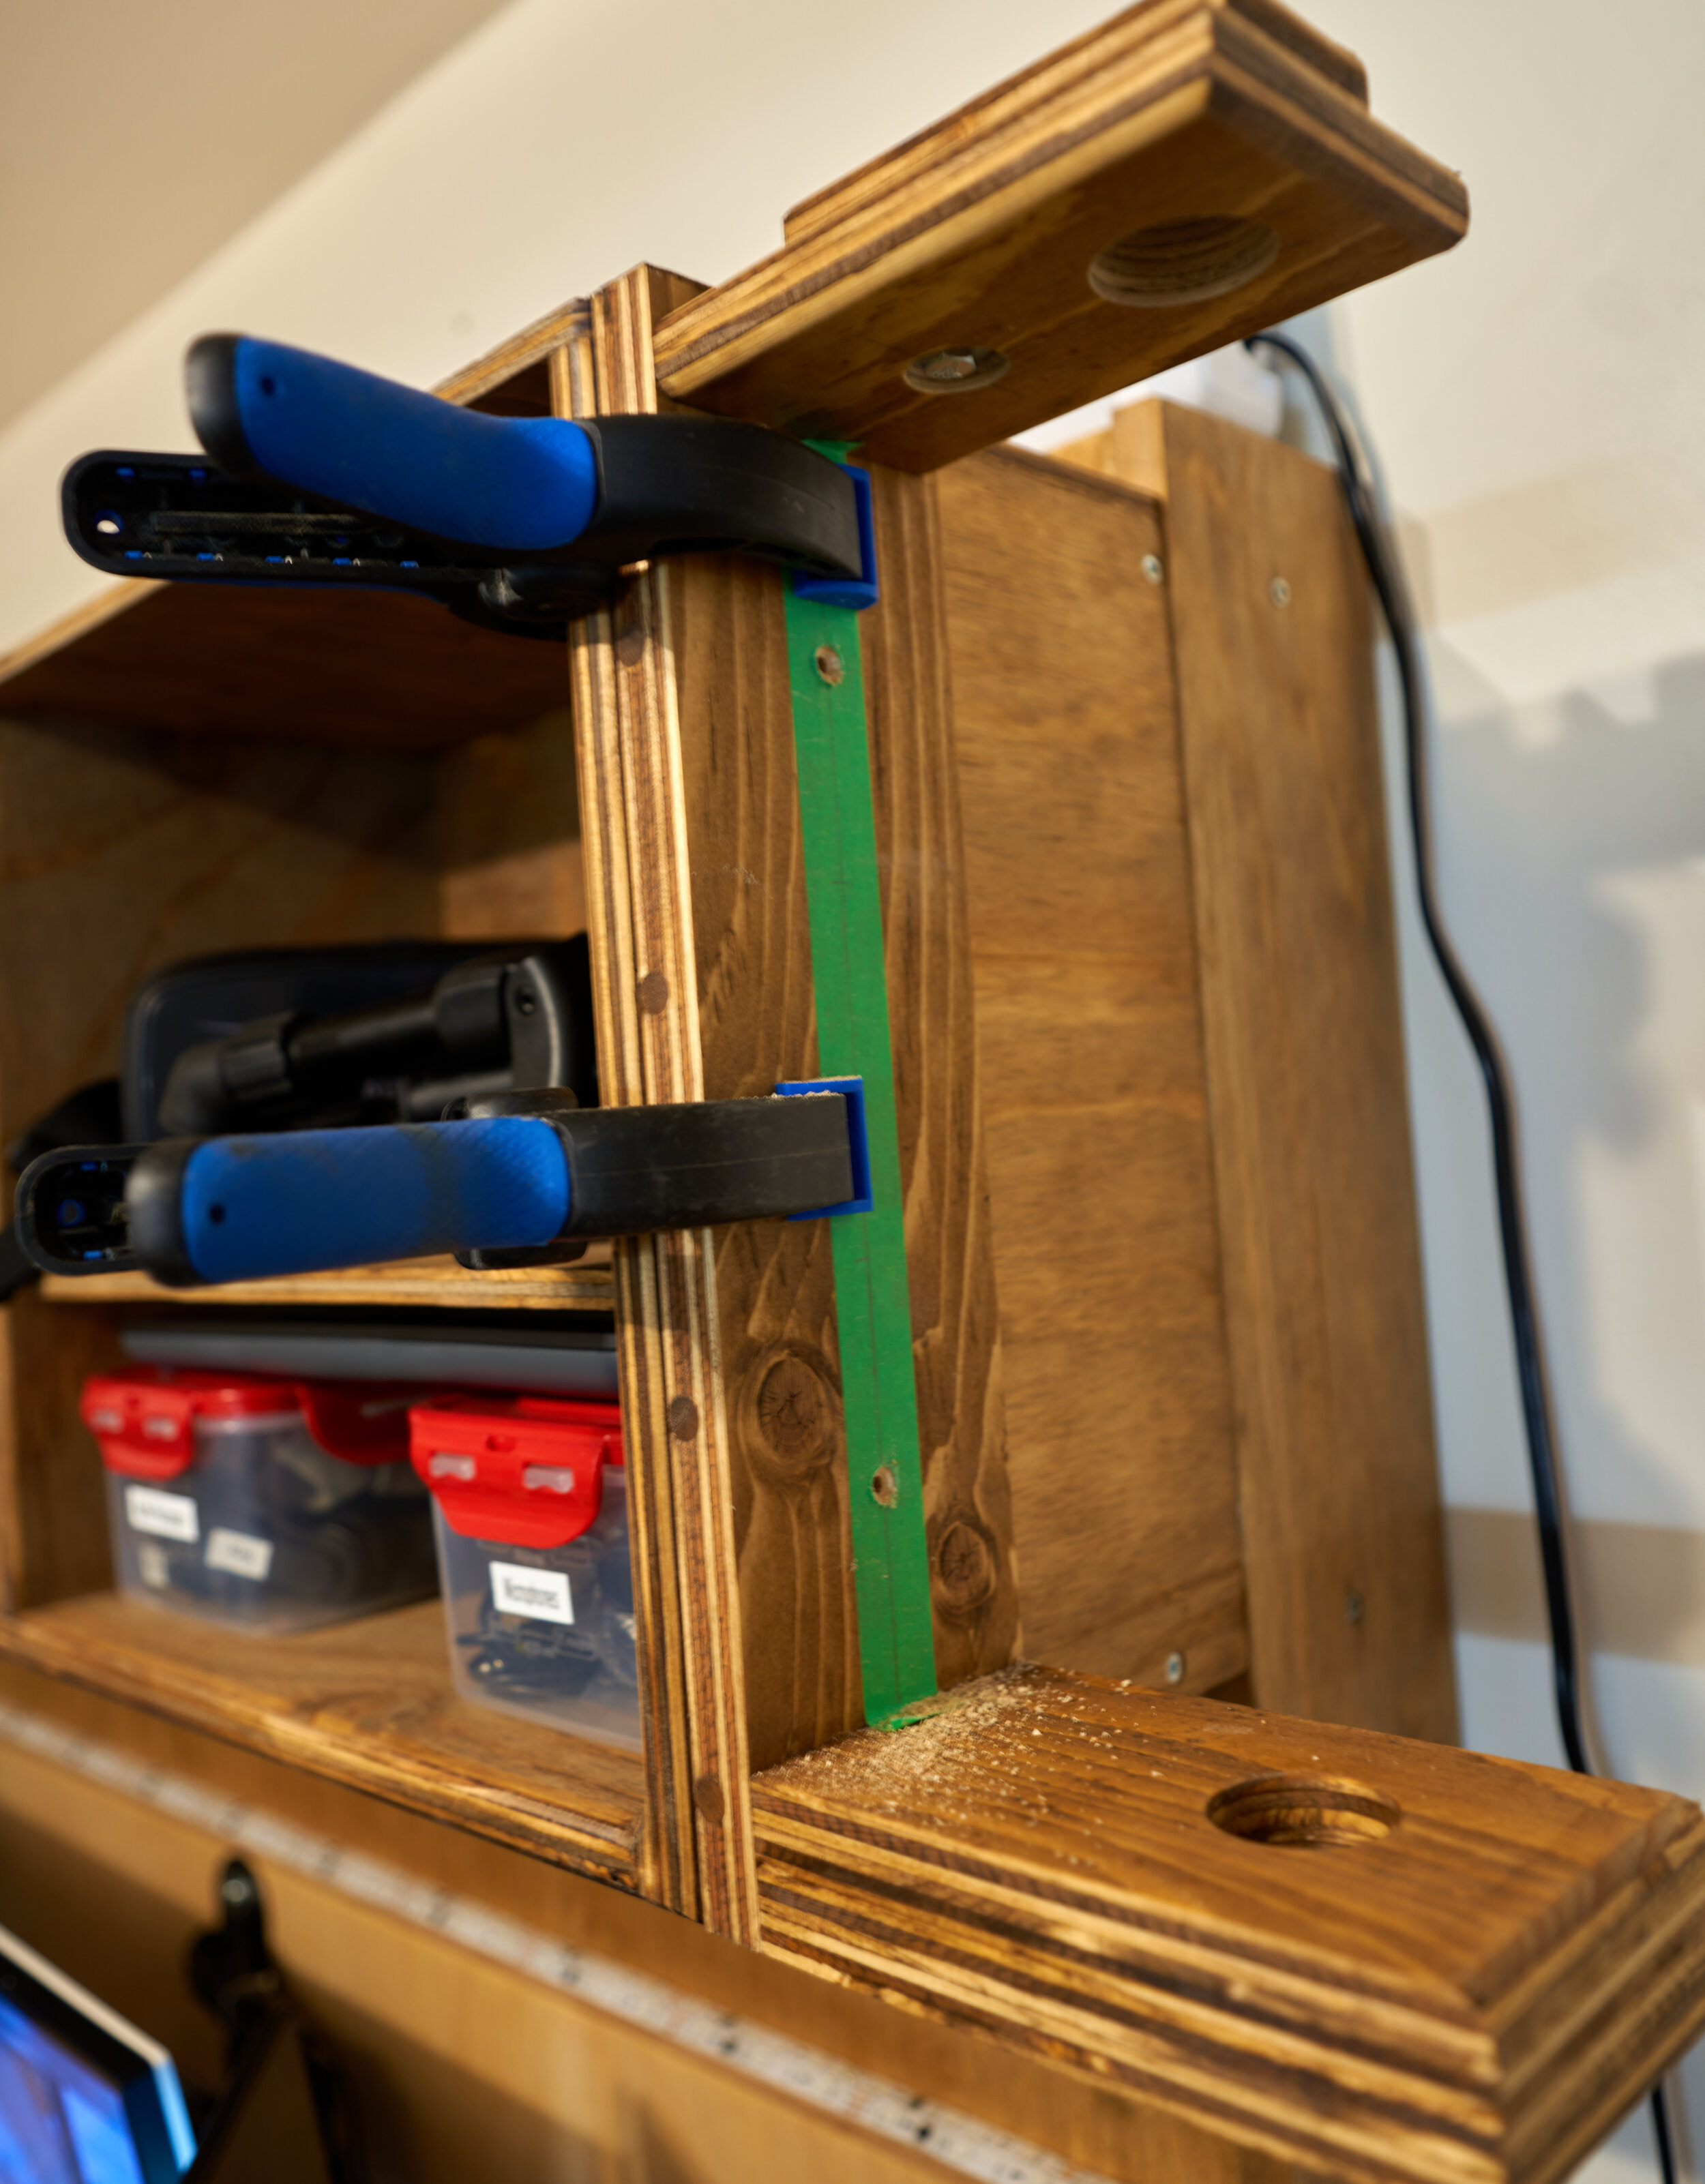
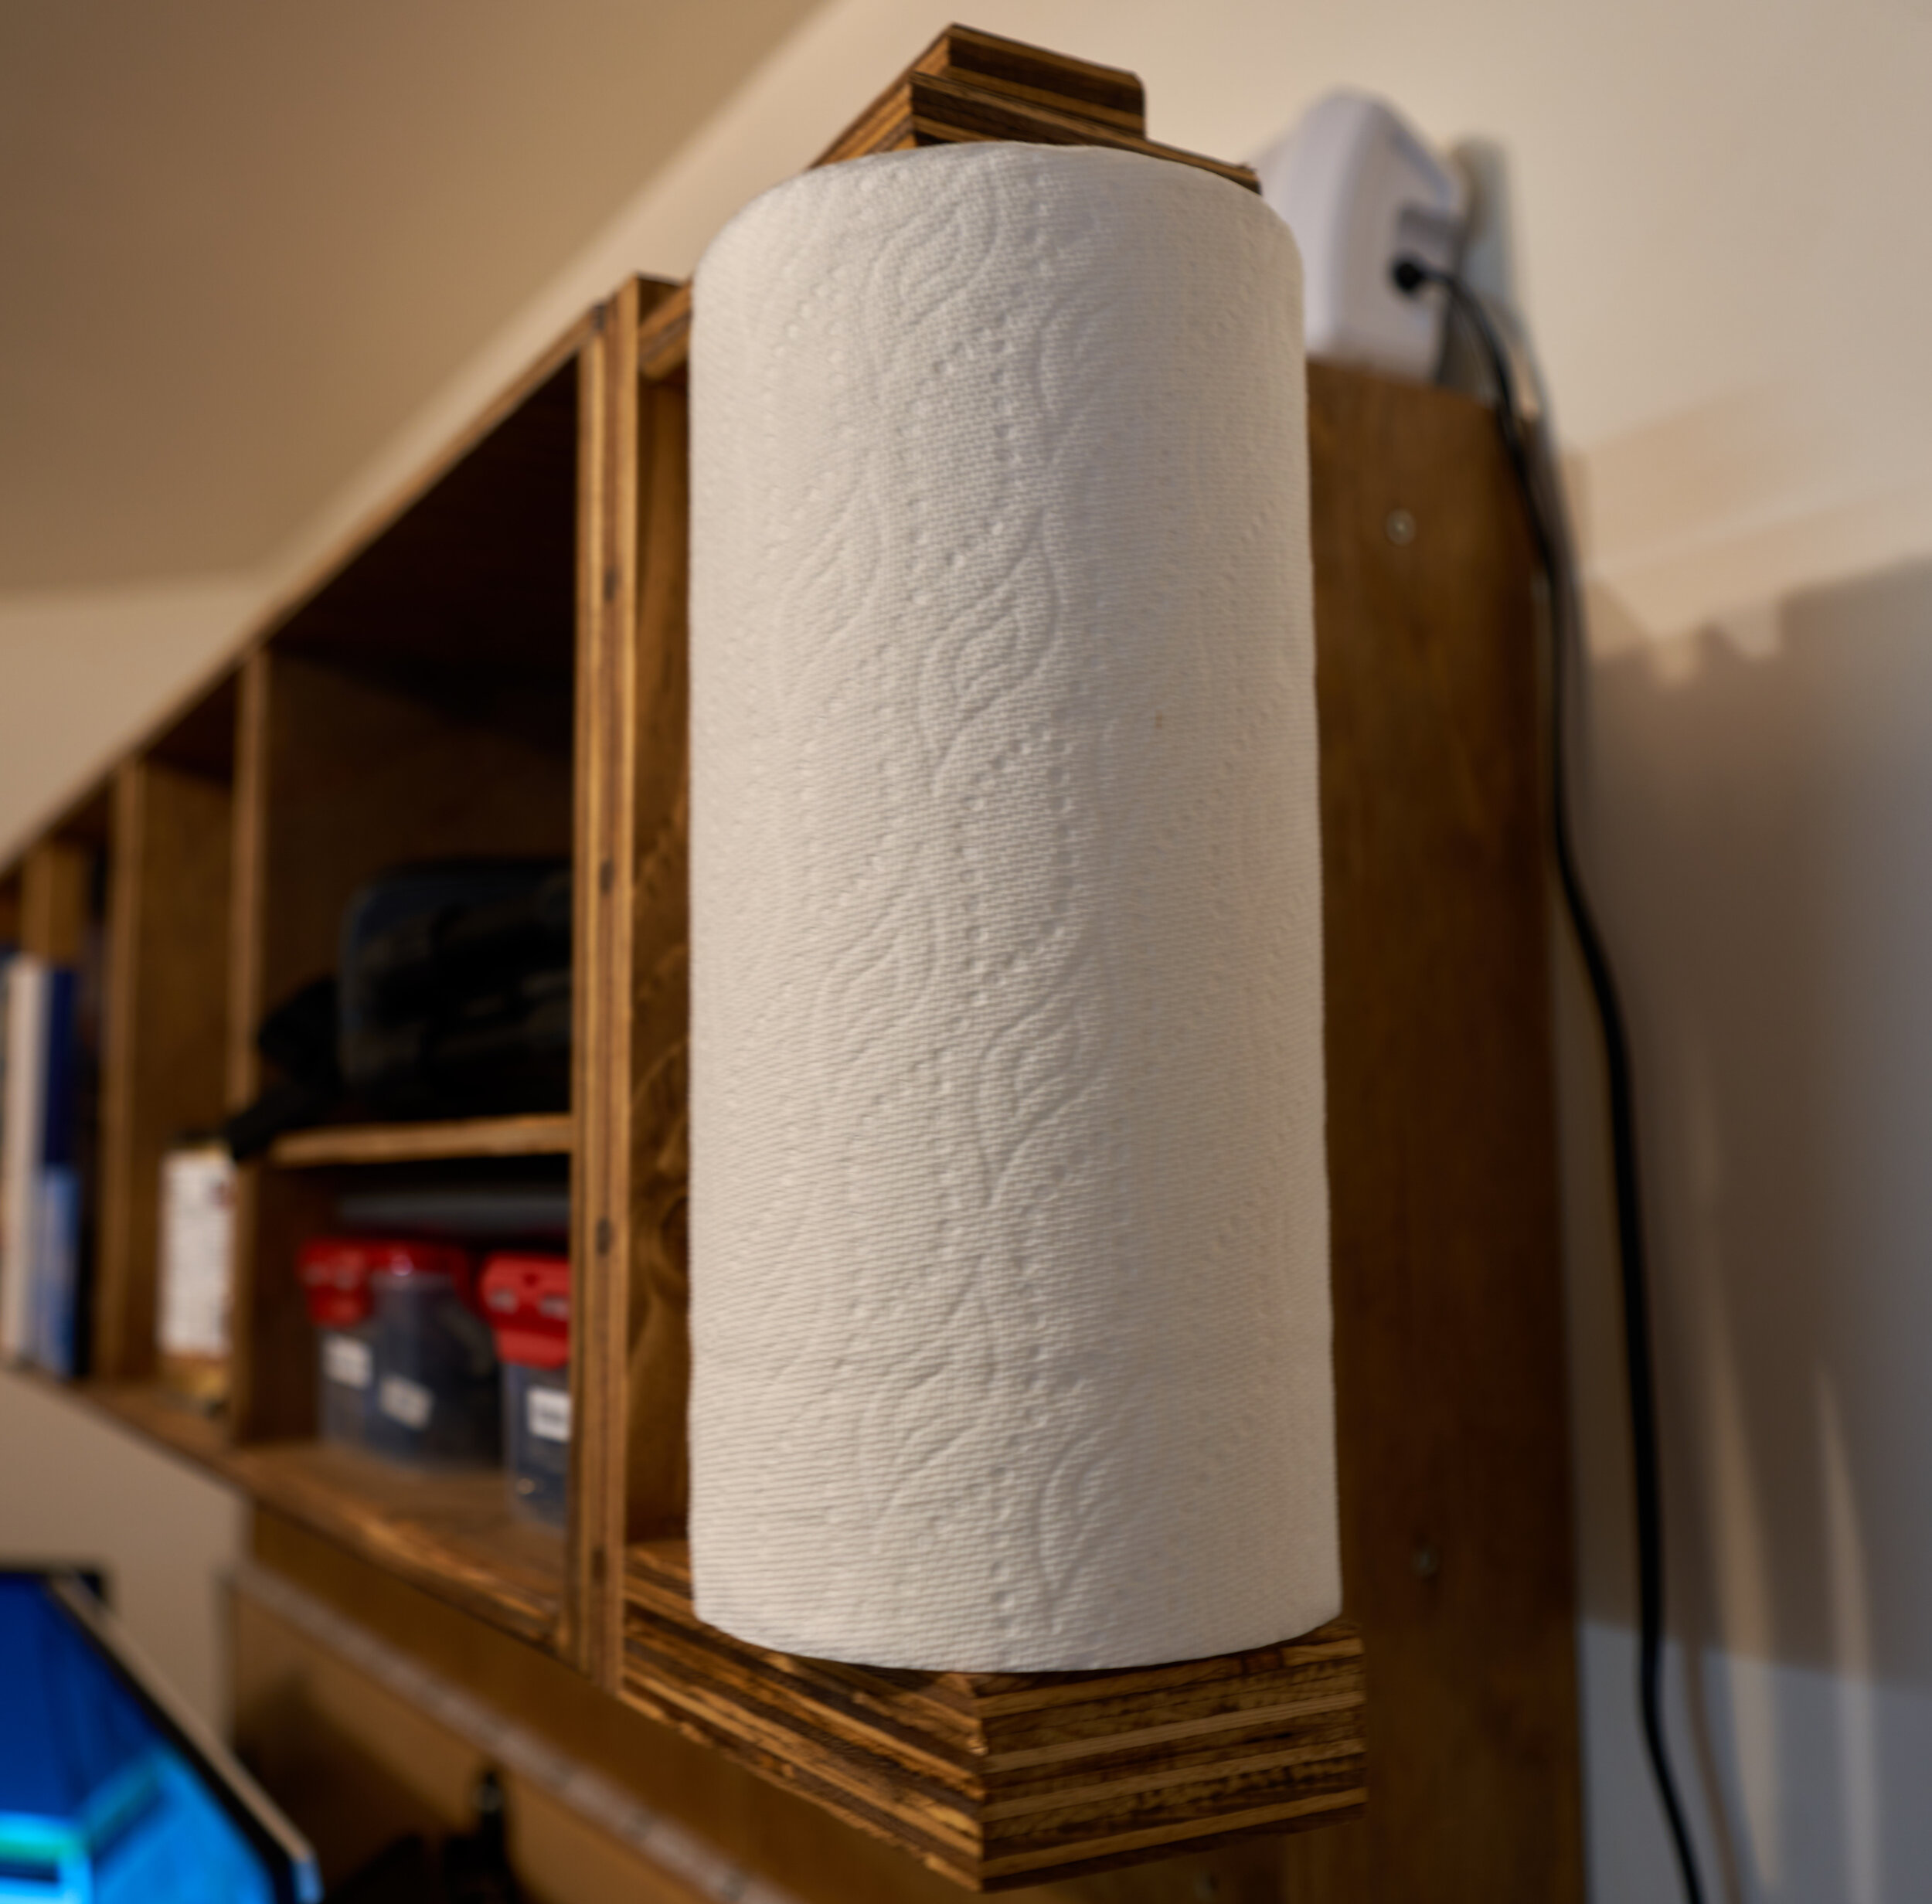
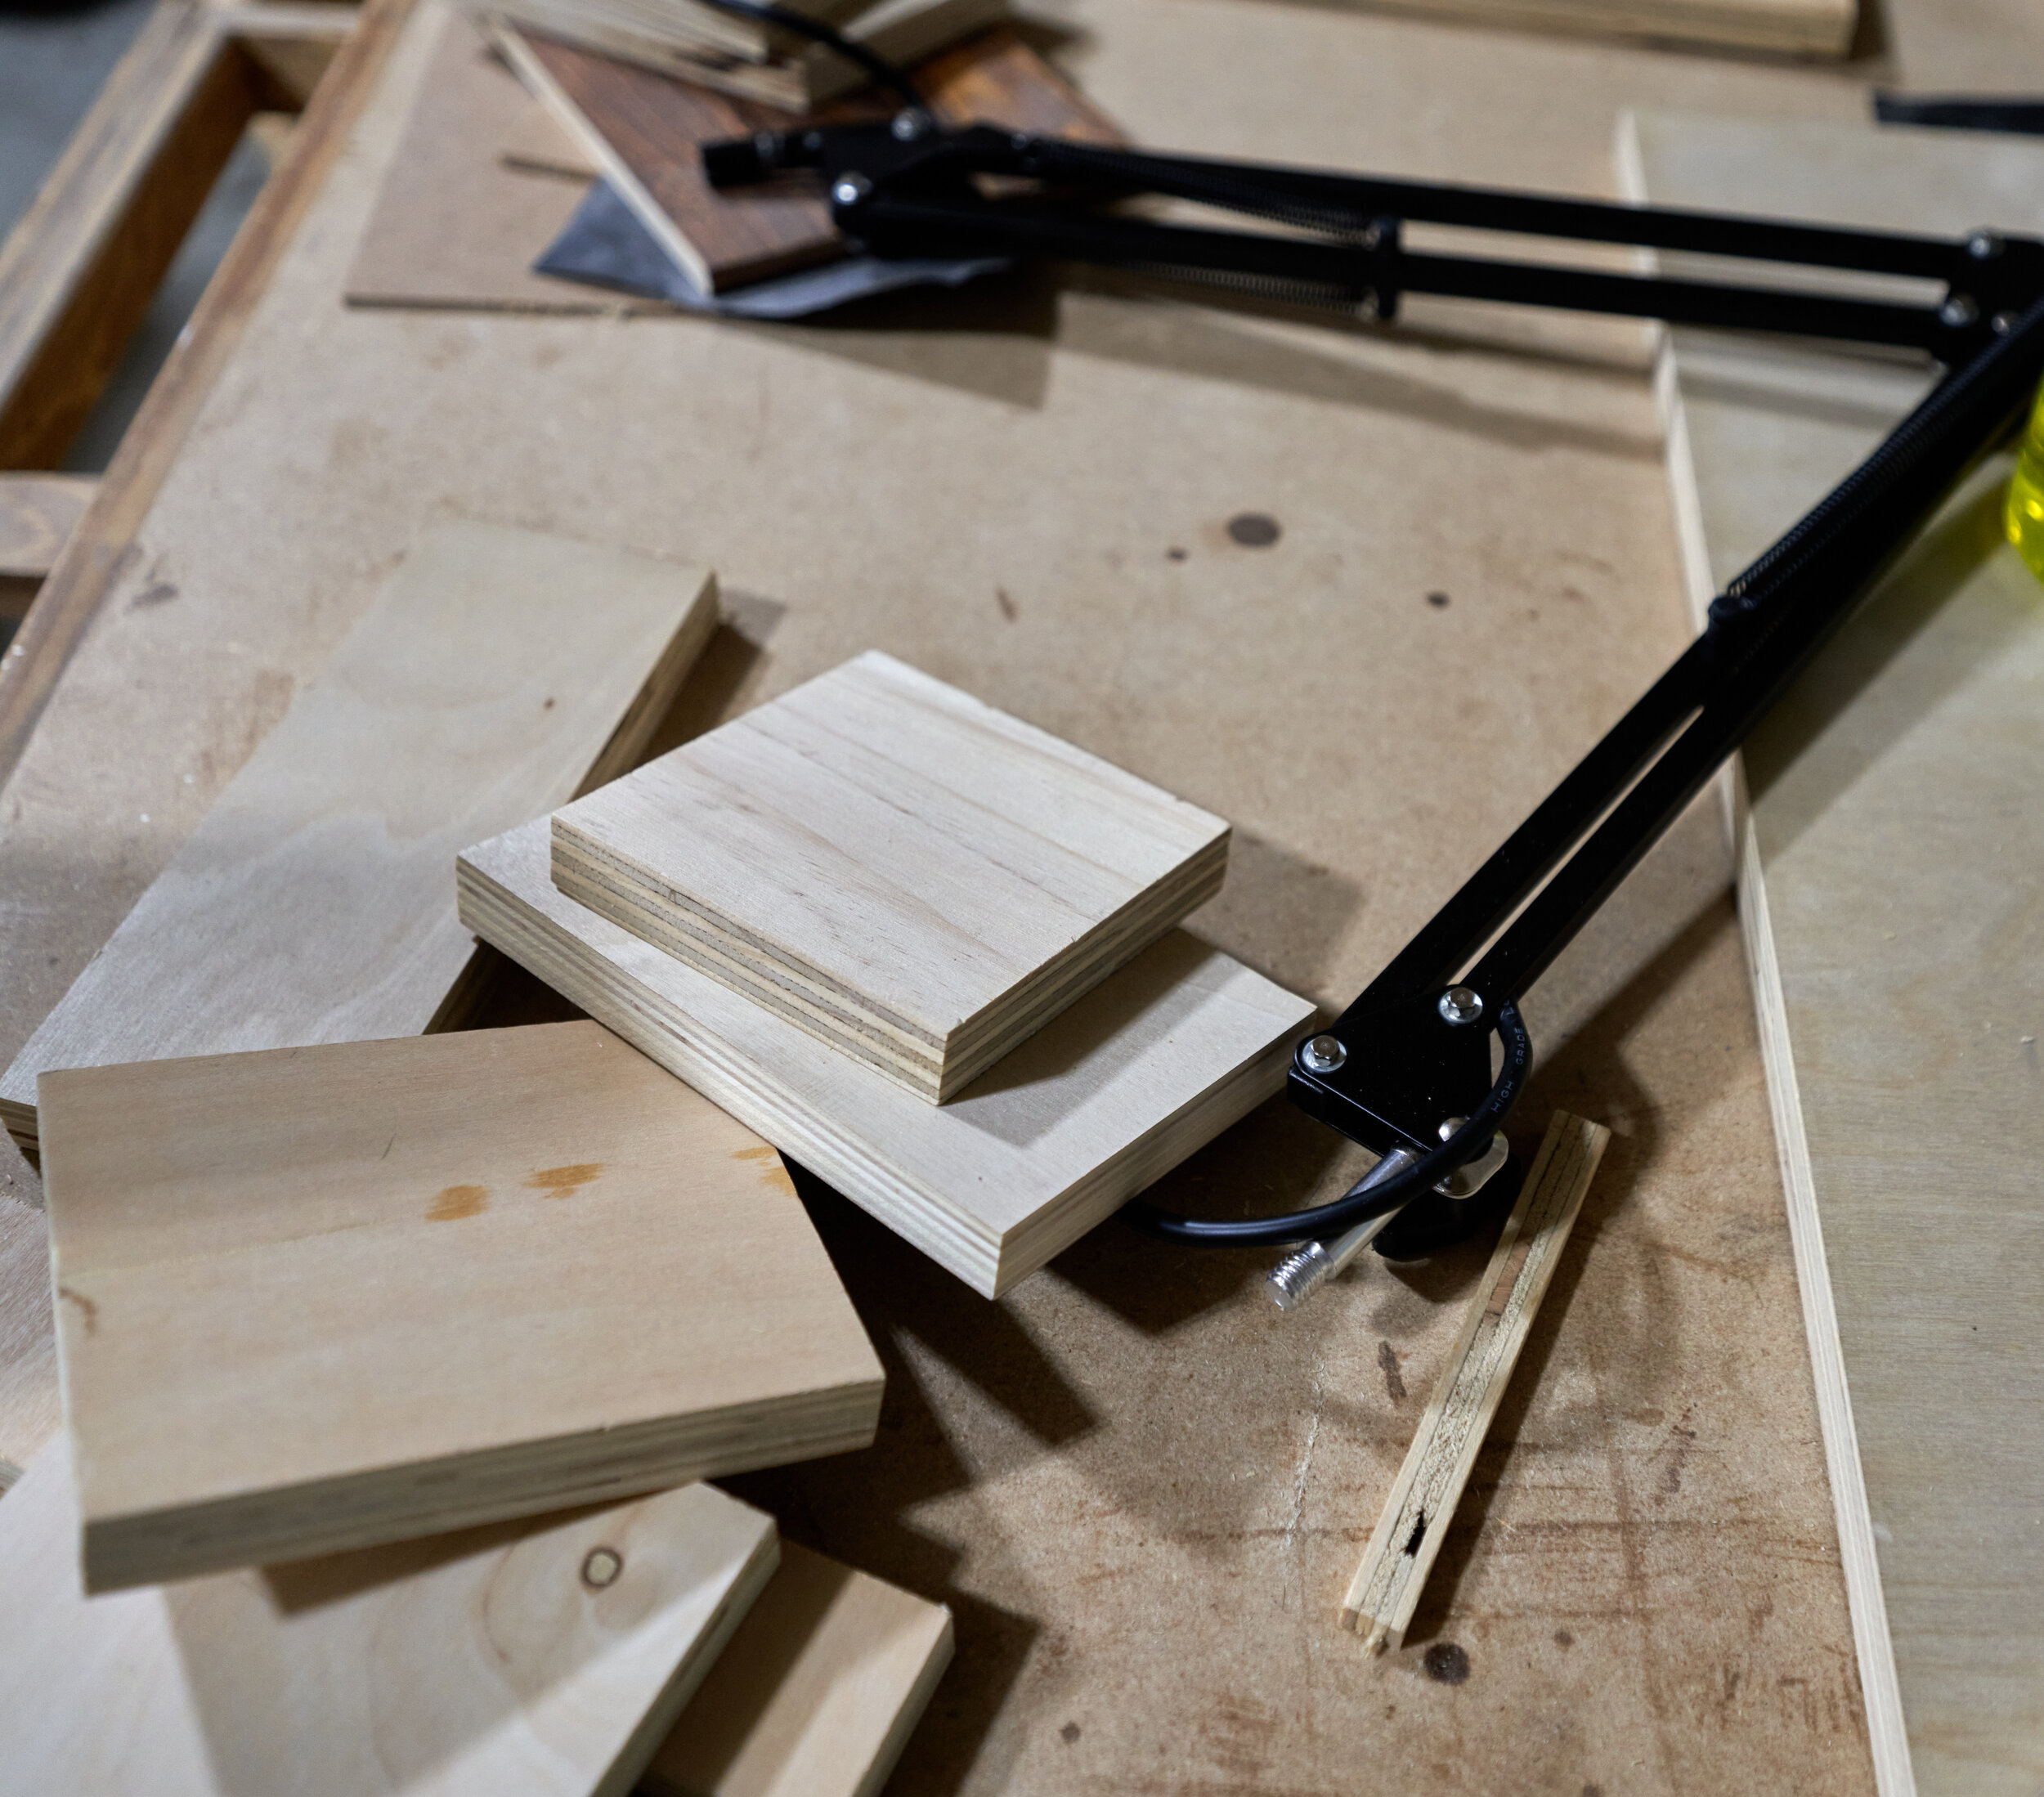
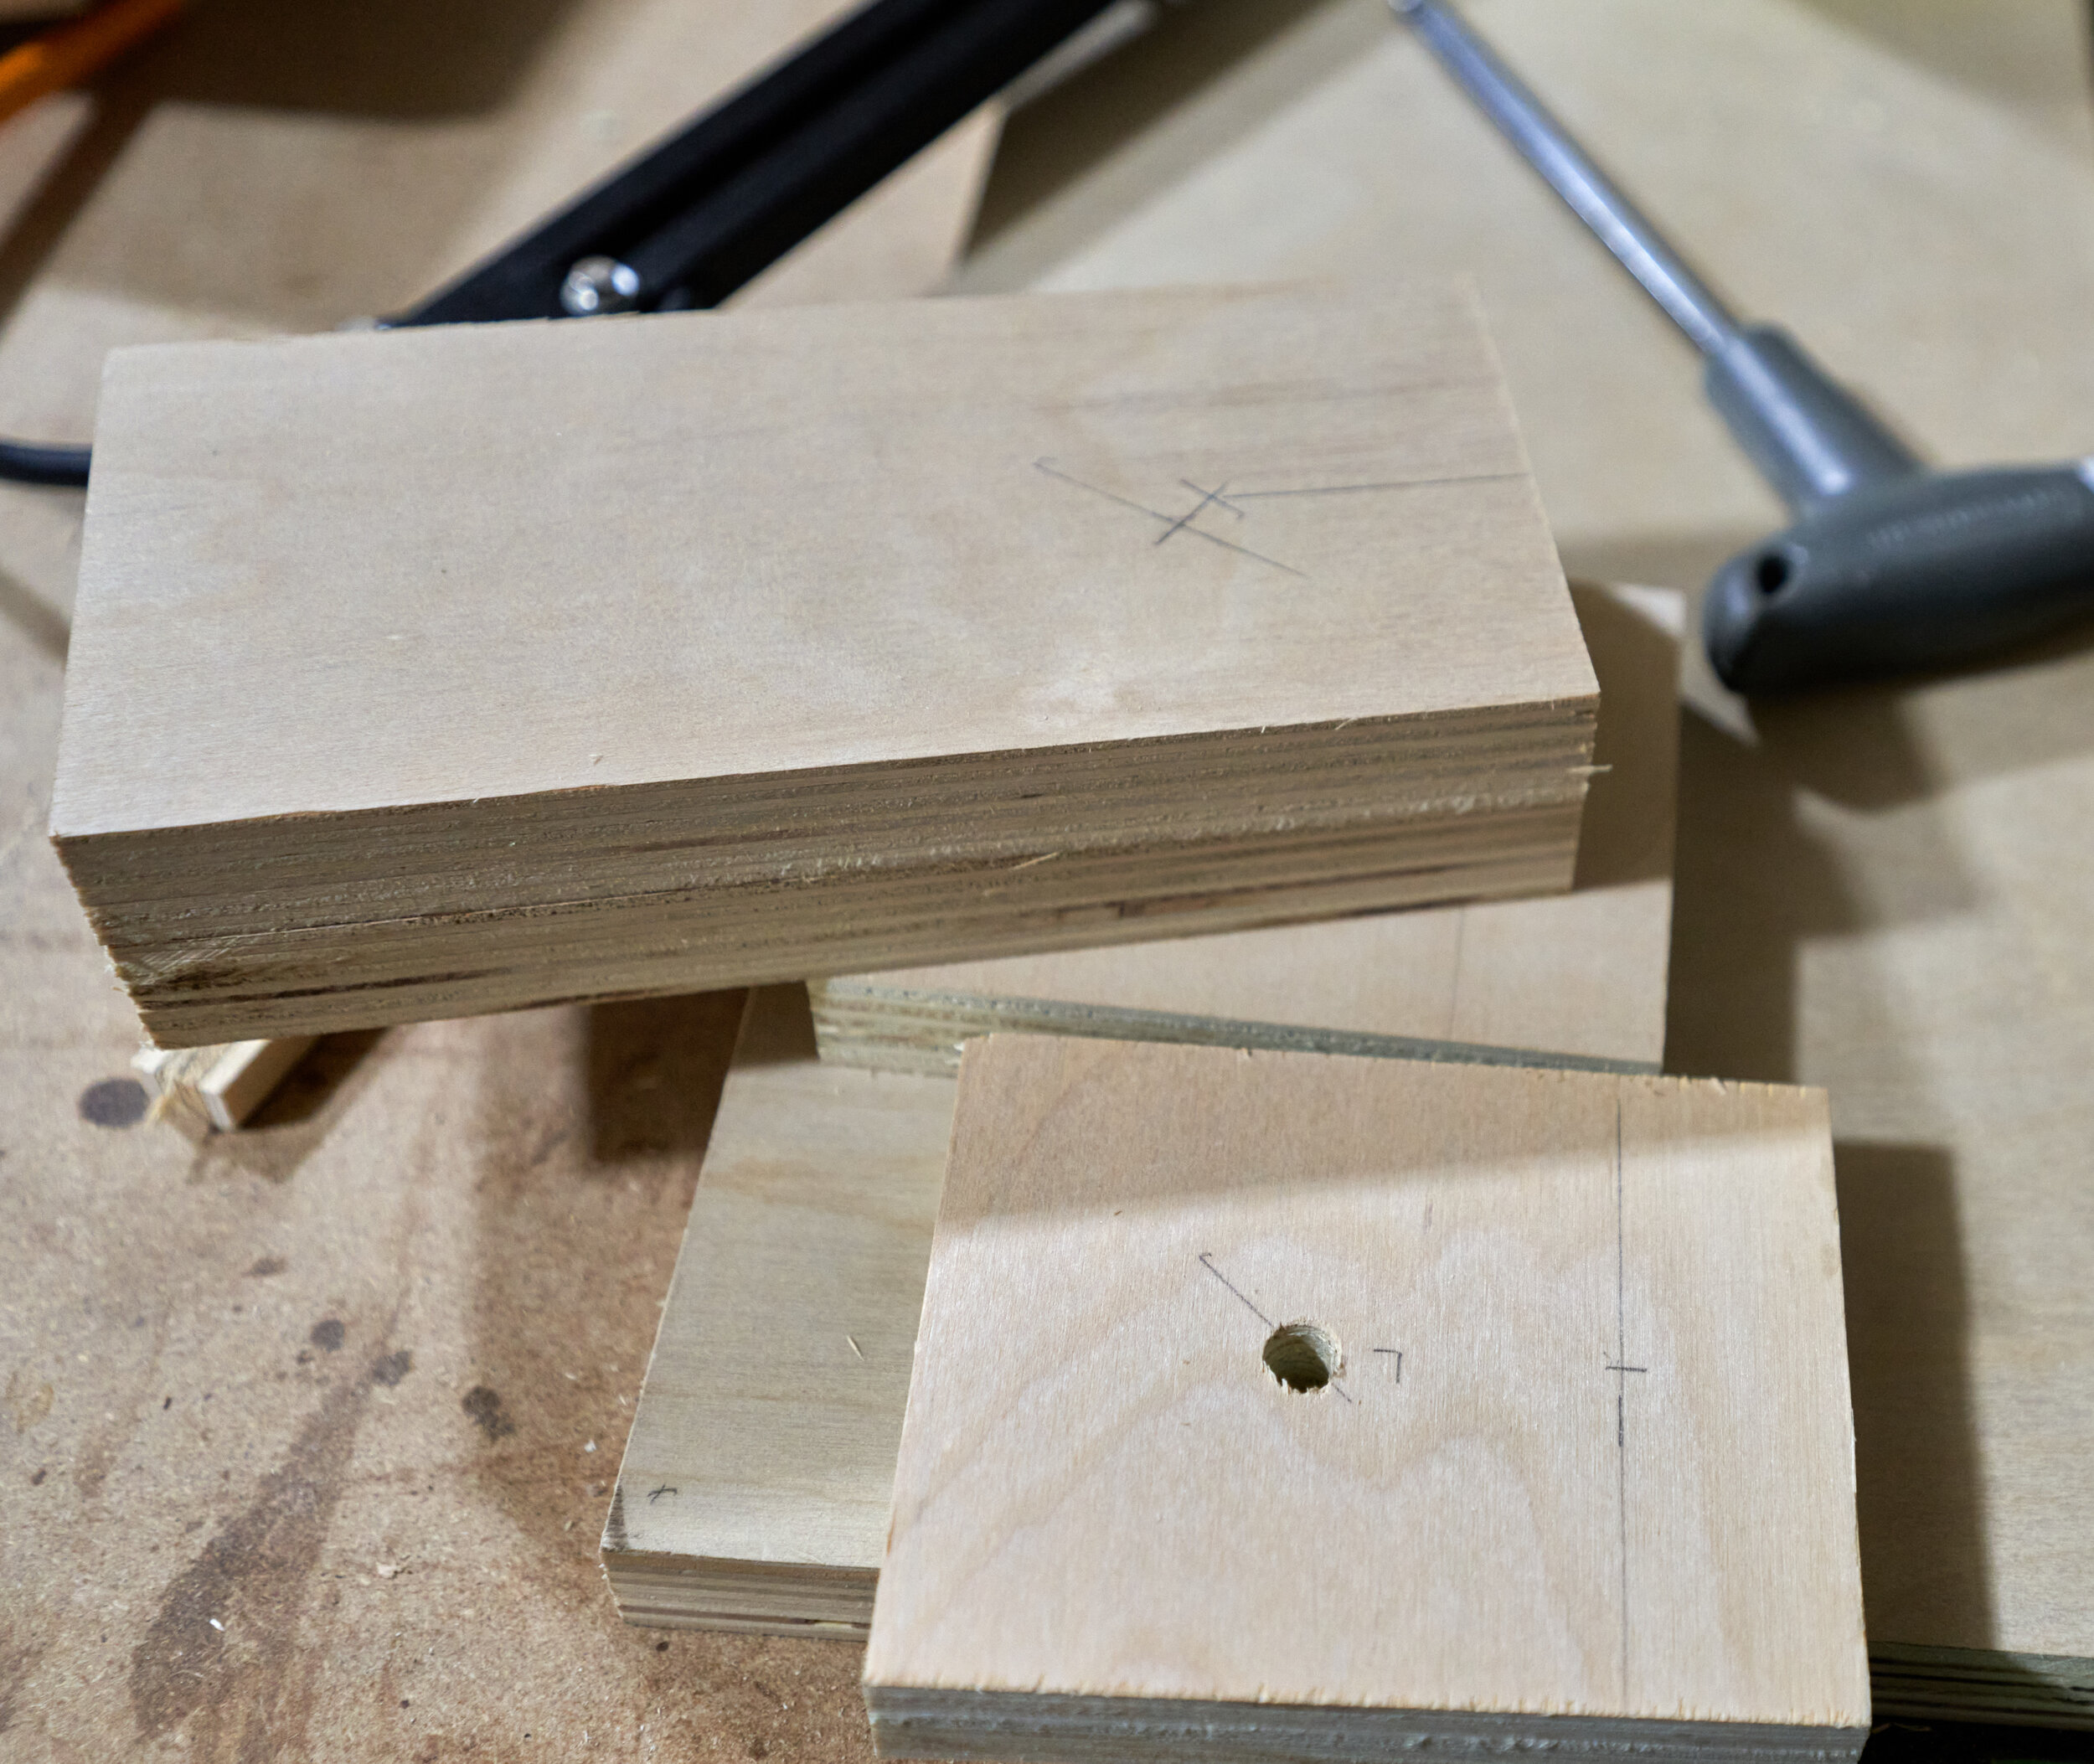
Step 12: Cubby attachments
Previously, I mentioned that we could attach things to the cubby and here, we’re going to add a paper towel dispenser and also a microphone boom arm! (I could never find a paper towel dispenser I liked so it made sense to just make my own).


Step 13: Furniture additions
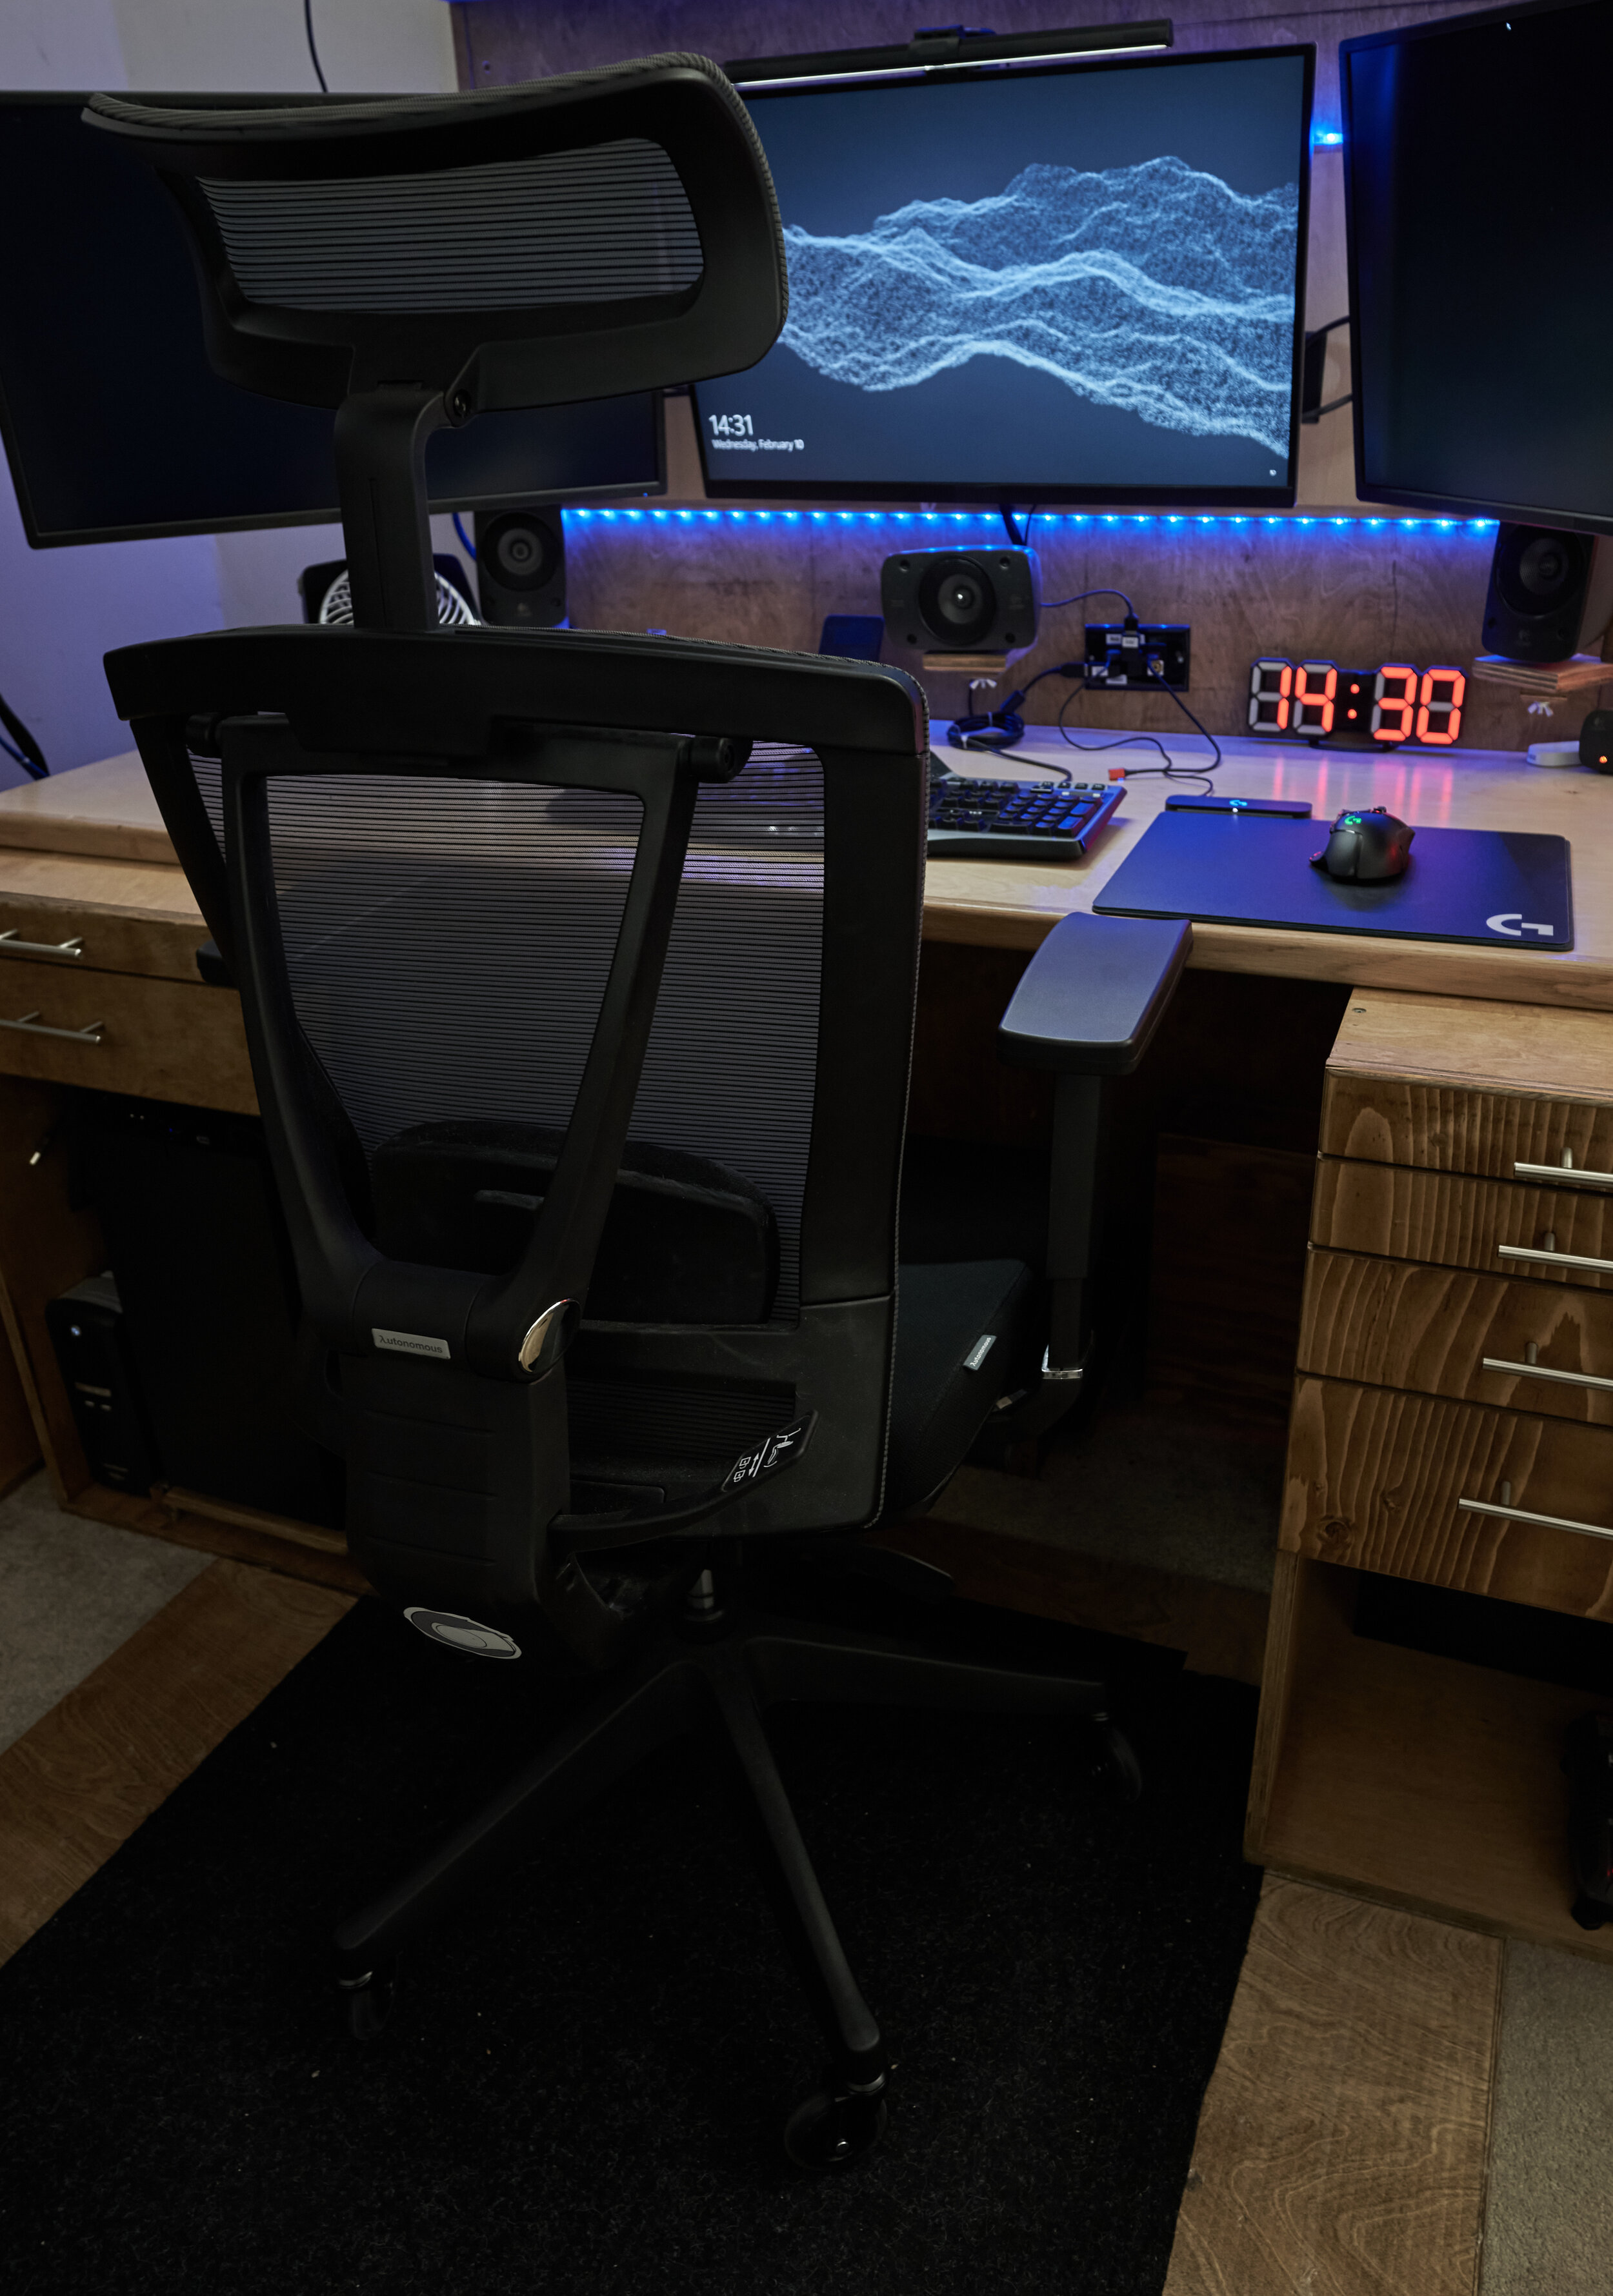
So I’ve been a long time user of the IKEA Markus chair and, for that price point, it’s fantastic. The fact is, there aren’t very many high-back chairs out there in this price point. Two things about the Markus bother me though:
The fixed armrests are always in the way
The seat cushion, after almost a decade, is trending on the flatter side
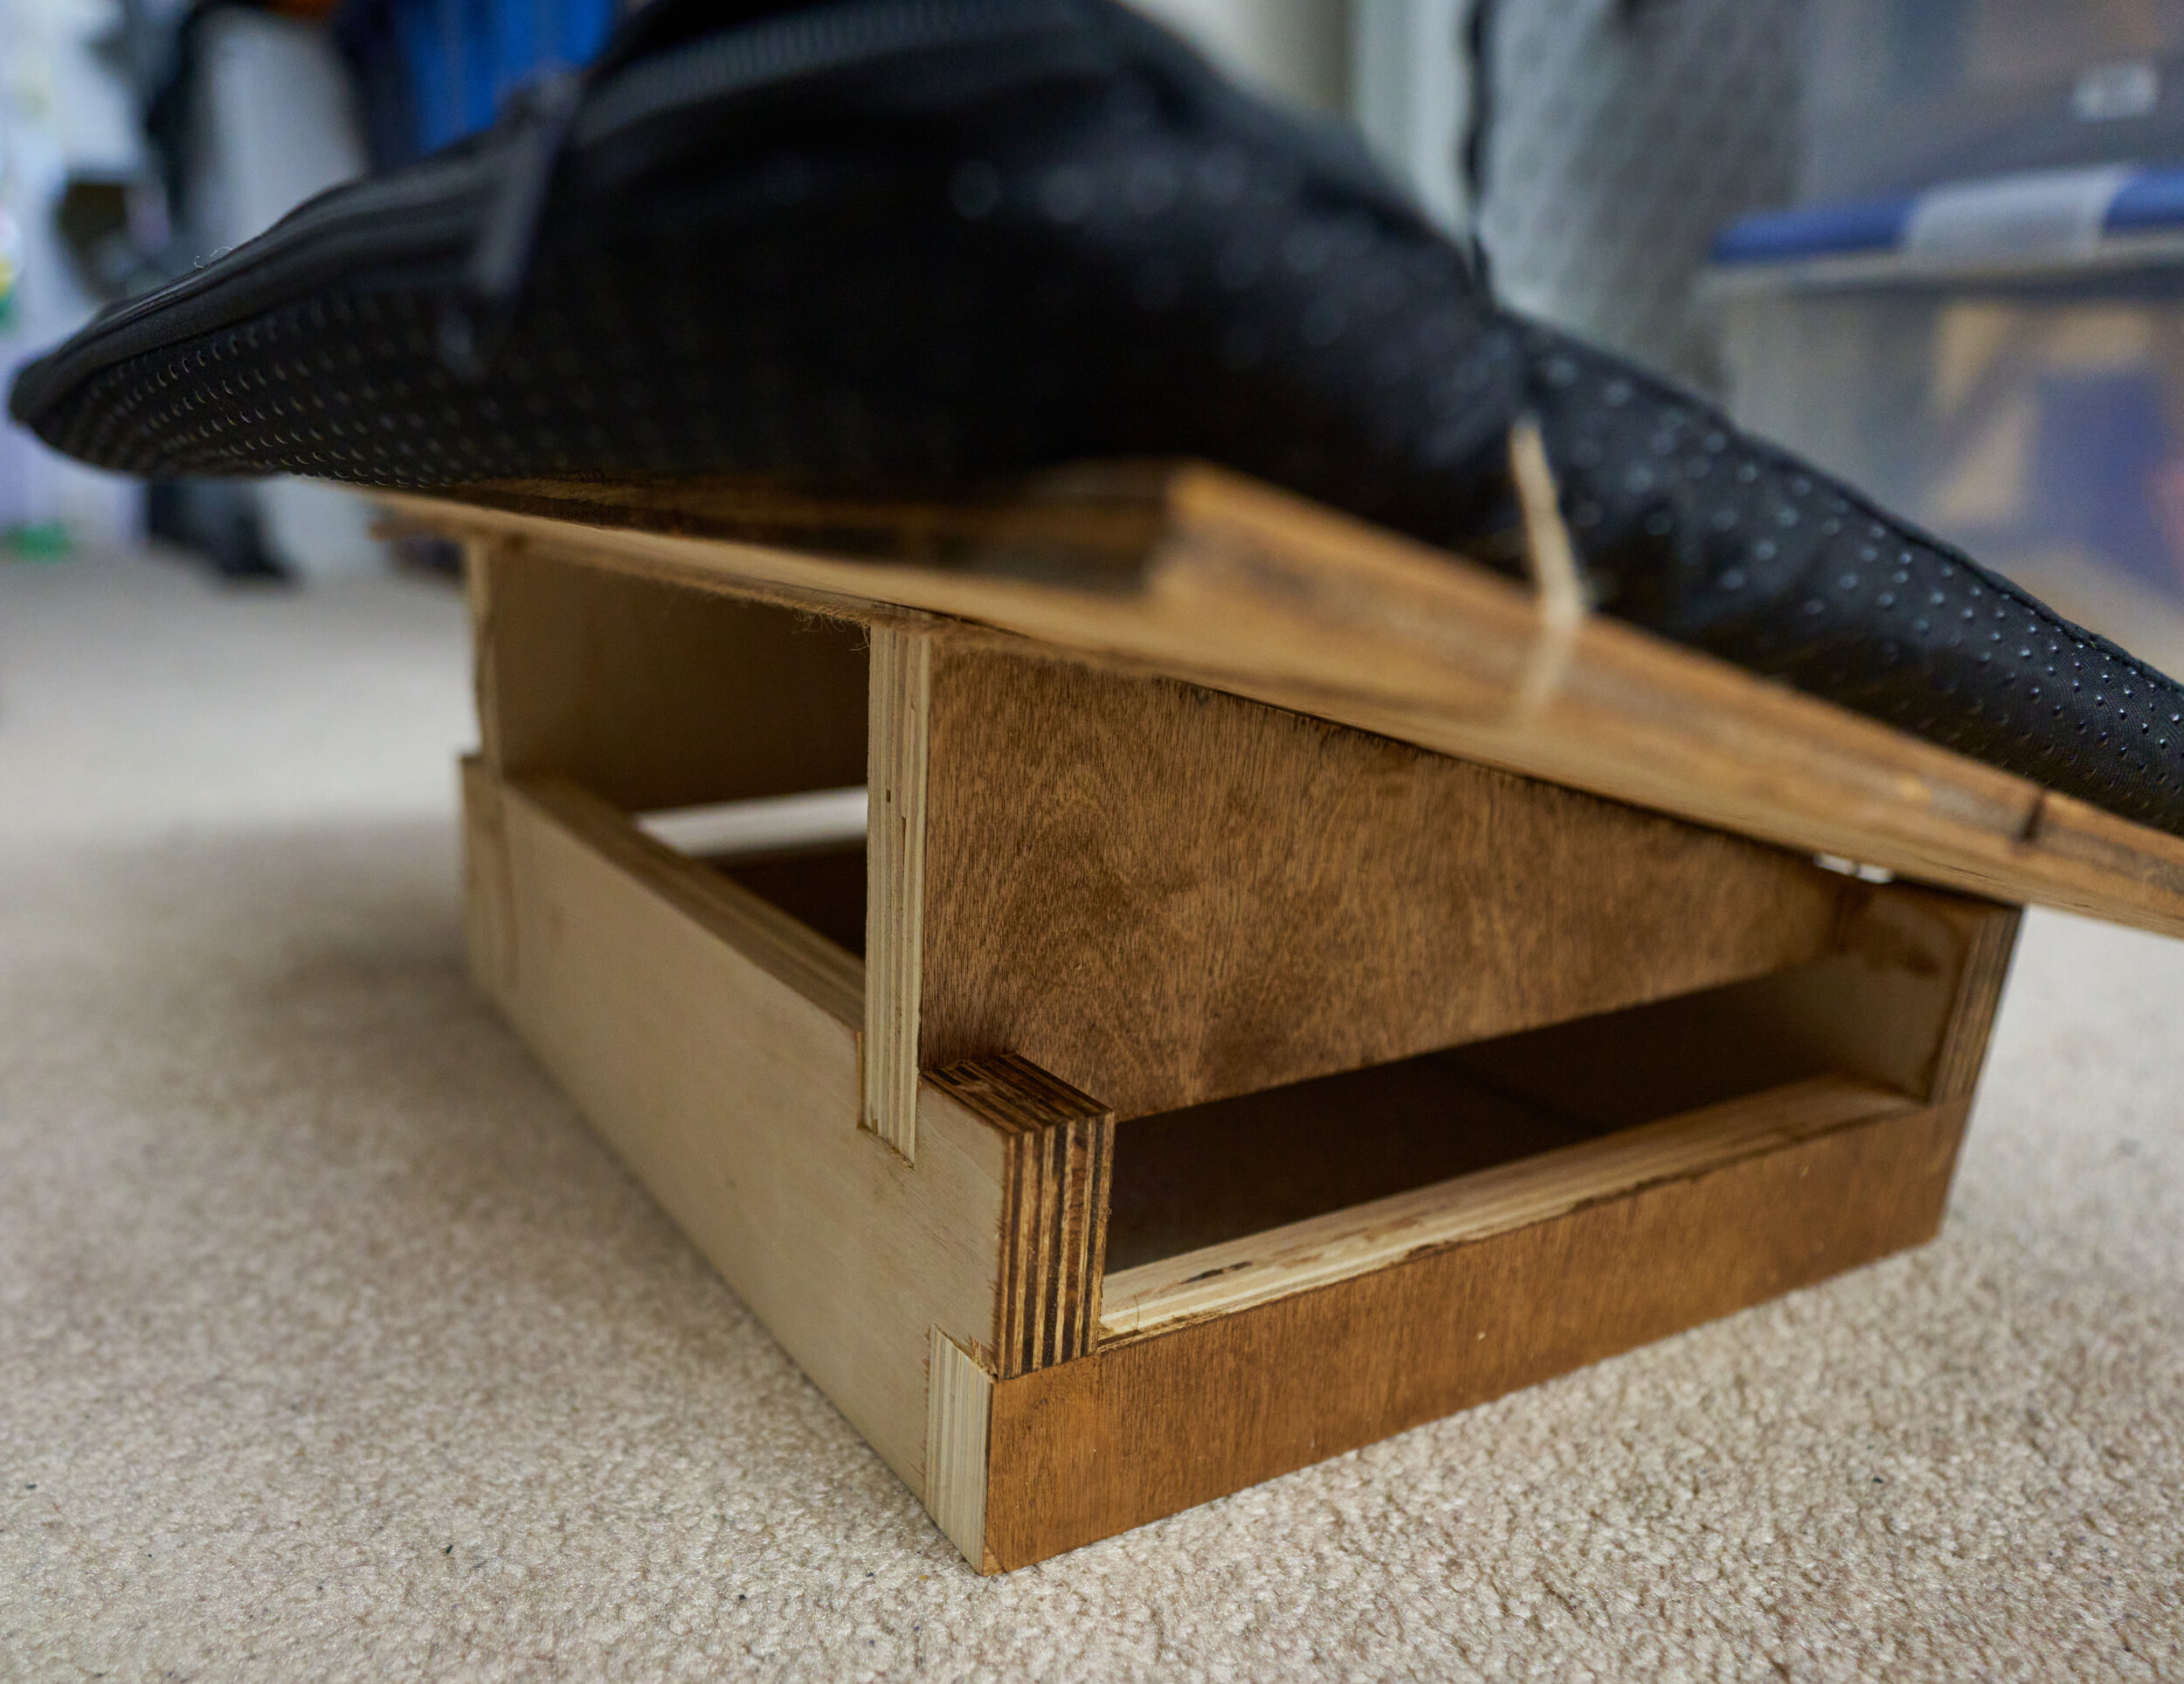
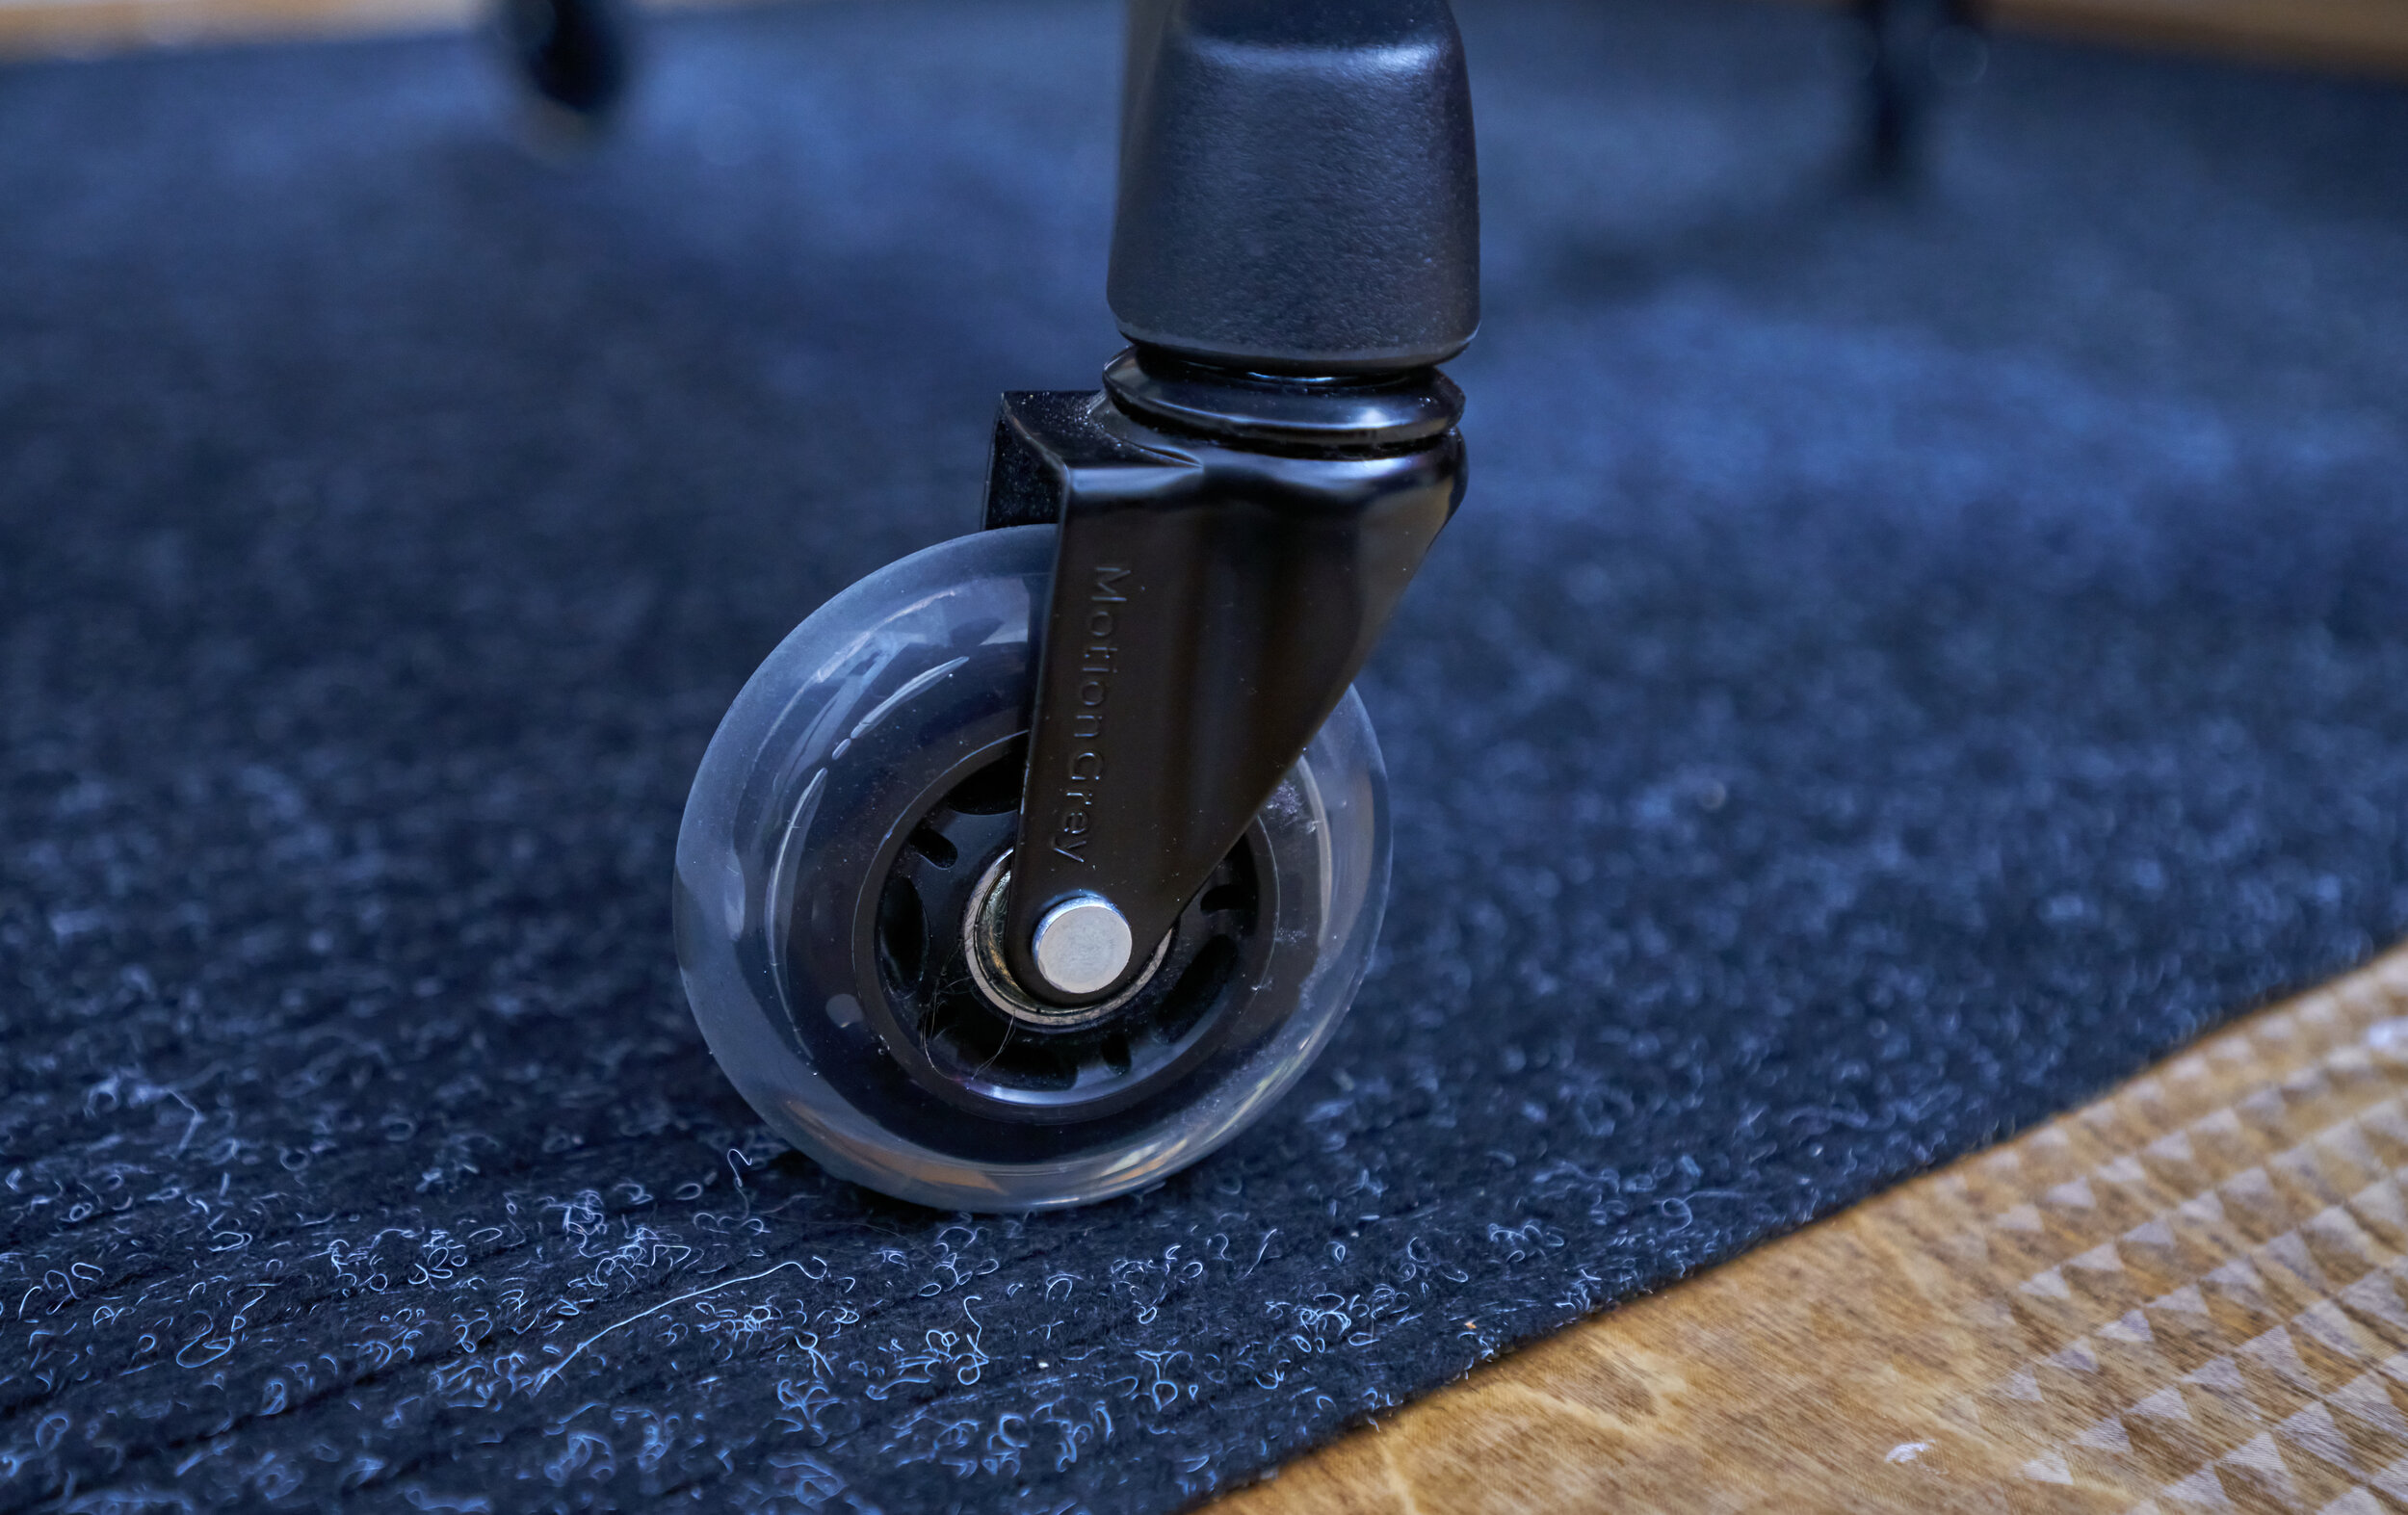
Perhaps a somewhat controversial choice, I went with the Autonomous Ergochair 2. It not perfect but it’s a substantial improvement over my Markus! To support the seat change though, we’re going to add a footrest and floormat.
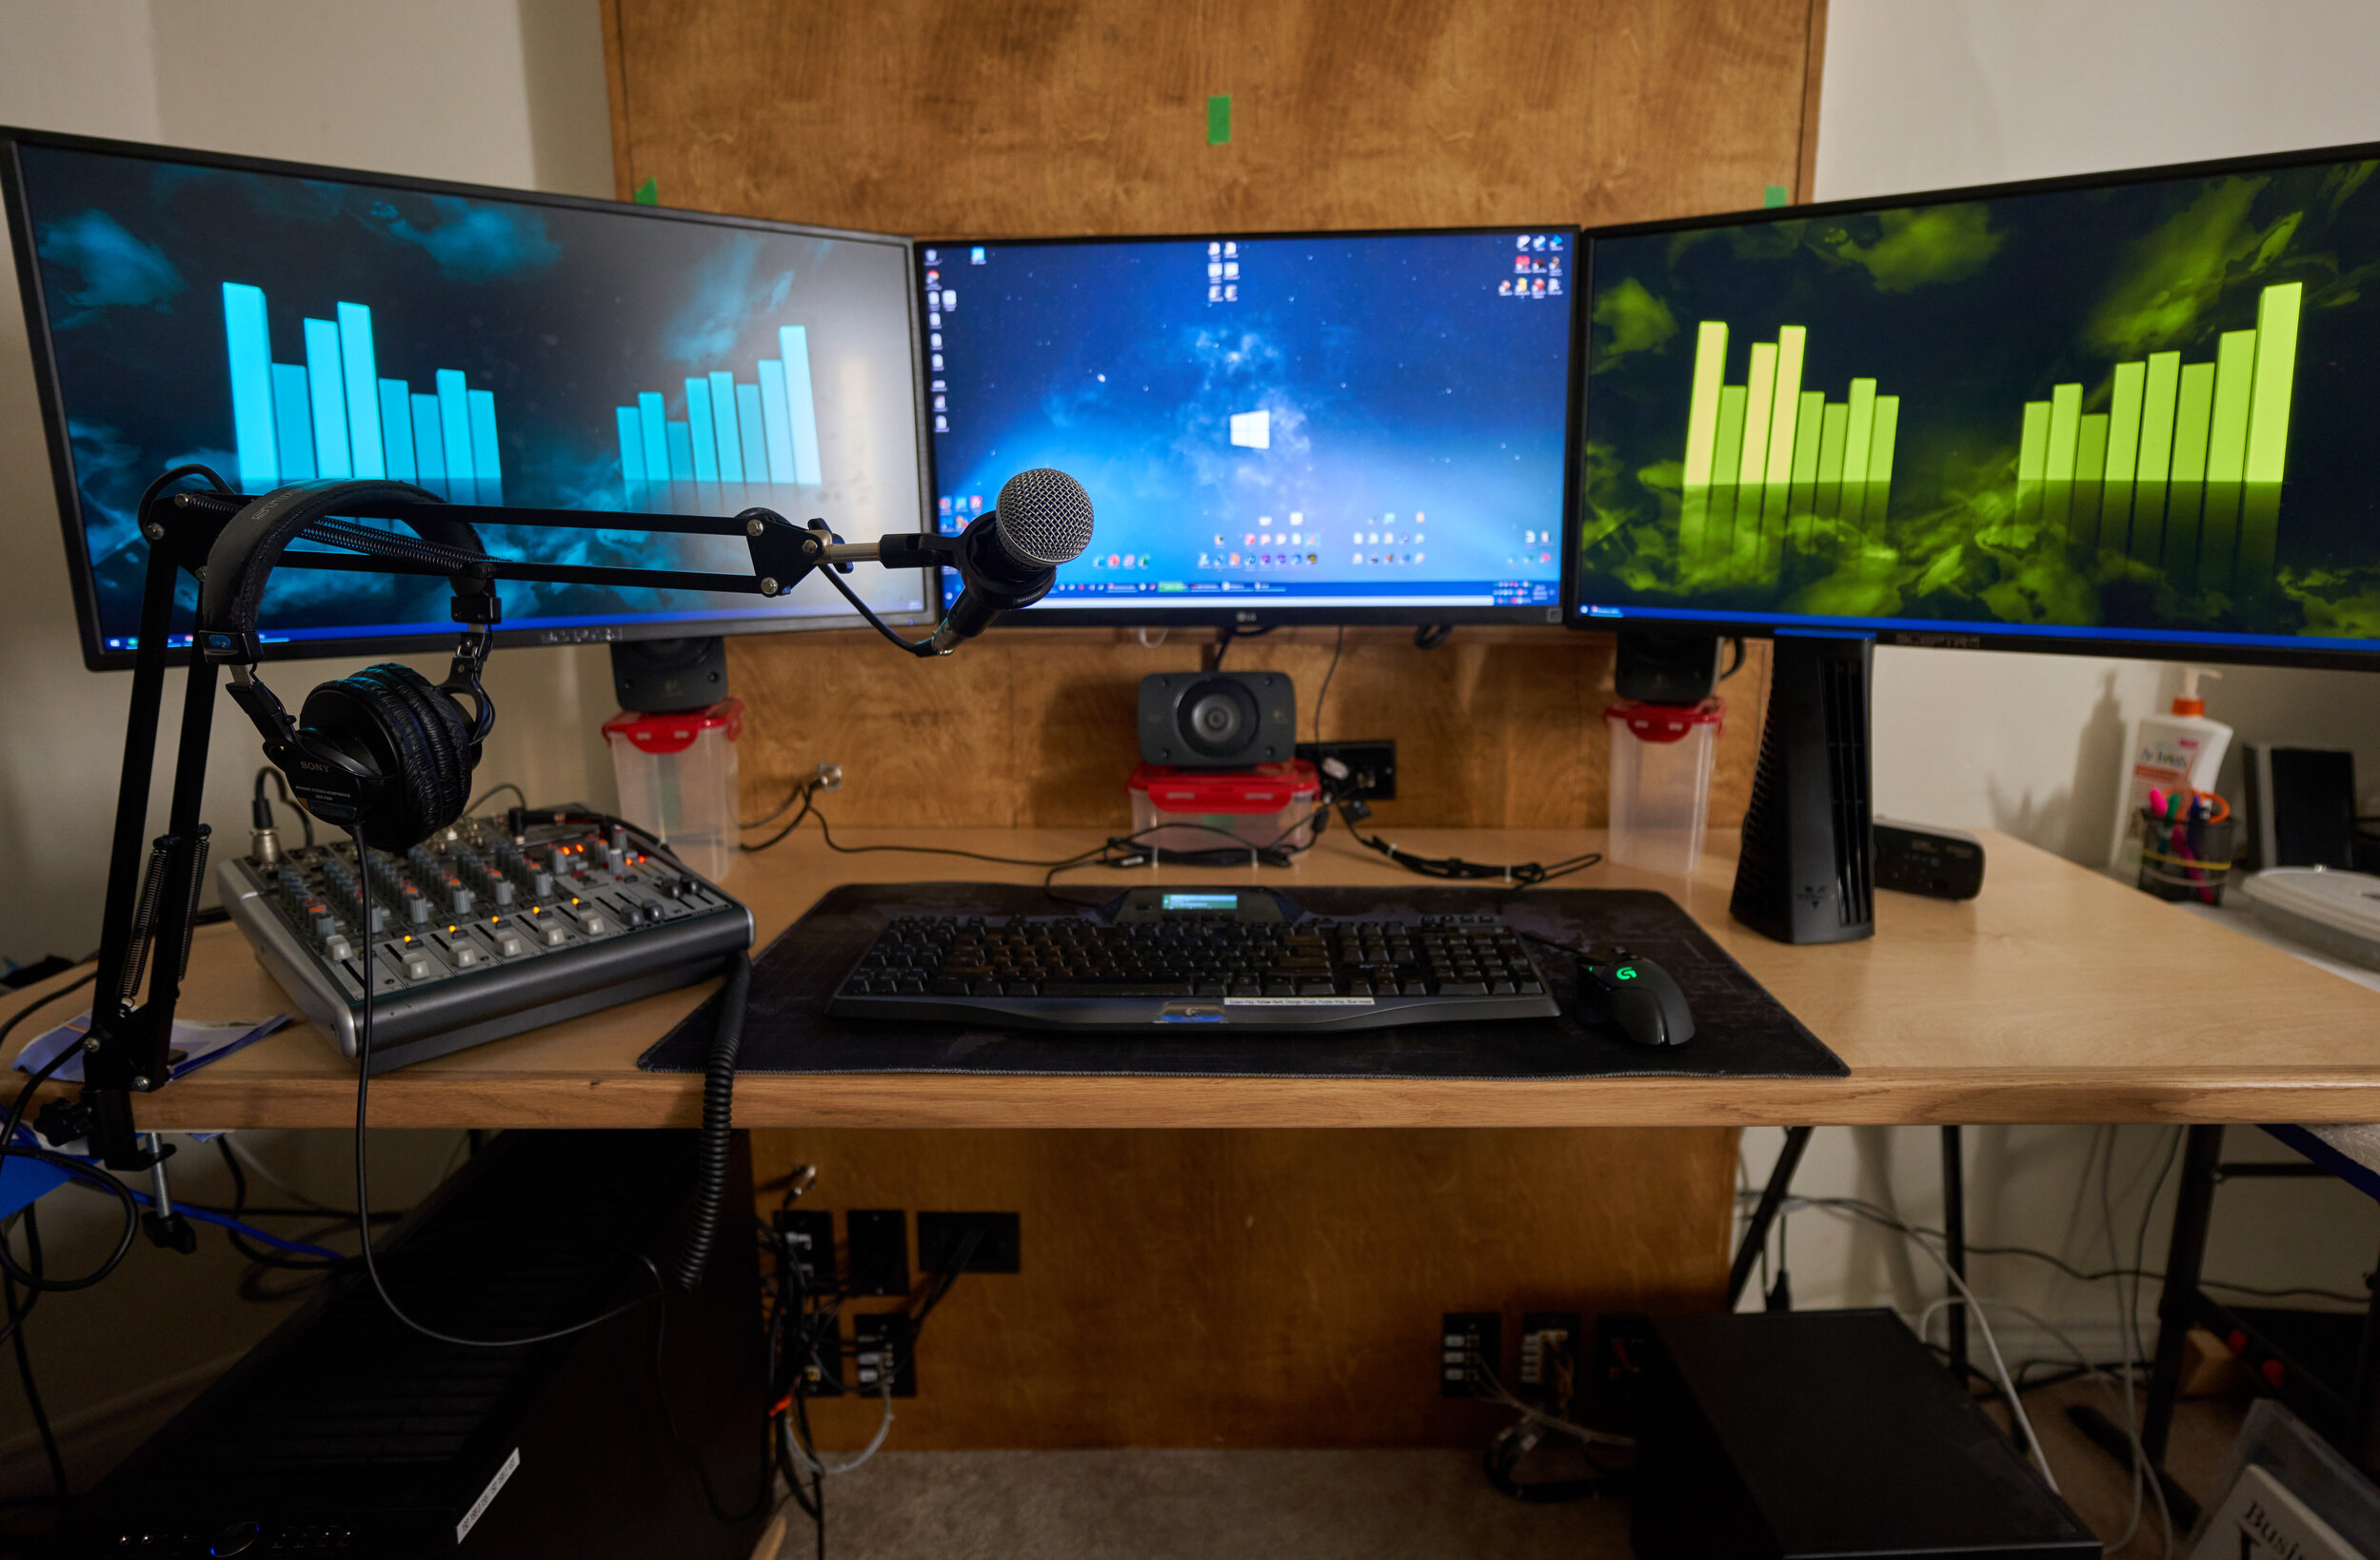
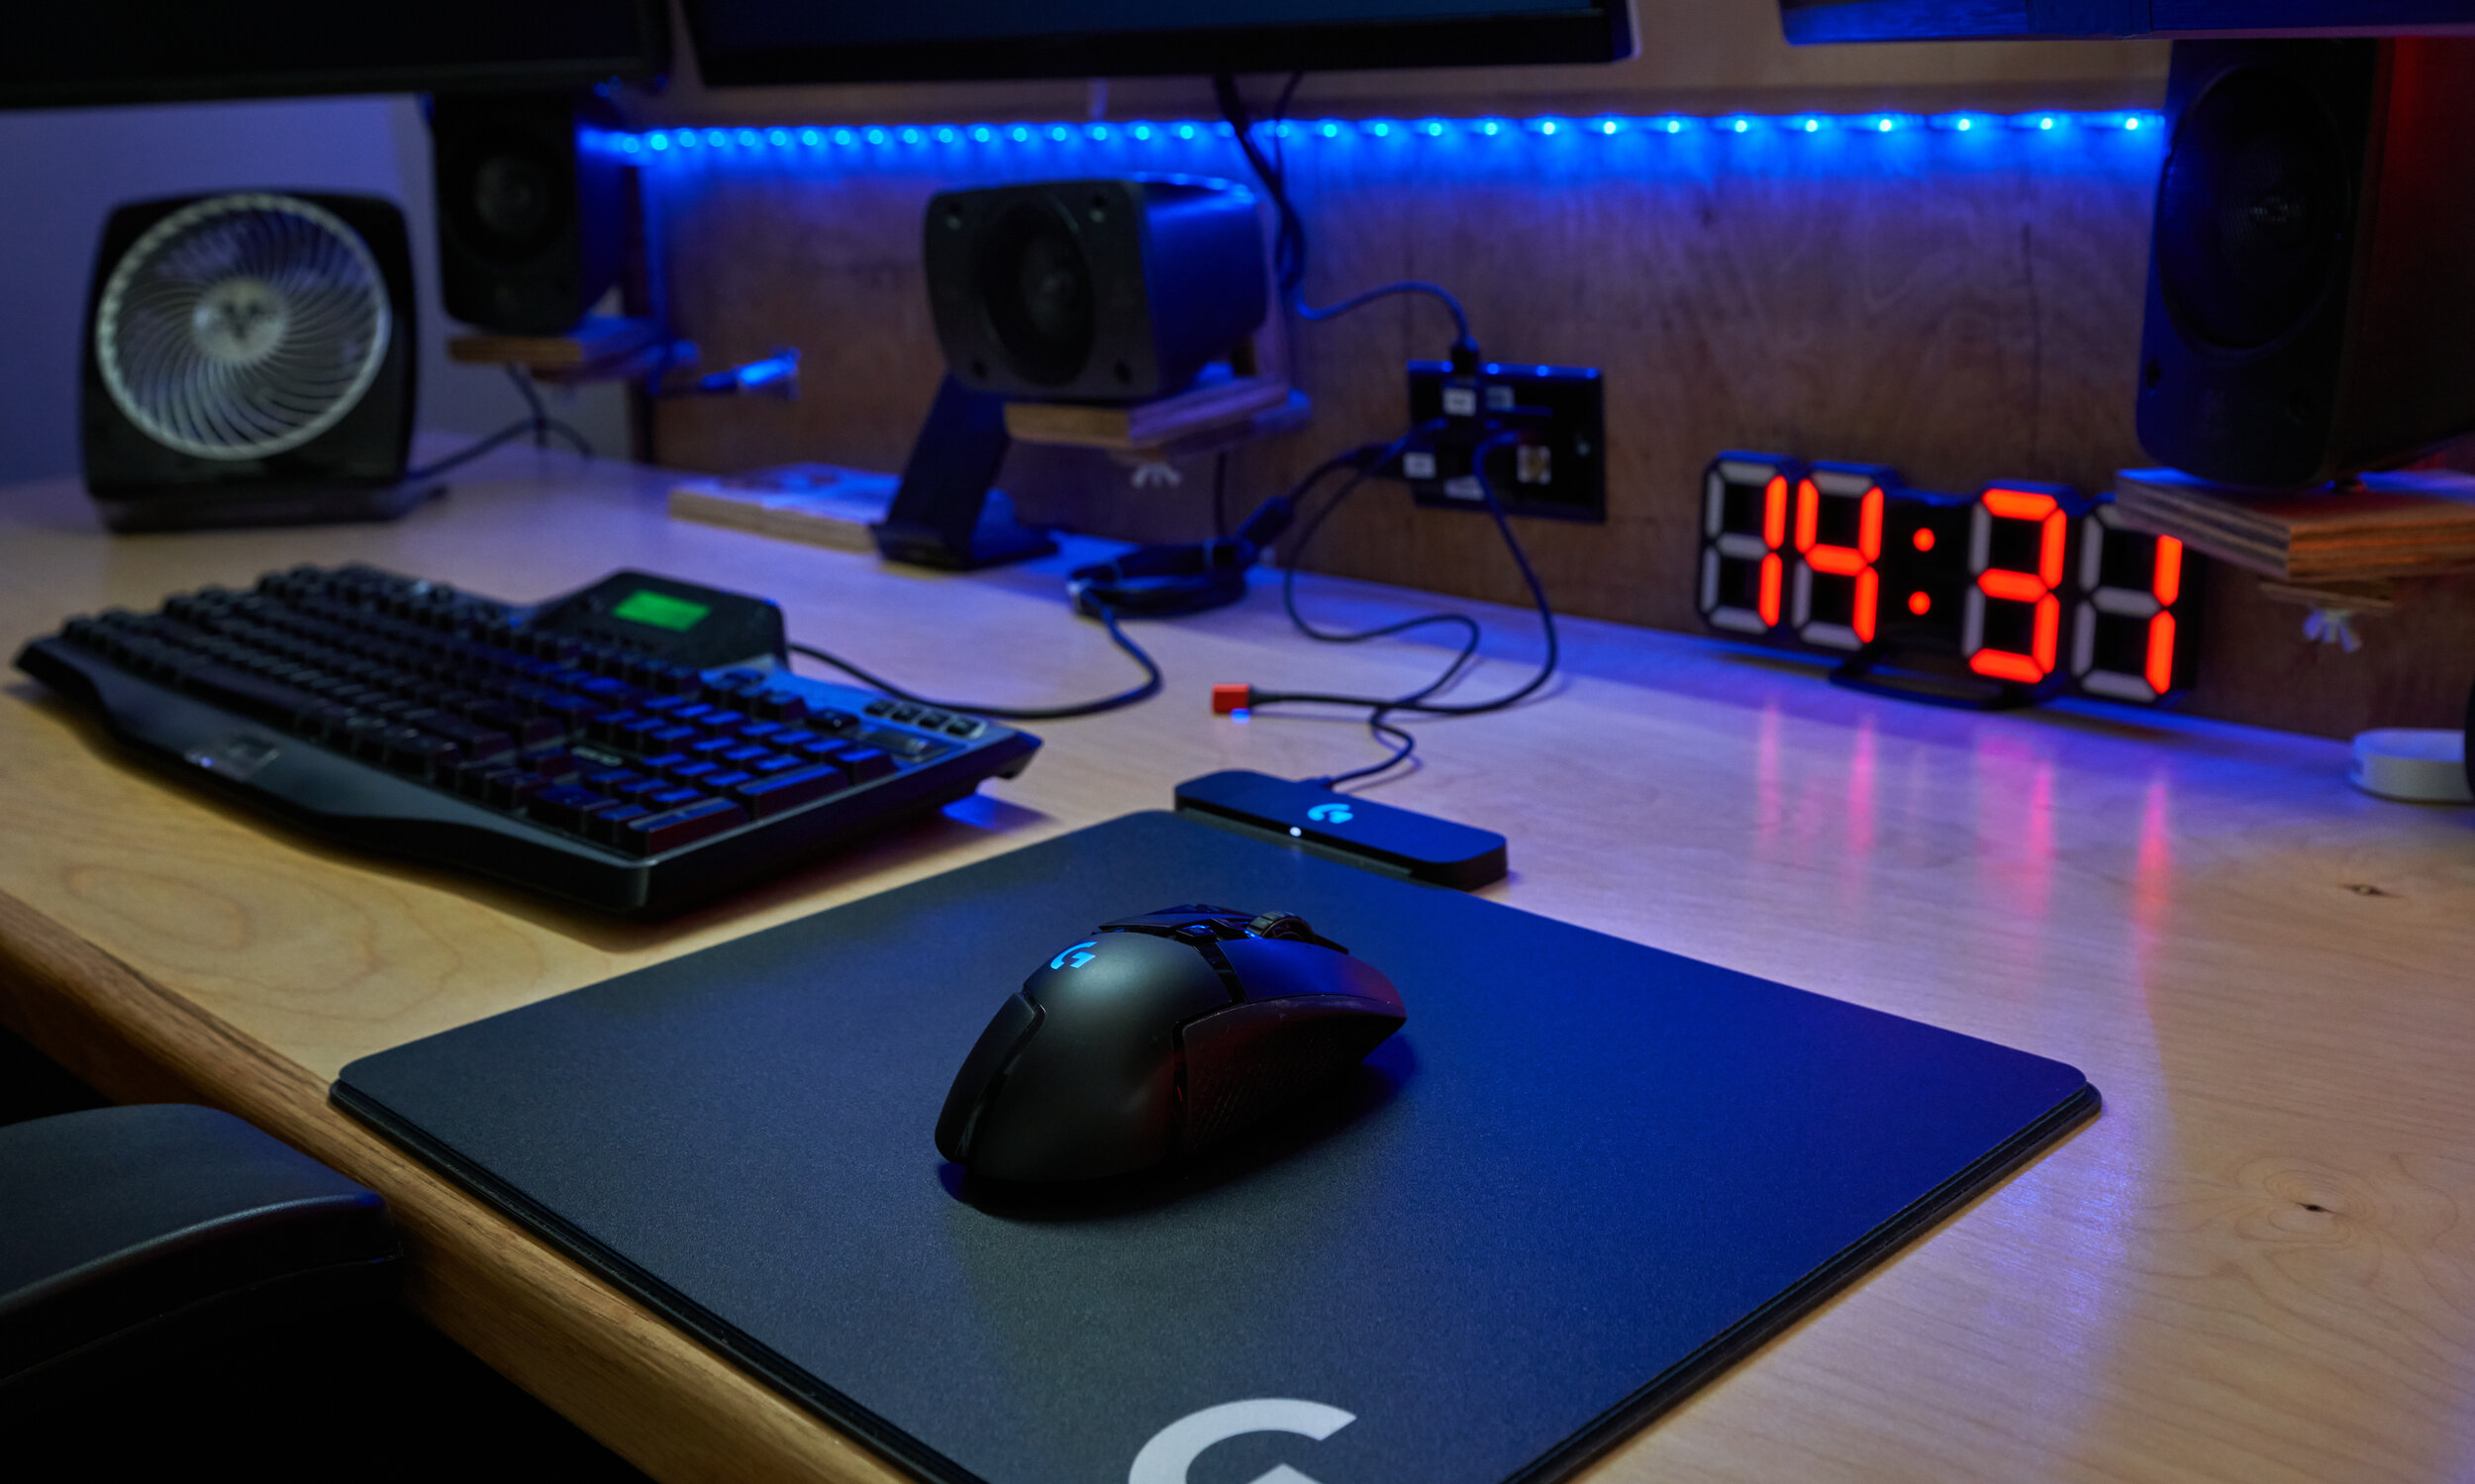
Step 14: Tech enhancements
We’re getting close to the end here. Over the last few weeks and months, I’ve changed out some of the tech around this desk to accommodate a better flow. This is a summary of where the tech is now.
Milestone 3
I started this project with three objectives:
Clean up the cables of my desk
Clean up the cables between our desks and,
Make all of this modular/moveable
I think I’ve hit those objectives (little things like the mic mount, paper towel holder and rear speaker extensions can be removed for transport) and certainly learned a lot. There were a lot of ‘firsts’ for this project (hardwood, keystones, soft-close drawer slides, start to finish electrical).
Considering just how much time I spend on the computer every day, I’m shocked I waited so long to take on this project. I didn’t specifically call it out in the build notes, but I covered almost all bits of superfluous branding - I’m a big fan of labels and marques but they need to tell me something important and not be branding for branding-sake. This desk has been a long time coming and makes my home office wonderful to sit down to.
Done for now?
Mix-ups, Surprises and Lessons Learned
By far the biggest lesson learned revolved around the cutouts - I had originally thought that it would be a quick weekend task (ha!)
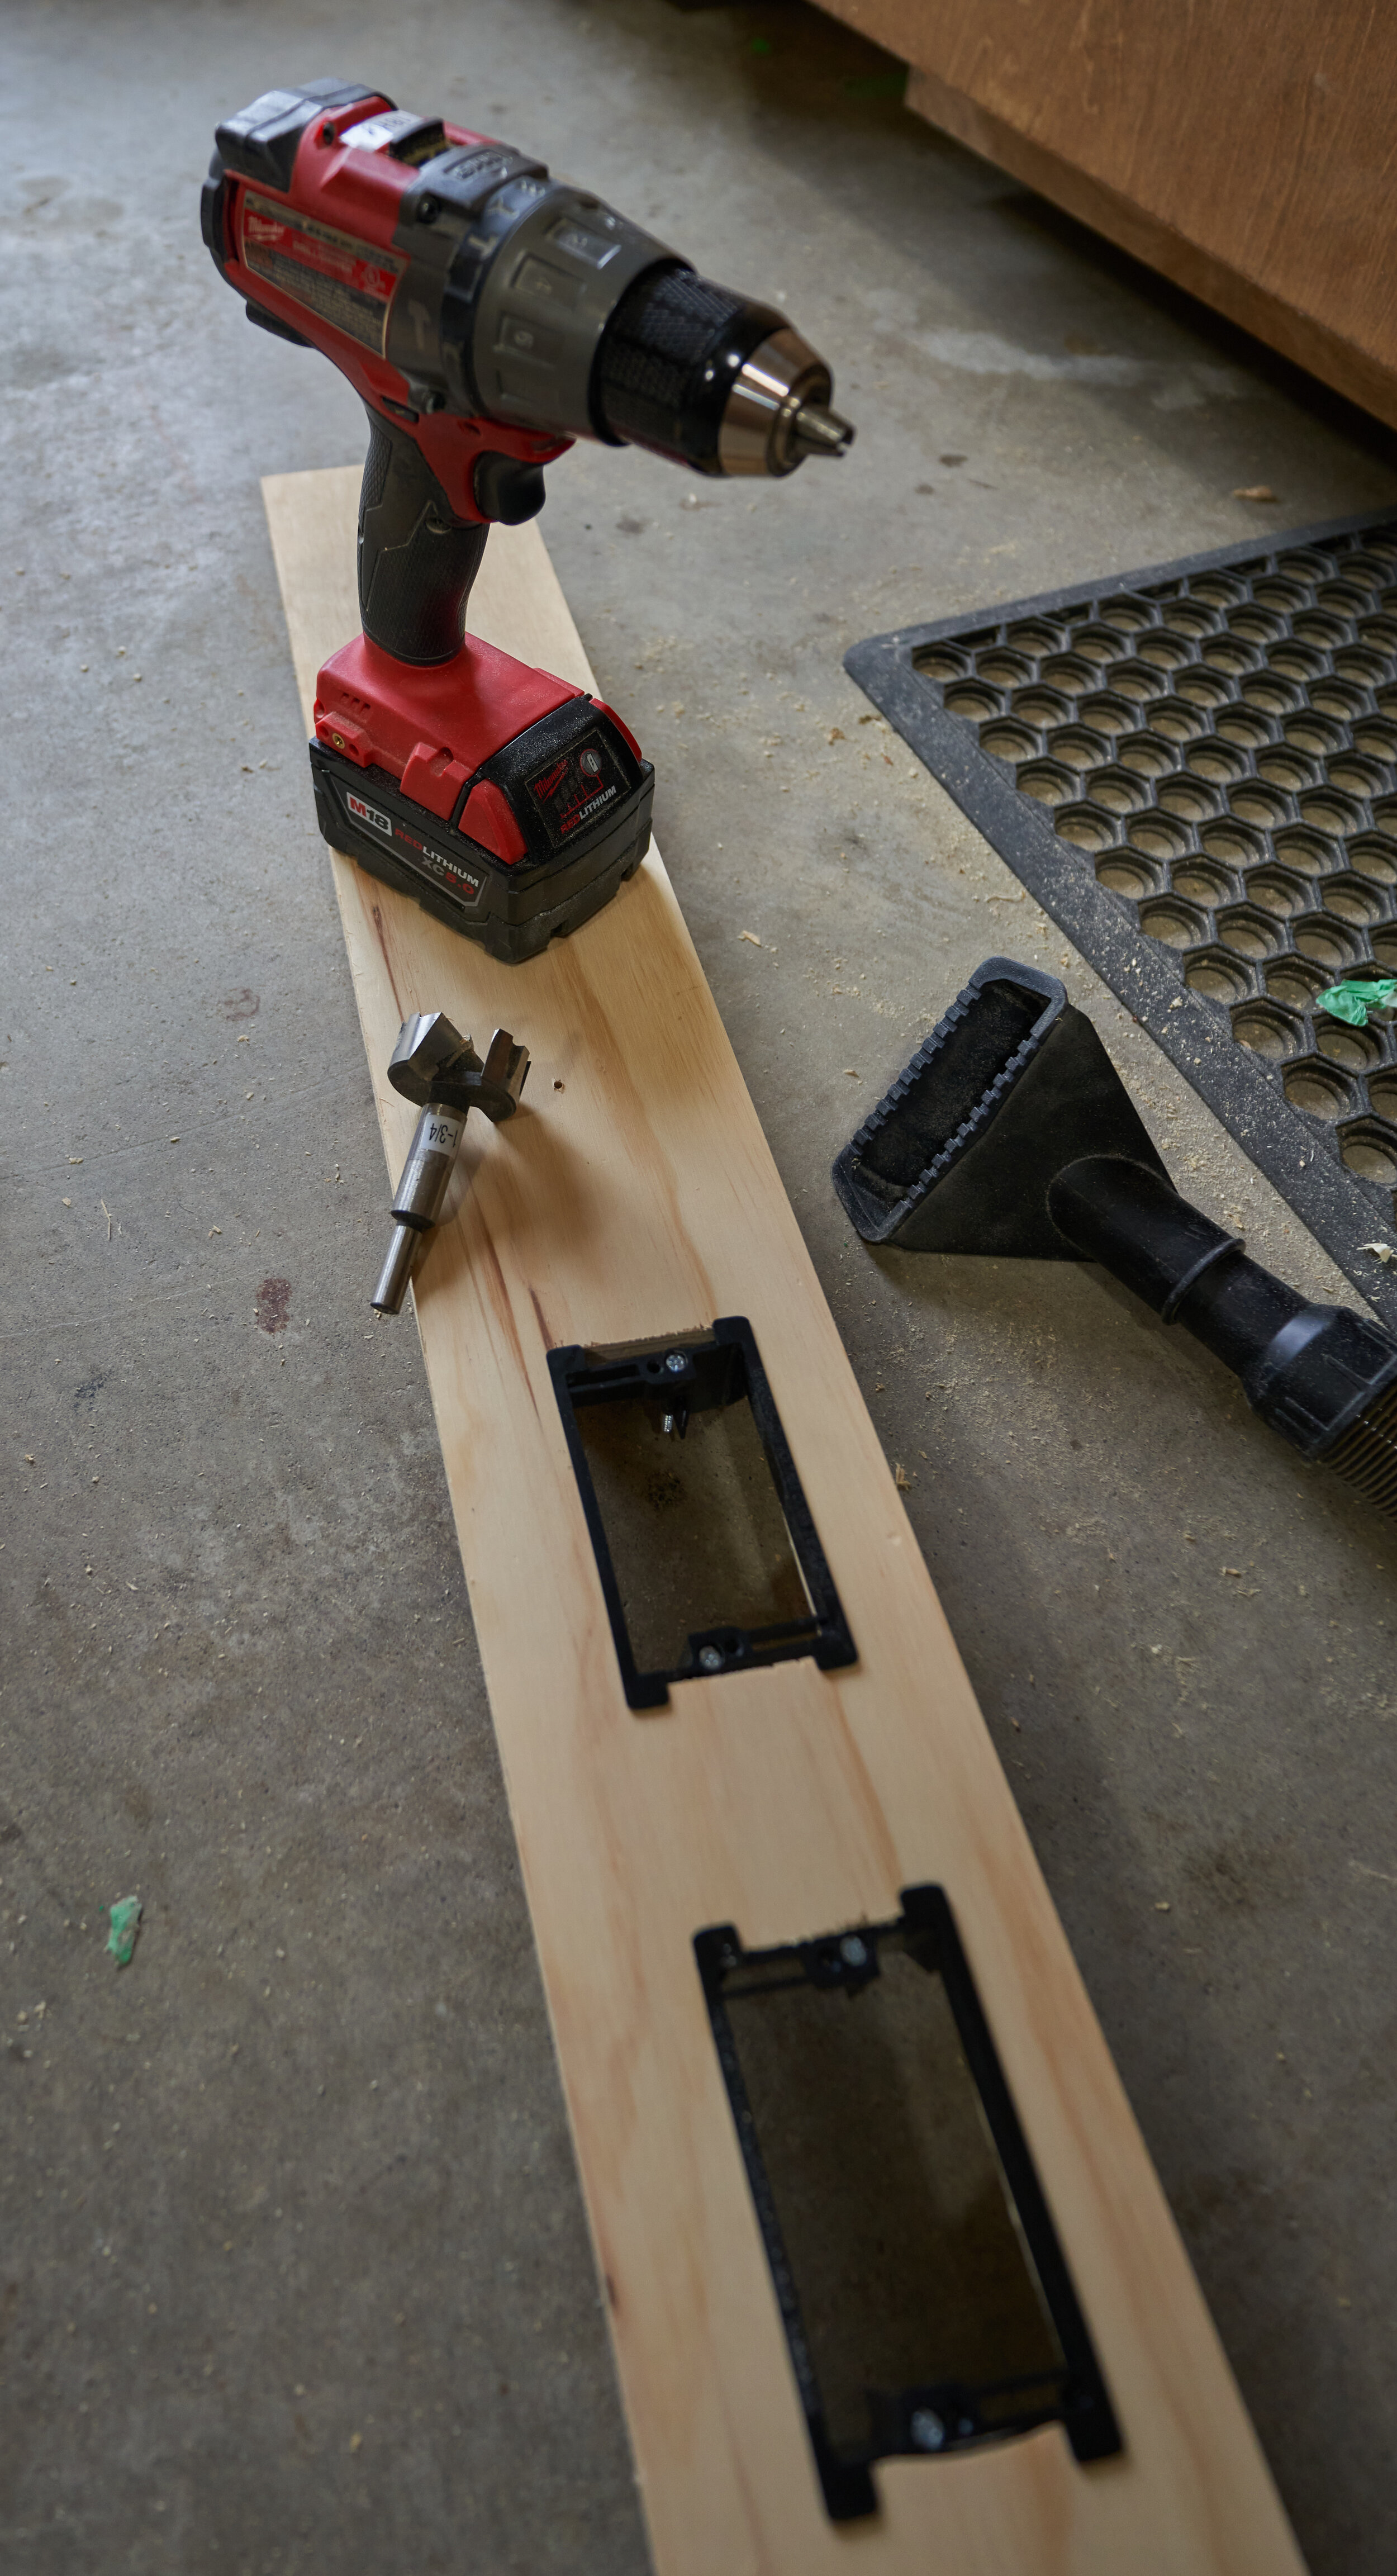
There is absolutely nothing to be gained from cutting ultra precise holes - any super clean work you do will be covered by the cover plates anyways. (I guess I knew this was true, I just needed to indulge my OCD once) . Don’t try and get fancy and cut exact holes for each connector — if you’re going to go down that road, just get a custom laser cut plate. Instead, leverage the easy nature of low-voltage boxes
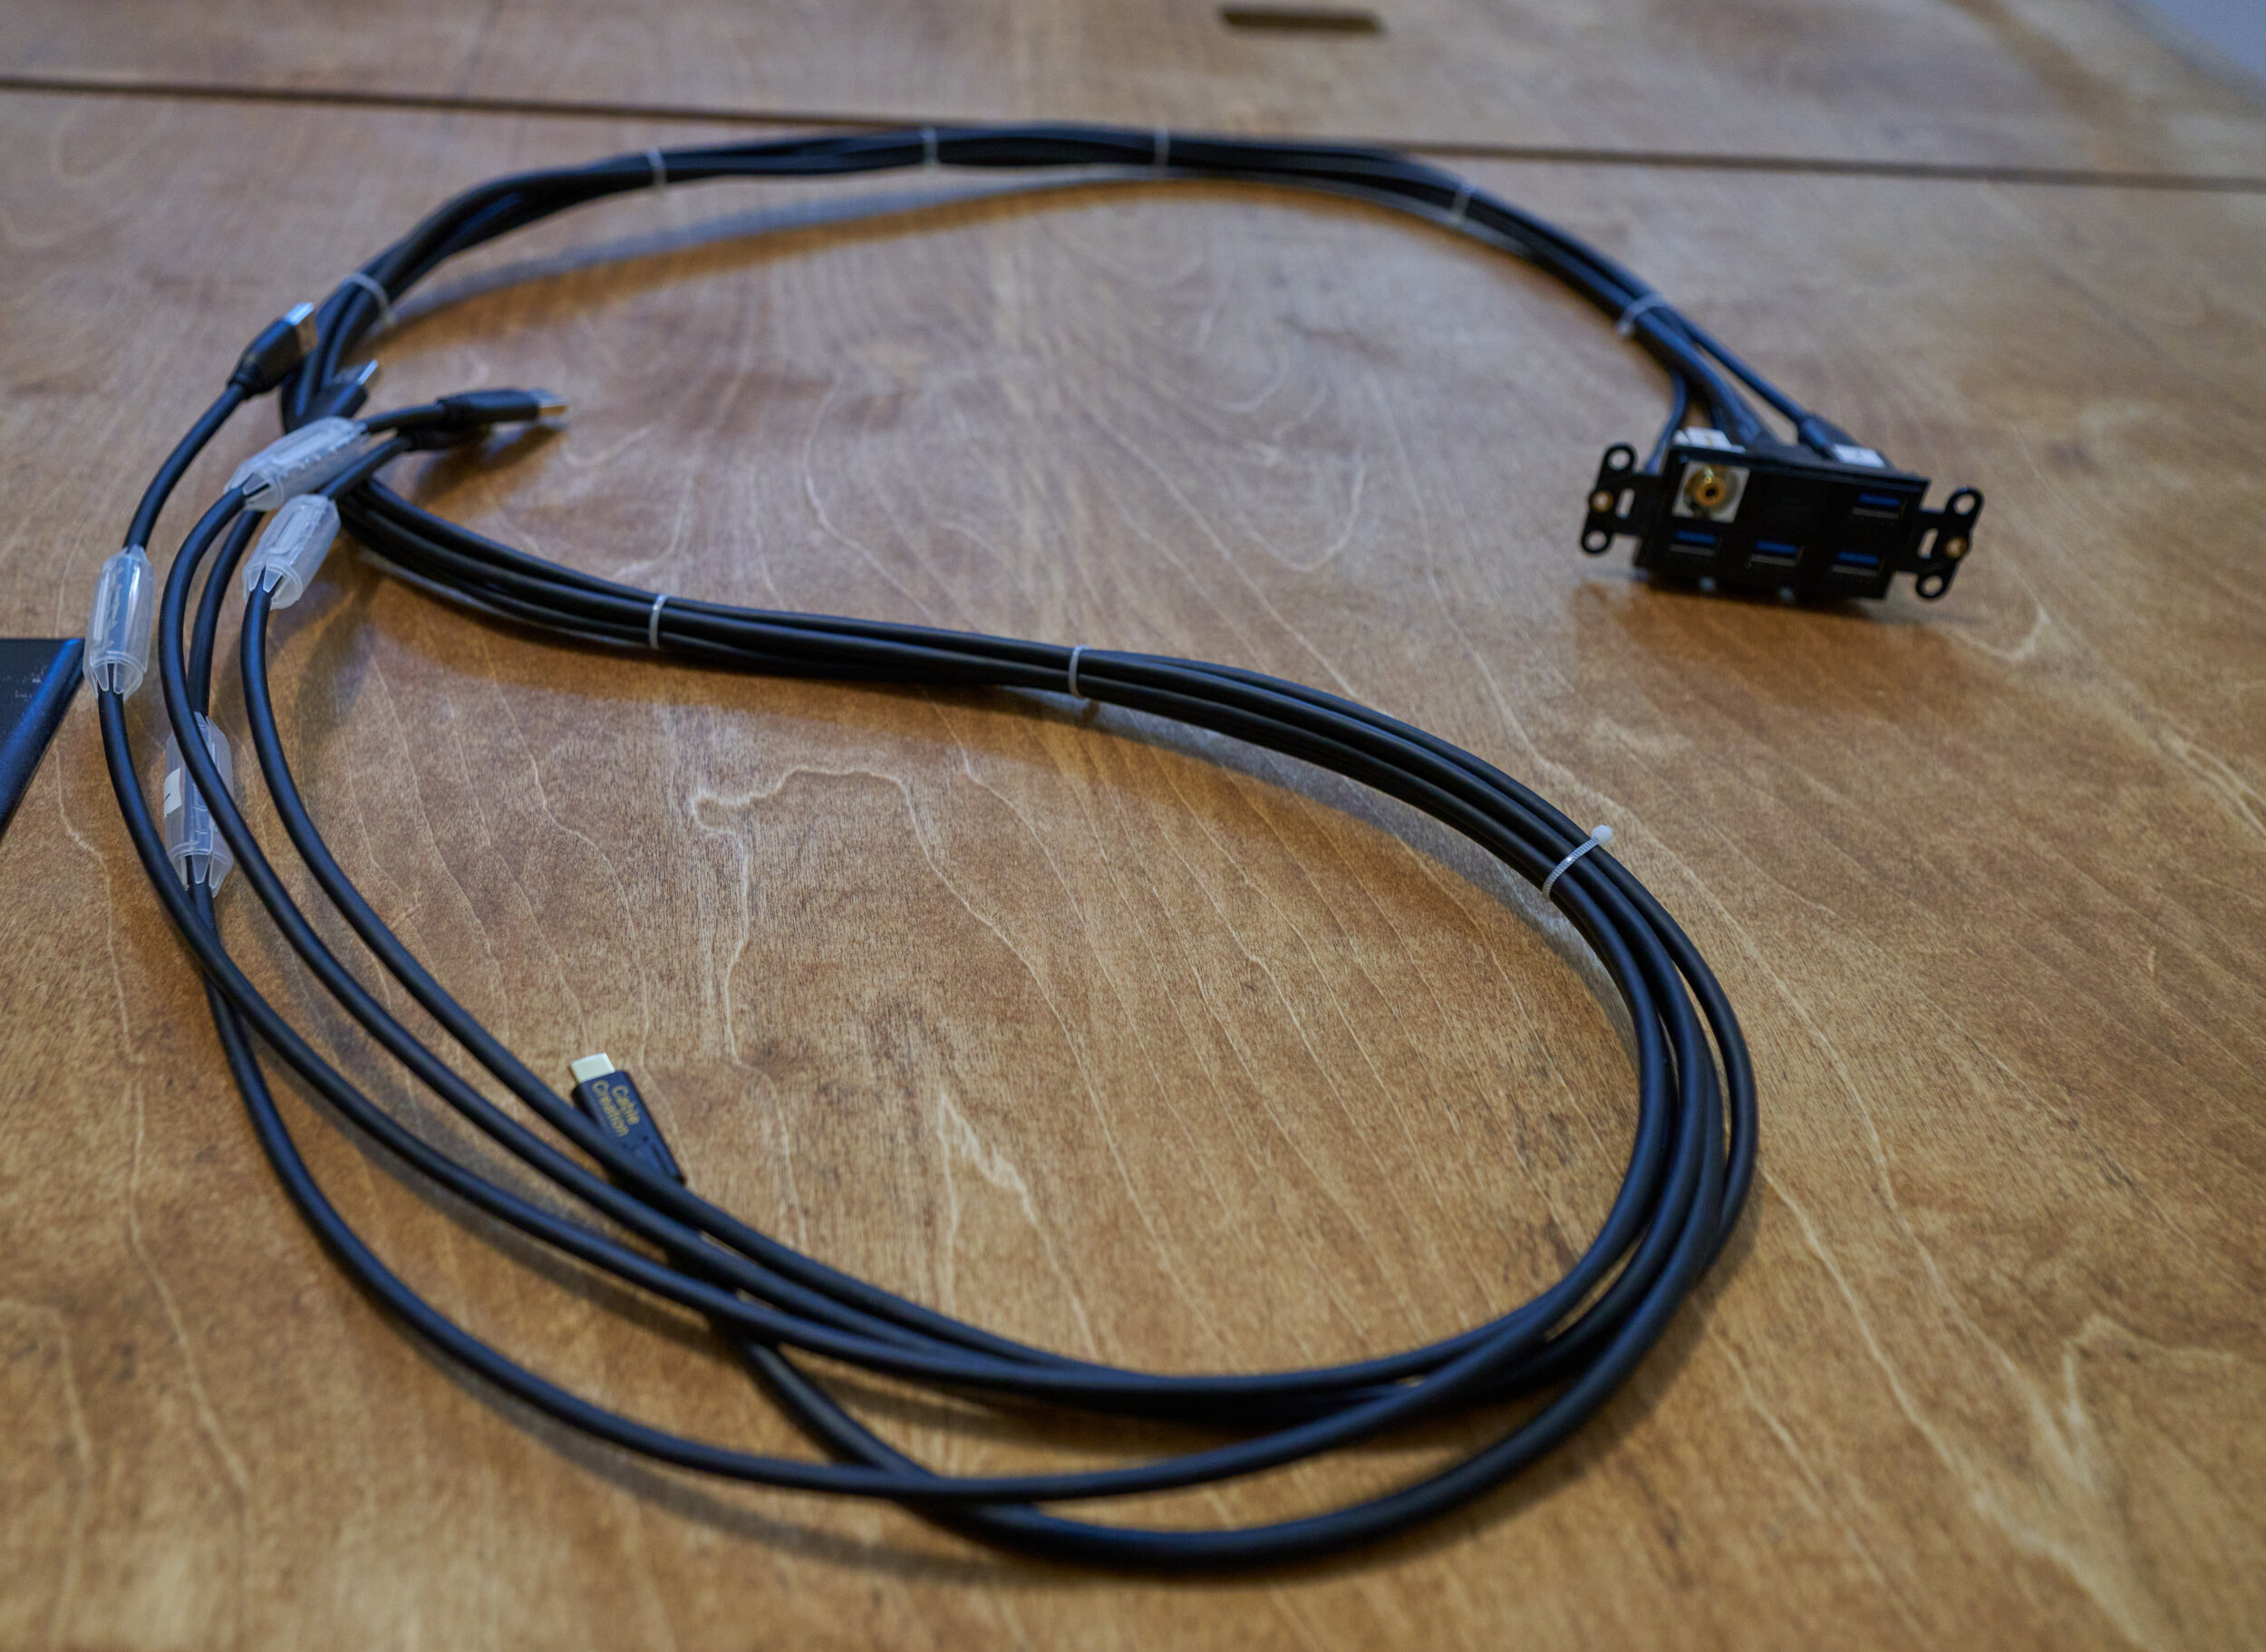
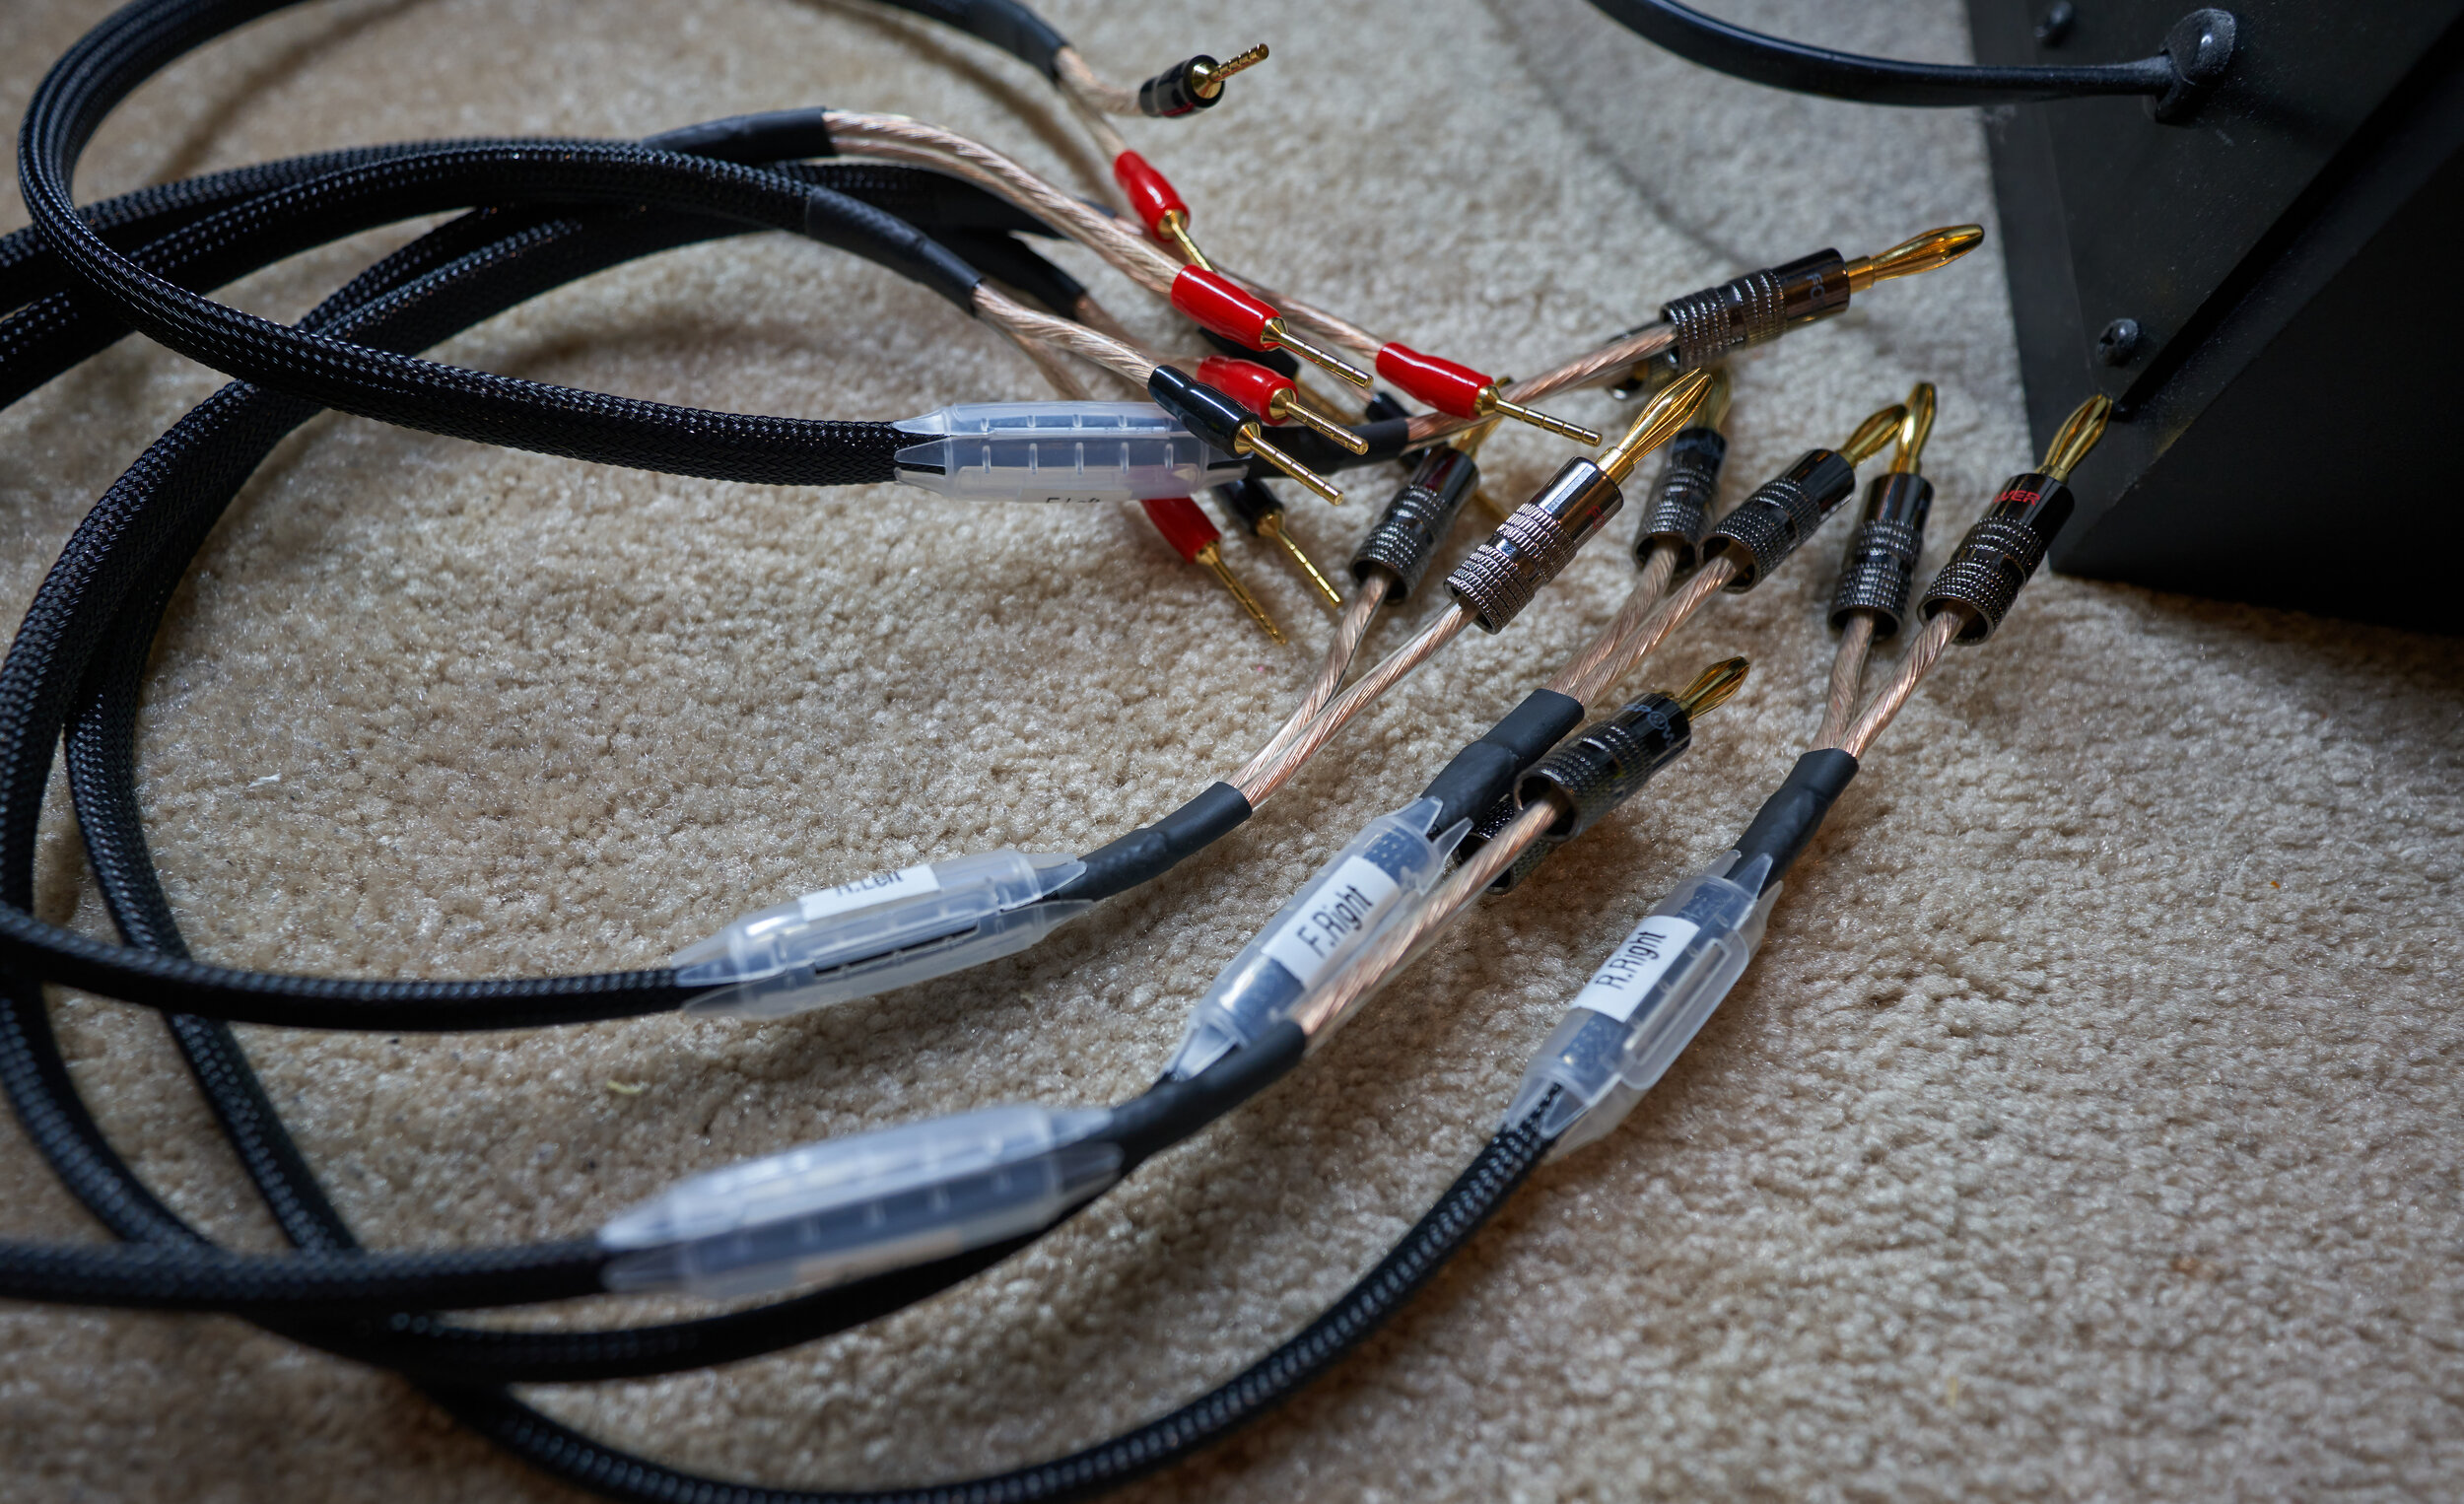
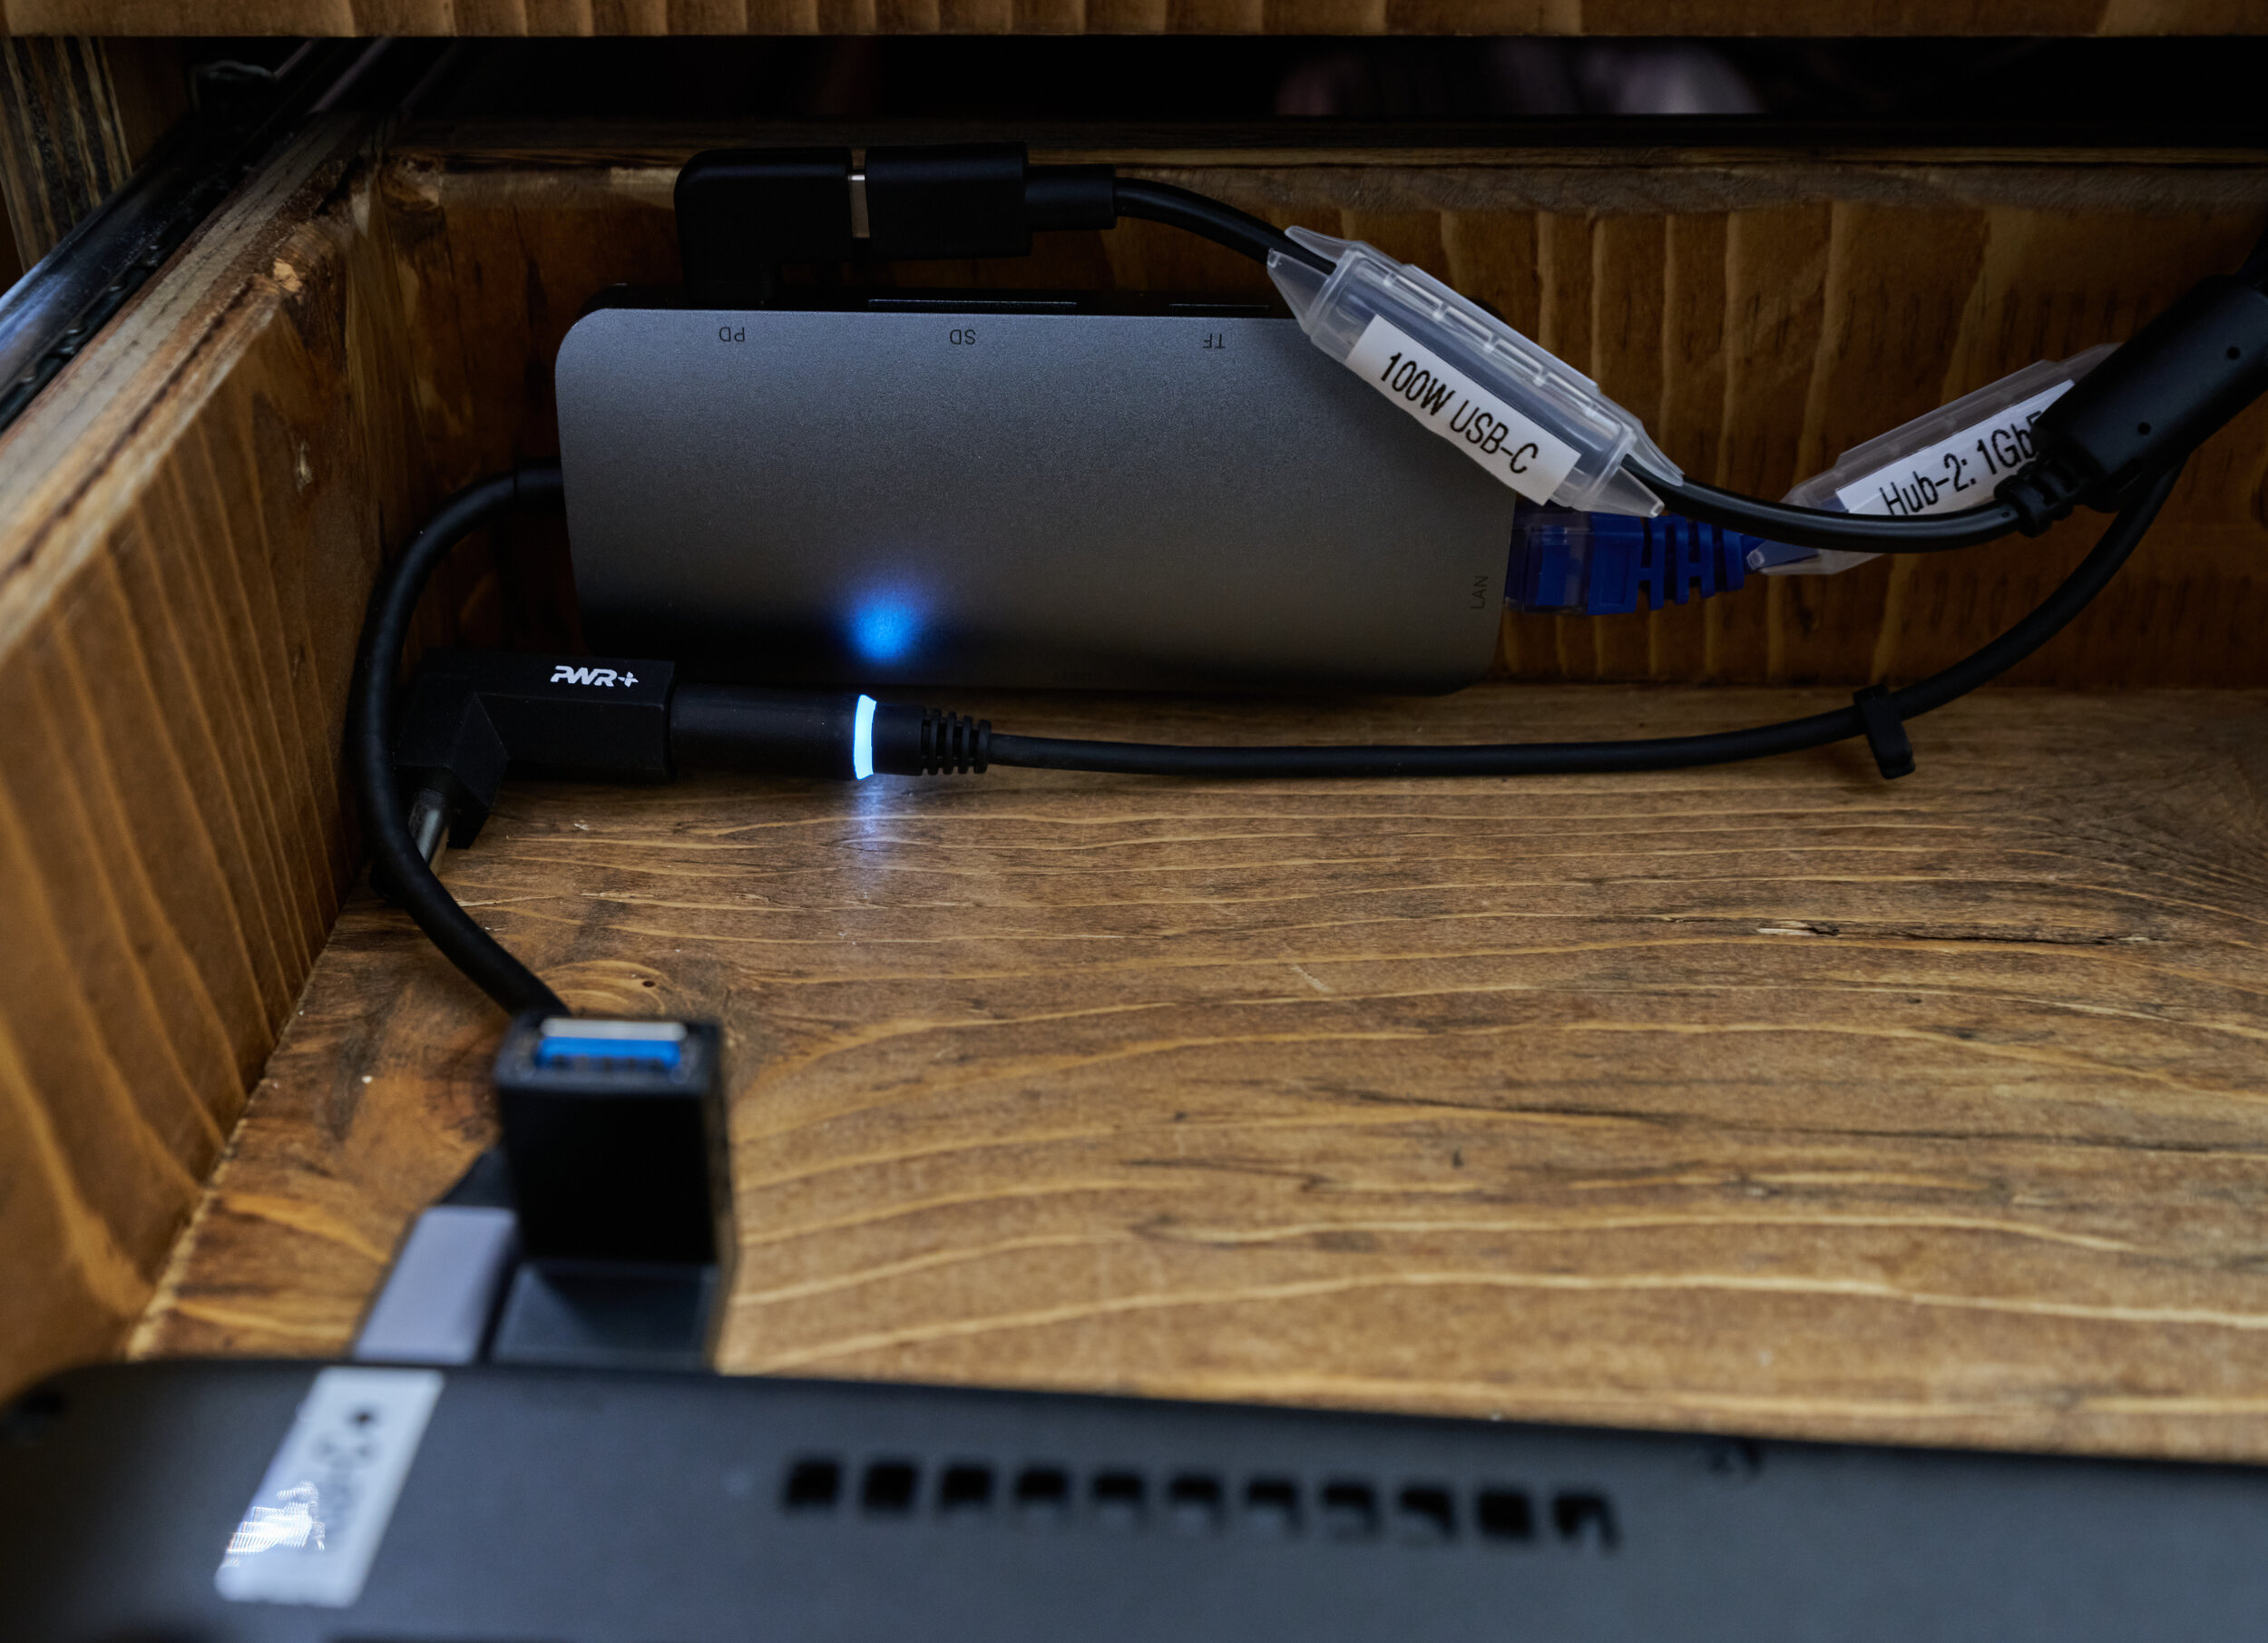
Humorously, I seriously underestimated just how many labels and cord markers I would need for this project. I bought a 100-pack of Dotz Cord ID tags used at least half, just for this faux-wall desk and the accompanying PC. It’s very easy to burn through the inventory: each cable on the PC is tagged and for the cords inside the wall, some of them are tagged twice (once at each end).


By the time of this post, I’ve been running with this desk as below for the better part of a year. Some changes I’d consider making if I redid this project
Add more network ports to pass to the downstream desks
Add more power outlets (at least one more behind the monitors, and one at the top of the faux-wall (possibly connected to a switch)
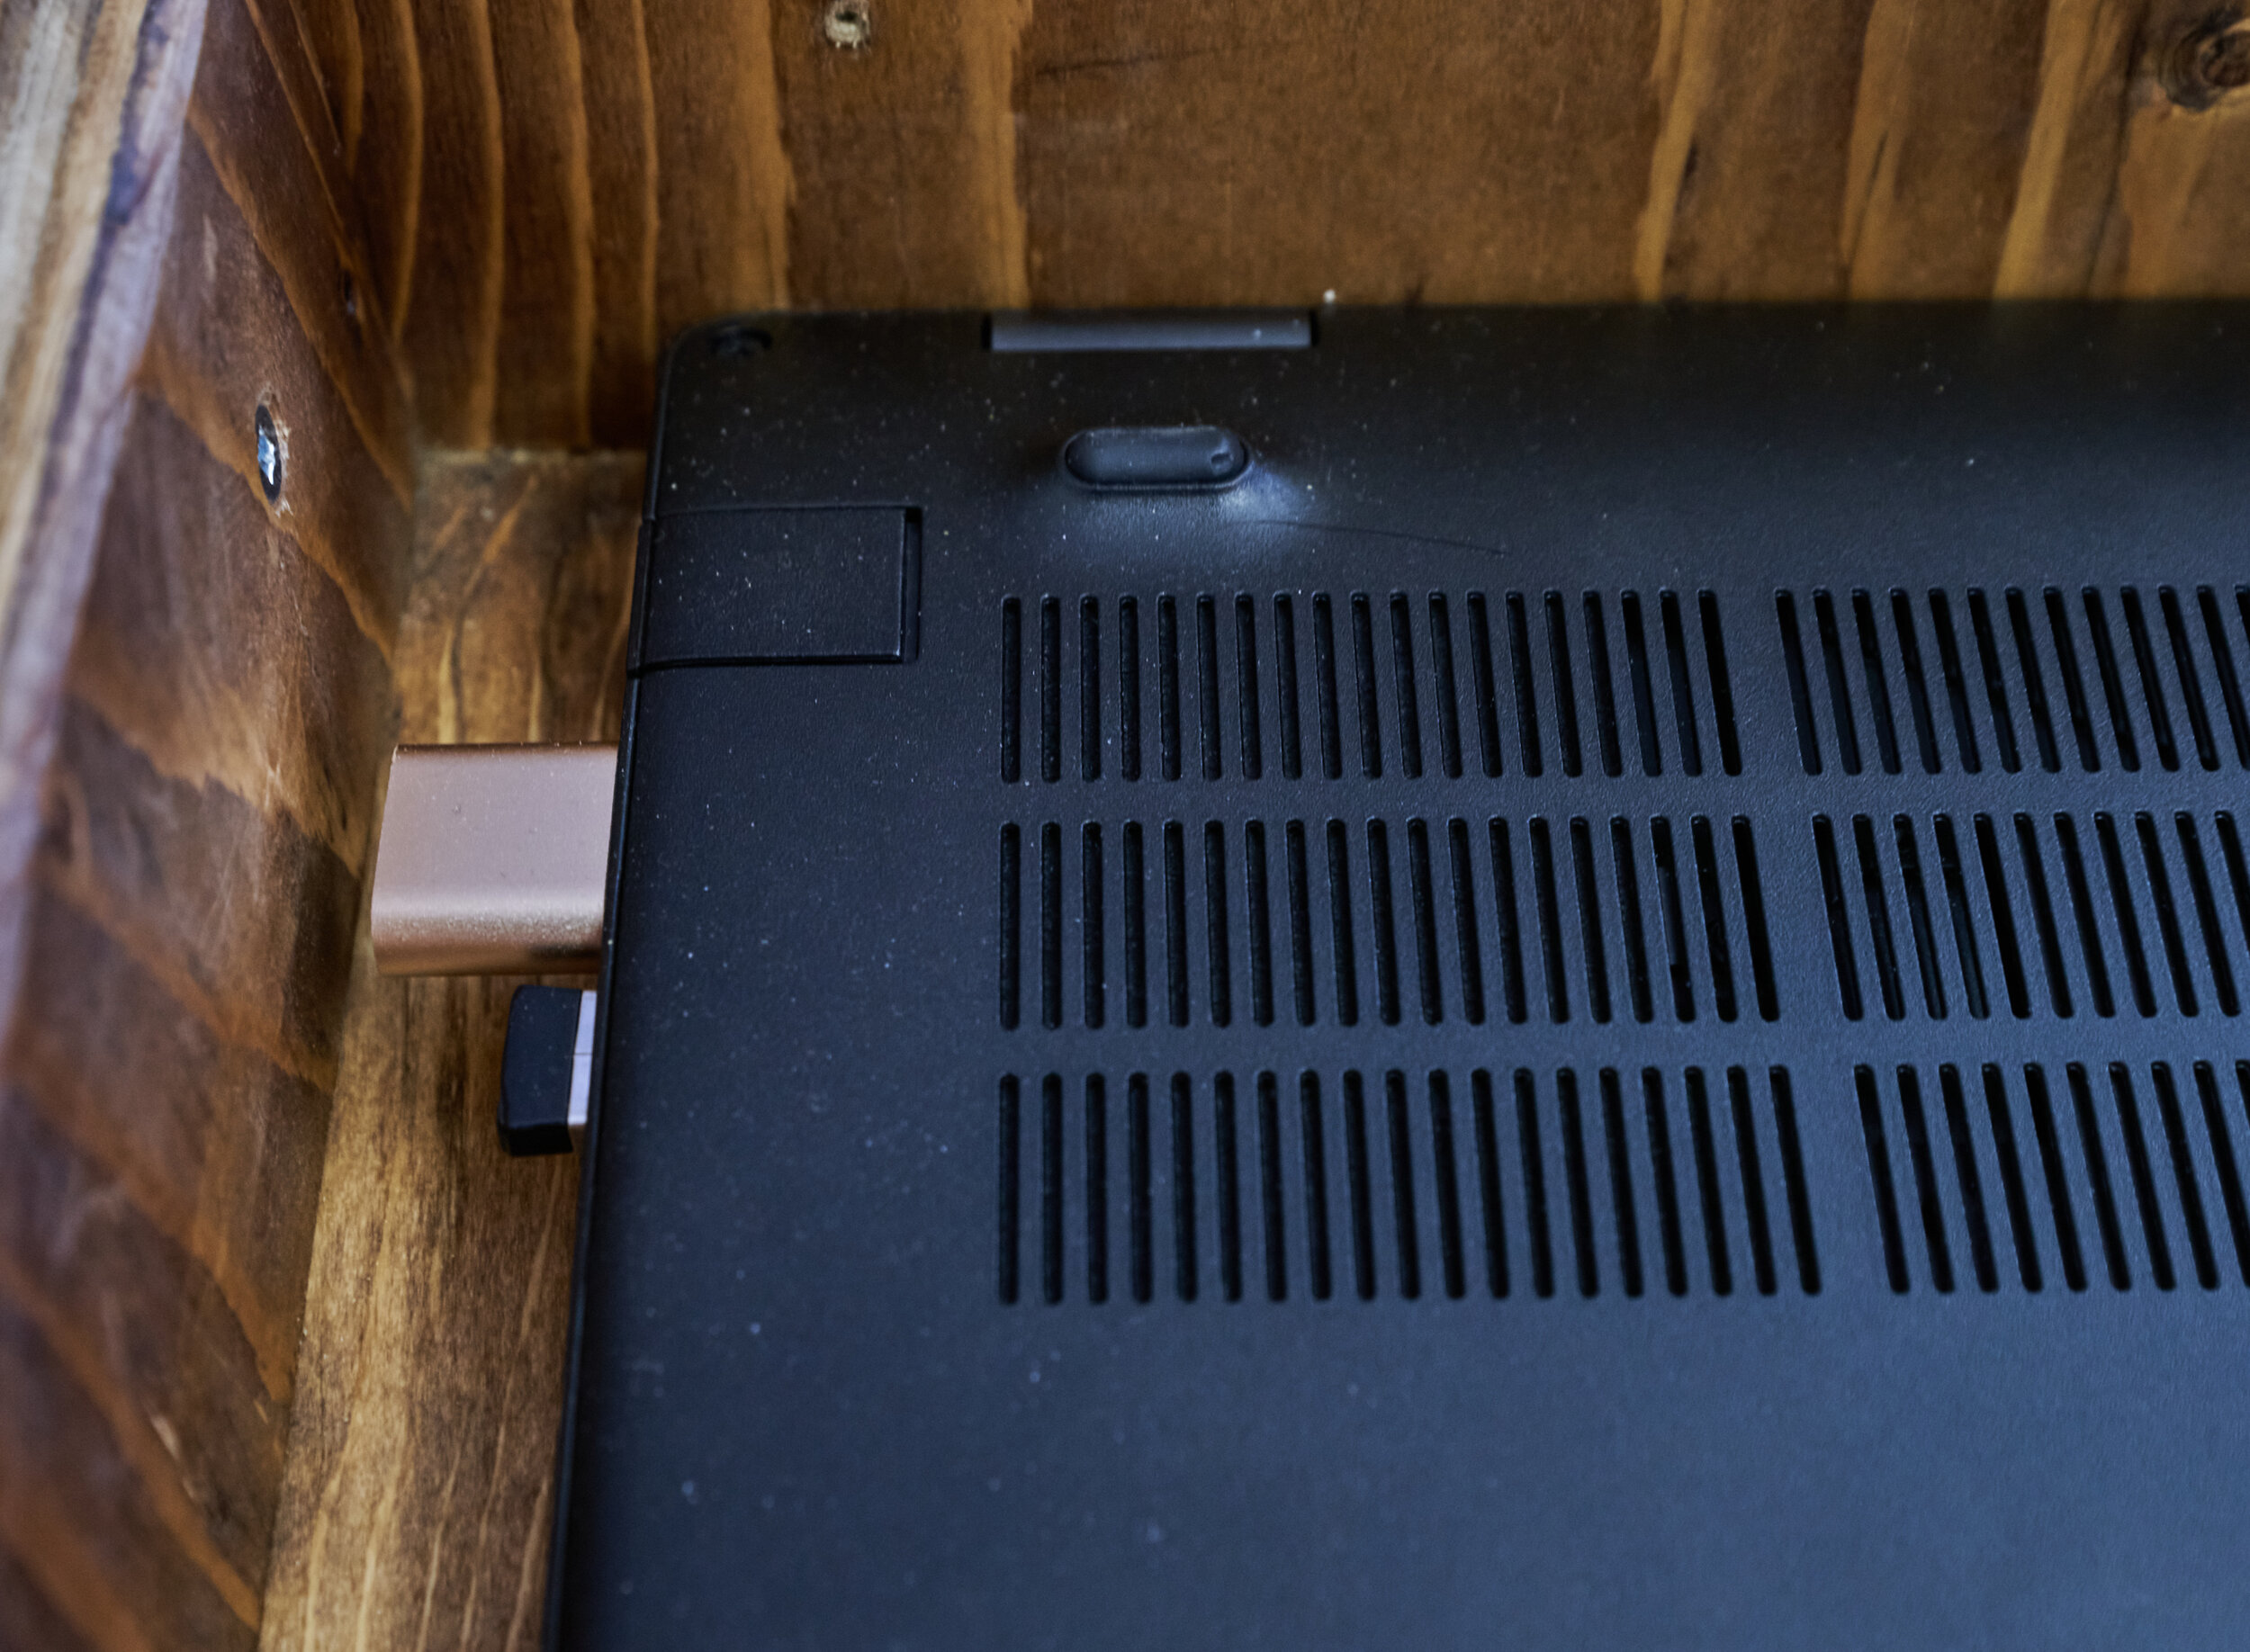
Instead of a single USB cluster, add two more clusters out of sight: one below the desk-line and one hidden behind the monitors
A clean cutout at the back of the desktop to route cables
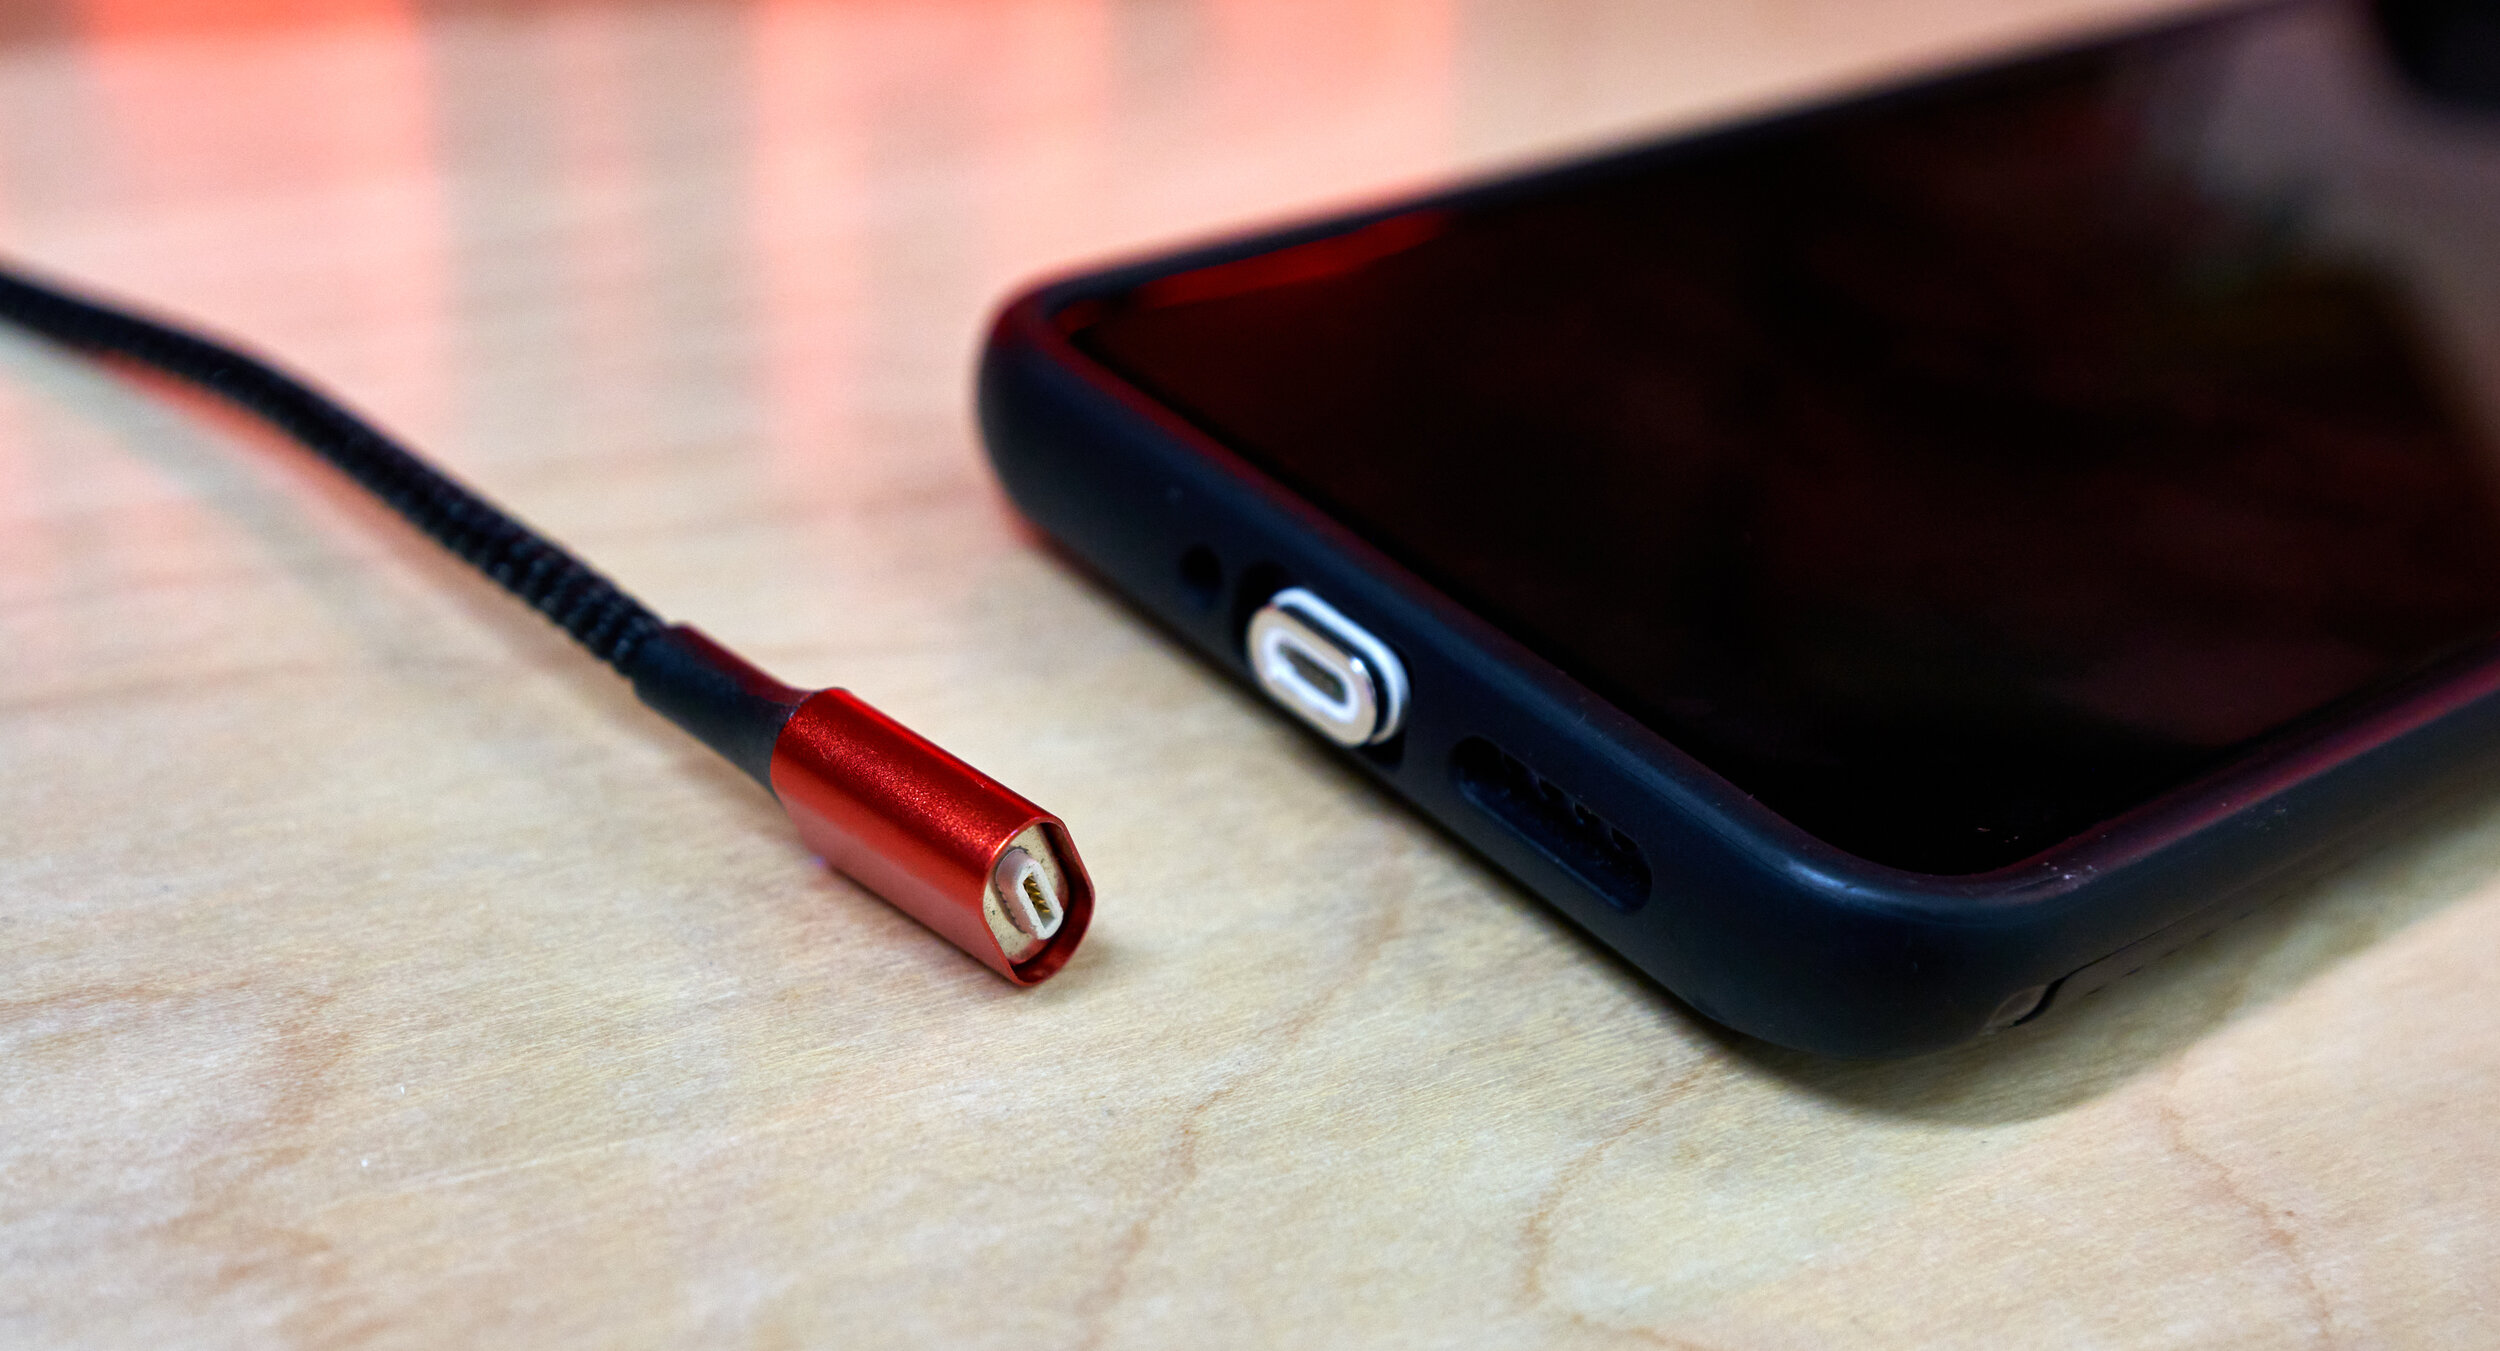
Integrate wireless charging into the desk (2x slots) — connected using magnetic cables so I can still just remove the top
Consider a vertically sliding laptop drawer
Tools, Consumables and Materials Used
Build Materials
6x sheets of ¾” plywood (approximately 51CAD/ea. at the time)
5x 2x4x96 SPF (approximately 4CAD/ea. at the time)
7x soft-closing full extension slides, 22” (normally up to 40CAD/ea! Due to a pricing error I paid something closer to 12CAD/ea)
1x 1x5x6 red oak (30CAD/ea. at the time)
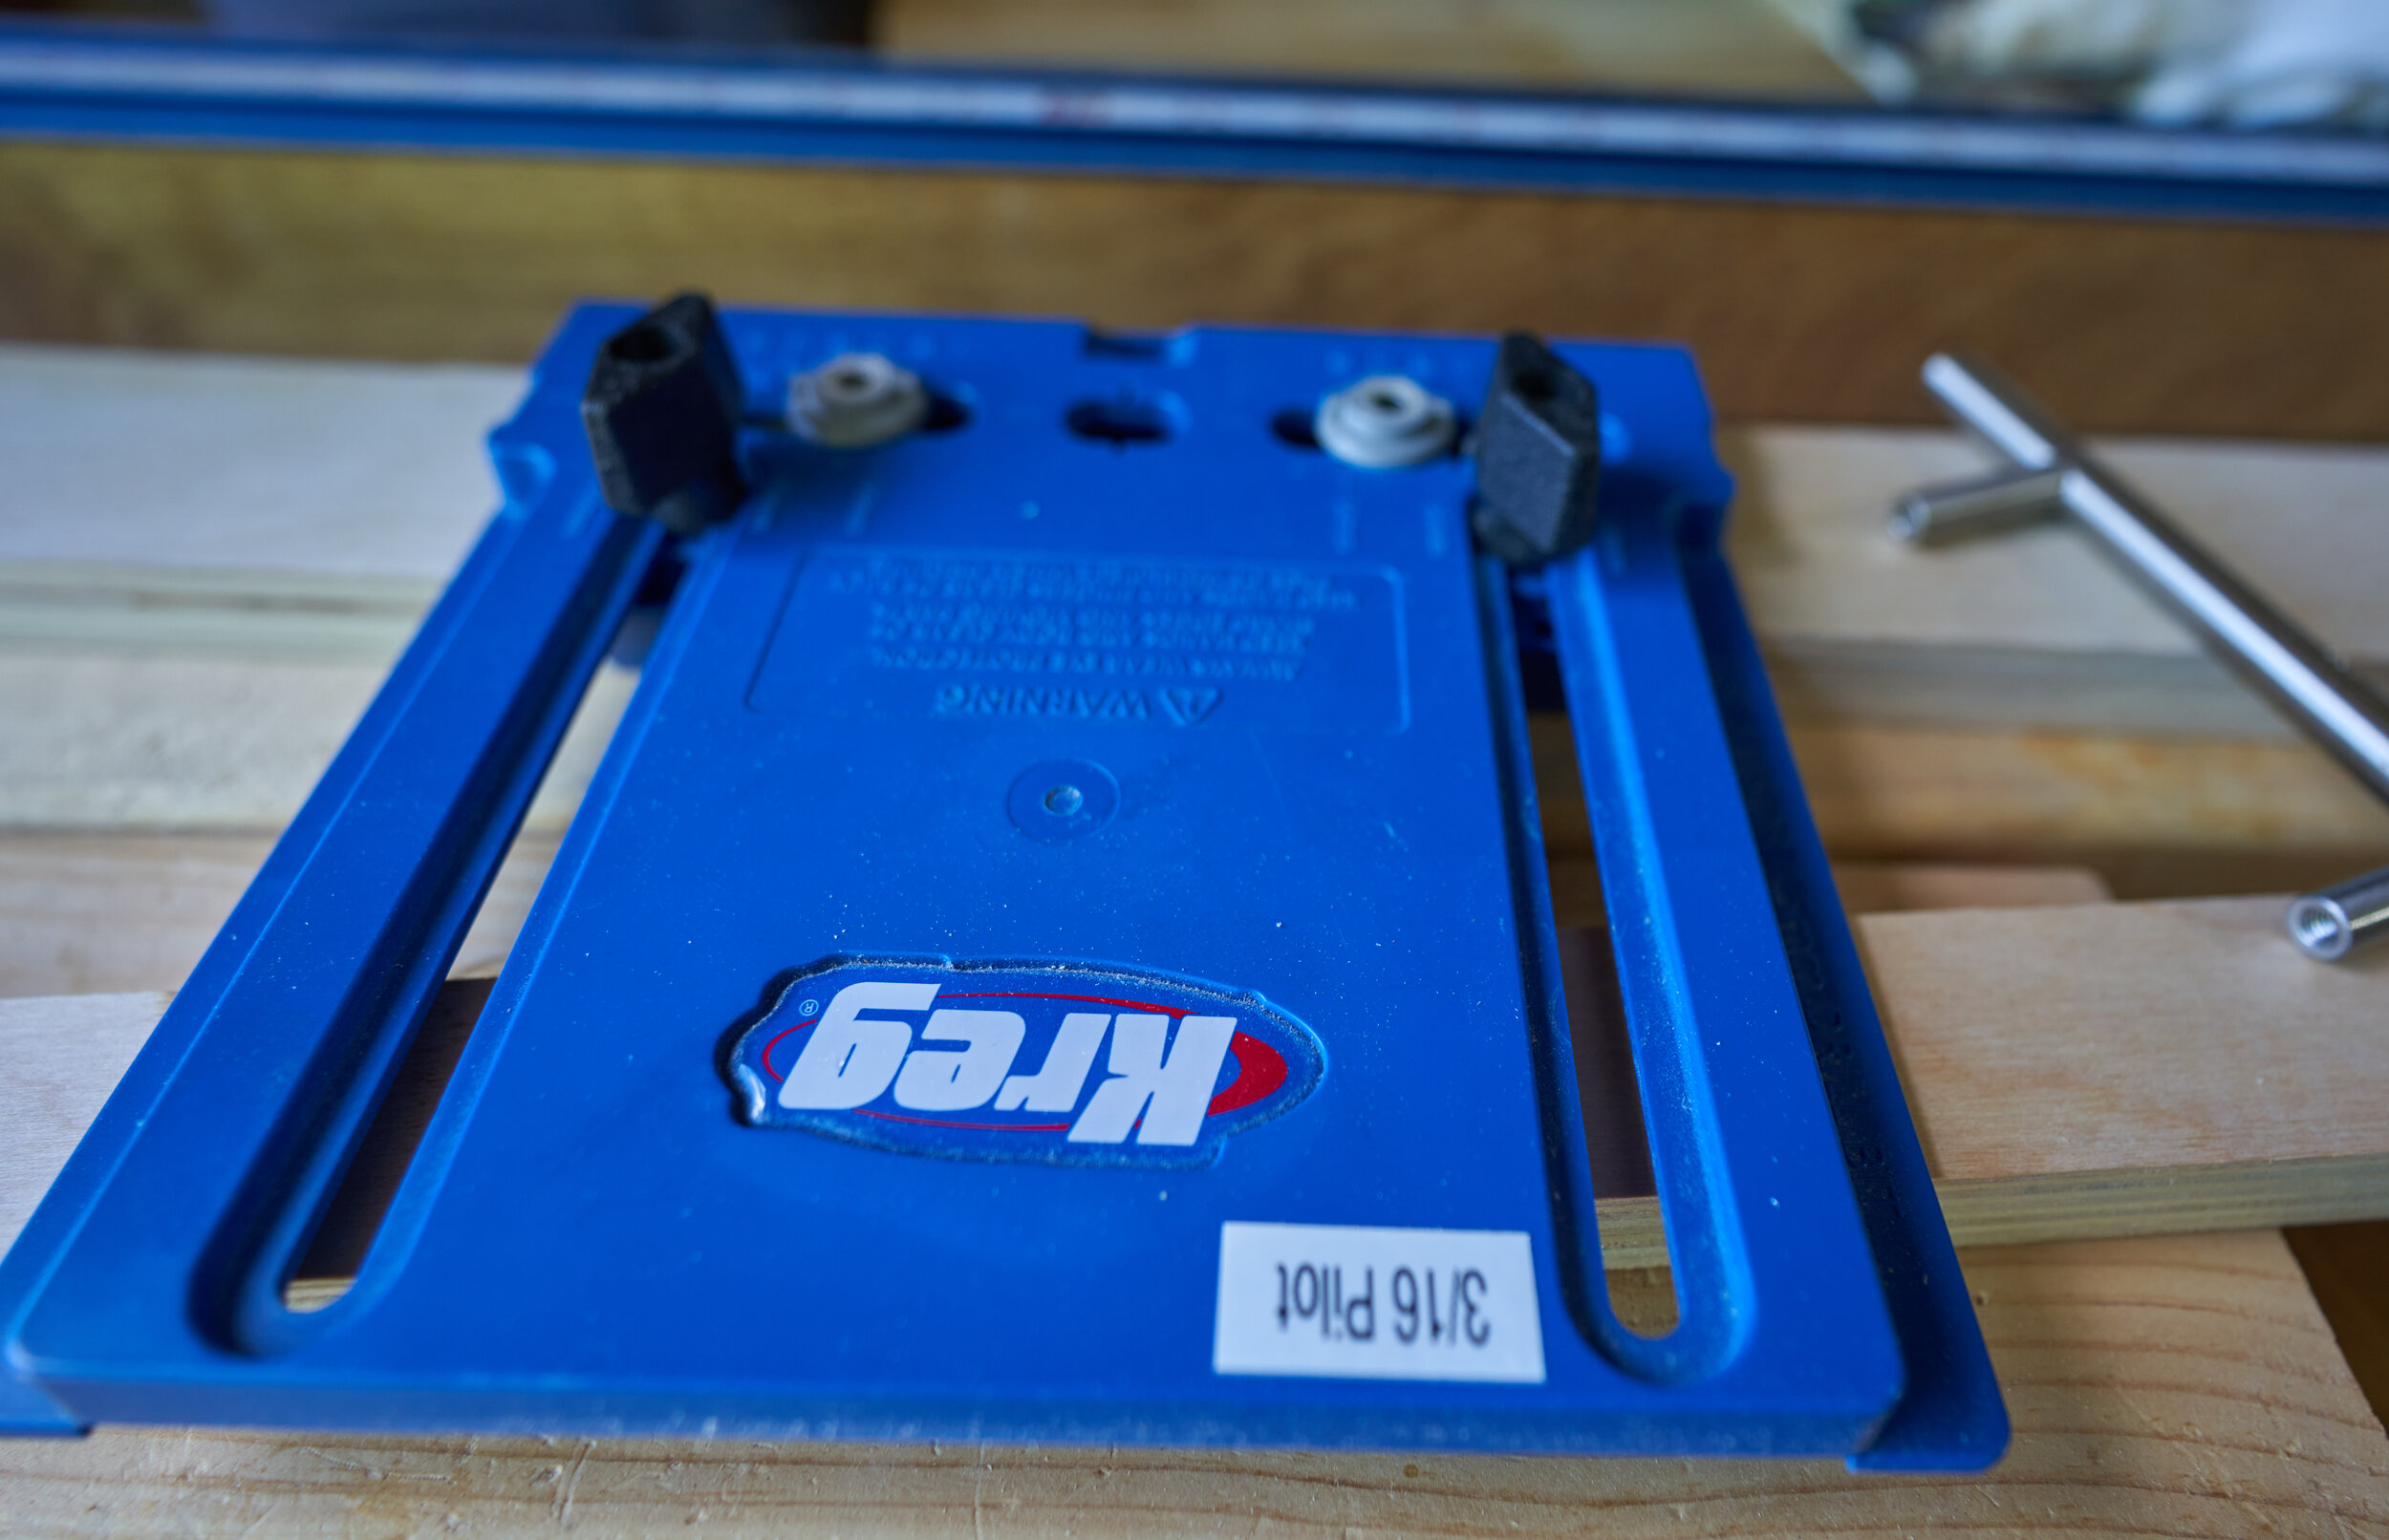
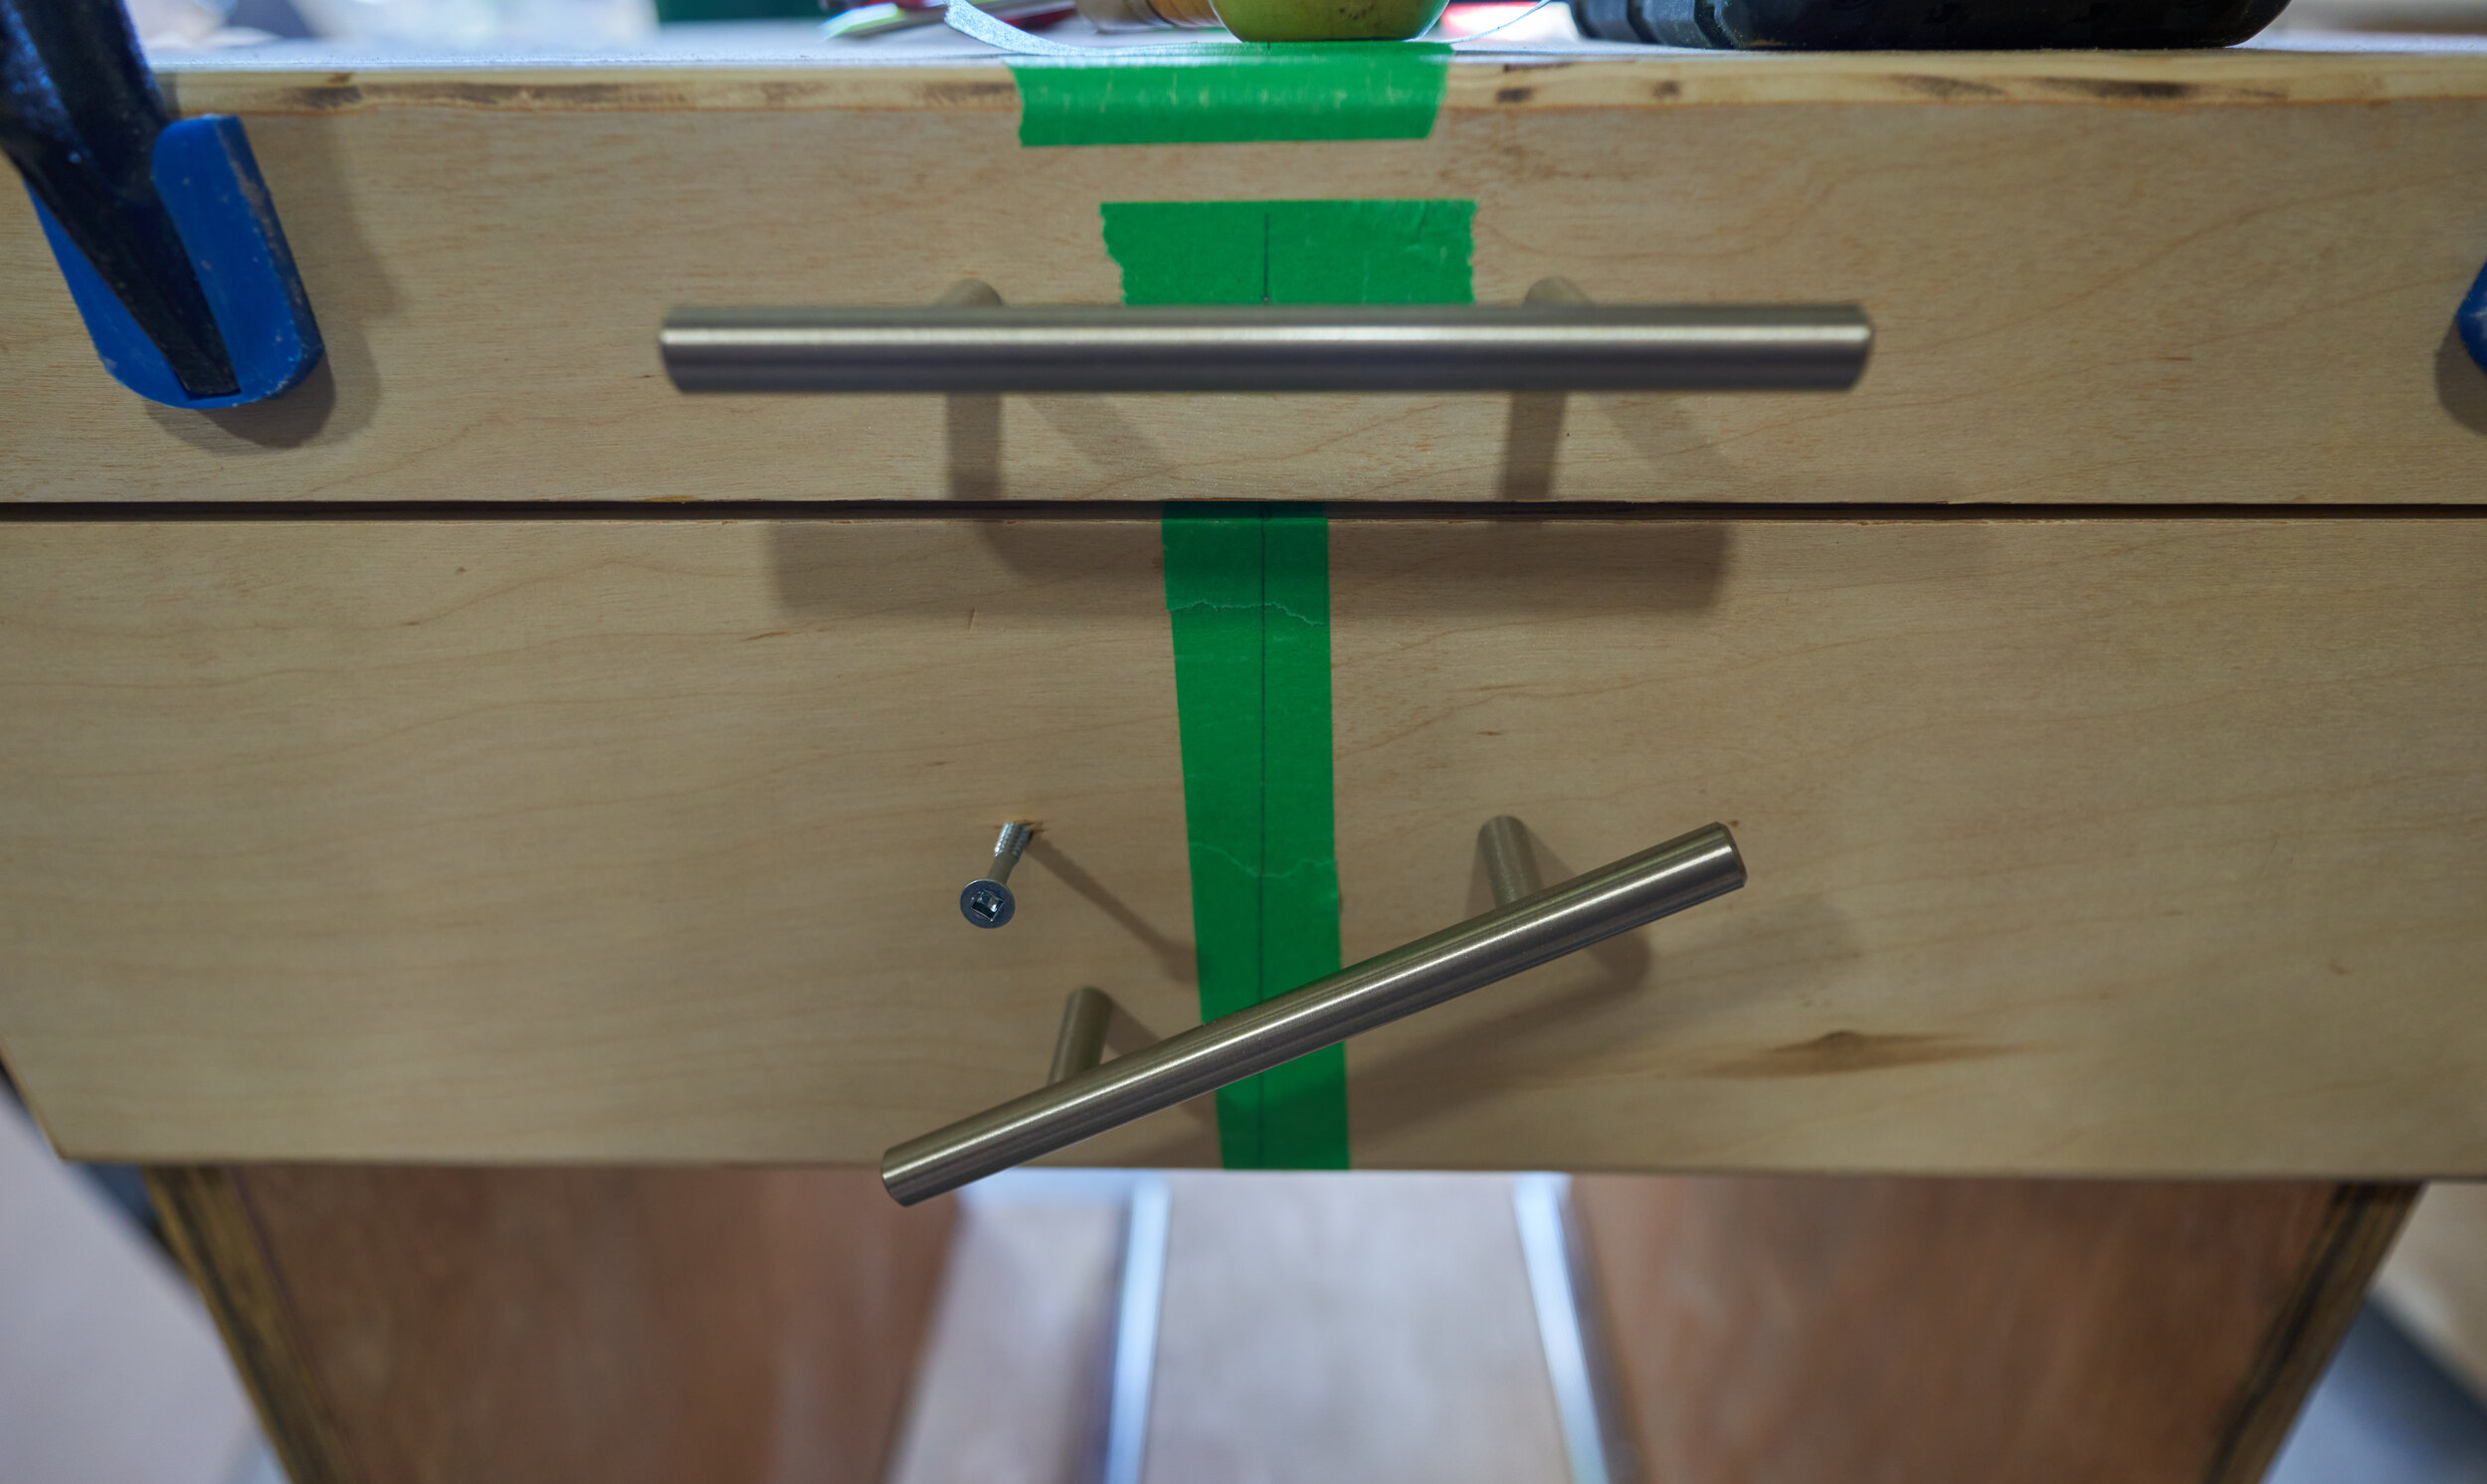
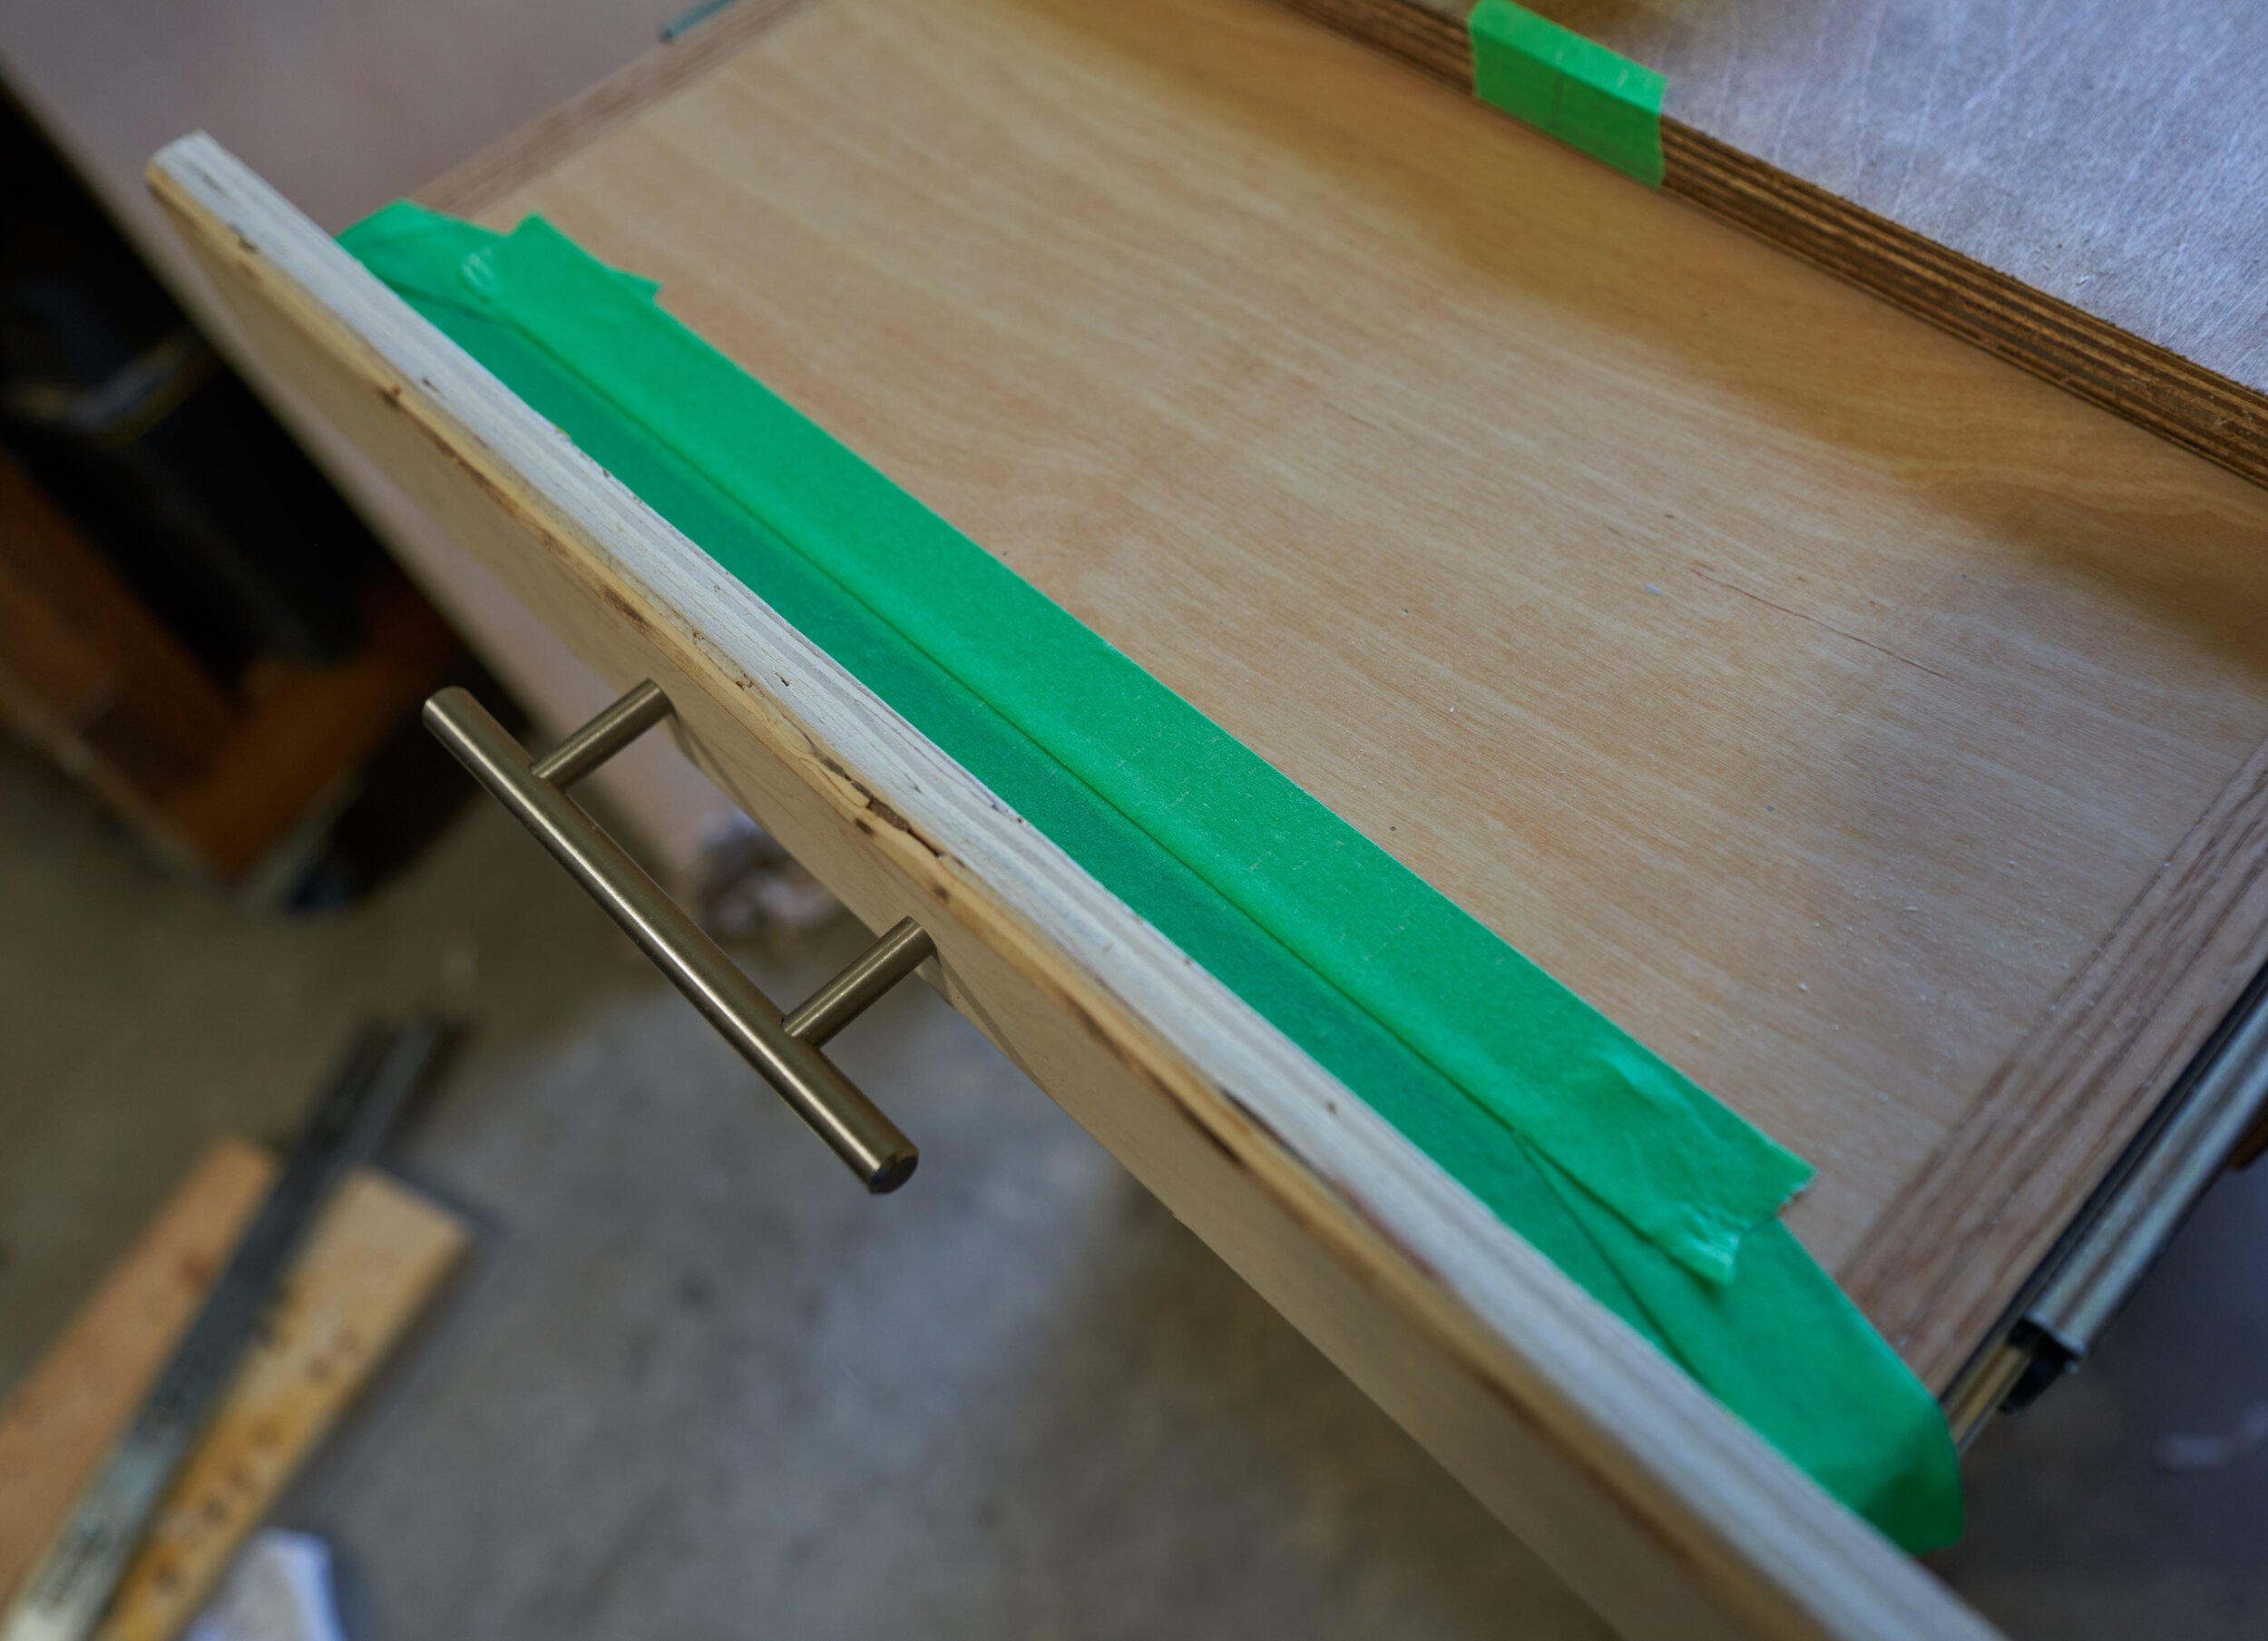
6x Amazonbasics drawer pulls, 3” spacing (35CAD for a 25-pack at the time)
I also have access to plywood scraps and offcuts as well as buying consumables like glue, stain and polyurethane and edge banding in bulk.
Reducing Material costs
The red oak trim can be skipped (bought as S4S, this can be as much as 30CAD just for this board alone!)
The ¾” plywood on the back side of the faux-wall can be replaced with thinner and/or cheaper material like OSB or even 1/8” hardboard. If you use hardboard, you’ll want to get some strips of 1x2 or something to secure the faux-wall to the real-wall
By making the drawers out of ½” plywood and/or using ¼” plywood bottoms would reduce plywood cost; also reducing the number and configuration of drawers can have a big impact on this cost
The soft-closing full-extension slides can be (and should be) swapped for standard full-extension slides; you can reduce the cost even further by using side drawer slides or even friction-wood slides
Skipping veneer edge banding, drawer pulls or even switching to paint instead of stain can reduce the cost
Tools
I used a huge variety of tools to put this project together with more than a few of them being ‘luxury item’ tools. Given that this project is a glorified collection of boxes with holes cut in them, it can be completed with a really basic selection of tools. Getting plywood cut down to size at the big box store really makes this project more accessible.
Absolute minimum: drill & jigsaw
Technically a jigsaw can do all of the cuts needed, but I would get the big box store to cut the plywood down to size on the panel saw
You give up the french-cleat and any rounded edges
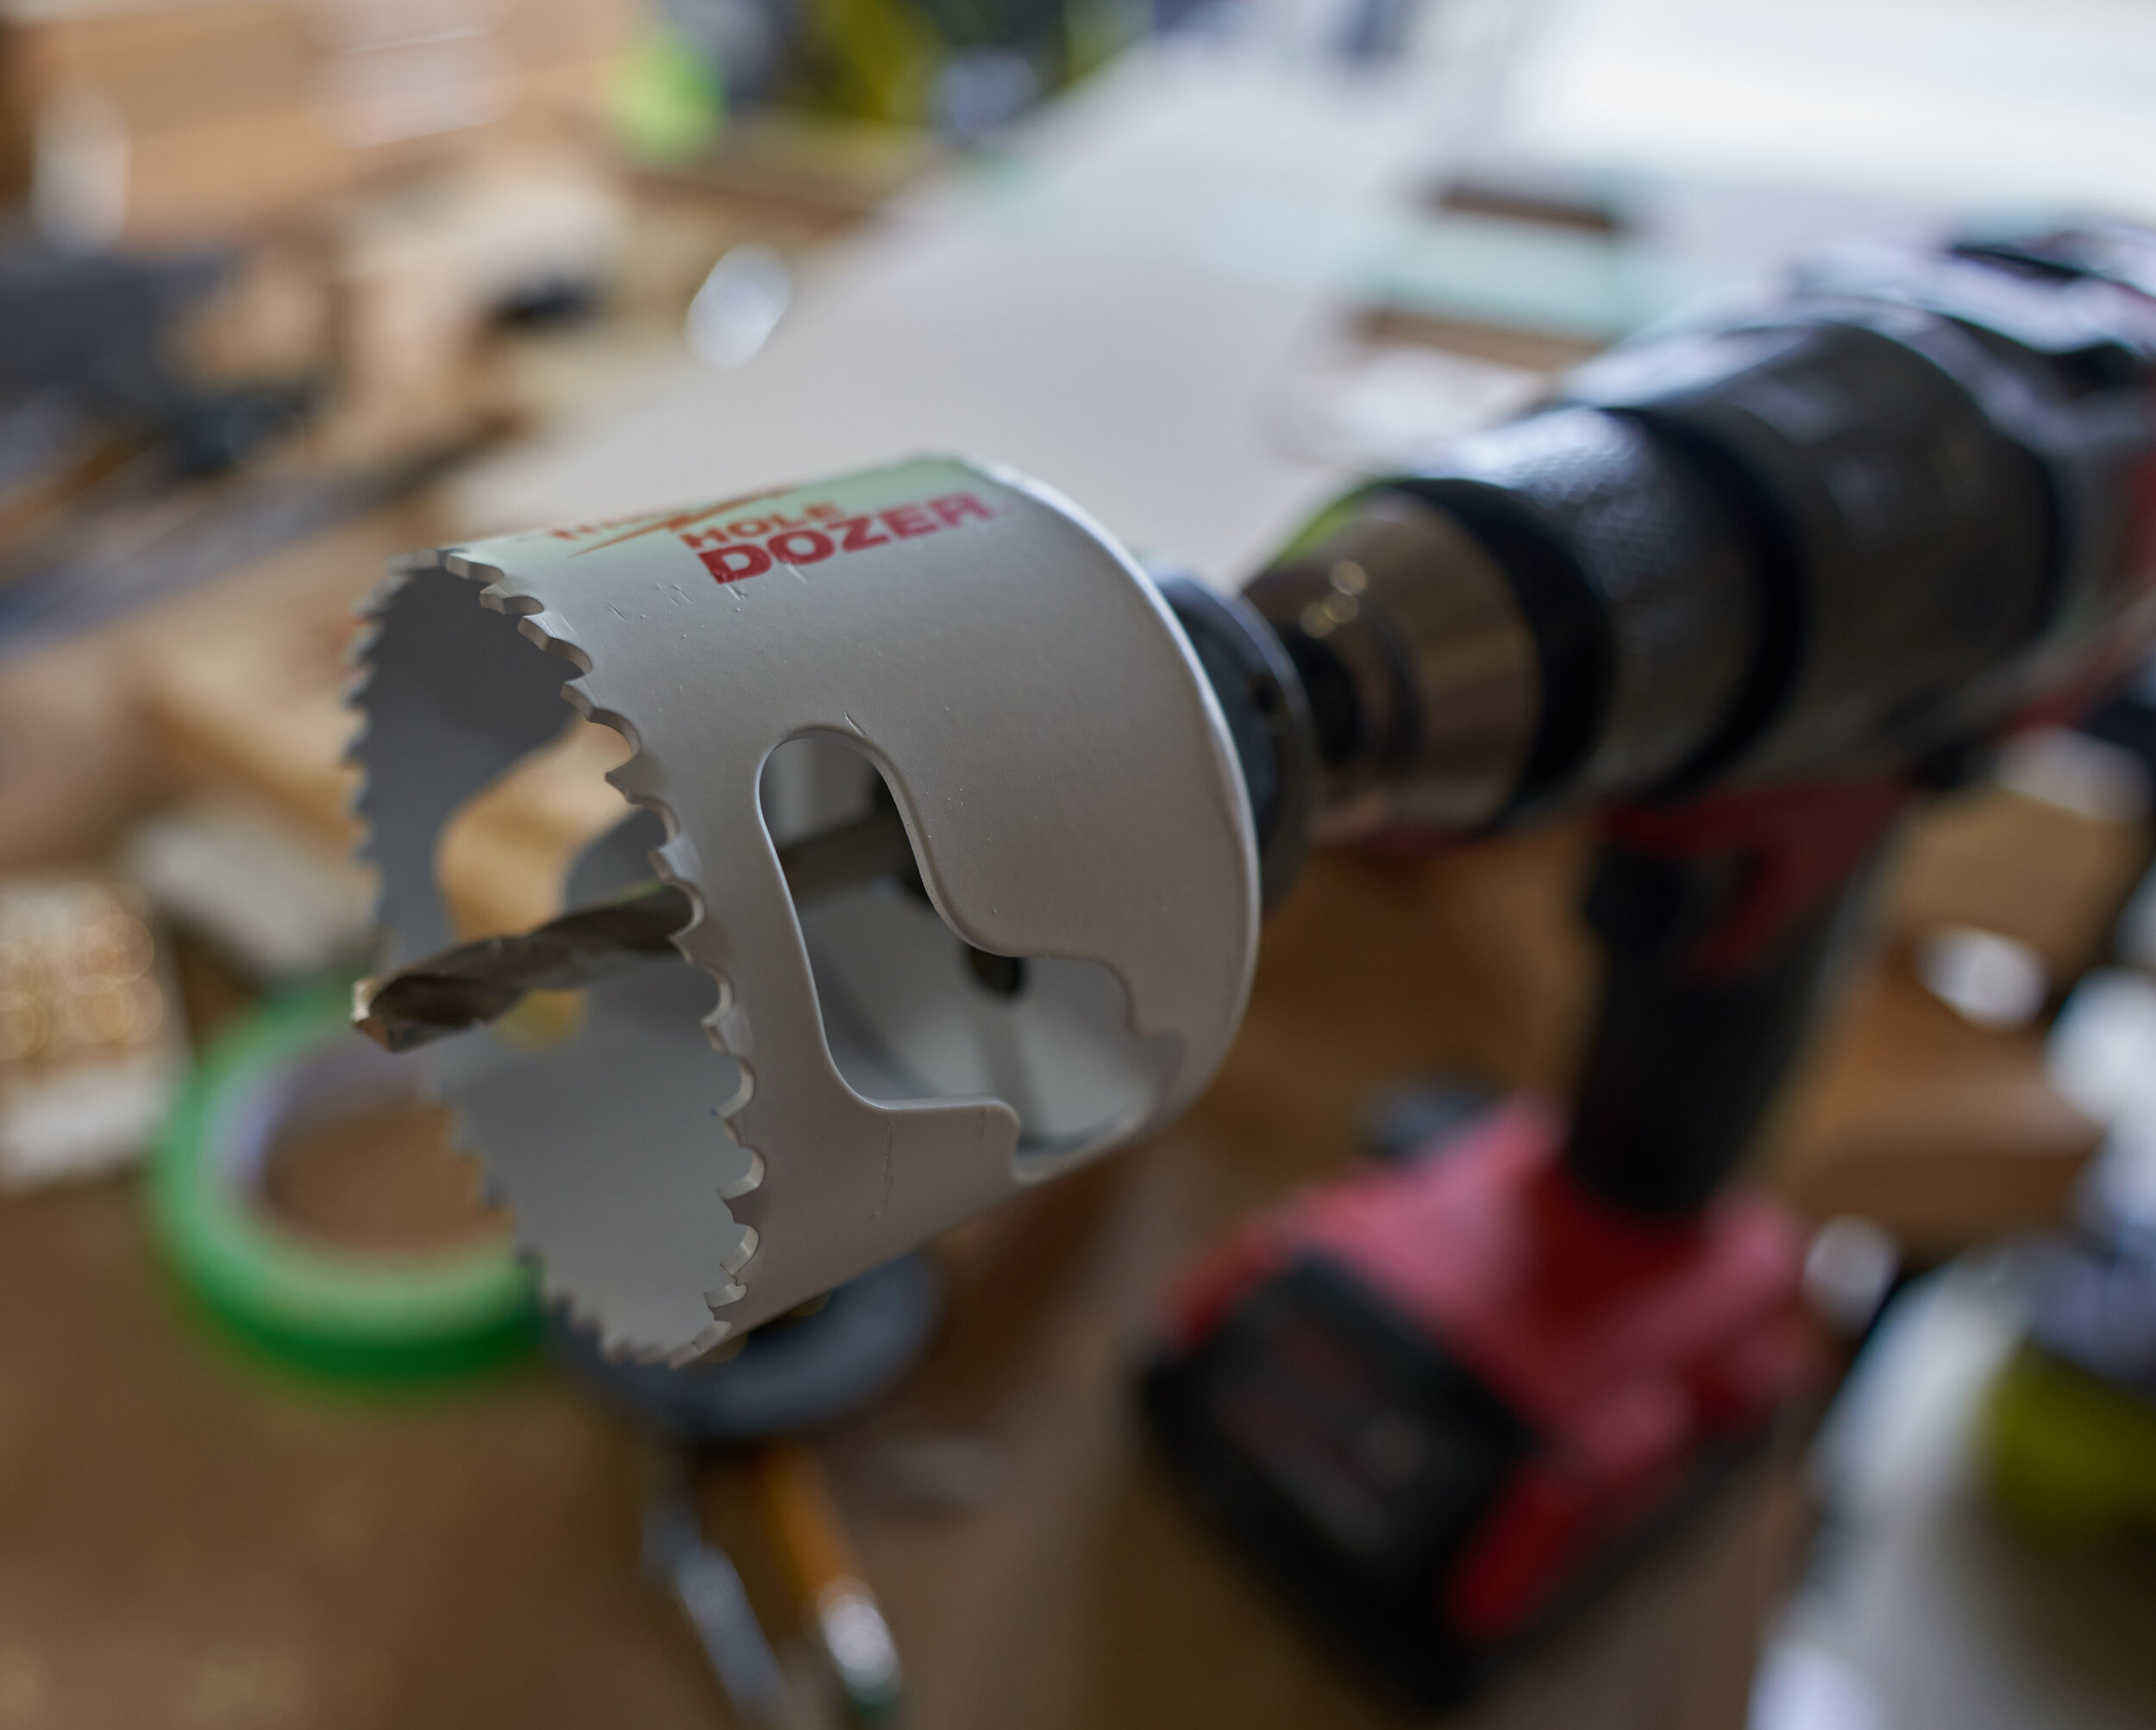
You’ll probably want a cheap hole-saw kit to cut the larger circular holes
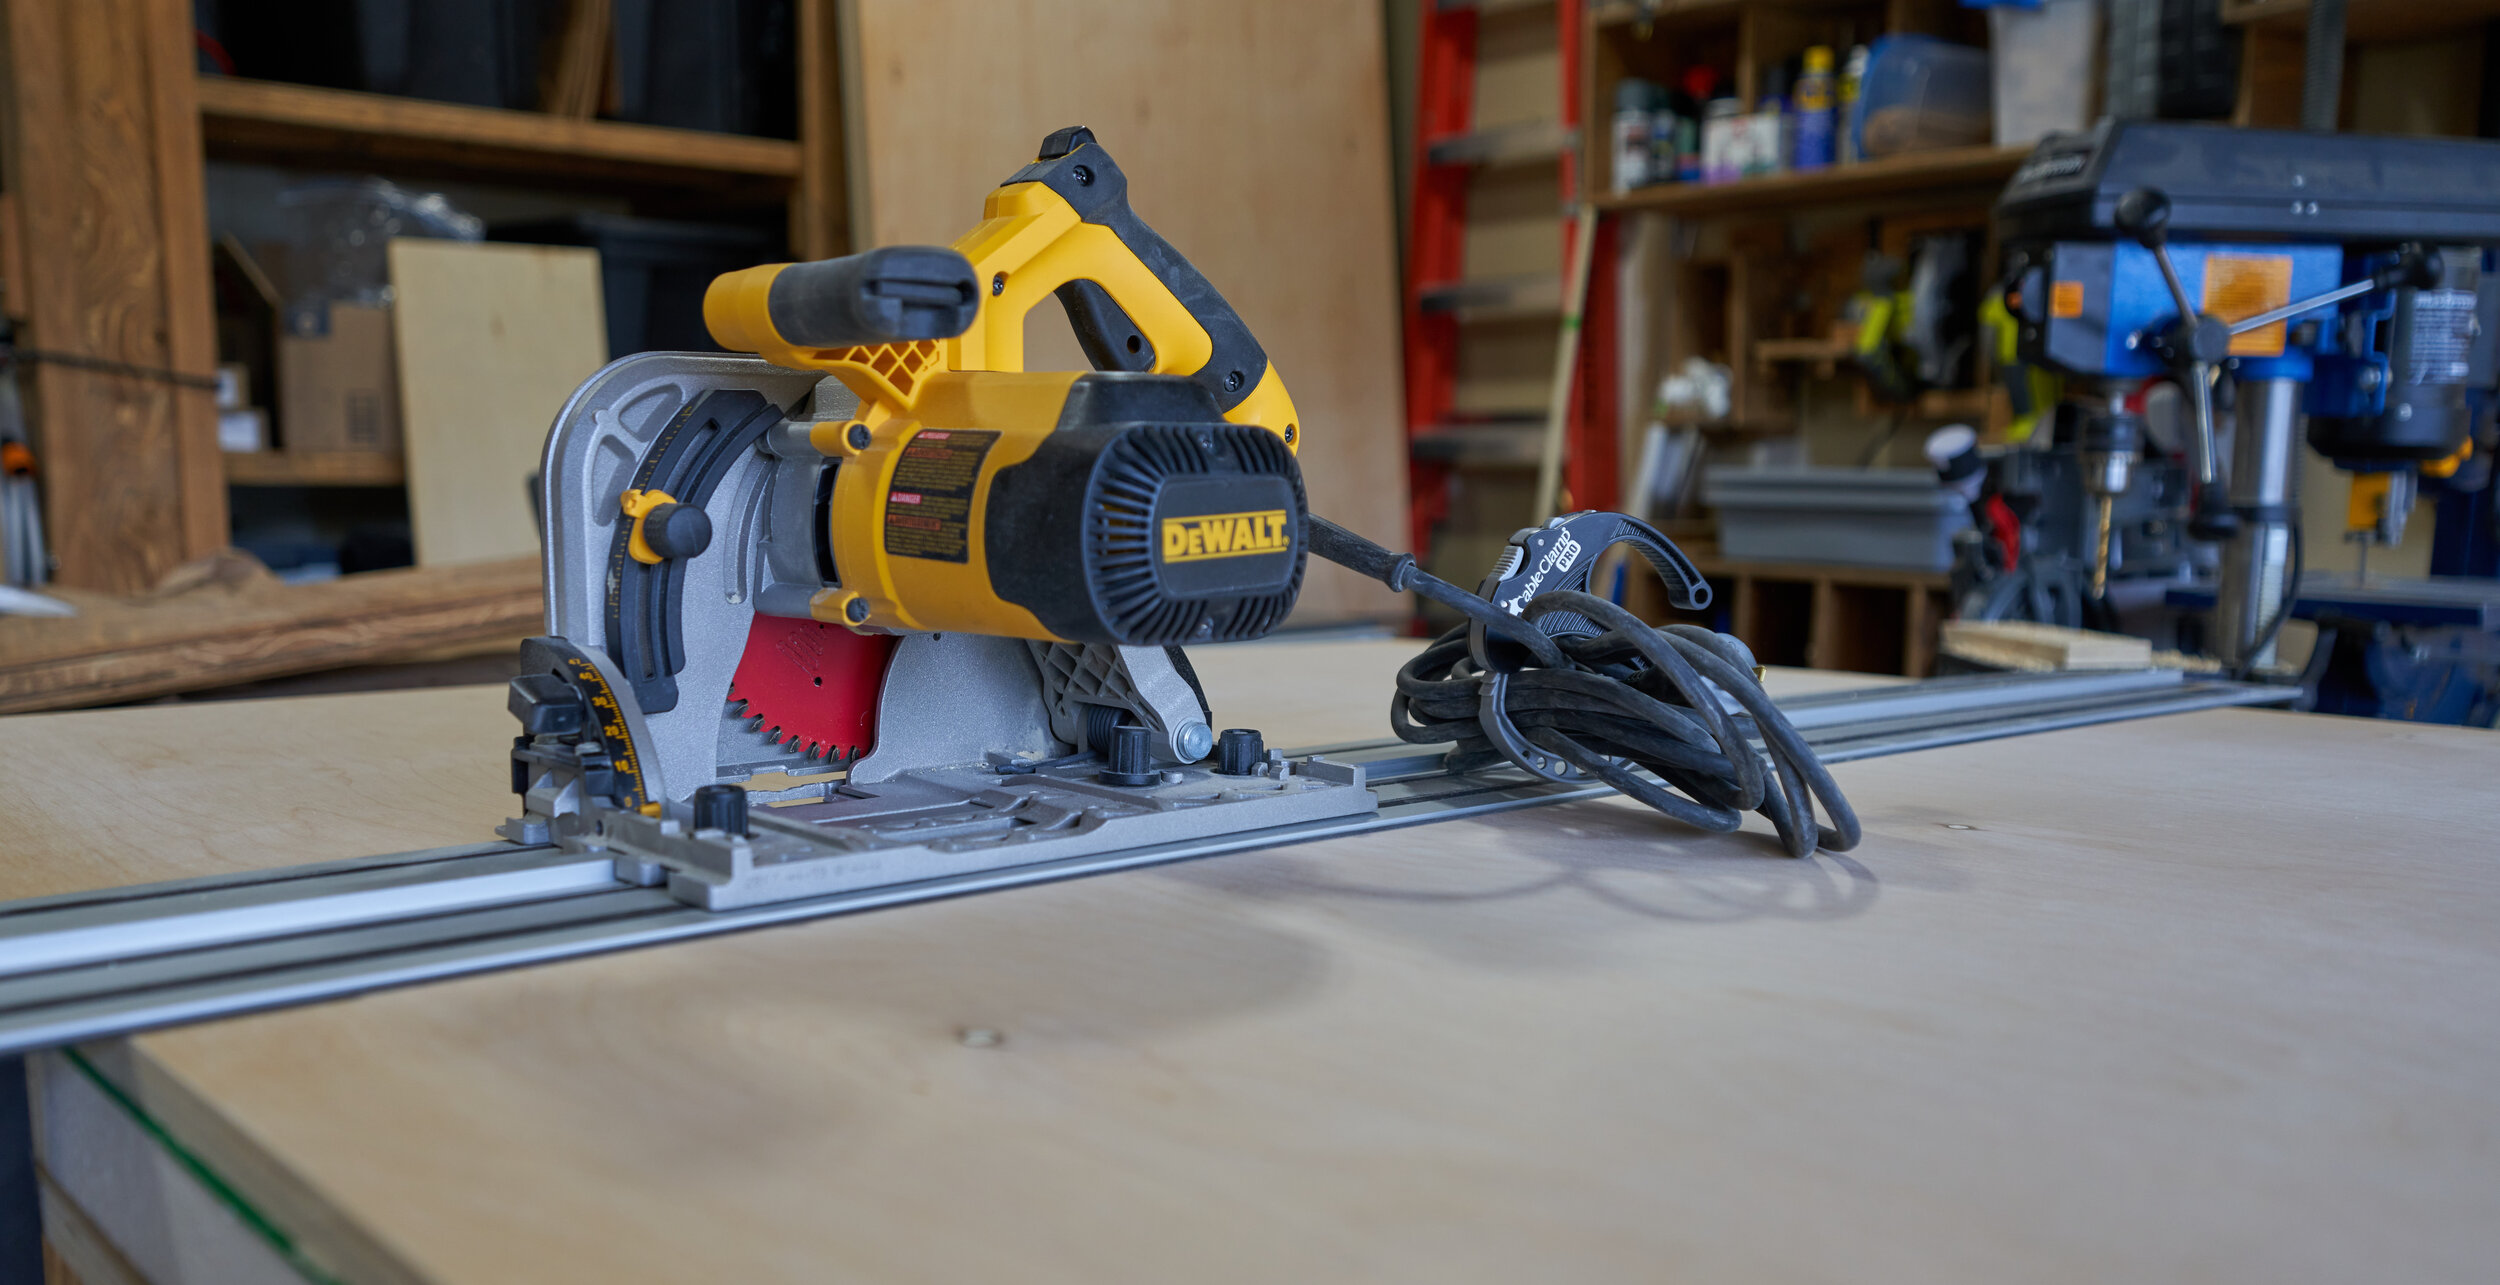
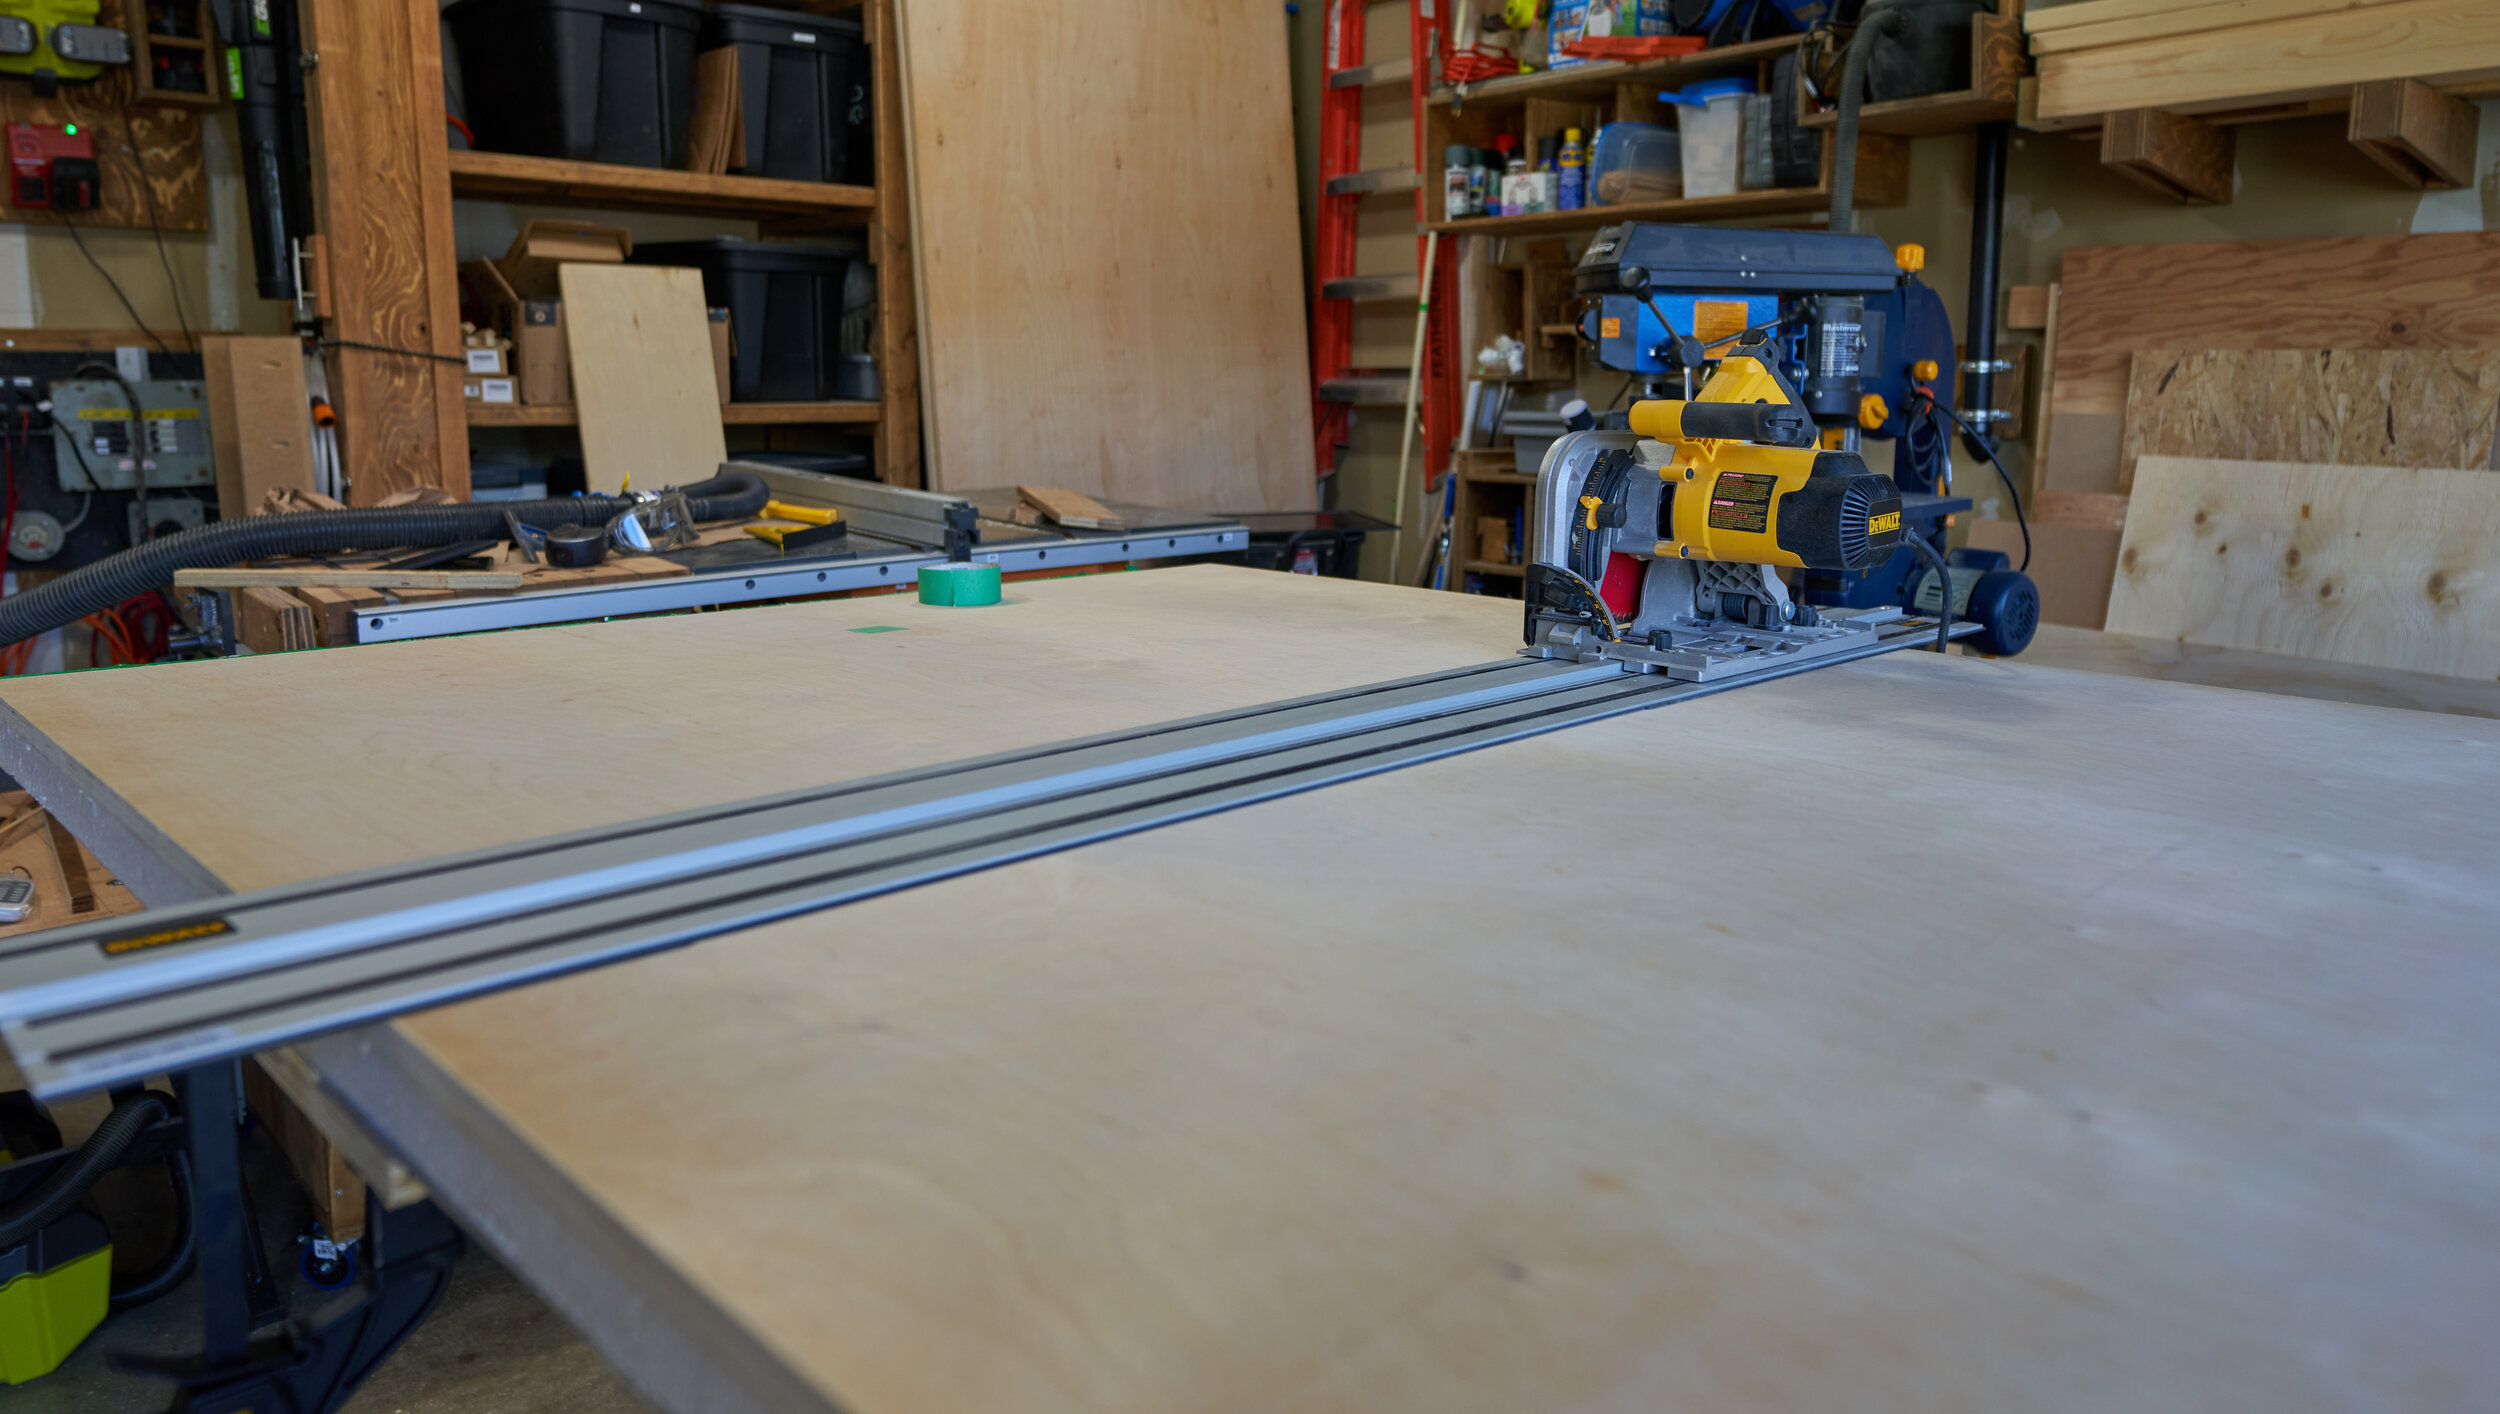
Adding a circular saw (+ a straight edge guide)
You can perform all of the plywood cuts yourself
You can also cut all of the framing members to size yourself
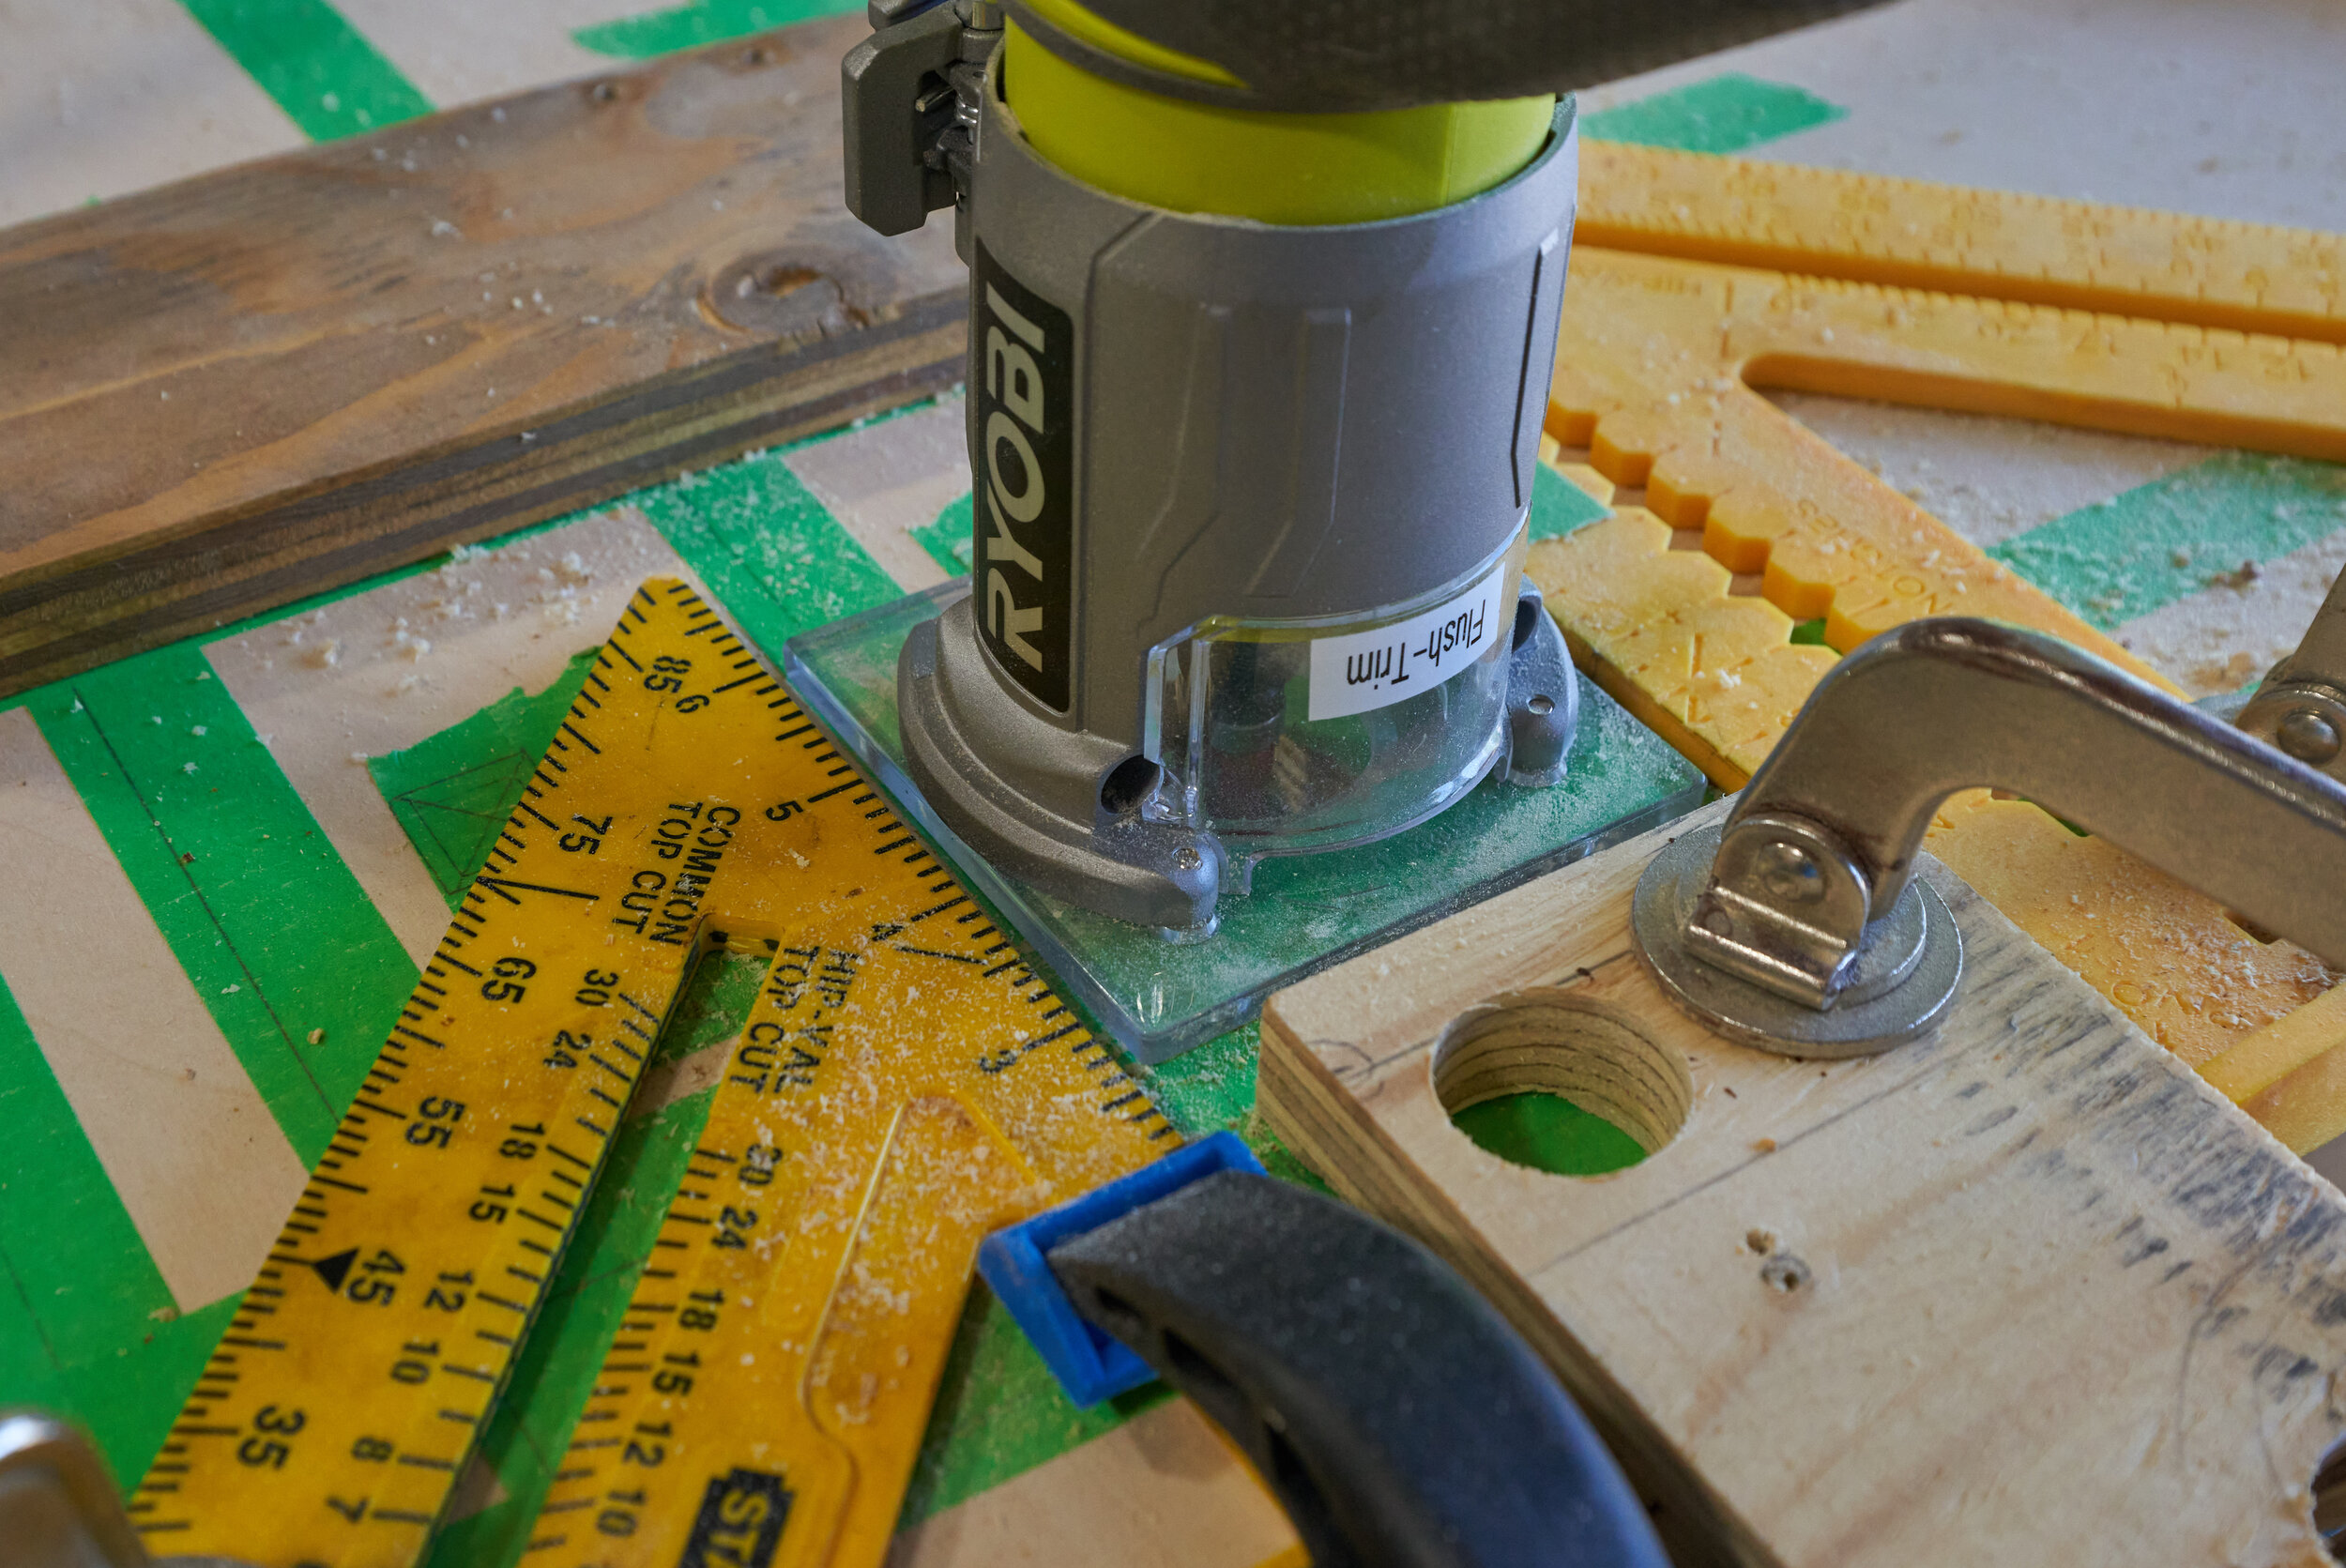
Adding a router (+ flush trim and roundover bits)
Now you can ease over all of the edges (roundover) and make sure two surfaces are the same (flush trim)
Adding a power sander
If you are working with nicer plywood this may not be as necessary of a purchase; however it will take the project’s finish to the next level
Adding a table saw
Cutting pieces like drawer panels, cubby dividers, french cleats is much easier/safer to do
Adding a pinner/nailer (battery, electric or +compressor)
Having a pin or brad nailer makes the glue-up process efficient (pins/nails are much cheaper than screws as well)
If you’re doing something like the oak trim on the front edge of the desktop, you probably don’t want to see screw holes - a nailer is much easier to work here

Related
Now that you’ve seen the desk build where I abstract the tech and gadgets as infrastructure, take a peek at the computer that inspired it!