

Build Log: Mini Network Rack Mk III
I’ve had my network rack for a couple years now, really about a year in its current configuration and I’ve been wanting to revisit it to address some concerns and annoyances. Since taking everything apart and would be a pain, I wanted to wait until I had a few other upgrades before I went down that road. I’ll cover the networking/technical updates in a future post, but for now, this post will cover the DIY angle of the network rack rebuild.
Quick Links
Starting point
Before embarking on an upgrade/rebuild, I wanted to highlight my top three favorite features of the Mk II rack
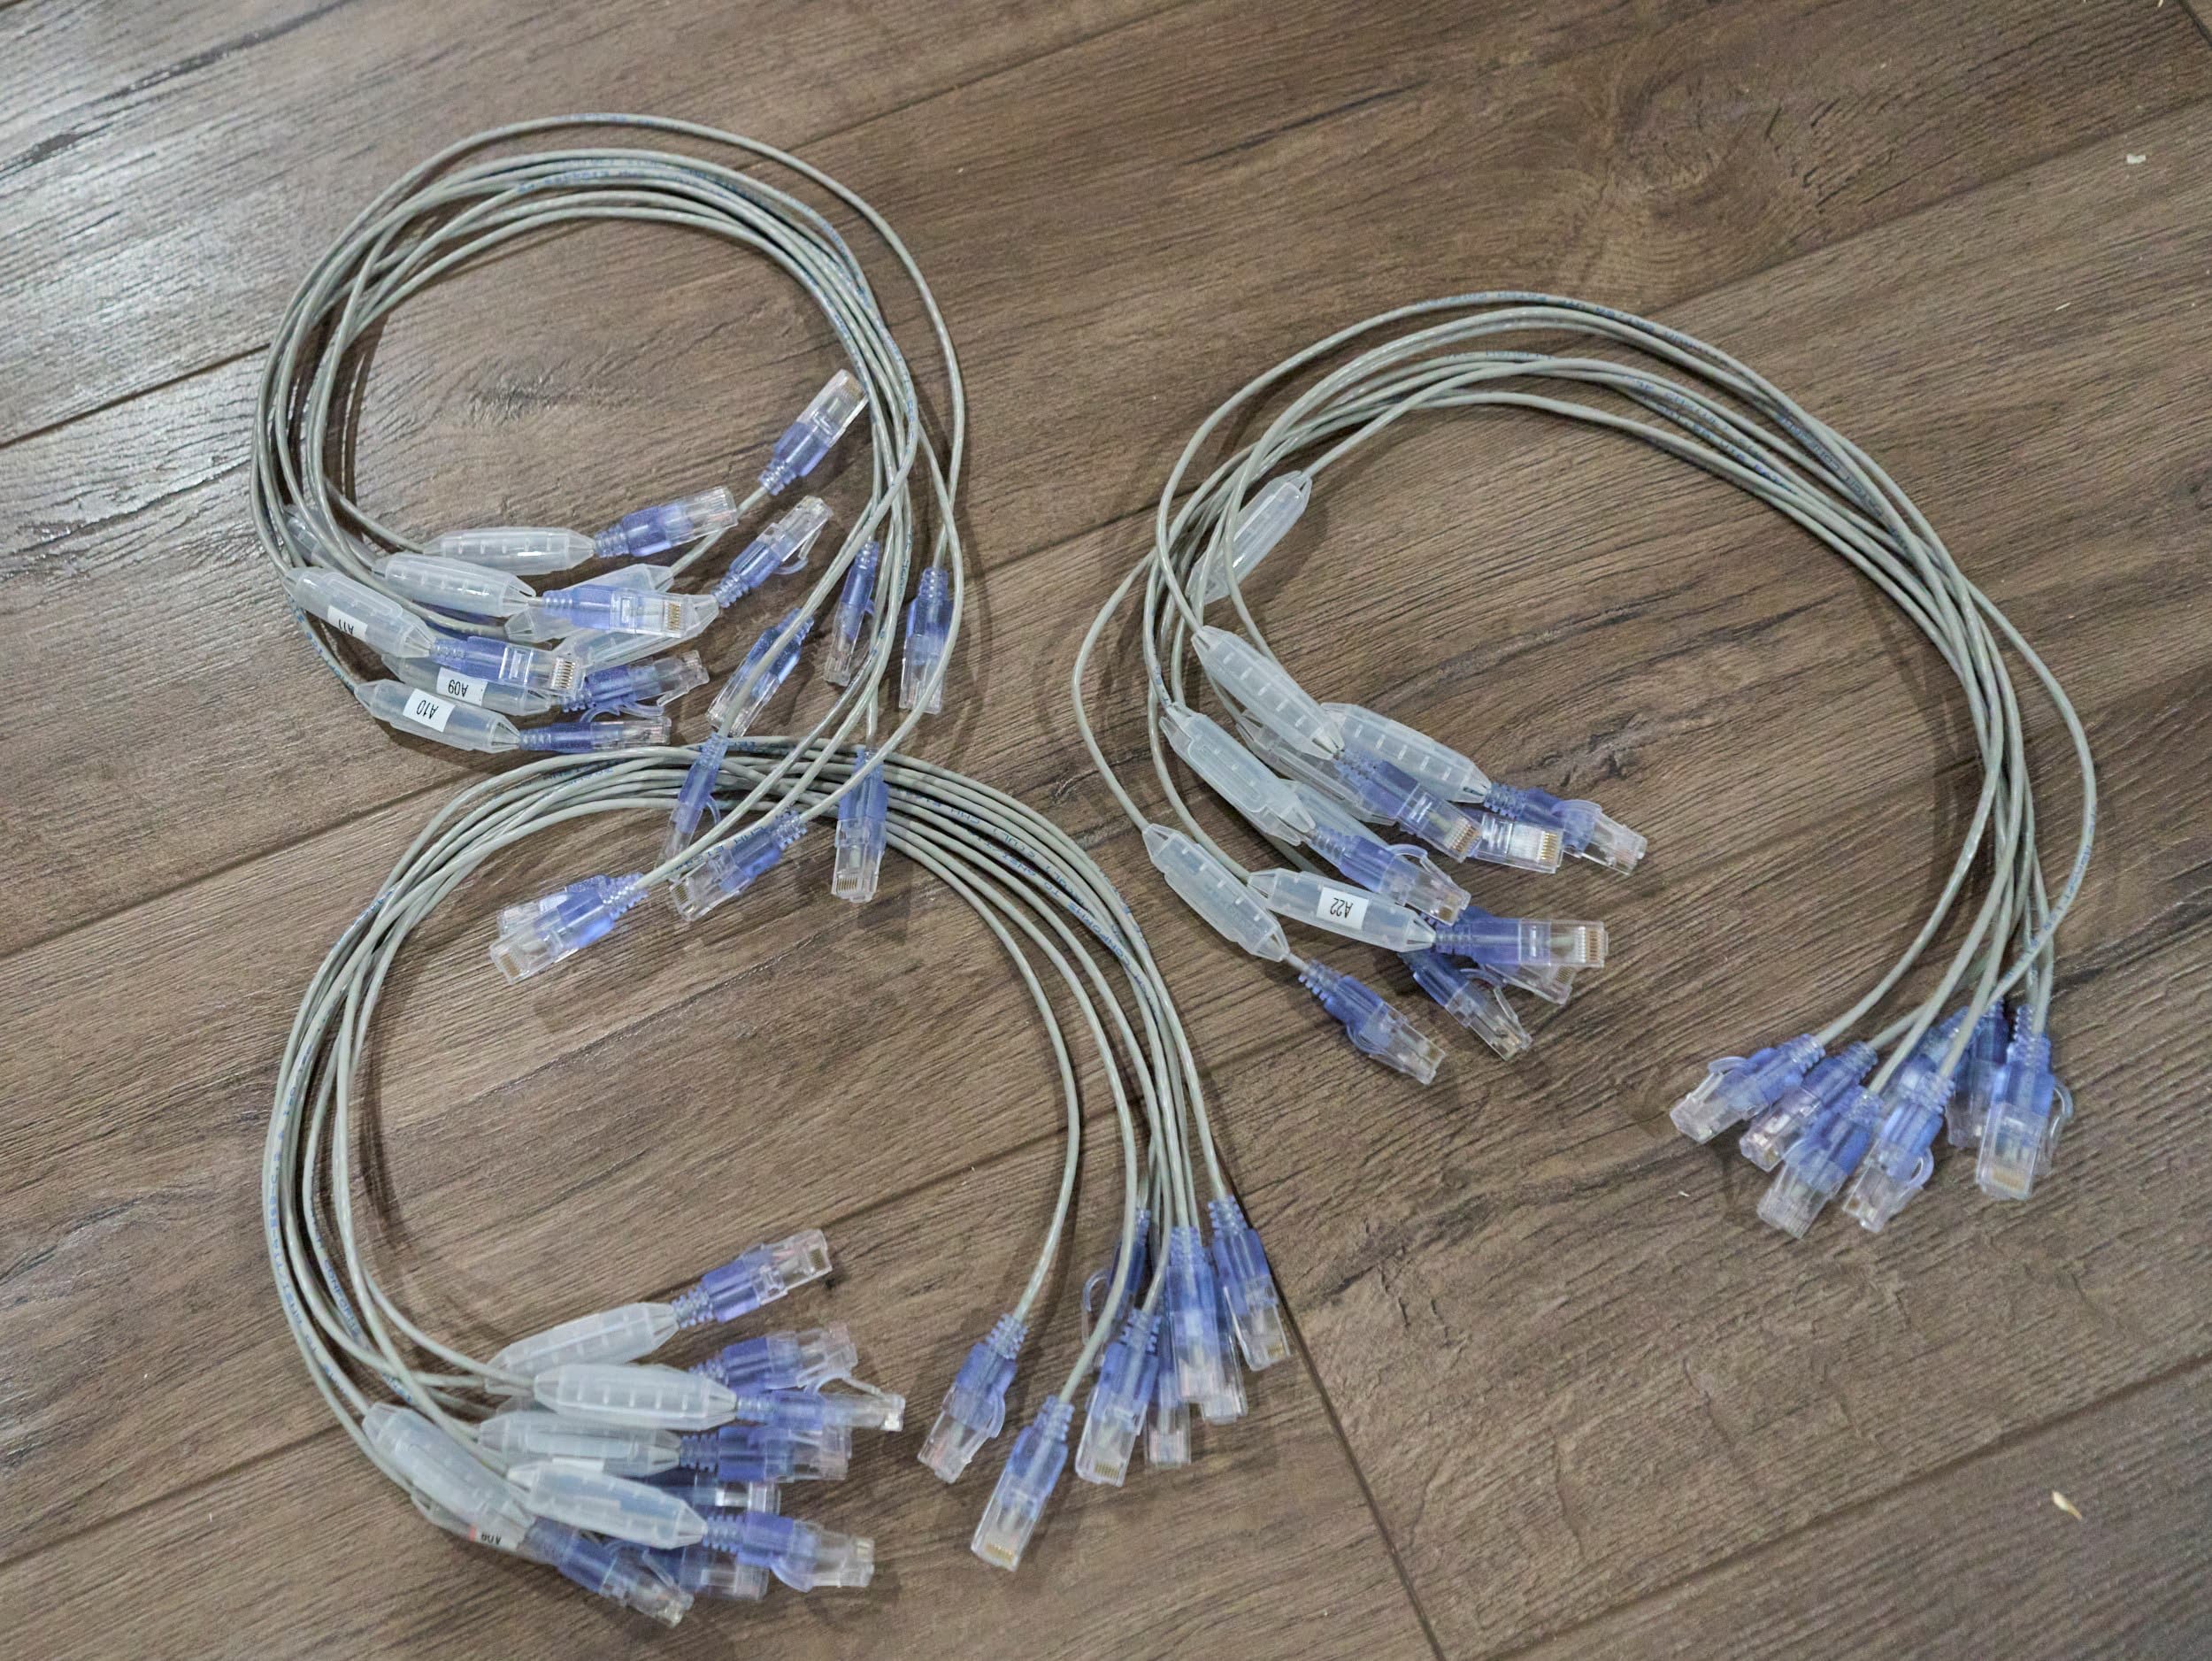
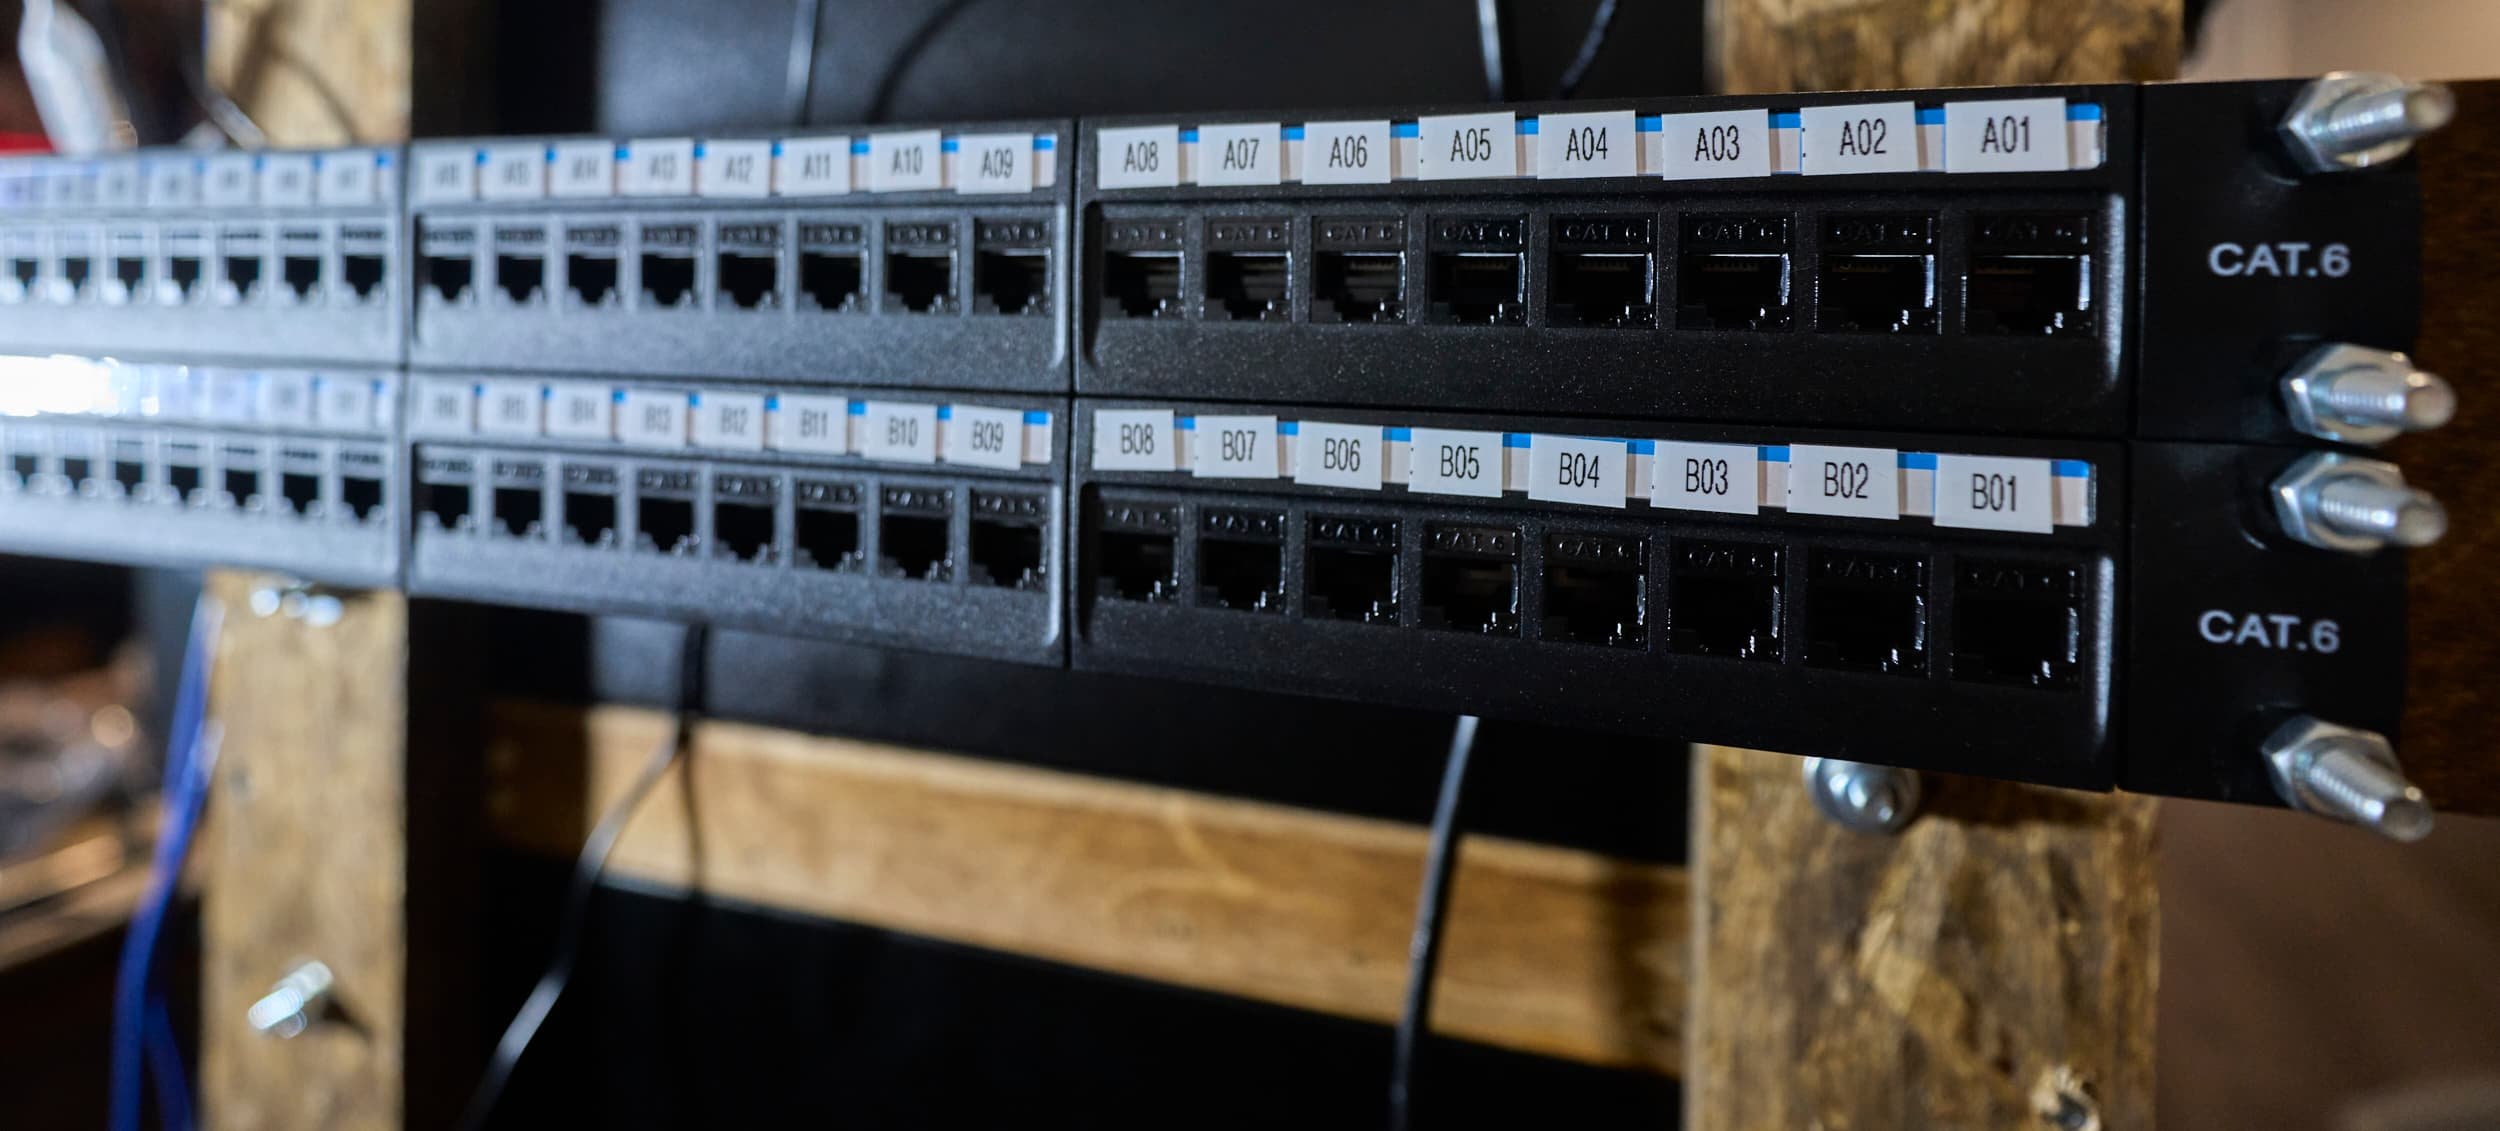
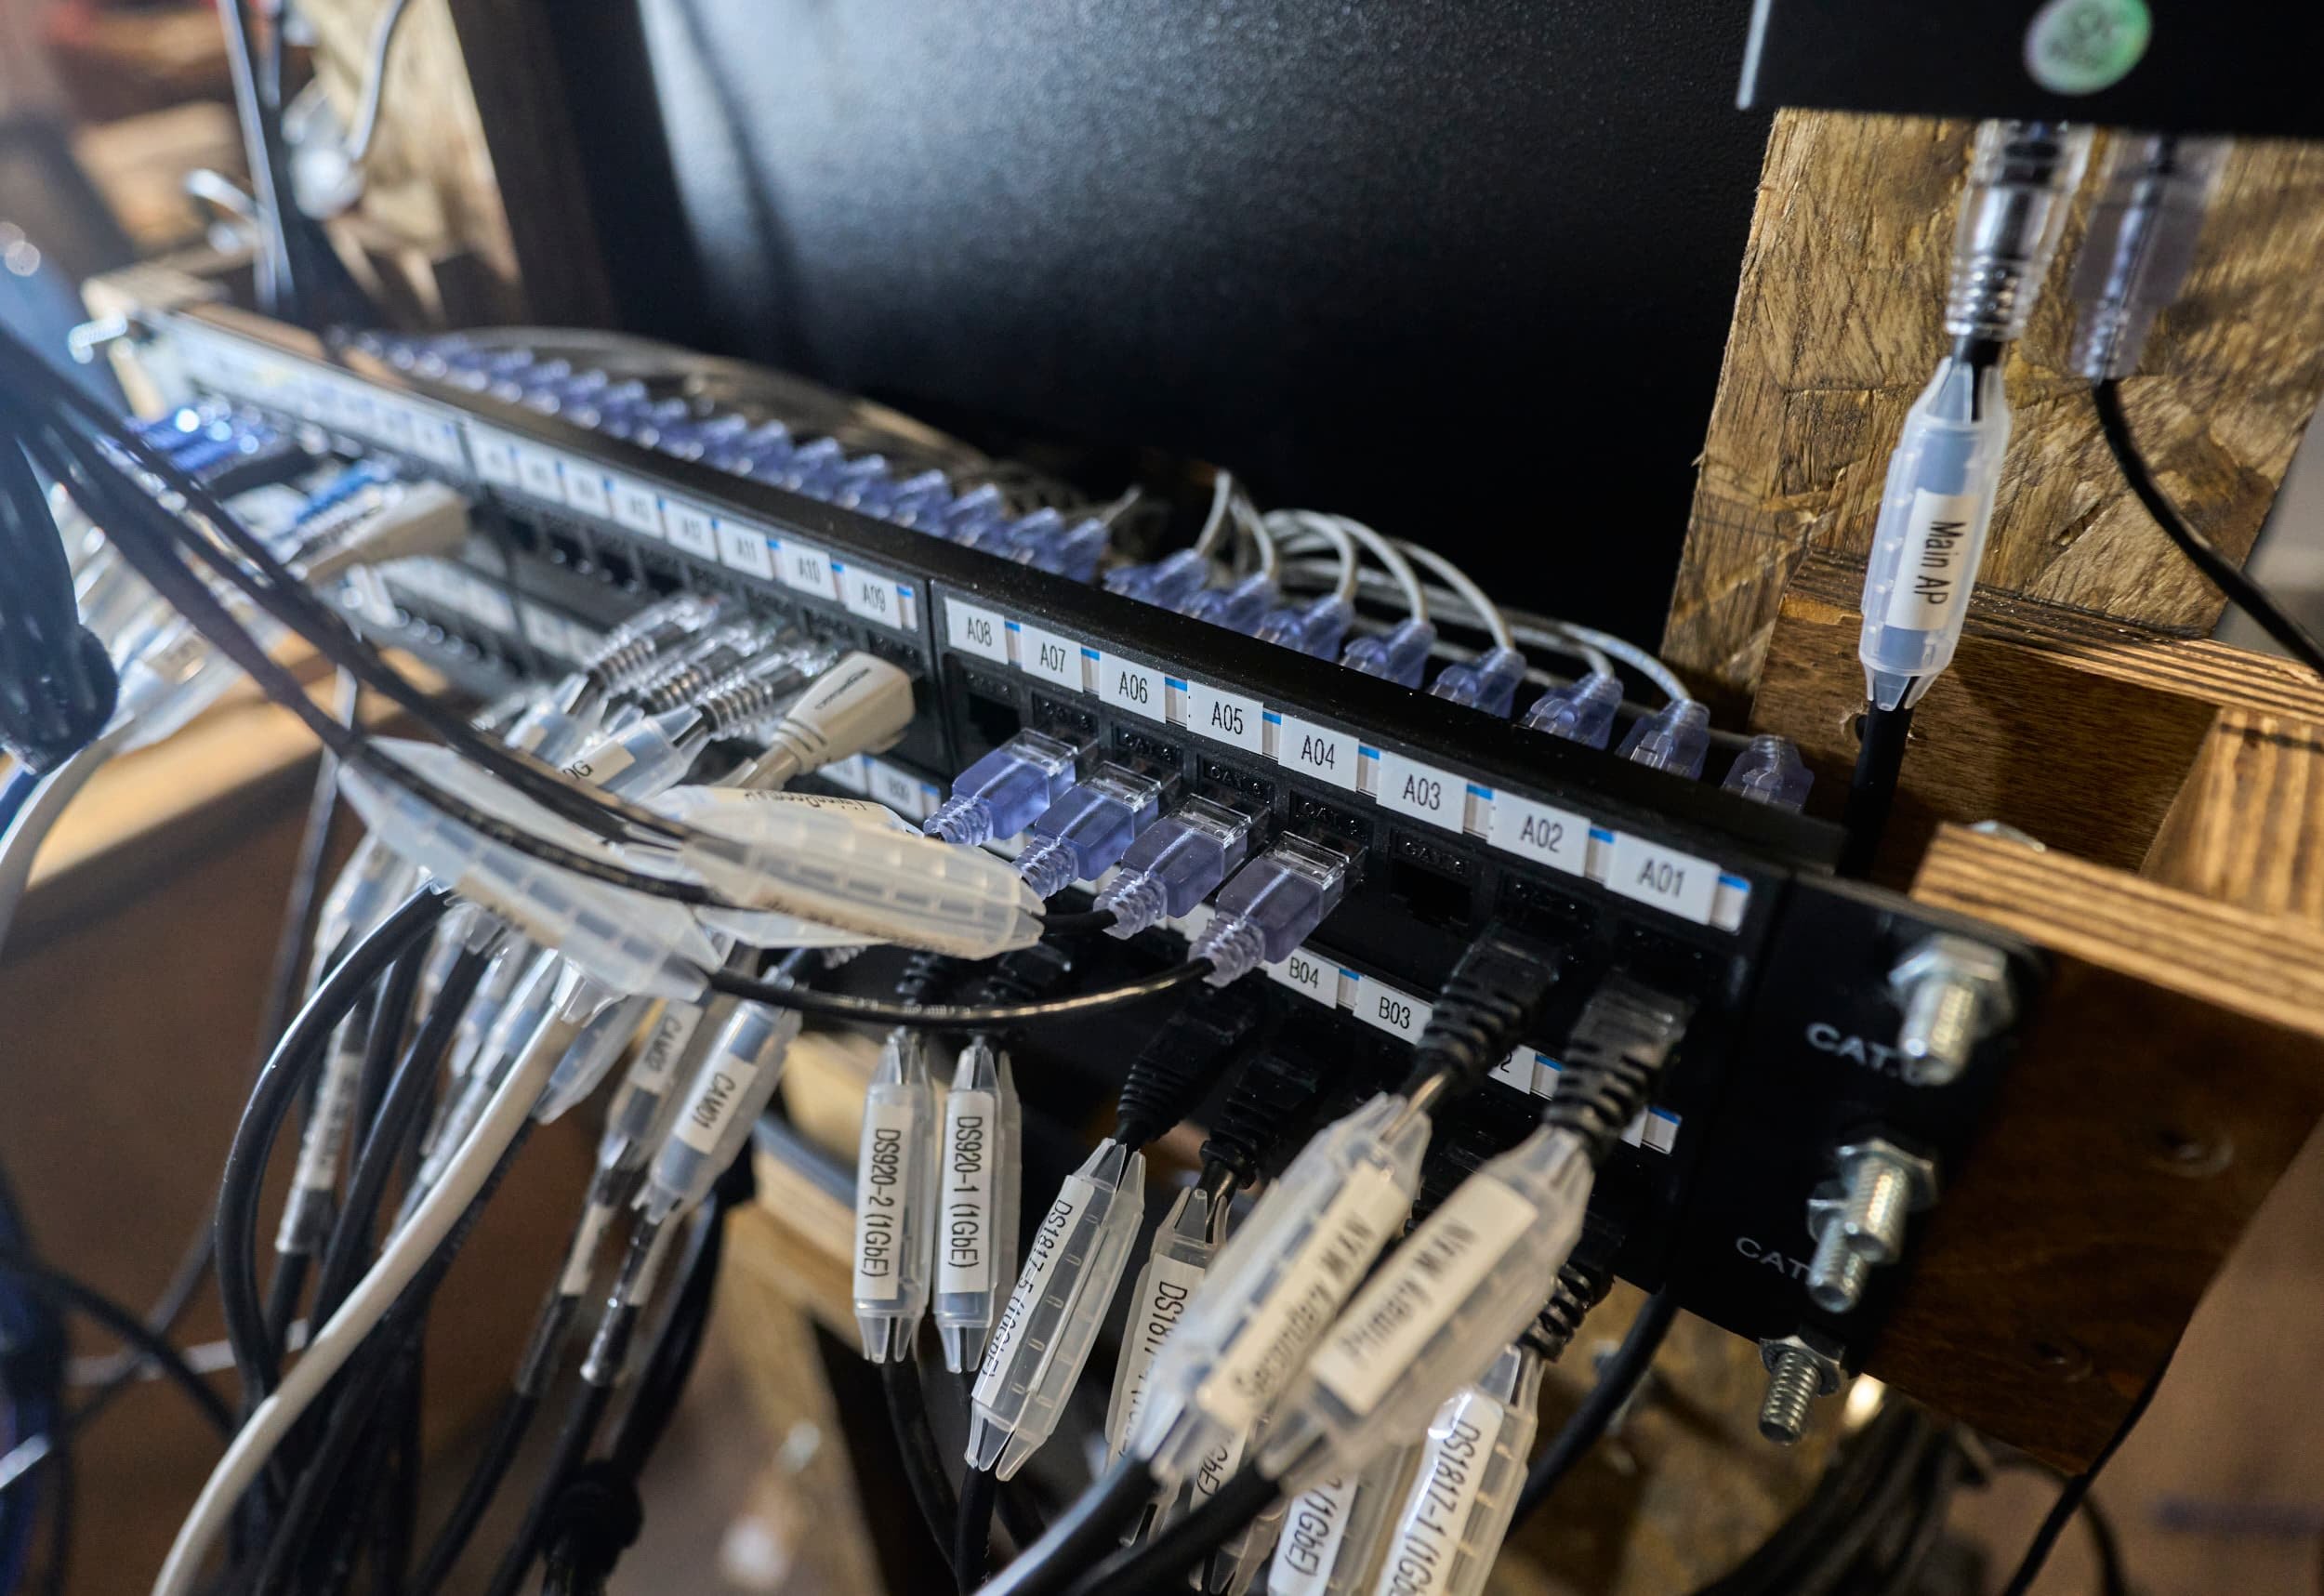
All of the connections were self-documenting: by using CordIDs, I can unplug any and all of my cables and know at glance which device and which port (on the patch panel) it should be plugged into.
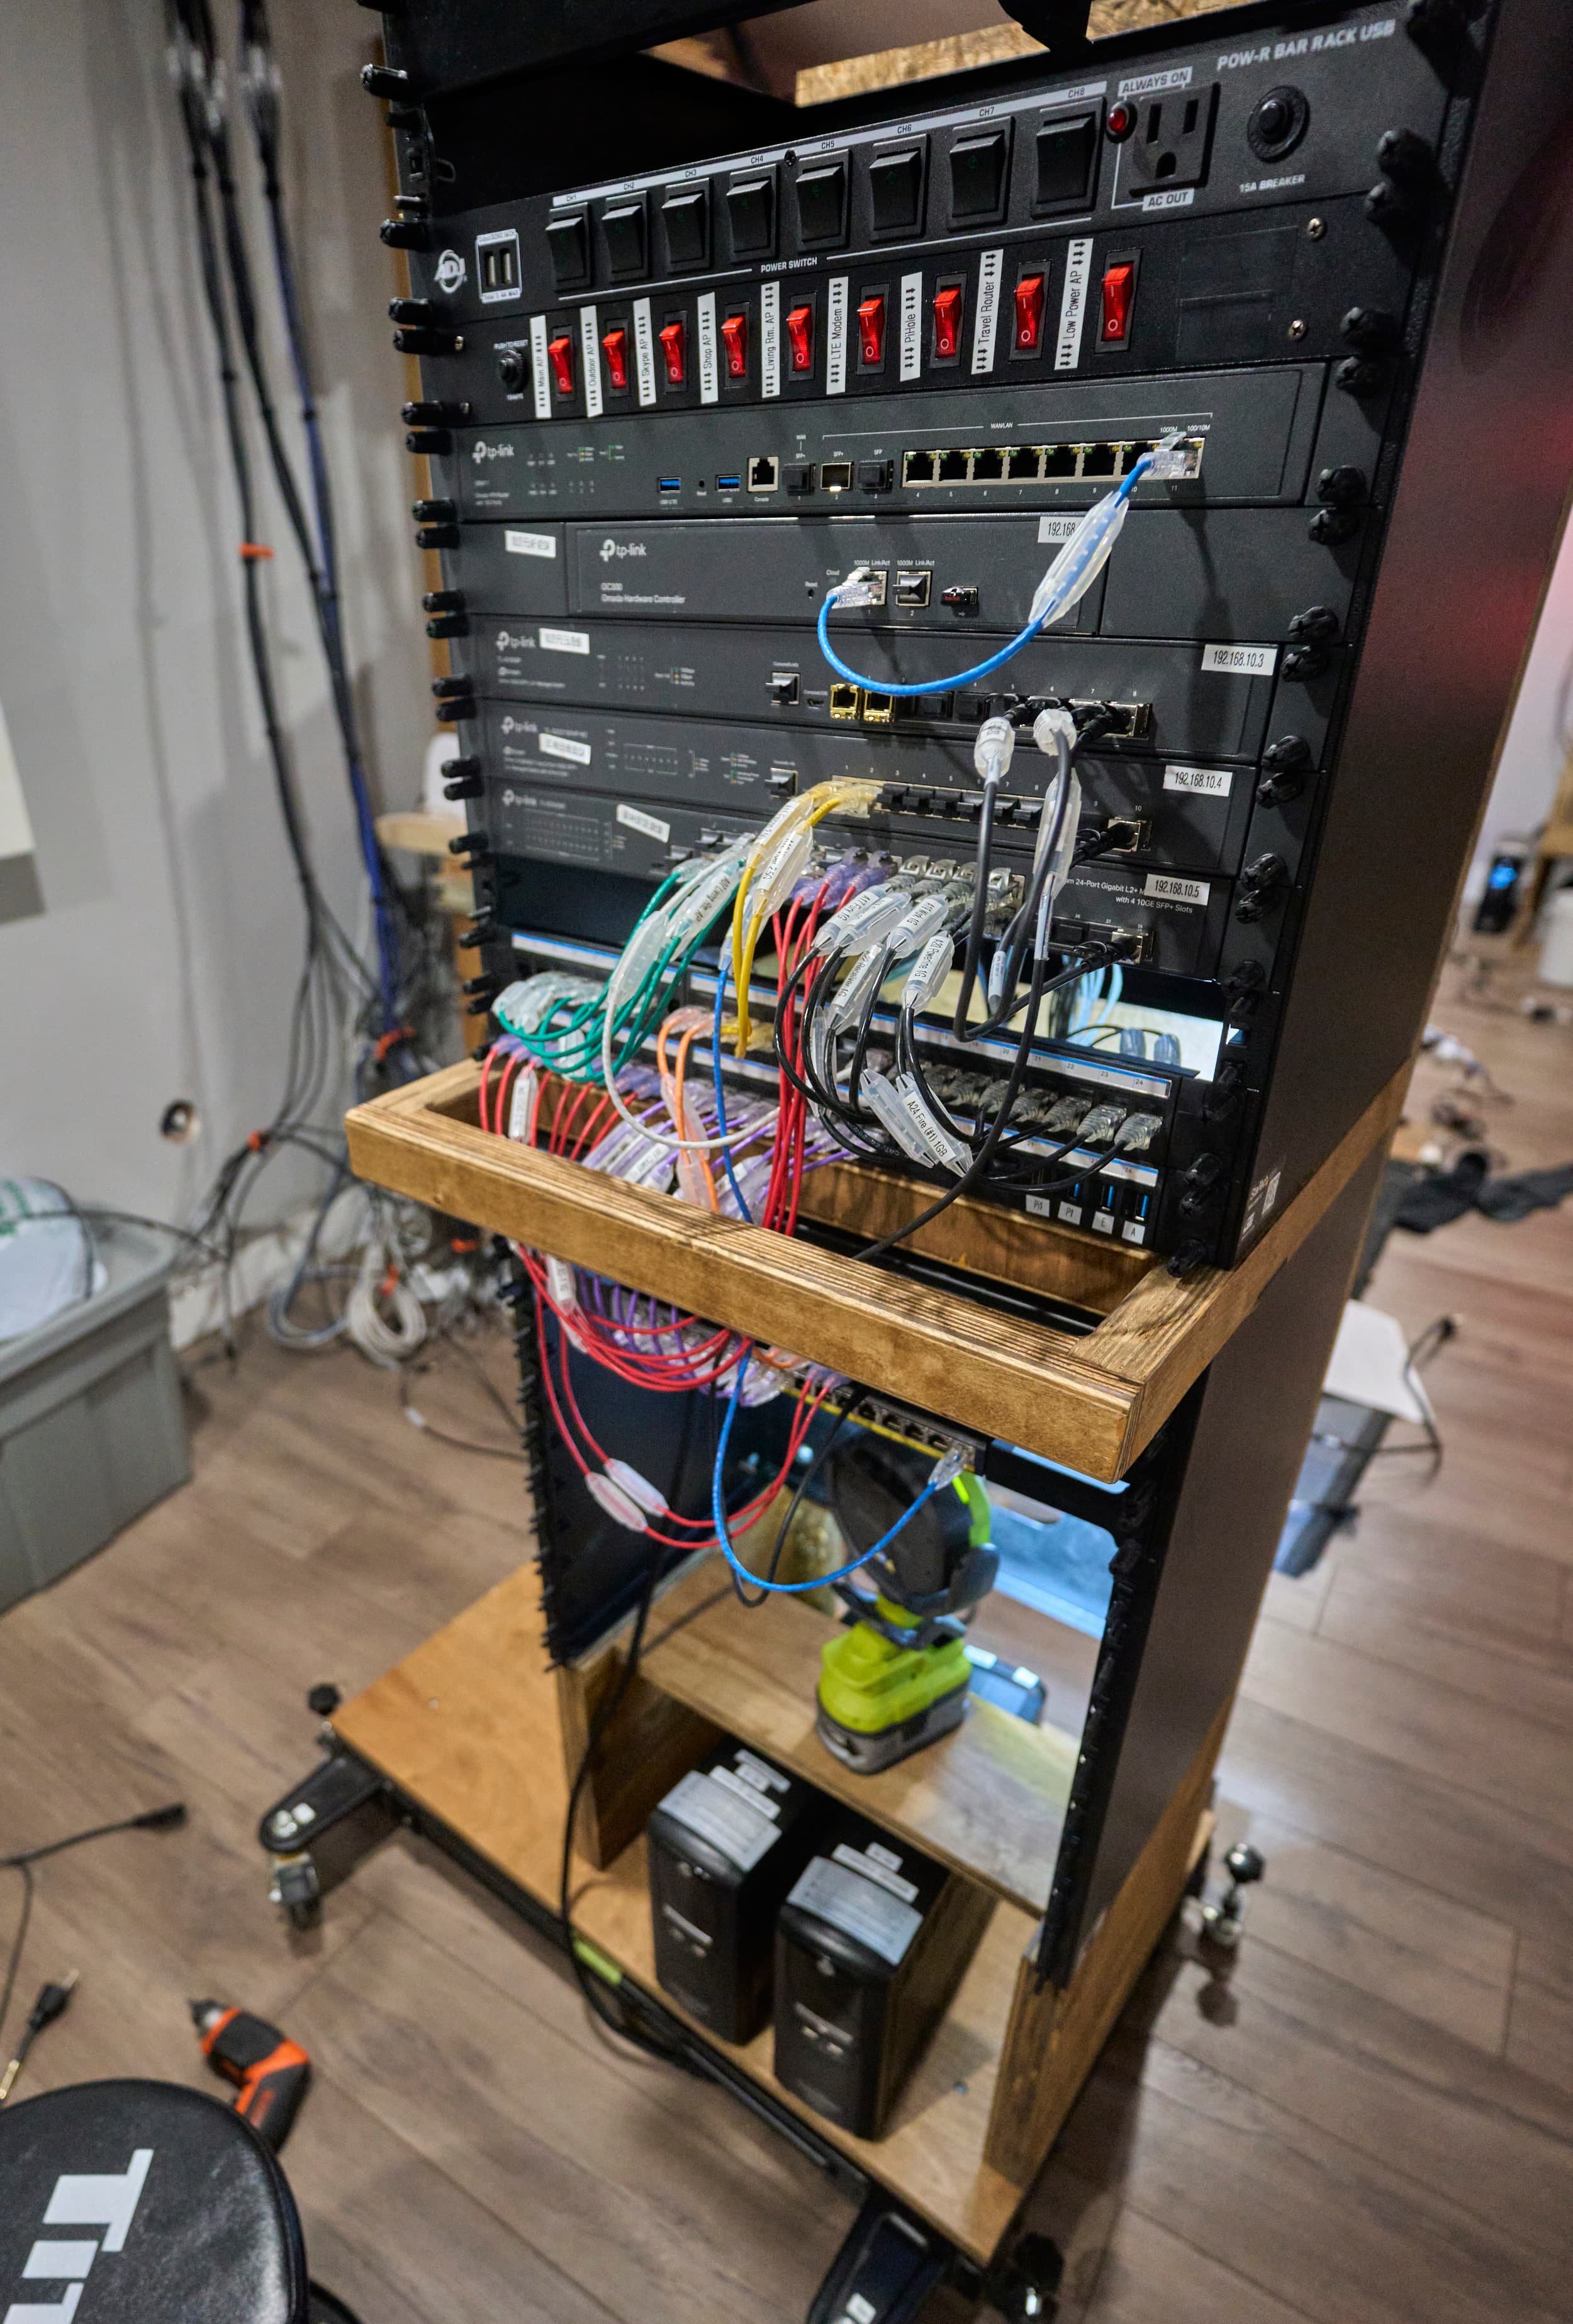
Almost all of the components have individual (analog) power switches associated with them. Being able to manually power down elements of your network is incredibly handy if you’re dealing with a power outage scenario (and need to cut the power footprint to maximize UPS runtime) and it’s also way faster to just walk up to a device and toggle the power switch versus logging into a management interface and telling the device to reboot
The steel side panels allowed me to magnetically attach everything to the rack (both on the inside and outside surfaces). The top-plate is also magnetically attached, so it’s super easy to pop the top off and I can then snake around inside the rack
Of course it’s not without some downsides.
I had some doubts about the stability of using a washing-machine mobile base to support everything on a very sloped floor. Specifically, I was concerned about flexing on the base plate
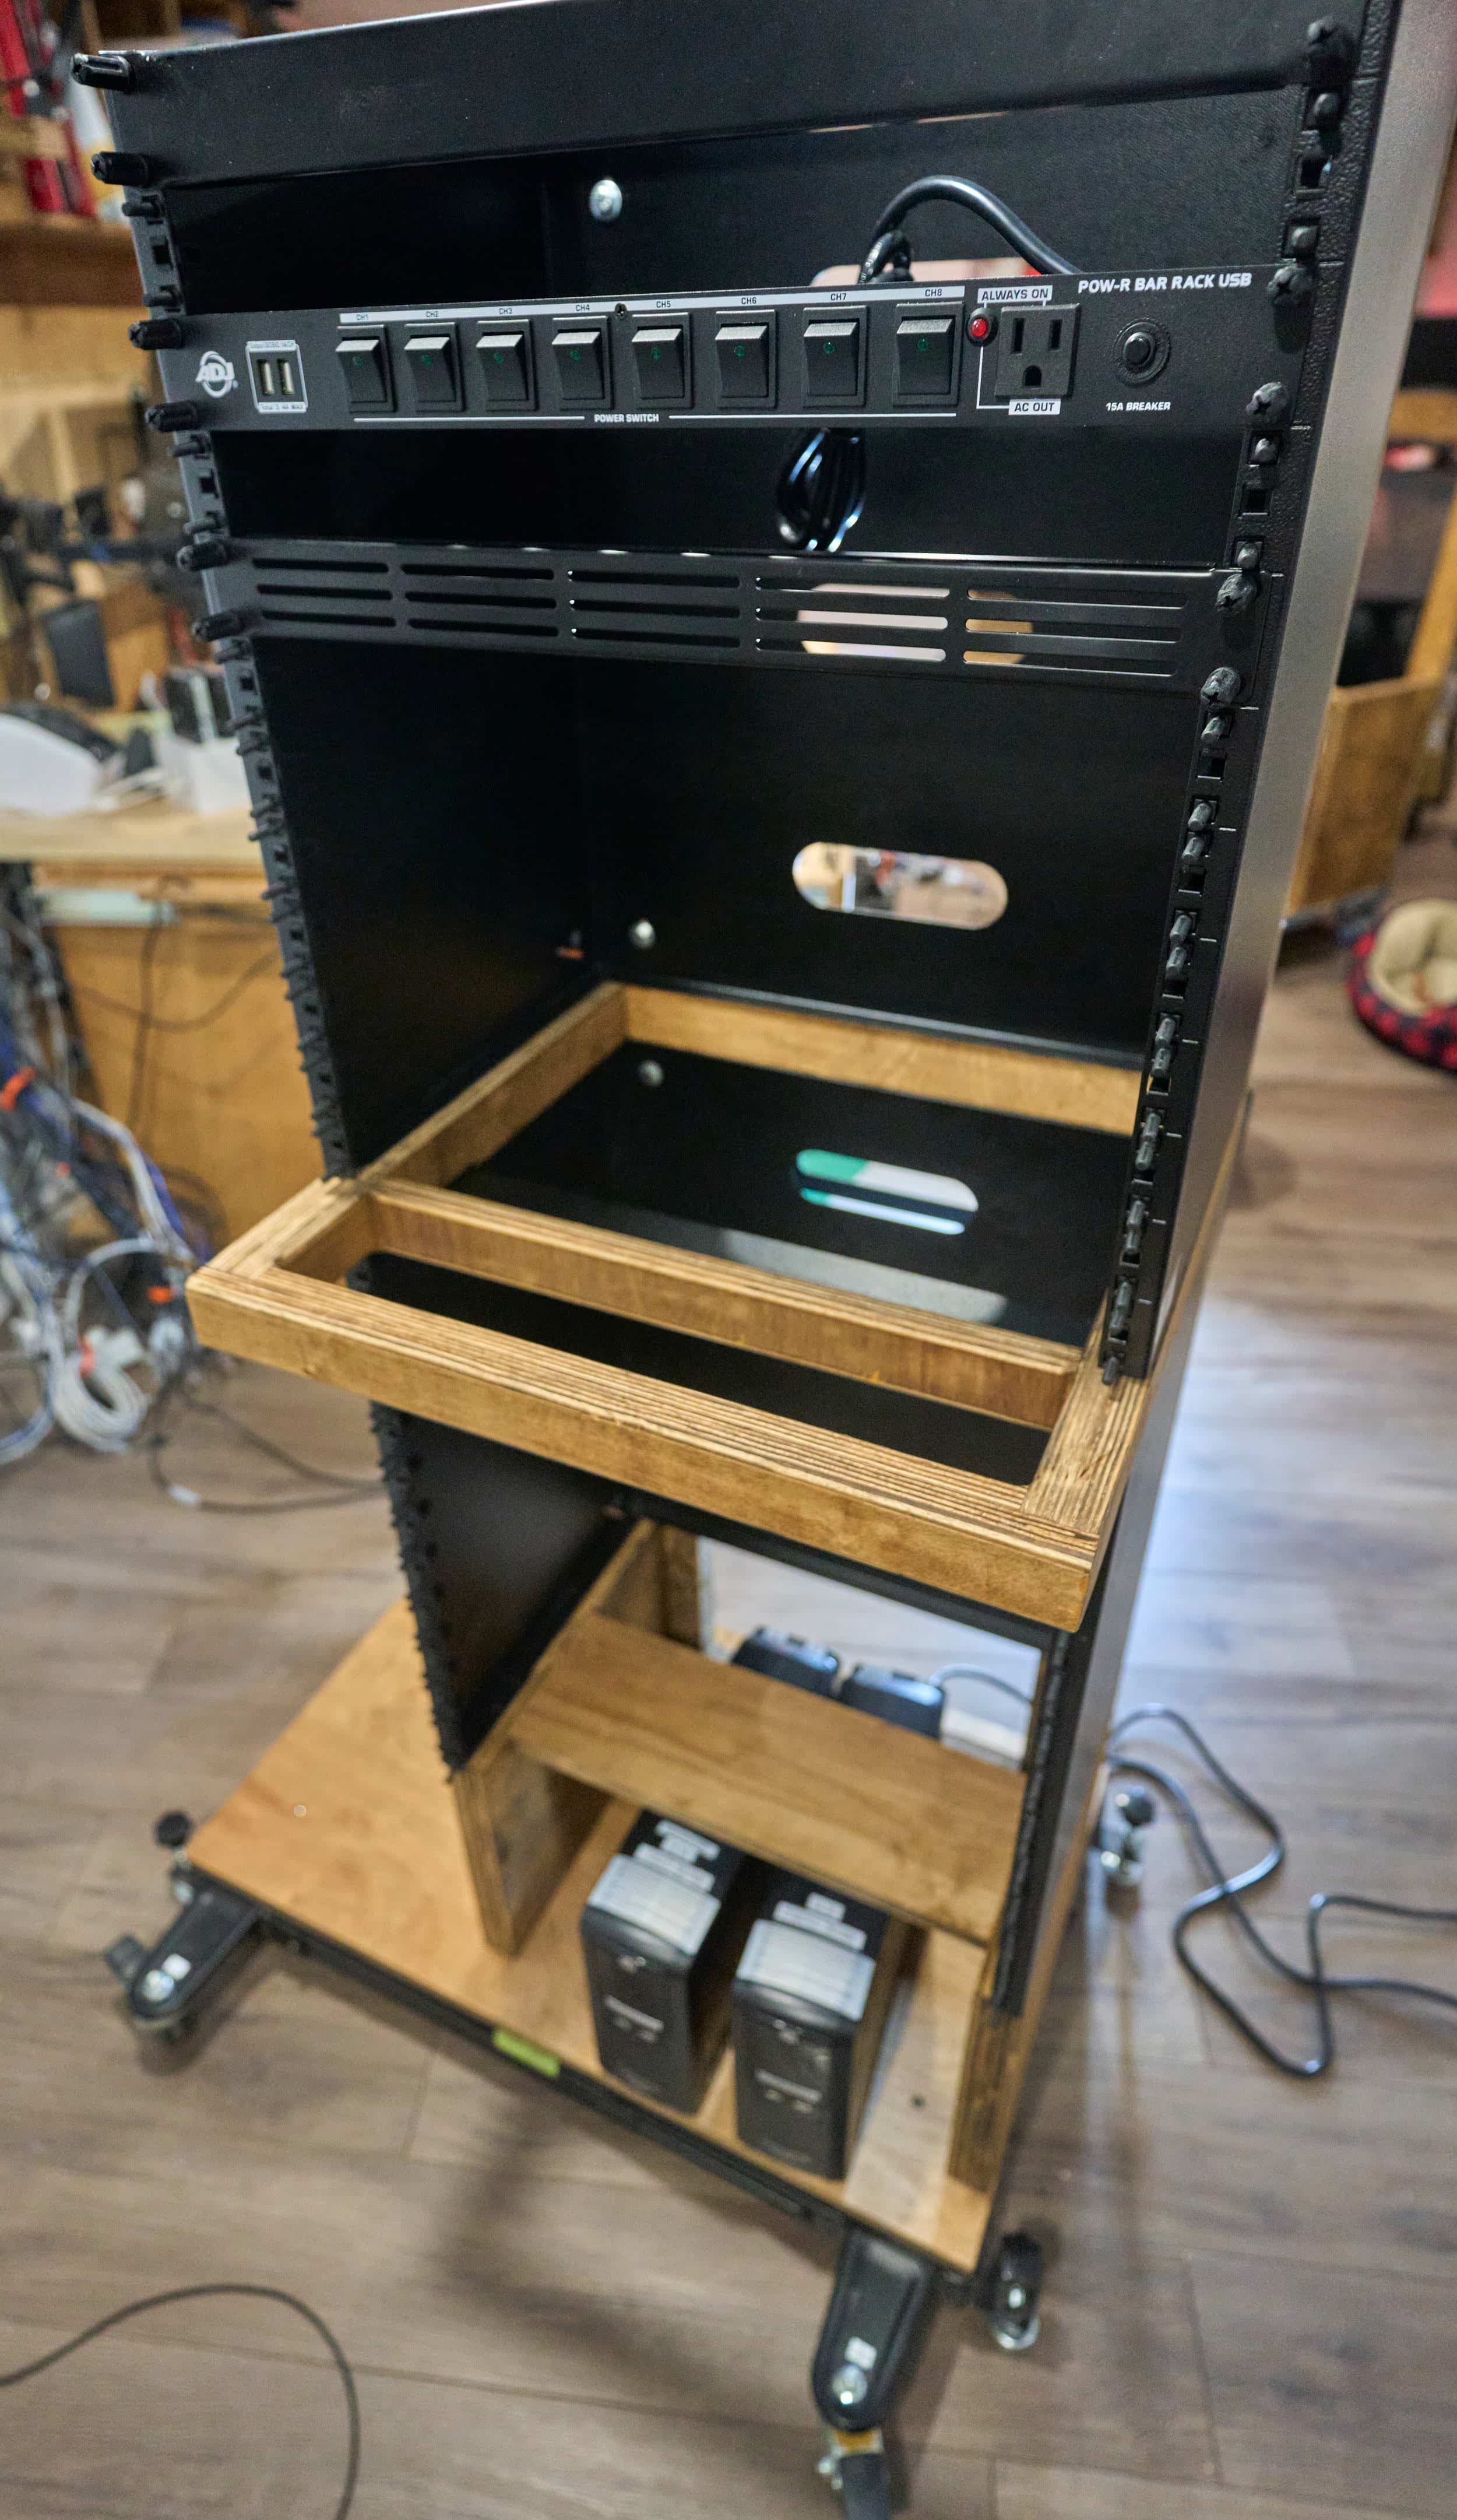
I really, really hate the second PDU I added to the rack. On a day-to-day basis, it bothered the hell out of me seeing the 1.25U PDU which then reminded me of the dumb design where rack-mounting was clearly an afterthought.
So all of my cables are connected to the patch panel through the back side (like they would be in a traditional rack). But as I use this more as a cart, this is problematic: [1] anytime I want to swap something out, I have to snake my hands around on the inside to disconnect the device and [2] if I want to disconnect the entire cart, I have to take everything apart for the same reason
Rough design
I had three broad considerations I wanted to keep in mind for the new cart:
Redo the base to remove any concern about sagging or flexing in the base plate
Try to keep the overall height of the network rack down if I can - I park the network cart in front of a cabinet with the breaker panel and it would be fantastic to be able to access the breaker panel without having to move the cart
Make room for two UPS units and where possible, consider any room for a future NAS unit


I really liked the idea of Option 2 but it would definitely make connecting the network elements together tricky — even if I punched a hole through the two sides connecting them. I ultimately went with Option 3 because I wasn’t sold on being able to fit everything I wanted now (and in the future) into a small rack.
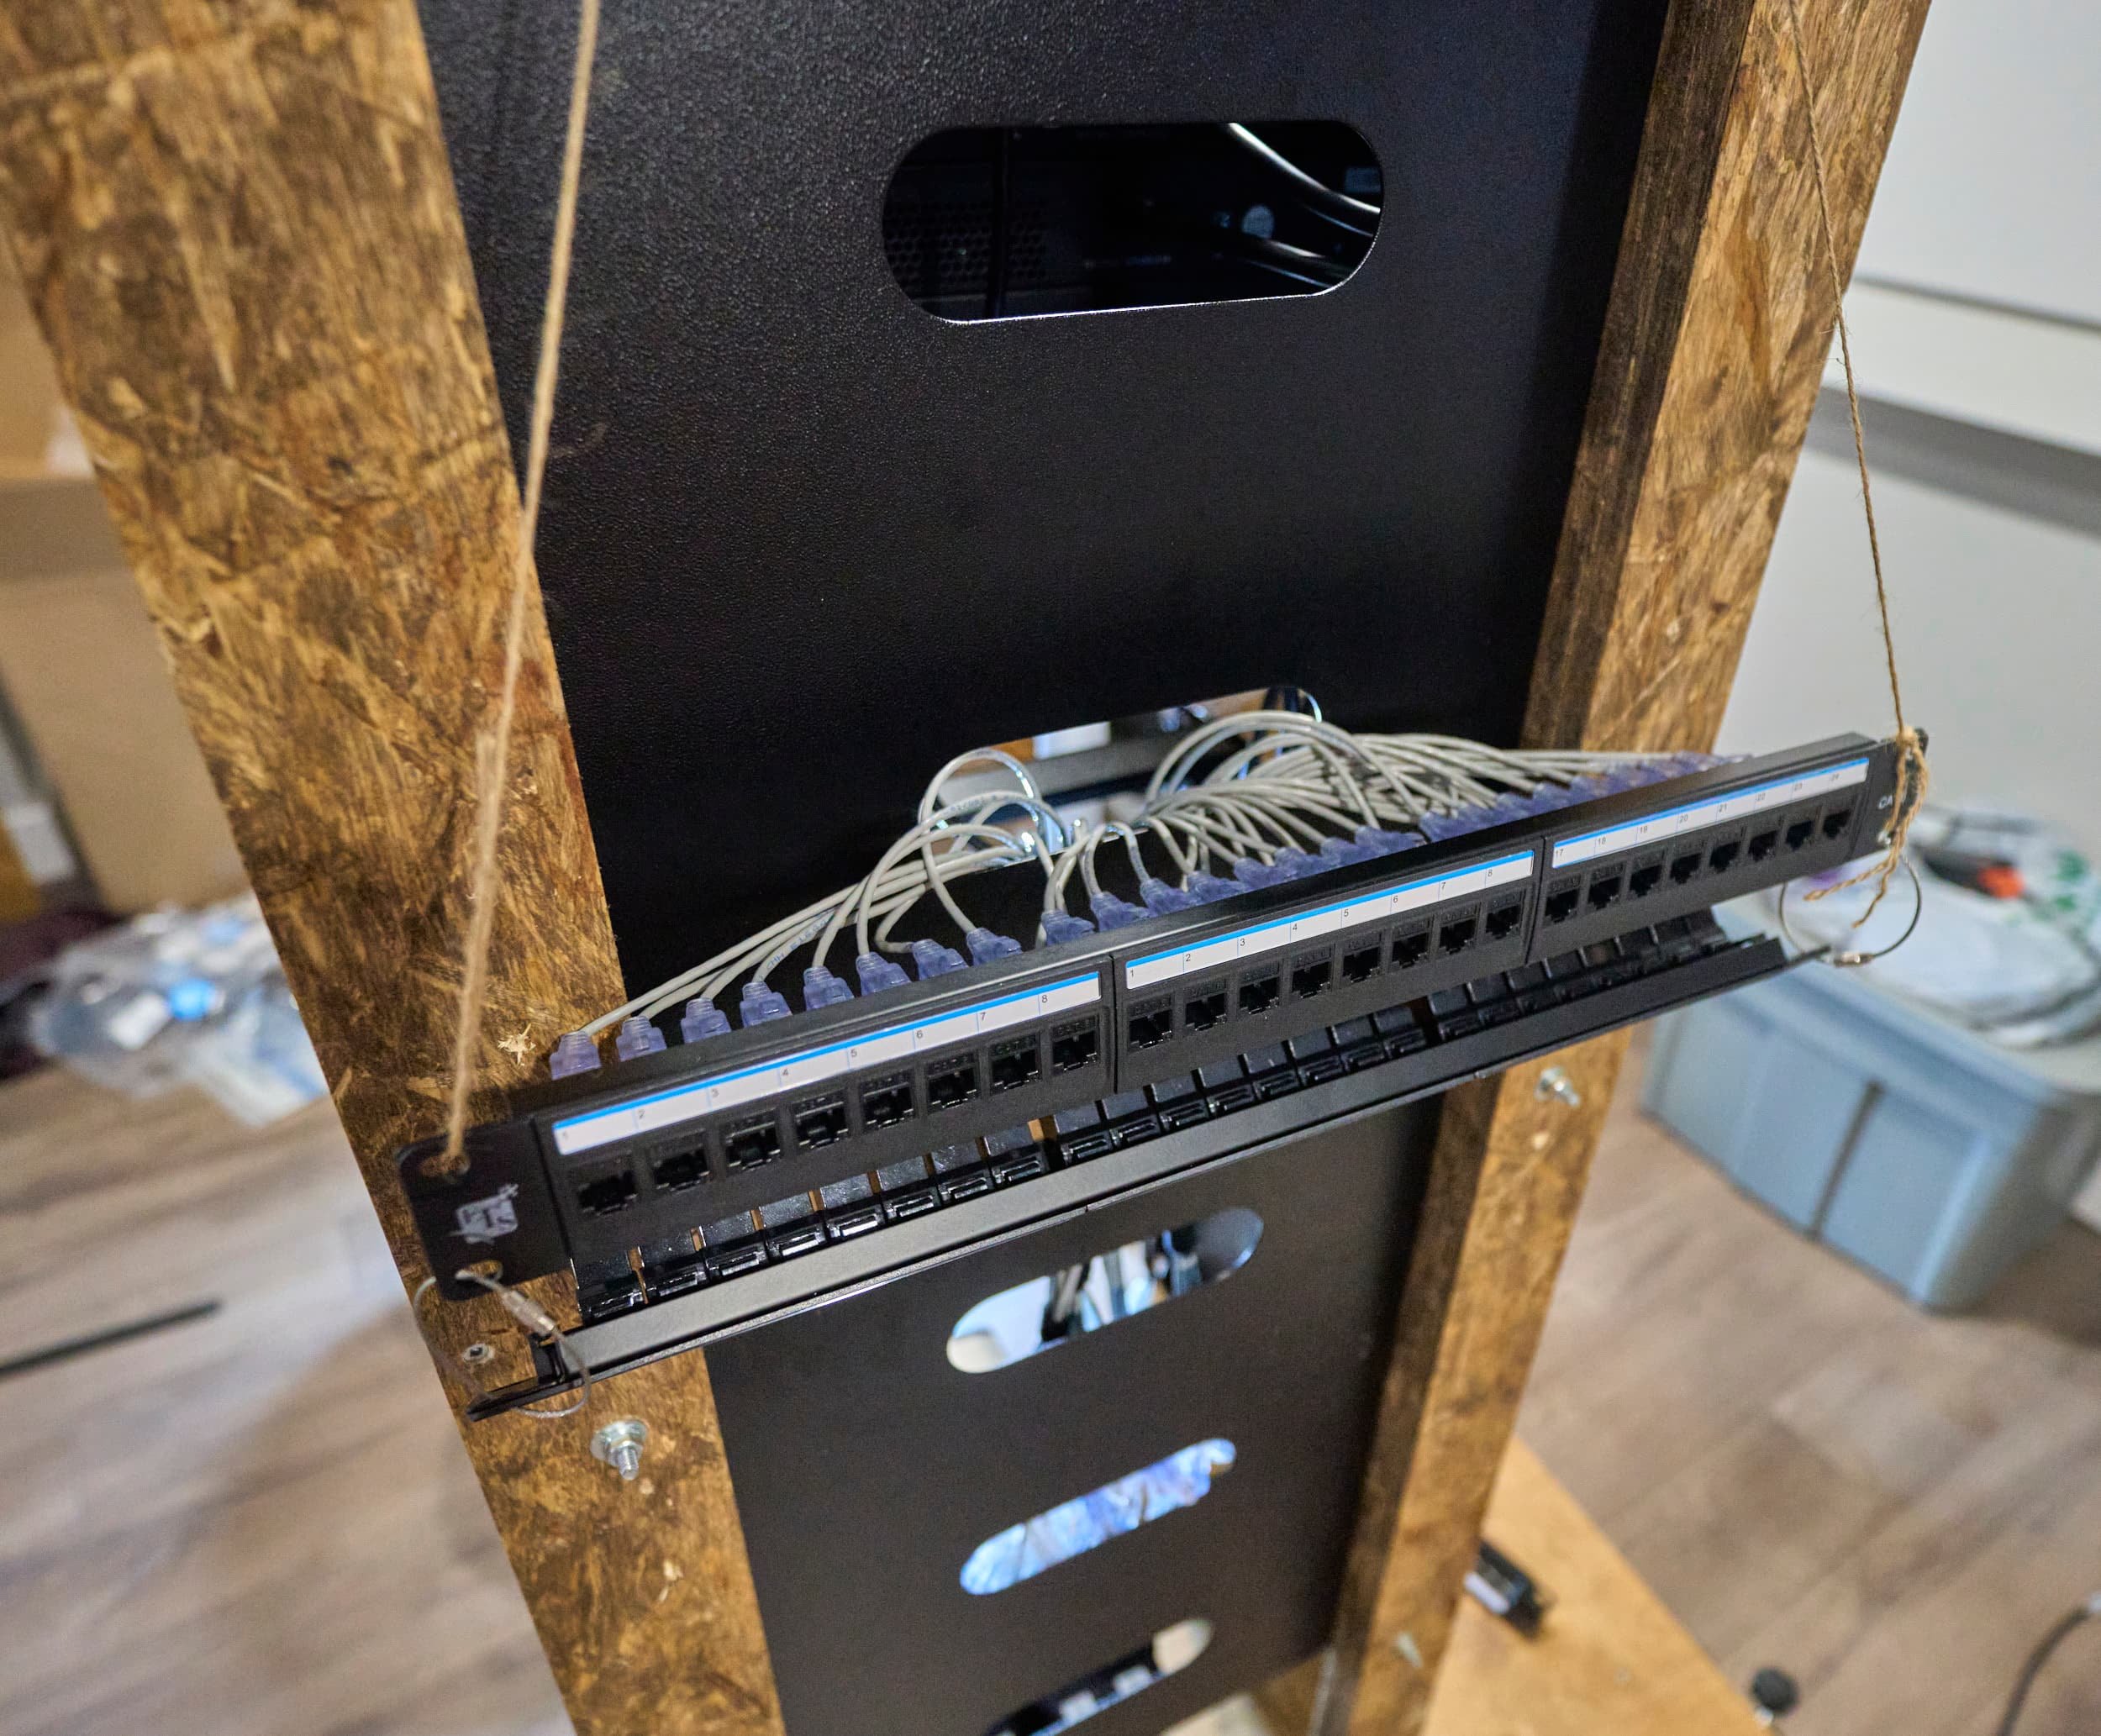
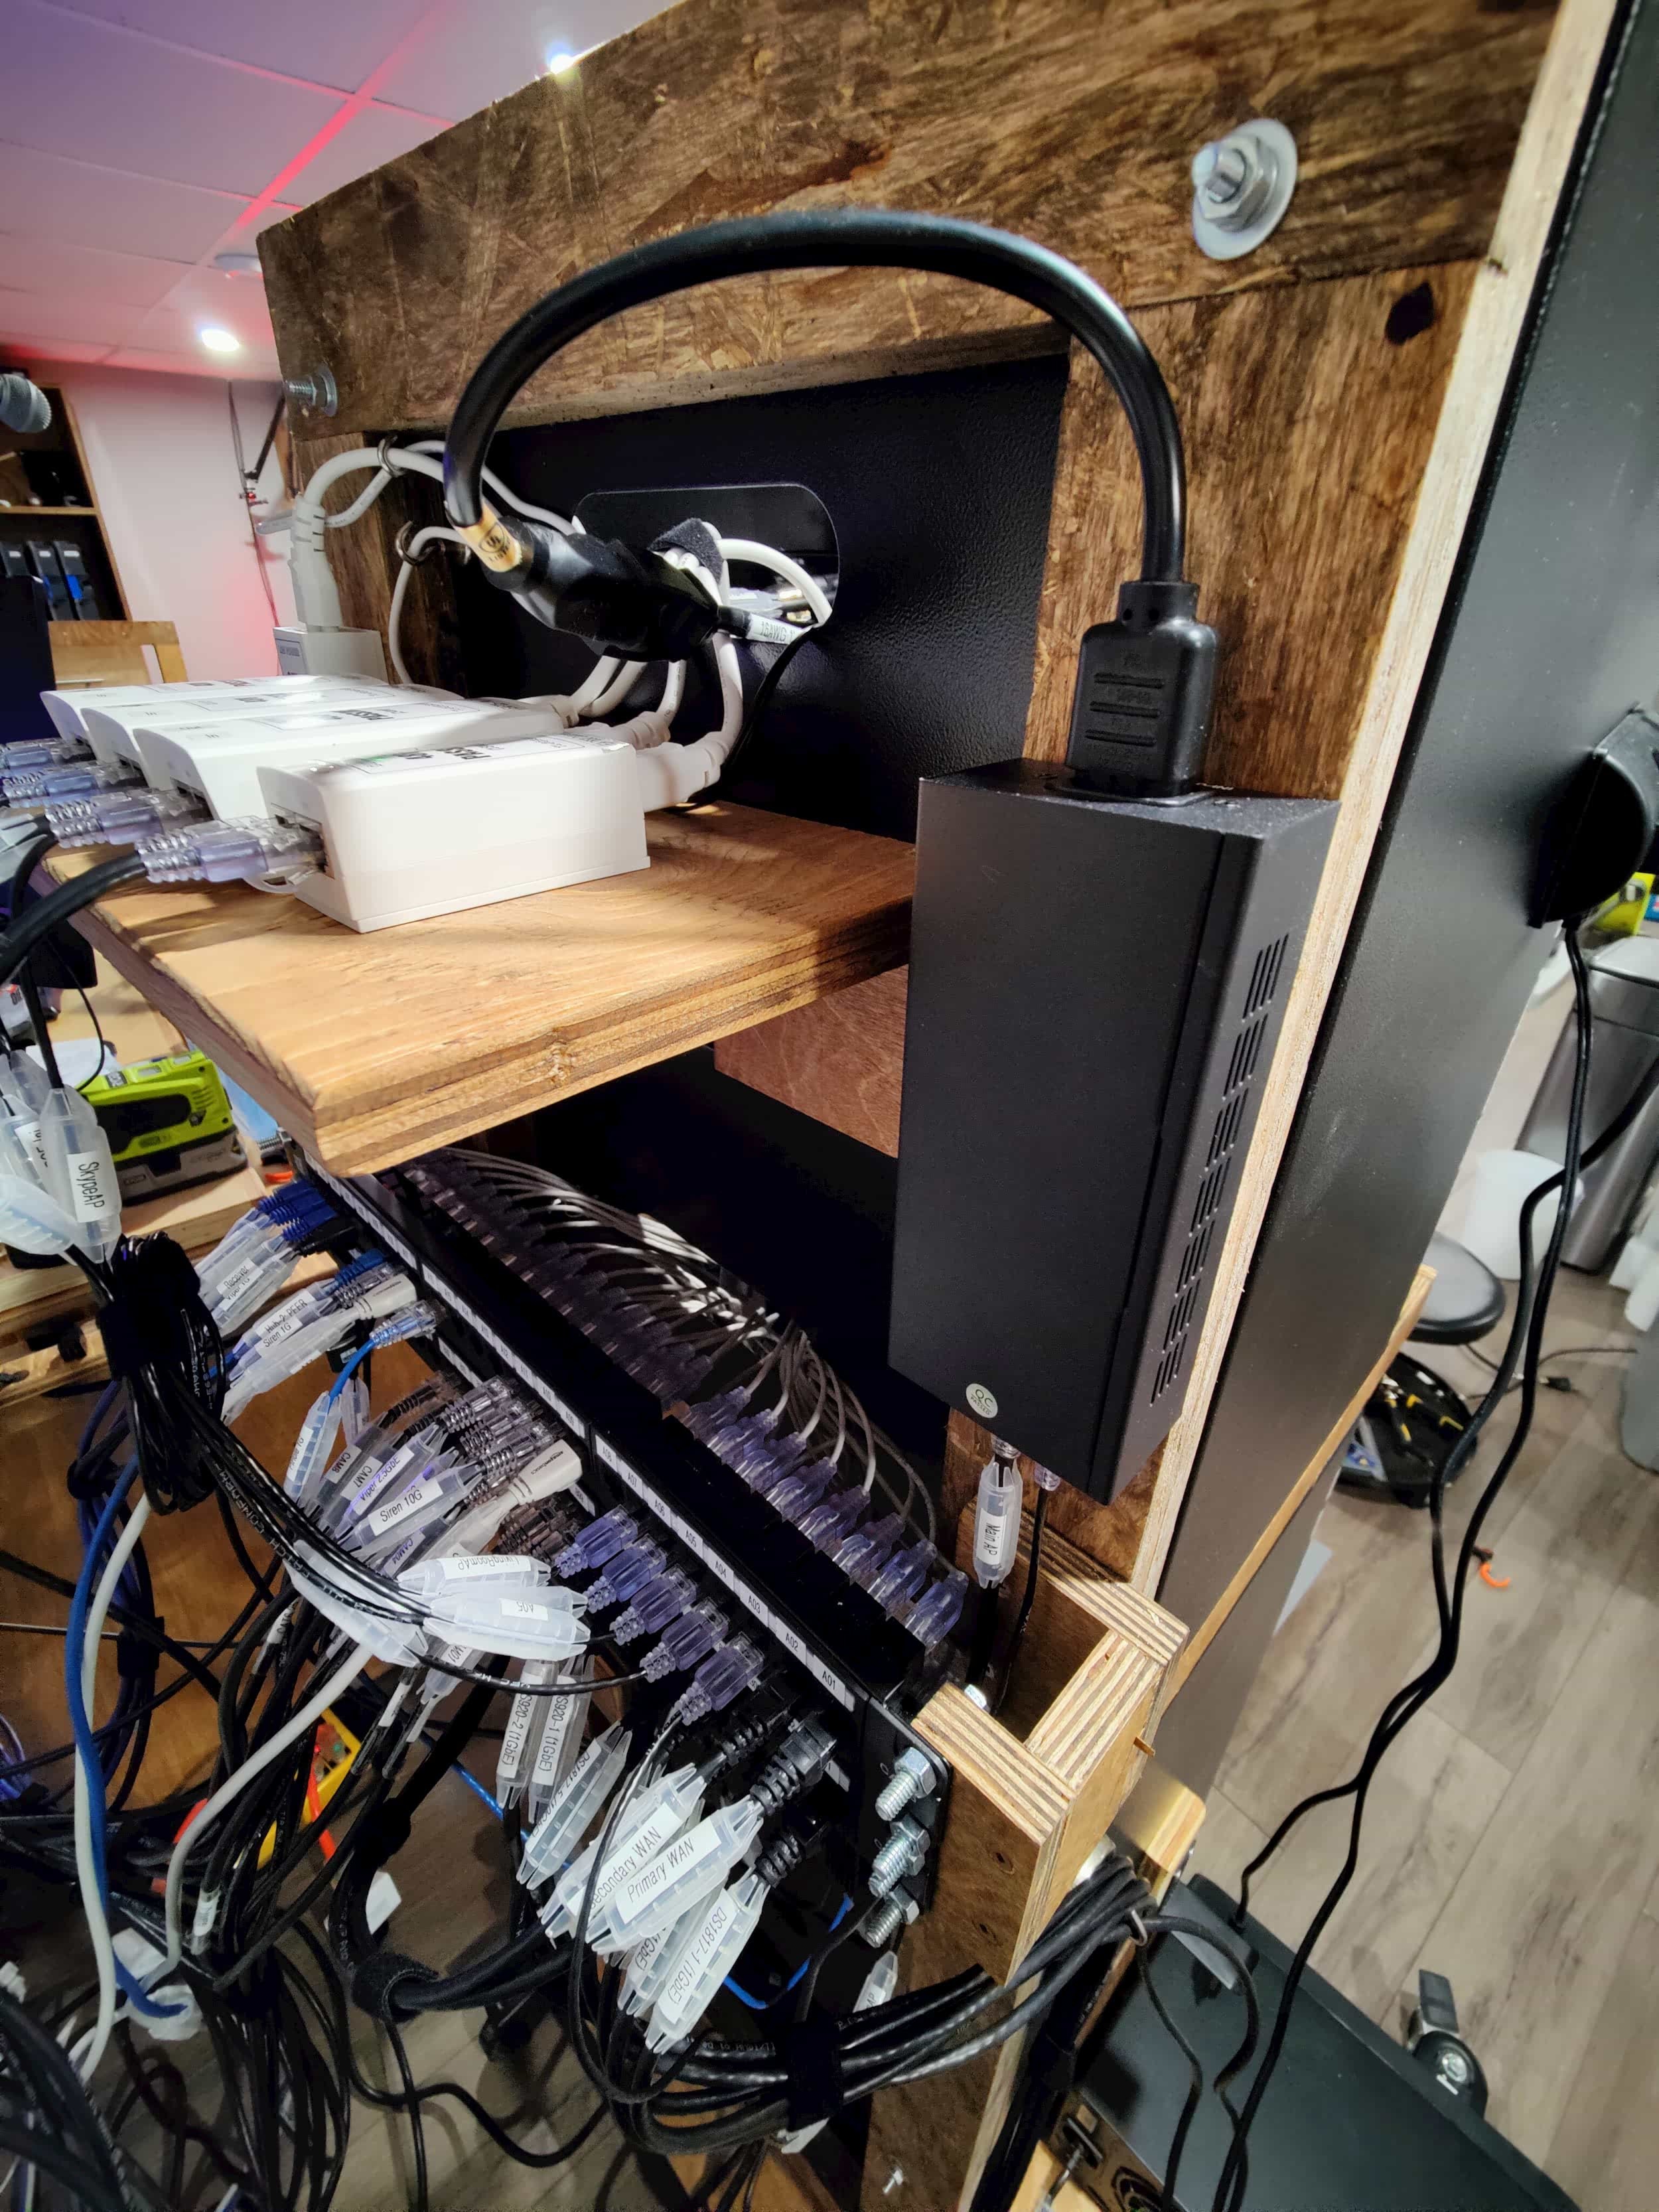
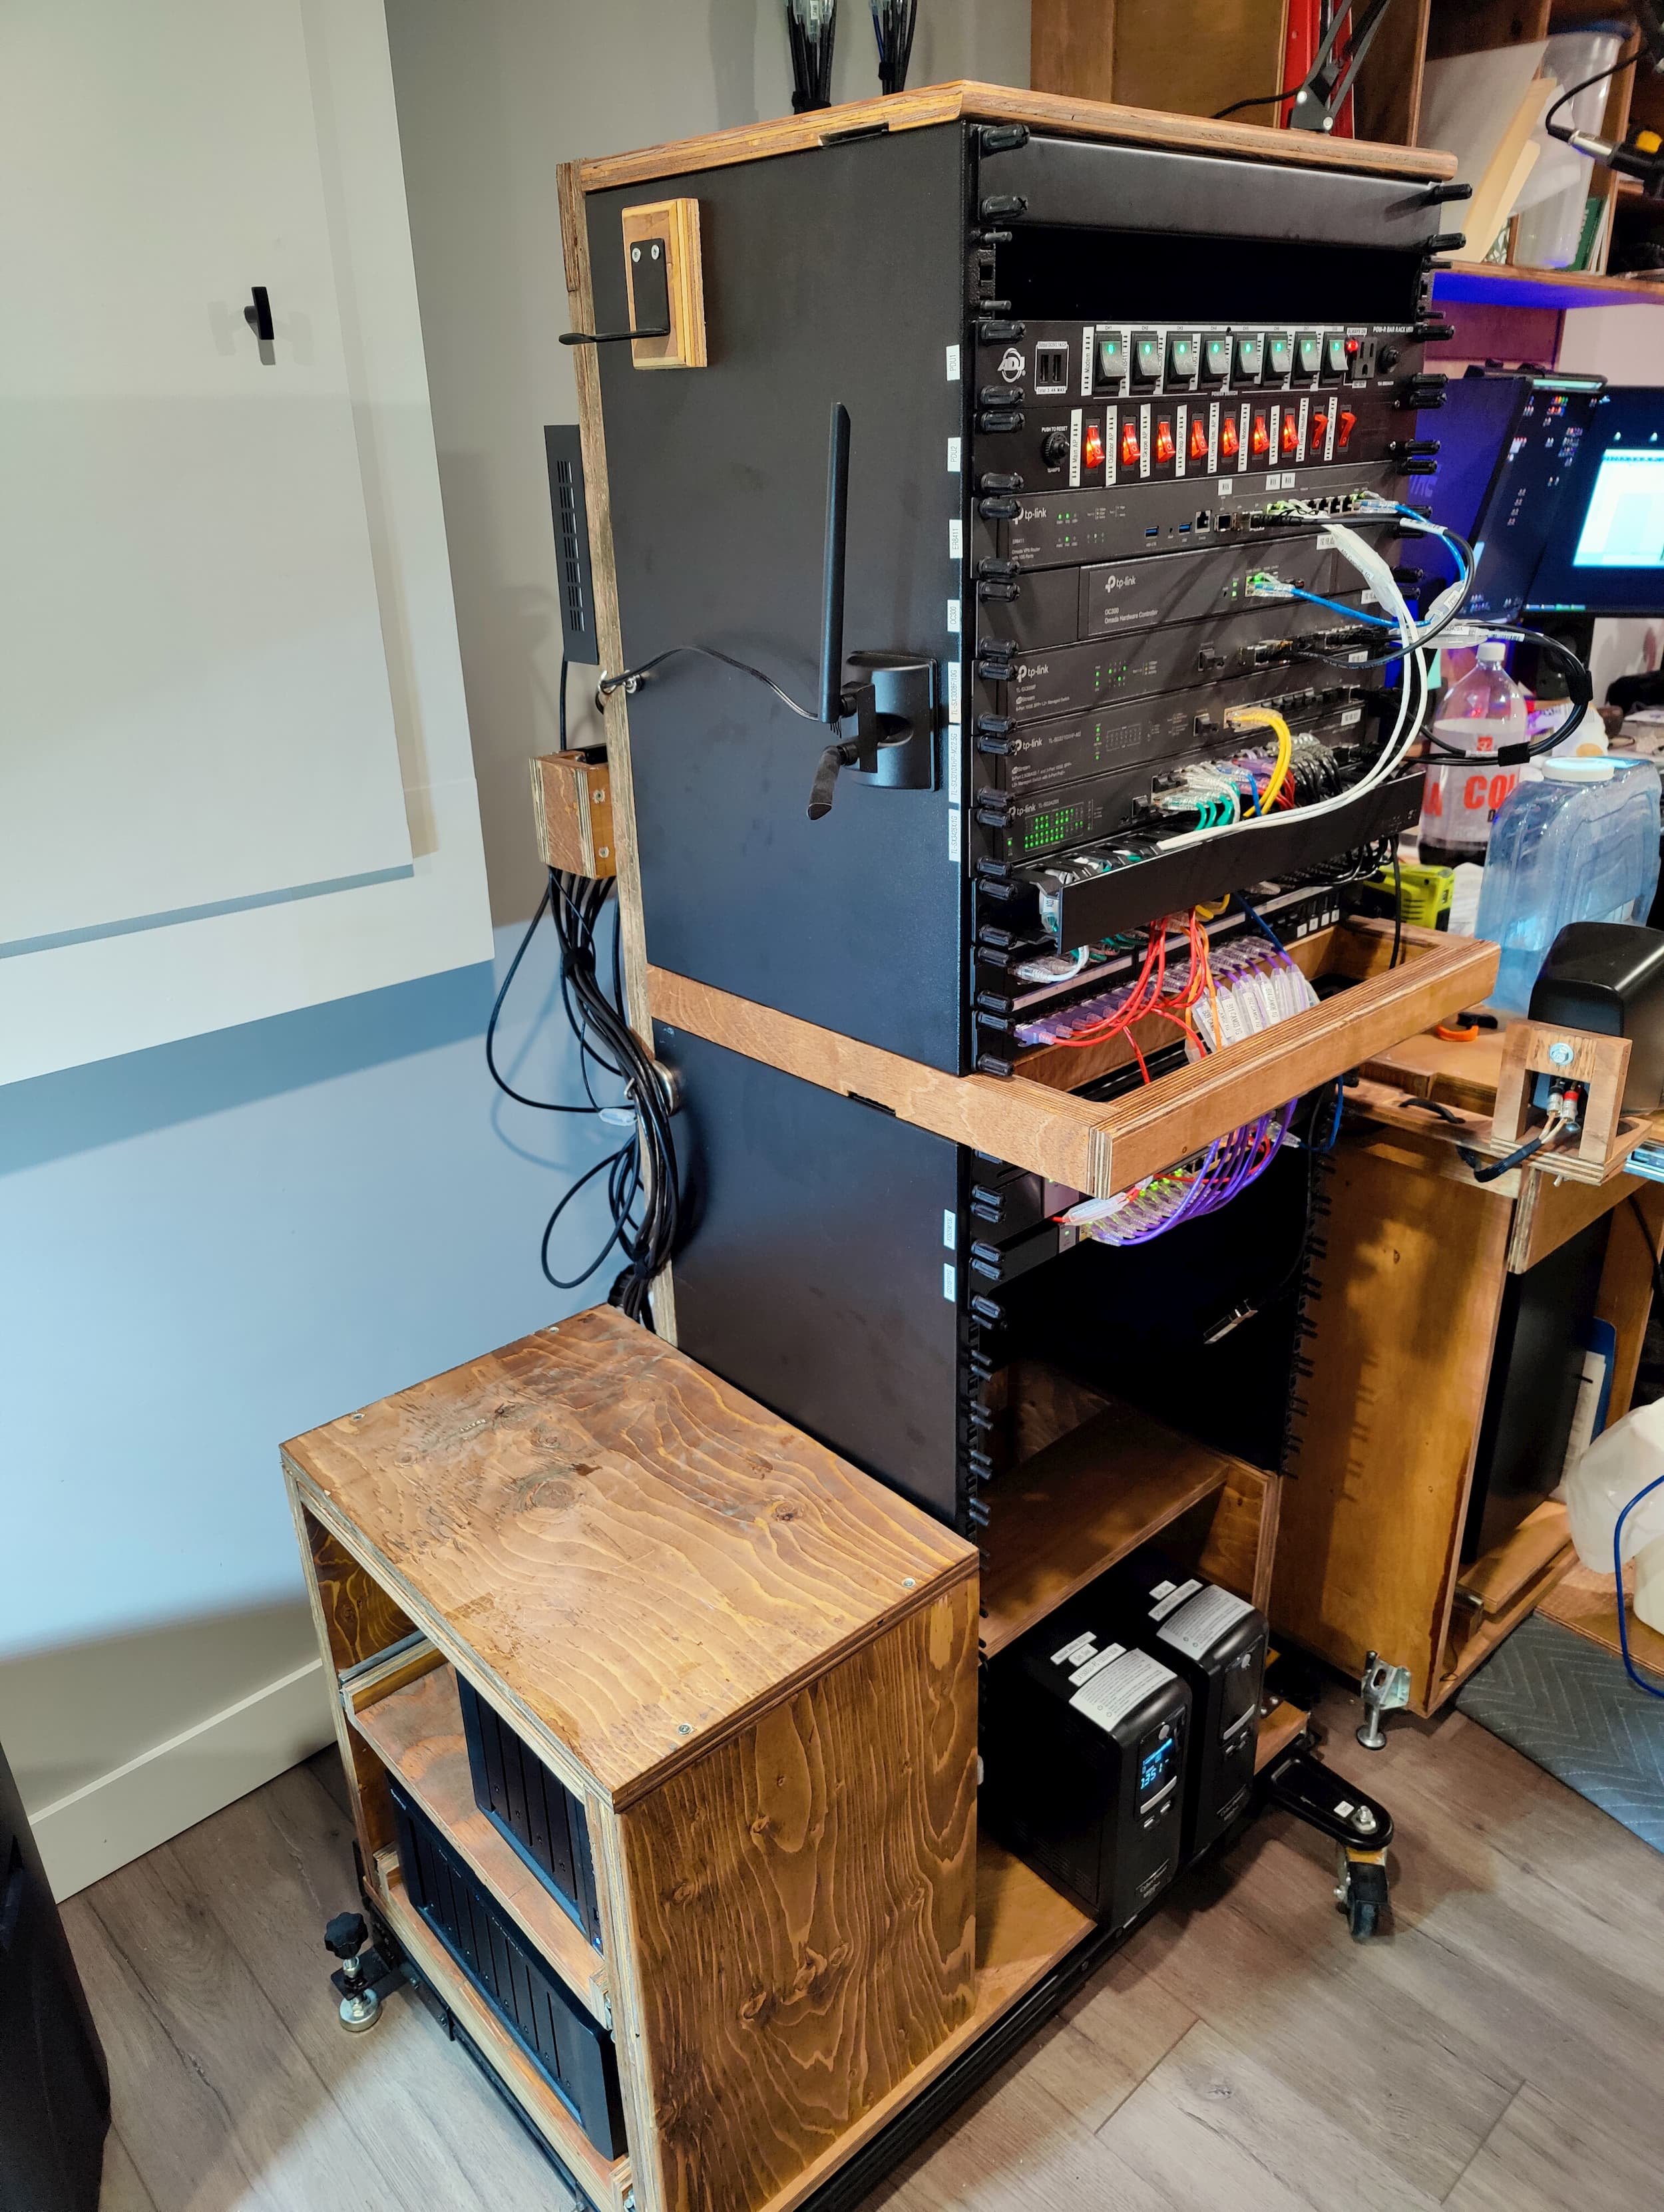
The big change would be adding rear-facing patch panels and permanently connecting them to the front-facing patch panels. This way, I don’t have to snake around inside the rack whenever I want to remove a device. It turns the back side of the network rack into a dock.
Adding rear patch panel to turn this into a network docking station.
Step 1 - Switching out the base
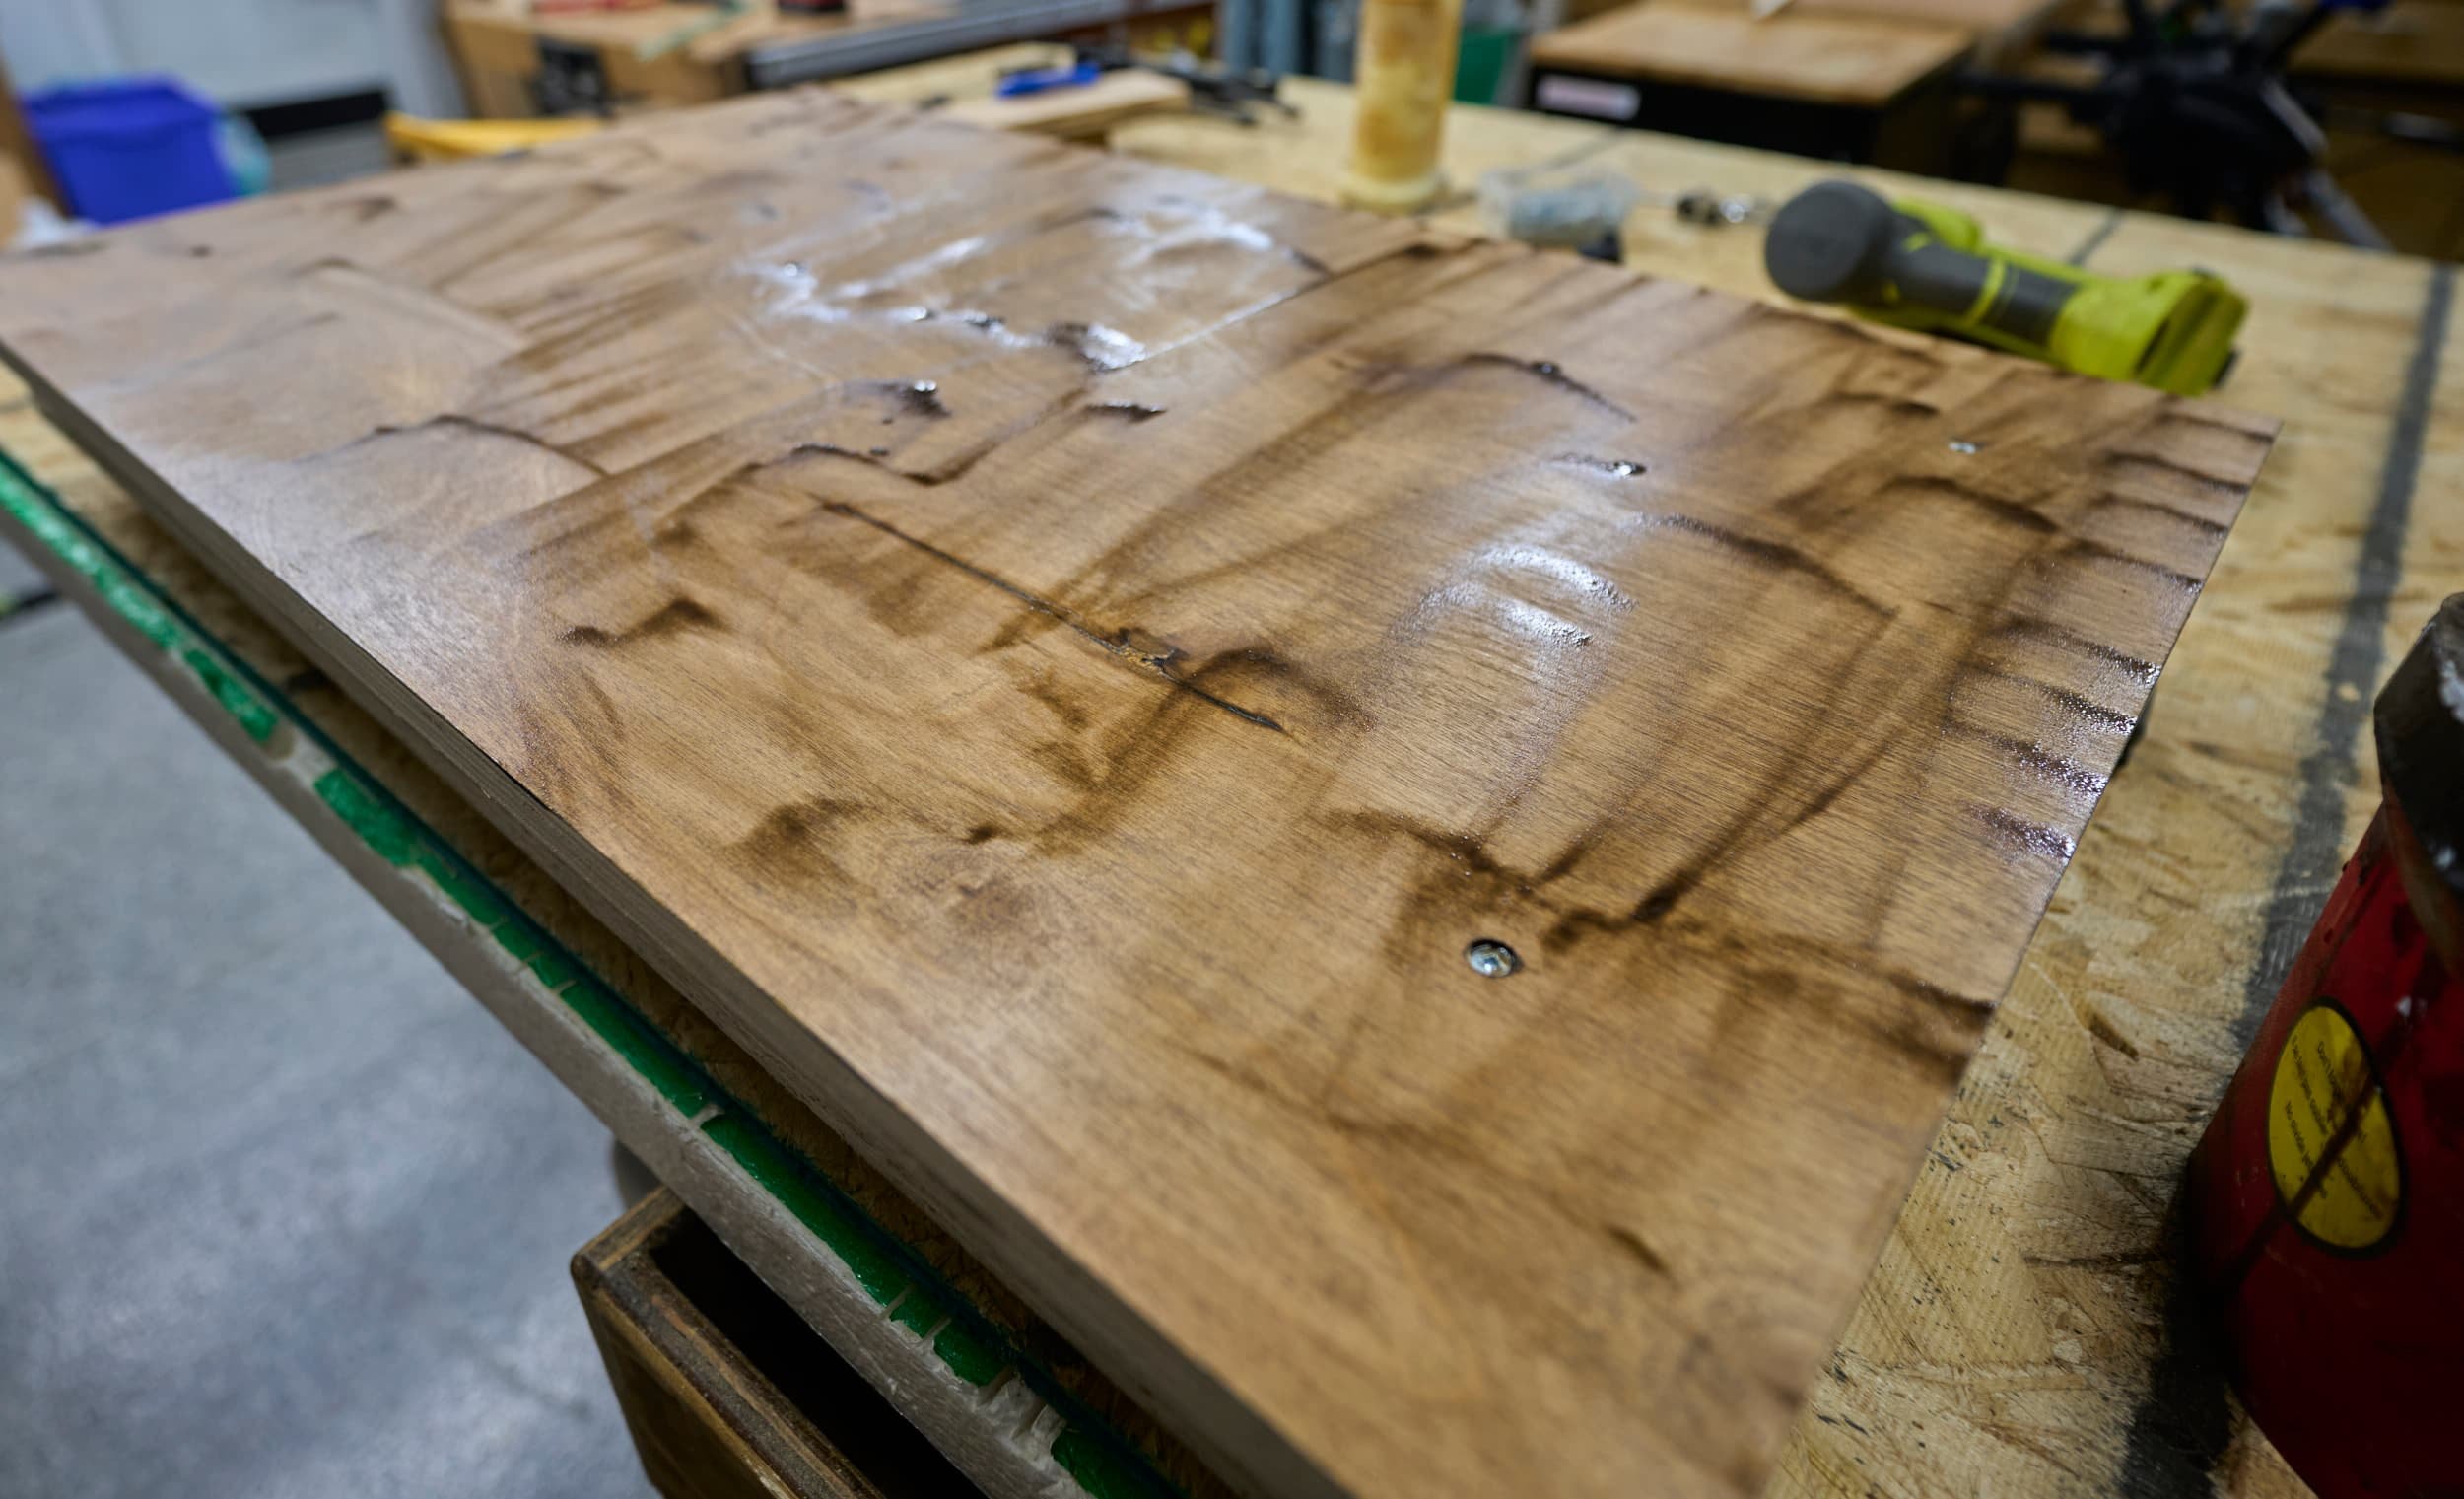
The previous base was a panel of 1/2” plywood that I ‘kind of’ clamped onto an adjustable base and while I don’t have any overt reason not to trust it, over time, I just ‘had a feeling’ that due to the uncentered weight was causing the wood to deflect and eventually result in tears.
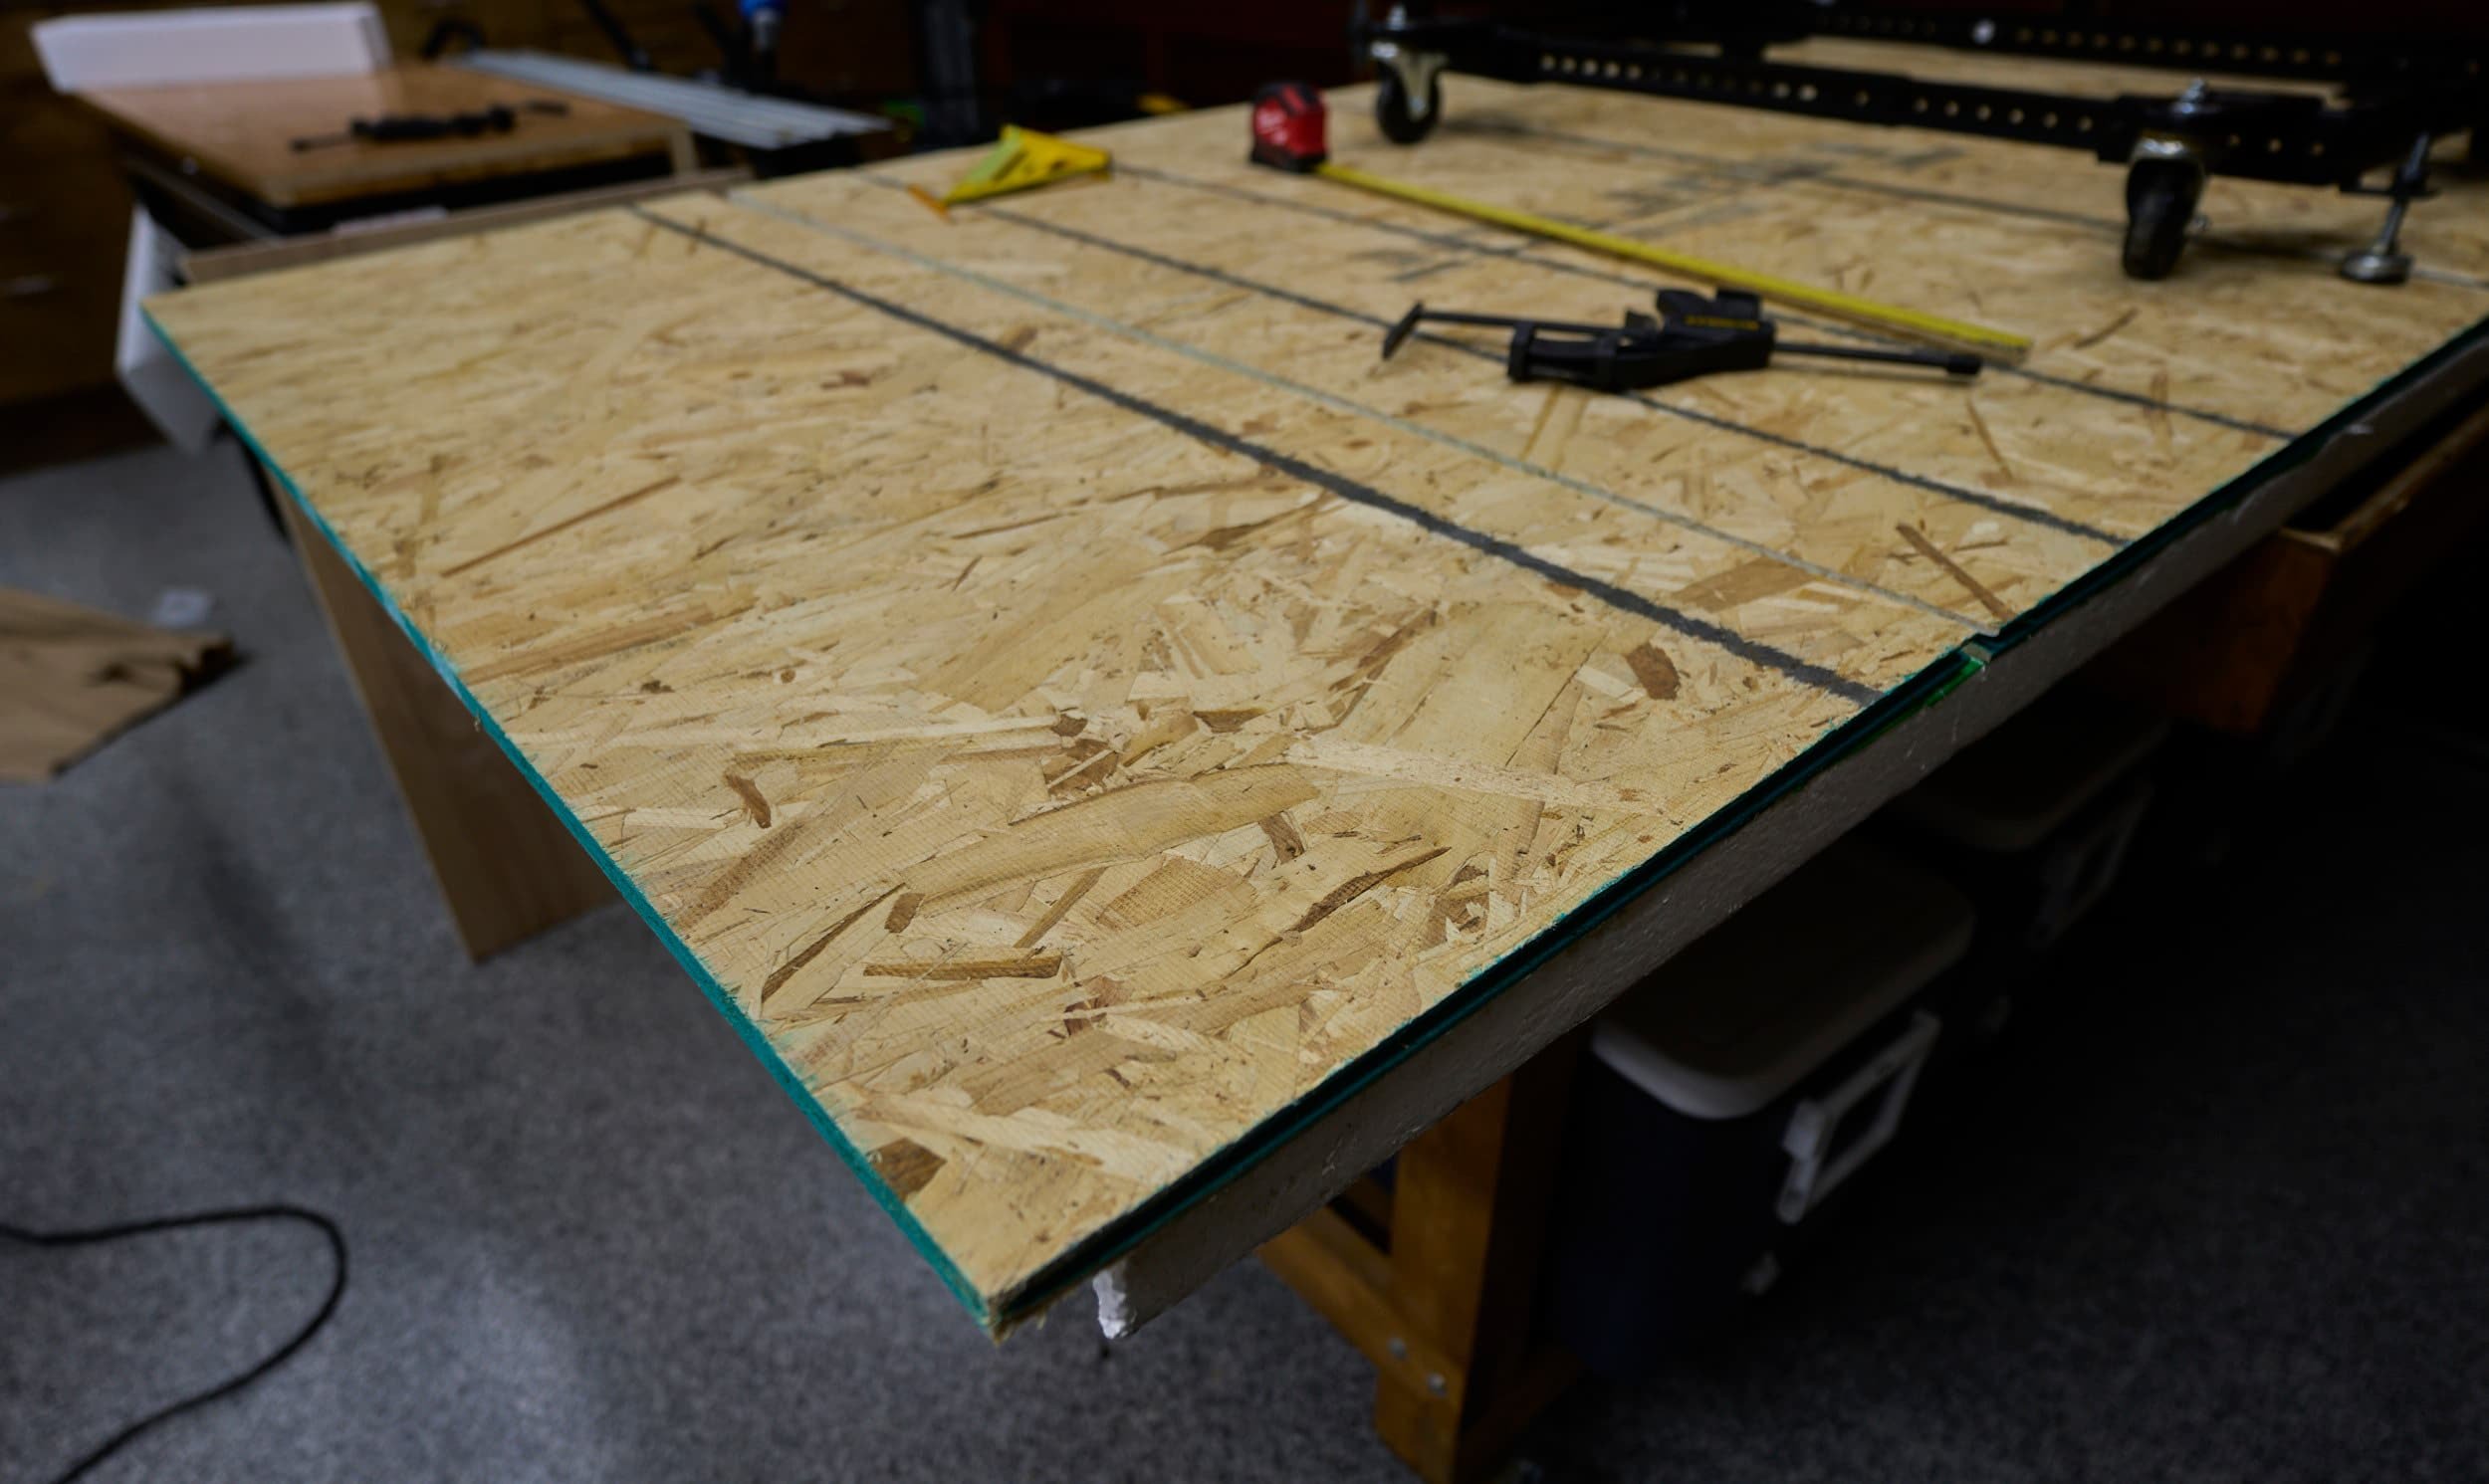
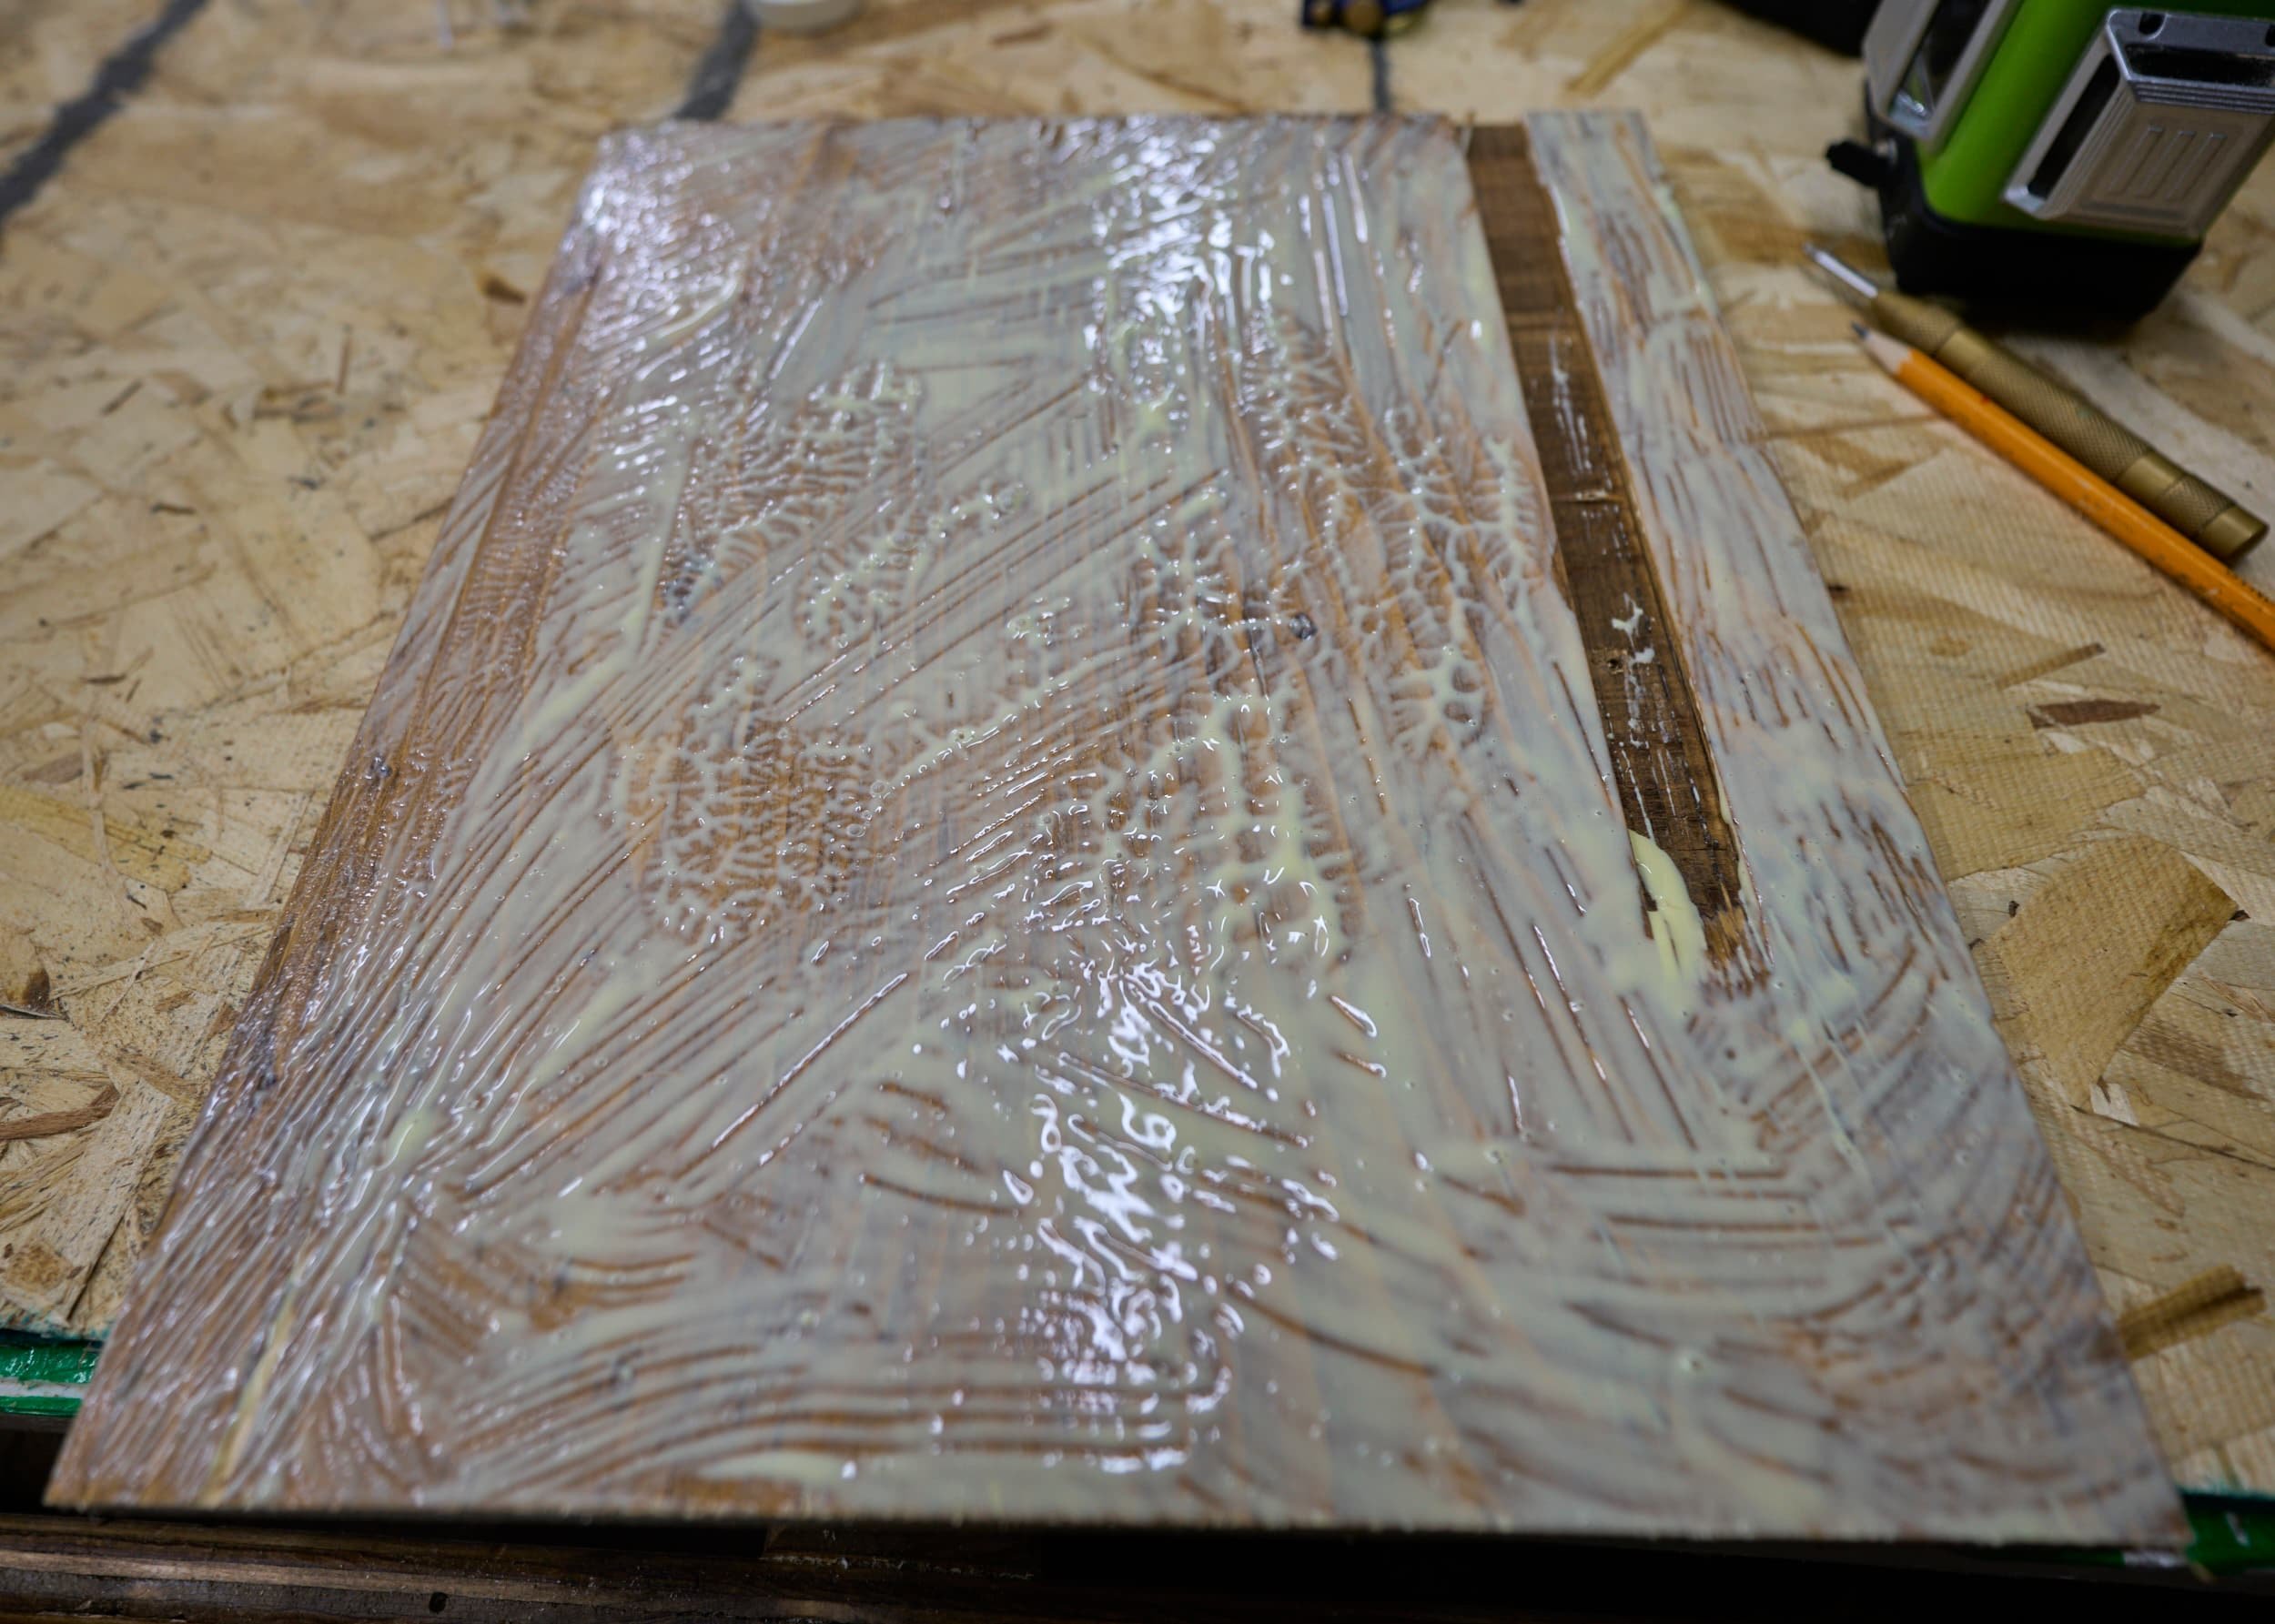
To replace this, I had a universal tool base that I’ve had kicking around for a long time (and truthfully, have been tripping over). To try and get ahead of deflection, I opted to make give the base a bit of a torsion-box. Being designed as a mobile base for heavy workshop tools, it was easy to bolt this platform to the base.
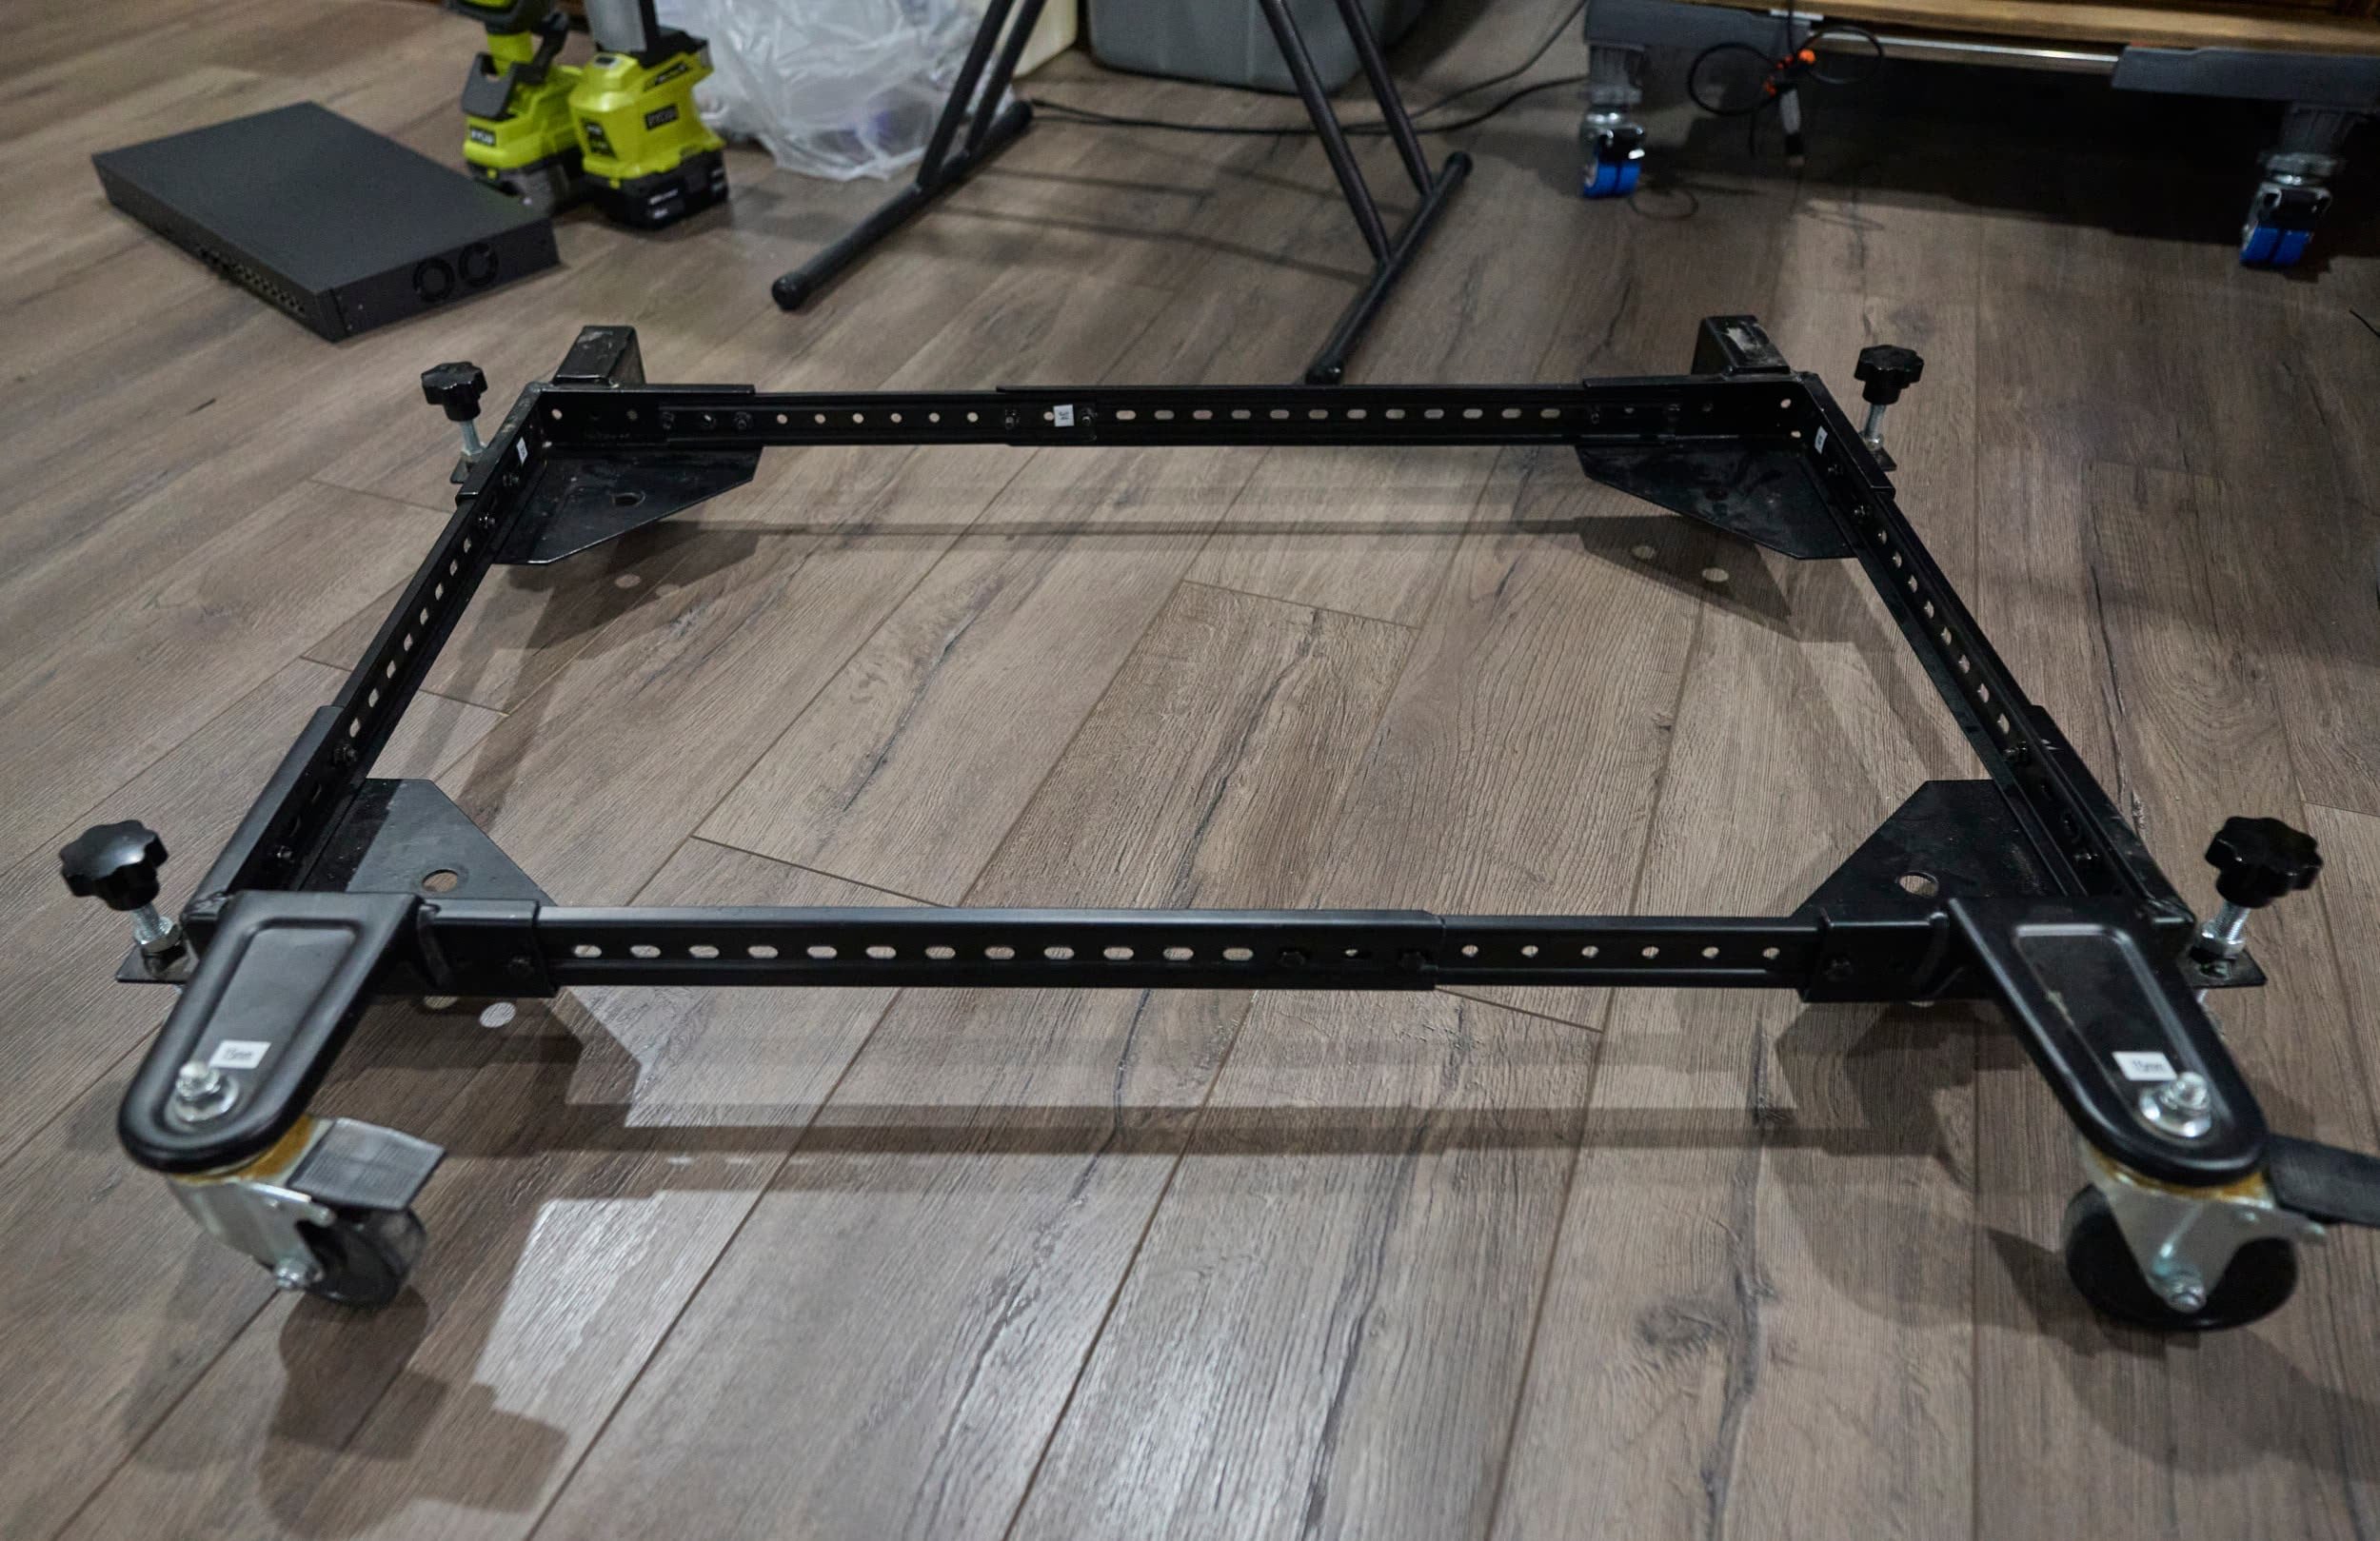


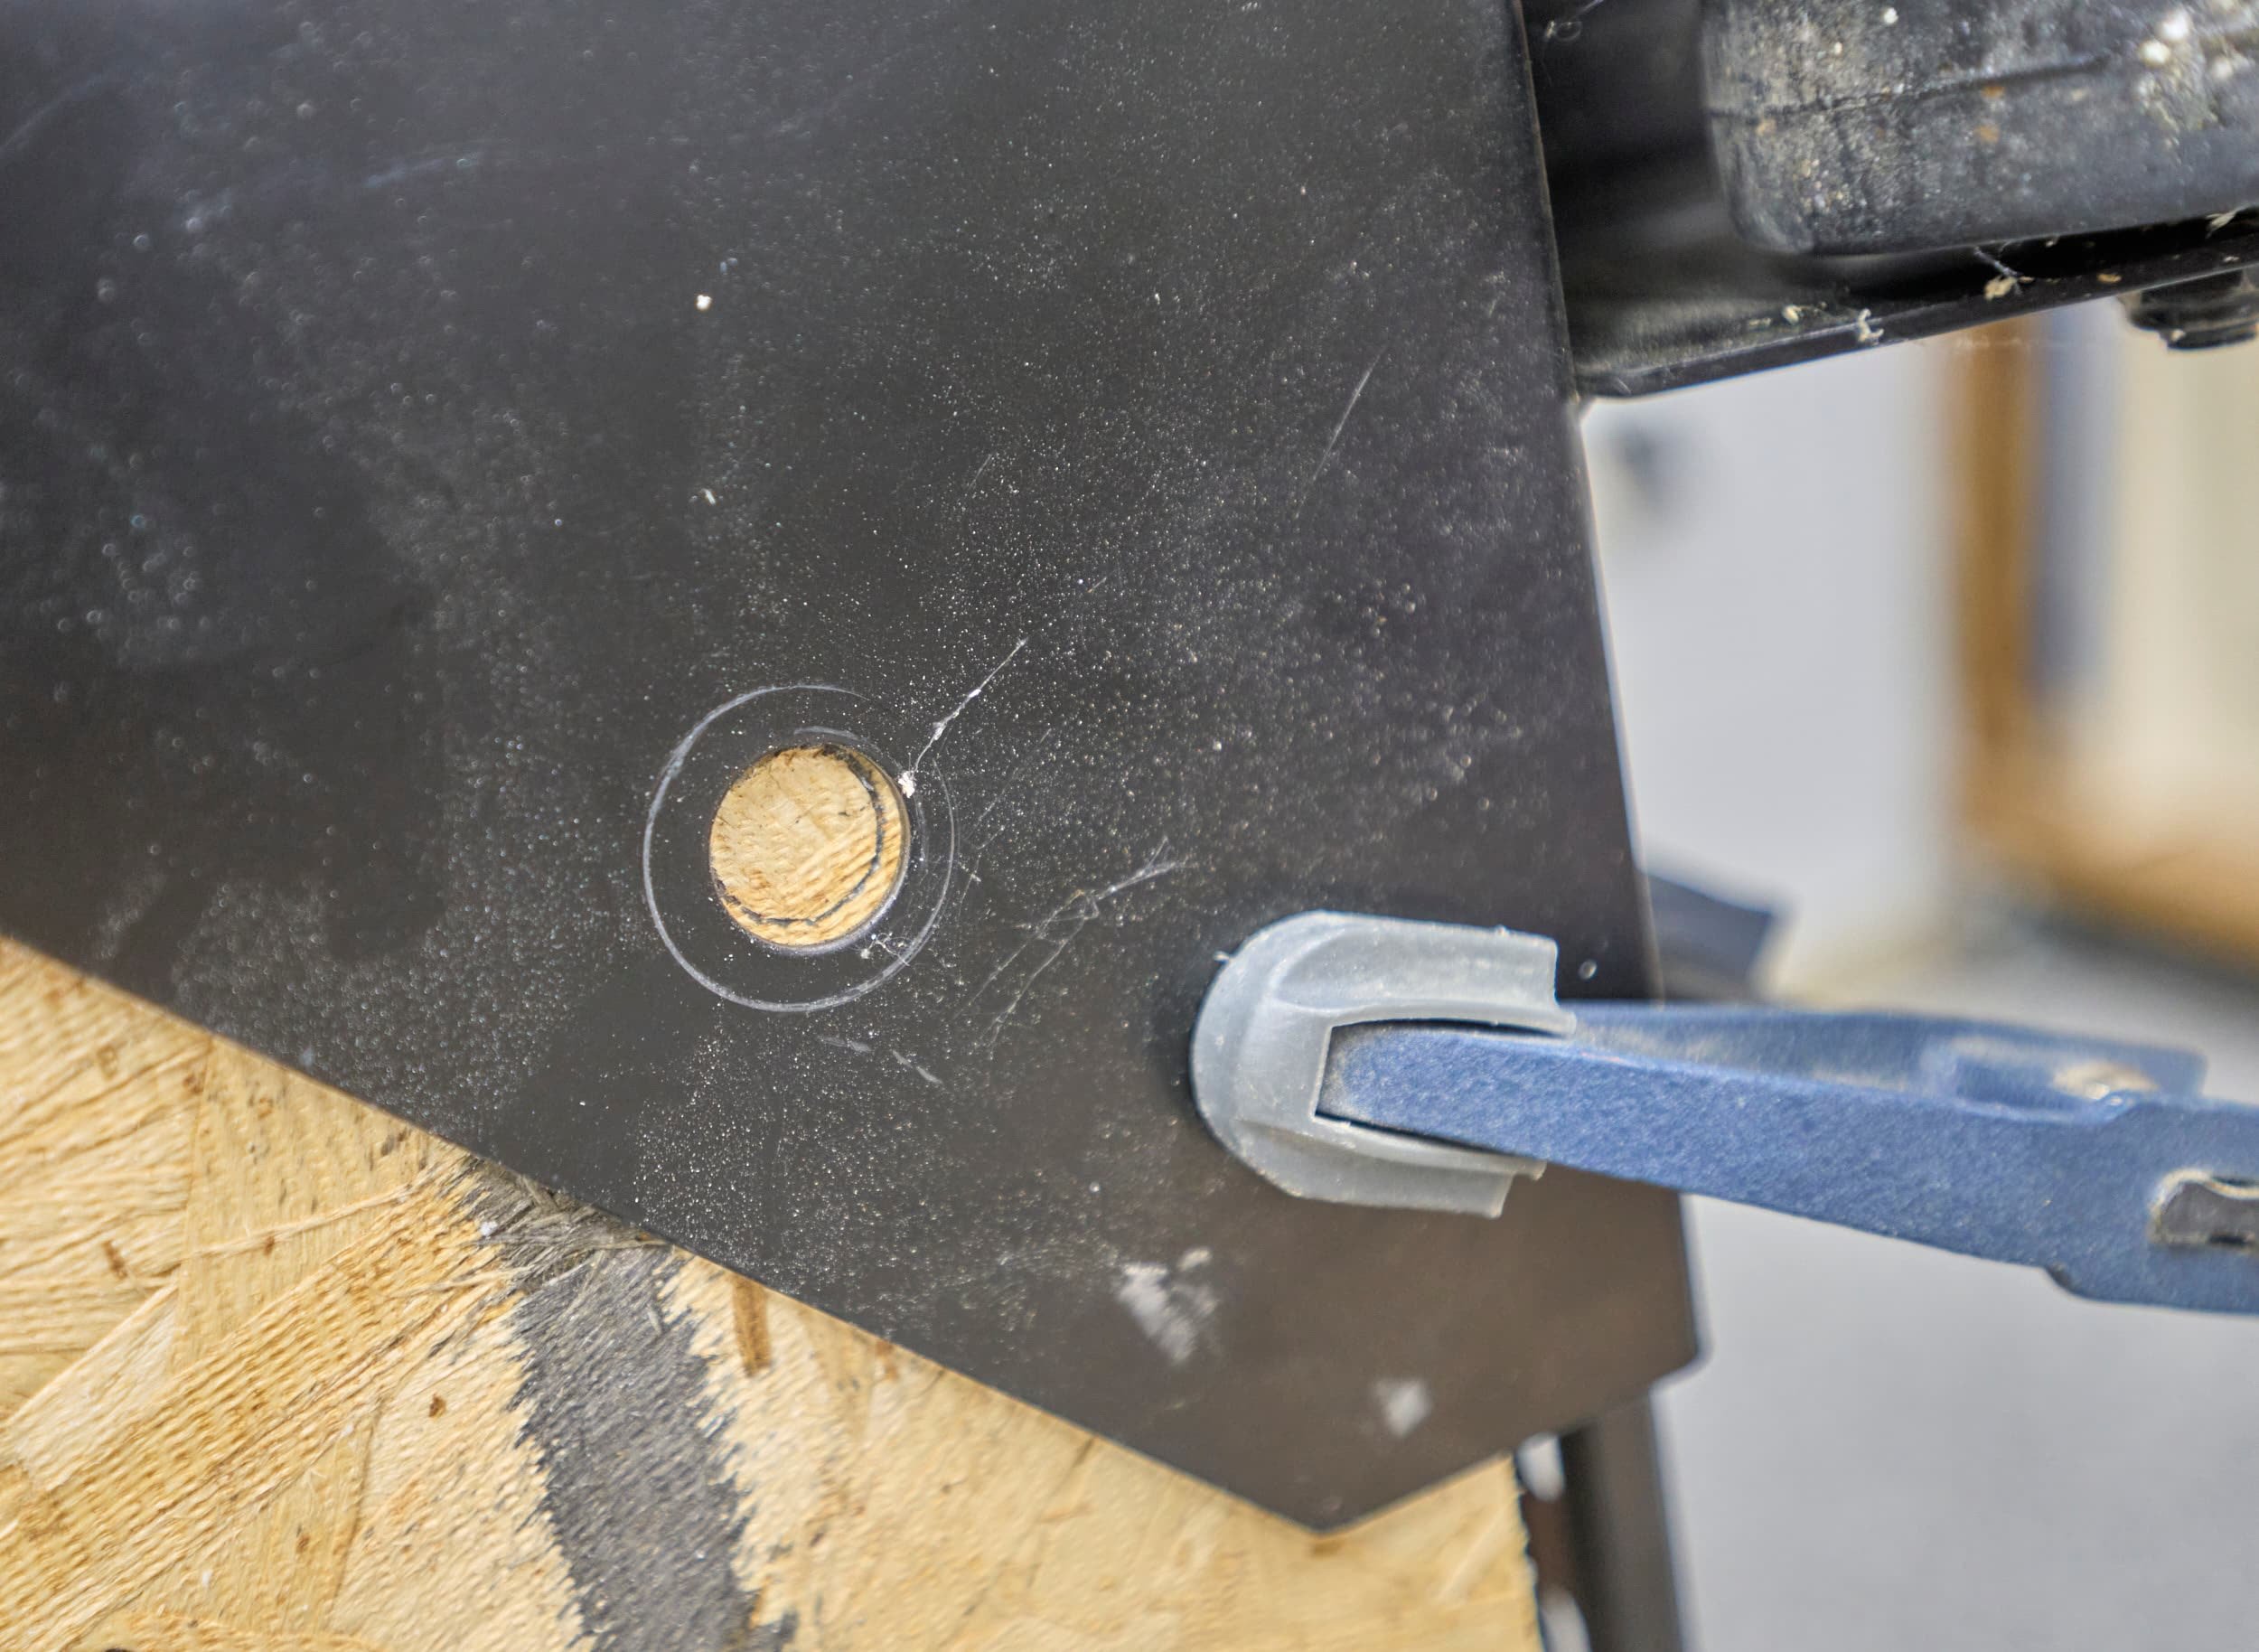


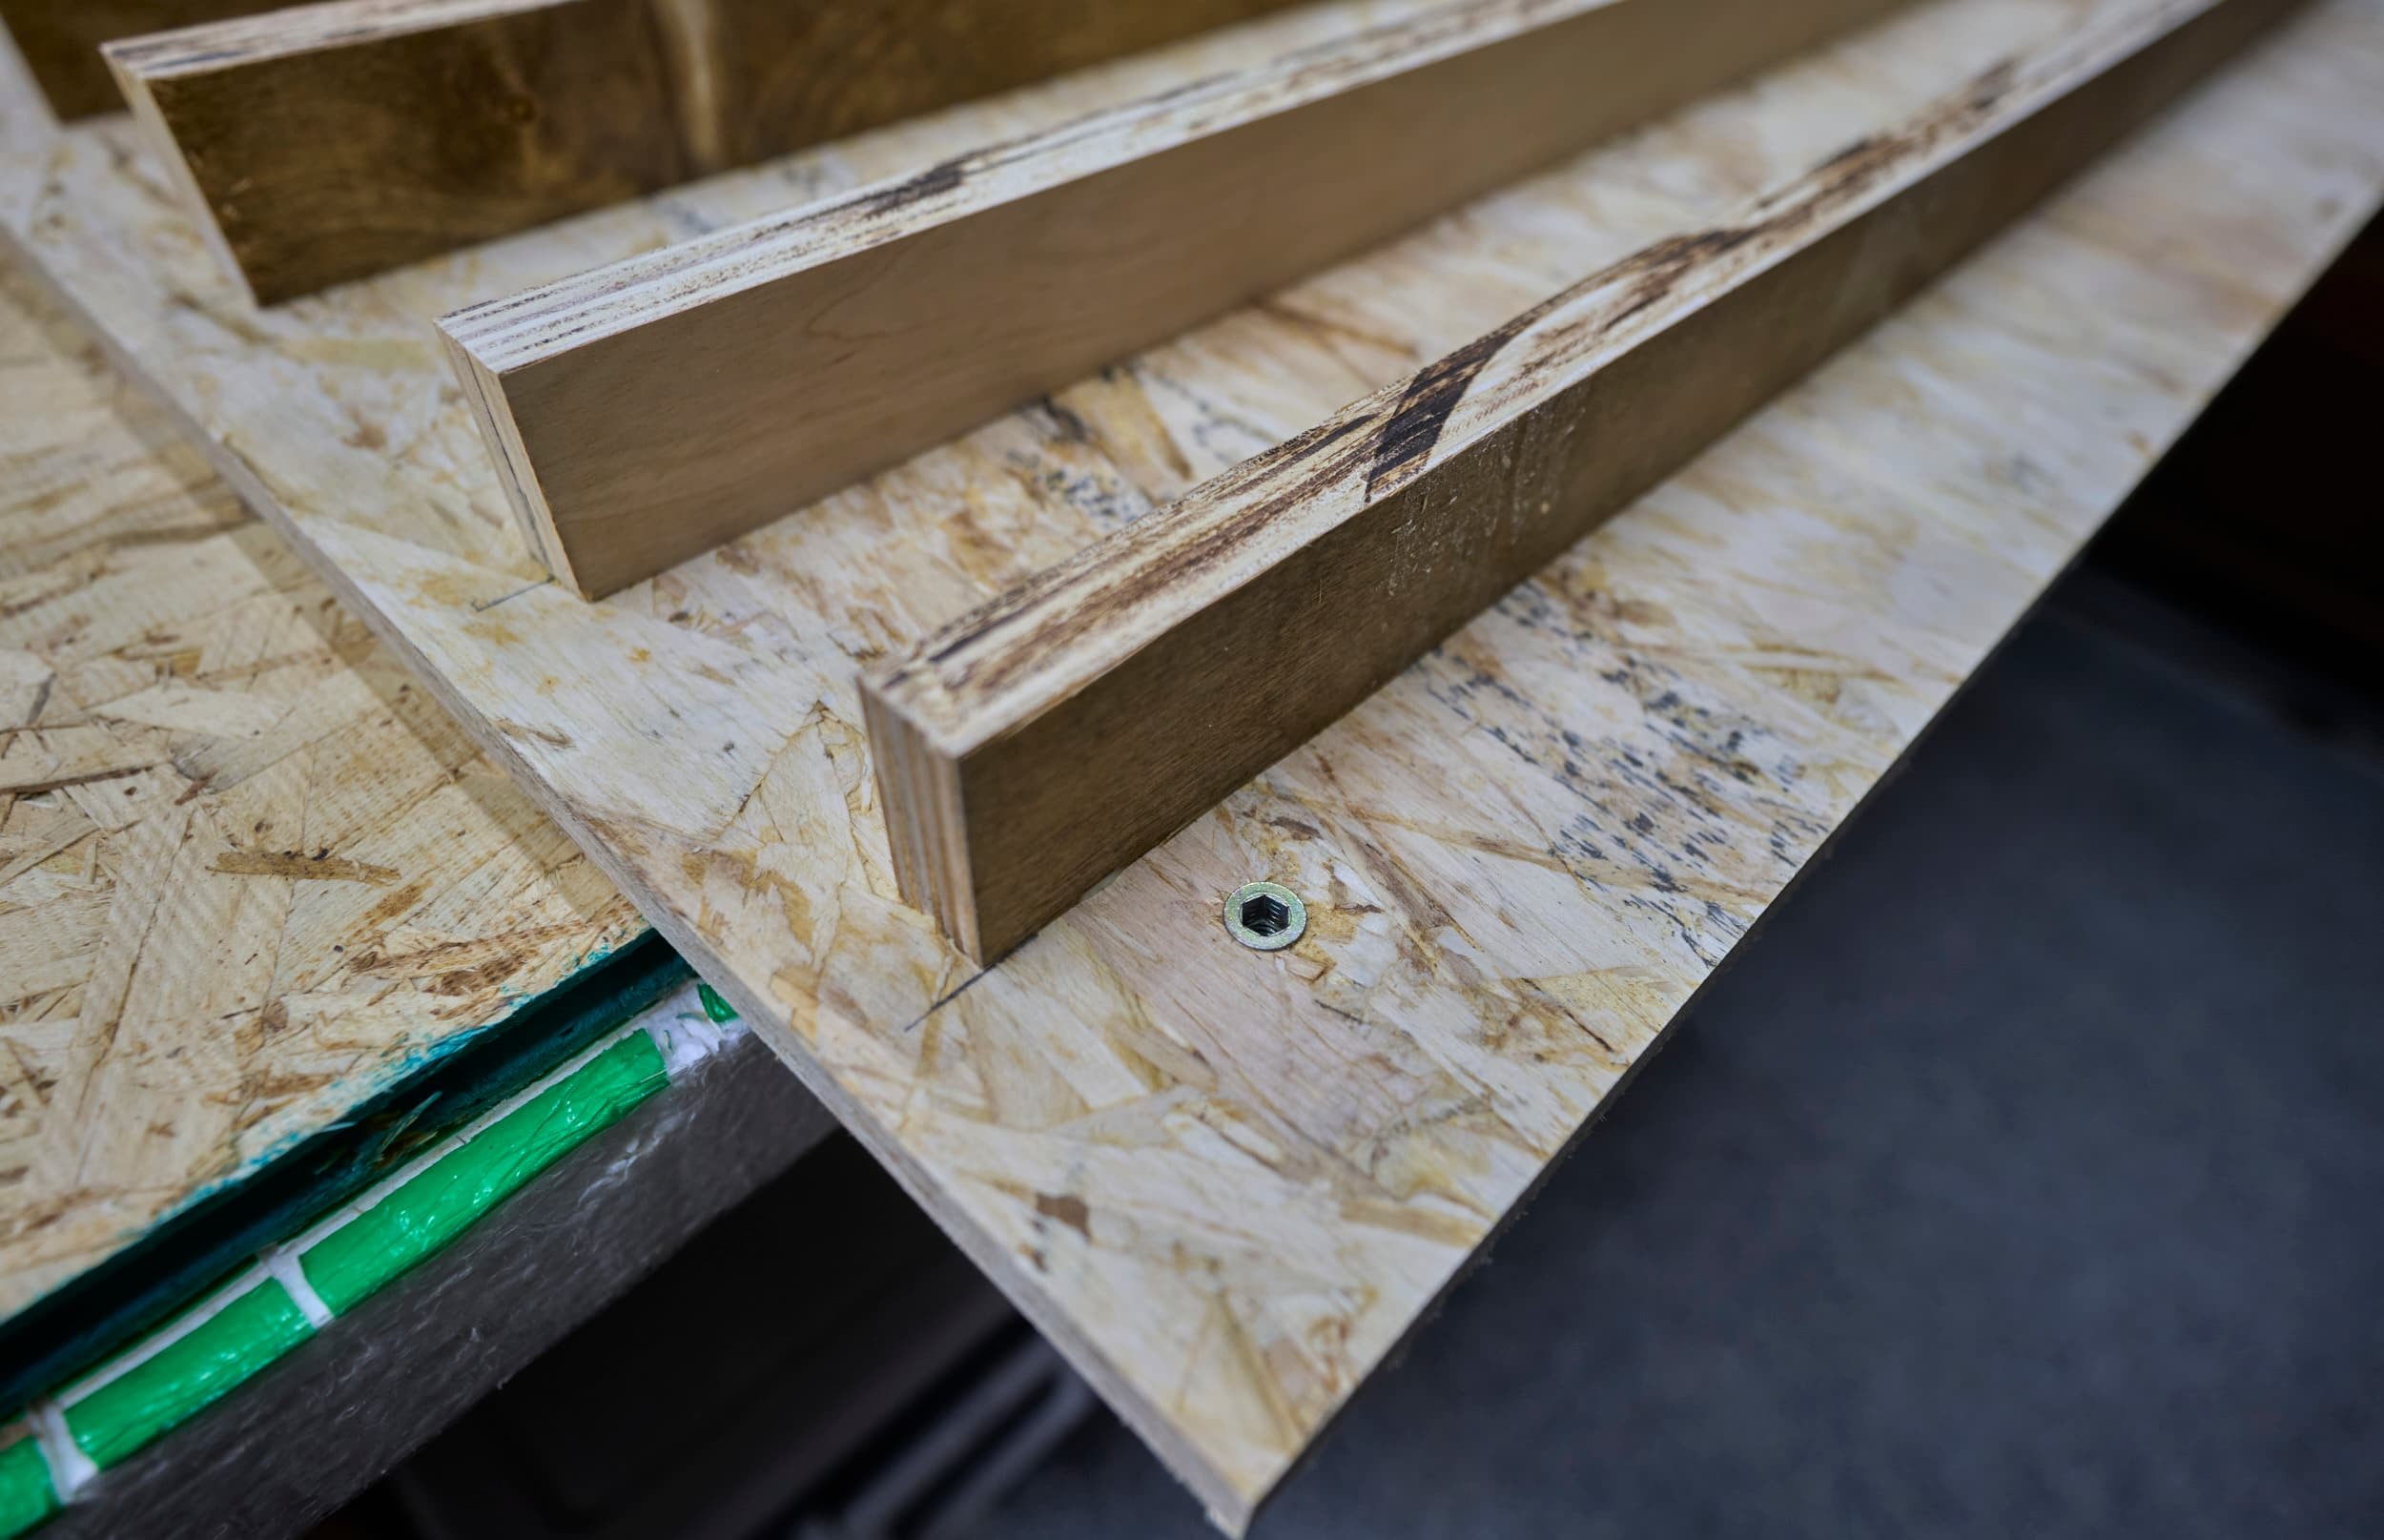

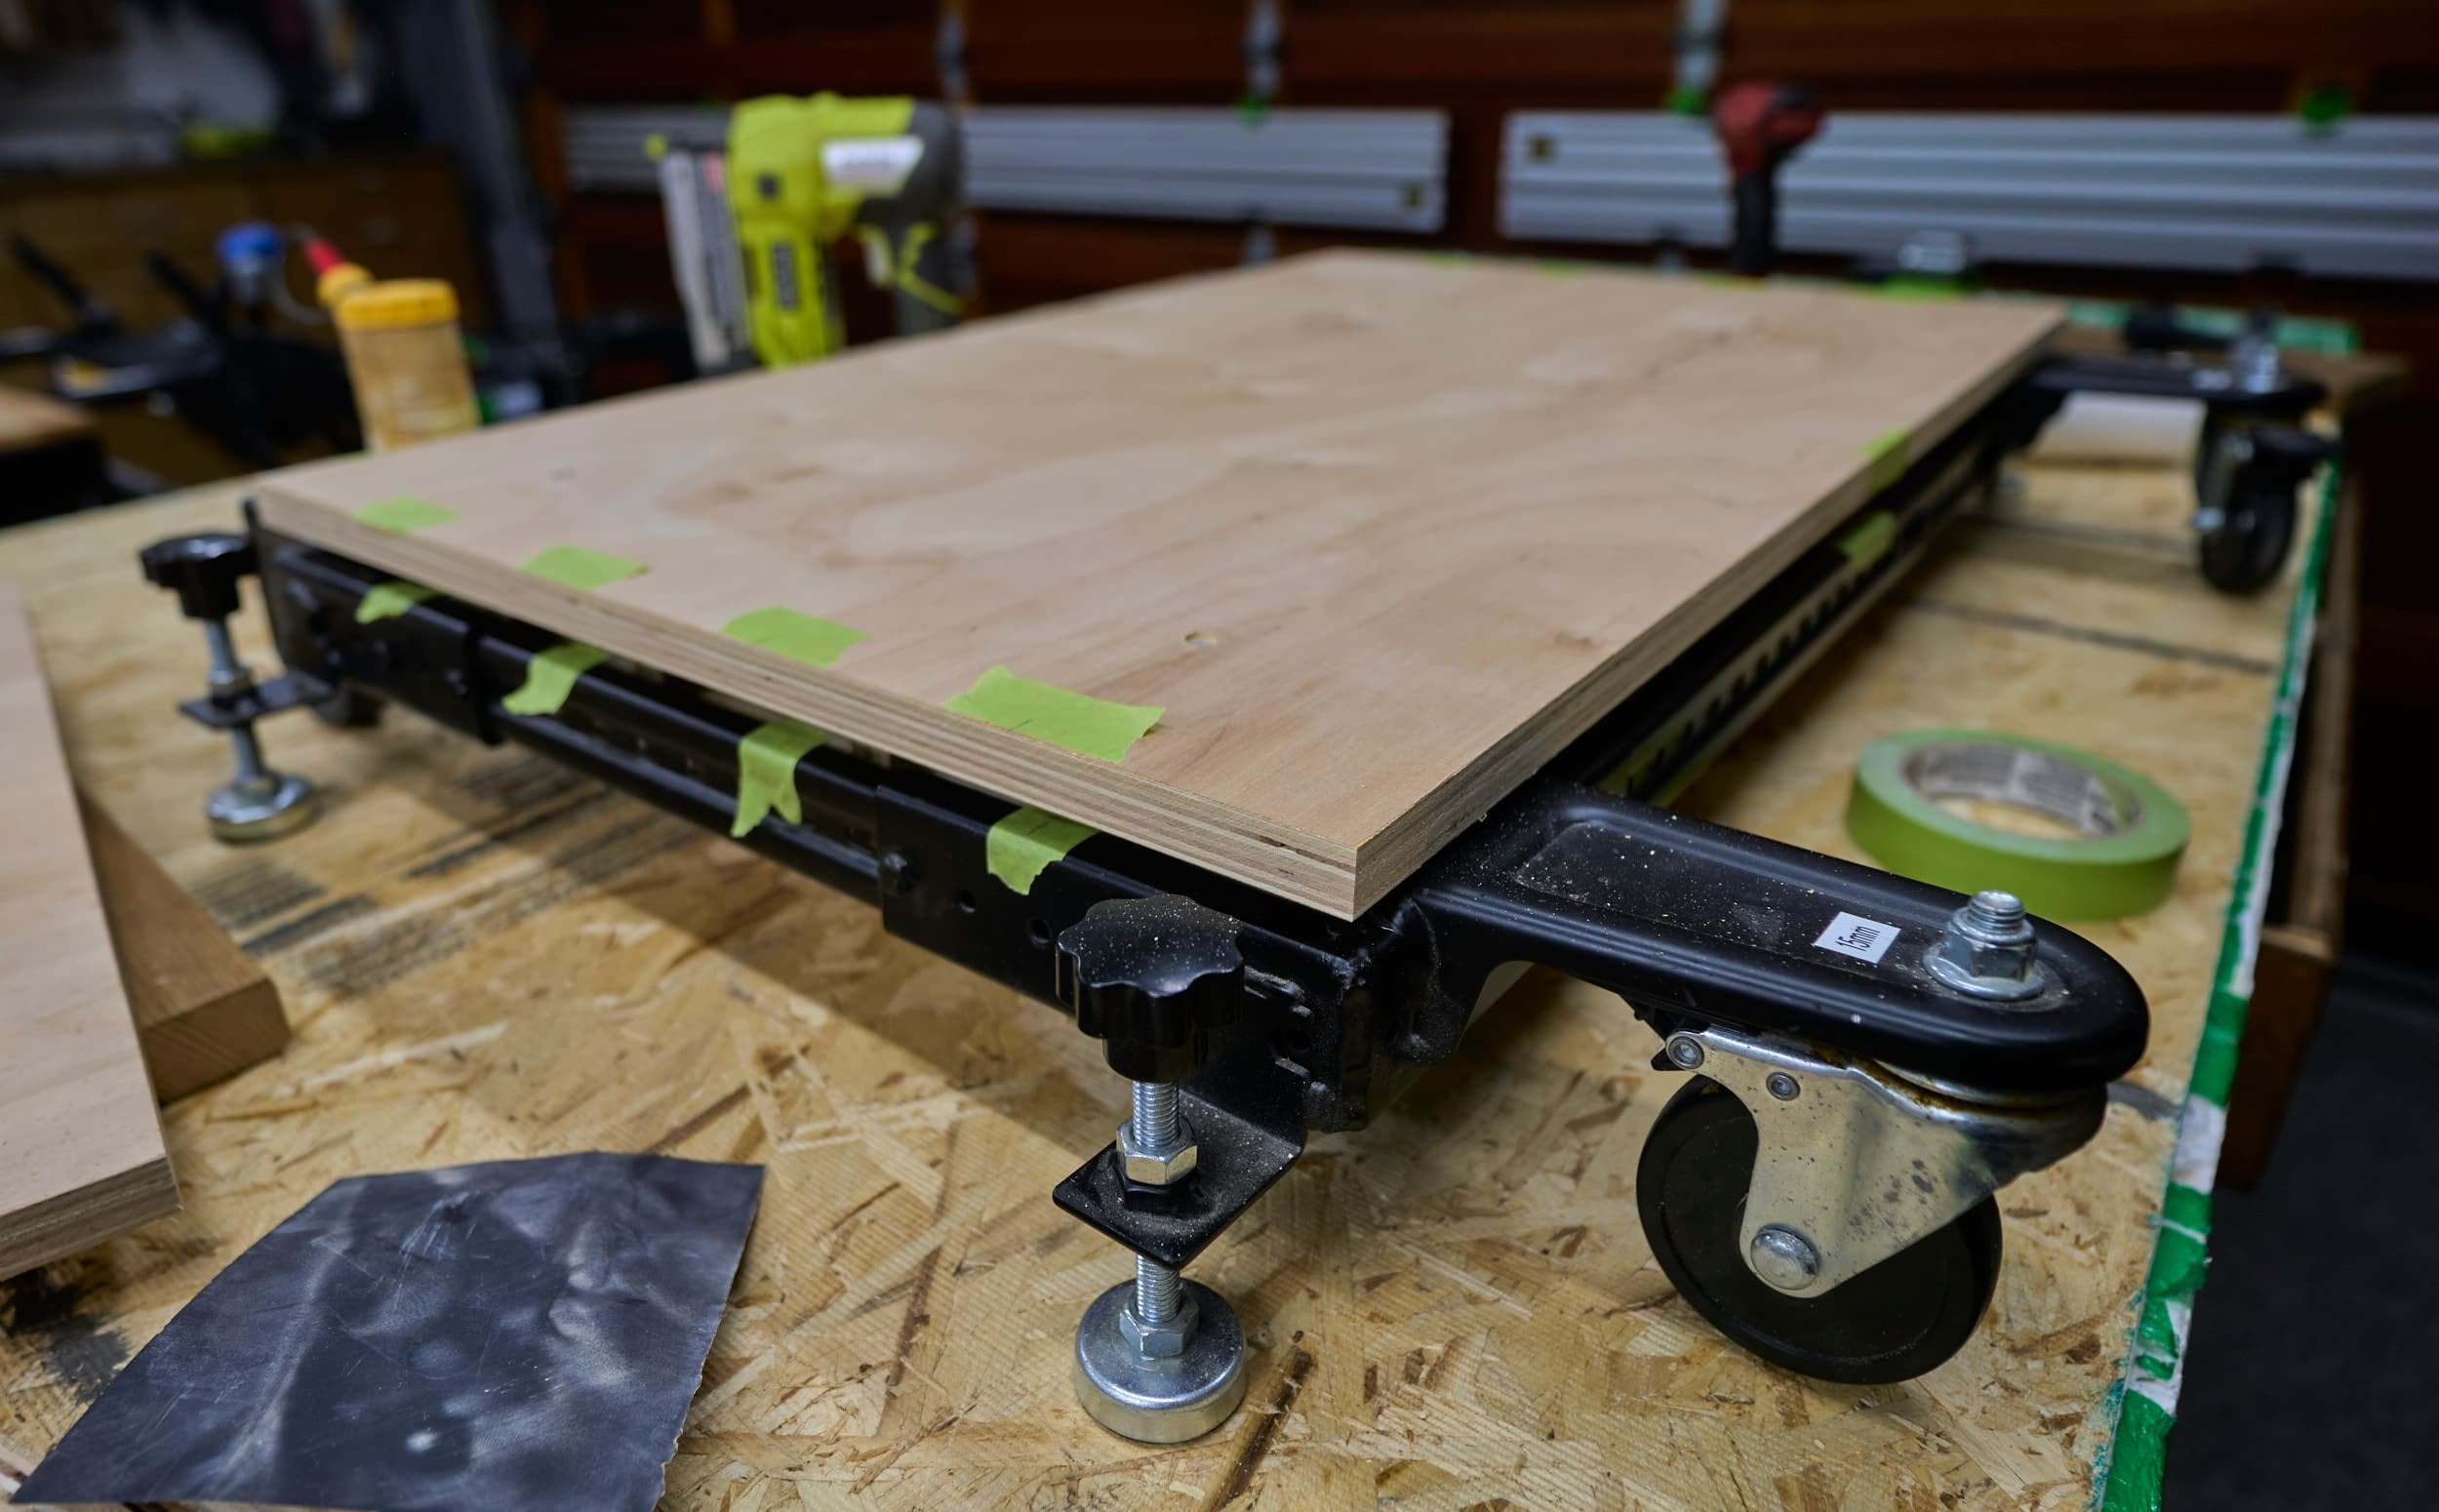
For actually bolting the platform to the mobile base, I used 2” machine screws and star knobs. At some point down the road, I may swap them out for a pair of nuts but for now, the star knobs are great for being able to quickly get the board on and off.
Step 2 - UPS enclosure
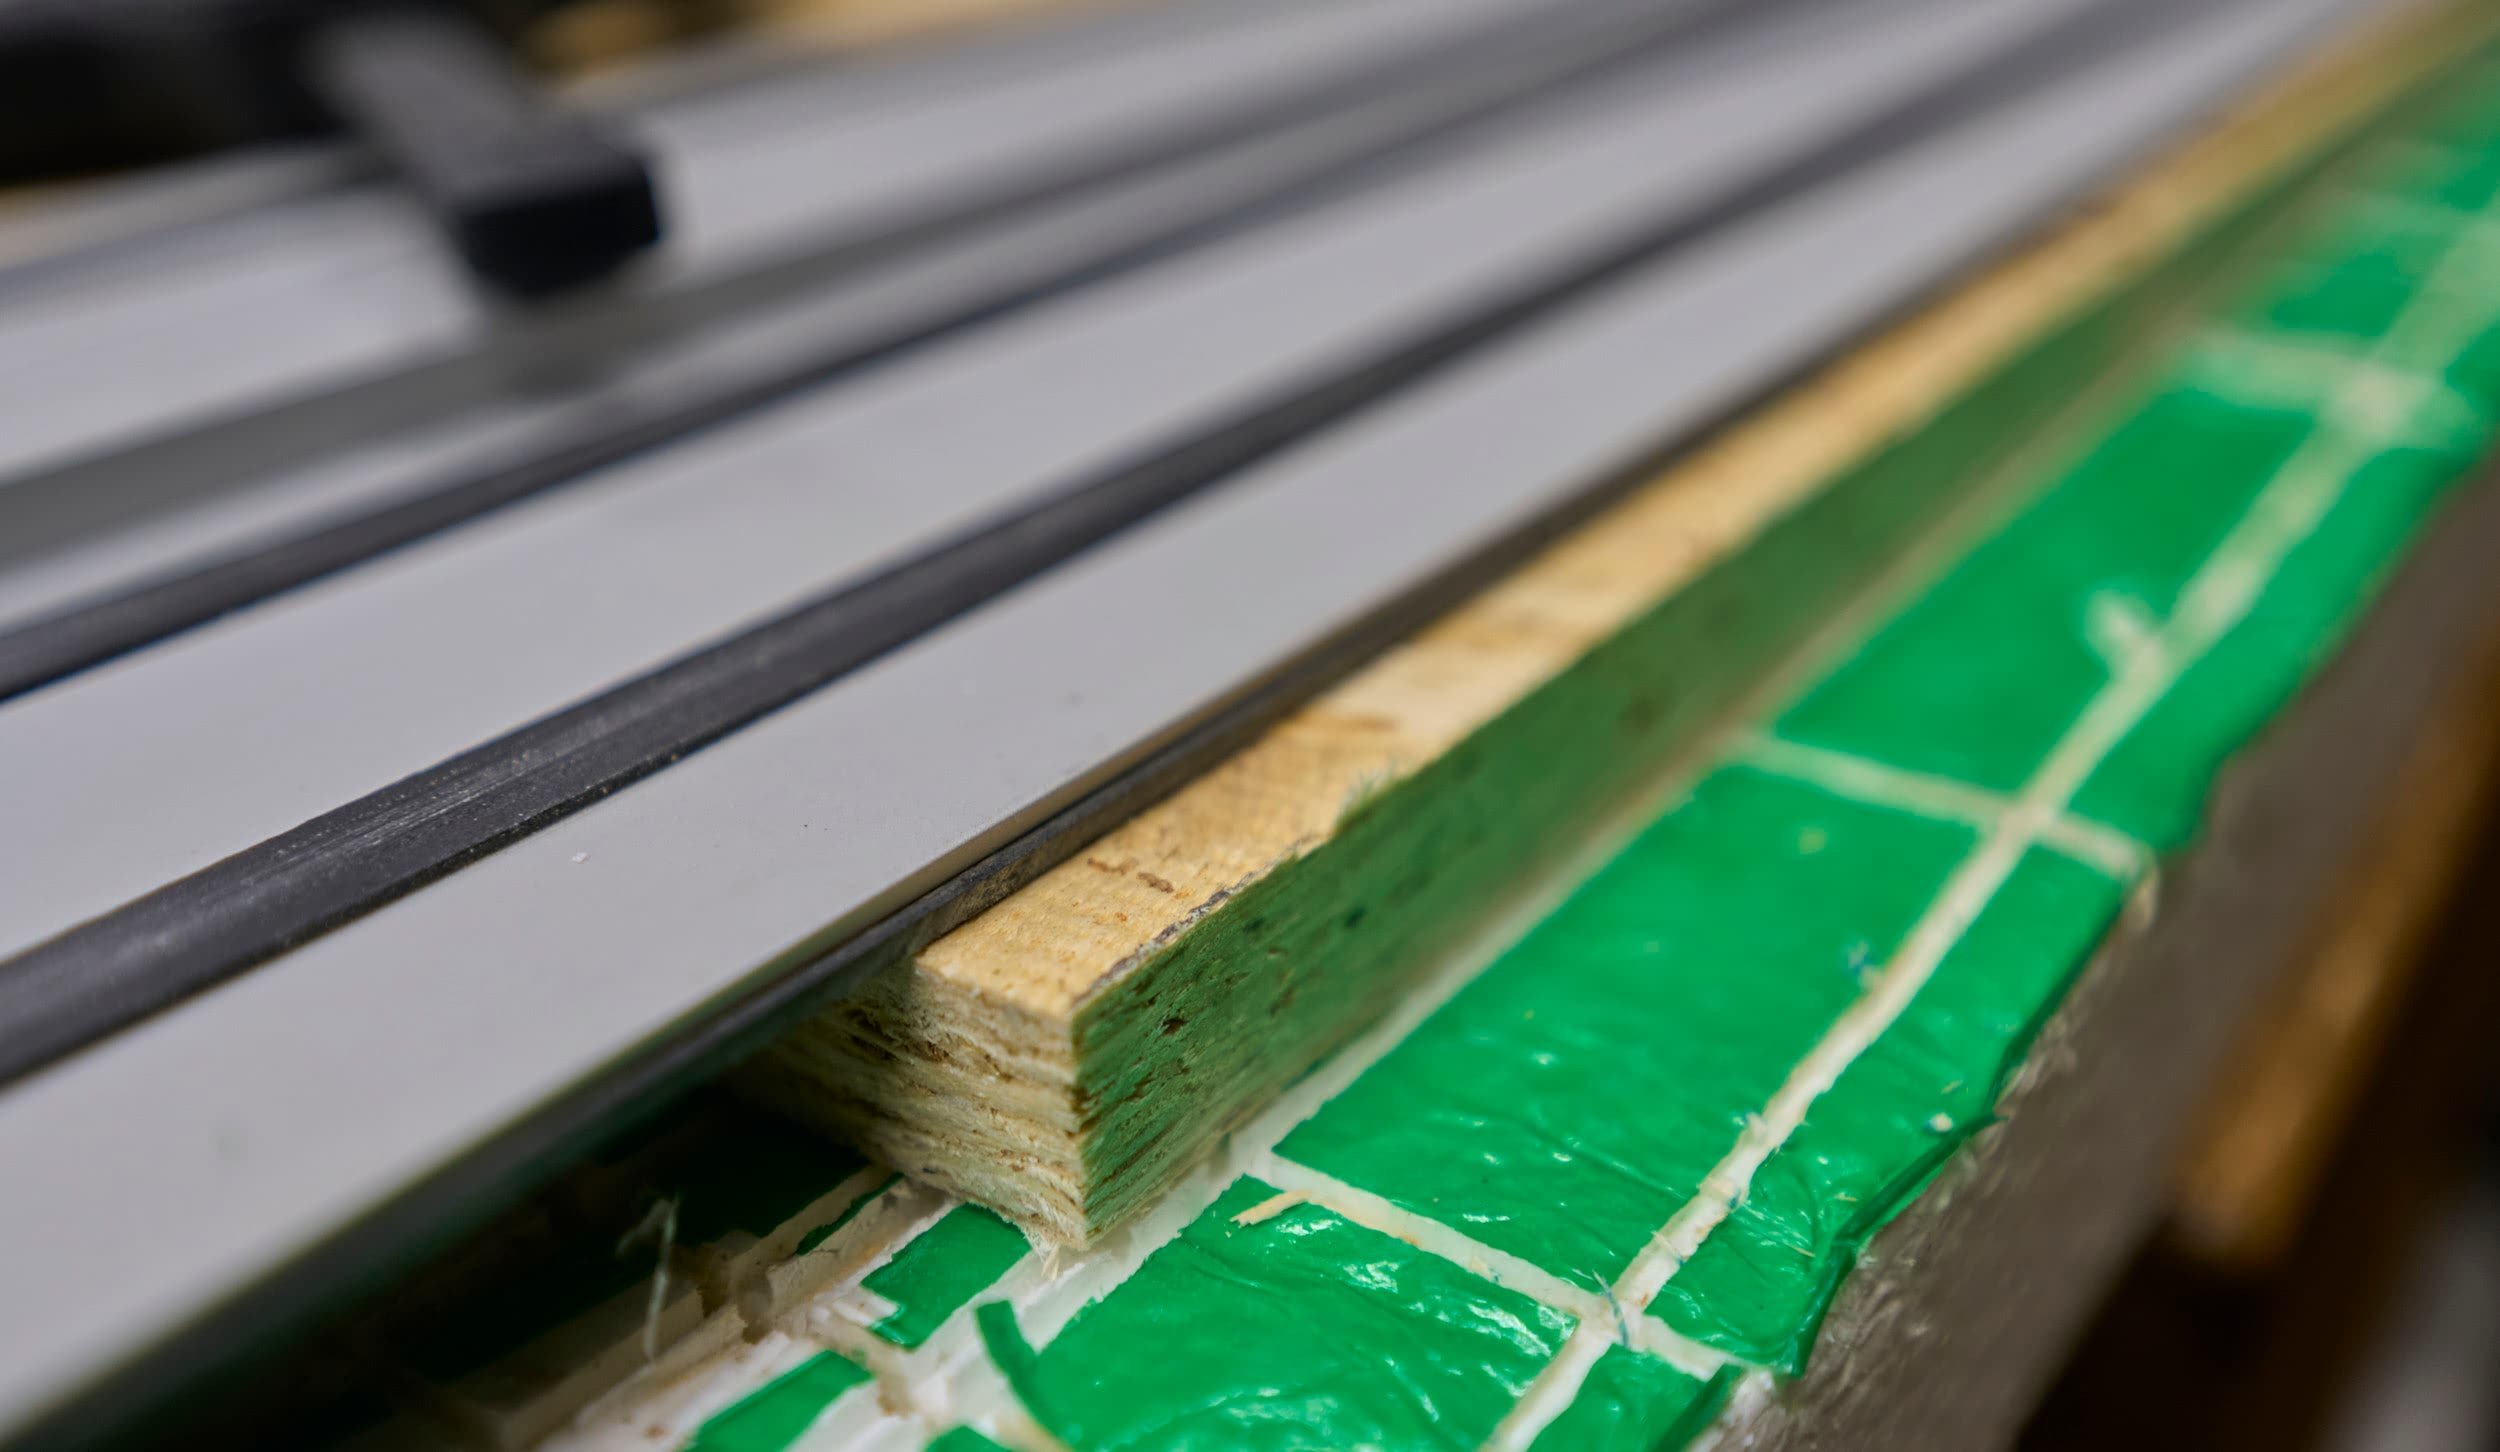
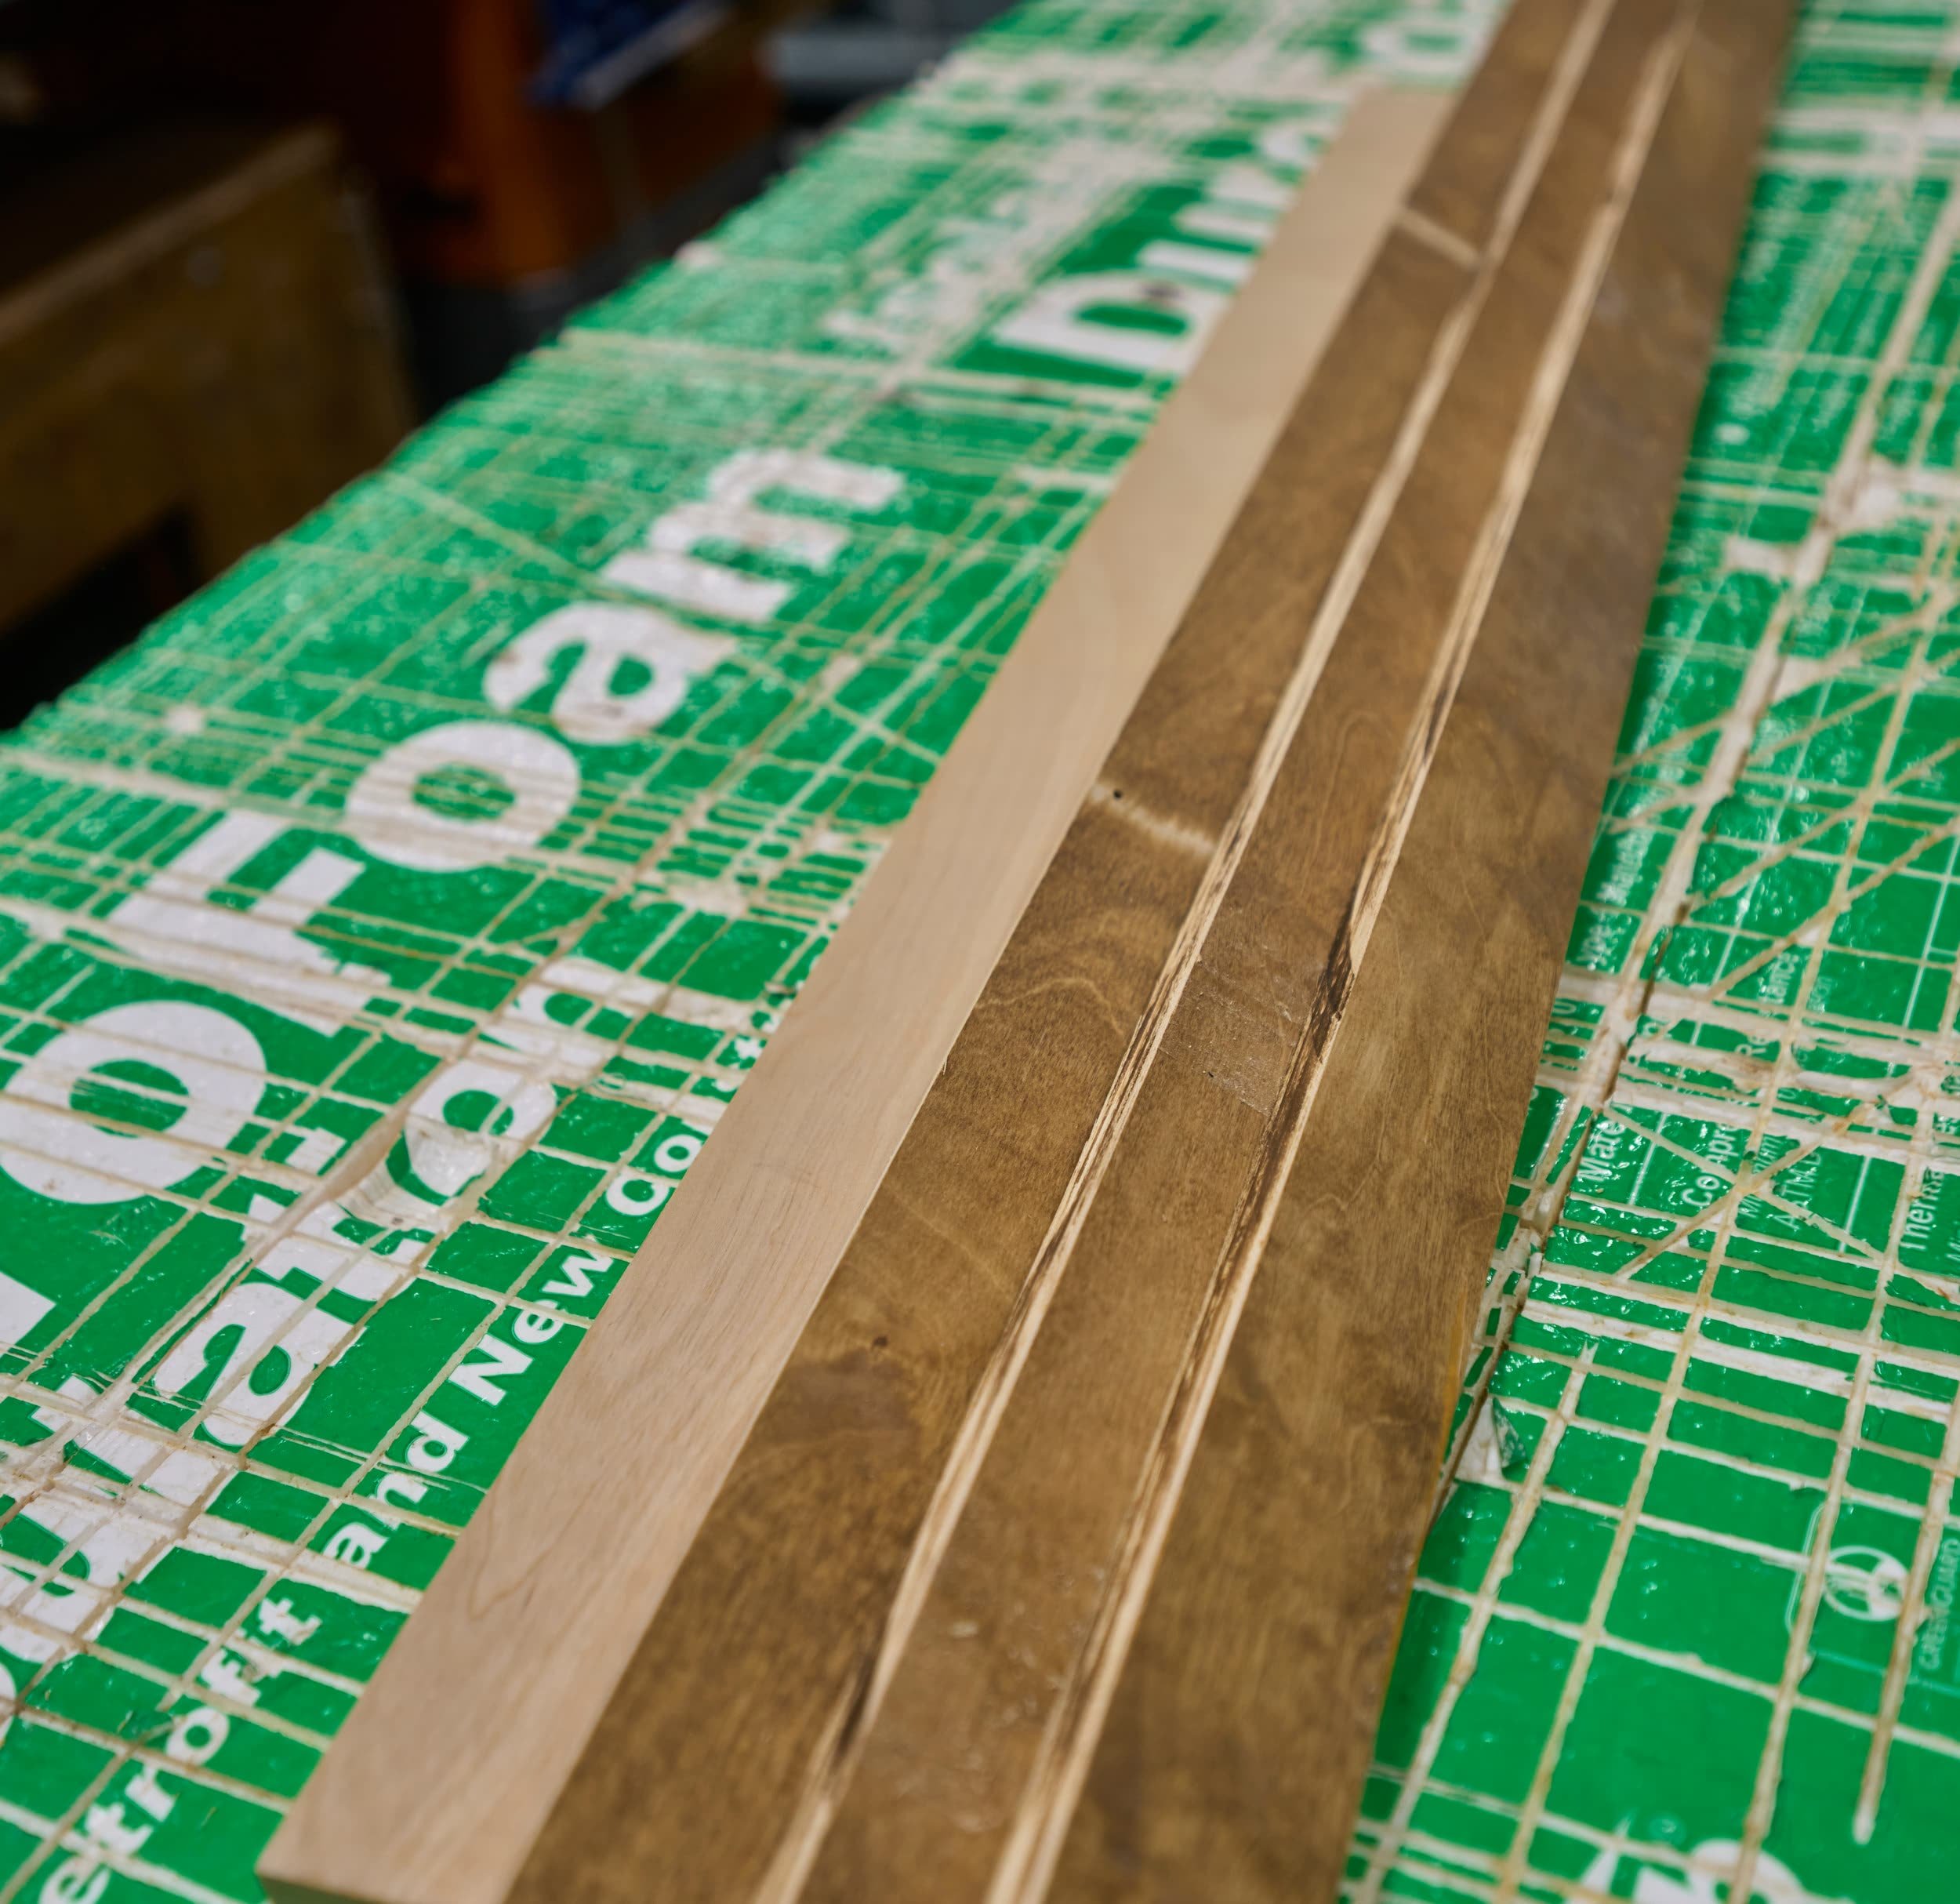
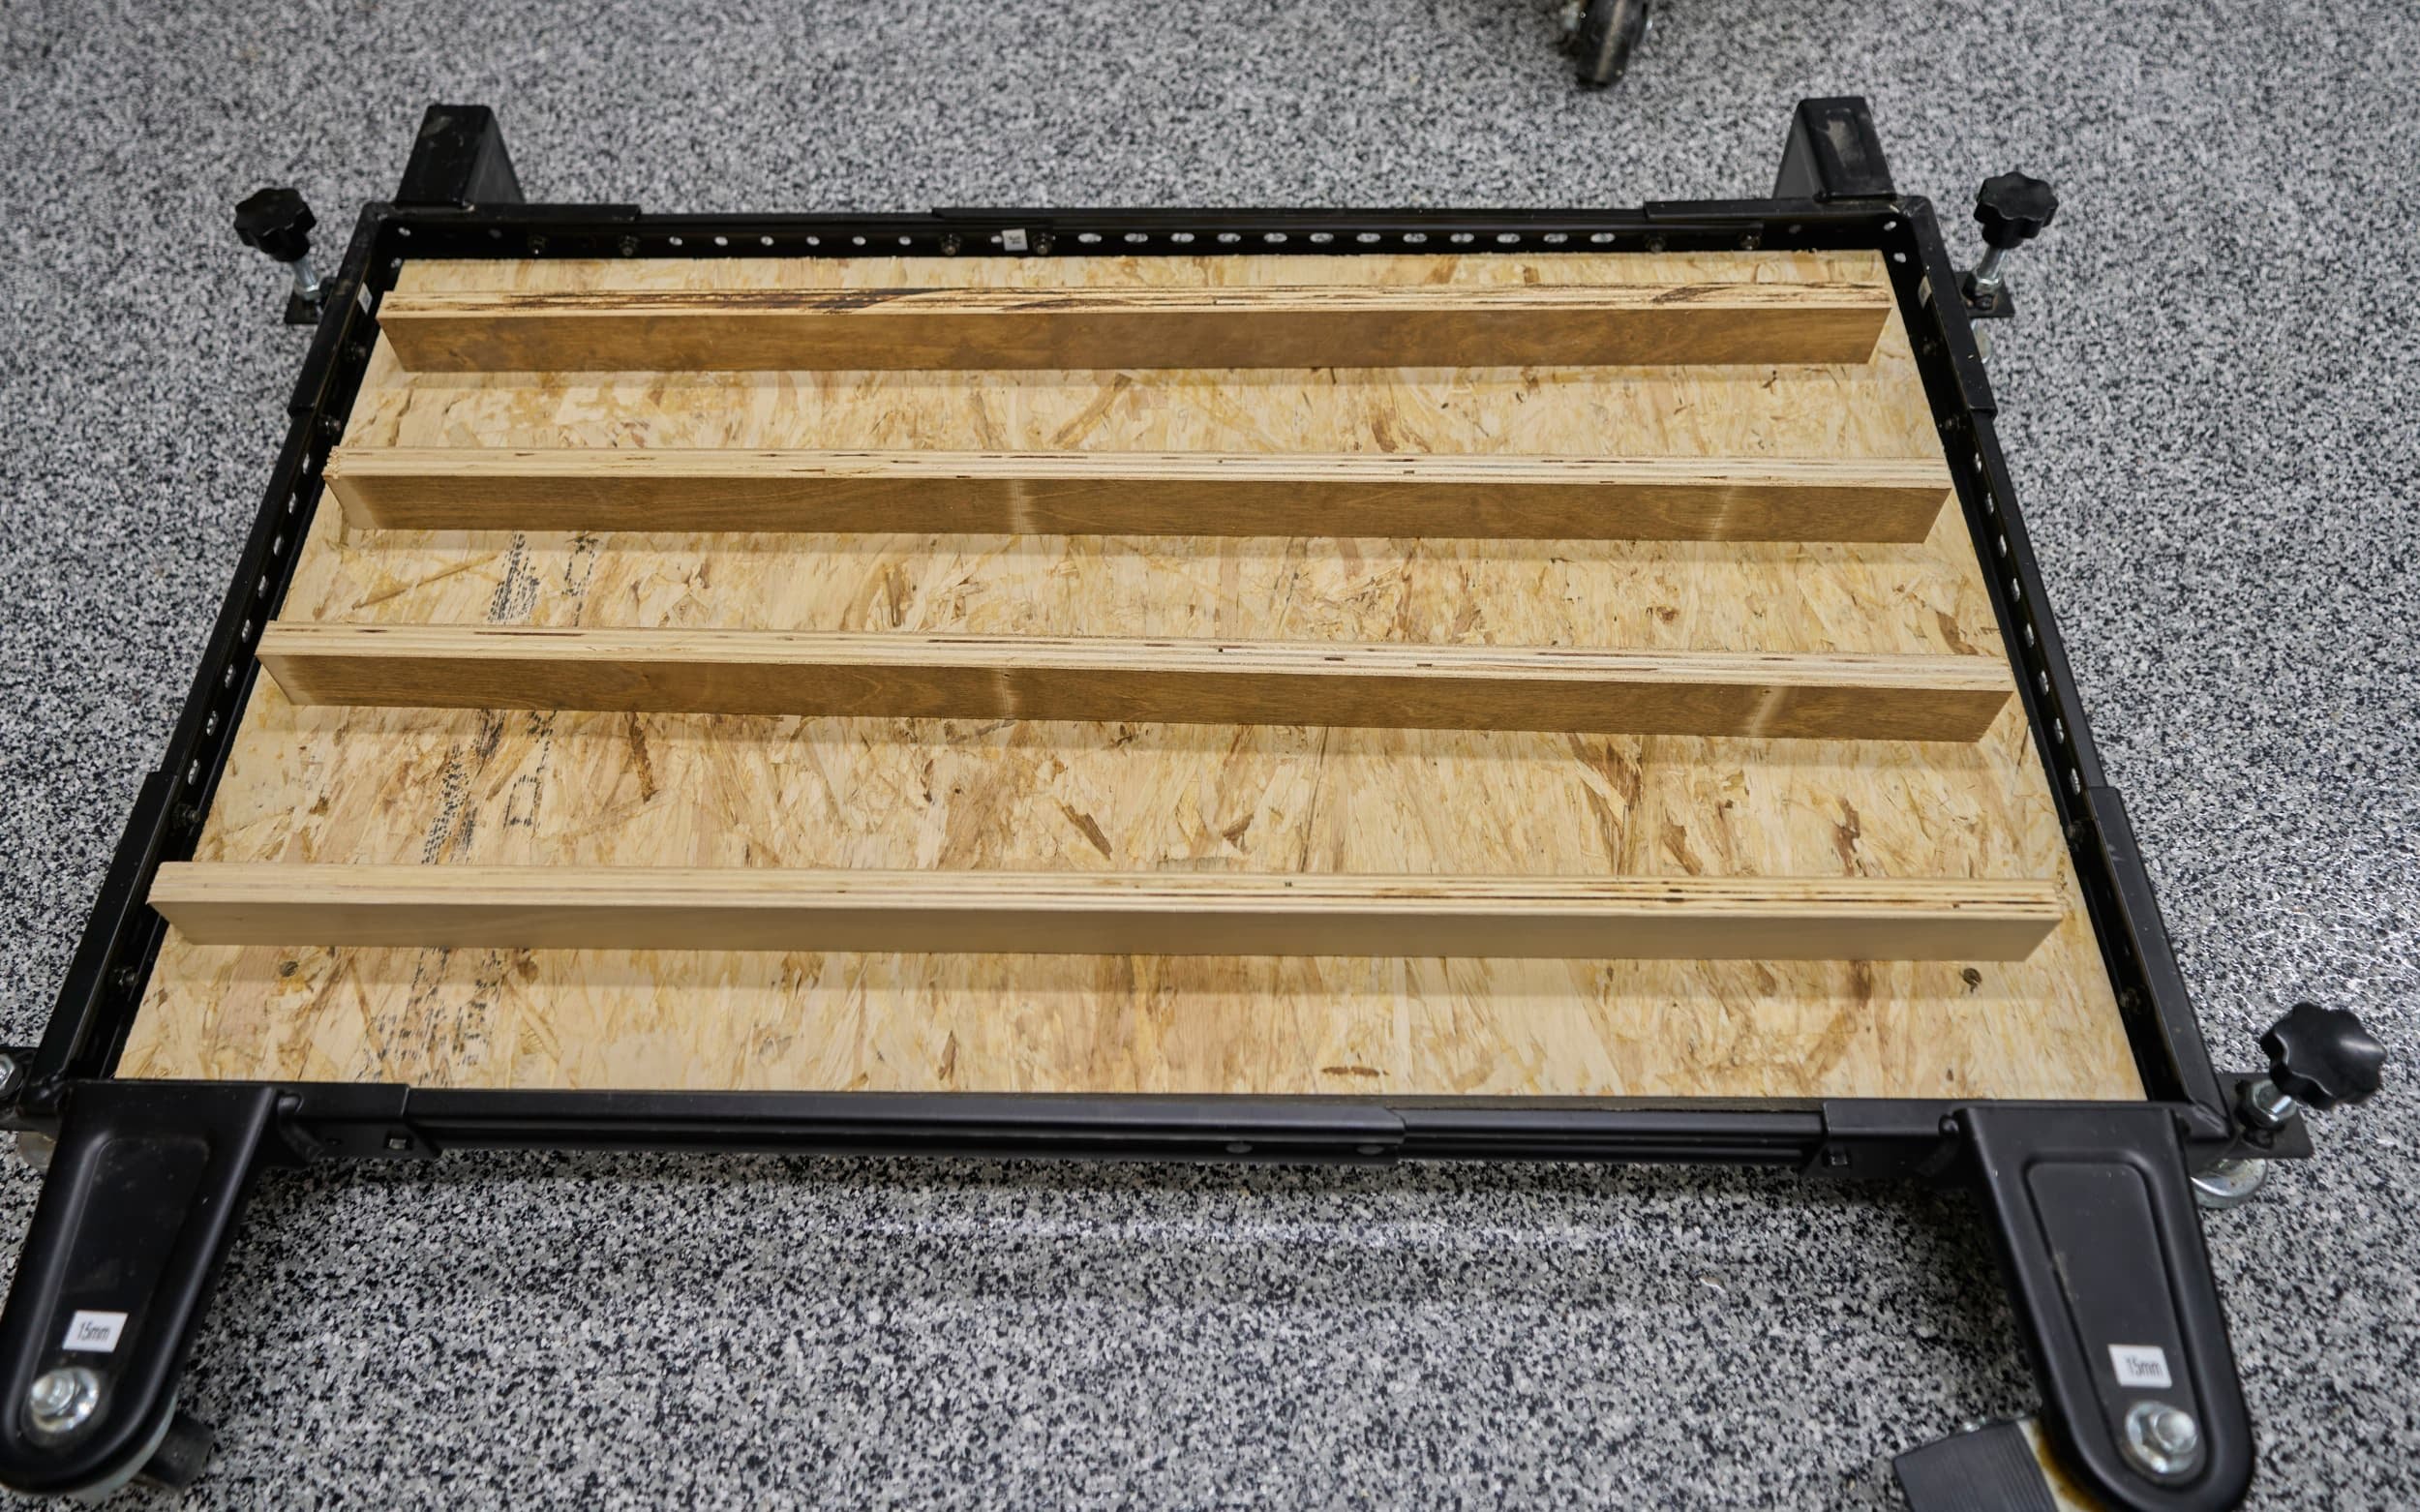
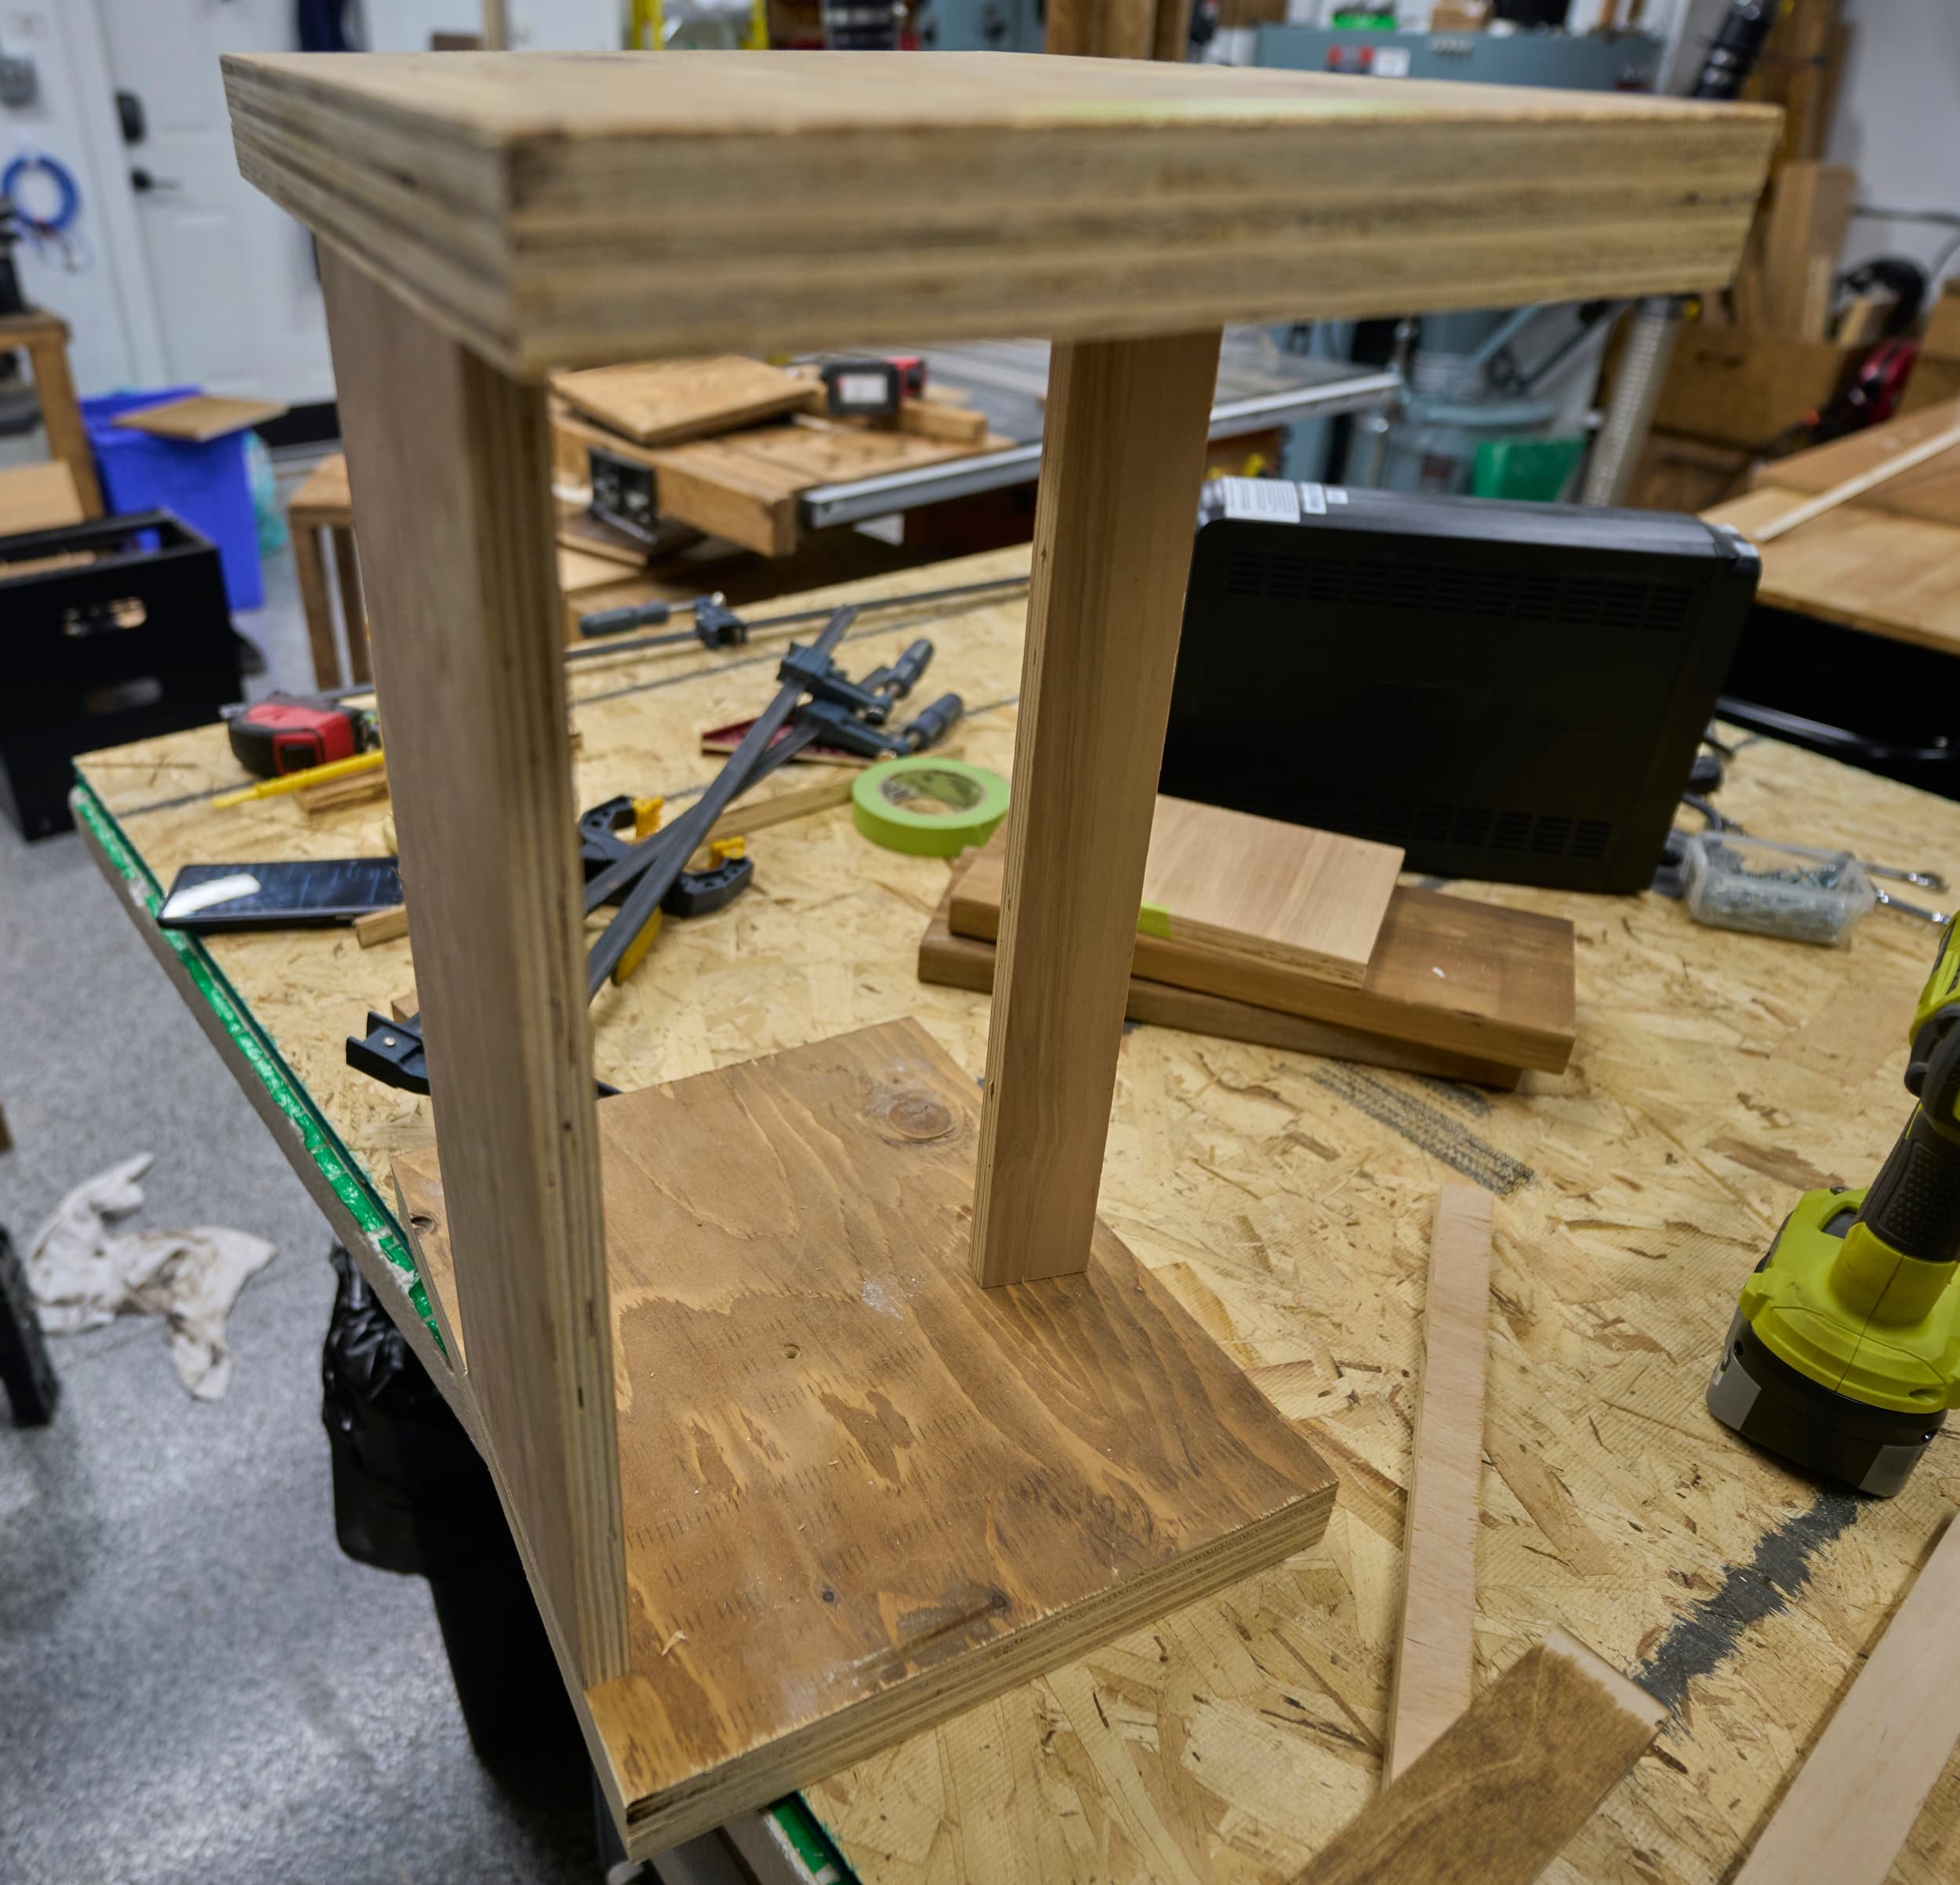
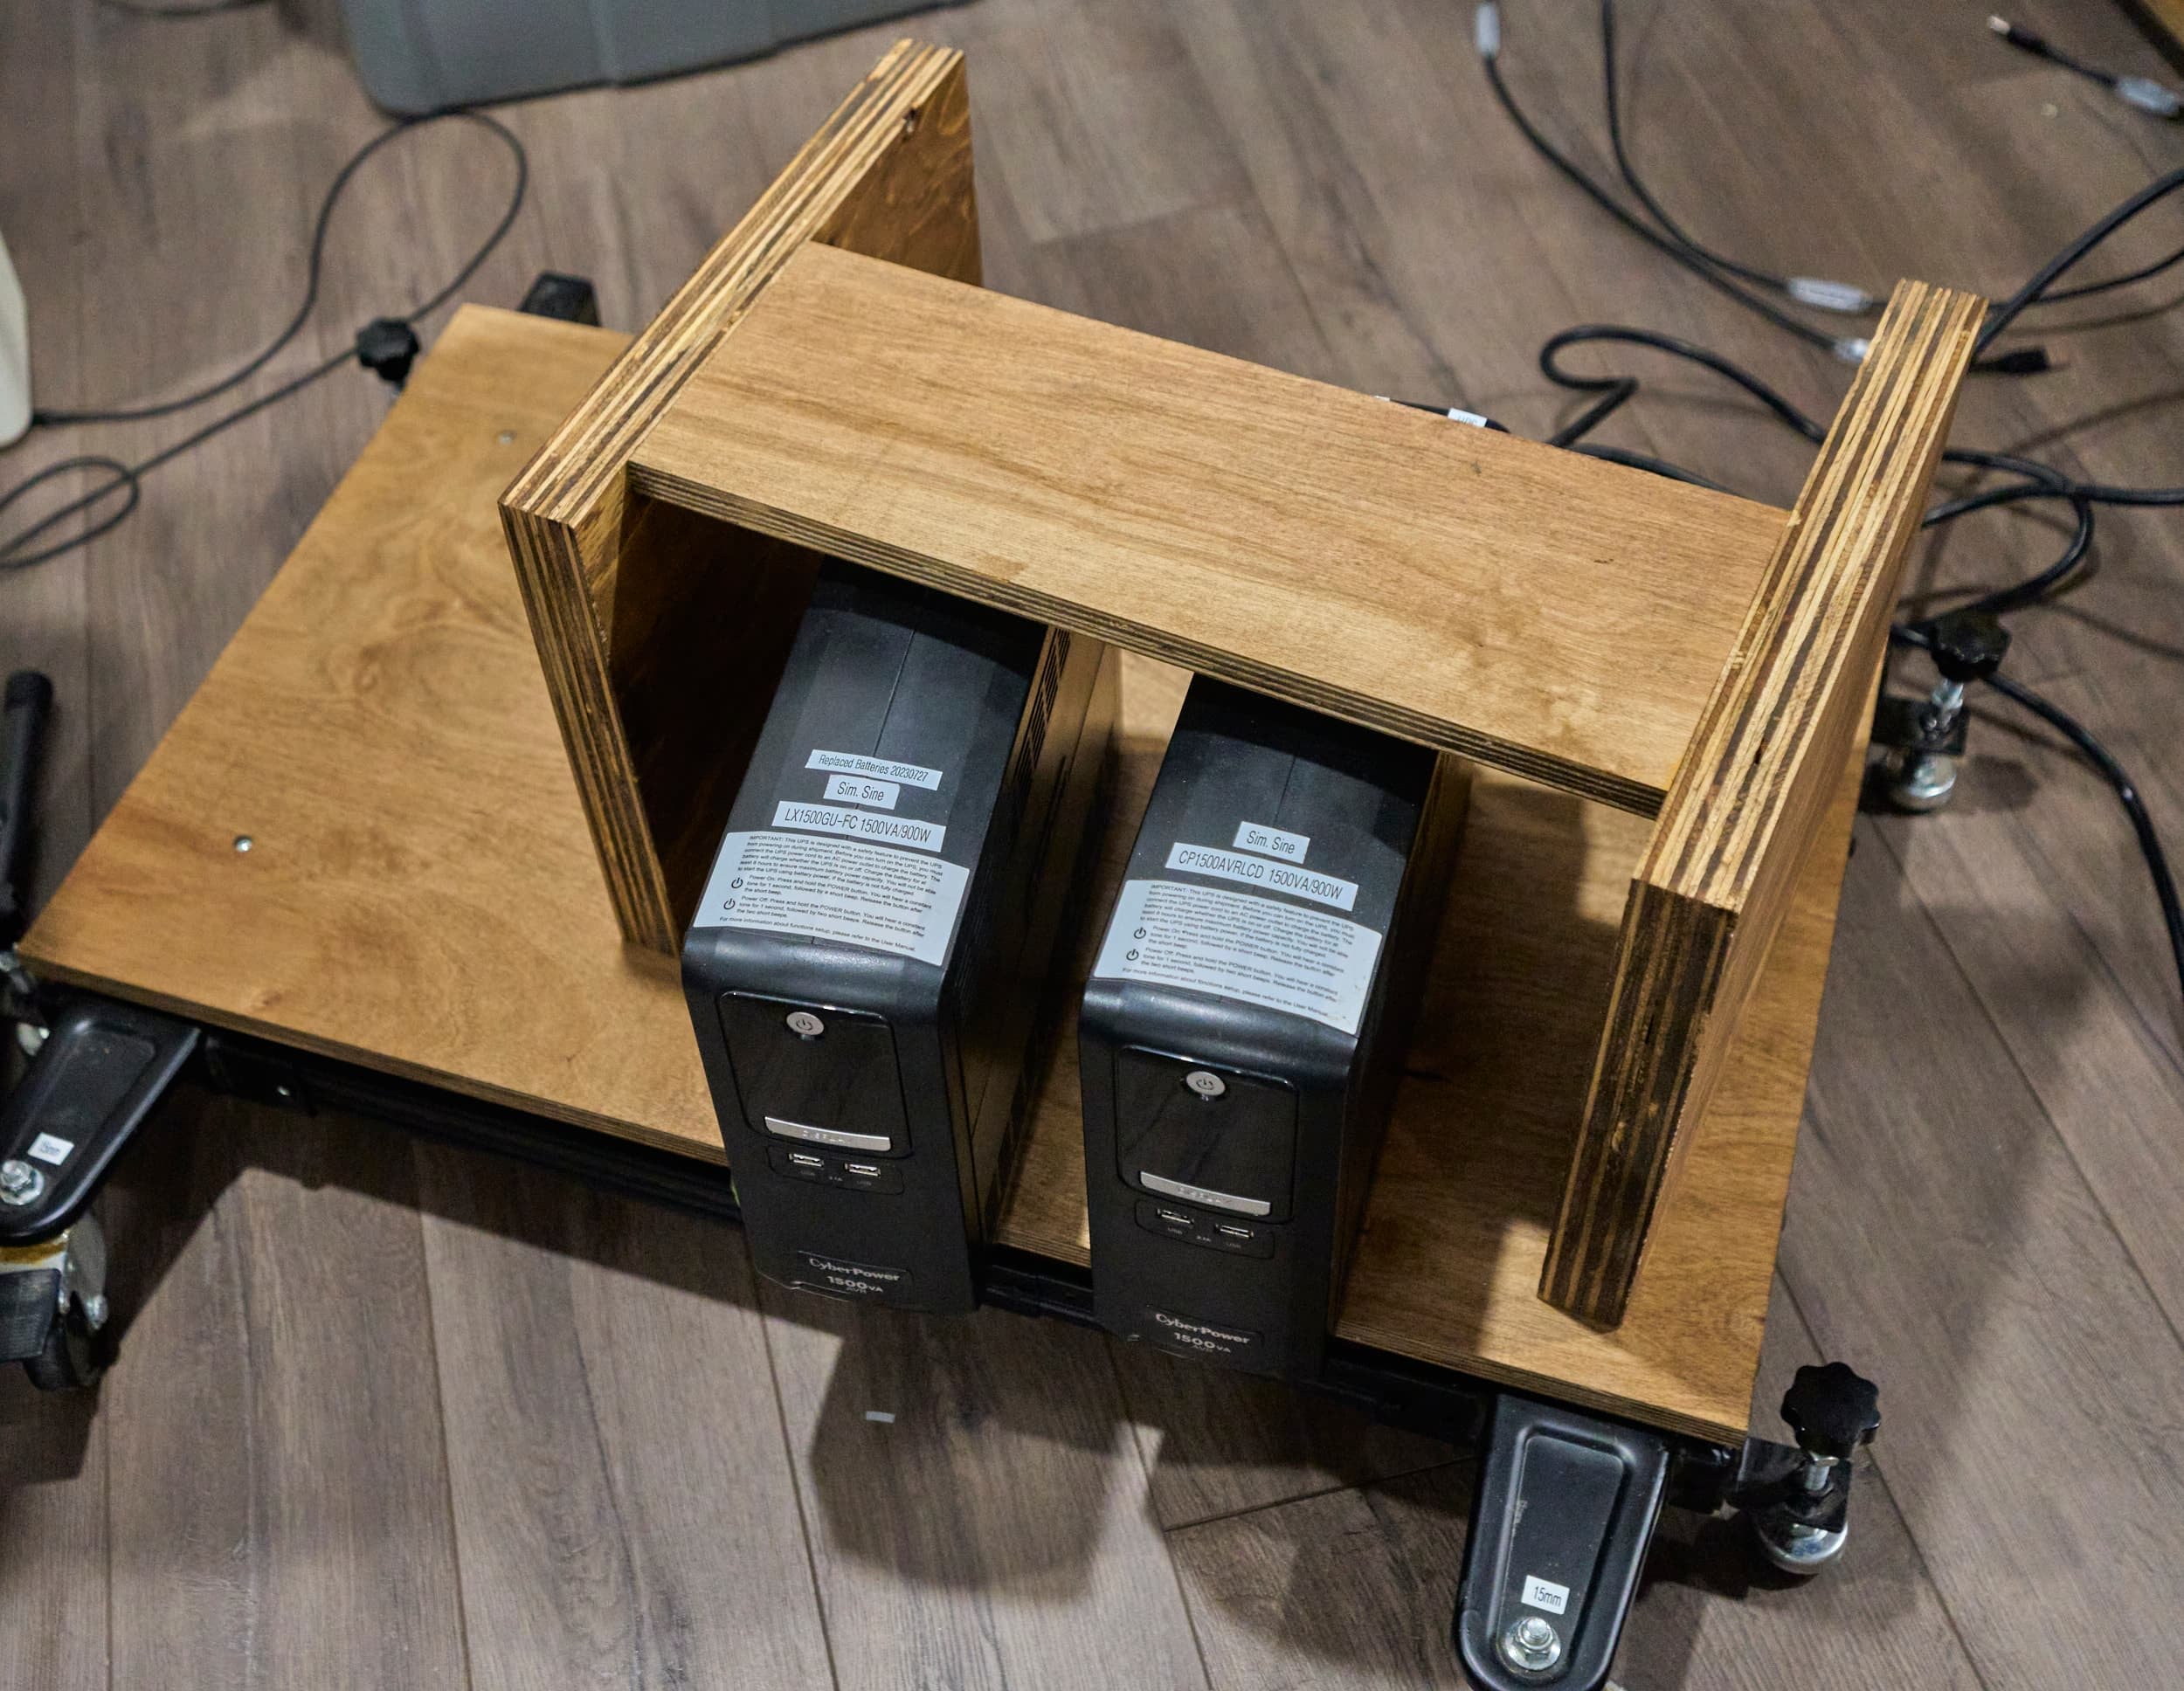
I laminated some 3/4 ply together to make some side panels; the idea is that the side panels of the rack will rest on these, transferring weight to the base. I connected a couple quick stretchers to keep the two panes coplanar. During test fitting, I realized that one of the braces blocked the power cord for the UPS so I drilled some access holes to be able to feed the plug through it.
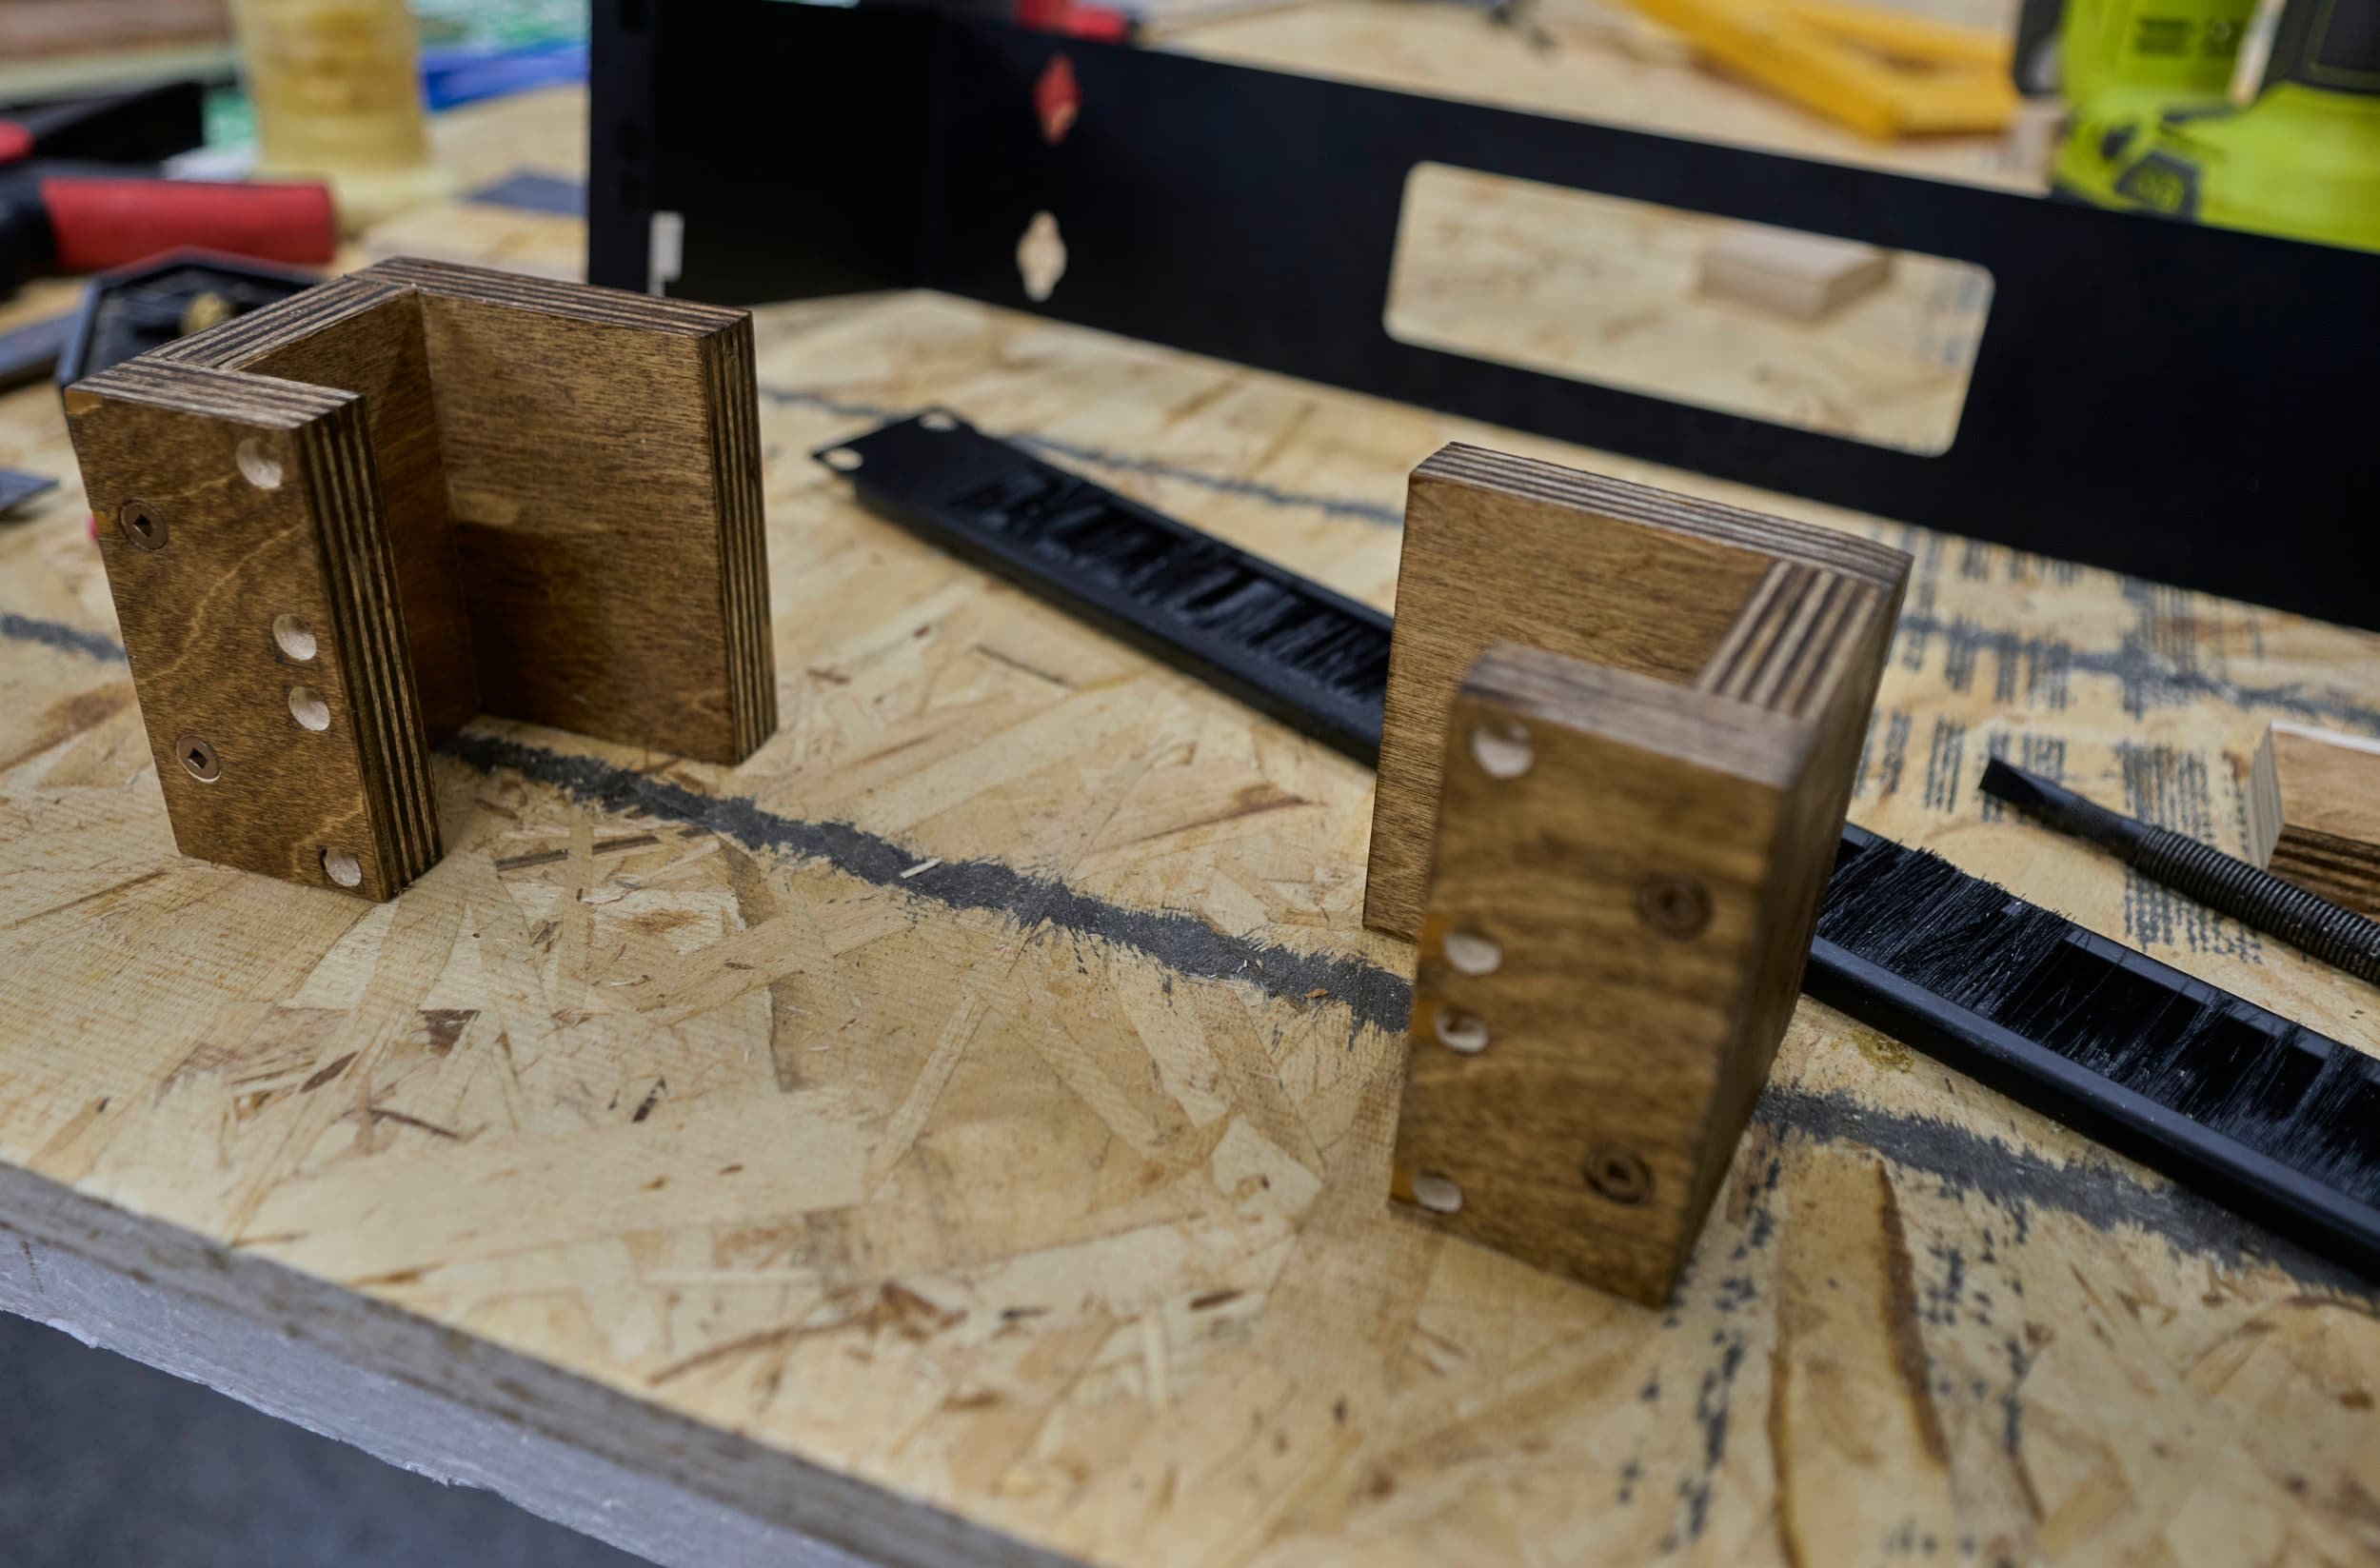
Step 3 - Handle bar
One of tricky things of the old base is there was no easy spot to grab anything in order to move the cart. I wanted something I use to maneuver the cart around. I was going with a pair of wall-mount racks and wanted a solid, physical way to transfer the weight load to the ground — I am not going solely rely on anchoring the racks to my vertical back posts — I would prefer to use that more for ‘alignment’.
I raided the scrap bin to get some plywood to make a ‘bushing’ to separate the two racks - yet provide a continuous, solid contact surface to transfer weight down.


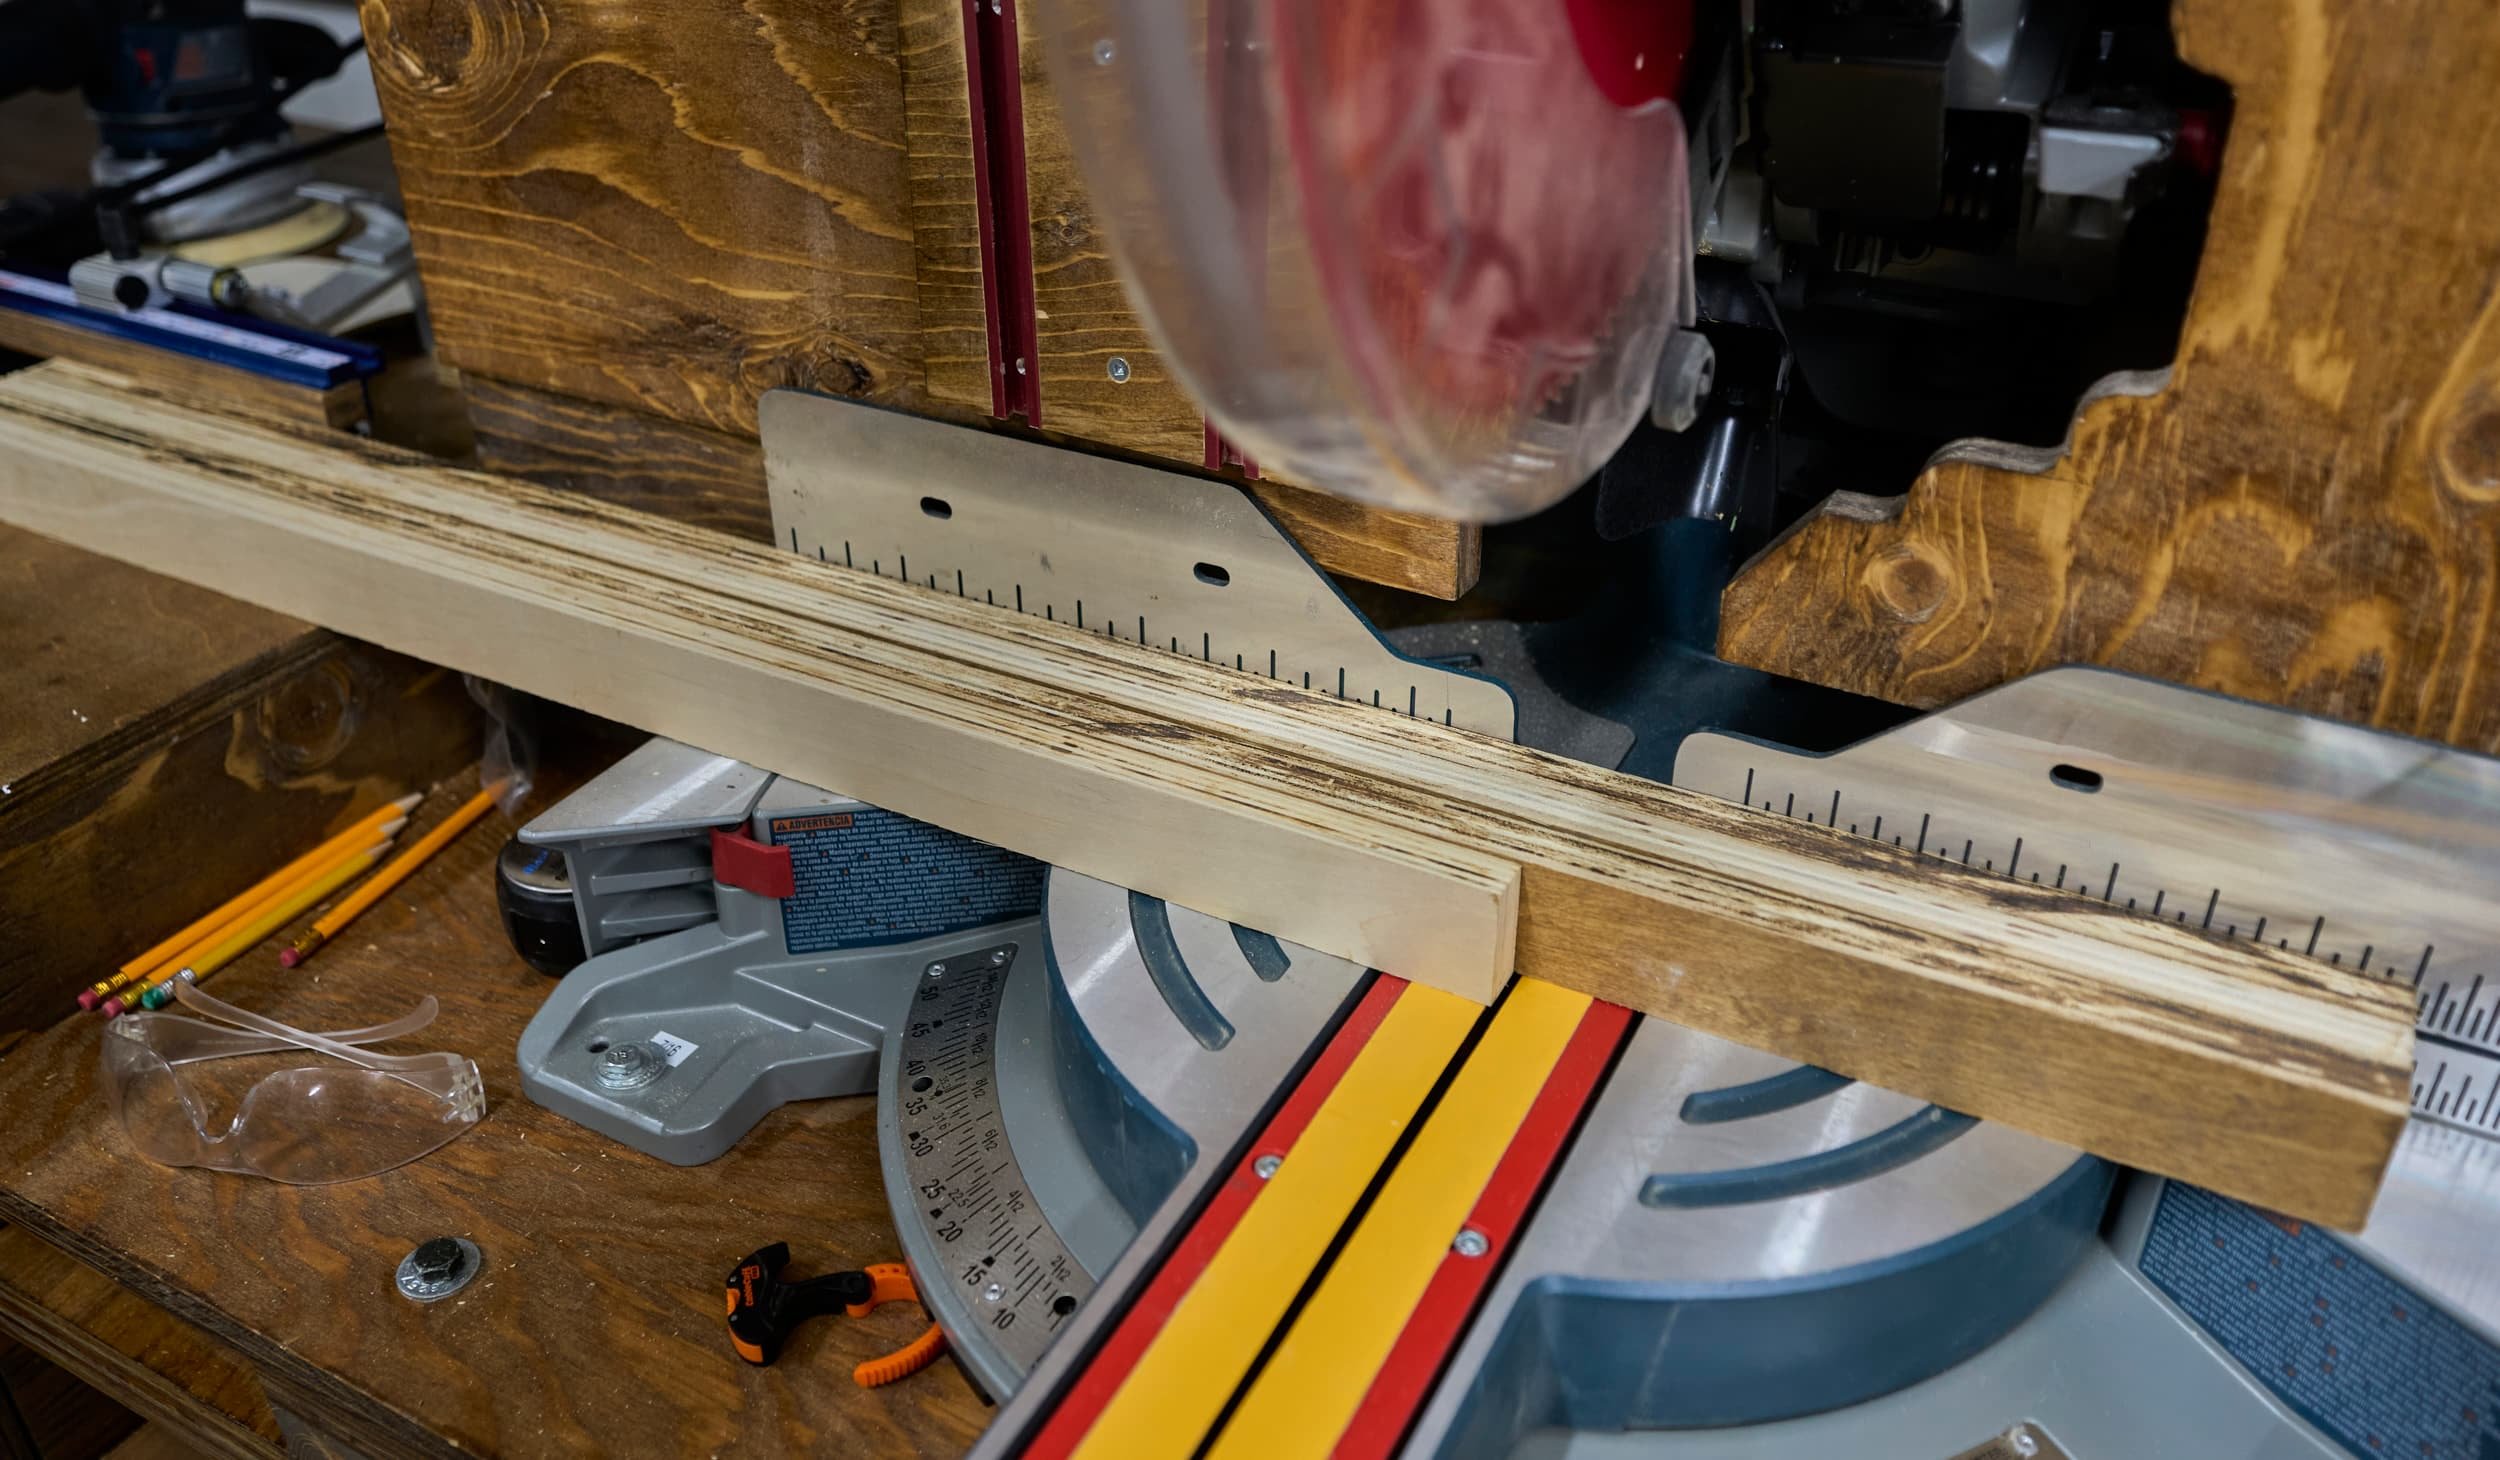
As you may have noticed on the previous step (in the final picture), the rack has a support brace on the top side — which meant that I had to cut a small relief on the side strips so that everything would lay flush. After connecting up the handle bar, I ran a roundover bit make the handle bar aspect of this glorified spacer, nicer to touch.
I didn’t get any photos of it but using 3/4 OSB, I laminated together a frame (like in my previous rack build). Even though the weight of the rack is directly transferred downward, the frame gives me something to bolt everything to, if only to keep the rack from sliding. I had to wait until I had the handle bar together so I could stack the second rack — in order to get the final height needed for the back support frame.
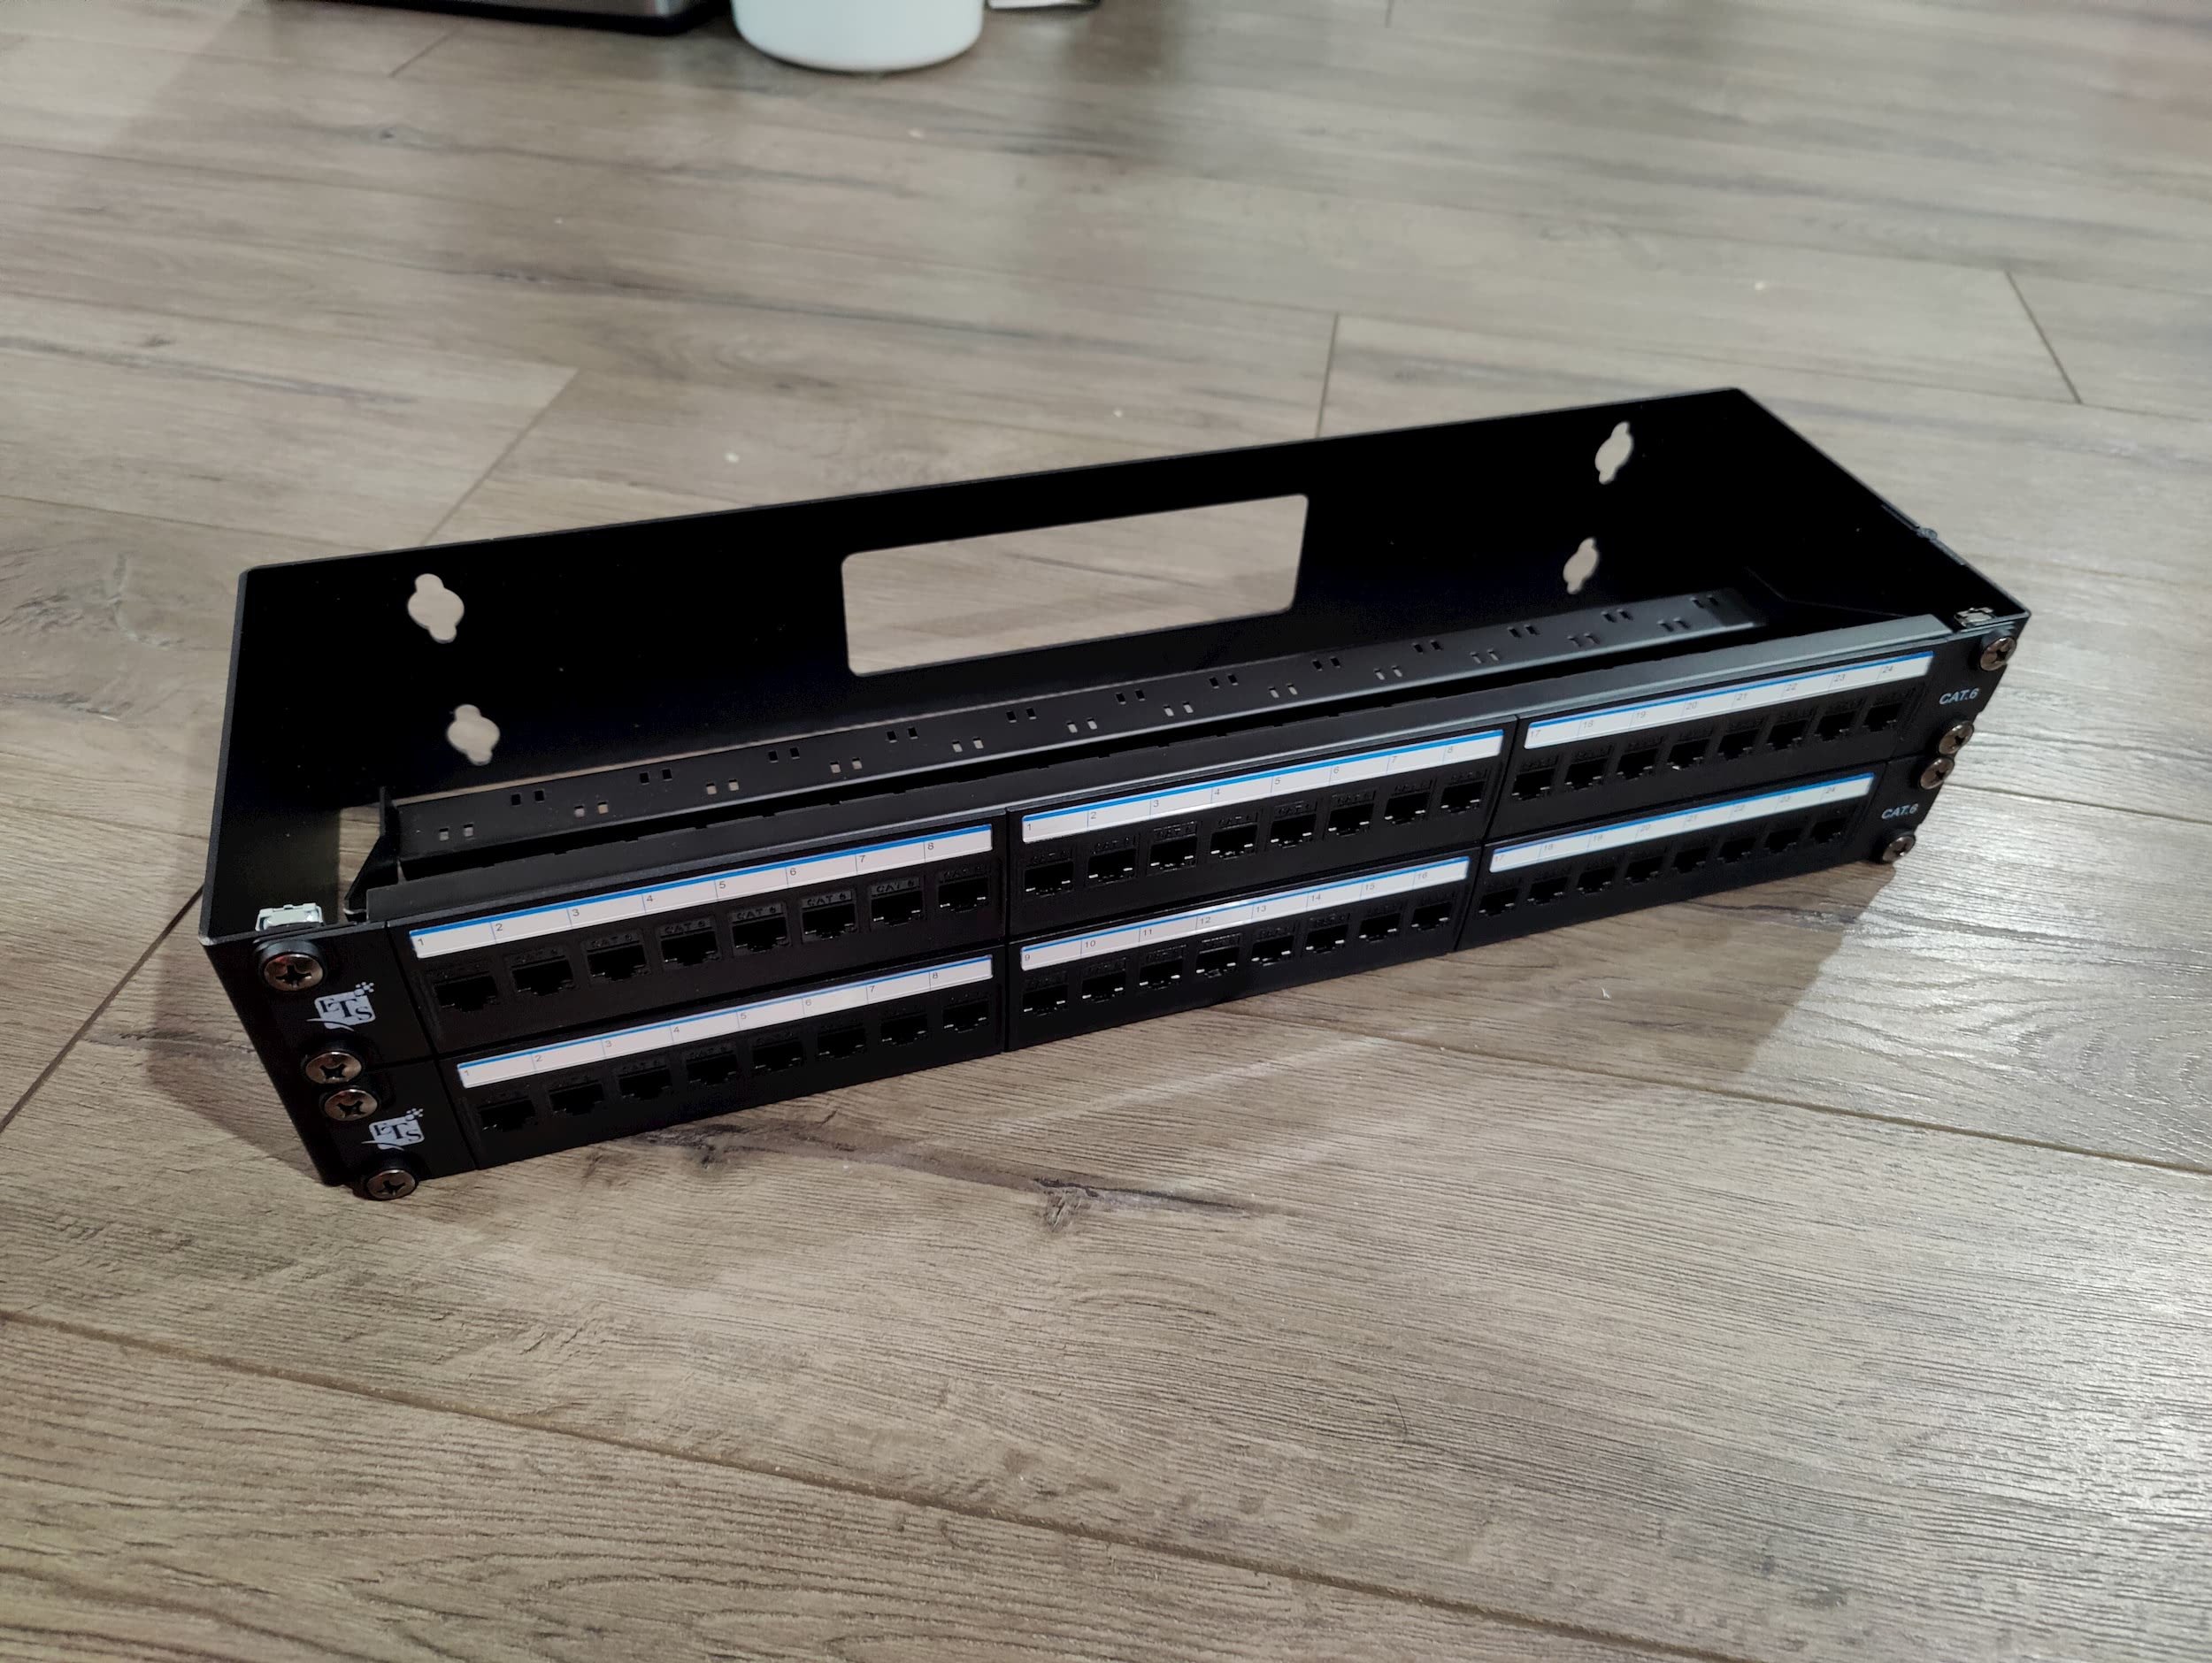
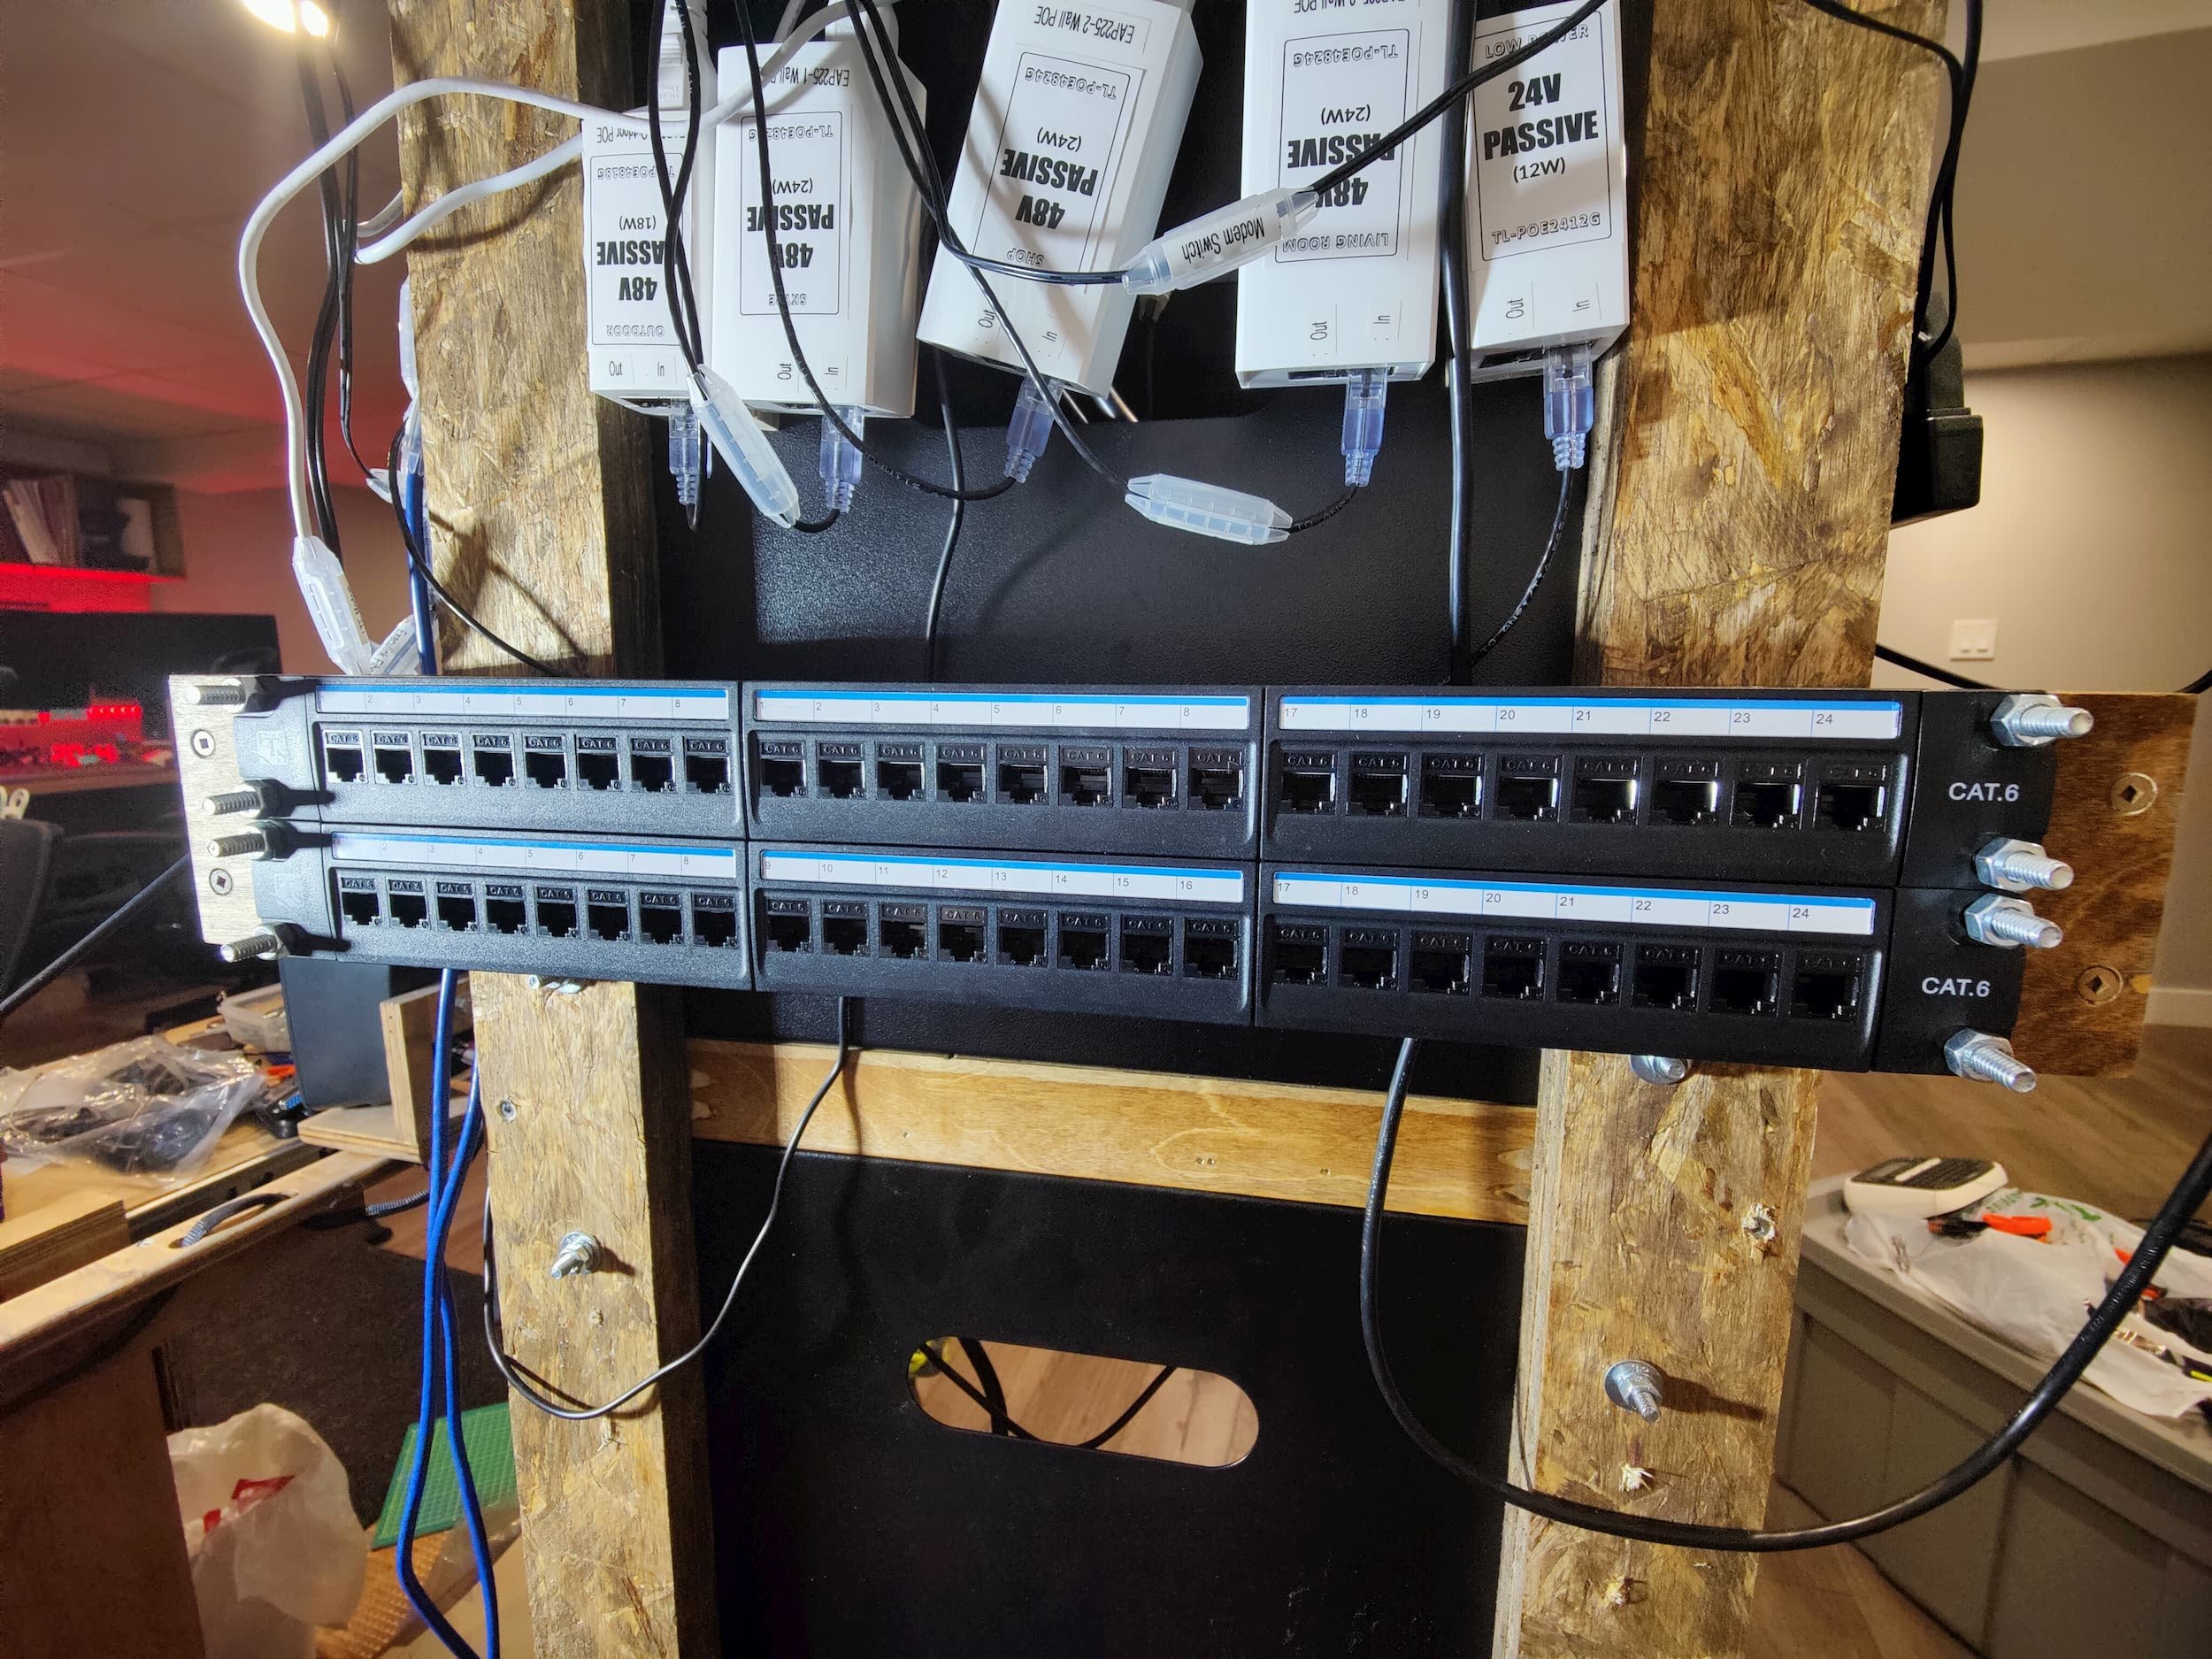
Step 4 - The rear patch panel
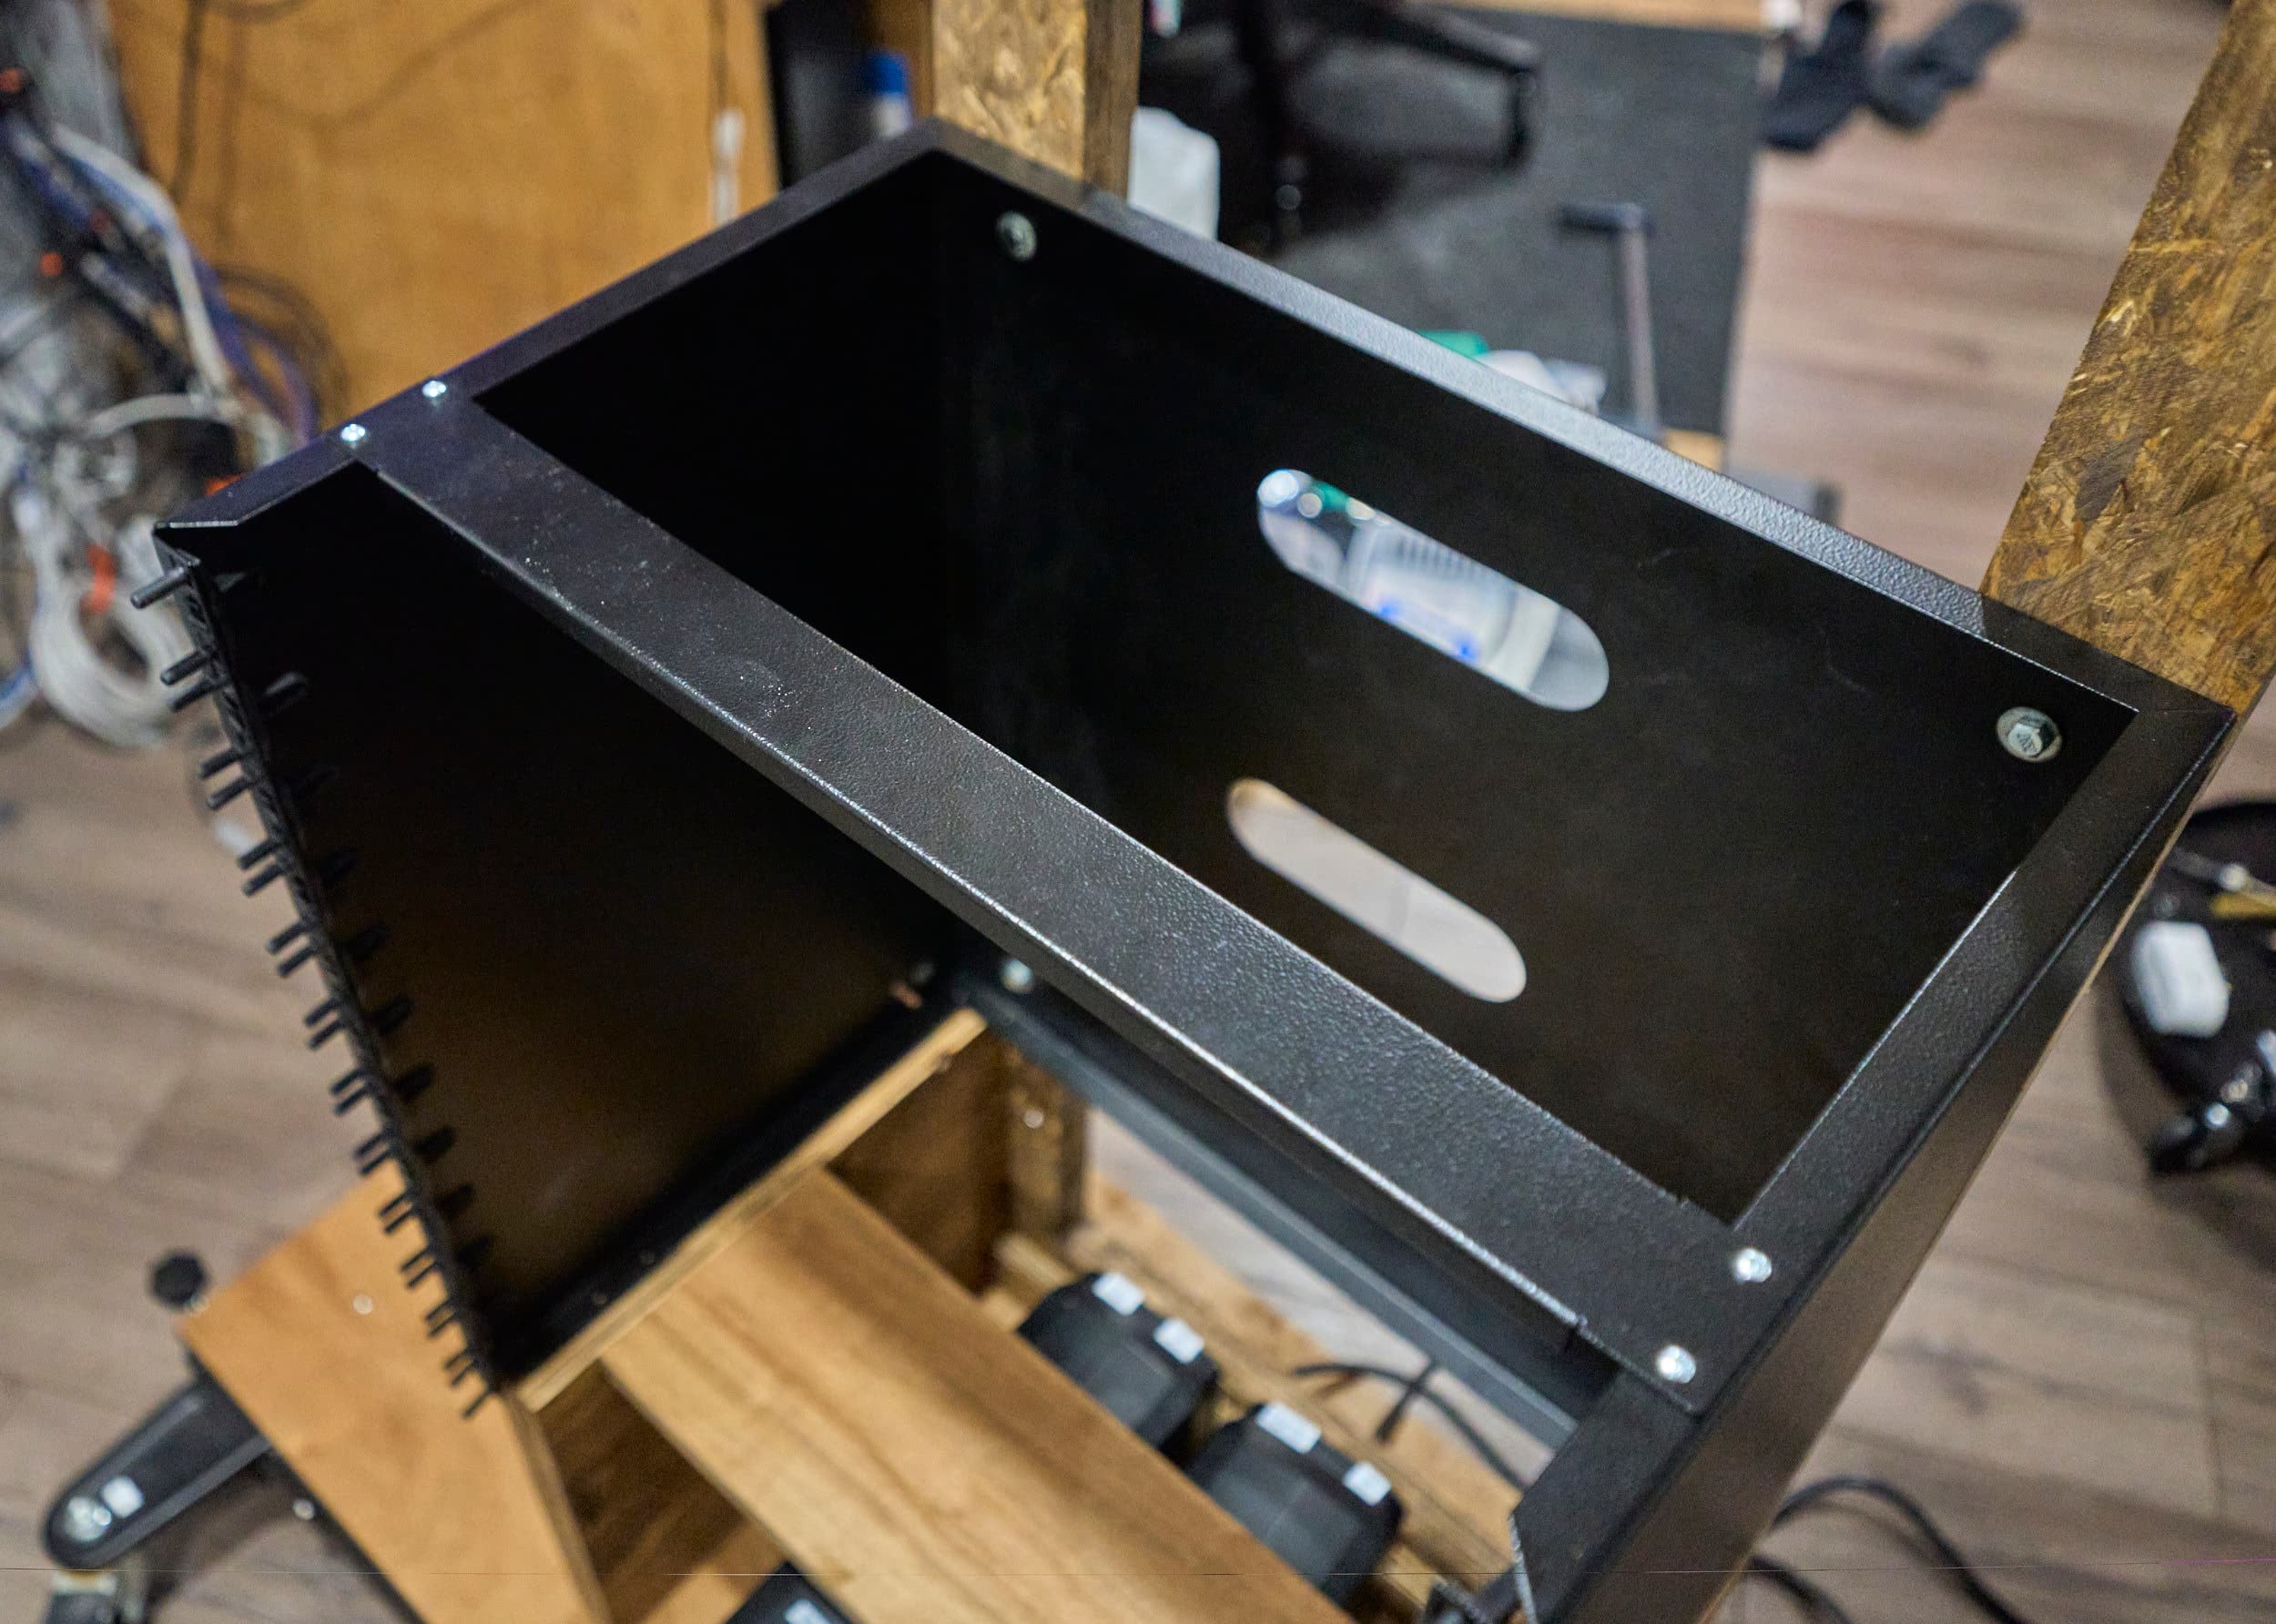
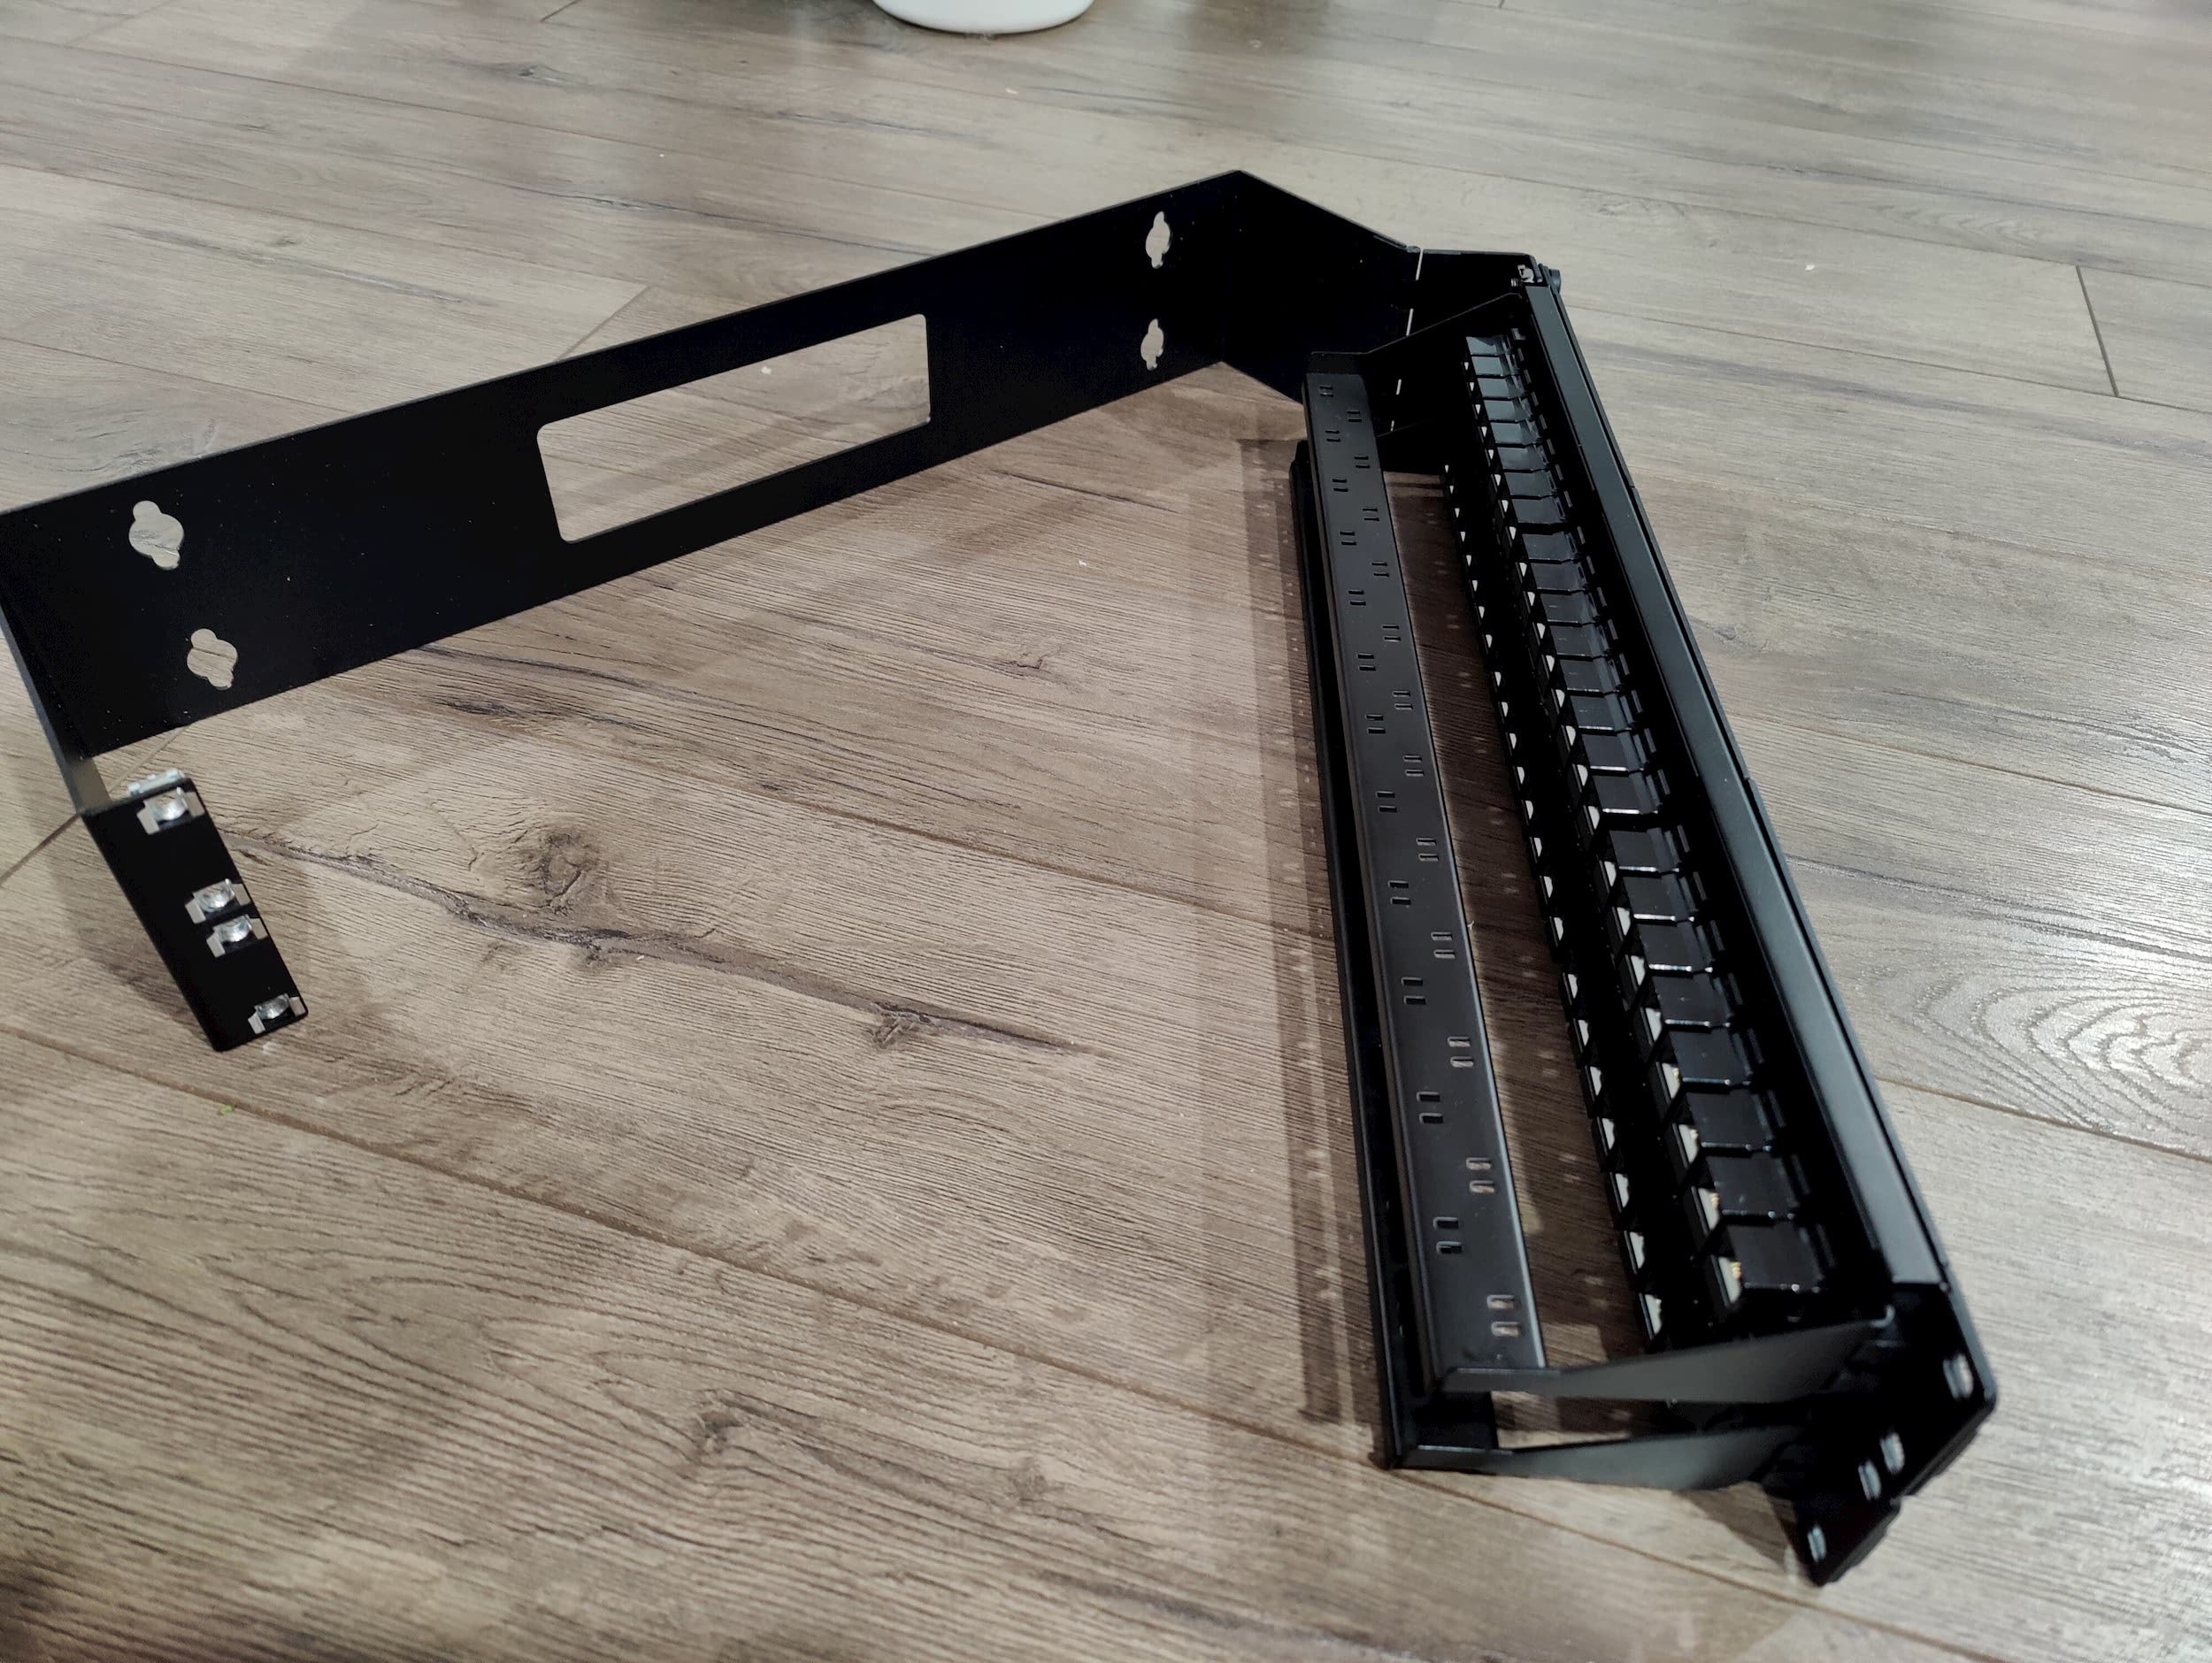
I bought a small 2U wall-mounted rack in order to mount the back-side patch panel. I had originally had a vision of recessing this into the frame (somehow!). By recessing this into the frame, the front and the back patch panels would be closer - meaning I could use 2-ft cables to connect them. Logistically, I couldn’t think of a clever way to recess the panel (without adding more height), so now, the back patch panel was 4-inches further away than I had originally intended, which was a bit of a problem since I had already bought 2-ft cables…

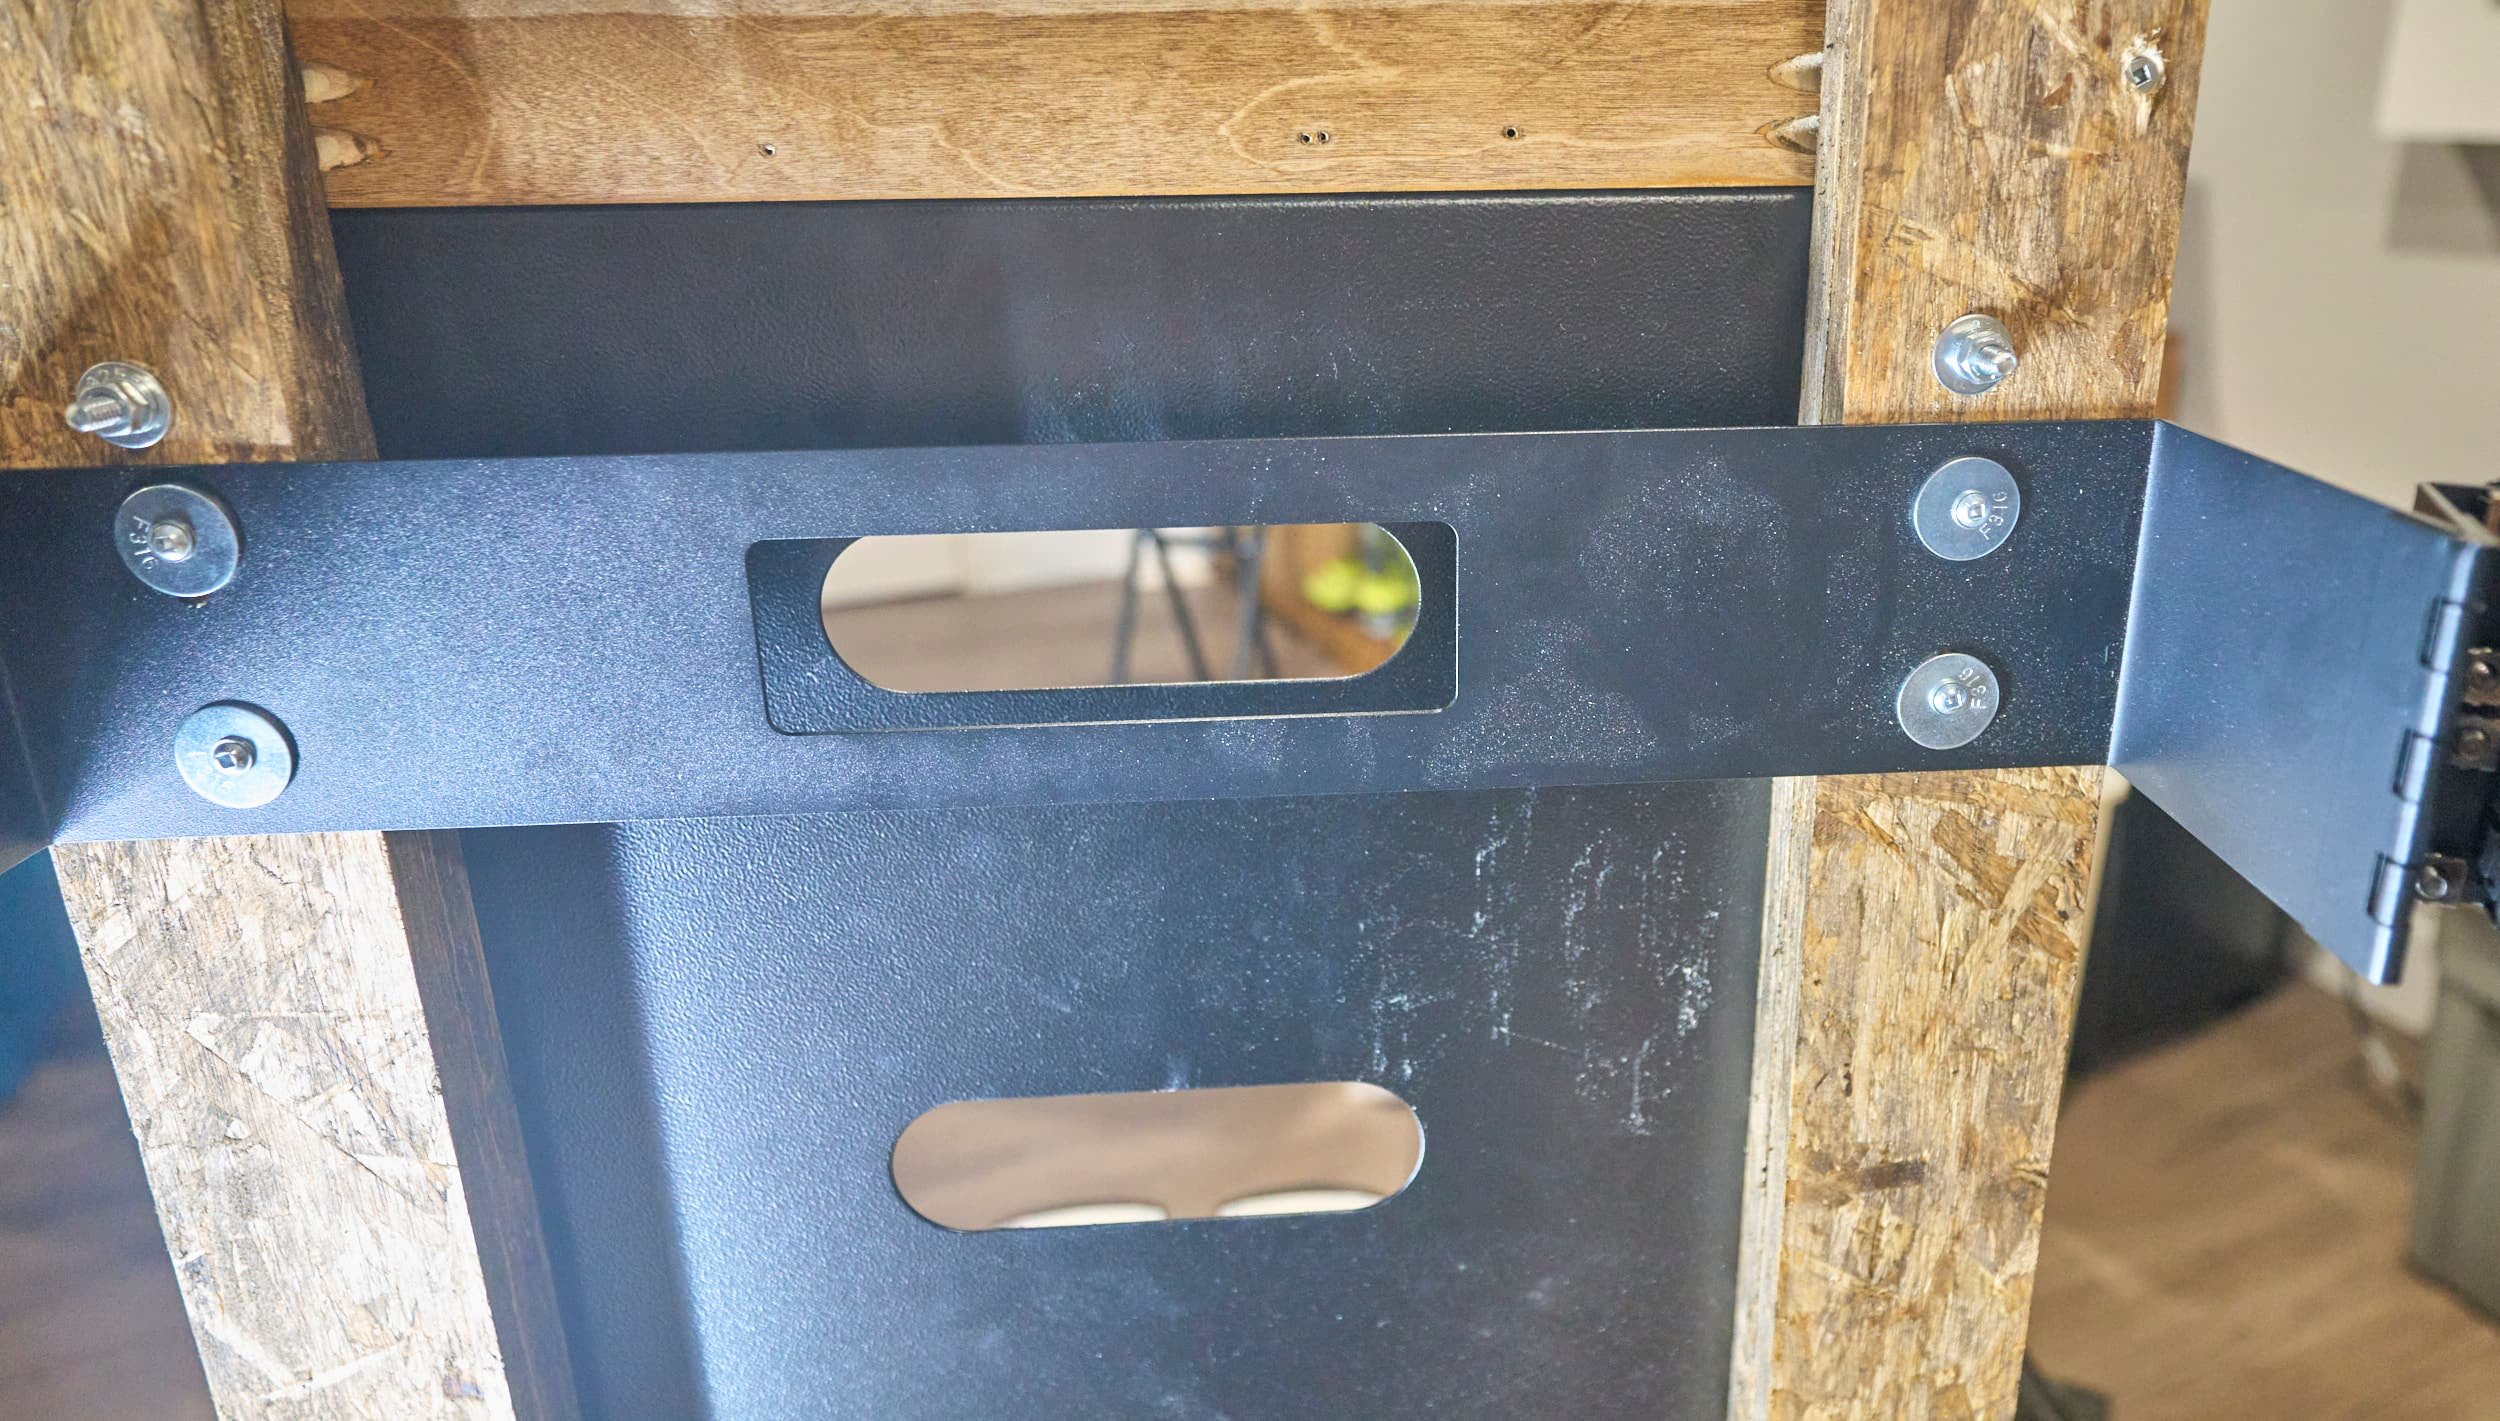
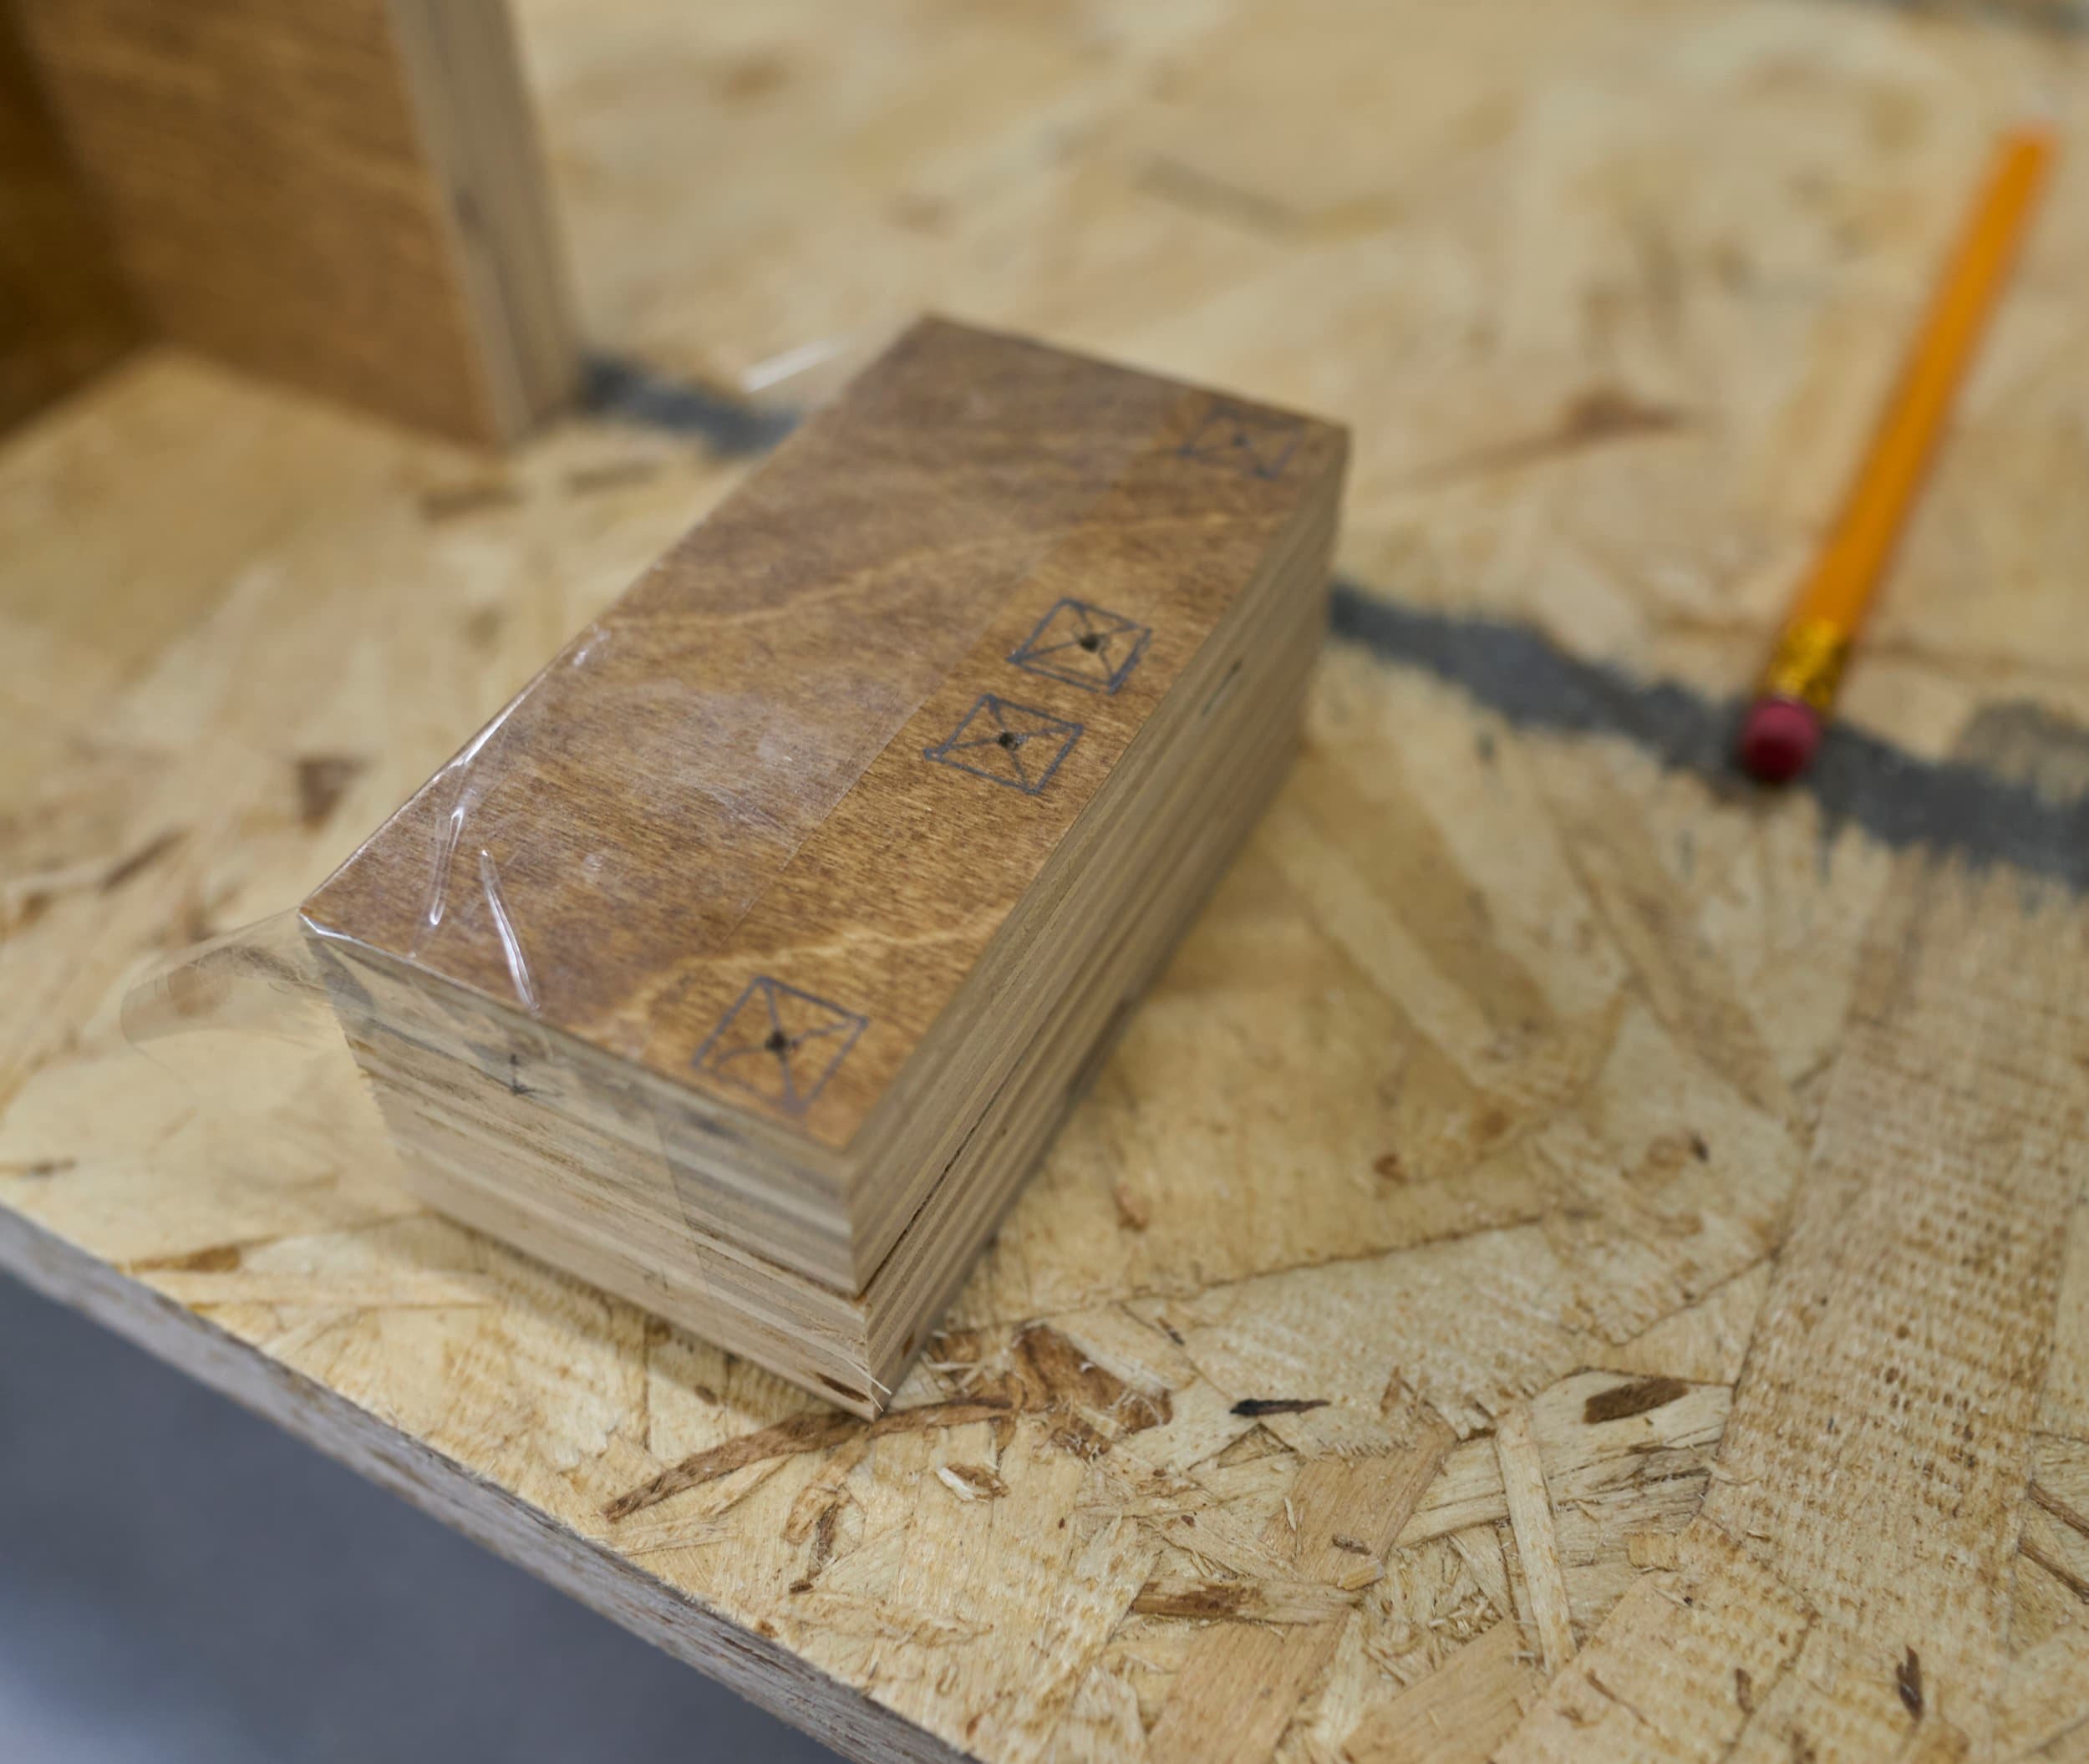
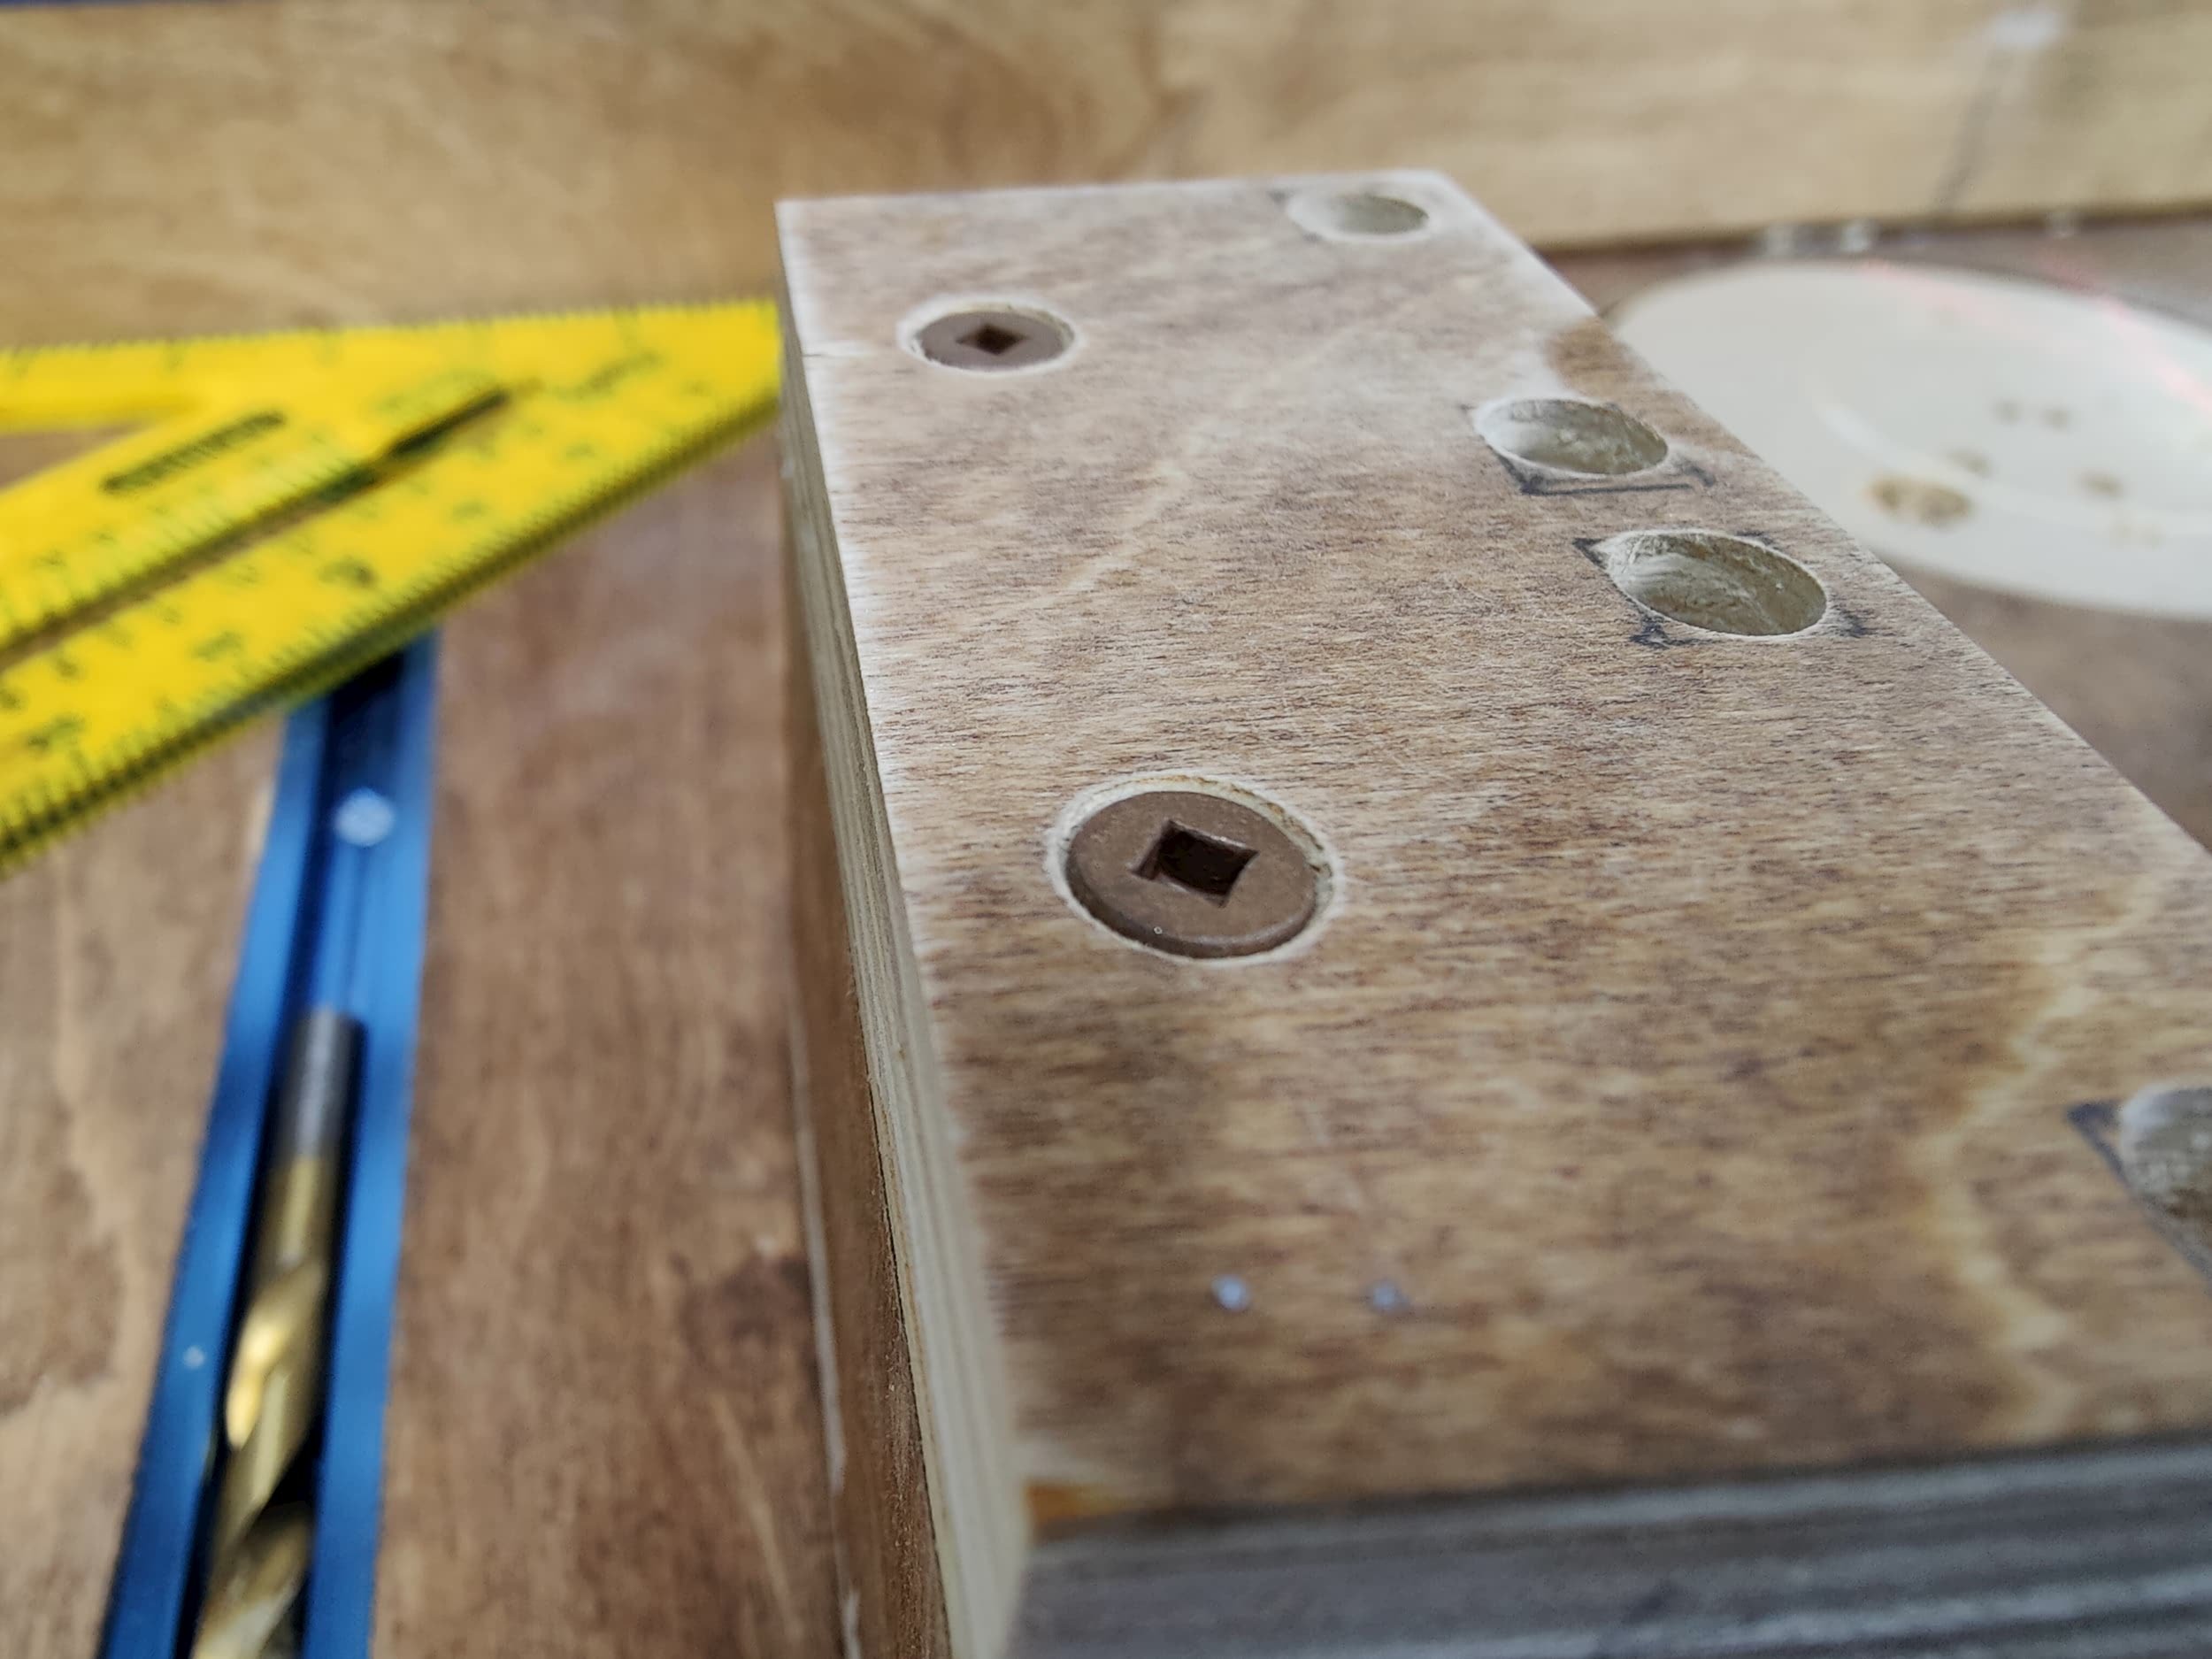
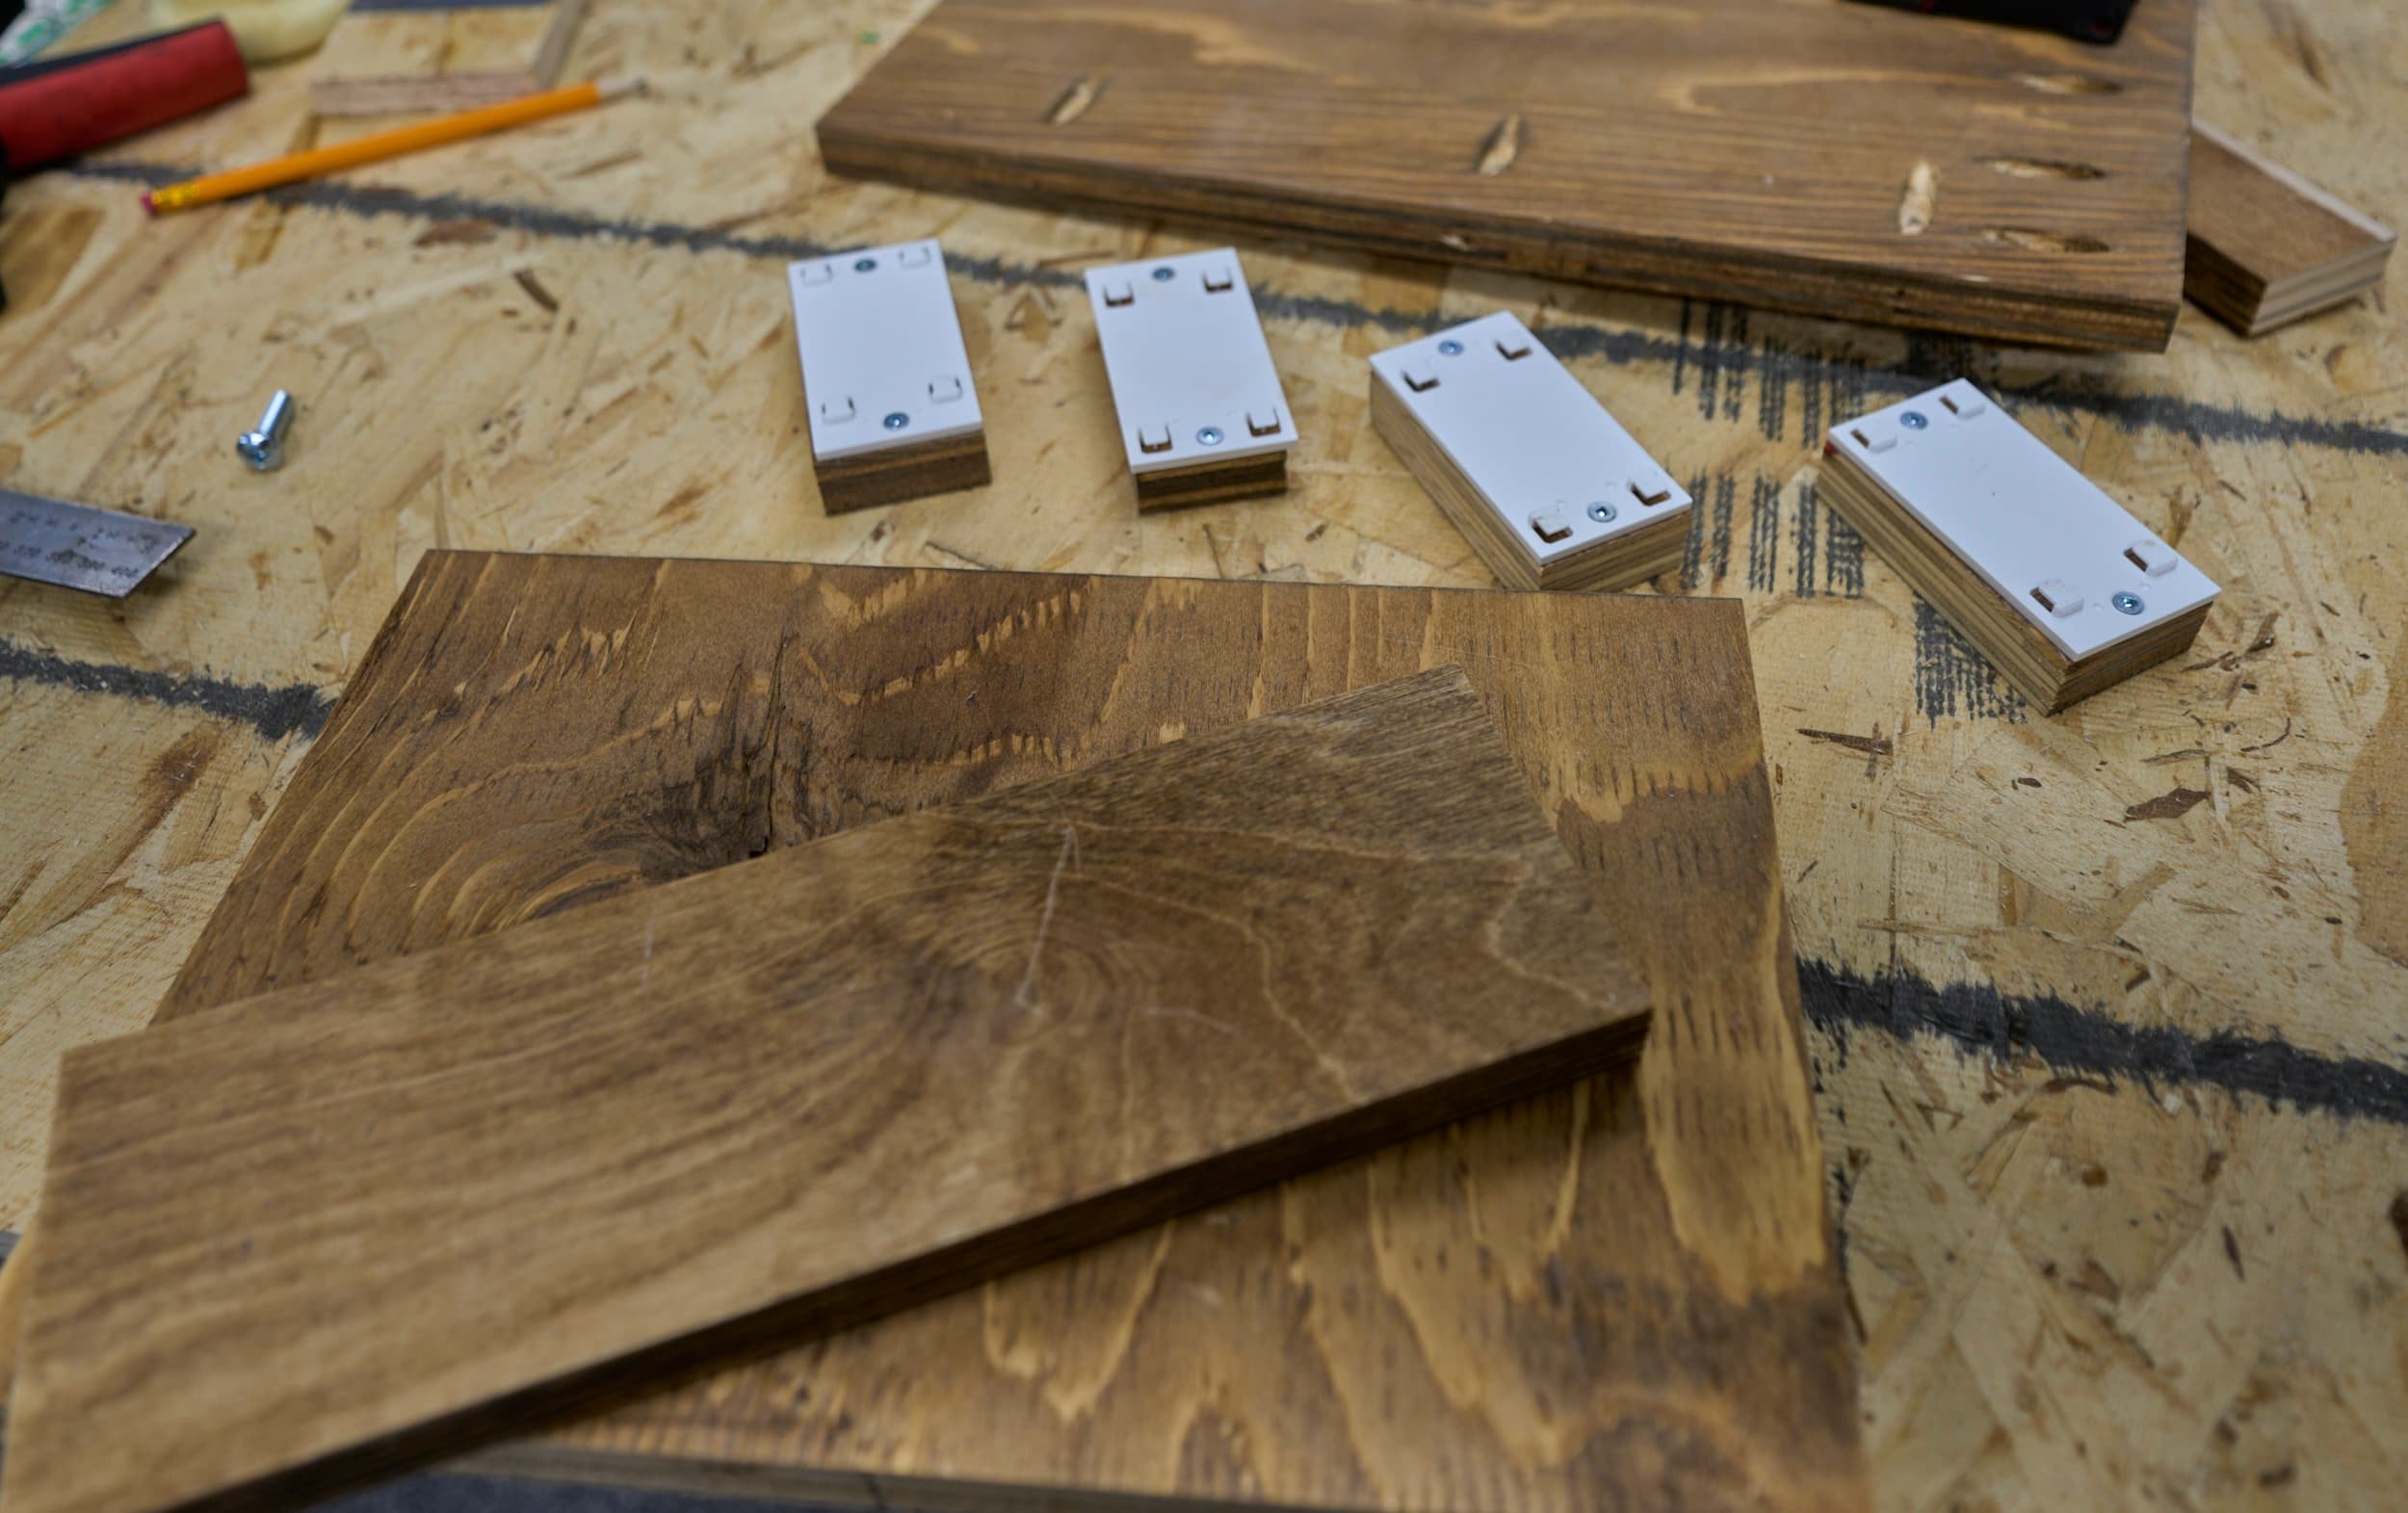
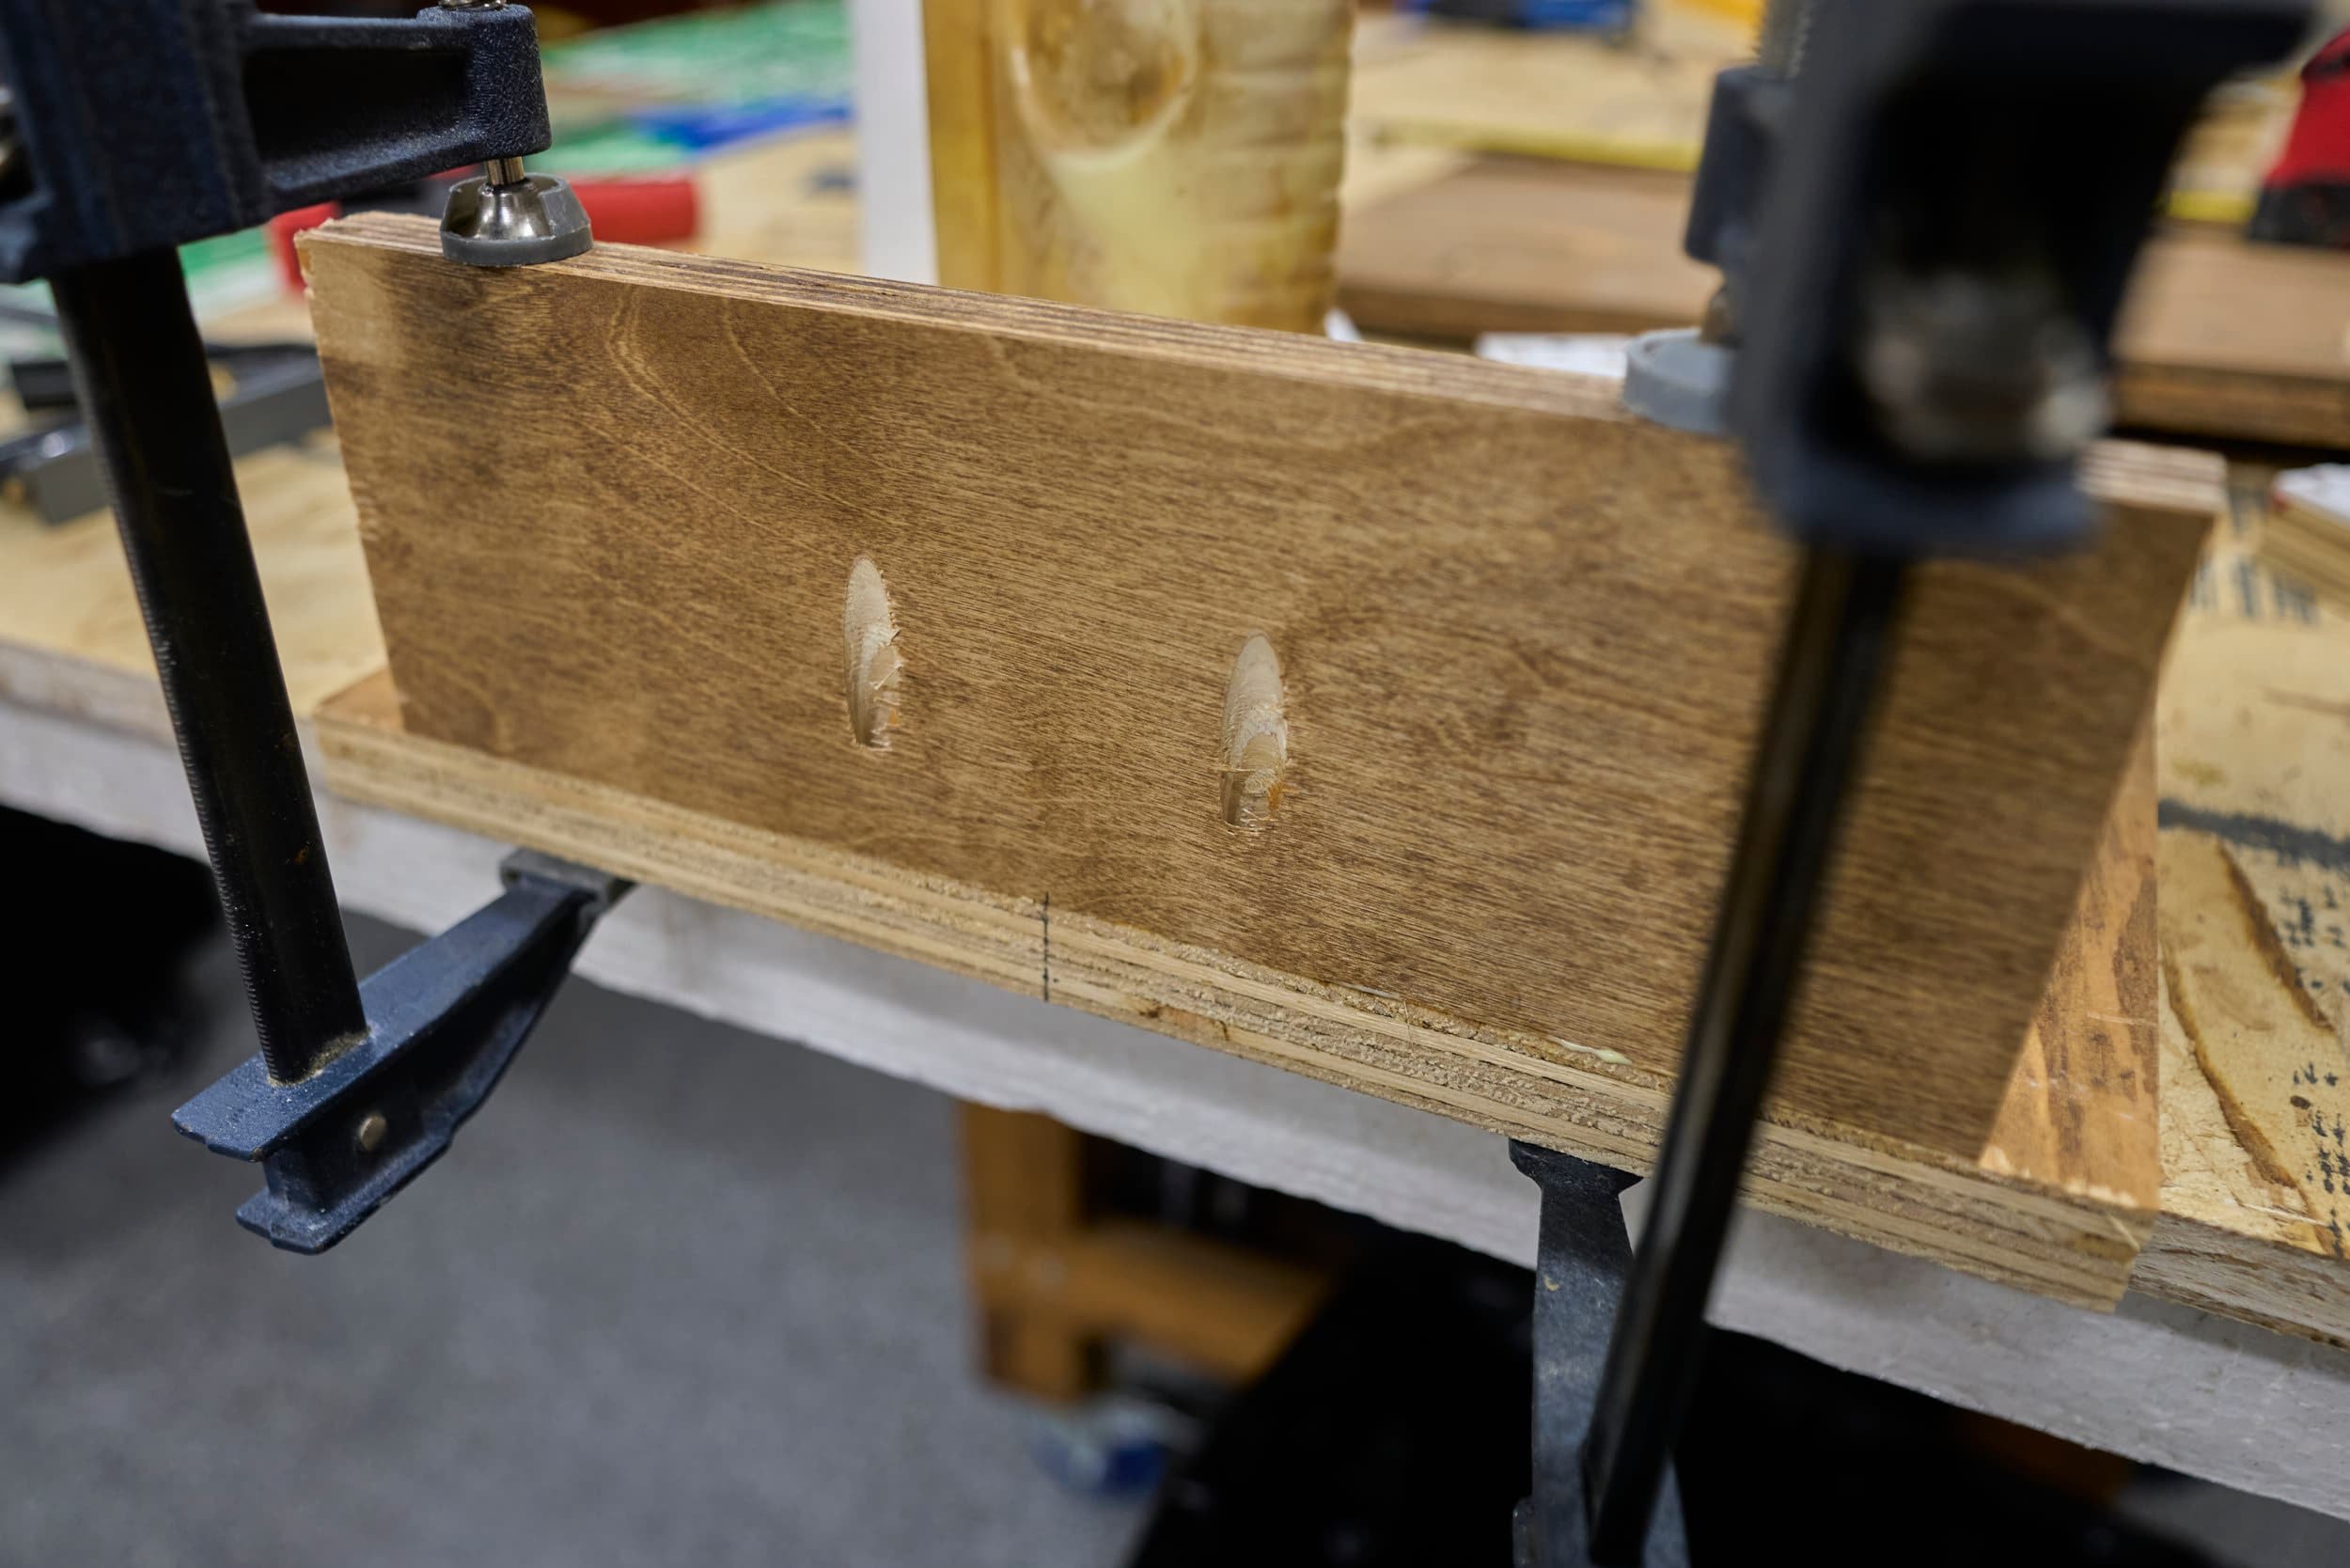
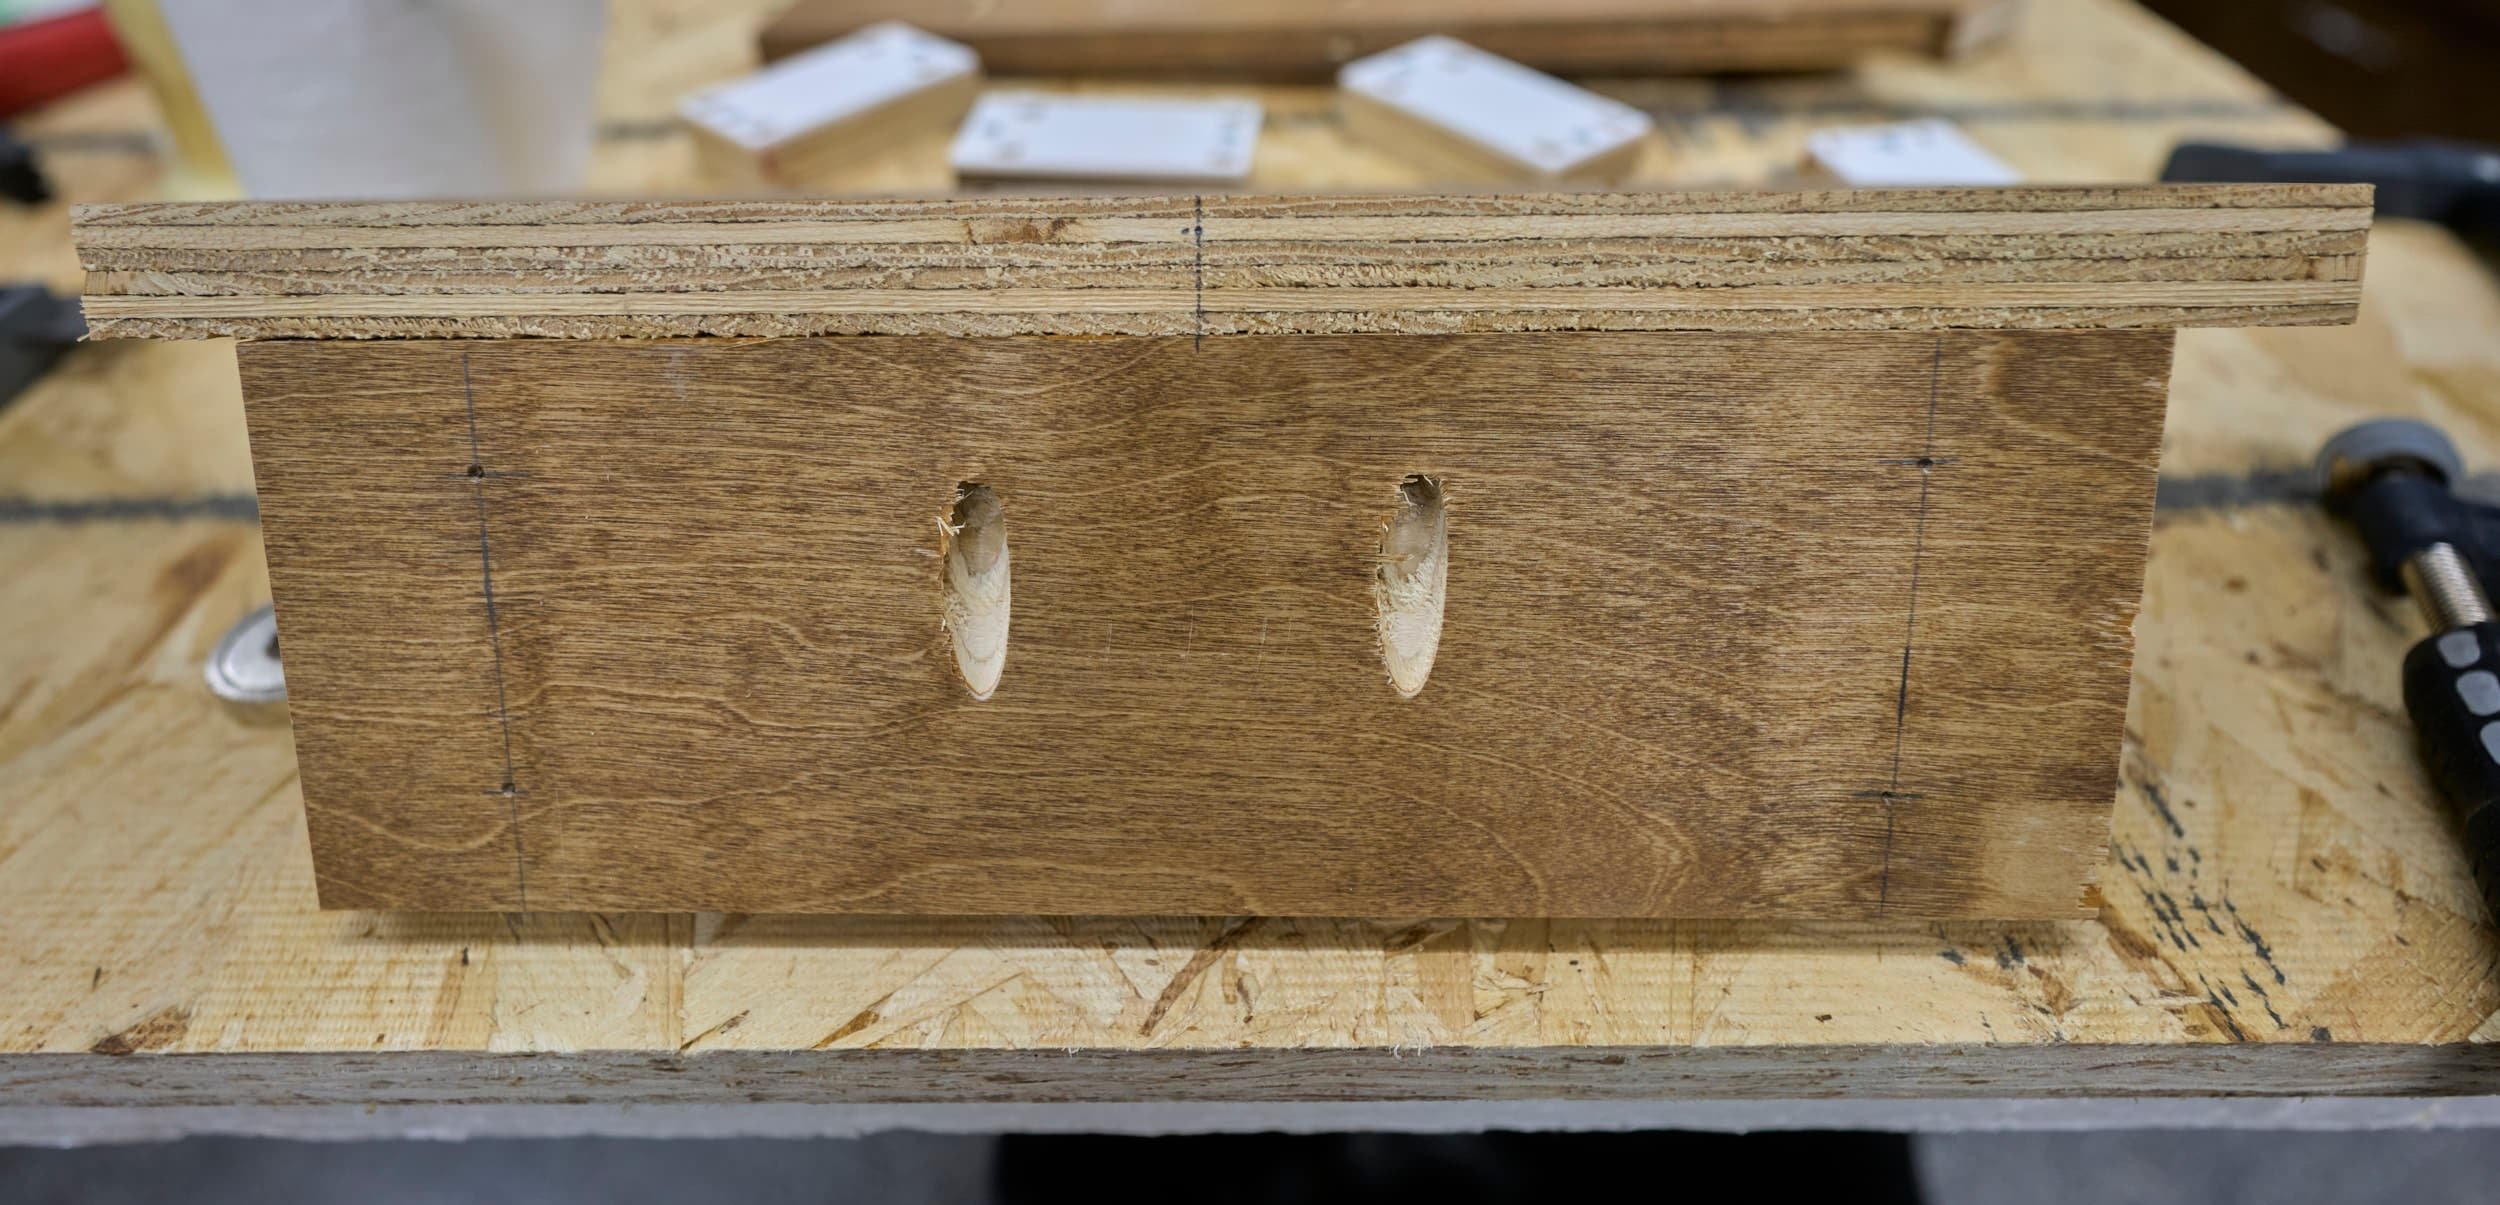
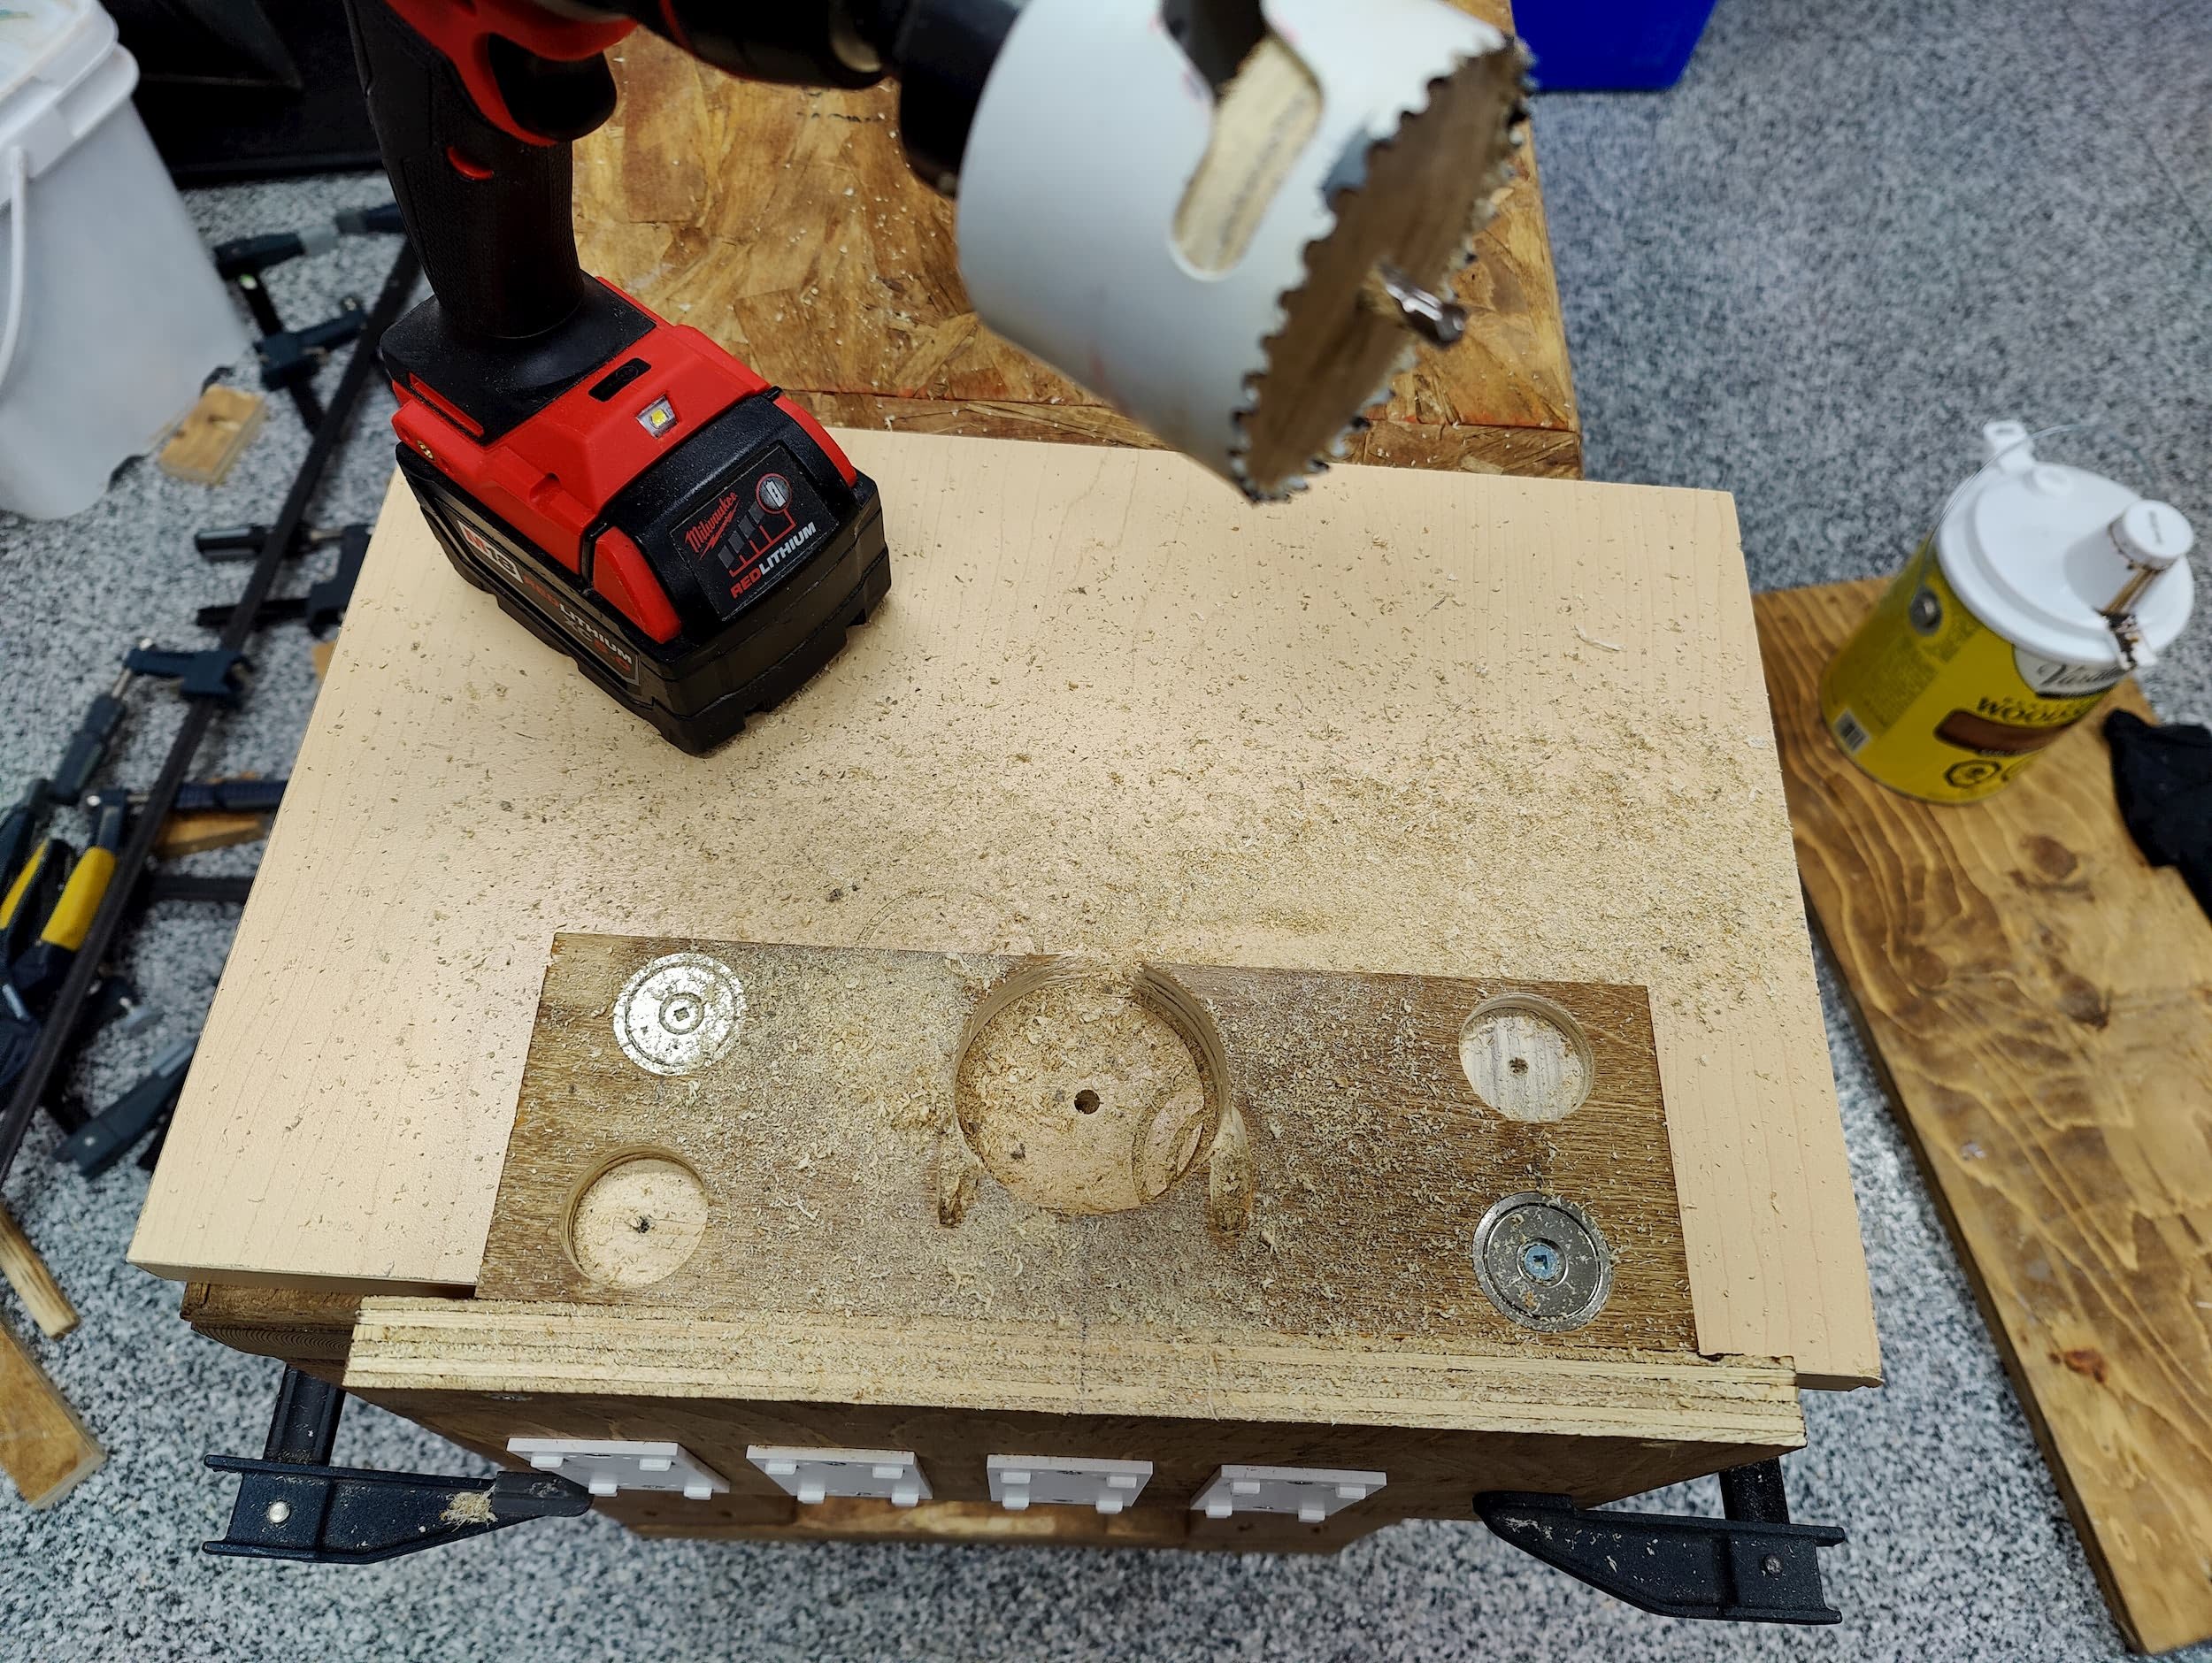
Step 5 - Making my own rack mount
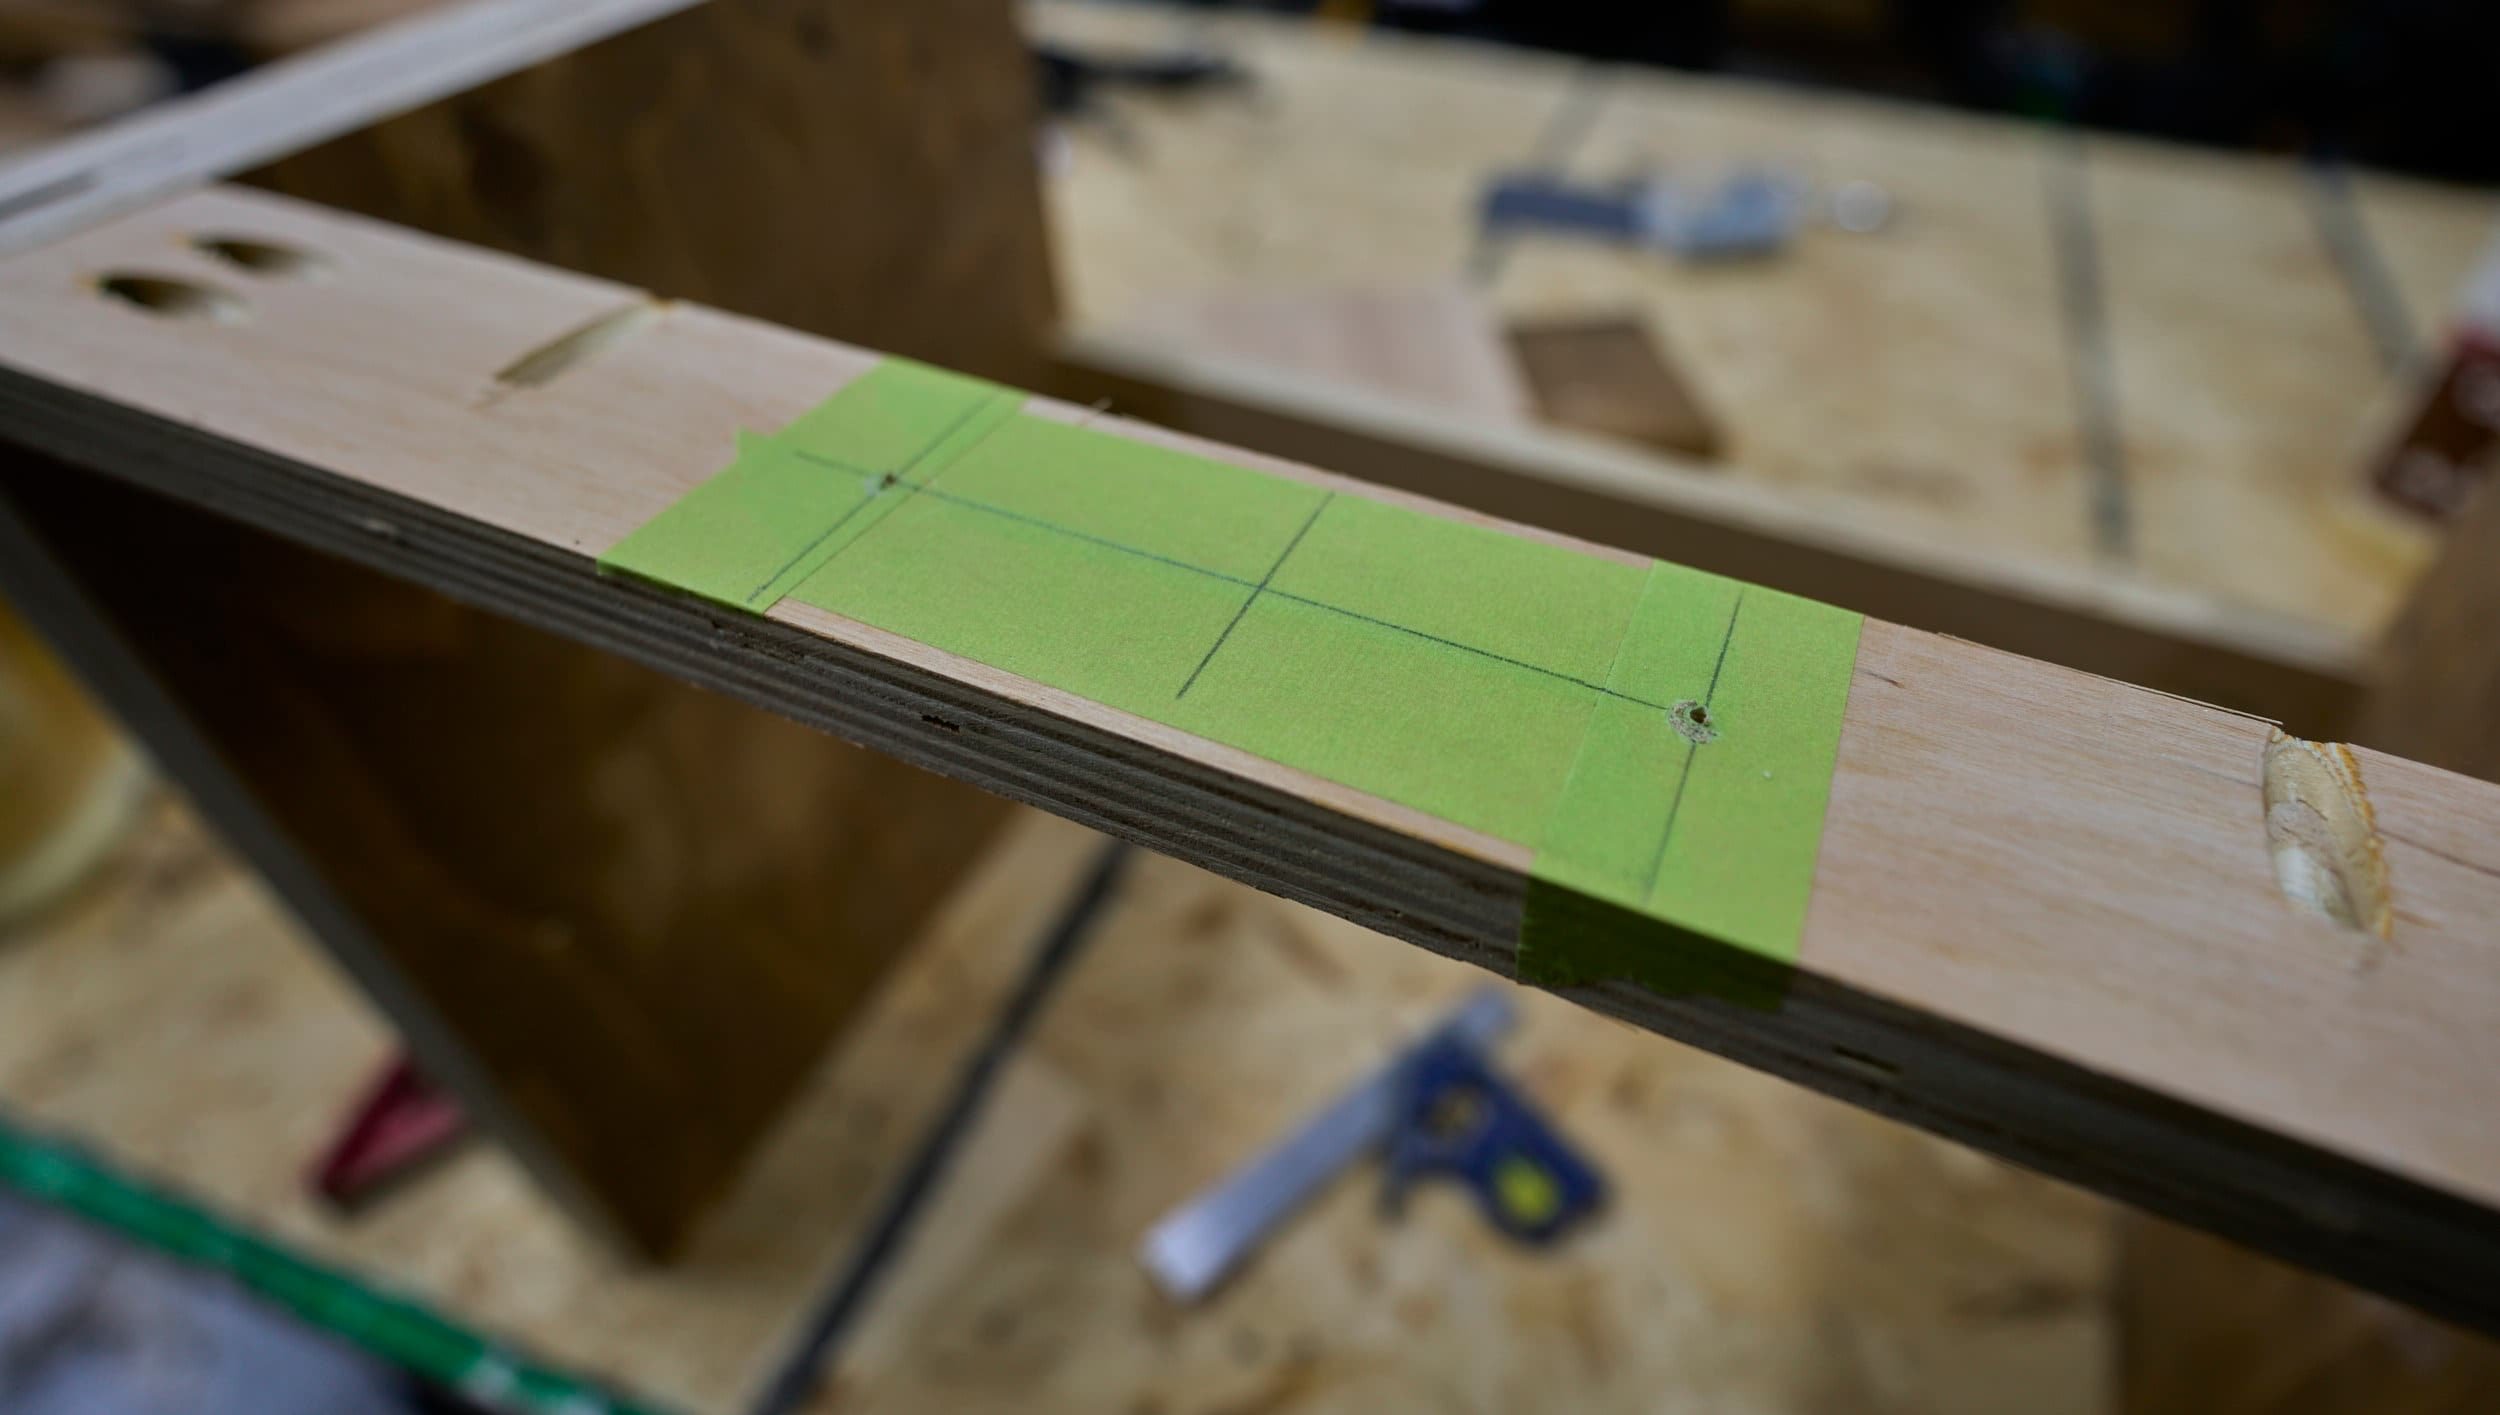
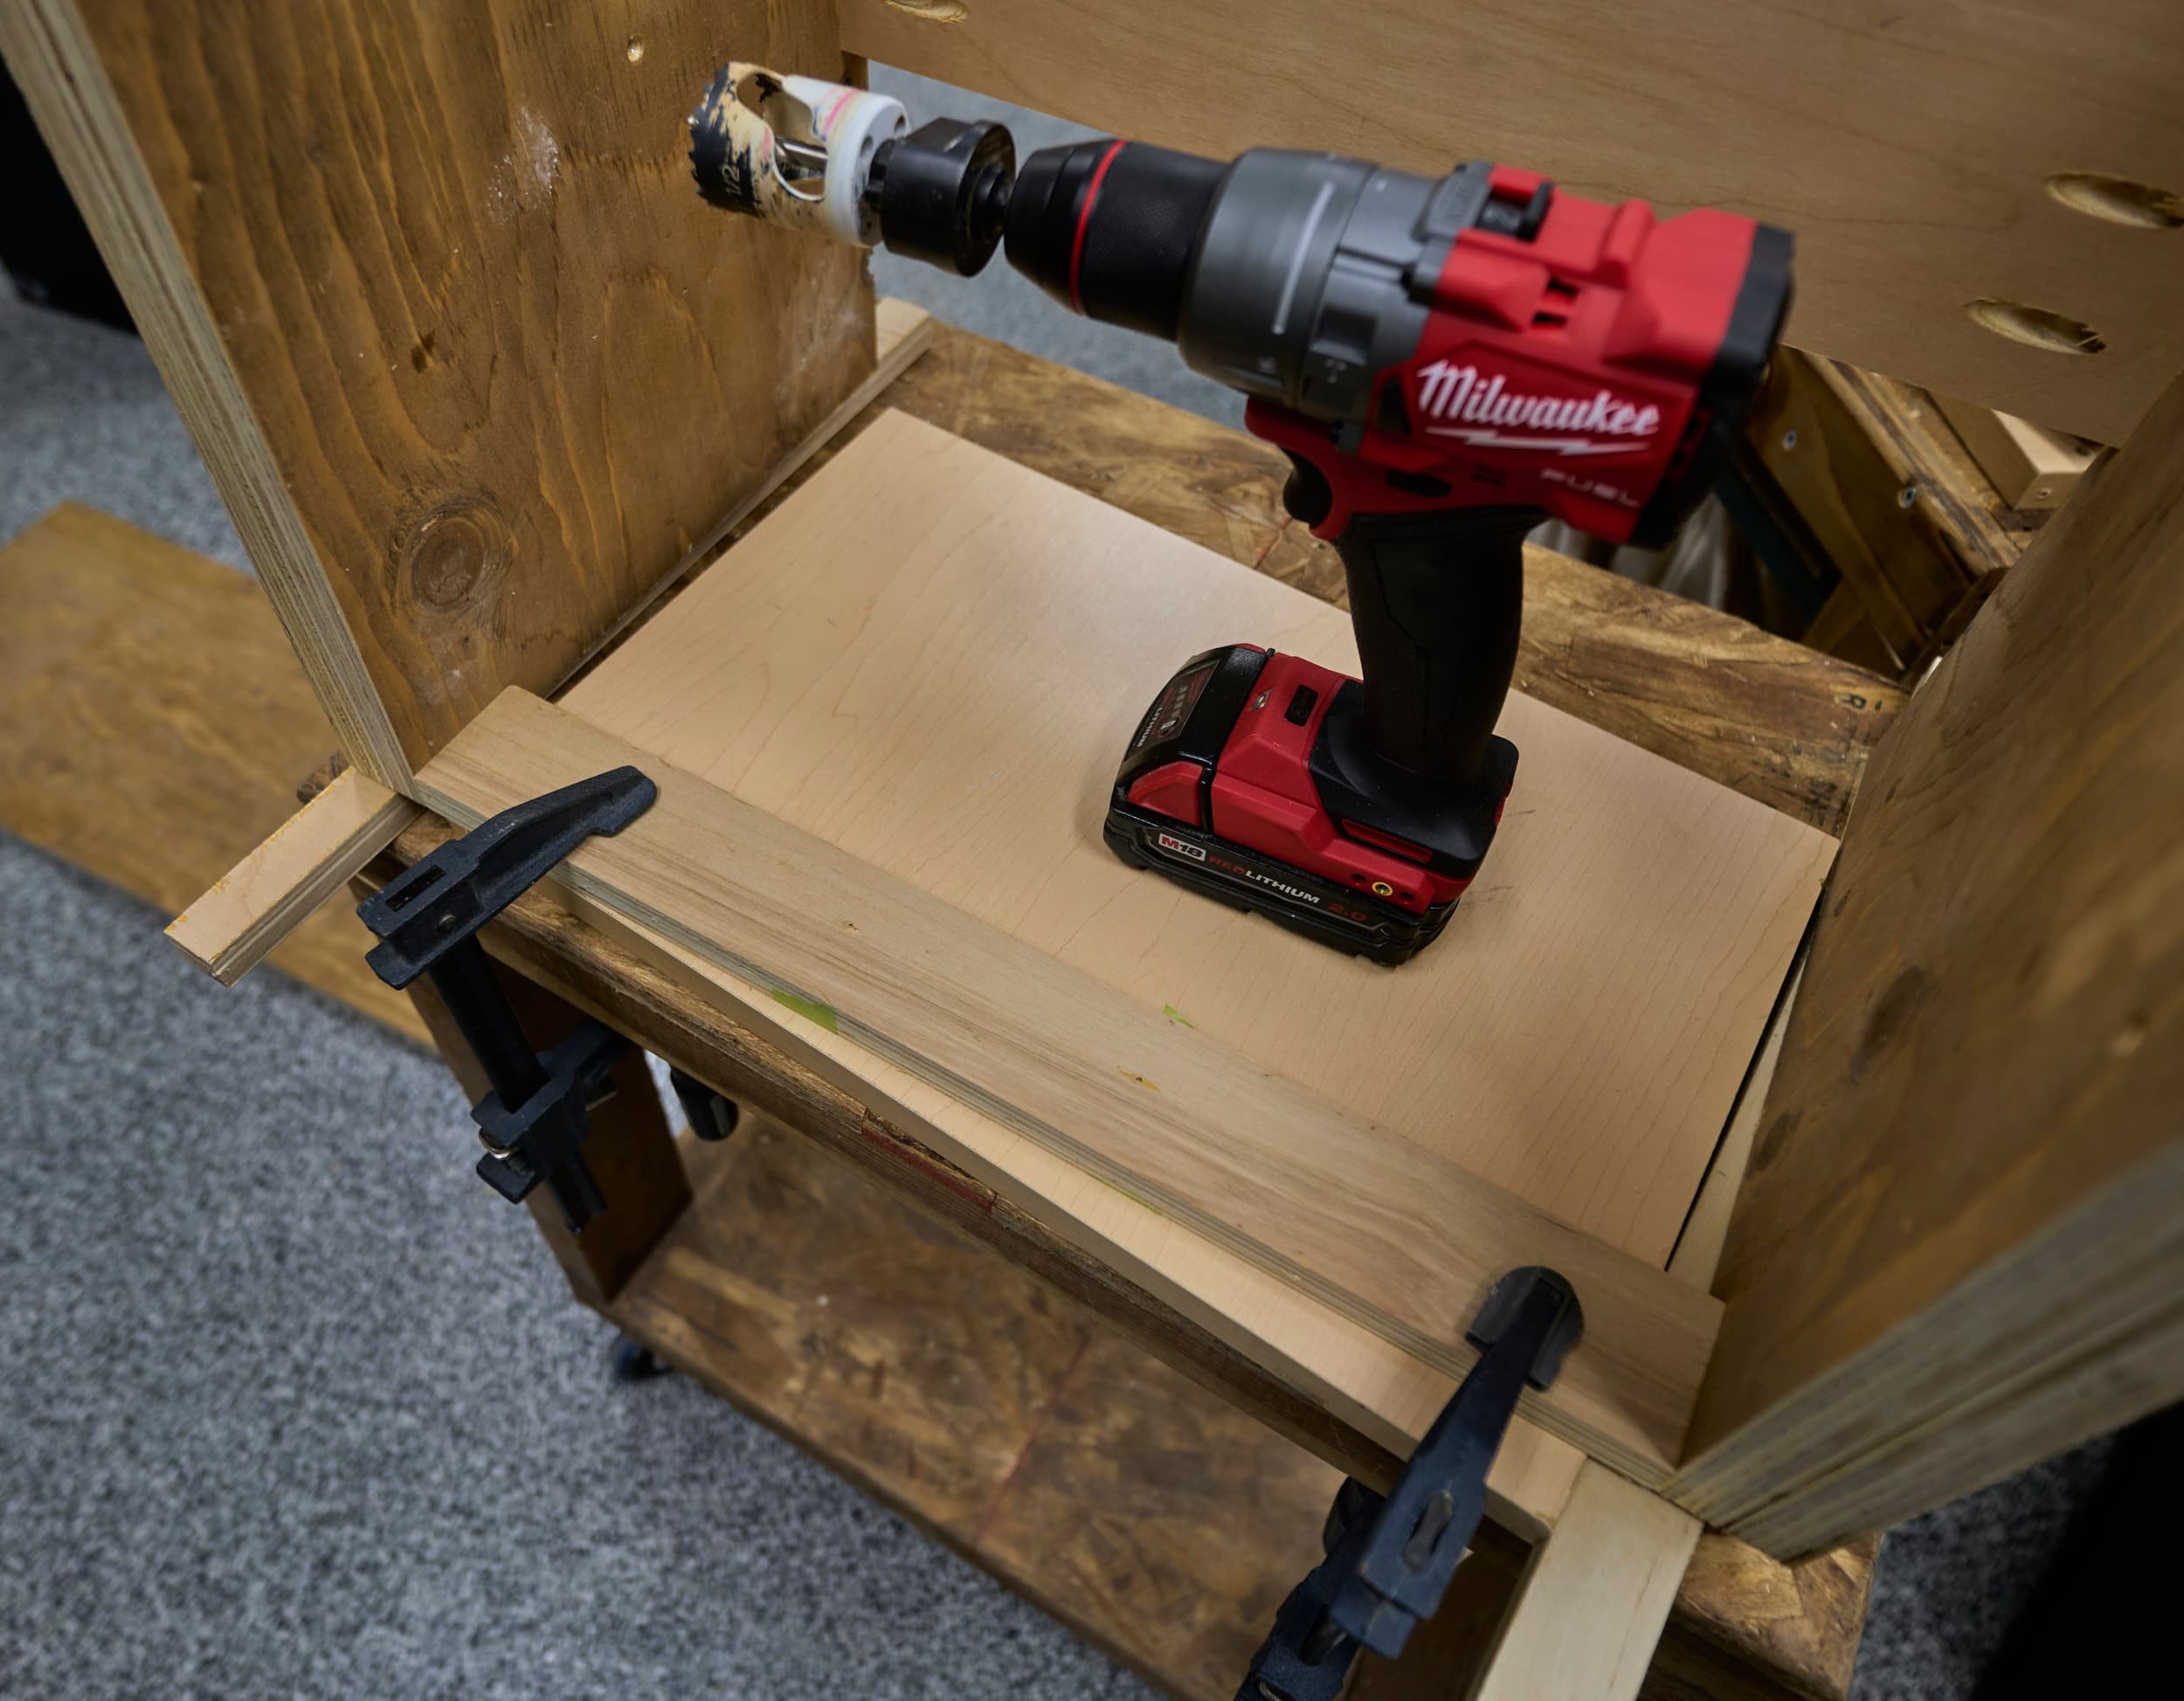
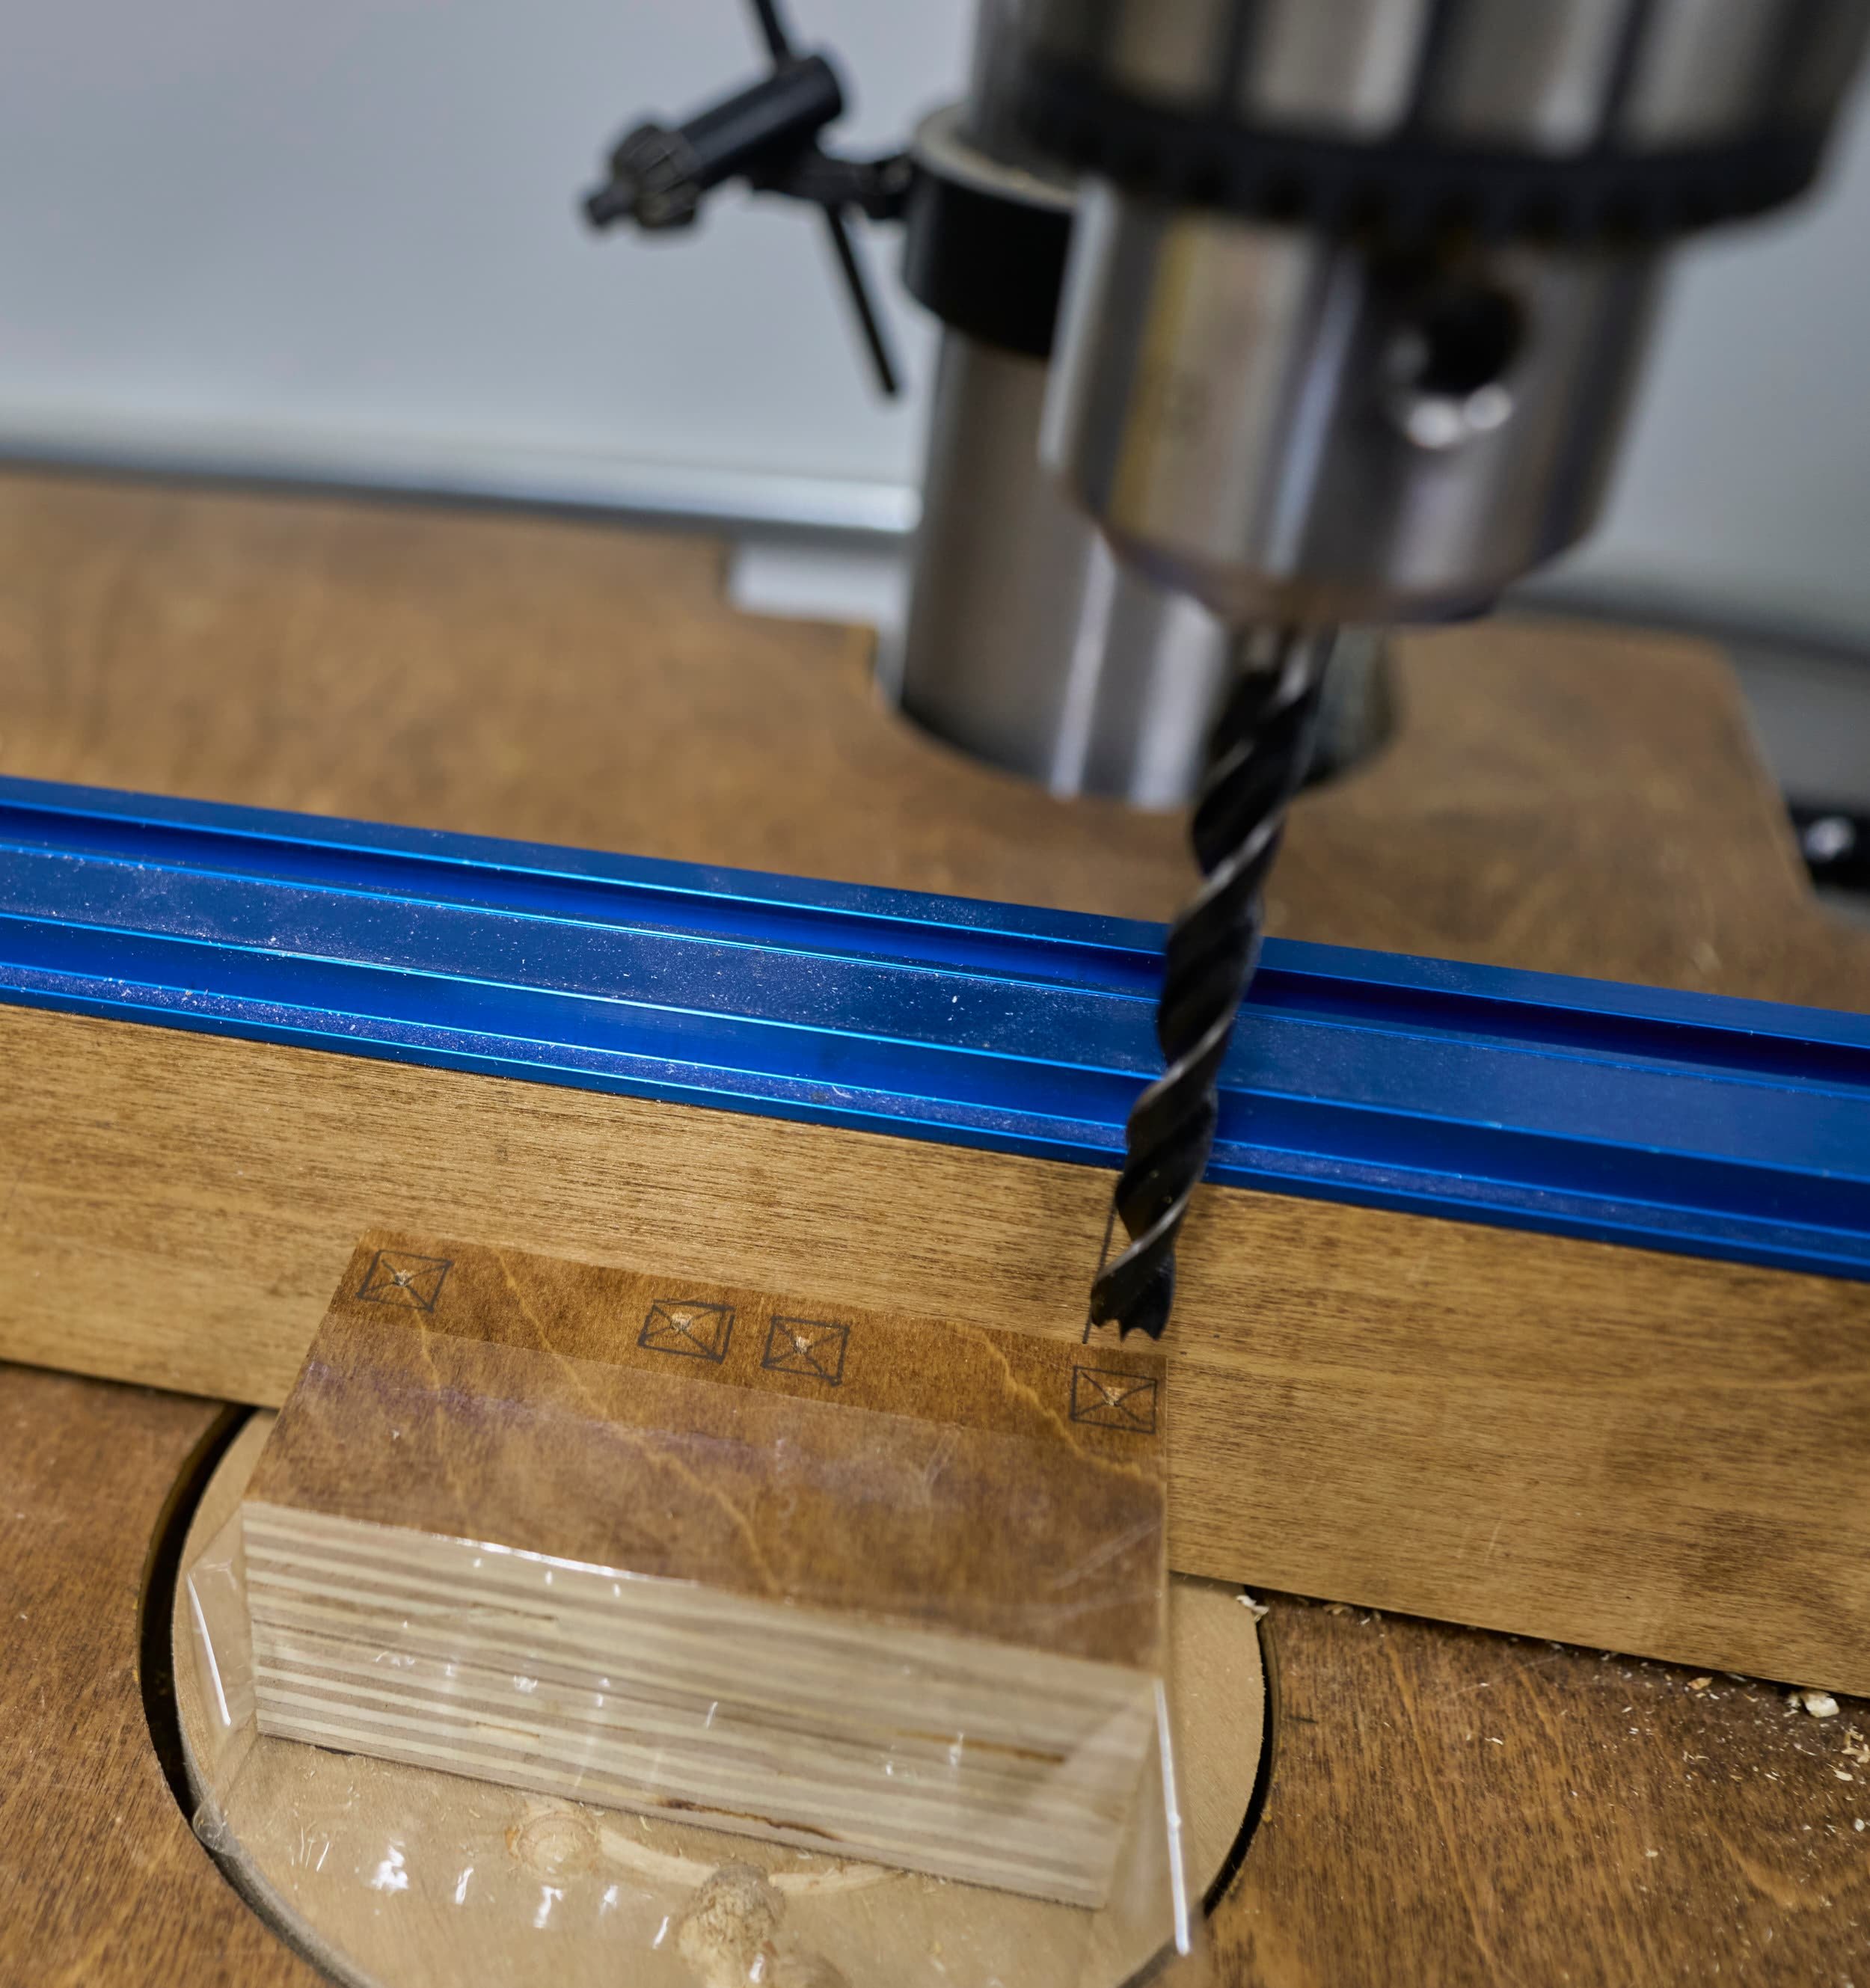
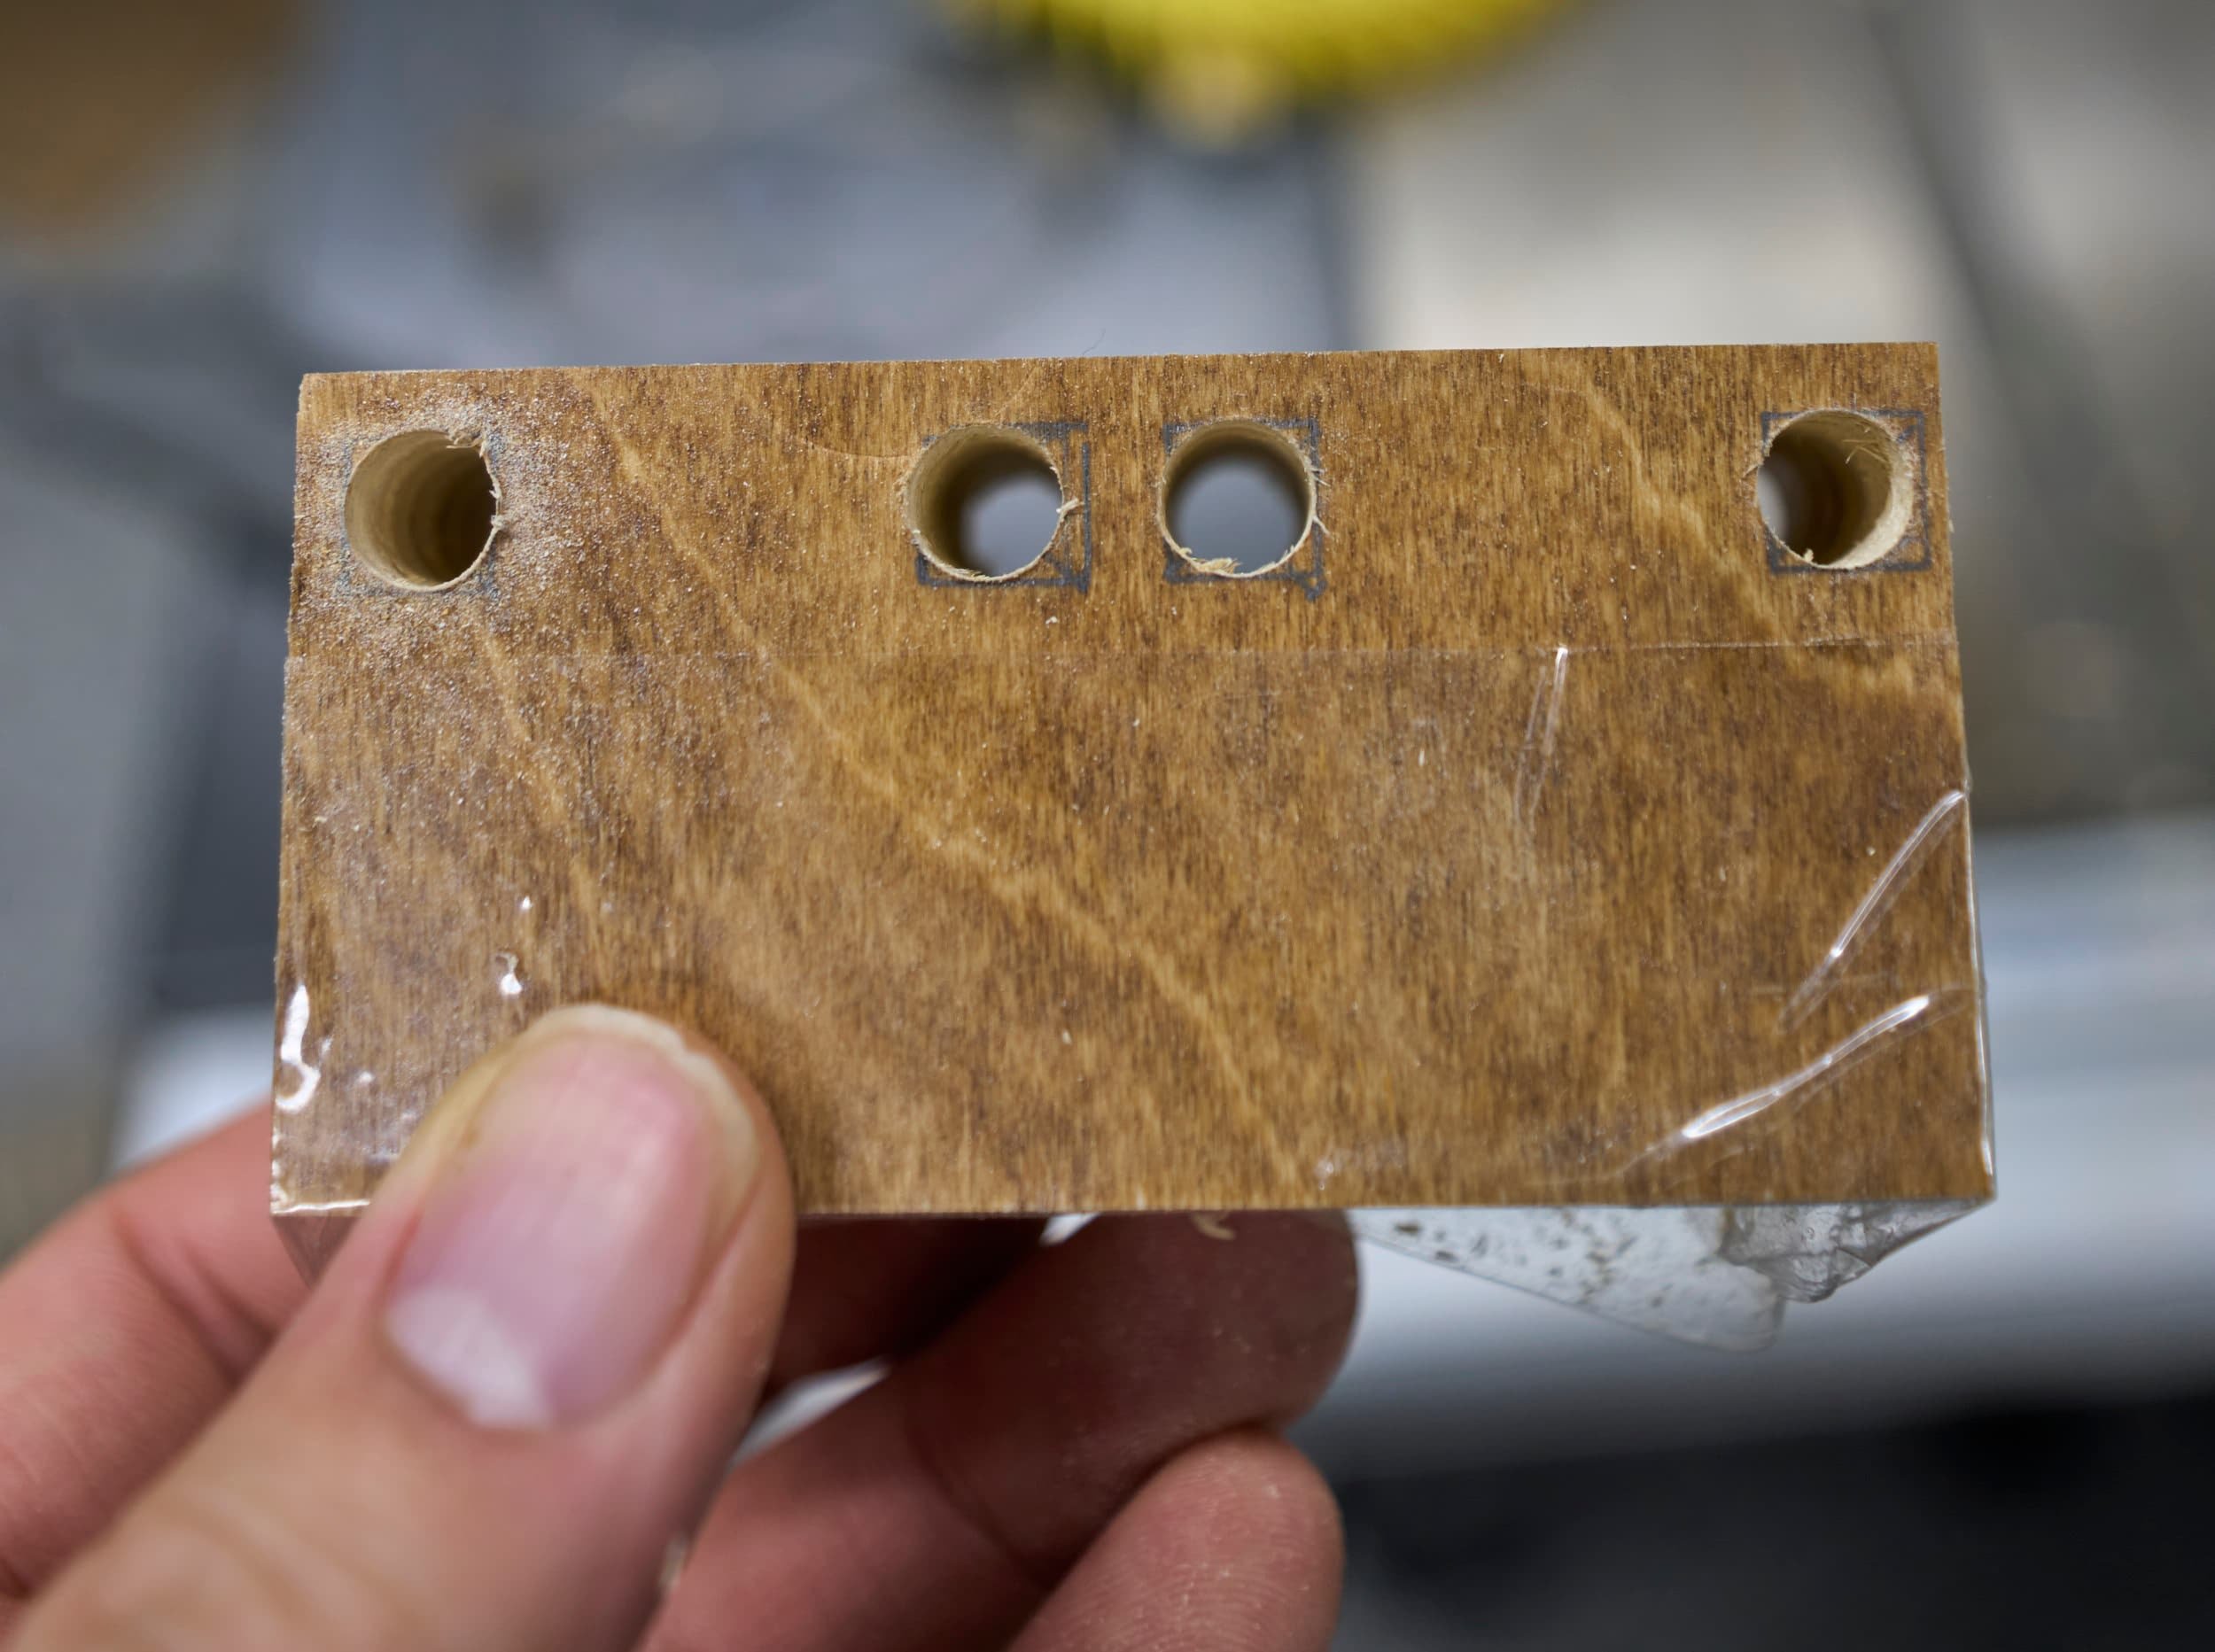
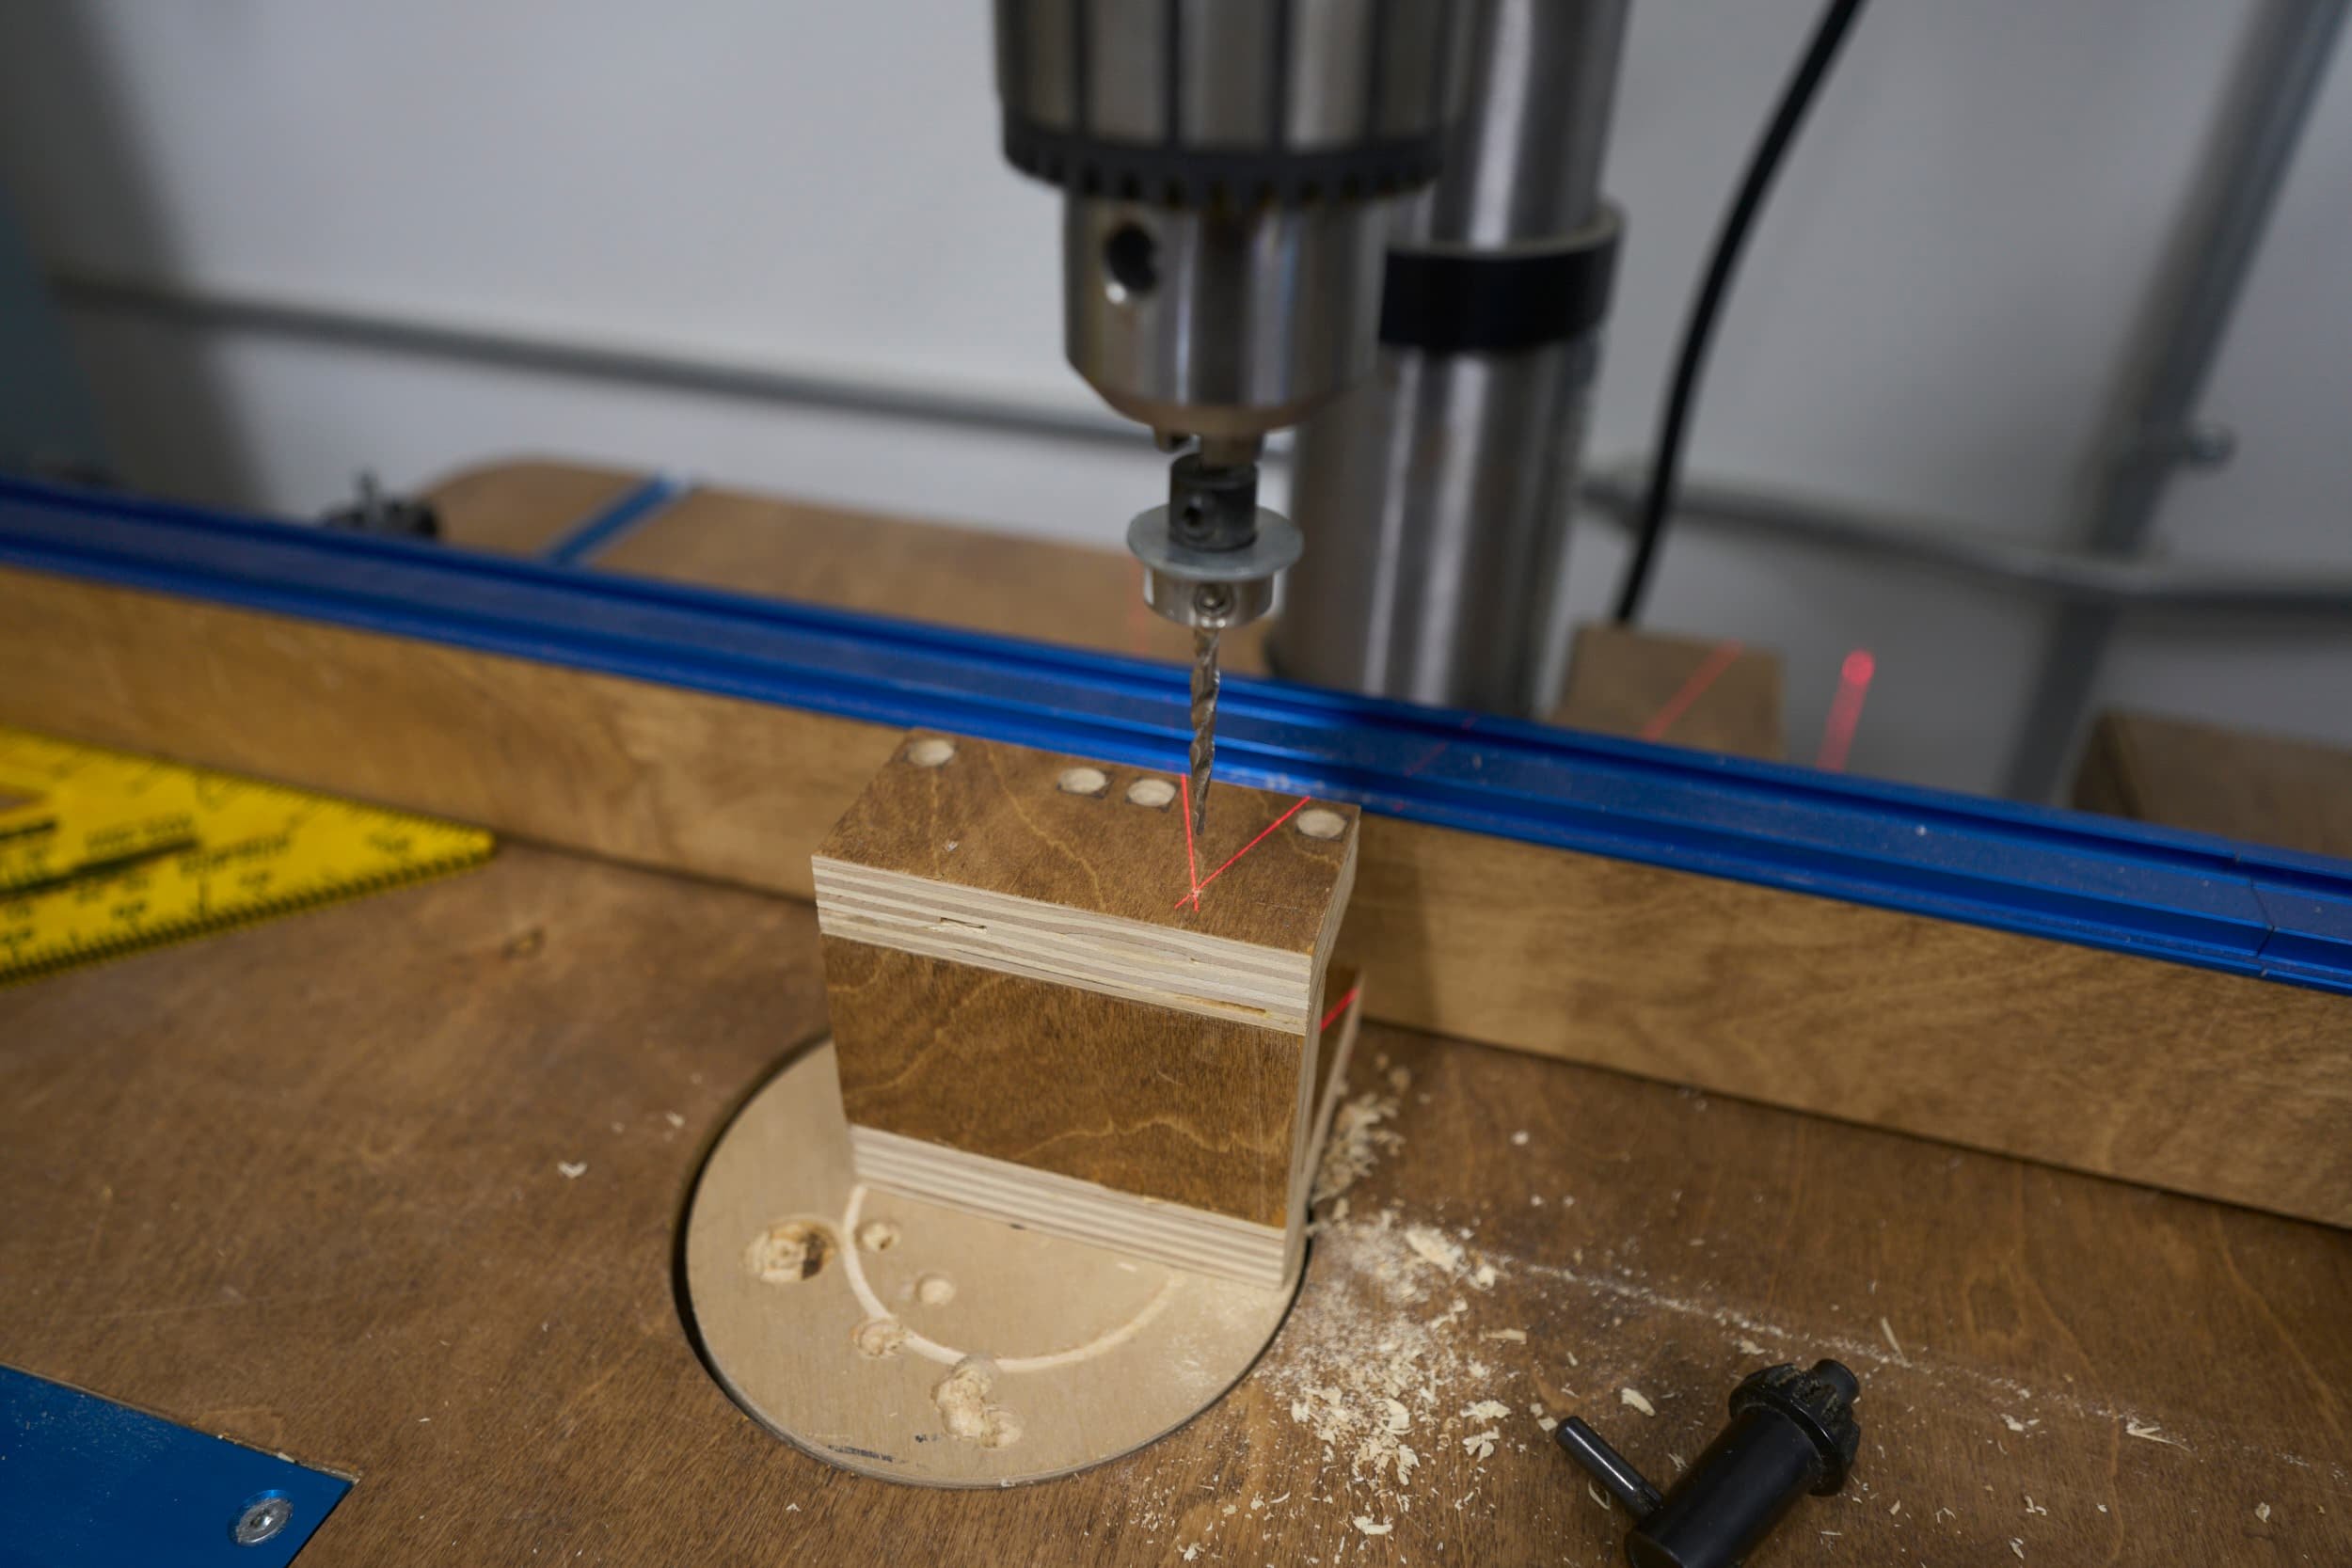
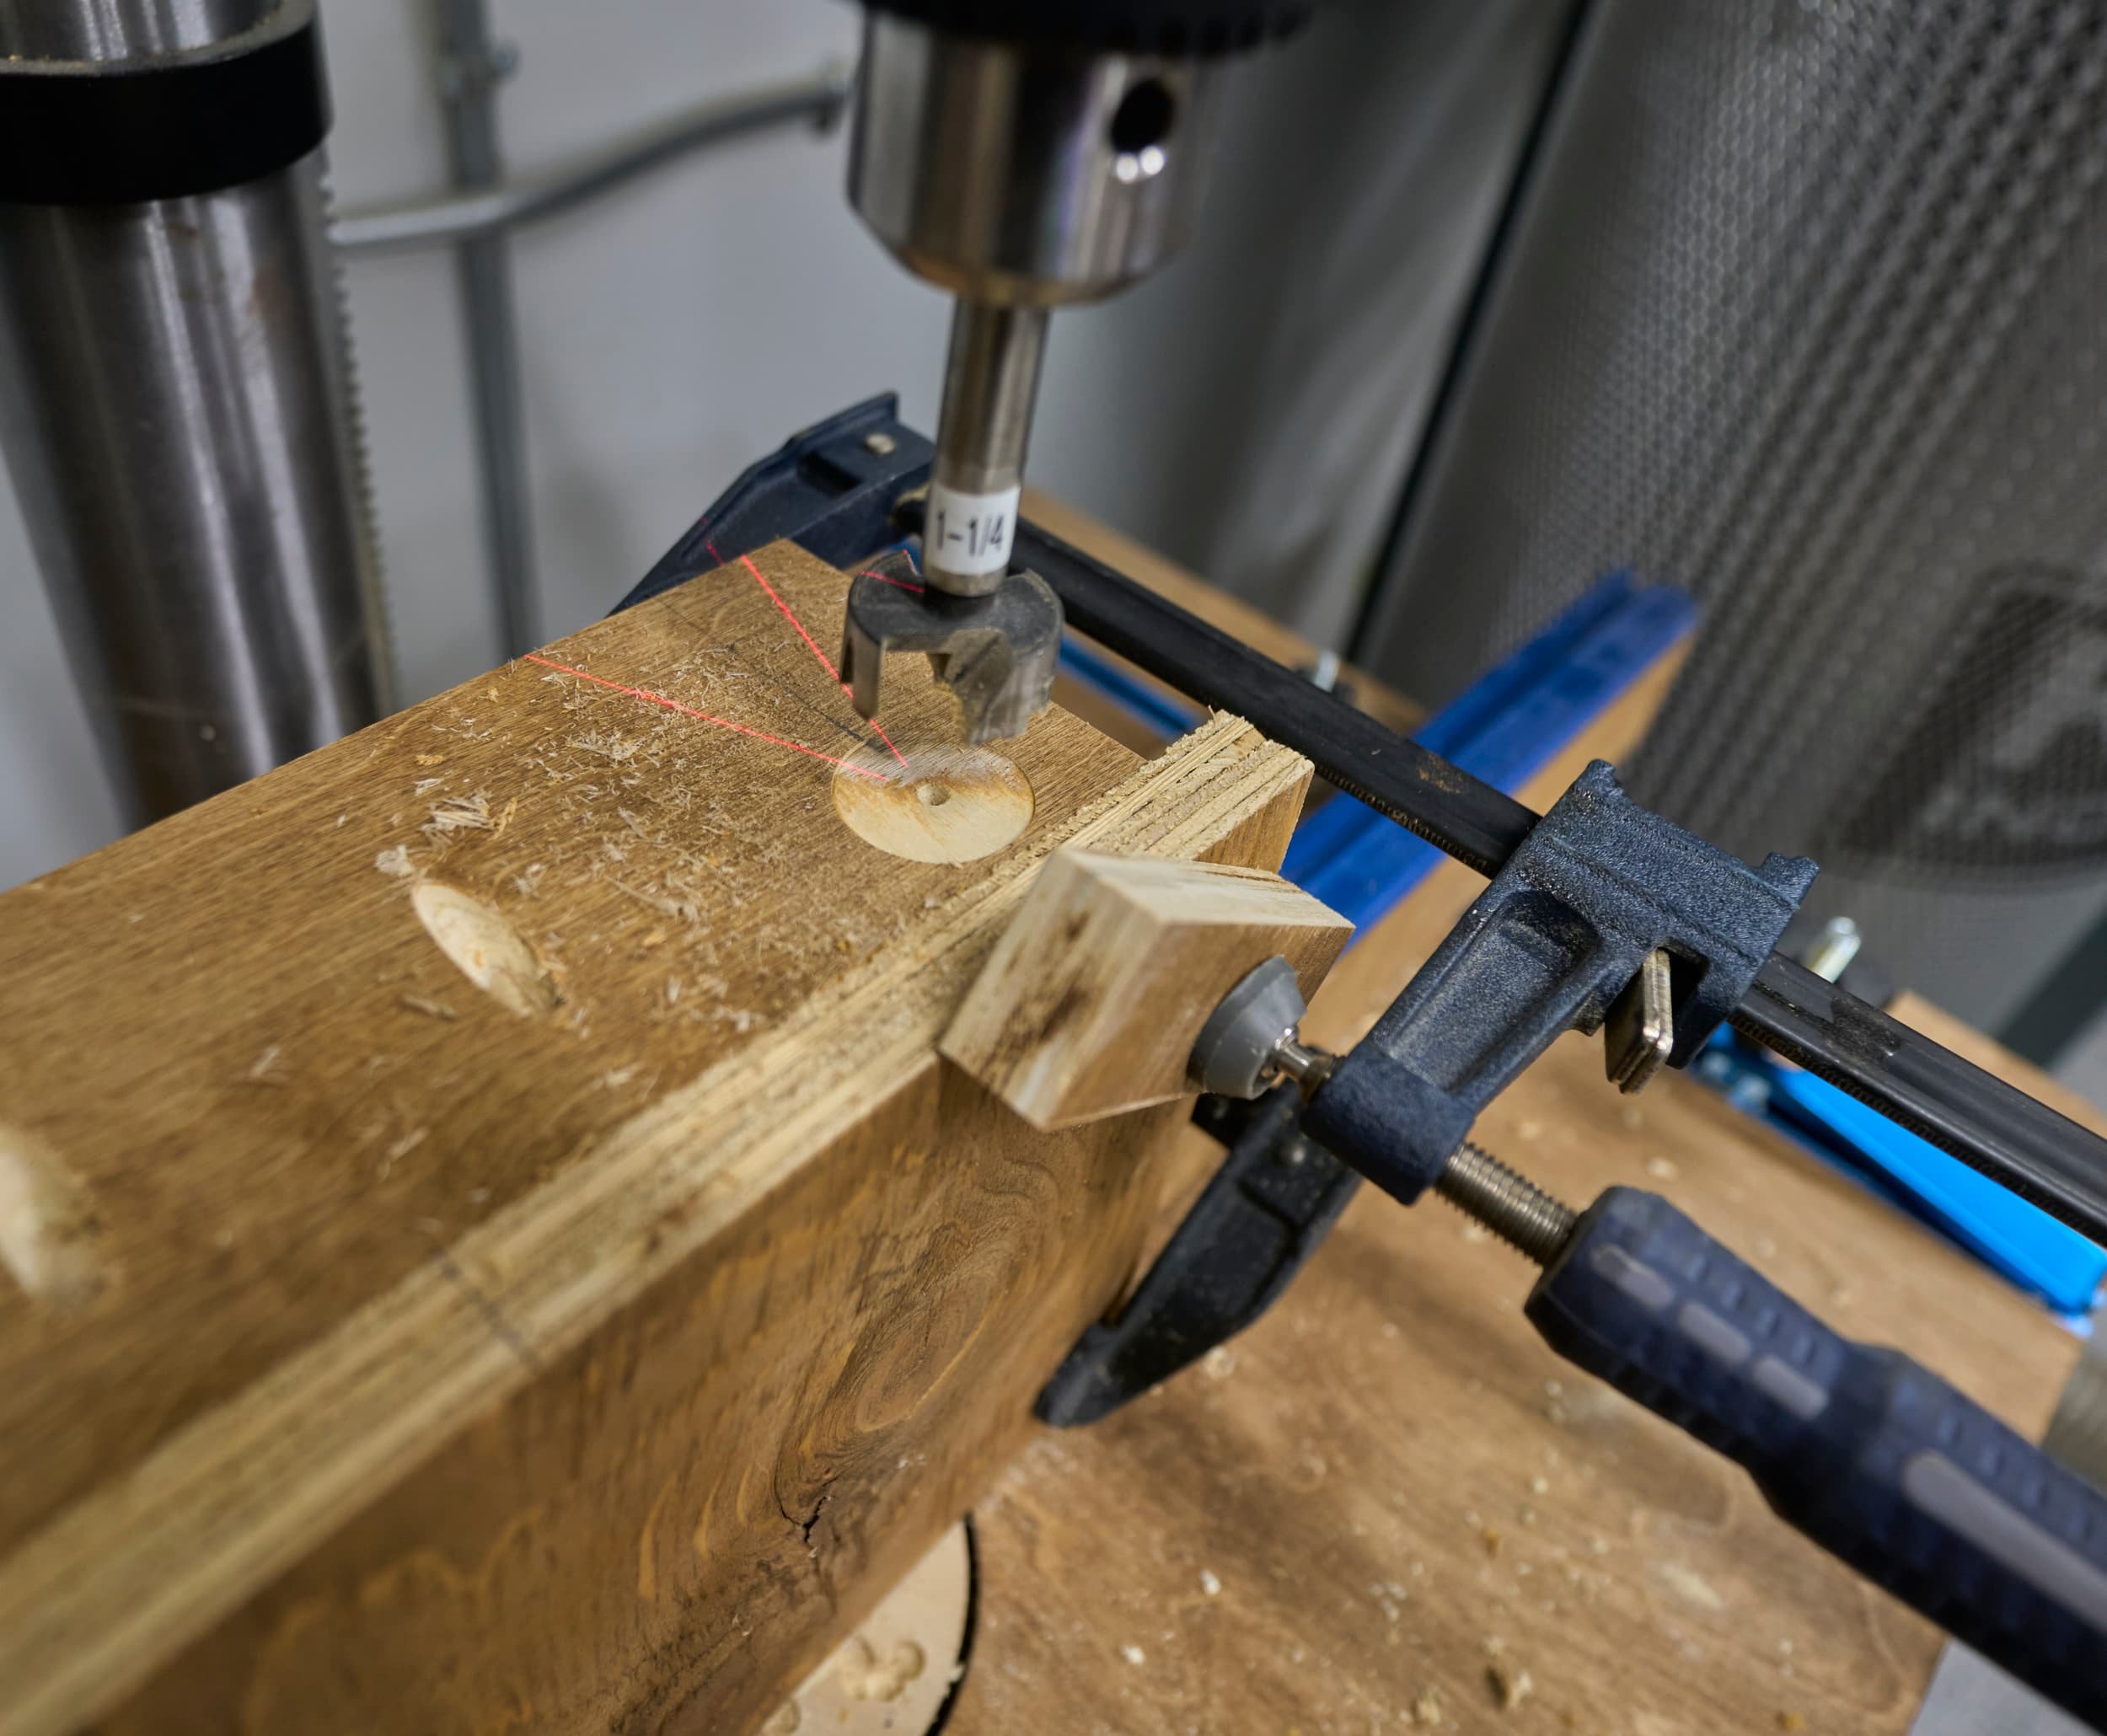
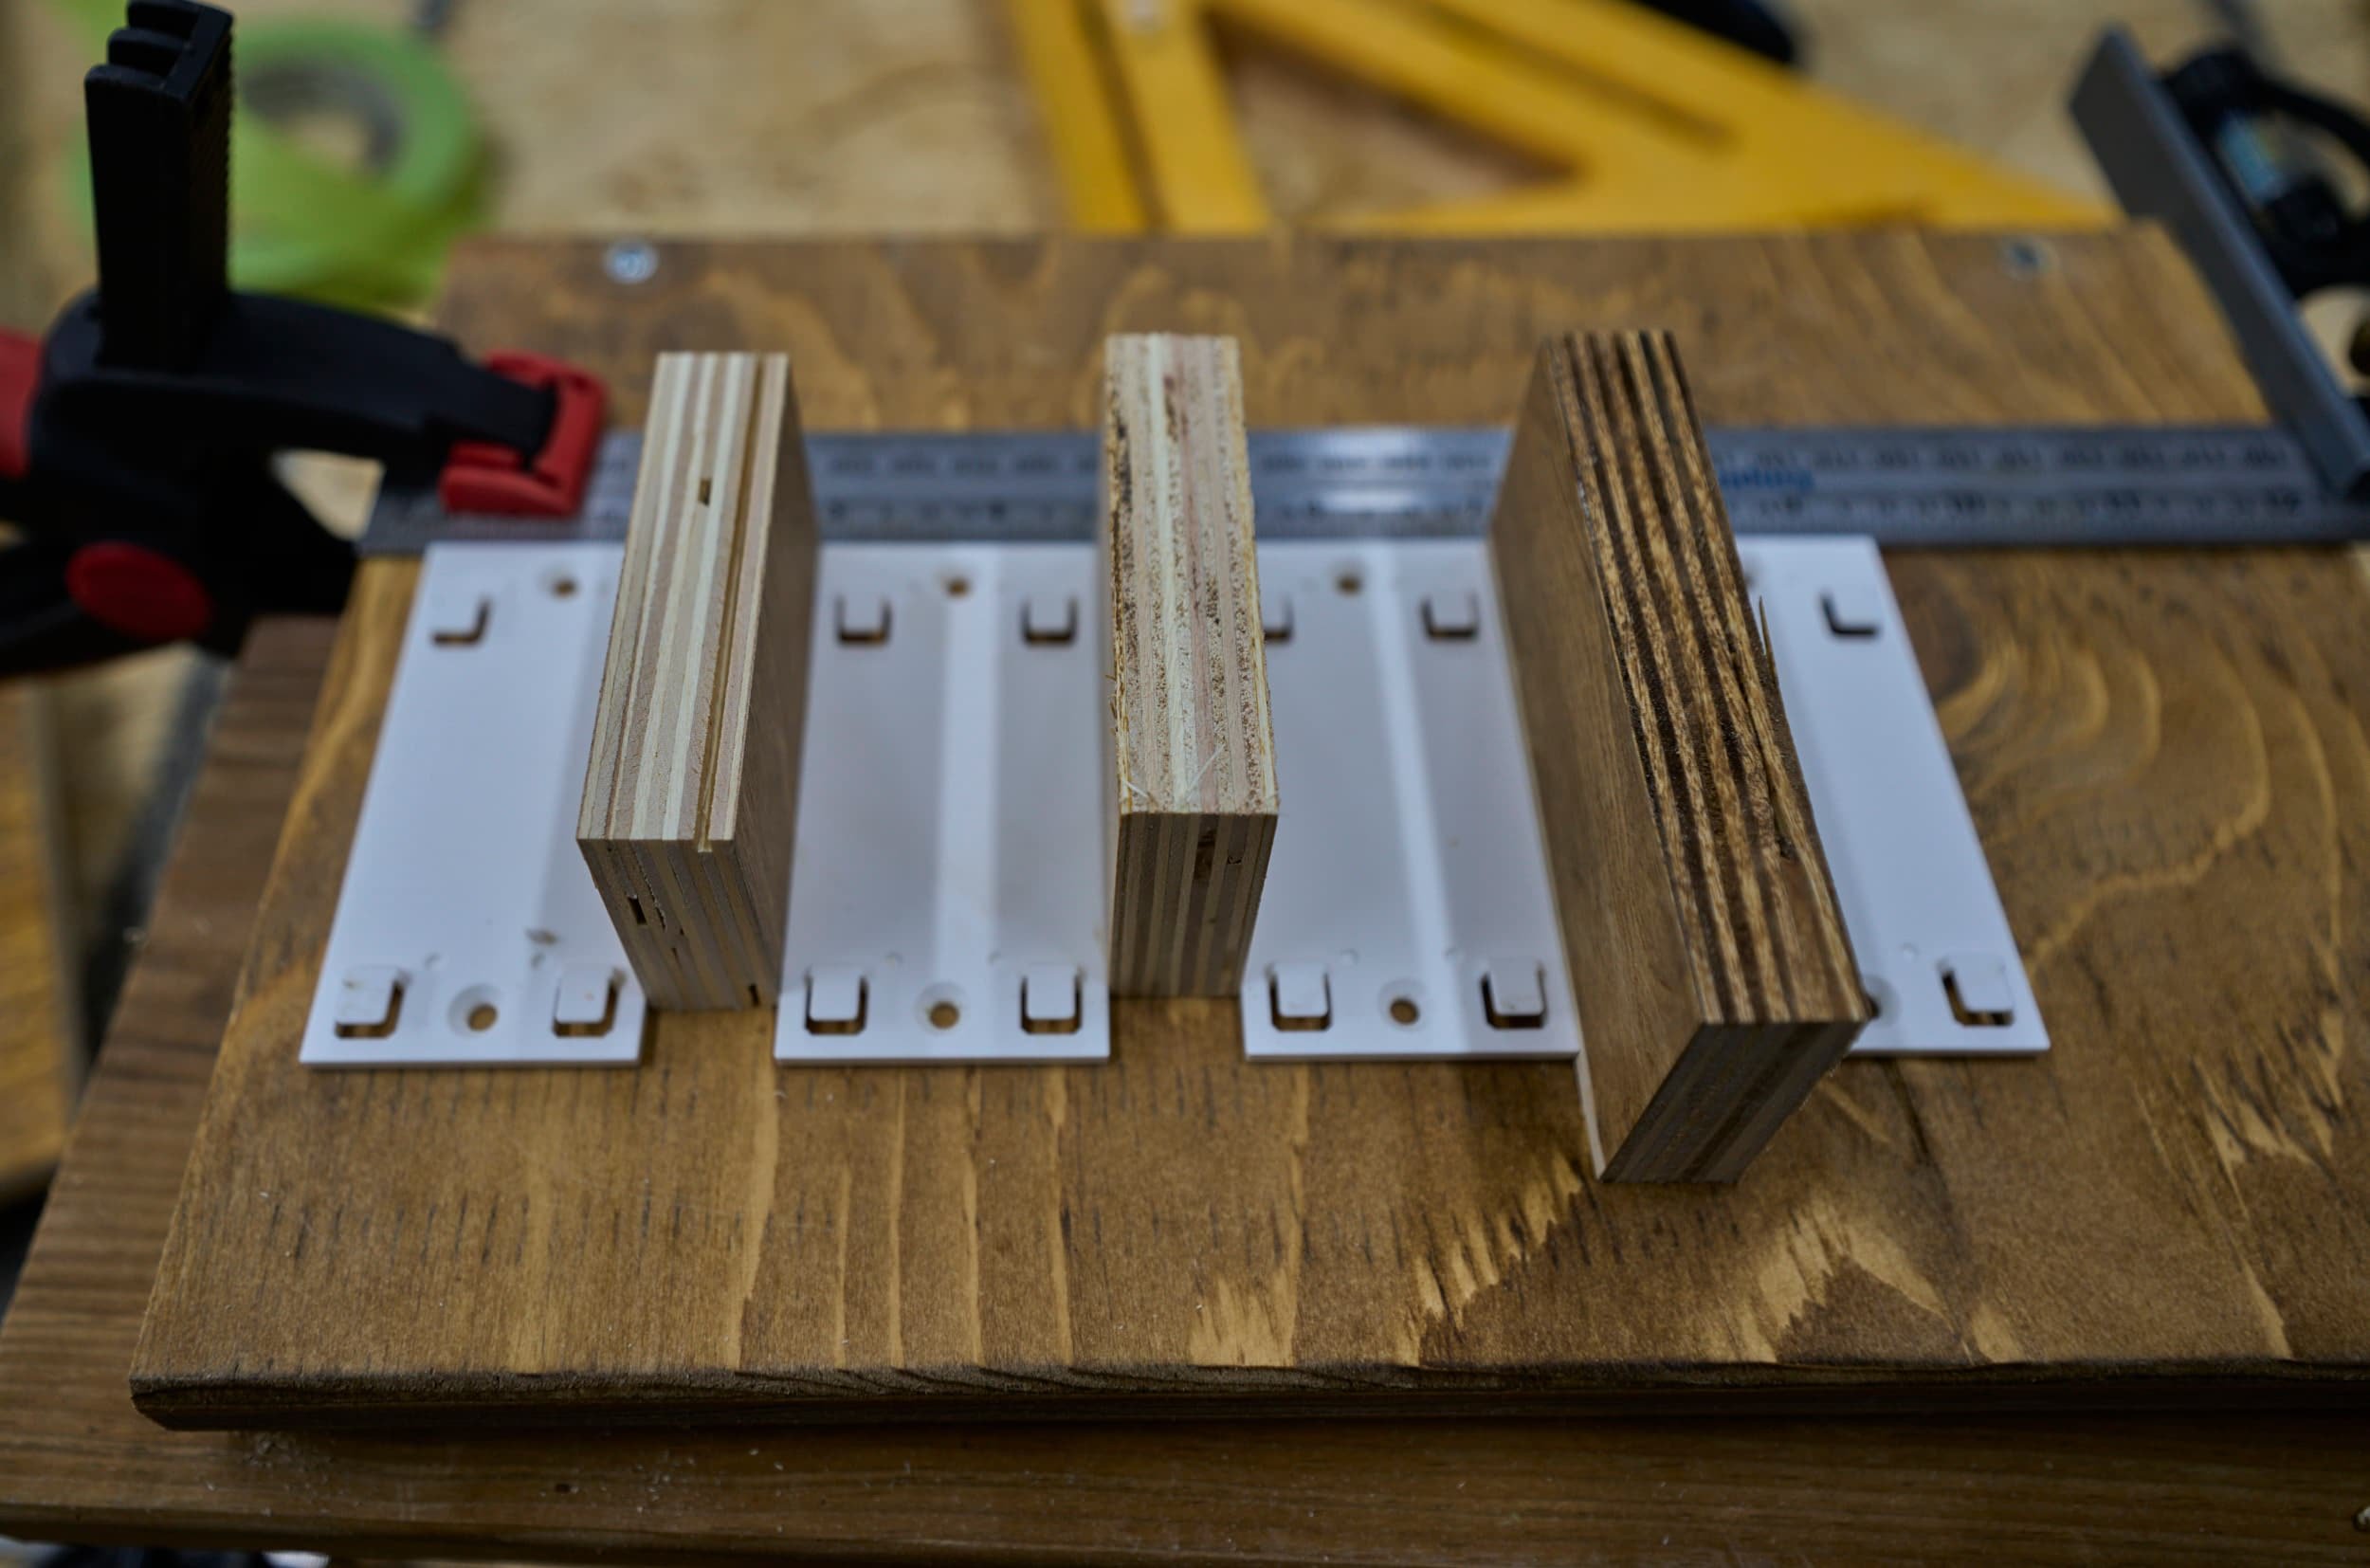
Since it was just a matter of a couple inches of clearance (and I had nothing to lose), I took a side quest to try and make my own rack-mount. Using scrap plywood and the rack-mount I already had handy, I carefully marked out the hole locations and then drilled out the holes using a drill press. I debated using threaded inserts to then hold the bolts captive (turning them into studs), but I didn’t want to risk tear out with the holes so close and honestly, for a 2U rack like this, it’s not a big deal.
The custom rack route worked great, allowing me to get the back side of the rear patch-panel close enough that I could use my 2-ft cables . Of course, had I anticipated this, I would have considered 3-ft cables and avoided all of this drama to begin with.


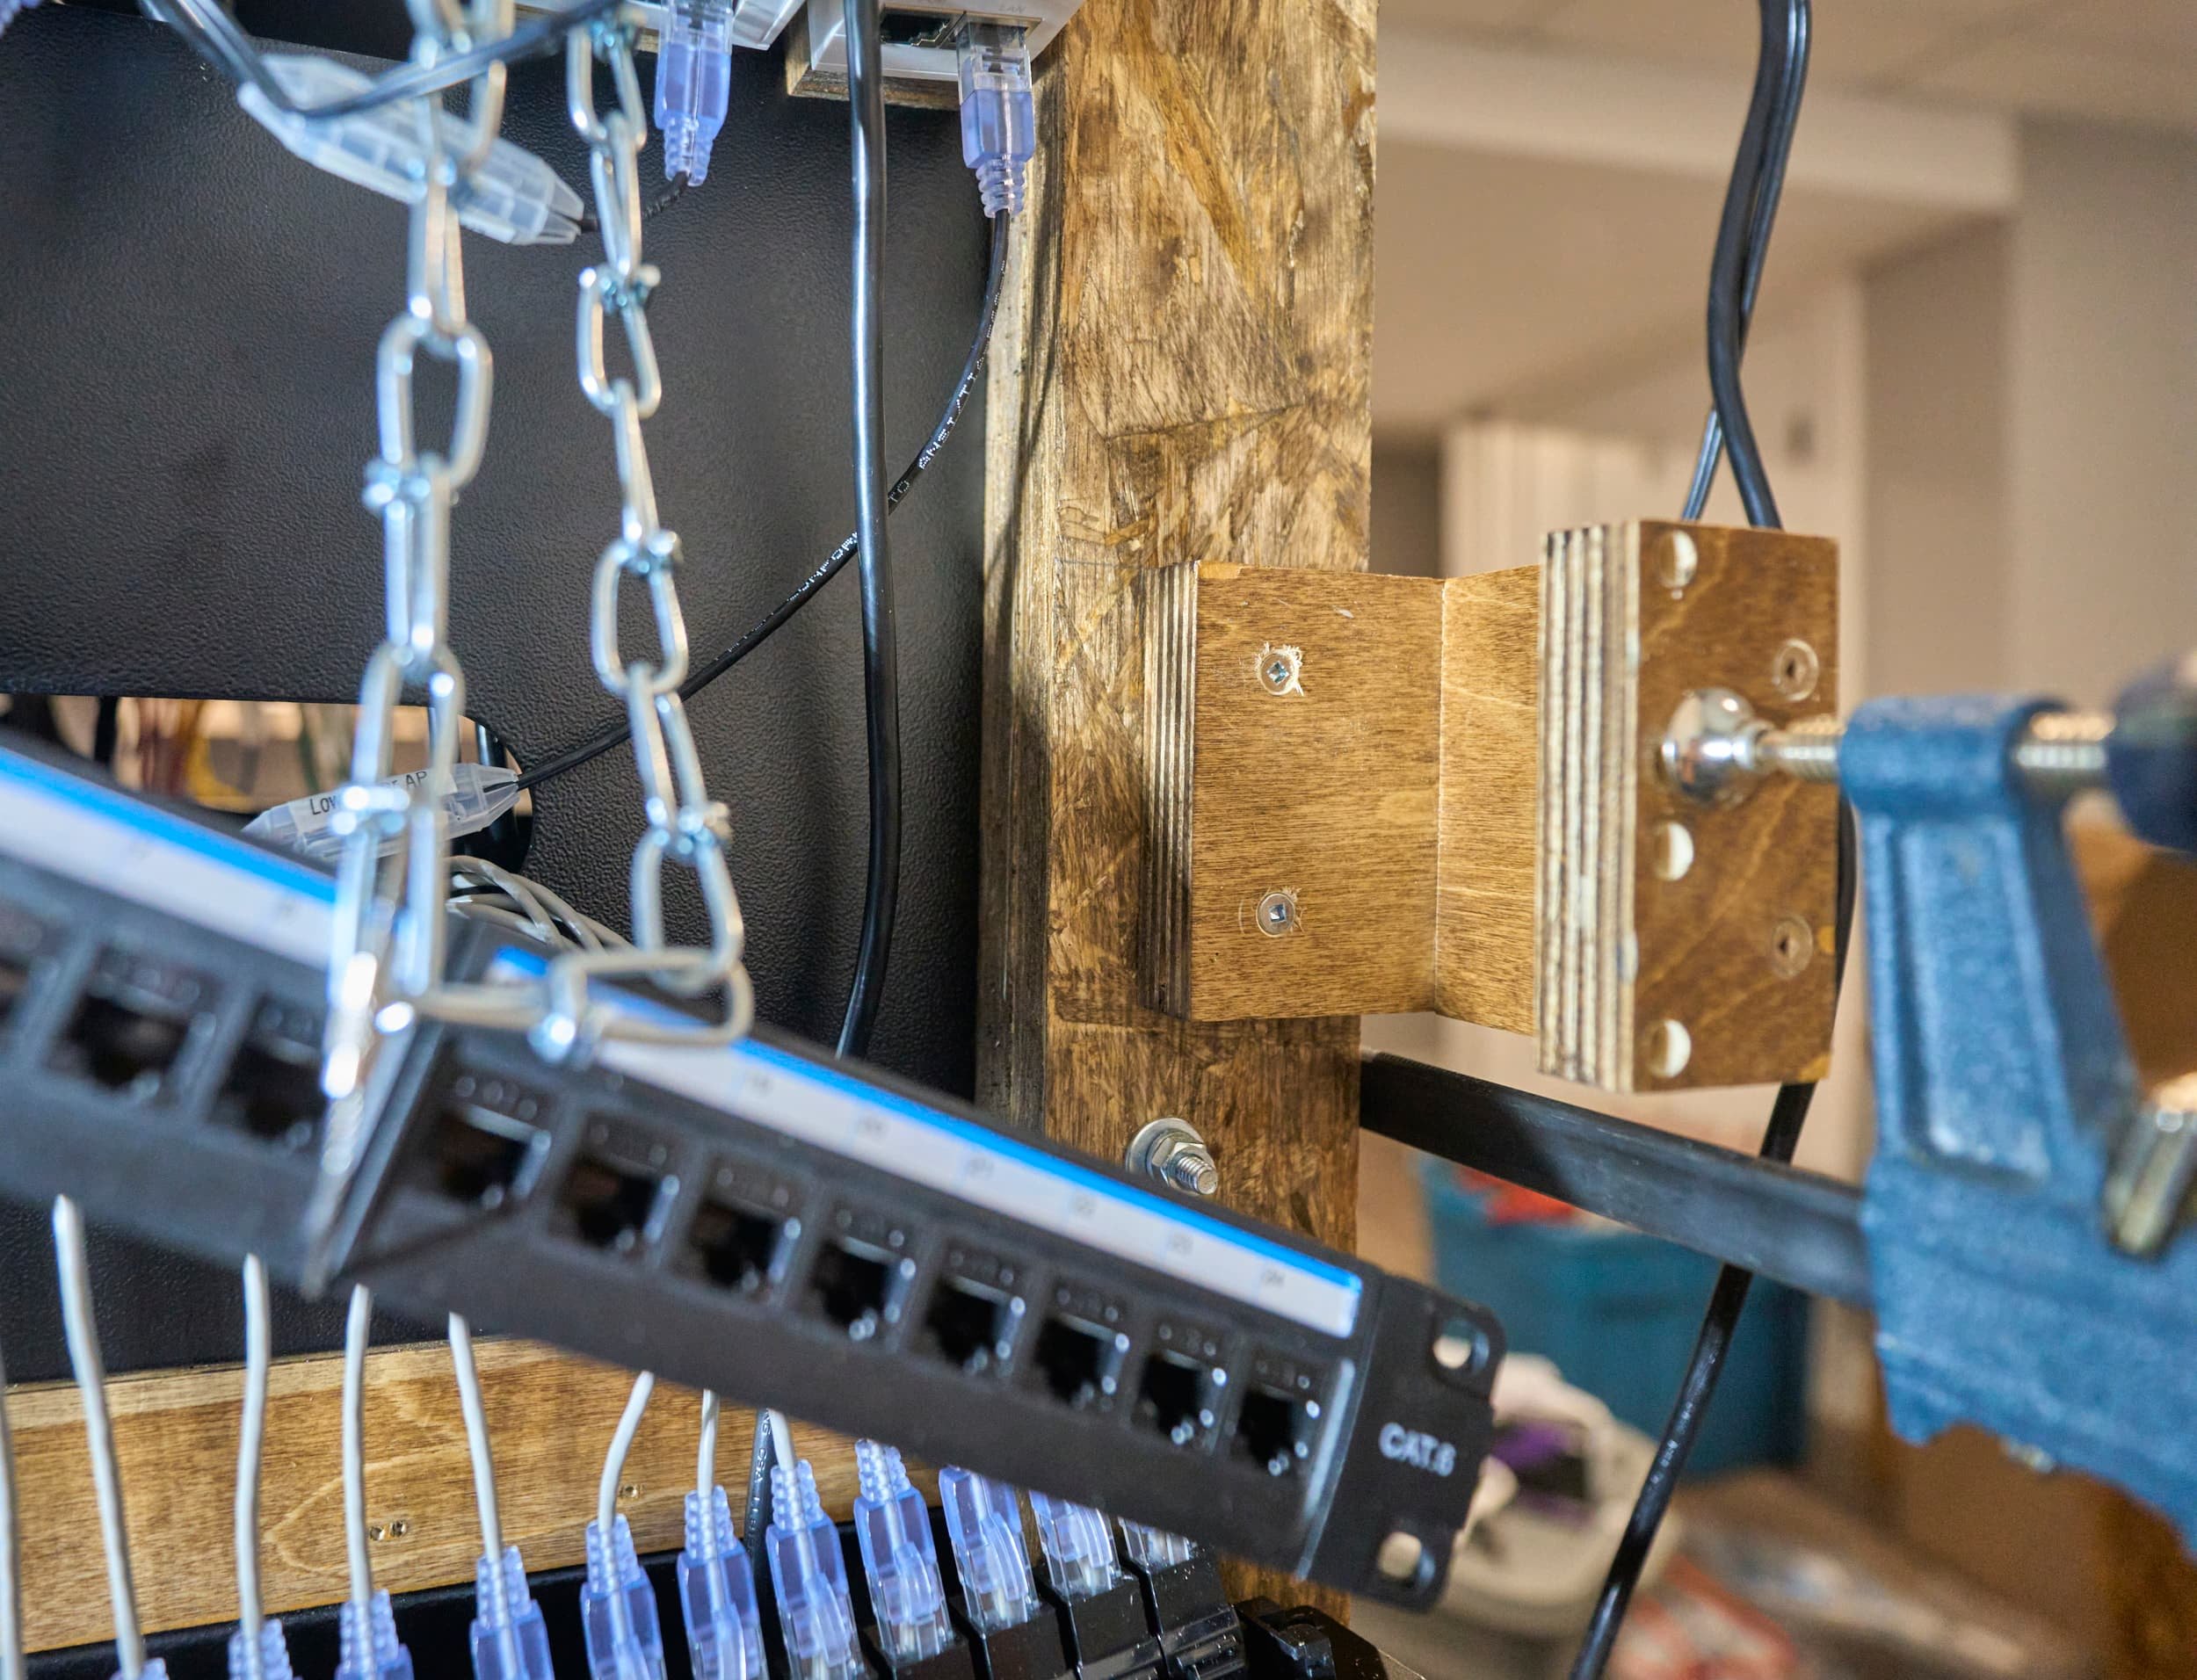
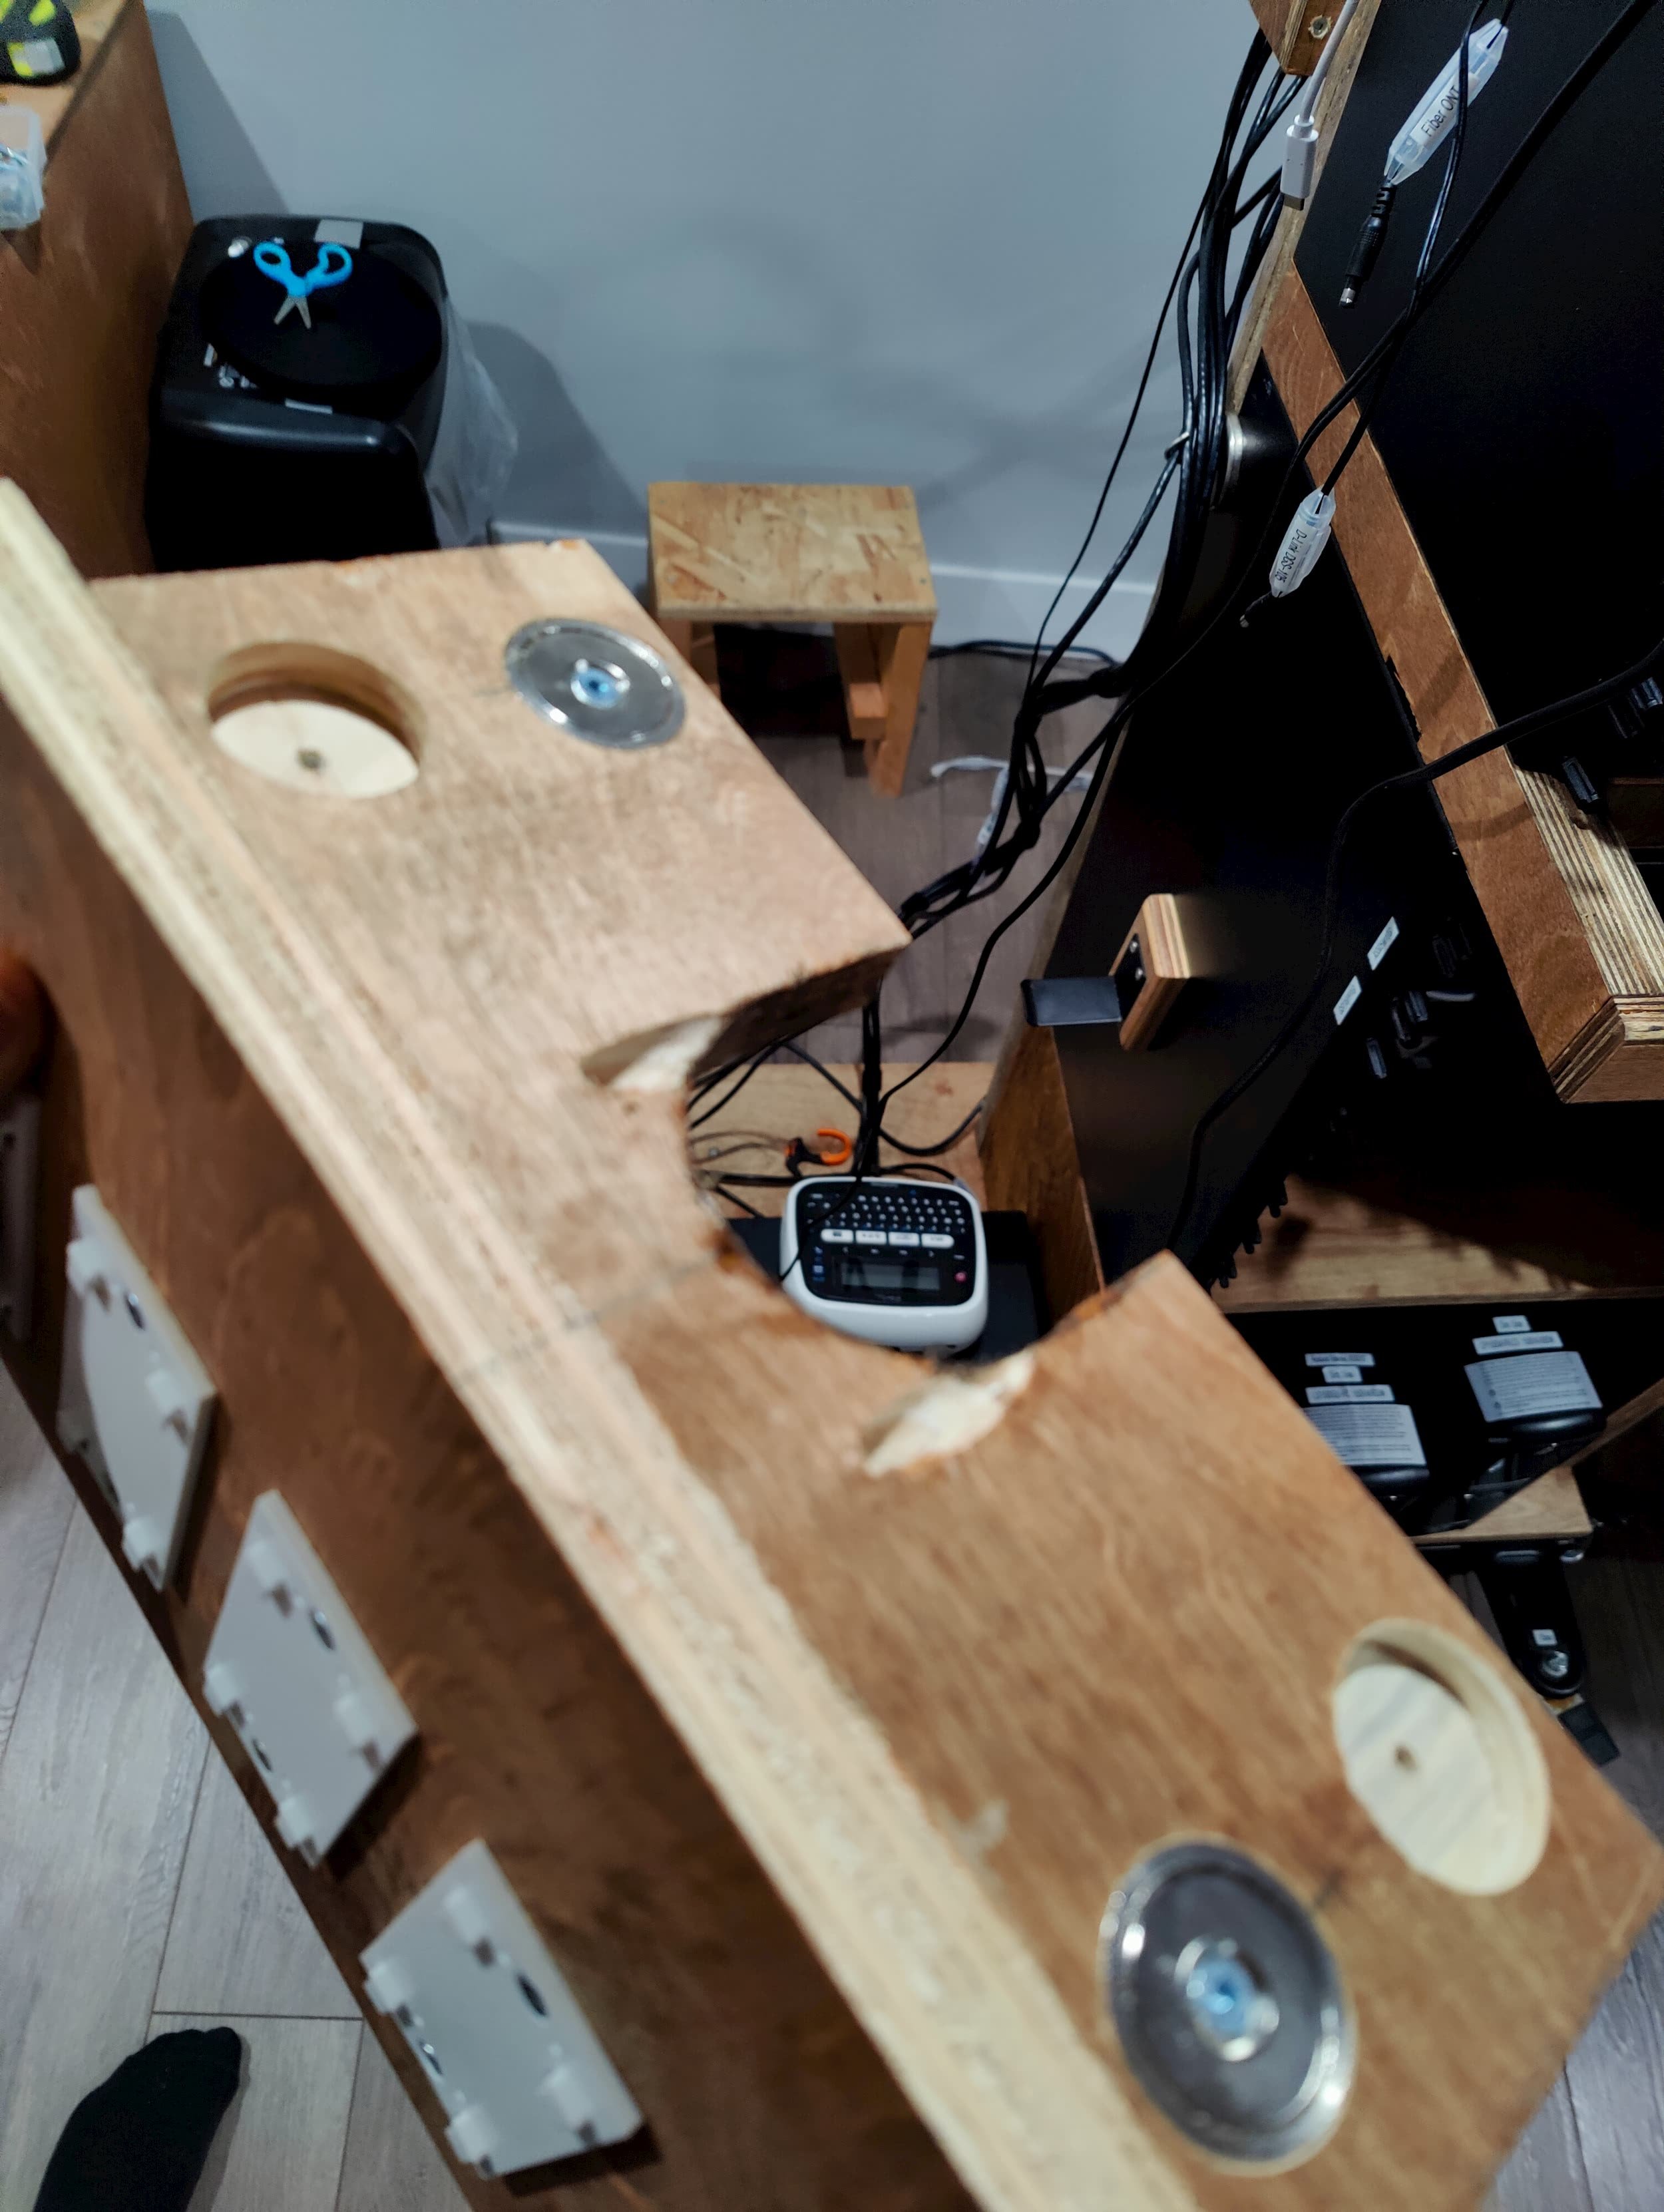
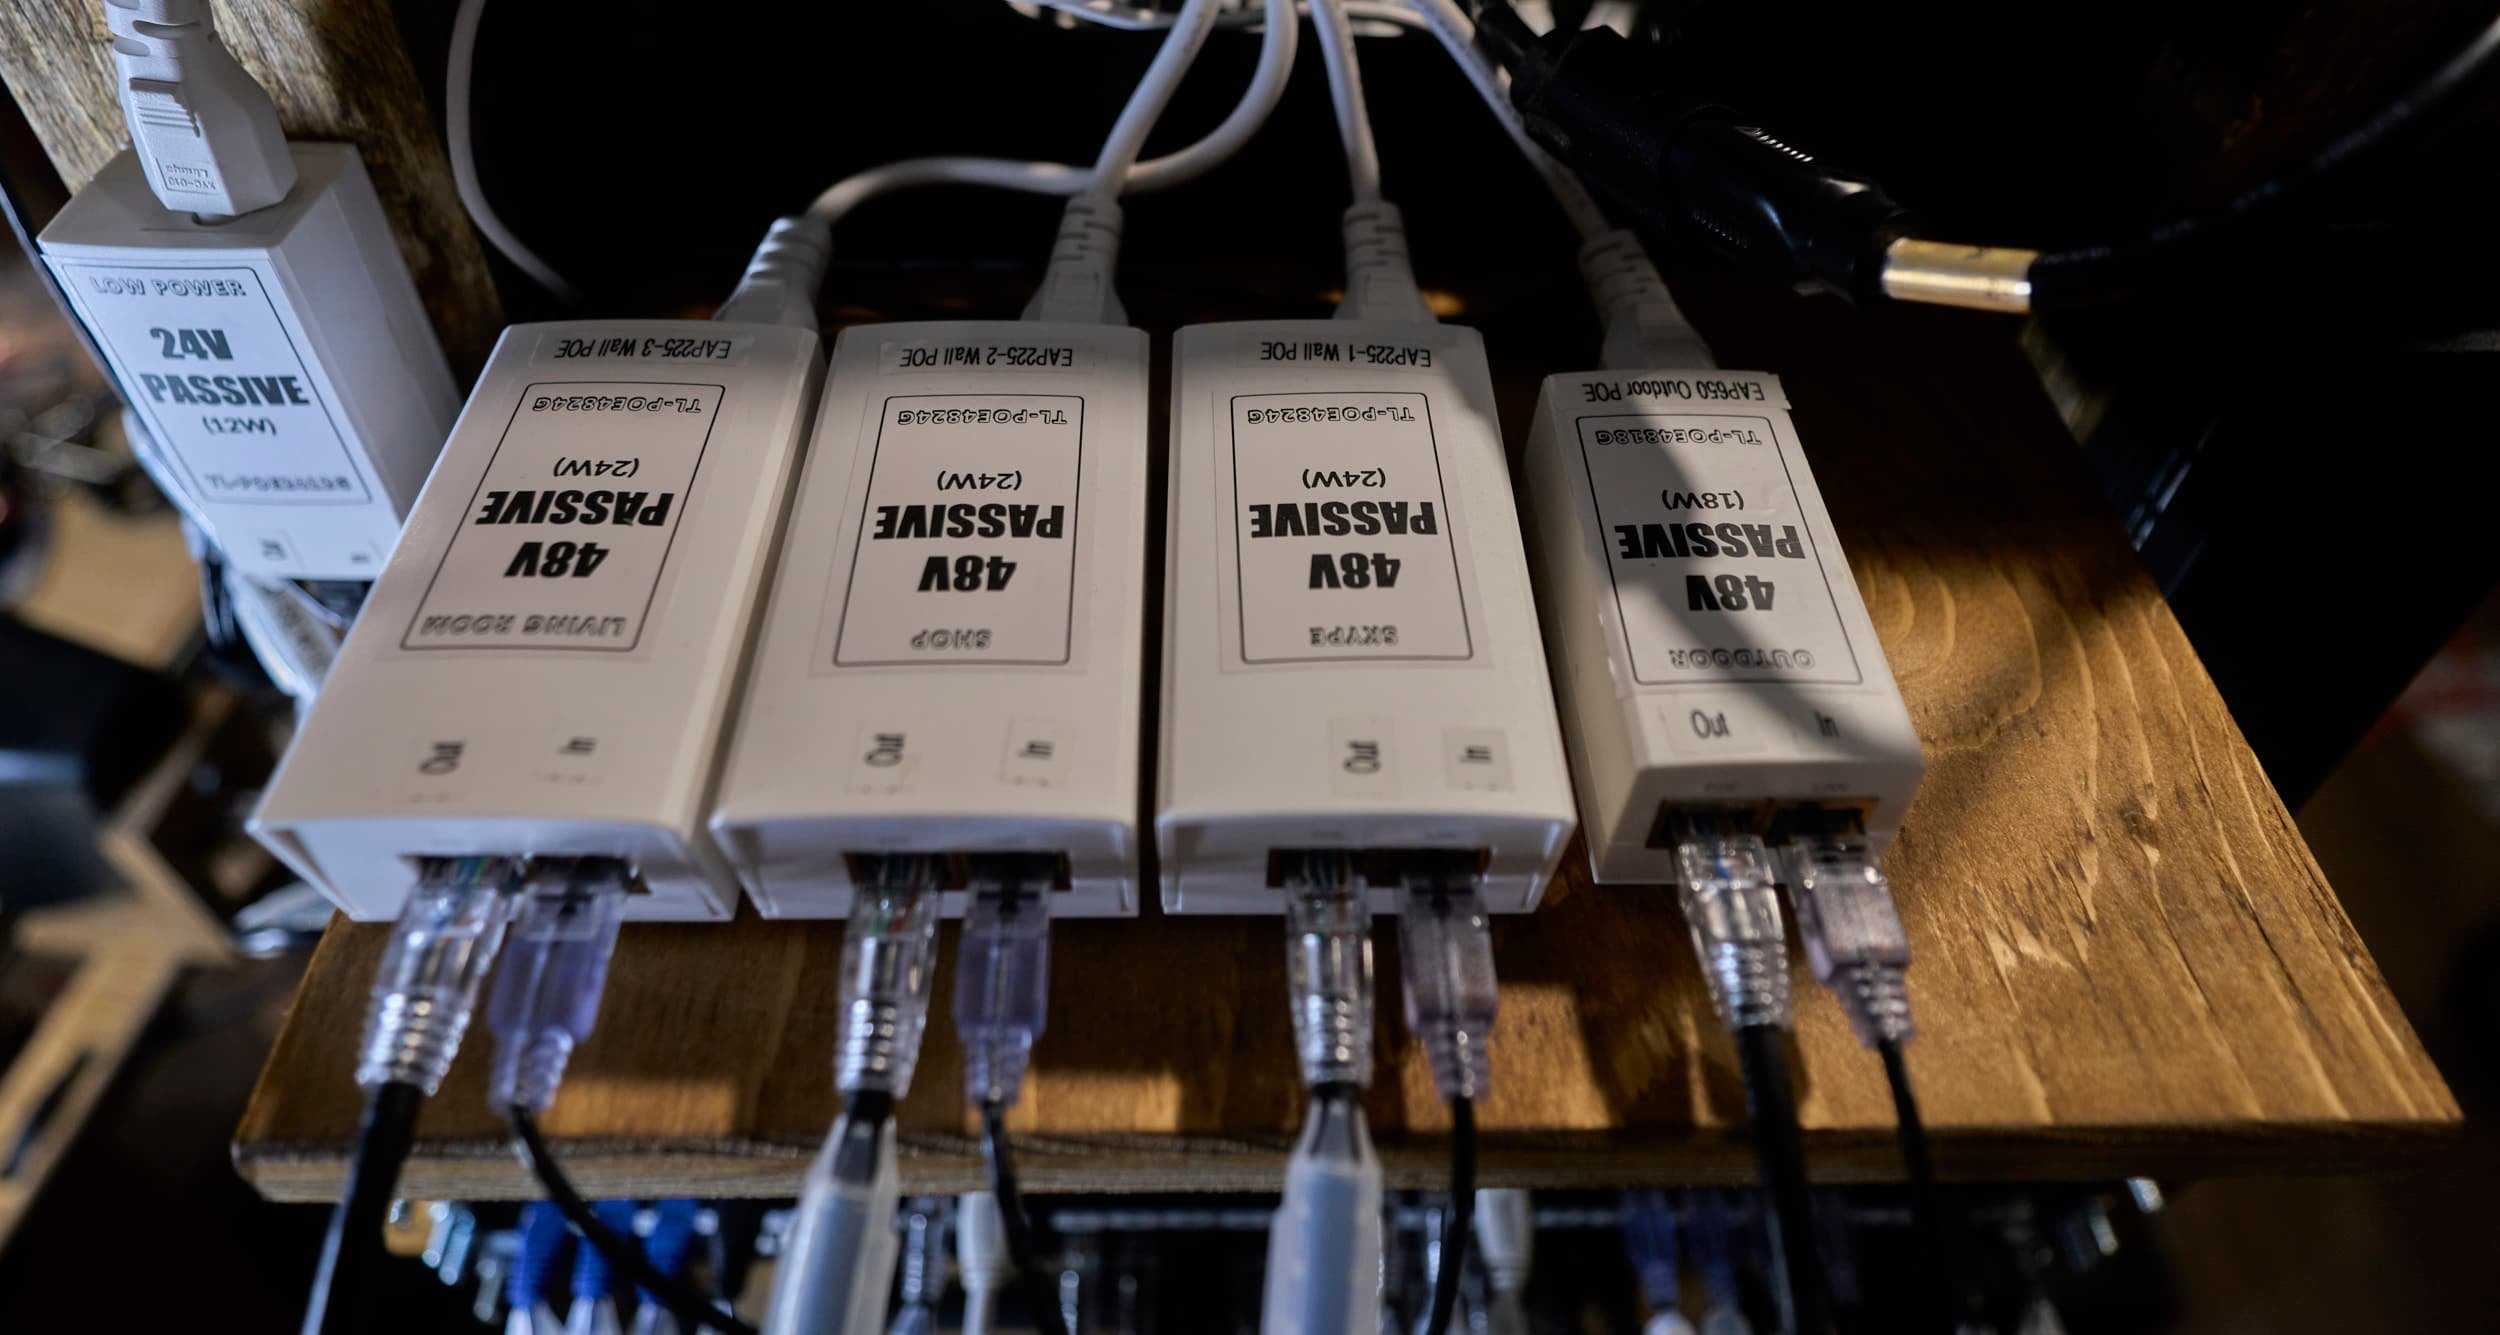
Step 6 - POE Injector mount
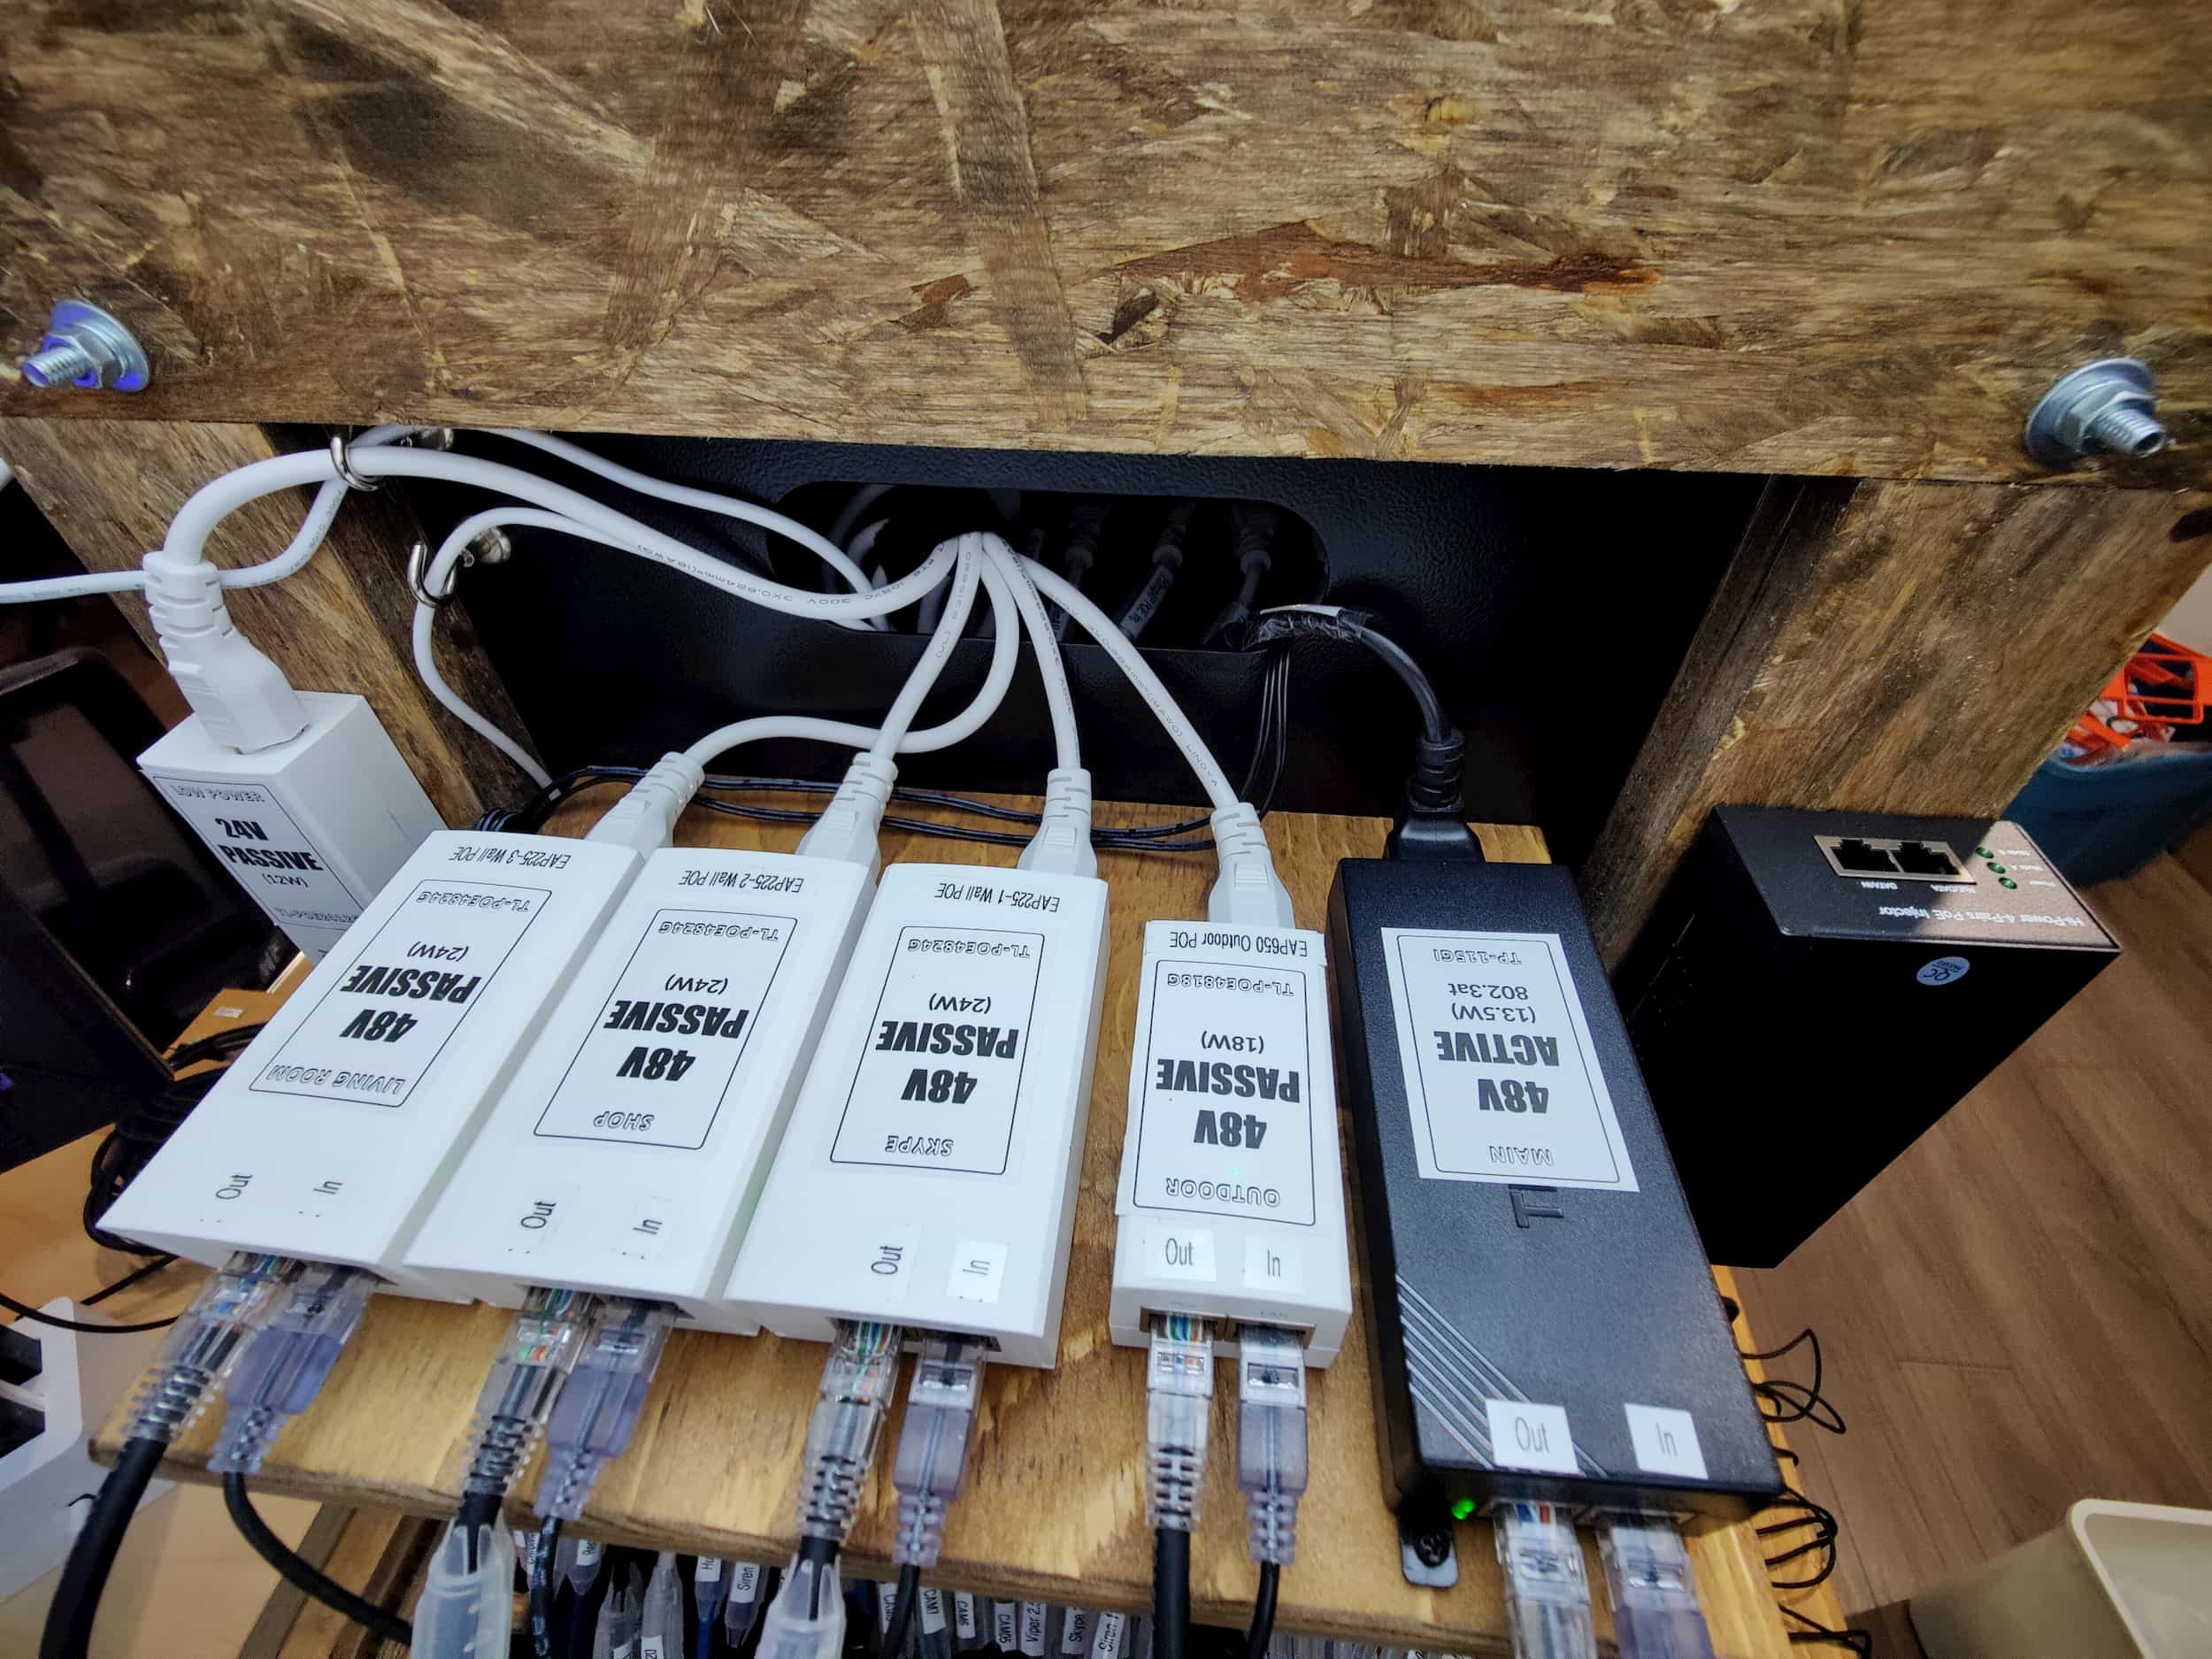
Previously, I had mounted the POE injectors one at a time, independently because, for my main AP, I was just using a POE injector I keep around for testing purposes, not the injector I wanted to use long term. This was a good opportunity to get around to getting a dedicated injector and mounting everything on a common plate. I kept the injector mount for the low-power AP separate because [1] ran out of room on the mounting plate and [2] thematically, it’s kind of its own thing anyways. I did opt to directly screw the low-power AP-injector into the back frame though.
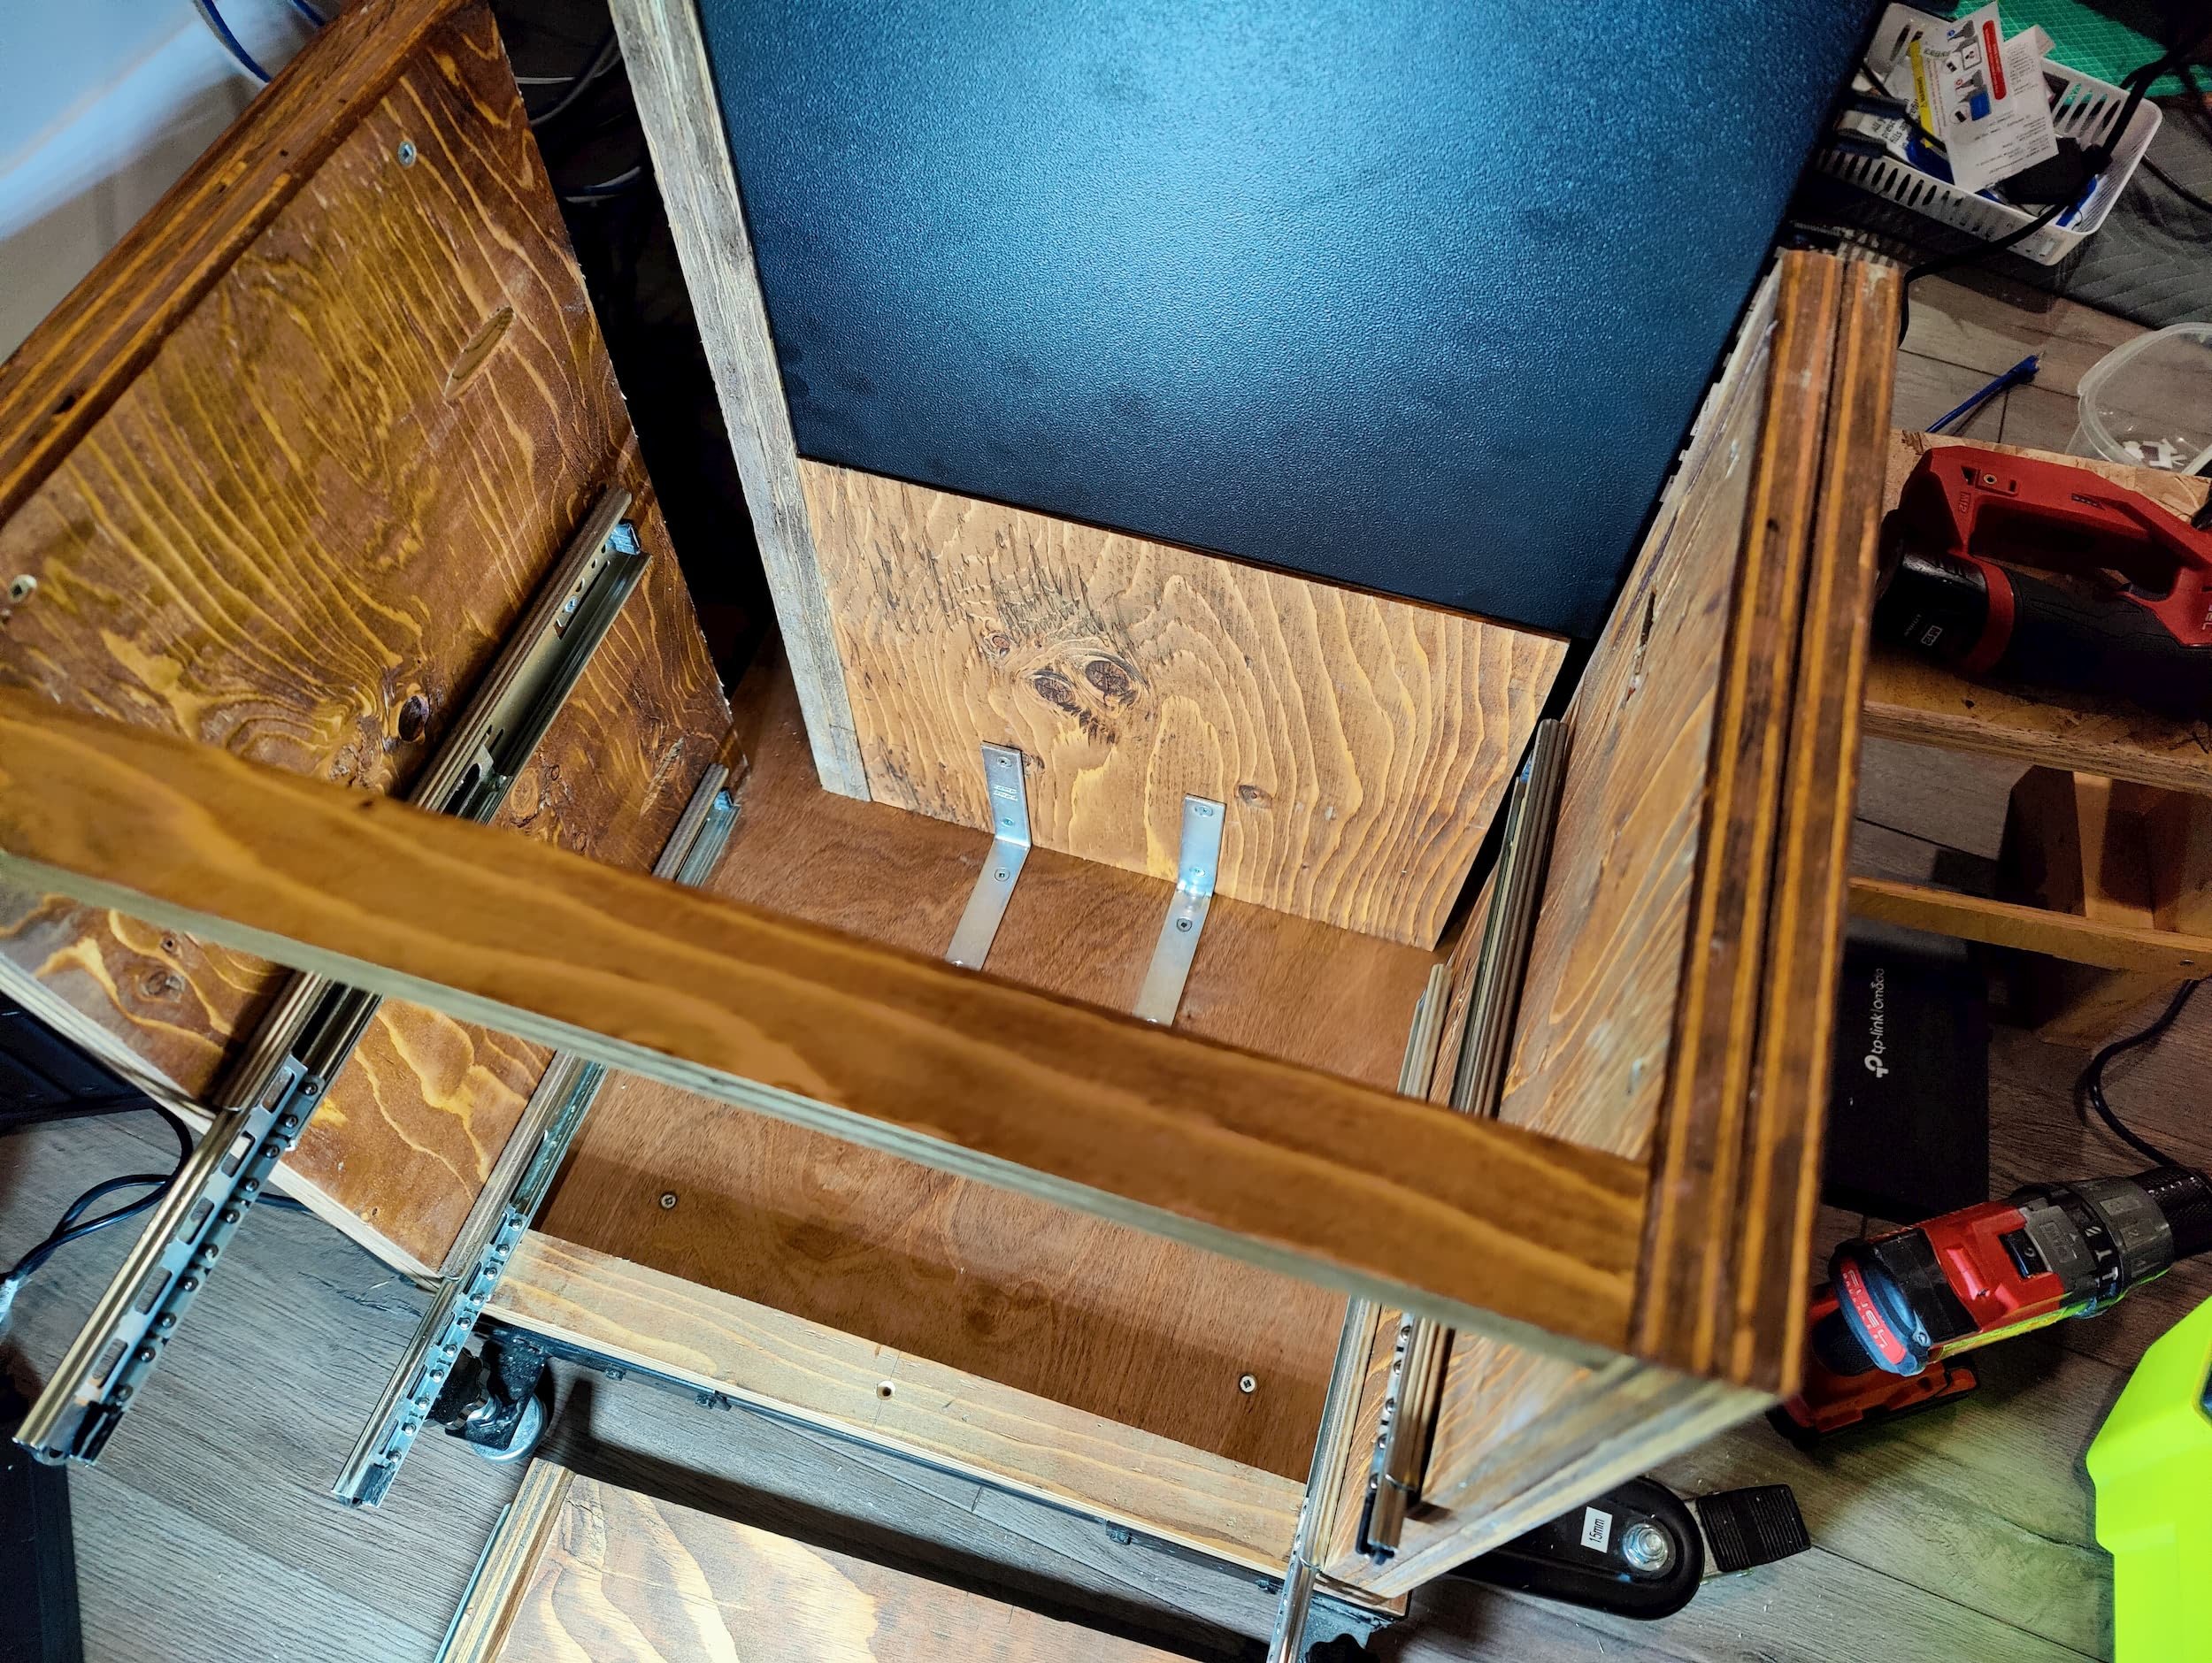
Step 7 - NAS shelf, finishing touches
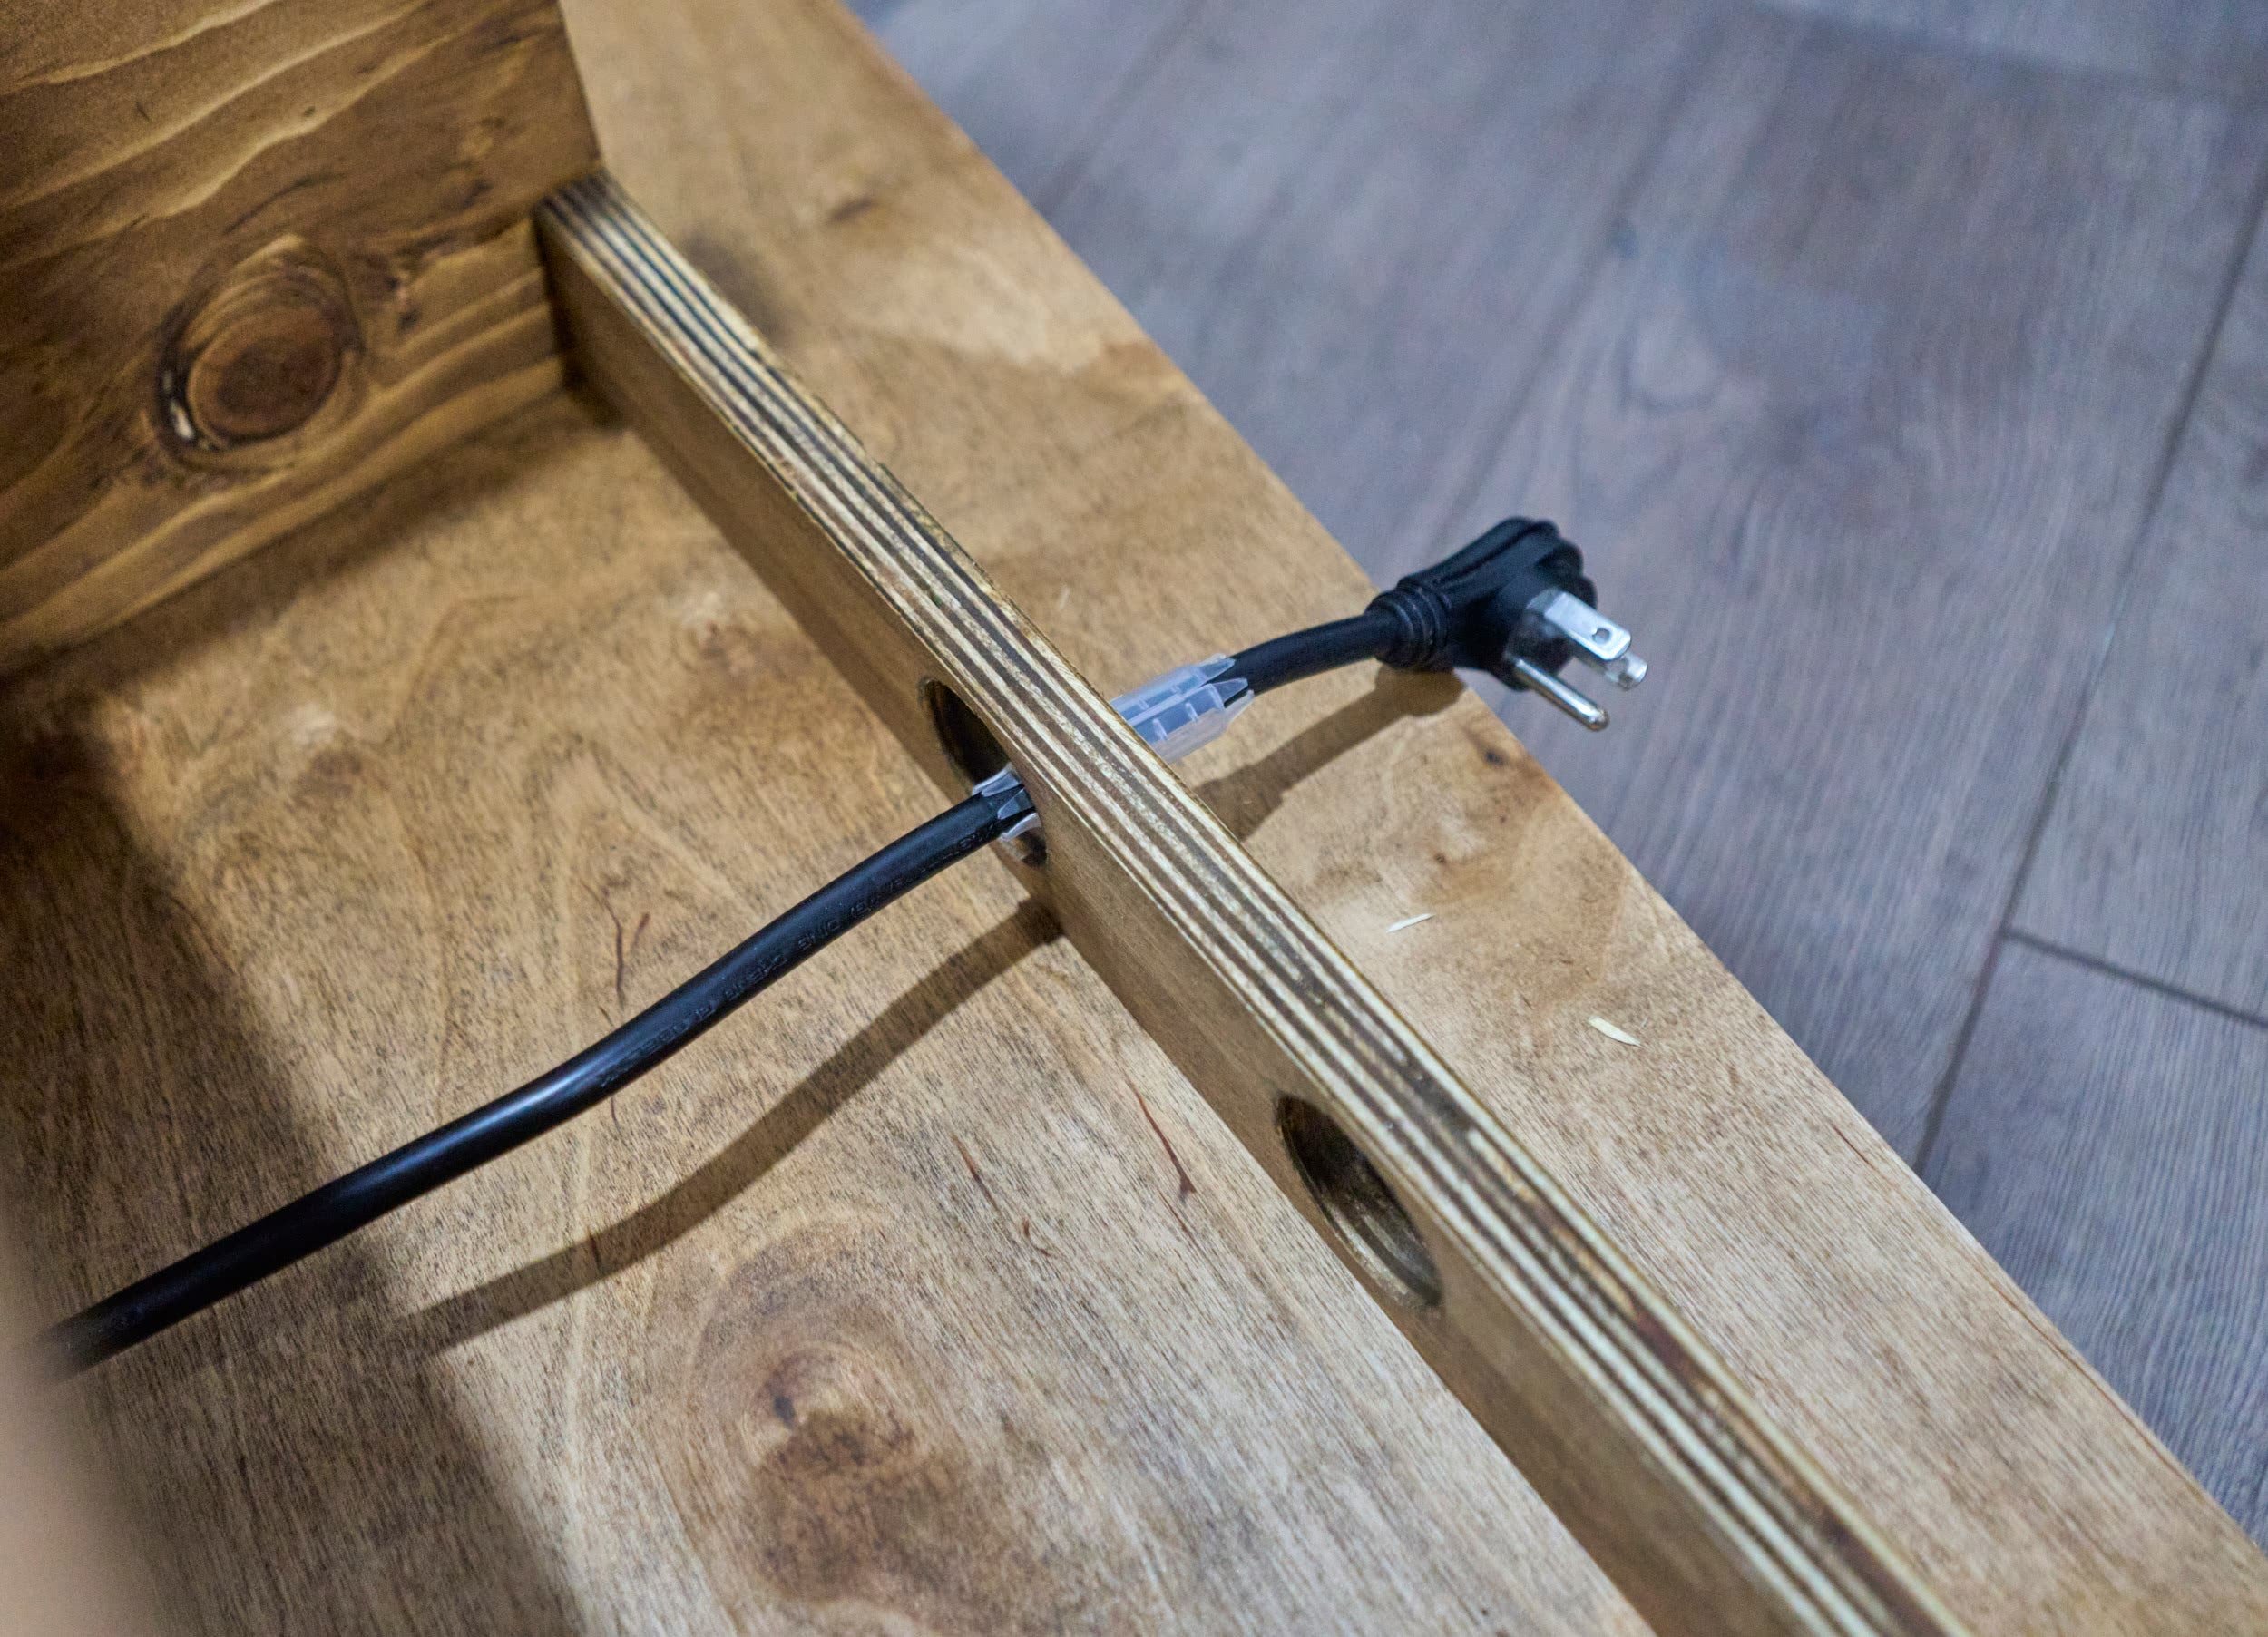
For the NAS shelf, I opted to dismantle my previous two-tier shelf and reuse it here, rotated sideways. I also opted to route a power bar for the NAS units so that I wouldn’t have to snake the around inside the network rack to access the power. The extra few inches to get to power doesn’t sound like much, but I have an upcoming change with the way power is handled in the rack so I wanted to get ahead of it this way.
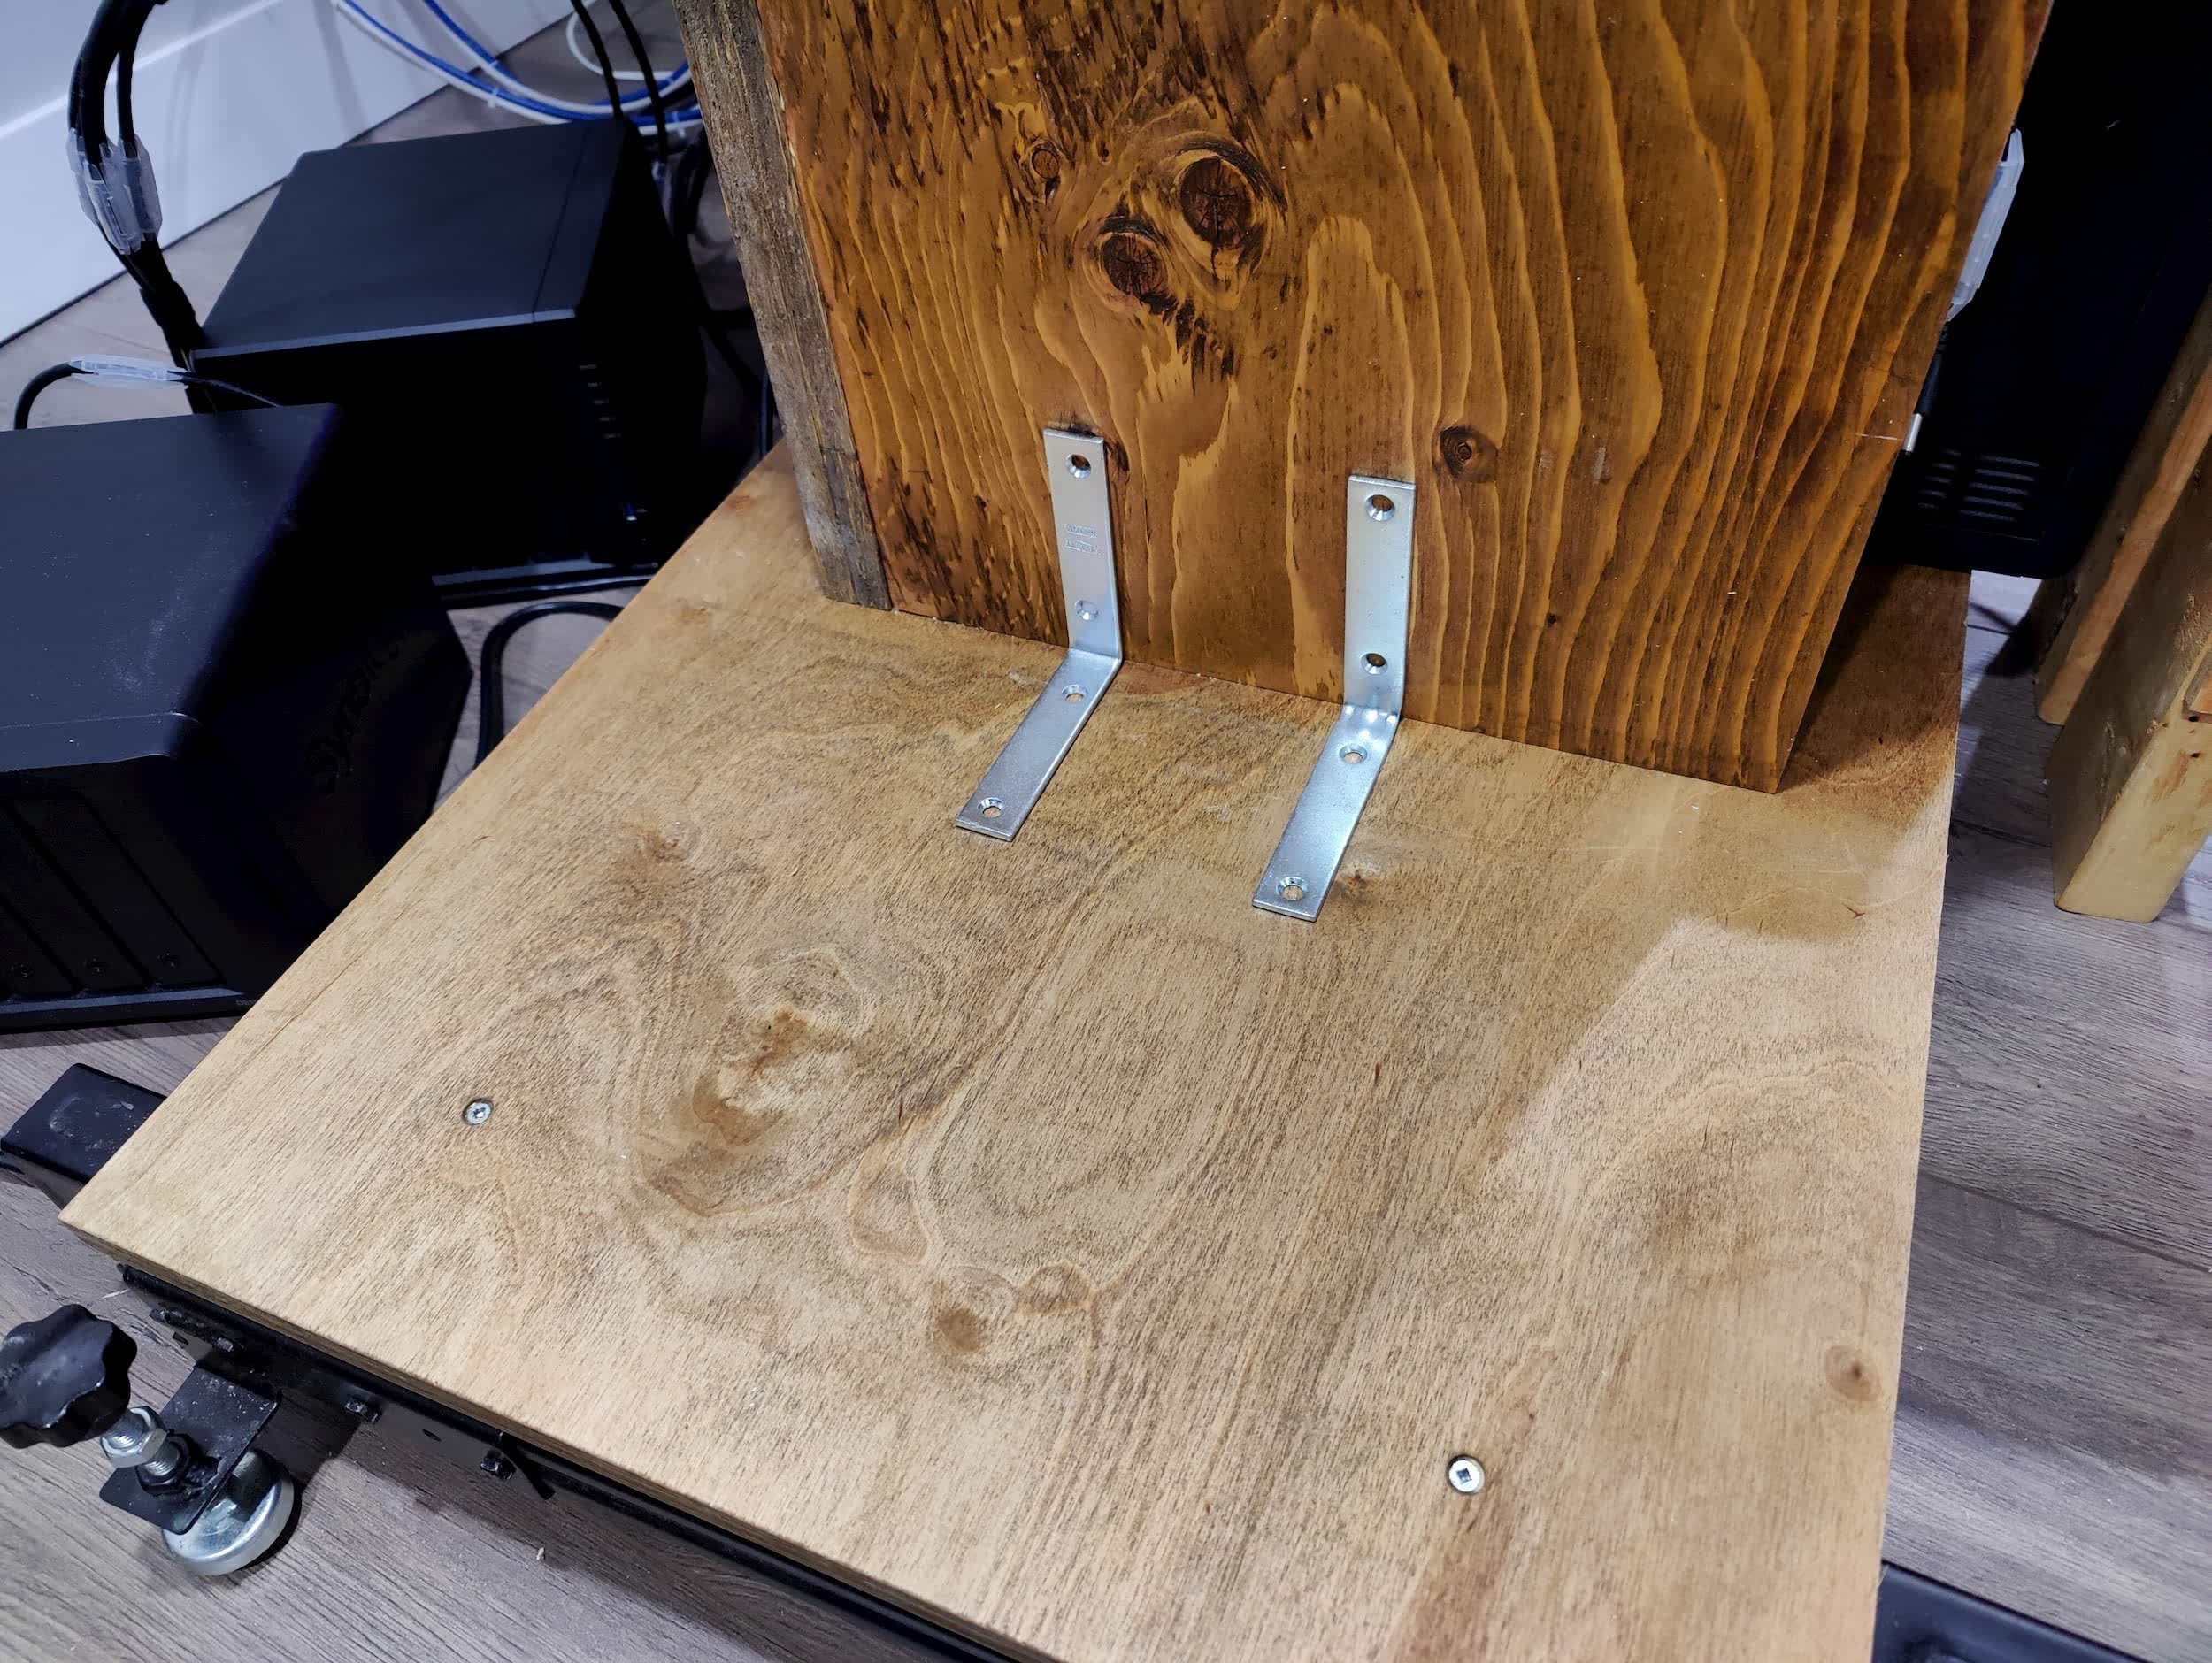
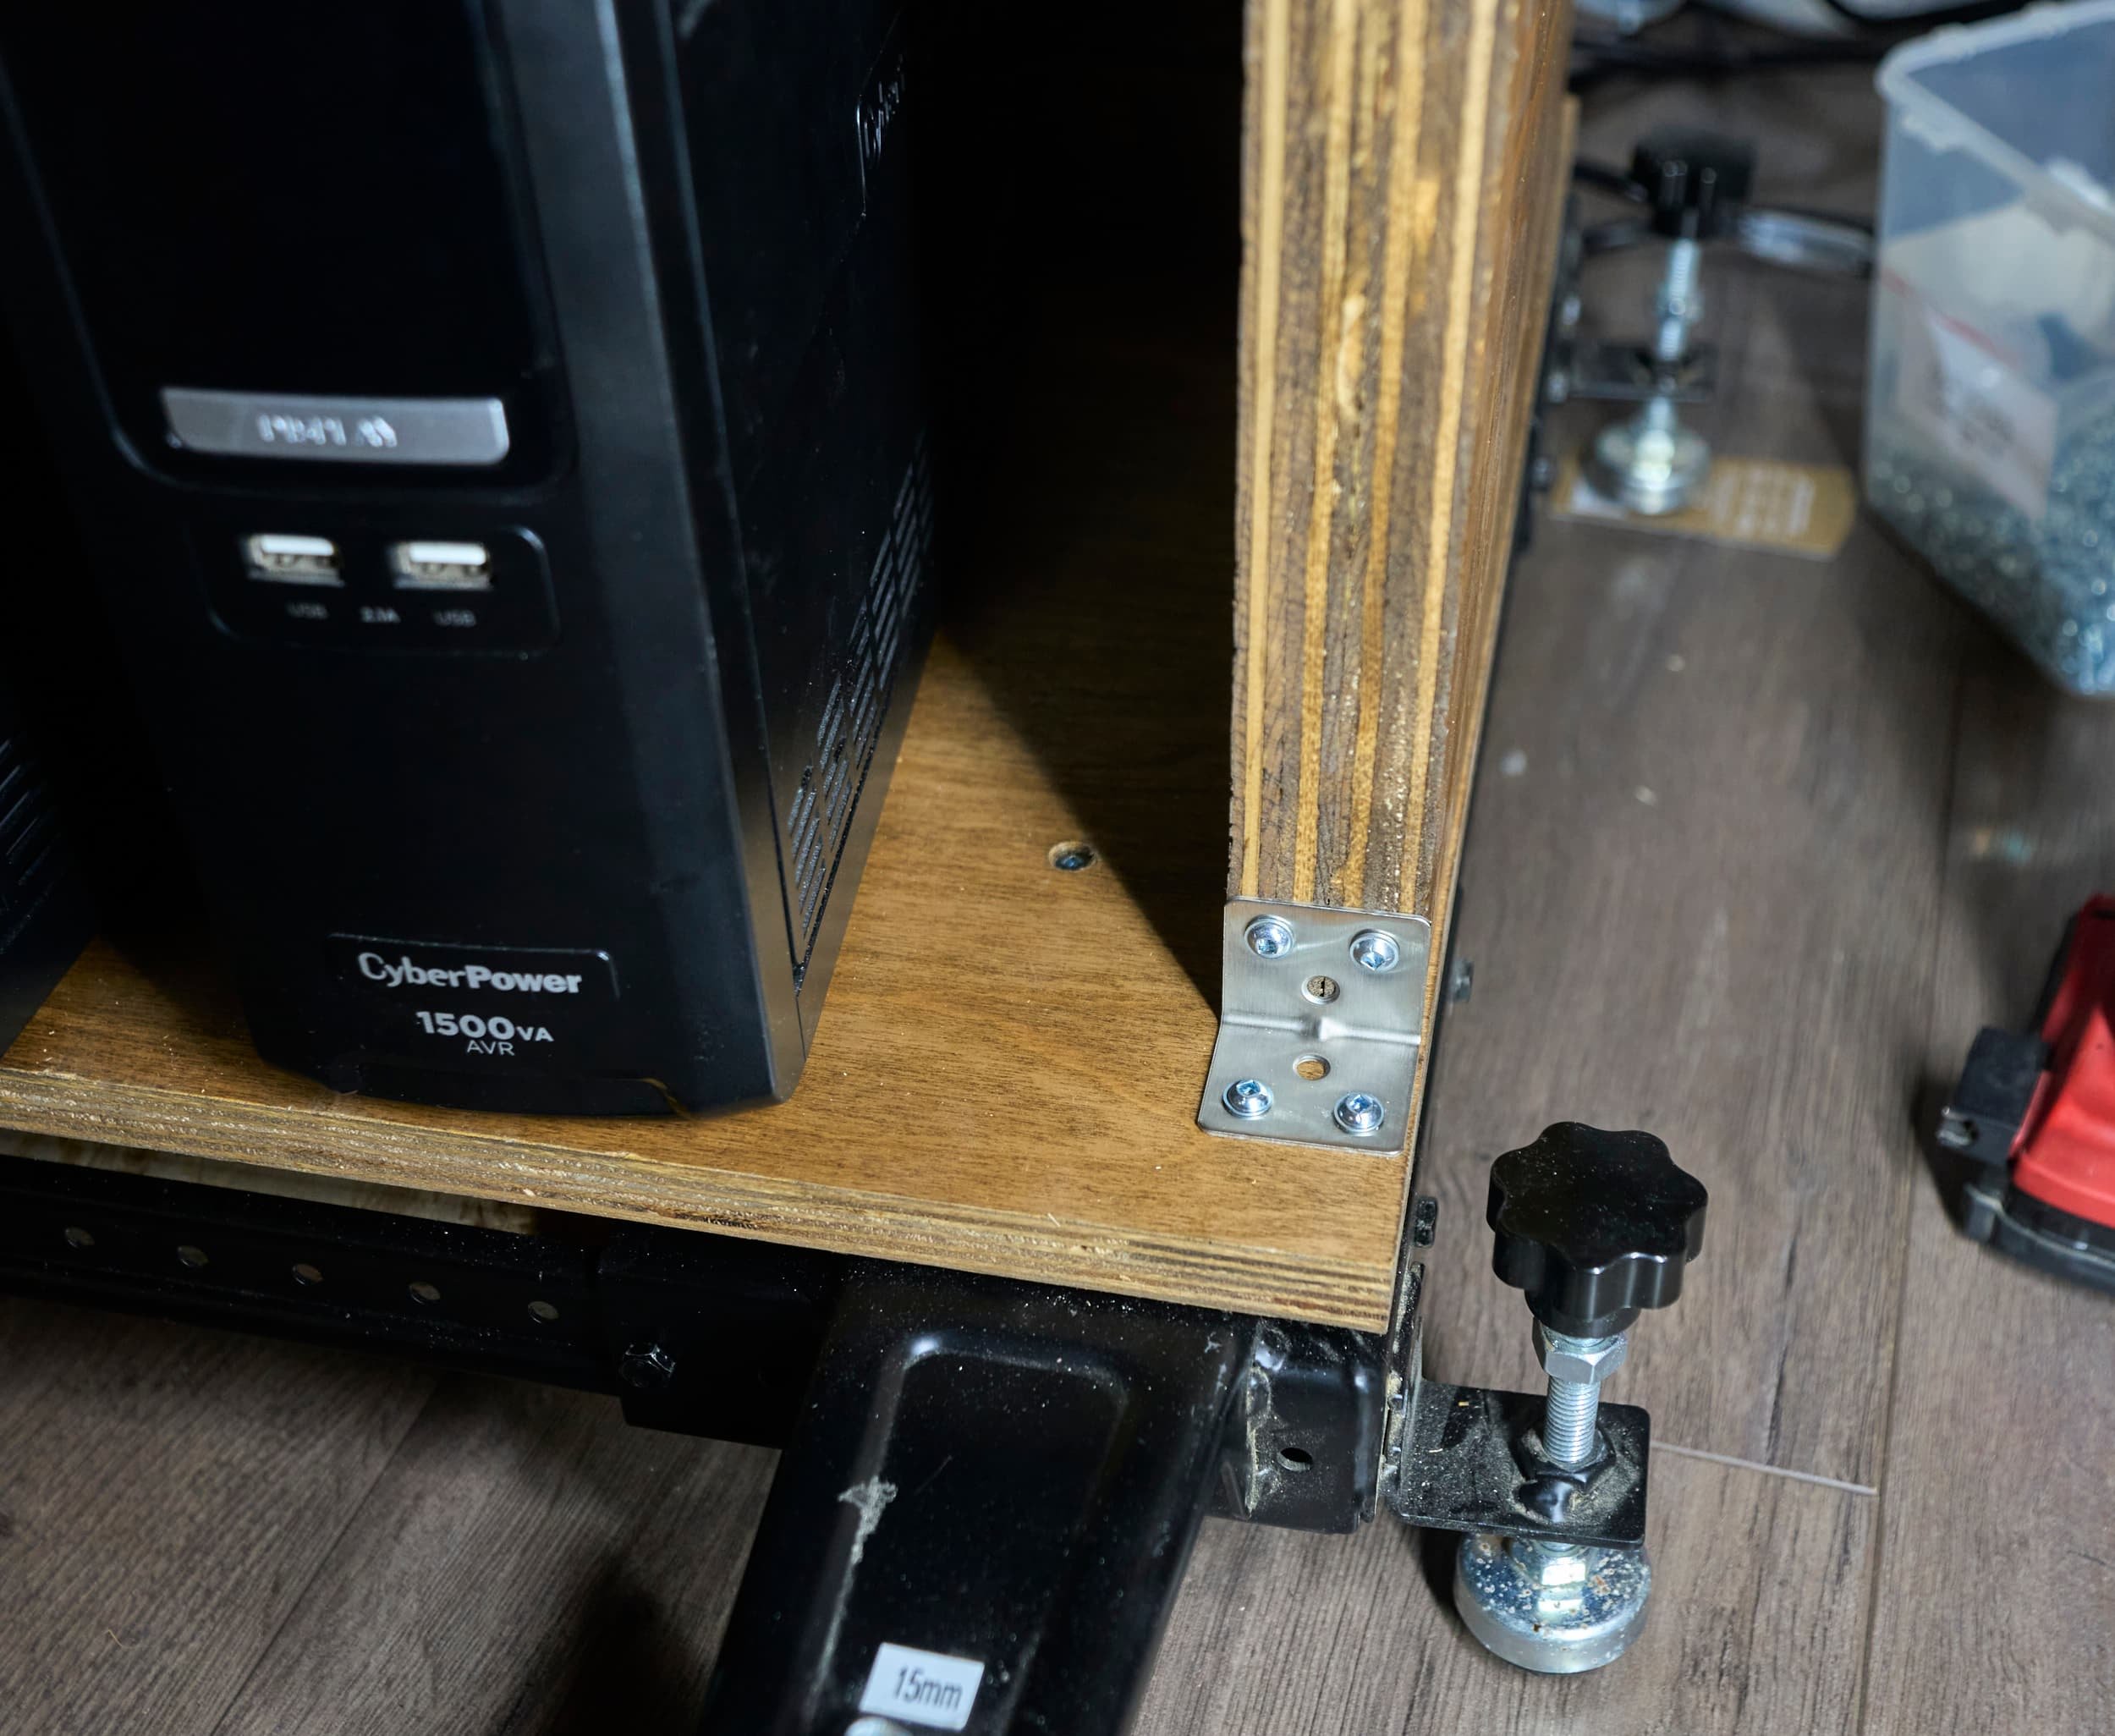
While I was here, I took the time to finally mount everything down to the base plate! Until now, everything was just relying on mass/friction to not really move. I had taken the time to drill pocket holes to secure things down but due to a comedy of errors, every single one of the pocket holes had been covered up by something else and I was just too lazy to undo it — so I went with some angle brackets I had lying around.


Milestone
This was a fairly quick project as I was able to leverage existing pieces (the NAS shelf) and the fact that all of the cables are individually labeled (for both ends) made it easy to be able to switch between “powering everything down to work on it” and “okay we need the network up because the weekend is over”.
I have to thank my wife for putting up with zero-network-at-all for hours at a time while I tinkered with this. Oh, and the massive puke of cables and tech that sprawled in the basement as I took everything apart haha.
In the near future, I might buy a pair of Noctua 200mm USB fans to act as top-exhaust. For the time being (and for the last few years) I’ve not had any temperature issues with the rack mostly-closed up. If there ever is a heat issue, I can simply remove the top plate as it is just magnetized down to the rack.
At the moment, I have nine empty bays which sounds like a ton but I imagine once I take a closer look at what I can rack mount, they will fill up fast.
Mixups, Surprises and Lessons Learned
There were three notable screwups
I intentionally drilled some pocket holes so that I could secure the UPS enclosure down to the platform. I also drilled pocket holes on the back support from (which is secured to the UPS enclosure) to secure that to the platform. I managed to face the pocket holes for both into each other and thus, had to resort to using angle brackets to actually tack the network stack down
For the UPS enclosure, I really should have opened up the cable pass through holes with a bandsaw/jigsaw to reduce future headache. As it stands, I can get power cords in and out of the enclosure but it’s a bit annoying.
The last careless mistake was not drilling the holes for the magnets before assembling the shelf for holding the POE injectors. Another careless oopsie.
The only other hurdle was the issue of the rear rack-mount using up too much of the limited 2-ft length span I had planned for the wiring, something that could have been avoided with 3-ft wiring or just DIYing the rear rack.
For the mobile tool base, I’m simultaneously really happy and really annoyed with it: it’s quite sturdy, well built and I love the fact that it has adjustable sizing but I hate, hate, hate the fast that the back wheels are fixed. I have this same hatred for rolling tool chests as well. Having fixed real wheels isn’t an issue in a large automotive shop but in any smaller/home scenario, I want to be able to shuffle and snake the tool chest (or network cart) in small tight spaces. Instead of just scooting the cart over, I have to do the game of snaking it back and forth incrementally. Honestly, if I see the mobile base go on super sale again, I might legit consider buying another one just to cannibalize the front wheels to mount on the back of this network cart. Totally infuriating.
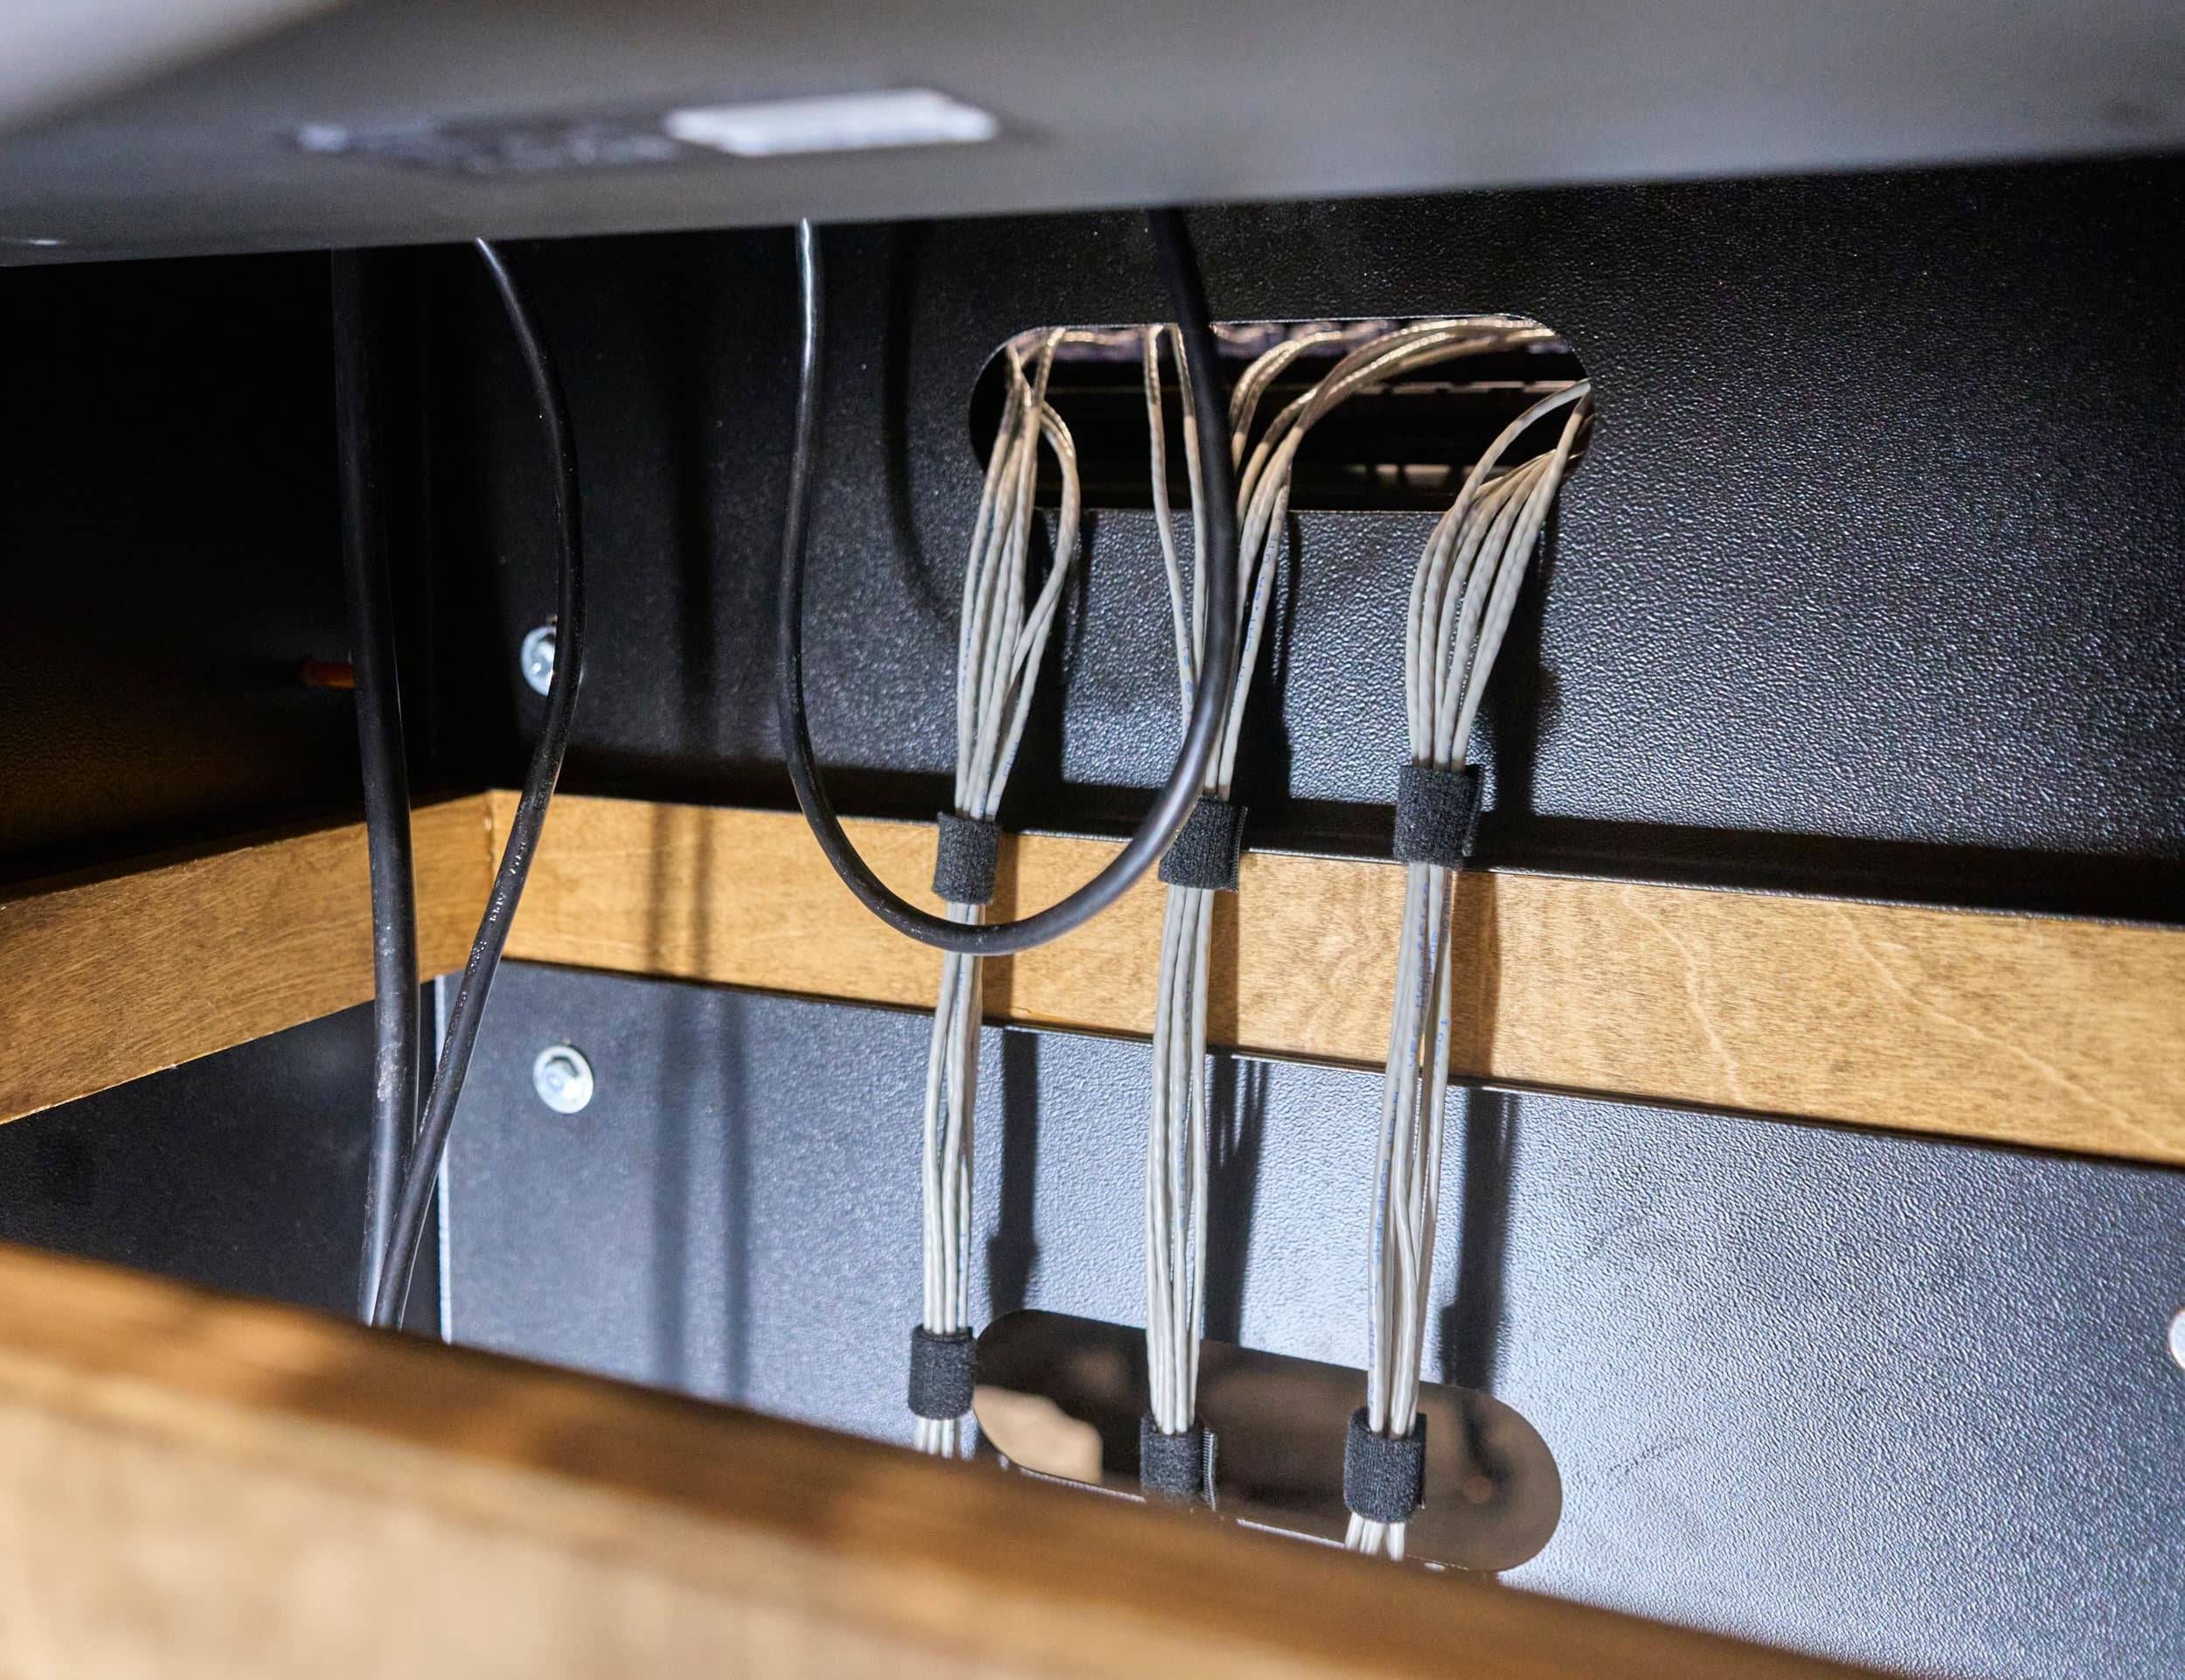
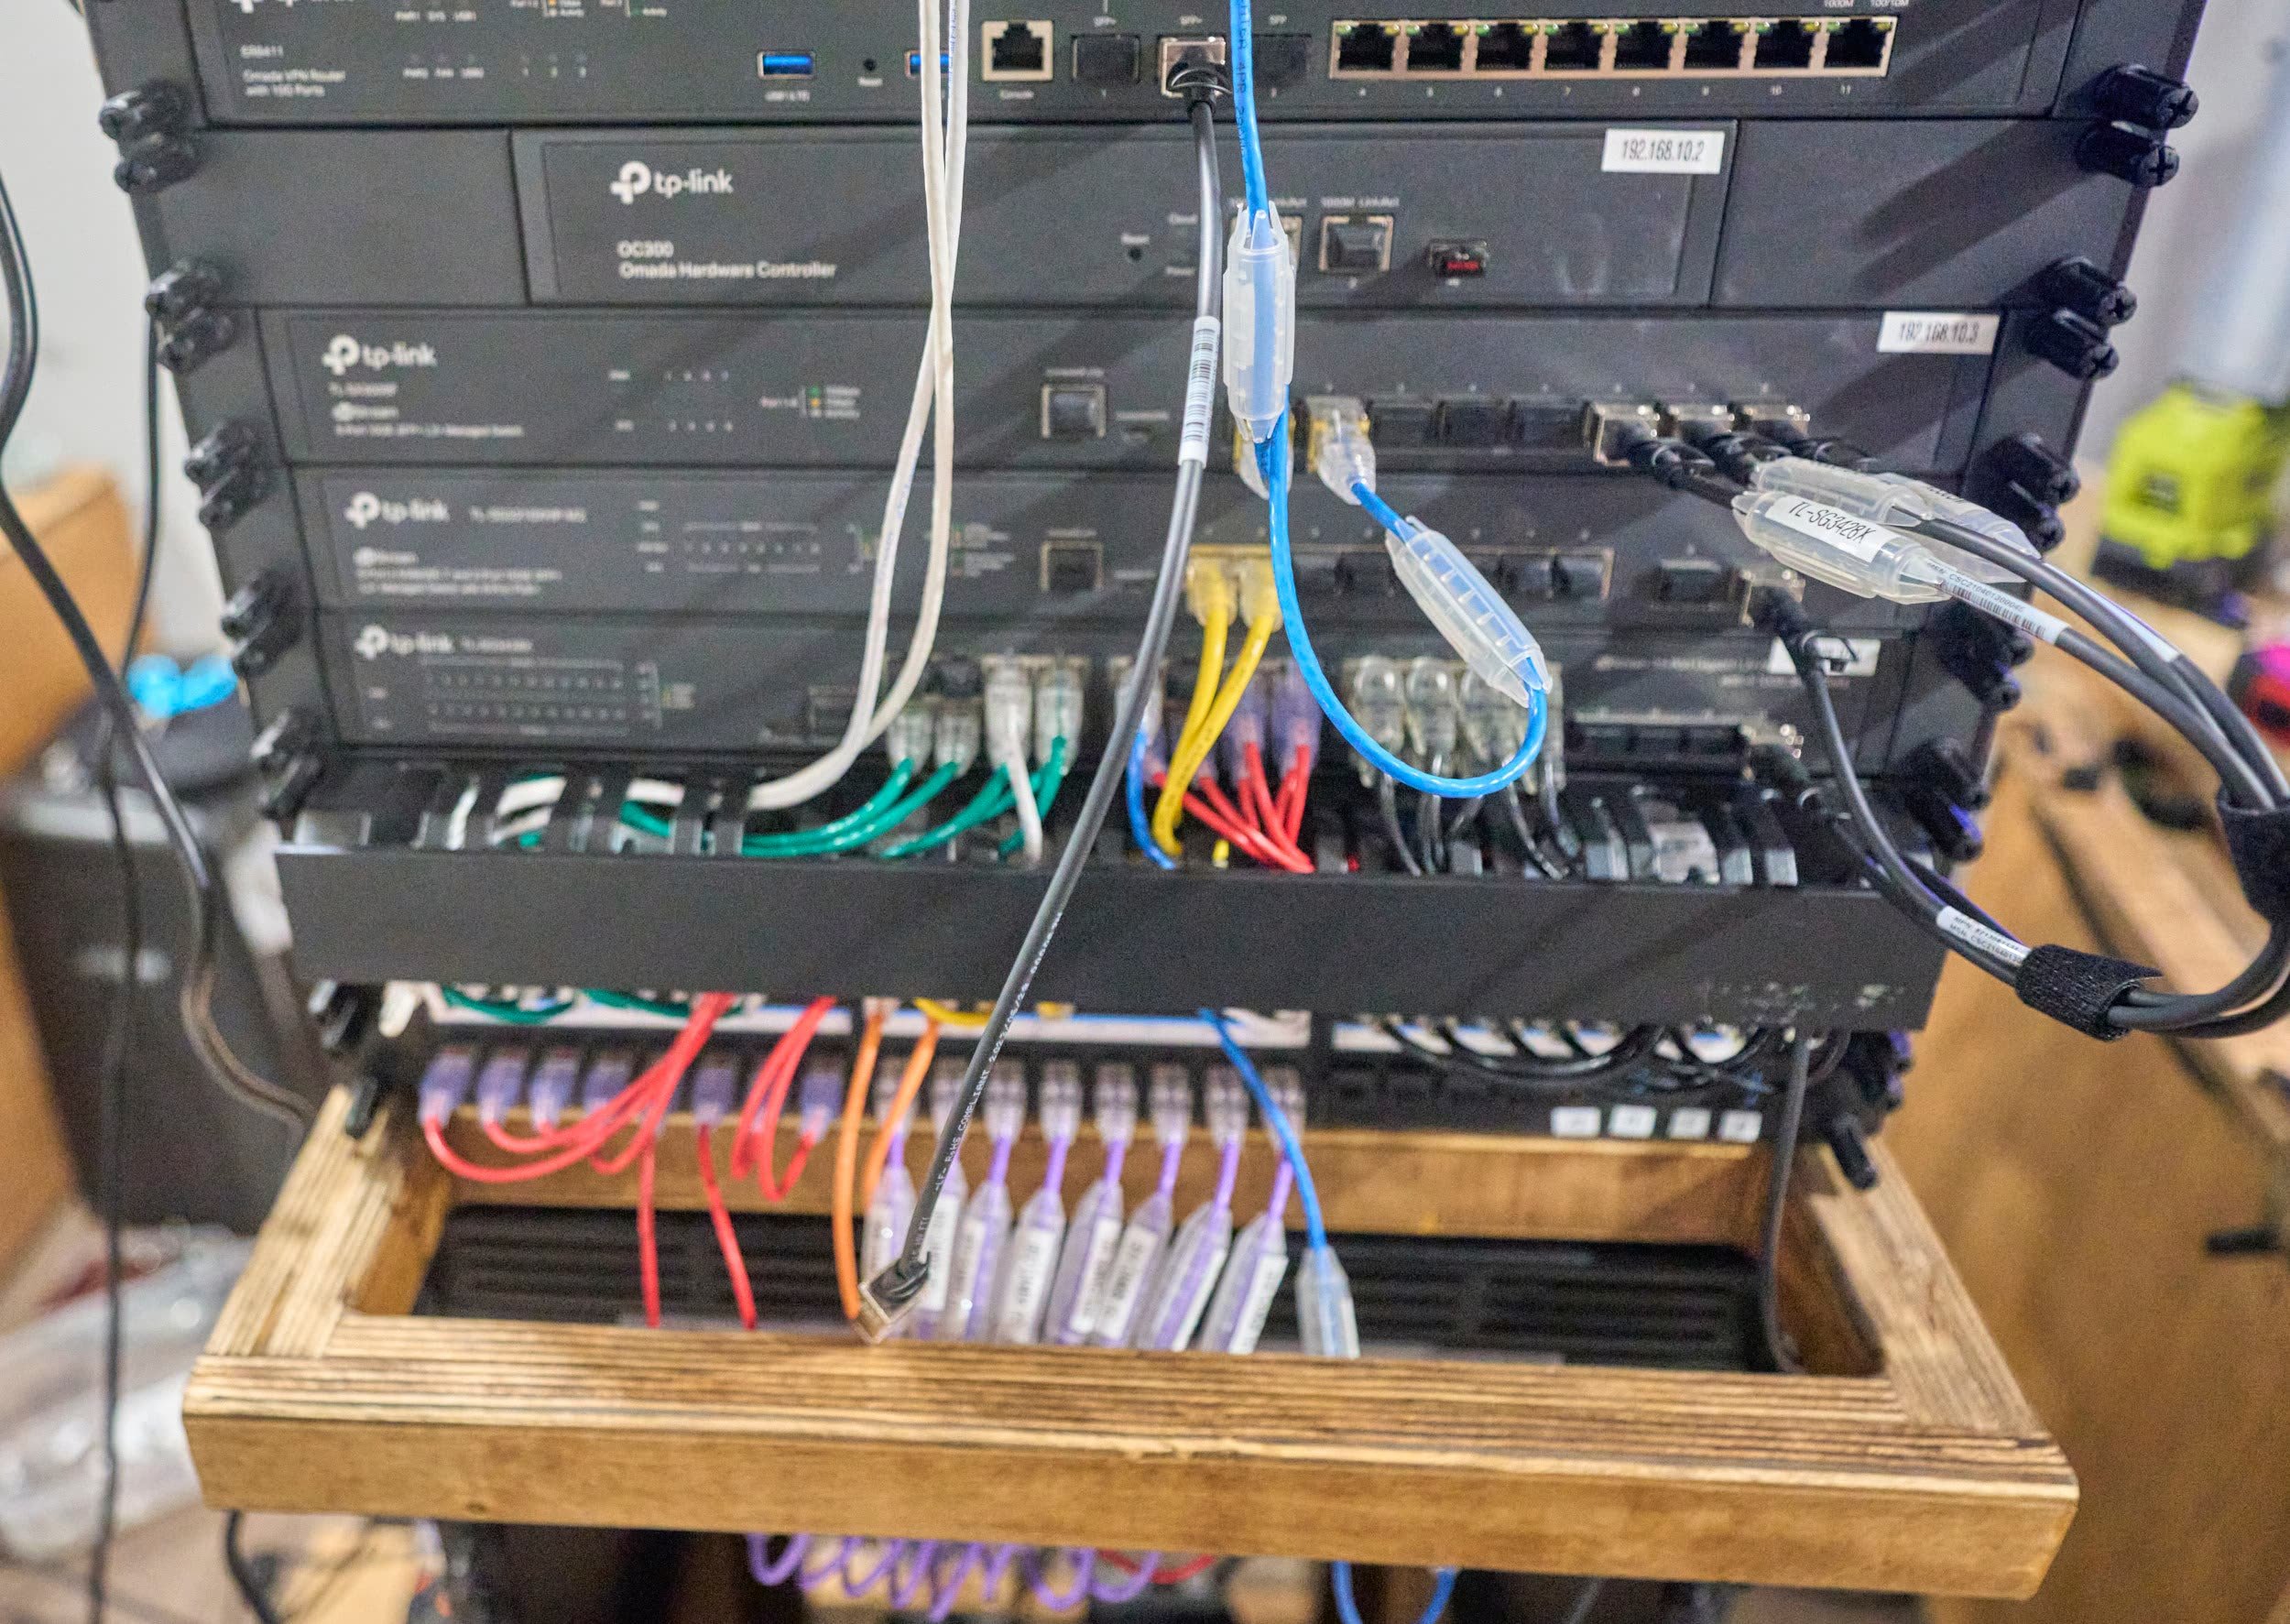
Regarding the rack-mount cable concealer, I’m kind of torn. On the one hand, I really do like that it gets the random jumble of cables tidied up but at the same time, I really miss being able to directly see the CordIds for each cable. Thankfully it comes with a quick-snap panel, so if I needed to see the label, I could do so quickly enough so for now, this is just an irk for me.
Appendix - Parts and equipment
Racks
StarTech 12U Wall-mount Rack. Since I already had a 12U, it made sense for me to go with another one as one of my candidate designs had them stacked side by side (thus, requiring the same rack). The only thing to note is that the brace bar on the top can interfere with all but the most shallow devices (read: small PDUs). In my case, I was planning on leaving the top as an air-gap anyways, but something to be aware of. Otherwise, fantastic rack mount, no complaints.
StarTech 2U (Hinged) Wall-mount Rack. Even under the hypothetical assumption that I had bought 3-ft cables and could use this, I’m kind of torn on this product. Like it’s fine, it does the job but the hinge is not confidence inspiring - just having the two patch panels hanging off the hinge has some serious deflection. In hindsight (and unique to my scenario), considering how easy it was to make my own 2U rack, I think I might give something like this a pass.
ETS 24-port loaded patch panel. This is one of the more cost effective units and comes with everything ready to go out of the box
Rackstud Series II Duo. An alternative to cage nuts, this is totally worth every penny. The ‘Duo’ only works for 1U equipment (which by coincidence, all of my gear is) but it’s a massive time and frustration saver. Having studs (instead of nuts) allows your to temporarily hang your equipment off the stud while you reach for nuts, instead of playing the balancing act of trying to support equipment whilst lining up holes.
Monoprice SlimRun CAT6a cables. Available in a variety of colors and lengths, I went with these to try and keep the cable mess under control. Note that for POE devices, anything ‘downstream’ of the power-injection source (whether it be an injector or a POE switch), you should try and use non-slim cables — for better heat management.
Organizing
CordID tags. I use these extensively to label every single cable, knowing exactly where to plug (both!) ends of a random cable is pretty awesome
1U network cable organizer. As I mentioned above, I’m not entirely sold on this for my specific use case (where I want to see the CordIds) but for most people, I imagine this will be great. I might suggest a 2U organizer as it allows for a bit more flexibility (and maybe even the possibility of using CordIds) — but for my specific application, I only had 1U available. The front plate can swivel from the top or the bottom and can be removed so it’s actually quite a pleasure to work with.
Bulk velcro. I bought a huge roll of bulk velcro to keep things my cables all grouped together and organized where possible
Magnets
130lb rare earth magnets. I use these magnets to make magnetic mounting plates - the solid steel surface of the wall rack gives me plenty of area to mount everything
25lb magnet hooks, I use these to gently route cables around on the rack and take up slack. These generally don’t need to have a ton of holding power as you’re just gently routing things, so finding magnet hooks at your local surplus store will be fine too
Power
ADJ Pow-R Rack. This rack has it all — switched power outlets, two always-on power outlets (front + back) and front-USB
Pyle Pro PDBC70. This is a more basic PDU that just works and provides nine switched rear-outlets
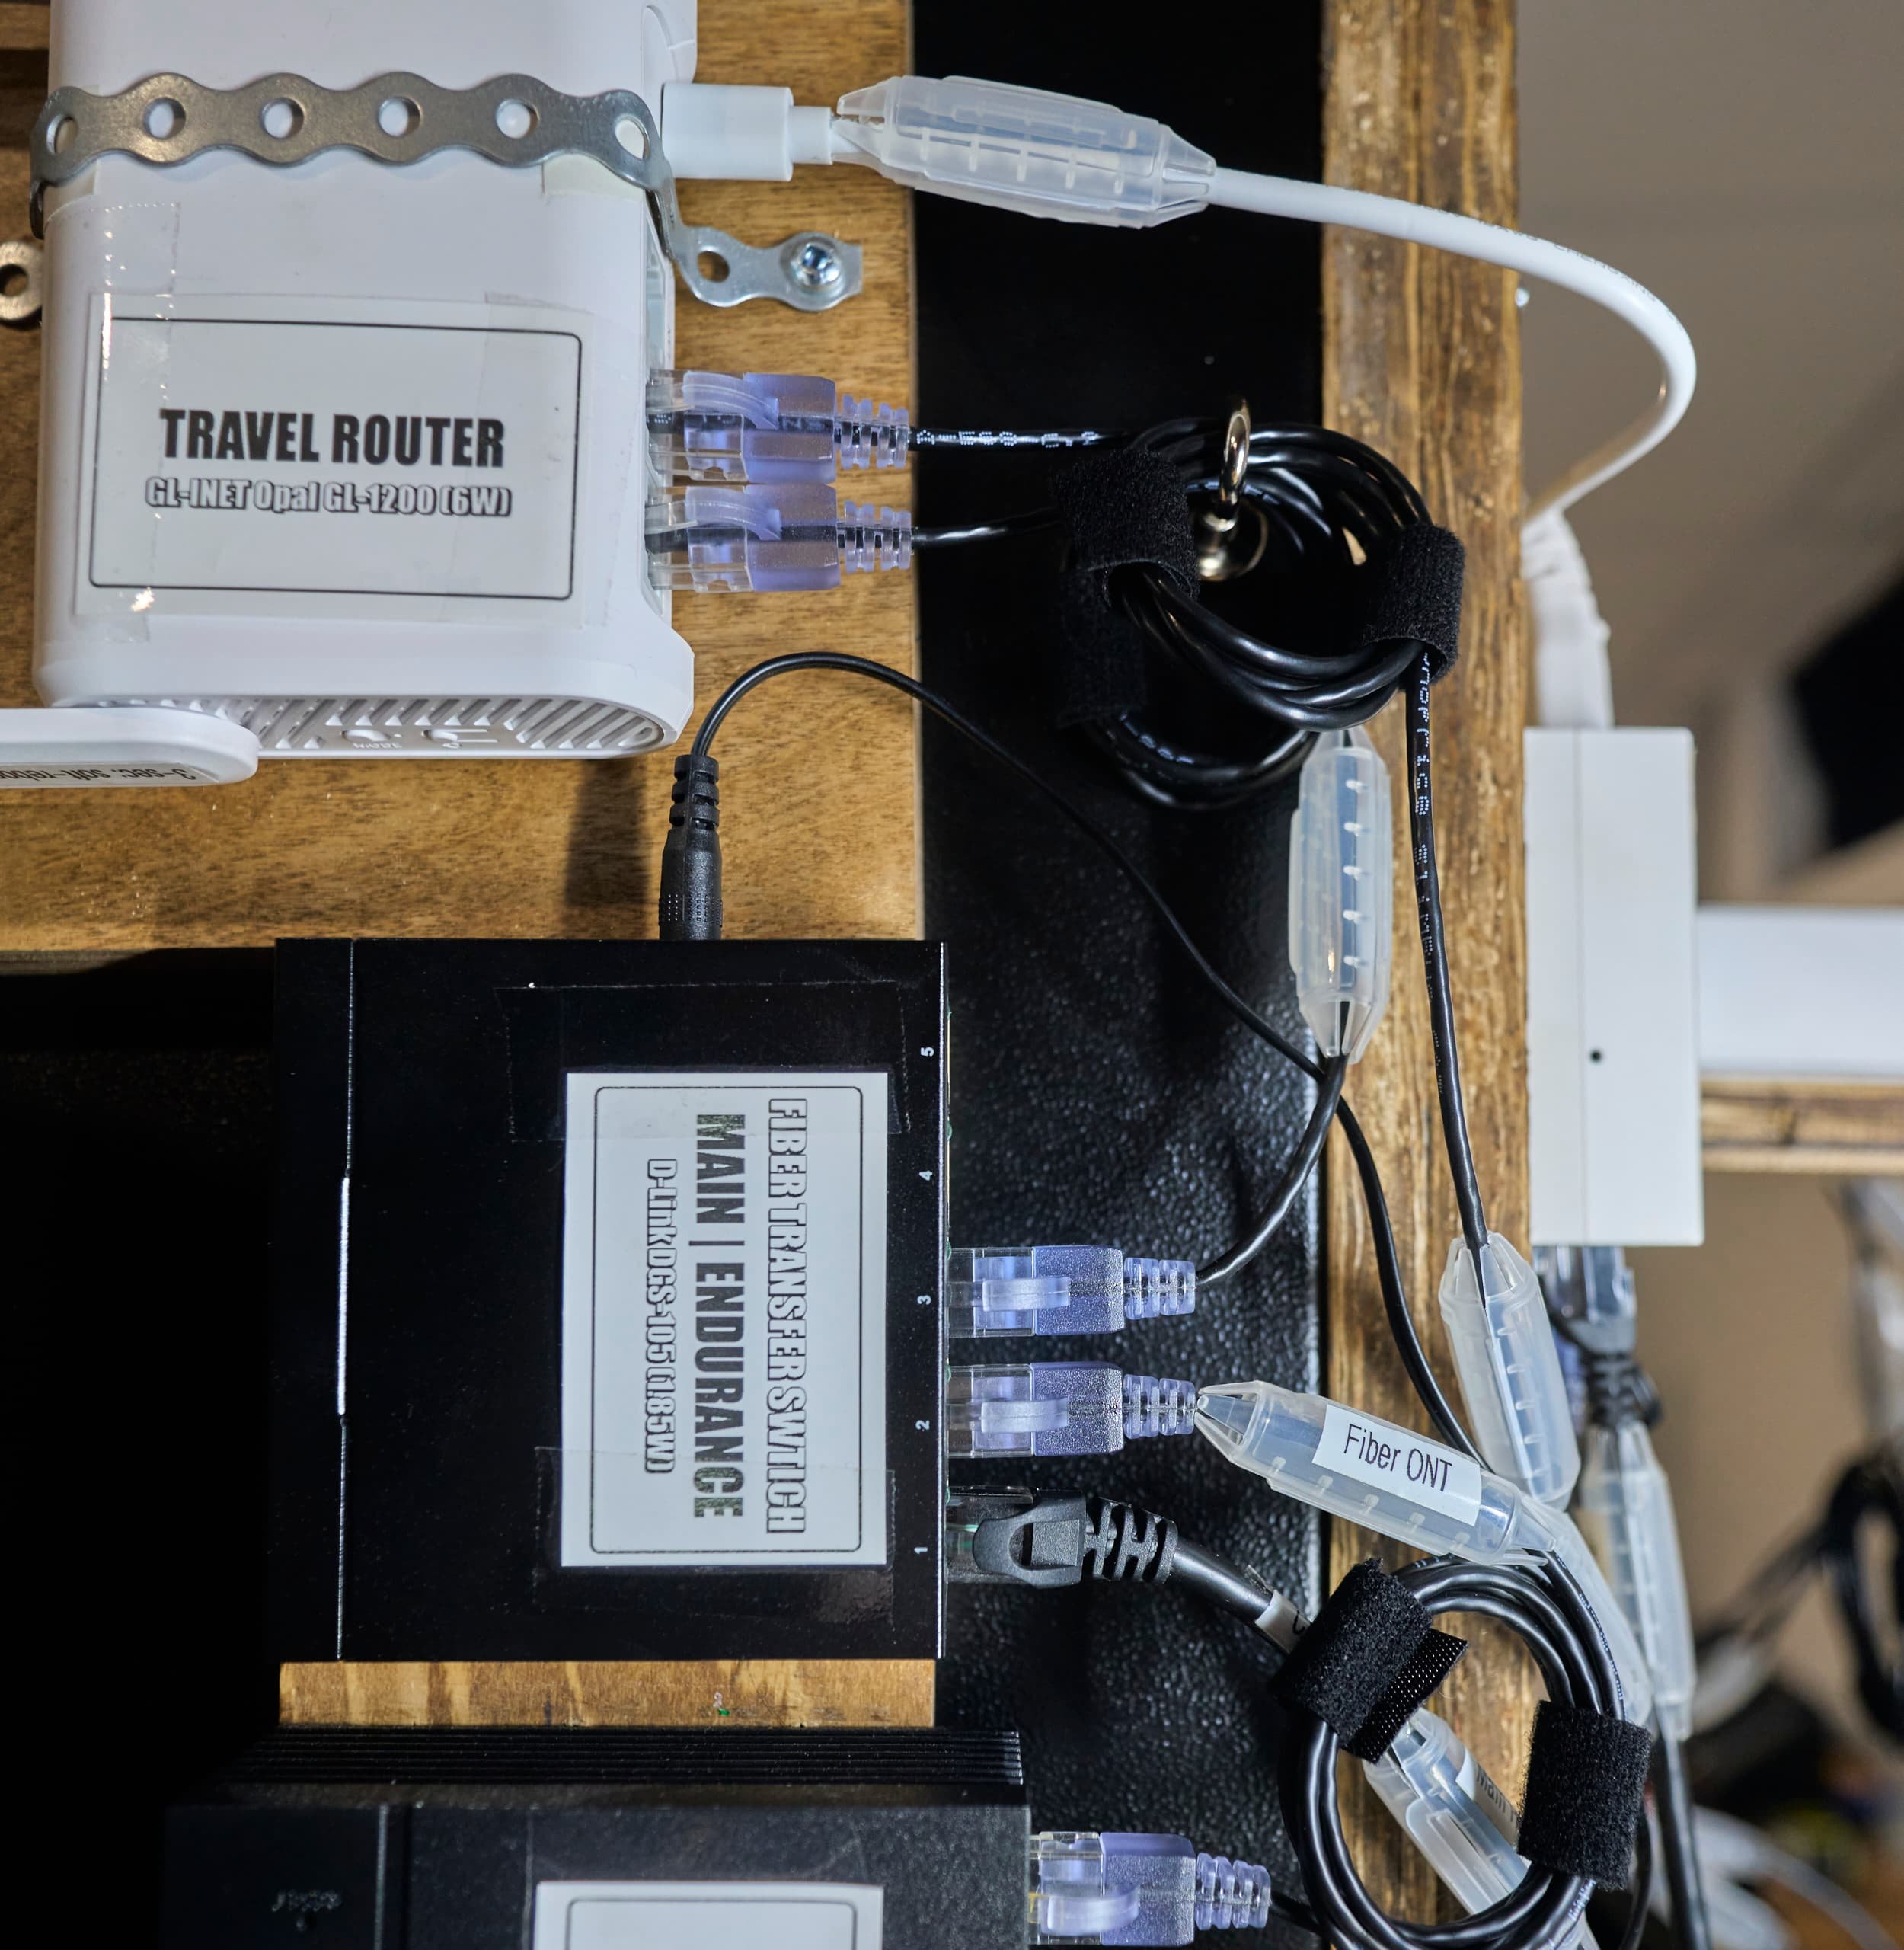
Splitter extension cord. You can get them in 2-split and 3-split and these are great for when you have just a few items you want to power on/off together. In my case, my main modem, fiber-switch (allowing me to toggle between main-router and low-power router) will always be powered on together, so I can use this splitter to link them to the same port on the PDU
Short power cords: 1ft ‘outlet saver’ extension cords, C13 ‘PC power’ cords and C7 ‘figure-8’ unpolarized power cords. One way to reduce the amount of cable management and wrapping needed is to literally reduce the physical amount of cable required to hook things up. Shorter cables allow you to get near exact-length power runs.
Mastercraft Universal Tool base. I happened to use the Mastercraft model as I had bought one years ago on super sale but there are any number of adjustable mobile tool bases that might be suitable alternatives. I did see that the Portamate PM-3550 comes with all-swivel wheels but that price tag is something else — you could totally buy two bases and cannibalize parts for less. You can also easily put one together using just four swivel locking castors as well.
A small 4V screwdriver: I have an older version of this 4V Black & Decker — makes working with rack nuts/screws so much less annoying as otherwise, I’m just sitting there spinning screws forever. Even since switching to rackstuds, the low power of this screwdriver means I can just cinch the nuts down on top of the RackStuds without concern that anything is going to break or strip.

Mk II Rack Build
My Mk II rack was a quick project I did just to get things going. Read this to have a look at the previous iteration of the ‘rack’.
Product links may be affiliate links: MinMaxGeek may earn a commission on any purchases made via said links without any additional cost to you.