

Build Log: Mini Network Rack Mk II
My previous mini network rack served me pretty well for the last few years. When I did the changeover from consumer- to more business-oriented networking infrastructure (read about that fun here), I probably could have made the existing rack setup work with some minor tweaks but there had been a few substantial changes to my networking infrastructure over the years and this was a great opportunity to address some of the shortcoming of the previous setup.
Quick Links
Goals and Objectives
After the move, there wasn’t anything inherently wrong with the existing rack setup: it held and organized everything we needed at the time however there were a few substantial changes that meant a new build was needed:
One of the first upgrades was to get a second NAS unit; I had originally designed the previous setup to be able to support my existing DS1817+ as well as a potential expansion unit stacked on top of it, when I later added some foam for vibration dampening, it was just a tad too tight to stack the NAS units. In hindsight this was probably a good thing: stacking two boxes full of vibrating drives felt like a bad idea…).
My new network setup brought with it a bigger rack as well: I went from a 6U to a 12U (— and yes, when I got the 12U, I also thought ‘this will be enough space’); since the racks I bought were of the ‘wall-mount’ variety and I was building a skeletal structure to act as ‘the wall’, it made sense to make one sized for the 12U
Our basement floor has a substantial slope to it where the rack will ultimately be placed: something like a 2-inch drop over 4-foot span so I wanted to find a way to sort that out
It’s not all bad news though, over the last few years of using the other rack, I have a lot of confidence in the design and both its stability, balance and [weight] capacity.
Rough Design
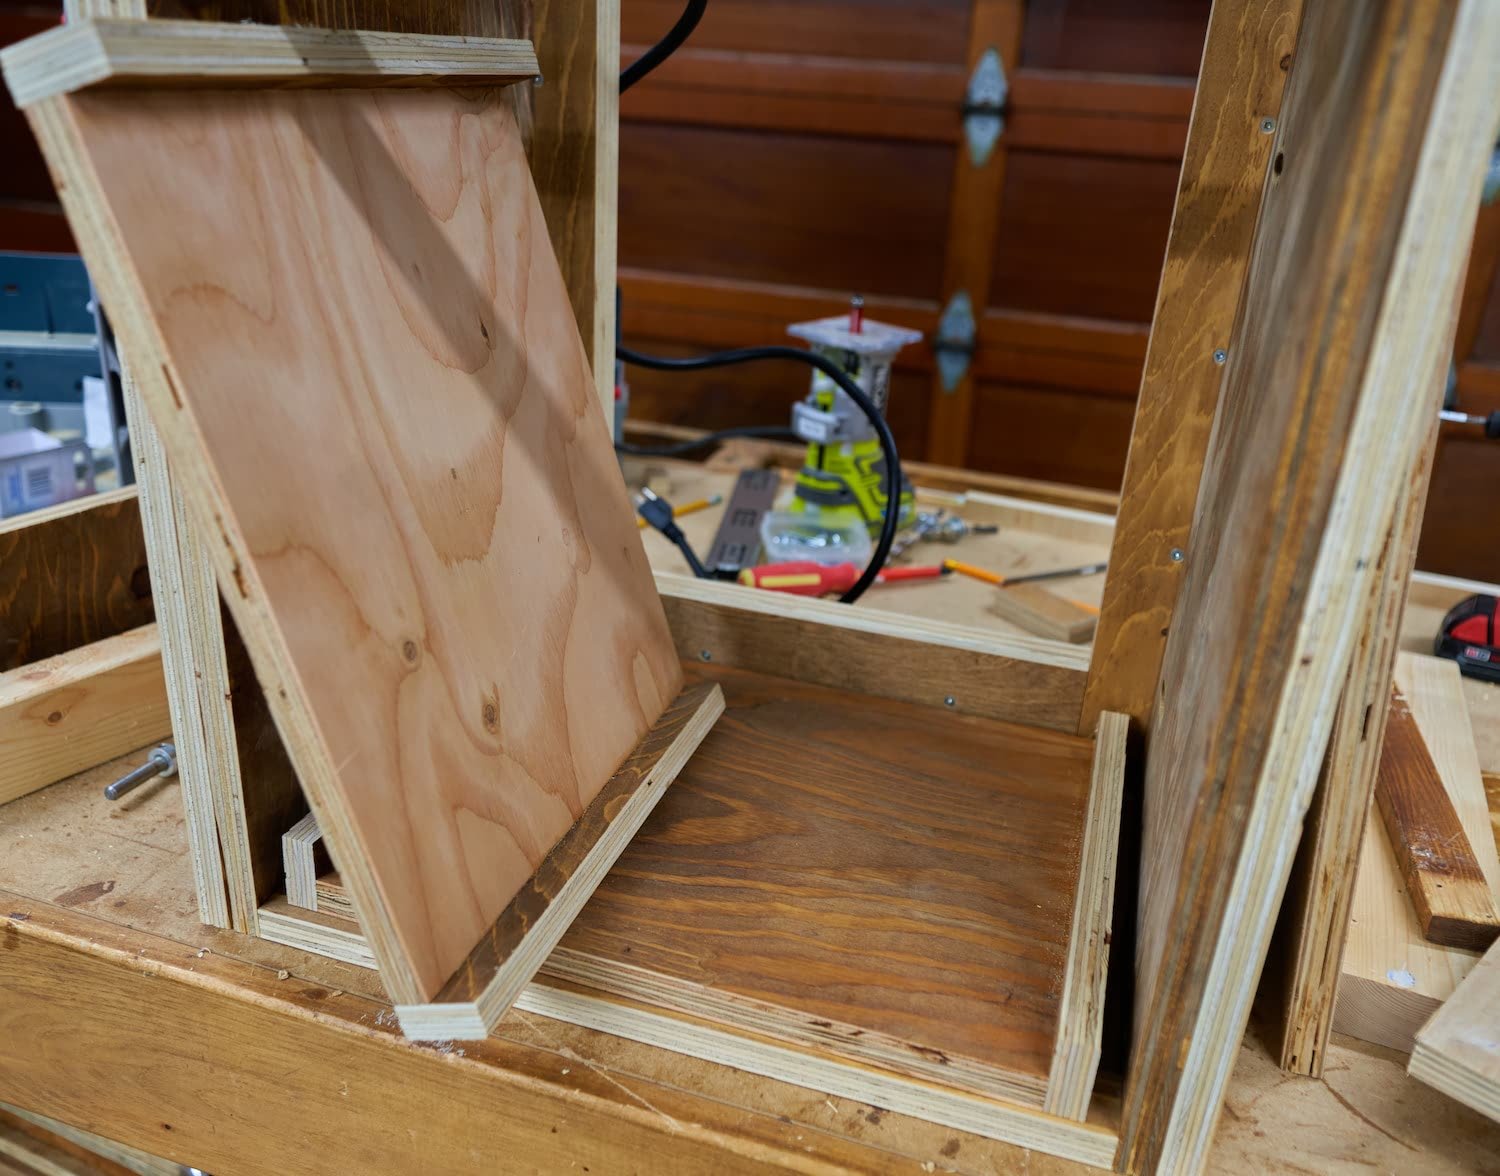
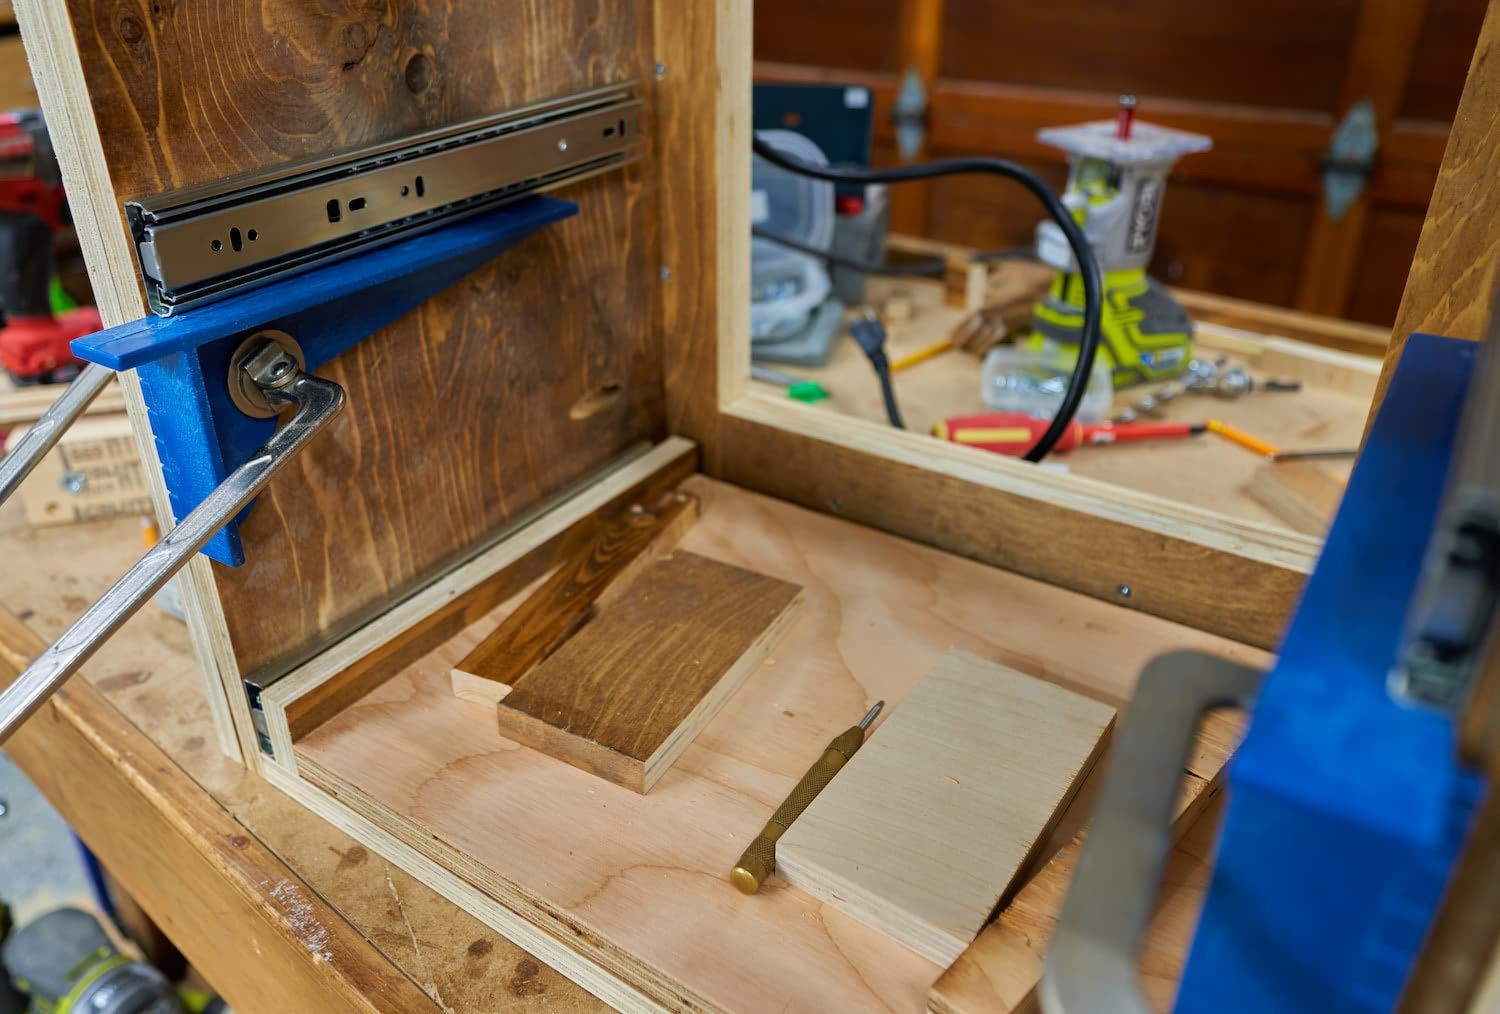
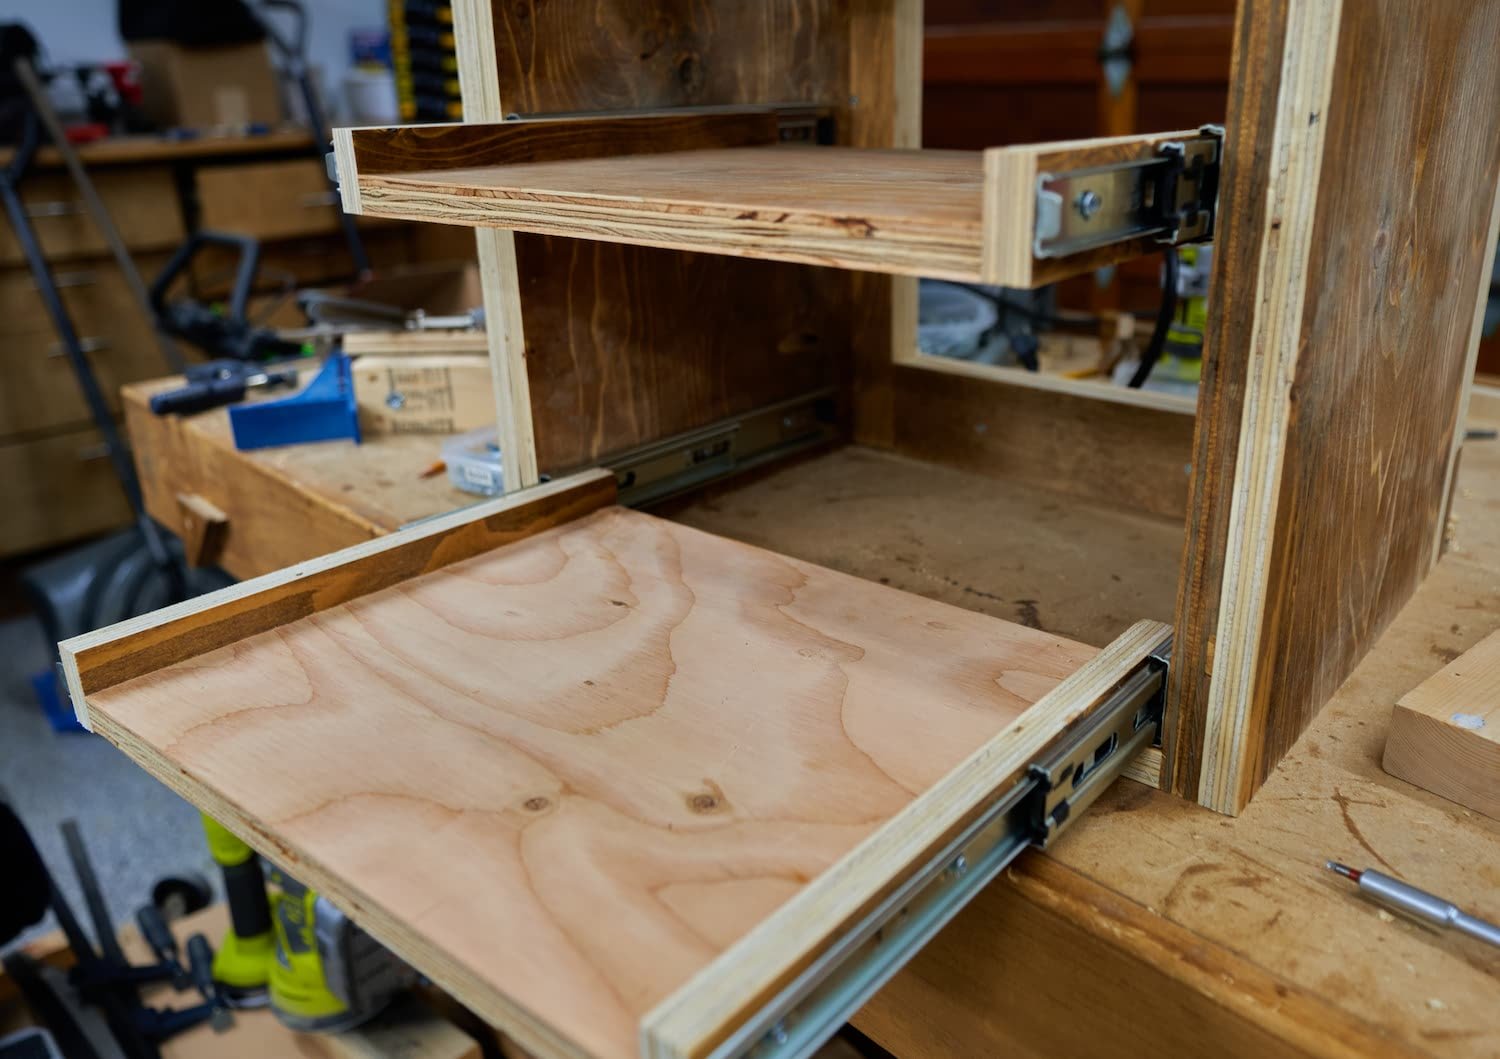
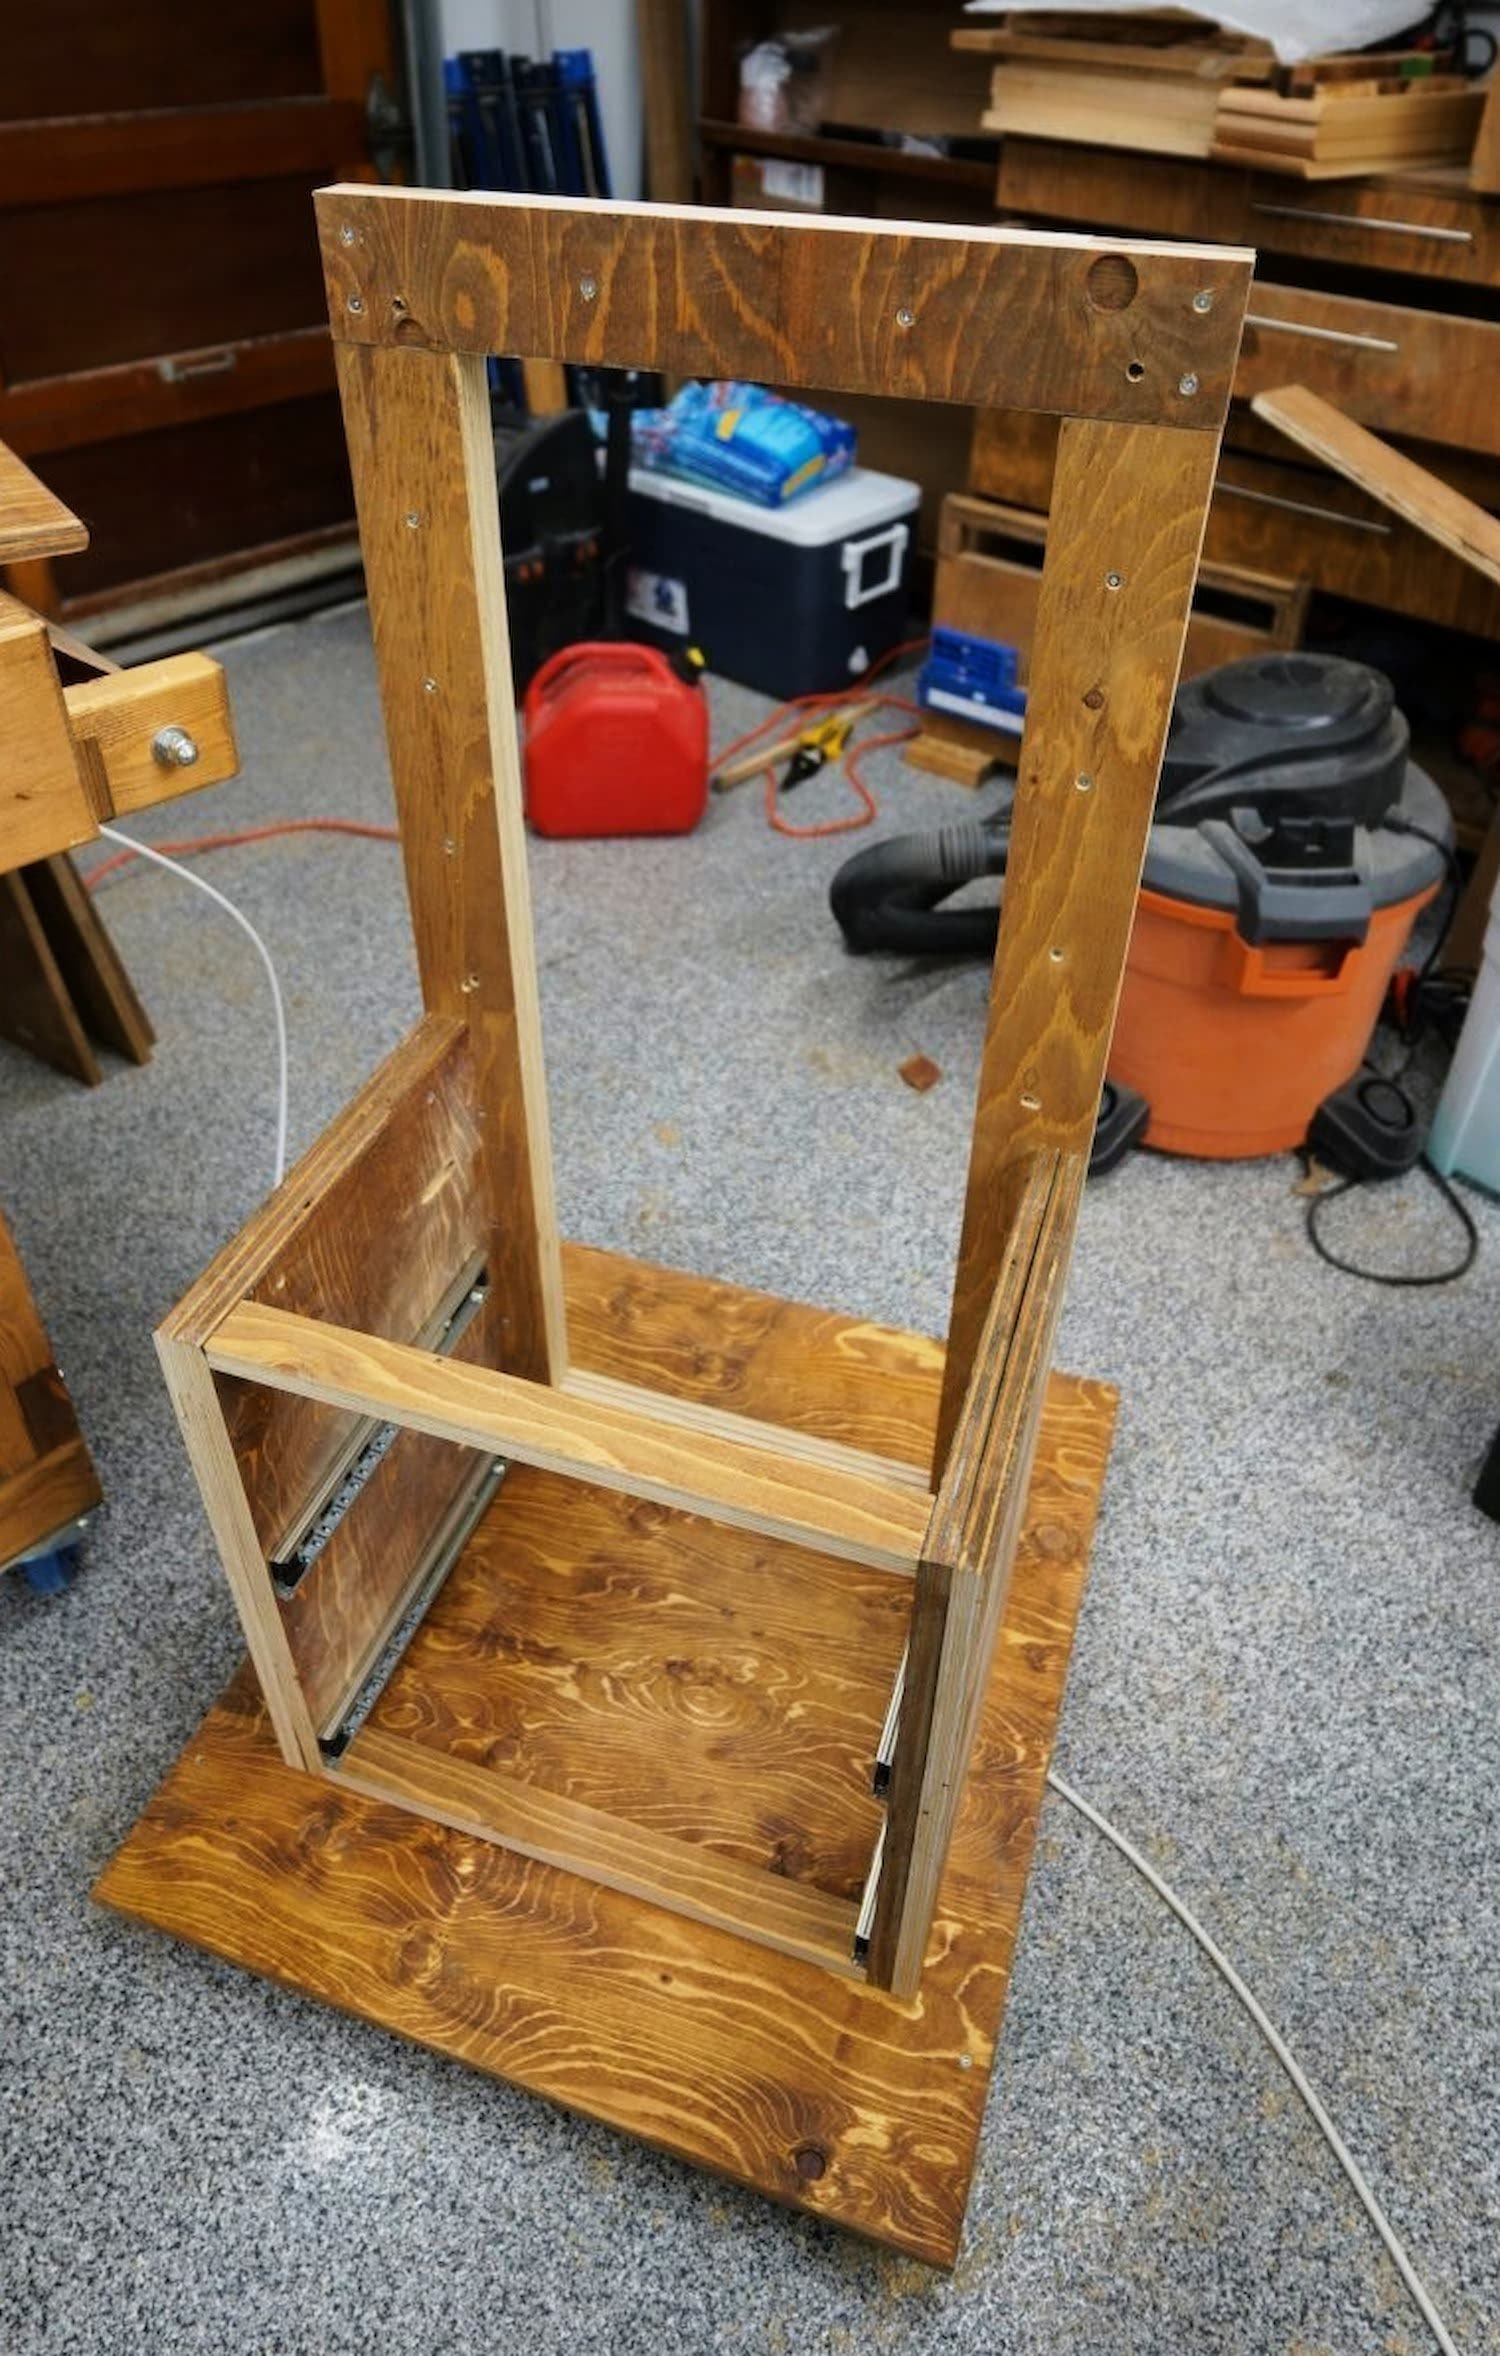
Since this was going to be a quick project and my previous design had been tried and tested for a few years, I was going to follow that design very closely: double-laminated 3/4-plywood for most of the structure (more so for the aesthetic and mass than anything else). Instead of having stacked NAS units, I would have a dedicated shelf for each one. I briefly contemplated using adjustable shelves but the thought of my data resting on four dinky shelf-supports scared me; instead, I went with individual pull out trays for each NAS.
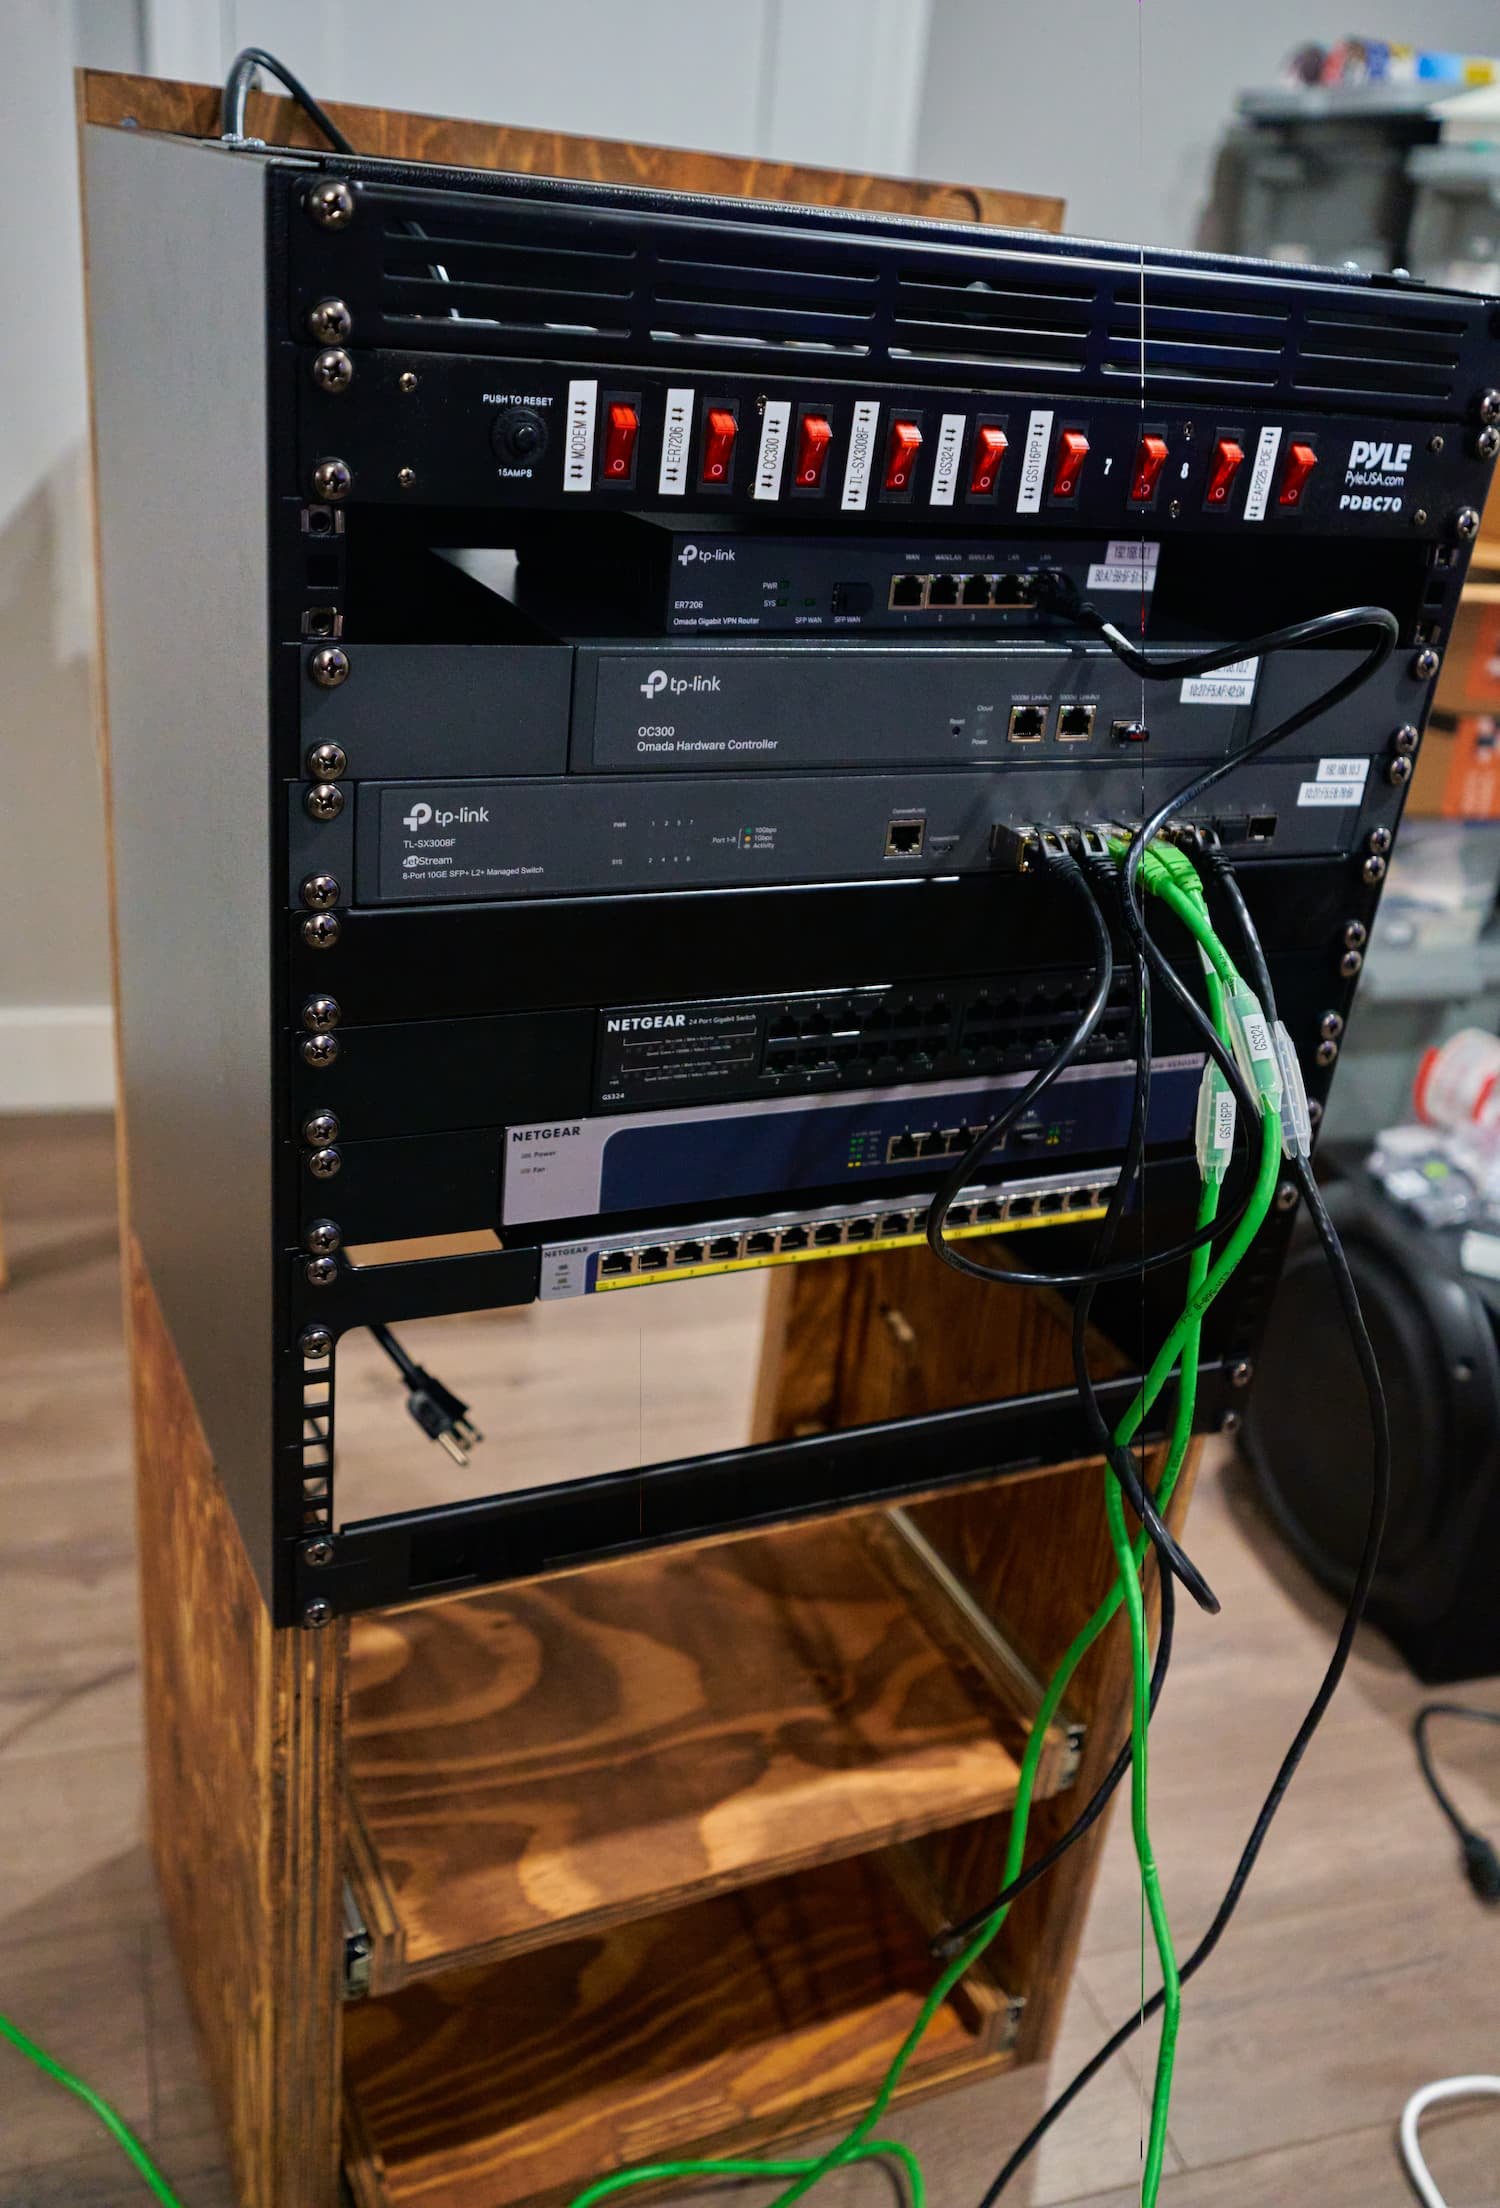
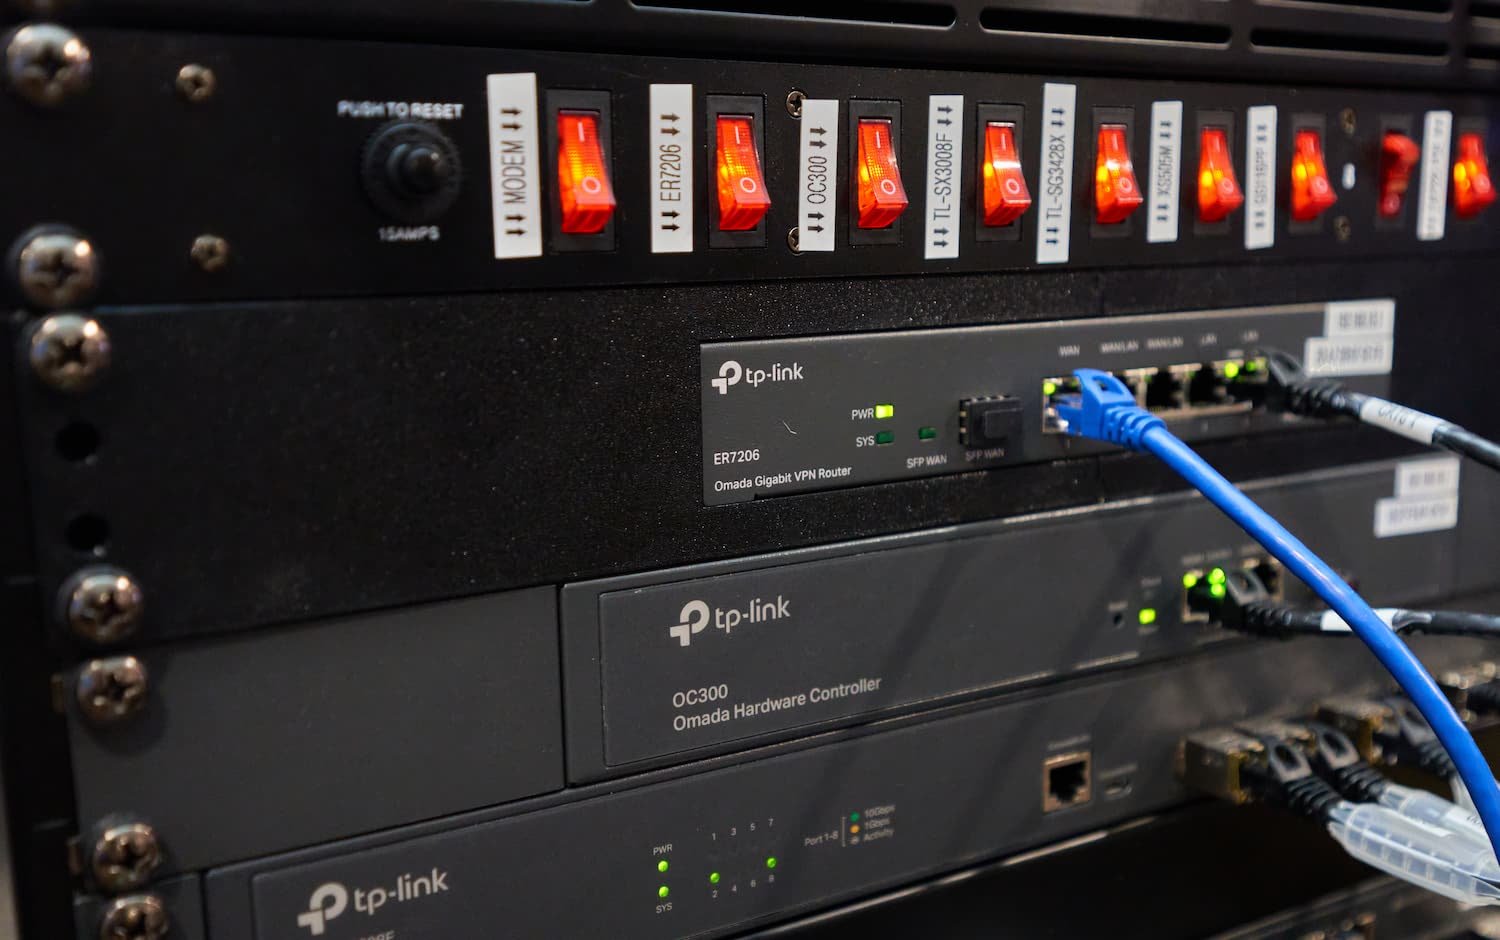
One shortcoming with the Mk I design was that if I wanted to power-down a device, I had to locate the power cable (stuffed inside the rack) and disconnect it - all without electrocuting myself, unplugging the wrong device or accidentally jostling a different power cable. For the Mk II, I wanted my power delivery to have individual switches for each device so it would be very easy and safe to toggle power for individual devices.
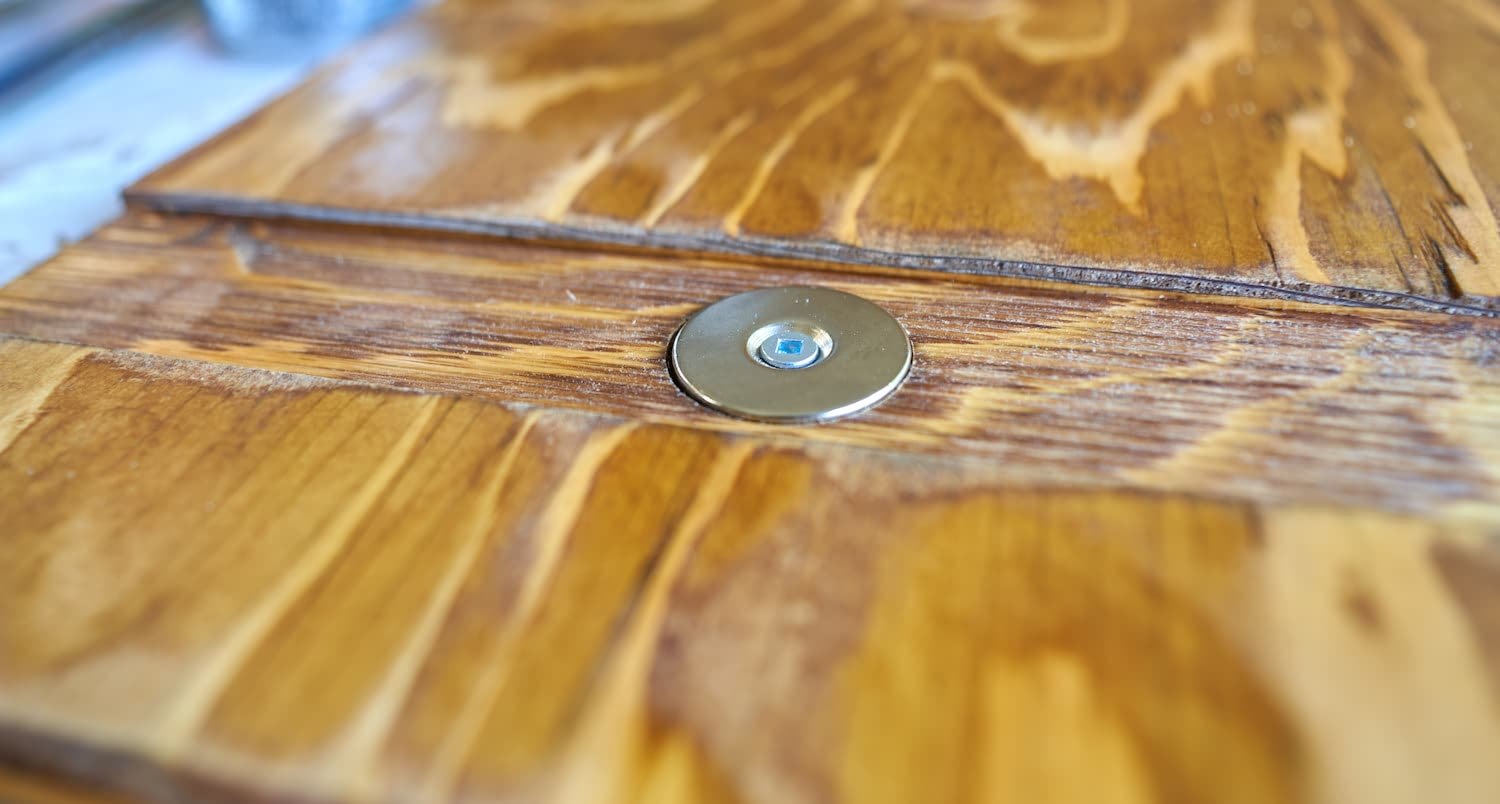
I liked the idea of the magnet-attached top-plate and since this 12U rack is just taller (and not wider or deeper), I could reuse the one I made previously. I did want to find a way to get as much crap off the top of the rack as I could though — if I ever needed to go digging inside the rack, I didn’t want to have to first find a place to awkwardly place everything.
Why not just expand/retrofit the previous rack?
I could have somewhat easily expanded my previous rack to support the 12U rack (by making the arms taller) and support having dedicated shelves for each NAS (by adding a box to the bottom of it), but I wasn’t super enthusiastic about that idea (felt like cutting corners) - and I have a rough plan to reuse the previous rack somewhere else so this was a good opportunity to make something new.
In the Mk I cabinet, I integrated my air-filter into the base-cabinet (because it made sense for that space). At this point, I hadn’t decided if I was going to be able to continue using this bottom cabinet or not (I had a sneaking suspicion that it would put everything too high up).
Step 1: Leveling out the base
No matter what solution I went with, I needed to find a way to level everything out a bit more permanently — I didn’t really want to have all my networking gear (and data) resting on stacks of shims. To tackle this I got a washing machine base that had wheels and leveling height adjustment. Most of the models I saw had 4-wheels and 4-separate height-adjustable feet. I was initially a bit worried about the stability of the cart in ‘parked mode’ but other than one scare, it’s not too bad.
Washing-machine base with wheels and height-adjustment
So with the wheel and leg-stem assembly being responsible for handling both supporting the dolly and height adjustment there are two things to look out for:
Don’t unscrew the wheels so much that you’re backing out too many of the threads — if your gut tells you that you’re backing the stem out too far, you probably are! Make sure you jostle the cart in a somewhat rough manner to confirm that the entire stem doesn’t just fall out.
The way the wheels are attached to the stem is with a bolt (and hopefully, a washer). On my particular model, it was possible to just pull the wheel out from the plastic assembly — there wasn’t a washer. Thankfully this happened during testing and I just added my own washer - make sure you unscrew each leg assembly and visually inspect each wheel assembly at the very least!


Since I have a substantial slope to overcome, one thing to be very cognizant of is that you still have more-than-a-few threads engaged otherwise, as soon as you push the cart (introducing a lateral force on the leg assembly), there’s a chance the entire leg assembly will just pop out. If you must — add shims between the frame and the plywood base. I ended up opting to add a couple shims on the severely sloped corner to ensure that I had good thread engagement.
Original network rack setup, but now with a leveled base. Here we can see the original rack stand resting on top
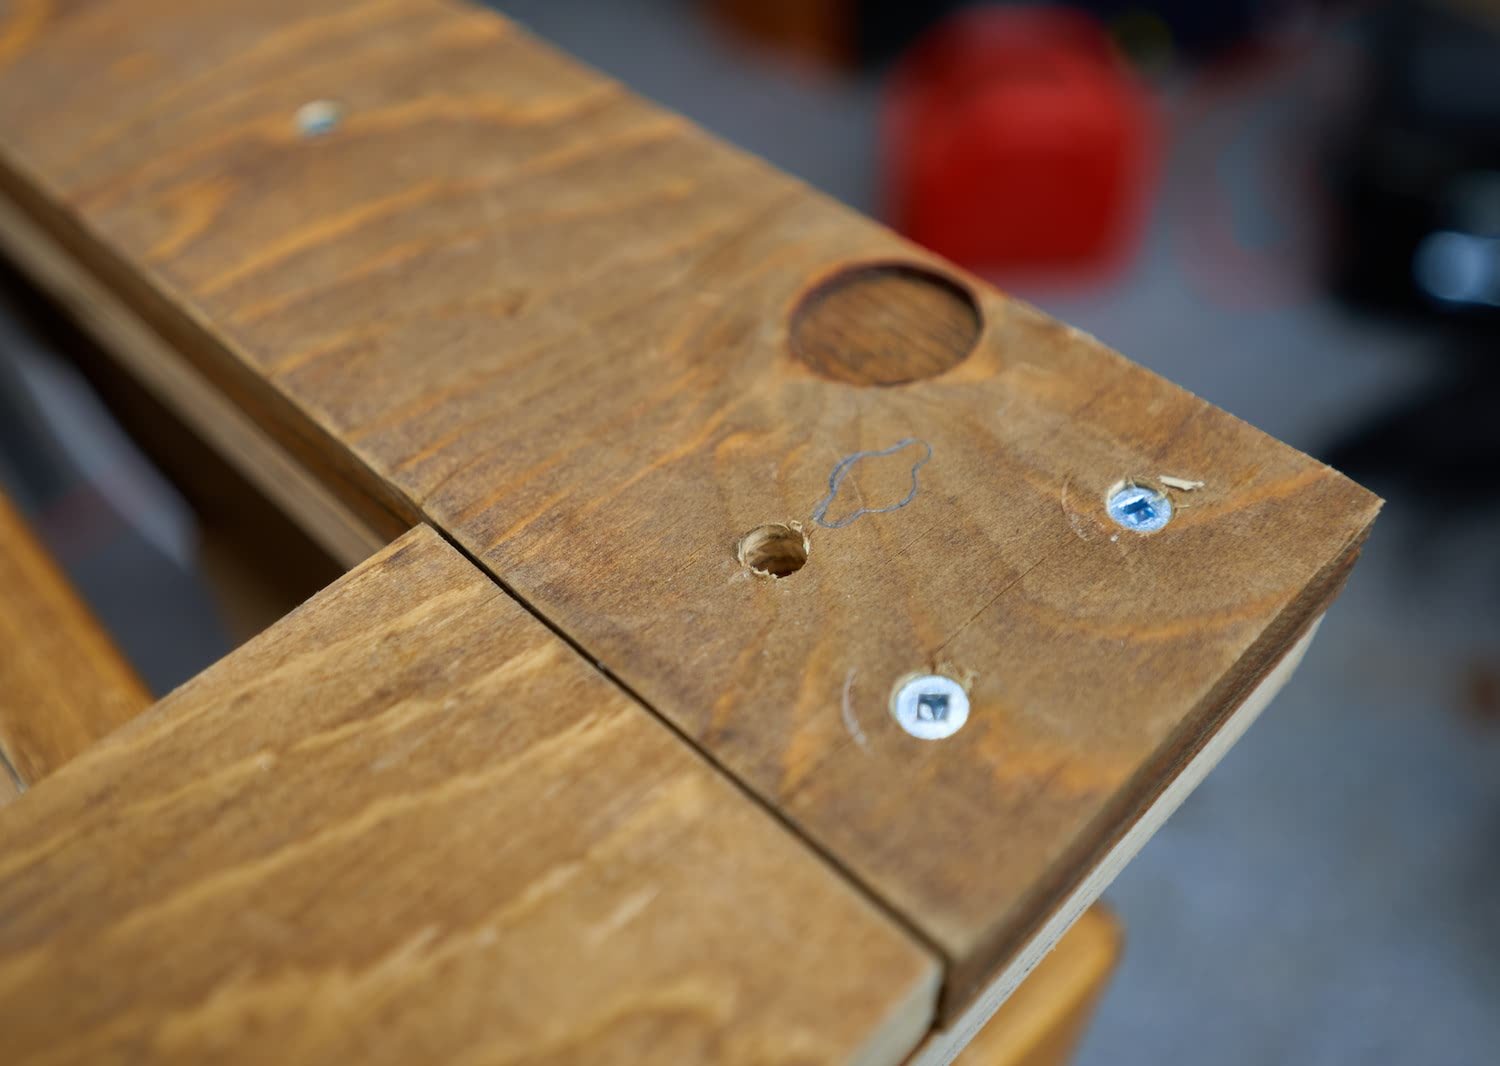
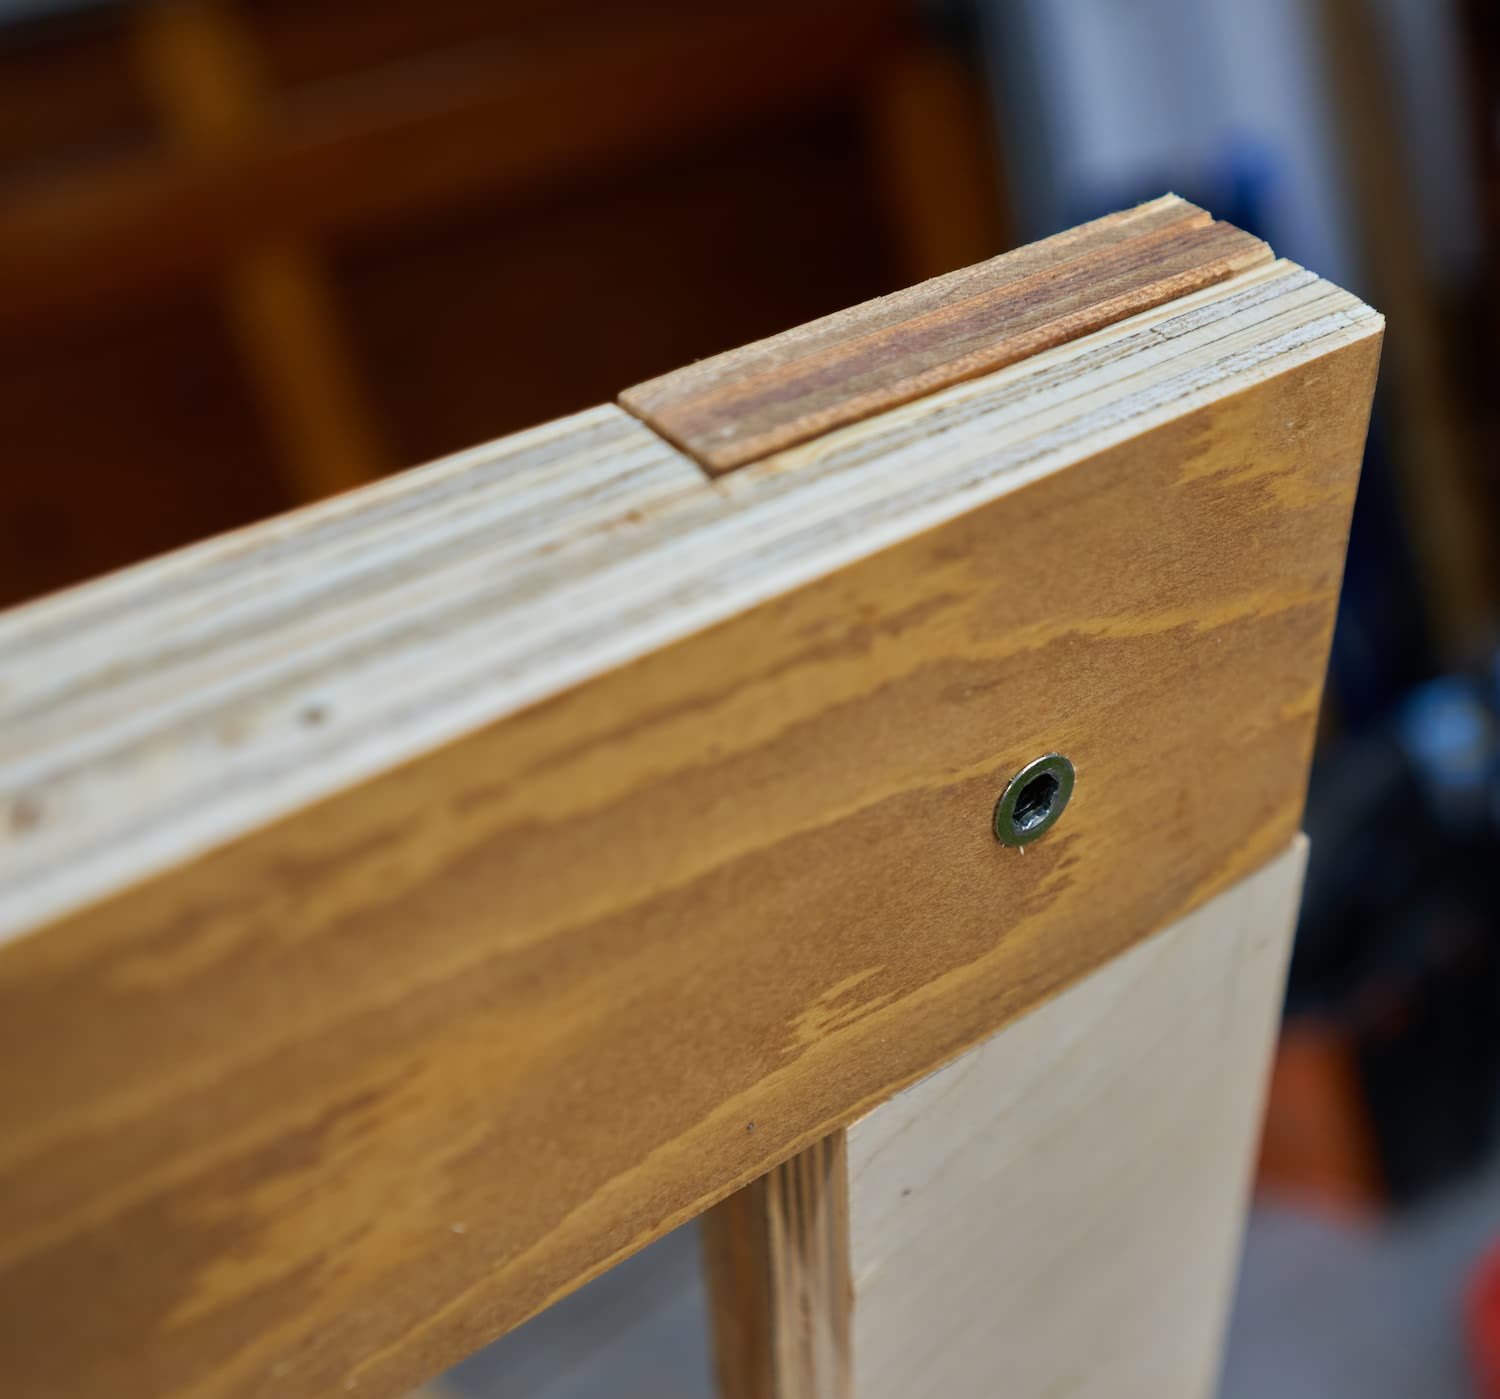
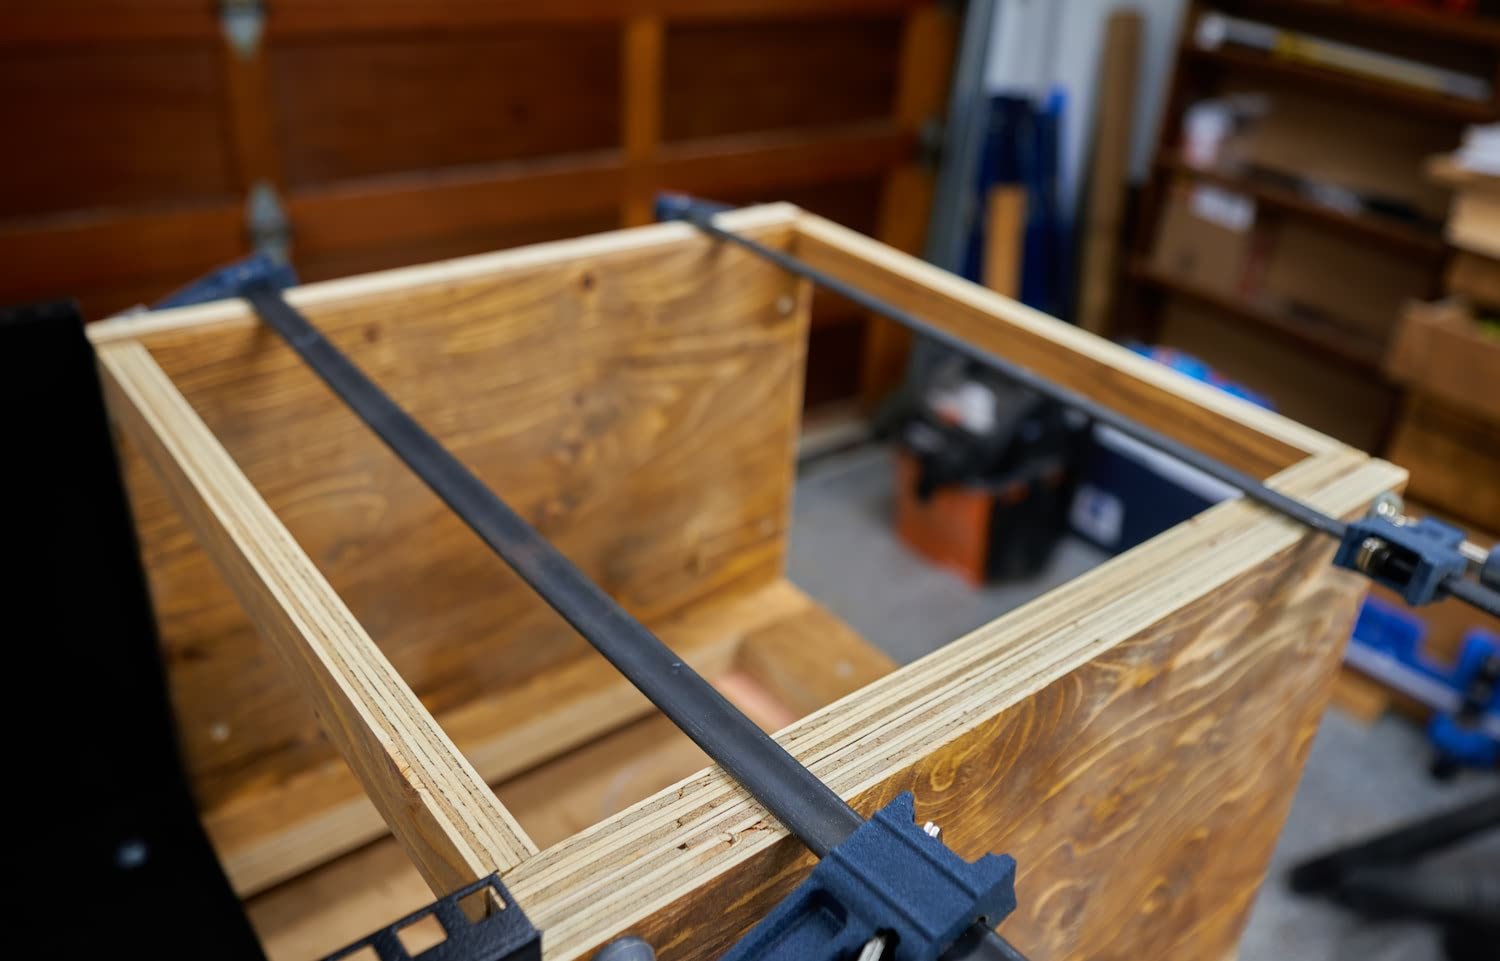
Step 2: Building the New Rack
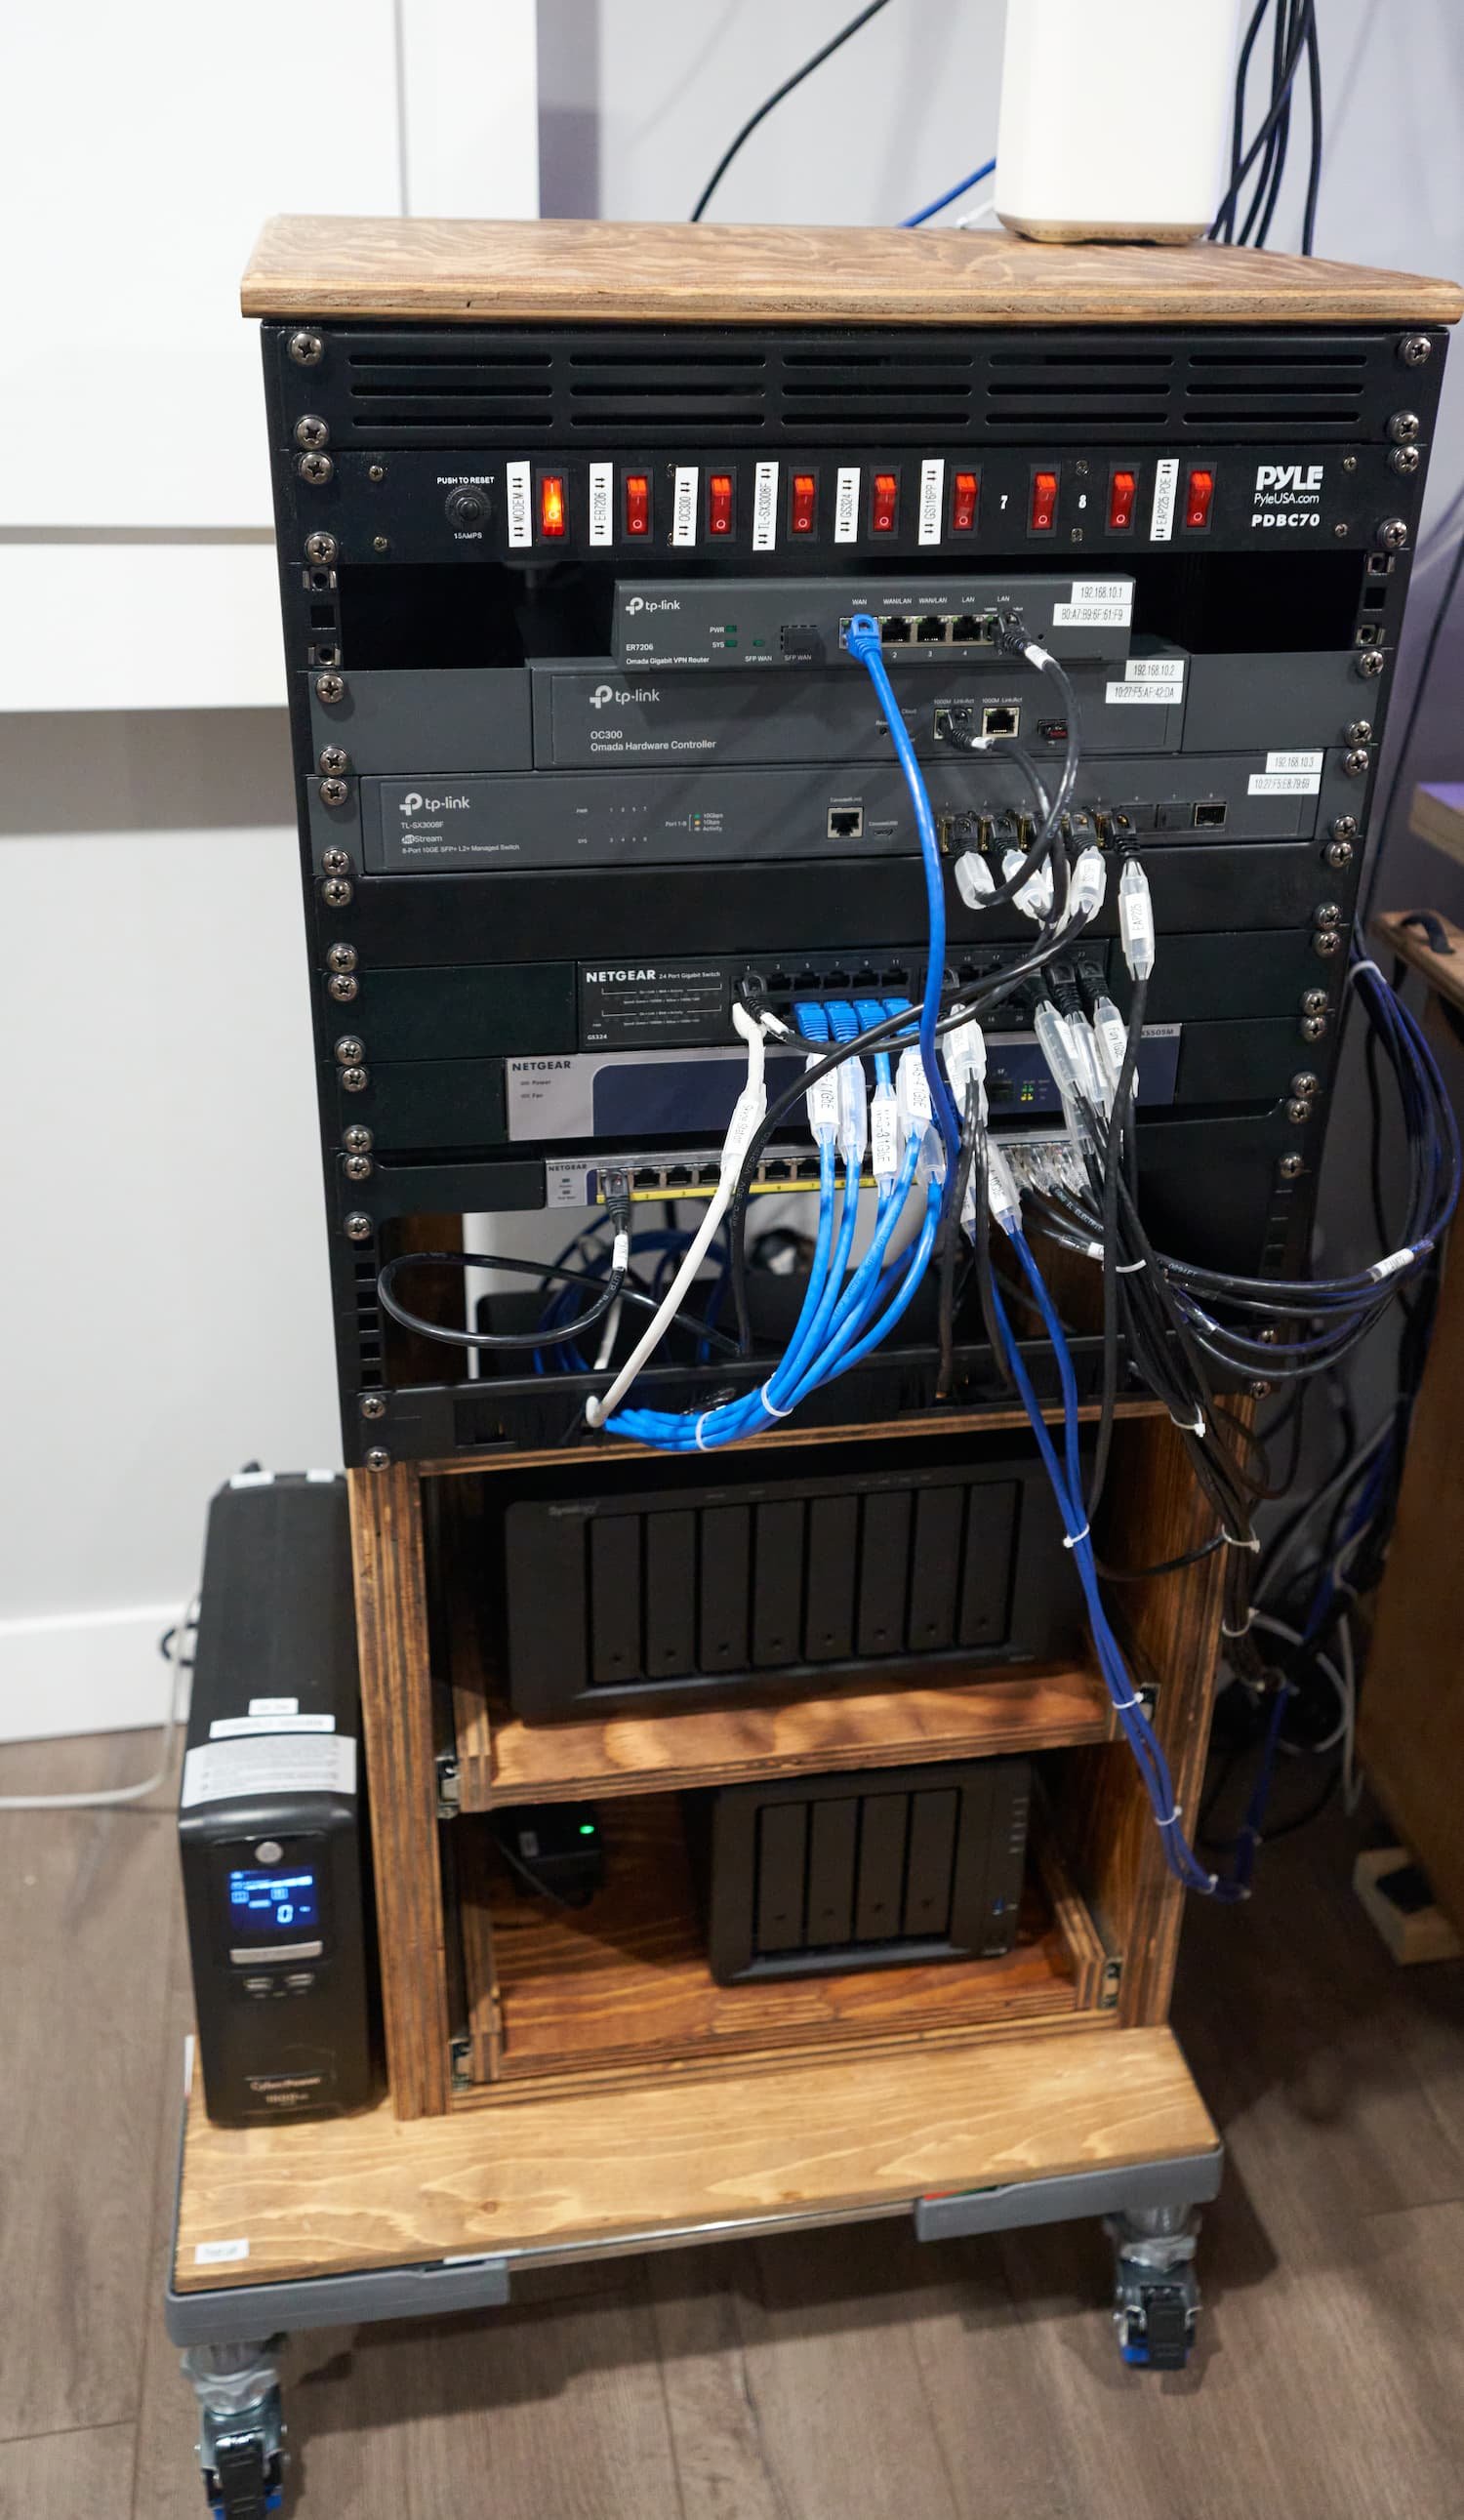
The design for this rack followed very closely with the style of the original, the basic structure is pretty straightforward: it’s a box with two uprights that I bolt the rack to and two pull out drawers.

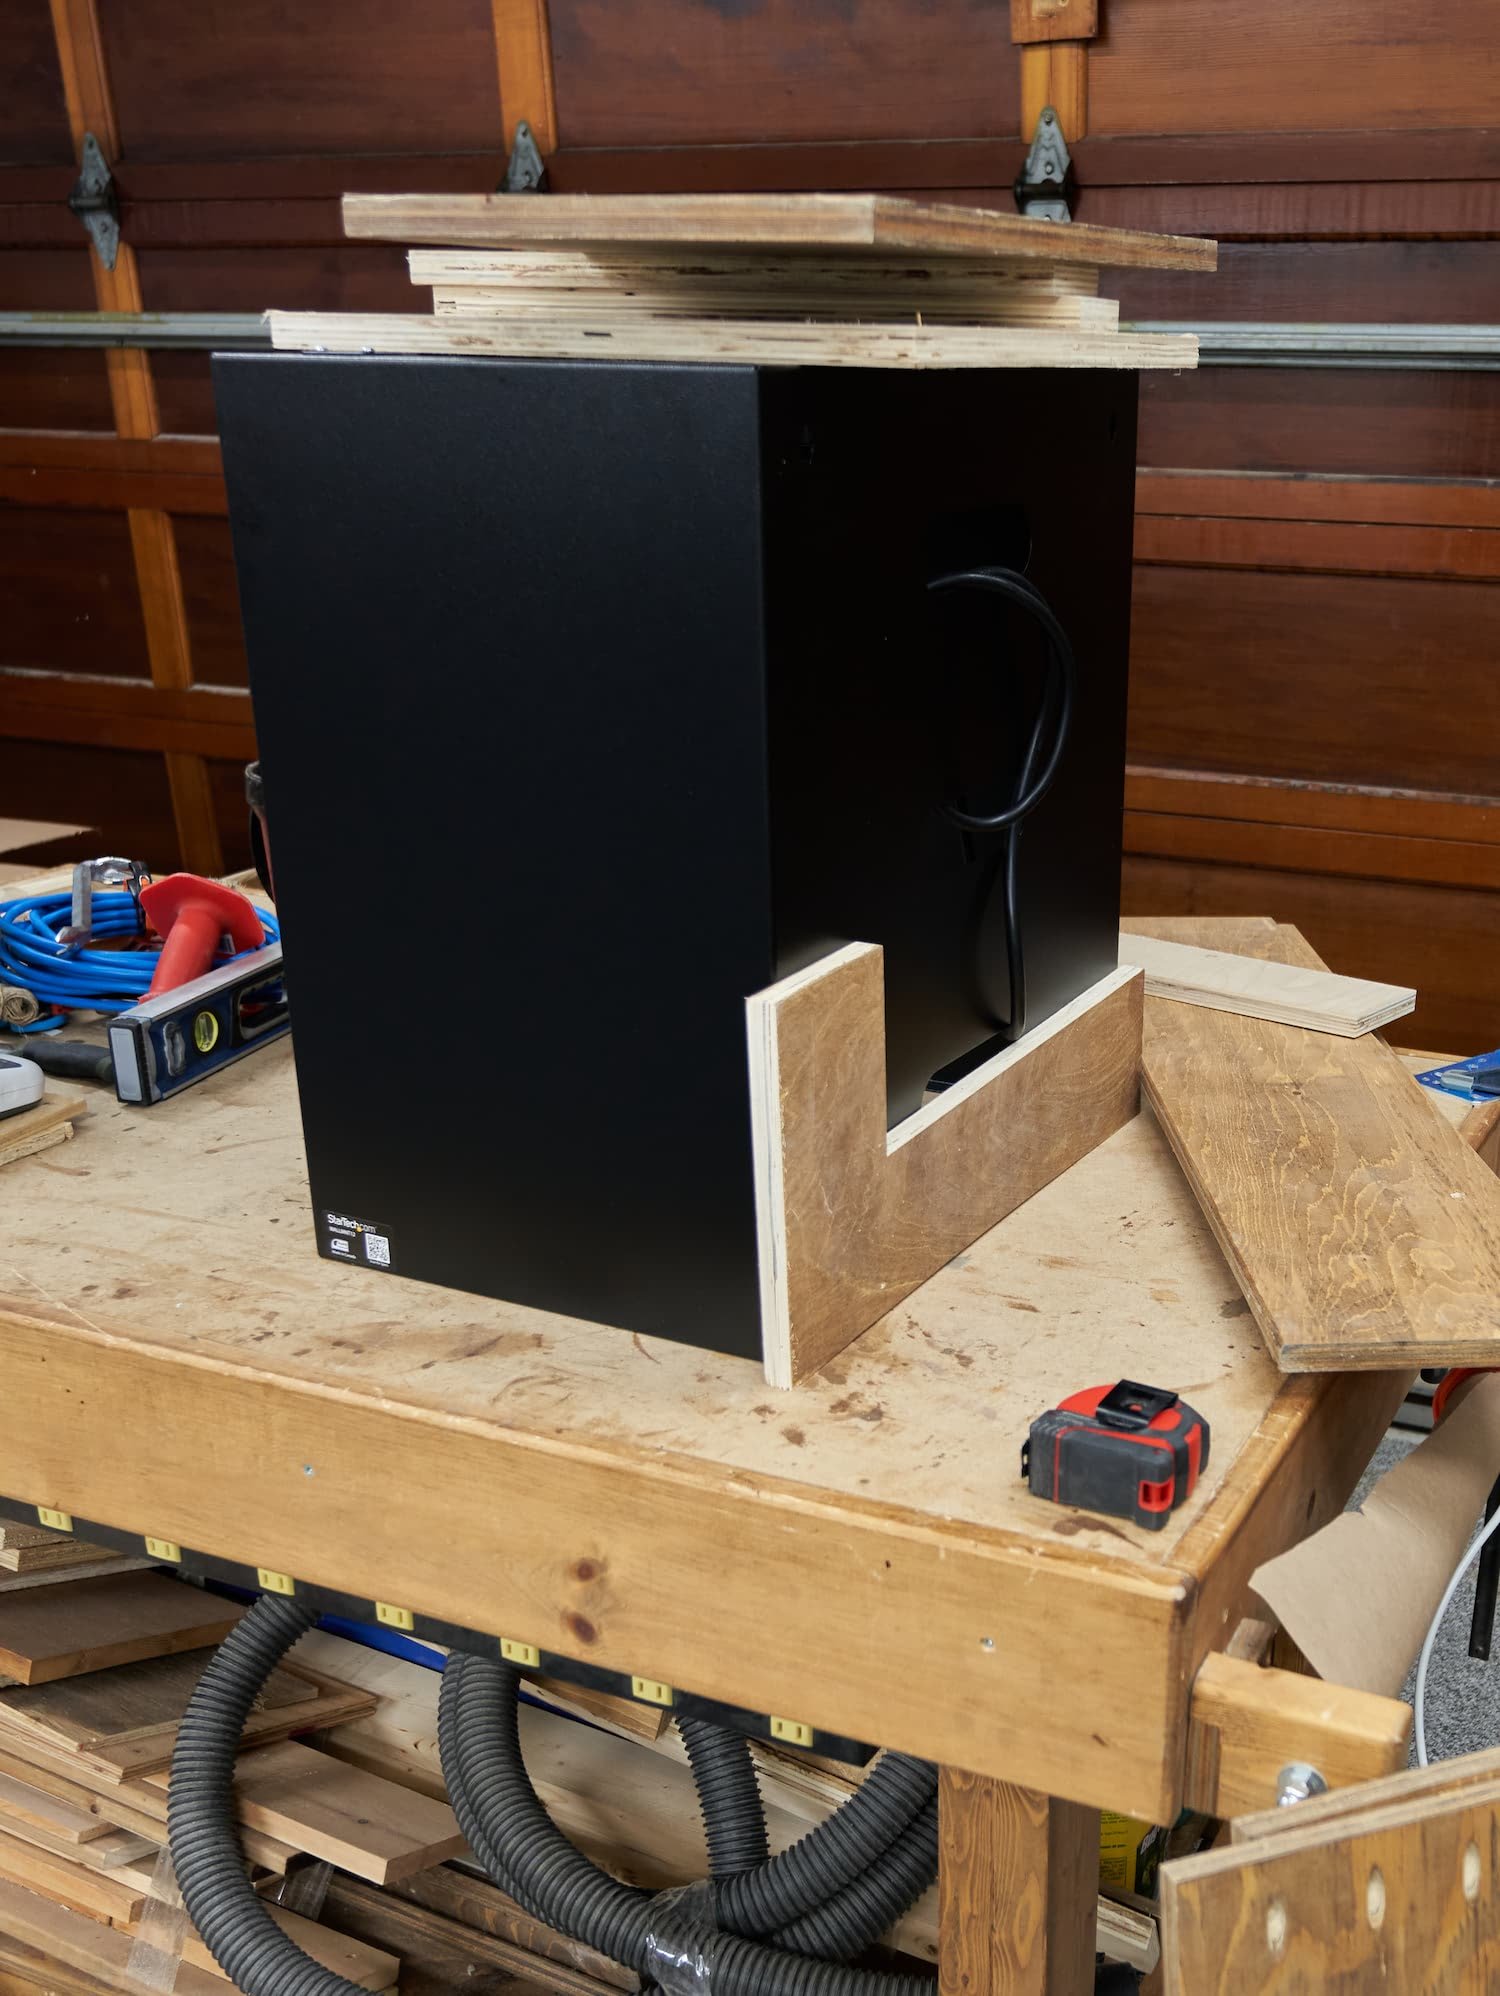


Can I reuse the old base?
I had a pretty good idea that this would not be practical: working inside the rack would not be fun and this would totally be a tip-hazard, but I just wanted to see just how comical it was.
Step 3: Finishing Touches
So not stacking the rack was a pretty straight forward decision; moving forward, I needed to finish labelling installing all of the networking bits into the rack. There are a few things of note:
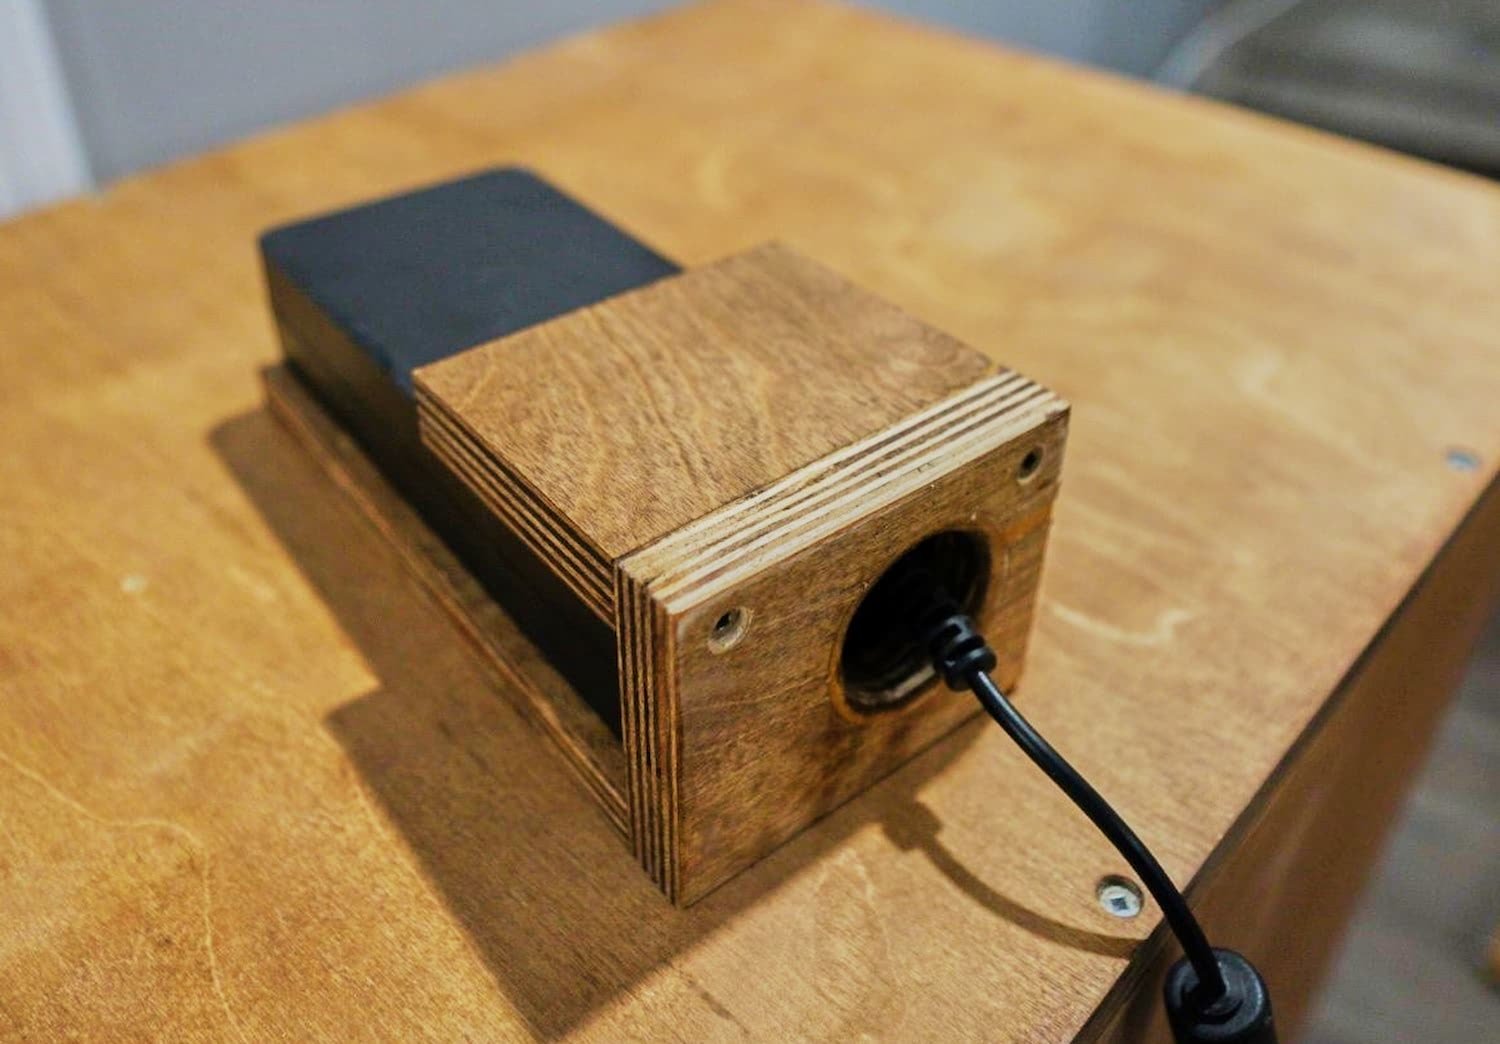
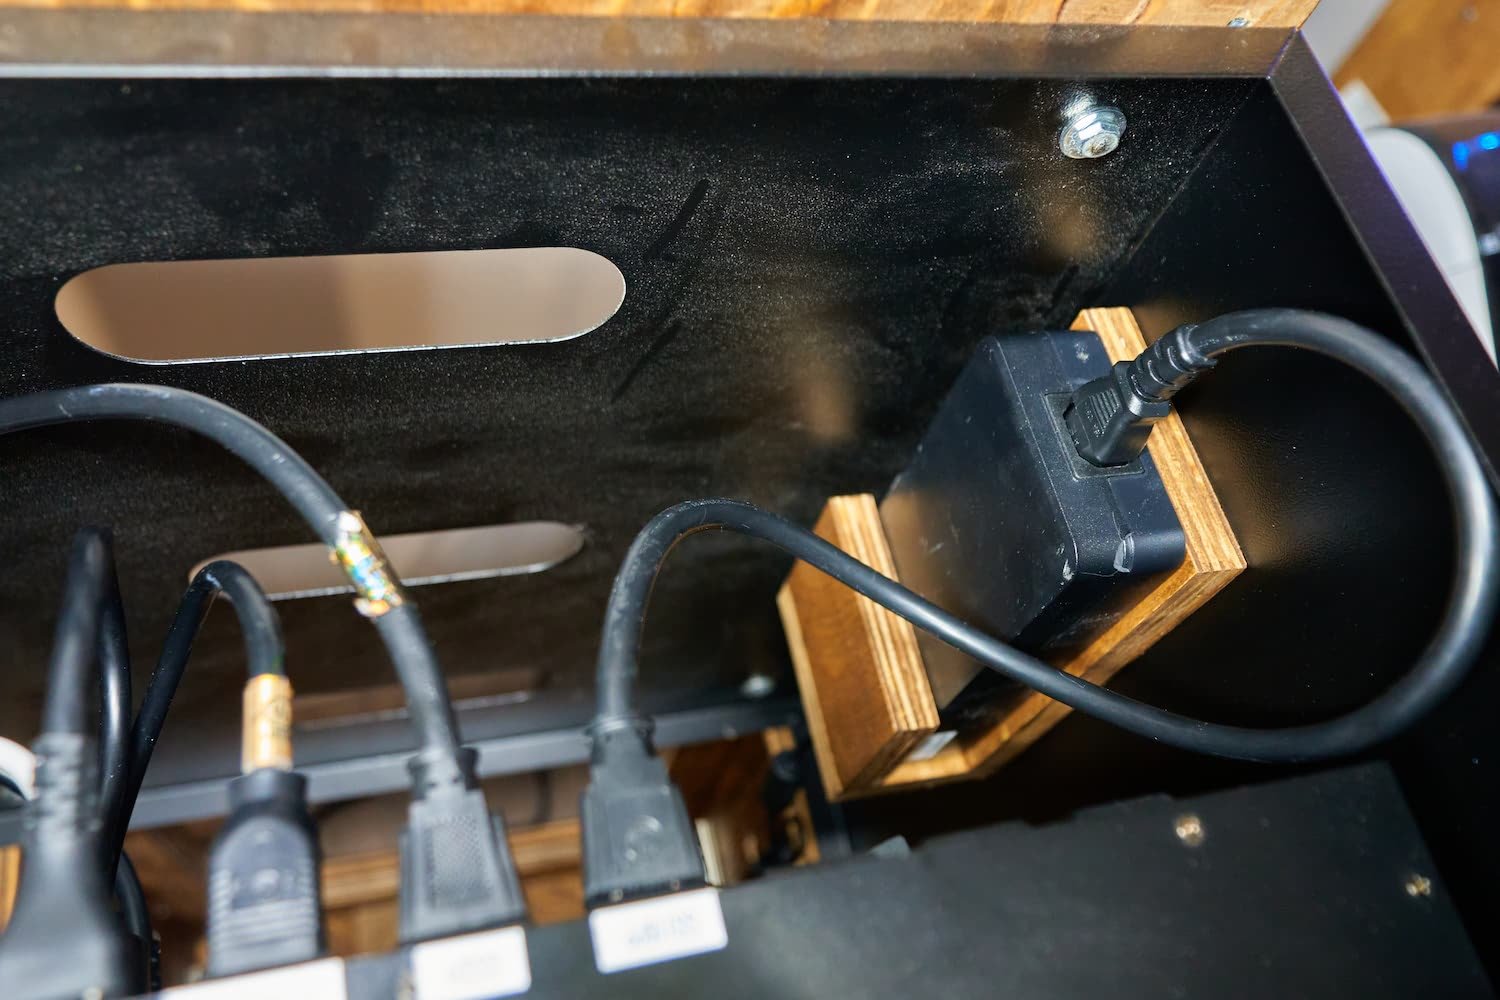
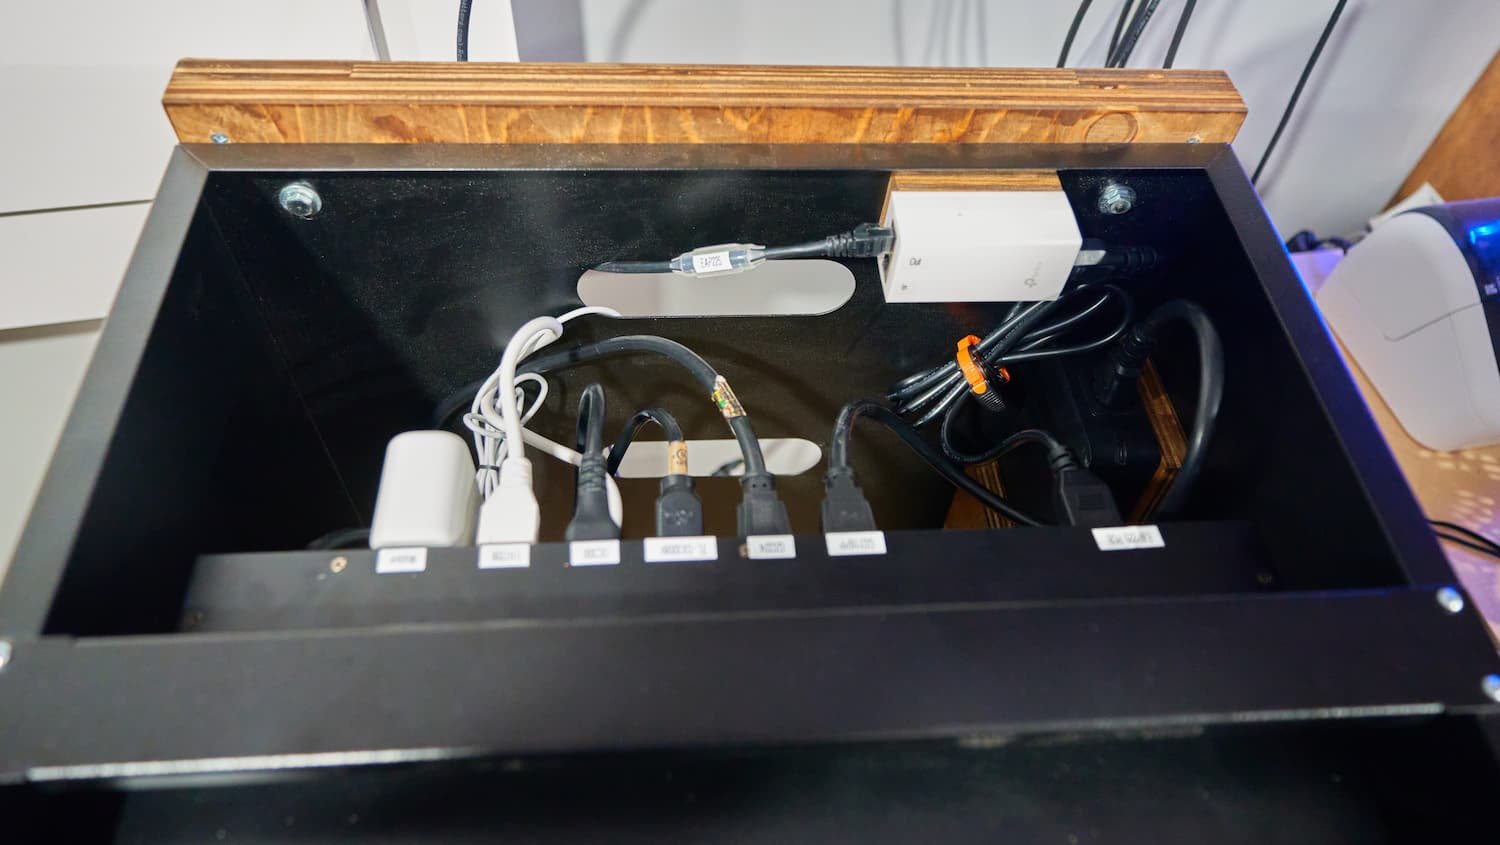
I wanted to keep things as tidy as possible: my POE switch came with a relatively large power brick which didn’t really have a convenient place to go
Part of my plan to use the switched-PDU was to be able to [very easily] reboot the access point. Yes, I could have powered the AP via POE and cycled it in the control panel, but by using an injector, I can then cycle power to the injector to reboot the AP — this makes it a super low-tech way for me (or anyone else) easily reboot the Wi-Fi (at least for the AP in the office here)
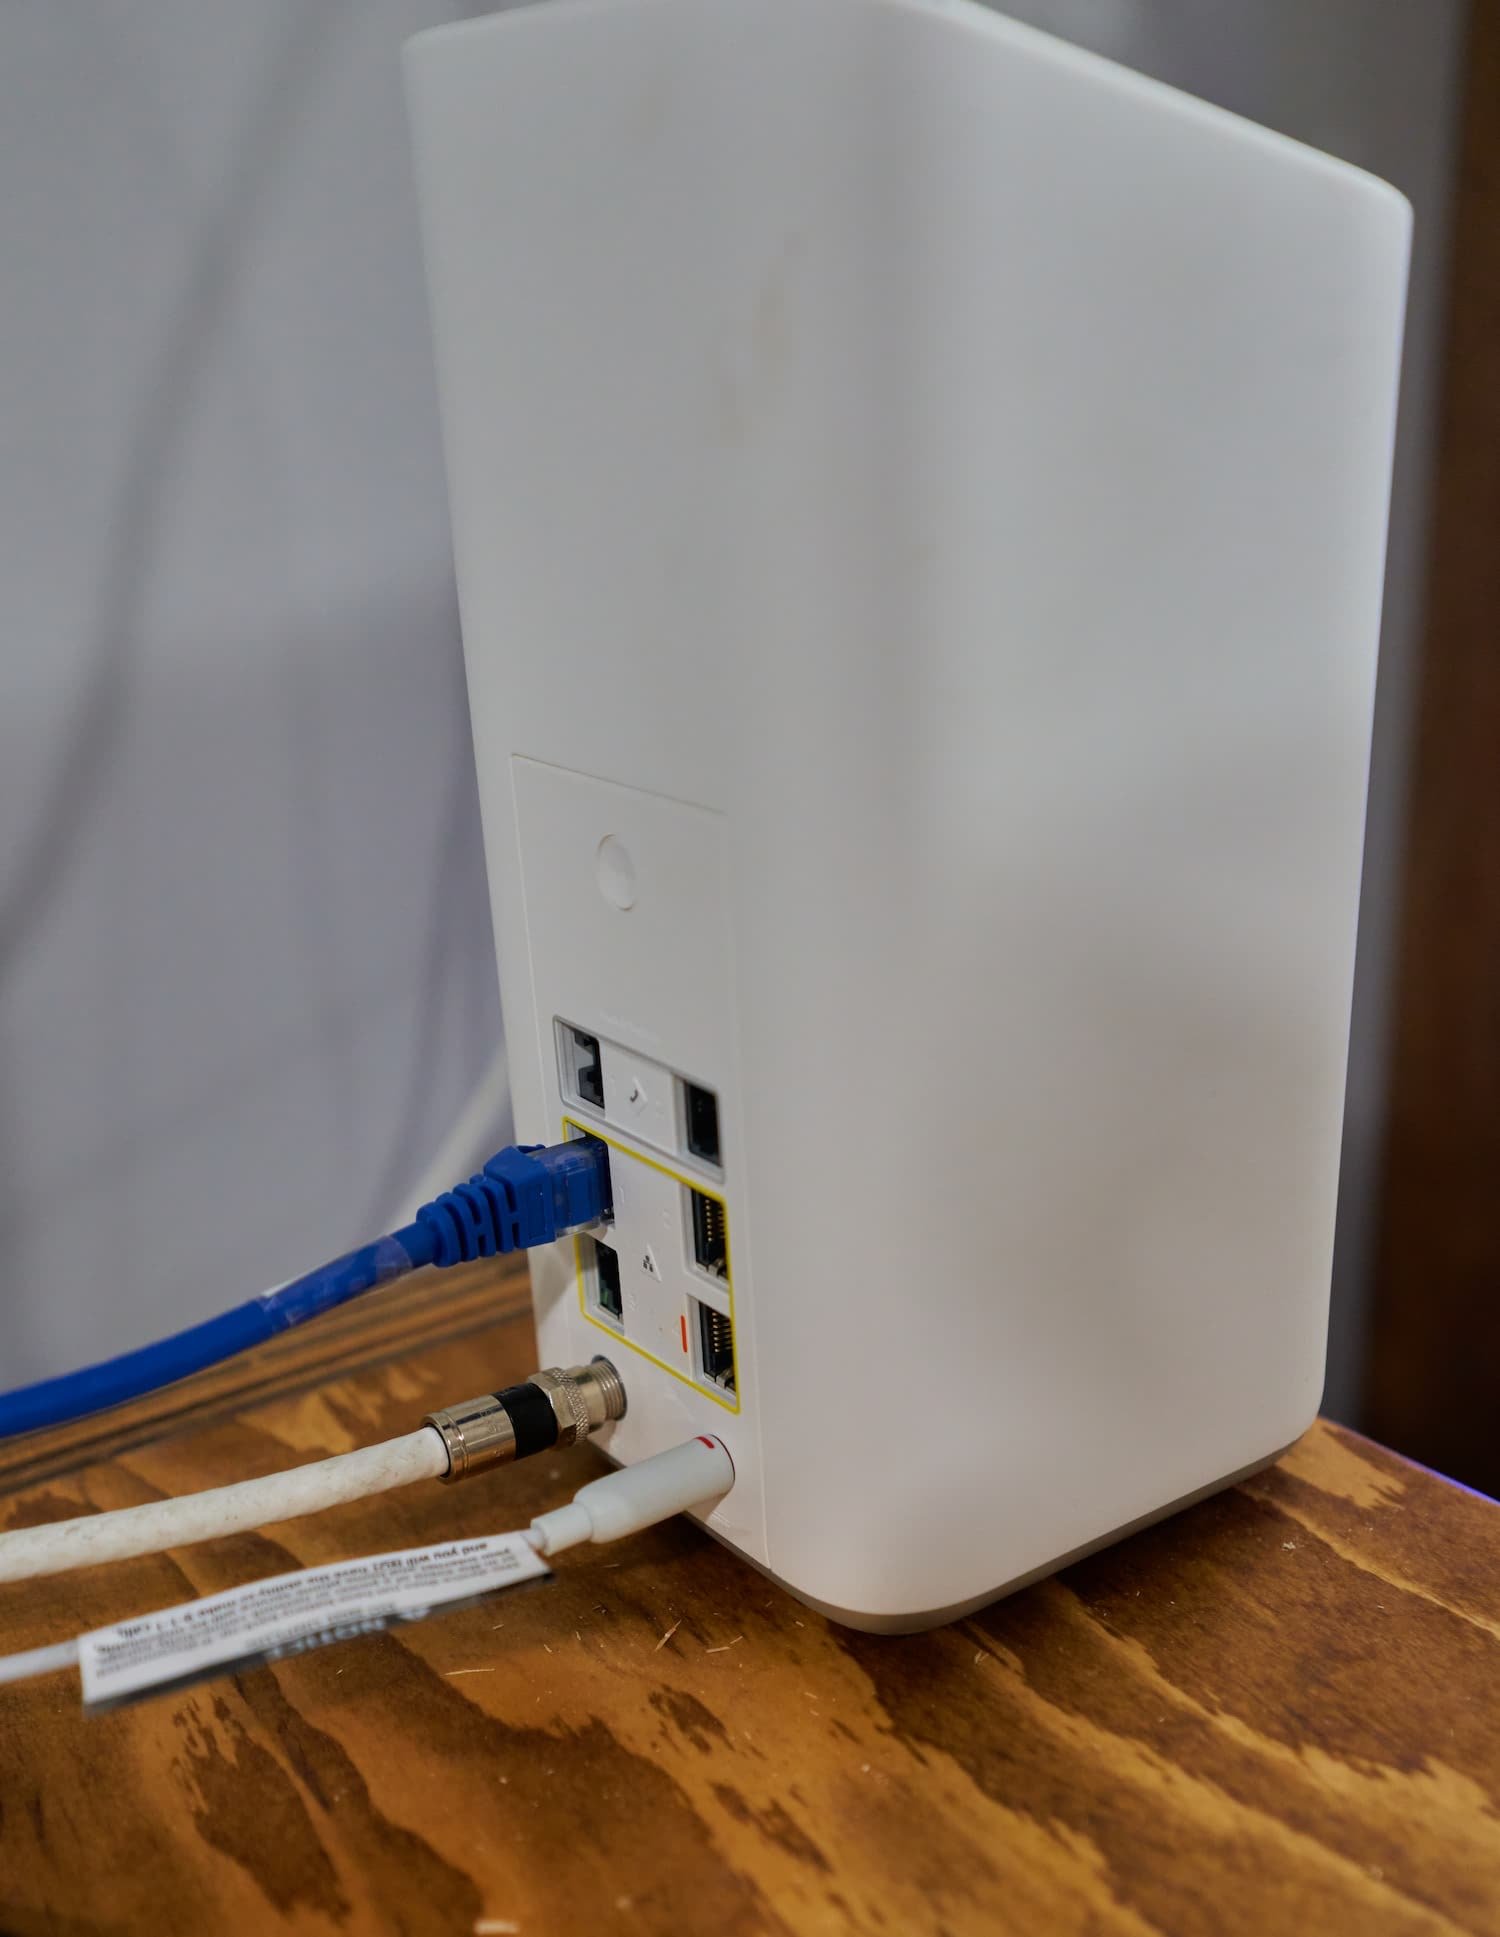
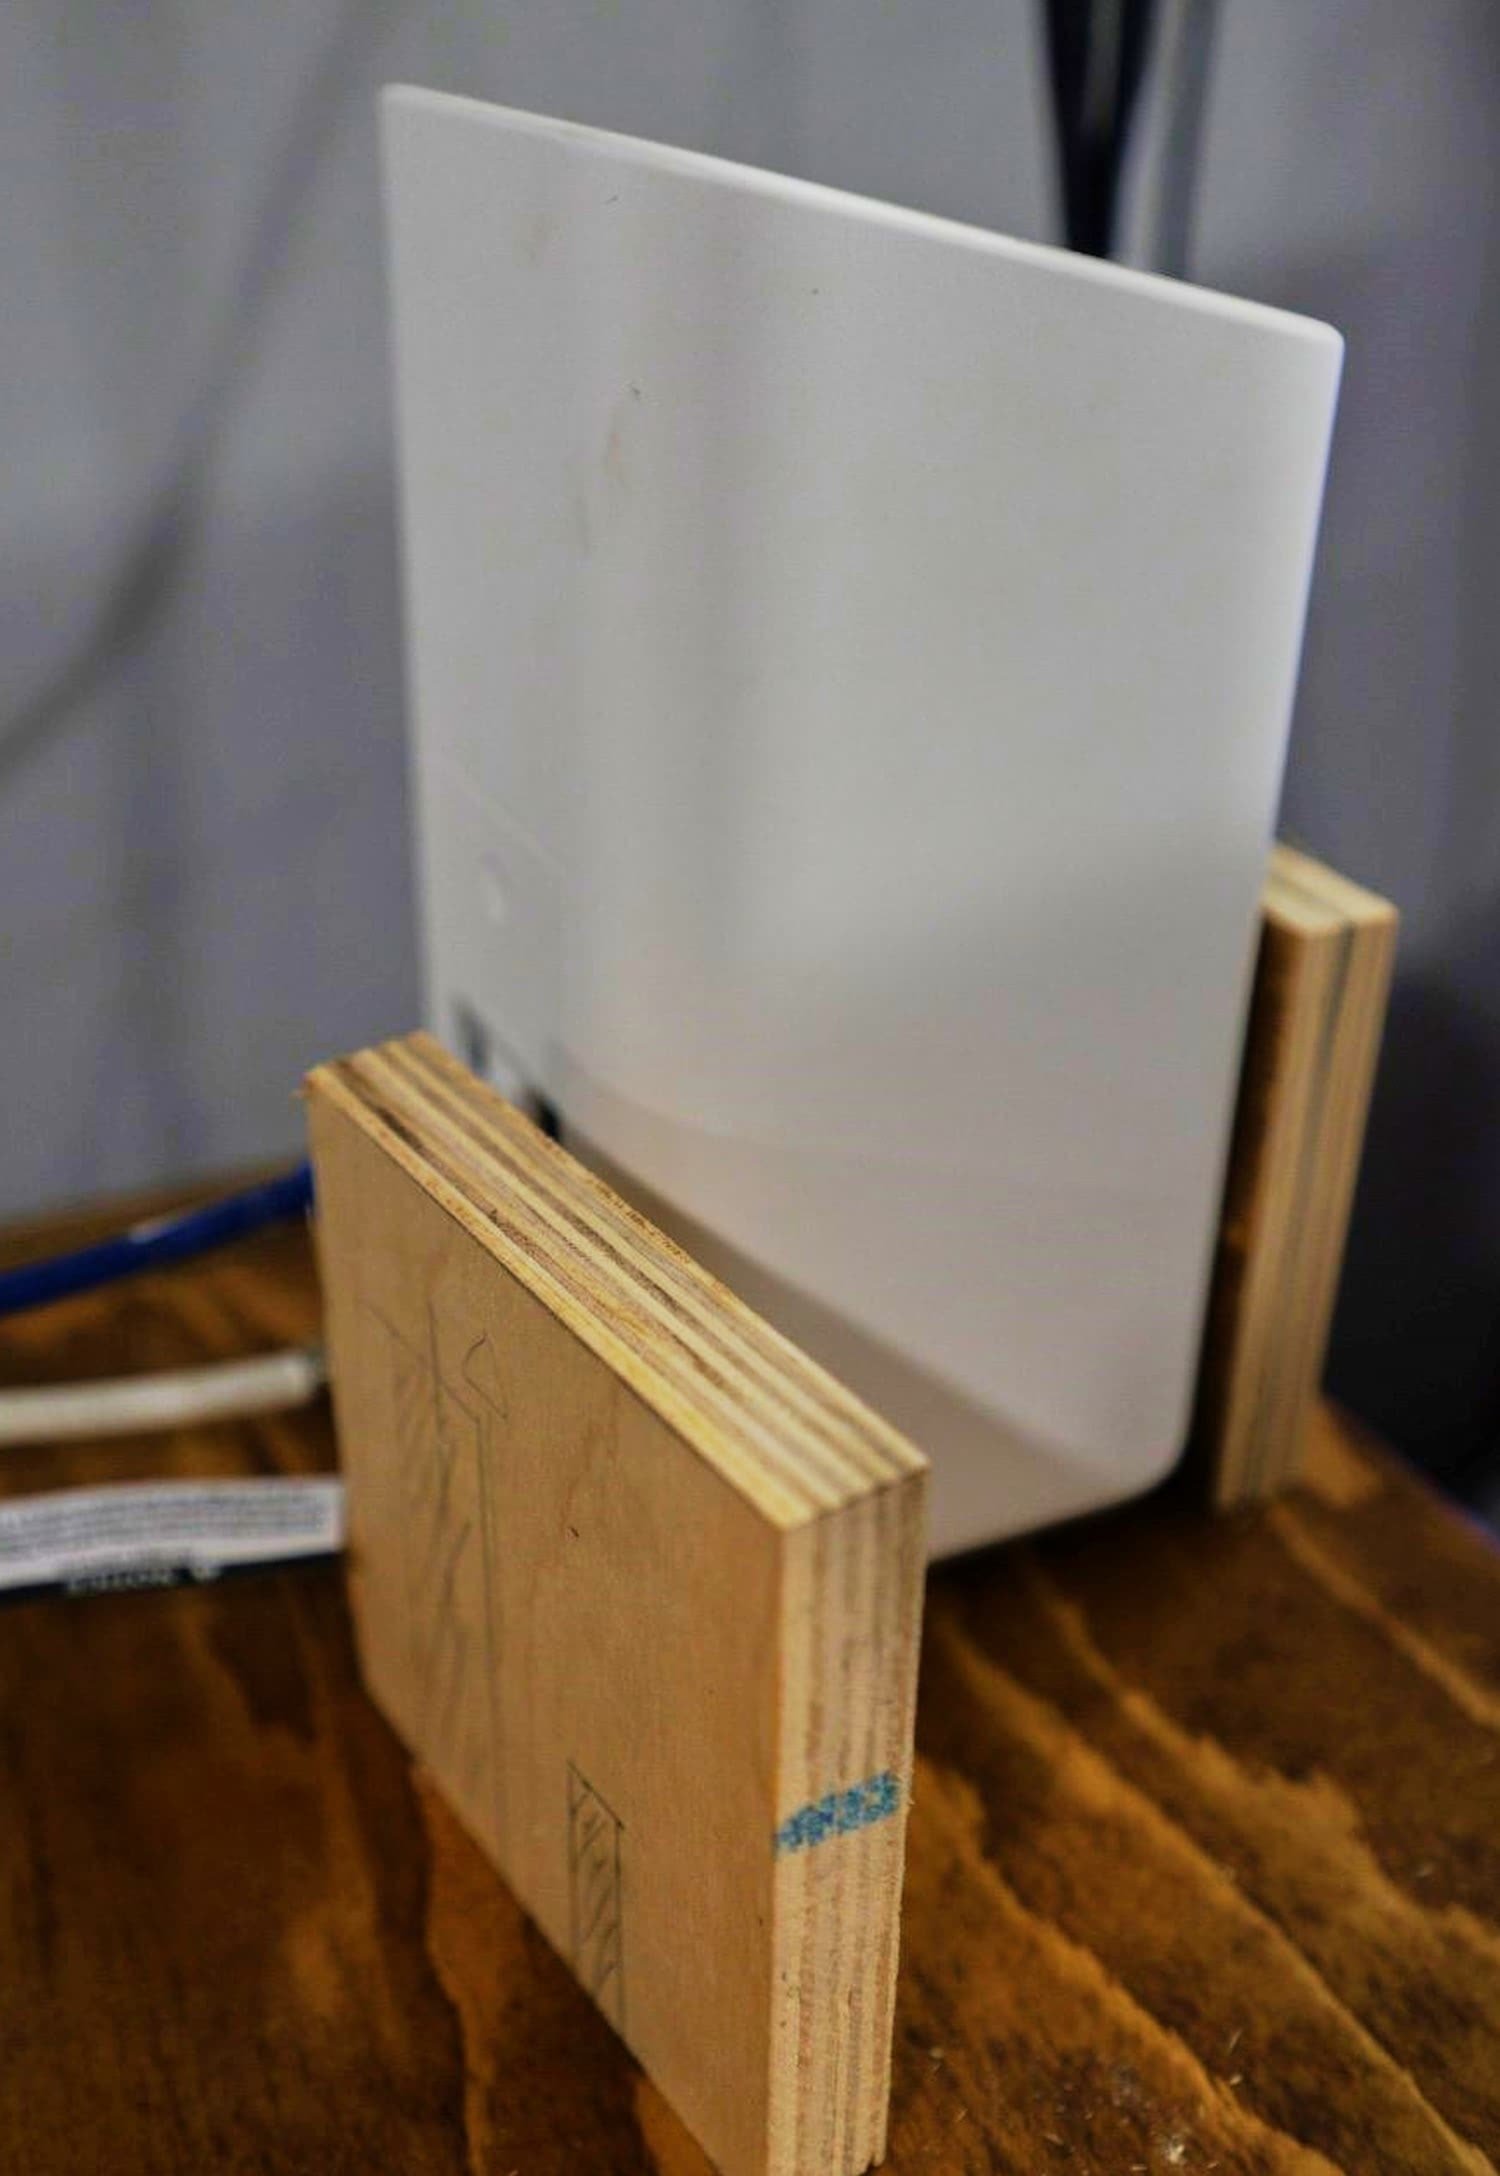
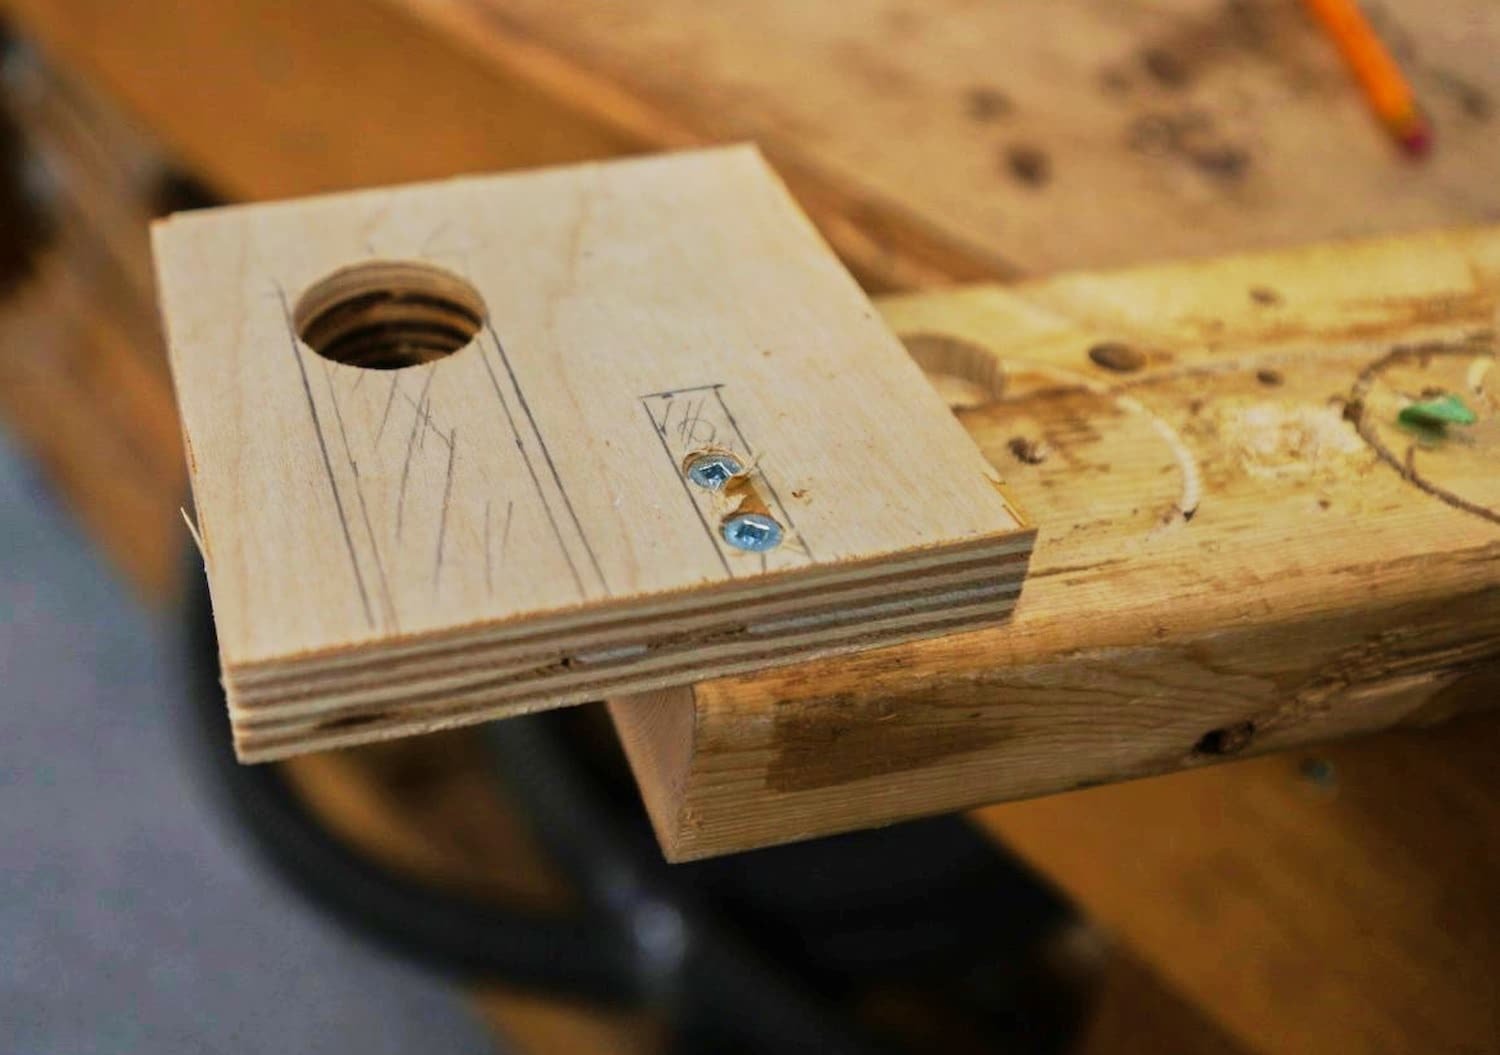
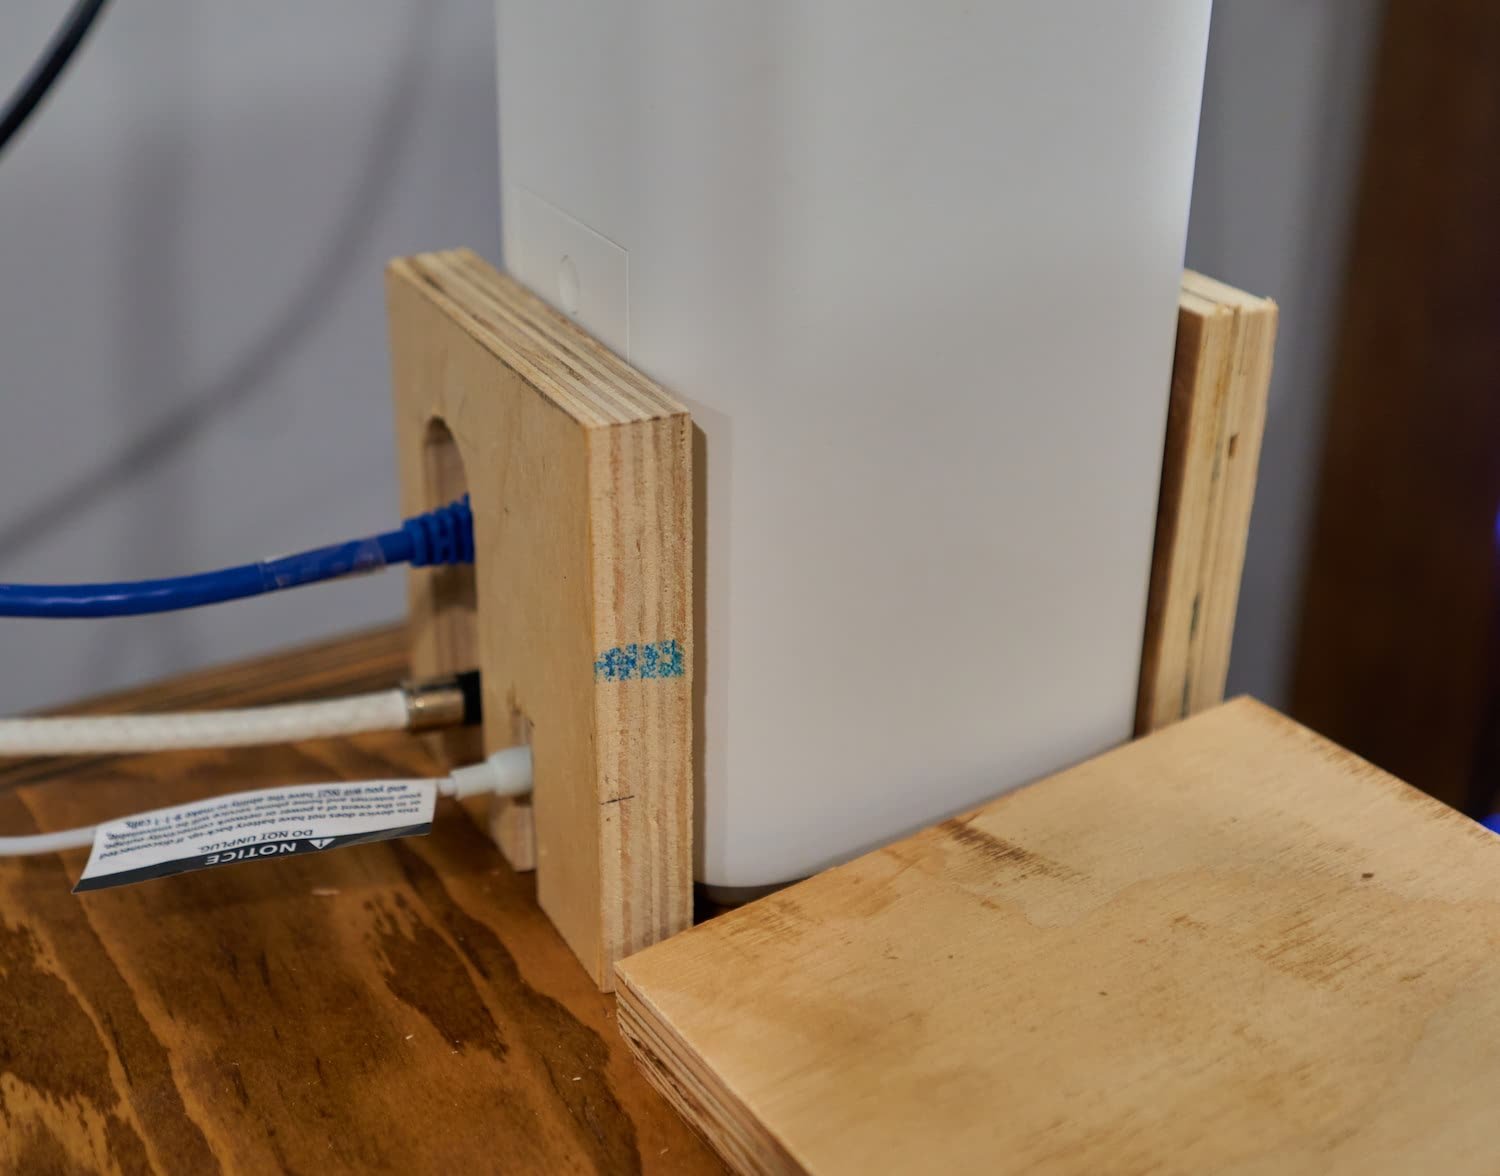
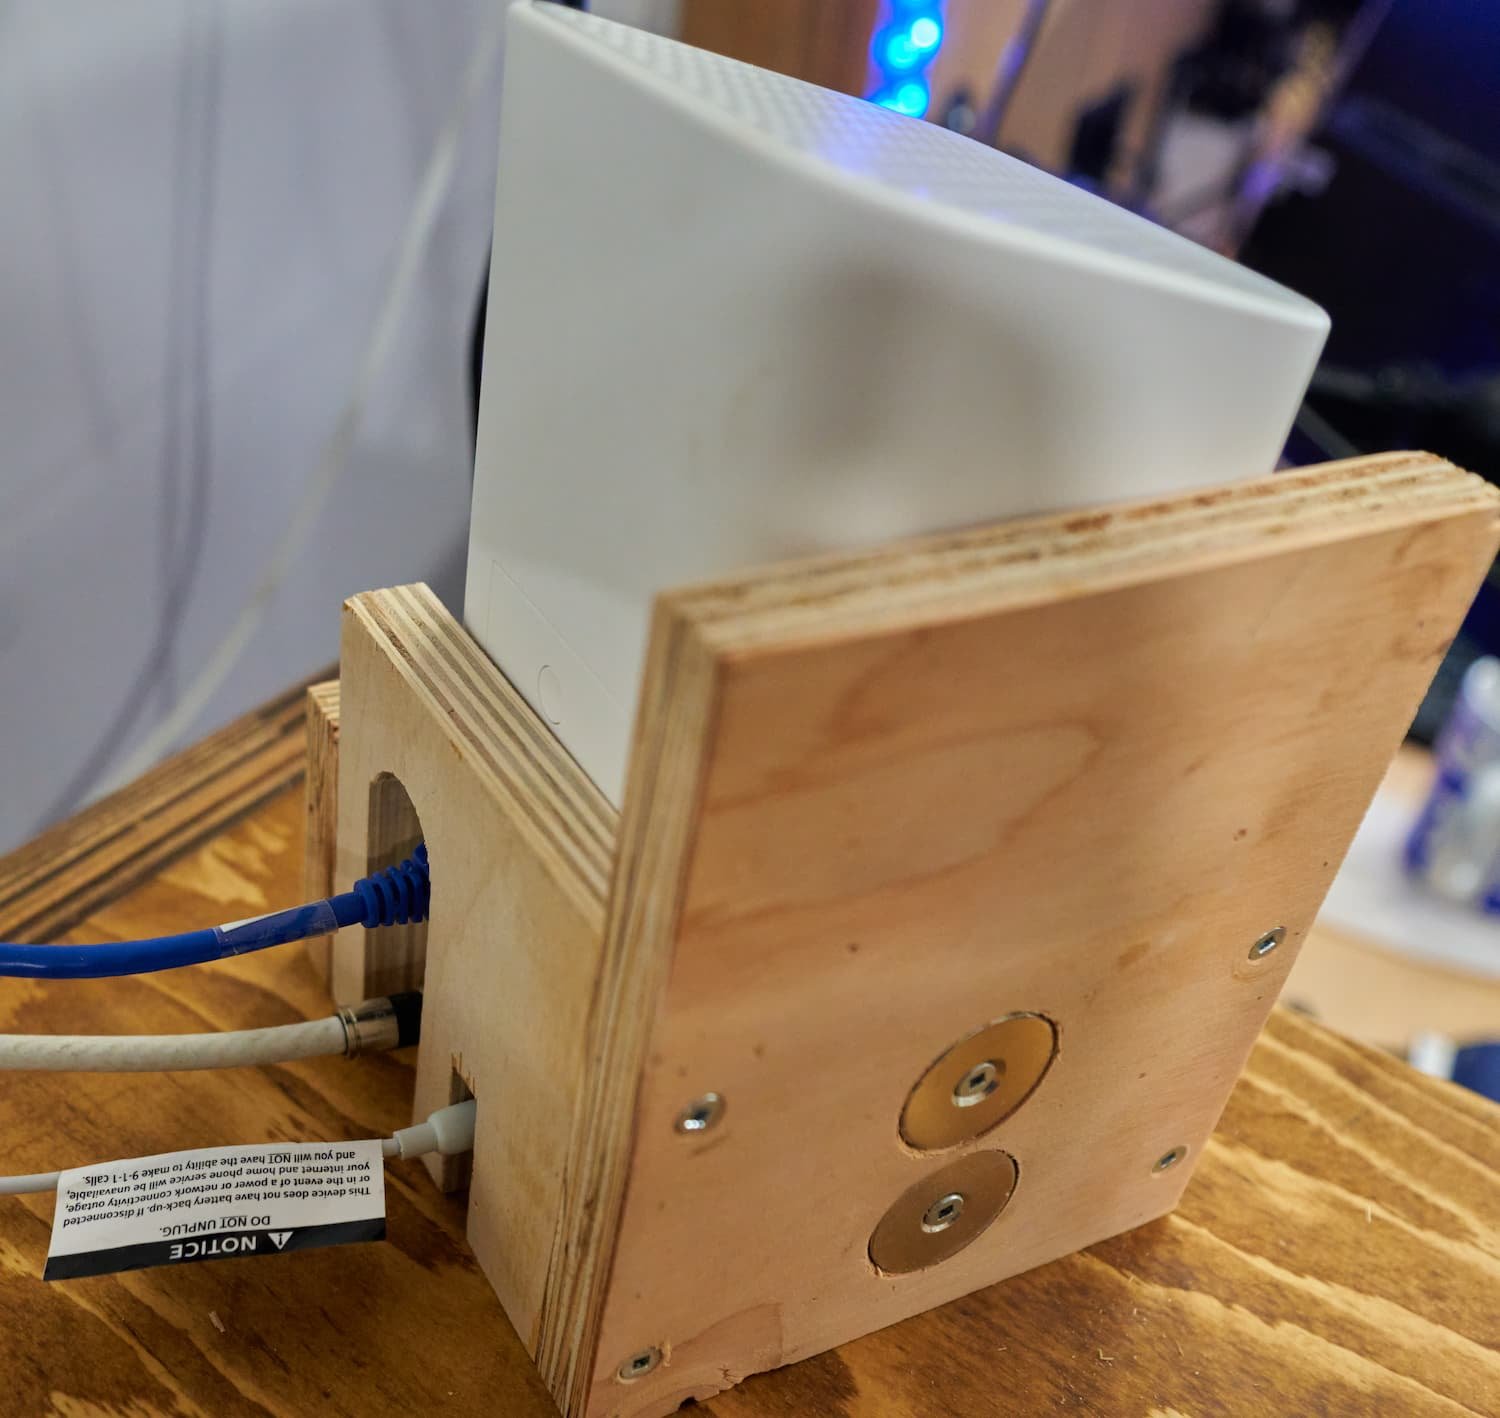
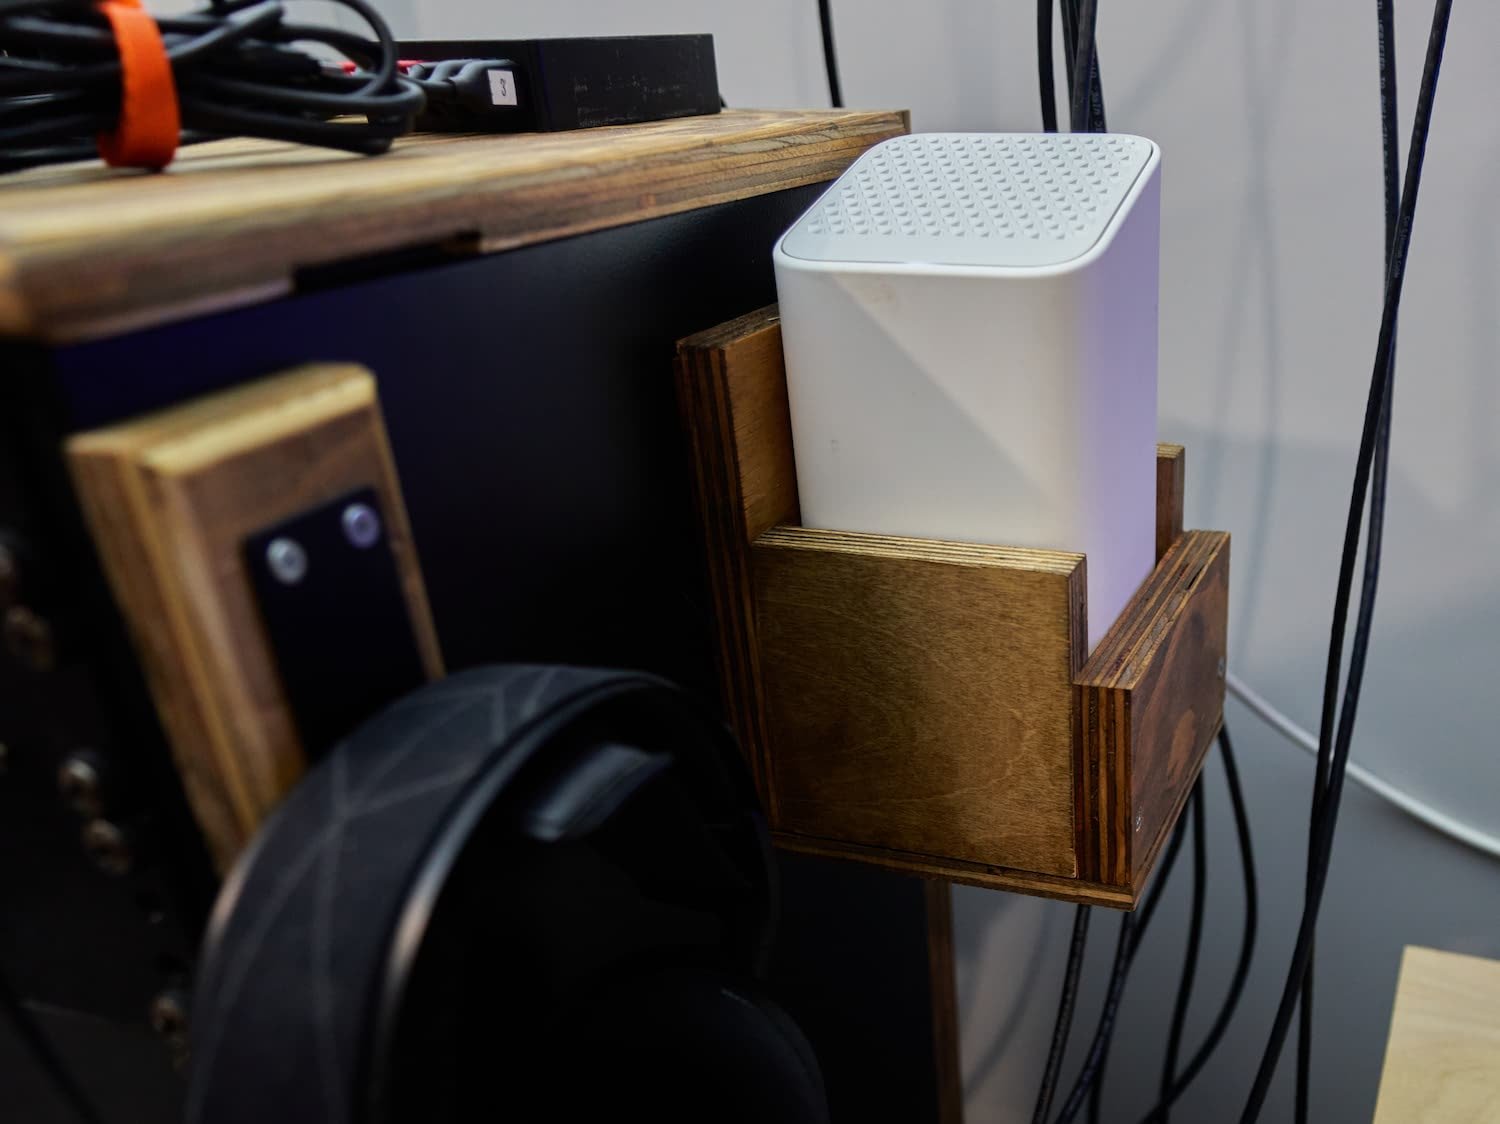
One of the advantages of having a magnetic top to my rack is that I can easily open it and access the innards — which is no good if I have to first shuffle my modem somewhere, so I wanted to find a way to get the modem off of the top of the rack


Milestone
With this project, I set out to make a network setup not unlike my previous one but tailored for the new gear I’m now using and taking into account some of the lessons I’ve learned from using the previous one for a few years. This was supposed to be a quick knock-it-out project so I can get on with other, more important projects - the bulk of this project was knocked out in a day and a few of the finishing touches weren’t very time intensive and were knocked out over a couple weeknights.
All in all, I’d say this was a pretty big success!
Done for now…
Mixups, Surprises and Lessons Learned
By far the biggest lesson is to triple-check that whatever you’re using to level out your base is secure - make sure that it can’t accidentally come apart or come undone! Other than that, thankfully, this project has been pretty stress-free (I did drop the POE switch power brick and it cracked but hey, it still works). Part of me is a tiny bit concerned about the stability of the adjustable height platform — but I did take it apart and verify that there is plenty of thread engagement for the legs. One thing I would consider would be to increase the platform to 3/4” ply (I just used some 1/2” scrap I had on hand) — this would distribute the not-insignificant weight of the rack better over the mobile base.
If I were to redo/revisit this build, there are two things I would add:
A pull out work tray/platform like I have for my desk - somewhere I can put my notes, spare parts etc., or a troubleshooting laptop etc.
A drawer to house a few networking doodads I might need to have handy, maybe a flashlight etc.
As far as future improvements:
I might upgrade the router to the TP-Link ER8411 to get 10G top to bottom and also have it rack-mountable. I still can’t believe that this router isn’t rackable…
Depending on what and how many additional devices I add to the network, I may need to get a second switched-PDU so that I can maintain the easy “reboot any device just by cycling the power switch” functionality. While I could run AP (located elsewhere) via POE (or a power brick closer to the device), there is something to be said for having individual switched power for each access point - we’ll have to see how many additional access points I opt to get
Currently, everything on the cart is powered by a single UPS unit (with one NAS acting as a UPS-server for the other NAS). I would like to get a dedicated UPS for each NAS (and possibly a rack-mount UPS for the rest of the actual ‘network stuff’). This cart was built with multiple UPS units in mind — there is vertical space above the current UPS to build a platform for an additional (desktop-style) UPS unit.
I will need to clean them cables up though, right now it’s a bit of a mess — I’m waiting on some cable organizers and to finalize my network plans and waiting for gear to come out (amidst the chip-shortage no less) so it might be awhile before this is truly “finished”.
One fun surprise was to see just how hot some of the networking gear gets in operation - as a non-networking geek, I admit I don’t usually think to consider the temperatures of networking devices (so maybe this is all in the realm of normal) but it’s kind of neat to see:
The hot spot is centered around the 10G switch
Network Upgrade (2022.1)
This network stack rebuild was motivated by changes to my network - I finally moved away from consumer oriented networking gear to something more scalable.

Original Rack Build
The design for this build very closely follows my original mount which was built to allow a wall-mounted rack unit to be able to sit atop a table or cabinet.
Product links may be affiliate links: MinMaxGeek may earn a commission on any purchases made via said links without any additional cost to you.