

Build Log: Small Parts Organization
Since I started doing DIY stuff, I’ve mostly been using dollar-store containers and honestly — it’s been pretty great considering it’s all built to be disposable. As I’ve expanded more on my DIY stuff, I’ve run into limitations of the cheap containers but the biggest problem is actually attrition — over time the containers break and/or I need more of them but due to the nature of dollar-store containers: the specific containers I had simply weren’t sold anymore. I guess this is a good excuse as any to revisit the whole system.
Quick Links
Starting Point
I made my original screw organizer seven years ago when I was first starting out: at the time I bought my containers at a very approachable price of 4 for $1.25. I got pretty lucky with the containers: they could hold up to 3” screws and I could fit a bulk pack of 3/8” nuts while still being able to close the lid. This was one of the first projects I did and it was a new thing to work with plywood and cutting dados and groves.
Over the years, this parts organizer has actually held up quite well but my earlier inexperience is evident on closer inspection:
For the hardboard inserts that would act as drawers, I apparently really struggled to cut squares/rectangles: the majority were trapezoids (at best) and all different sizes
The dados I cut to rest the inserts on weren’t deep enough
To exacerbate the problem, I just straight up assumed that my cuts in plywood would be exactly 90-degrees — I didn’t realize that there could be any bowing in either the cuts or the joint. This resulted in the front of the drawer being splayed out (wider) than the rear of the shelf
My original screw box organizer (and the dollar store containers I’ve been using)
Goals and Objectives
For this project, since the containers I was using were no longer readily available in my area, this was a good opportunity to look at new containers. When looking for containers, I wanted to find:
Ideally 2-3 different sizes so I could tailor the container to the hardware type
Had to be small enough containers that it made sense to cluster them into a rack
Labels could easily be applied
Had a lid that would not come off if I accidentally dropped the container
Was reasonably durable and wouldn’t completely fall apart when I inevitably dropped it
Was readily available if I wanted to get more containers down the road
While I wasn’t opposed to containers with attached/flip lids, I always found that the [dollar-store versions] lids never opened to 90-degrees and often didn’t stay open if you tilted the container — so you’d be constantly fighting a lid that wanted to close on you so I generally looked at 2-piece designs where the lid comes off.
These criteria ruled out typical options like baby food jars, small Tupperware, yogurt containers etc. An early candidate were Viewtainers but availability and pricing in Canada ruled it out (in some cases, they were at least 7X the cost in Canada!). Eventually I settled on Kreg small parts containers (yes, the same Kreg as pocket-holes). The come in small and large sizes.
Why not a parts bin or multi-tray parts organizer?
I actually have a parts bin that contains a bunch of each different type of fastener that I commonly use — I’ll grab this if I need to work on something in a remote location and I don’t necessarily know what size screw I need. When I’m working in the shop, for the way I work, I want to be able to grab one singular box to get the thing I need which is why I went with individual containers.
Step 1 - Prep the Containers
So these containers are pretty cool — for most people: they come in two (good) sizes, are reasonably durable, have a dry erase label pre-applied and can even sort of stack. Of course, me being me, I couldn’t leave well enough alone and I had to min-max the label with my own custom labels (more on that in a second). I initially tried to apply my label to the dry-erase label and it just didn’t adhere as nicely as I wanted — and it was a huge pain to get the label exactly sized and placed to get 100% coverage over the existing label.
So off with the label! Except the label is a nightmare to remove: not only is the label covered in a plastic film (to provide the dry-erase functionality), it’s that type of label underneath. The type that doesn’t peel off nicely but instead you have to fight tooth and nail to rip of bit by bit. The good news (for most people) though is that this is great — it’s a durable label! The process is pretty straightforward, just a bit tedious:
Peel the outer plastic film off
Struggle to peel the plastic-coated paper-label off: you’ll need to strip as much of this plastic layer off as possible
Spritz the remaining paper label with Goo Gone
Scrap the remaining residue off
Now you have to wash the Goo Gone off — dish soap works great


Step 2 - Make your labels
I could have went with using my normal label (strip-style) label maker but this was a good opportunity to leverage larger custom labels to really make the labels useful. I have a Brother QL-800 and the software allows you to size elements in inches/mm so it’s pretty straightforward to create exact-size elements. For the smaller container, I added a dotted cut-line to make it easy to trim it to the appropriate width.

Having a to-scale depiction of the screw or doodad is really handy if you’ve got a bunch of loose fasteners at the end of a project and you want to put them back in the appropriate containers: it’s easy to spot the difference between a 1” and 3” screw but perhaps 5/8” and 3/4” might cause mix ups (or perhaps the same length screw but #6 vs #8). The nice thing about these thermal label printers is that it doesn’t ‘cost’ you anything to print pictures (there’s even a High Quality mode — no reason not to always print with that on) and truthfully. the output comes out quite sharp (much sharper than I expected).
When applying the labels, I opted to seal the edges with transparent tape to keep them from peeling off; this was partially because I had a roll of removable-labels loaded into my printer (from our move) but also because I wanted to be able to easily remove the label and repurpose a container if the need arose. I made some labels to go on the front-edge as well since I was planning on storing them in such a way the top surface wasn’t necessarily visible.
My final (for now) labels, now with front-edge labels so that I can store them in a stacked manner
Step 3 - Building the Organizer
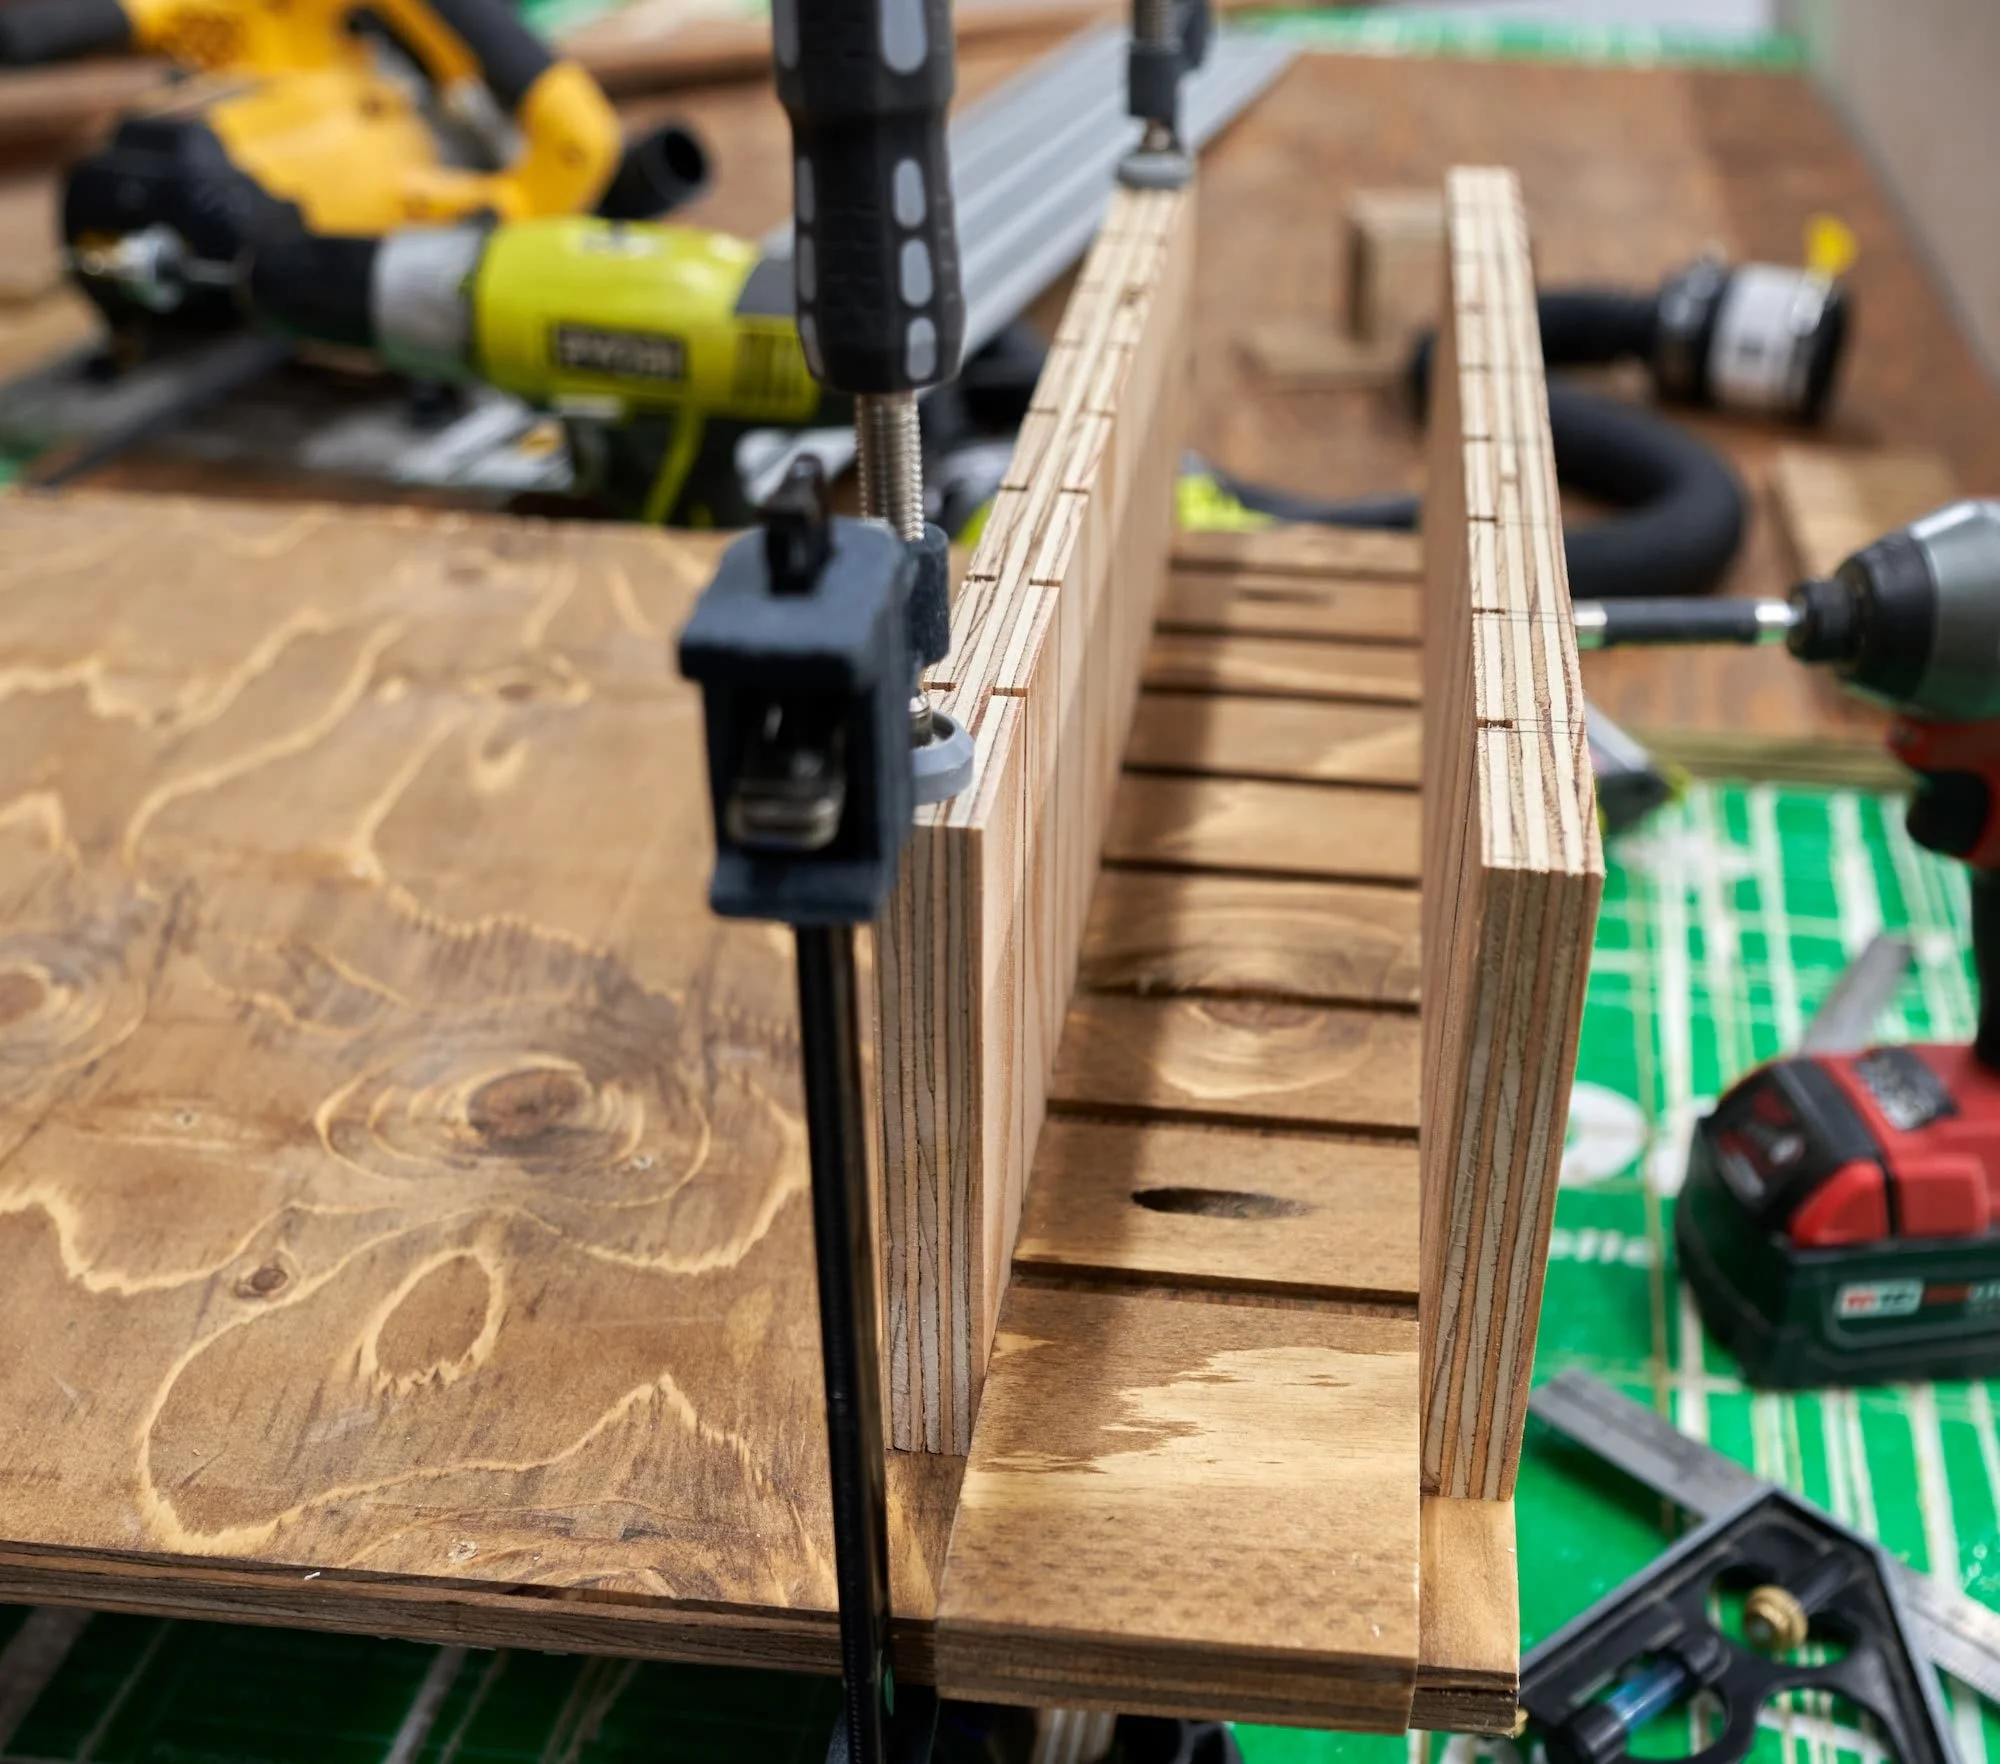
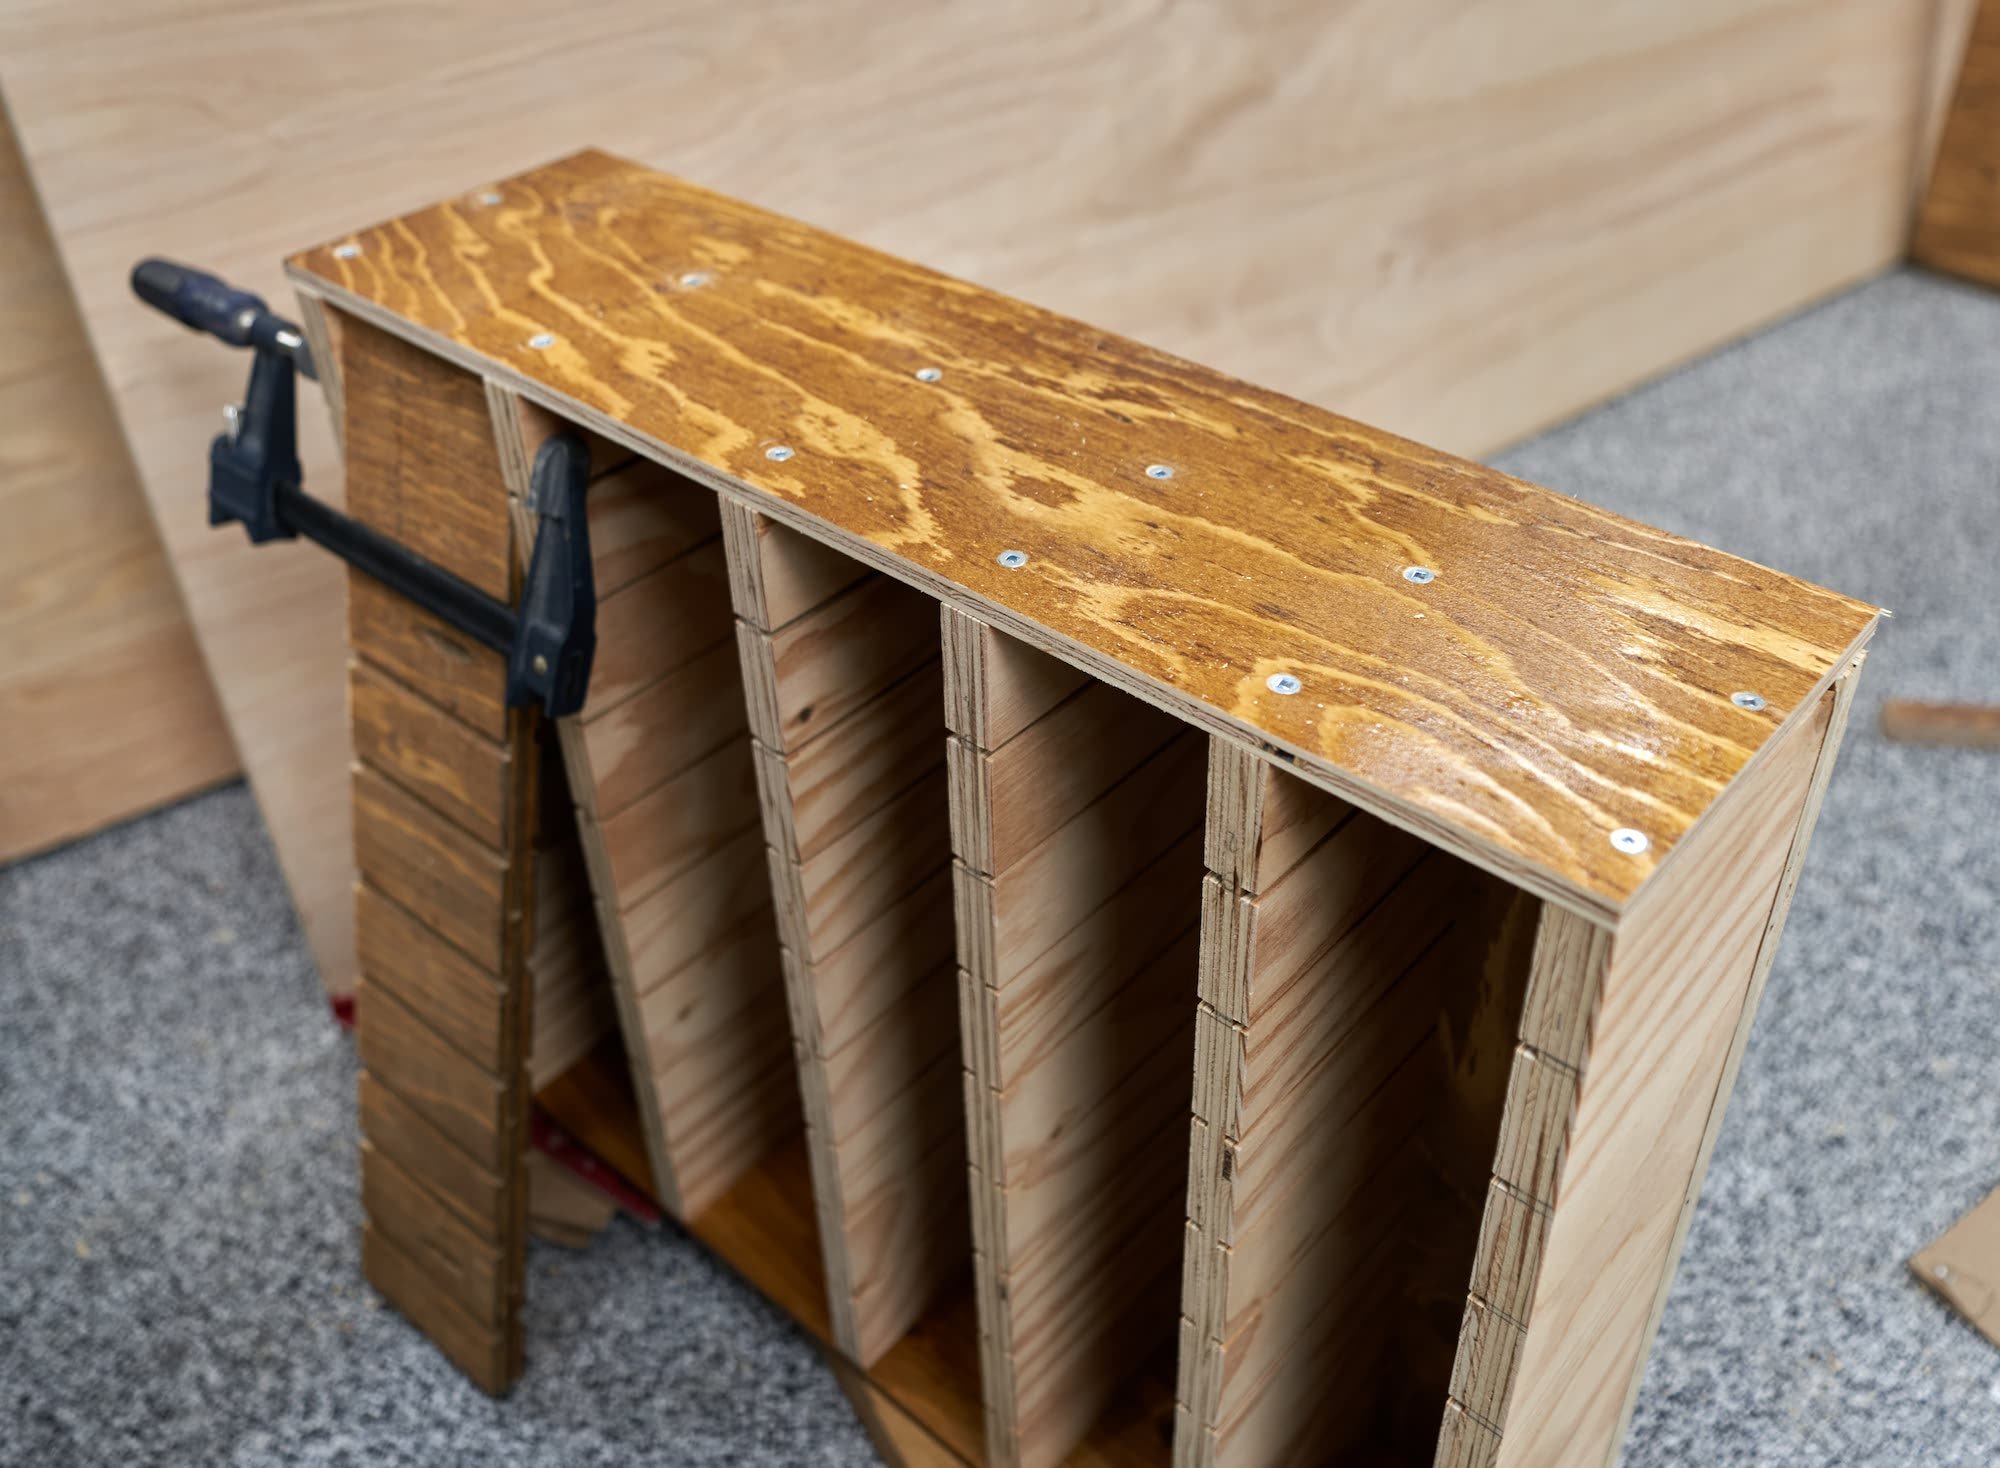
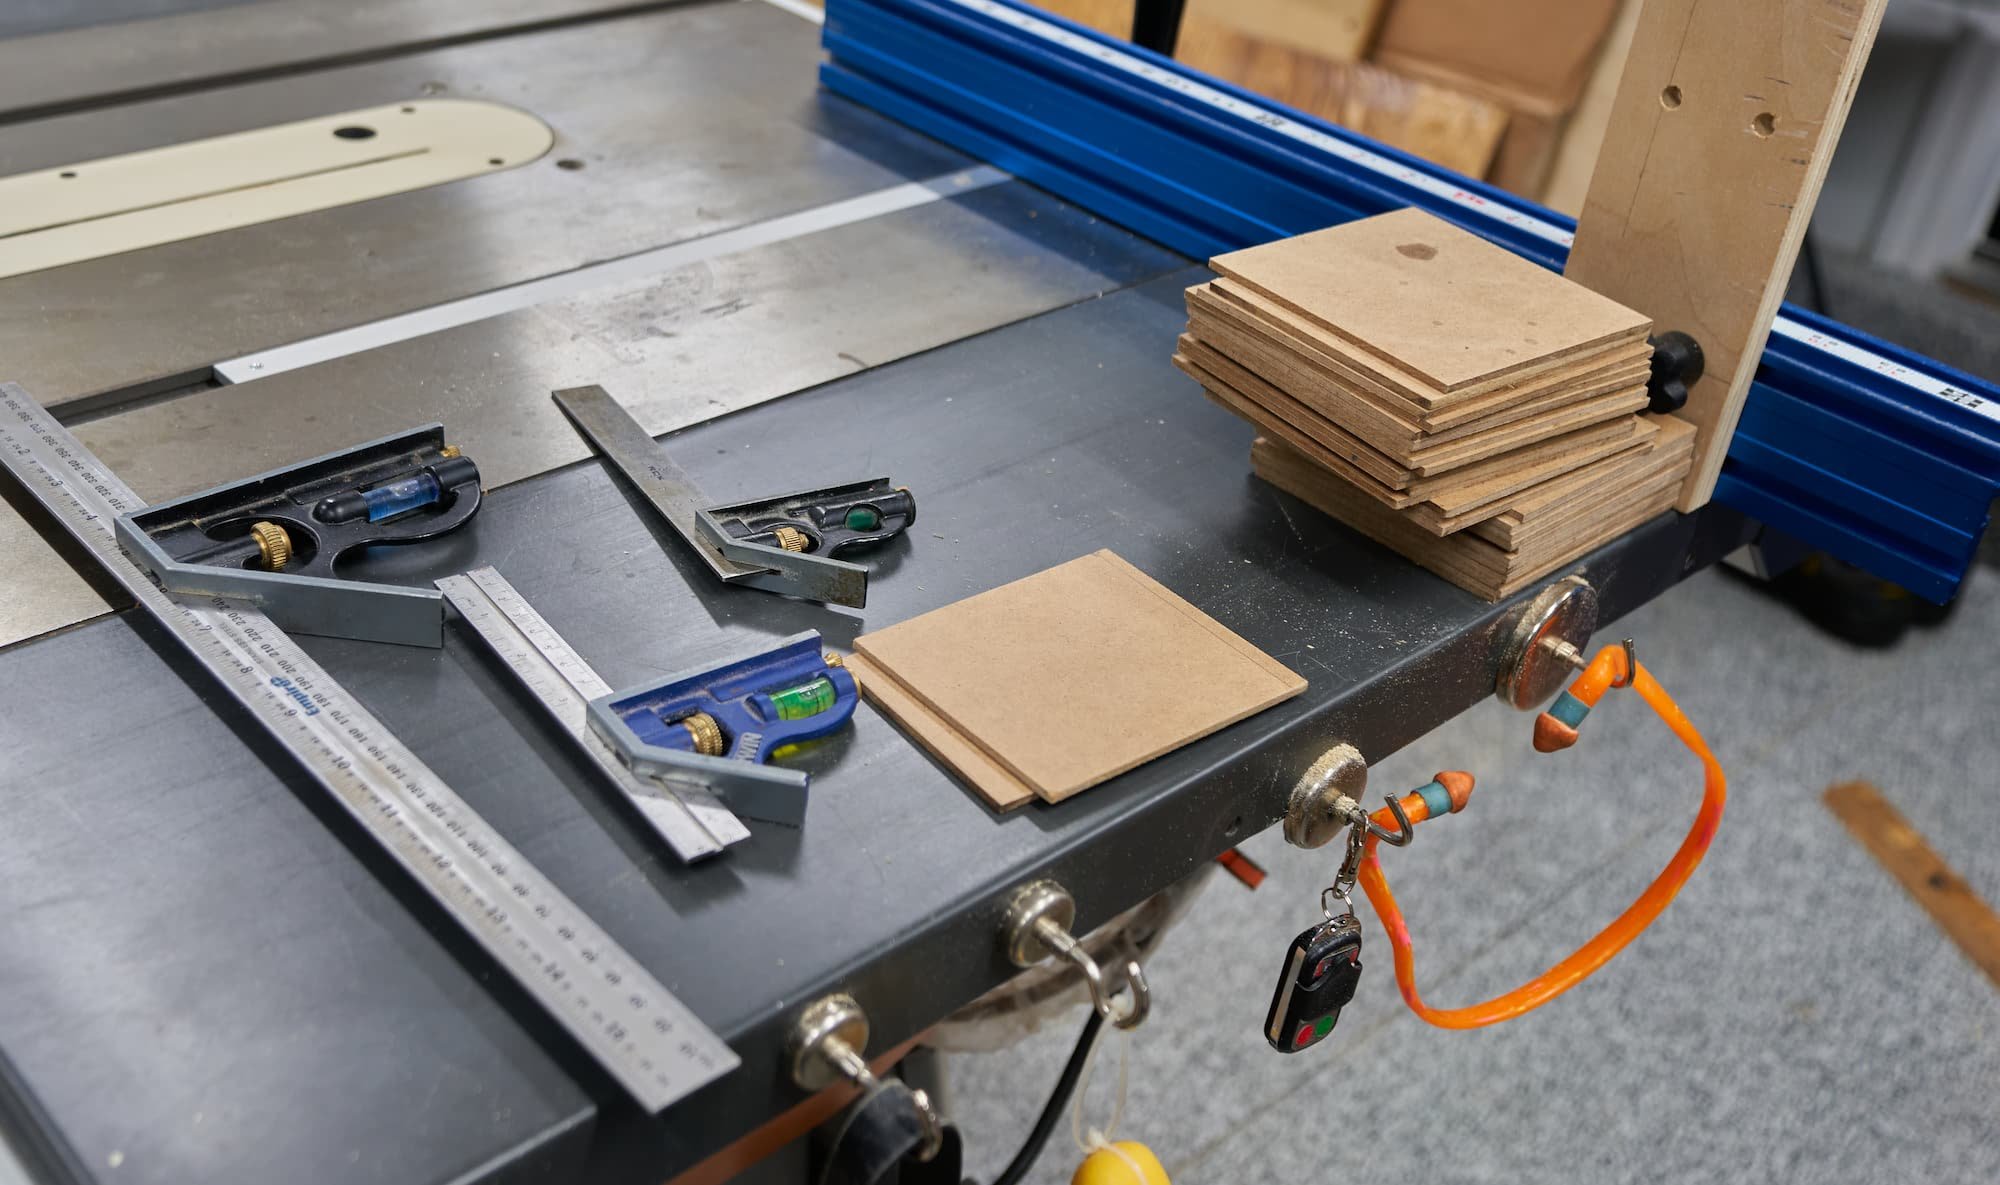
This was a relatively easy scrap-wood project: cut down some strips of plywood of equal size, then cut some dados into them sized for the hardboard, then glue it all together! Sizing will be a bit different for everyone: just remember when sizing to give yourself a bit extra room — you can always cut something down to size later!


Milestone
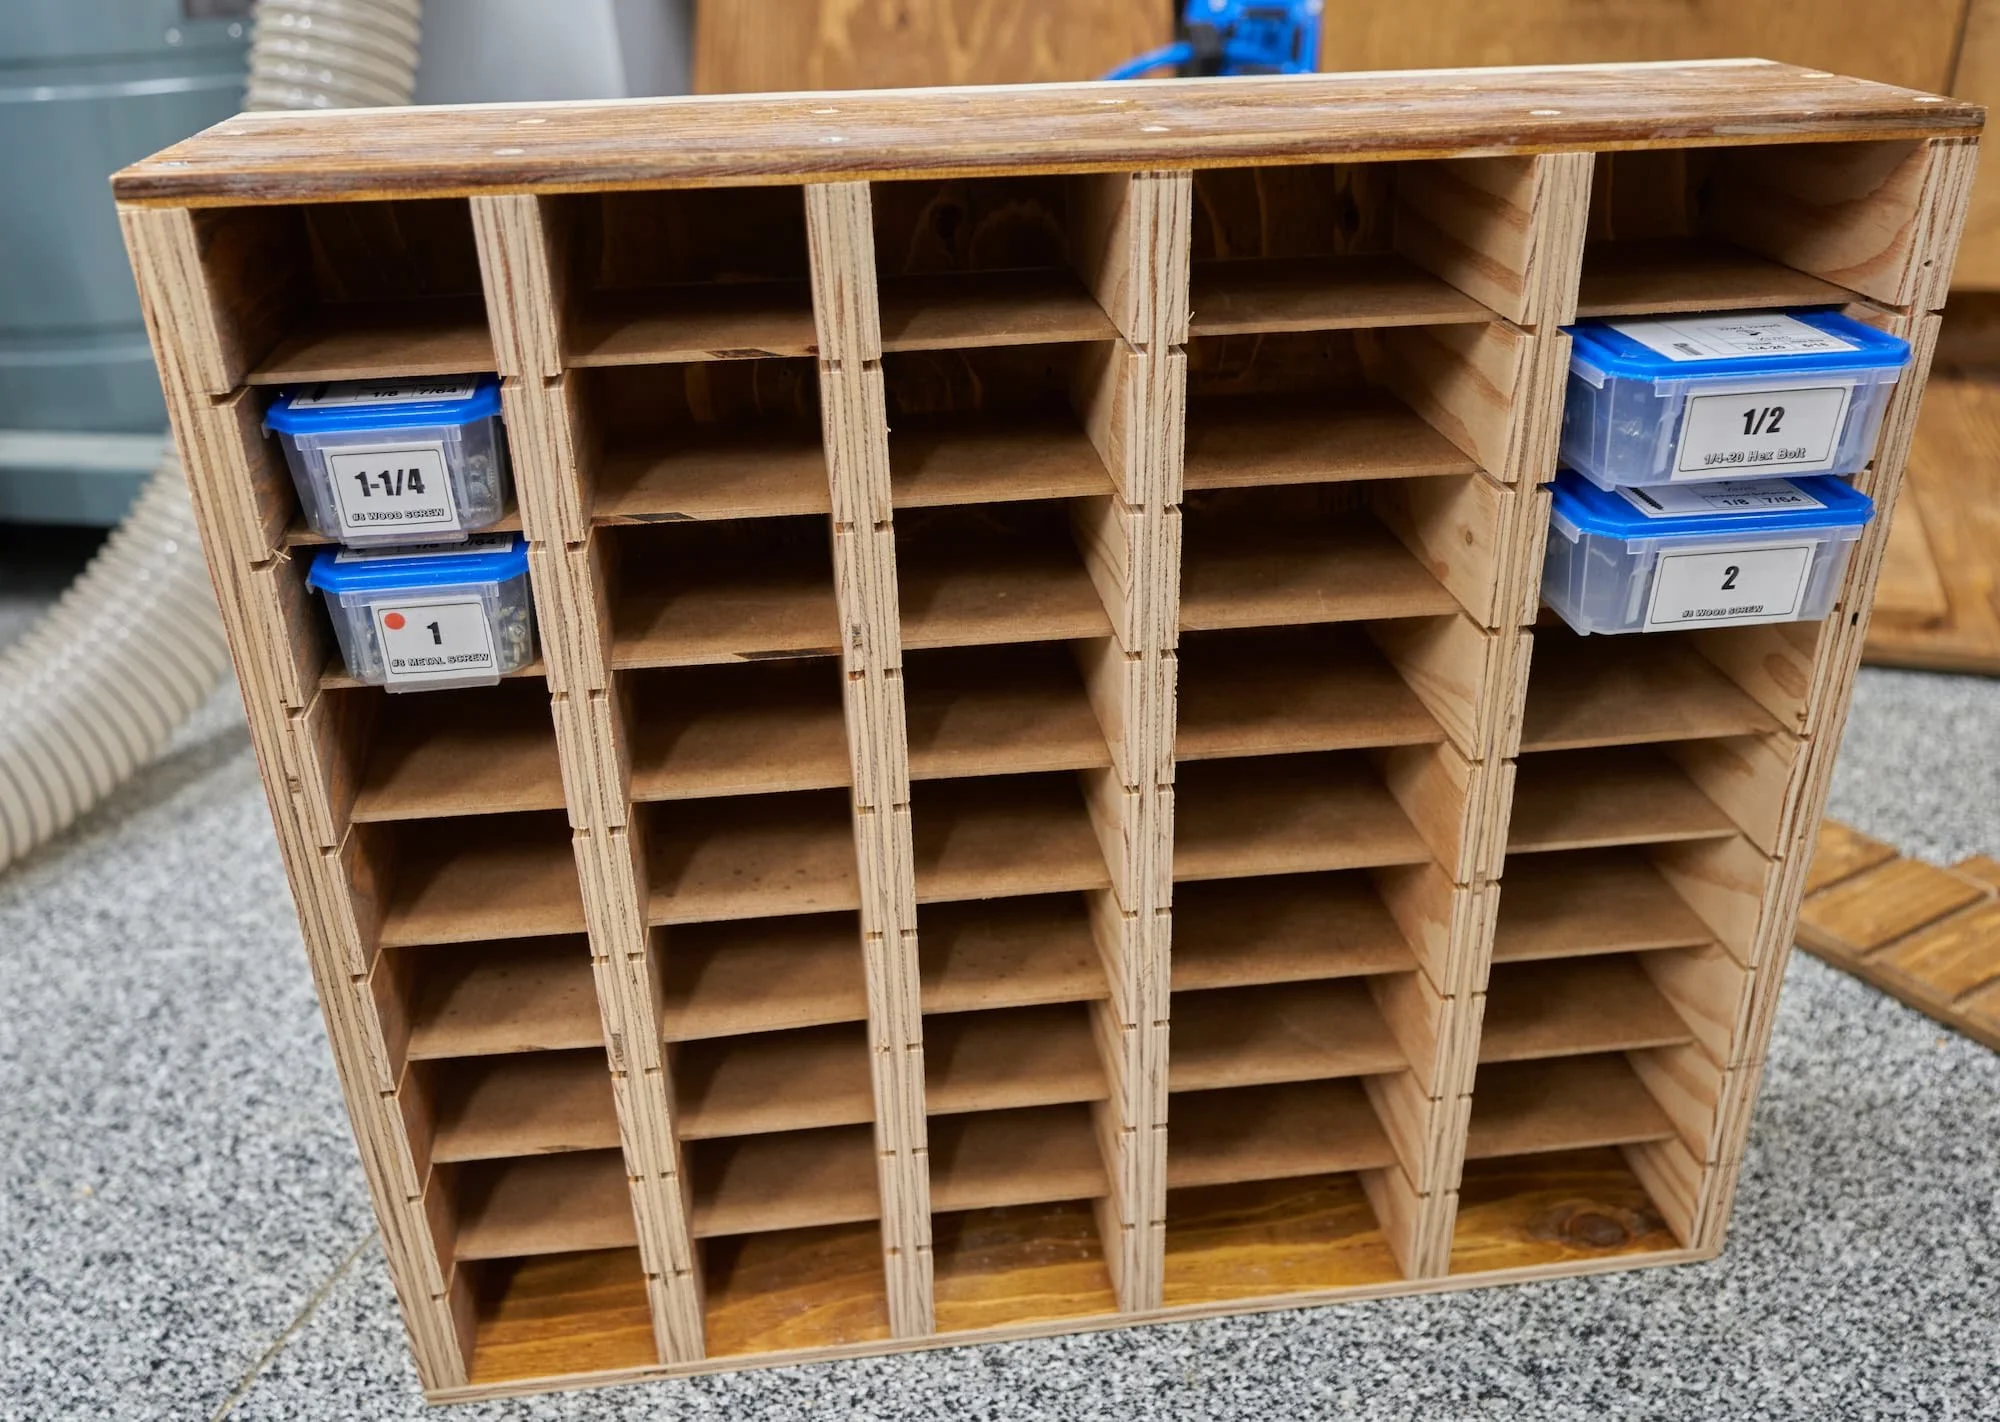
I’m done building it for now and over the next few weeks/months, I’ll play around with shuffling the order of the containers. I opted to add some dot-stickers to the labels to rapidly identify different varieties of fasteners:
Yellow for brass
Red for metal-appropriate
Green for outdoor-appropriate
I’ve got one more dot-color left (blue) so I might use that to earmark ‘small screws’ (i.e., #6 or less, whereas the majority of my screws are #8)
A quick fit-test of my containers - likely not the final arrangement: in the past I’ve kept bolts stored separately and I may go back to doing that. here you can see the wider shelves on the right side: by having French cleats on the top and bottom [of the back], I can flip this organizer and have the wider shelves on the left if the need arises.
Mixups, Surprises and Lessons Learned
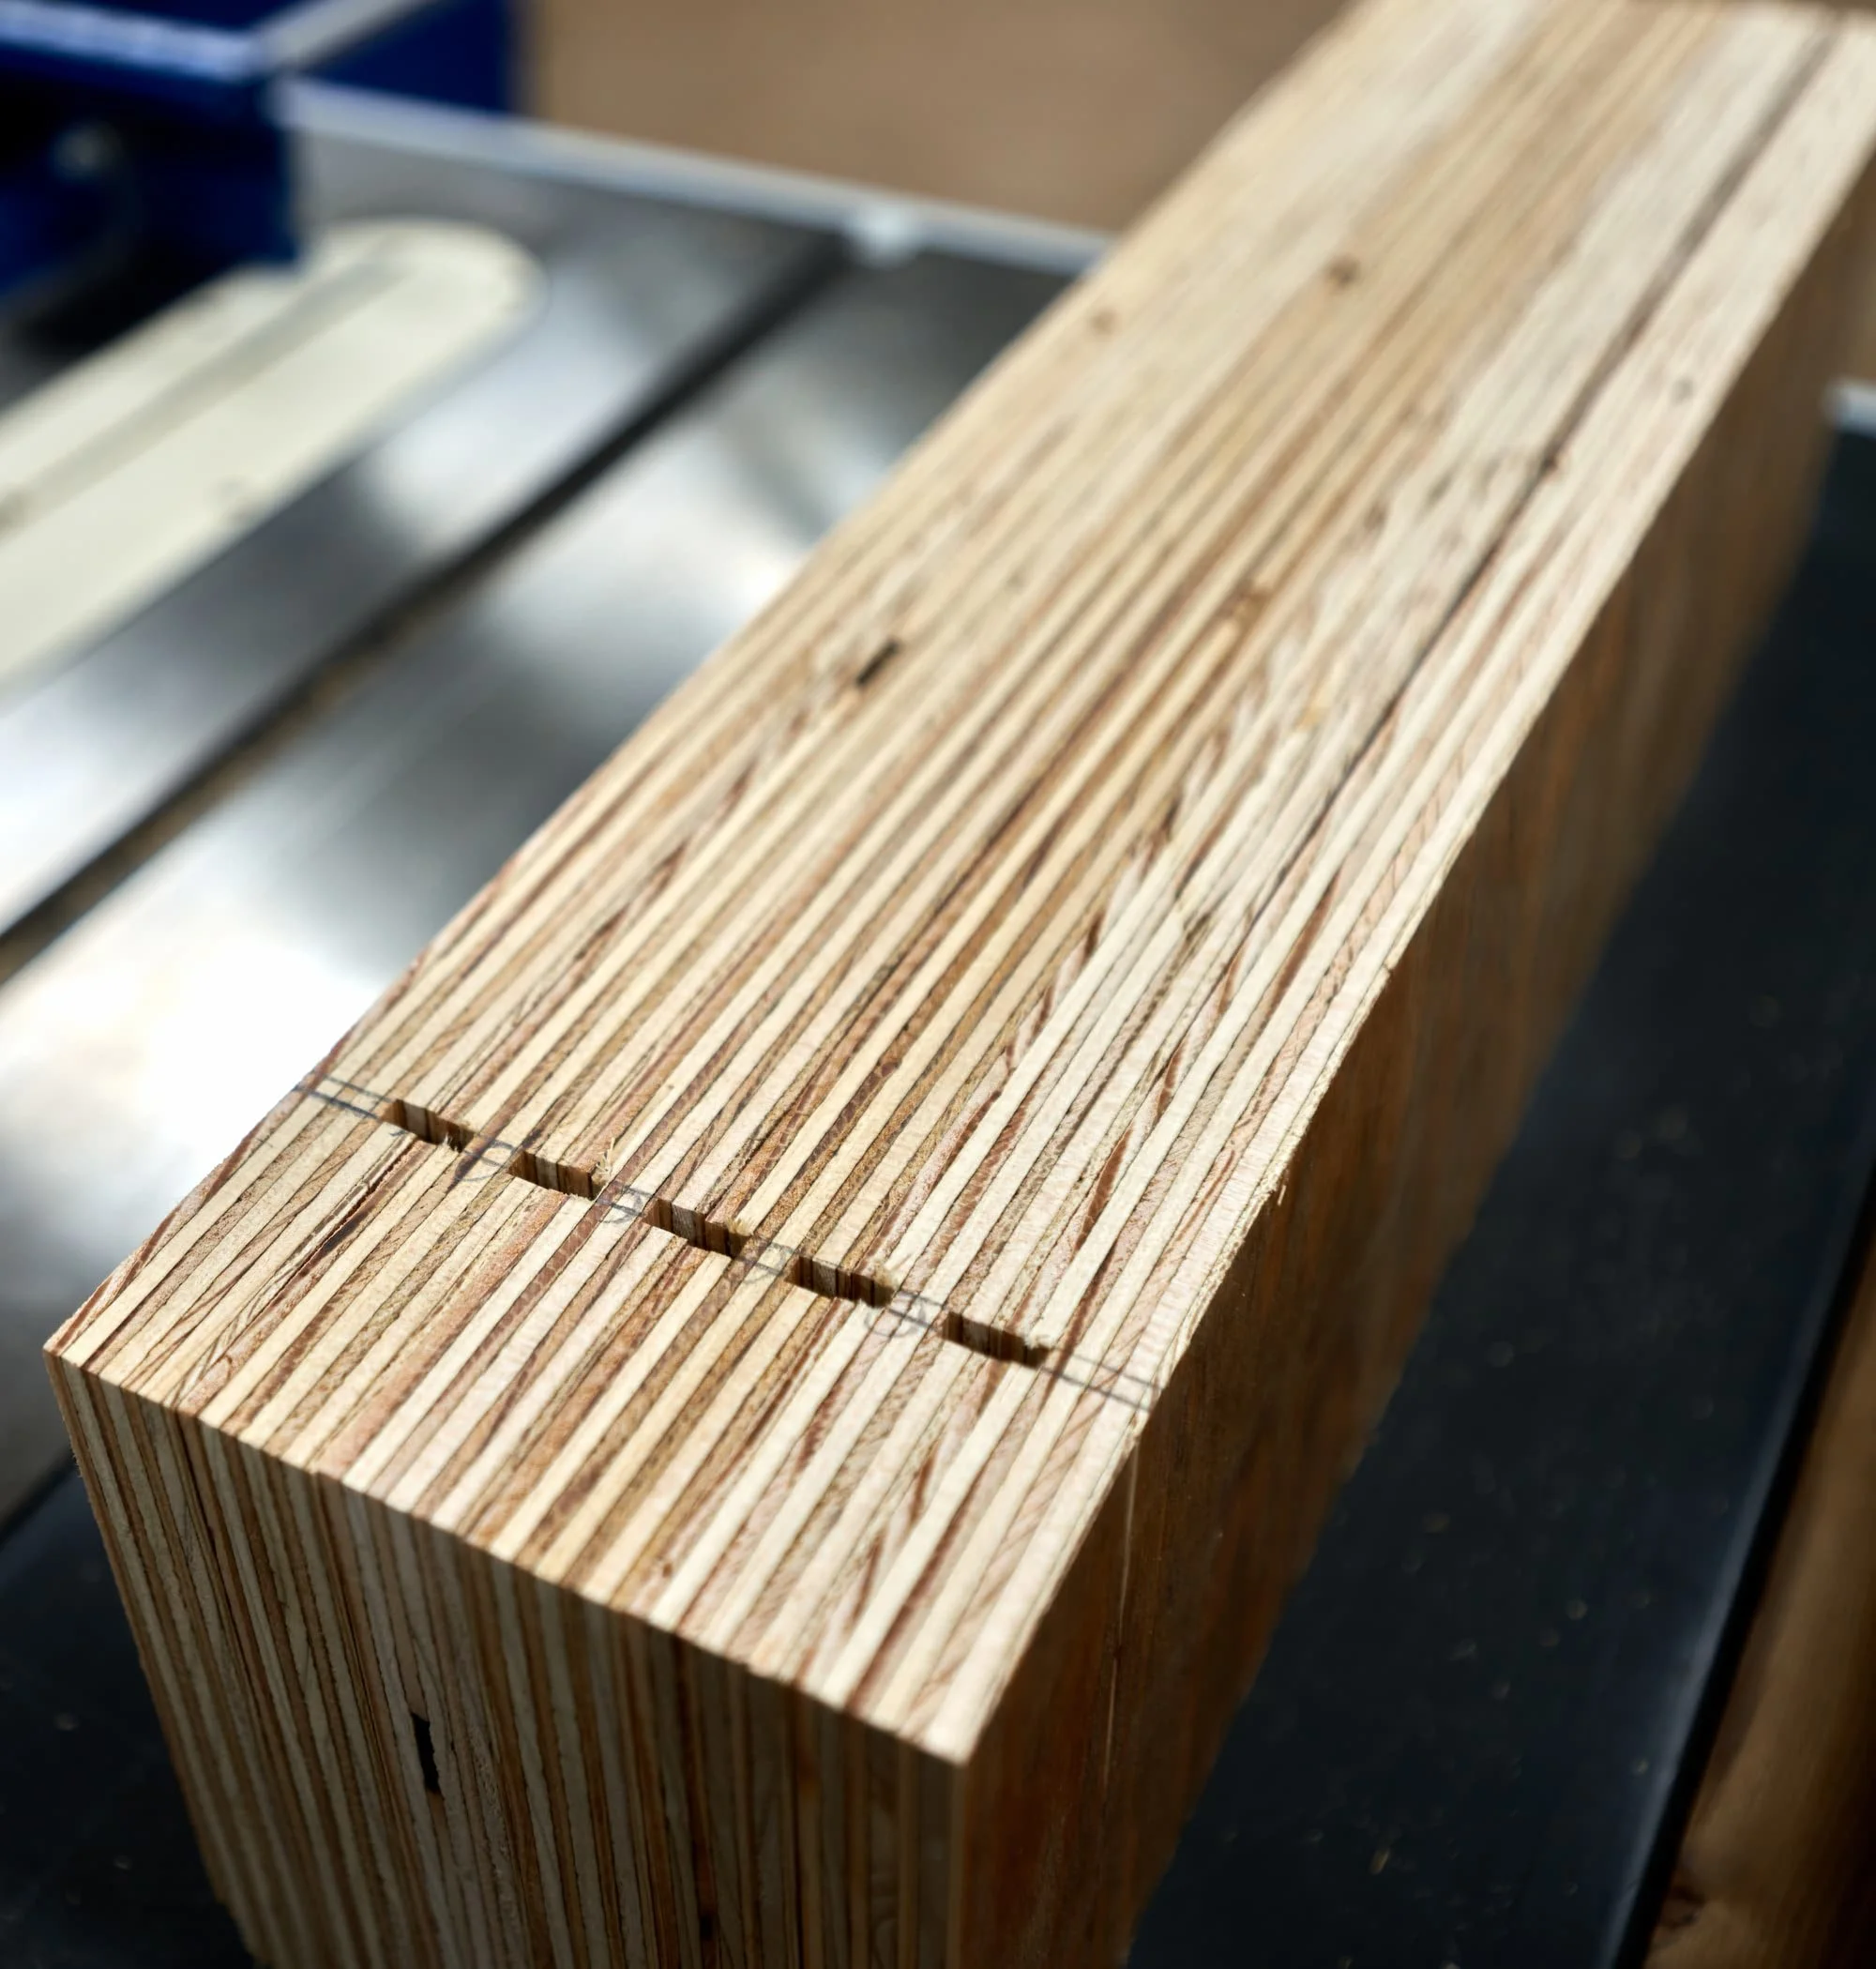
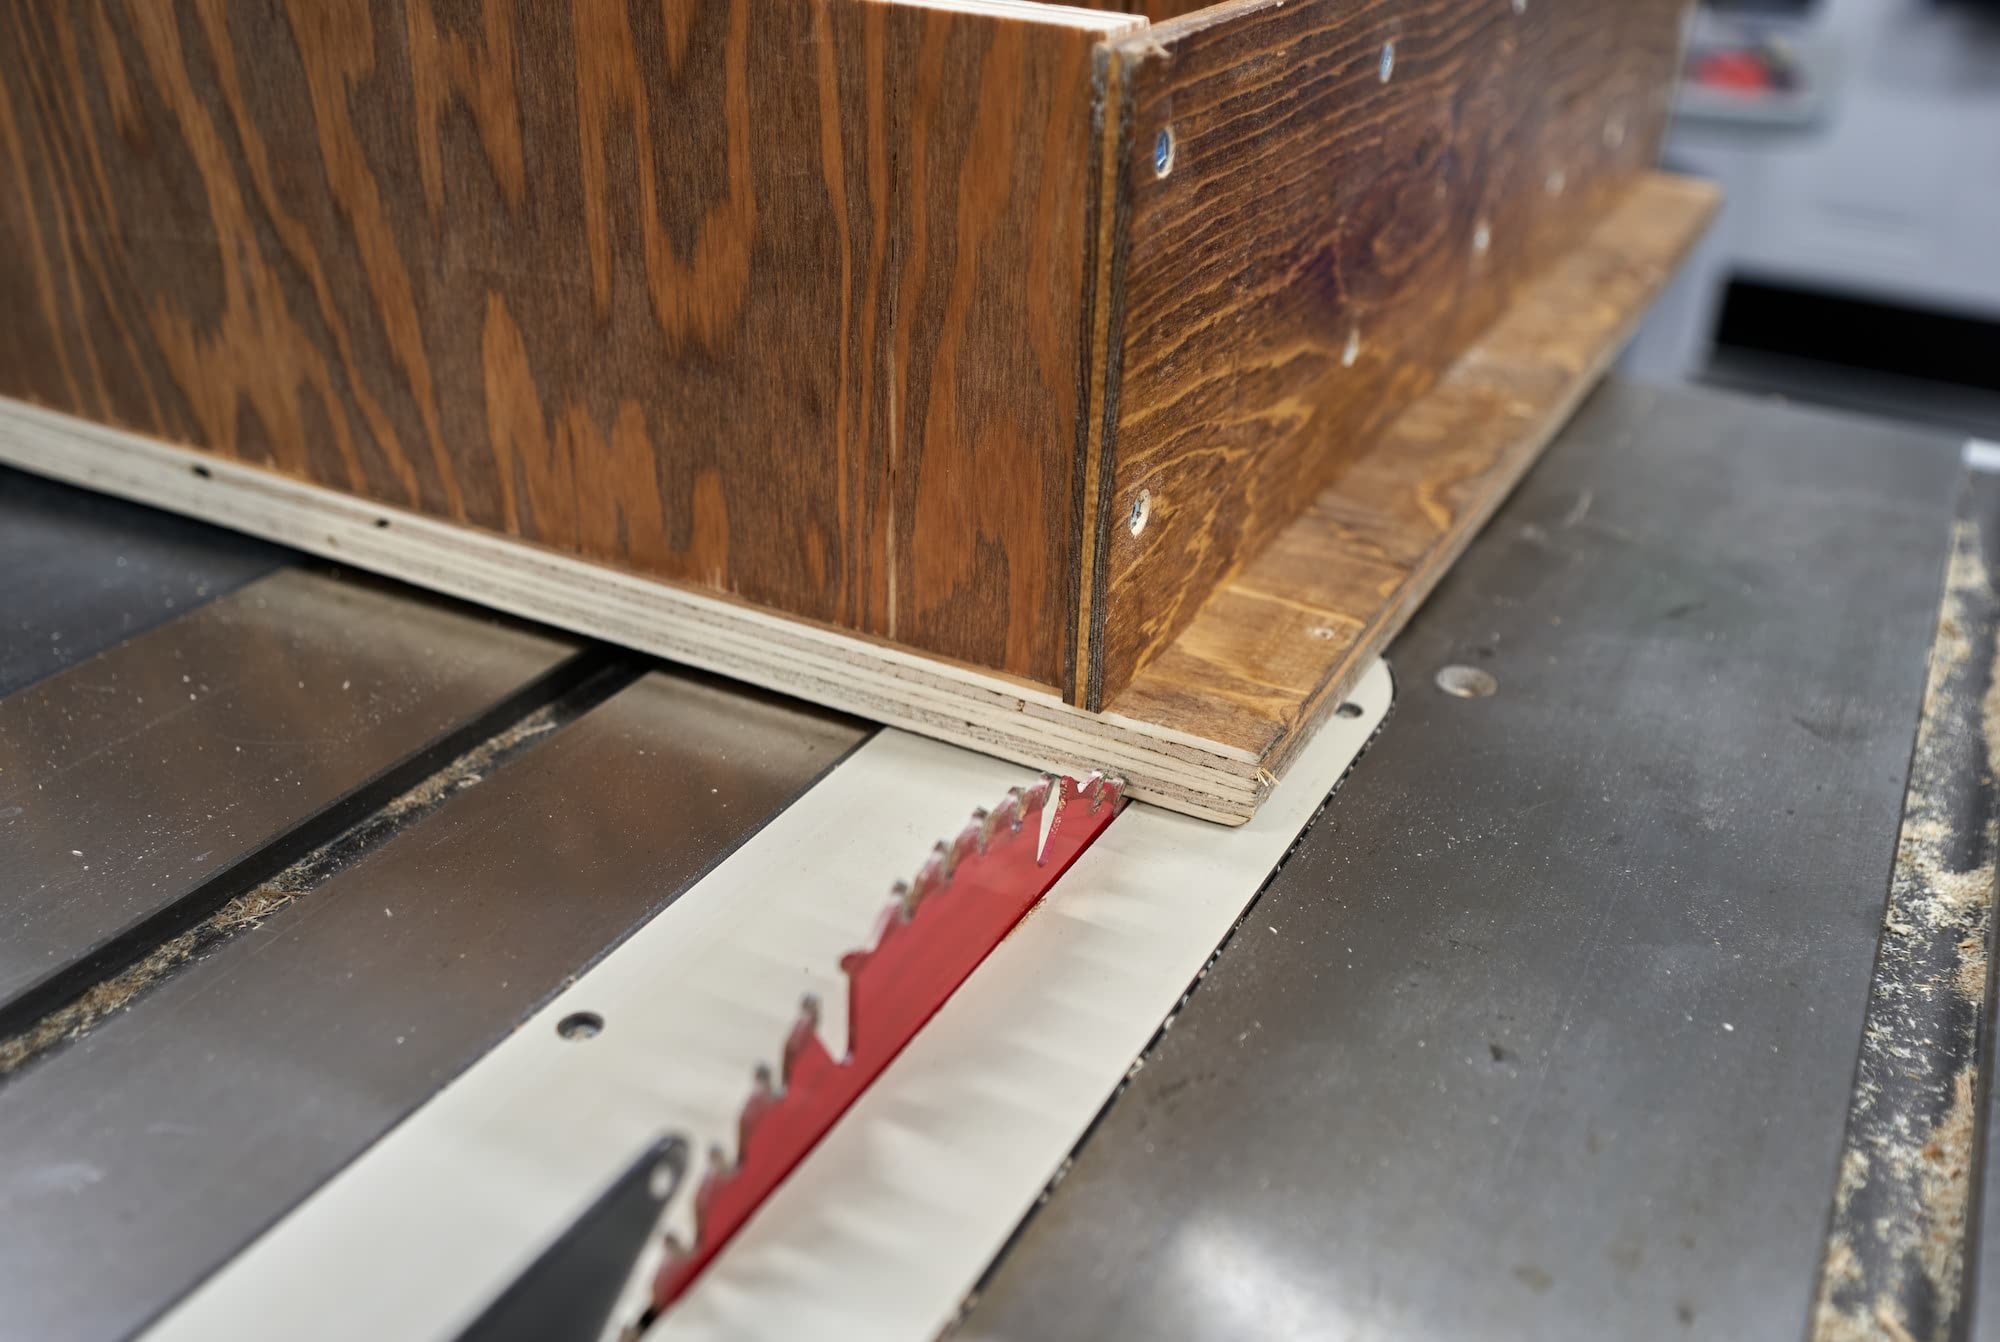
For as careful as I was about getting the dados lined up, I had two screw ups: on one of the end pieces, I initially installed it upside down so the dadoes didn’t line up exactly. Thankfully it was just an end piece and everything else up until that point was straight and square so it was a relatively easy process to remove, flip and re-install. My second mistake, I accidentally cut a dado on the wrong side (for the same piece no less). You can see the errant cut on the outer panel:


To fix this, I just cut a small sliver of plywood and glued it in place. With a quick splash of stain it’s barely visible:


One shortcoming of these Kreg containers (other than the super sticky label, if you can call that a shortcoming) is that they only come in small and large. I do wish they made a ‘jumbo’ size. Well - they do: I had bought a few of their Kreg HD screw packs in the past and that container definitely fits the moniker of ‘jumbo’.
Three Kreg containers side by side: the ‘jumbo’ (which I got from Kreg HD screws) and their large and small containers (which can be purchased standalone)
Product links may be affiliate links: MinMaxGeek may earn a commission on any purchases made via said links without any additional cost to you.