

Build Log: Mini Network Rack
With the desks in the office built, the last remaining piece was to do something about the hodge podge that was my network stack. Just like the computer desks before it, my network stack was deployed atop of plastic folding tables. Unlike the larger folding tables I had previously used for the computers, this was a dinky side table that I was always afraid would topple over. Time to sort this out!
Quick Links
Where we started...
Until this point, my networking gear was just a mishmash of devices stacked neatly on top of each other on a cheap folding table.


Goals and Constraints
Just like with the desks, I wanted to get all this equipment organized and to give everything a proper home. The primary cause for the mess of cables was the mixture of ‘desktop-only’ vs ‘rackable’ equipment. With rackable equipment, ethernet cables are generally plugged in from the front but with desktop style equipment, it varies - some devices plug in from the front and some from the rear. I found myself adding (desktop-style) 8-port switches here and there to give me the total number of ports I needed and a few months prior, I had emotionally committed to just biting the bullet and getting a rackable switch with at least 24 ports. I couldn’t possibly need more ports than that… right?
So the big goals here were:
Switch over to rackable equipment moving forward. This would keep the ethernet cables all together on one side for consistency
Bite the bullet and rack everything up. I have all this rackable gear — I might as well take advantage of it
It had to be portable. Since we rent, whatever I came up with had to be adaptable to future houses
At a high level, I only have a few pieces of equipment to organize:
Cable modem (from the ISP)
A consumer grade wireless router - whatever design I went with needed to be generic in case I replaced this
An consumer grade, rackable gigabit switch
A prosumer grade, rackable 10-gig switch
A desktop NAS unit with the possibility of future expansion units
A dedicated UPS unit for all of this equipment
I wanted to integrate a HEPA air filter into this stack
Rough Design
I bounced back and forth between buying a some rack-rails and building my own rack from scratch or going with a pre-fabricated wall-mounted bracket. I ultimately decided on going with the wall-mount bracket since it fit my needs, was in the budget and would save me the grief of fighting with making two vertical styles coplanar with each other. I decided that going with a 6U rack would give me tons of growing room in the future — at the time I only had two rackable pieces of equipment. That became three when I decided I would get a power distribution unit (PDU) to mount in the rack — a glorified rack-mounted surge protector. This would reduce the number of power cords running down to the UPS to just a single cable.
The rough plan was to build a simple rectangular cabinet that would have a drawer and a big bottom compartment for my air filter. I would need to make some kind of air chute/guide to direct the return air from the filter. I planned on mounting the wall-bracket to some plywood and just attach that to the top of the cabinet.
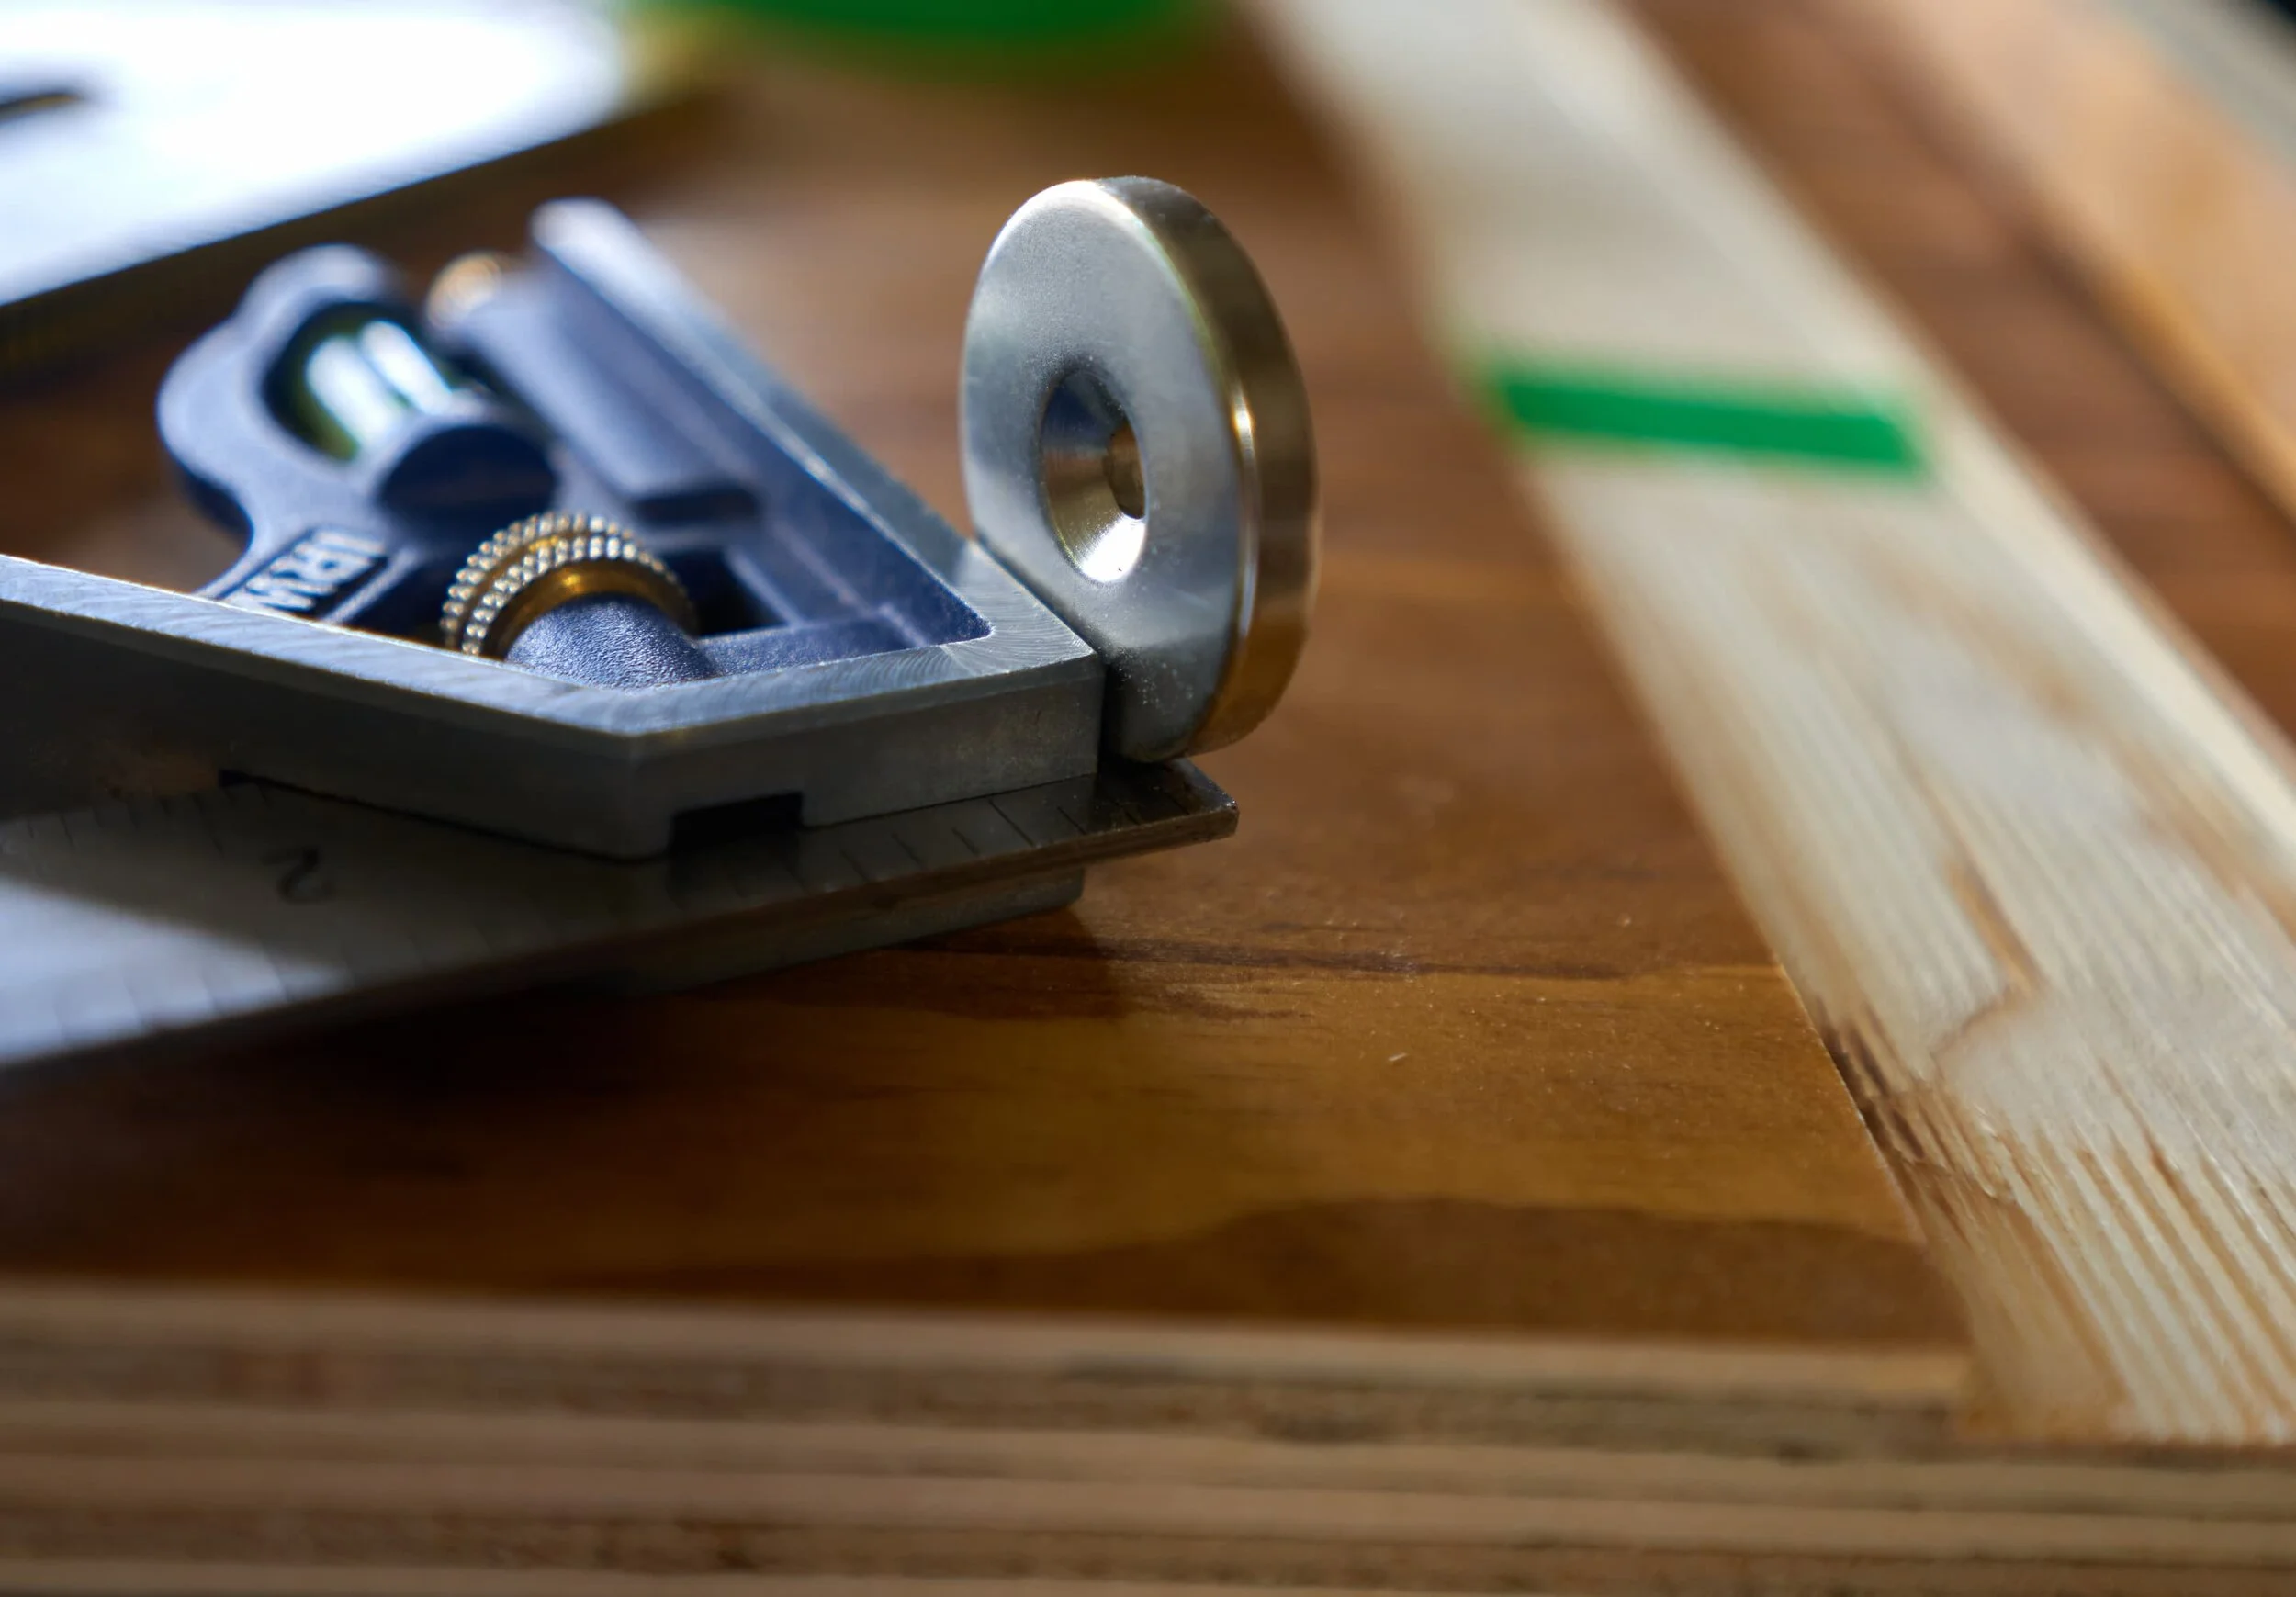
Step 1: Mount the wall-bracket
The general gist here is to make some legs for the wall-bracket. This serves two purposes:
Allows us to secure the wall-bracket to the legs and in such a way that all the weight is really transferred straight down and
Elevate the wall bracket so that I can fit the NAS unit underneath (and possibly an expansion unit too)


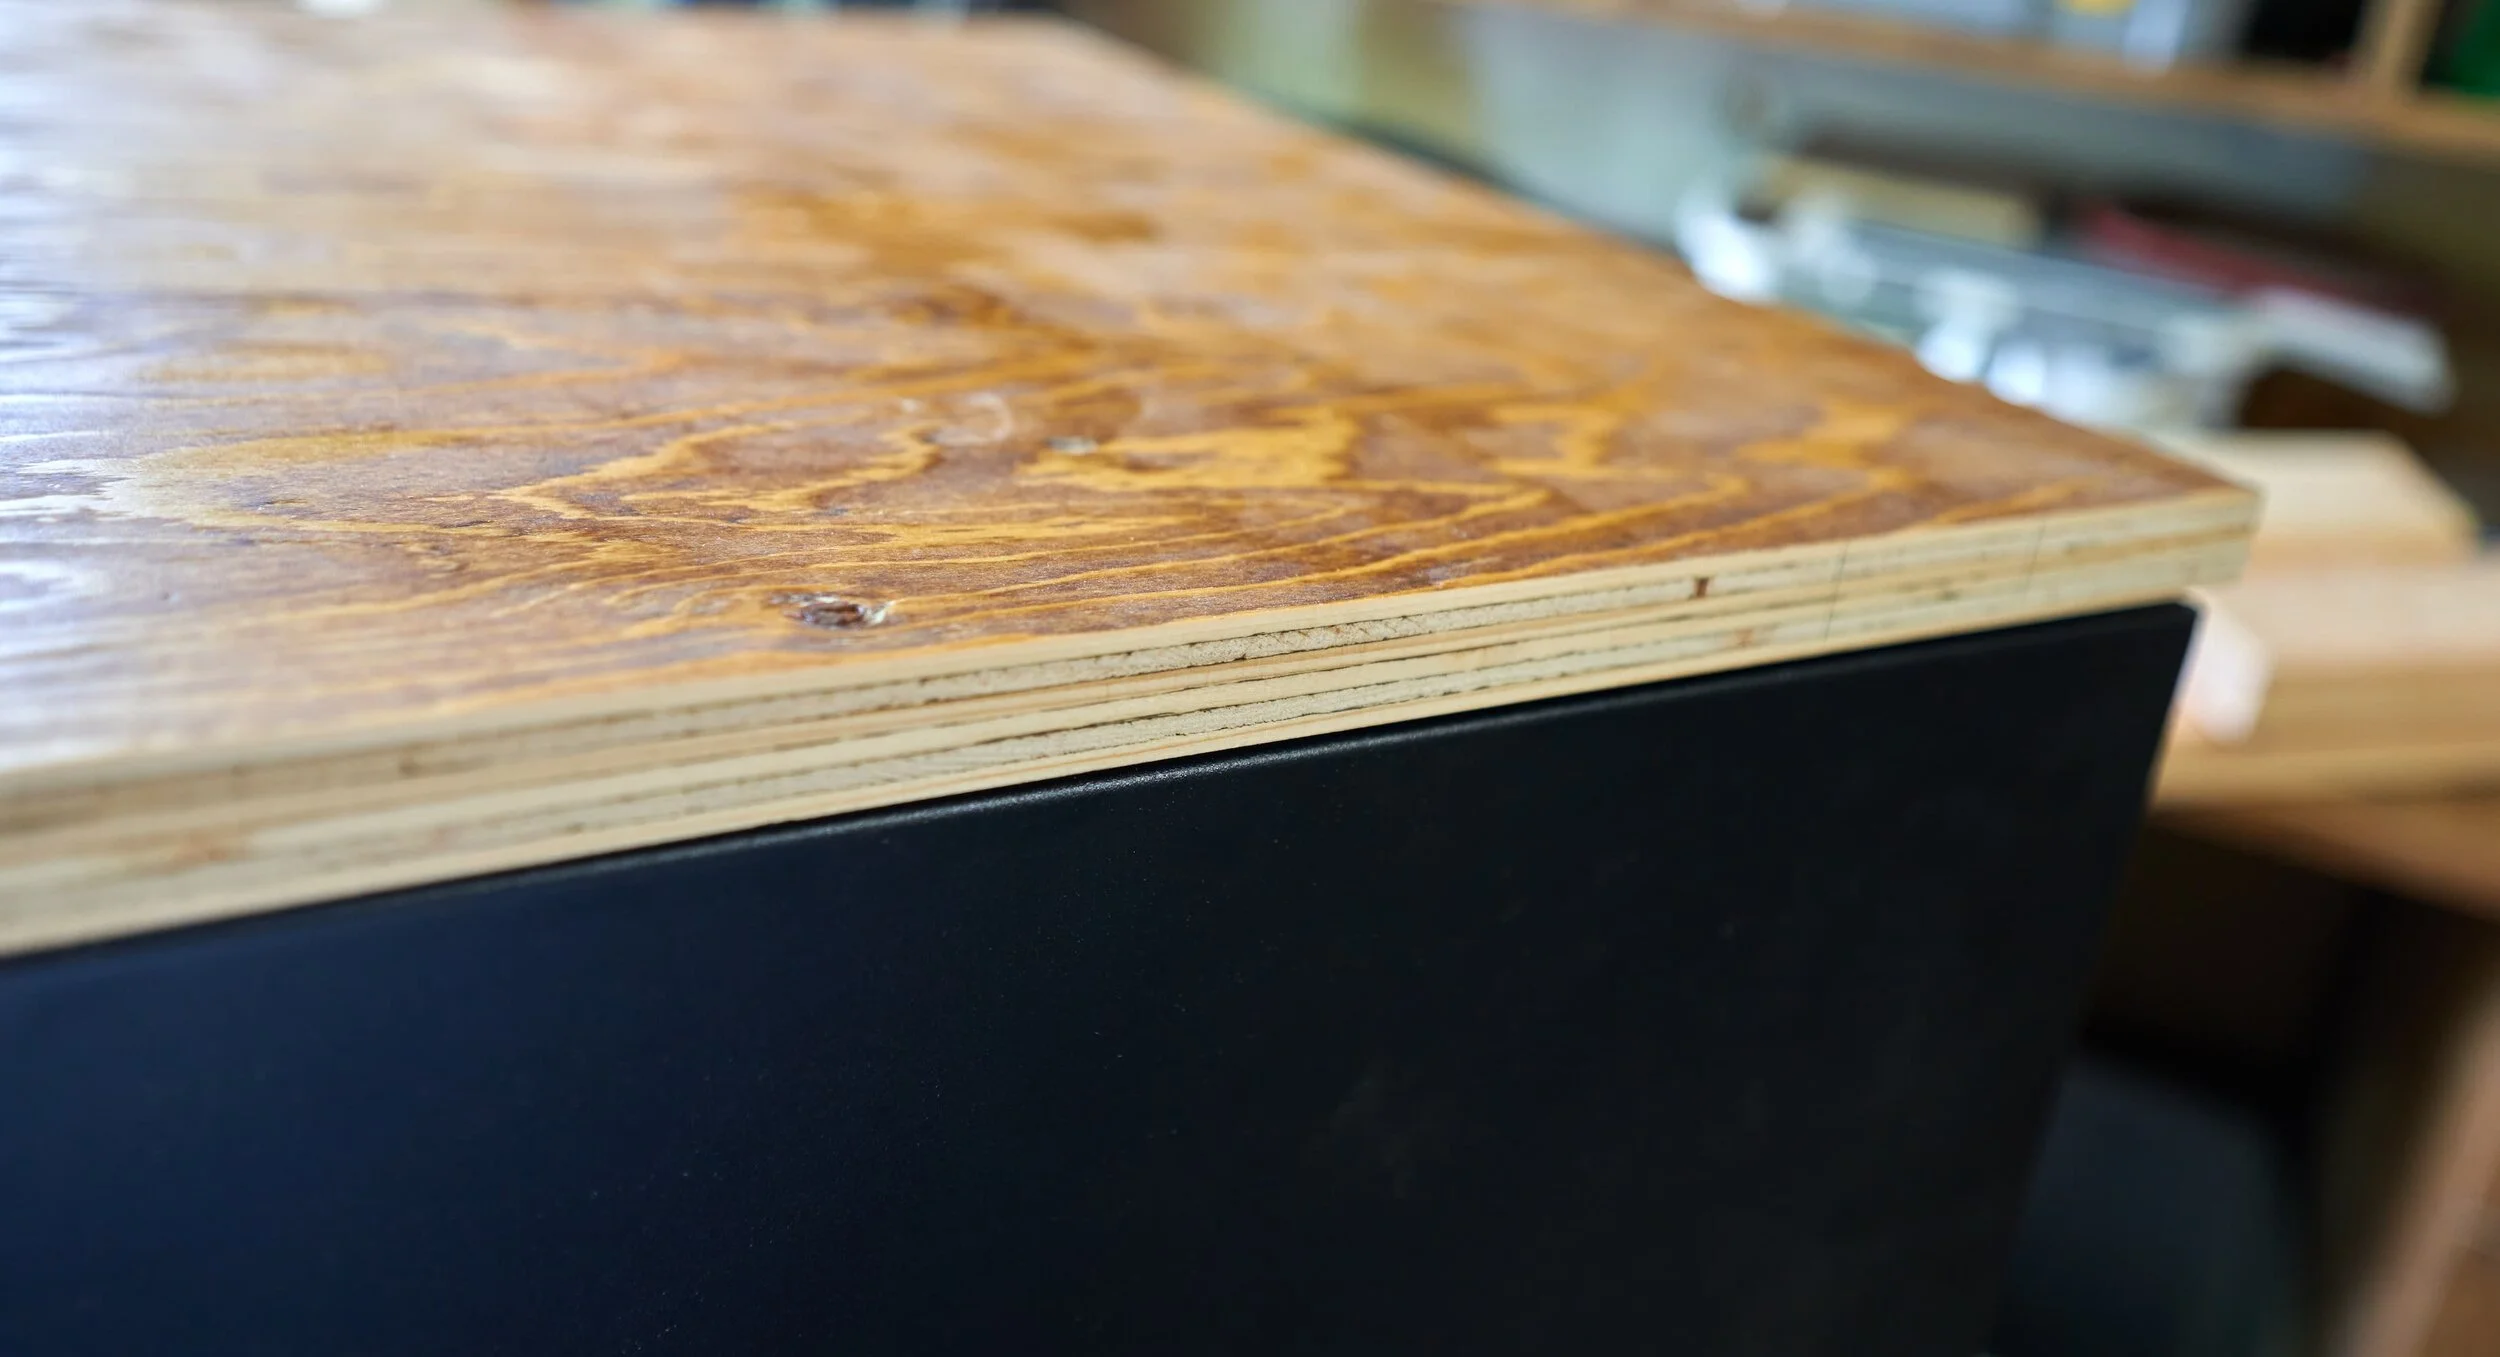


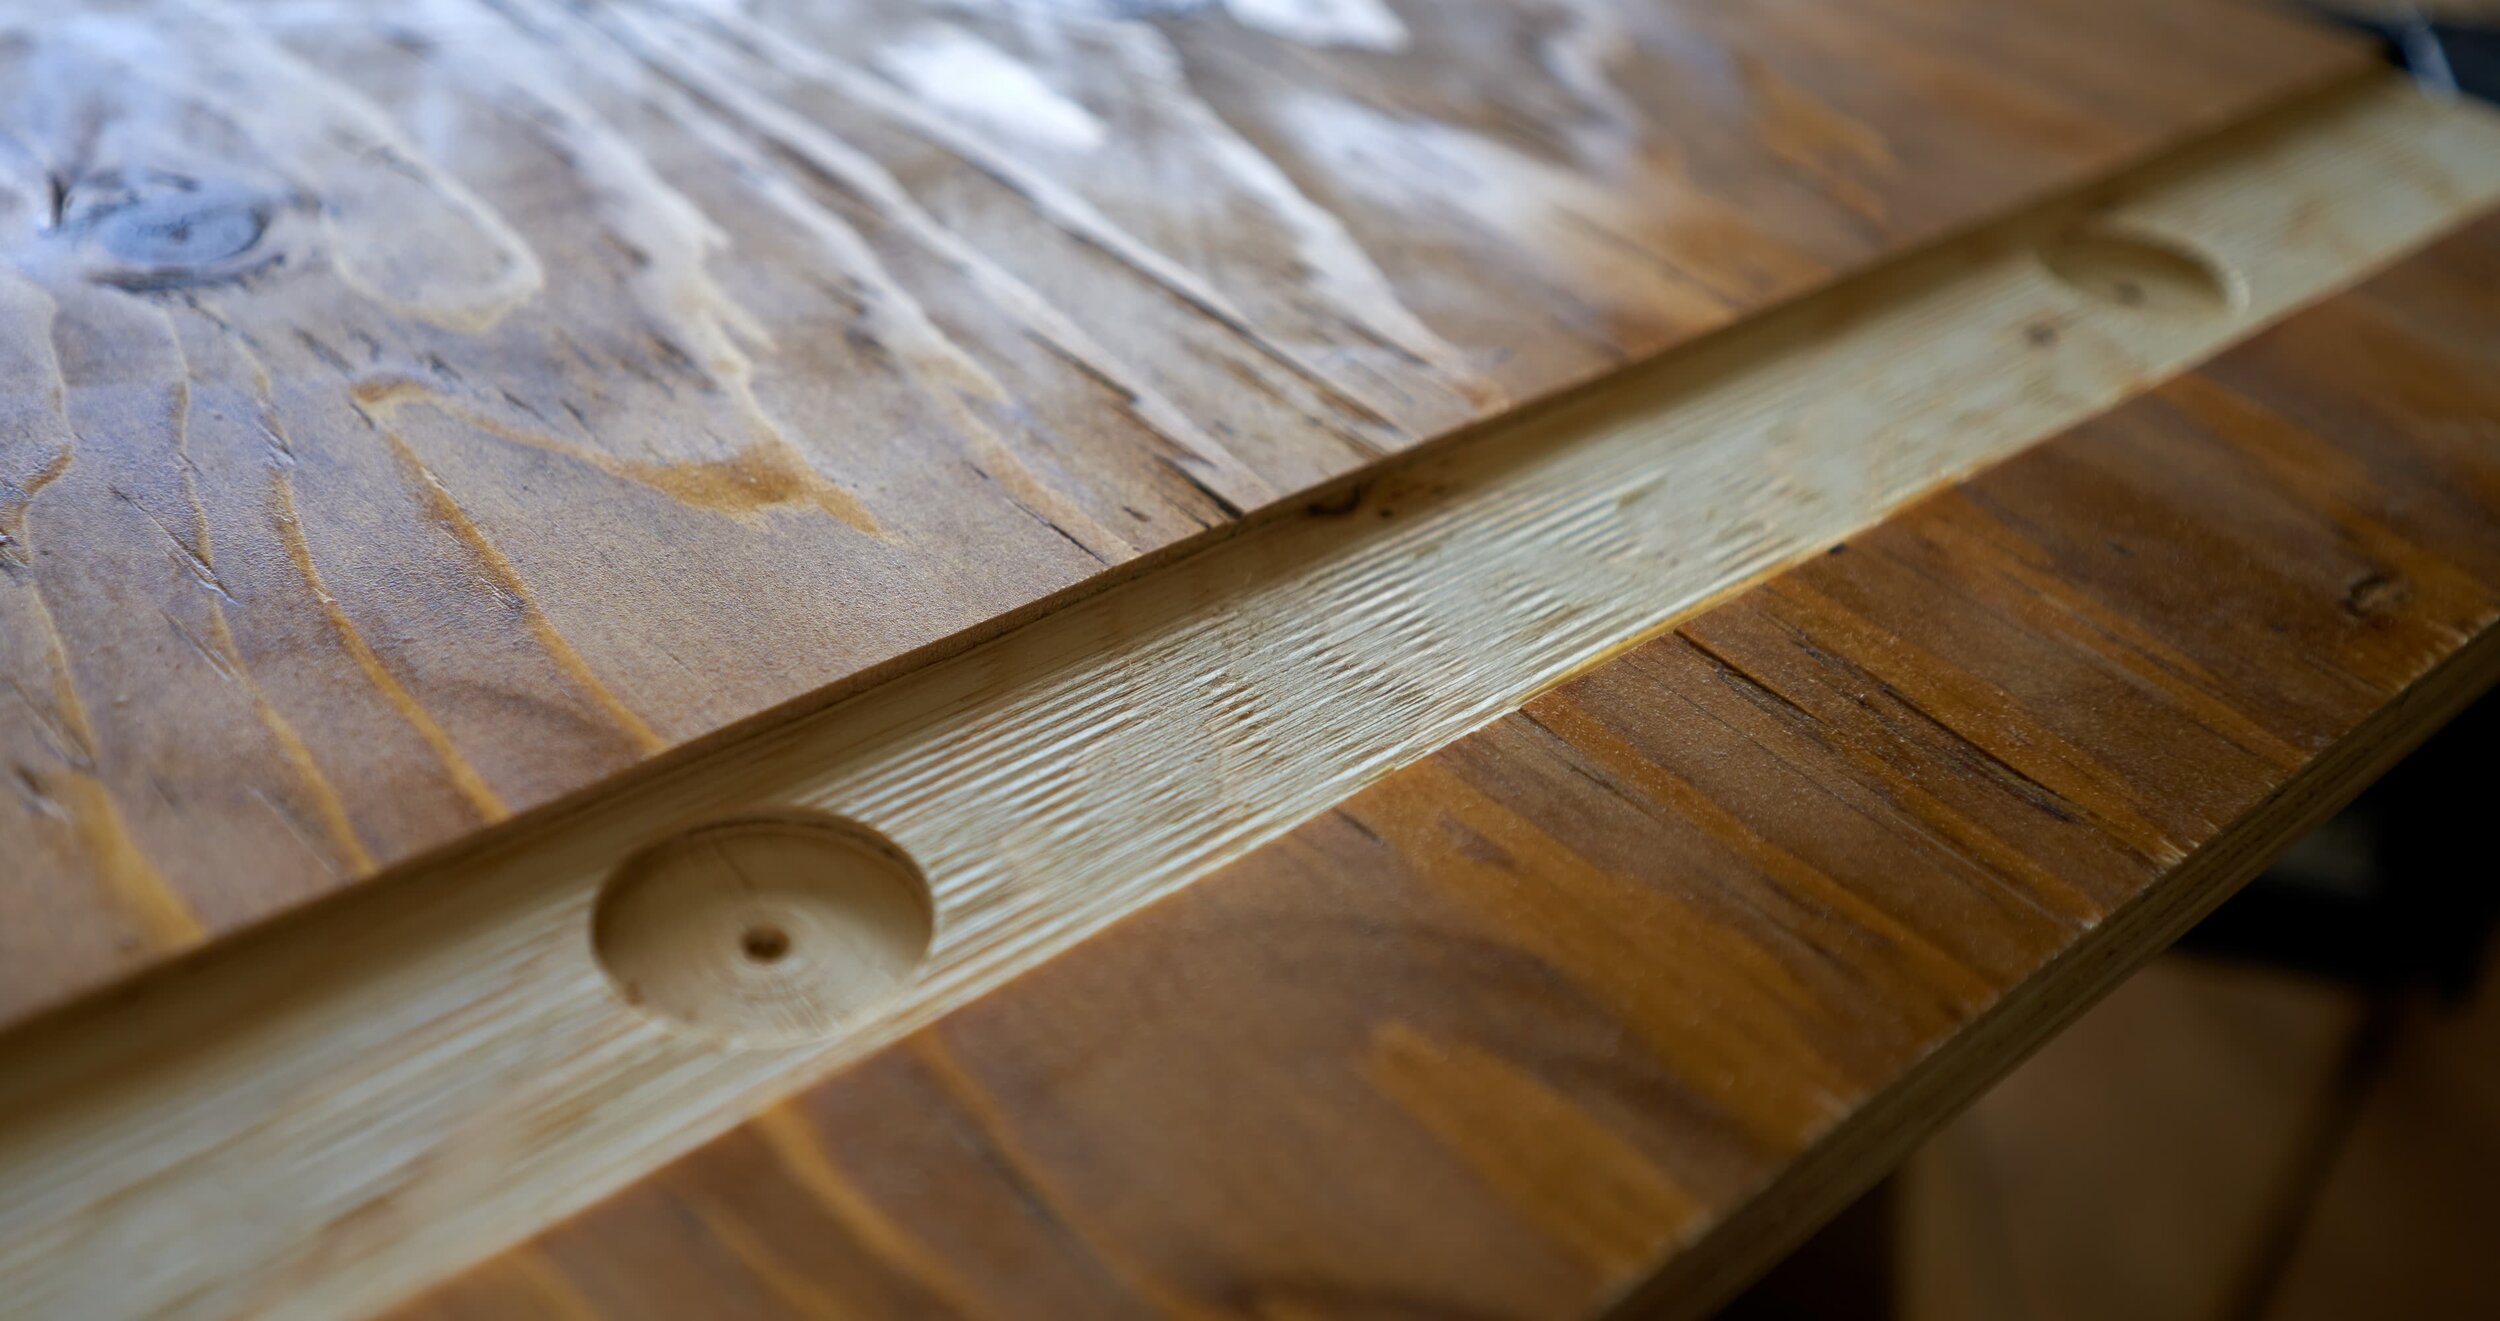


Step 2: Building the cabinet
This is getting pretty familiar at this point: make a four sided box. This will have one drawer for network doodads but largely be ‘empty space’ (other than the air filter). This is because, when I remove the air cleaner and it’s tray, I can actually crawl inside/through this box and do some troubleshooting behind this cabinet.


Step 3: Installing the equipment
Compared to the desk, this was a much quicker process although there was a lot of tedium - getting the cables tagged and labeled. bunched up and organized cleanly.


Step 4: Keeping it organized
Being a network stack, there is always going to be a ton of cables and wires running every which way. Beyond simple labels and cable ties, here are some of the gizmos and tricks I used to keep things organized


Milestone
With this project, I set out to get all my networking equipment organized and all the cables cleaned up in a modular way. I think this was quite the success - it was a reasonably easy project to knock out and has huge returns on organization.
Plenty of room to grow….
Appendix: Tech Used
When this set of networking gear reaches its effective end of life, I think it’ll be time to switch to more enterprise oriented equipment.