

Build Log: Mega Planters
We had some reasonably good luck with the low-effort self-watering planters I made but I think we were running into a ‘volume of dirt’ (and thus, available nutrients) limiter for growing things. Nicole also wanted to have a bit more (dedicated) plant space so this was a good opportunity to make some biggie-sized planters. This was supposed to be a reasonably quick project — I was thinking a few weeks, a month at the most — and I had three months before my next planned project. What could possibly go wrong, right?
Quick Links
Starting Point
Until recently, we’ve been getting by using DIY Self Watering Planters but once you have more than a few planters, they tend to be big, bulky and they feel like a lot of work (even though the self-watering aspect tends to be something of a time saver). Then there’s the end-of-season maintenance to tarp things up and get all the planters out of the way. It would be nice to have a more-permanent setup that is even easier to work with.
For us, we have a relatively large section of our yard that we can allocate for a permanent planter setup.
I had originally thought that this project would be relatively quick - that I could get to the ‘start loading dirt’ phase in “a few weeks” (a month on the long side)… #foreshadowing.
Goals and objectives
The main theme of this build was that I wanted to ‘do it once’ — that I would put in a boatload of effort up front and for the benefit of very little input down the road. And I wanted to look at this project on a 10 - no, 15 year scale. There were two functional areas I wanted to focus on:
Endurance: things like rot, water penetration, UV fade and rust
Ease of gardening: ease of watering, composting, [physically] support plants, ability to counter pests (birds and insects)
Aesthetics comes into play more from a maintenance angle — it would be nice to maintain the completed appears with very minimal effort. I have a theme of “black on black on black on black” — everything can be touched up with black spray paint.
Rough design
I went down a wild rabbit hole of design ideas.
I went down a wild rabbit hole of design ideas.
When I started this project, I balked at the price of bricks so I decided I would use wood — it was sheer great luck that we happened to get the drying kiln frames for cheap. We had talked about making three (or maybe four) large planters to span an area. The scale involved meant that I could look at (roughly) plywood-sheet sized constructs (so, 4x8 footprint) and I initially hoped to make the planter into a mega-sized self watering unit.


The risk of dealing with random-BS with self-watering planters wasn’t worth it to me, so I eventually abandoned the idea and started to focus on ‘just a basic rectangle box’. My big concern was rot — no matter how thick and beefy the wood is, once it gets waterlogged, it’s just a matter of time before rot comes along and there’s nothing for screws/nails to hold onto anymore. In particular, I was focused on how to keep the boards coplanar with each other (since they would all be warped/used construction grade lumber).
Brainstorming some ideas on how to brace the walls of the planter to keep them from bowing out
I went back to the idea of using wood (the green bar) to brace the planter wall and how to make it pretty and functional. I really liked the idea of using the [green] 2x4s as studs essentially. With the grey bar at the top (in conjunction with the existing blue bar), you now have a double-wide support for a top plate - enough that you could just friction fit a top in place. This would make the top entirely replaceable; or at the least, more easily serviceable.


I started to think about how, if this was an aquarium, the sheer weight of the water would cause the tank to burst without some form of cross brace. I specifically didn’t want a massive, chunky wooden brace (which would also be something that would potentially rot).


I was happy knowing that I had some options on how to brace and support the planter when the time came - I felt like I would have a better feel for how much bracing I might need once the planter was further along the construction process. I wanted to provide a permanent watering solution for the planter: I would run the garden hose over to where the planter is and from then I needed to find a way to get this water into the planter. For aesthetic reasons, I specifically wanted to avoid flopping a hose over the top; the computer builder in me thinks that’s bad cable management, so it’s a no go.
In an ideal world, there would exist a quick-disconnect coupler that I could install through 2x material…
I looked at ‘misusing’ a whole bunch of garden hose accessories (i.e., using a garden tap reversed lol). In the end, the path of least resistance was just to drill a hole through the planter wall and feed the hose through.
The last aspect I wanted to consider was finding a way to cage the planters with the goal of keeping birds and squirrels off the goodies. I knew that I was going to have some steel grid/mesh so I had a thought of erecting two T-pillars, one at each end, this would let me lean the steel mesh against it. While I initially thought of just using two pillars (one at each end), there might be some benefit to having additional pillars:
less sag
individual panels are smaller — which makes them much easier to remove


The tricky thing about this is “how high do you make the T-pillar”? I don’t have very much experience successfully growing anything so I have no grasp of the scale that plants can grow. Sure, some plants will certainly grow through the mesh, it then becomes a bit tricky to remove some of the panels to get into the planter without damaging the plants. For the time being, I opted to table the idea of caging the planters, I’ll revisit this if things manage to grow enough to matter.
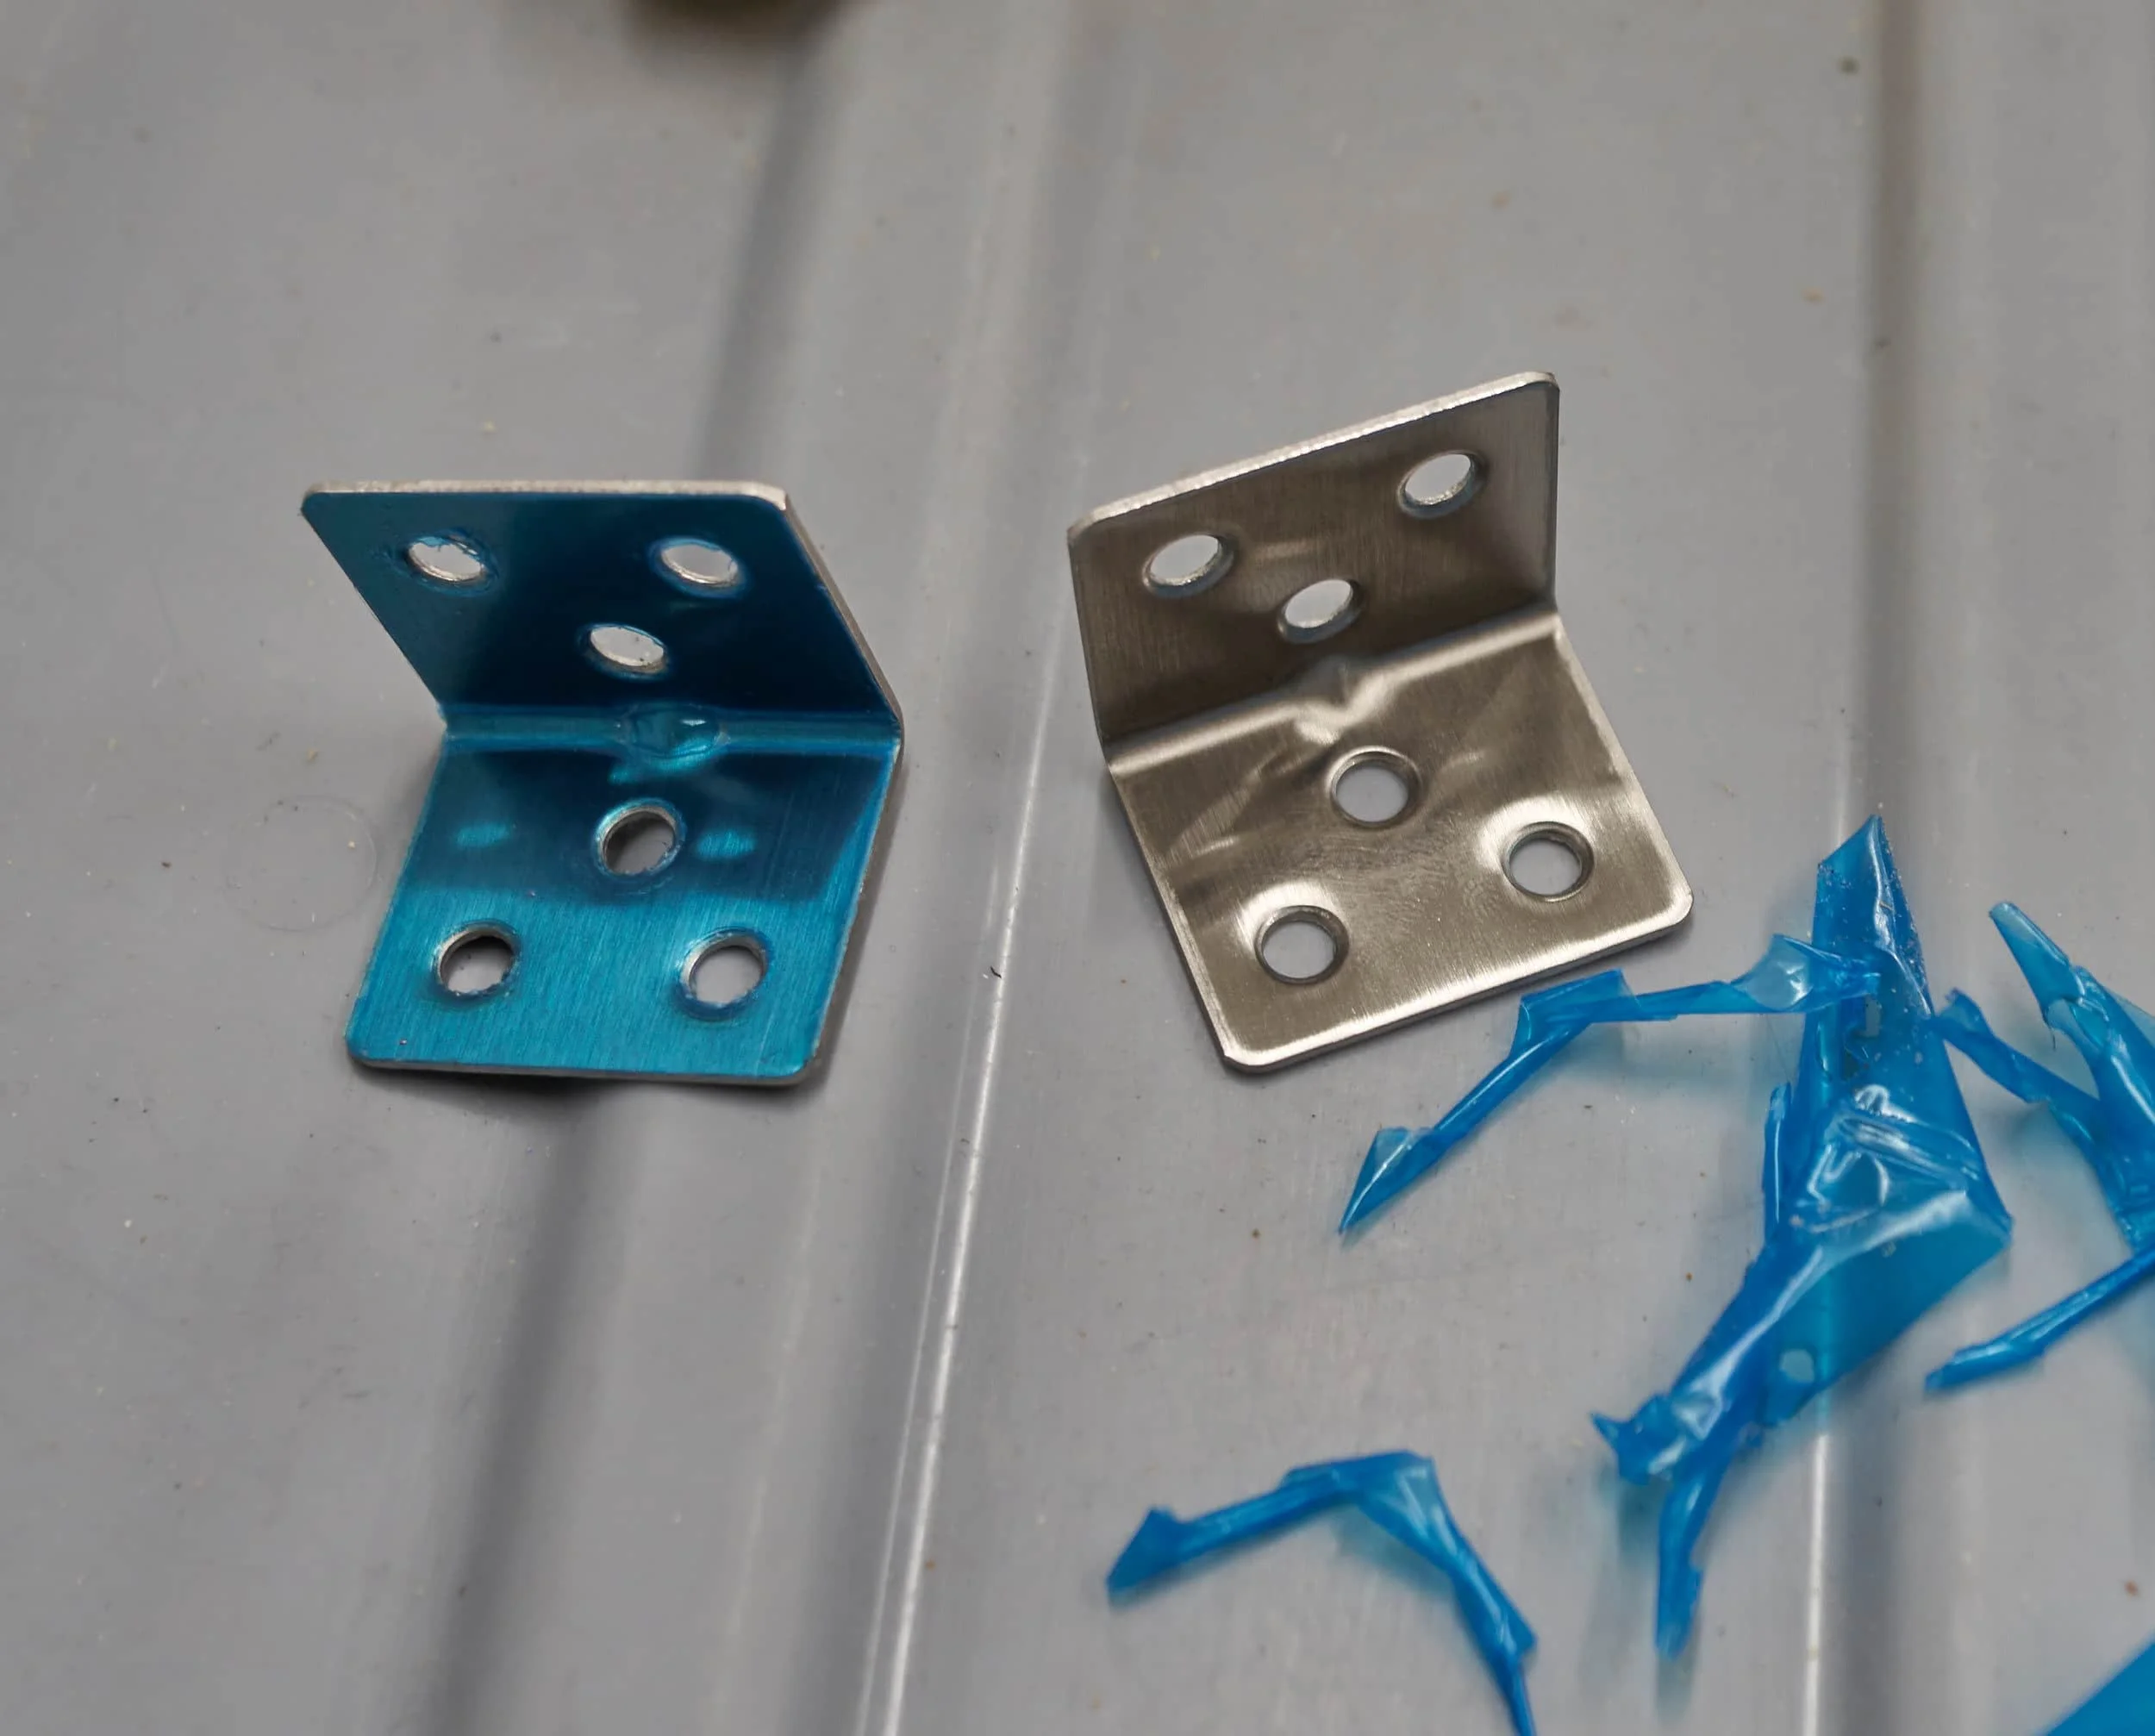
One thing I specifically did not come up with s solid plan for is how to connect the corners. Truthfully, I didn’t like anything that didn’t eventually lead to the phrase “custom metal fabrication”. When taking apart the frames, I had a lot of extra Simpson Angles (A34, A35, L) — but all of them make me super wary for application in a planter:
No amount of galvanized anything is going to survive direct-burial
A lot of the angles I did have were already showing rust (from being in a kiln) - so it’s a matter of time before they rust-fail
Stainless steel options did exist, but there were very expensive ($8/corner — I have 60 corners)
Even ignoring the cost, every single brace that I could find has you putting fasters right into the corner — what will become the weakest part of the wood when it becomes waterlogged (because it’s holding wet-dirt after all)
There are some limited ‘ornamental style’ where you might be able to get your screw points further away from the end-grain but those are even more expensive. I briefly considering rabbeting out the wood to support something like an L-strap, turned sideways, on the end, but that’s a ton of work which might not work out well in the long run (like, how can I replace a failed piece??)
I ultimately went with no special hardware (since all of it requires putting screws right near the end-grain) and if something failed, then I would go down the road of a custom fabricated brace — one that I would attach from the outside (so there would be an aesthetic element to it).
I planned to have the boards laid out in a ‘chasing pattern’
Chasing pattern of boards. Green represents screws.
My planter is going to built as a “stack of rectangles” — so when stacking them, I would alternate between the two patterns with the hope that this would reduce the chances of corner failure. Since I was planning on adding braces (essentially vertically connecting boards, even if one (or possibly more) corner(s) failed (the greens), it should be able to be held together via the connective force between the rectangles. I dunno. It’s a hope.
One of the important things we made sure to do was be very generous with the spacing and placement of the entire space: I want to be able to [easily] walk a mower behind the planters (next to the fenceline) and I wanted to be able to [easily] fit our dump cart/wheelbarrow between the rows of planters.
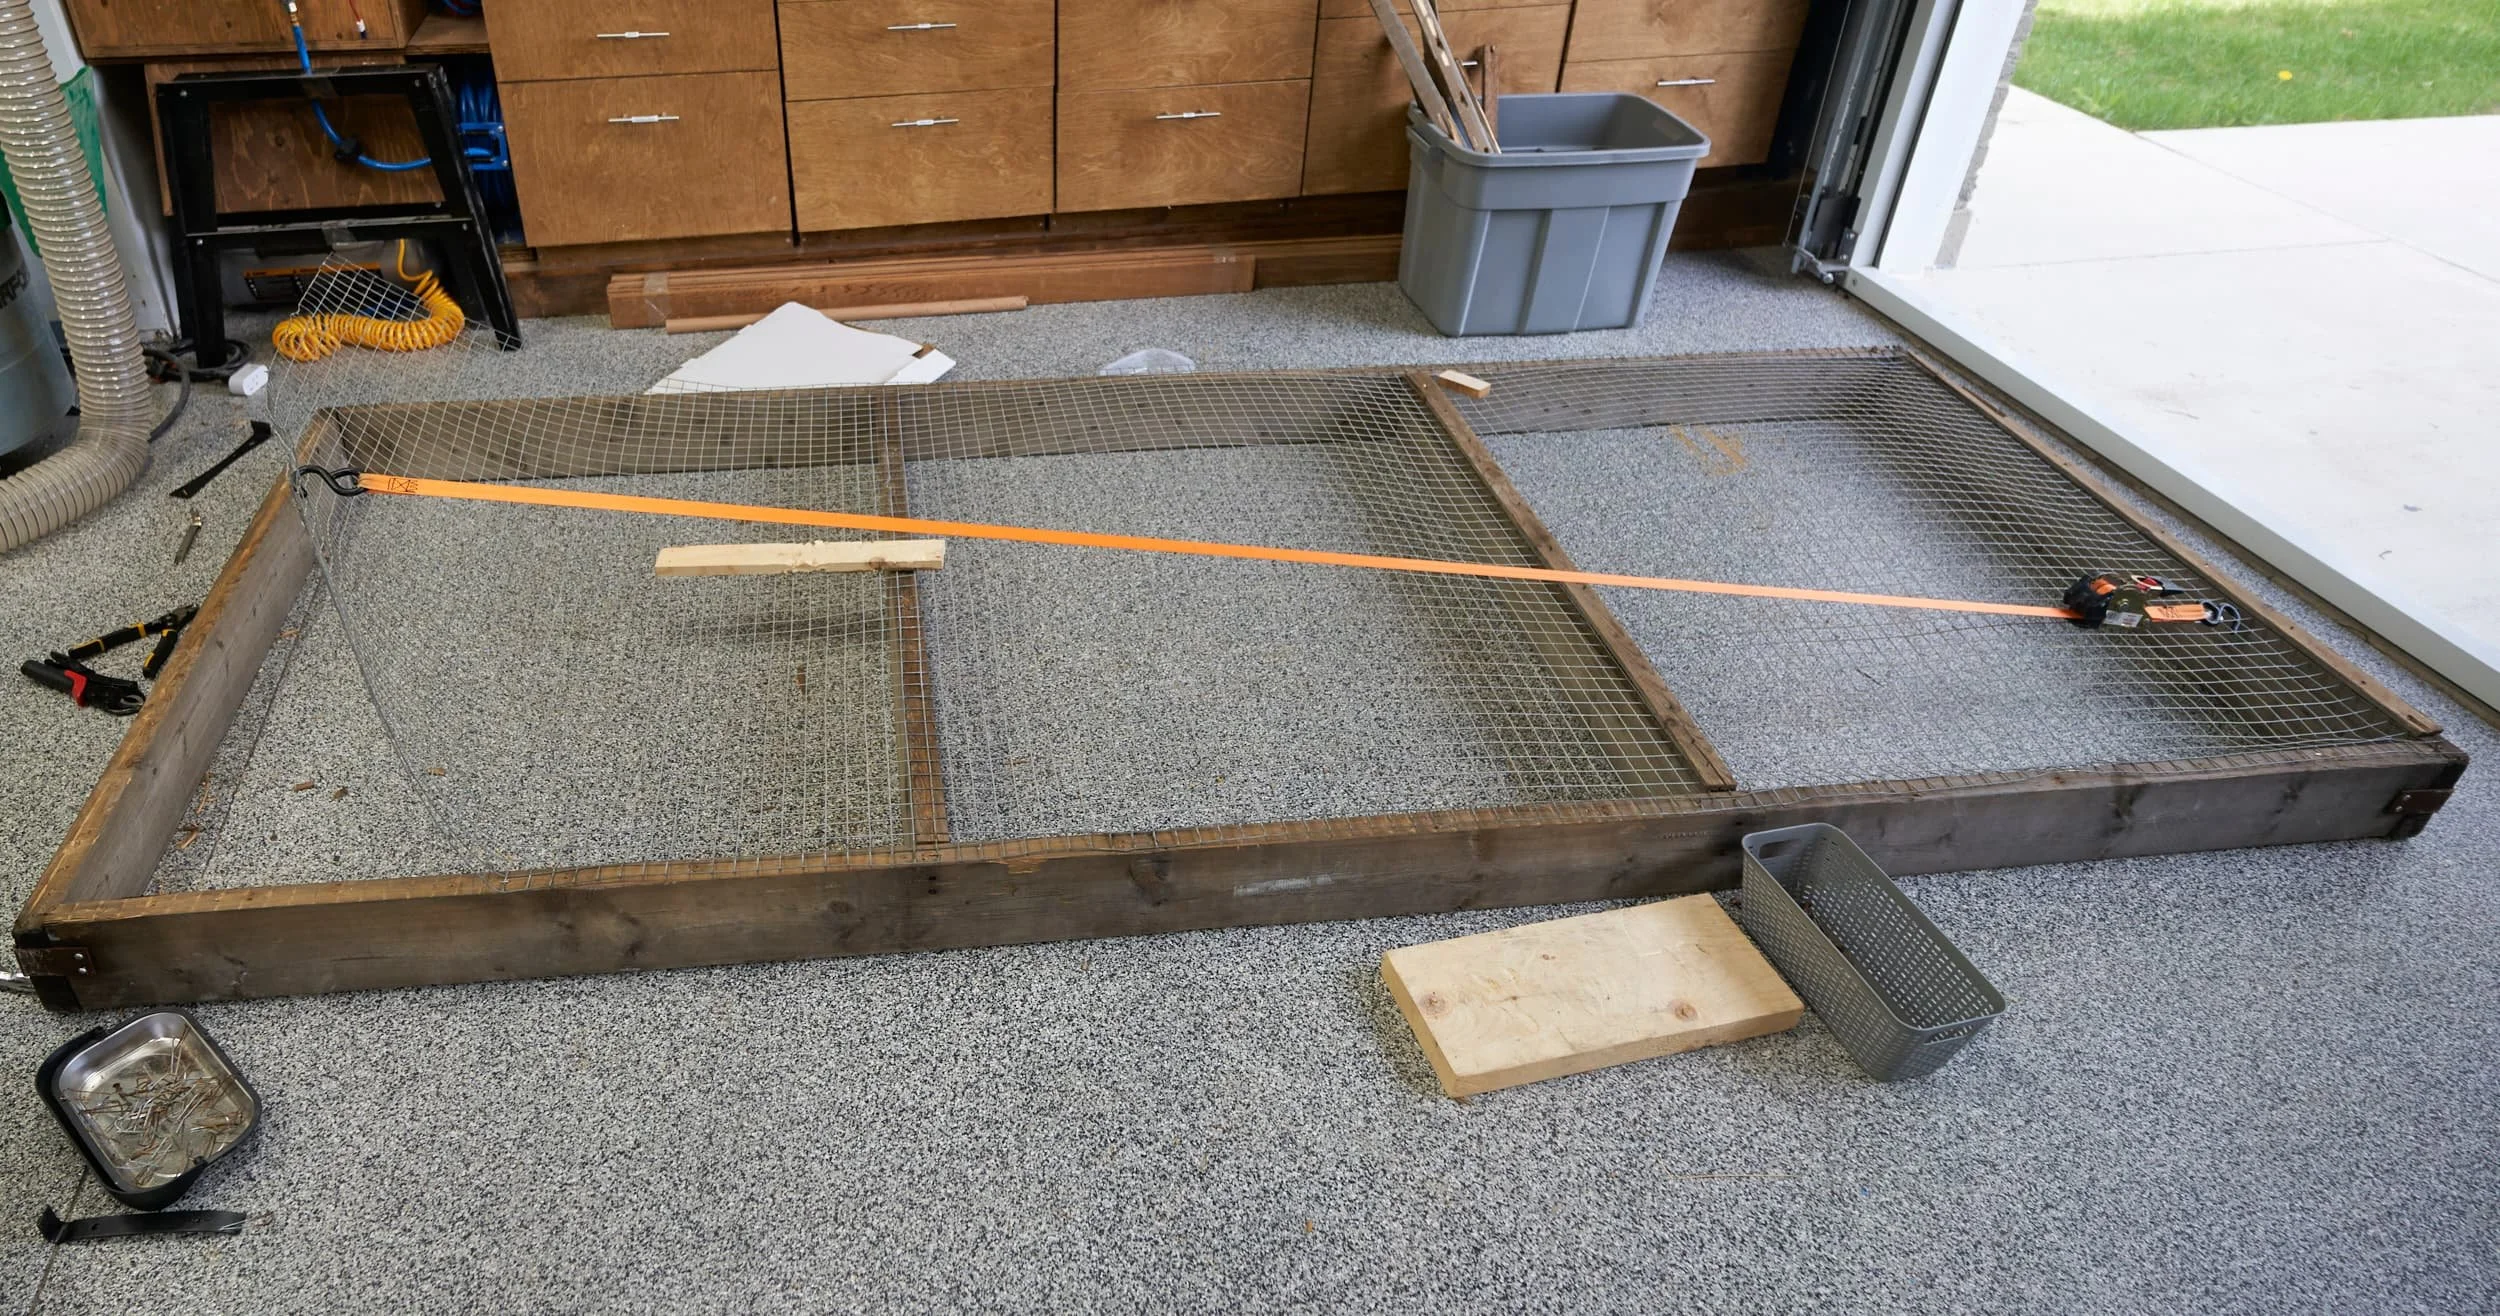
Step 1 - Used wooden frames
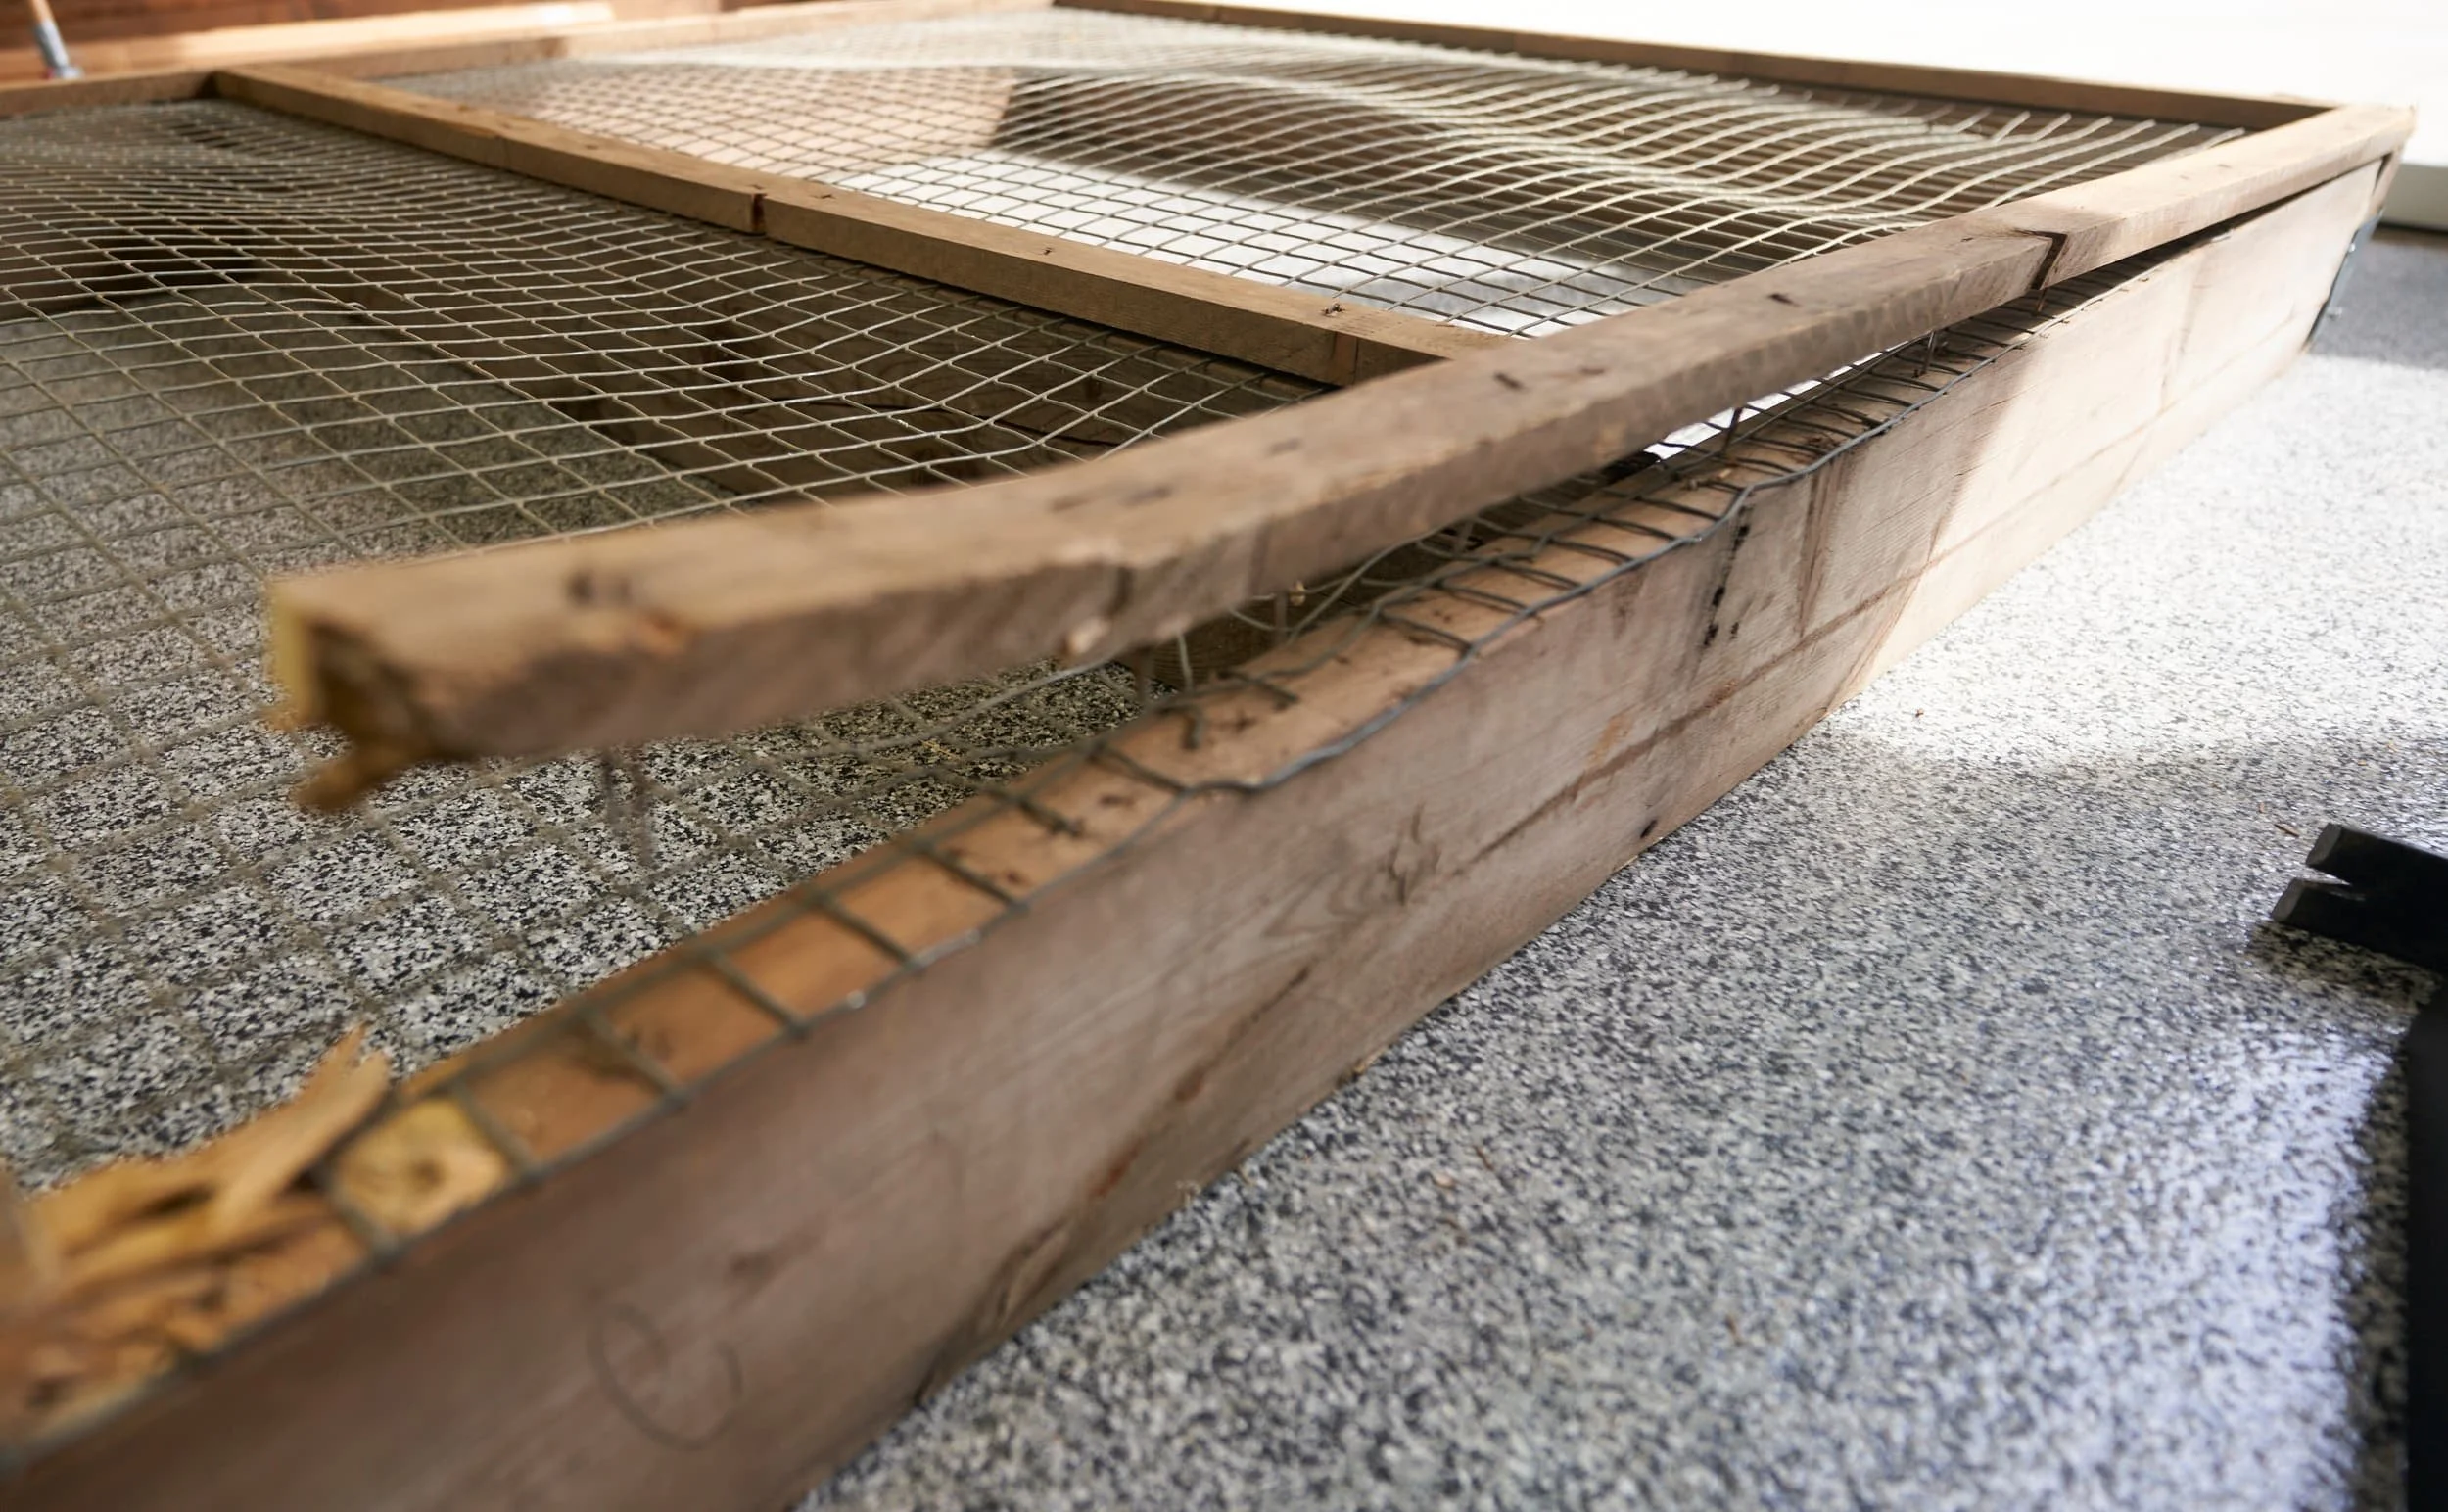
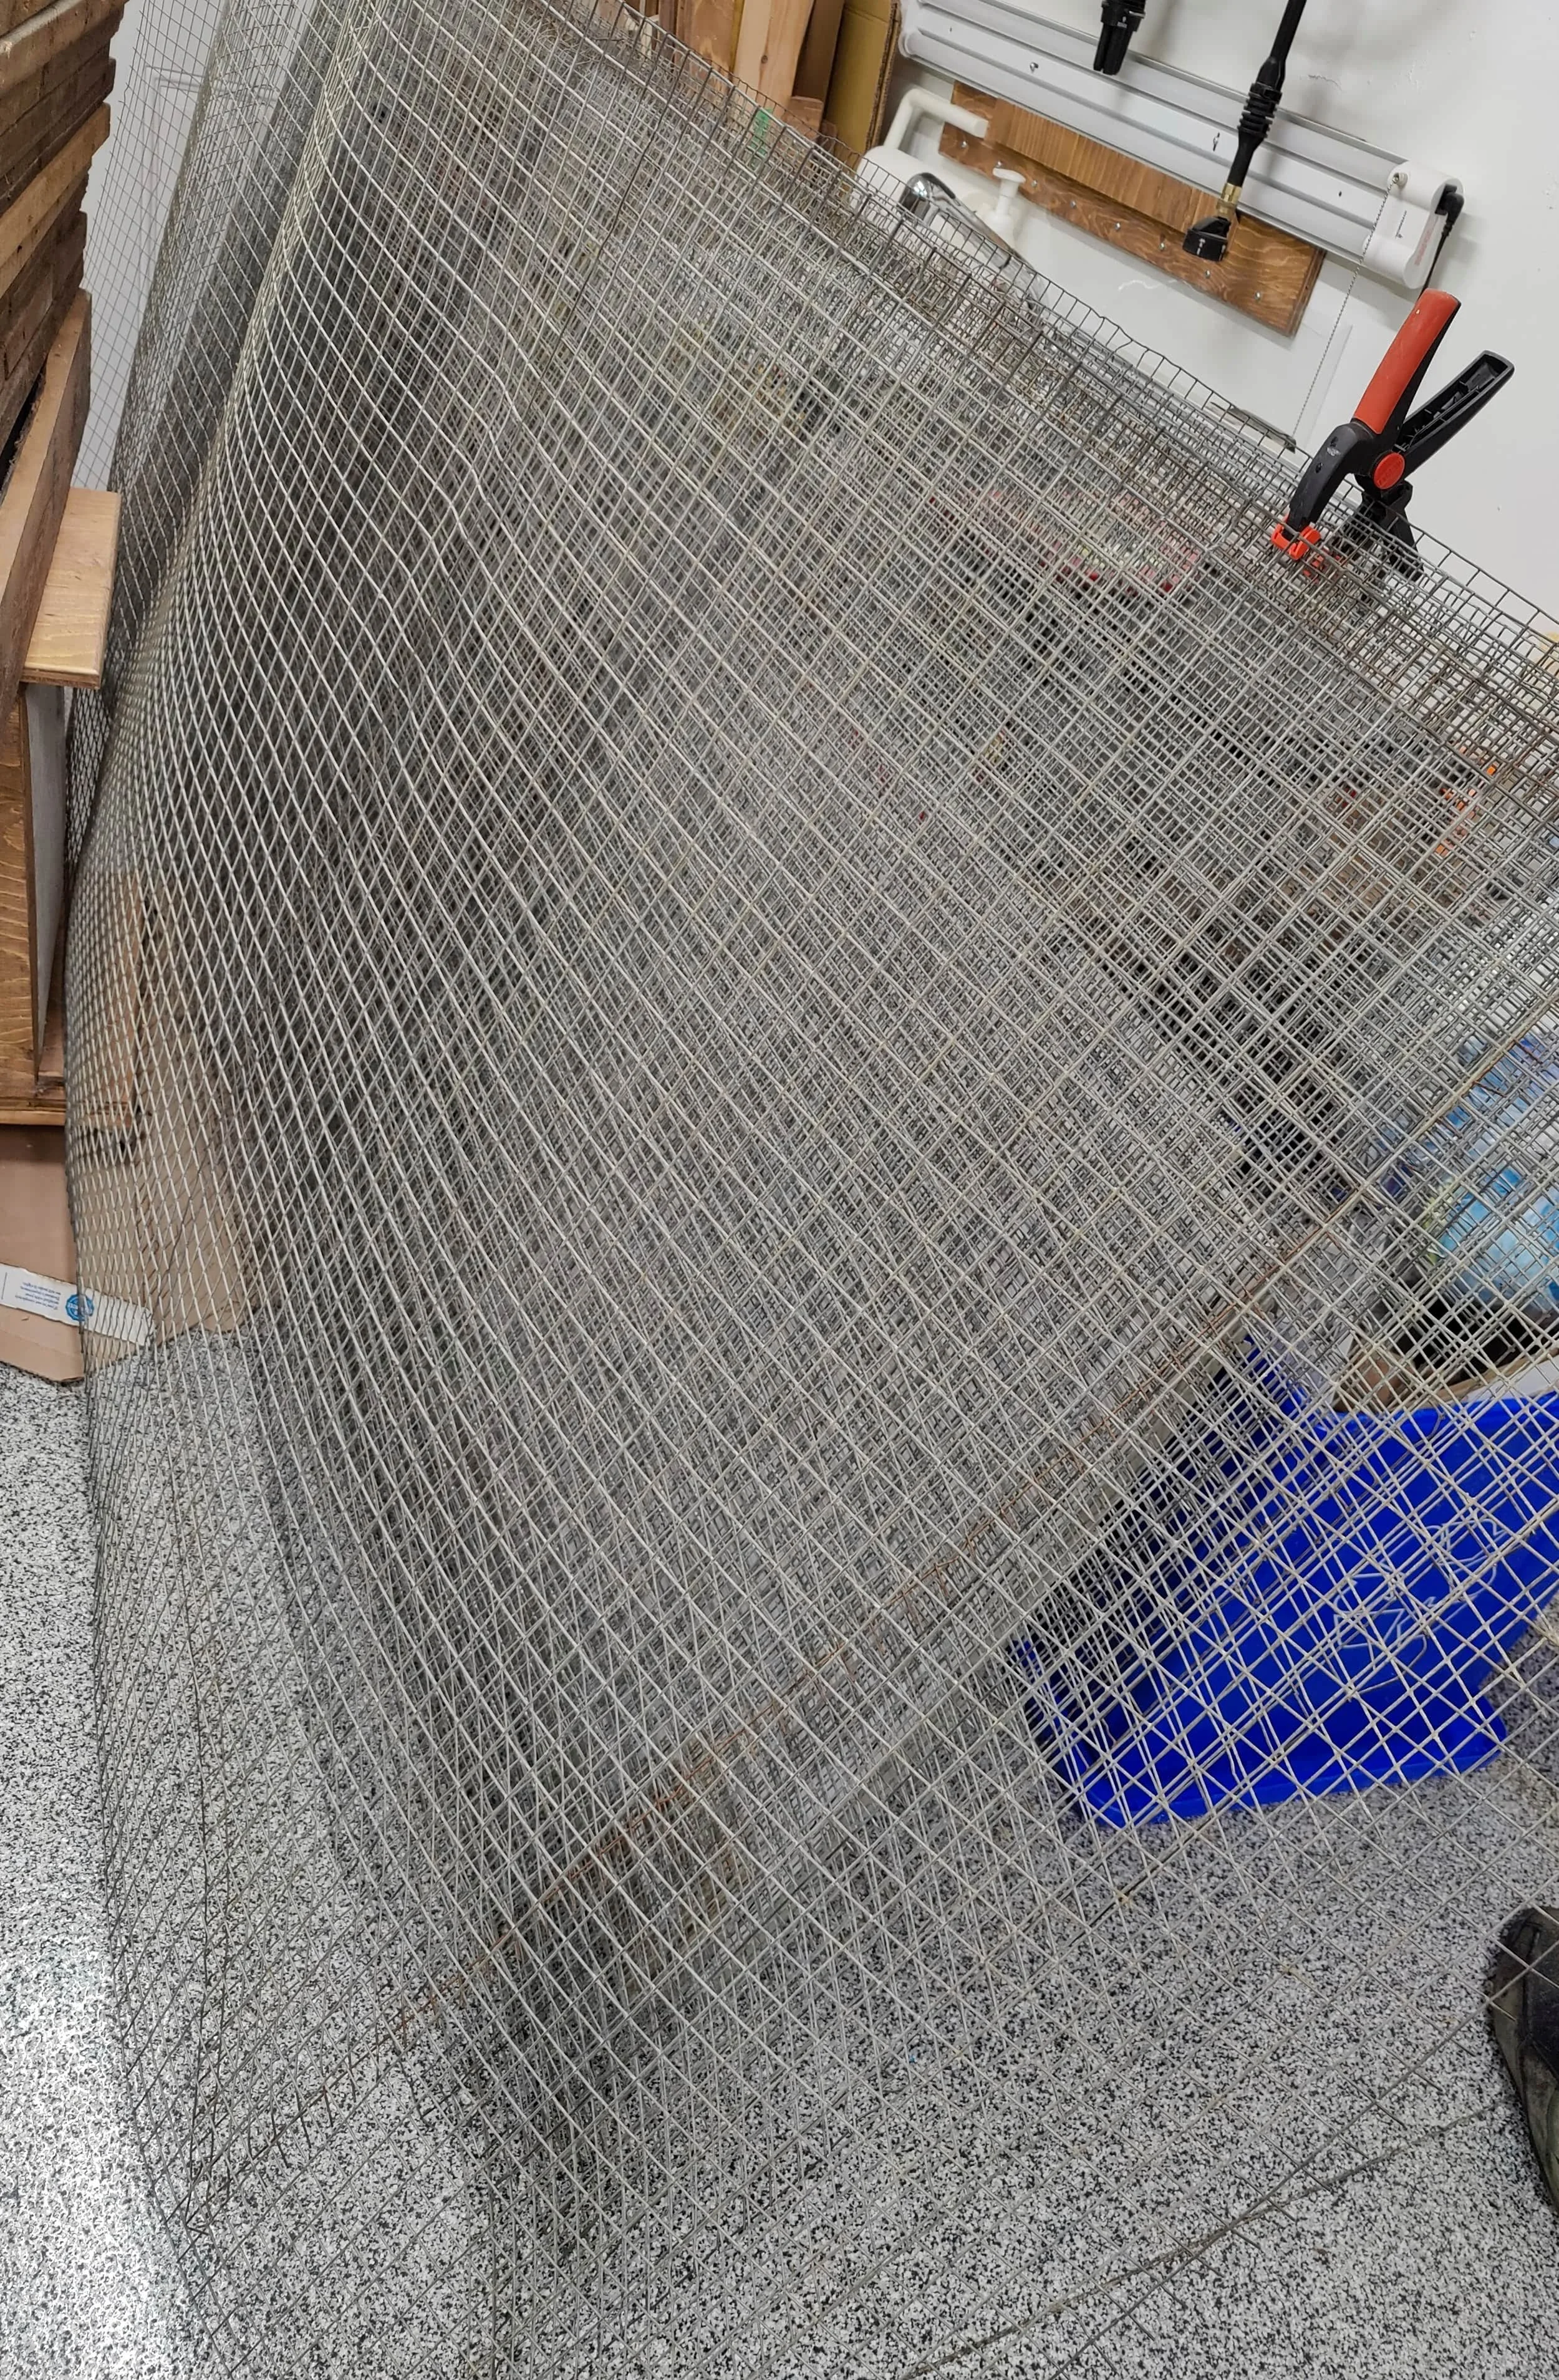
There was a ginseng farm about 30-minutes away that was moving out of the region; as part of their wind-down operations, they were getting rid of thousands of kiln-drying racks. These are essentially glorified 2x6 frames and to make it a tray, they had some heavy-duty (to me) 1x1 steel mesh stapled on the bottom side.
They were initially selling for $10/tray although when we got there, they were much more interested in getting rid of them more than anything (as their moving date was coming up fast) so they let us take as many as we felt like taking. Factoring in the ‘bonus’ frames we took, we ended up paying $6.50 per frame — a bargain from a materials perspective.


Since the kiln trays were of varying age, their individual condition was hit and miss - we knew that there would be some boards that would just be entirely unusable due to cracks, twist, warp or sheer nail holes. The plan was to disassemble the frames, get the wood surfaced up so it was a nice clean starting point.
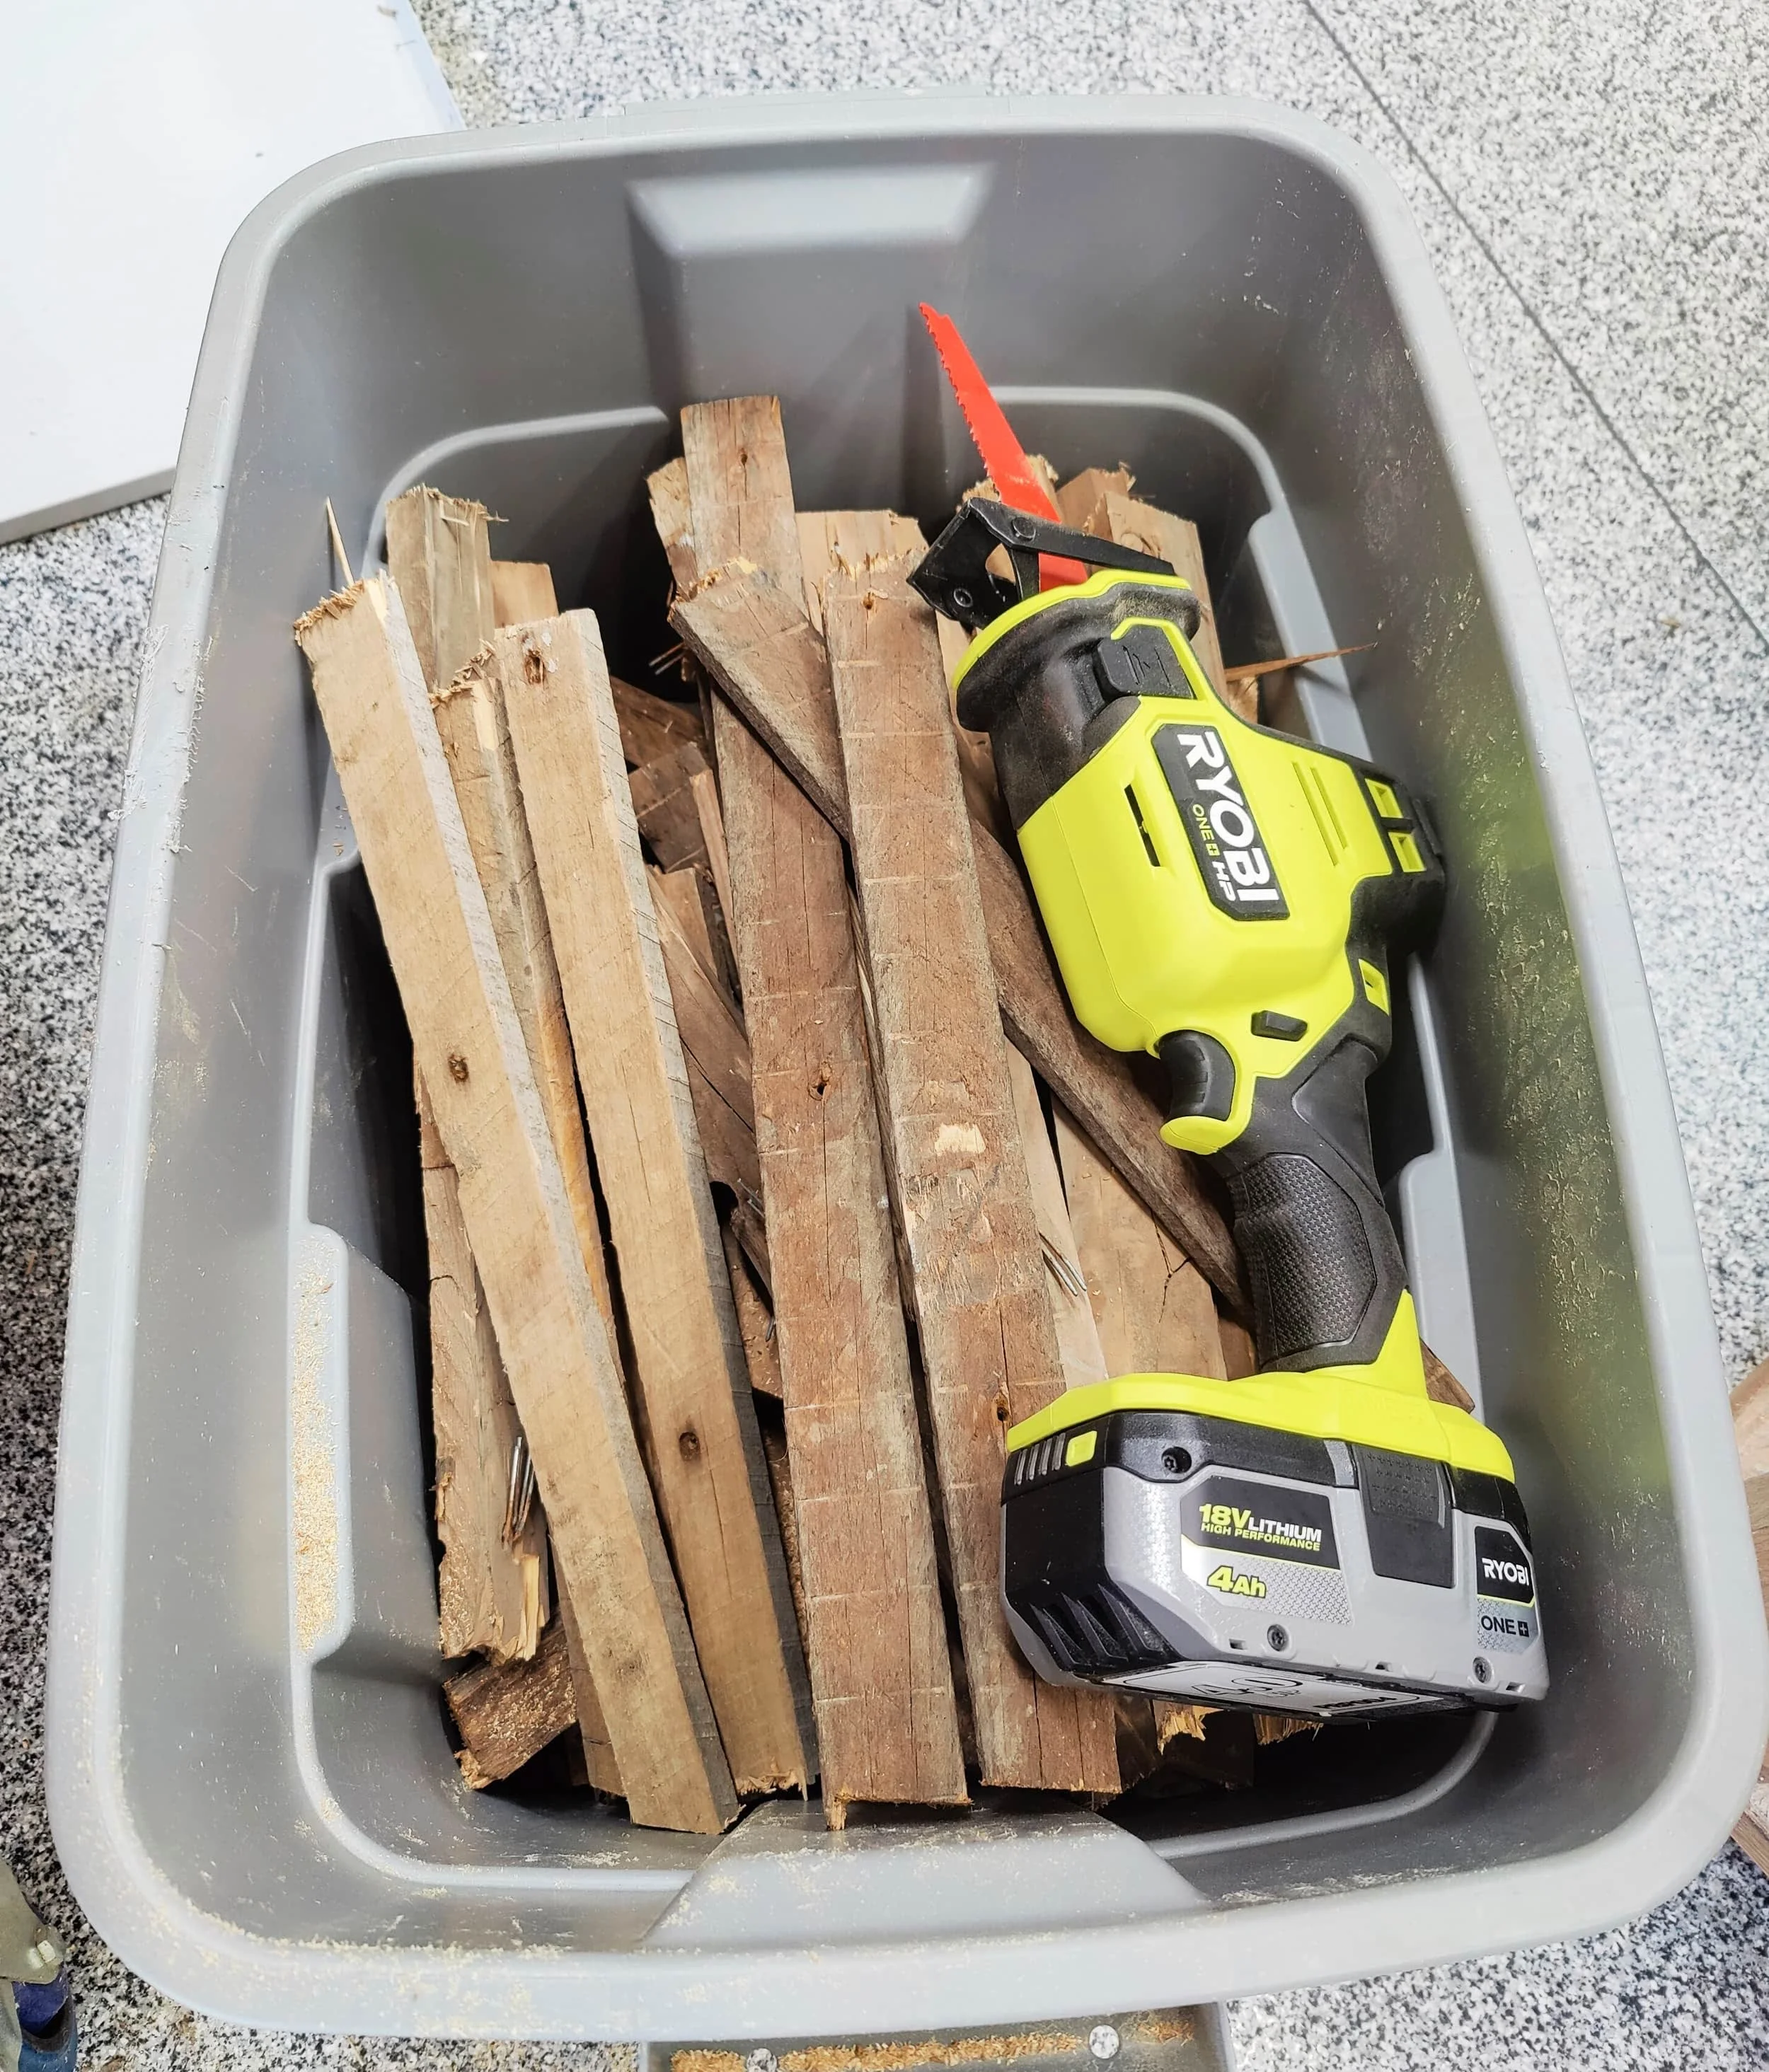
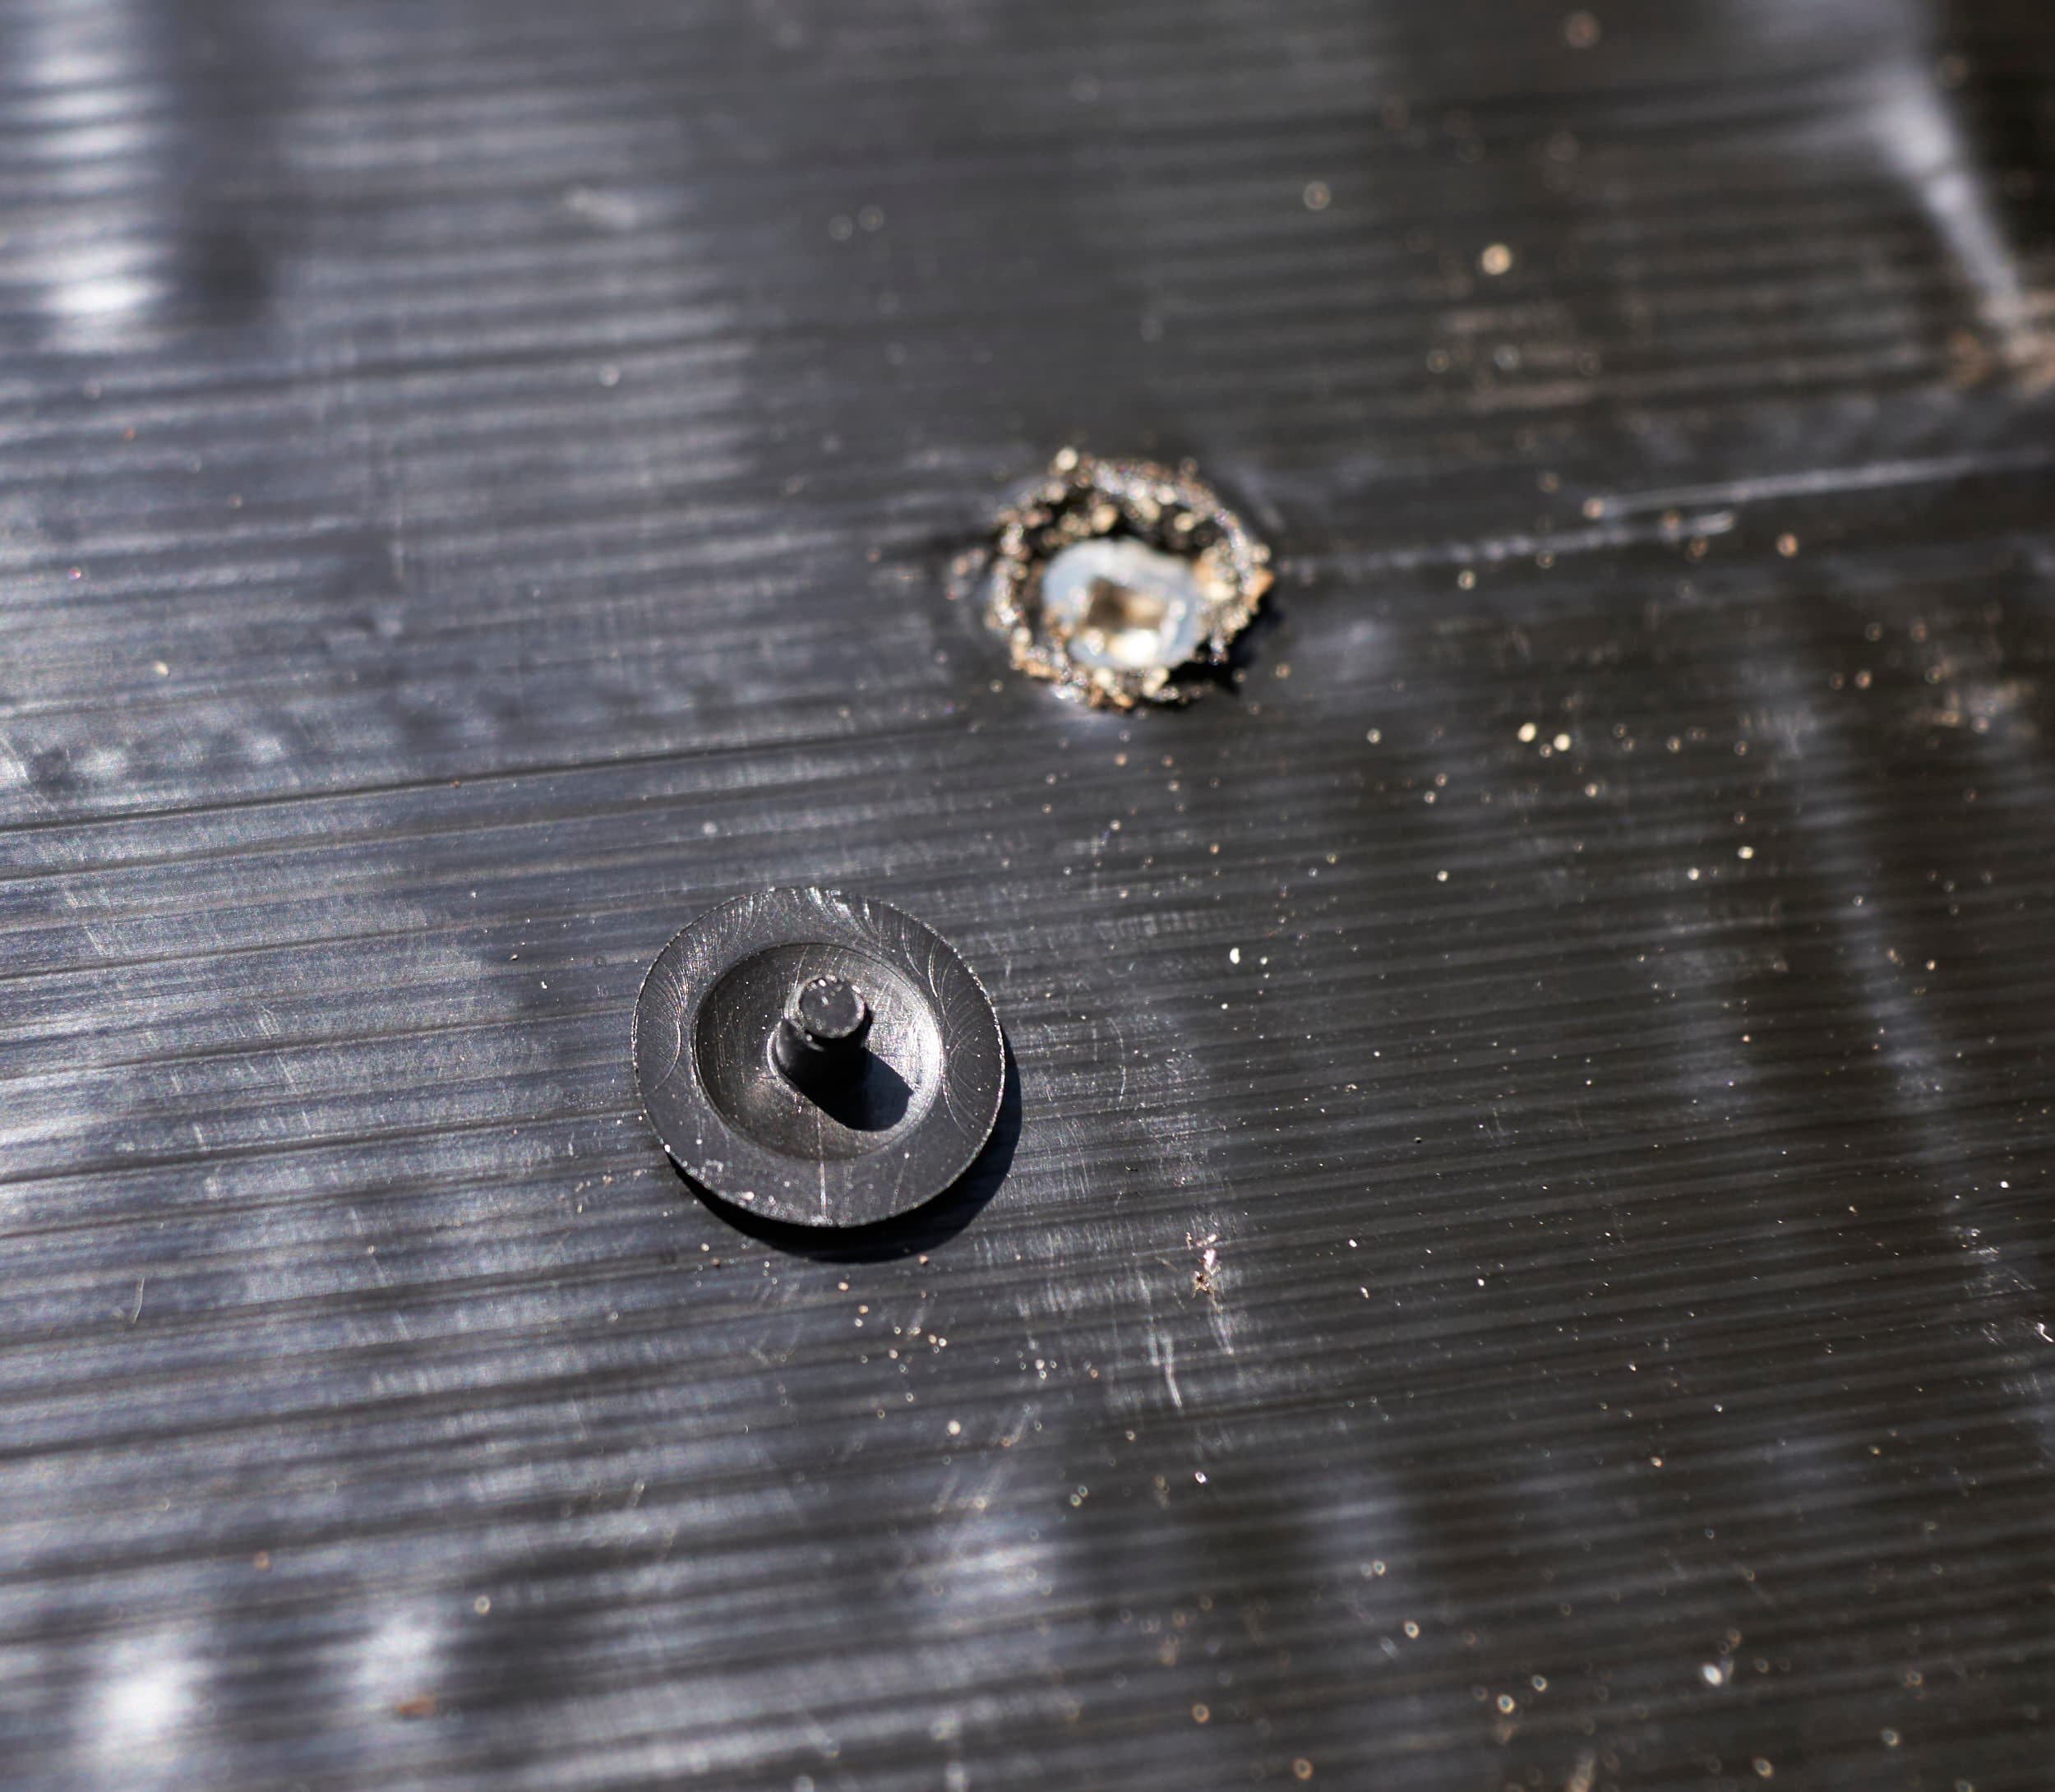
Step 2 - Extracting the wood
I planned on running the boards through a planer to get to fresh wood and so it was imperative that I thoroughly remove all the metal from the frames. We could tell that the frames were assembled by different people as they had a bunch of different ways of being put together:
Large nails holding the framing members together
Sometimes brackets with screws holding the corners together (and sometimes with nails)
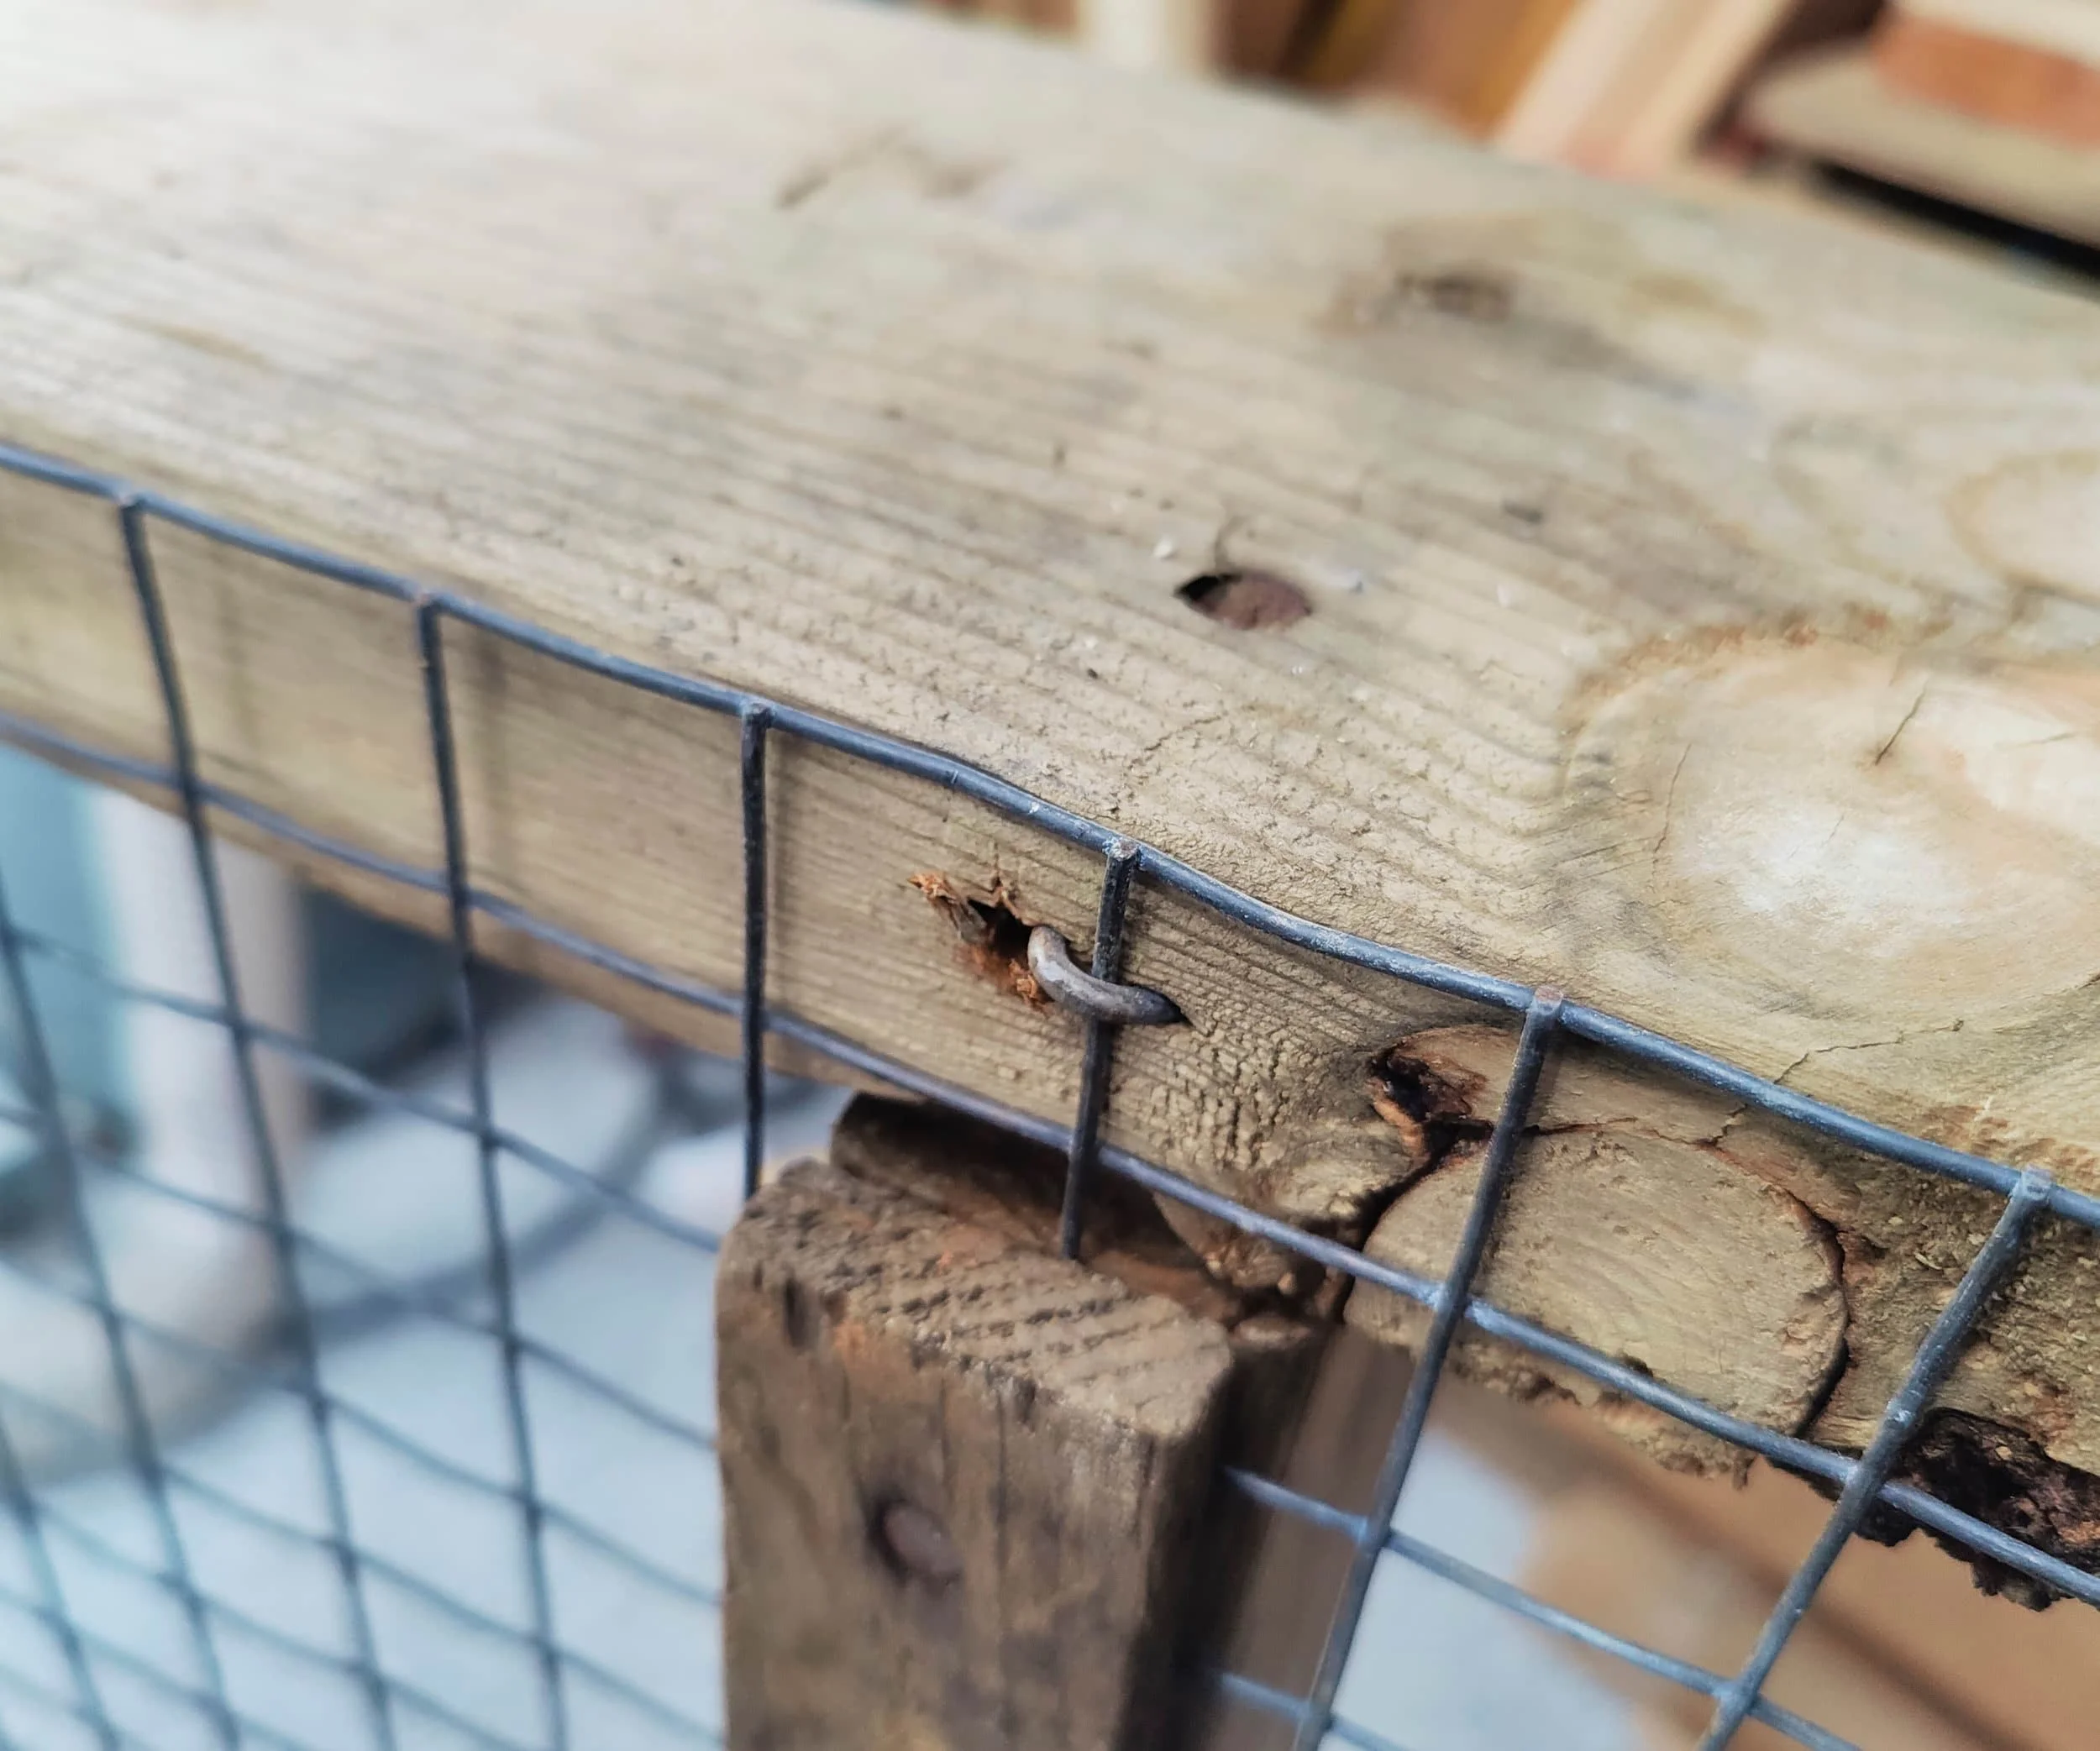
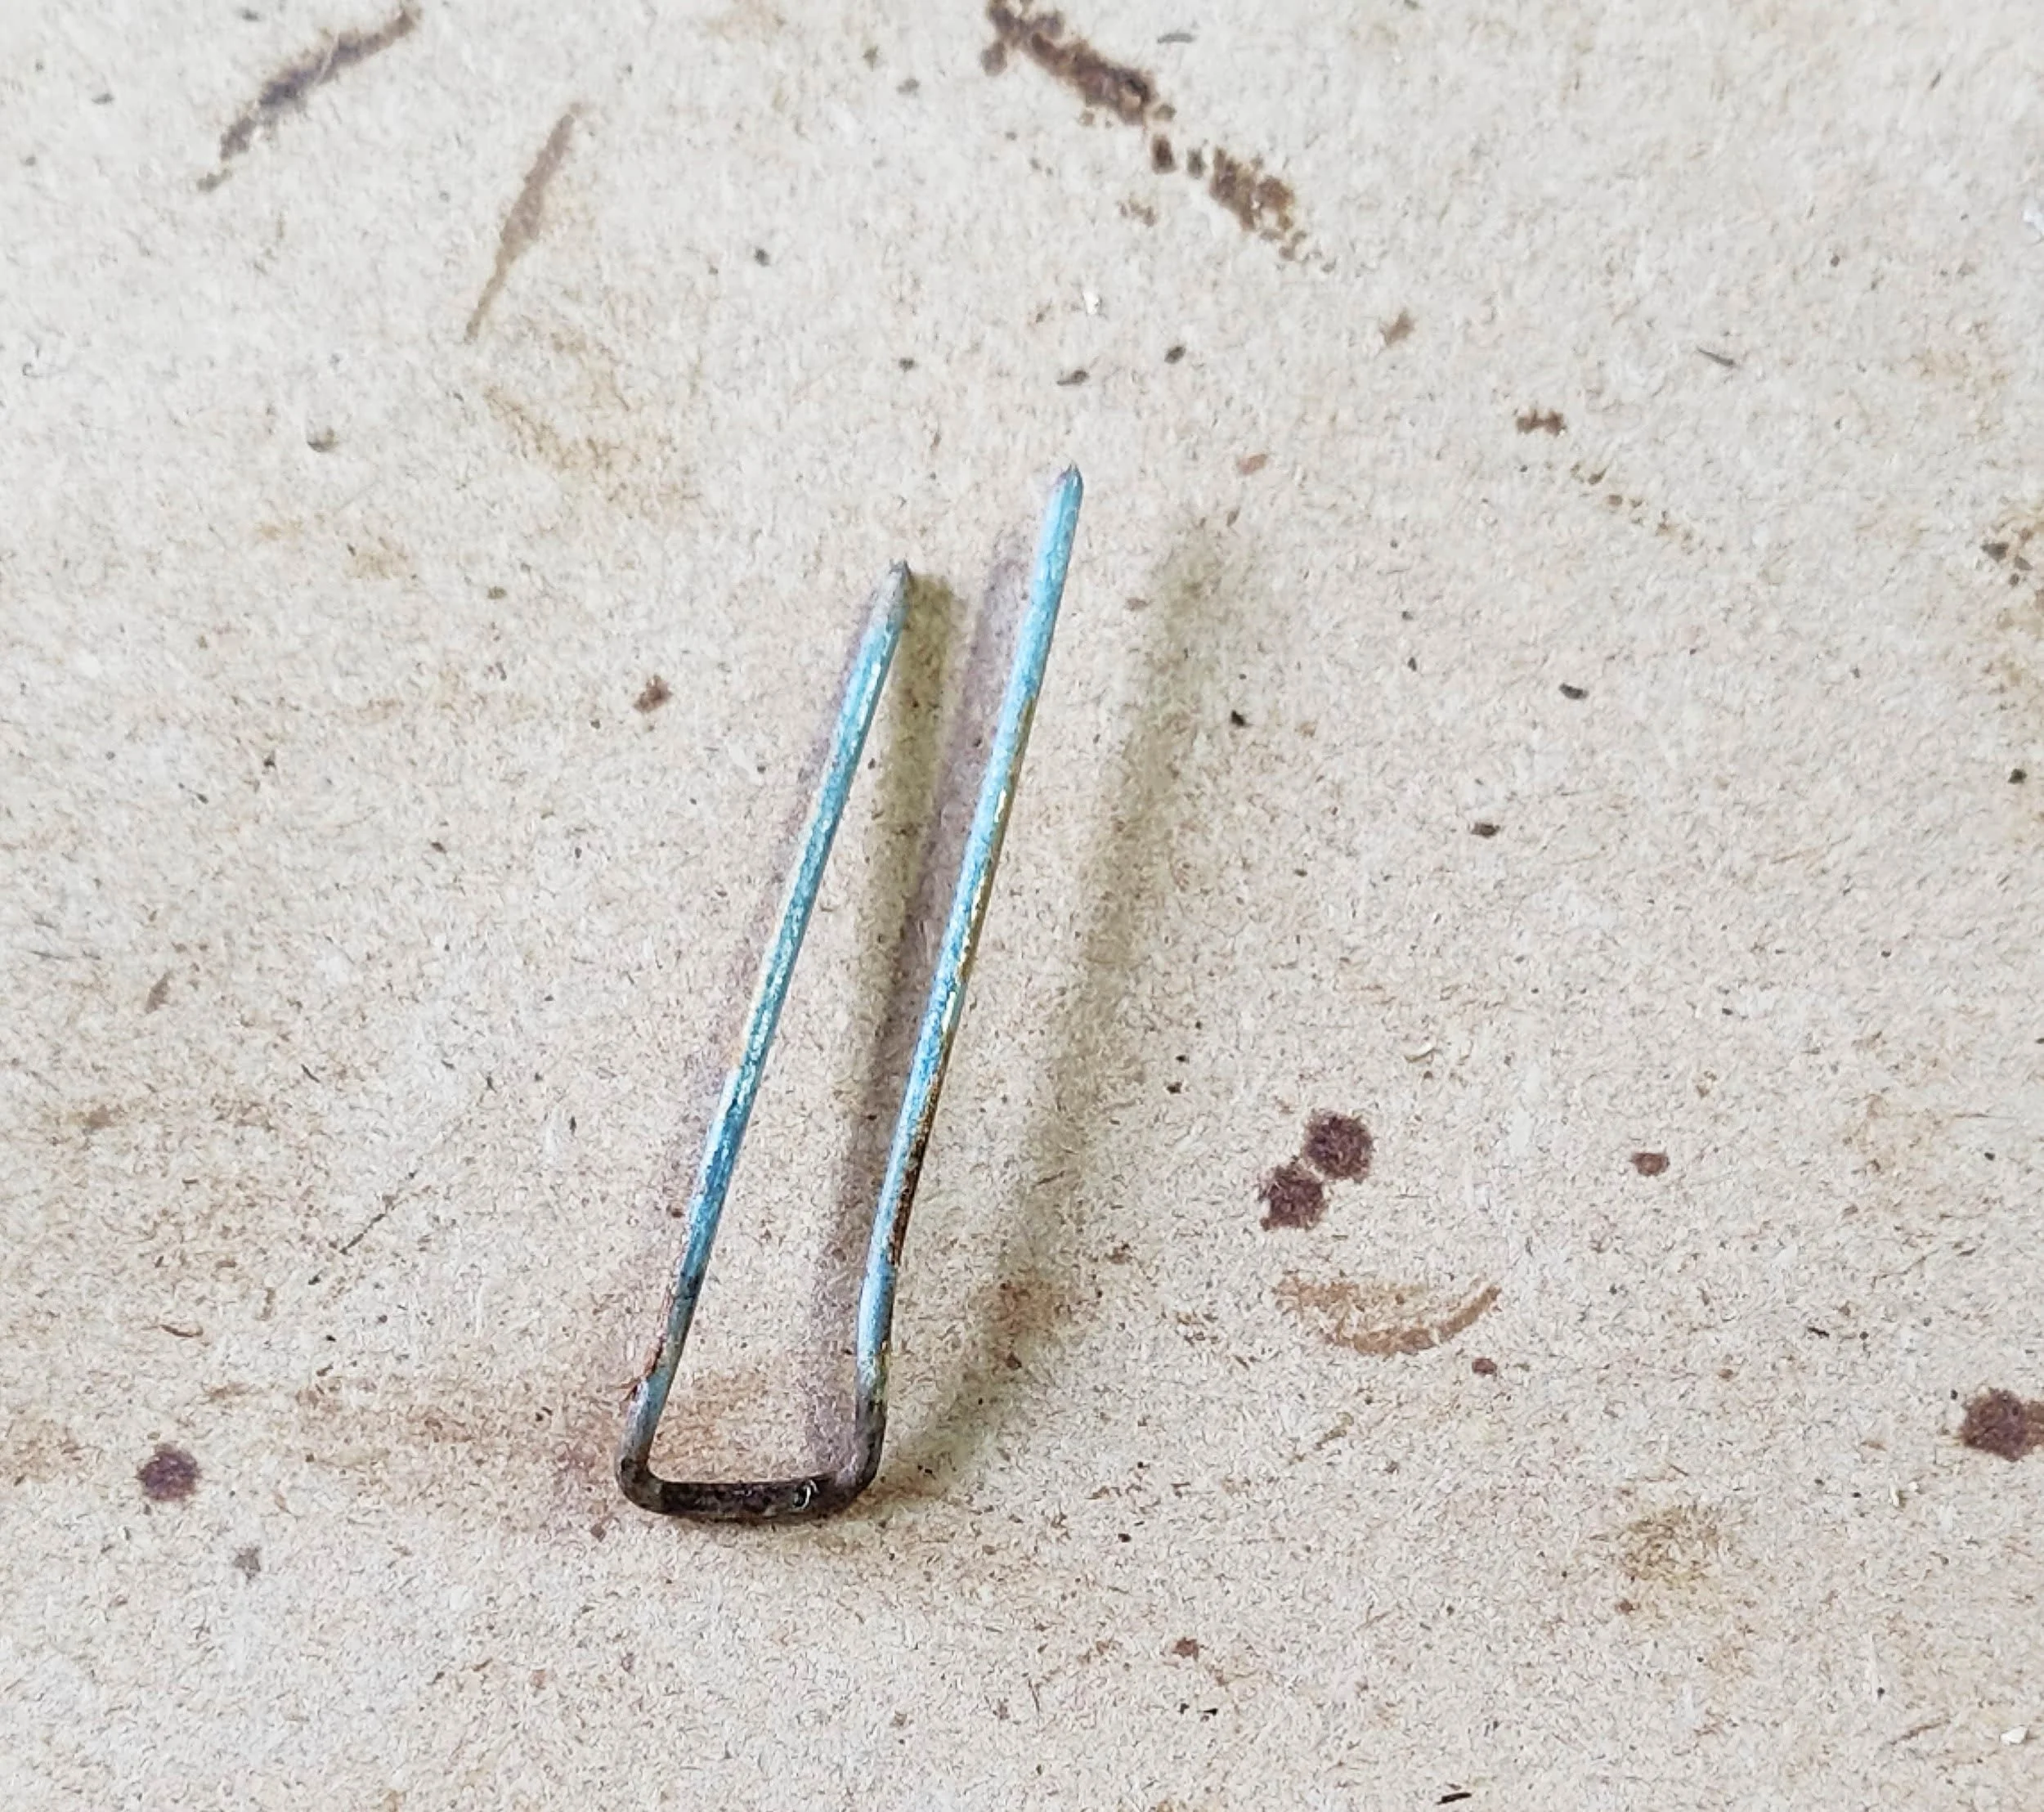
Fencing staples holding the steel grid down
Sometimes long staples were used instead
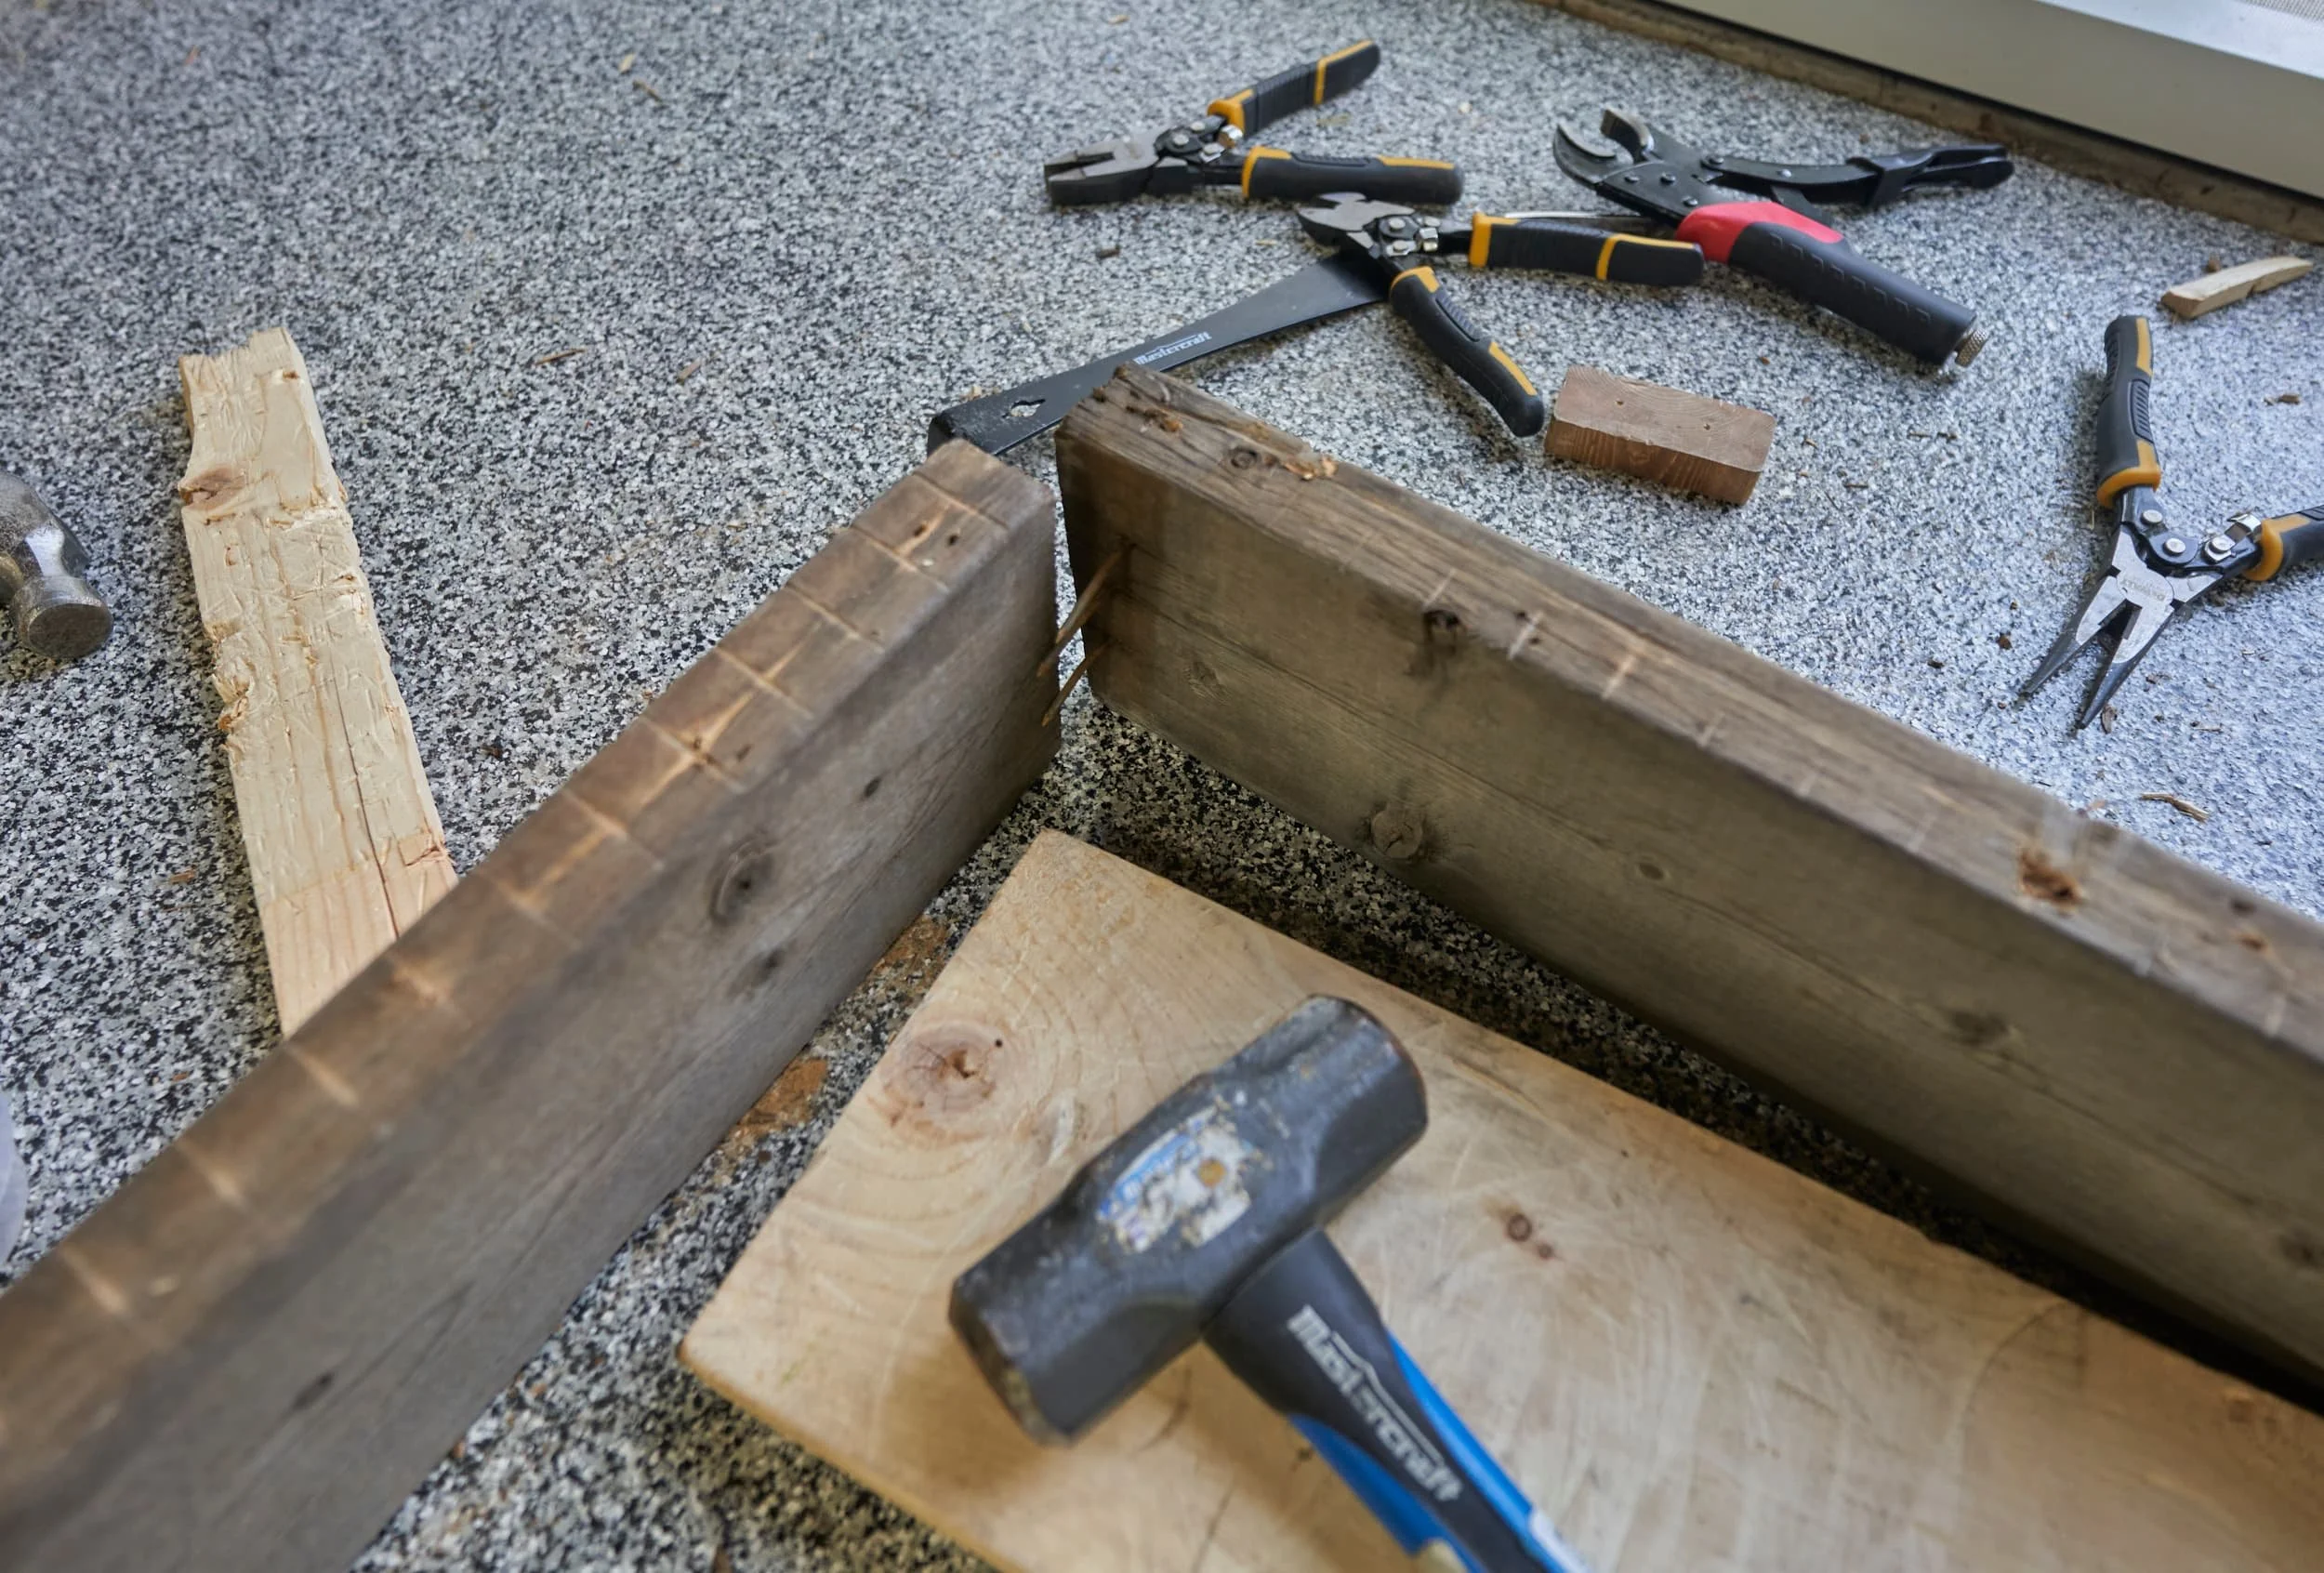
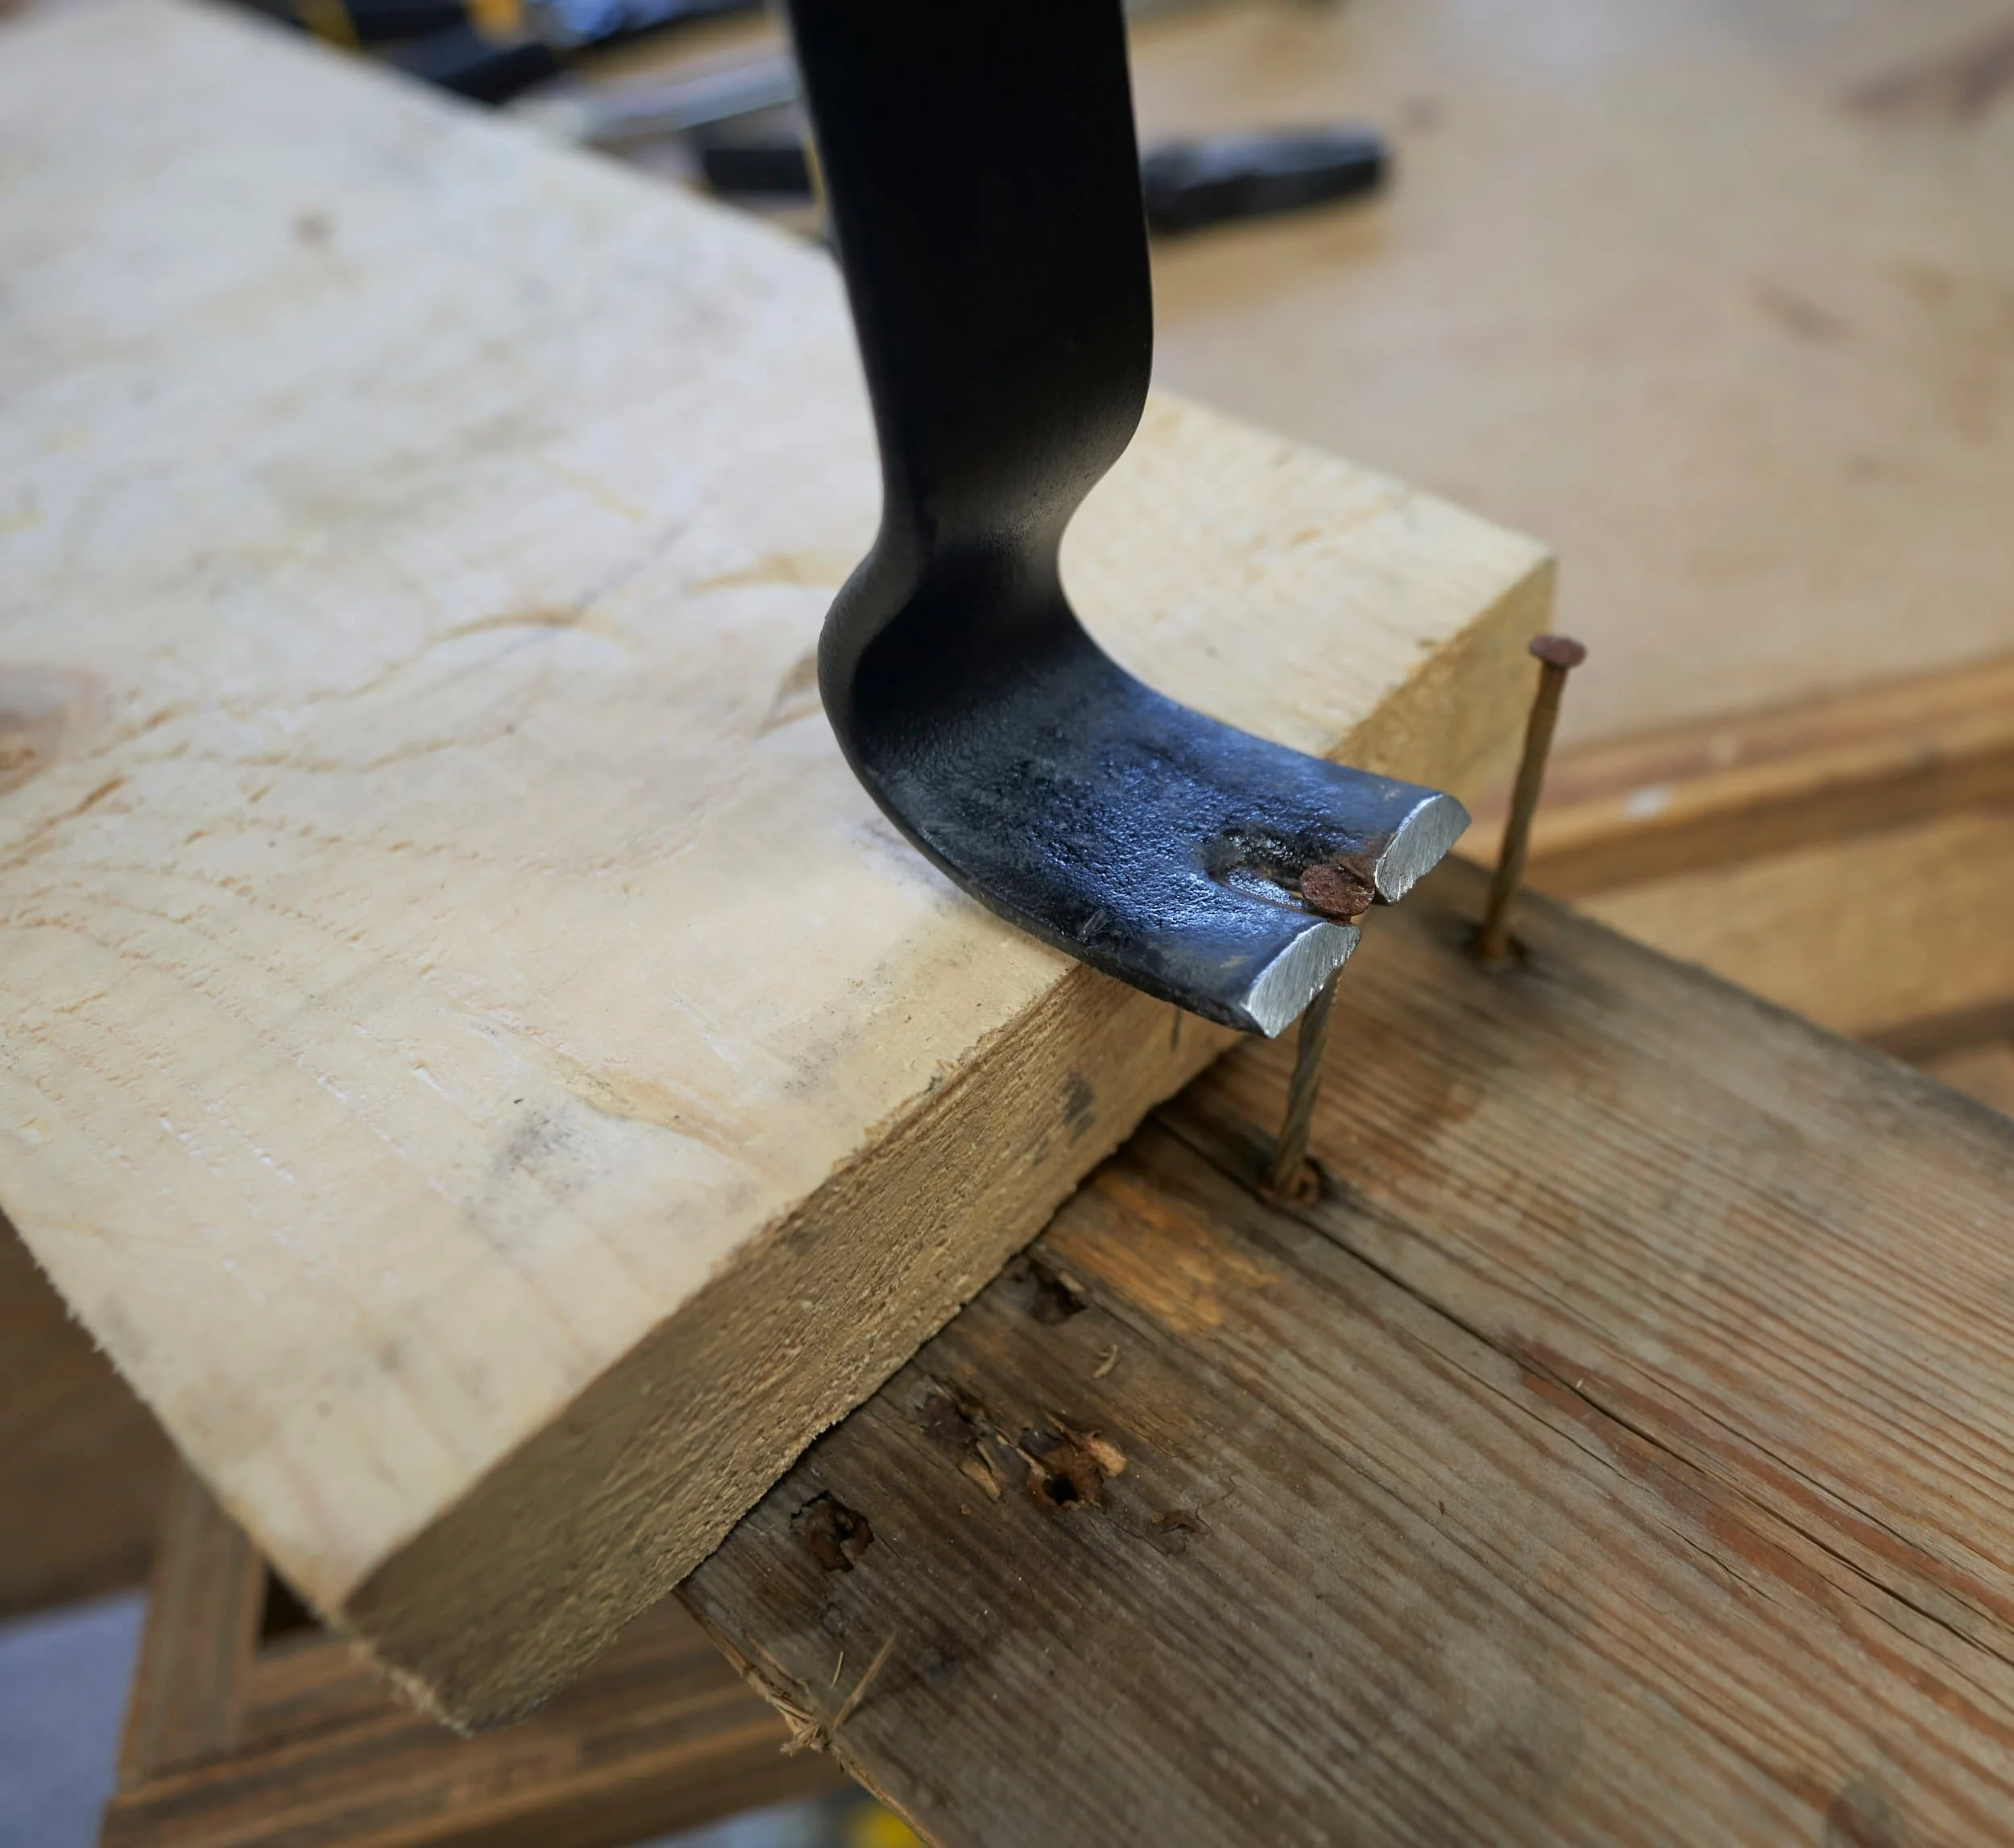
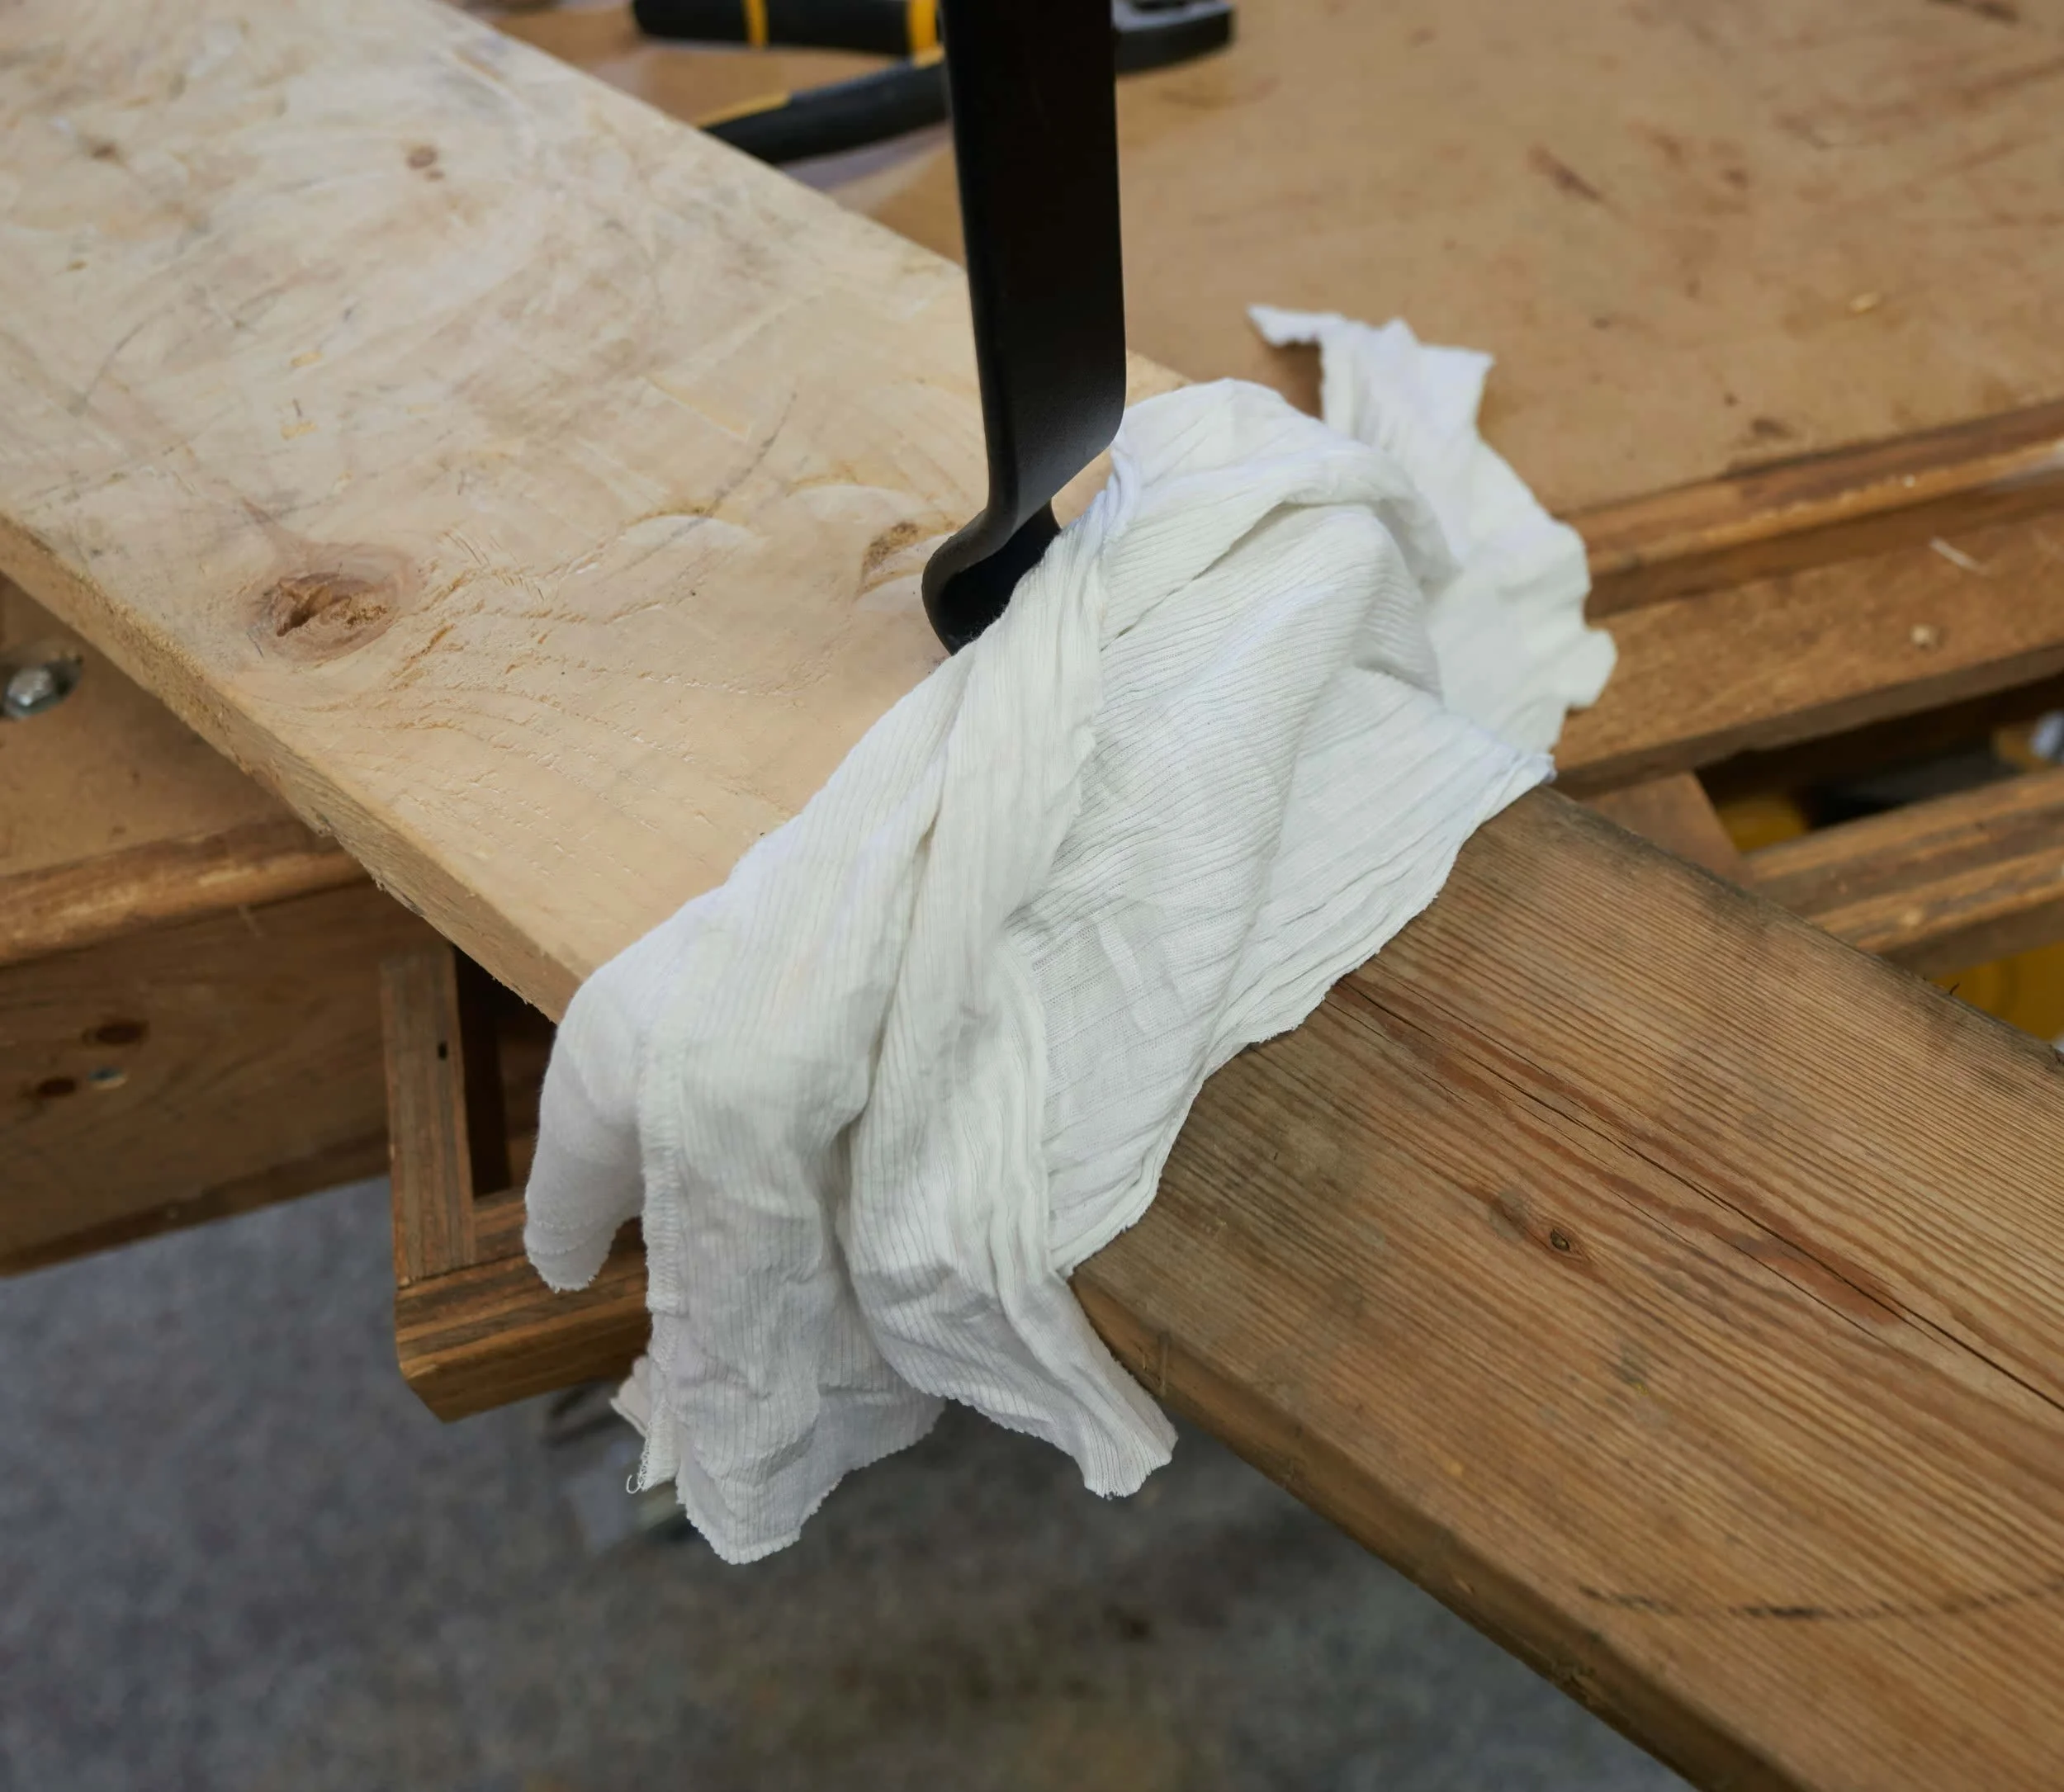
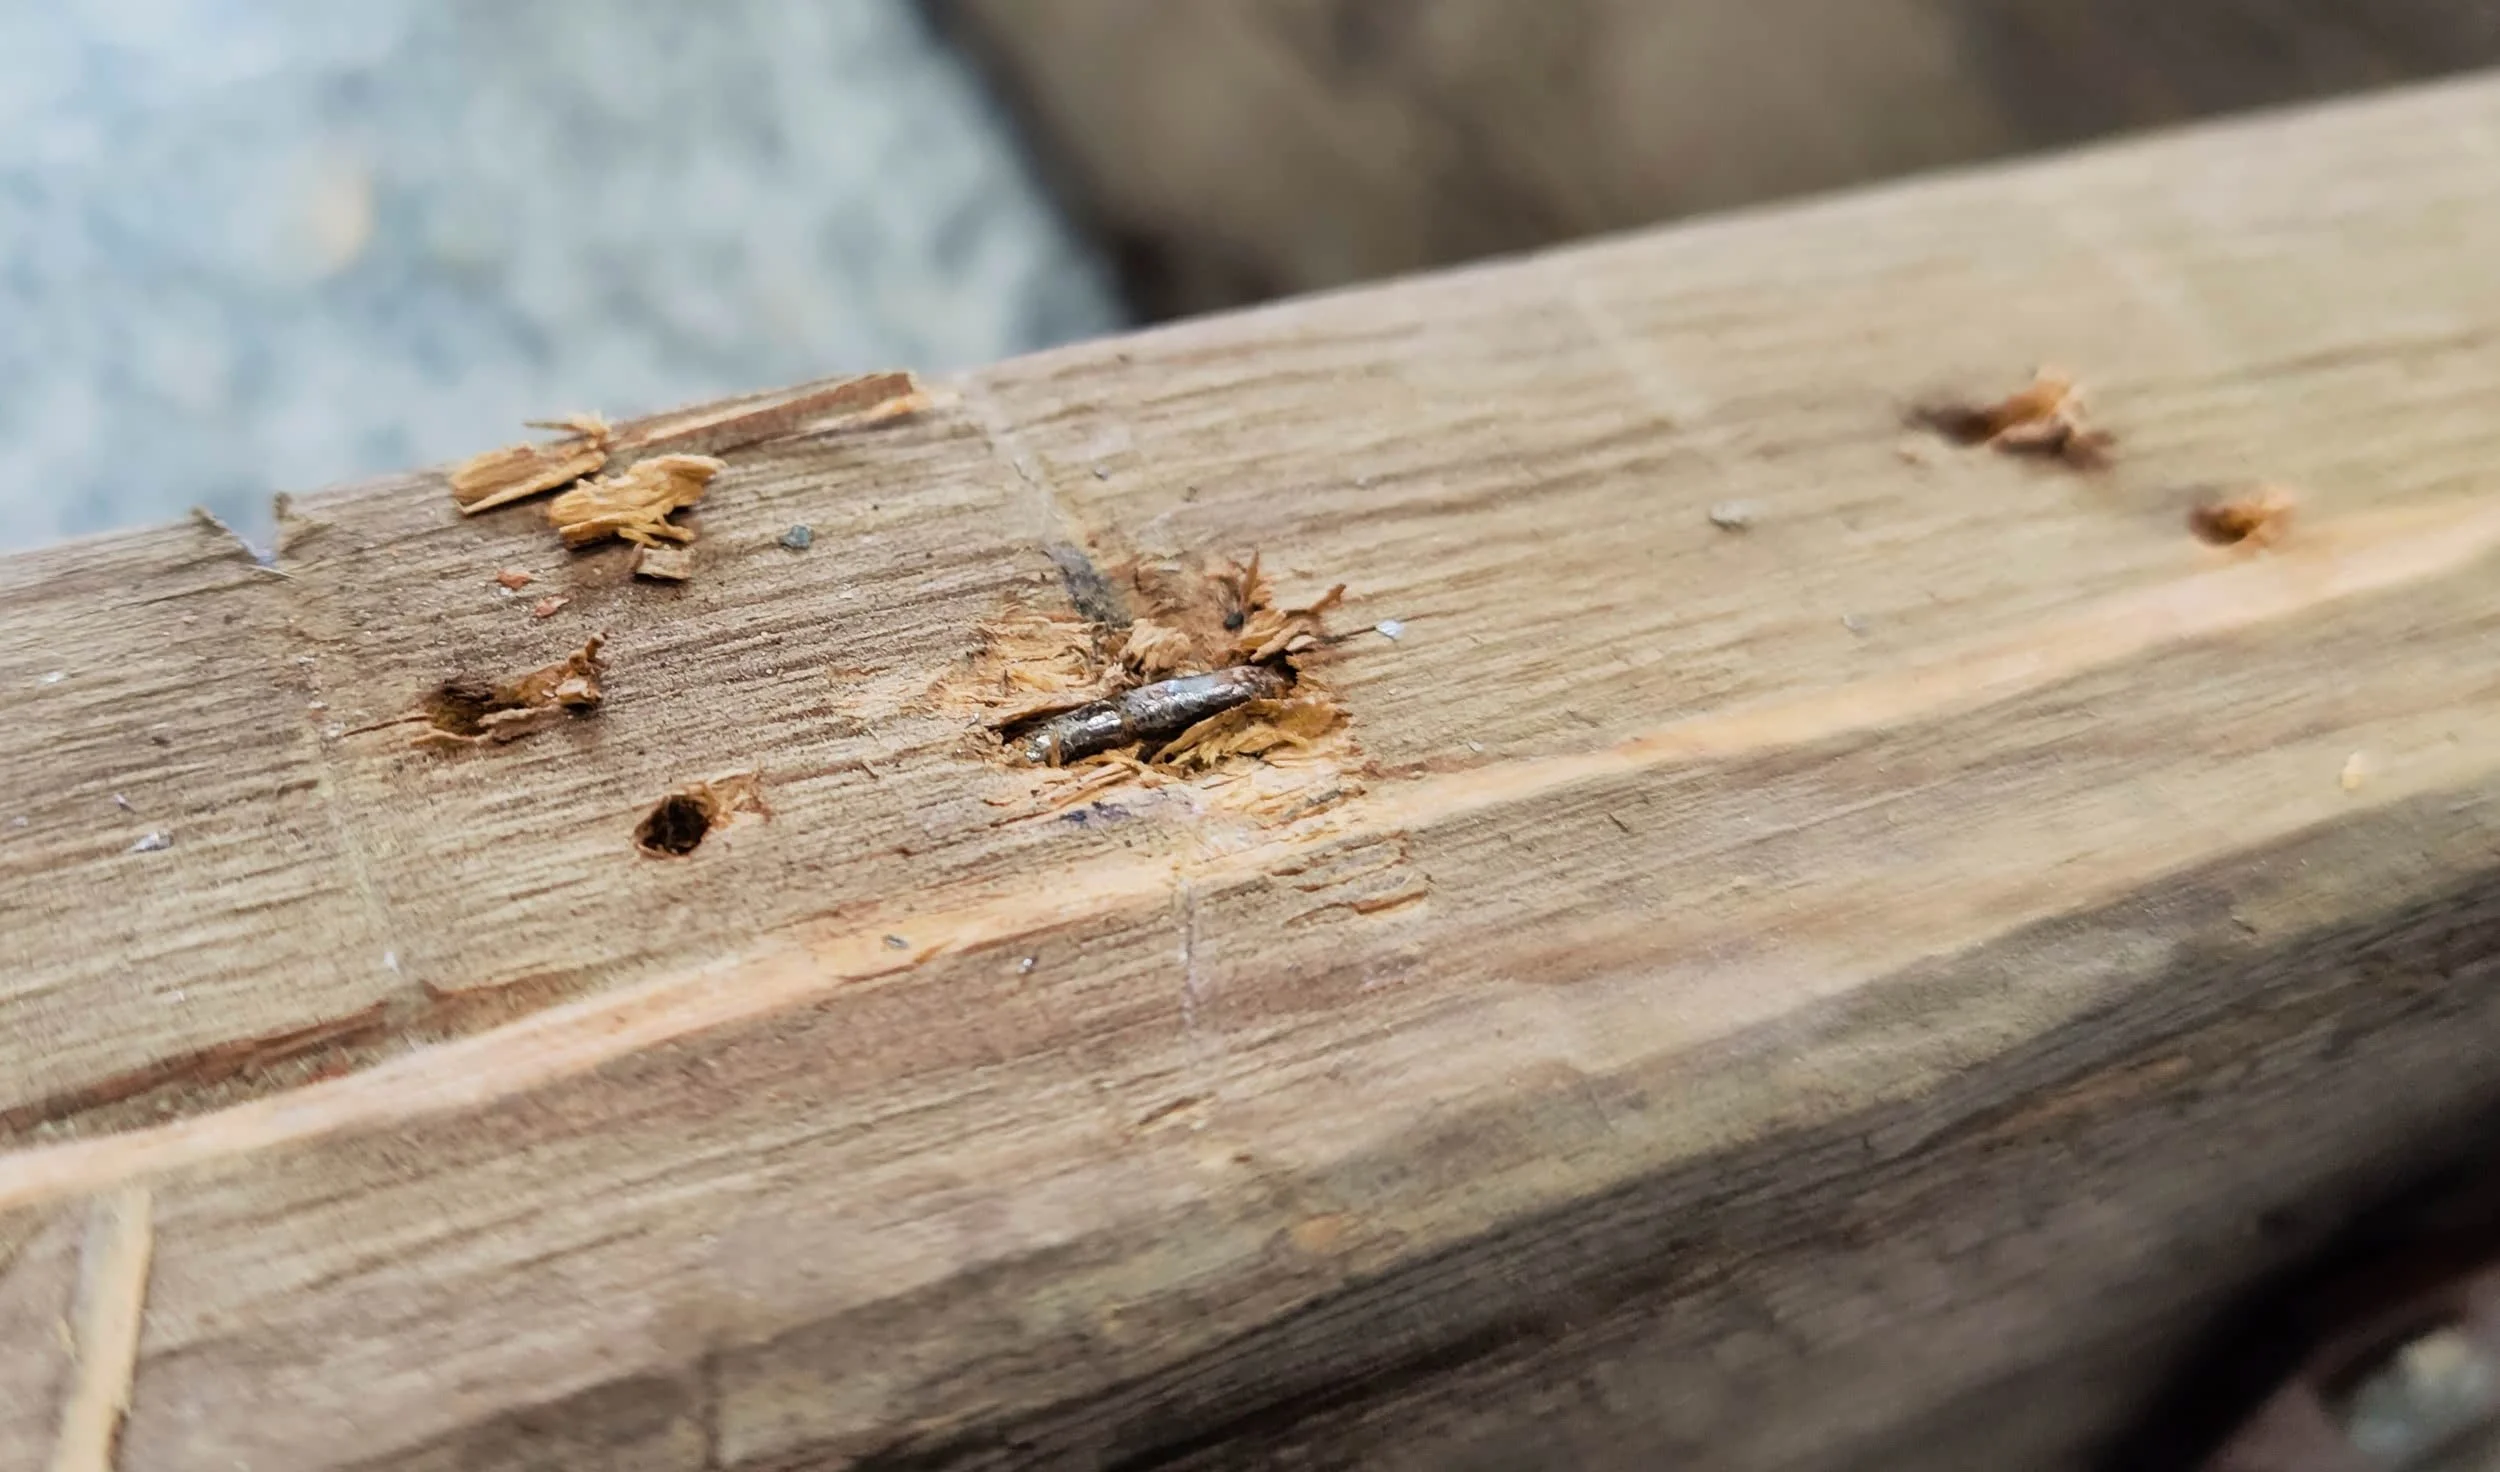
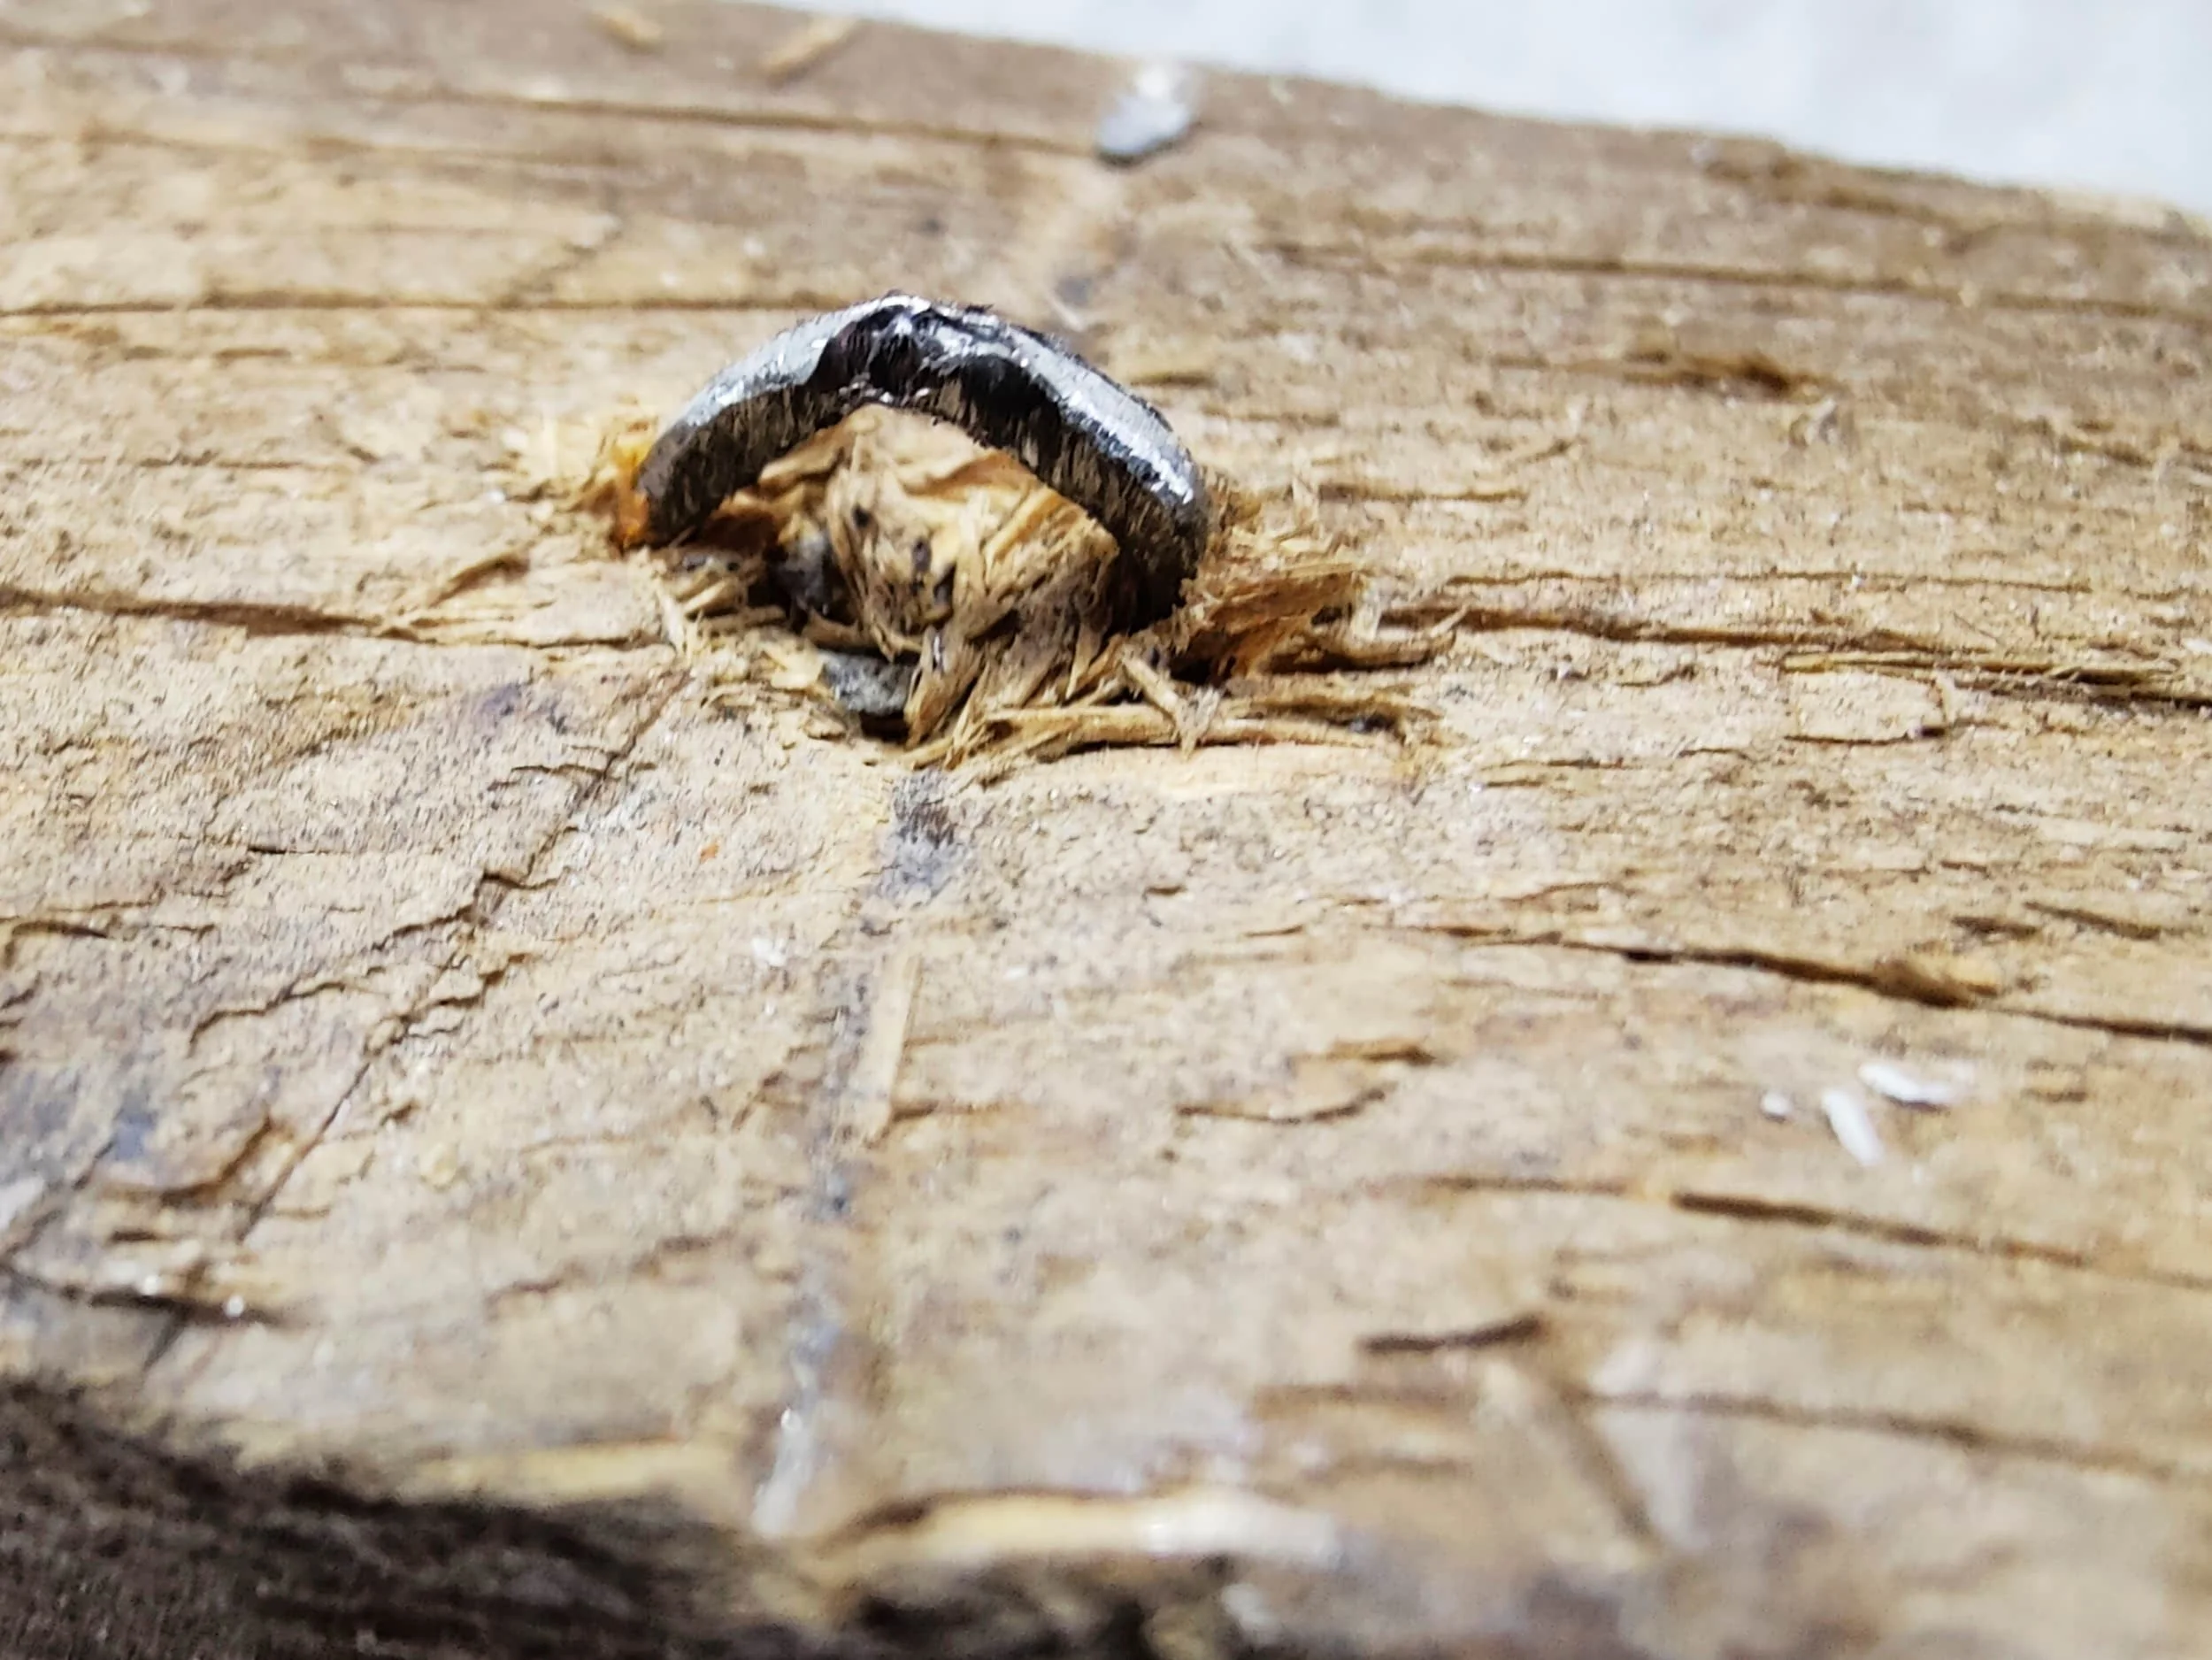
To break down a frame into its component pieces, there were a four steps needed:
Remove the staples holding the metal grid to the frame
Disassemble the corners
Smash the boards apart
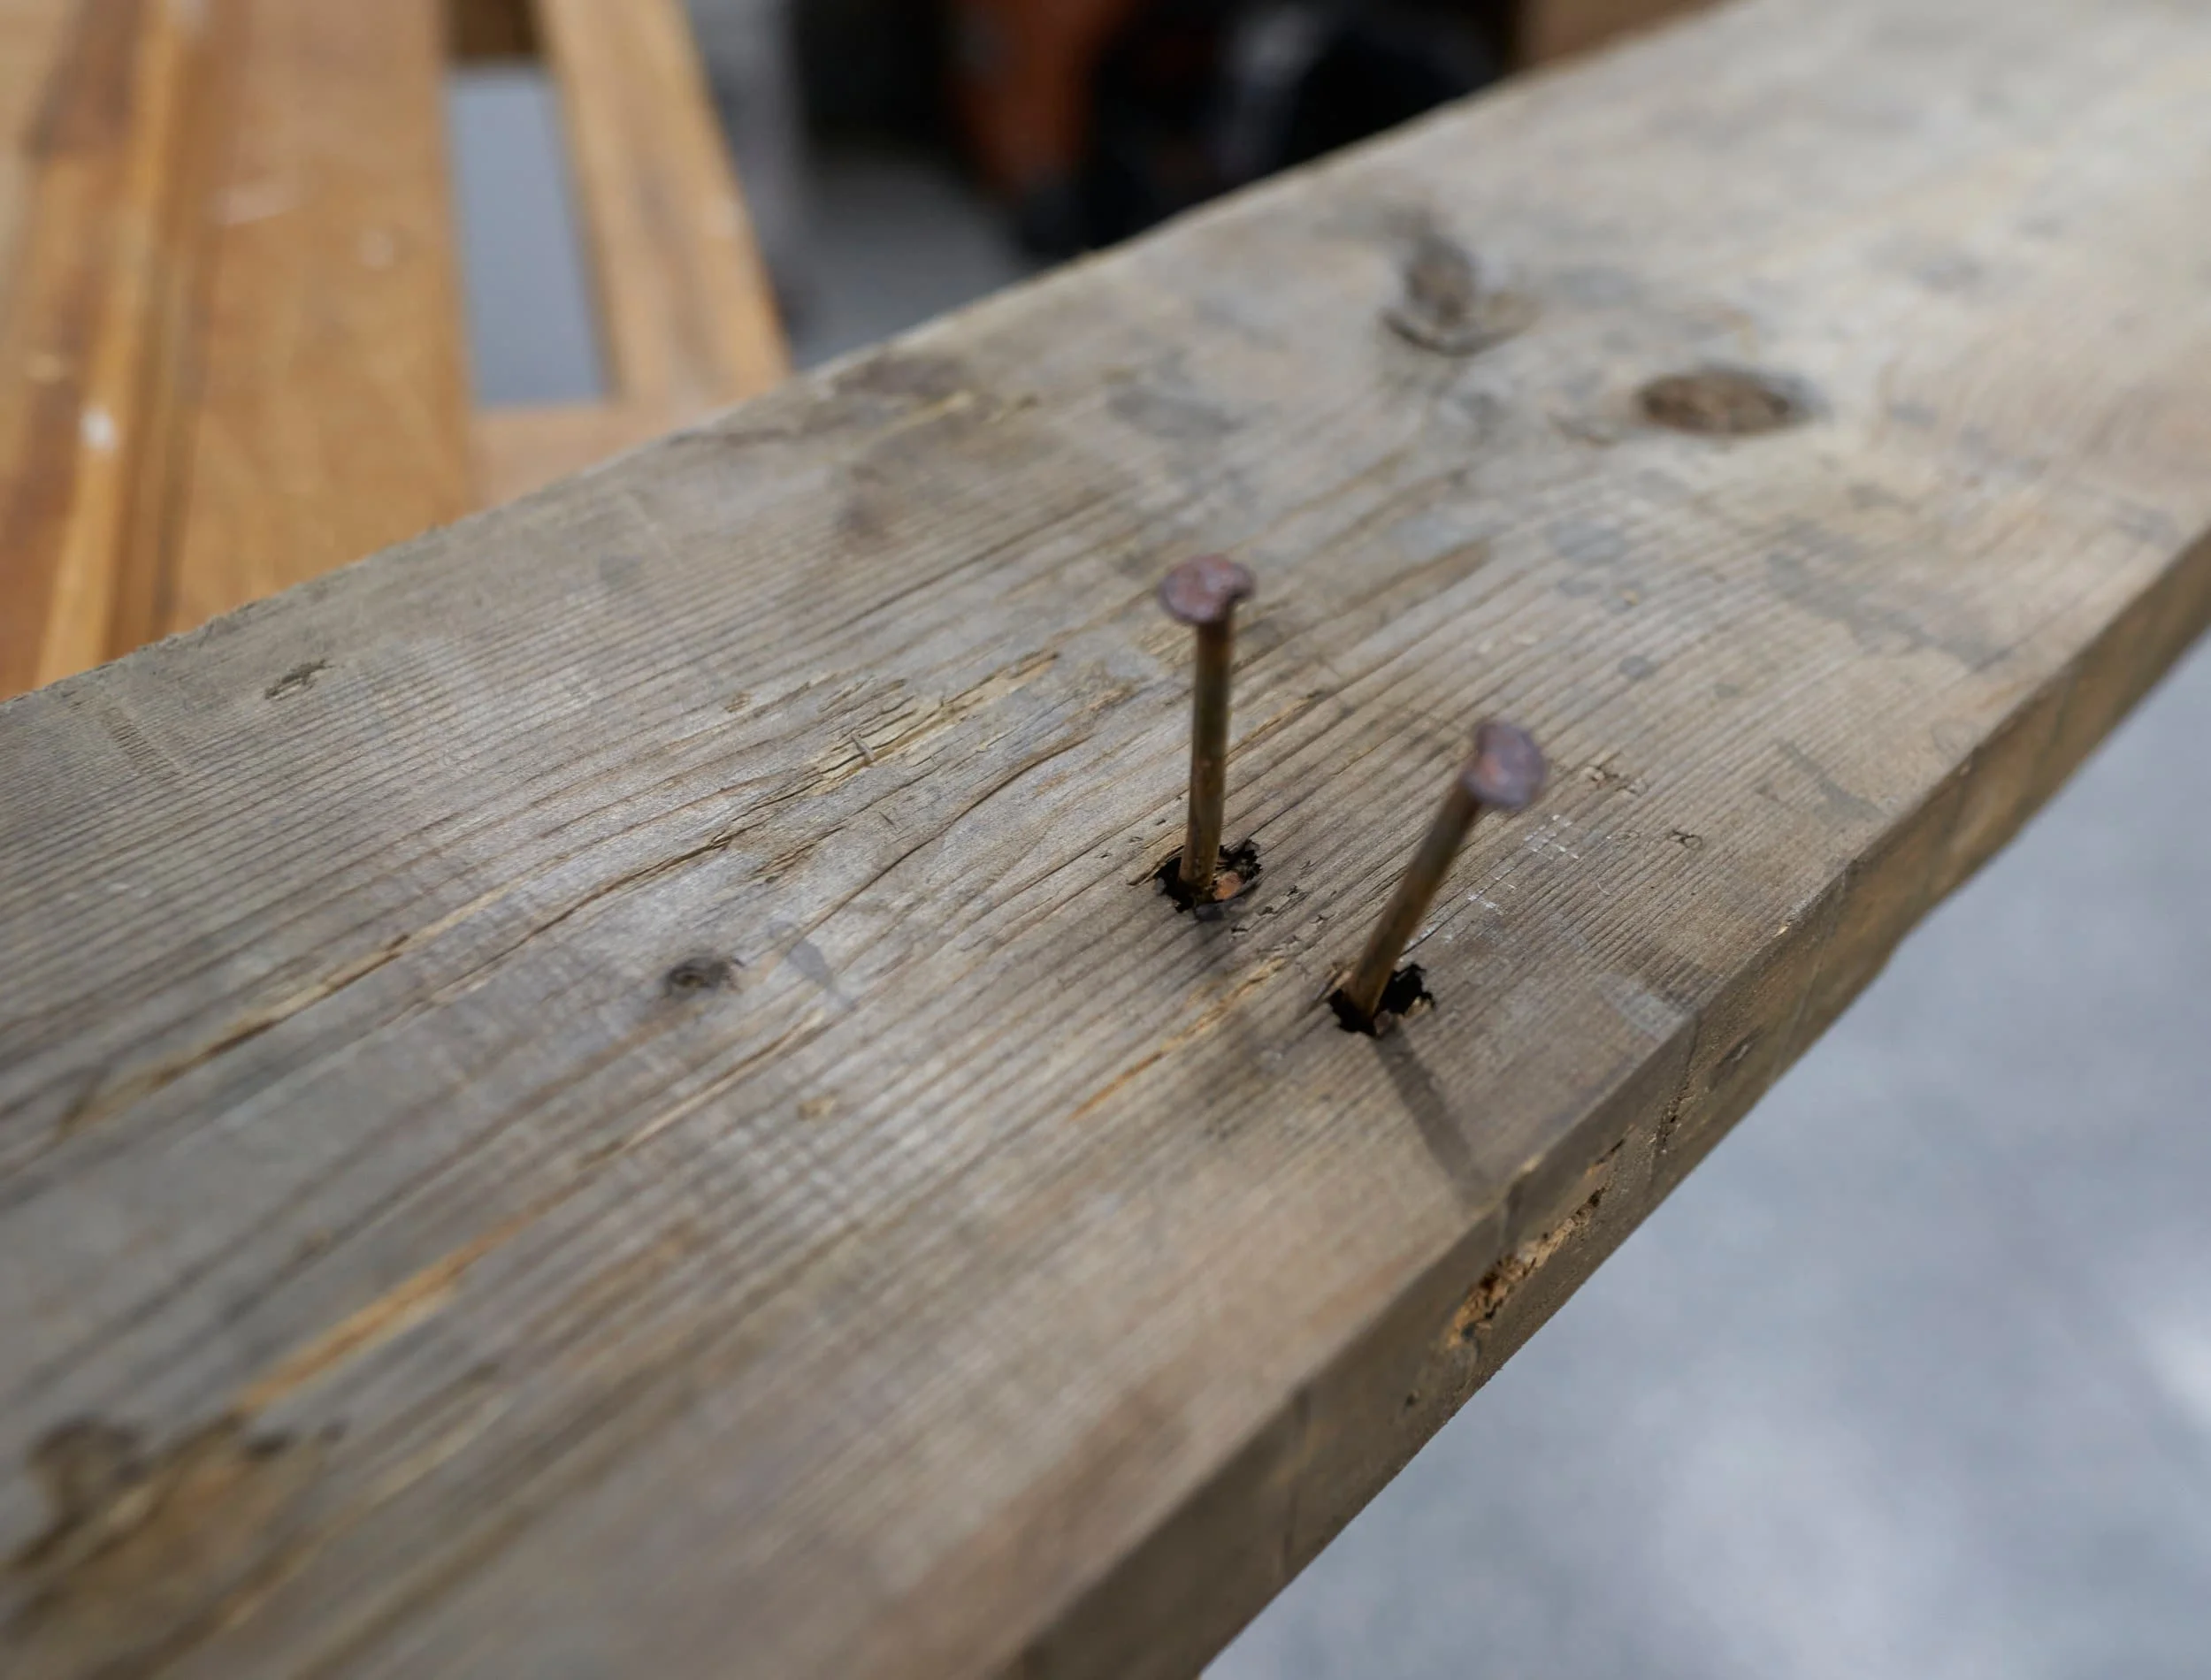
Back out all of the nails
Nicole came to help me pull nails and this made it go by so much quicker; all in all still took us a week to do the rough frame-brakedown.


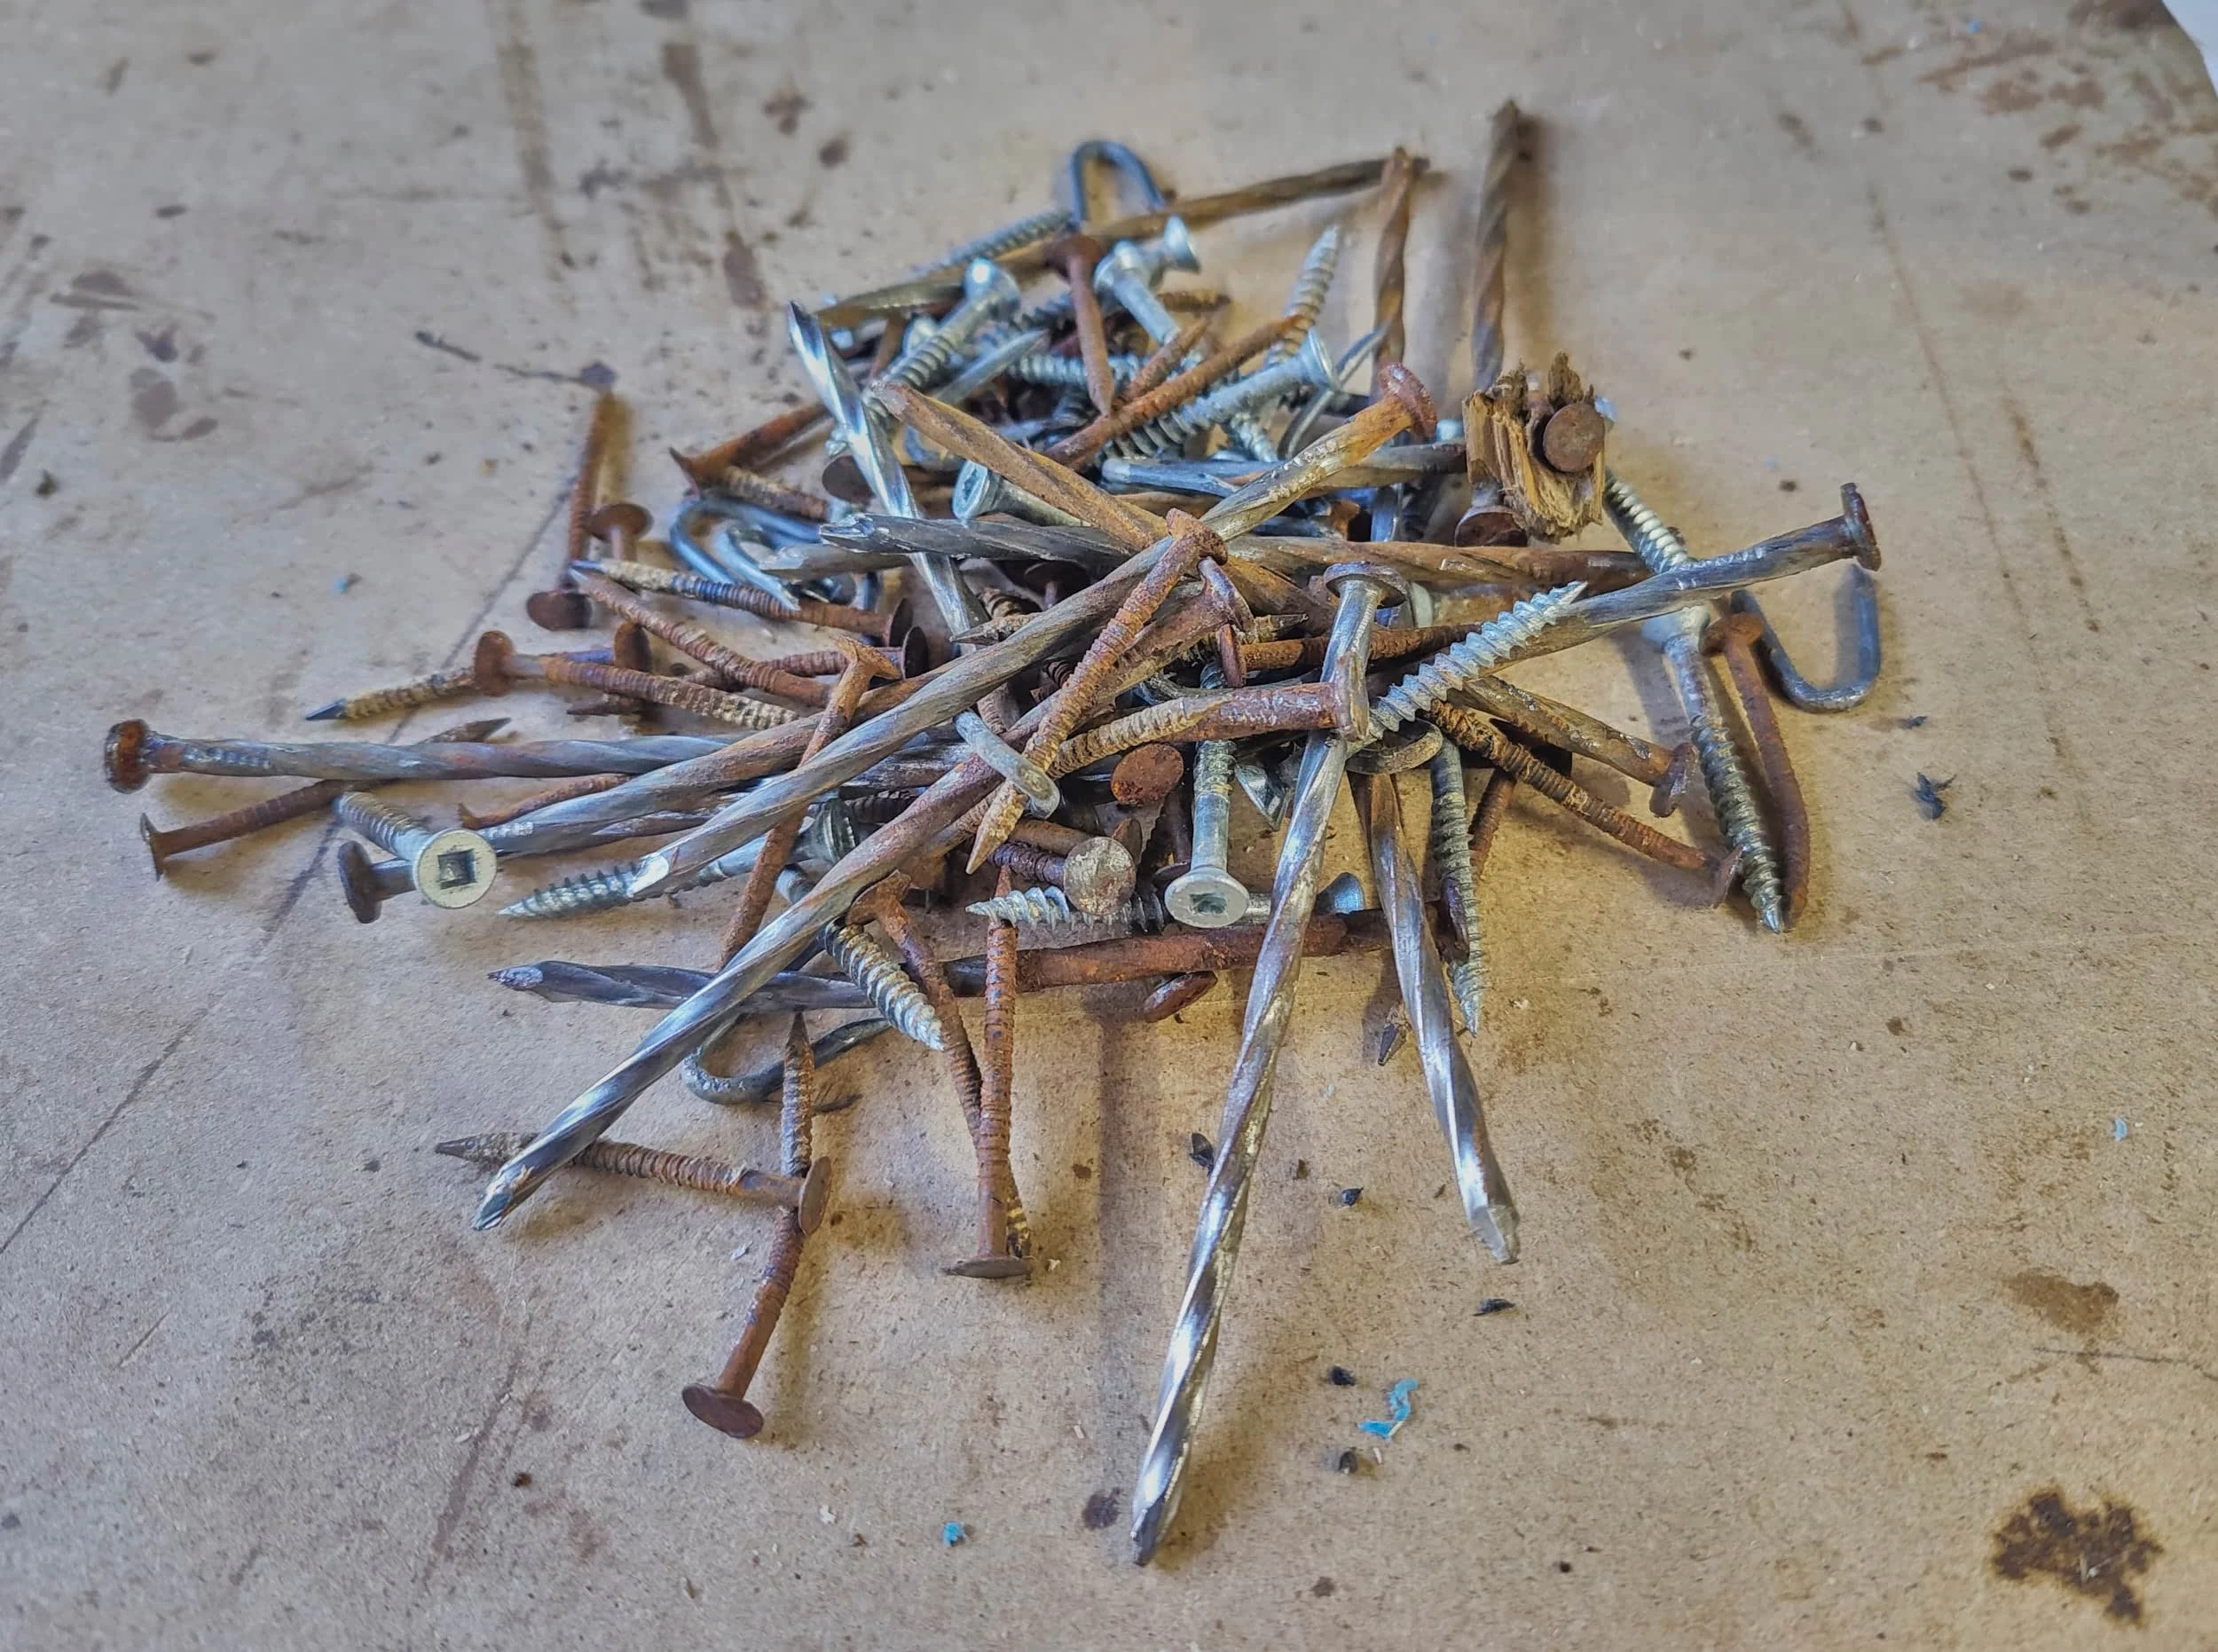


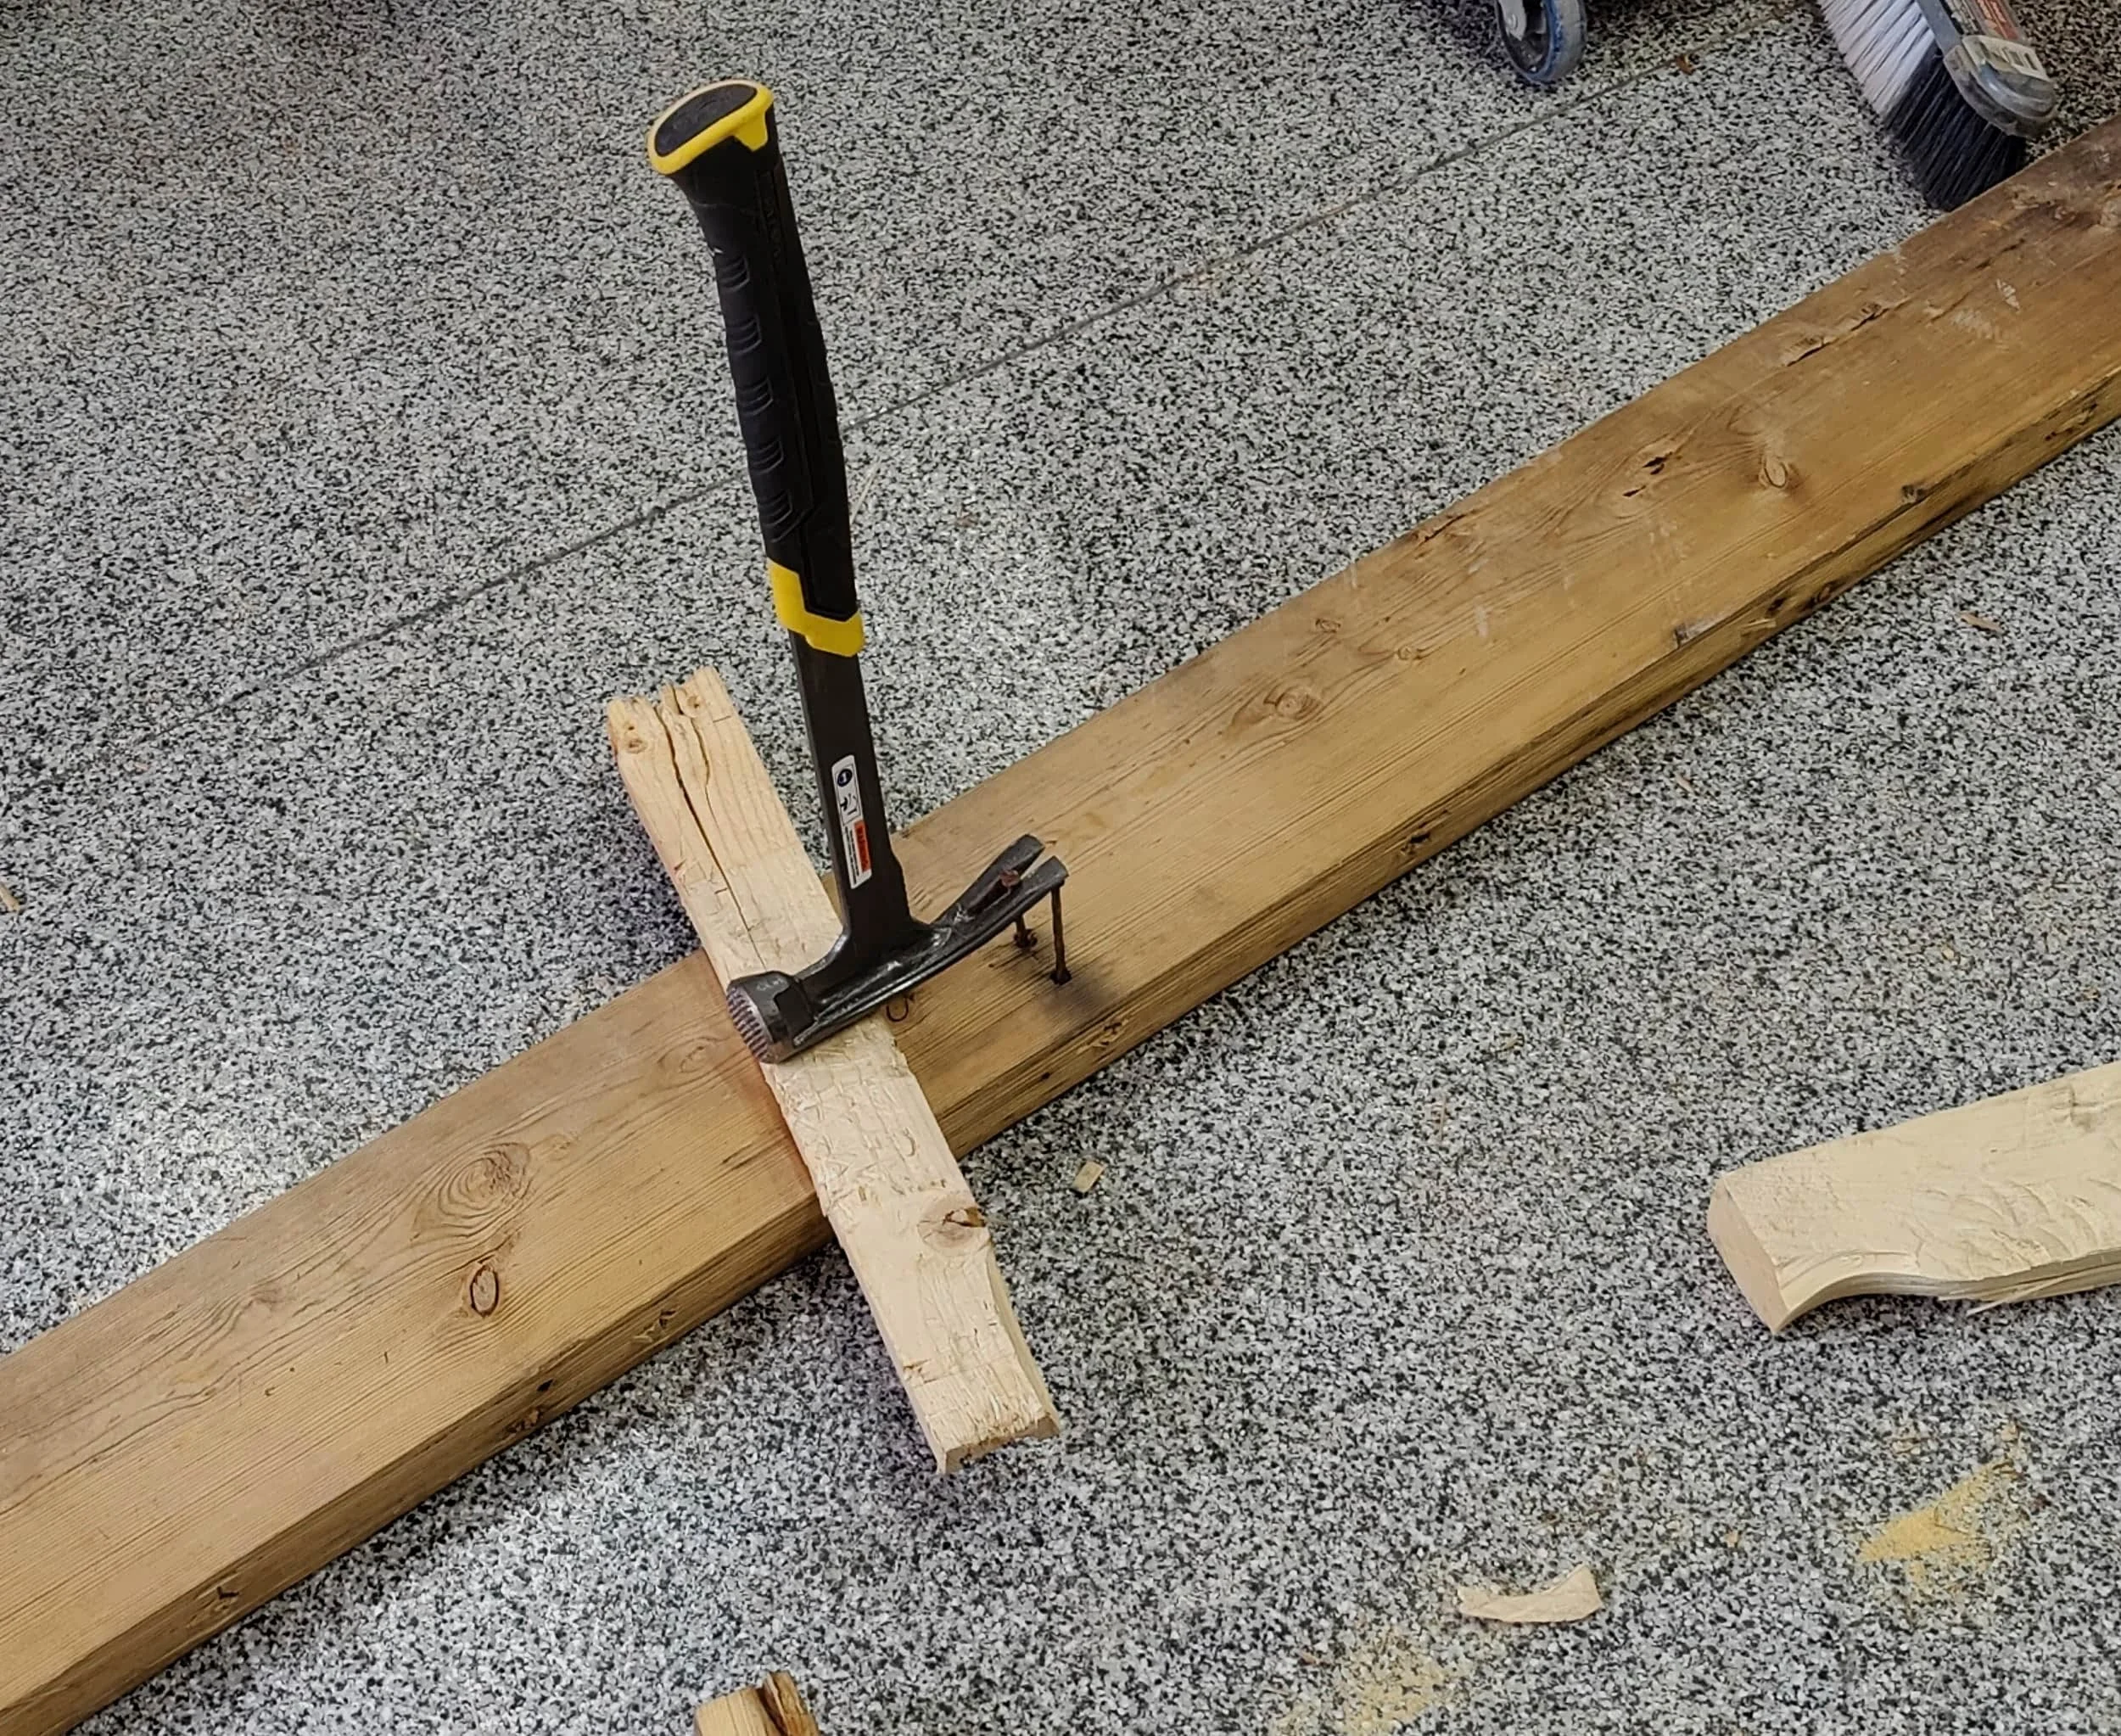

I ended up with almost 10 pounds of metal fasteners — not counting the bucketful of corner braces and random mending plates.


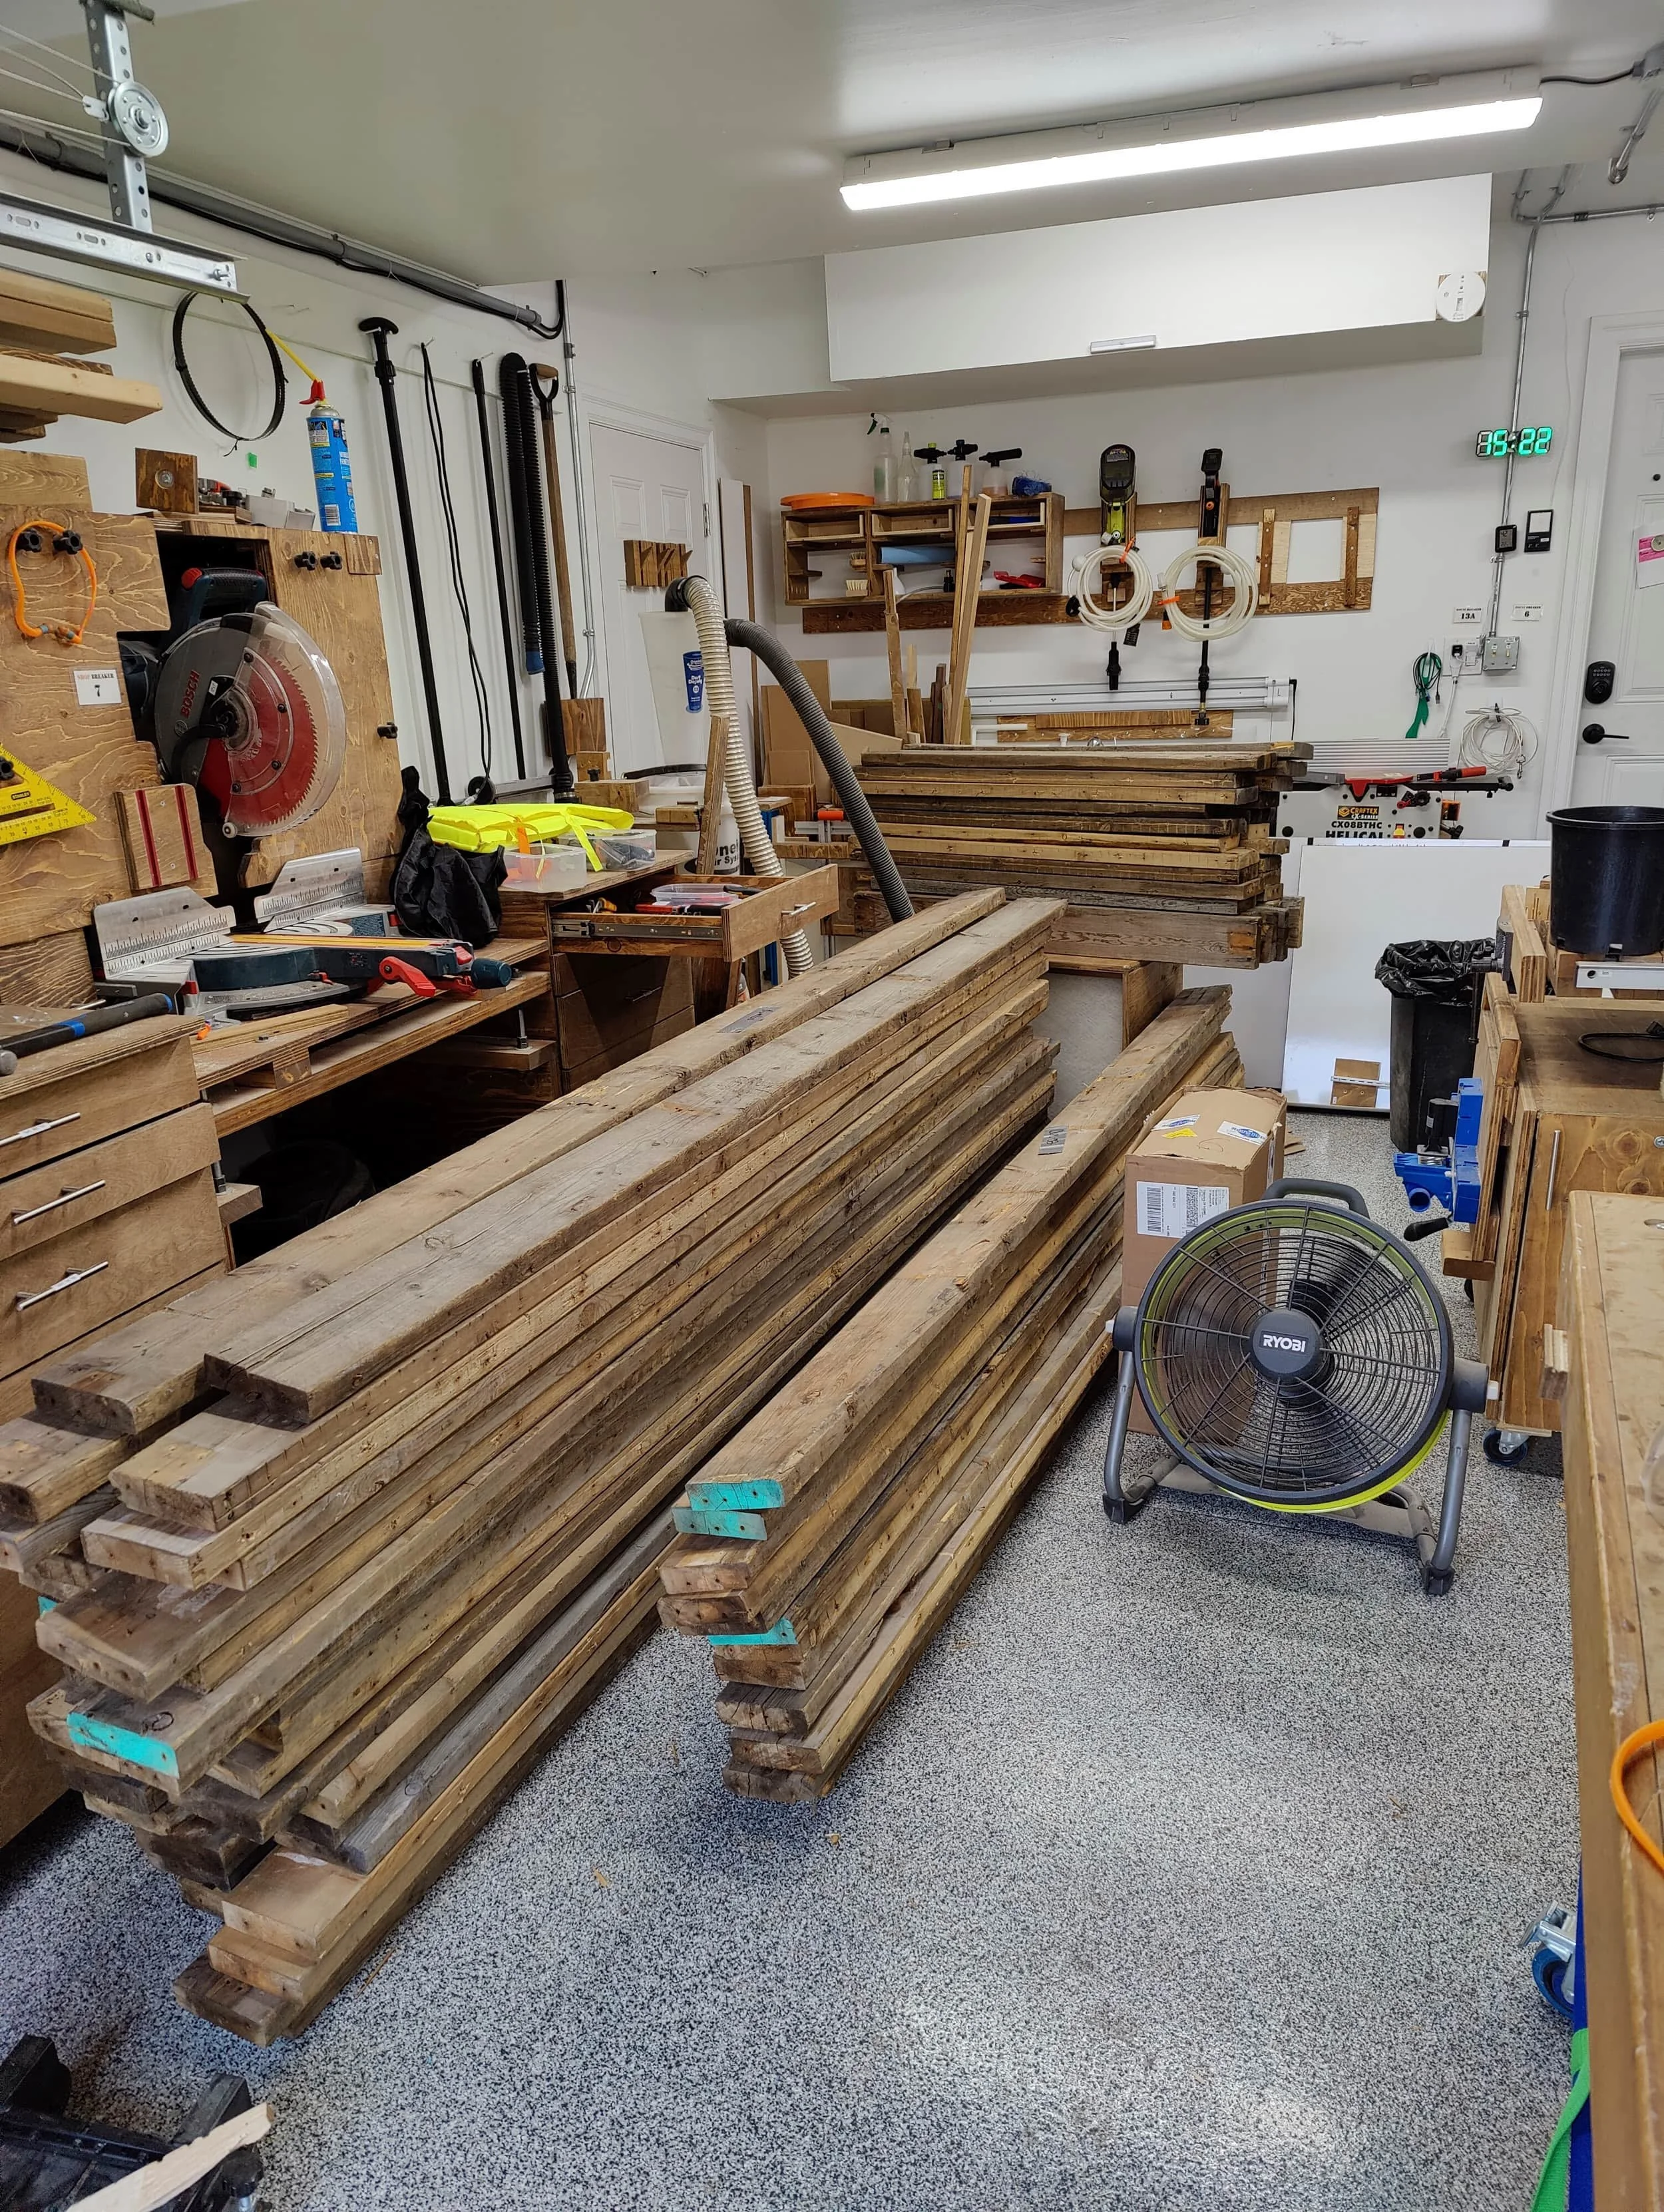
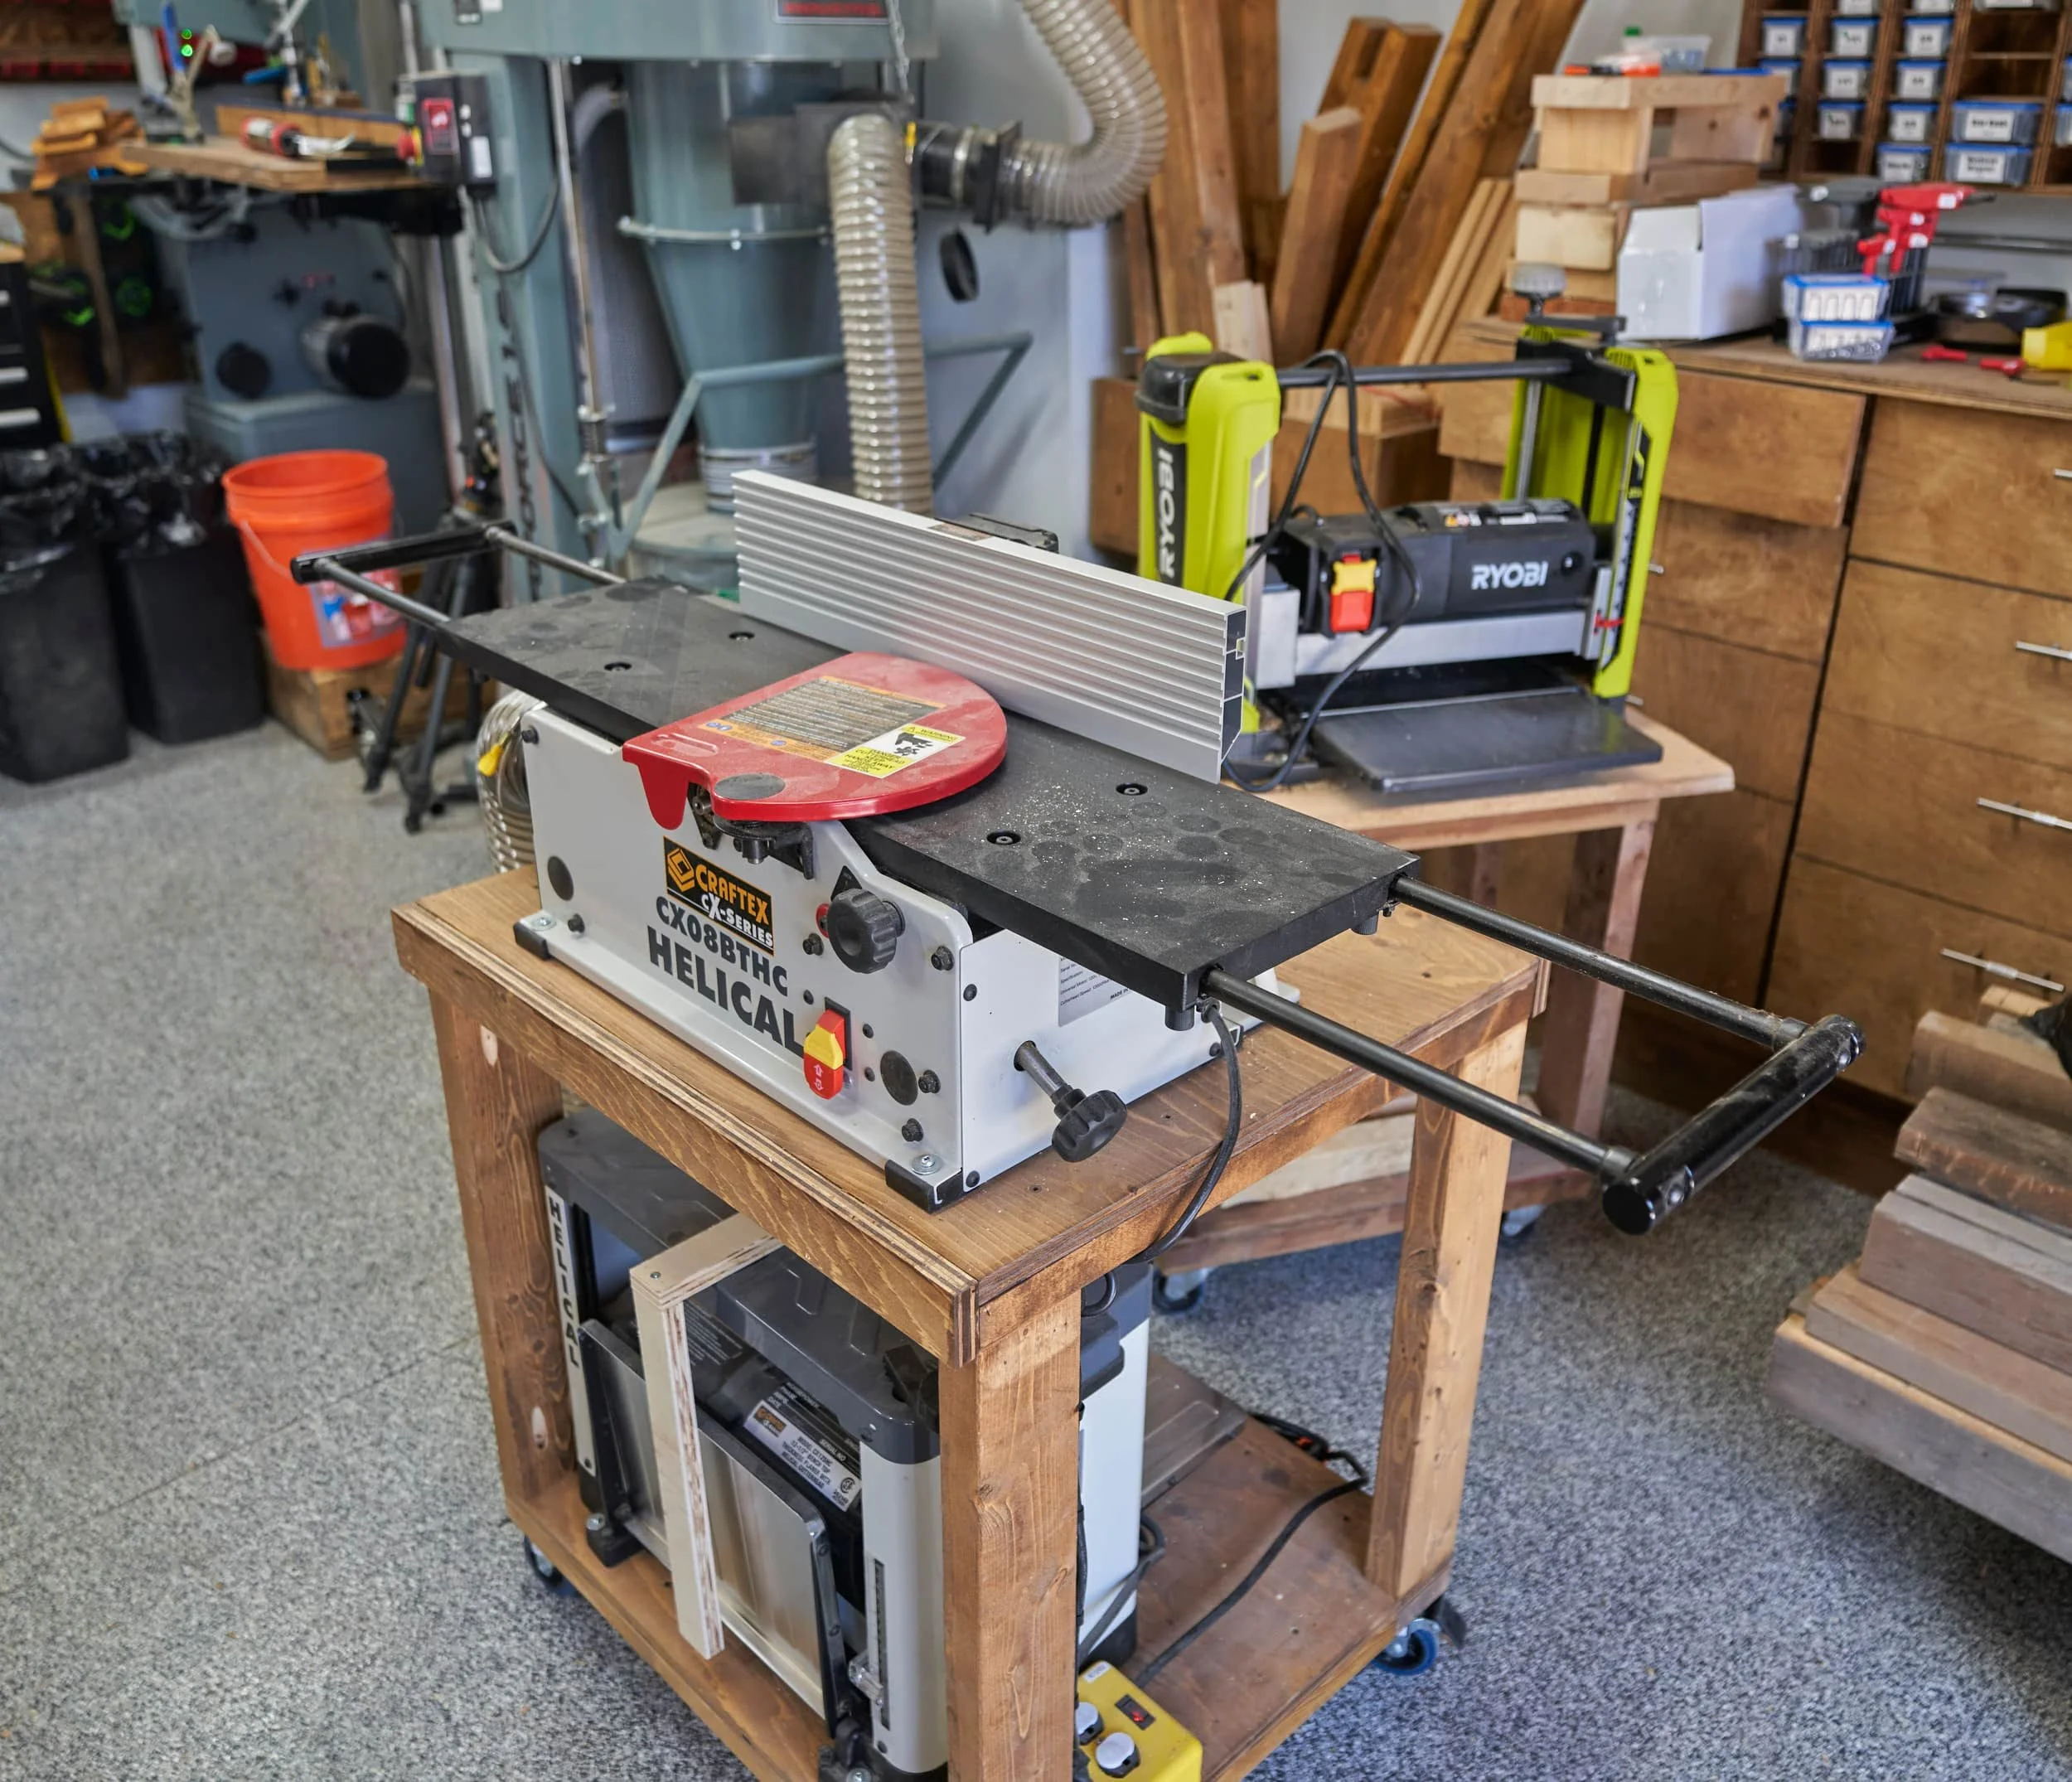
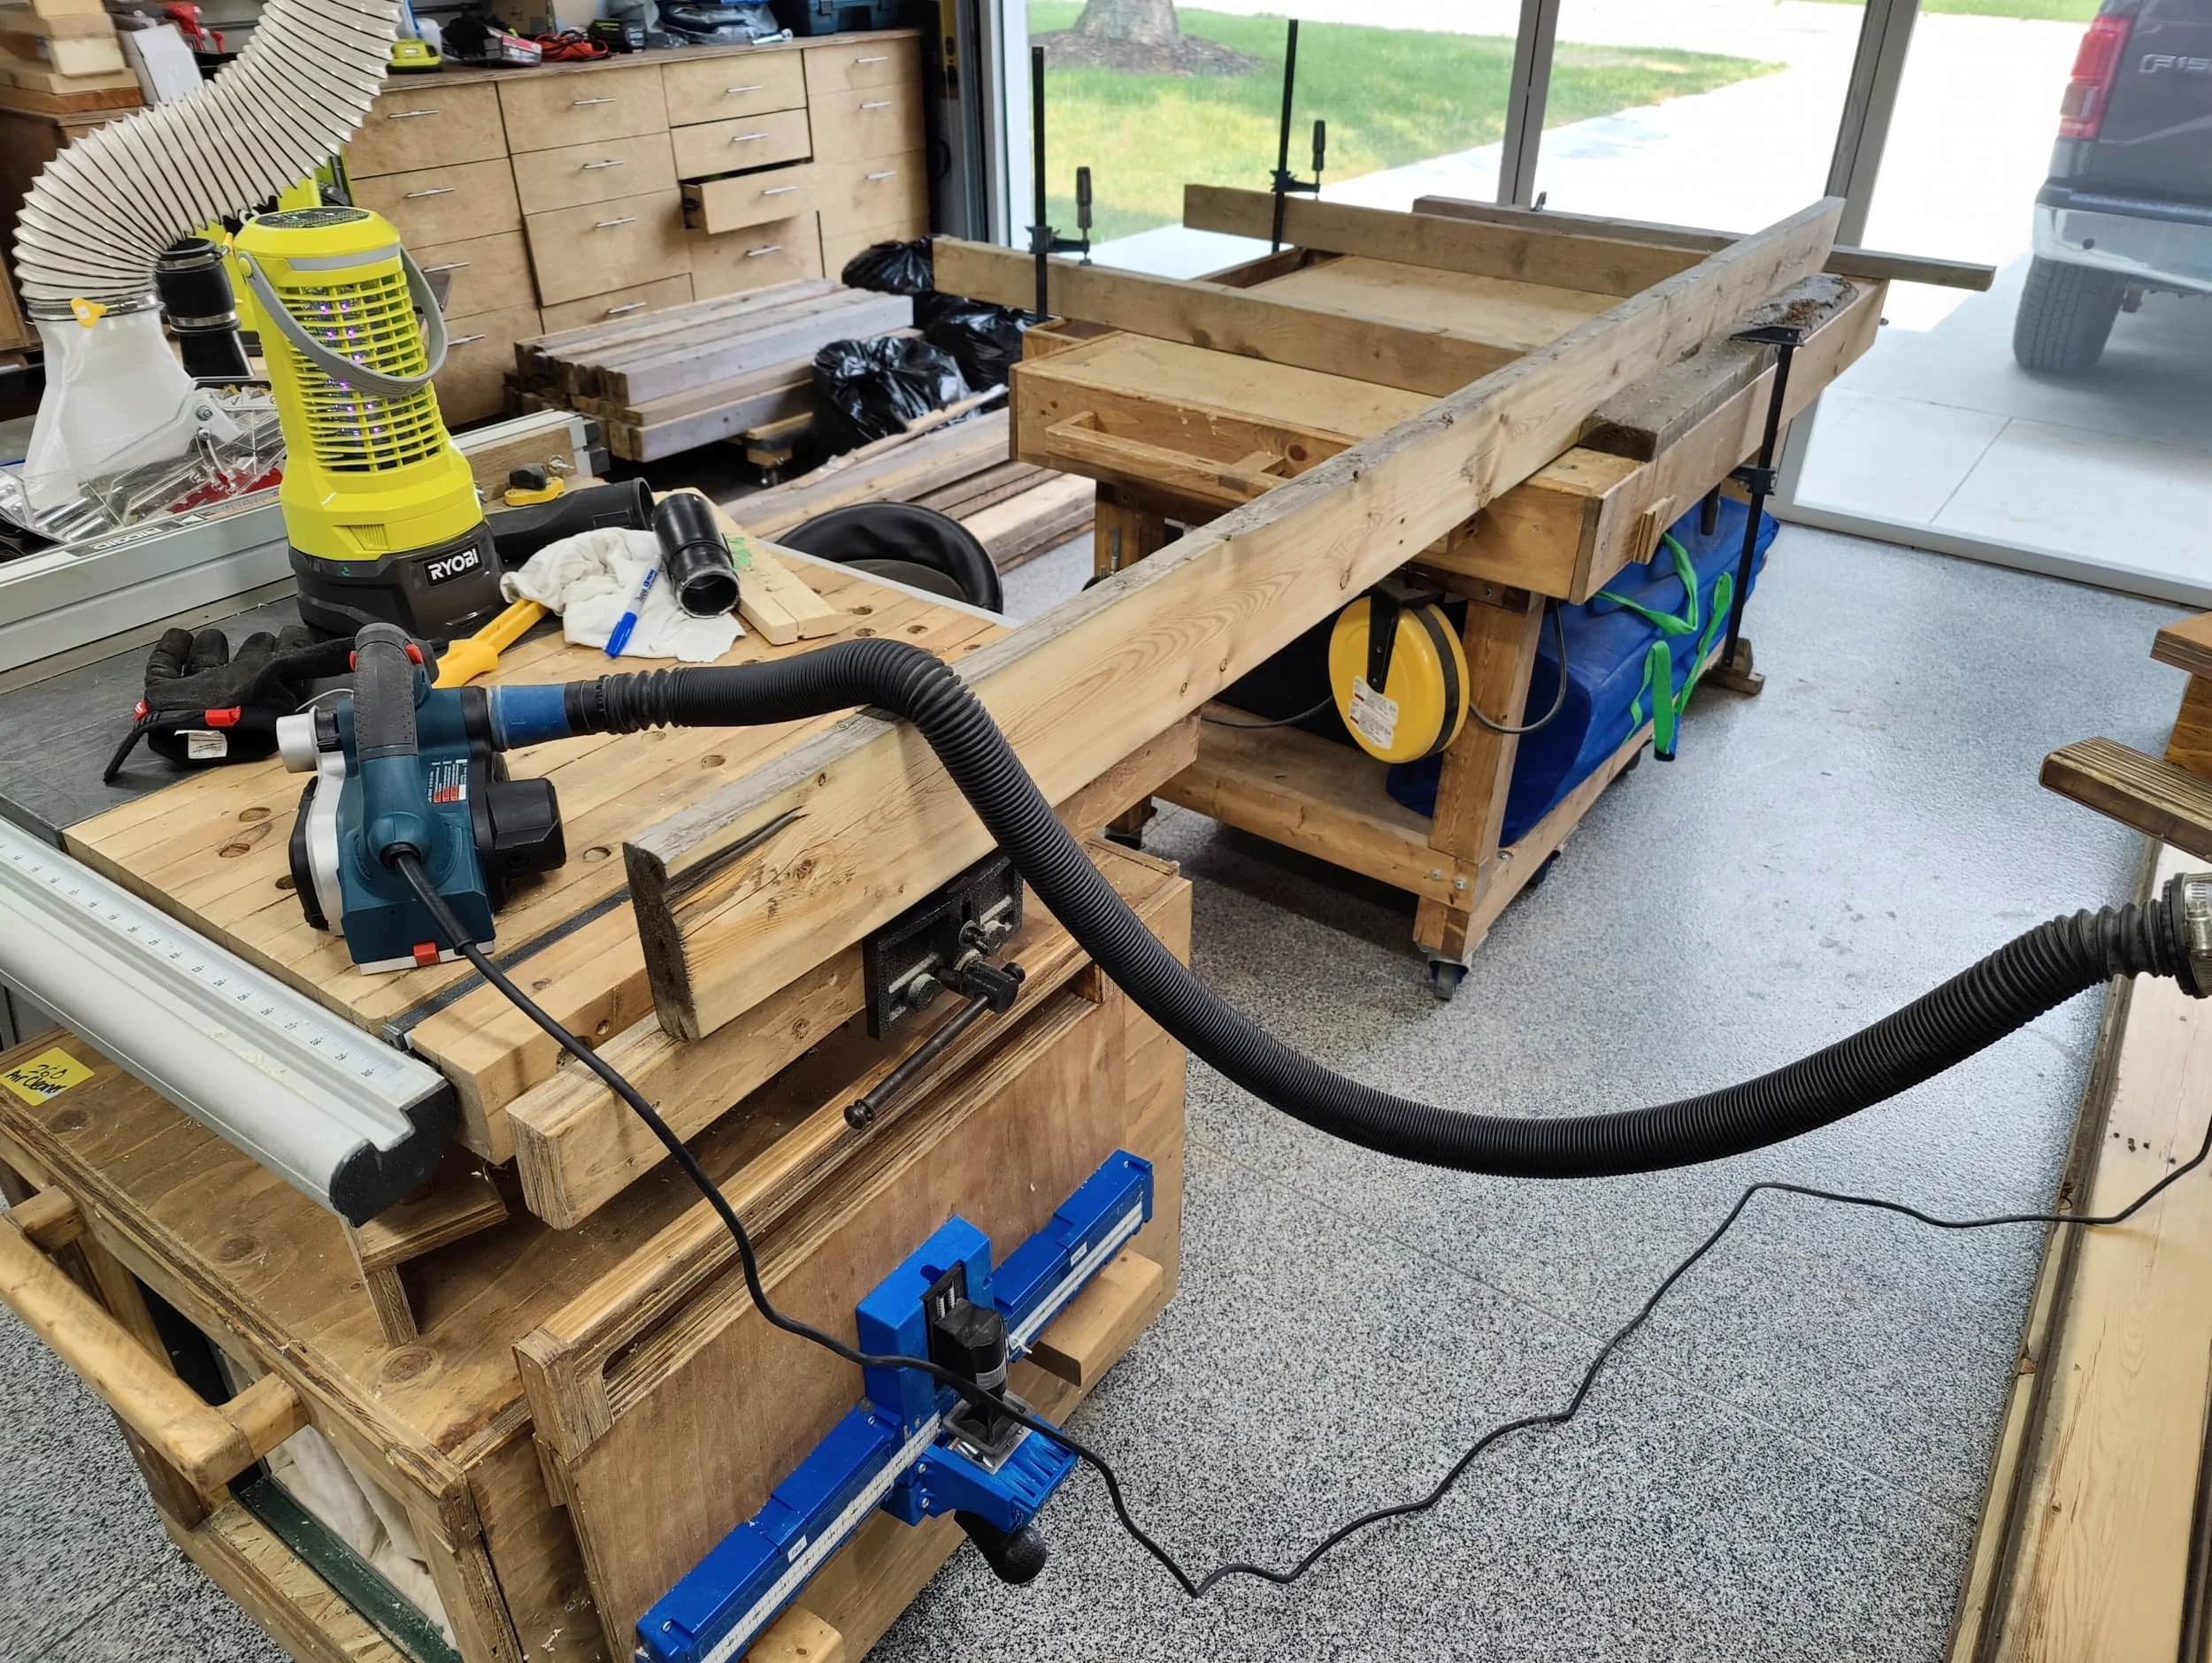
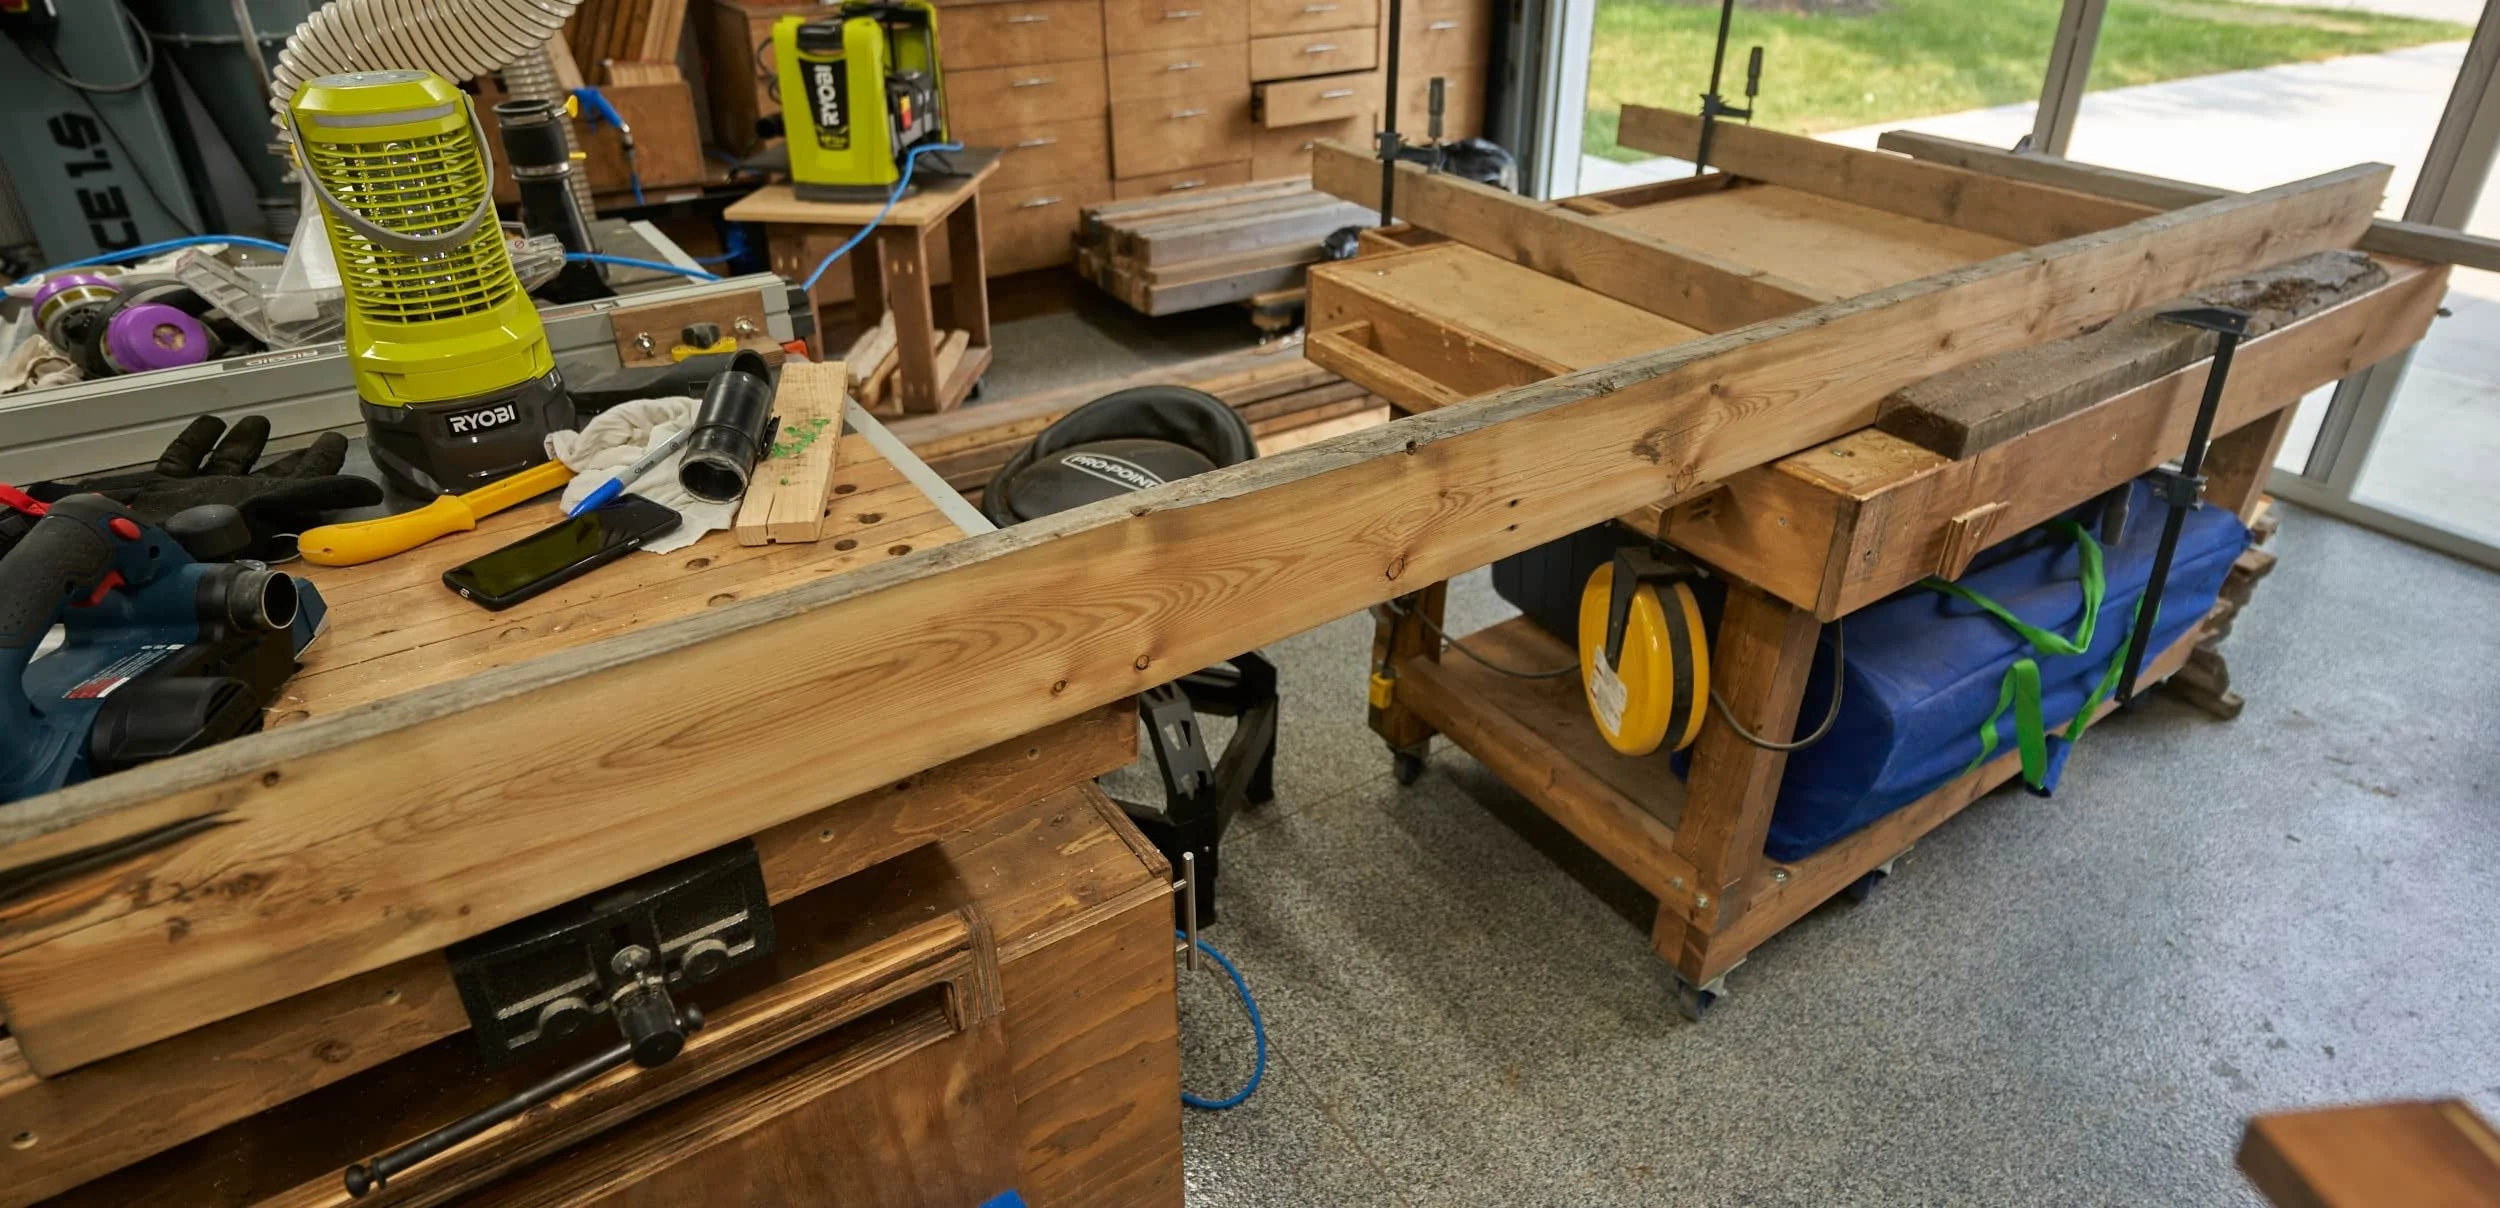
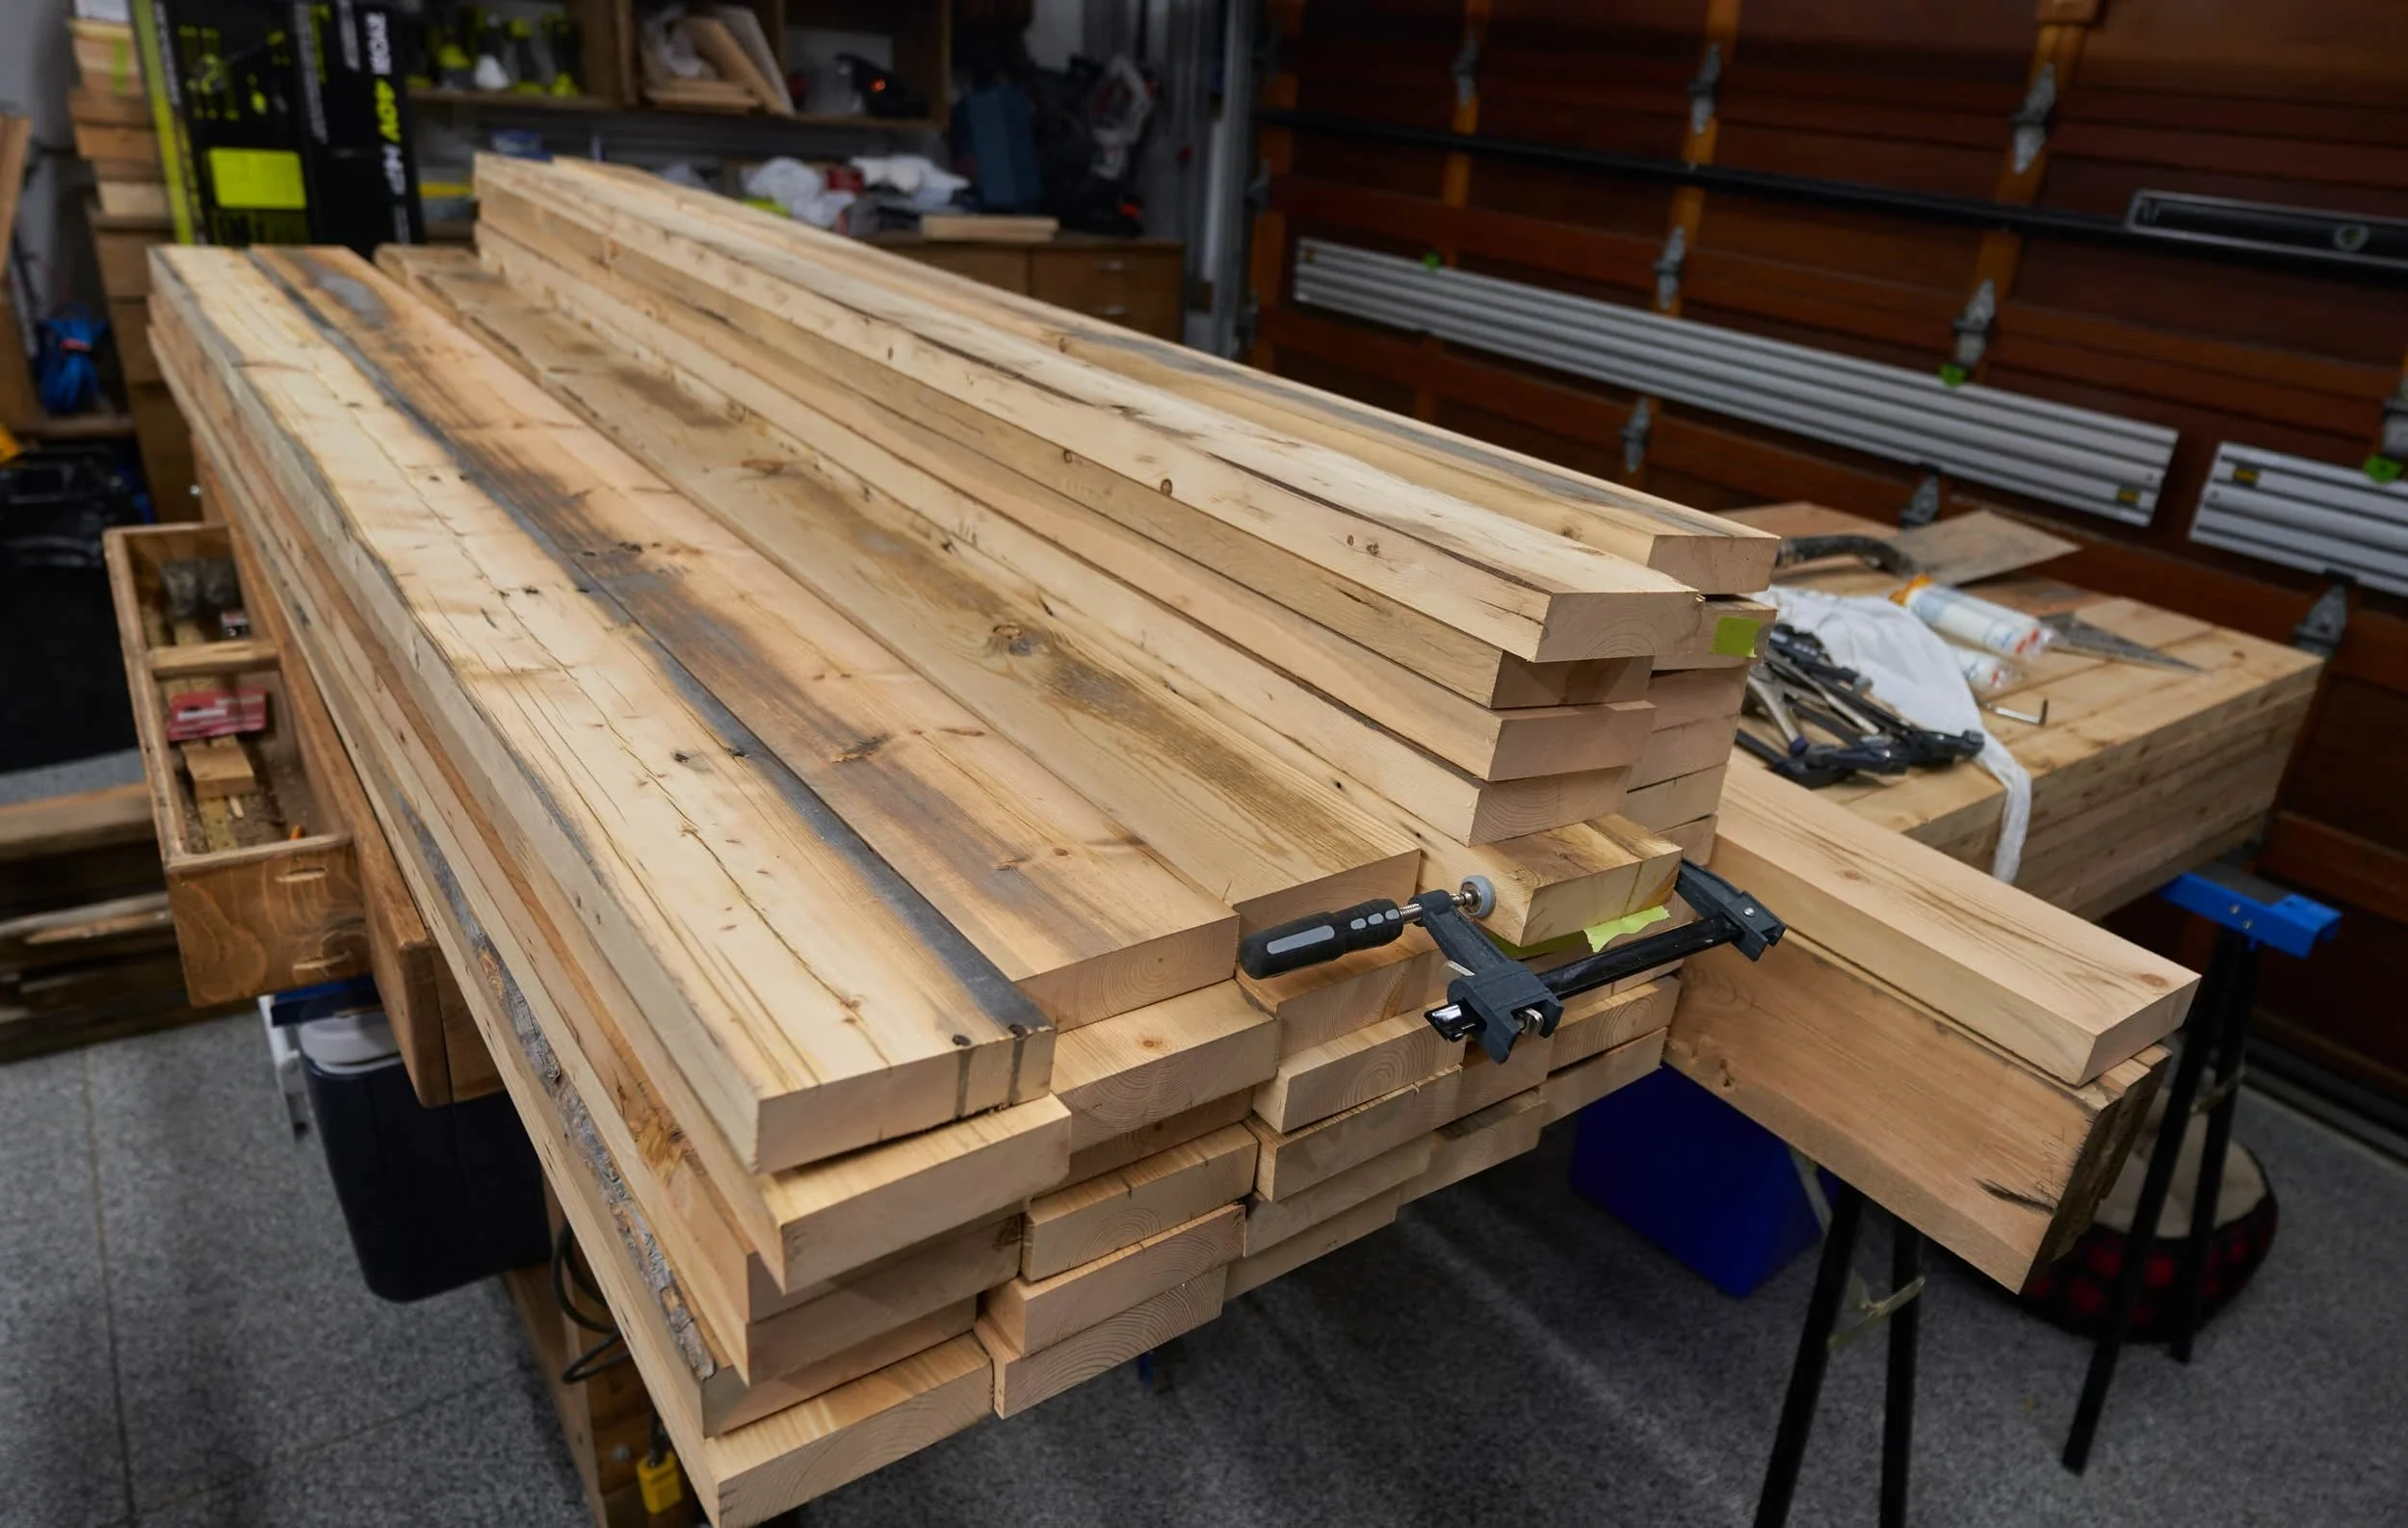
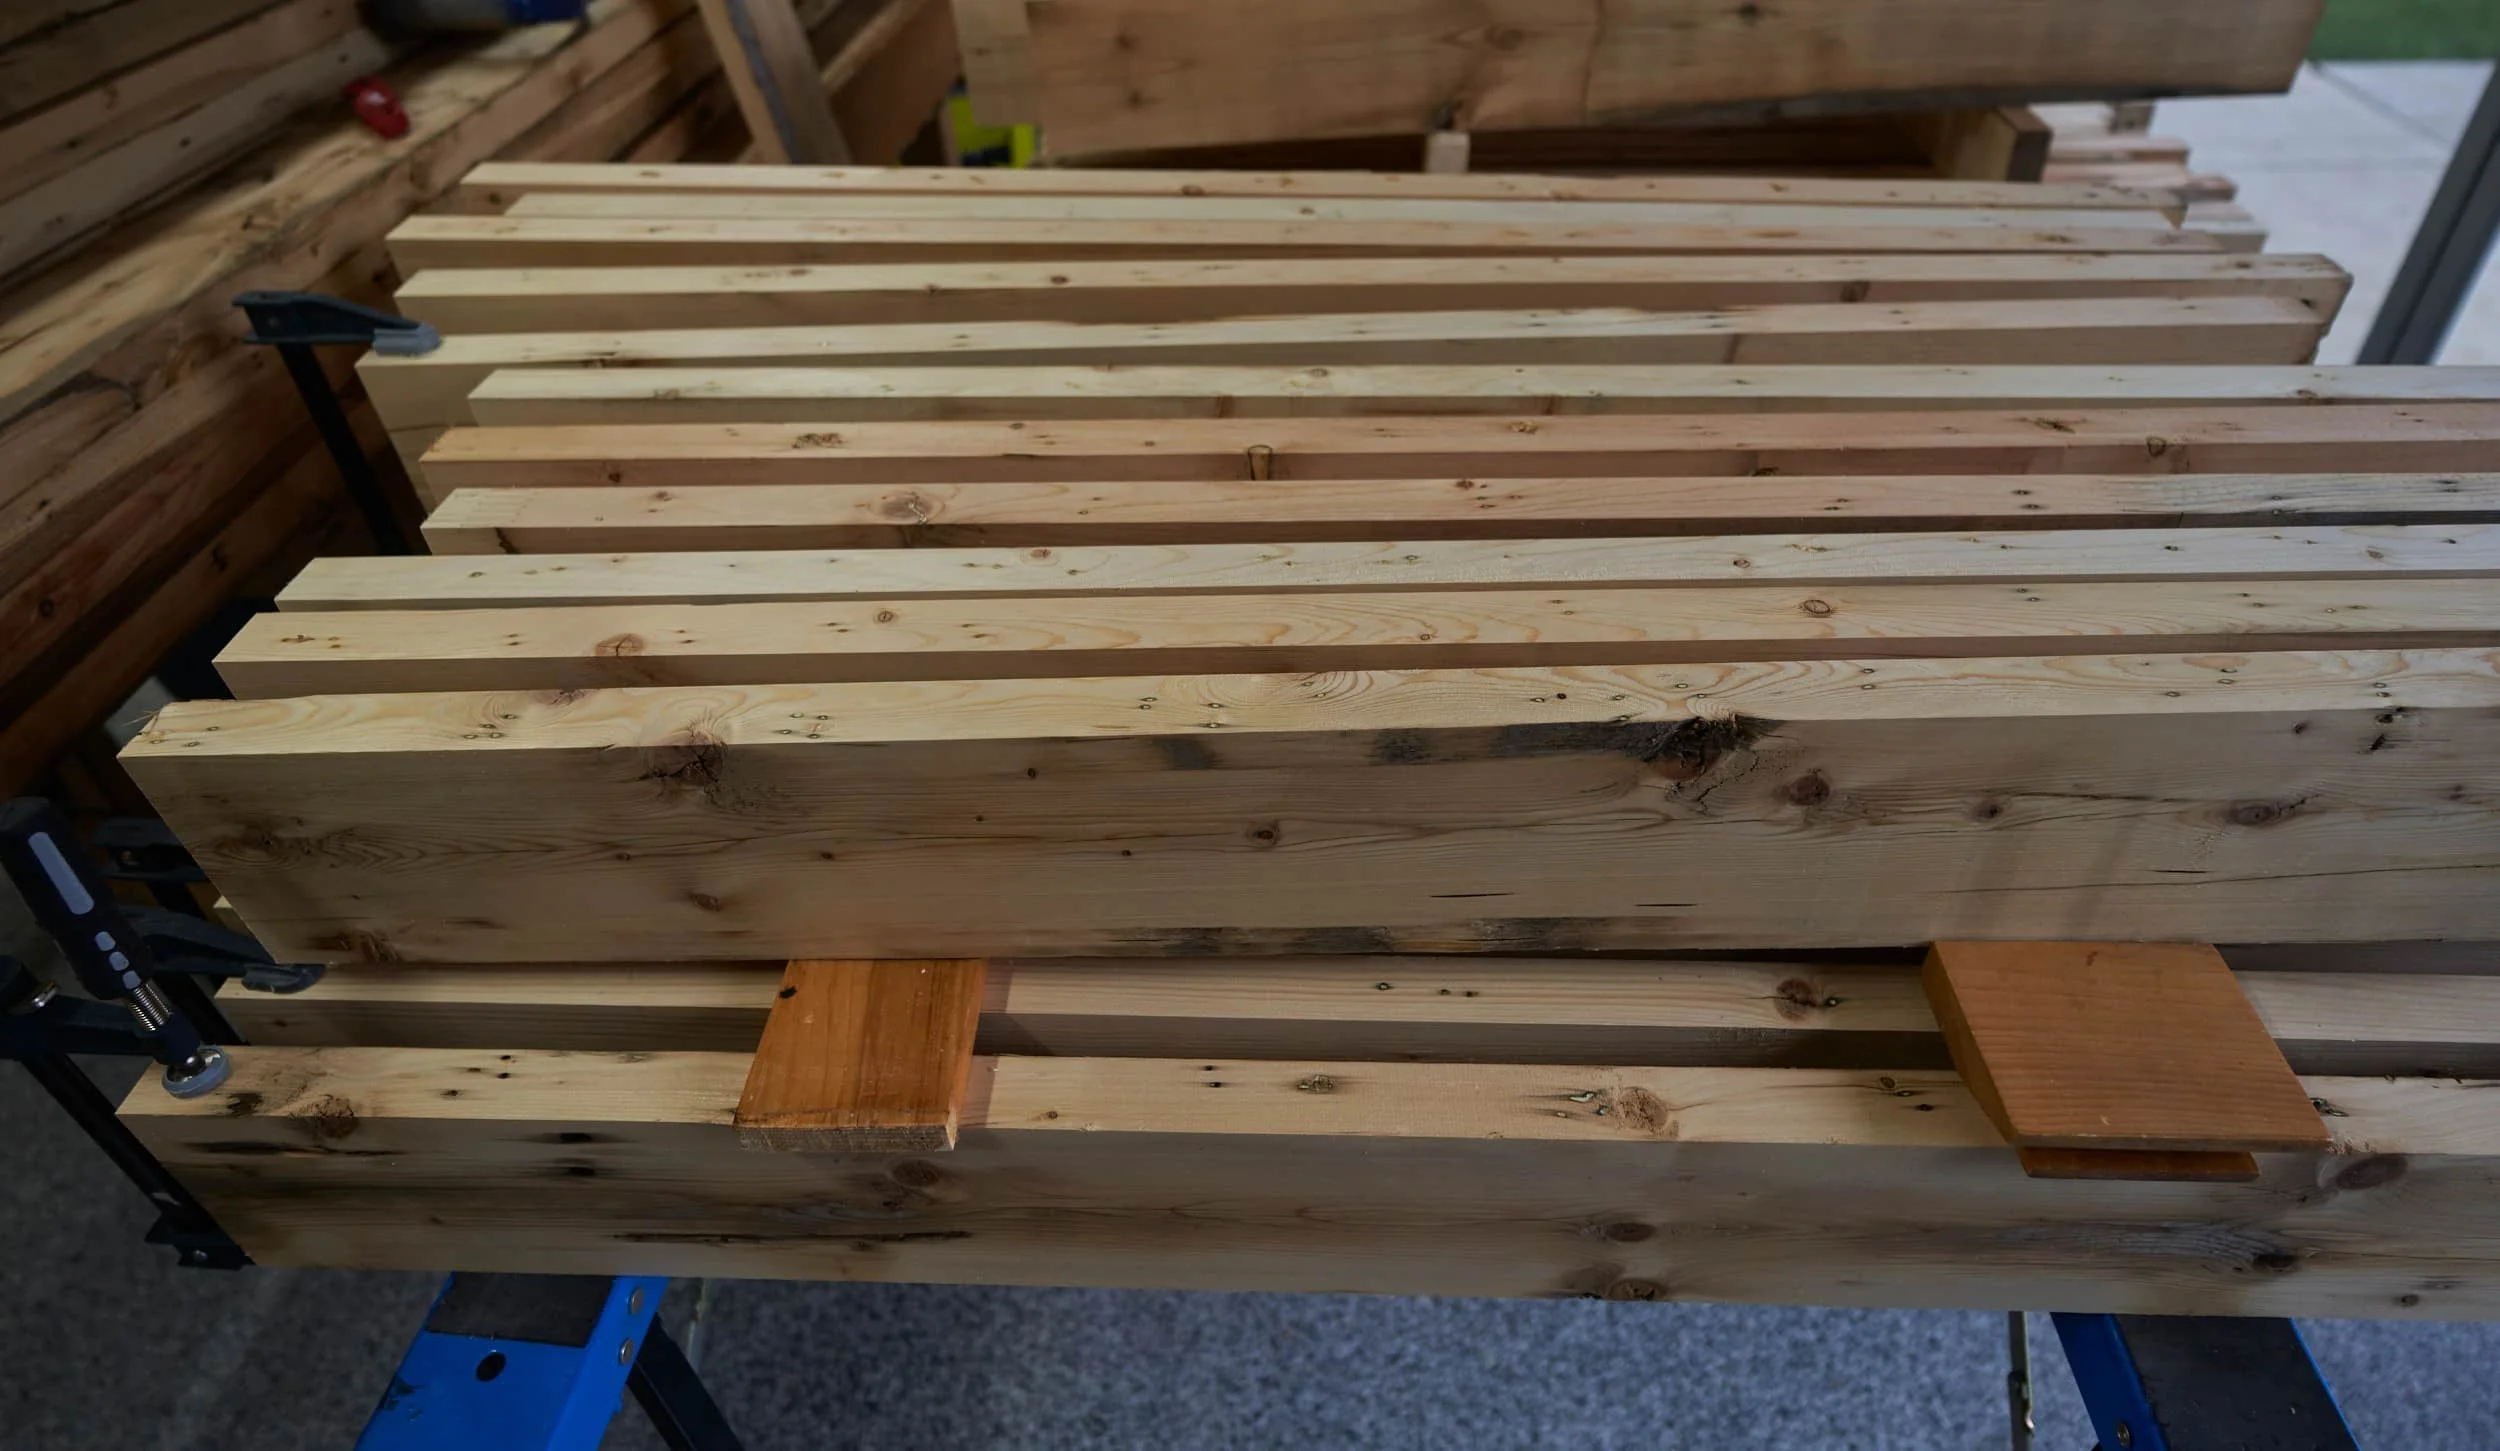
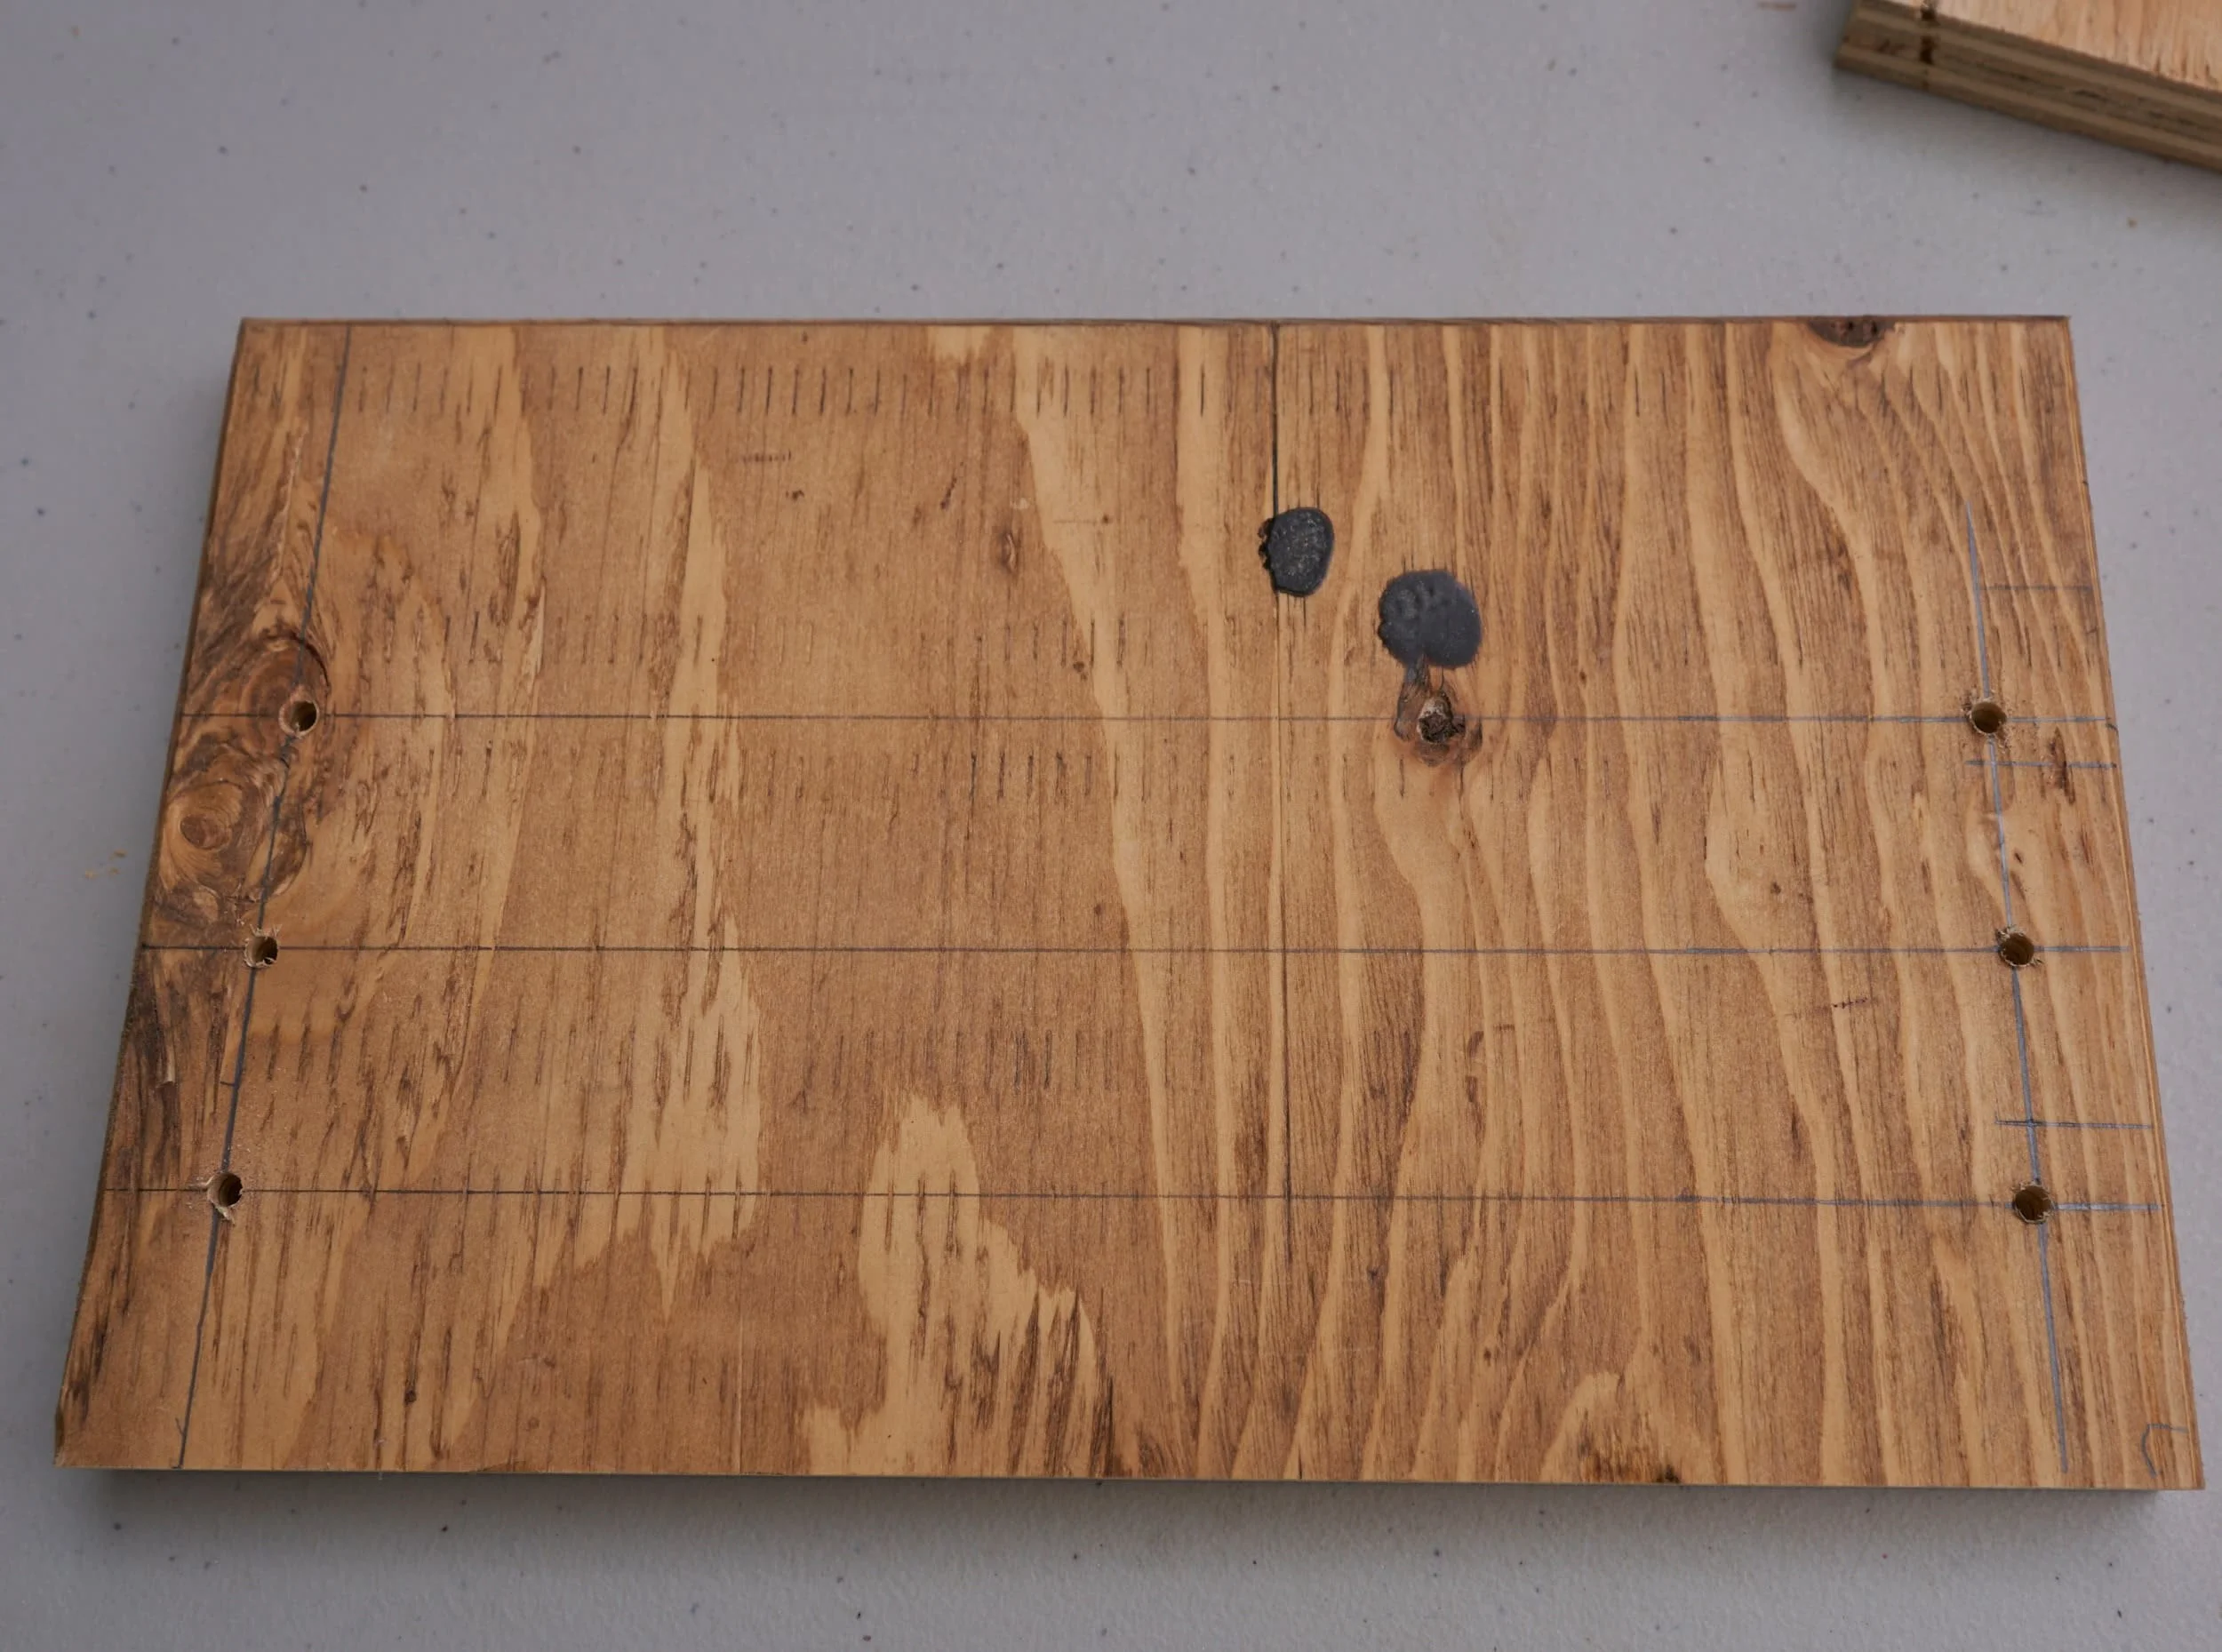
Step 3 - Surfacing
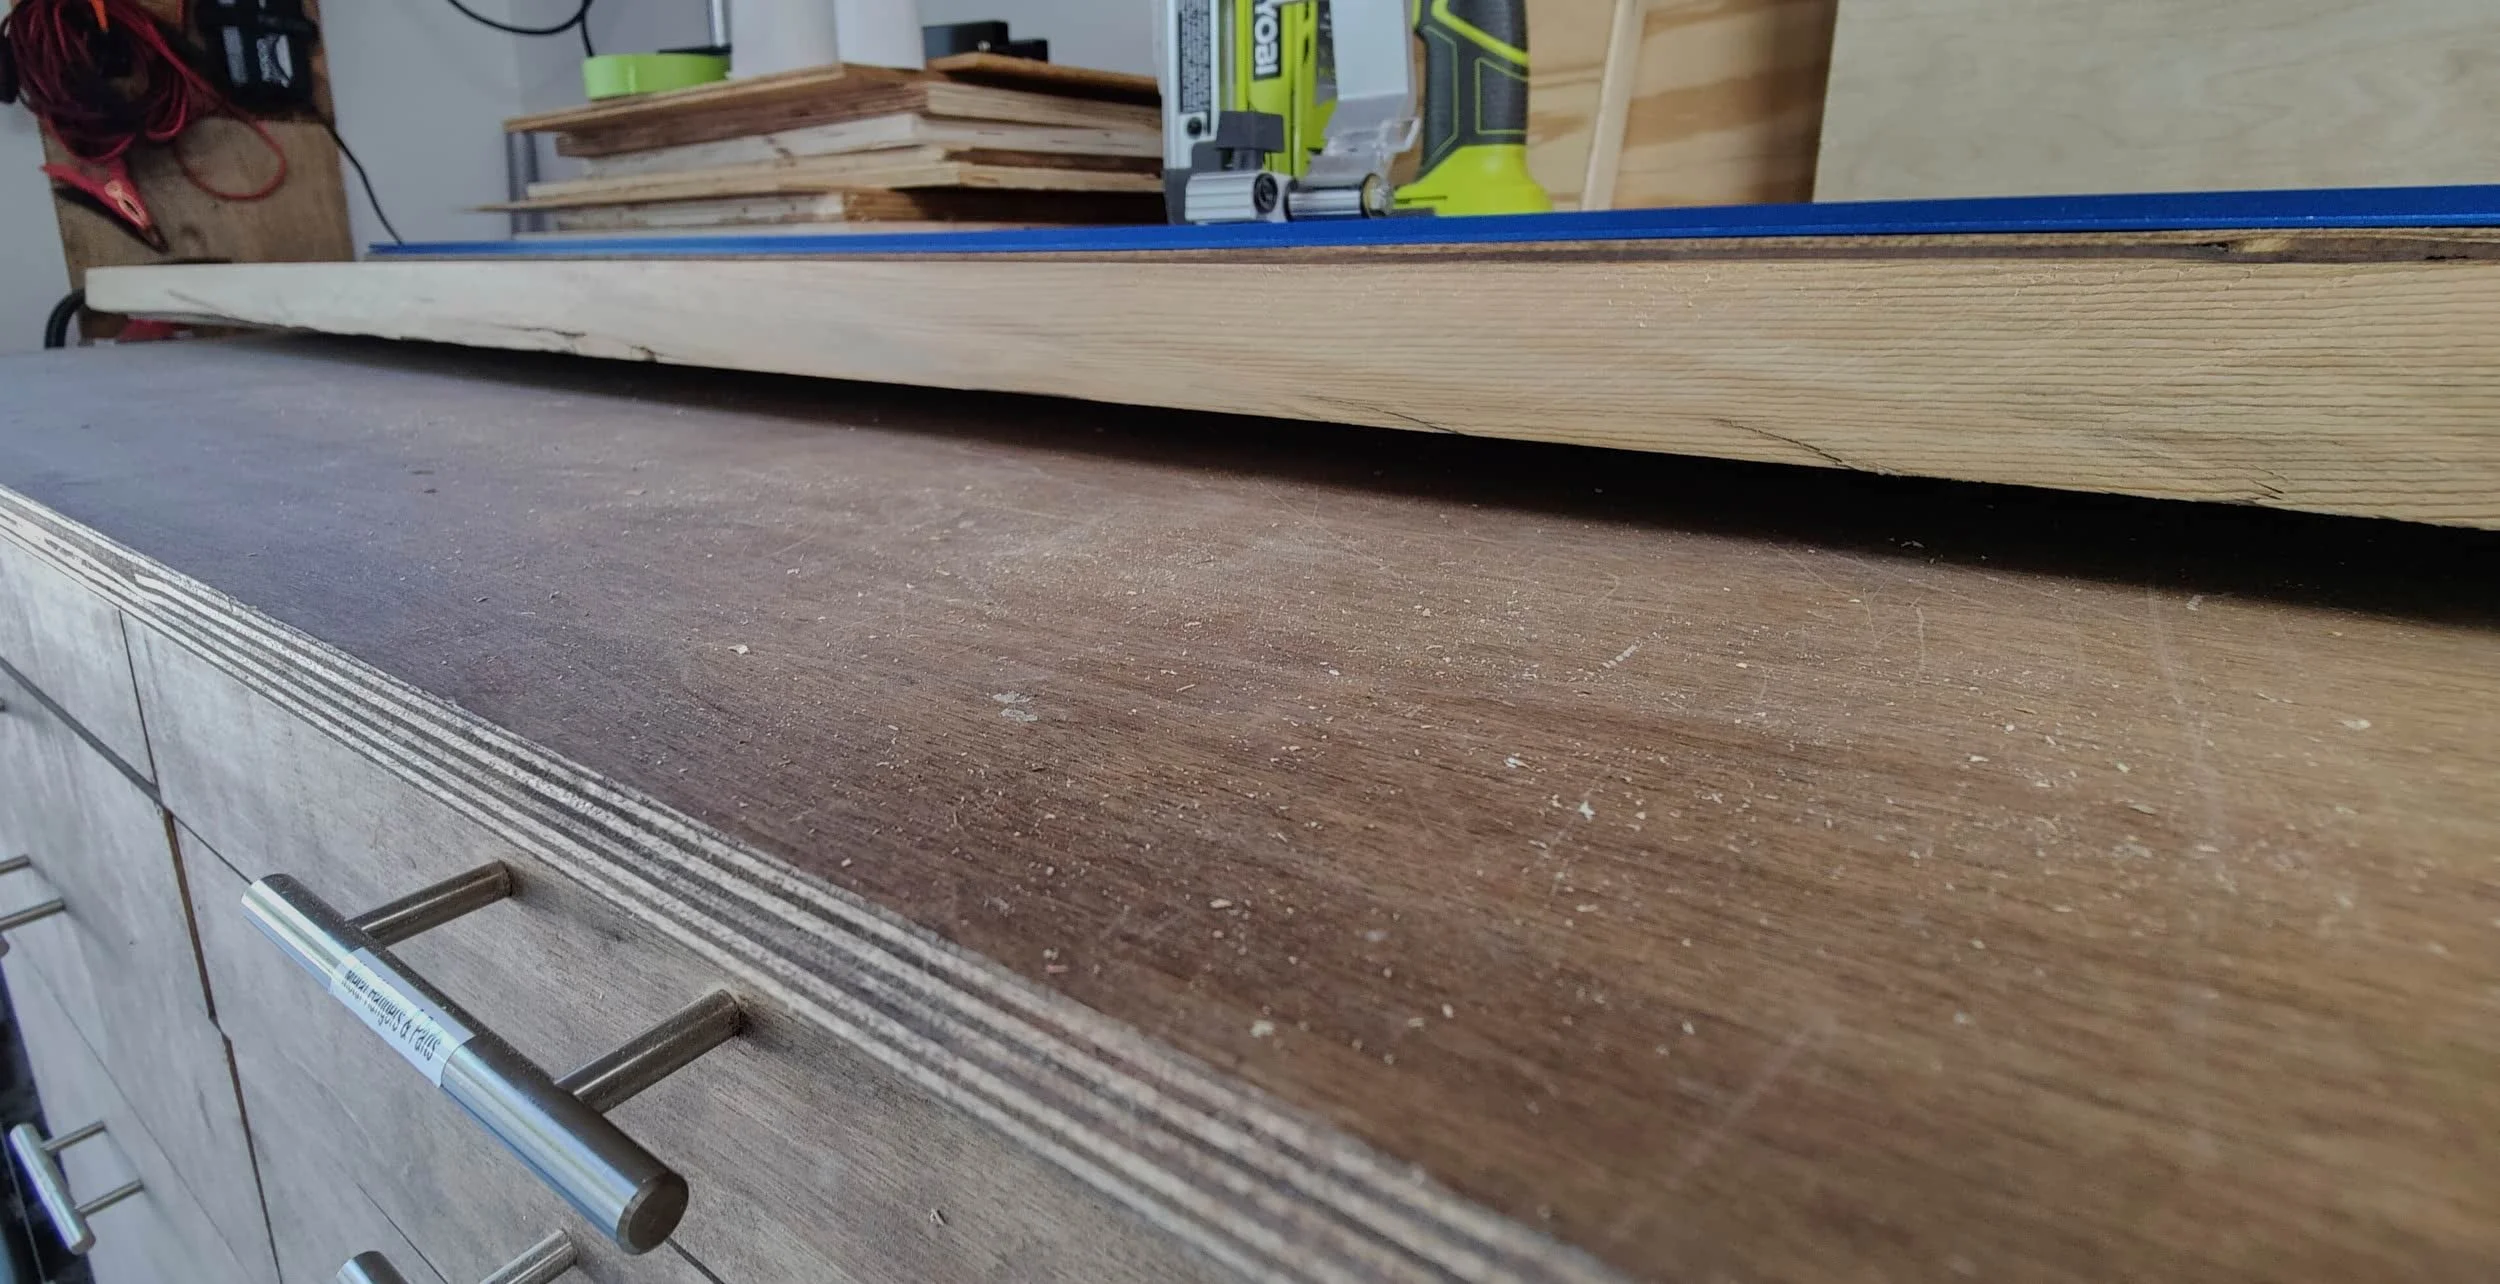
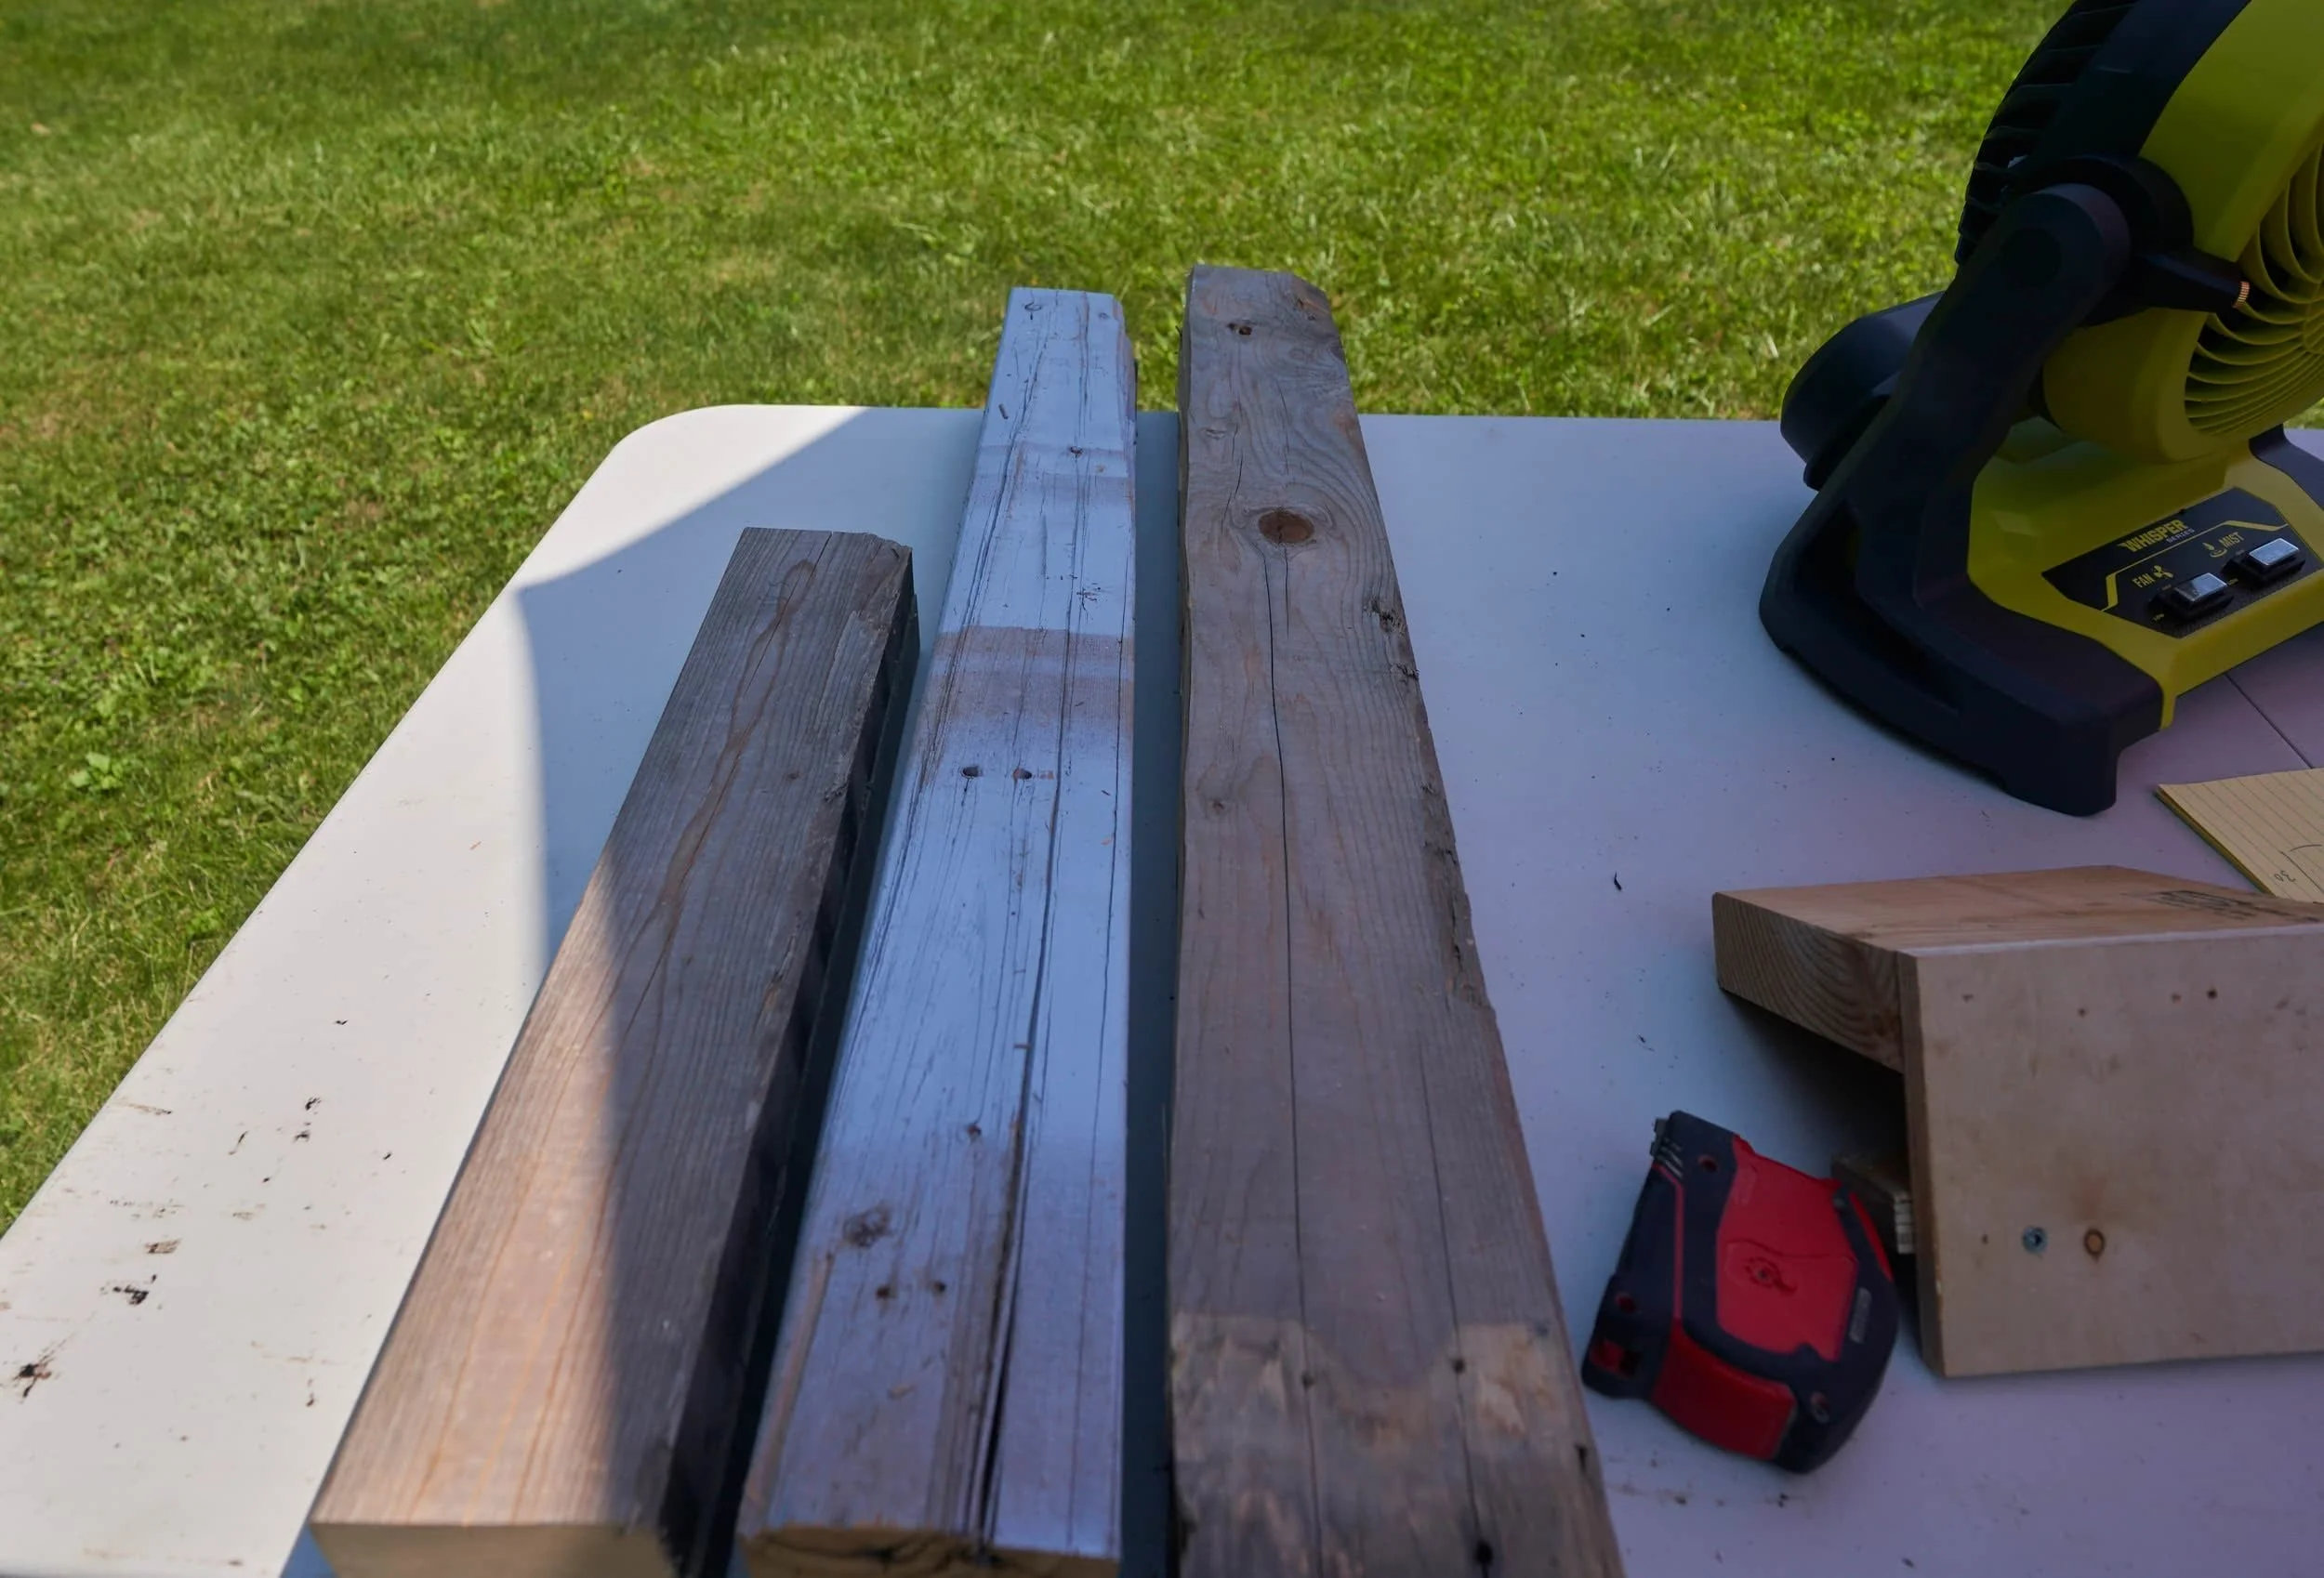
I thought that I could just through the boards through the planer and be done — it would get me my fresh wood and I’d be done as fast as I could feed the boards through. I knew that unless I ran it through the jointer as well, that it wouldn’t be perfect and I was okay with any imperfections. I was not ready for the amount of warp and twist on some of these boards though.
I did end up fully milling the shorter boards to be perfectly square; the long boards were not feasible to run through my baby benchtop jointer (safely). Instead, I bought a power planer and roughly smoothed one face before switching to the bigger benchtop planer to do the other side.
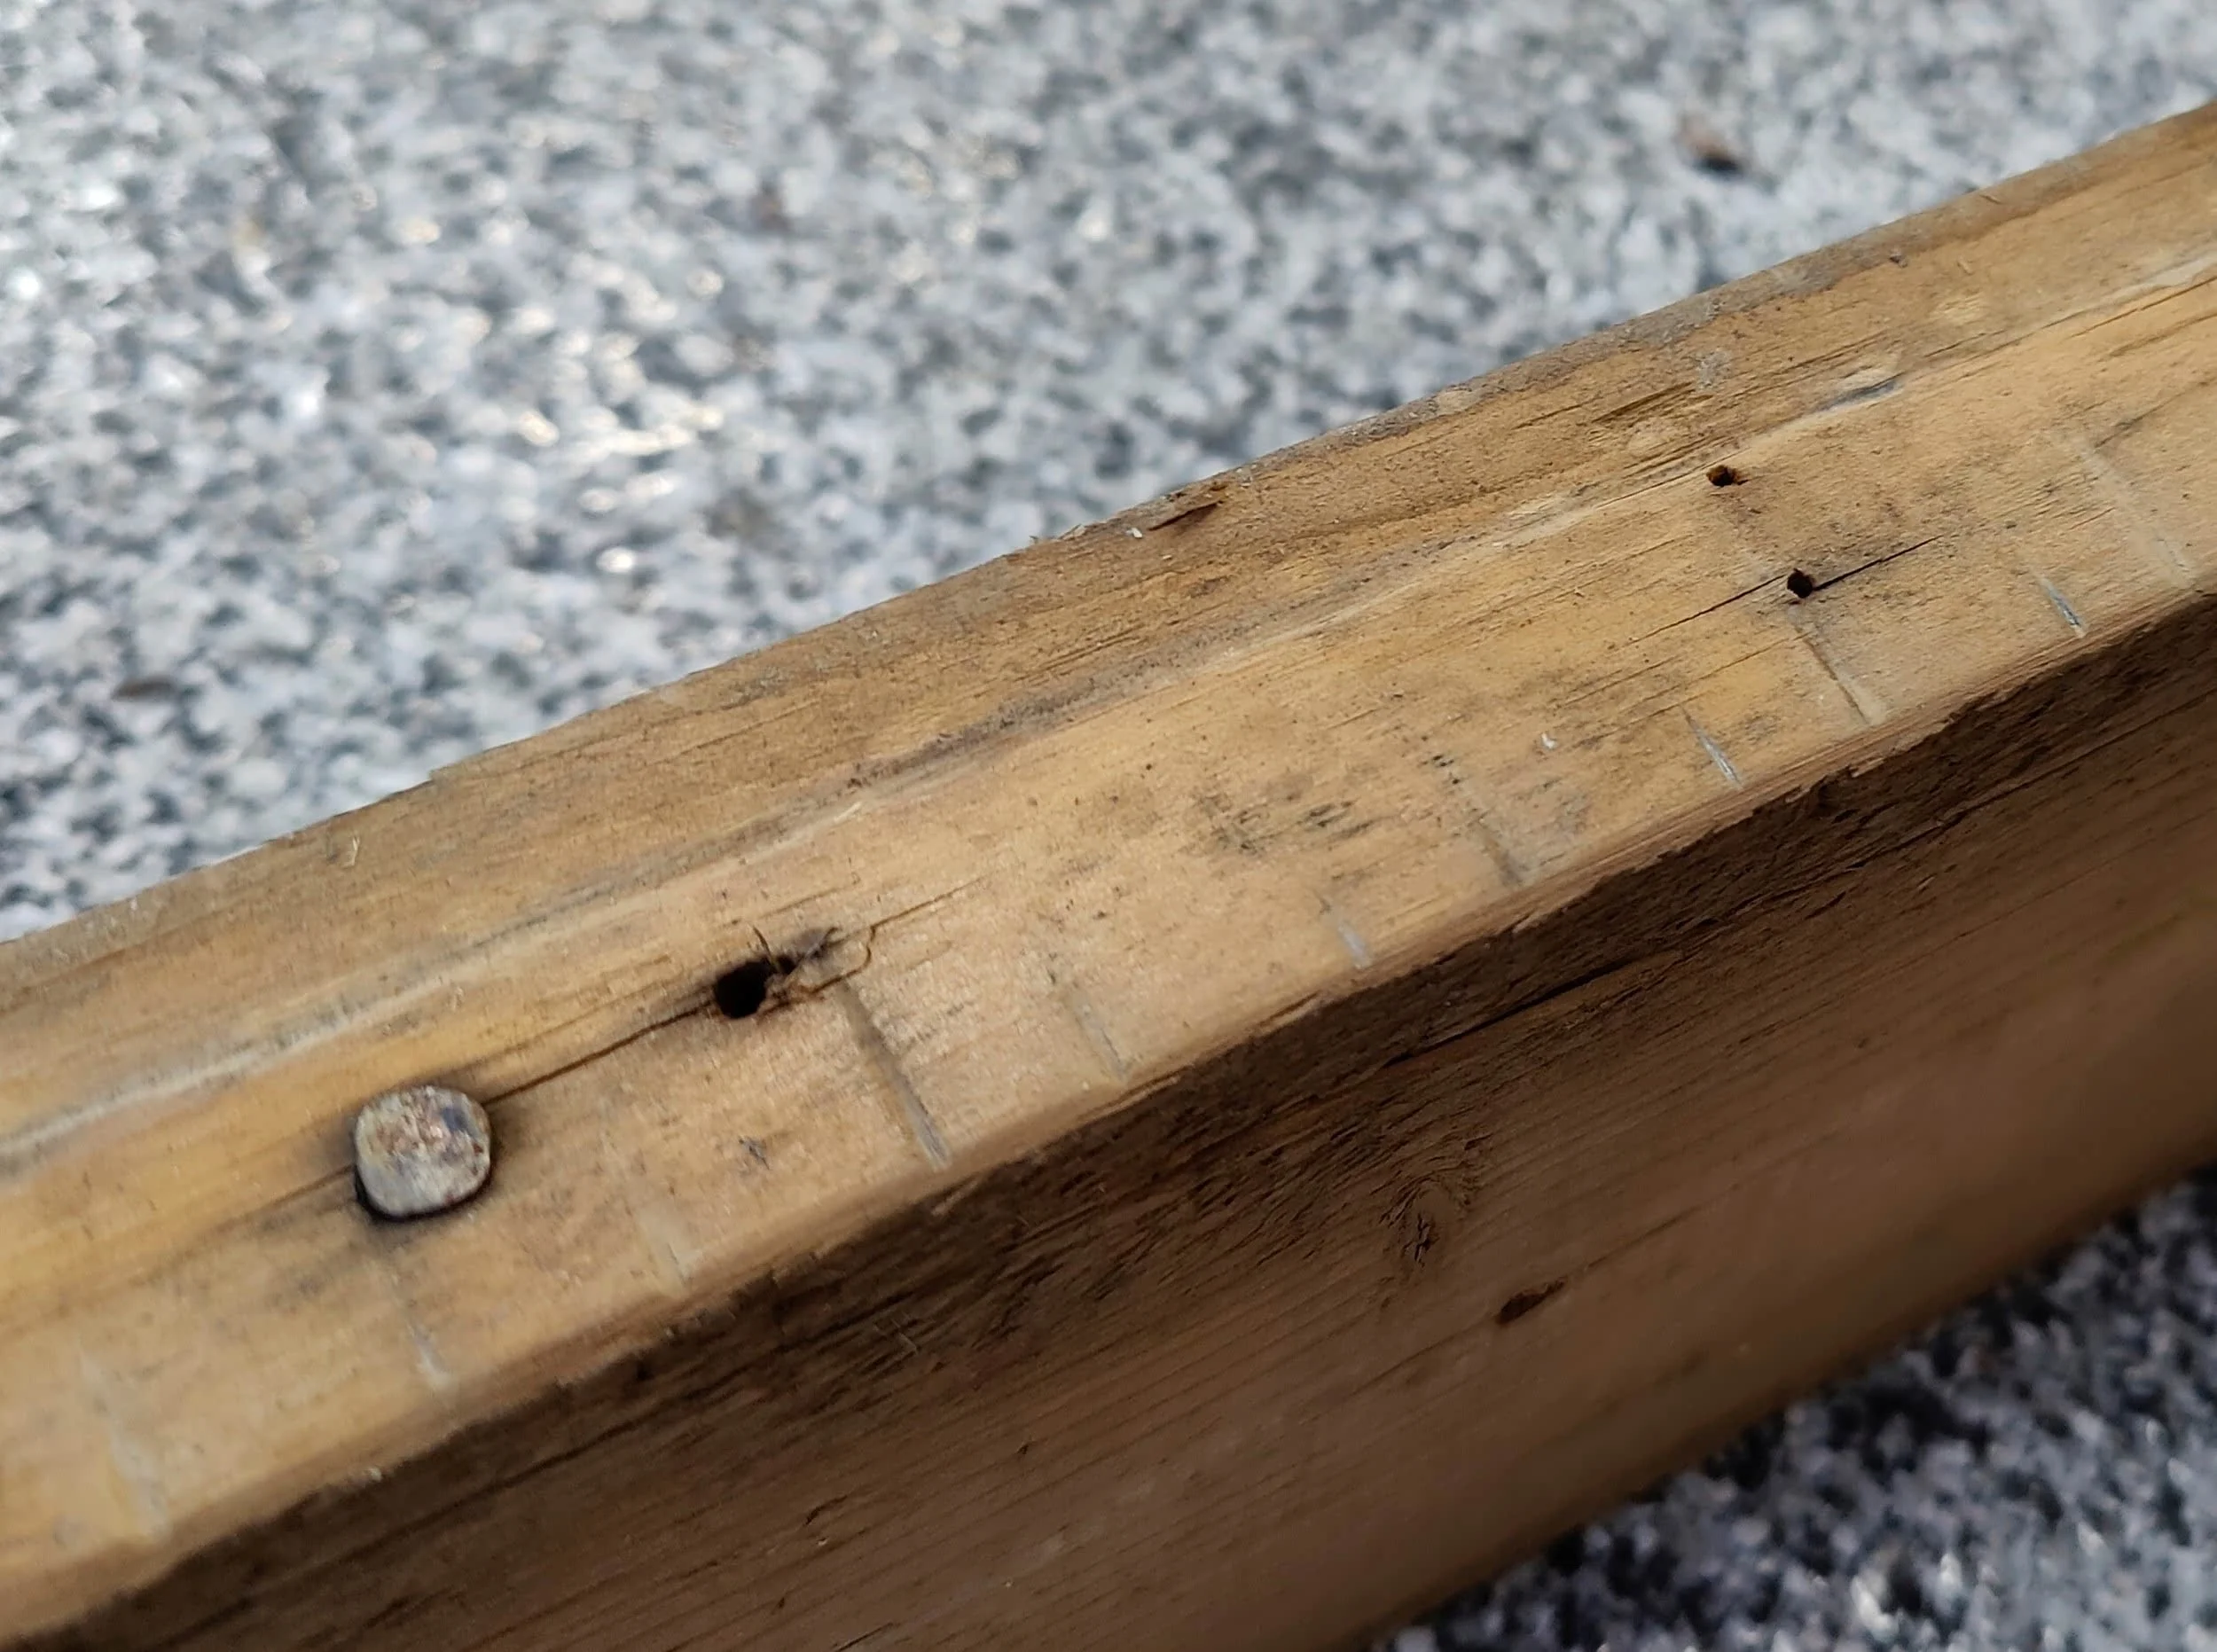
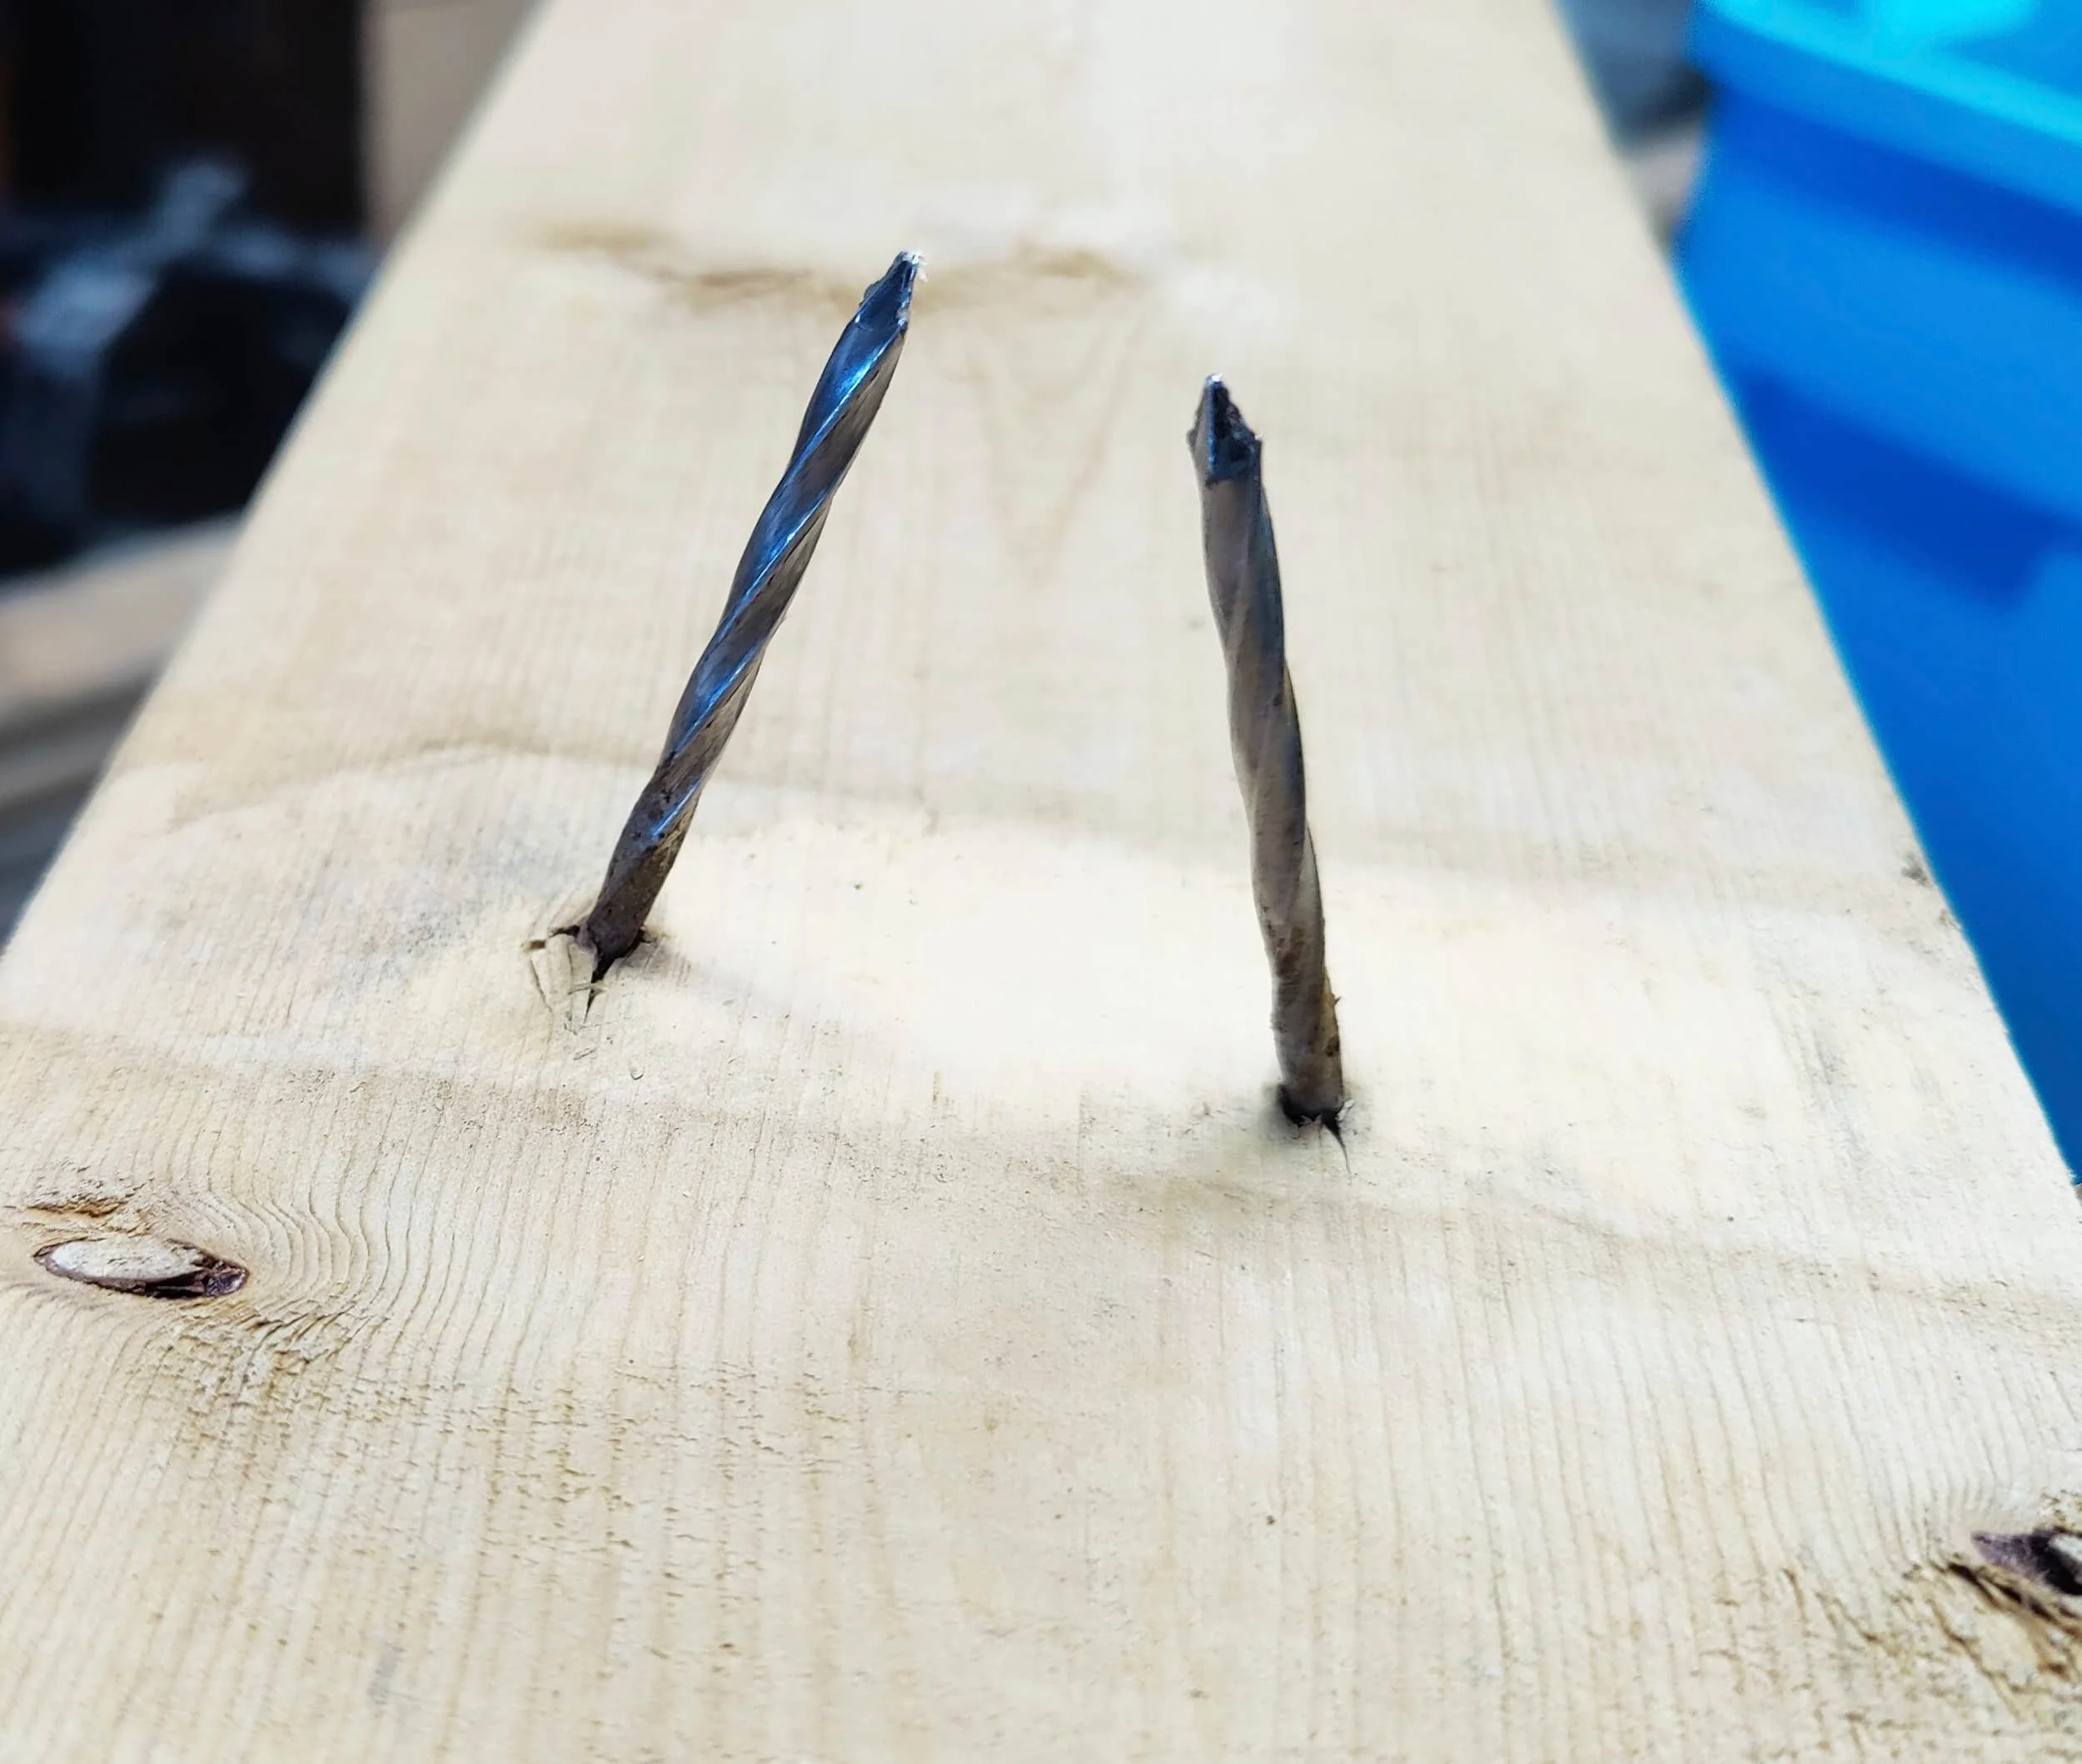
Before any of this can happen, it’s imperative to truly ensure that all of the metal fasteners are removed so I bought a metal-scanner and thoroughly checked every board (on all surfaces) — this scanner saved me from a small jar’s worth of small nails and staples I missed. In some cases (like the end of a board), I opted to just cut the end off but some cases, it was impossible to remove the fasteners so I had to skip that board entirely.


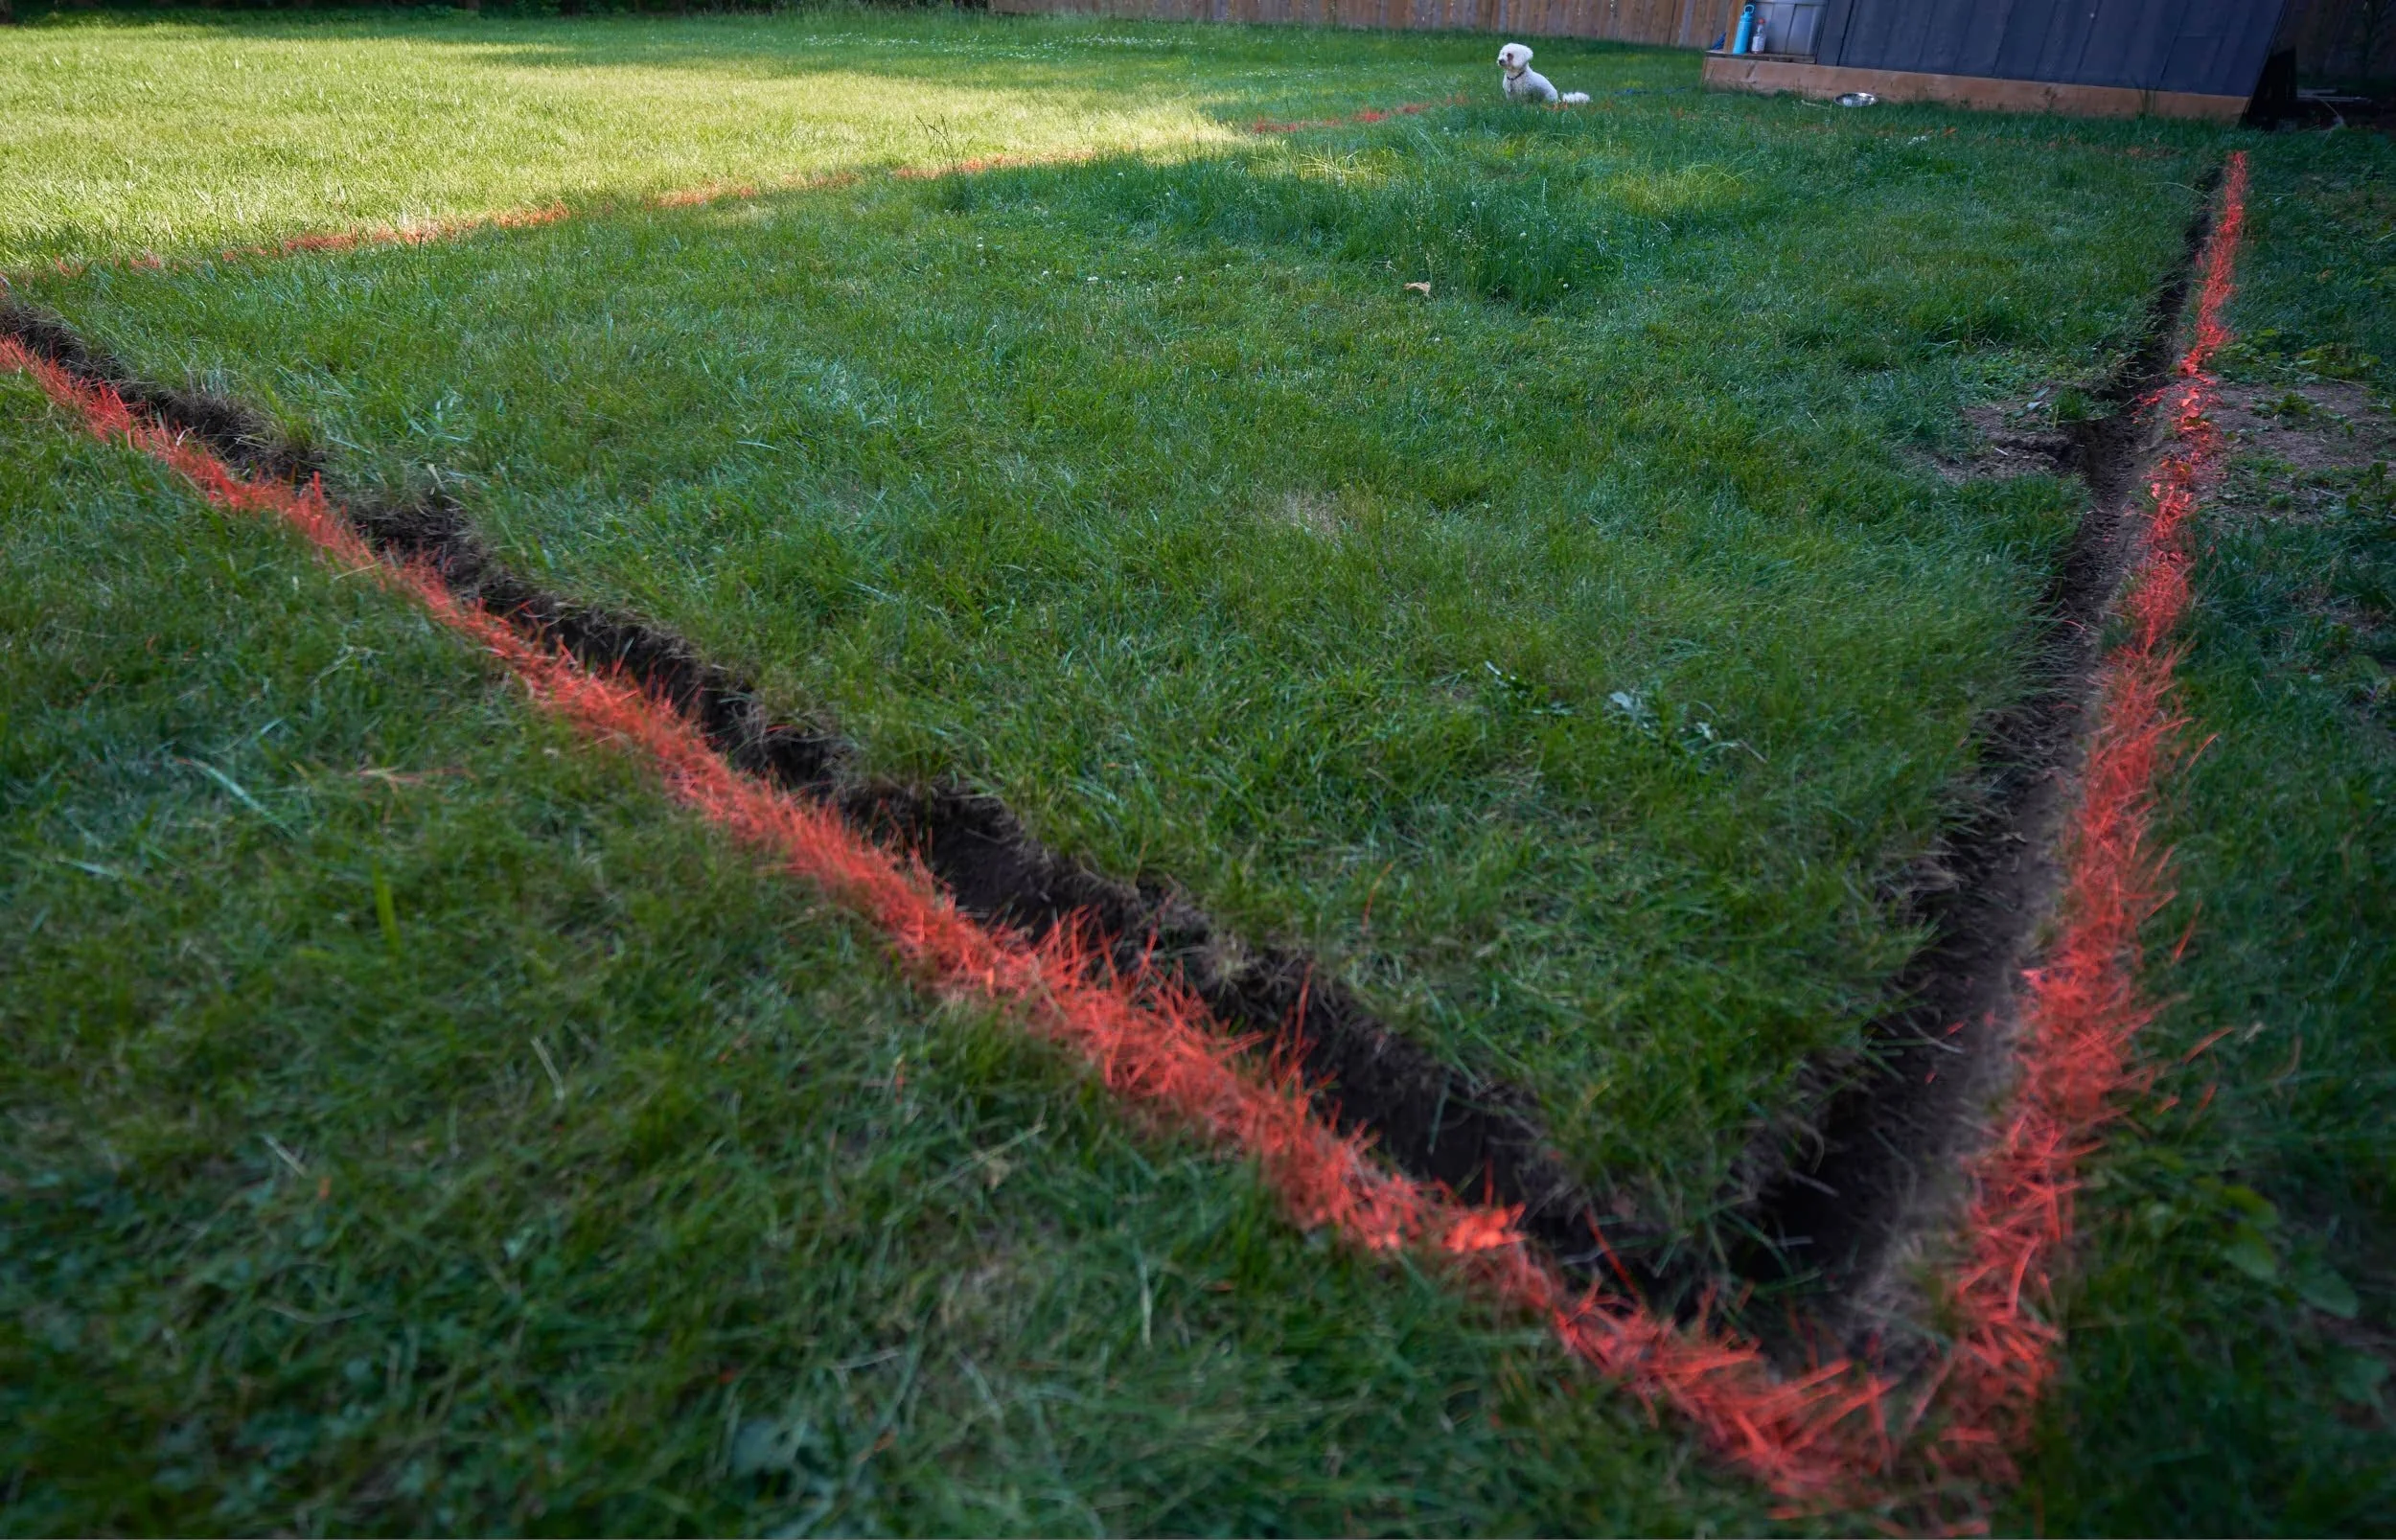
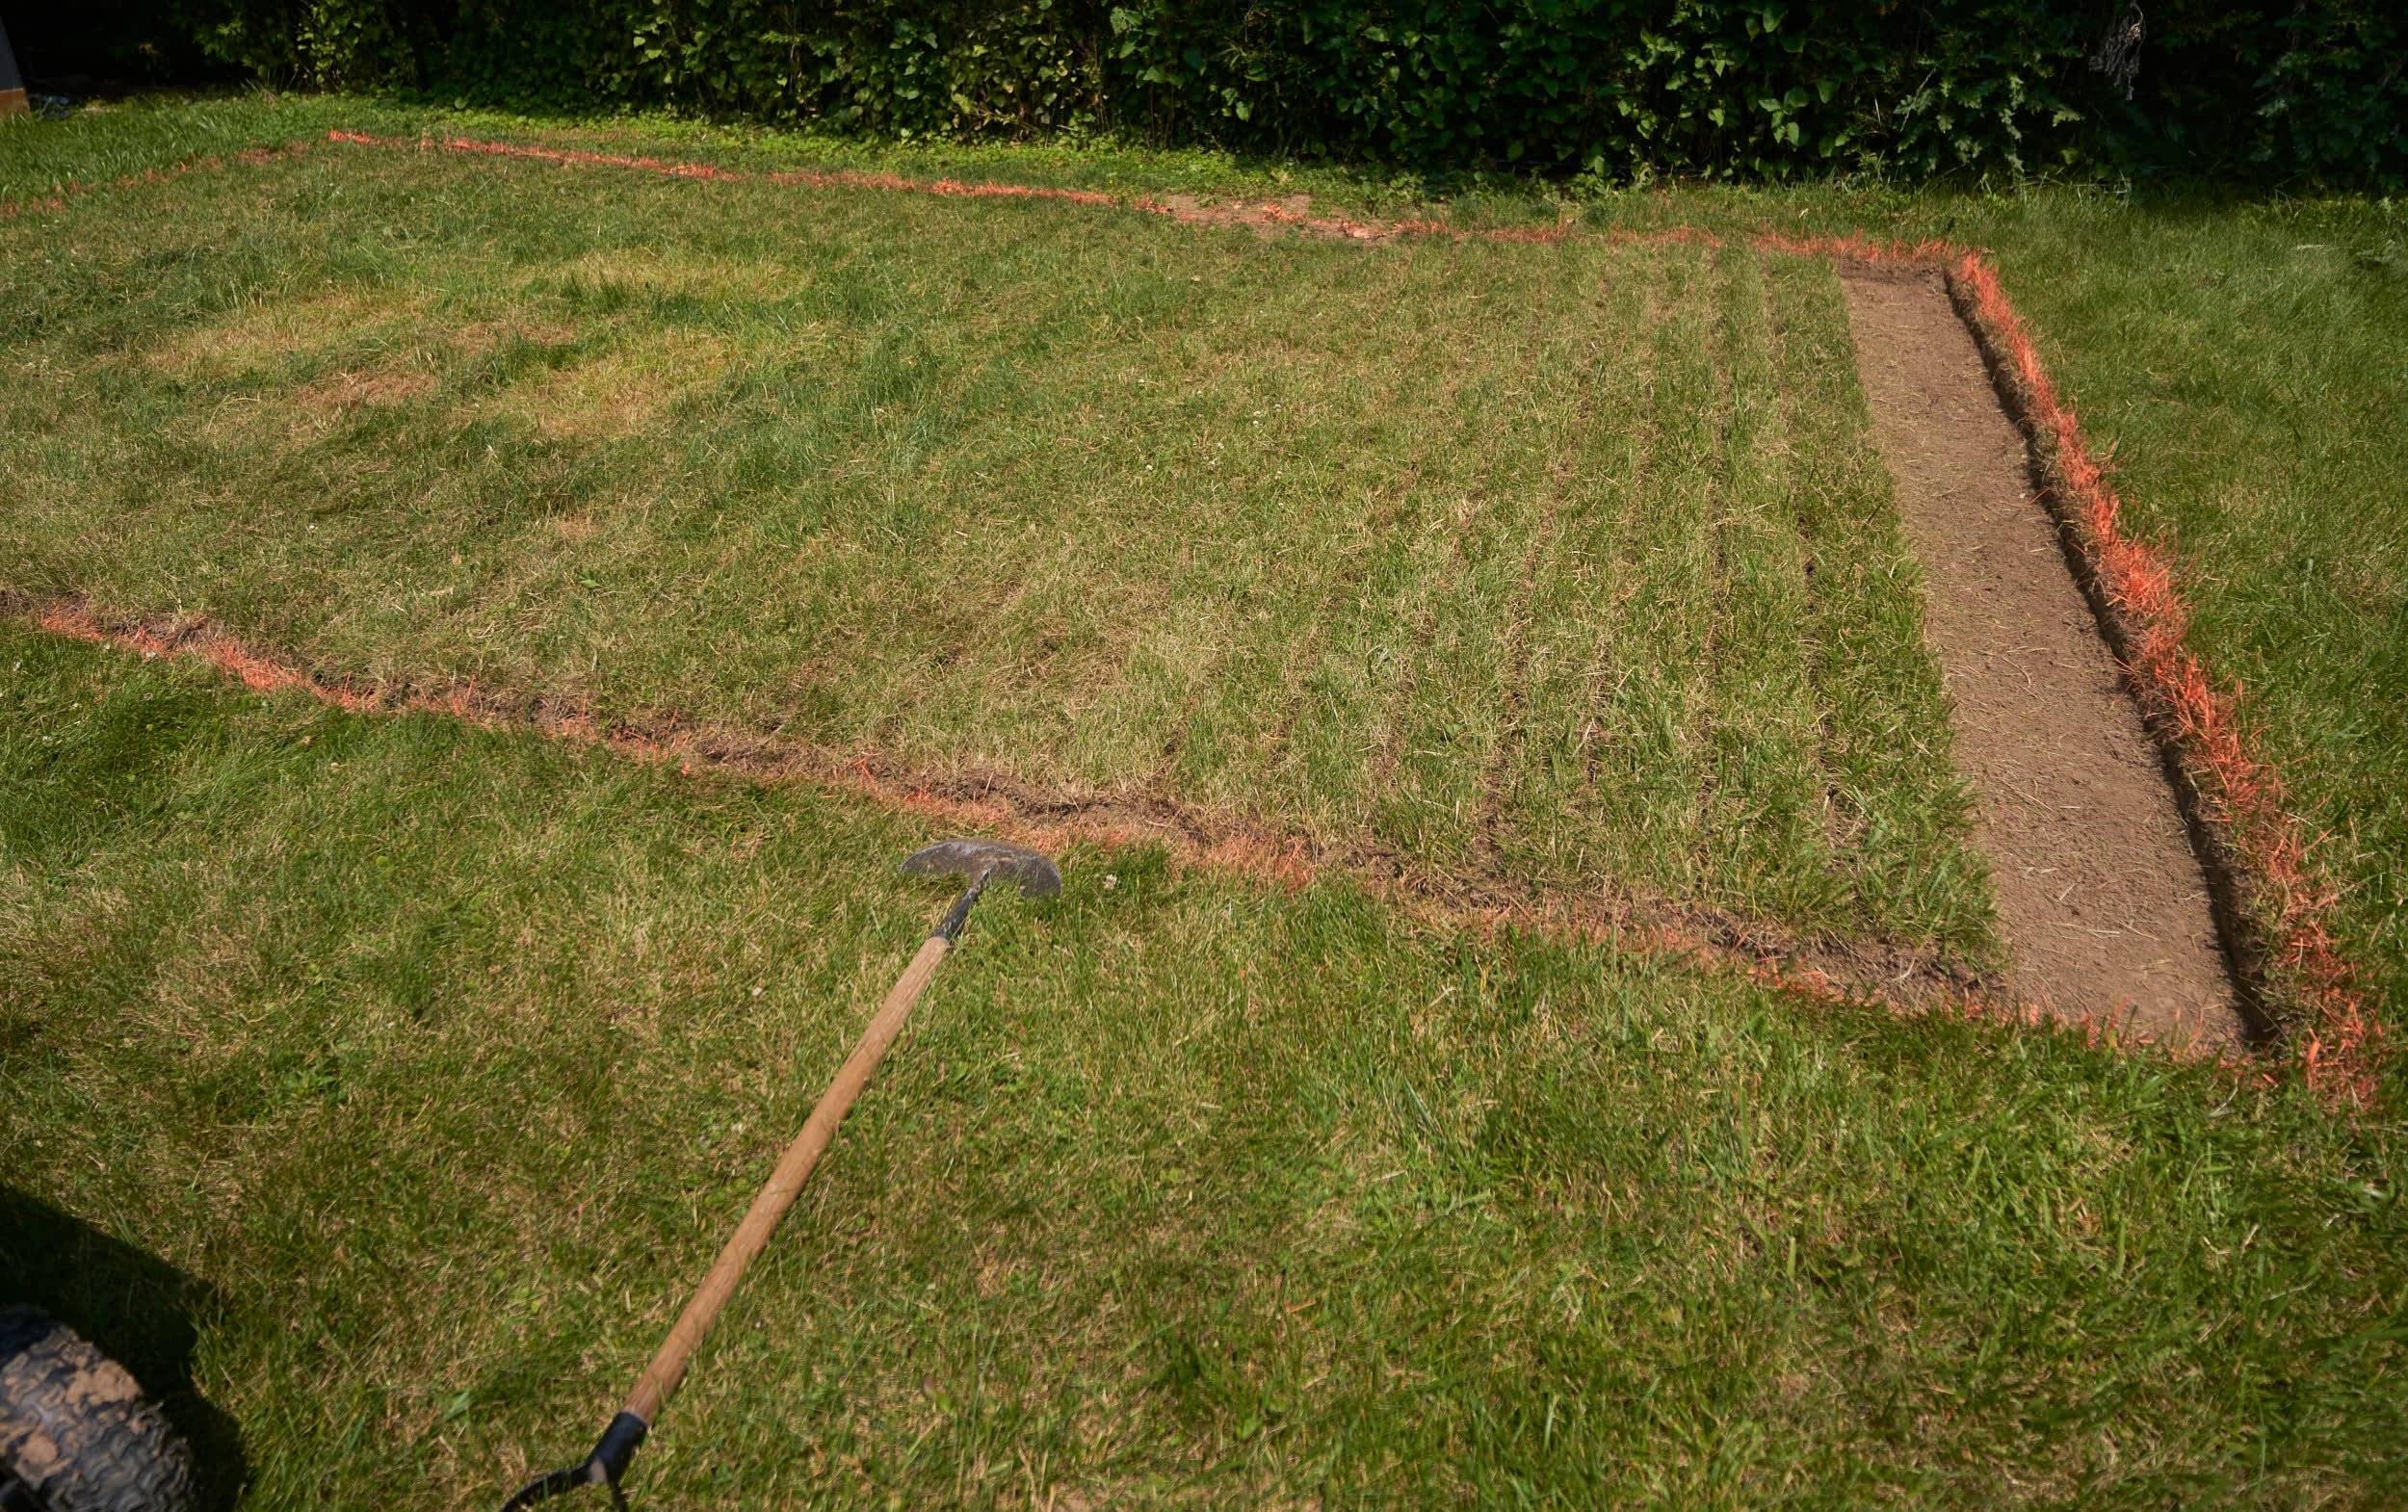
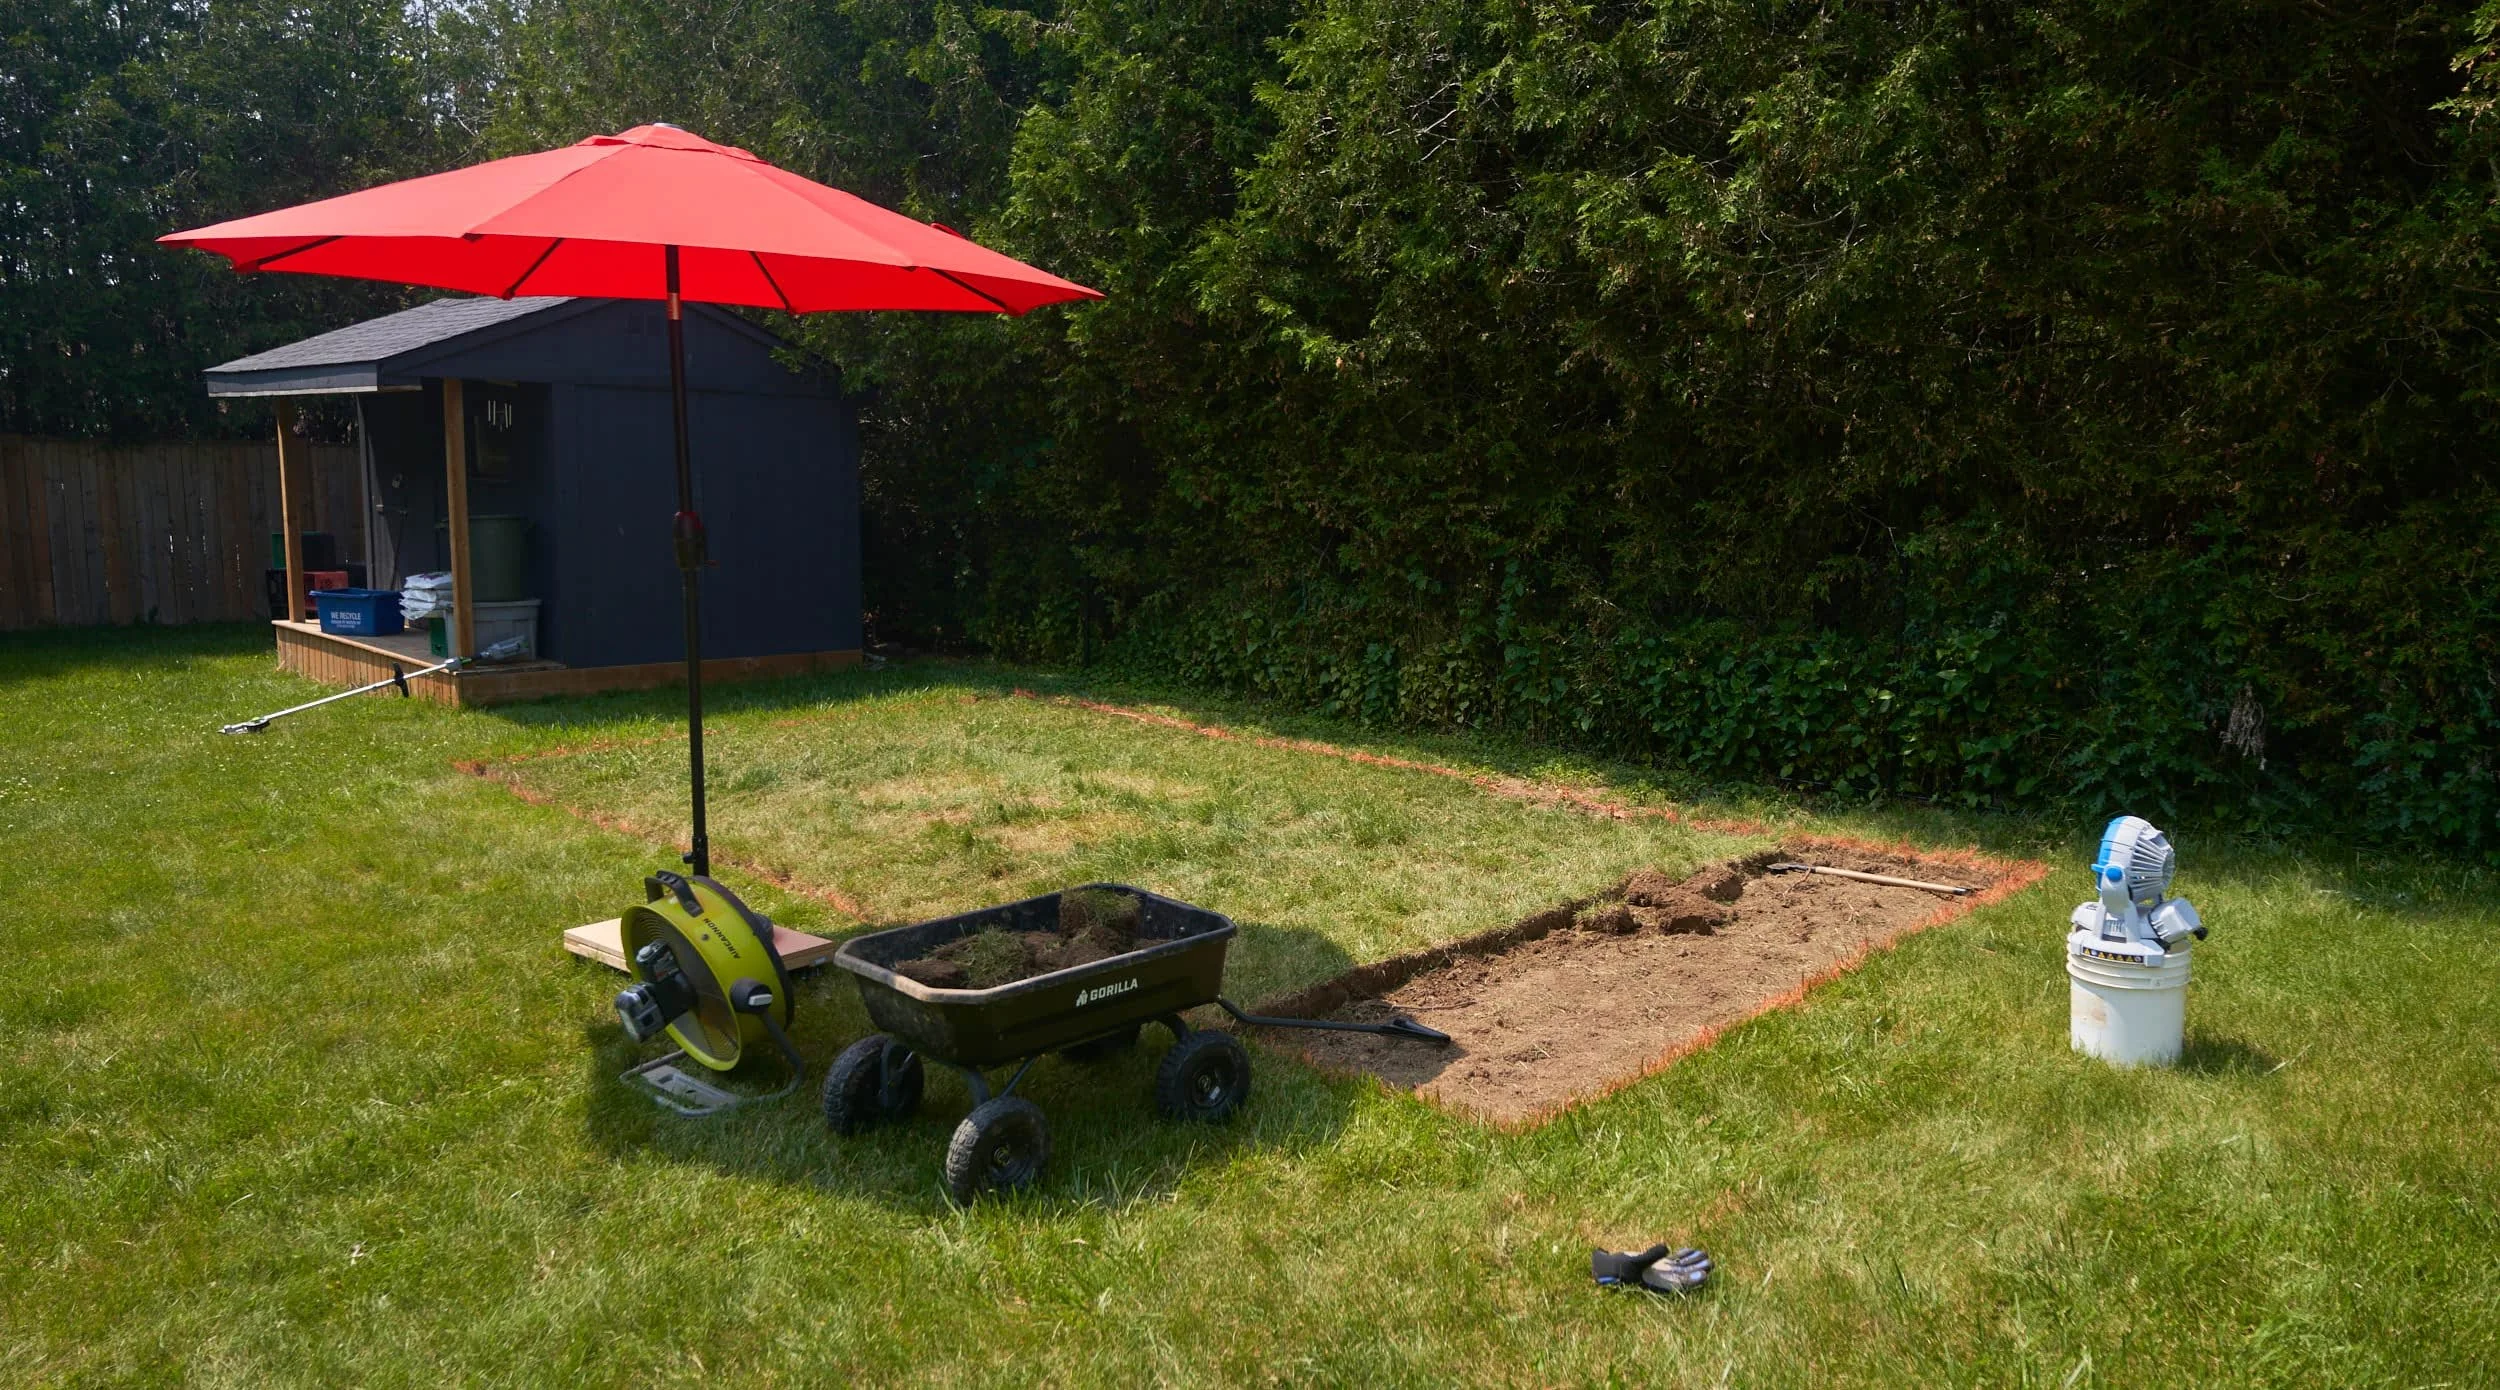
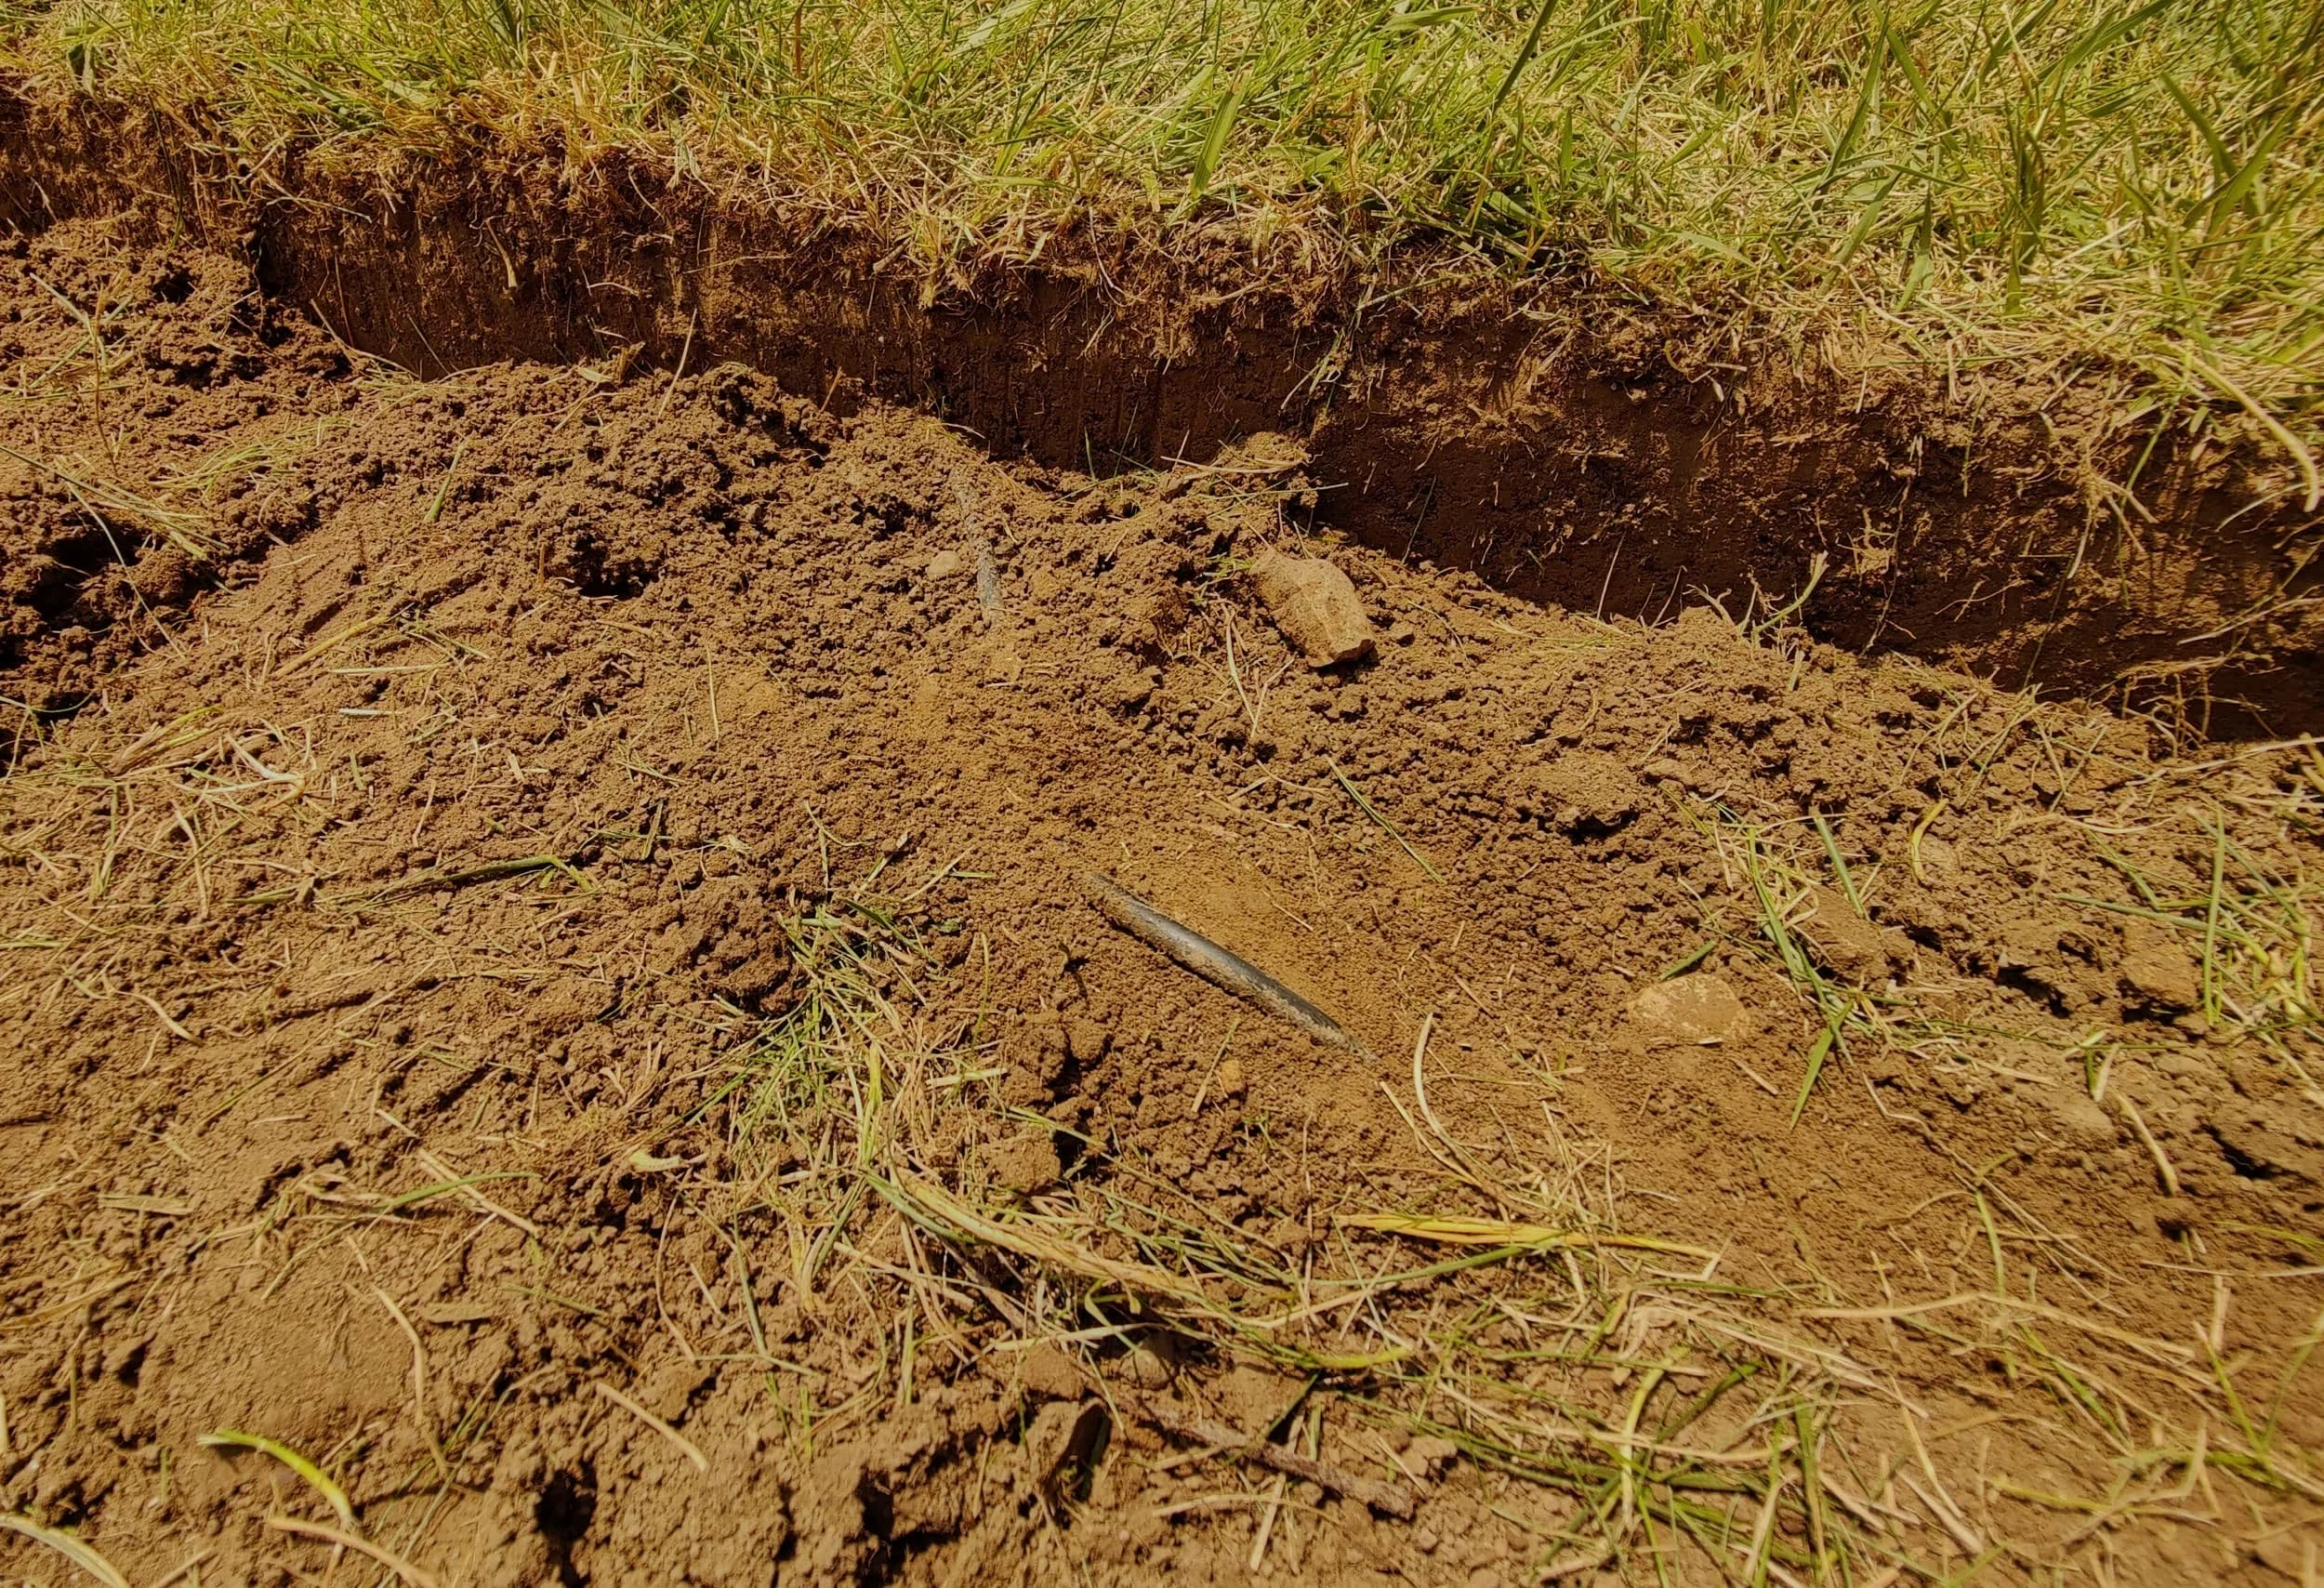
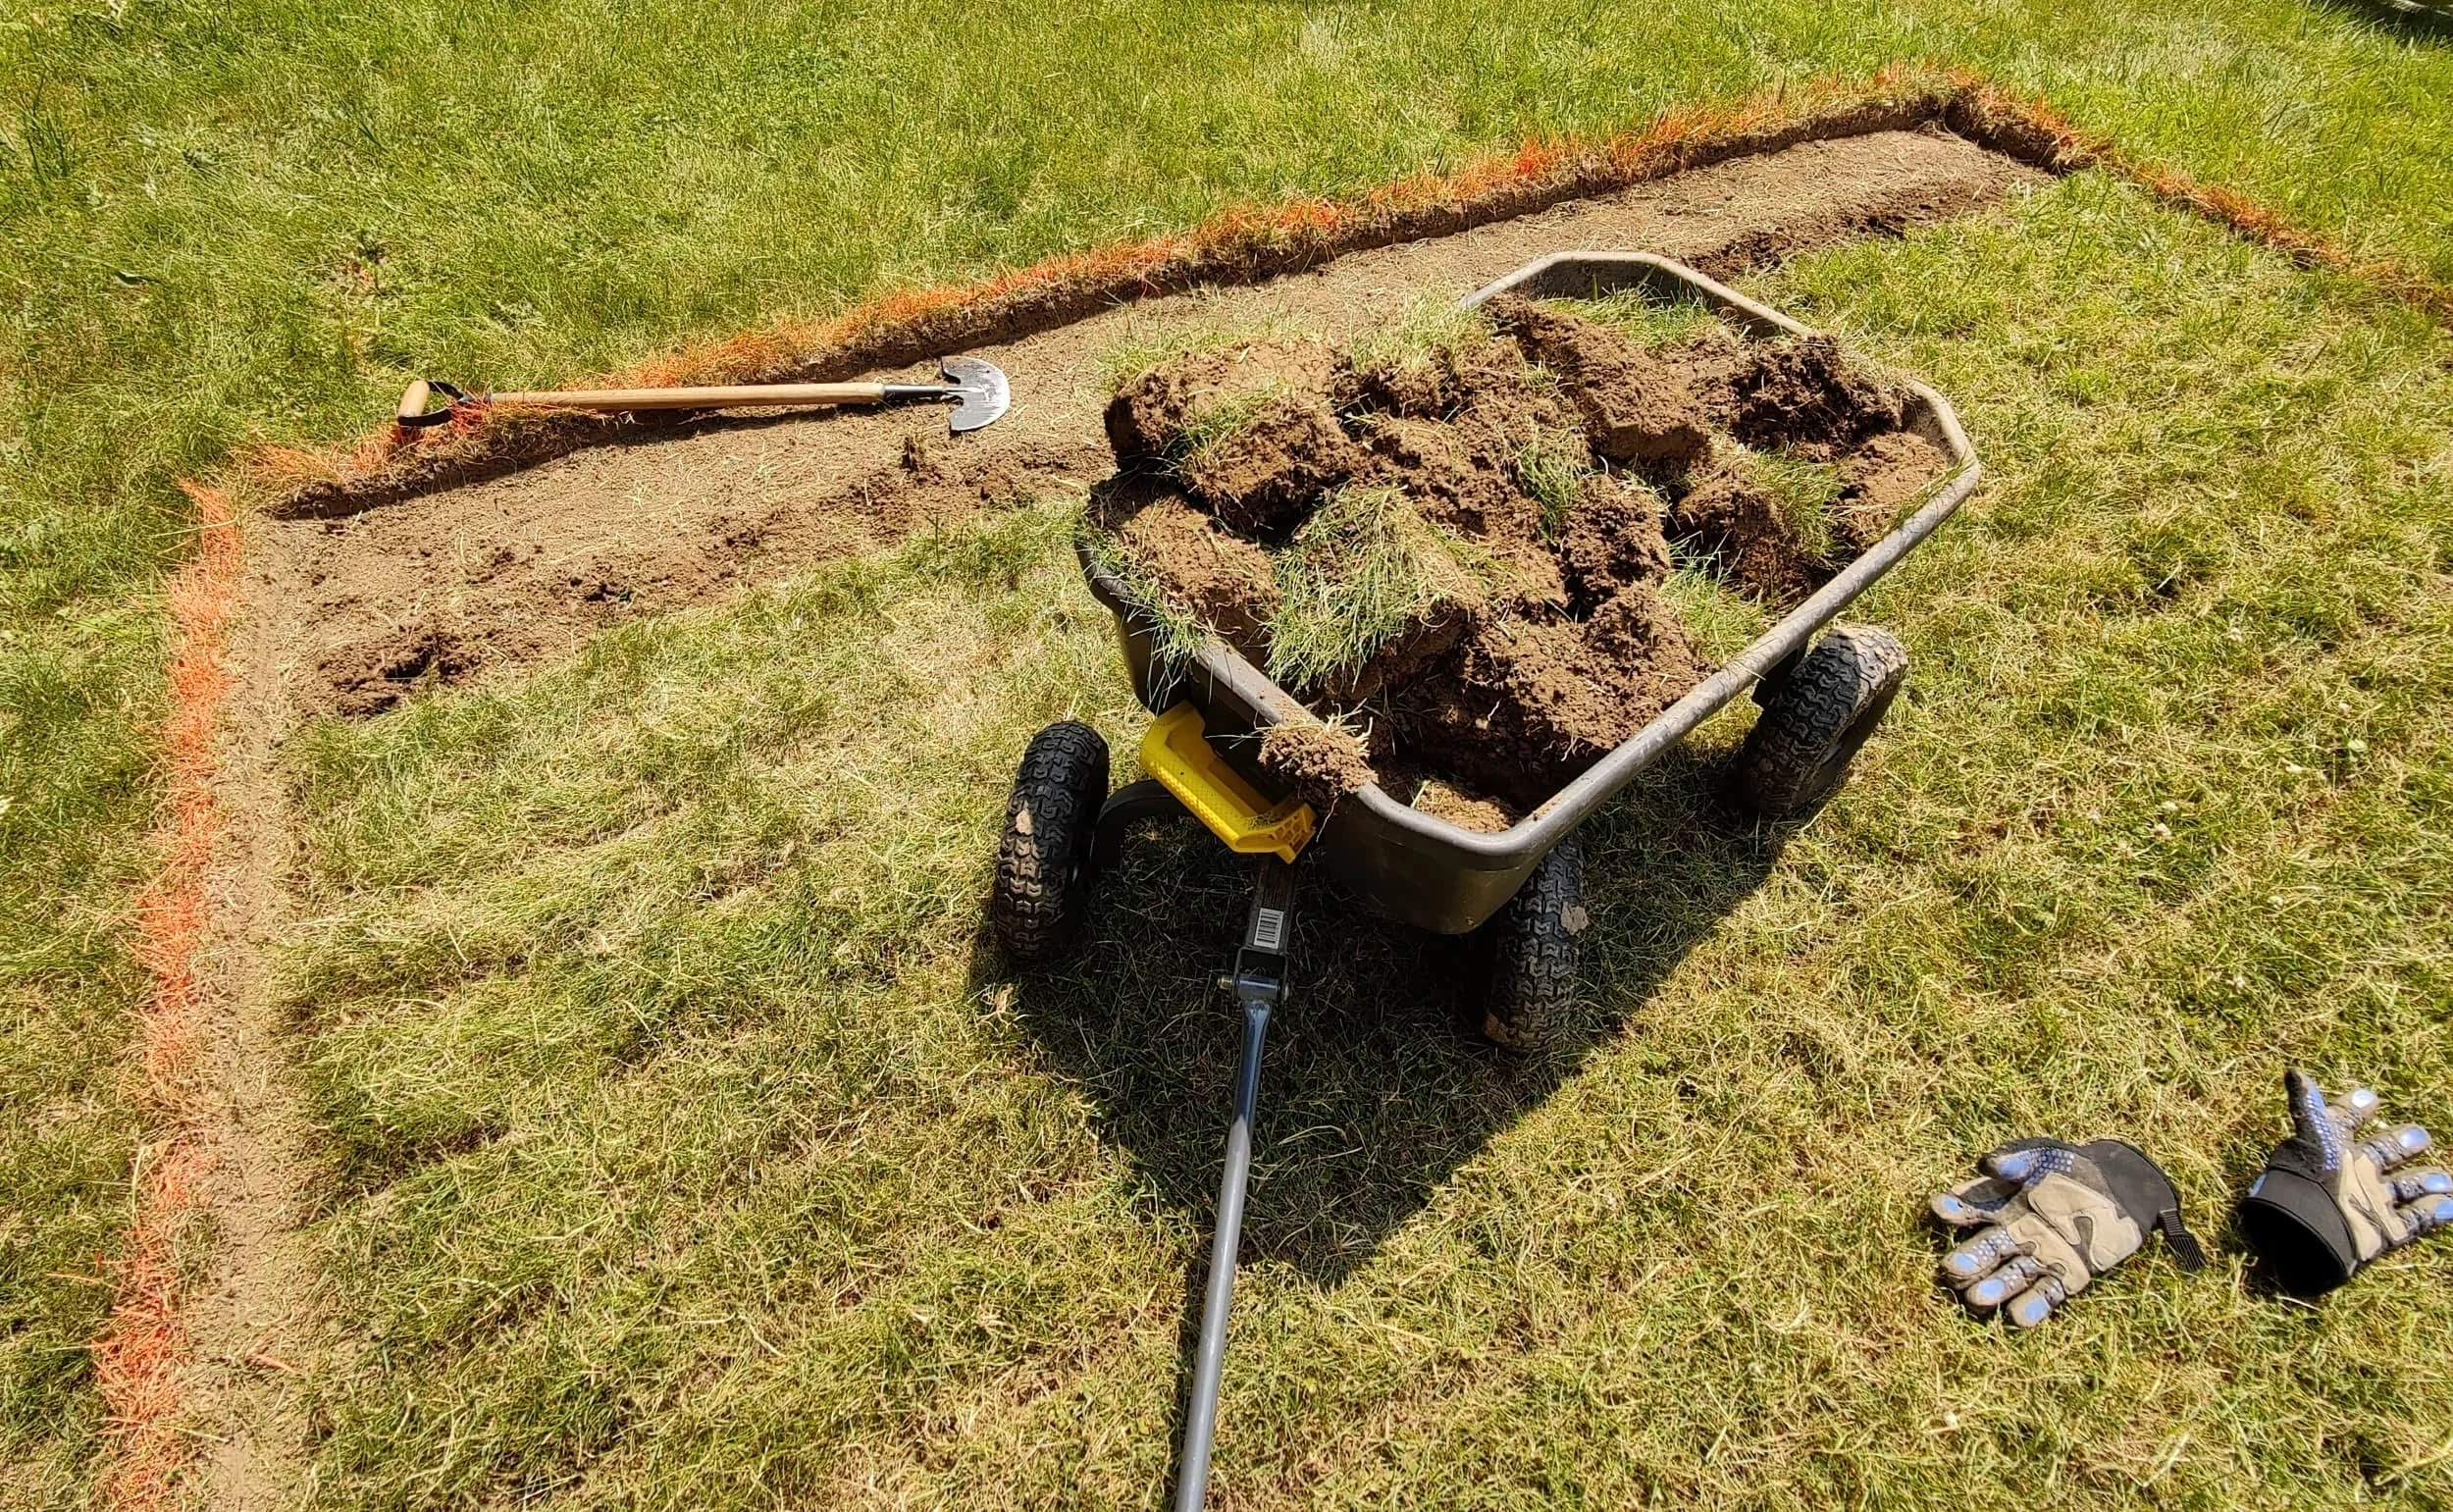
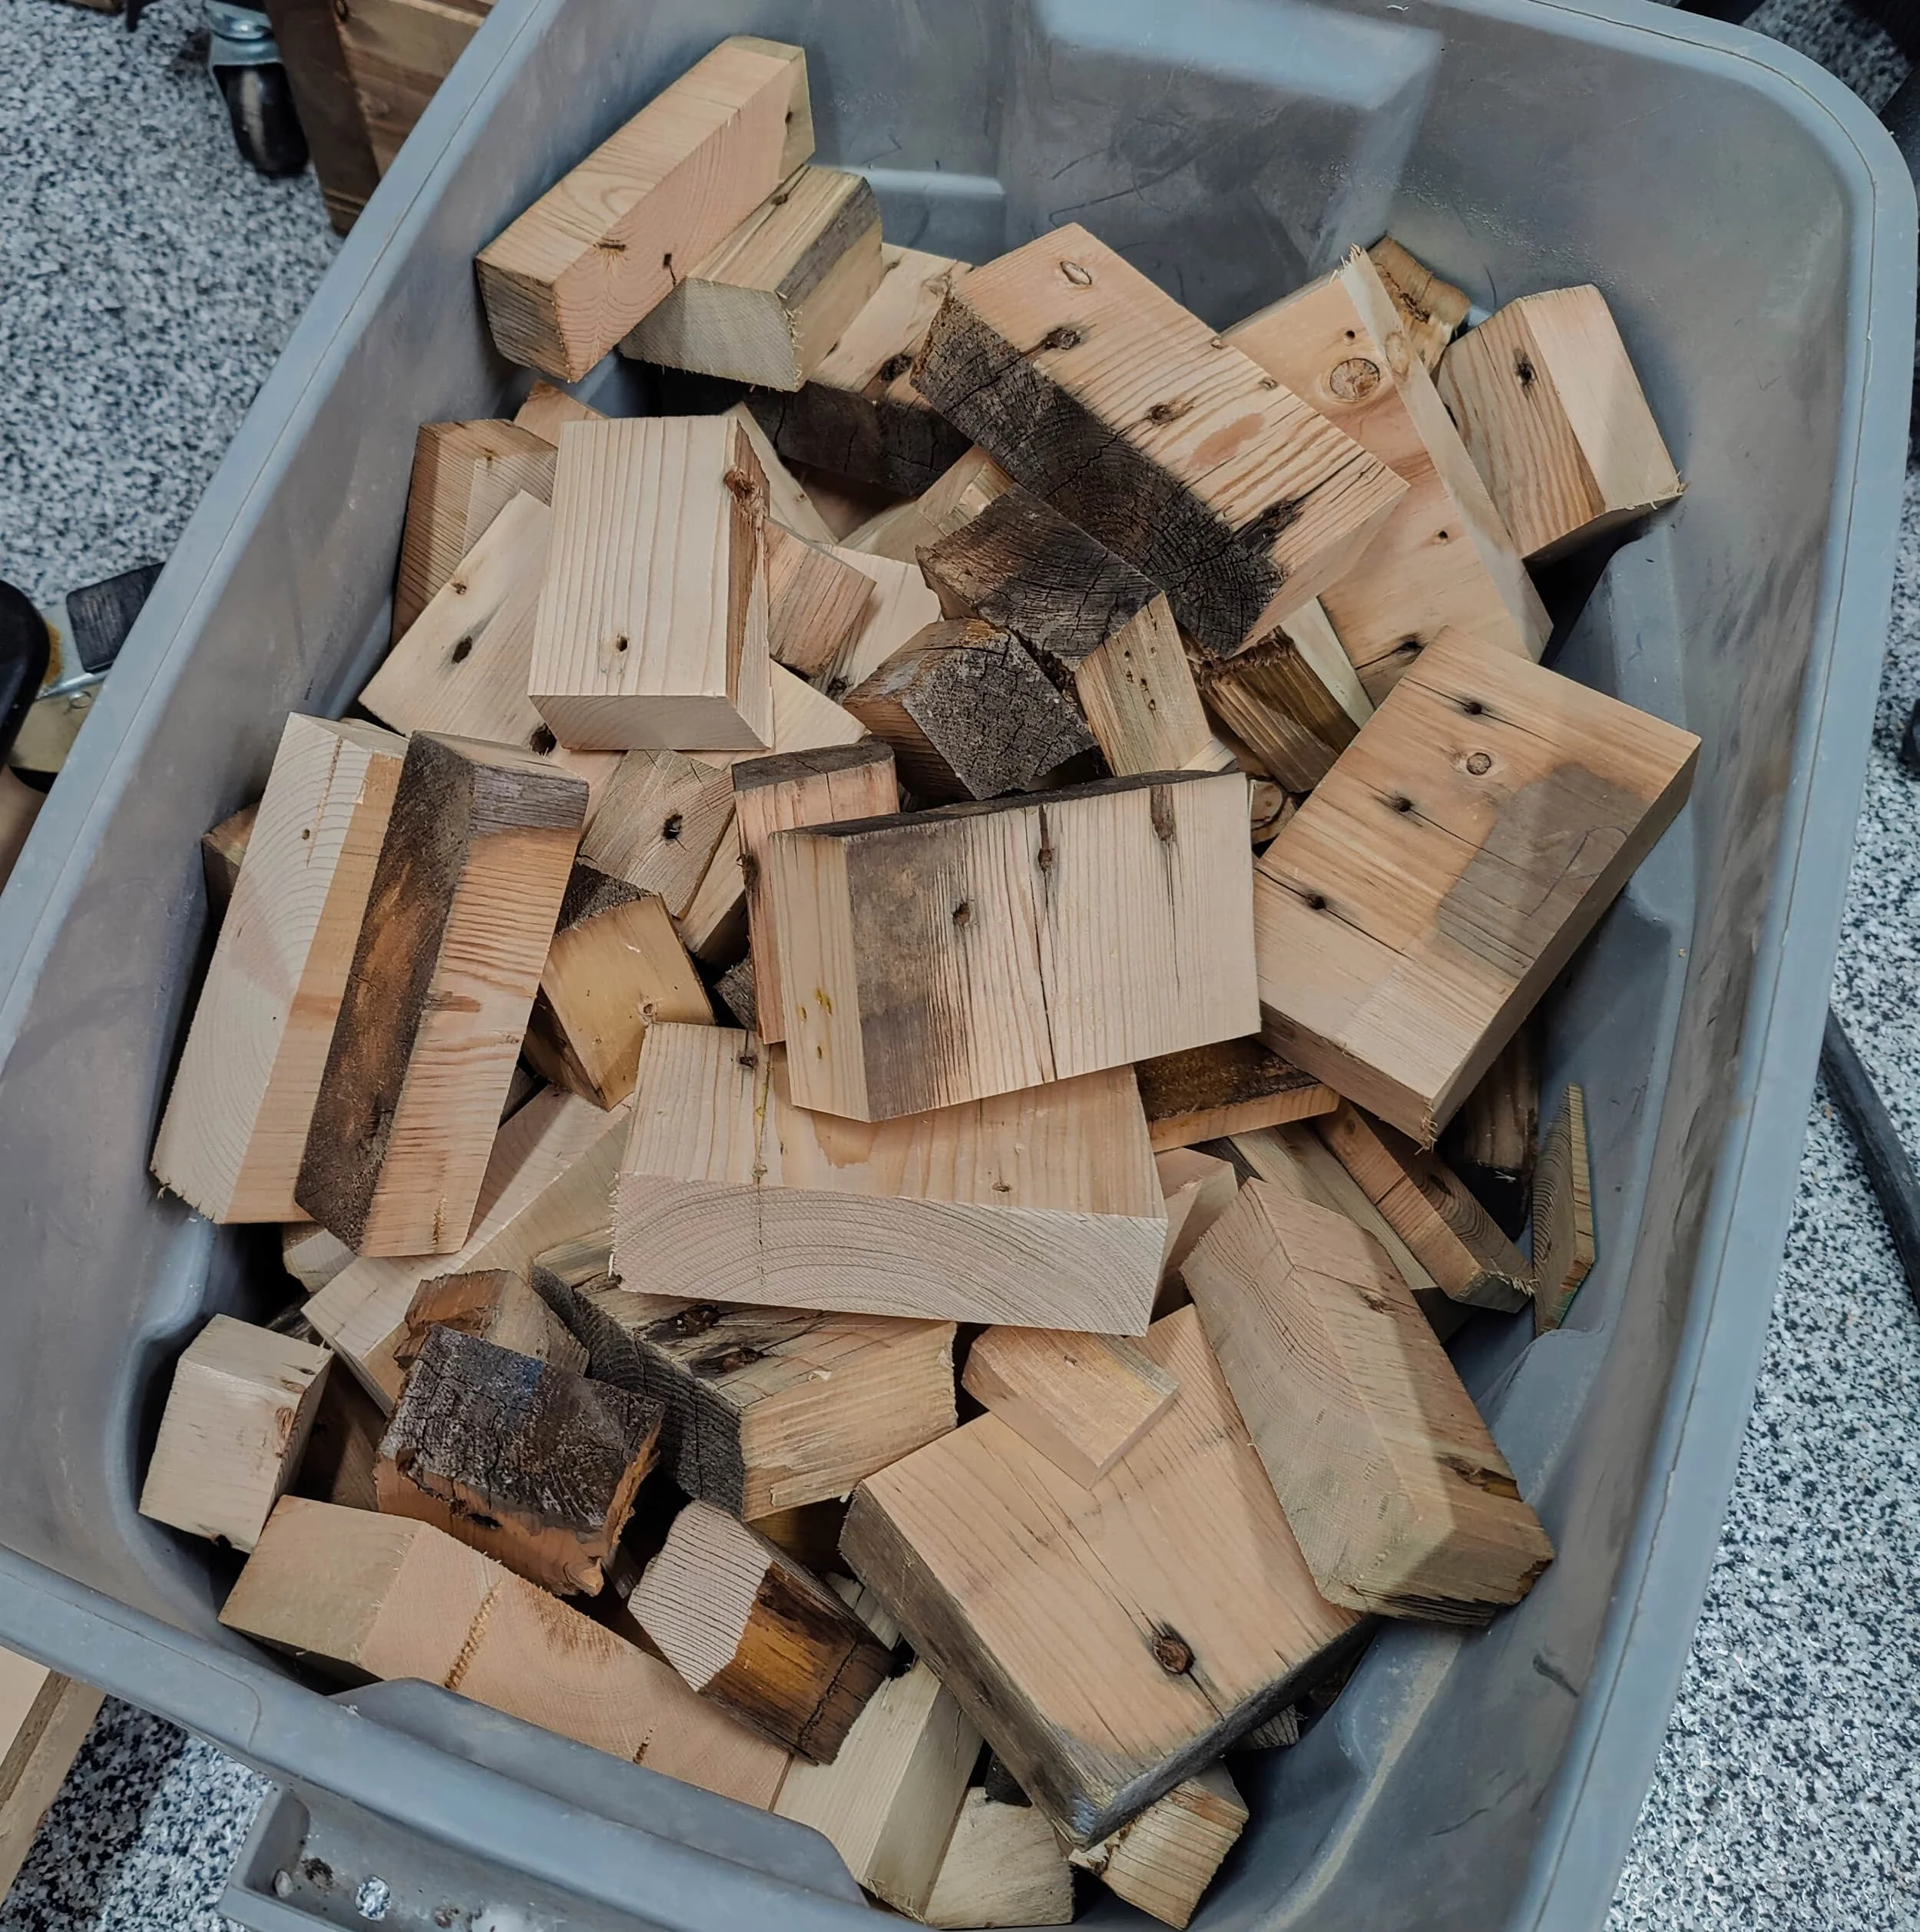
Step 4 - Excavation
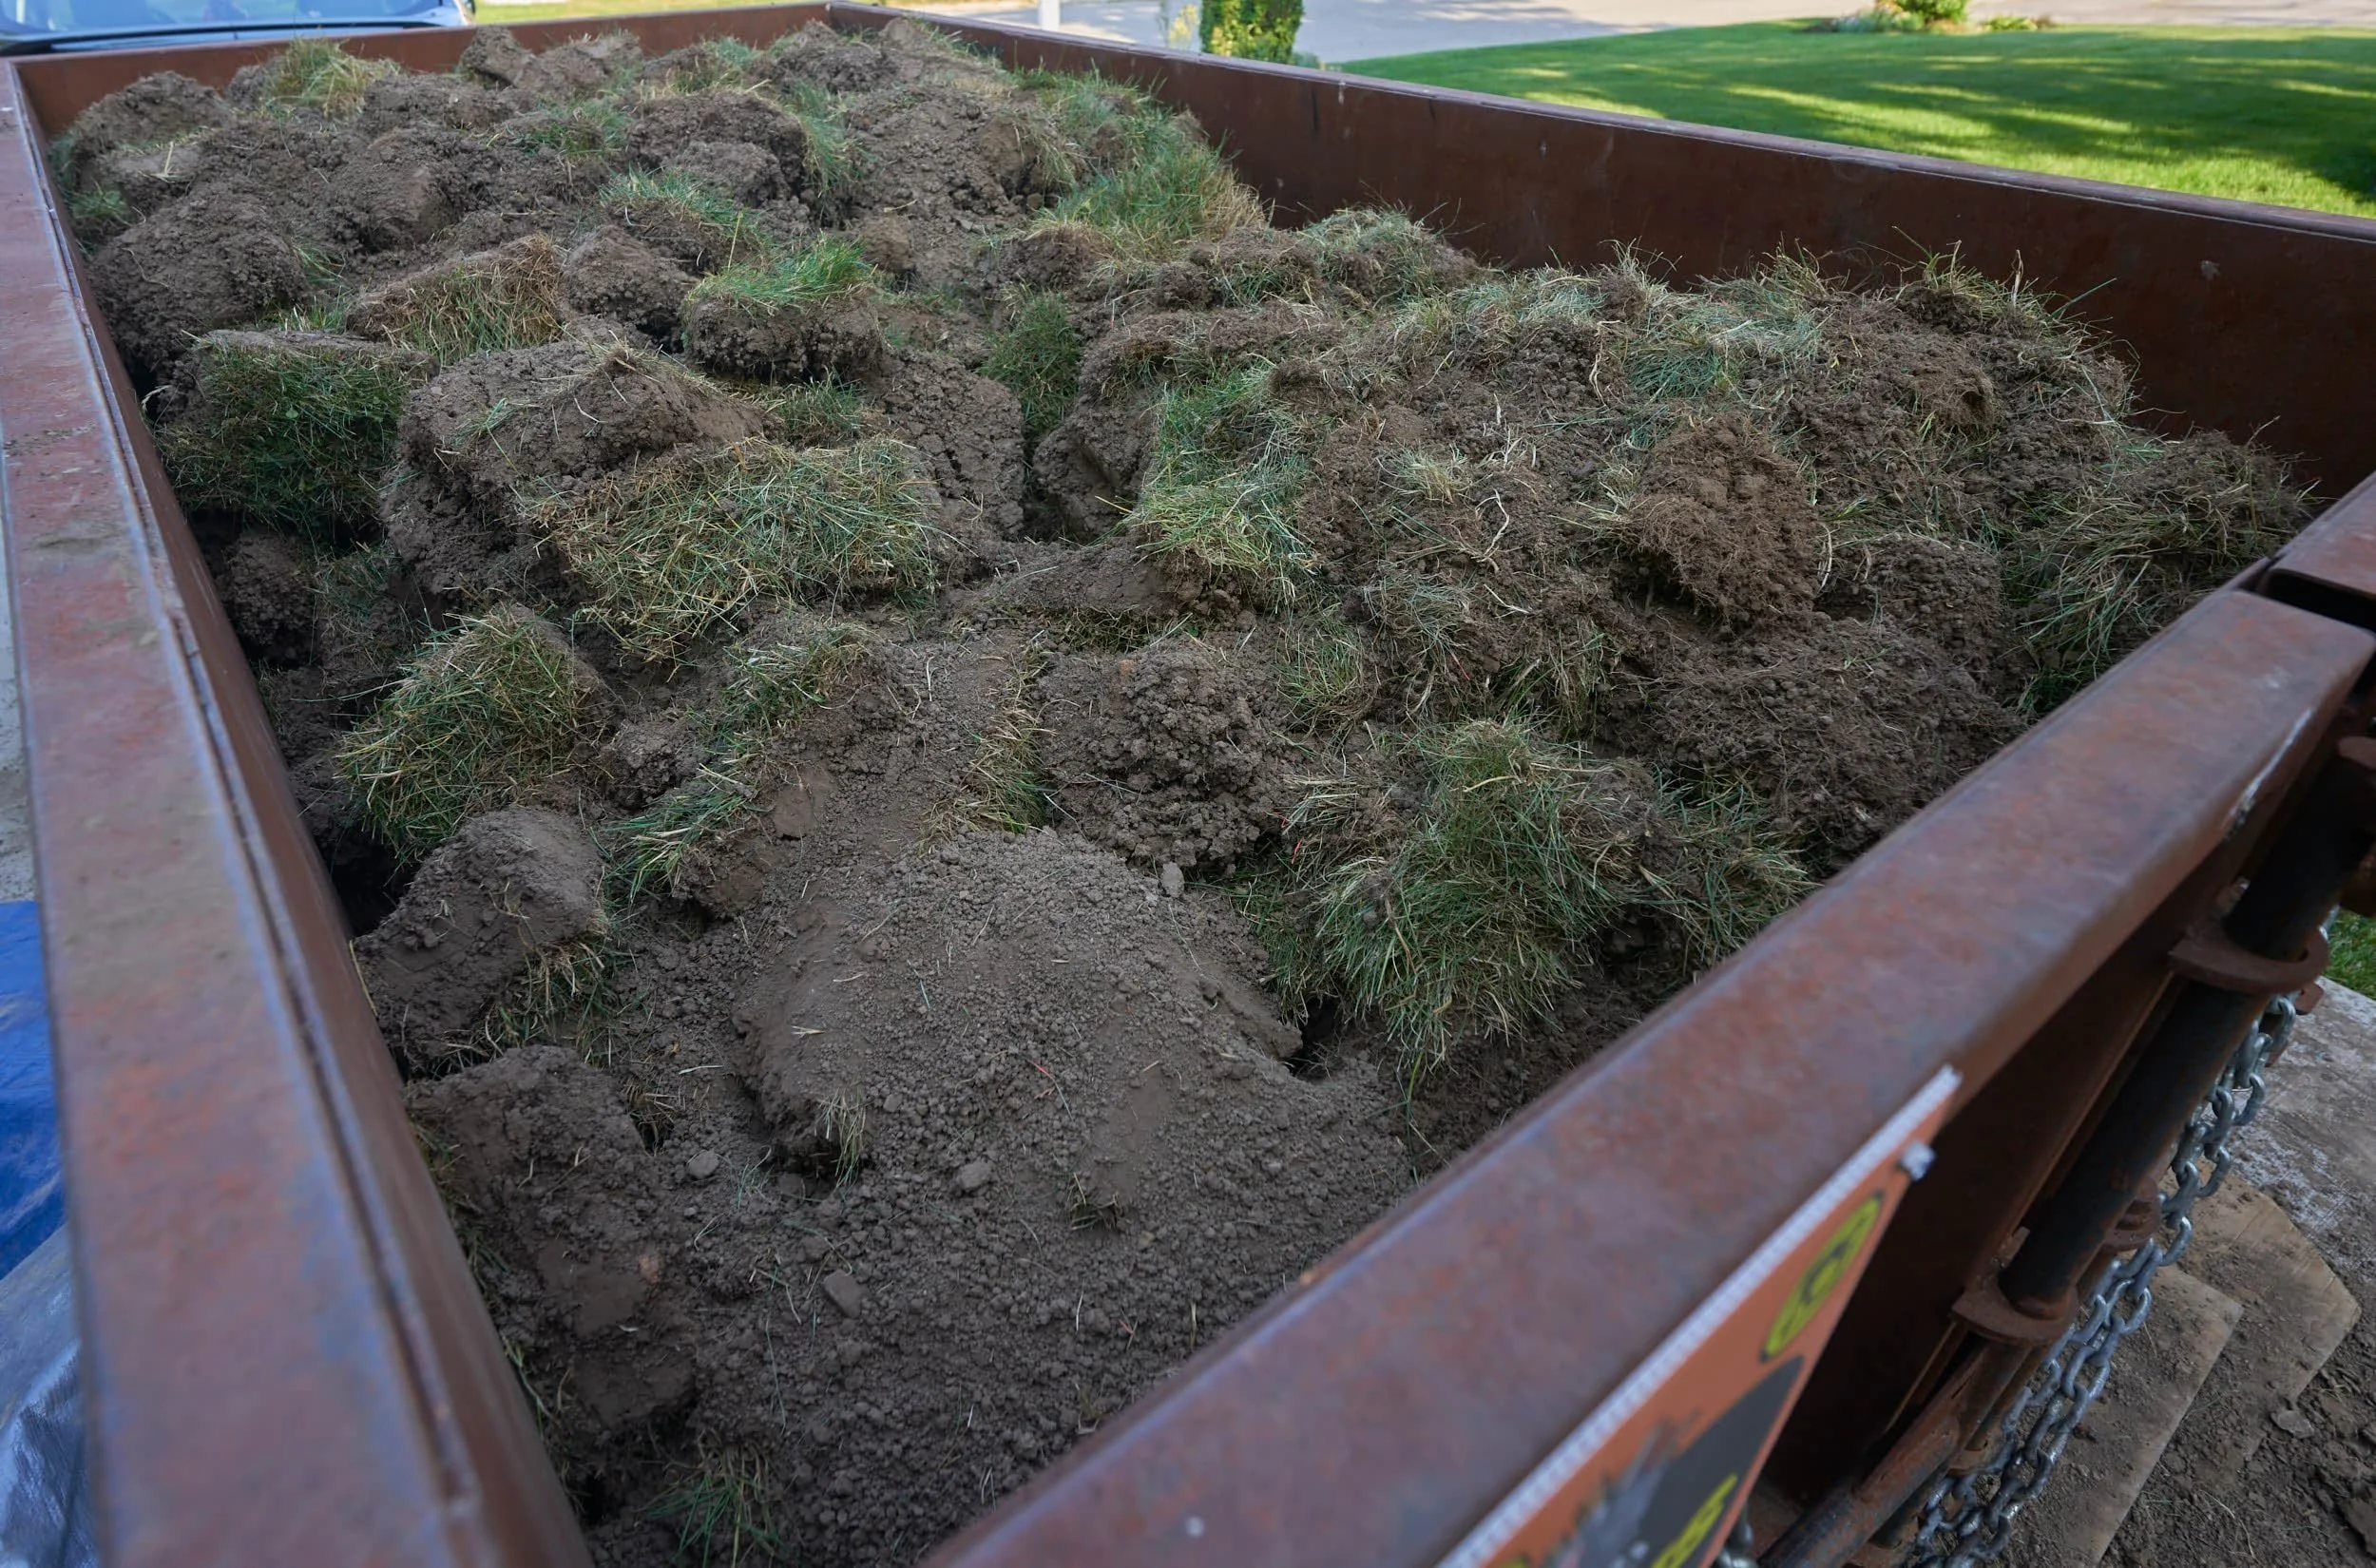
I thought this would be the hardest part but it was surprisingly easy all things considered — getting the dump bin was the game changer. For the excavation, I only went down as far as the edger went — since the planters will float on top of the gravel bed, I don’t really have any frost-heave considerations. From start to finish, this was about 3-days from marking the perimter to having the 5-yards of dirt hauled away.


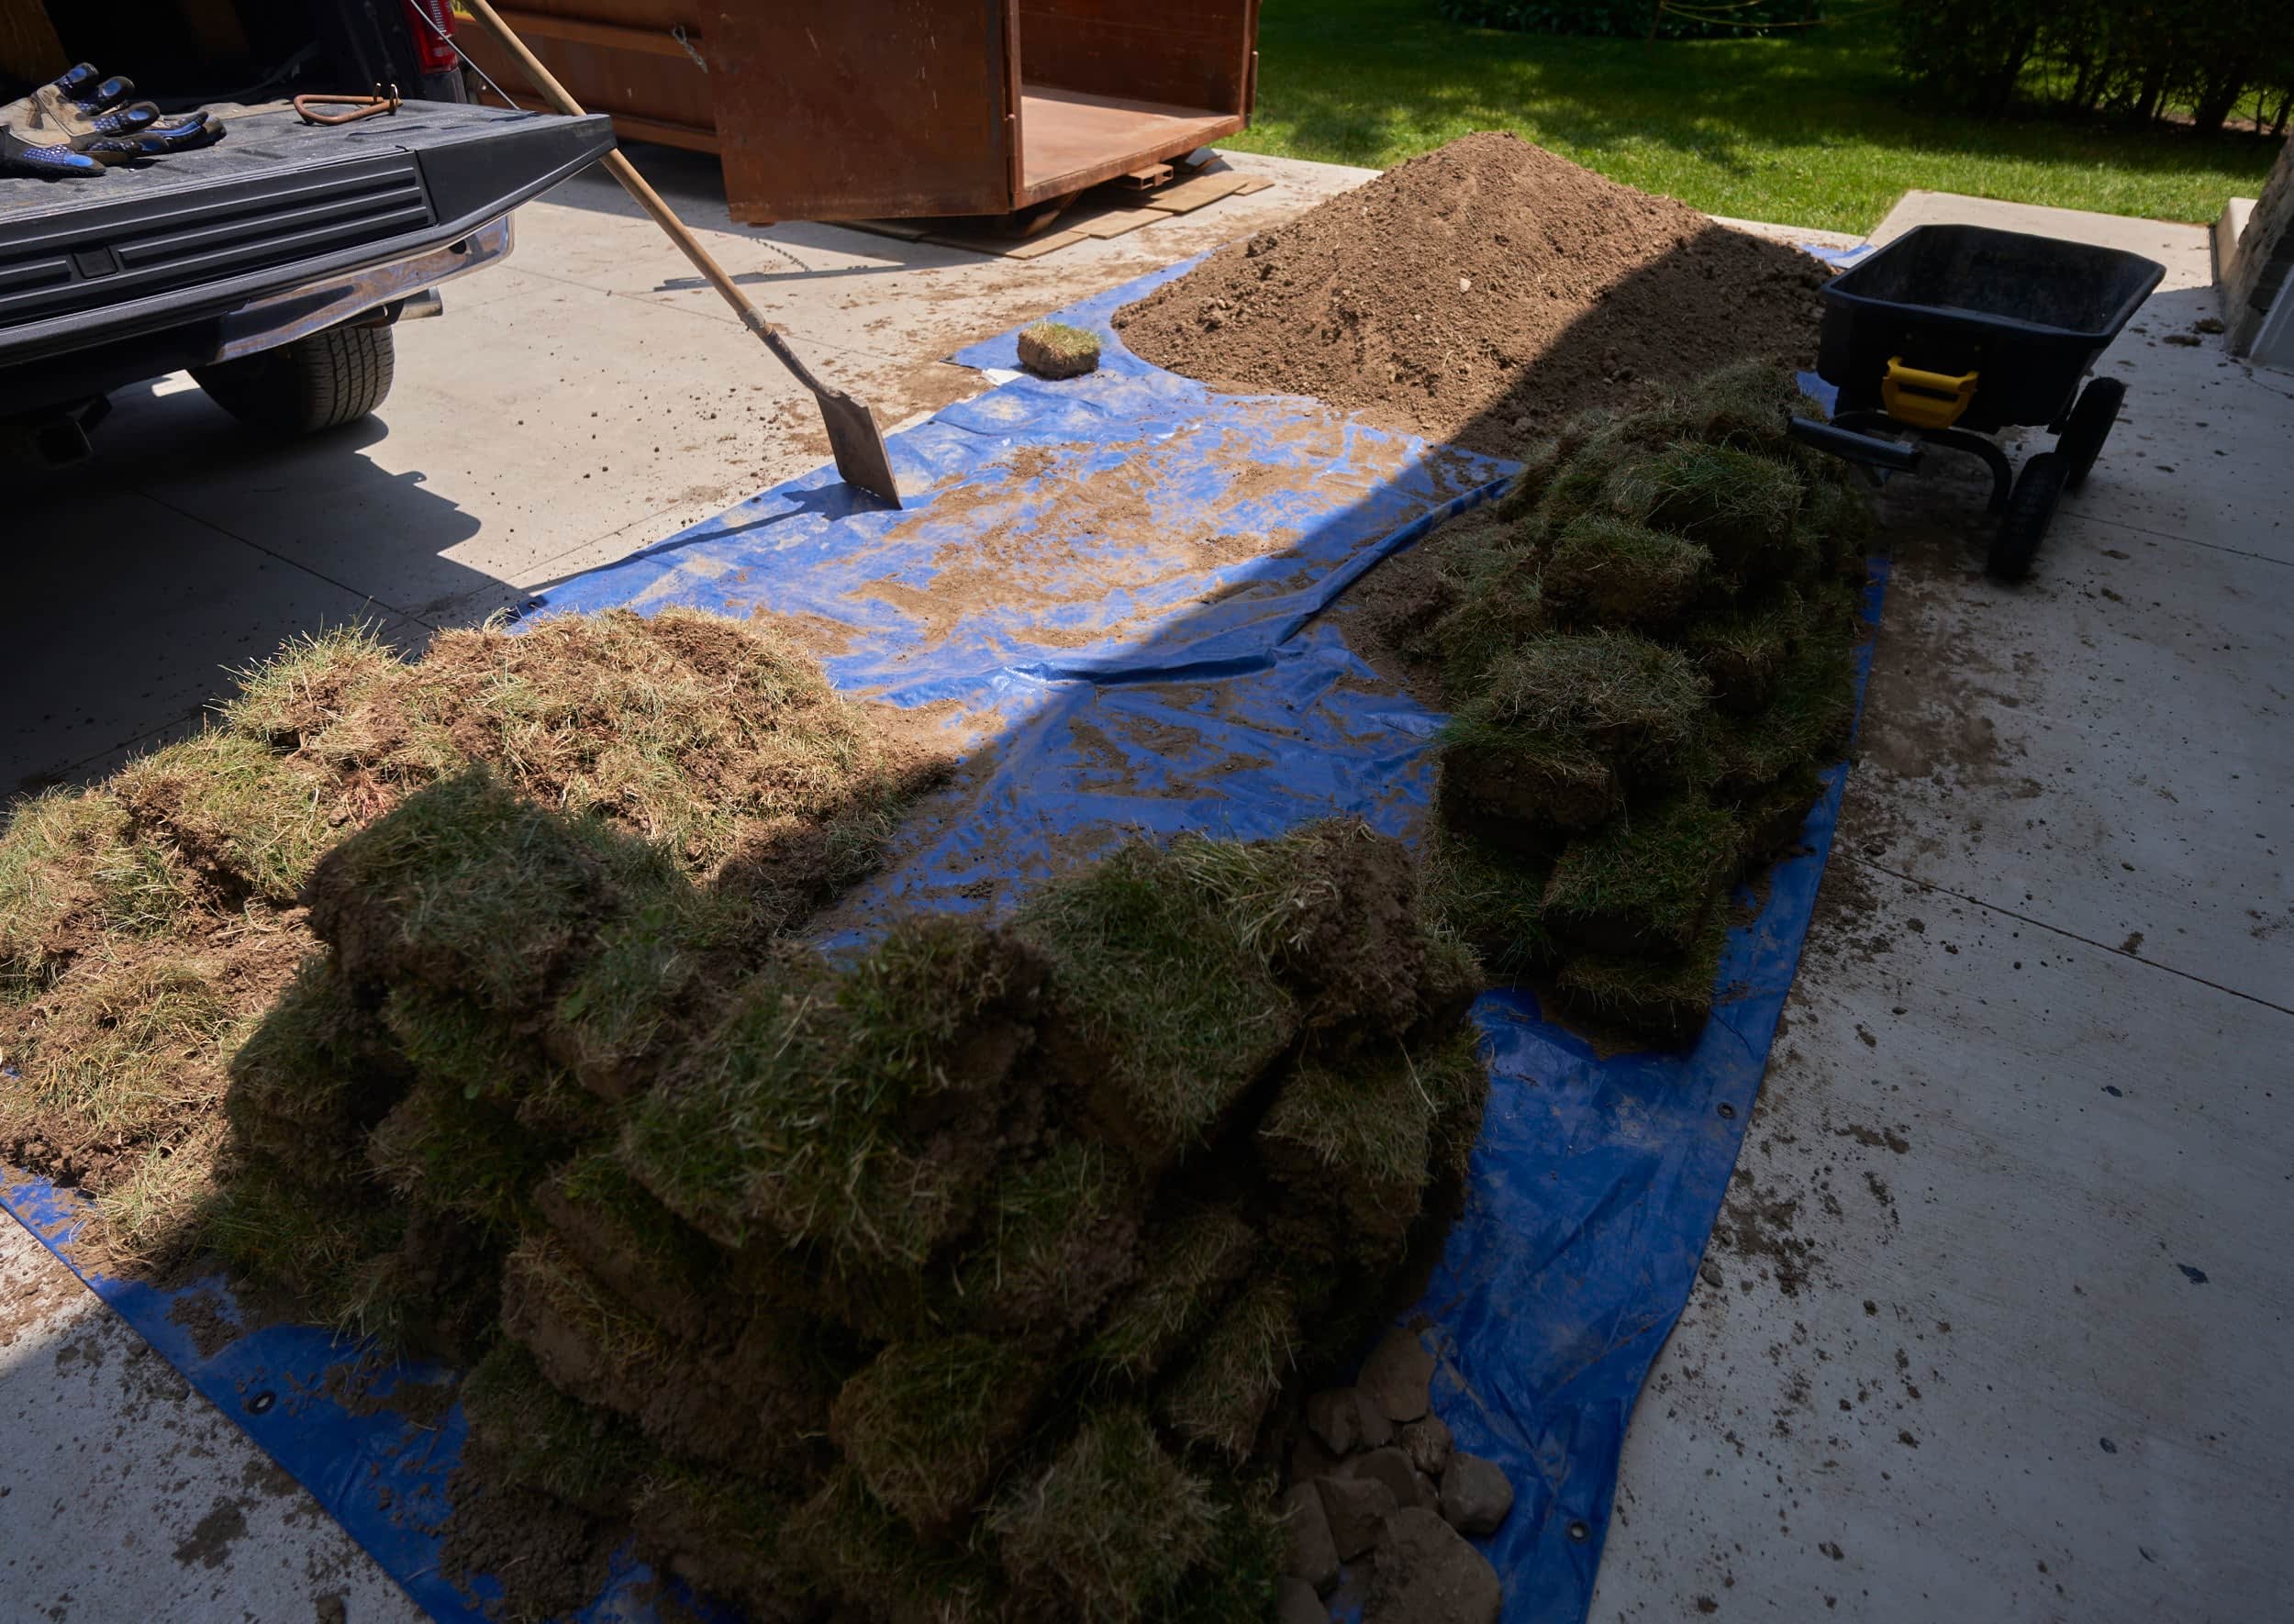
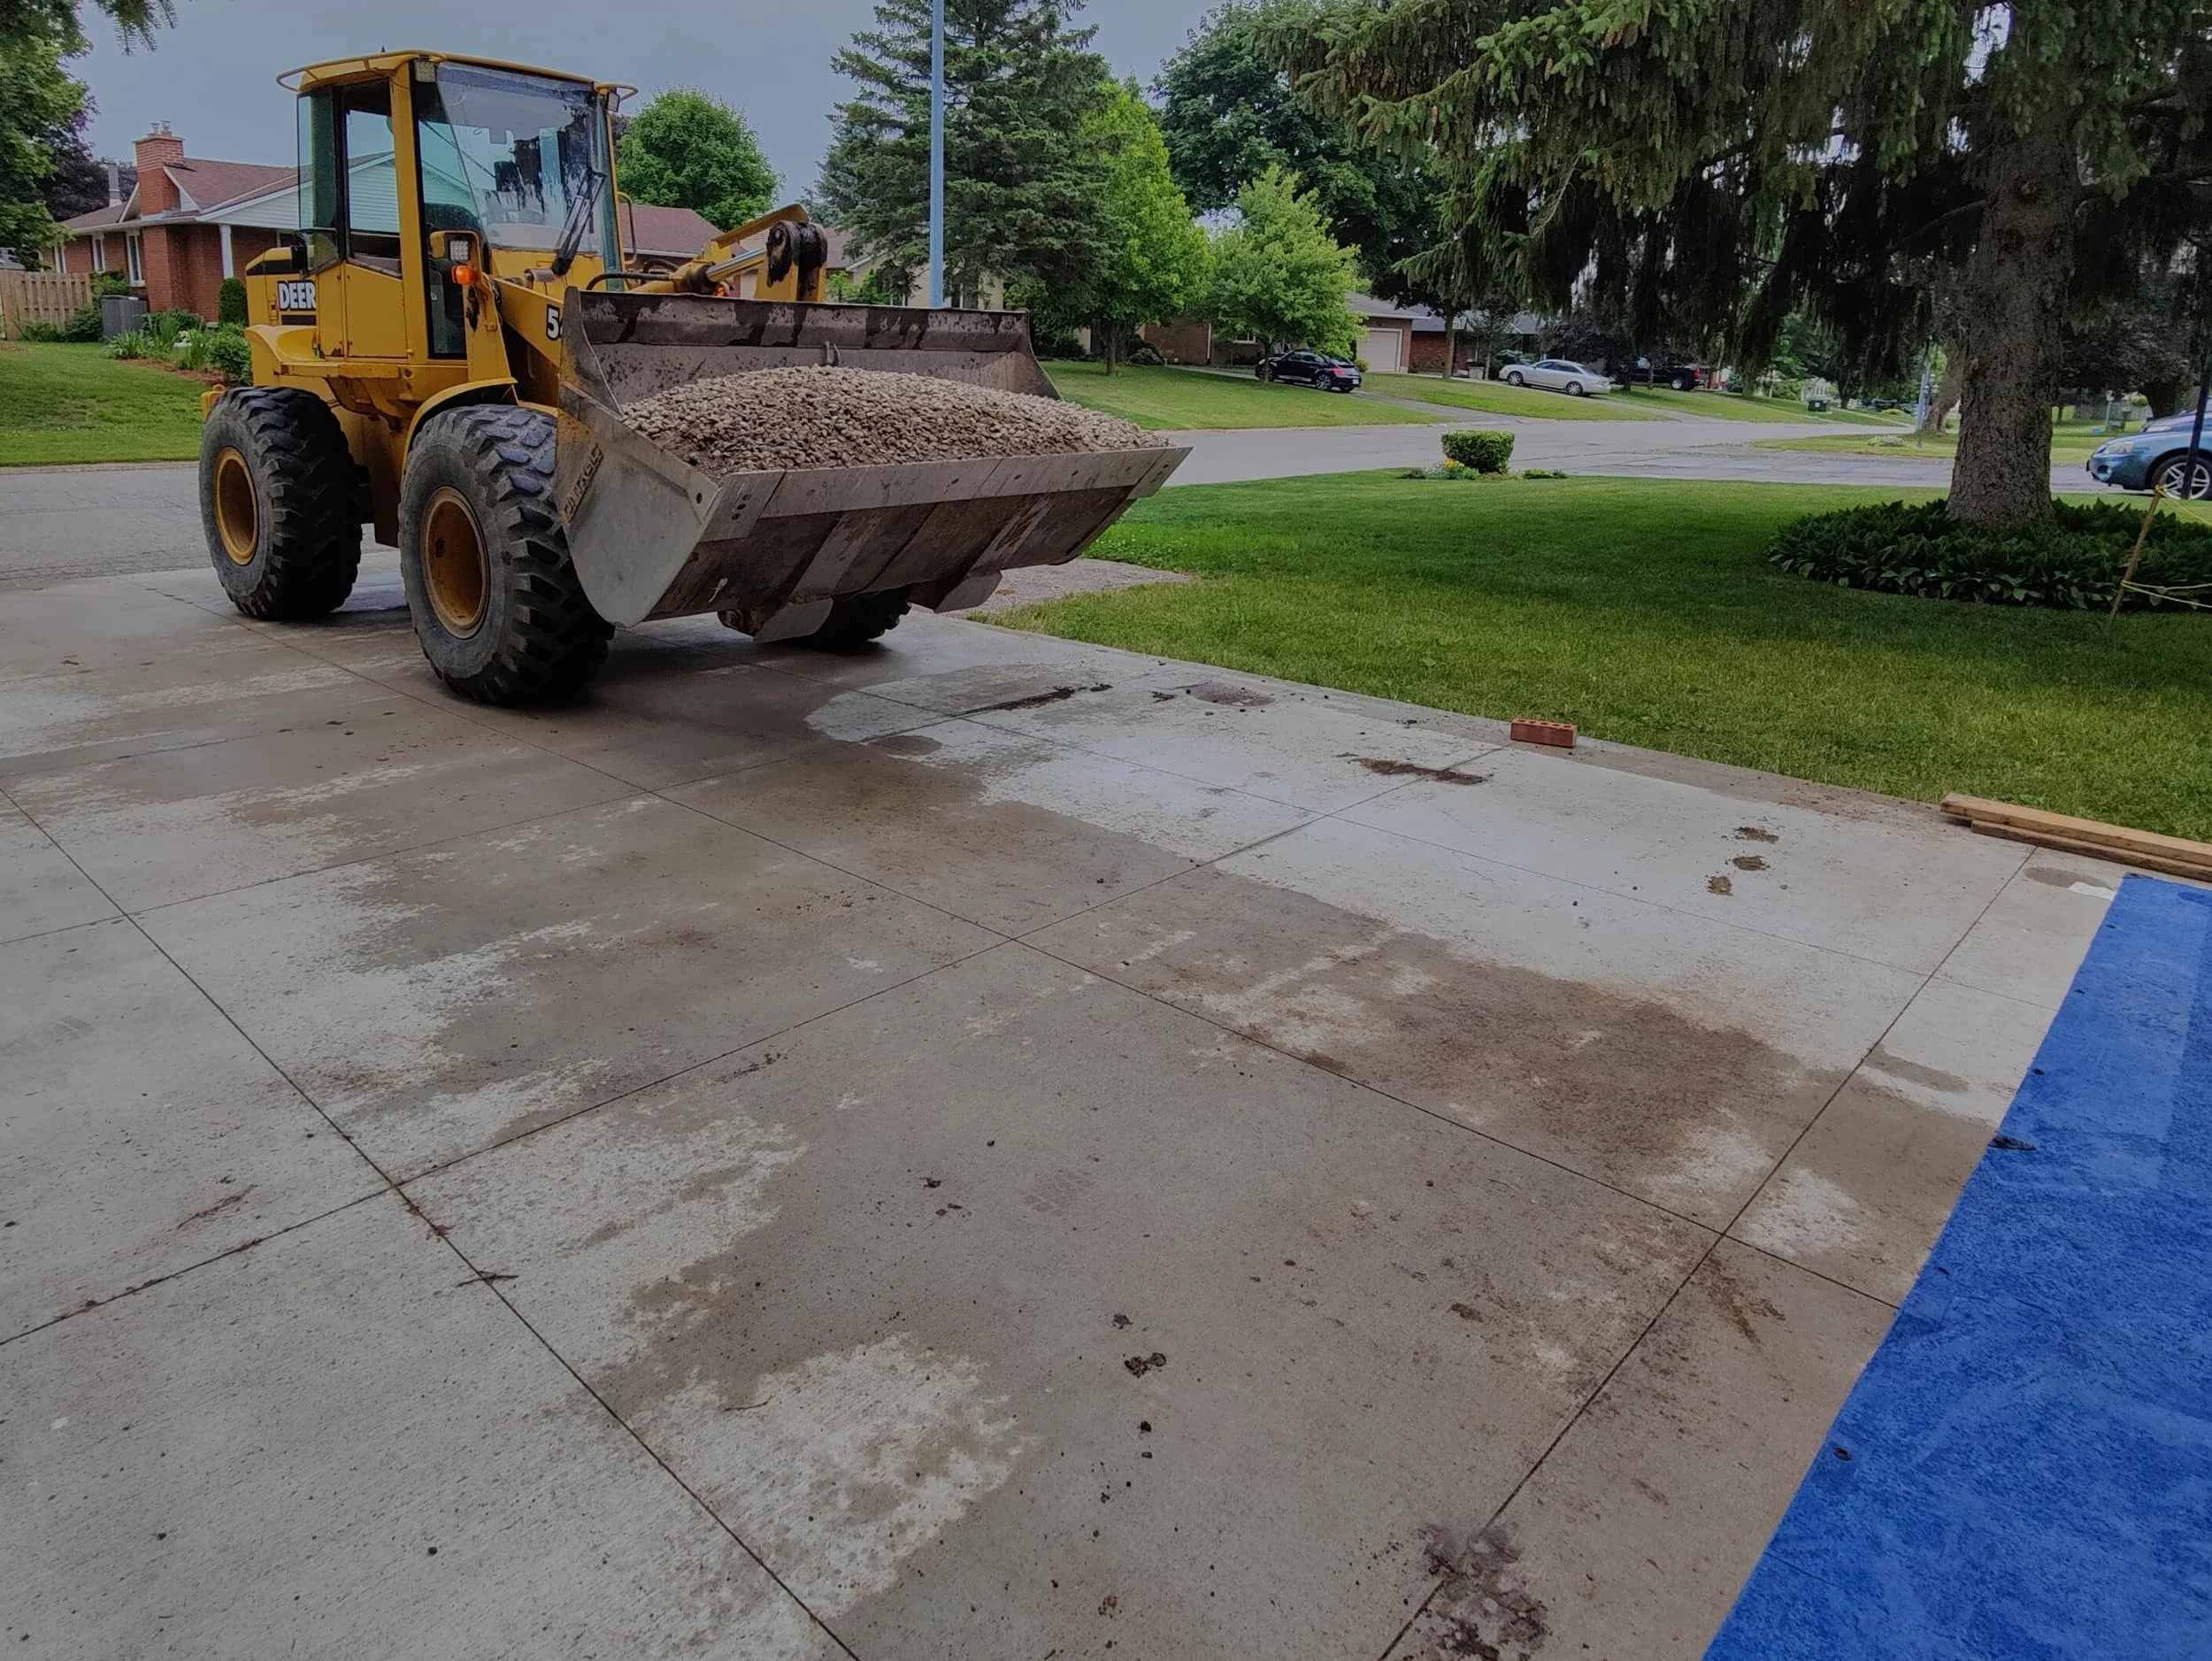
After we got the dirt out, we put down some weed barrier (we were on the clock because it was threatening to rain). I picked up a truckload of bricks and we got a quick delivery of rock to get the base layer down.


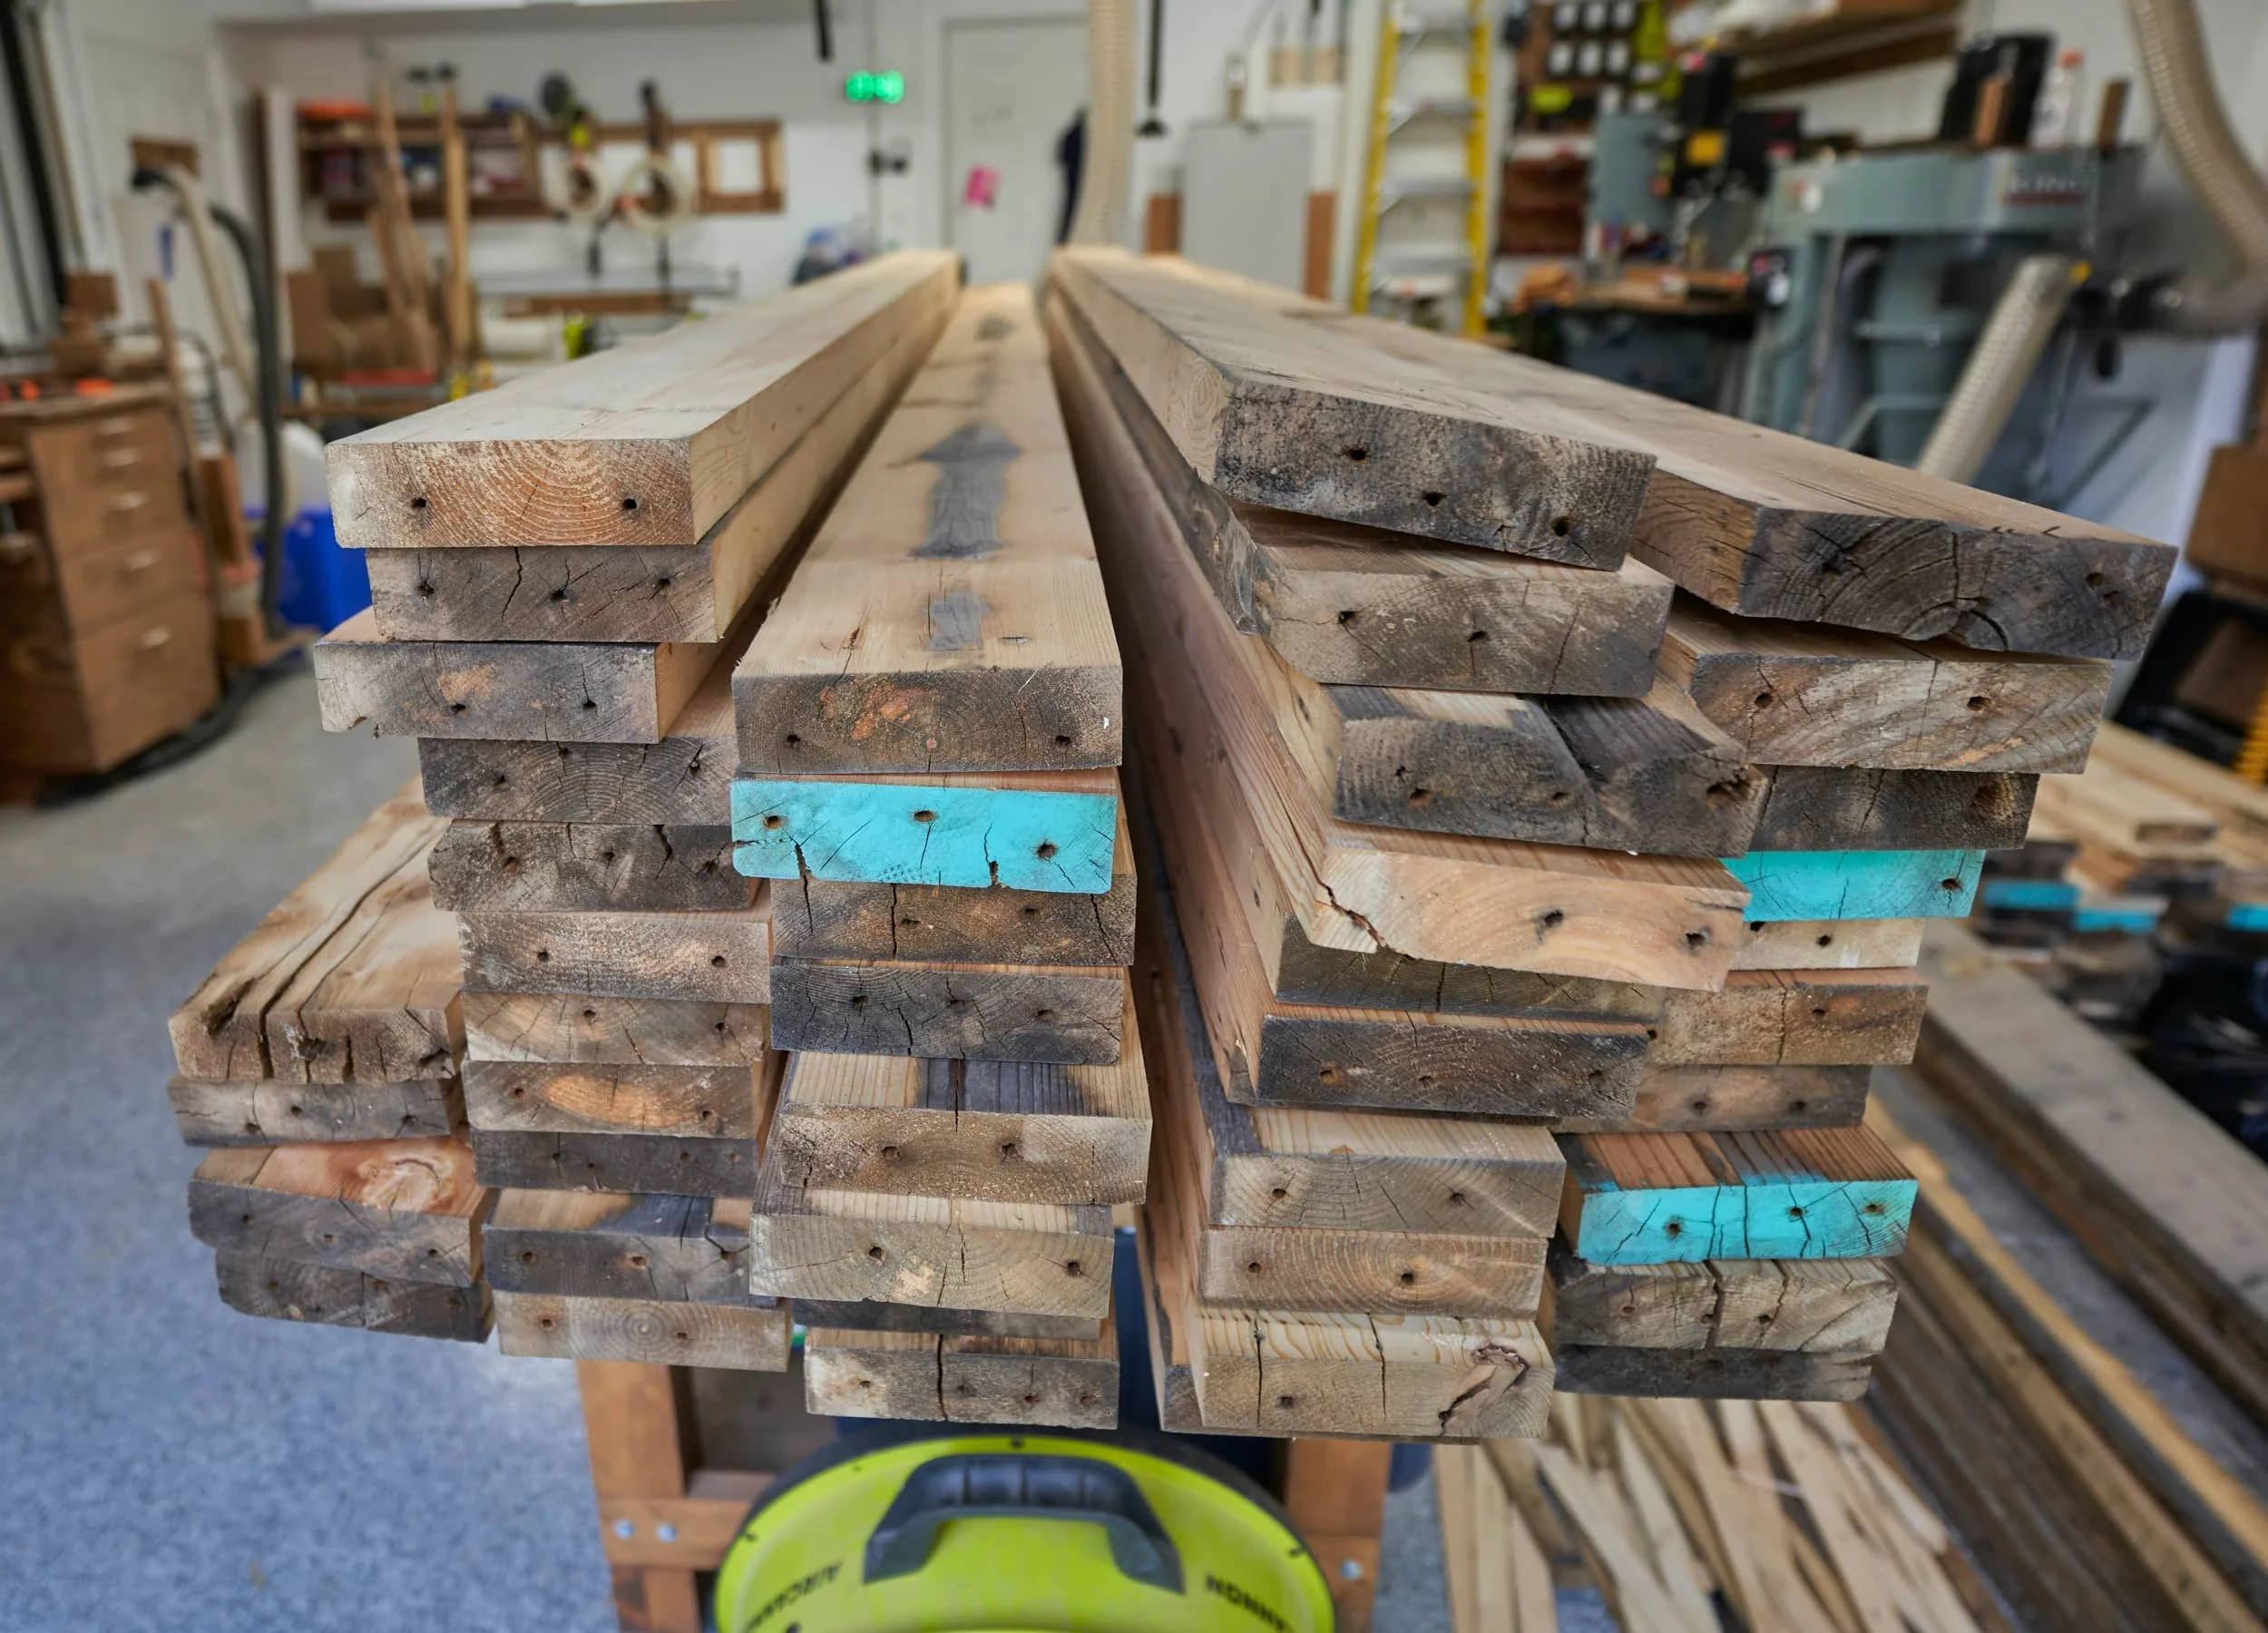
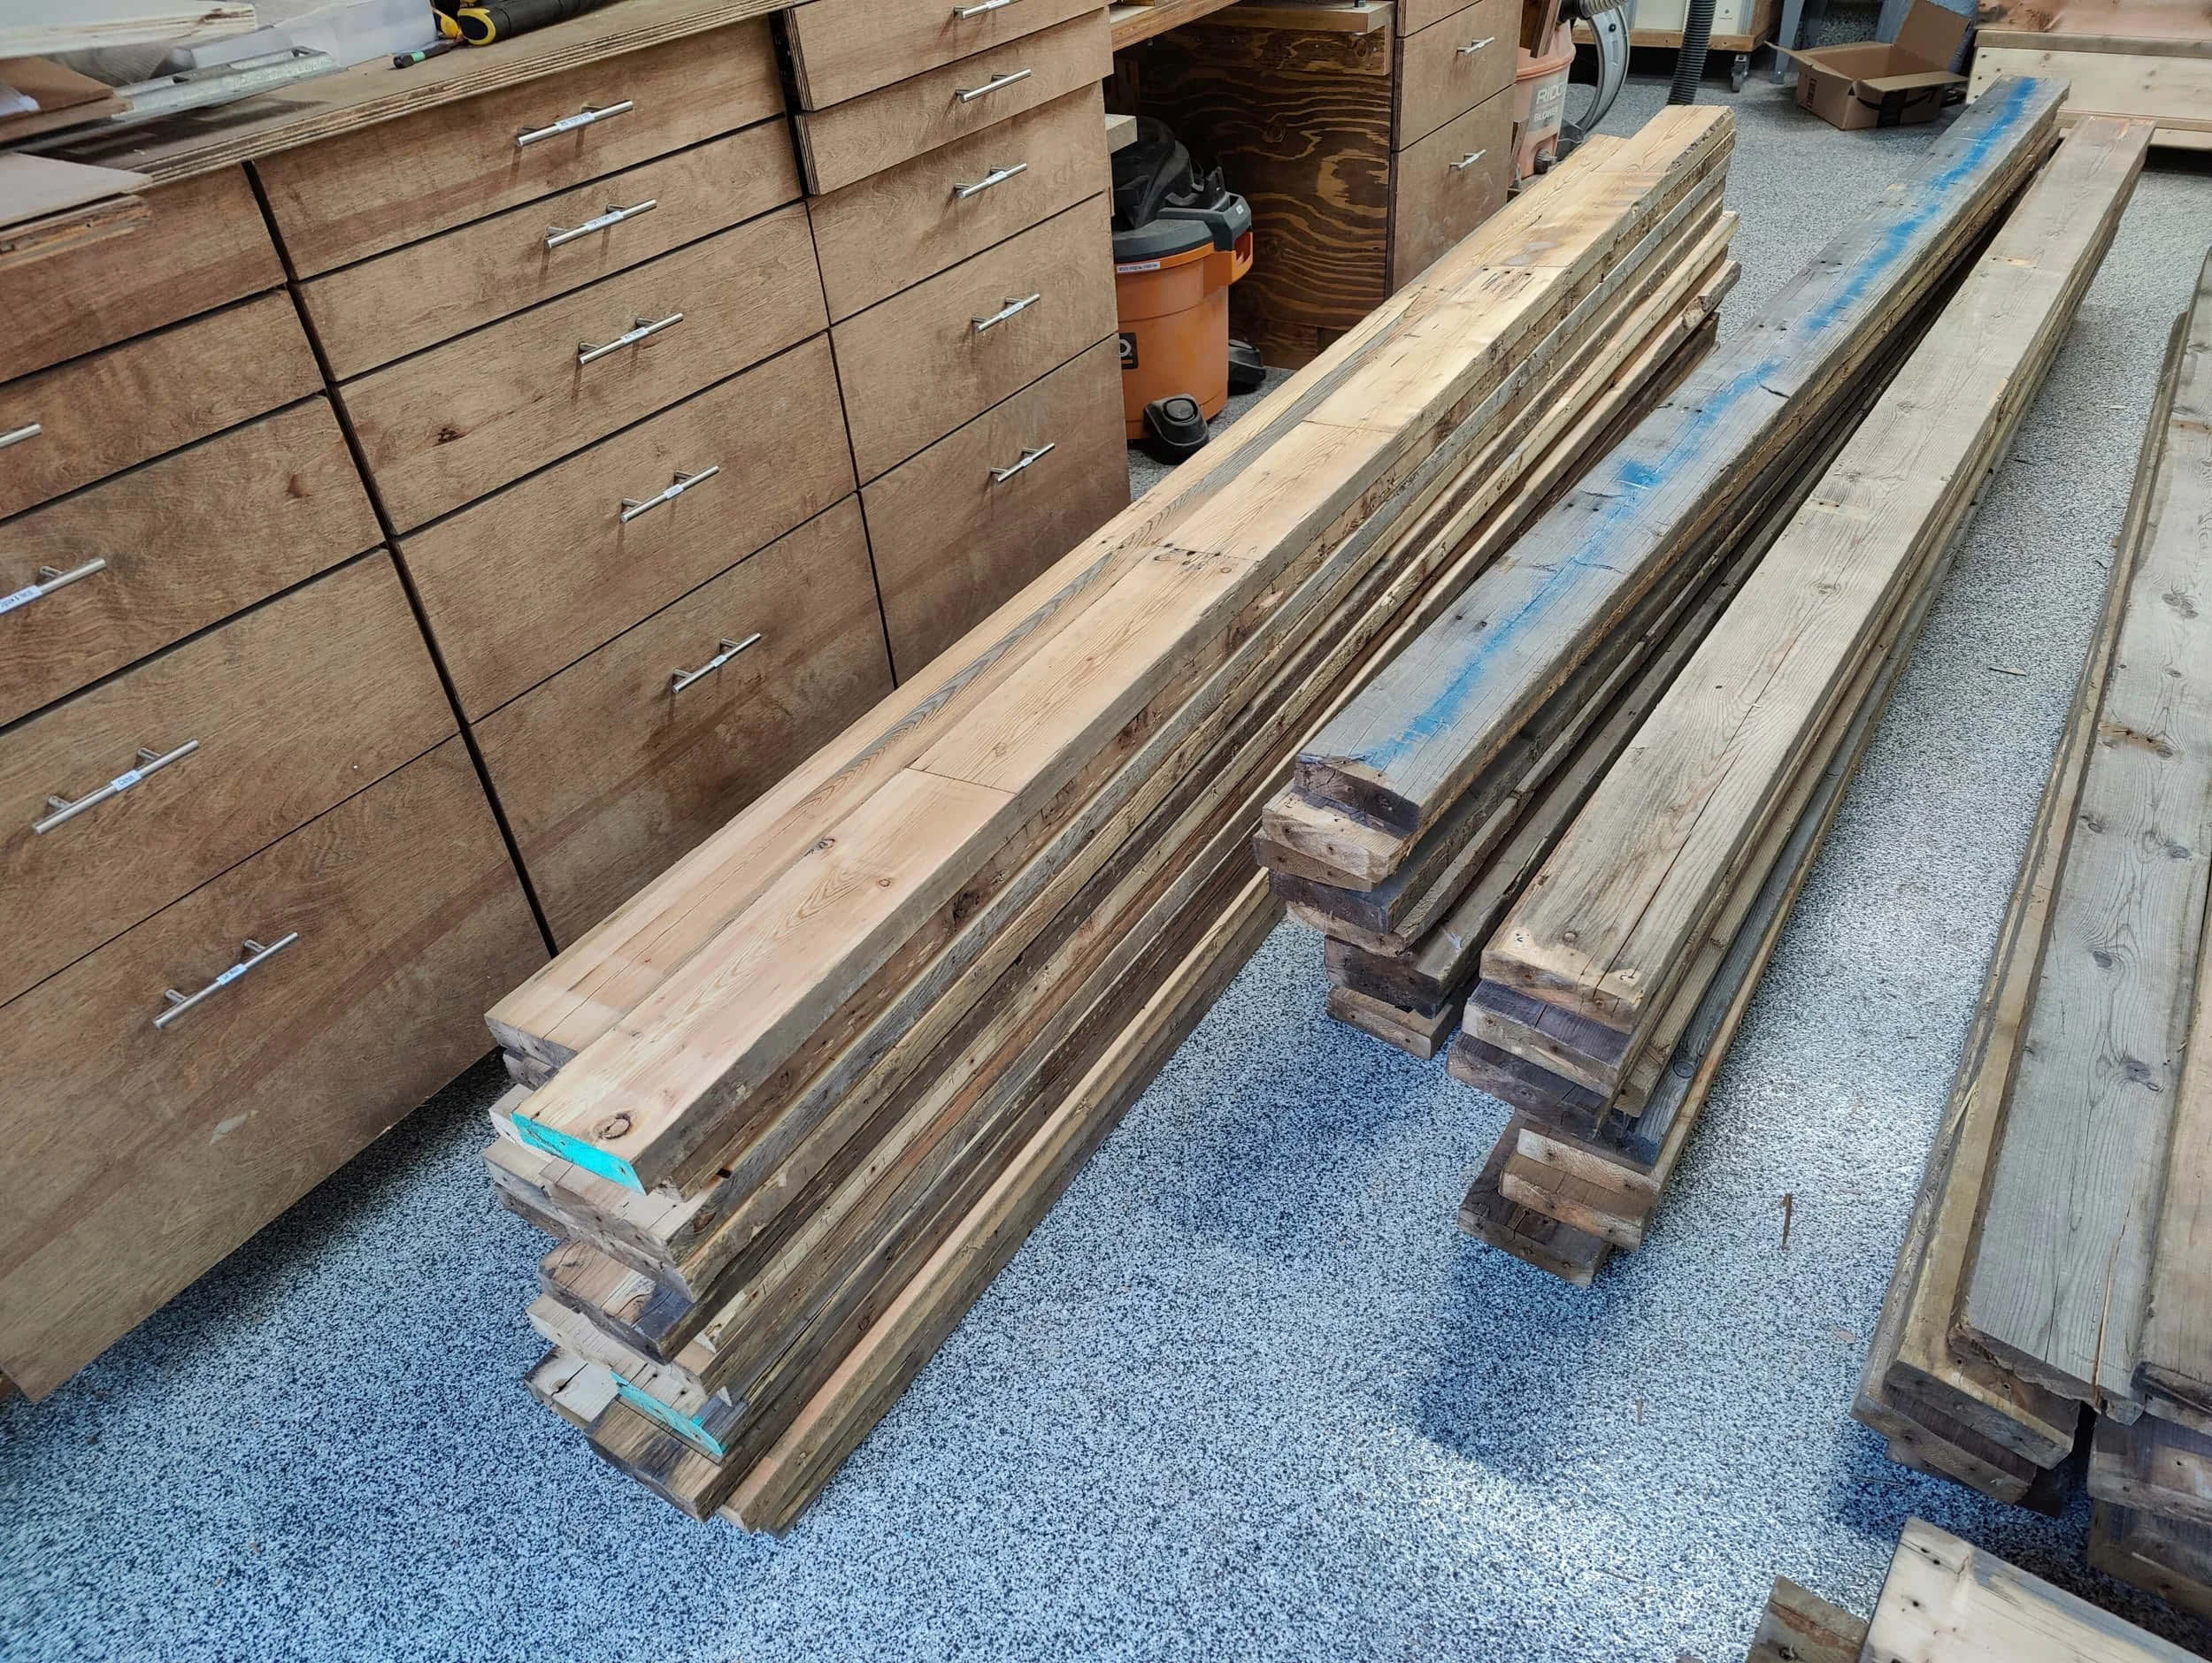
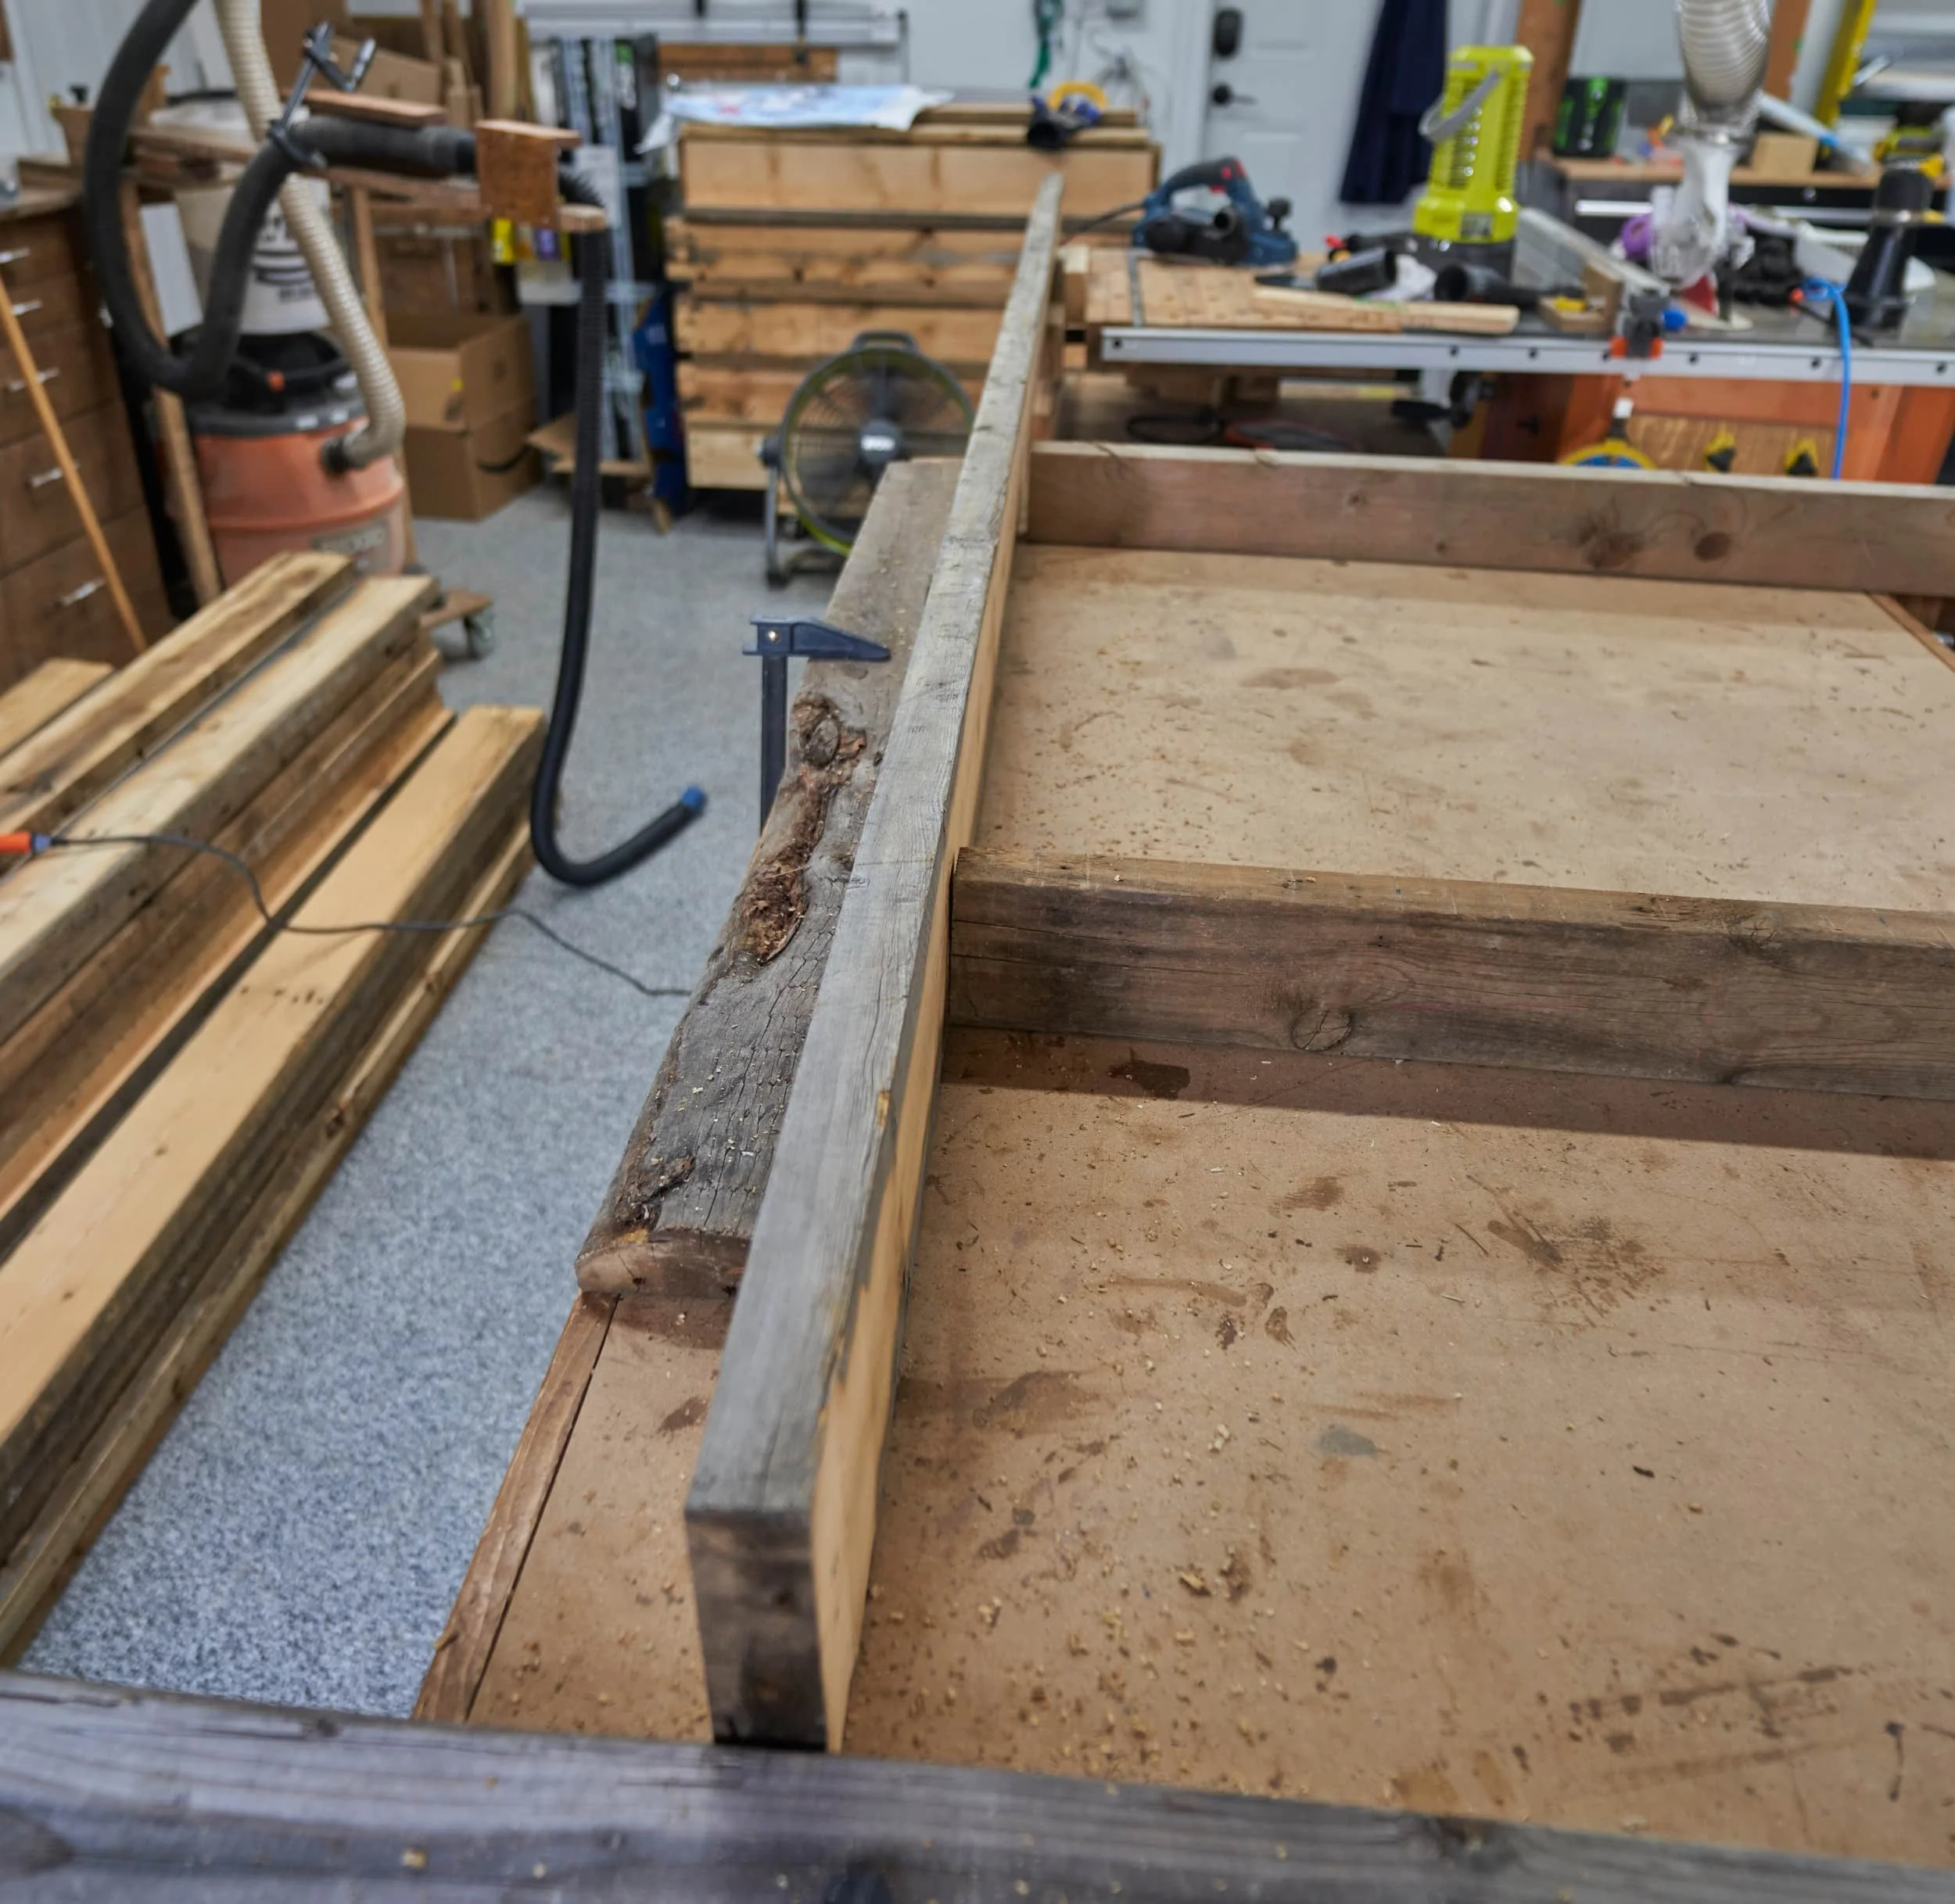
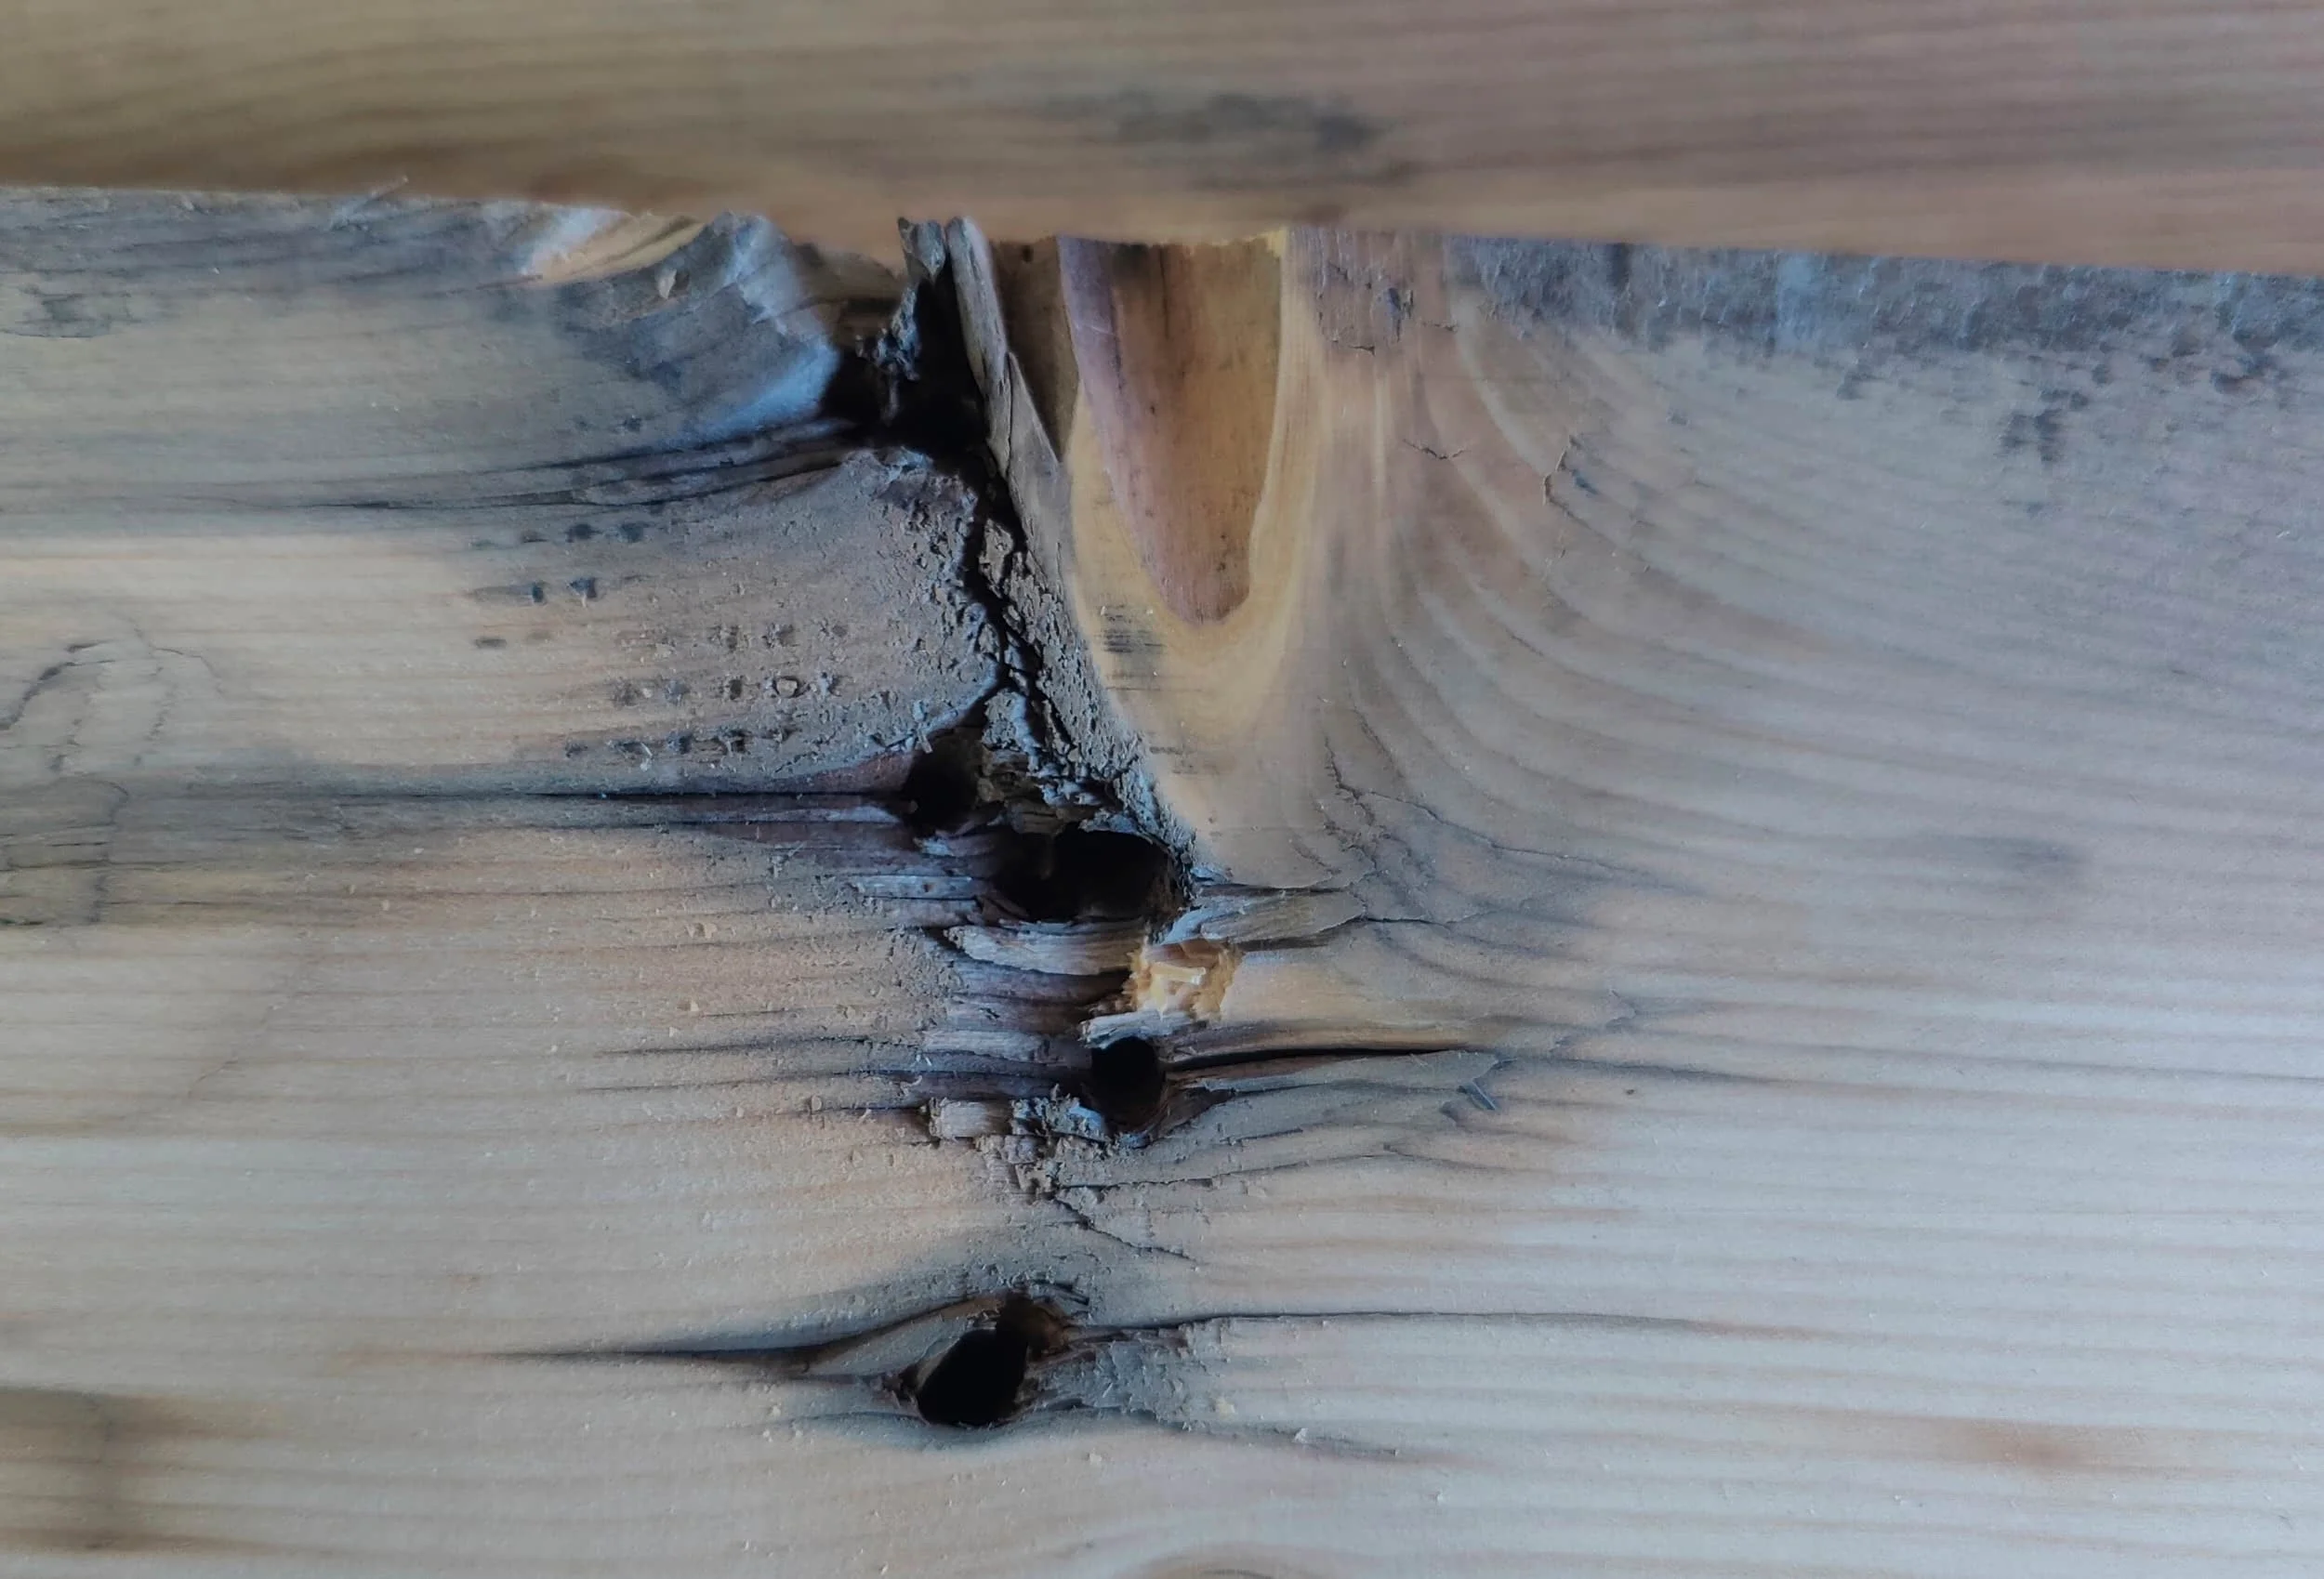
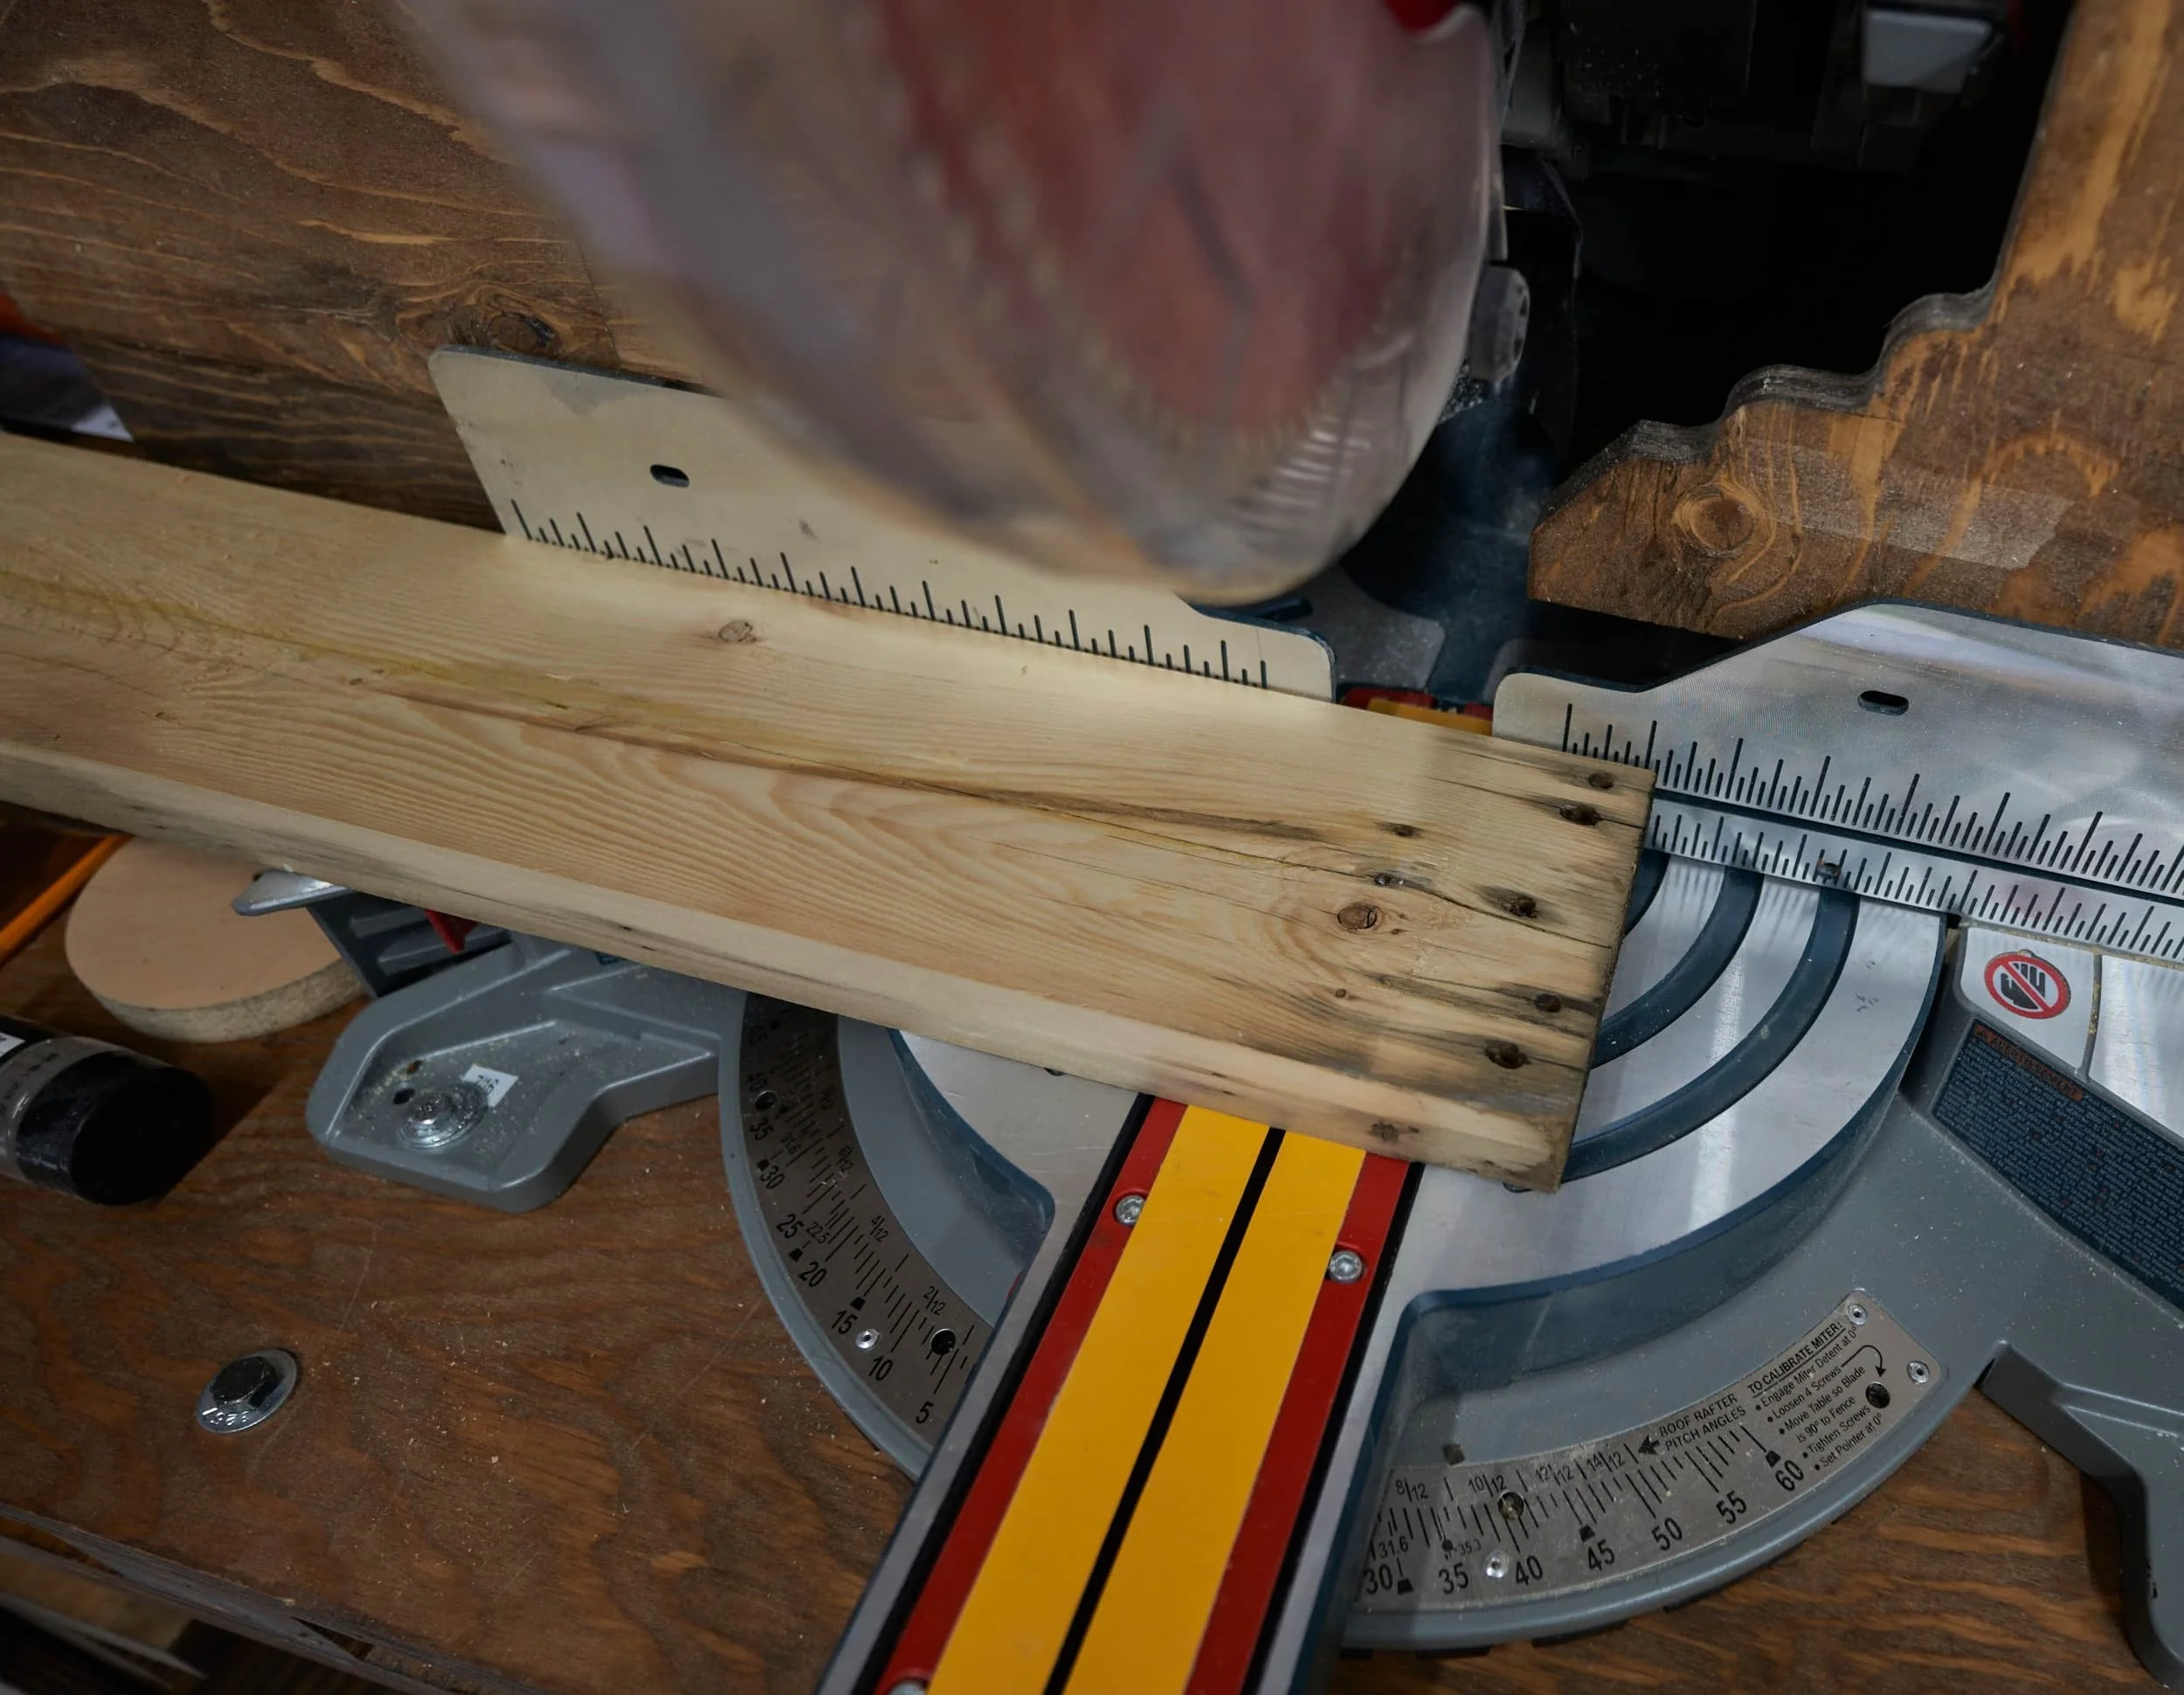
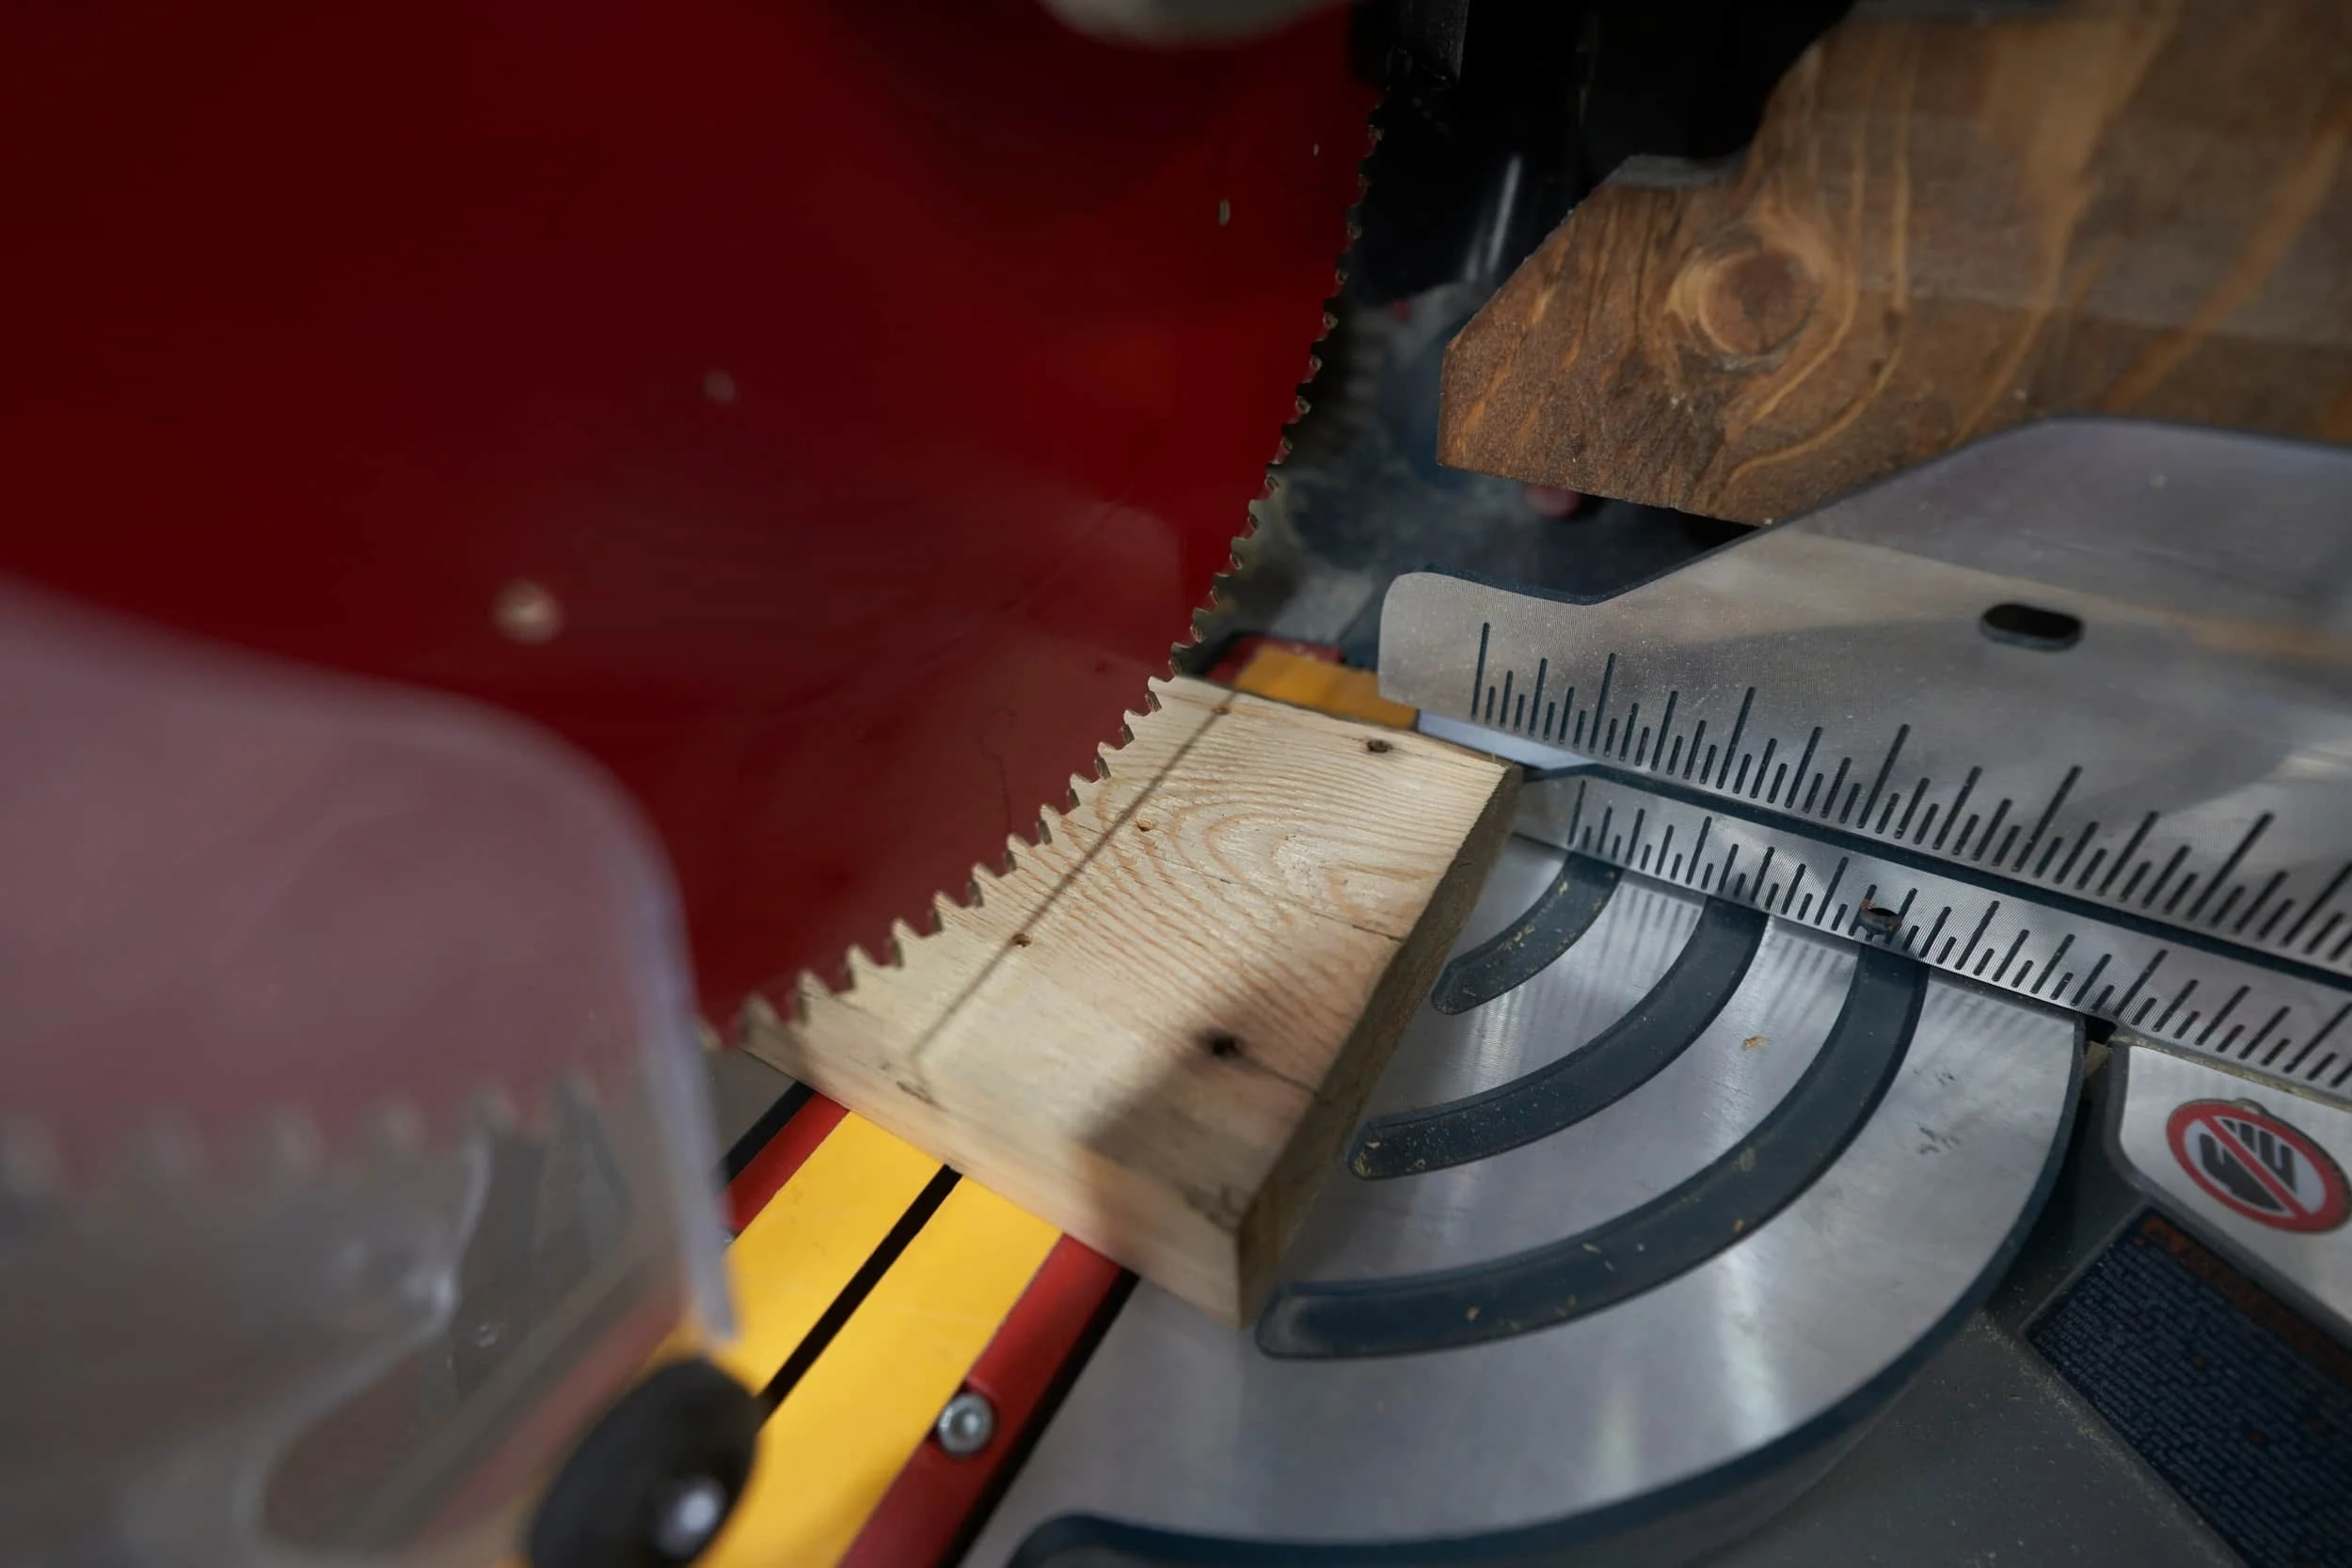
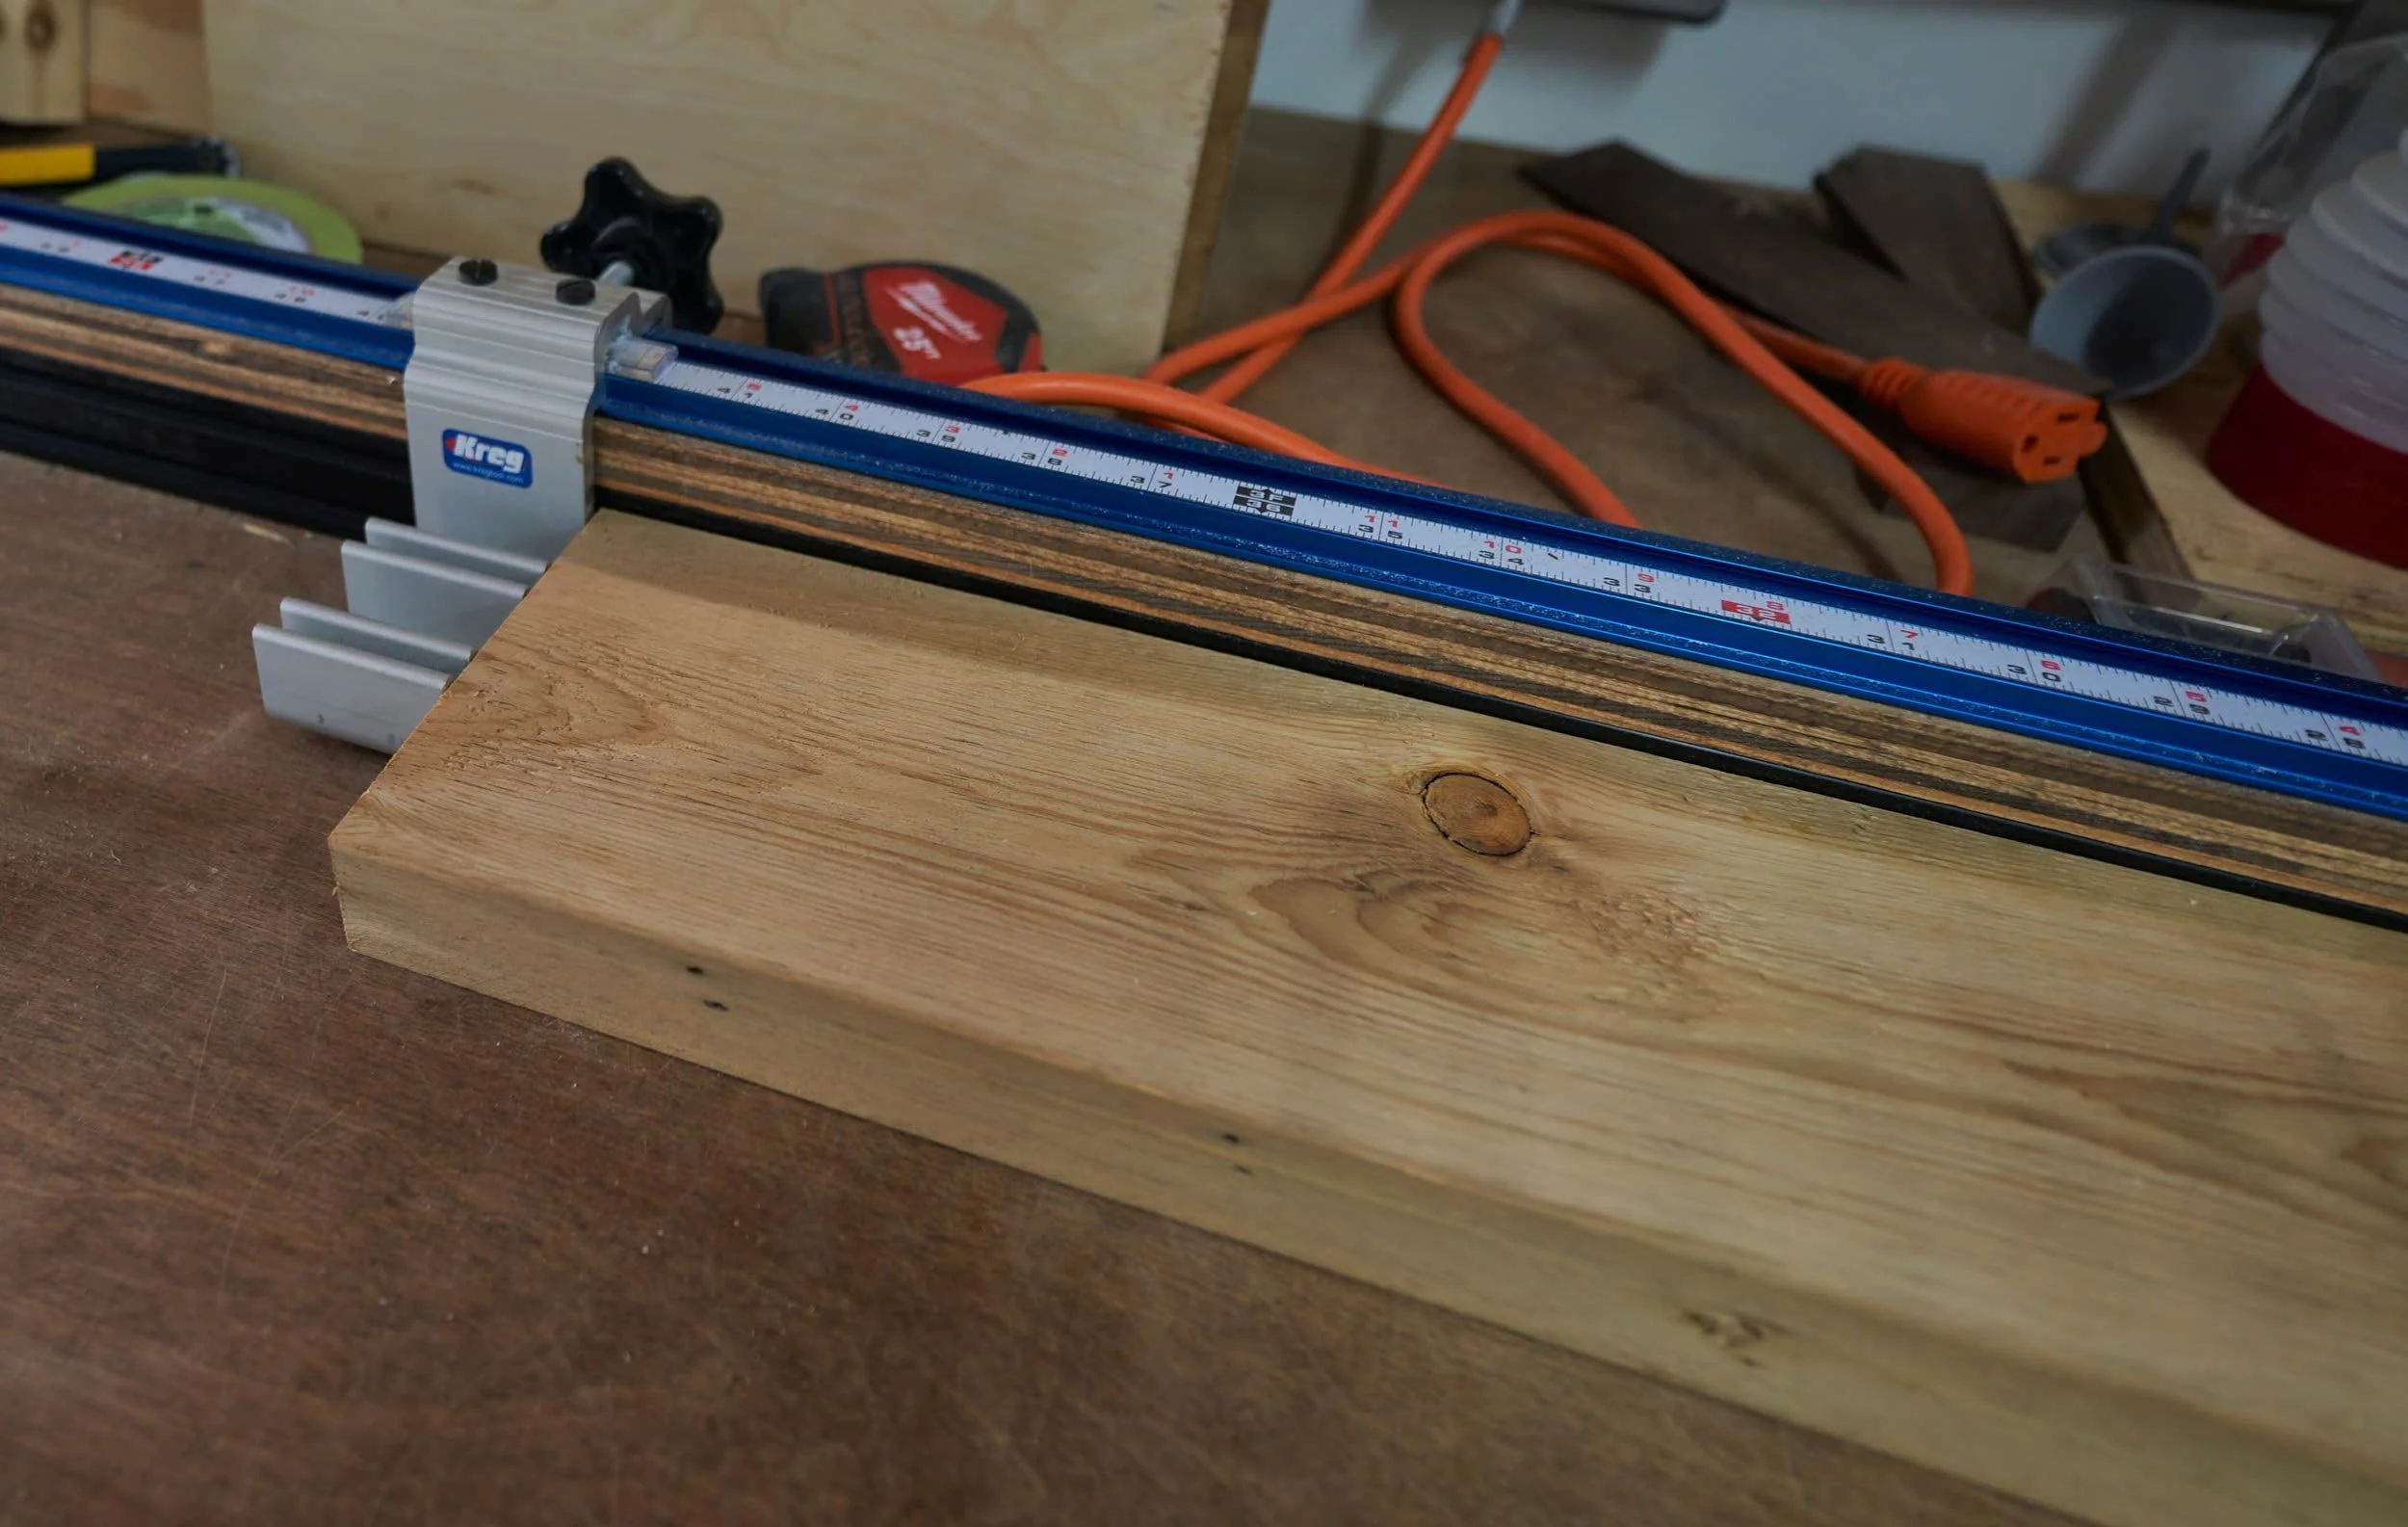
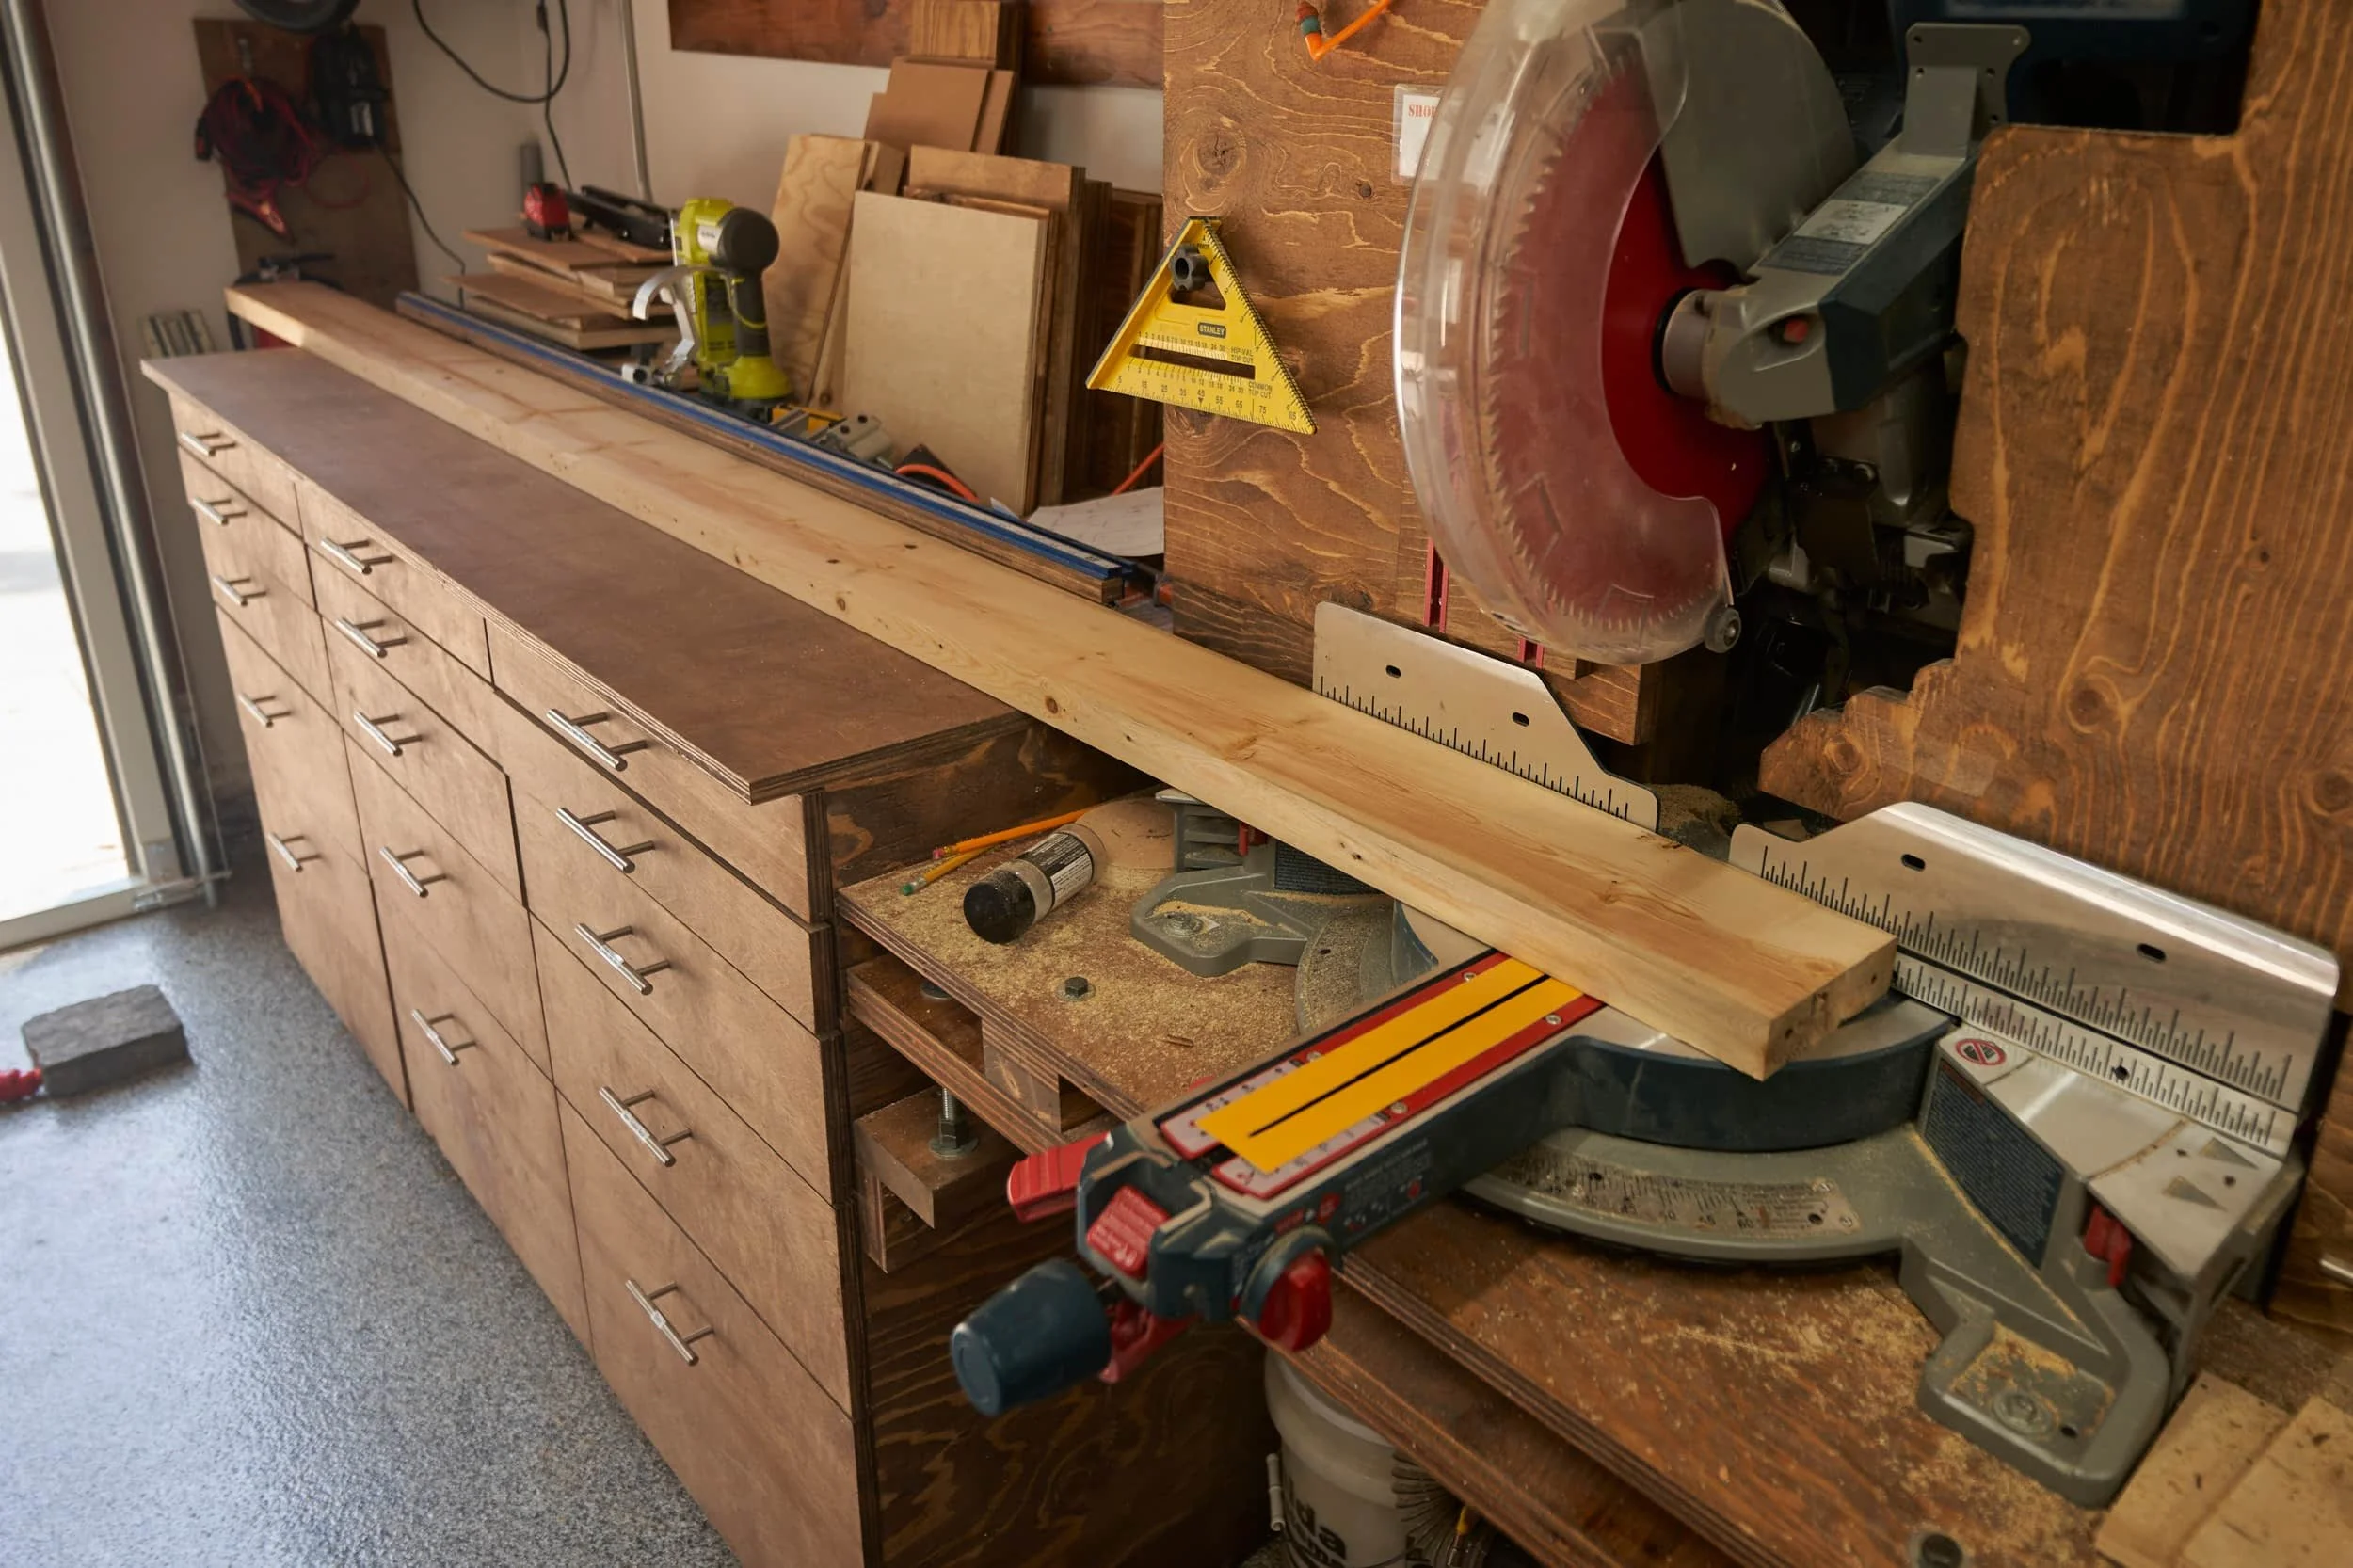
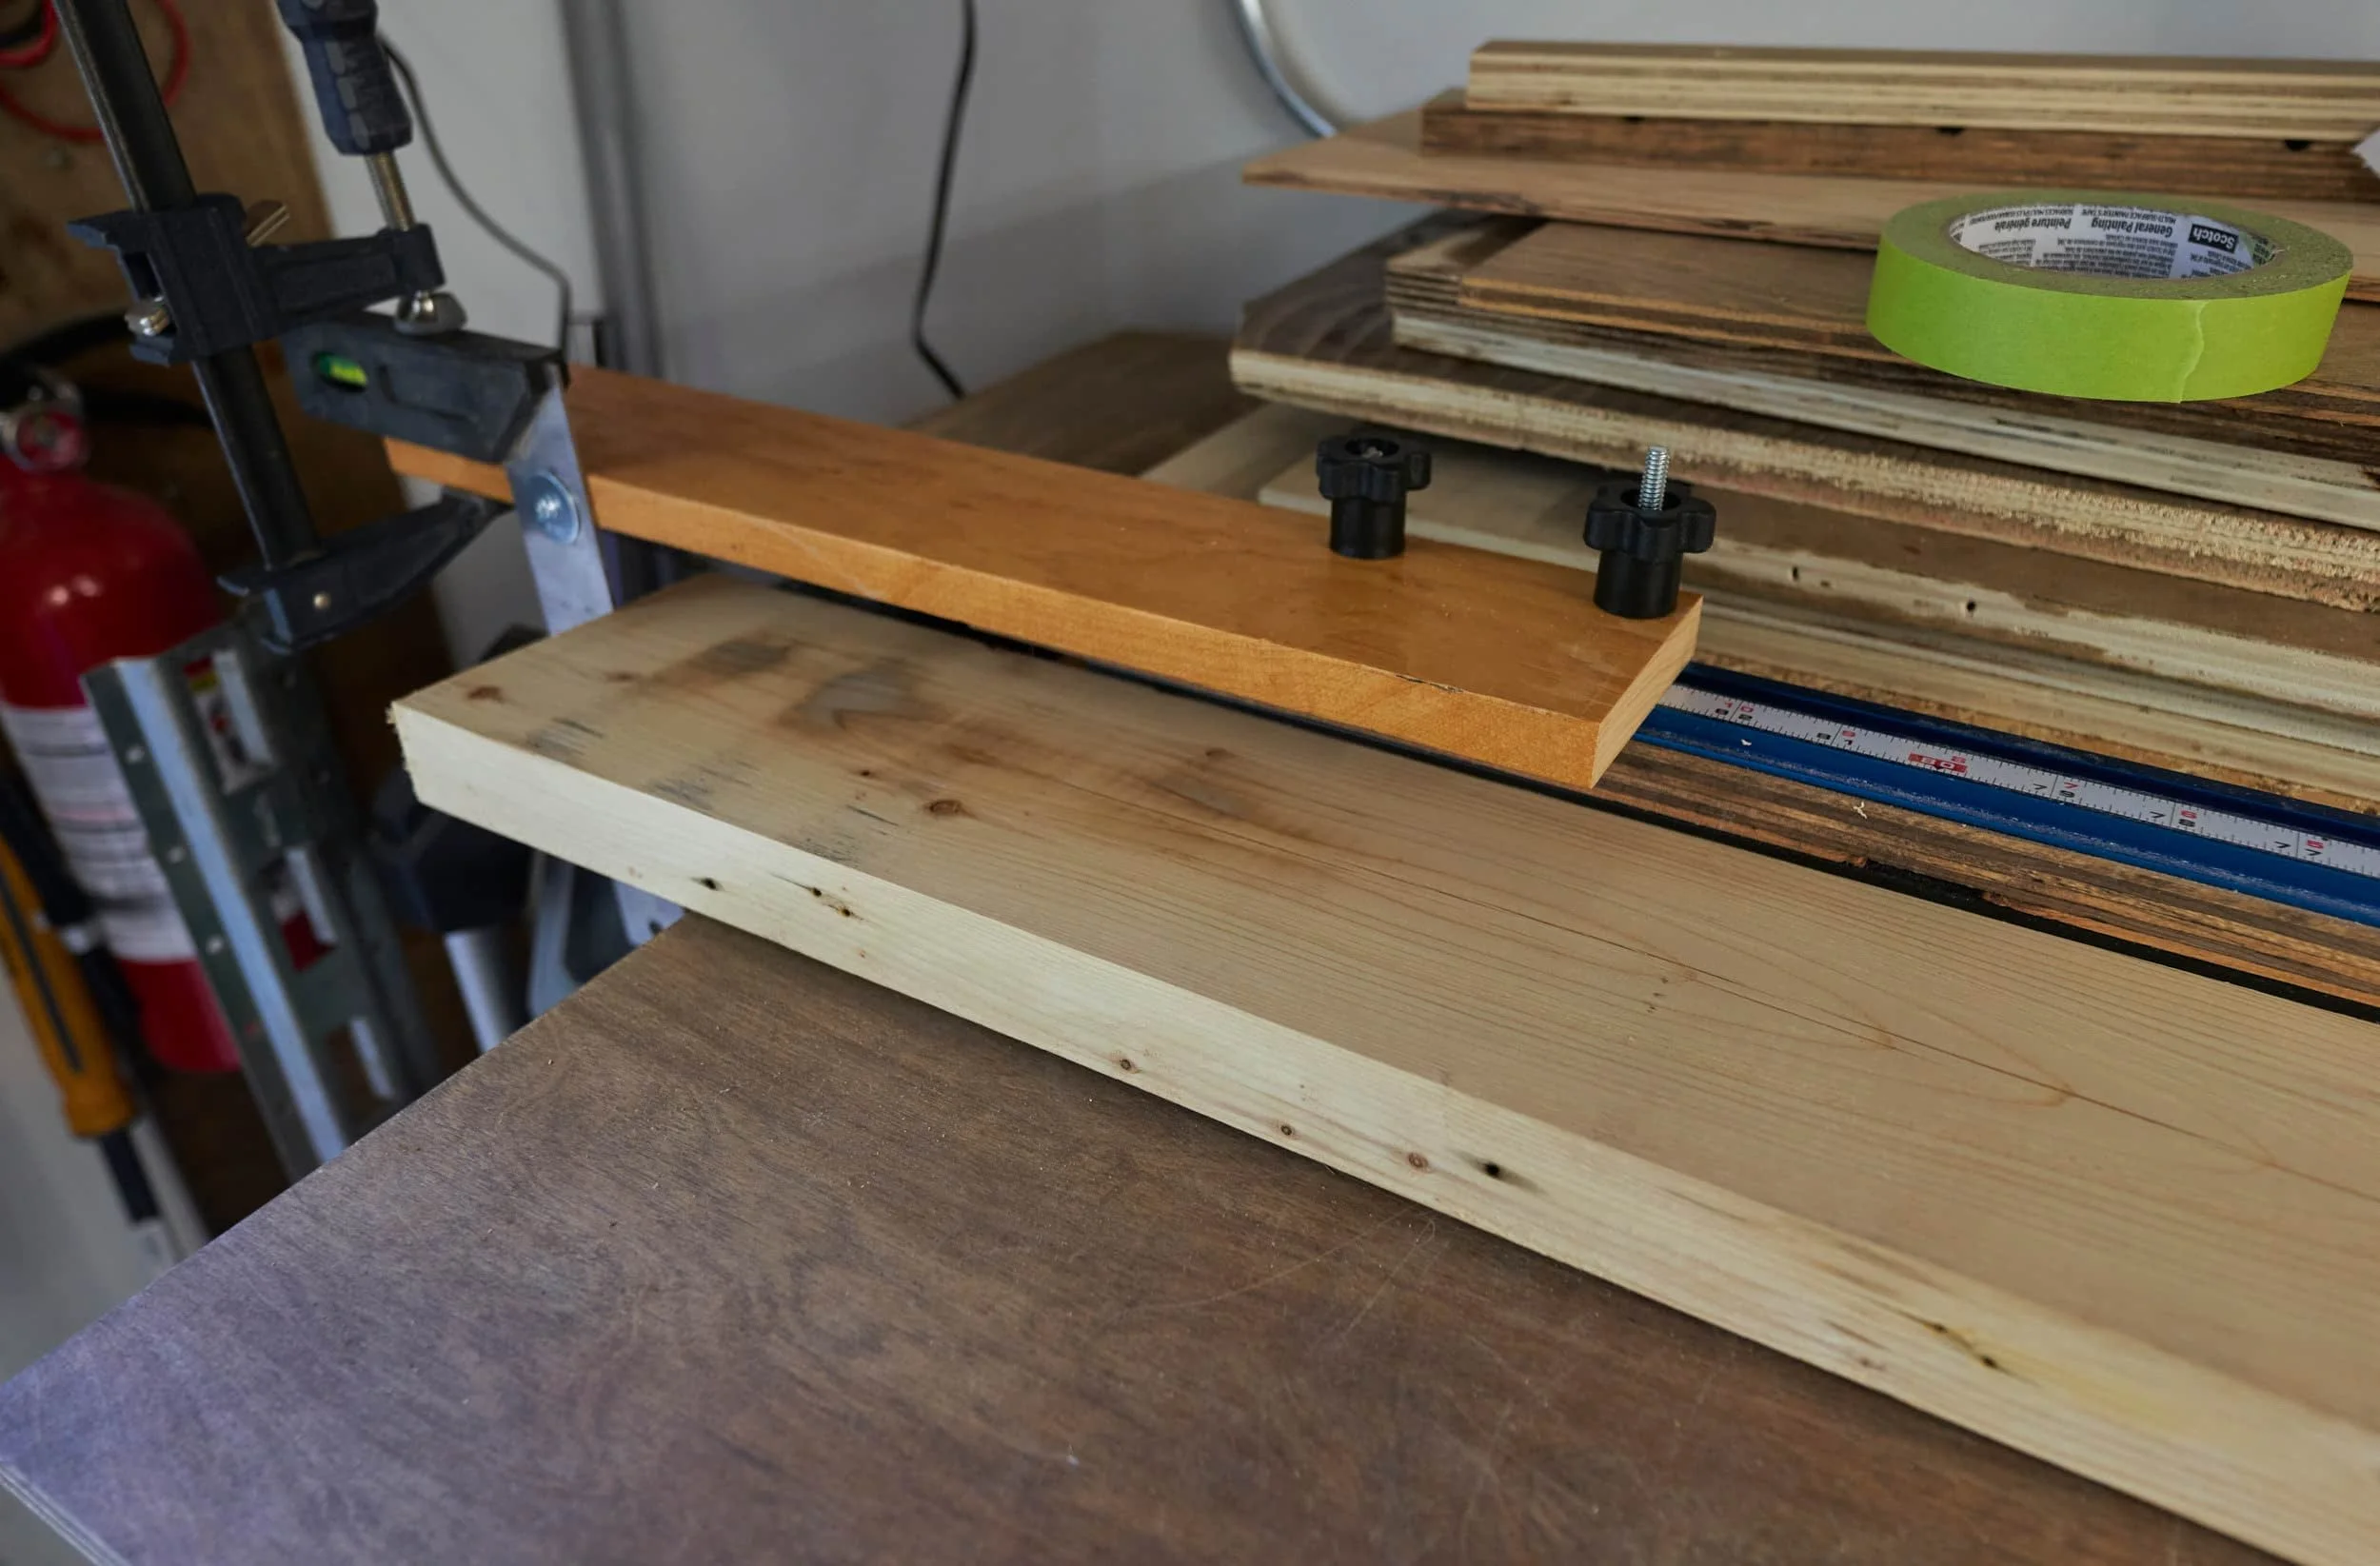
Step 5 - Cutting the boards to length
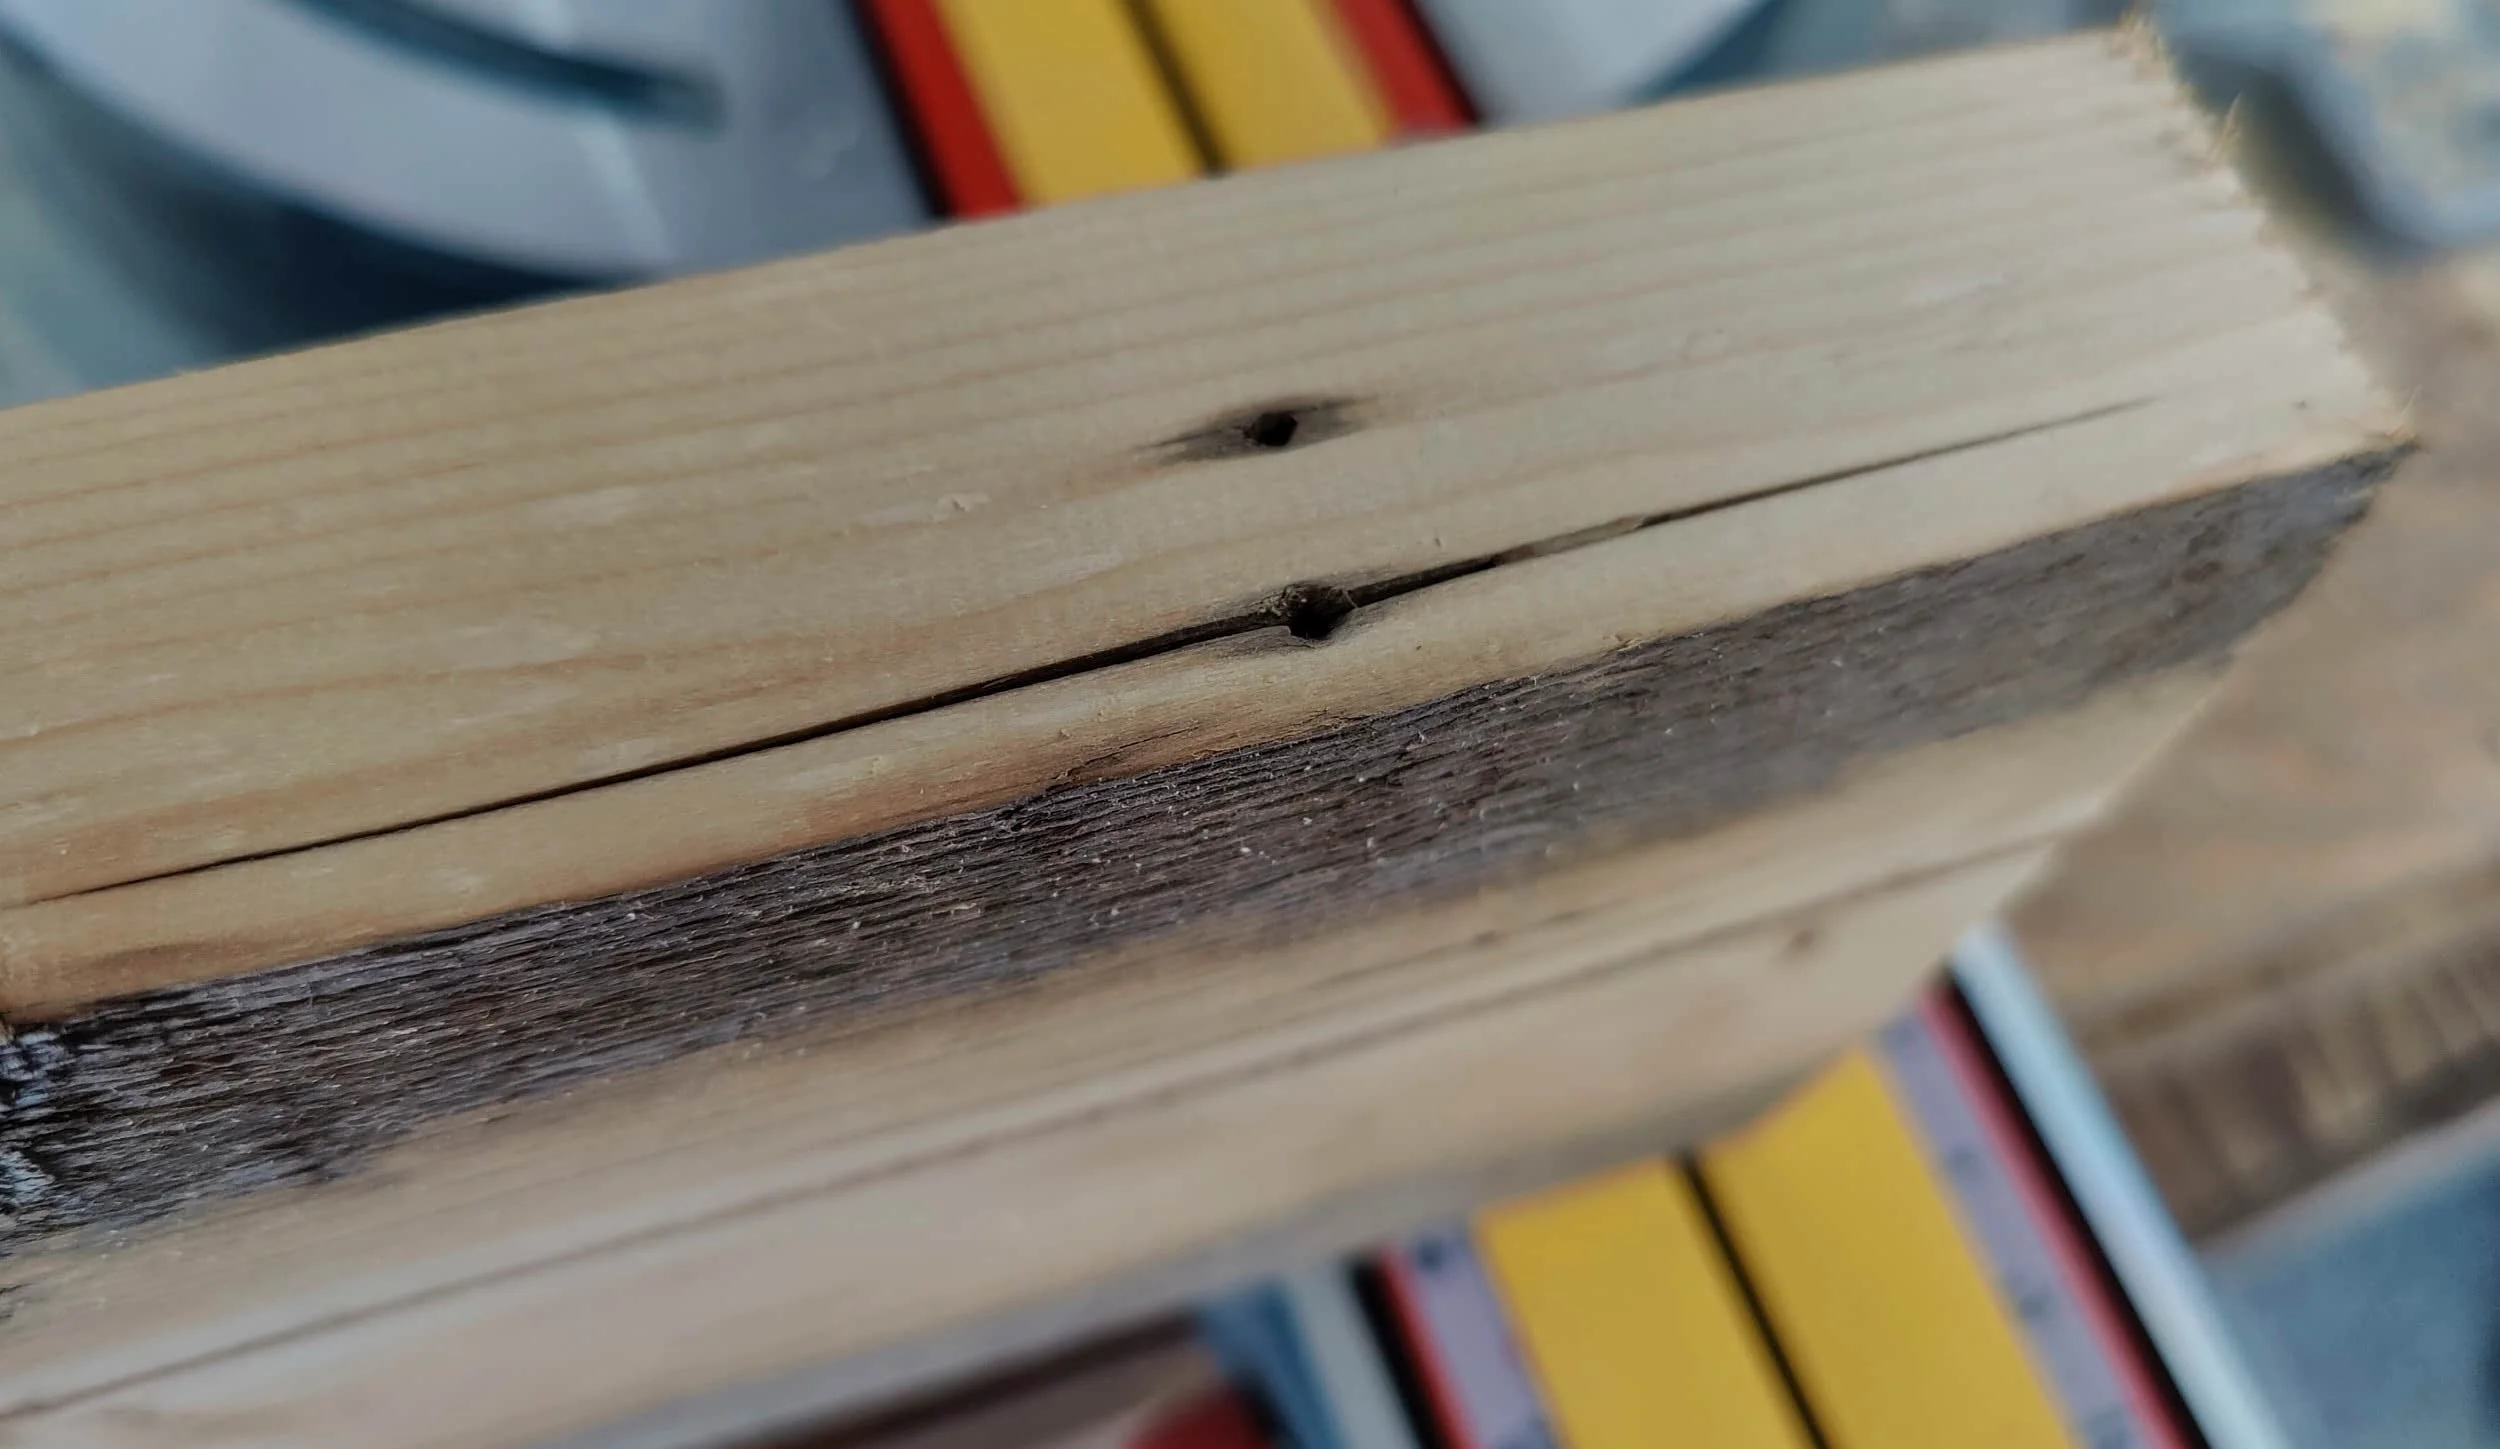
I waited until now to cut the final boards because I wanted to excavate first and size the planters to fit. Another considering is that I knew I would definitely be cutting off material from both ends (because the nail holes and end-rot were pretty bad) so I needed to find a length that could fit within the boards I had.
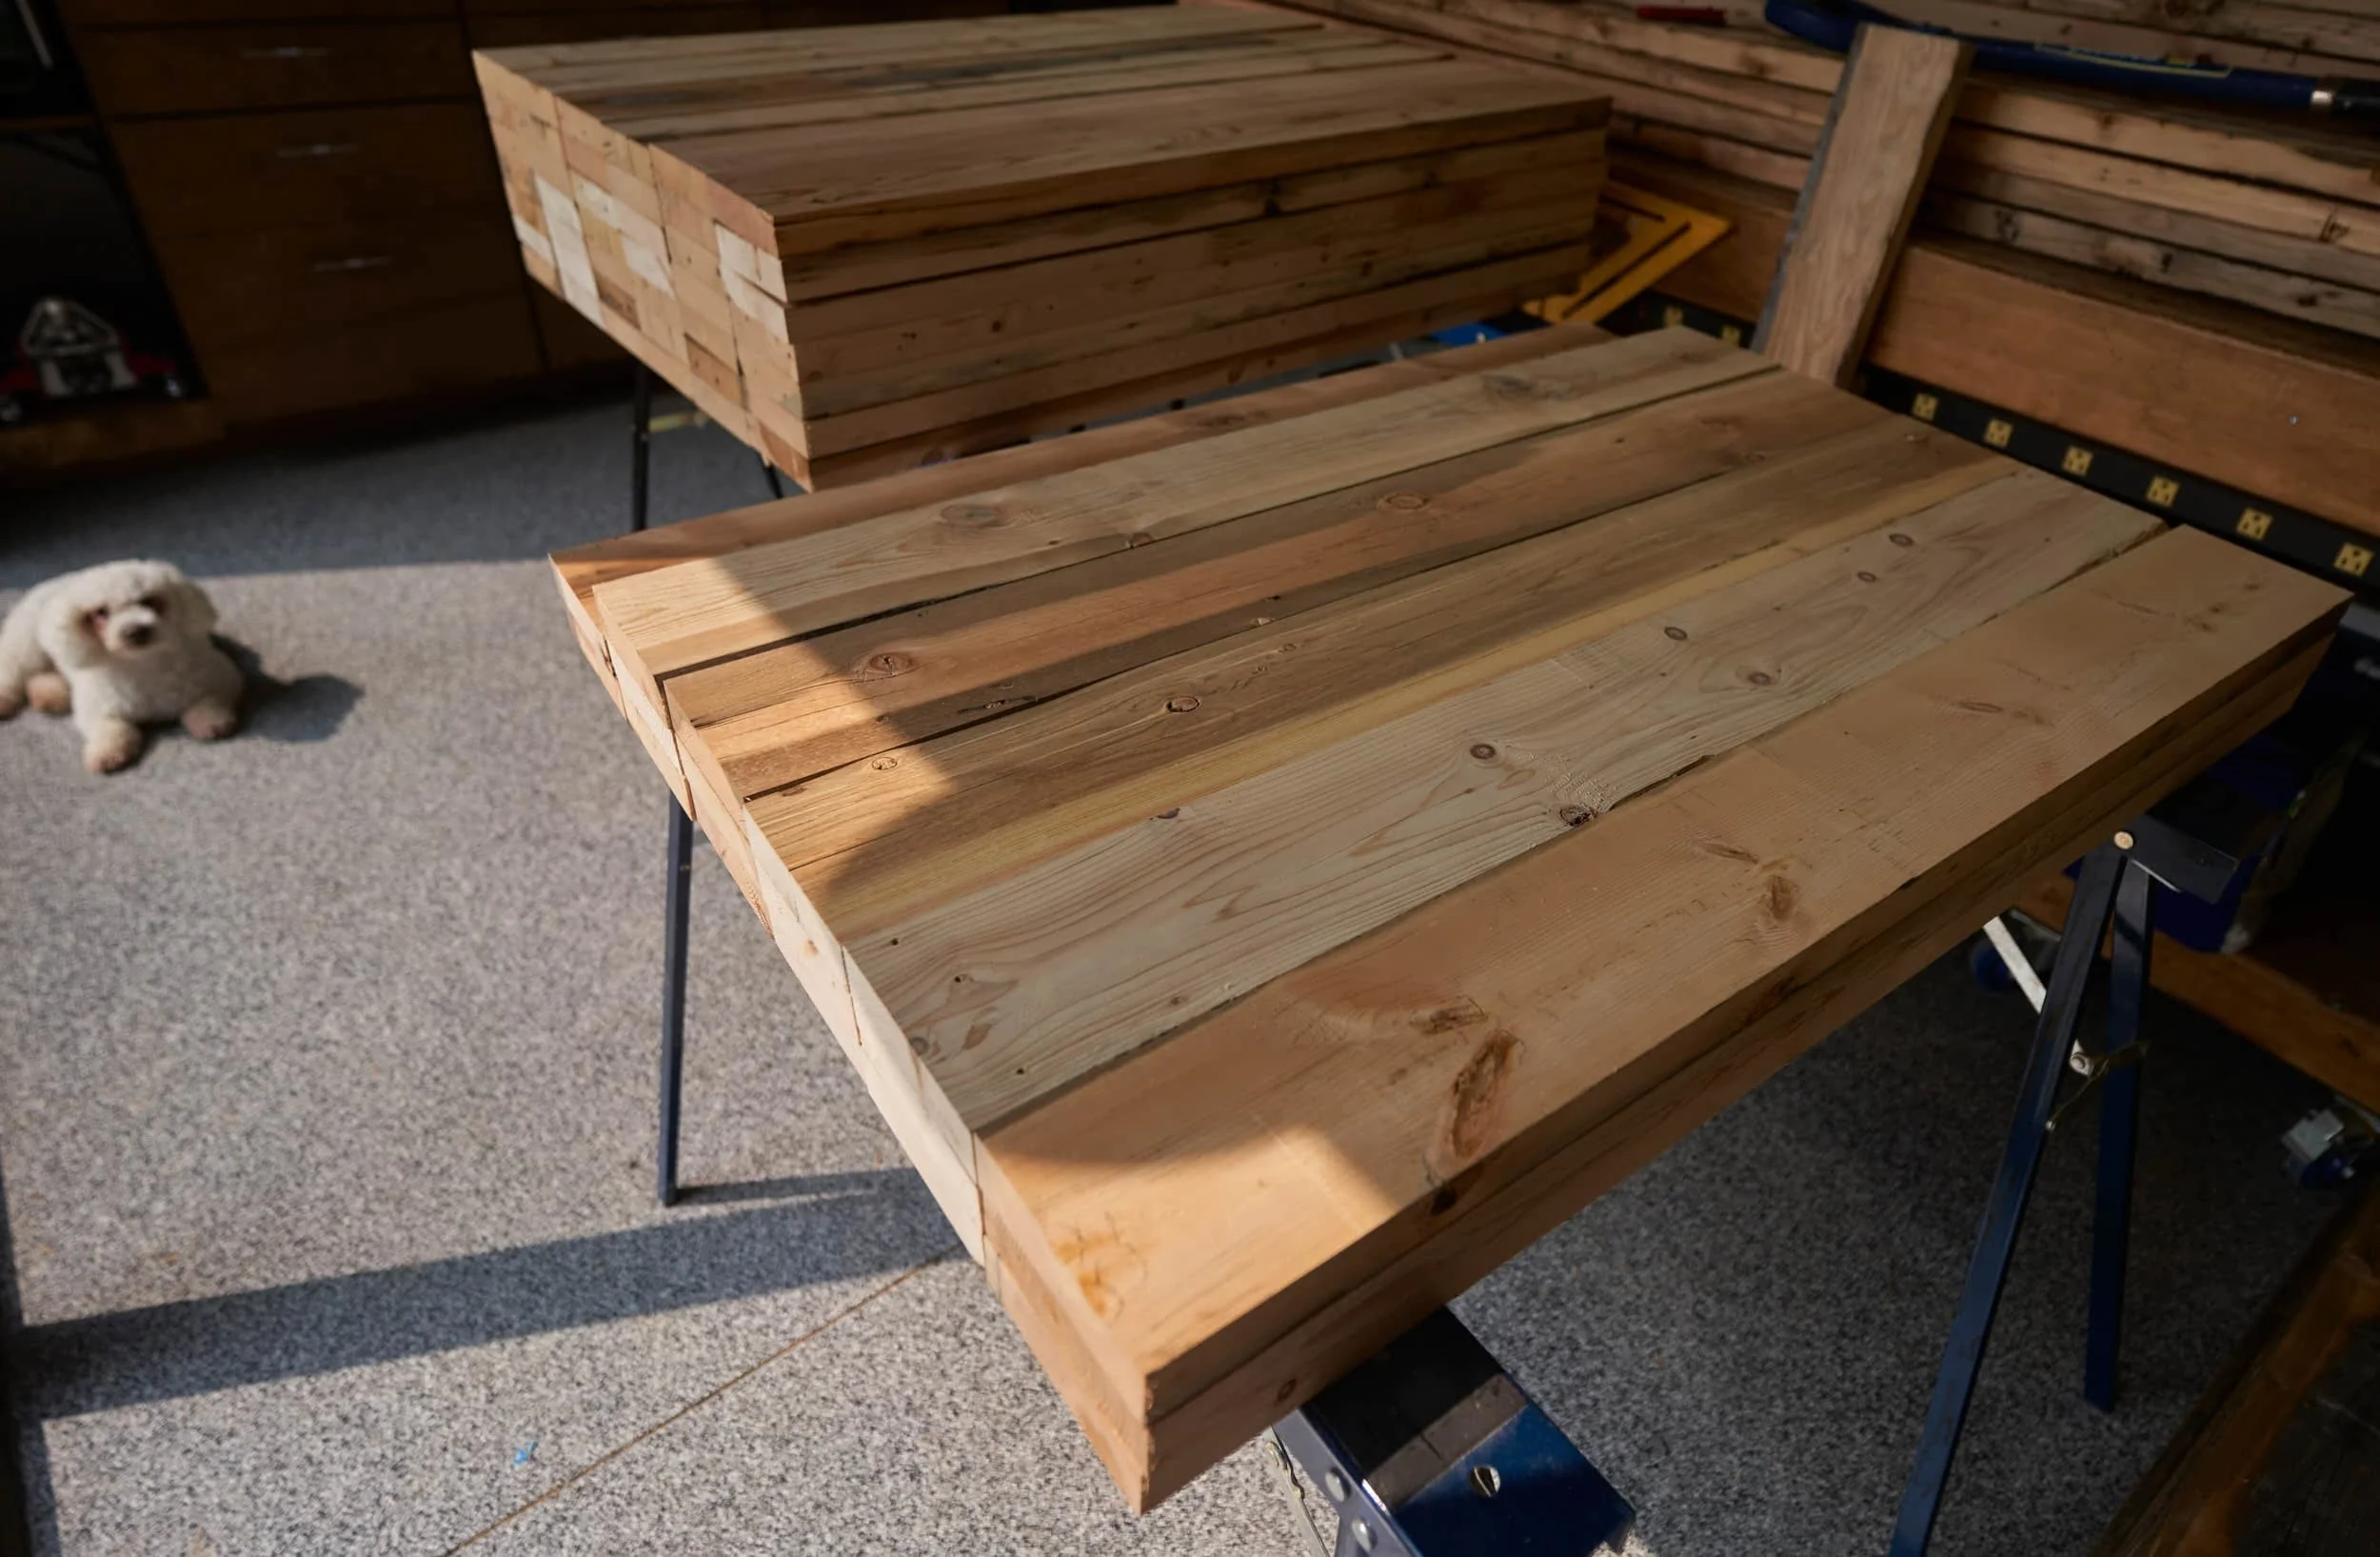
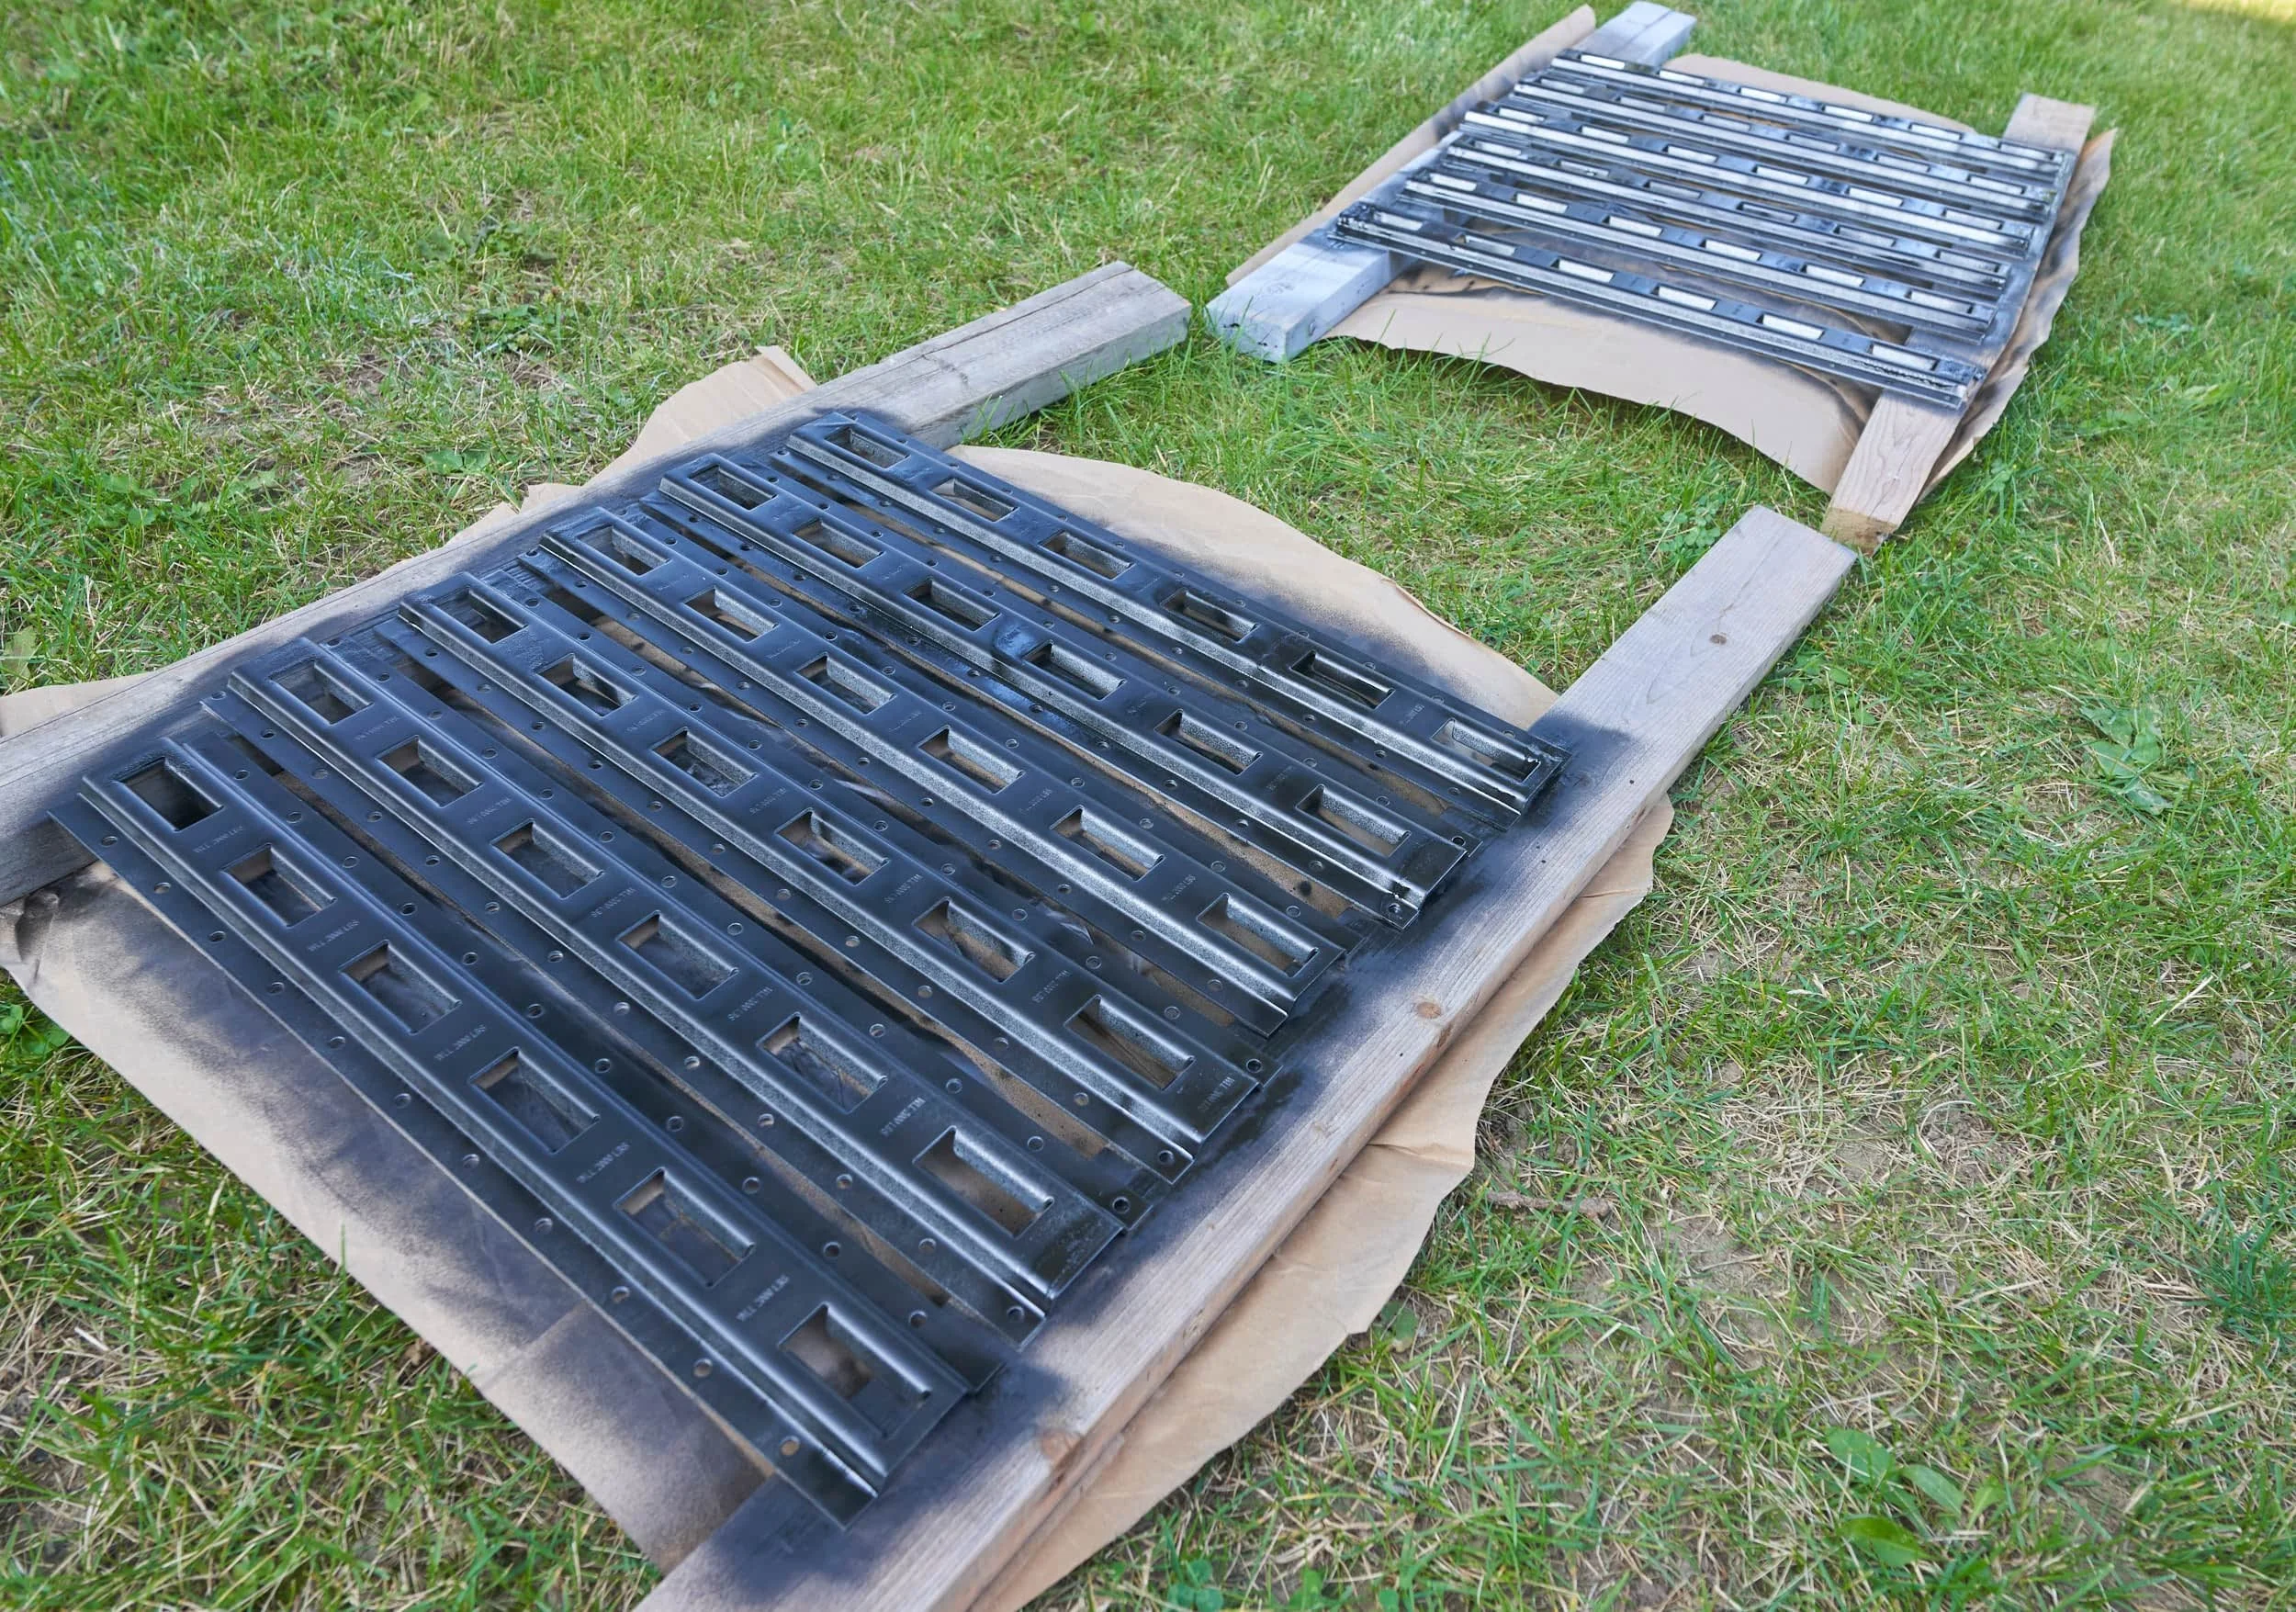
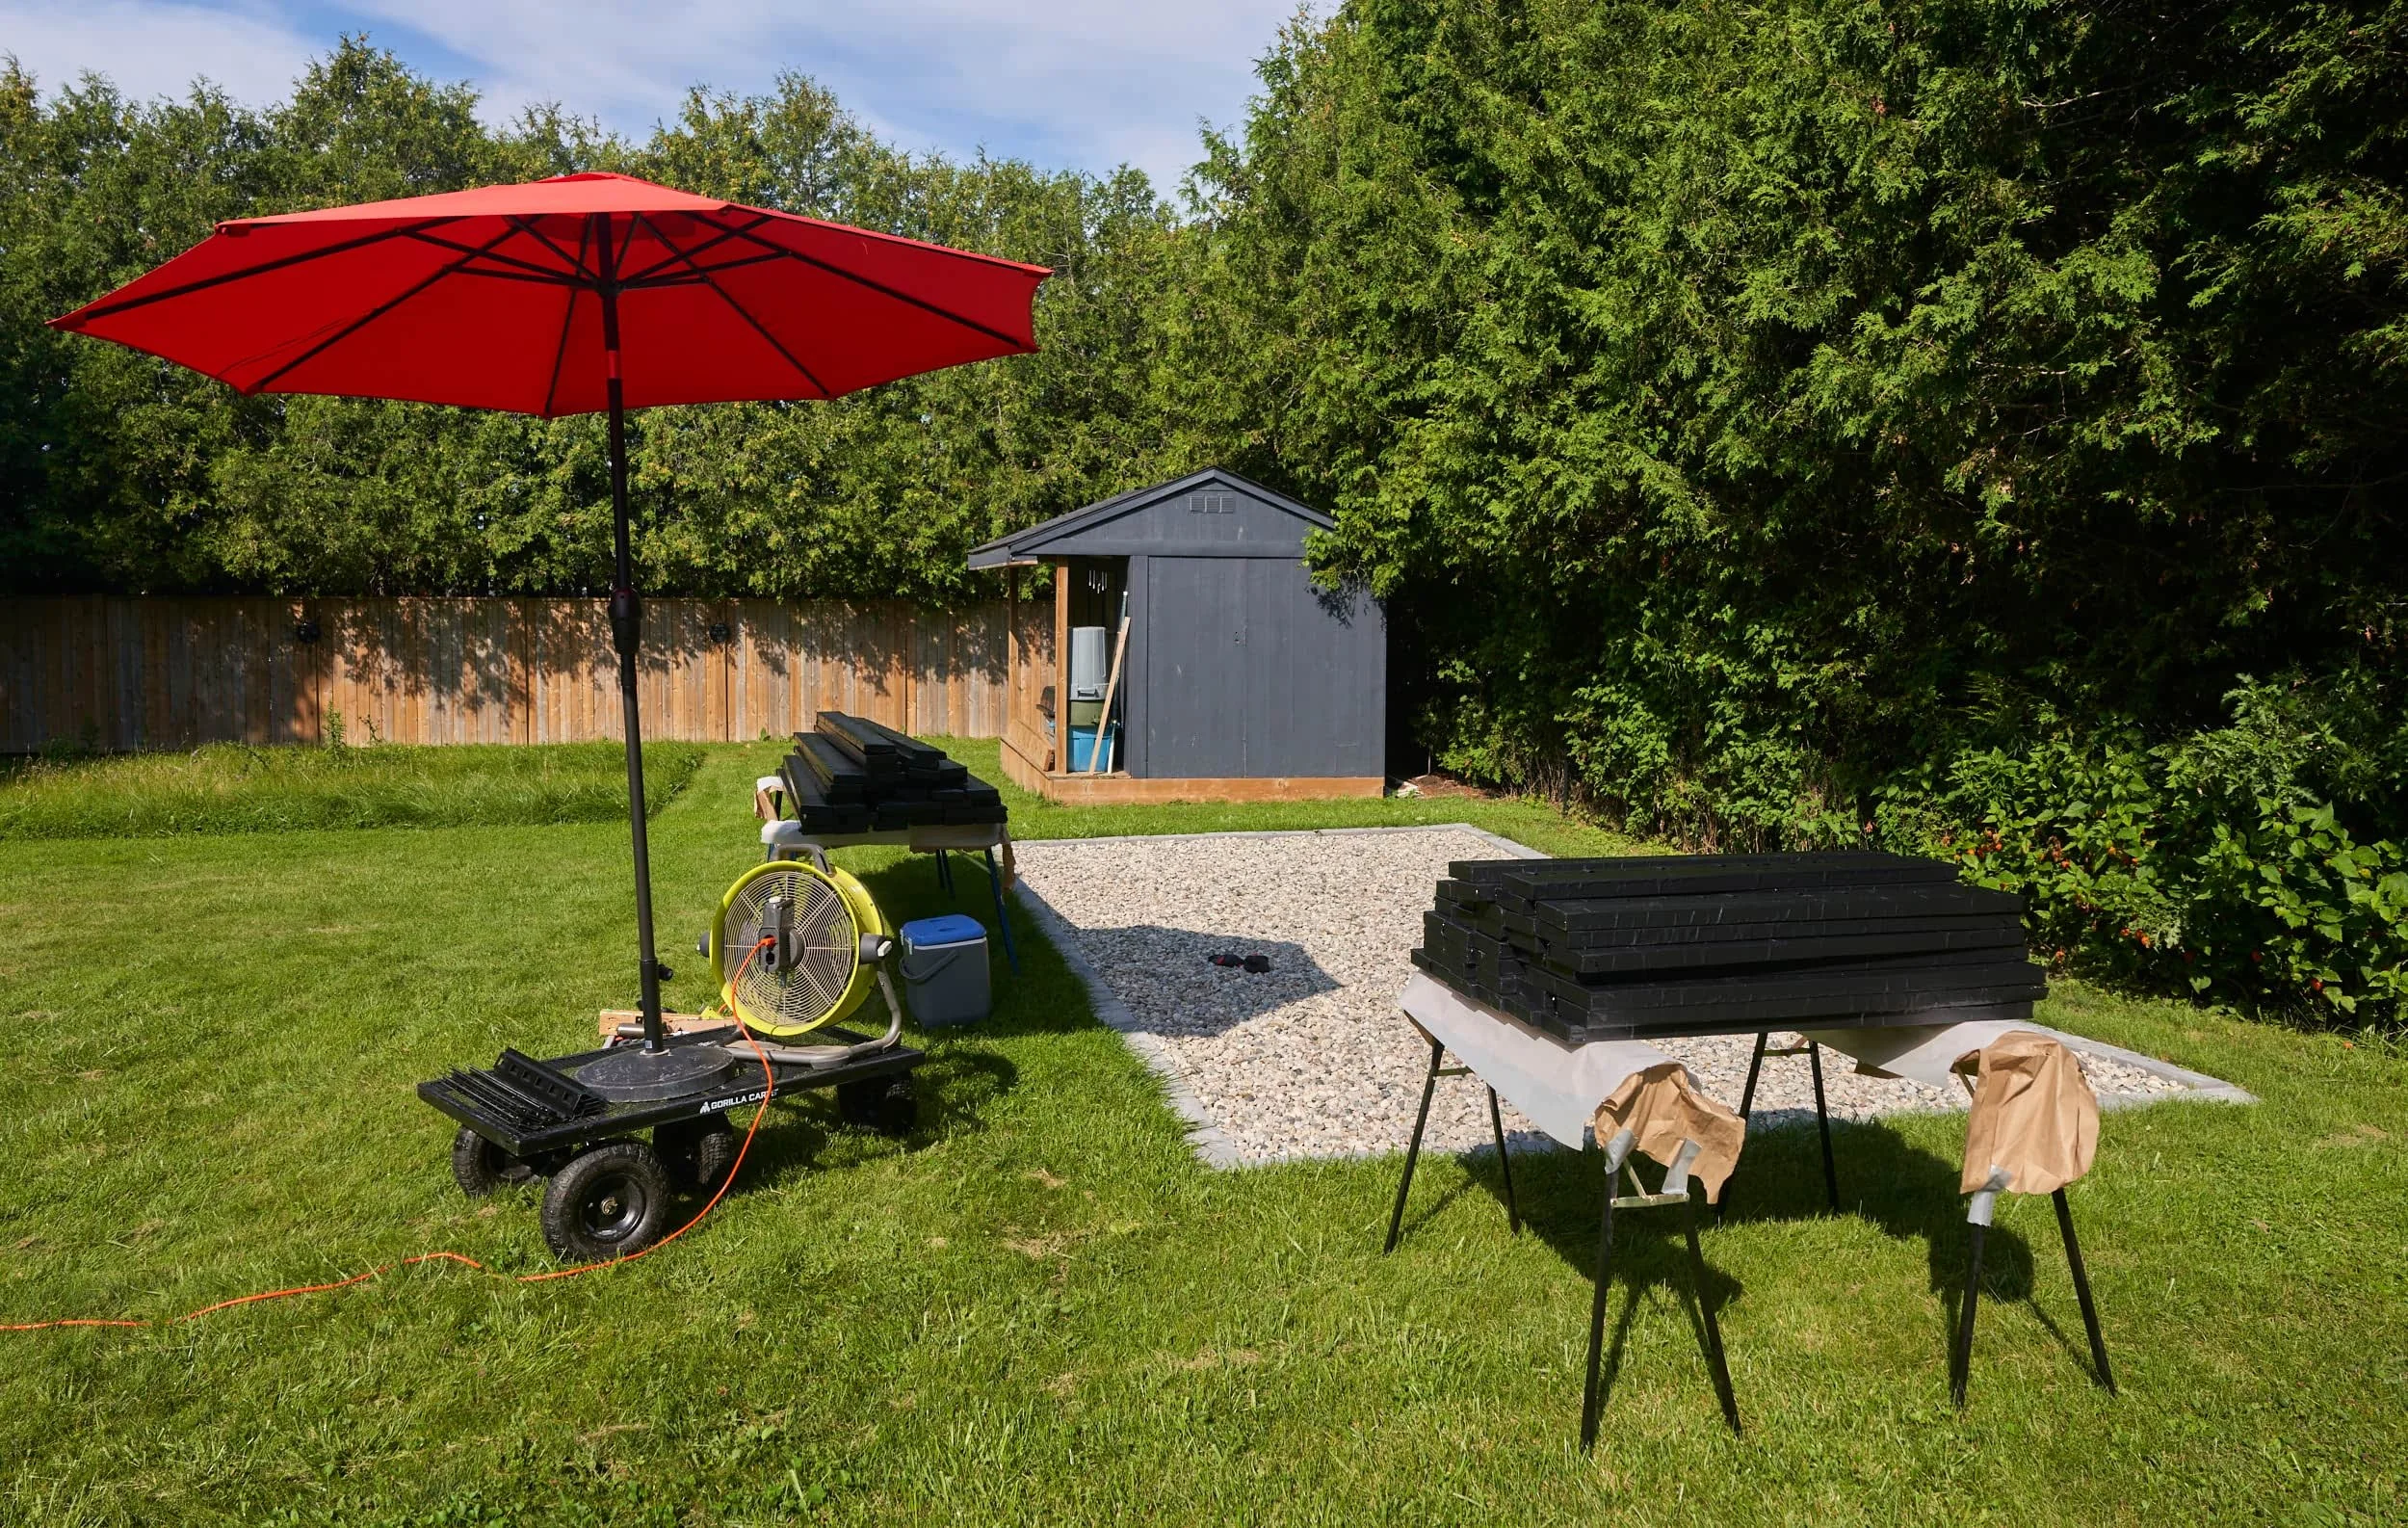
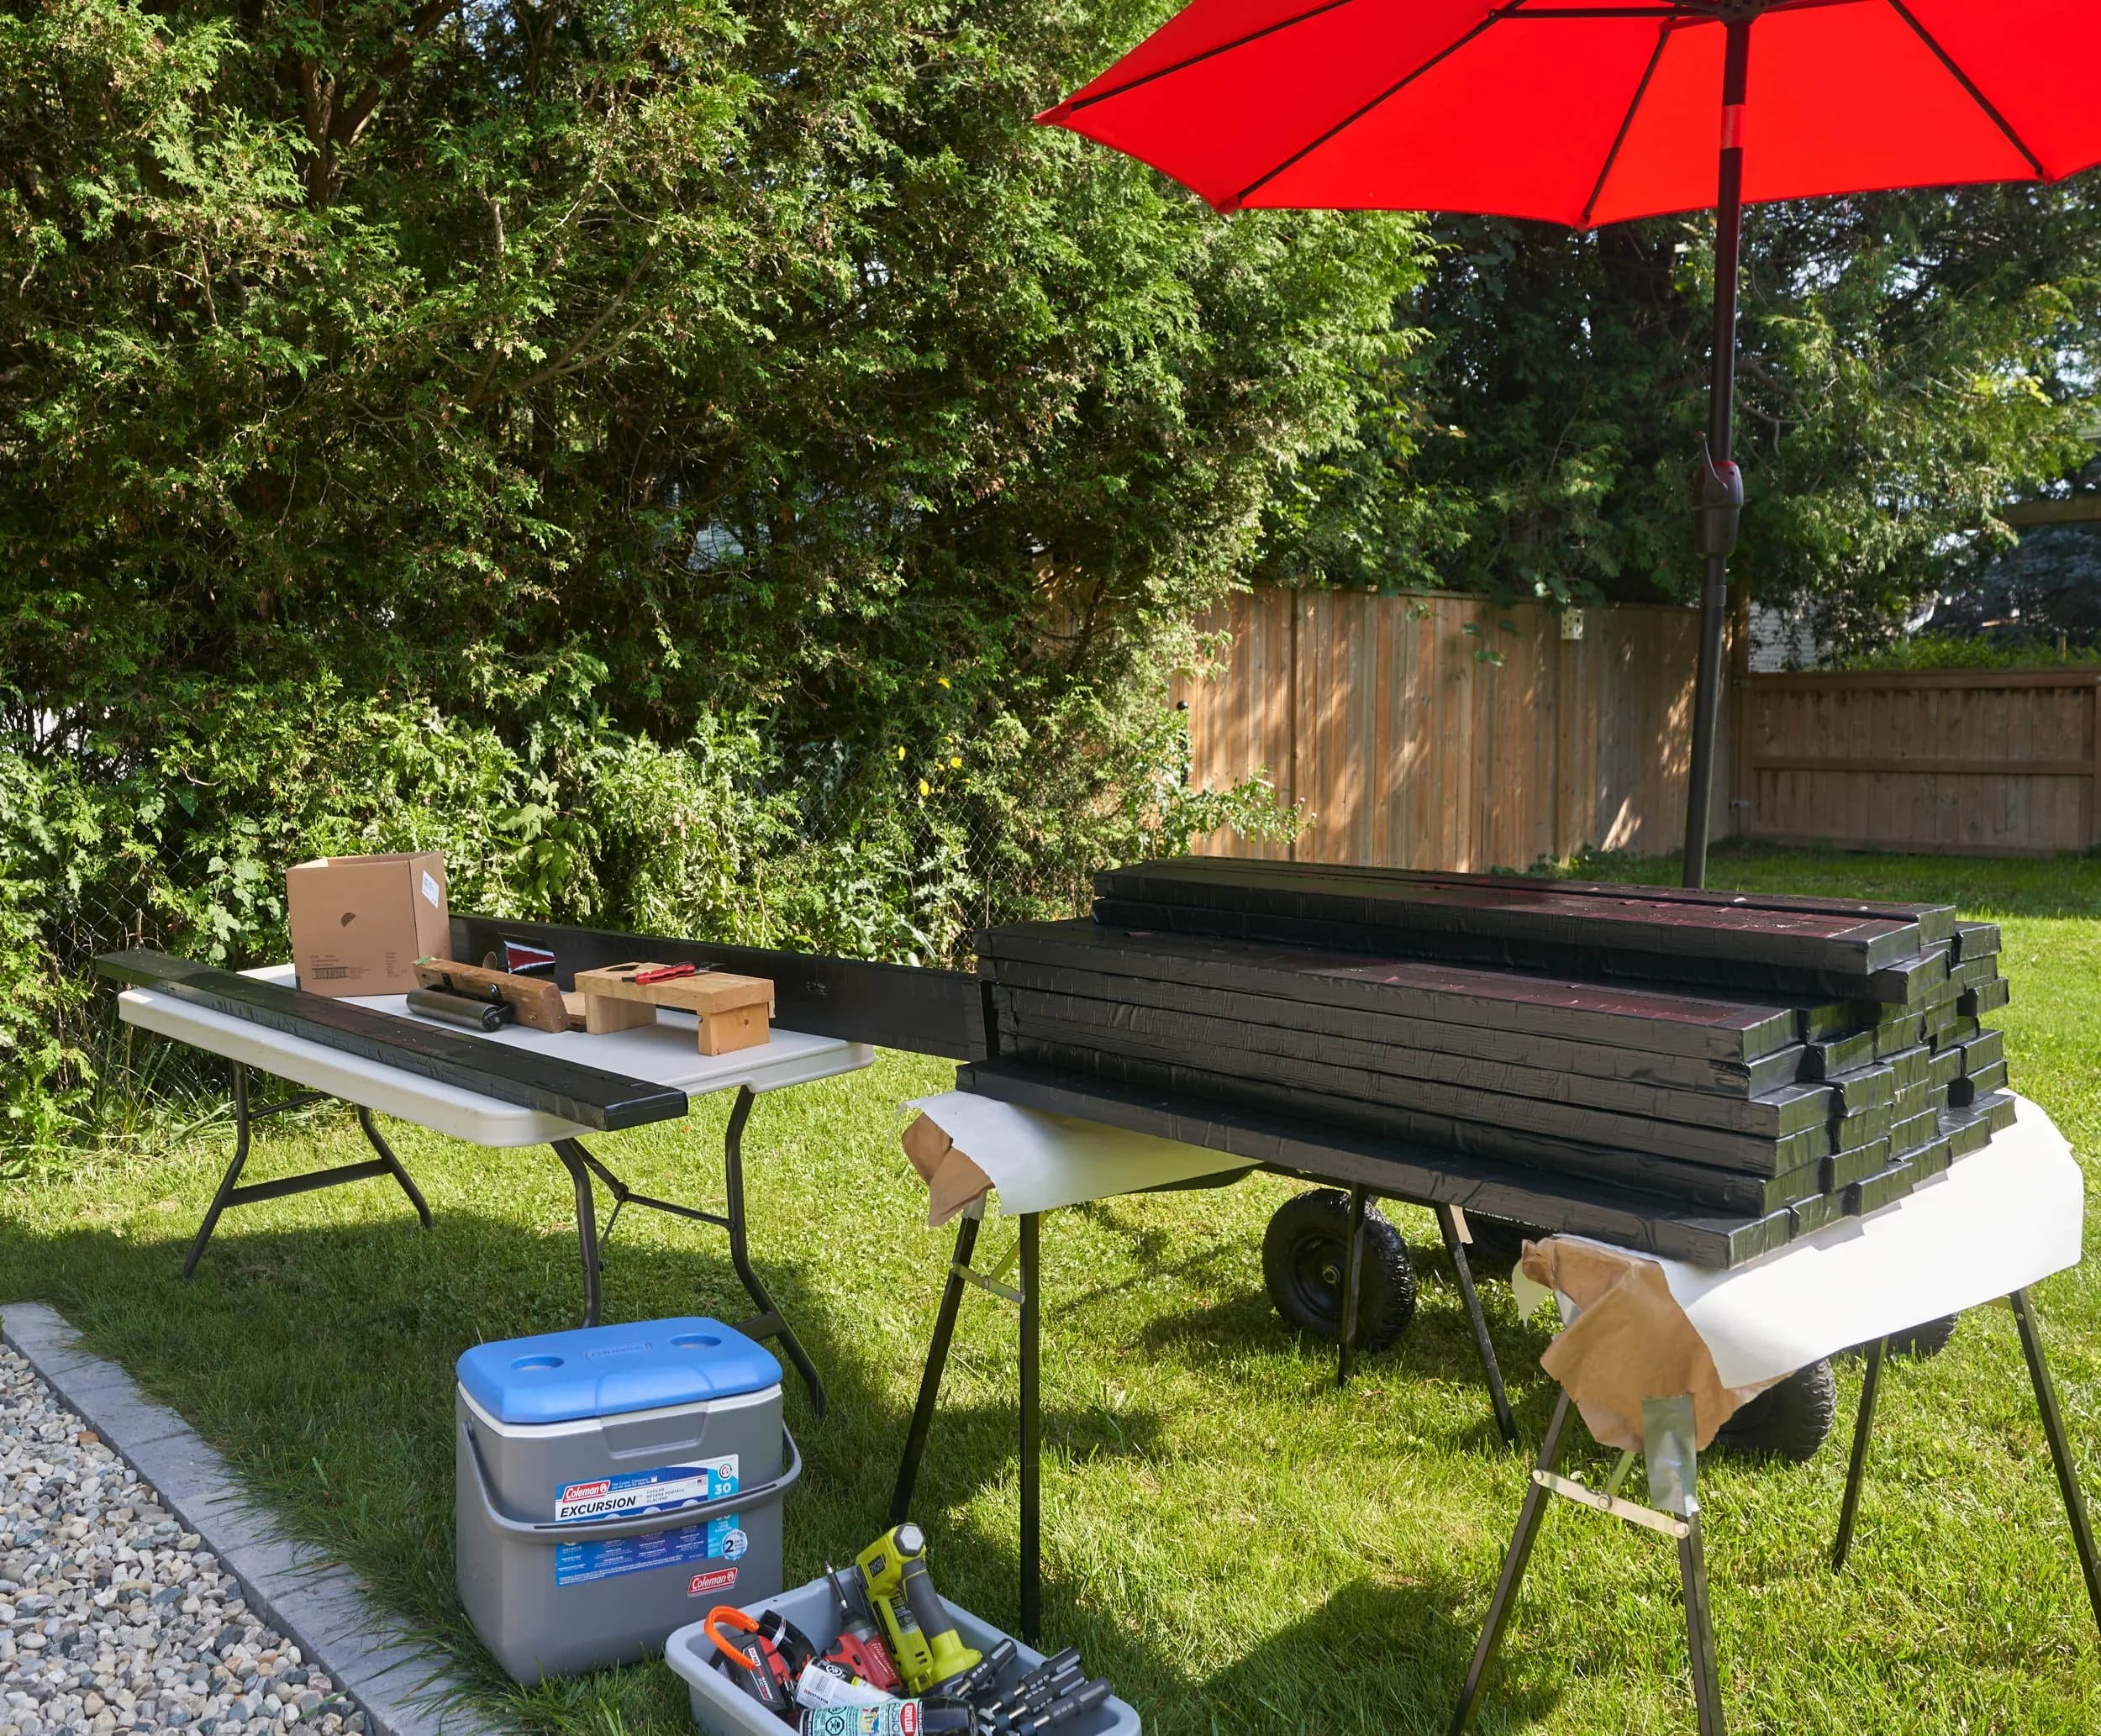
Step 6 - Painting
My goal was to keep the planters maintainable - so an emphasis on not only building it to be robust but also being able to keep it super easy to keep looking fresh. As such I went with the obvious choice of black. This way touchups are just a spray-paint can away. Based on the longevity of my picnic table, I went with two coats of primer and two coats of exterior paint (originally wanted three coats but just couldn’t get the coats in between the weather)
This was, by a long shot, the most tedious part of the build — and it was almost entirely due to the horrendous weather we’ve had this summer. I want stupid-hot, stupid-dry weather so that I can knock out multiple coats of paint but instead we got a rain-season…


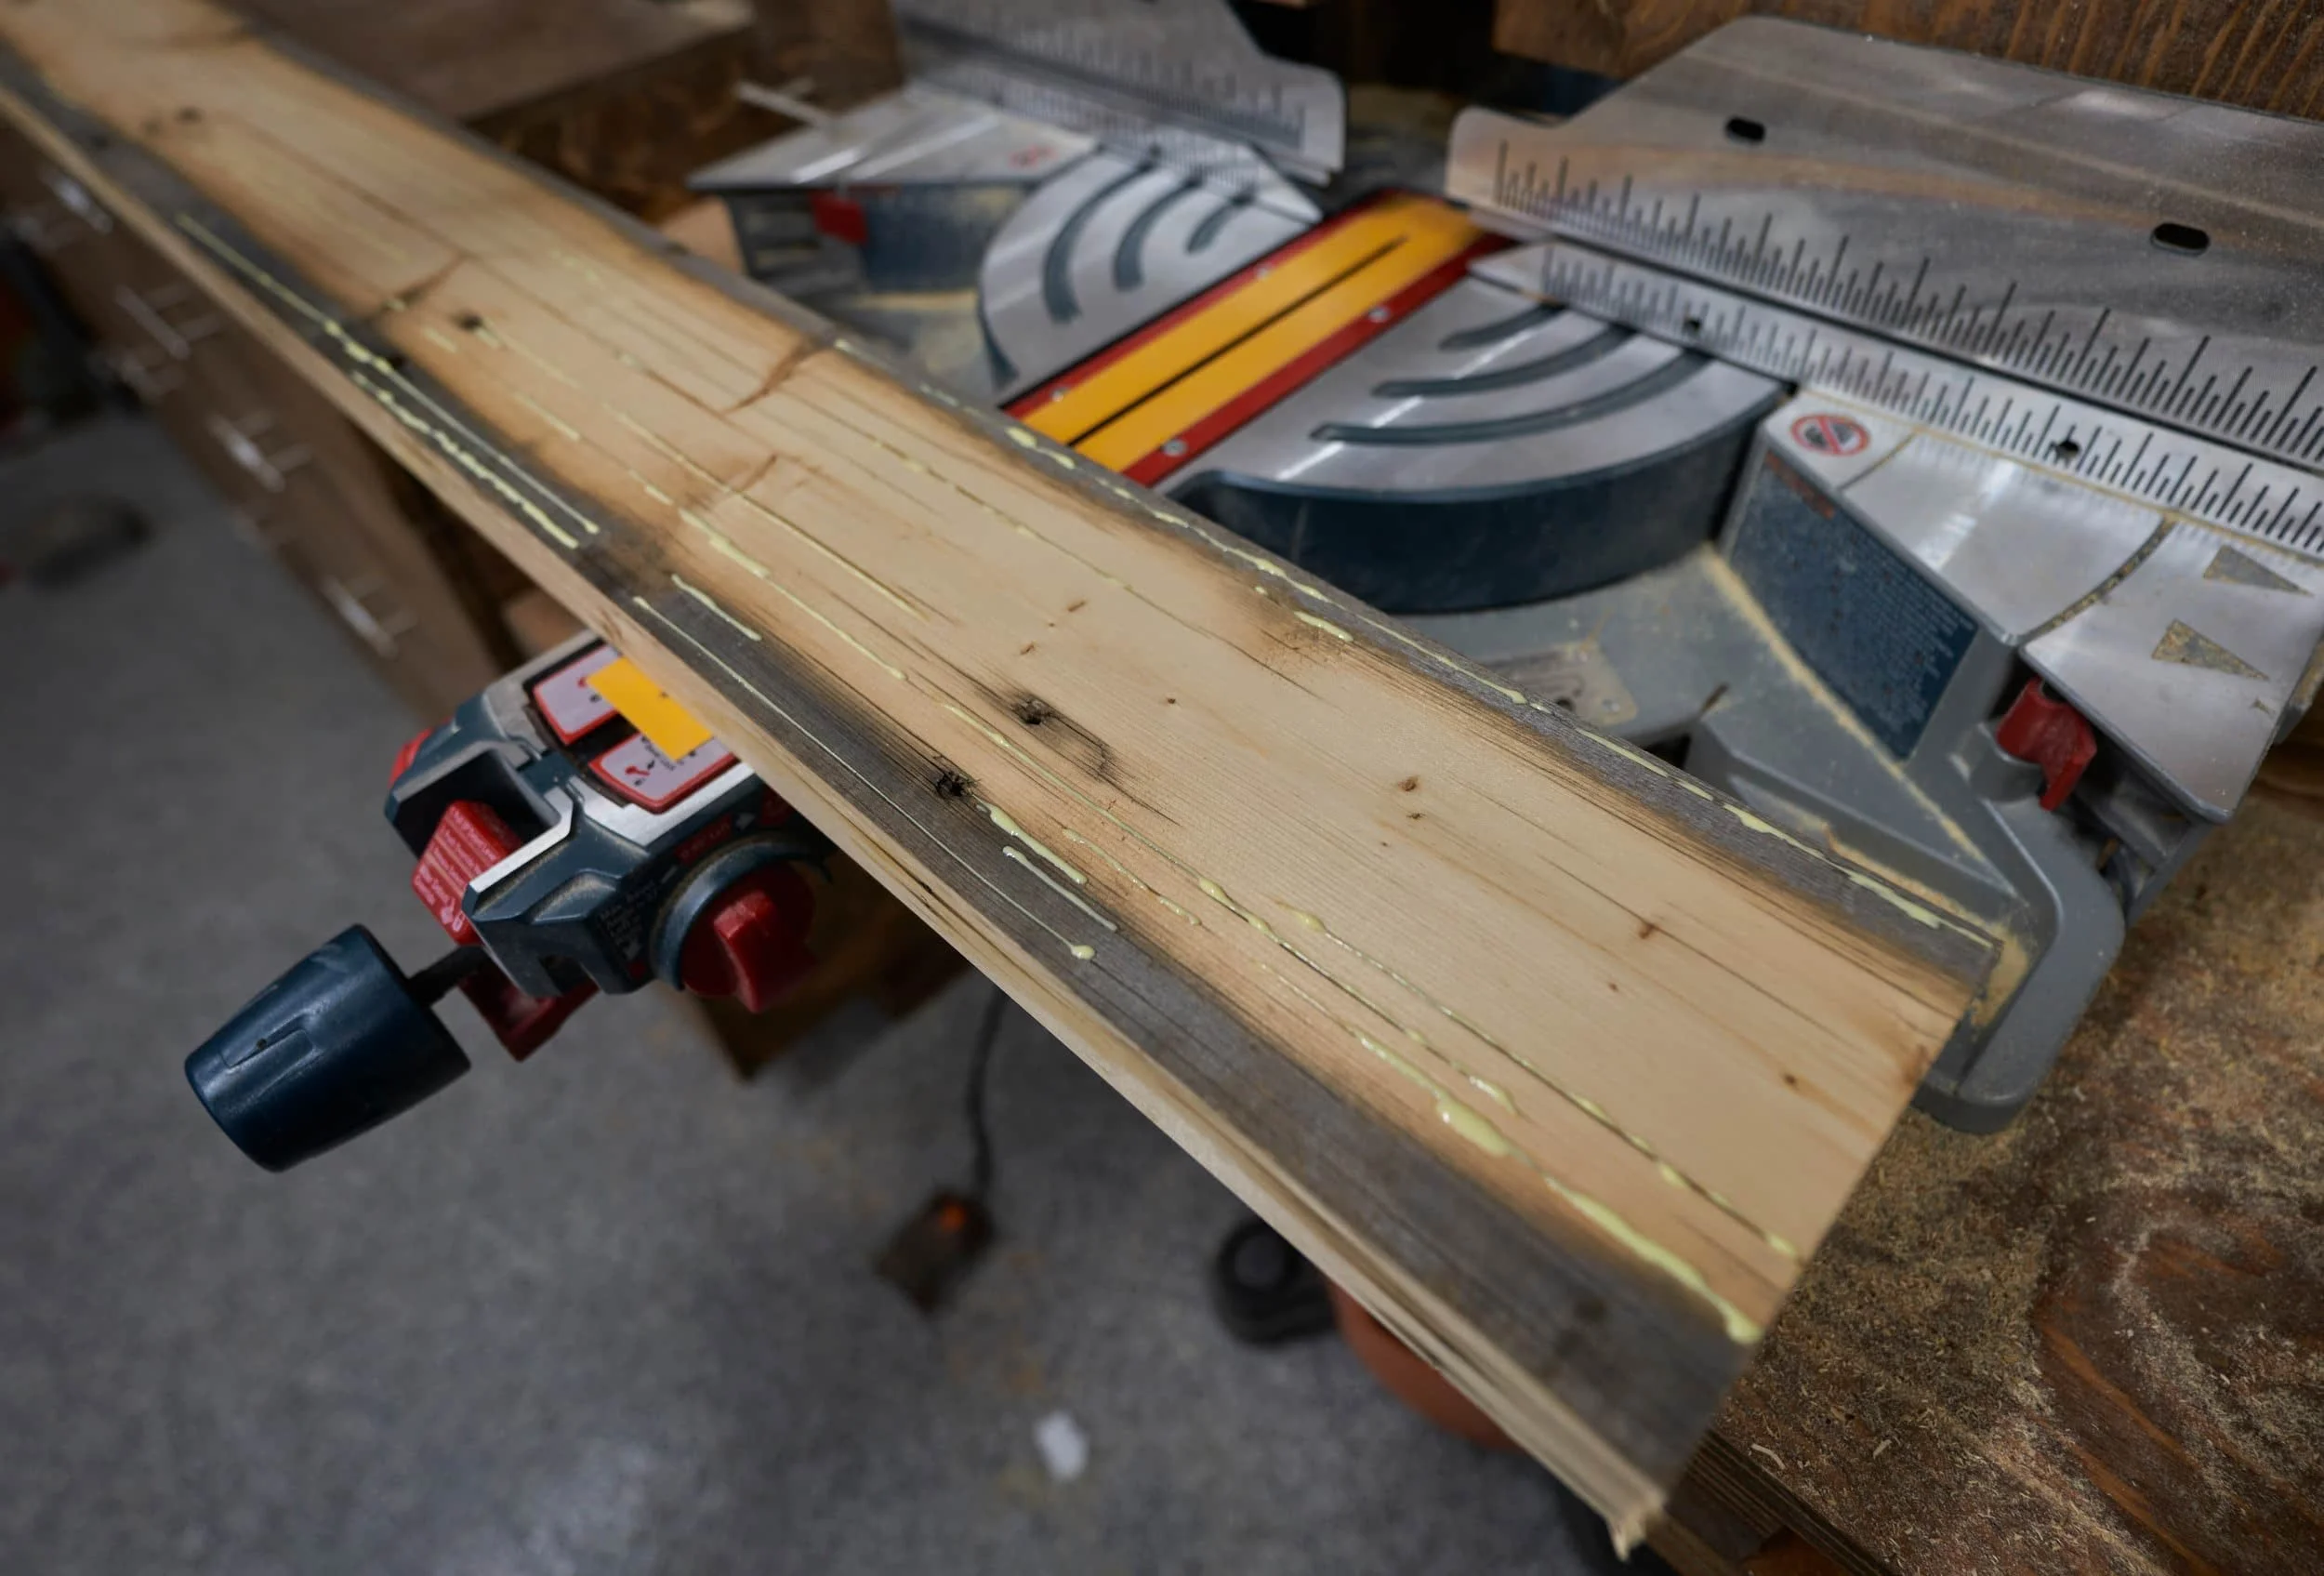
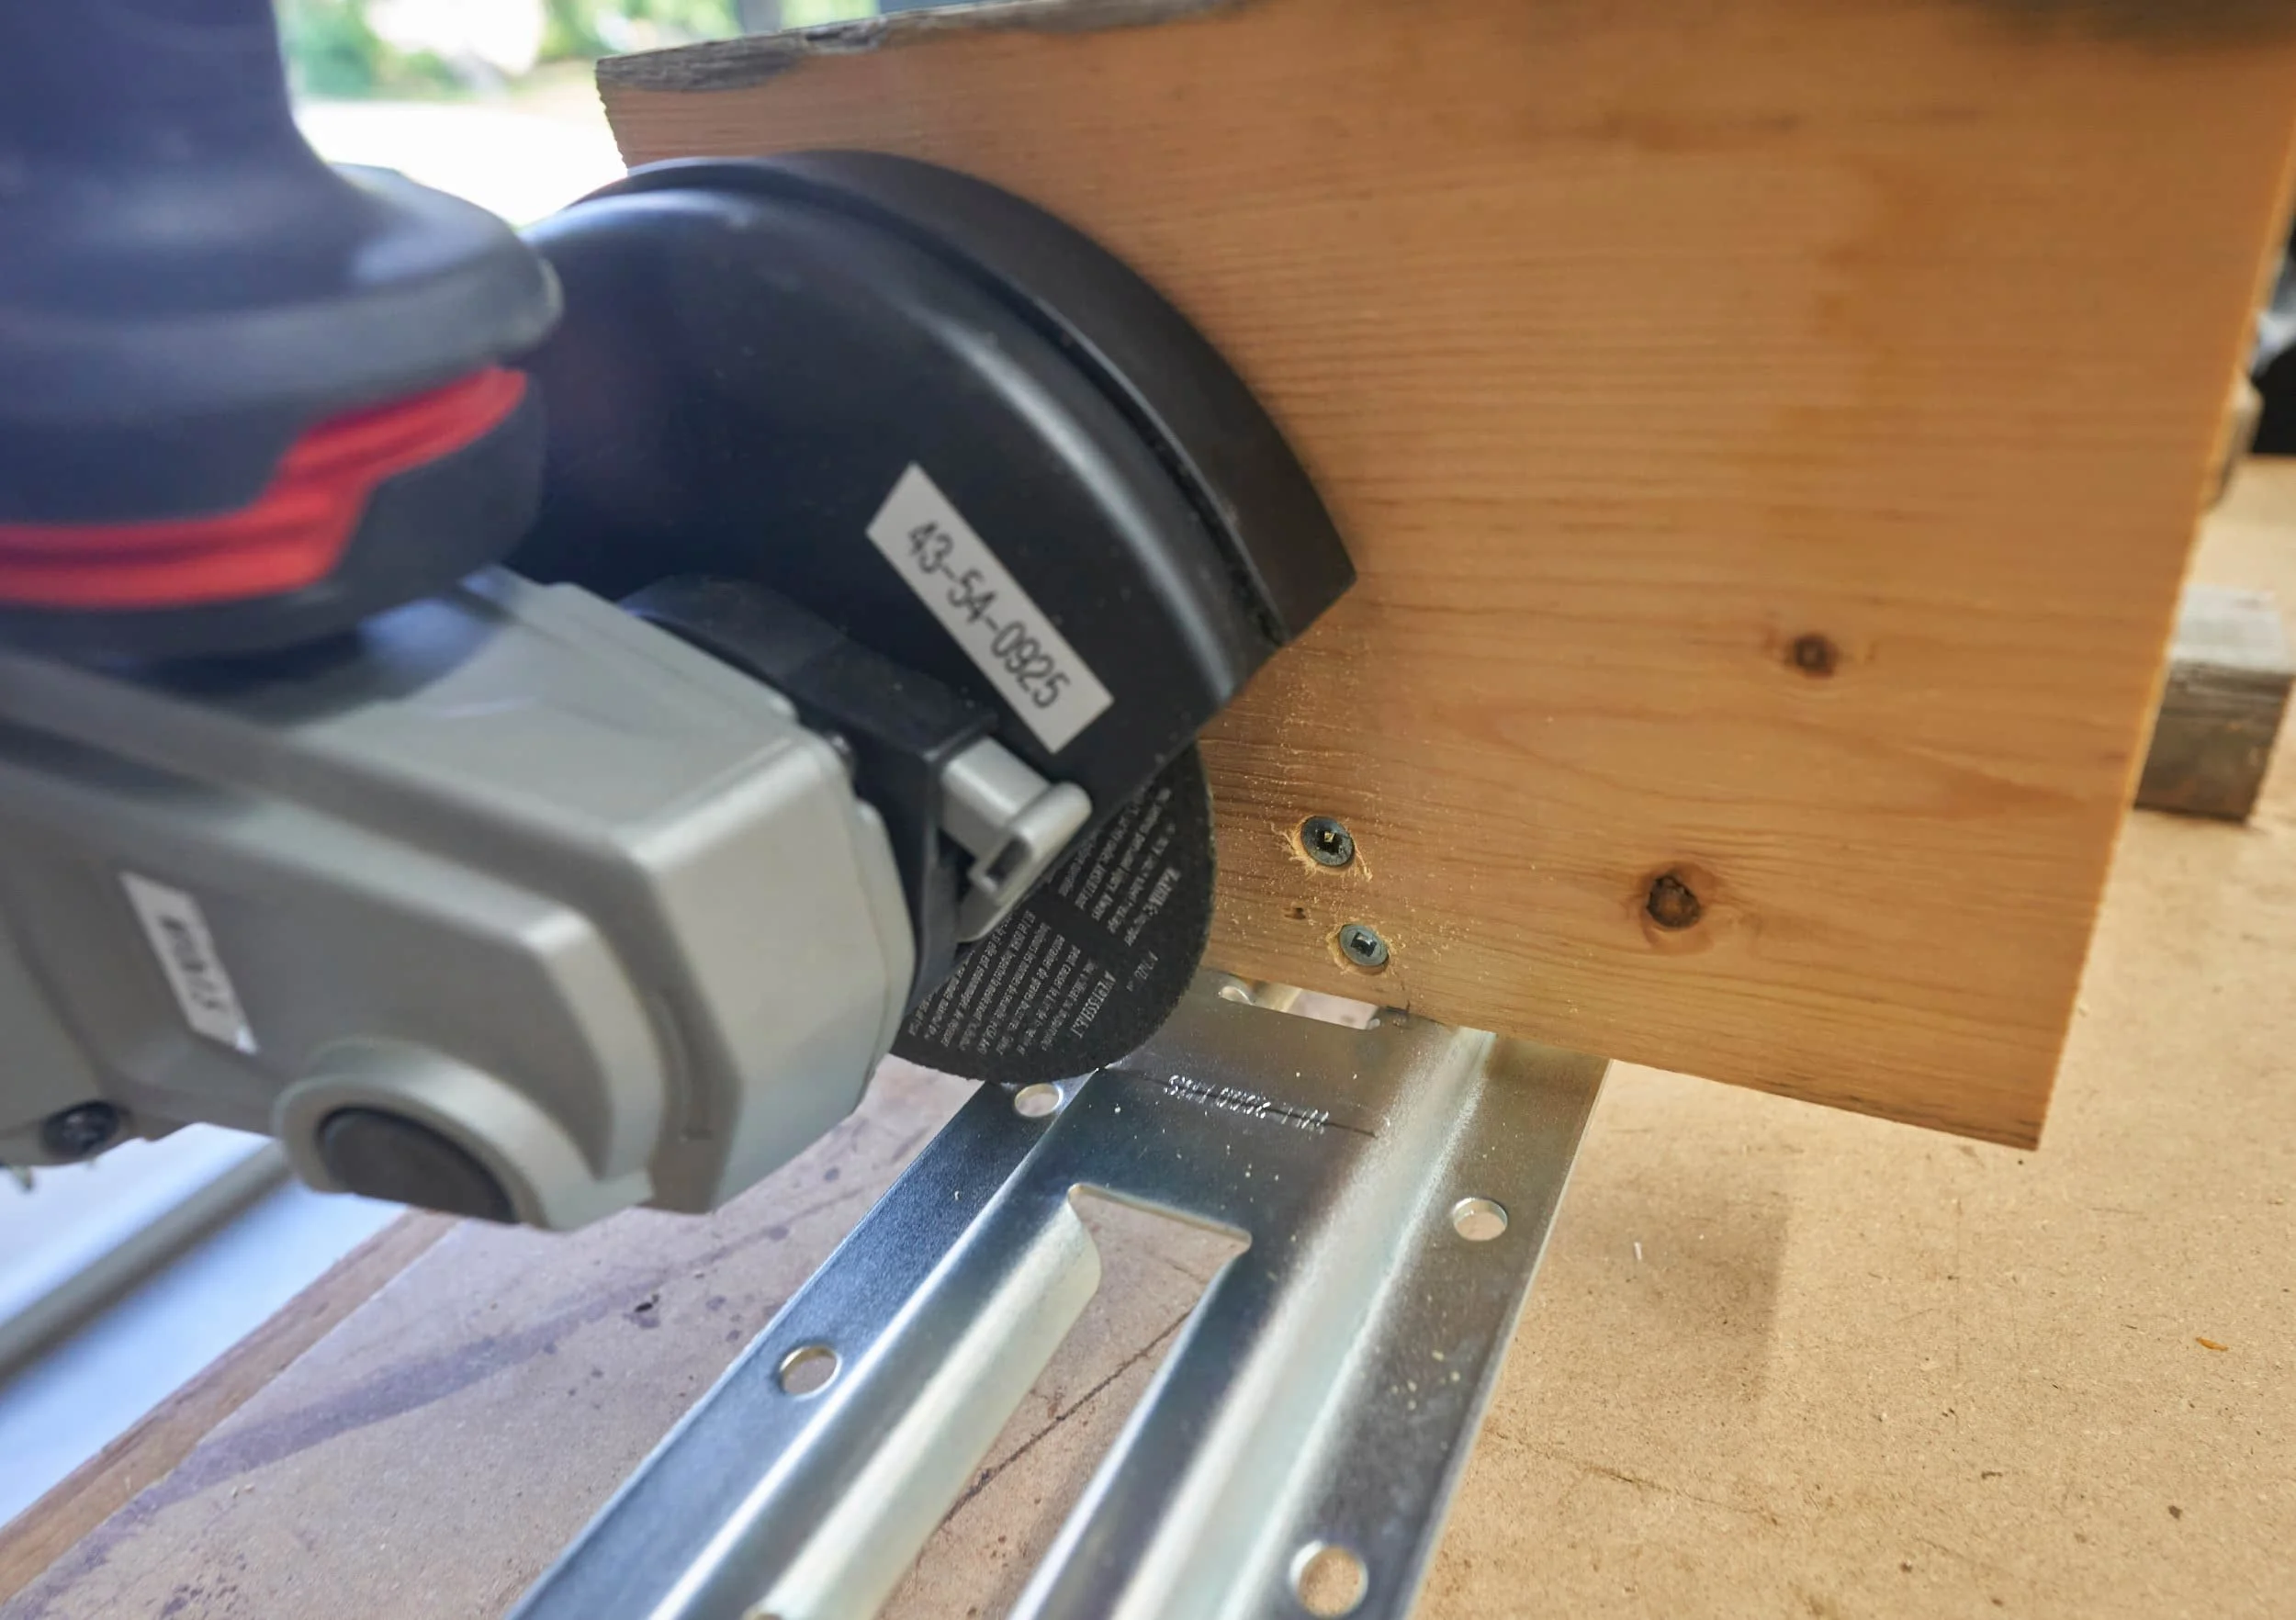
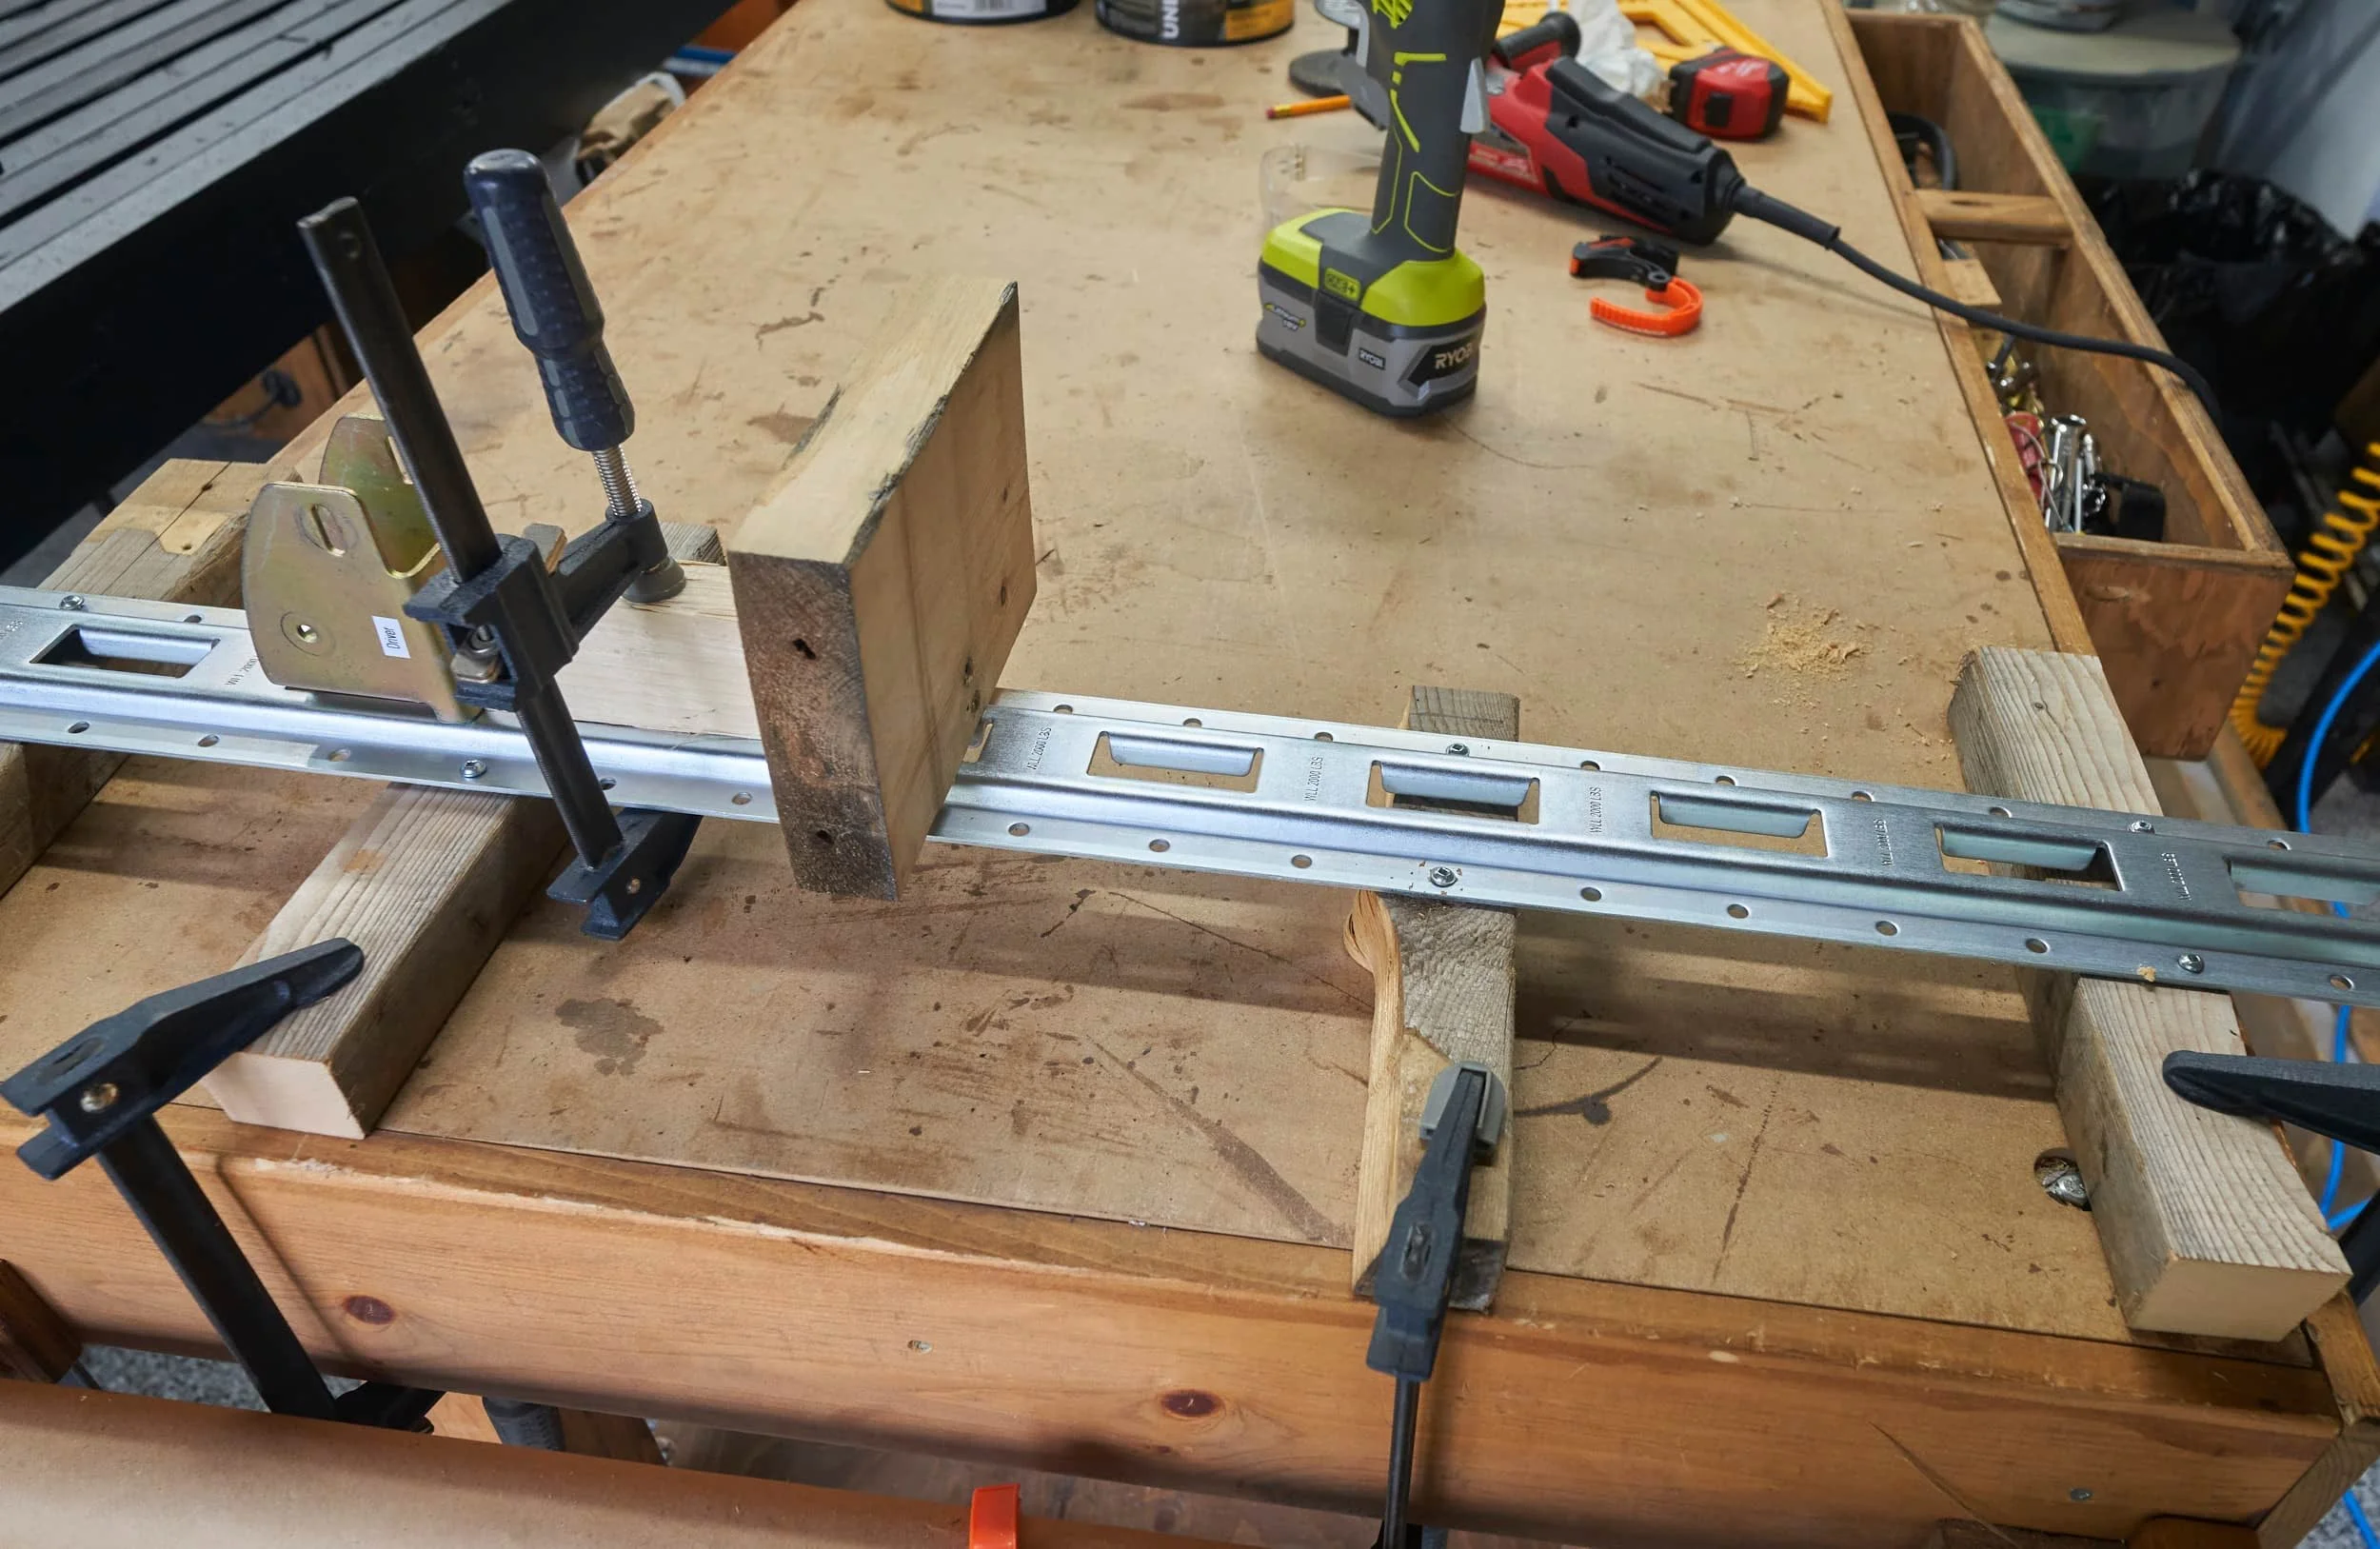
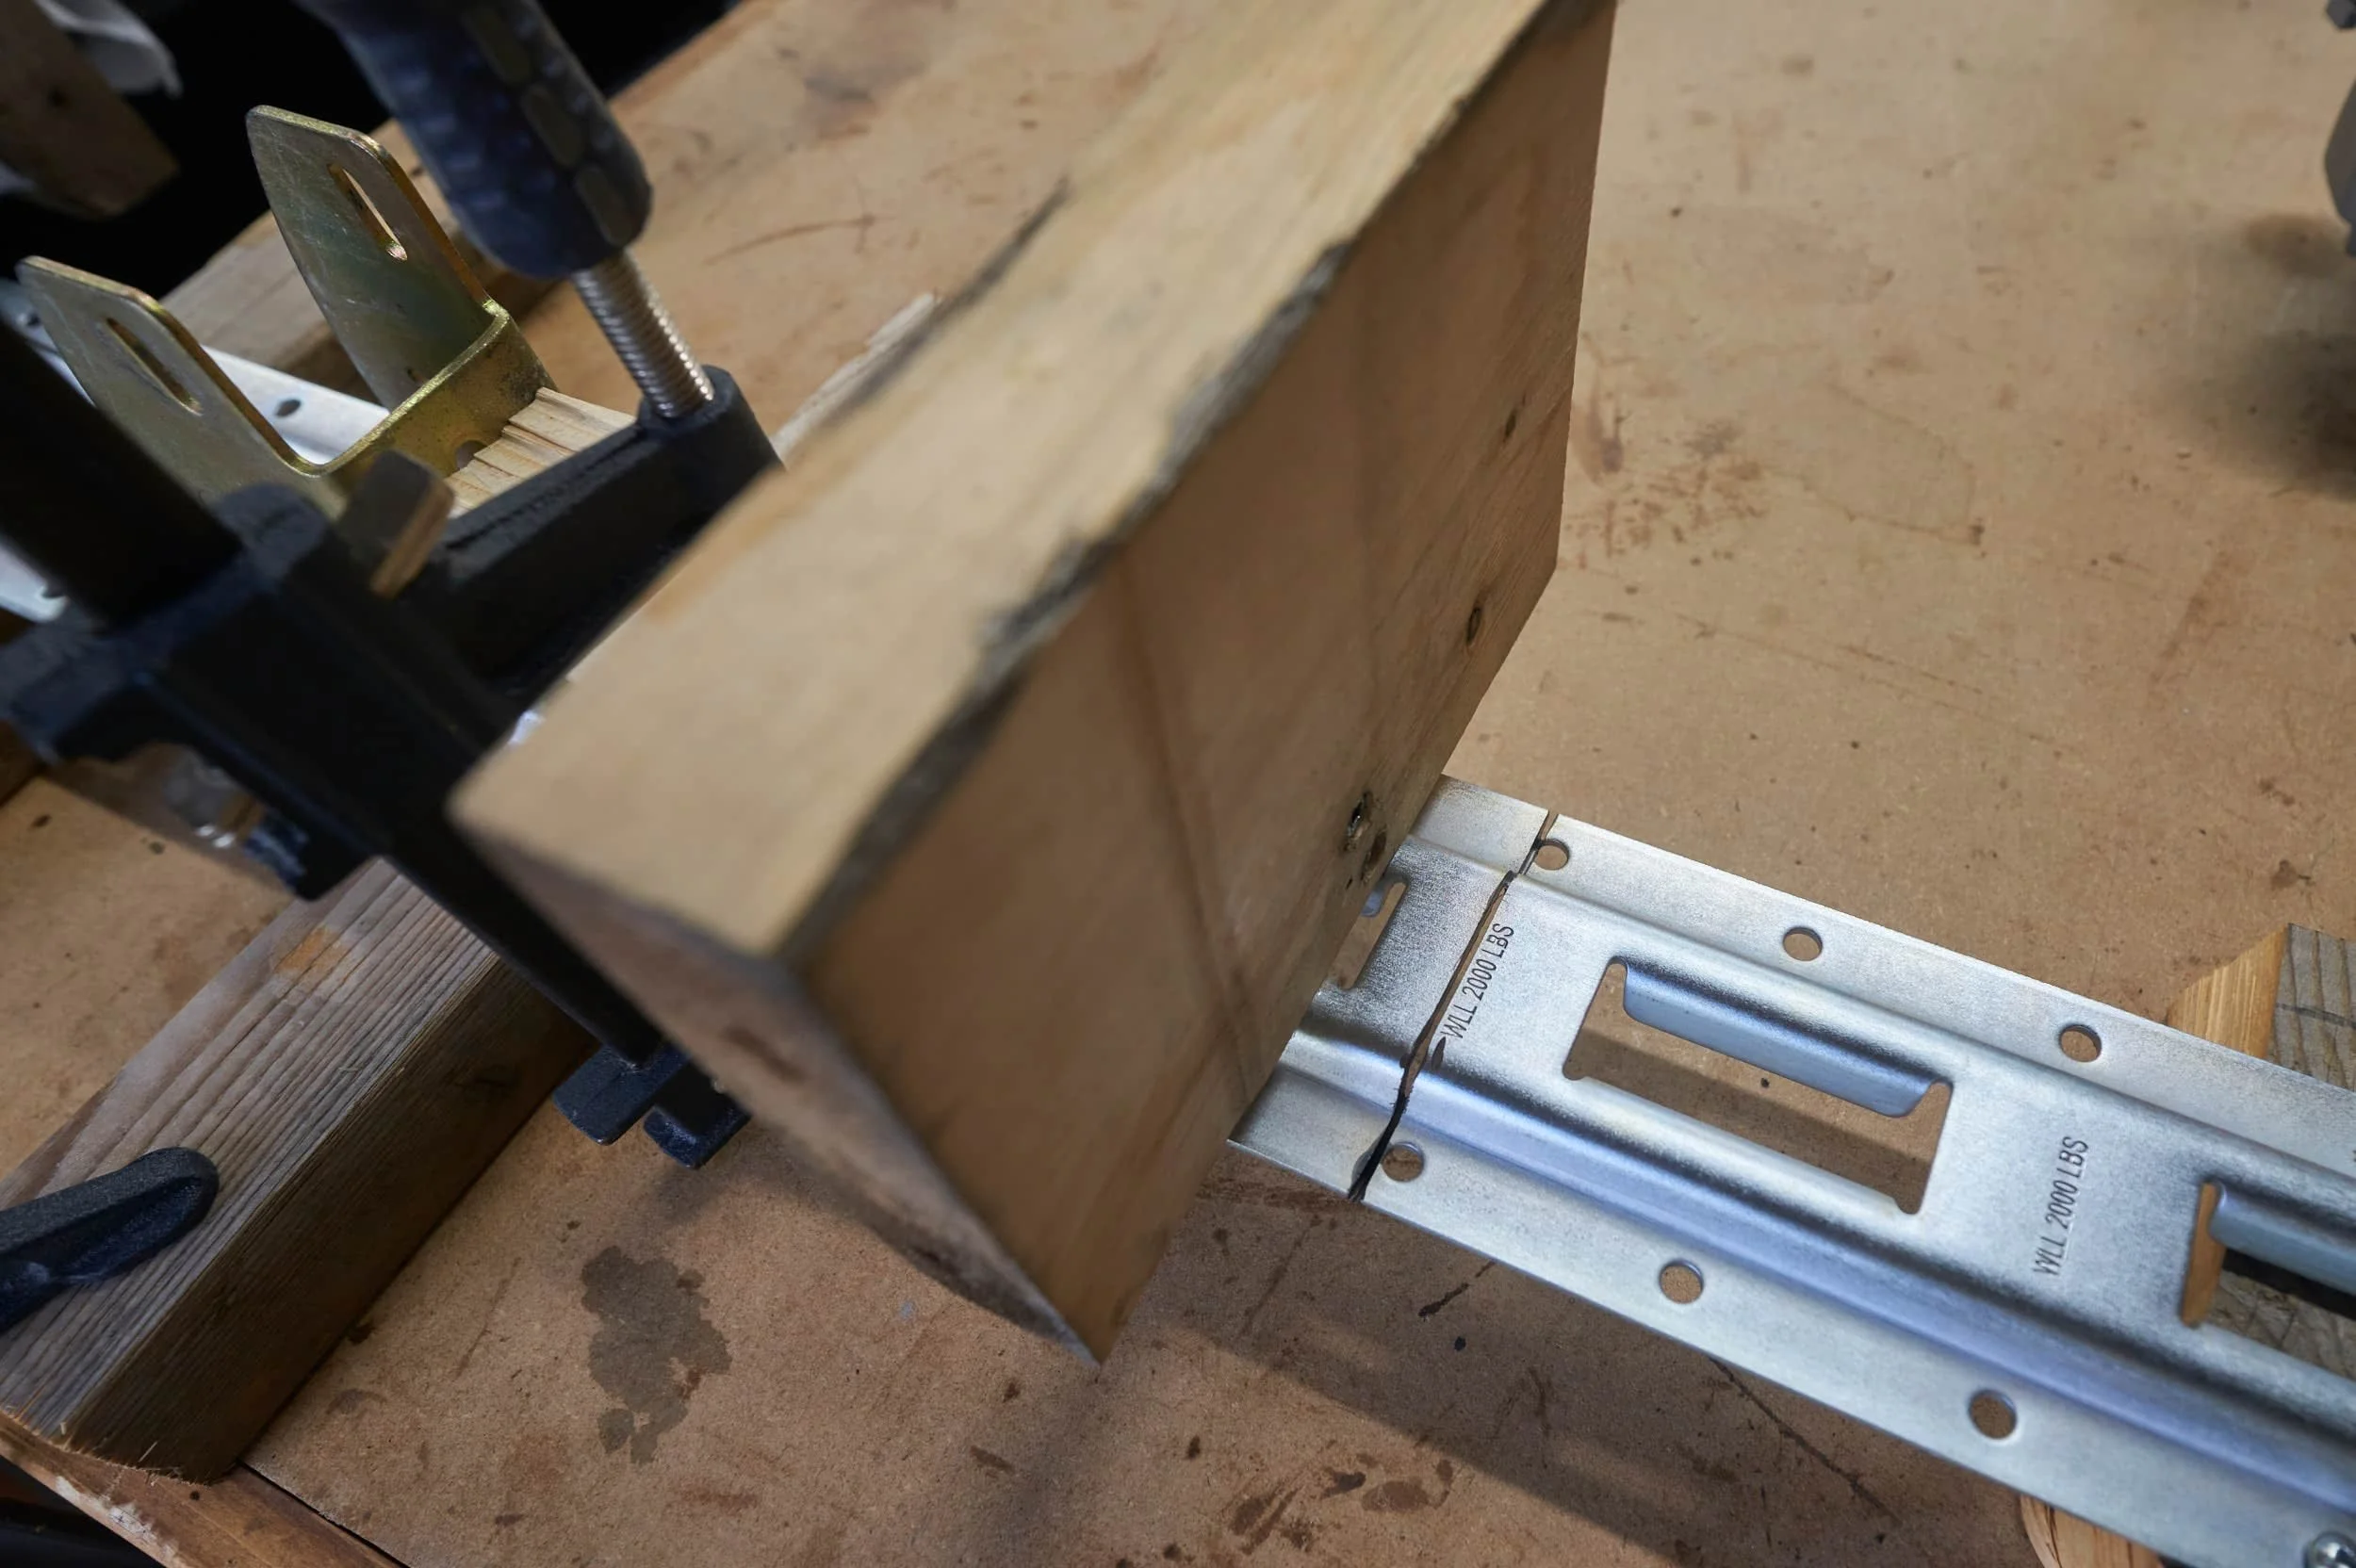
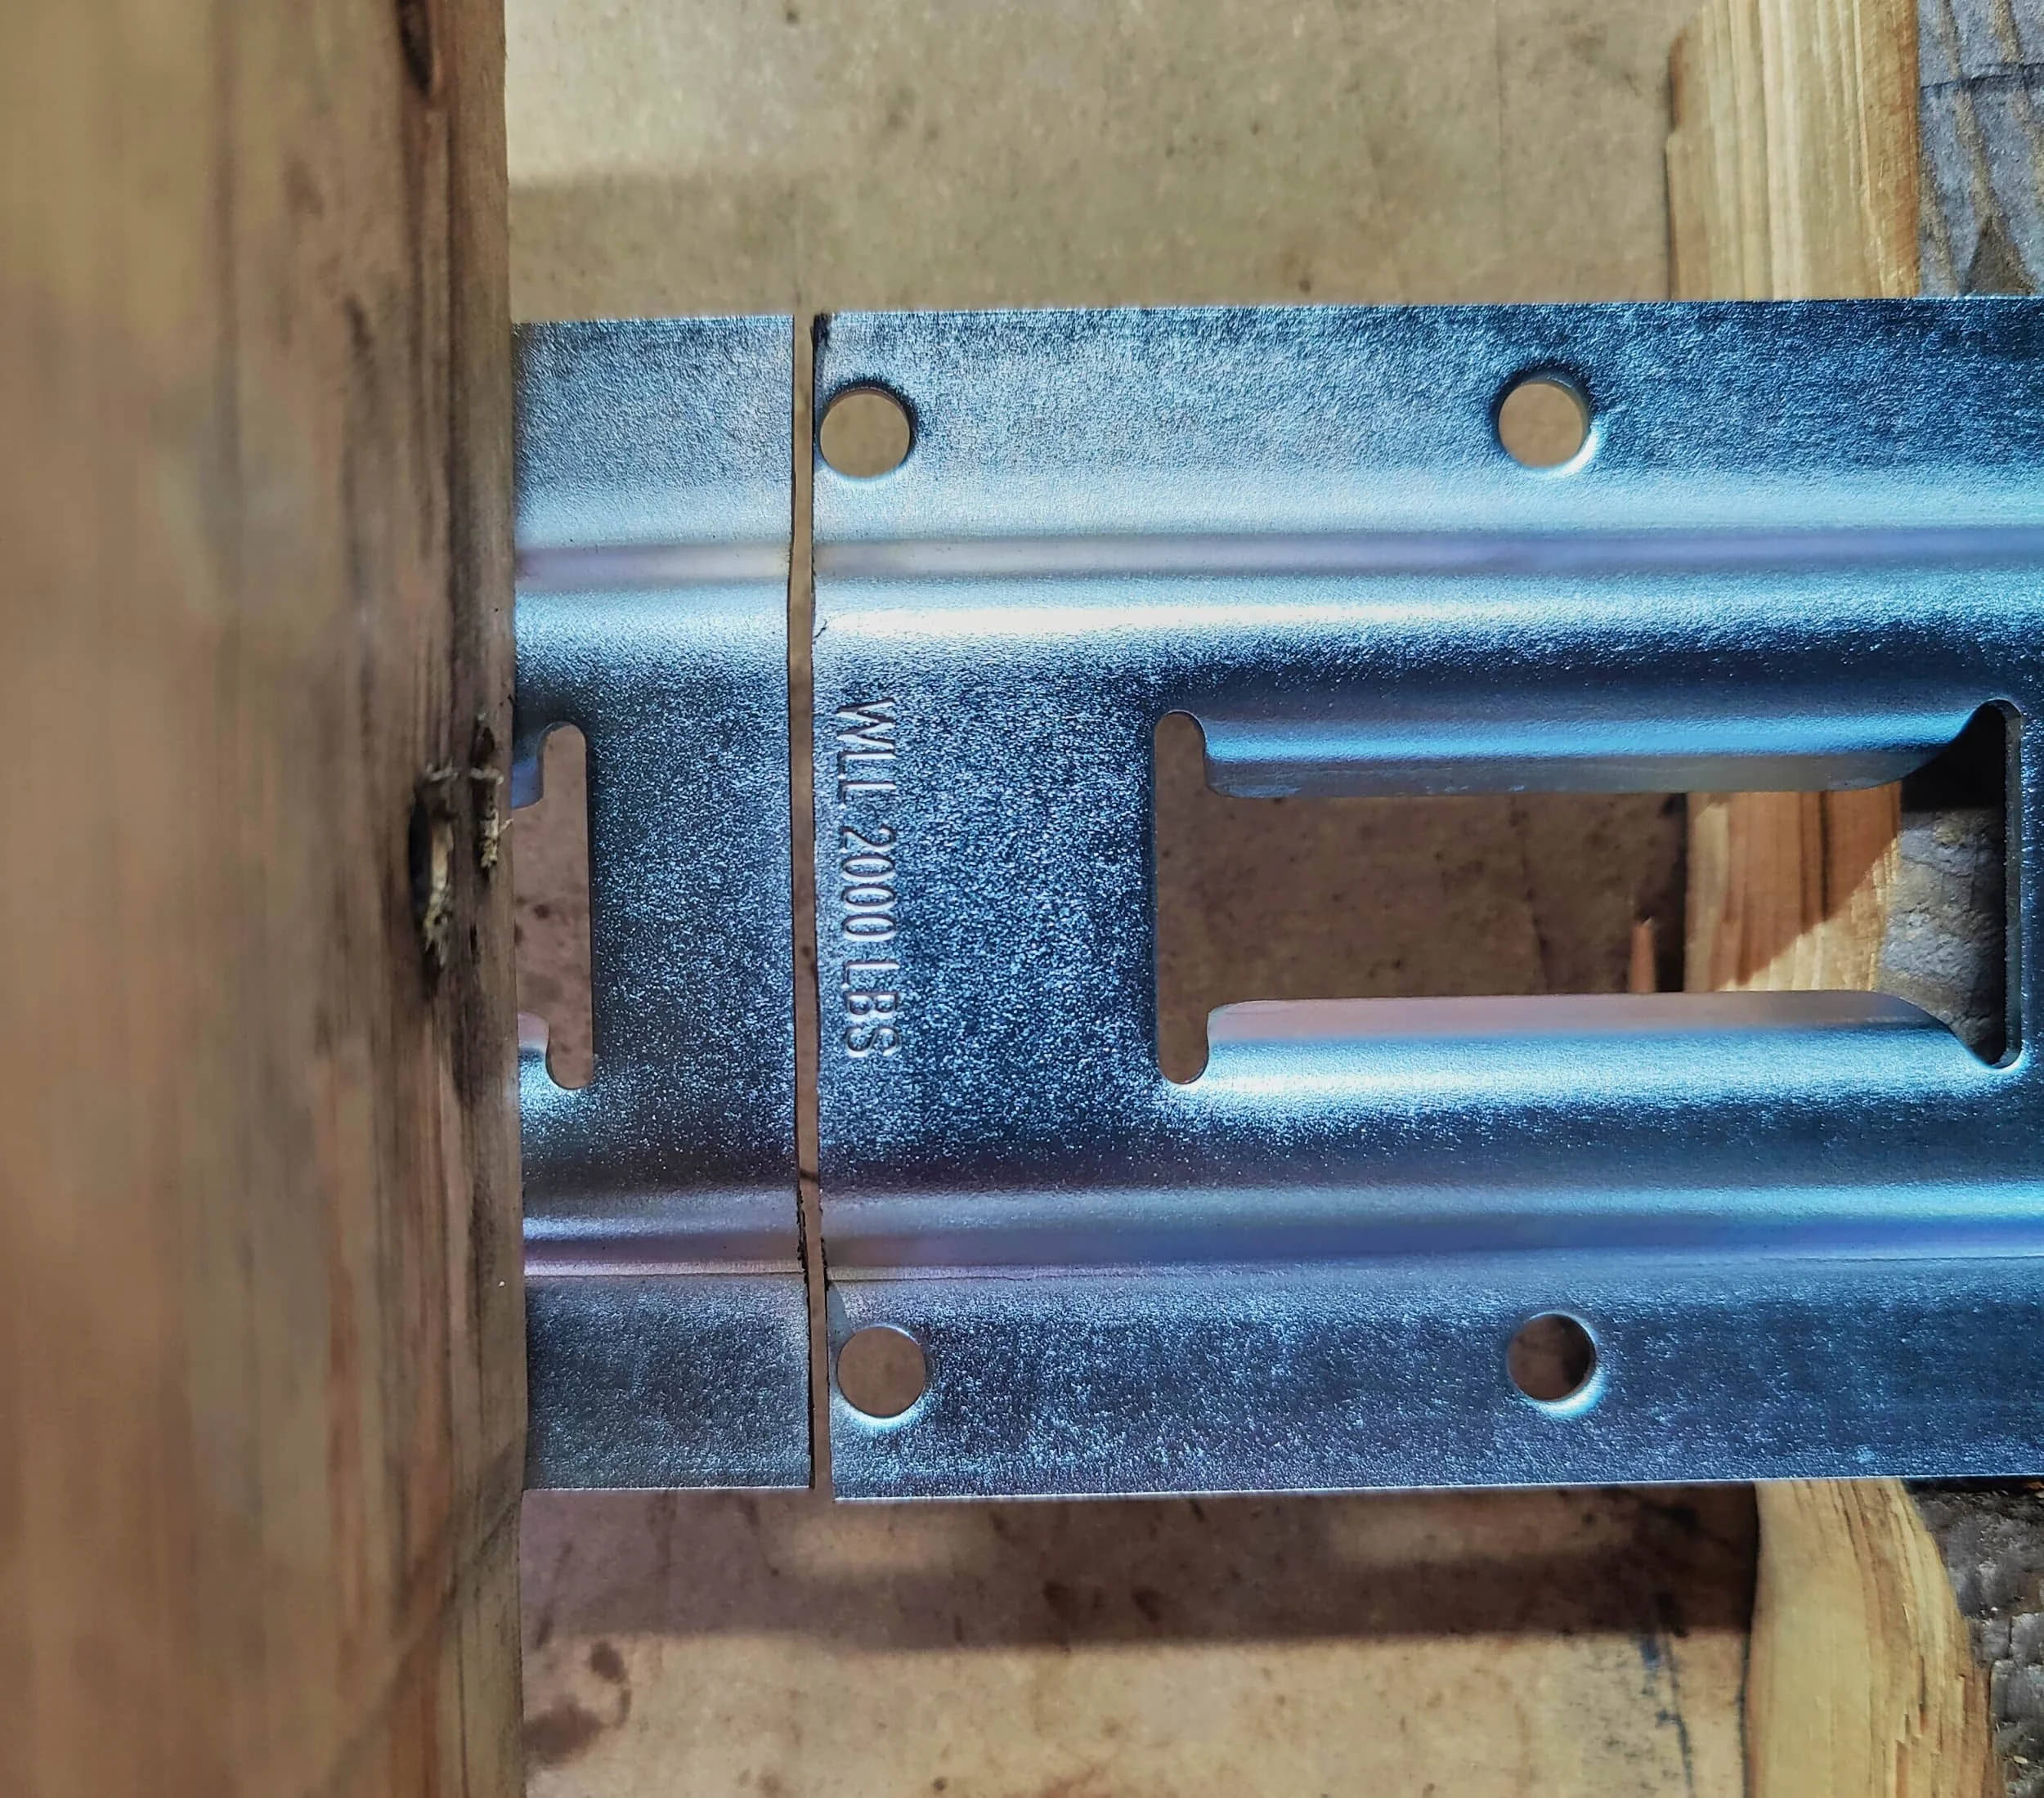
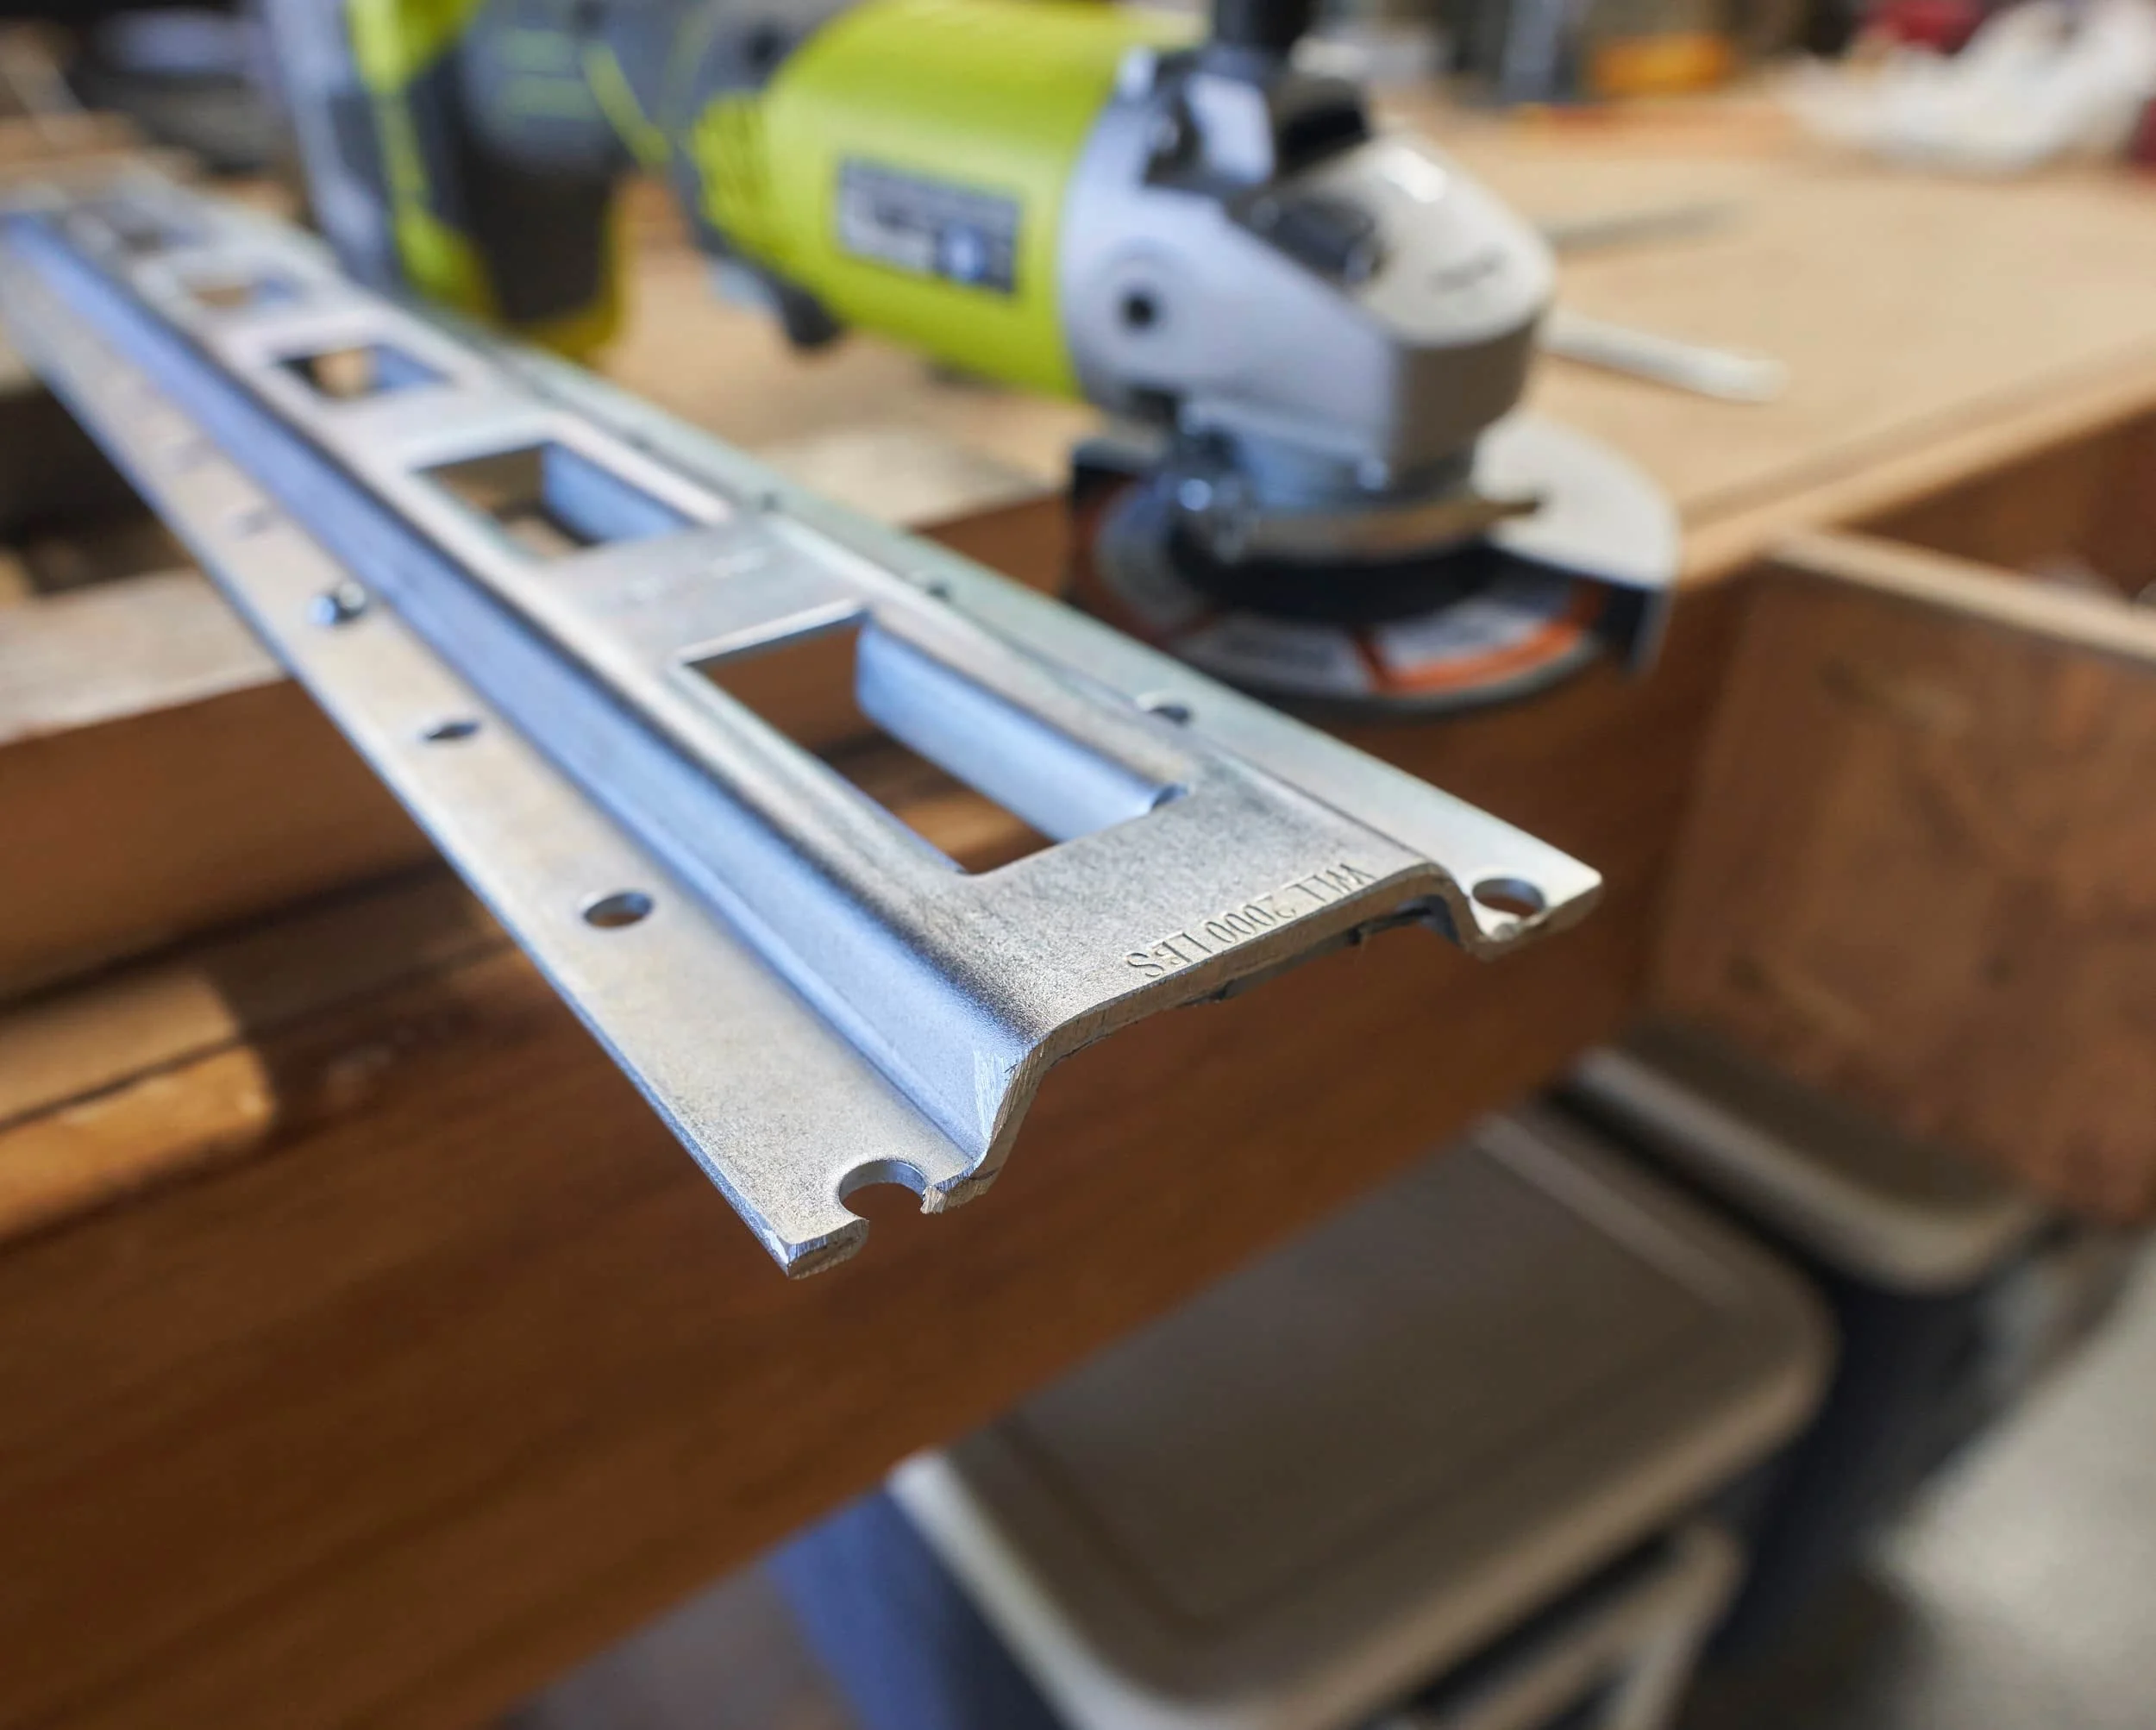
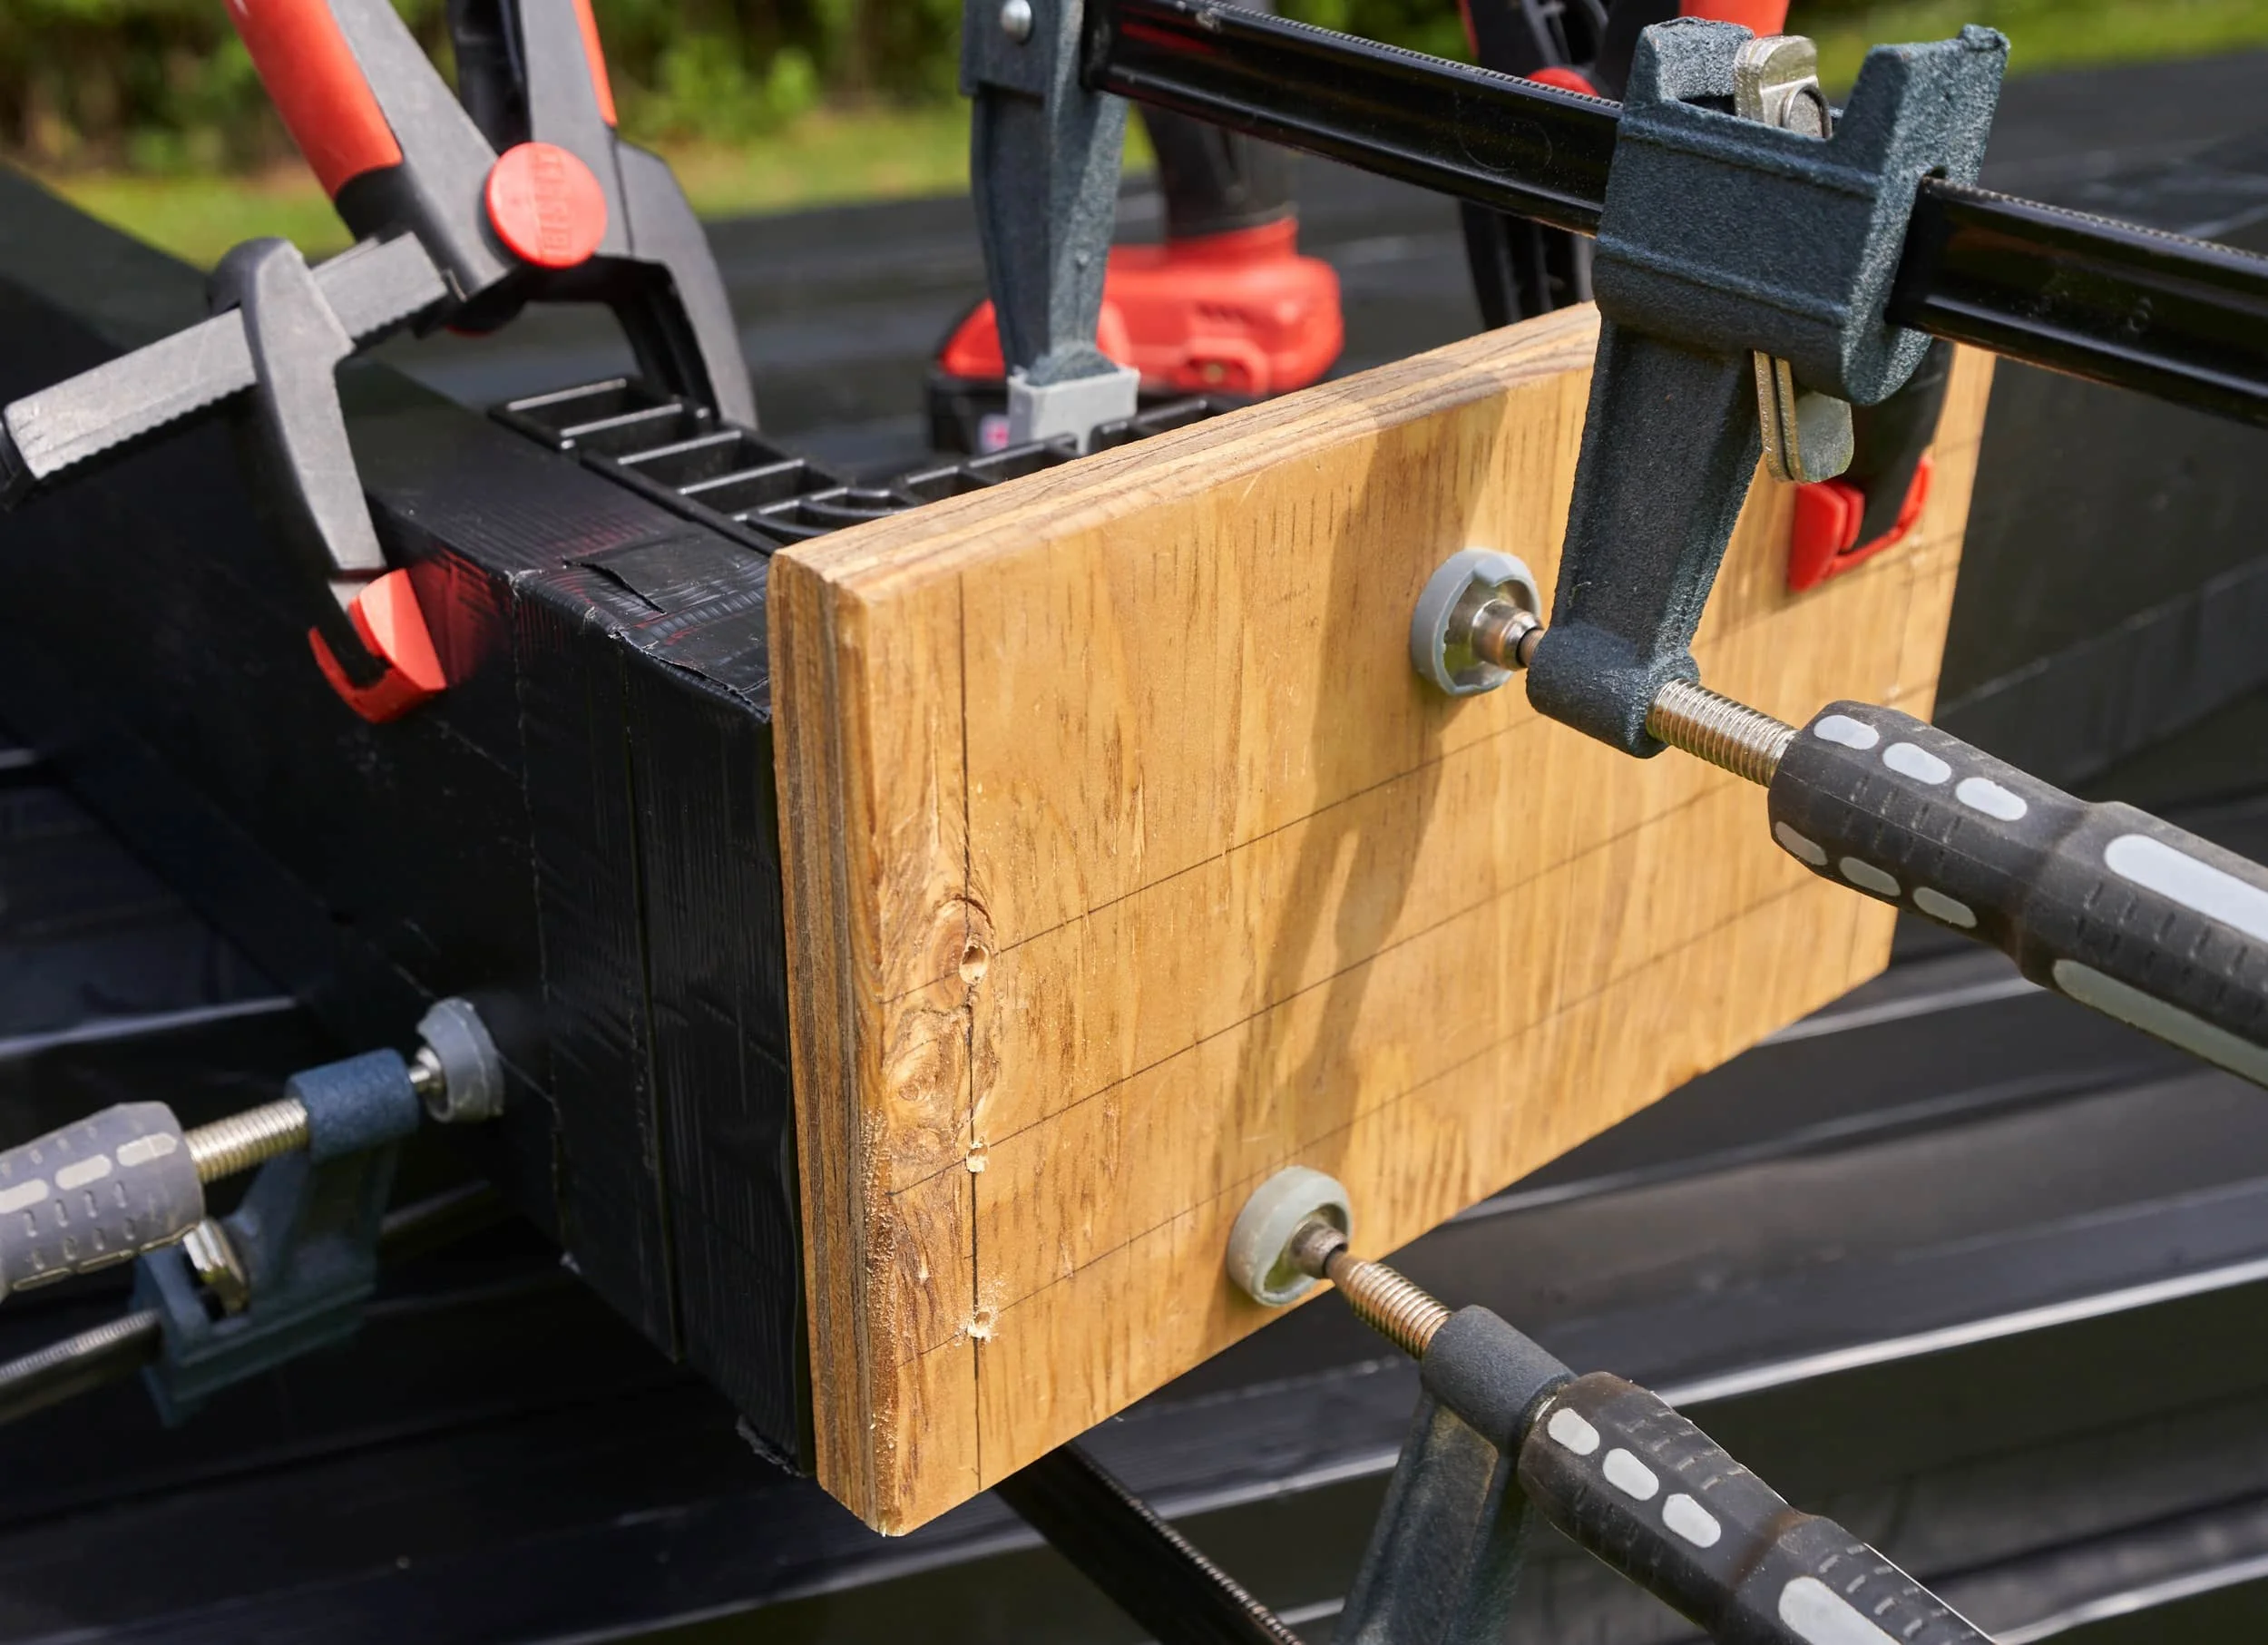
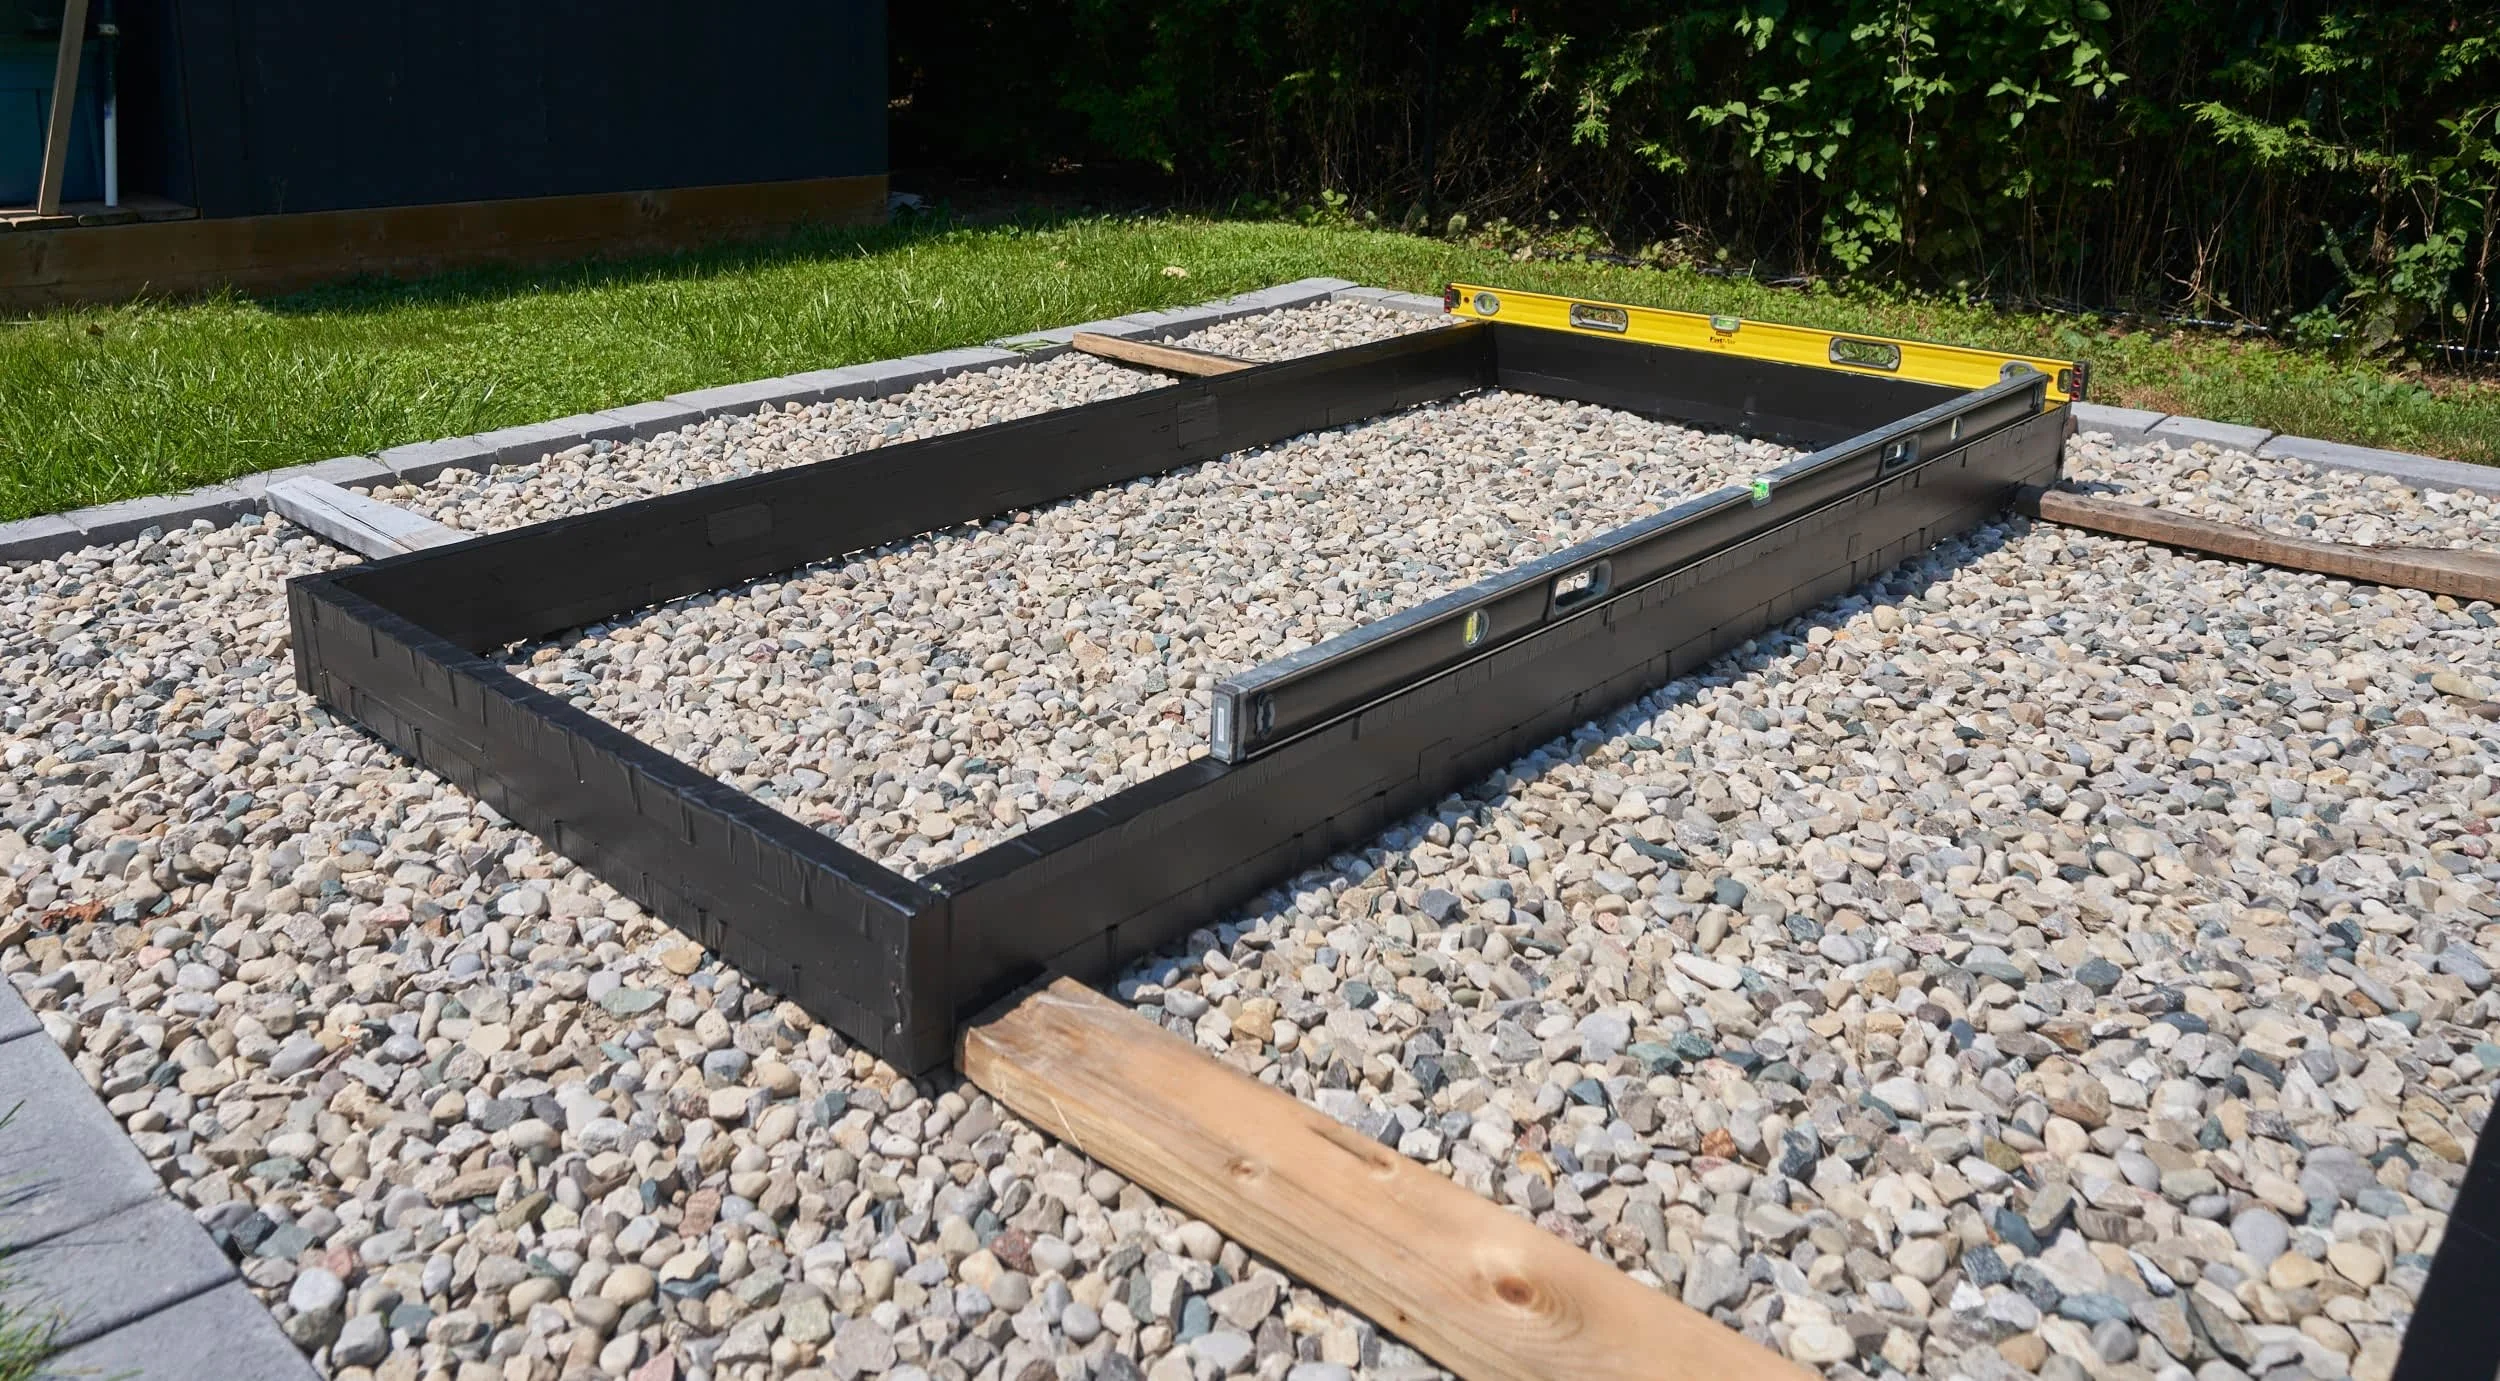
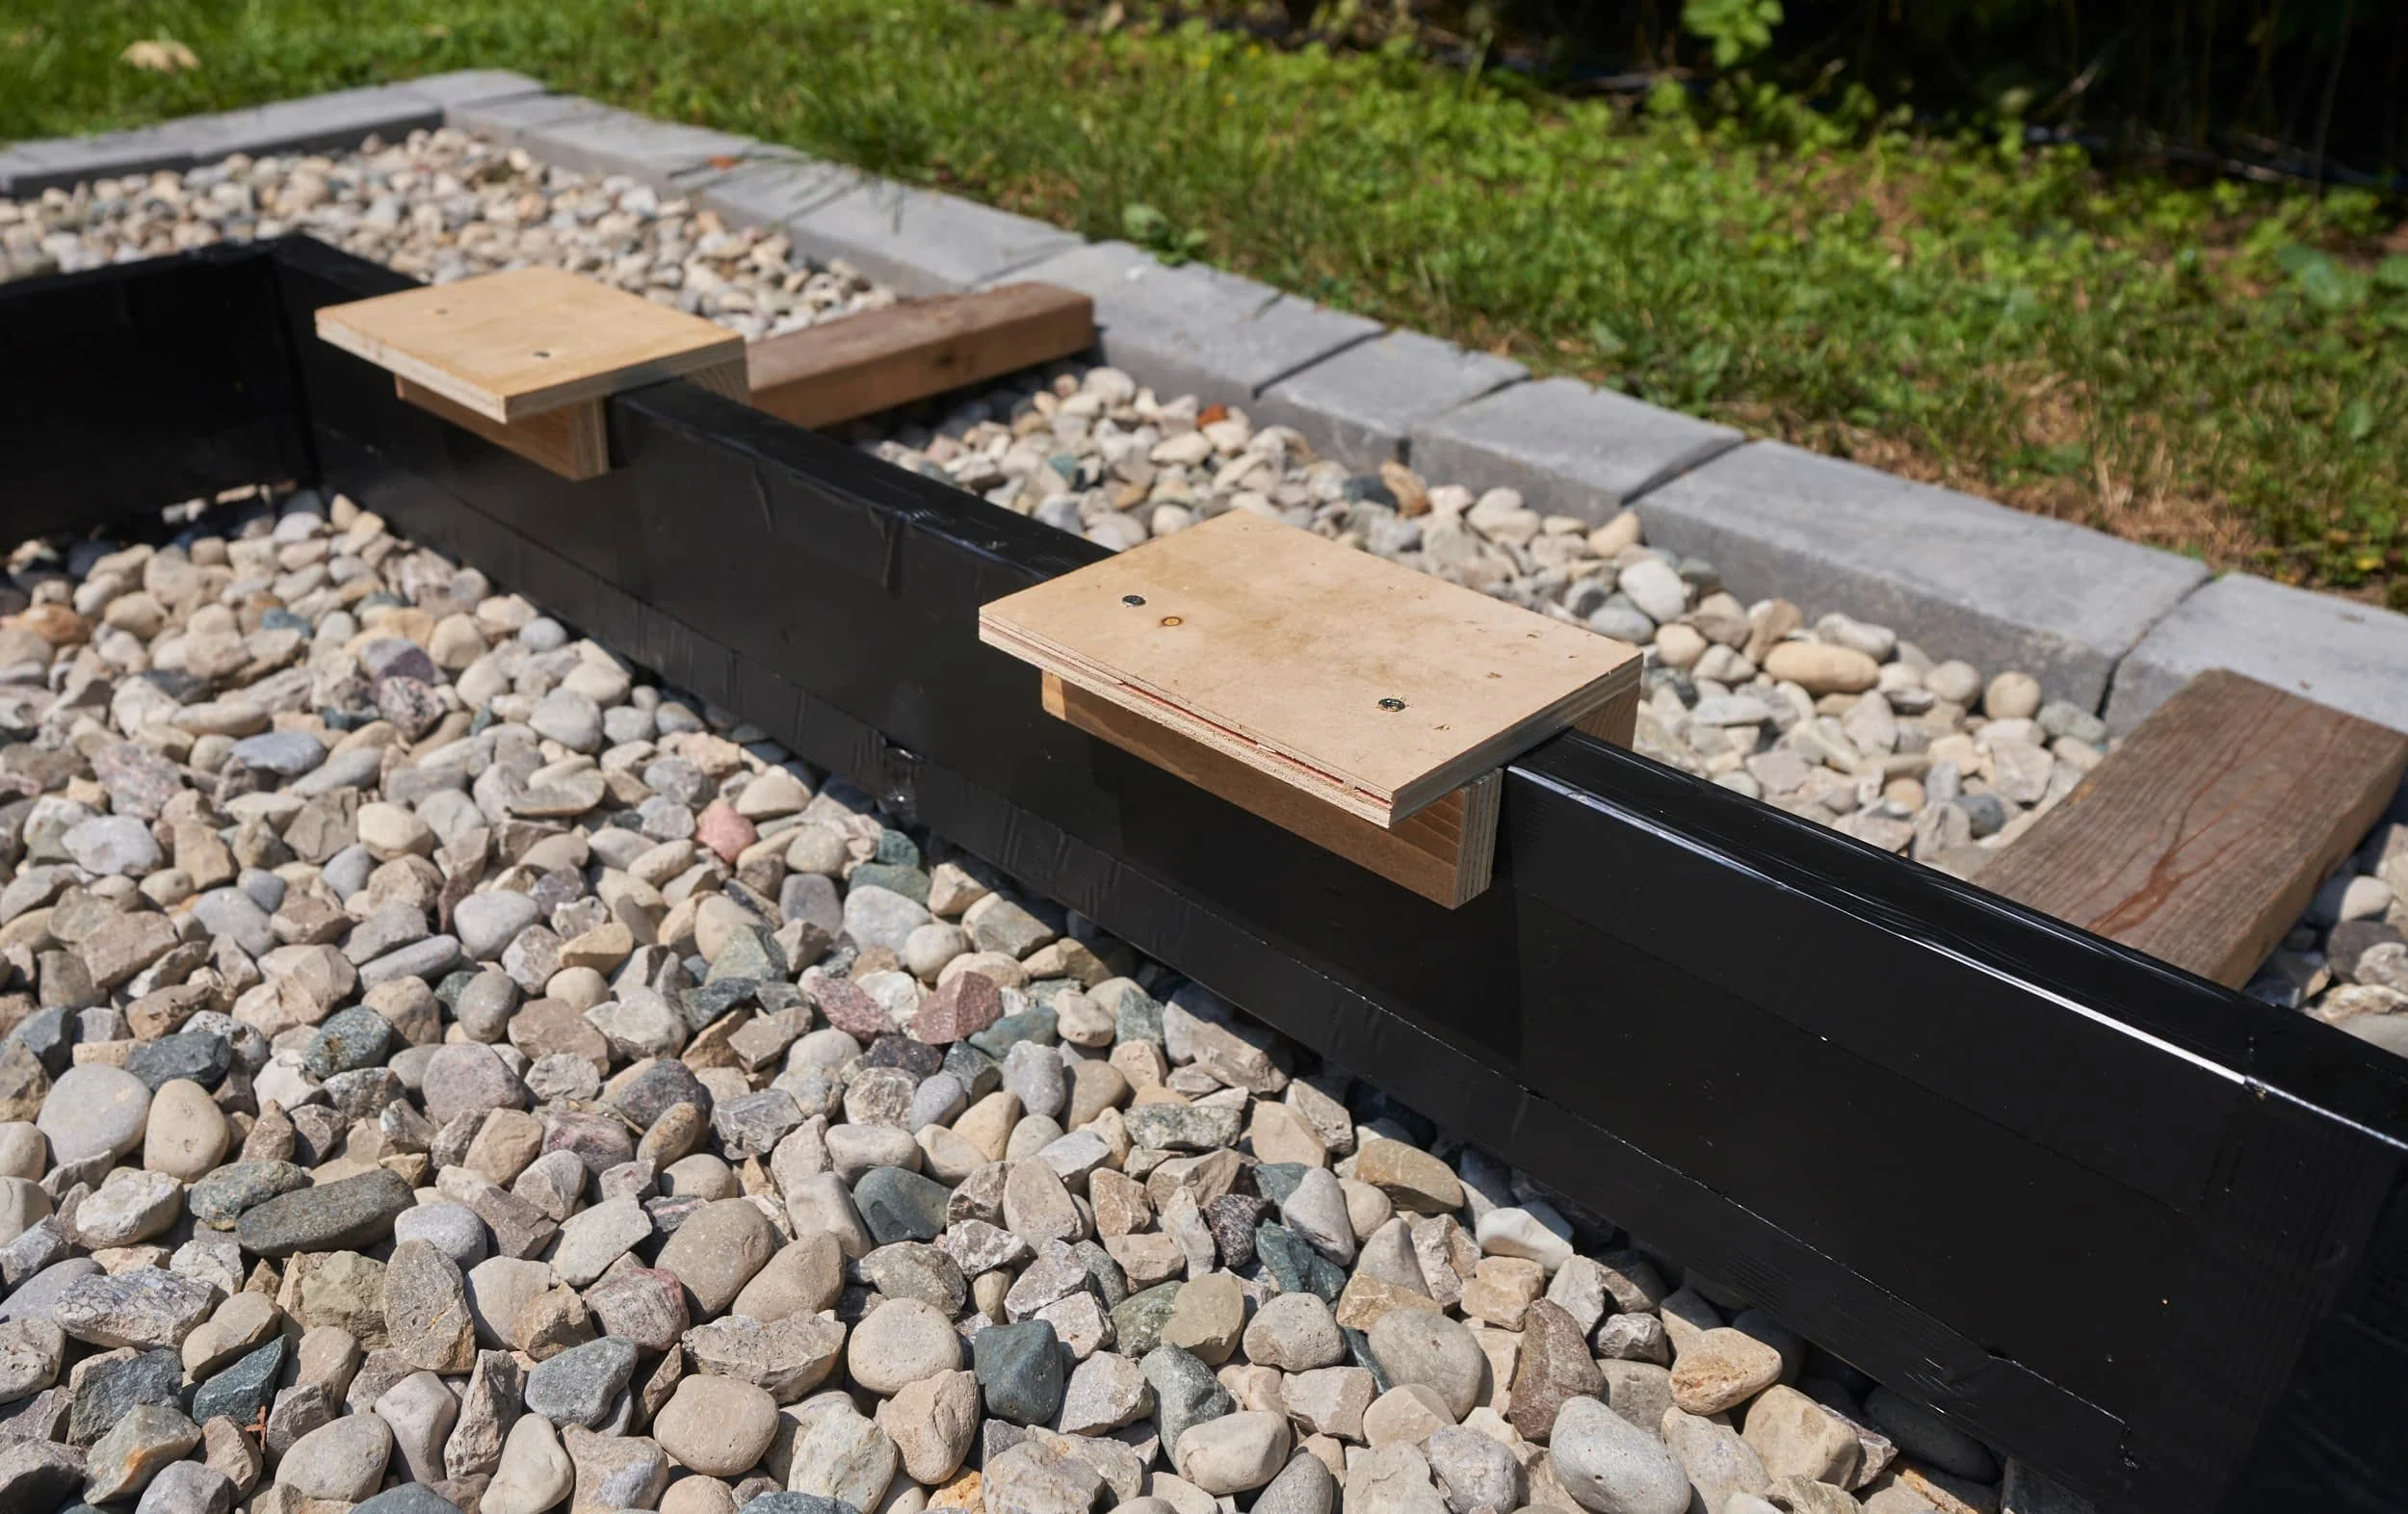
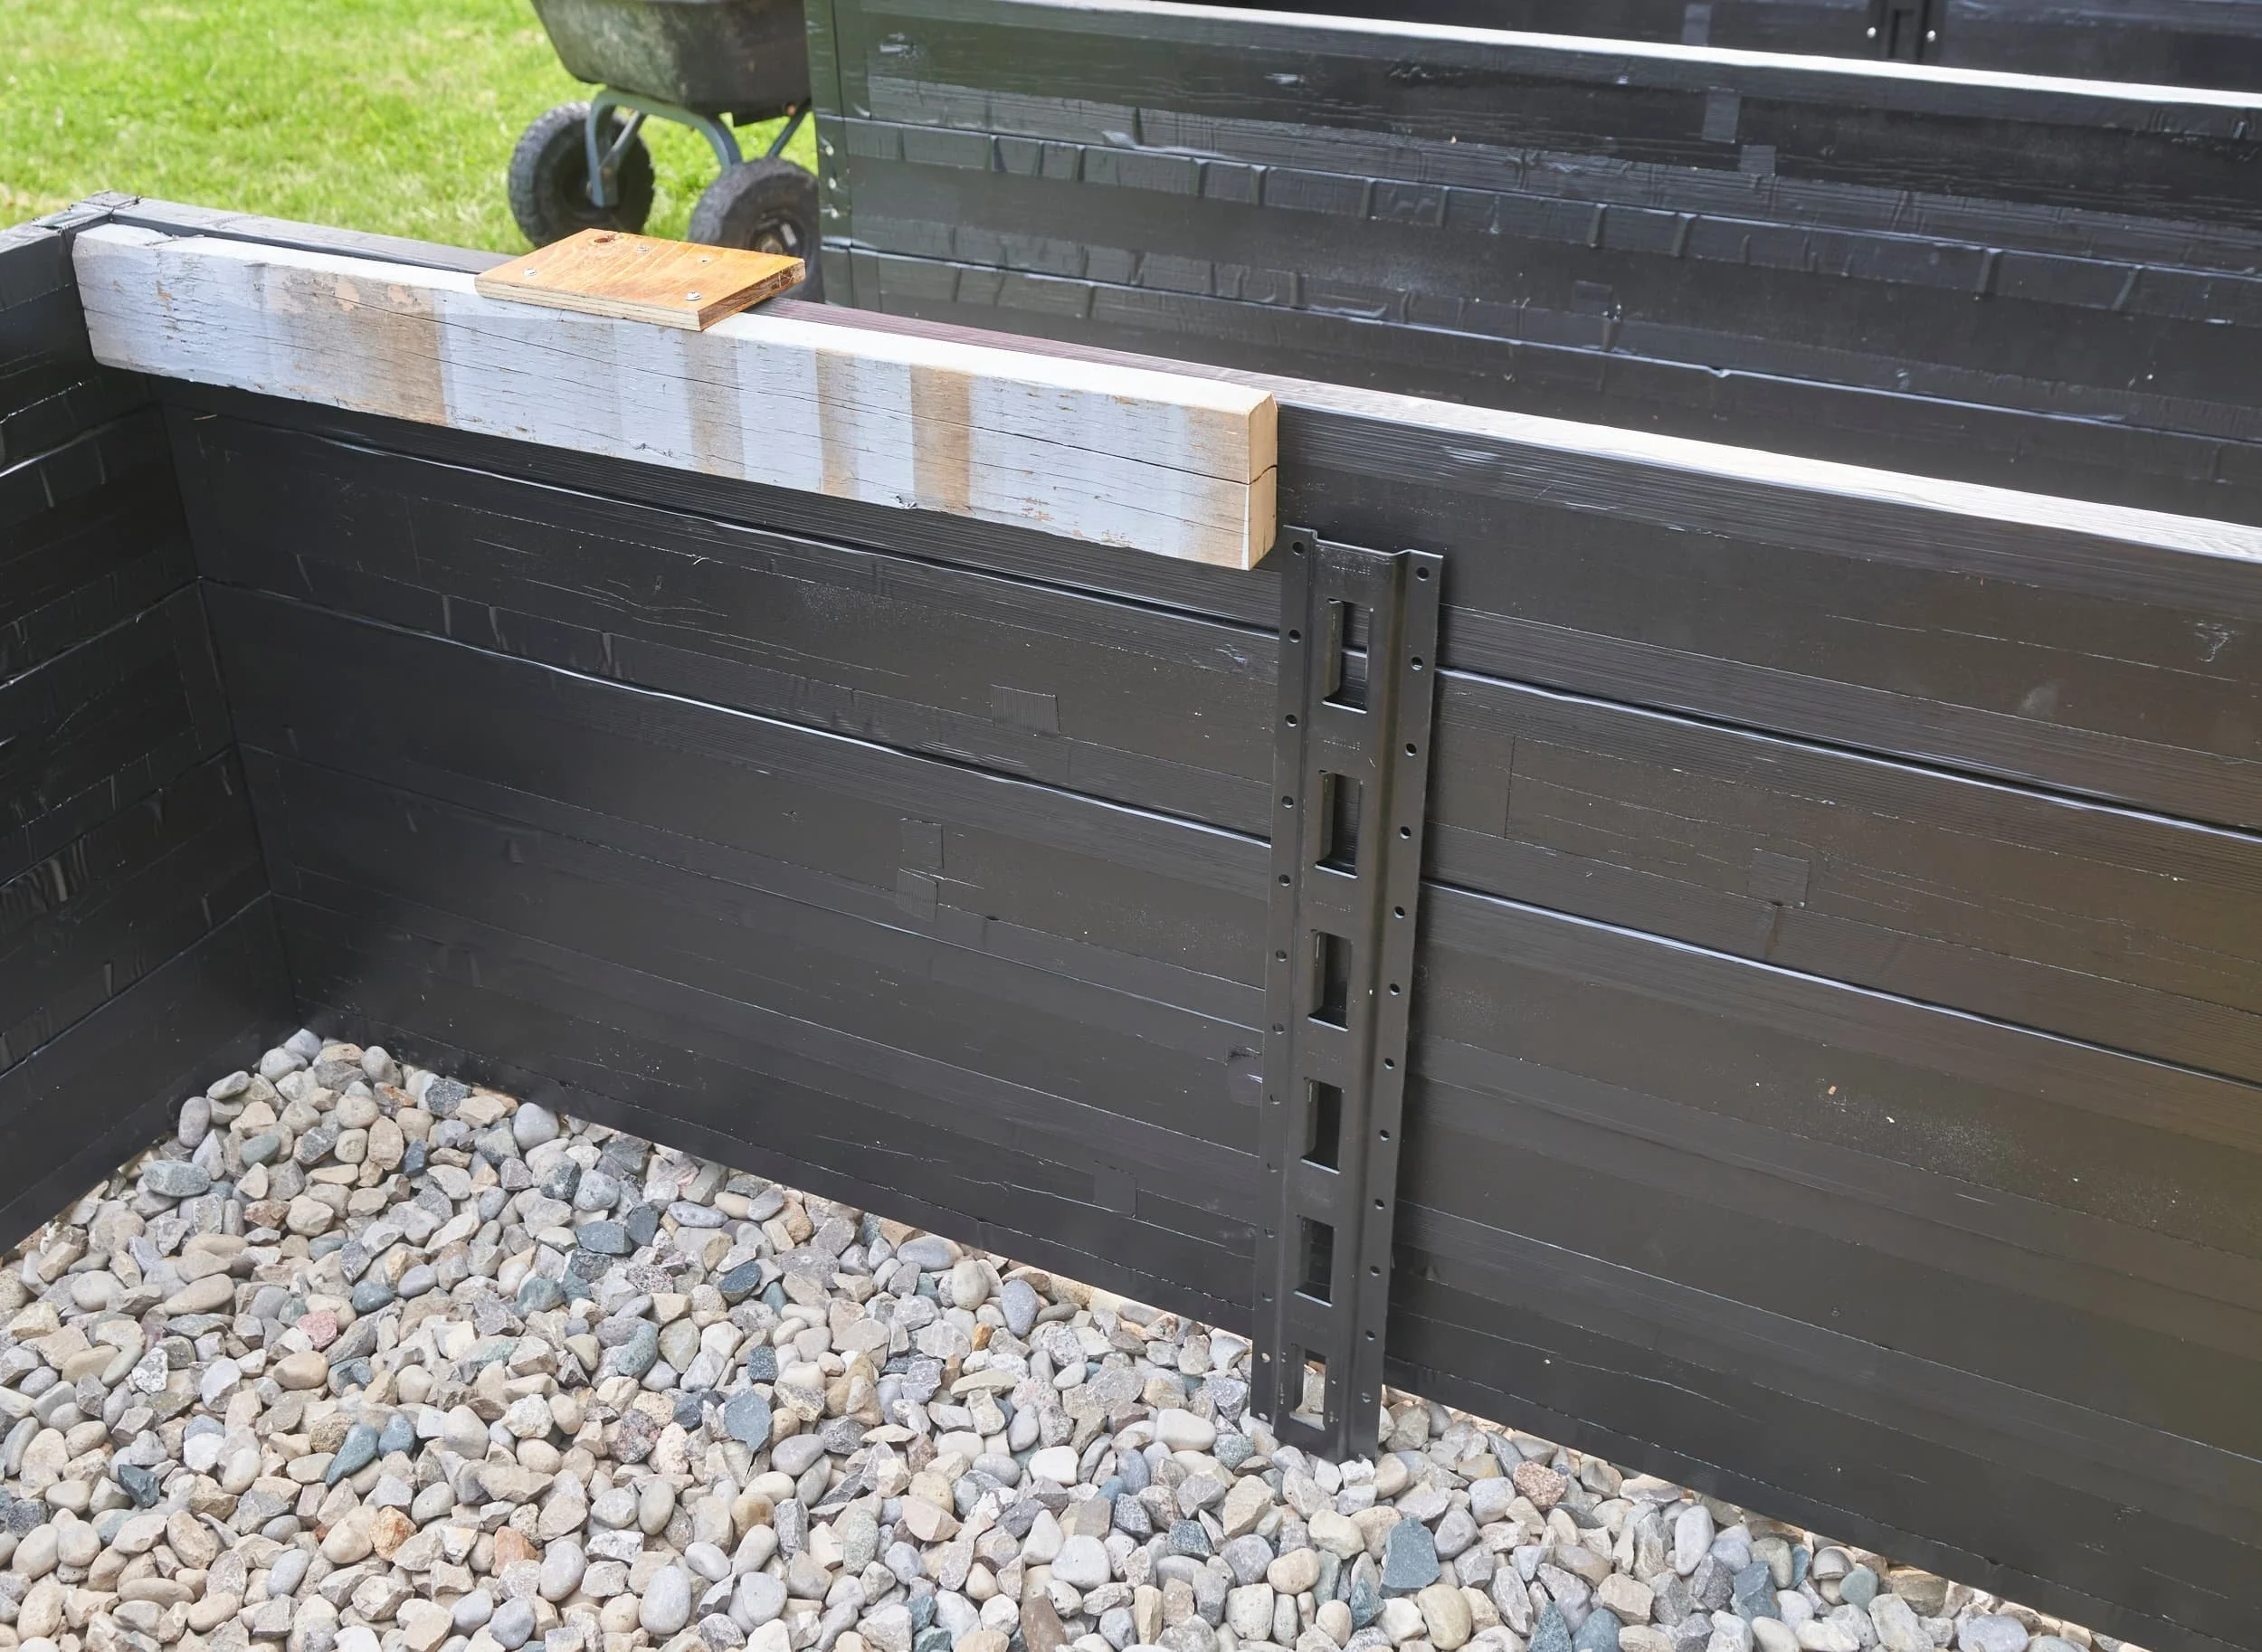
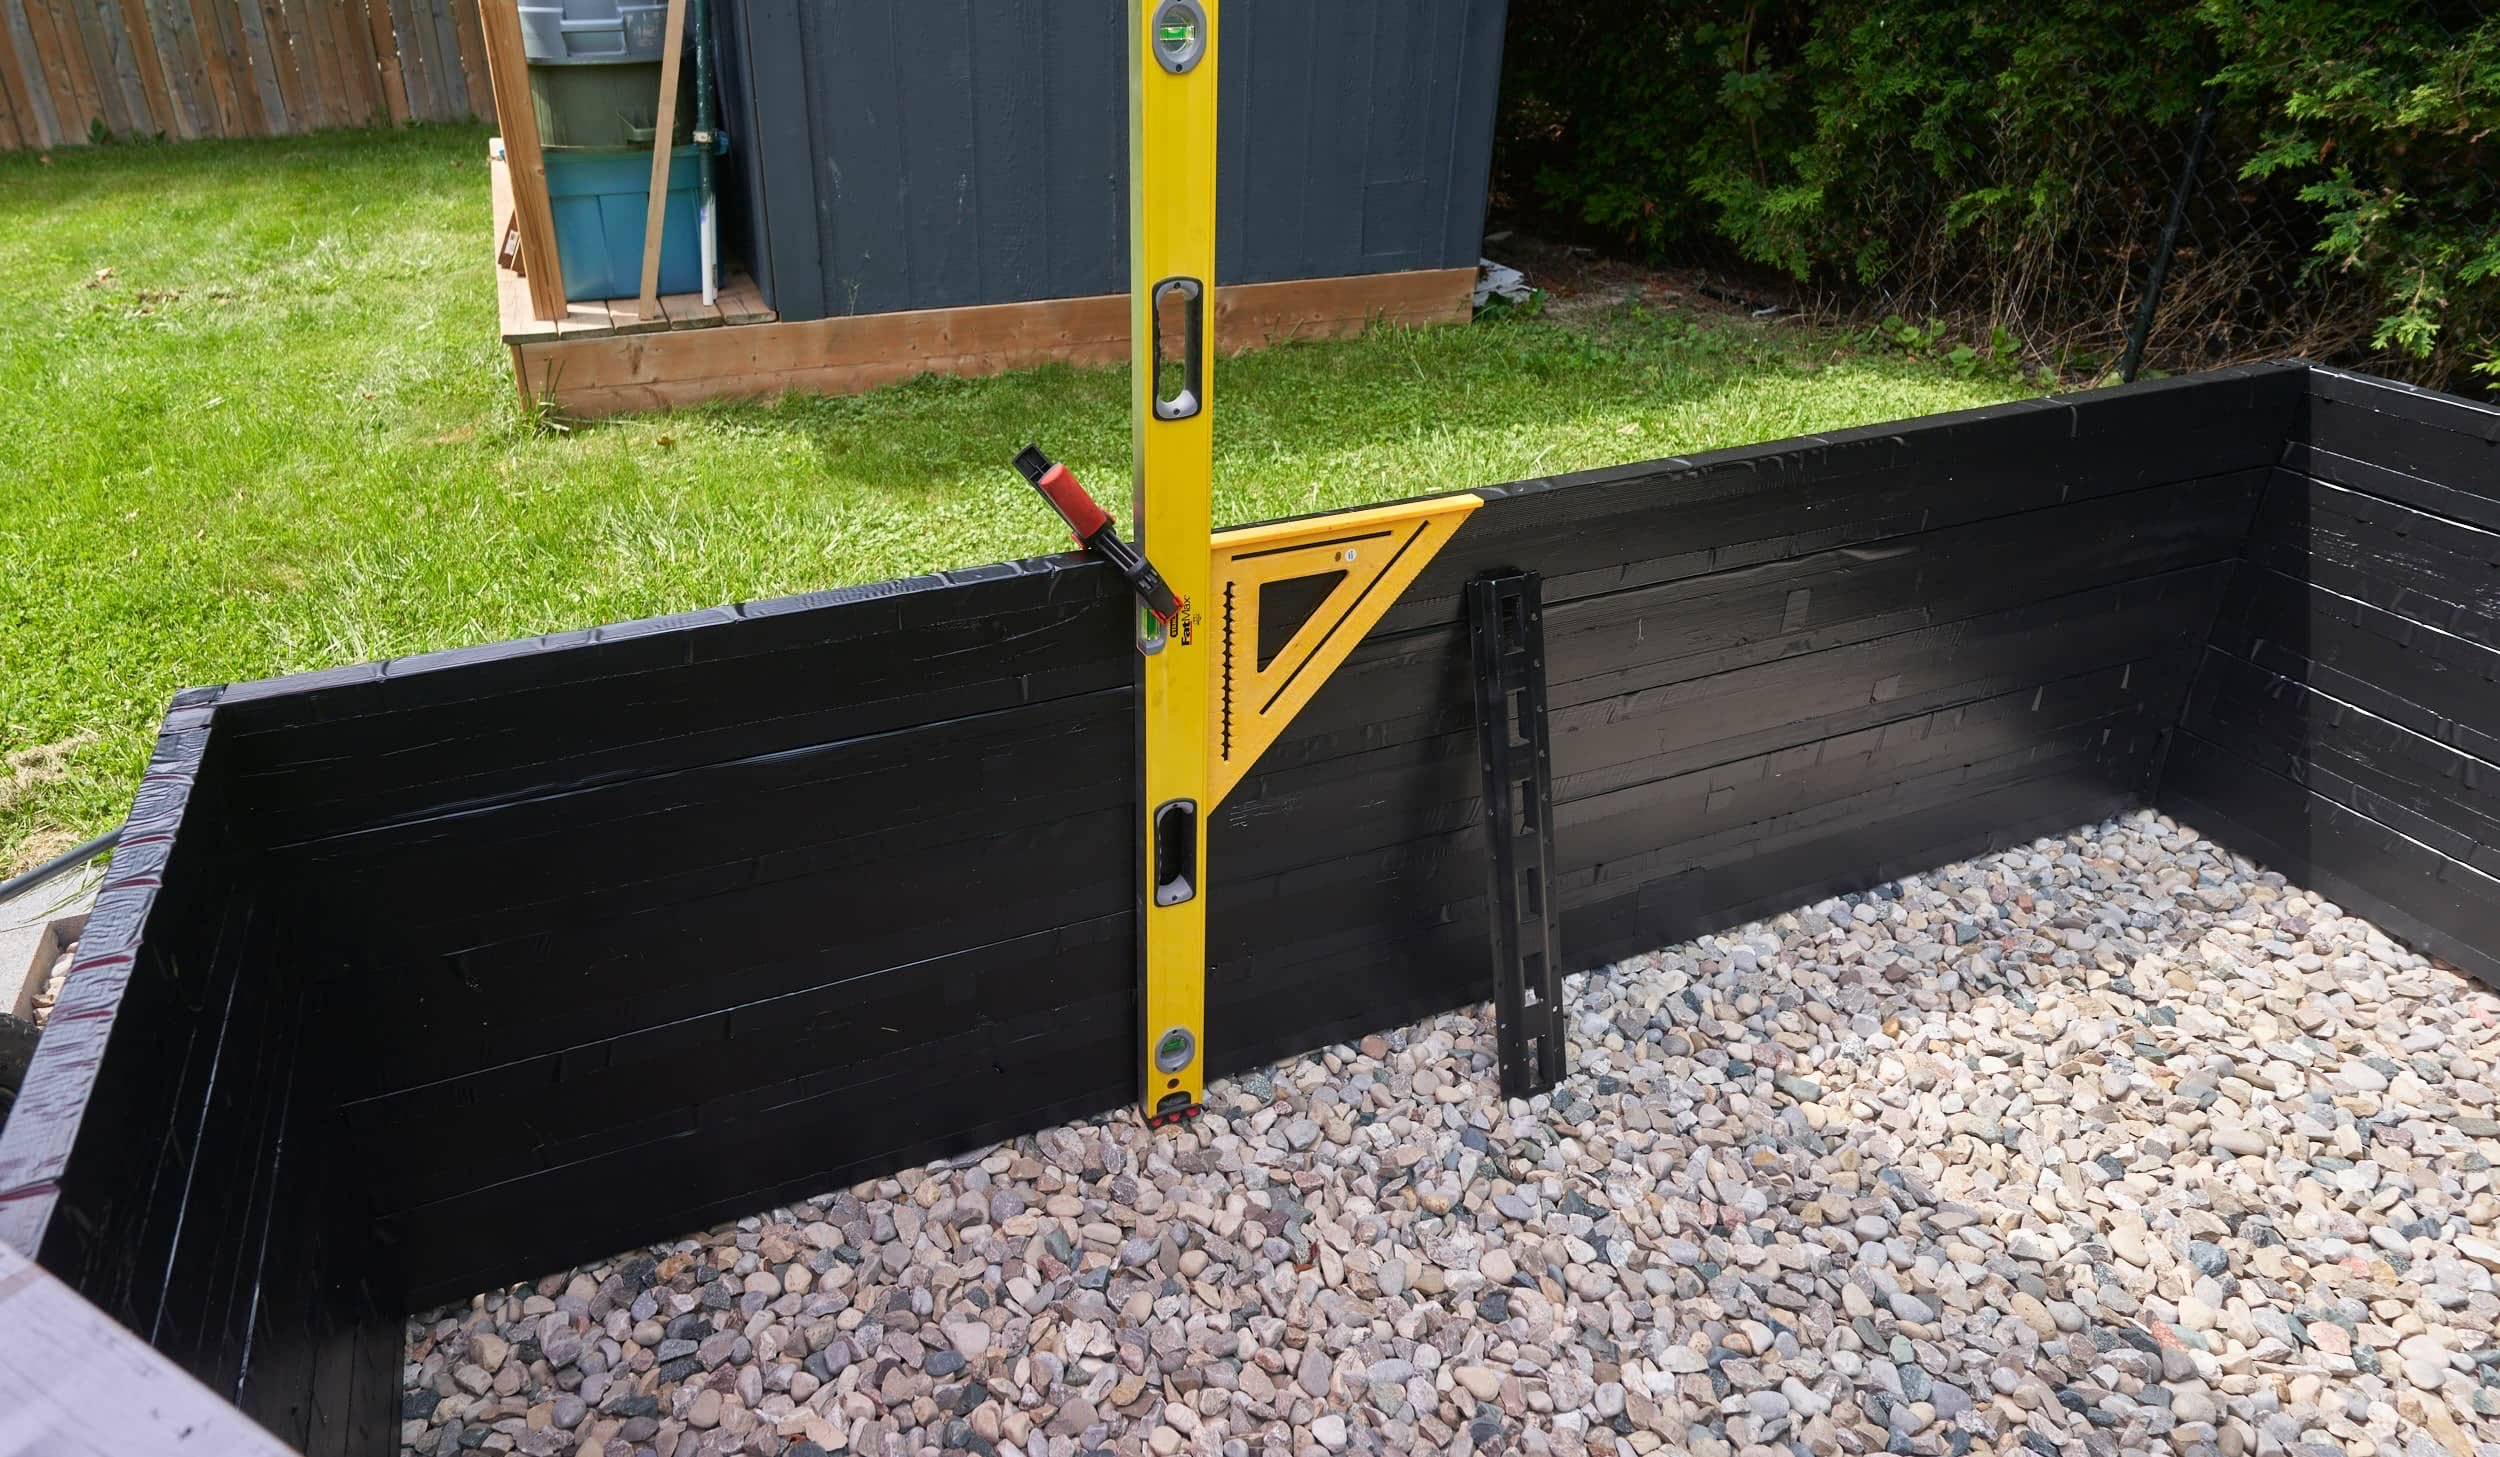
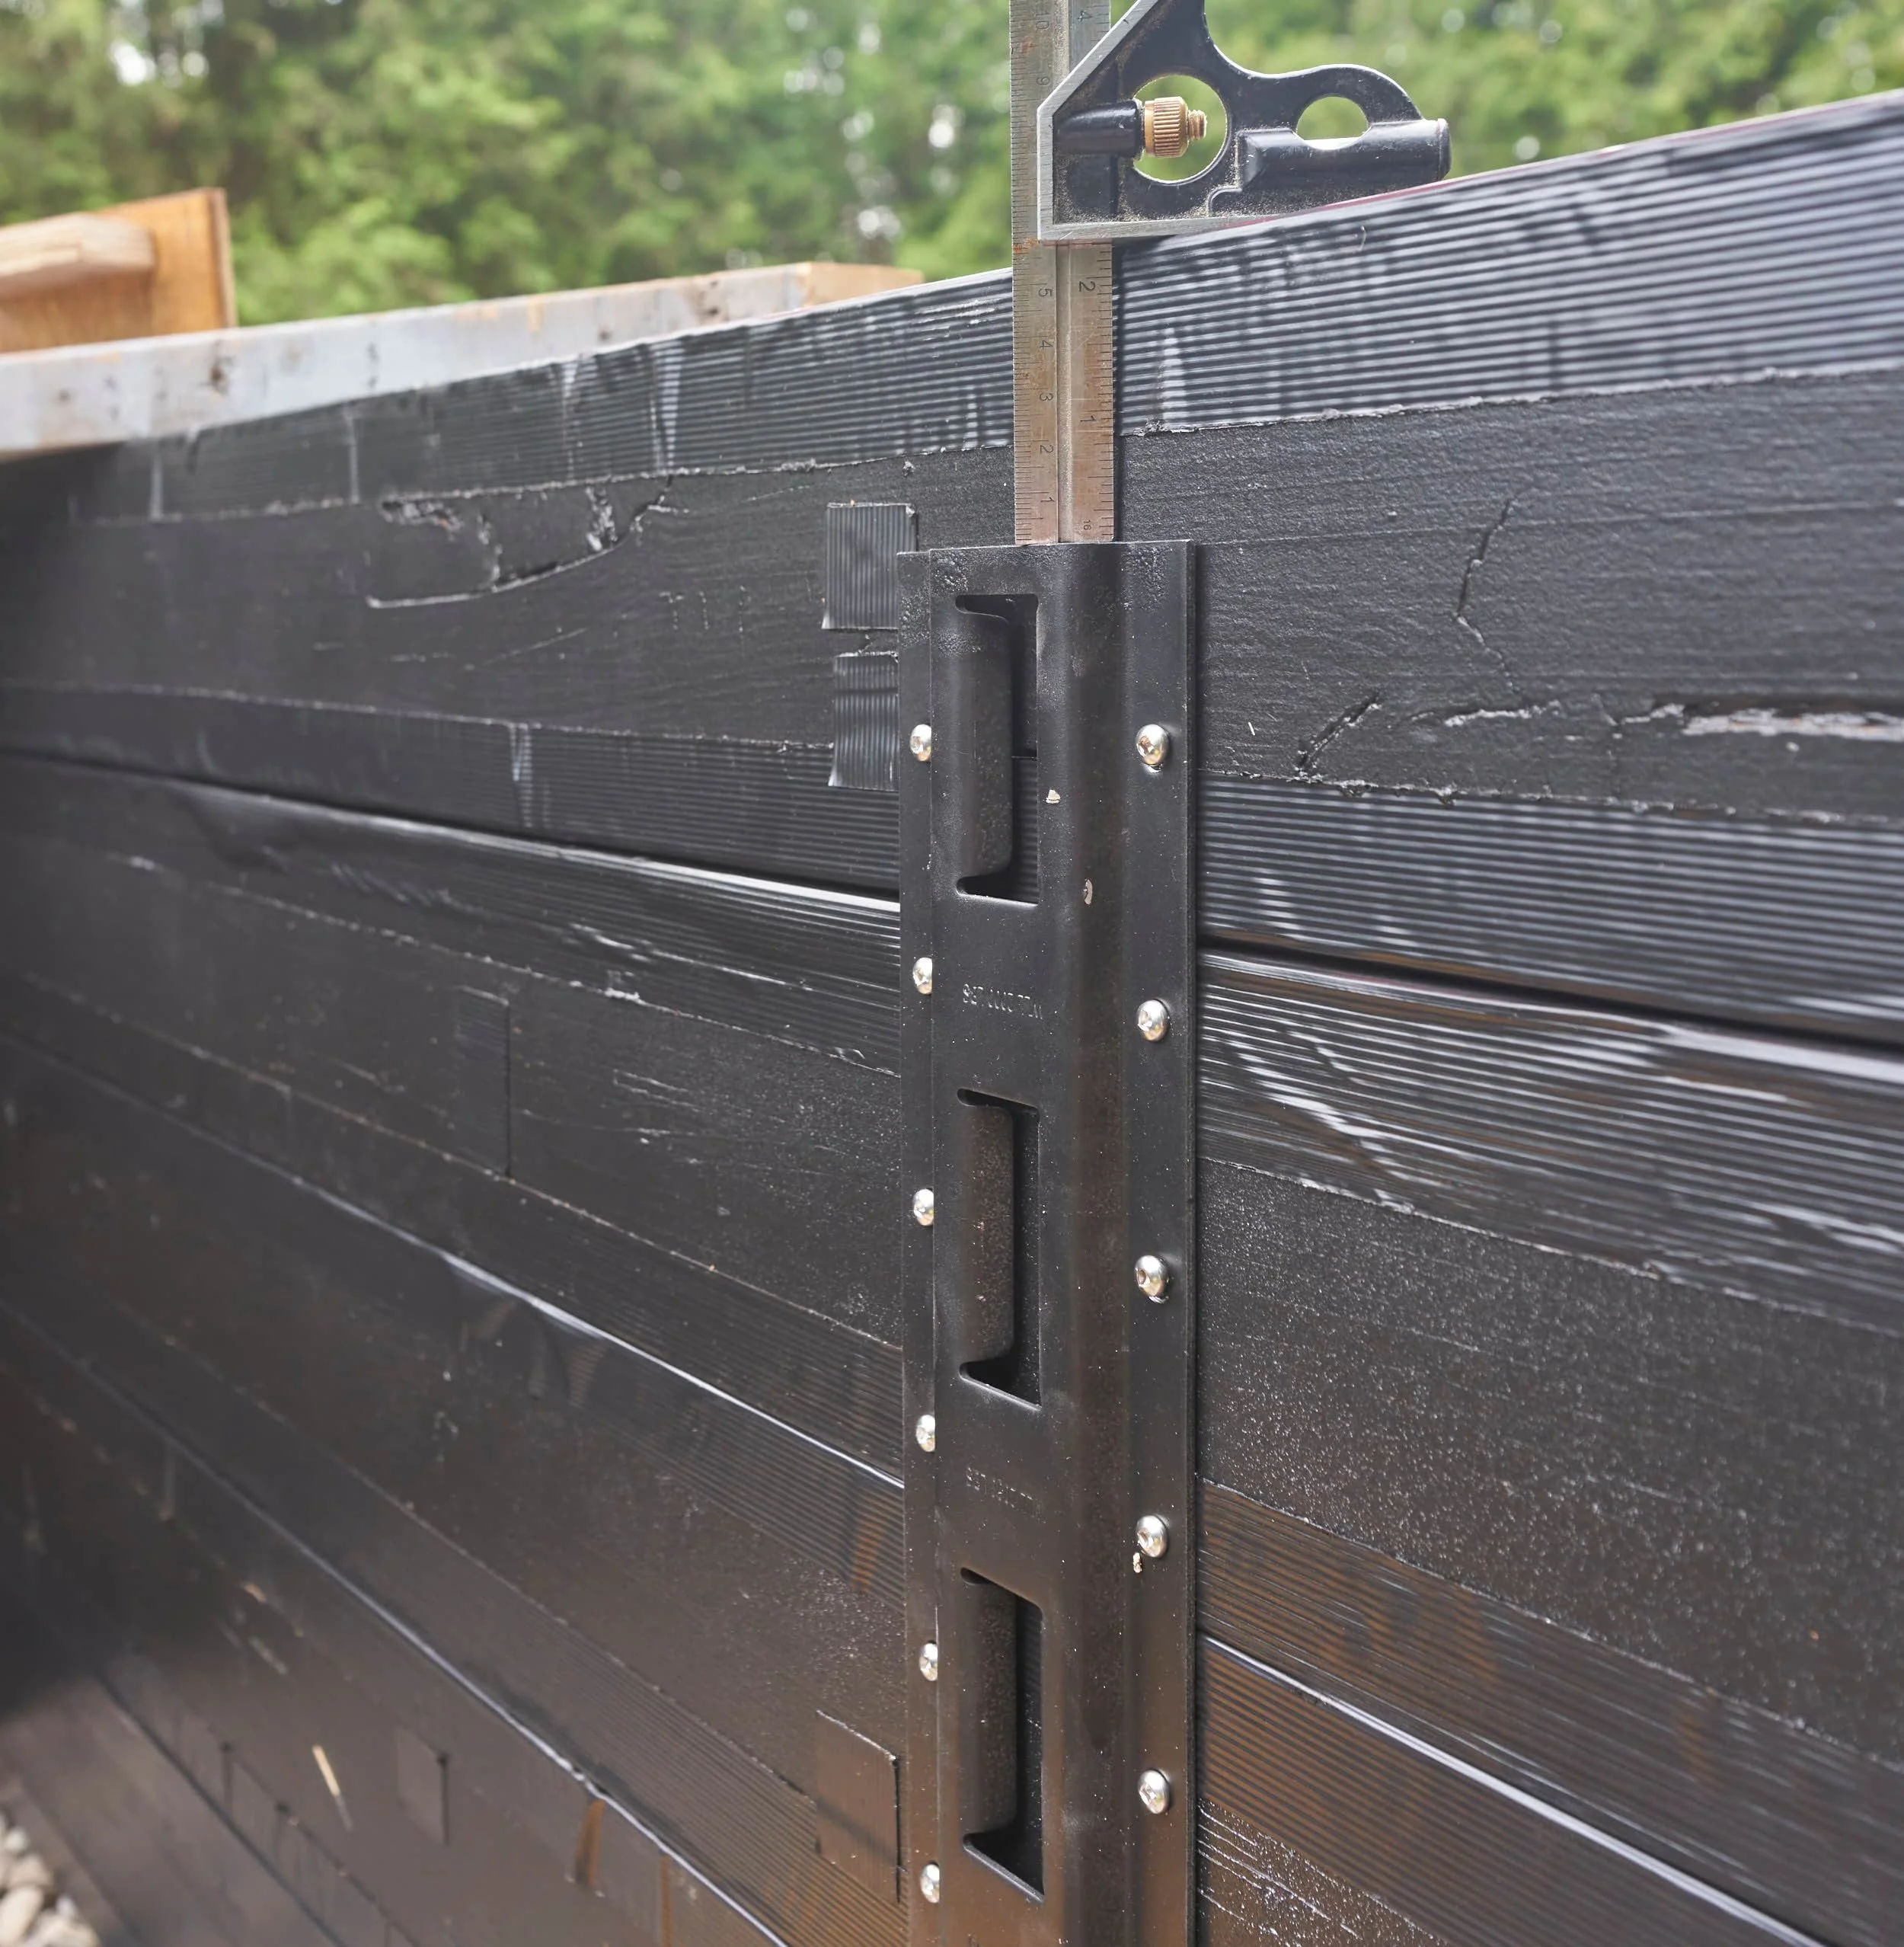
Step 7 - E-track
While my short-boards are all nice and square (for now!), the long boards are all slightly wave since I only ran them through the planer (on both sides). To keep the planter panels coplanar with each other, I wanted to find a way to attach them to each other. Most builds I’ve seen have a stake of sort at regular intervals where the planter boards screw into the stake, connecting them all together. From an aesthetic reason, I was against this — I wanted a clean box (or as clean as I could get it).
I opted to use e-track as it’s got the strength to forcibly hold the boards all together and is reasonably good at not rusting. I covered the e-track with plasti-dip just to be sure.


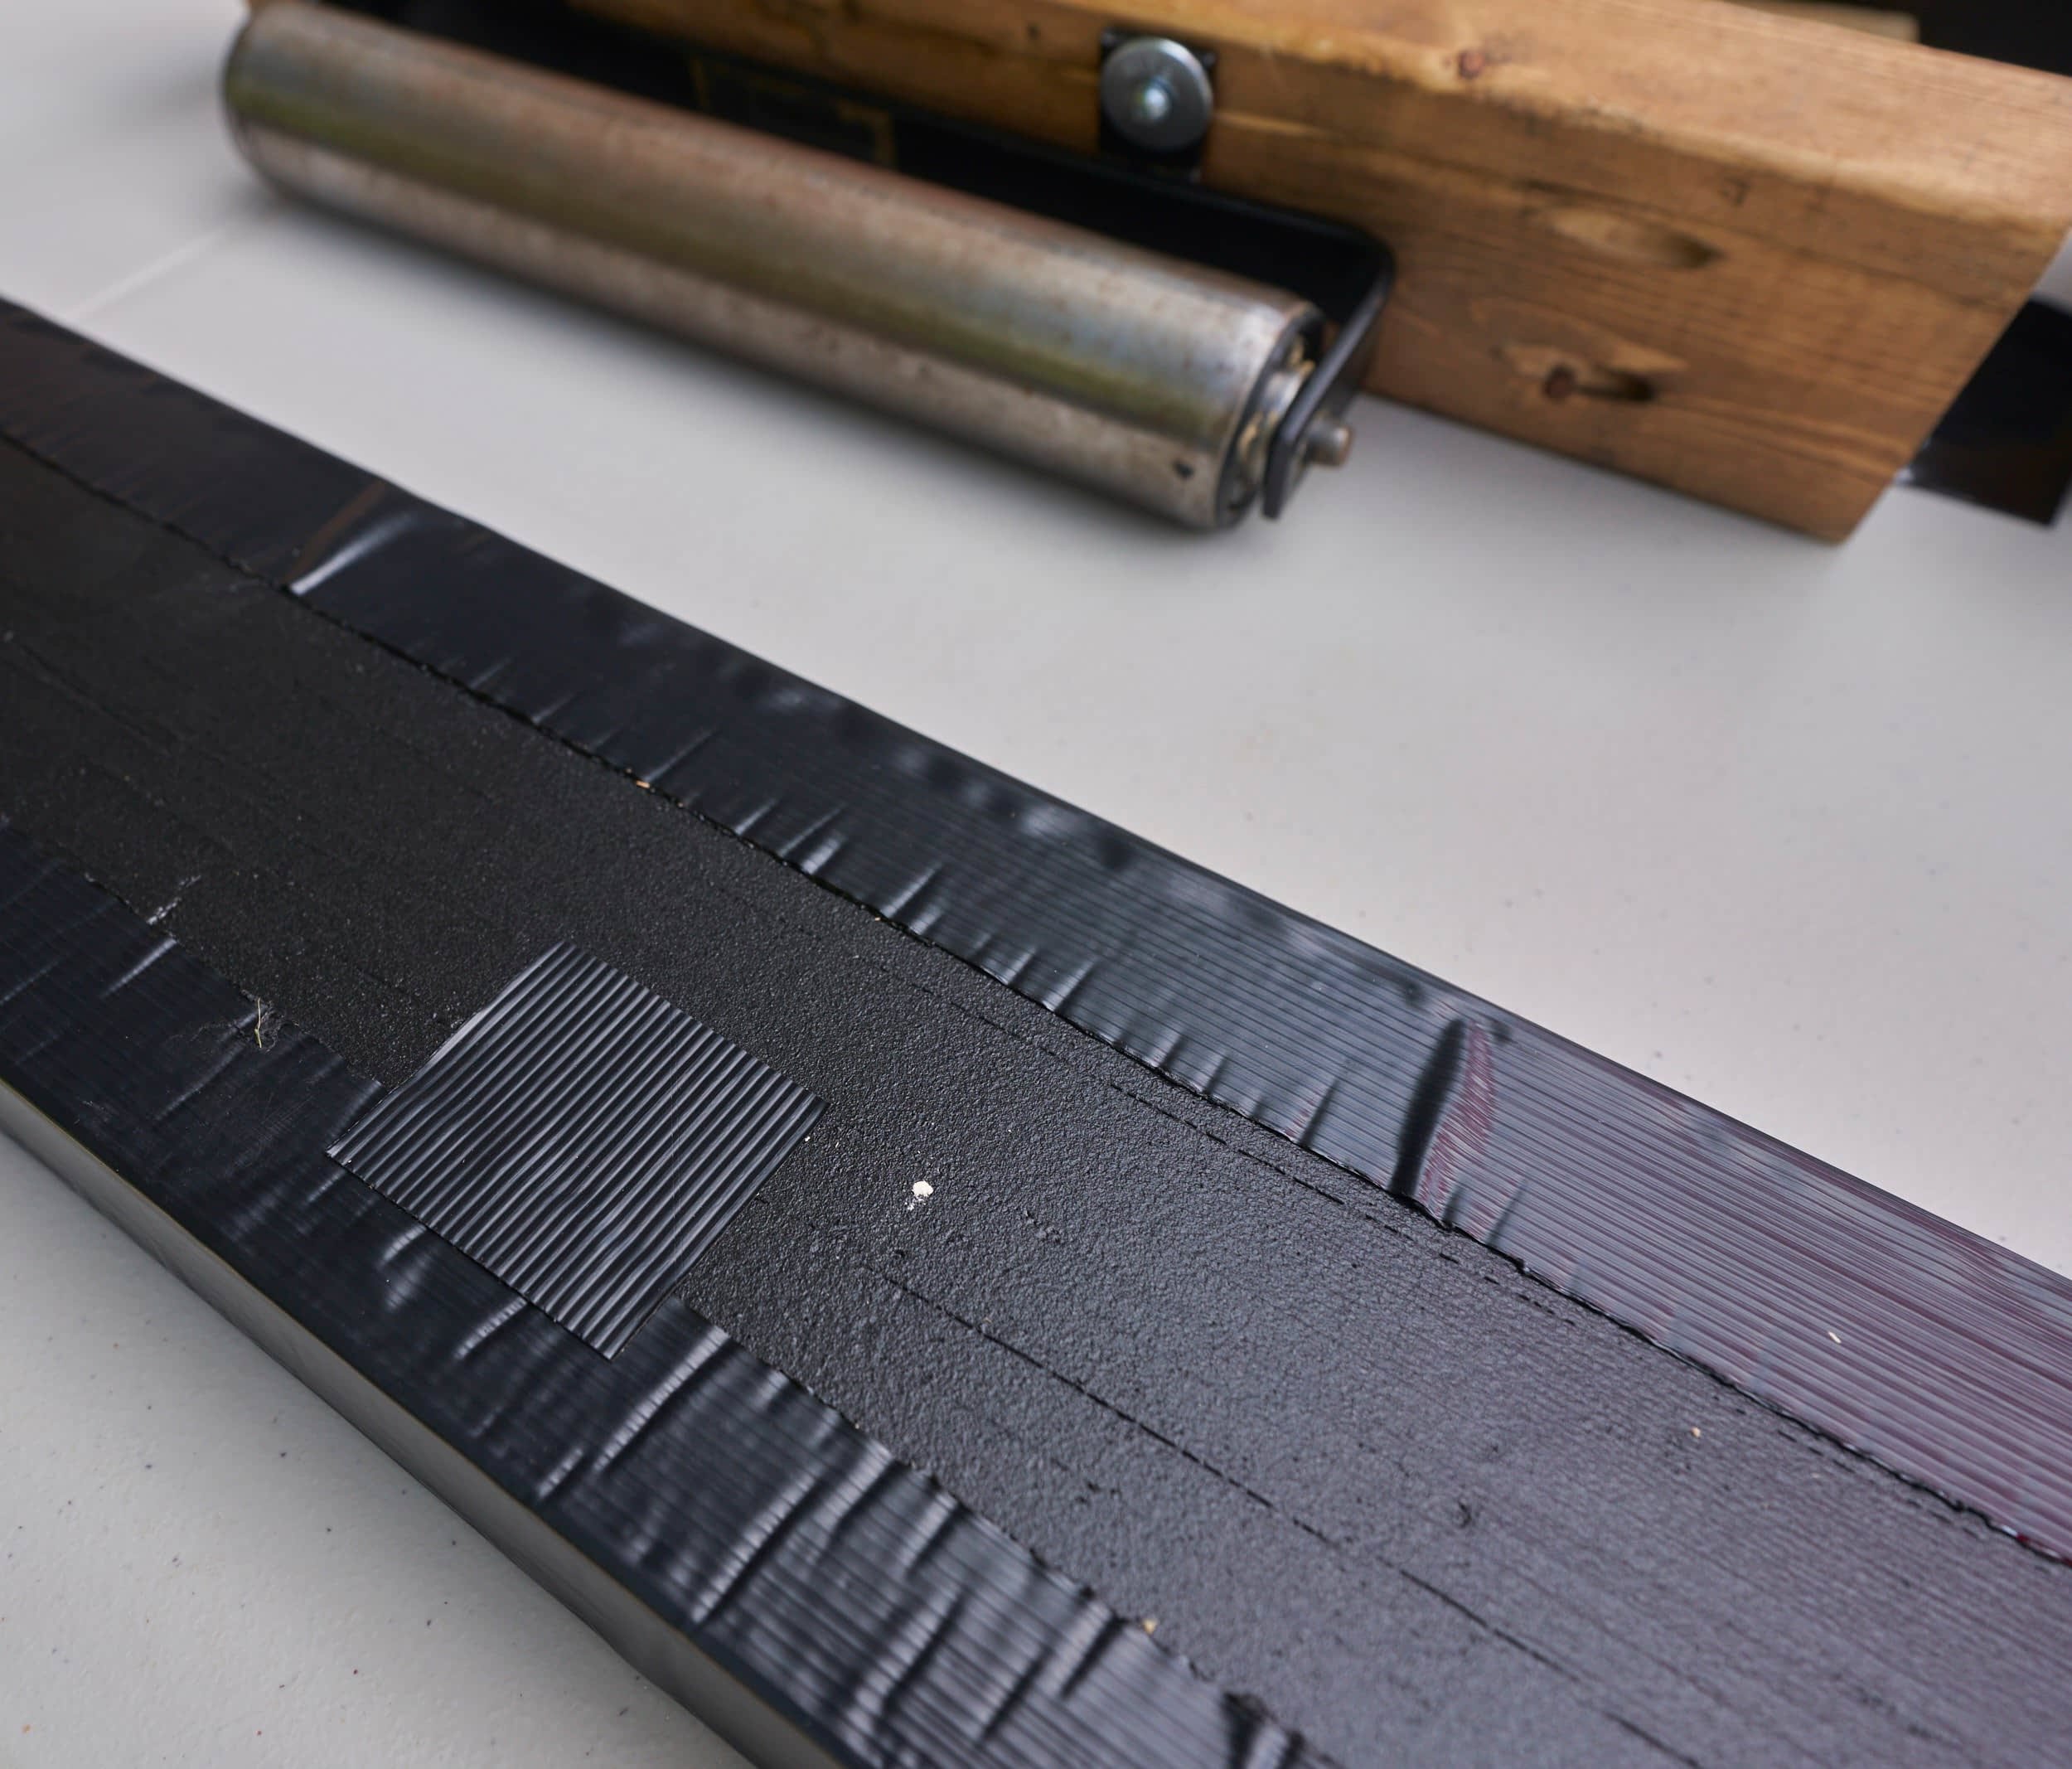
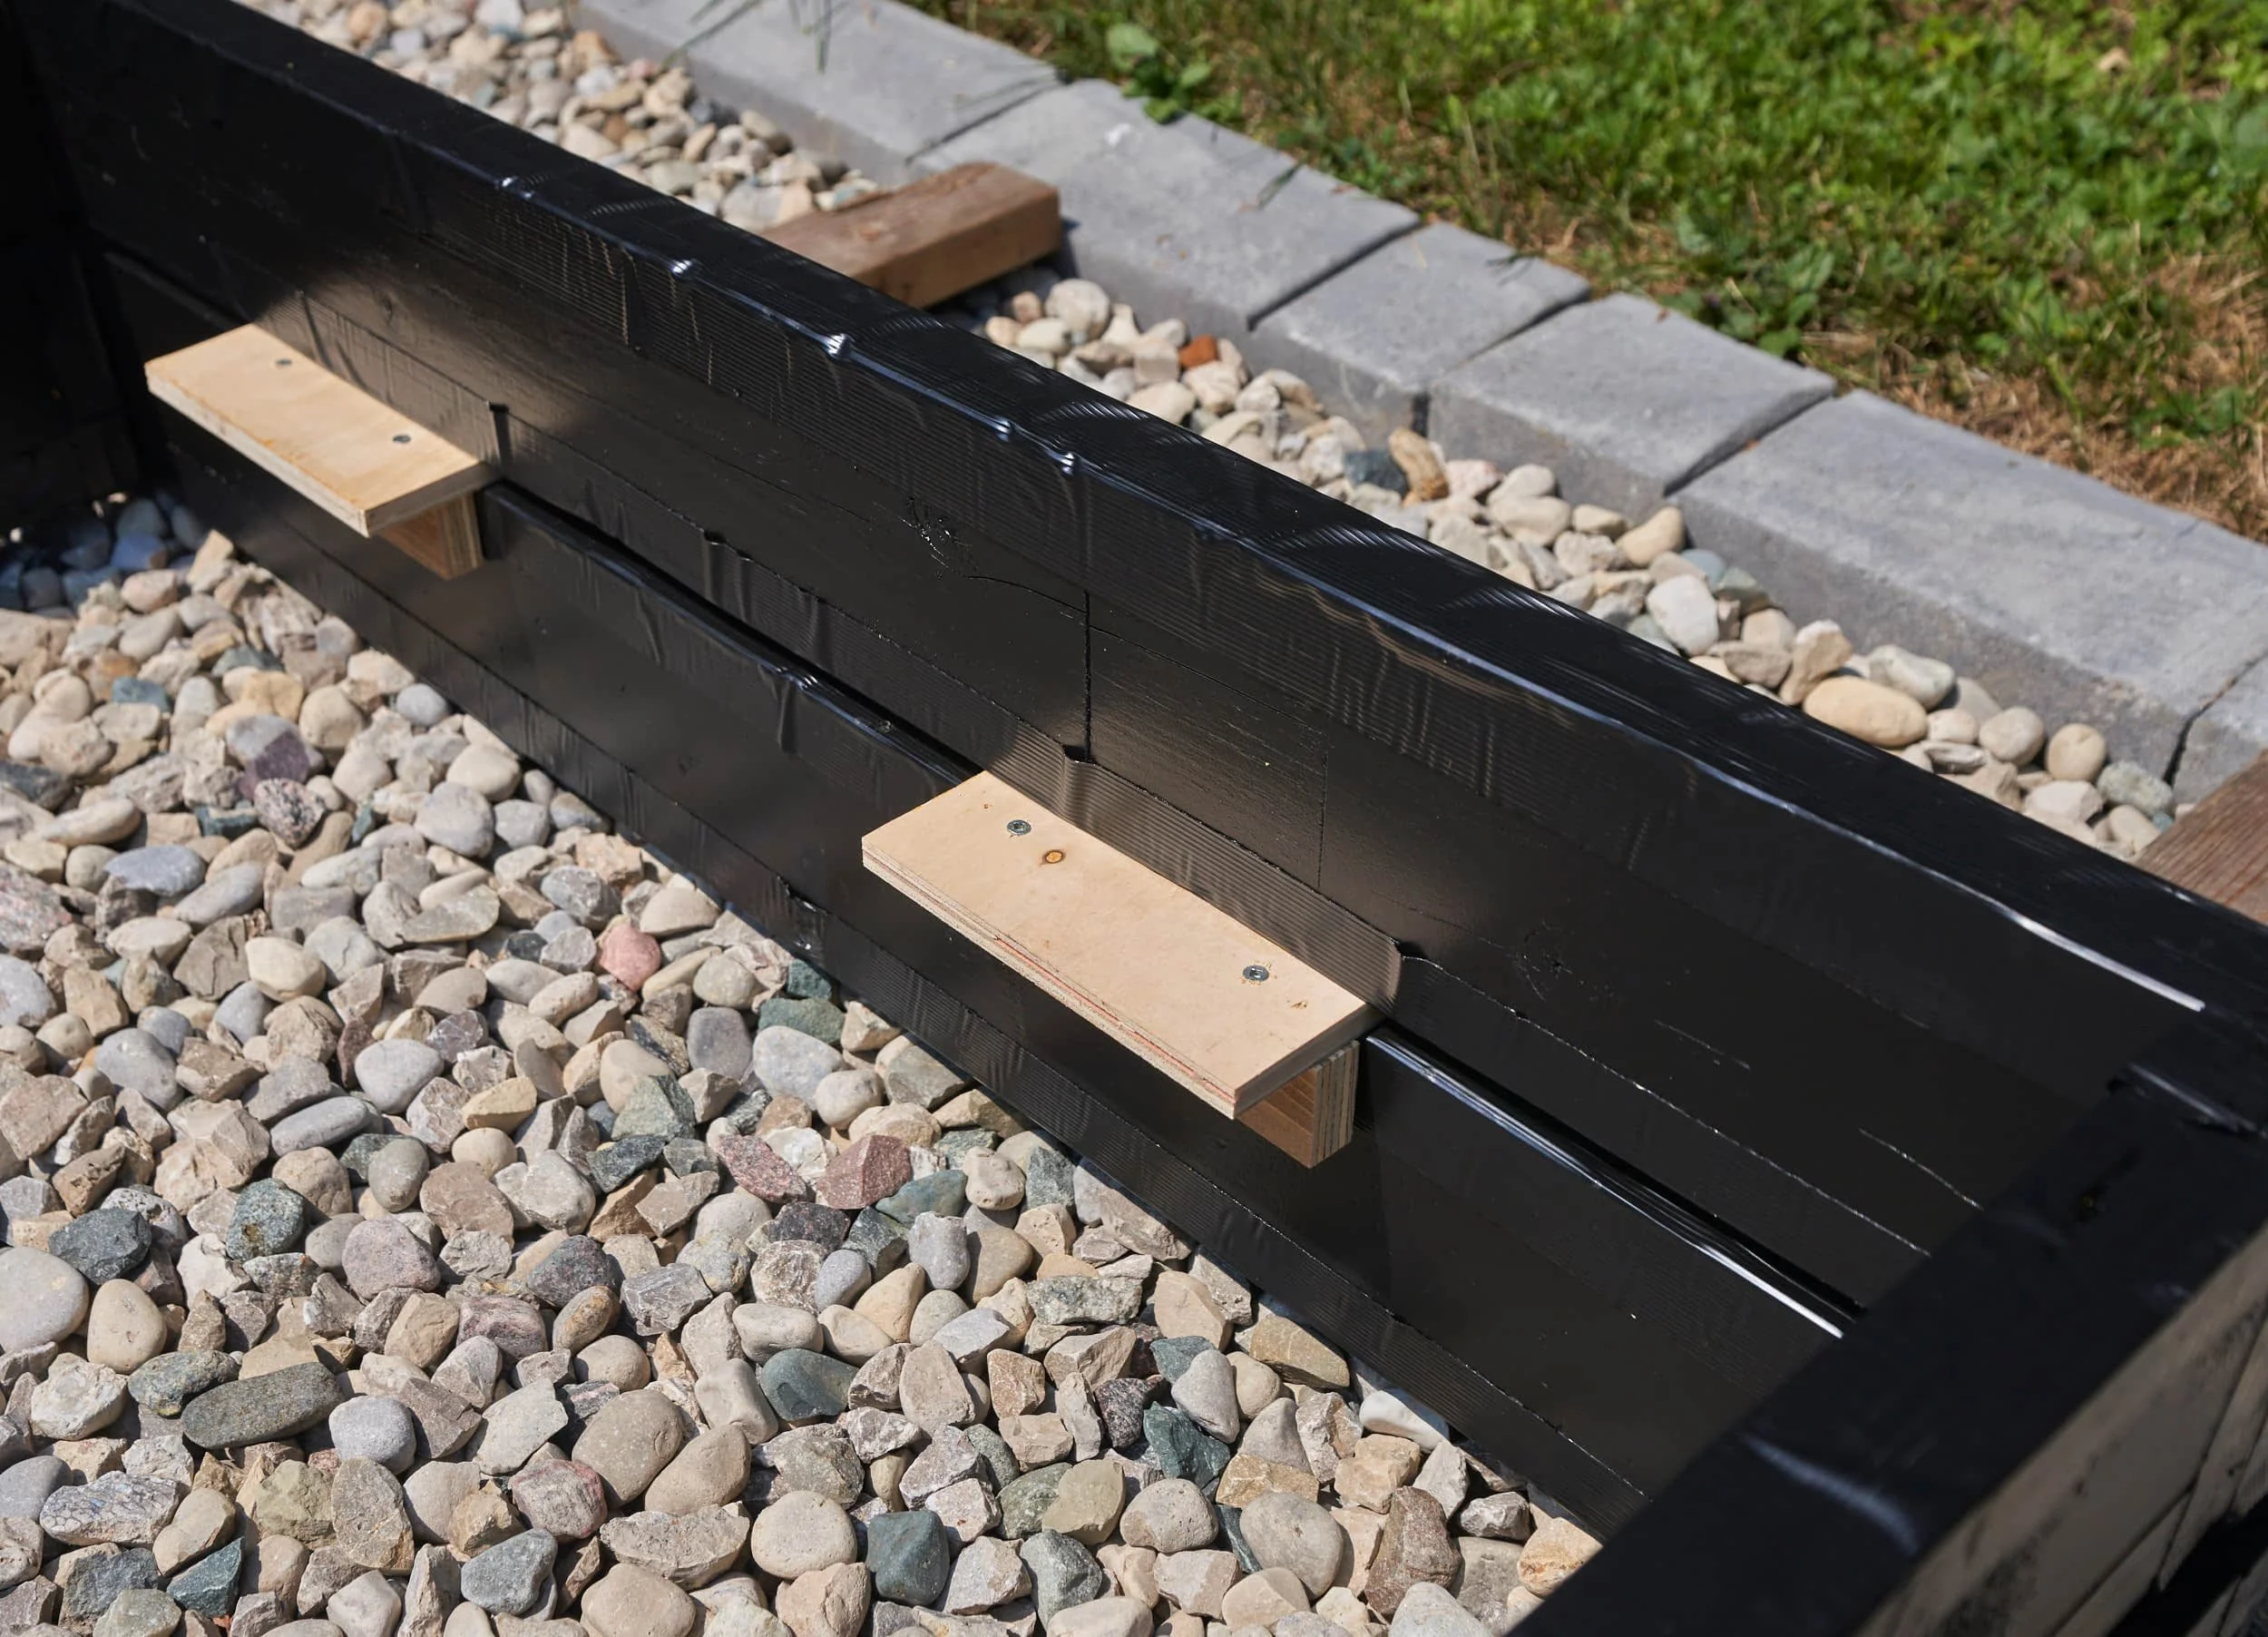
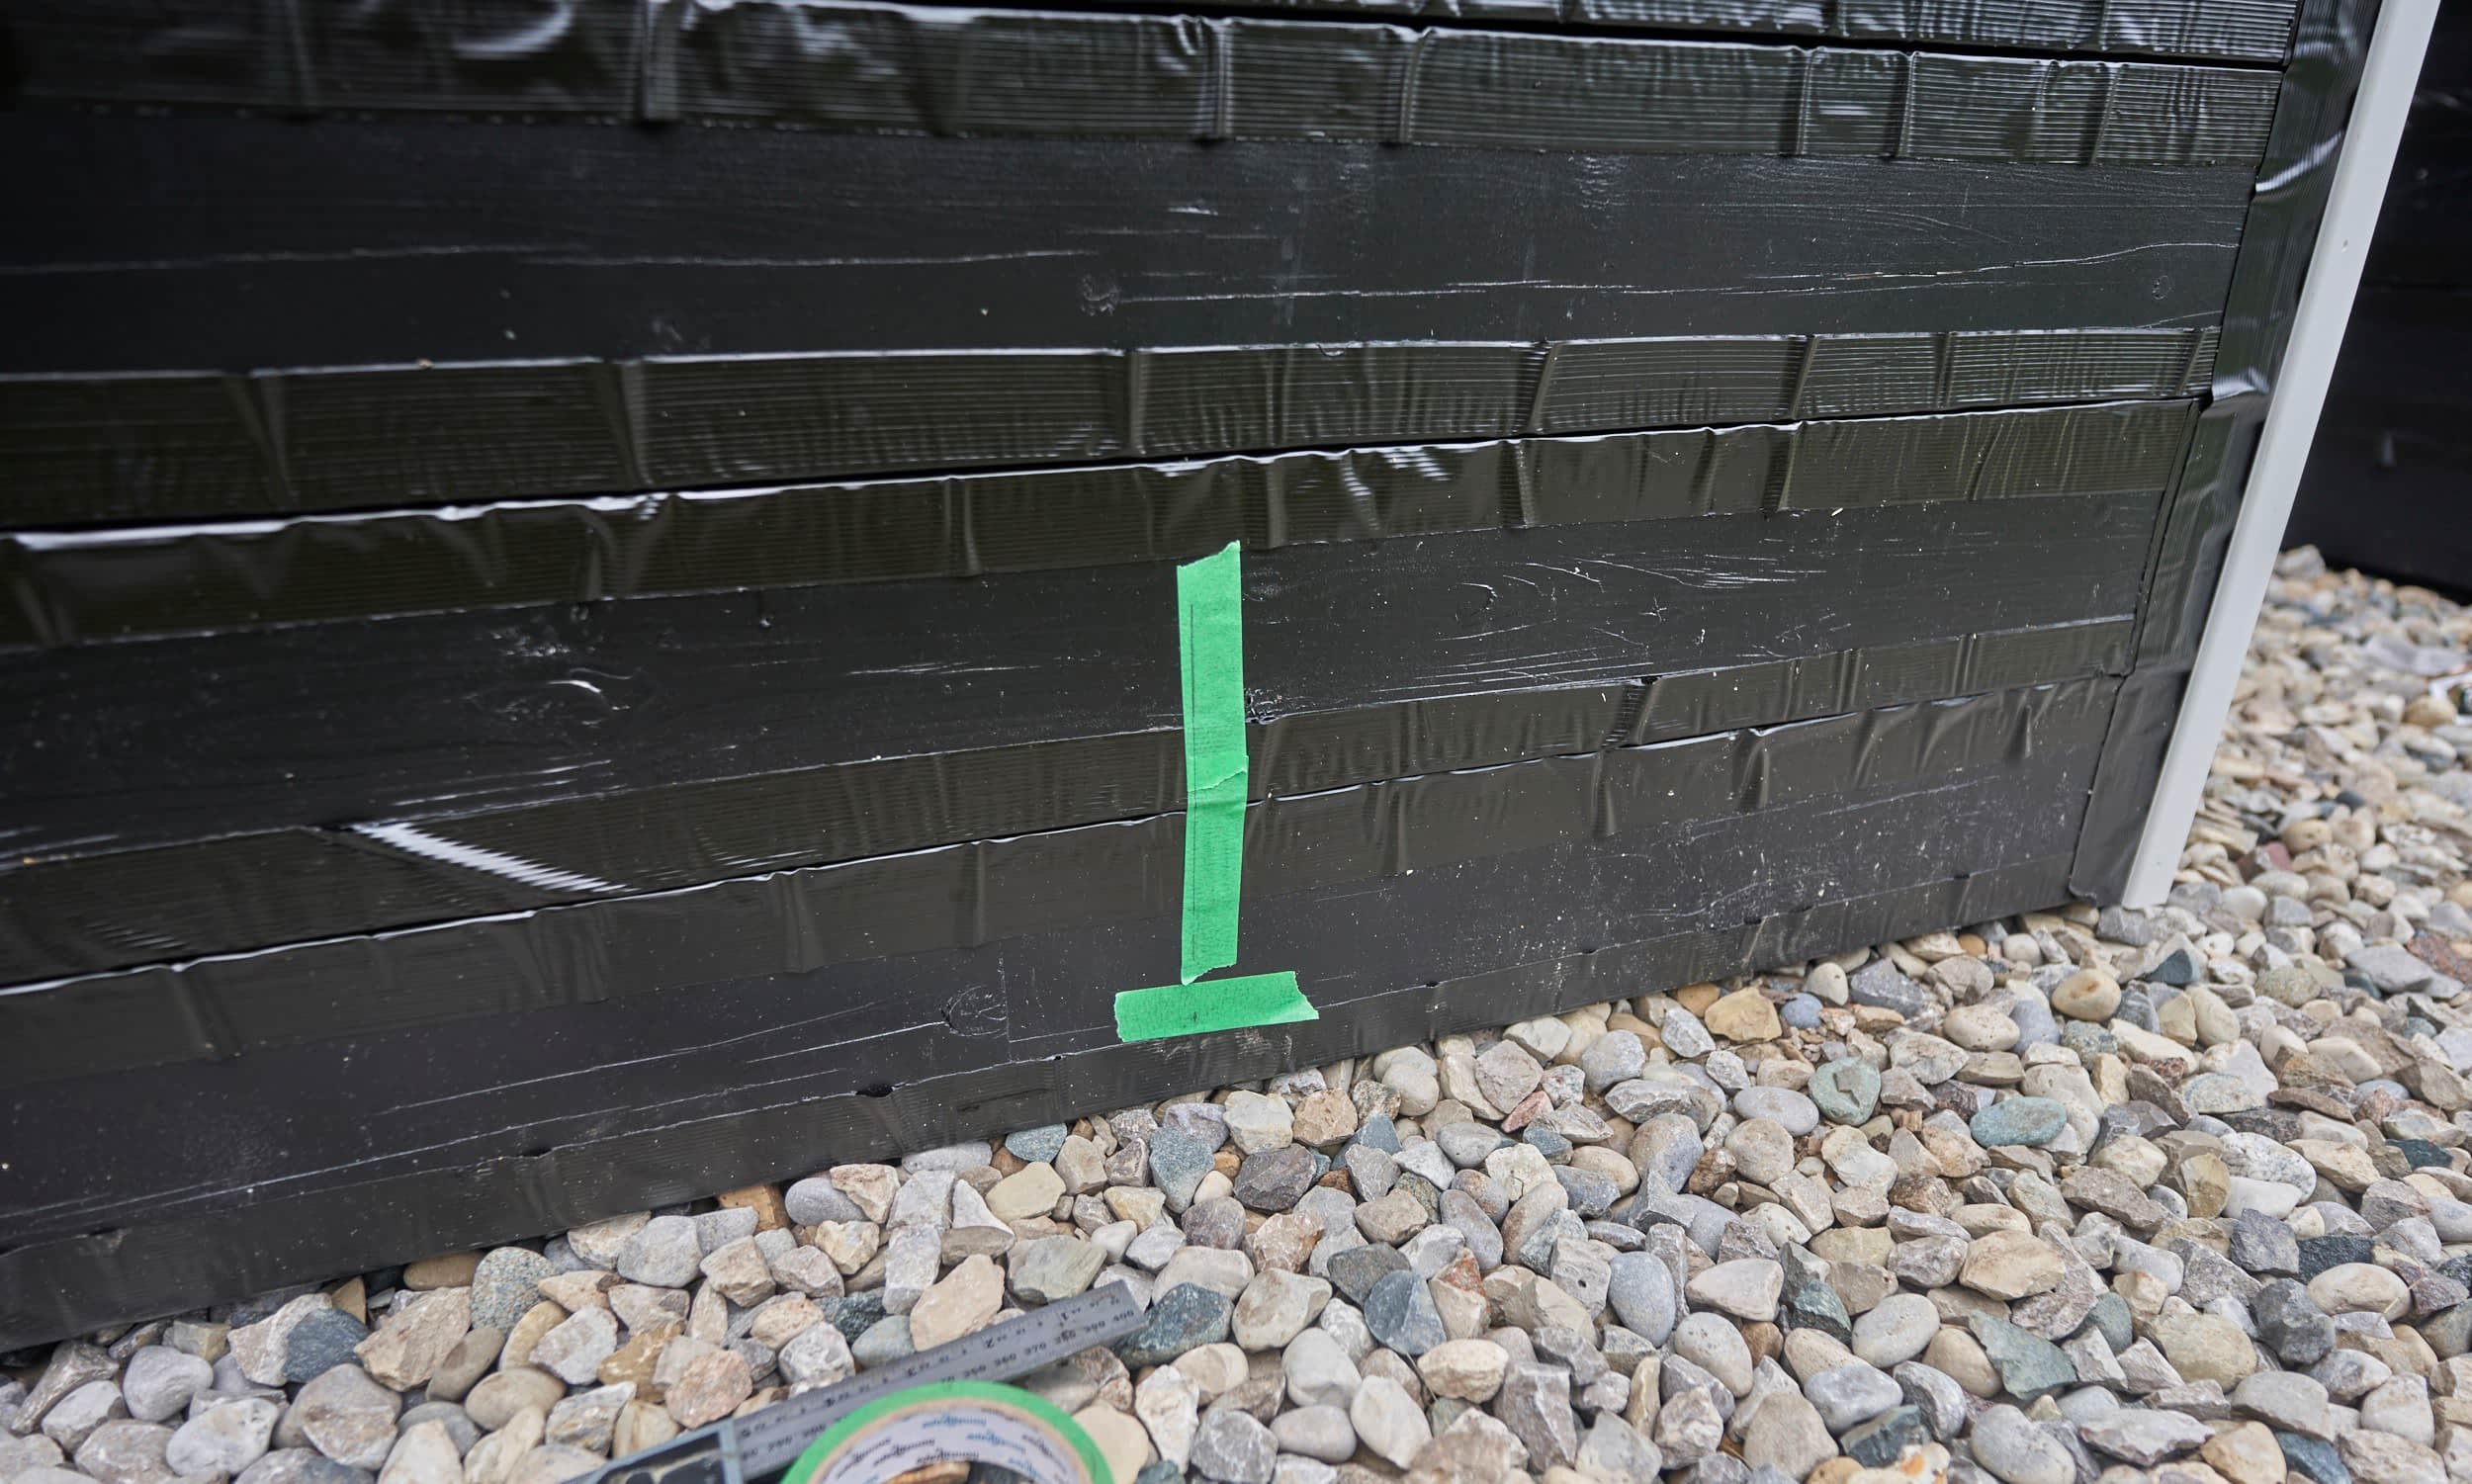
Step 8 - Joist Tape
So far the planter is built fairly tough but it’s still a bunch of wood filled with [wet] dirt and sitting on [wet] ground. Water is gonna sit on surfaces and then I’m hosed. So I had a crazy idea of using some joist tape to absolutely cover the surfaces which might have water pooling on them. Joist tape also is a wonderful solution to my problem of what to do about some of the massive nail holes left in the wood and it mitigates my concern about water seeping through the end grain. A friend of mine may have made a comment that the 2x6s that make up the planter are just a structural support for joist tape…
The joist tape will be visible so to a degree, I do need to worry a bit about how I line the tape up so that it’s not hideous. I’m going to screw it up but at least I can try to get it lined up right.


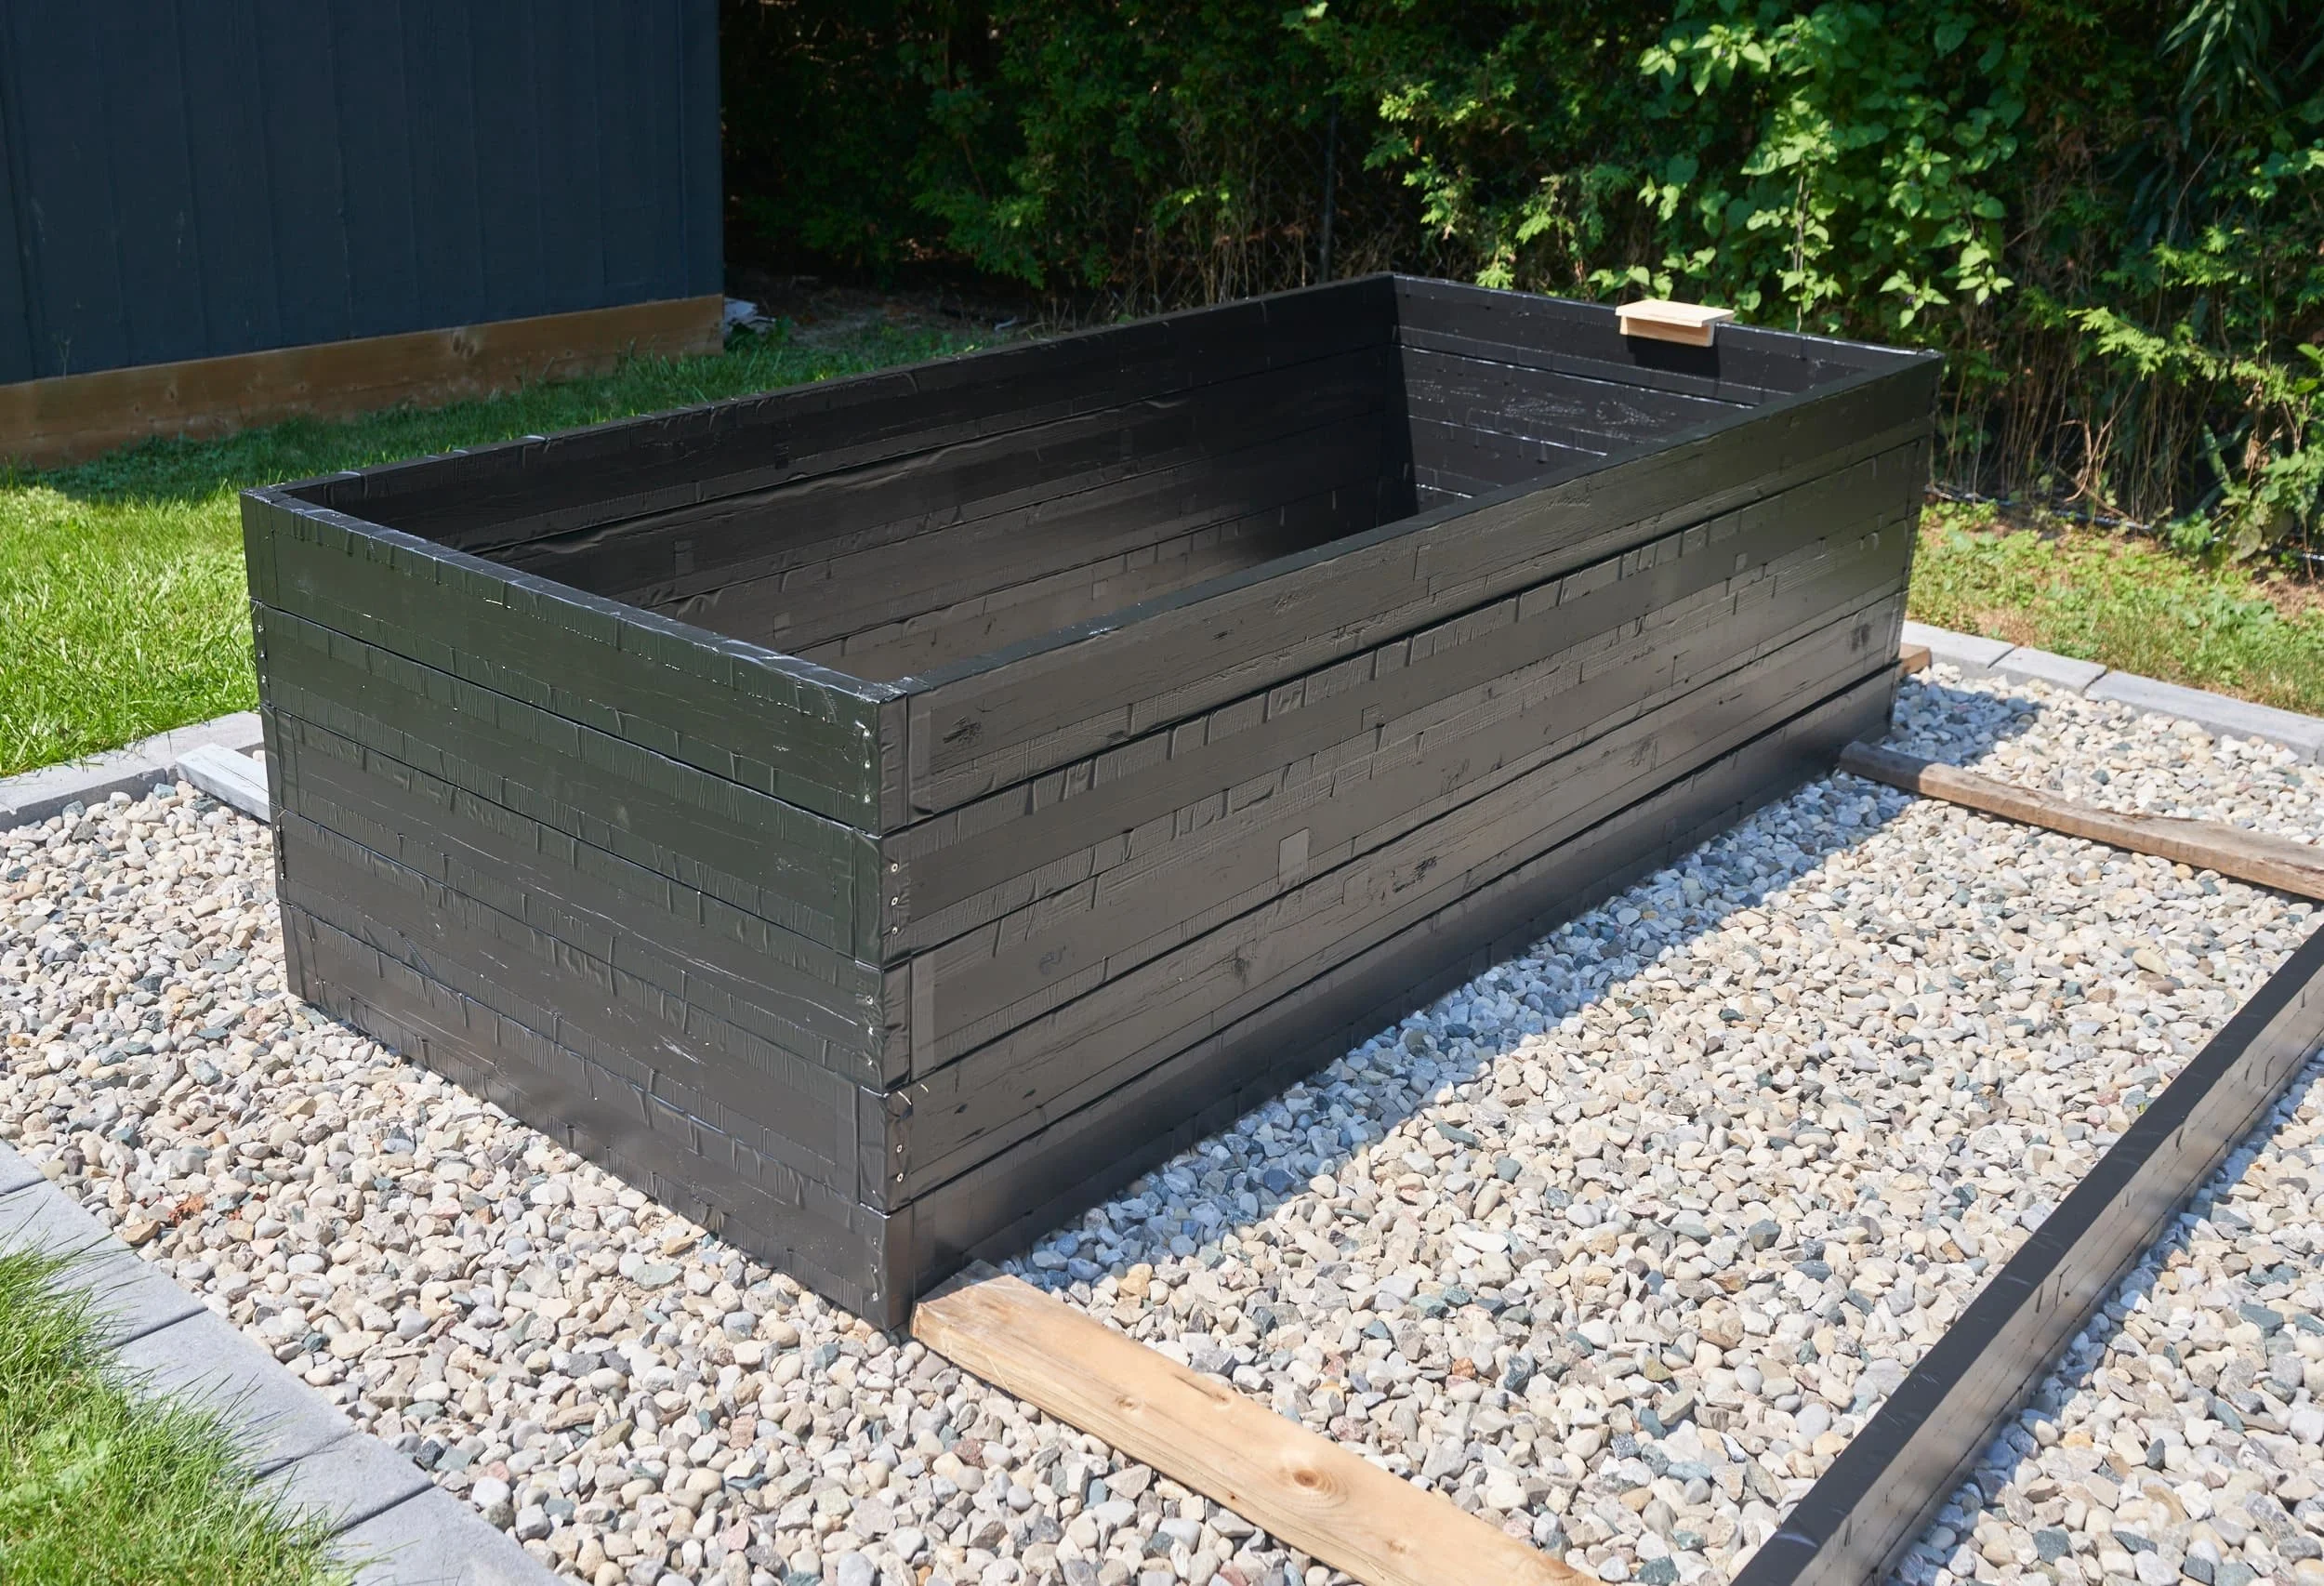
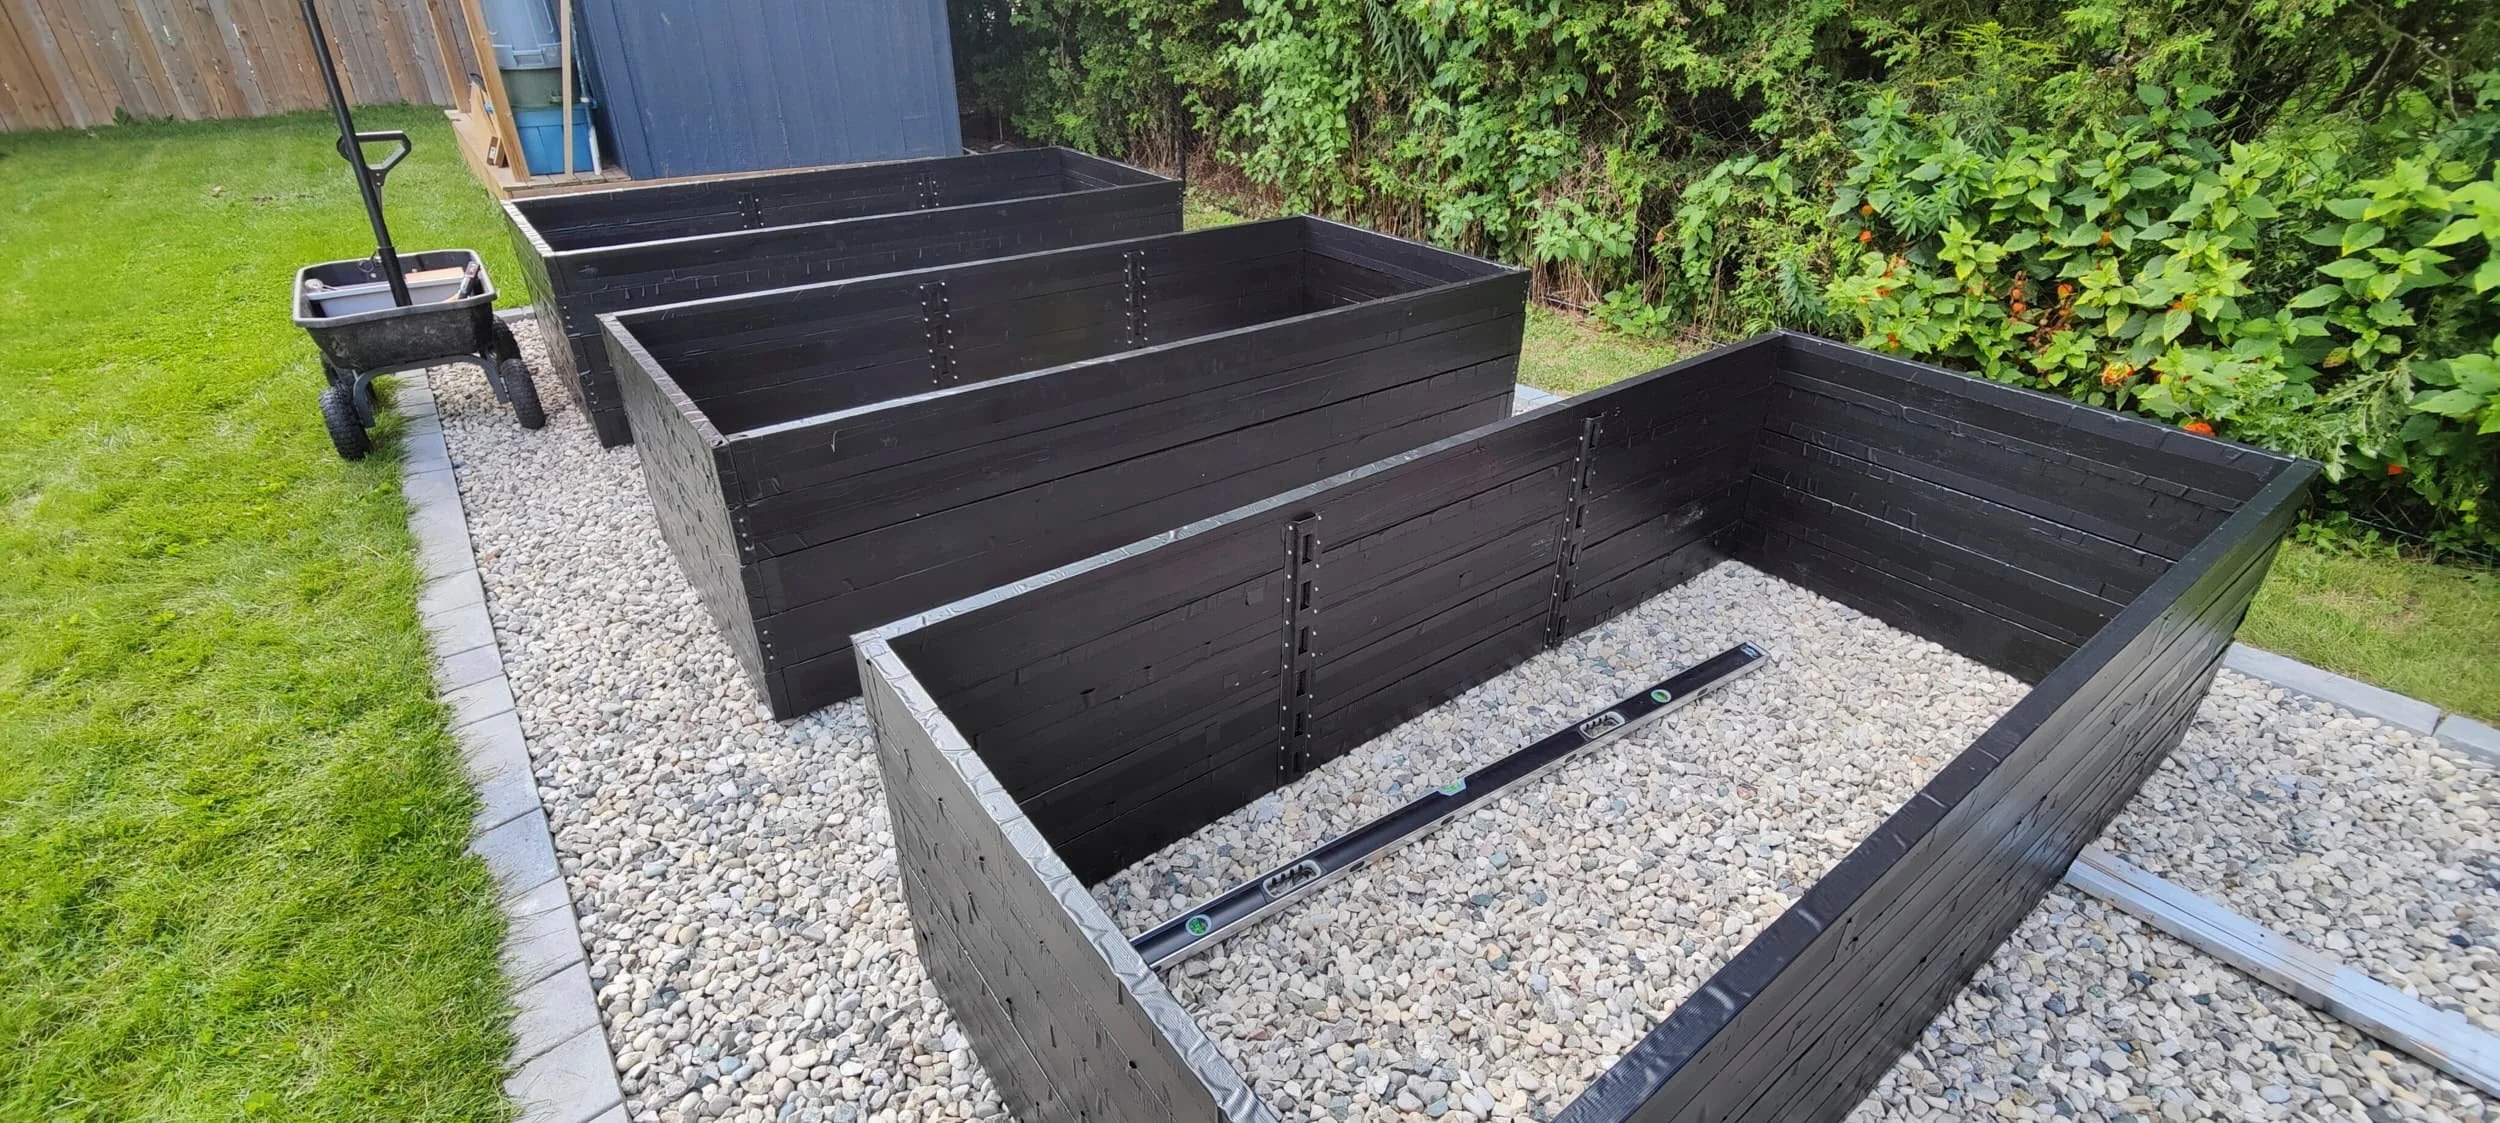
Step 9 - Rough construction
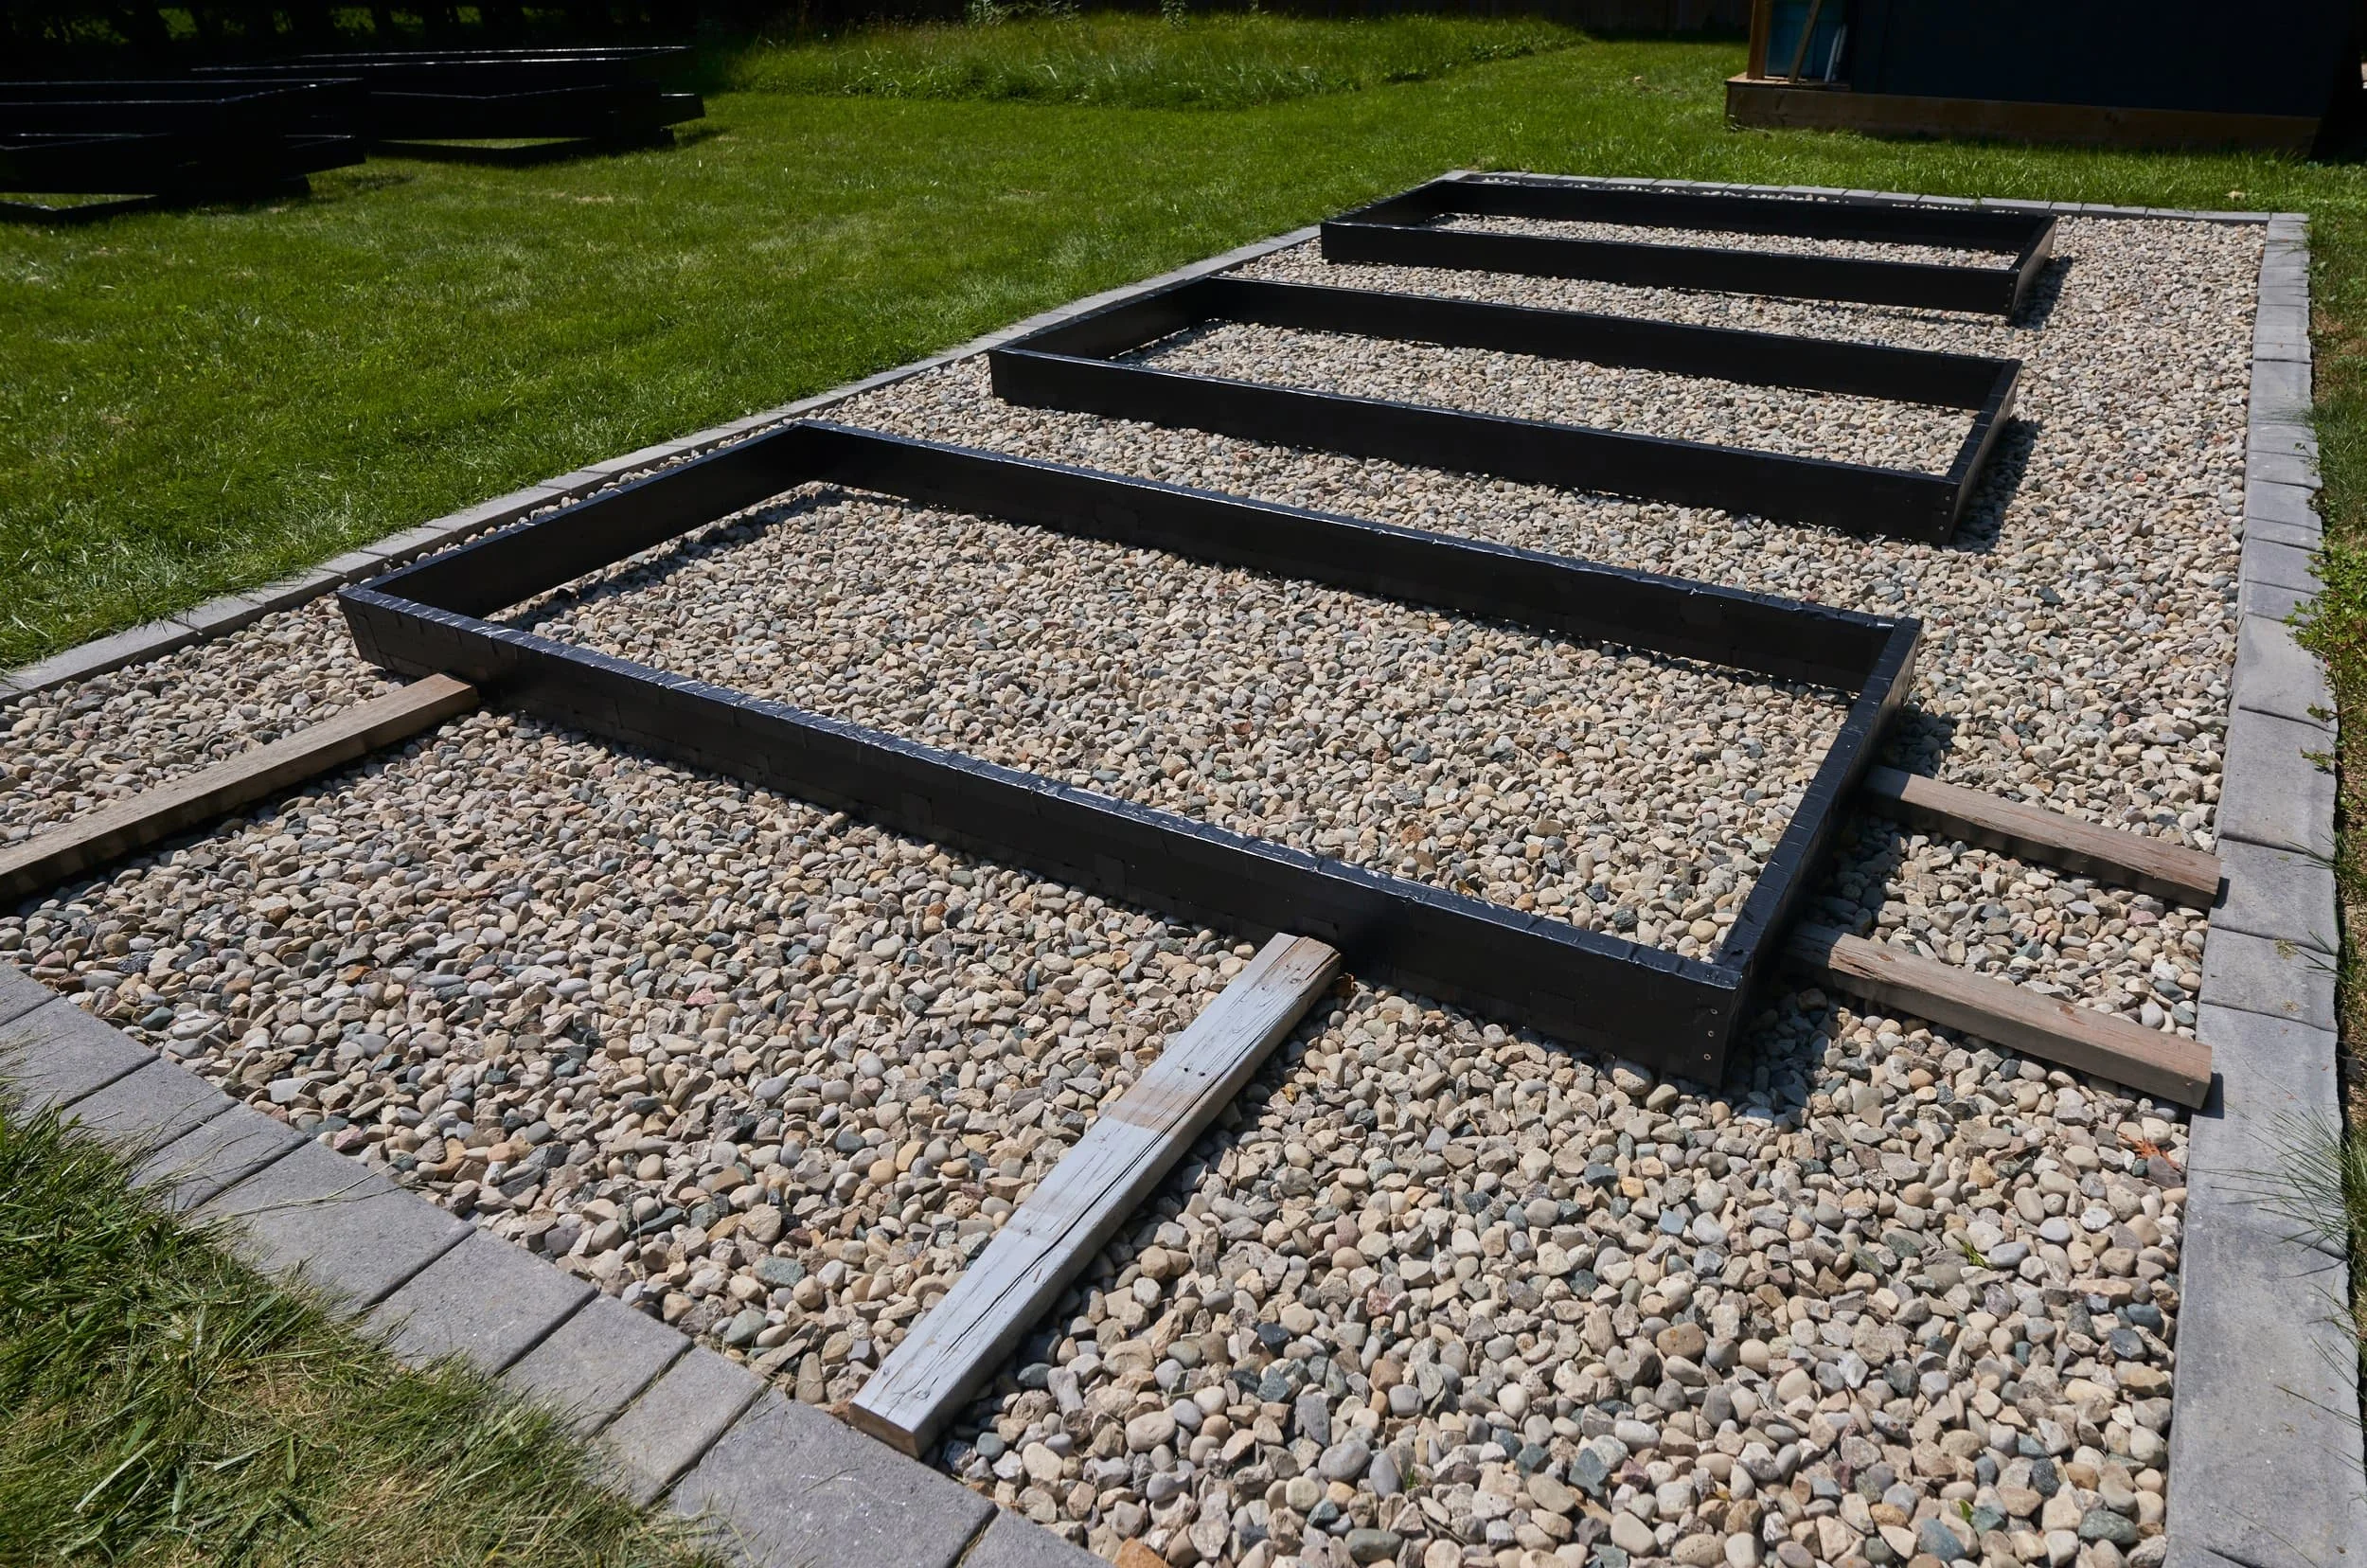
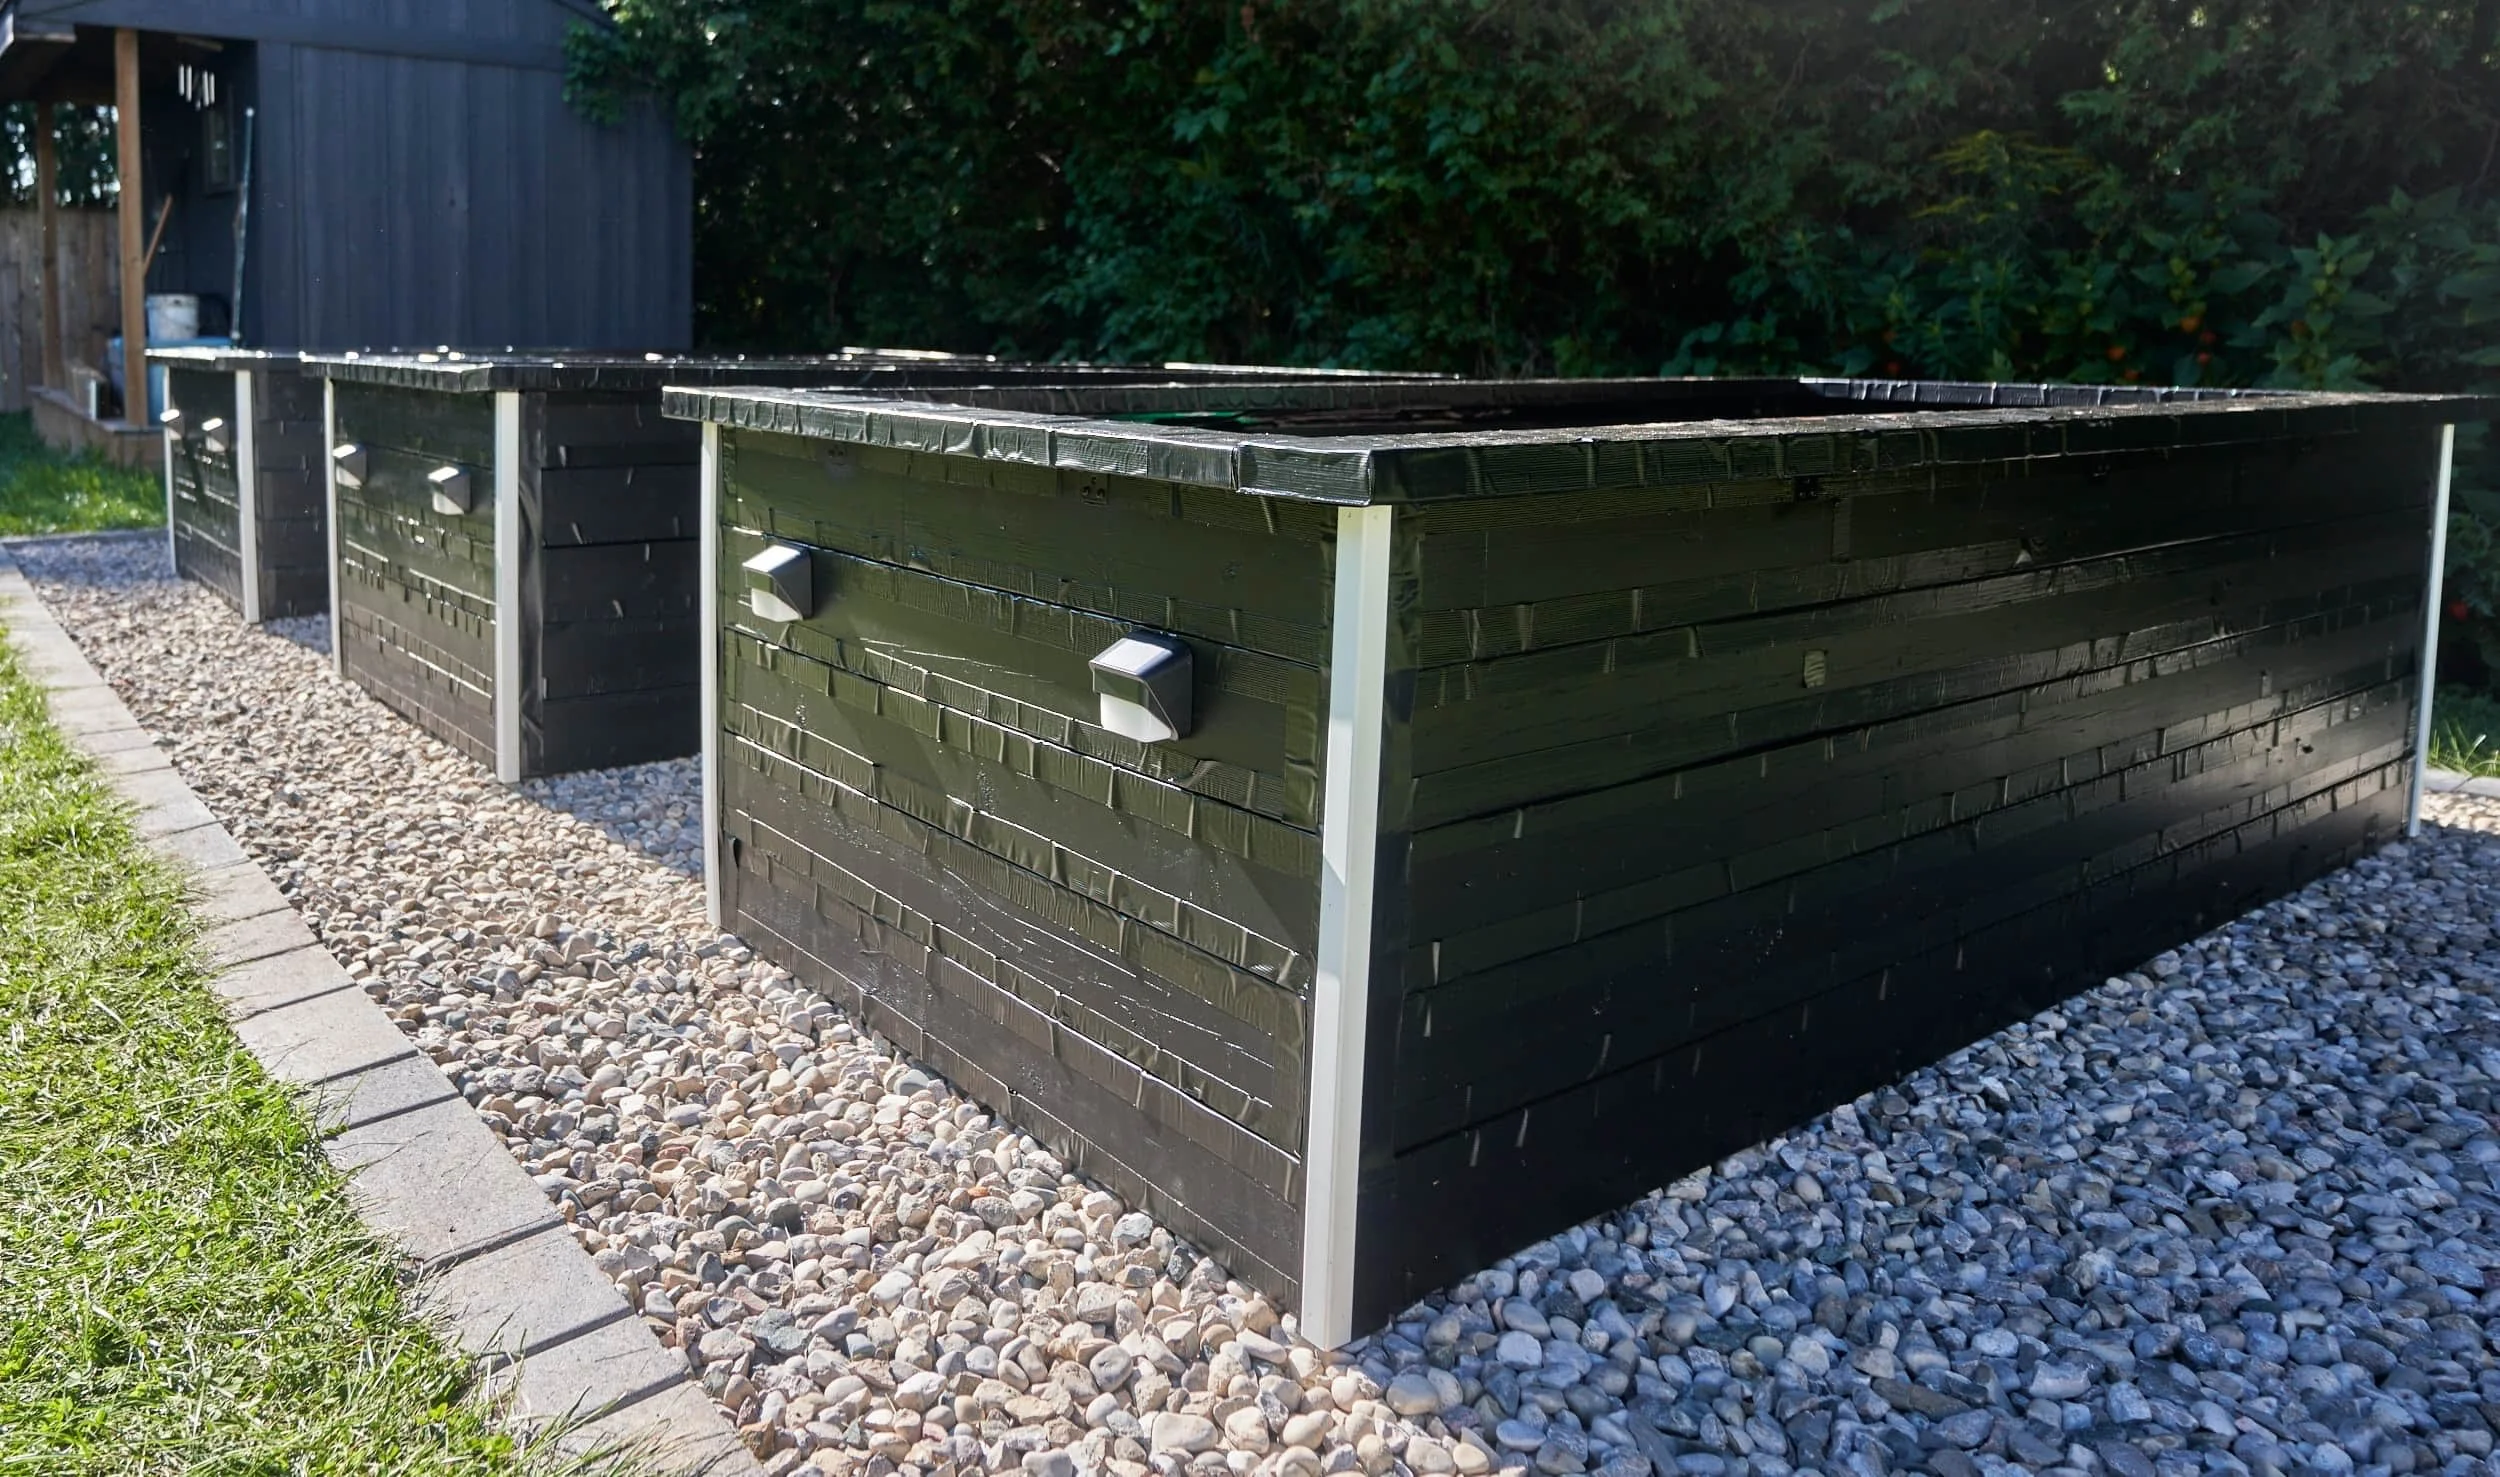
Finally: I can start to build the planters! This phase is just assembly of the long and short boards into a bunch of stacking rectangles.


The tower of rectangles is complete but none of the rectangles are connected to each other and they aren’t aligned and distributed in any way. The next day, I take everything off the stone and figure out the layout and put it back together. I figured everything out (in theory) on paper and set out to see if reality would match what I

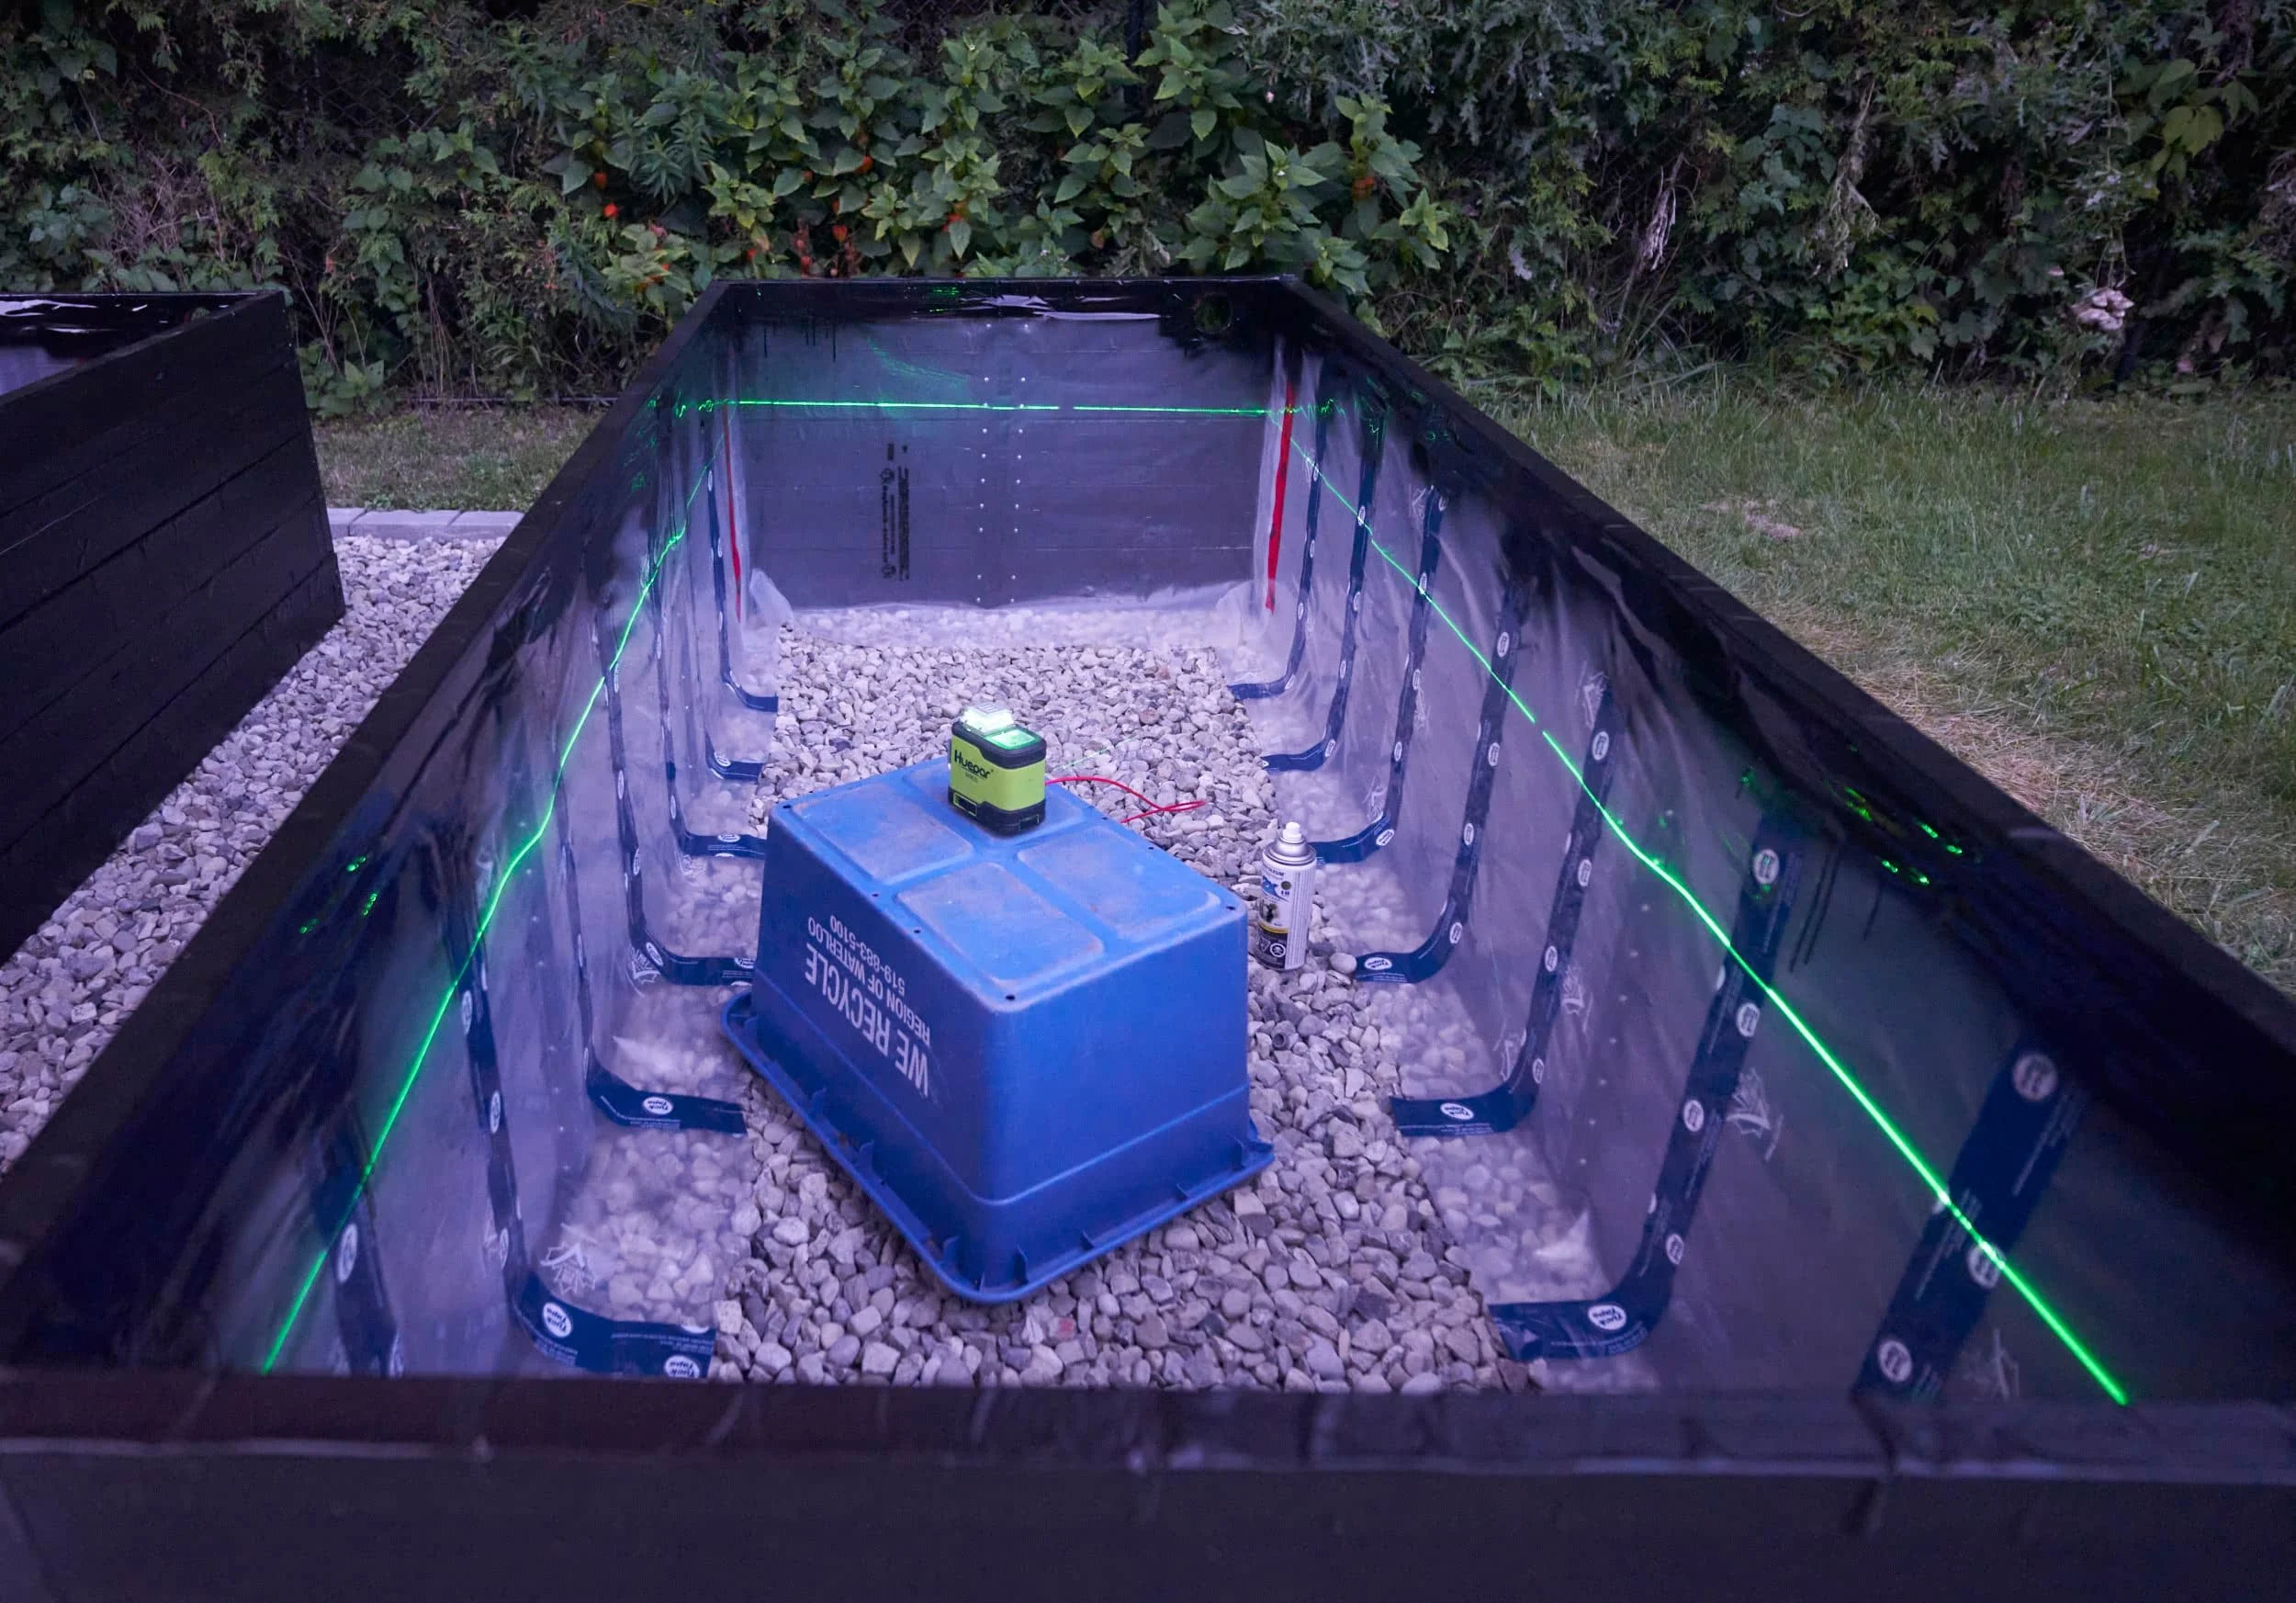
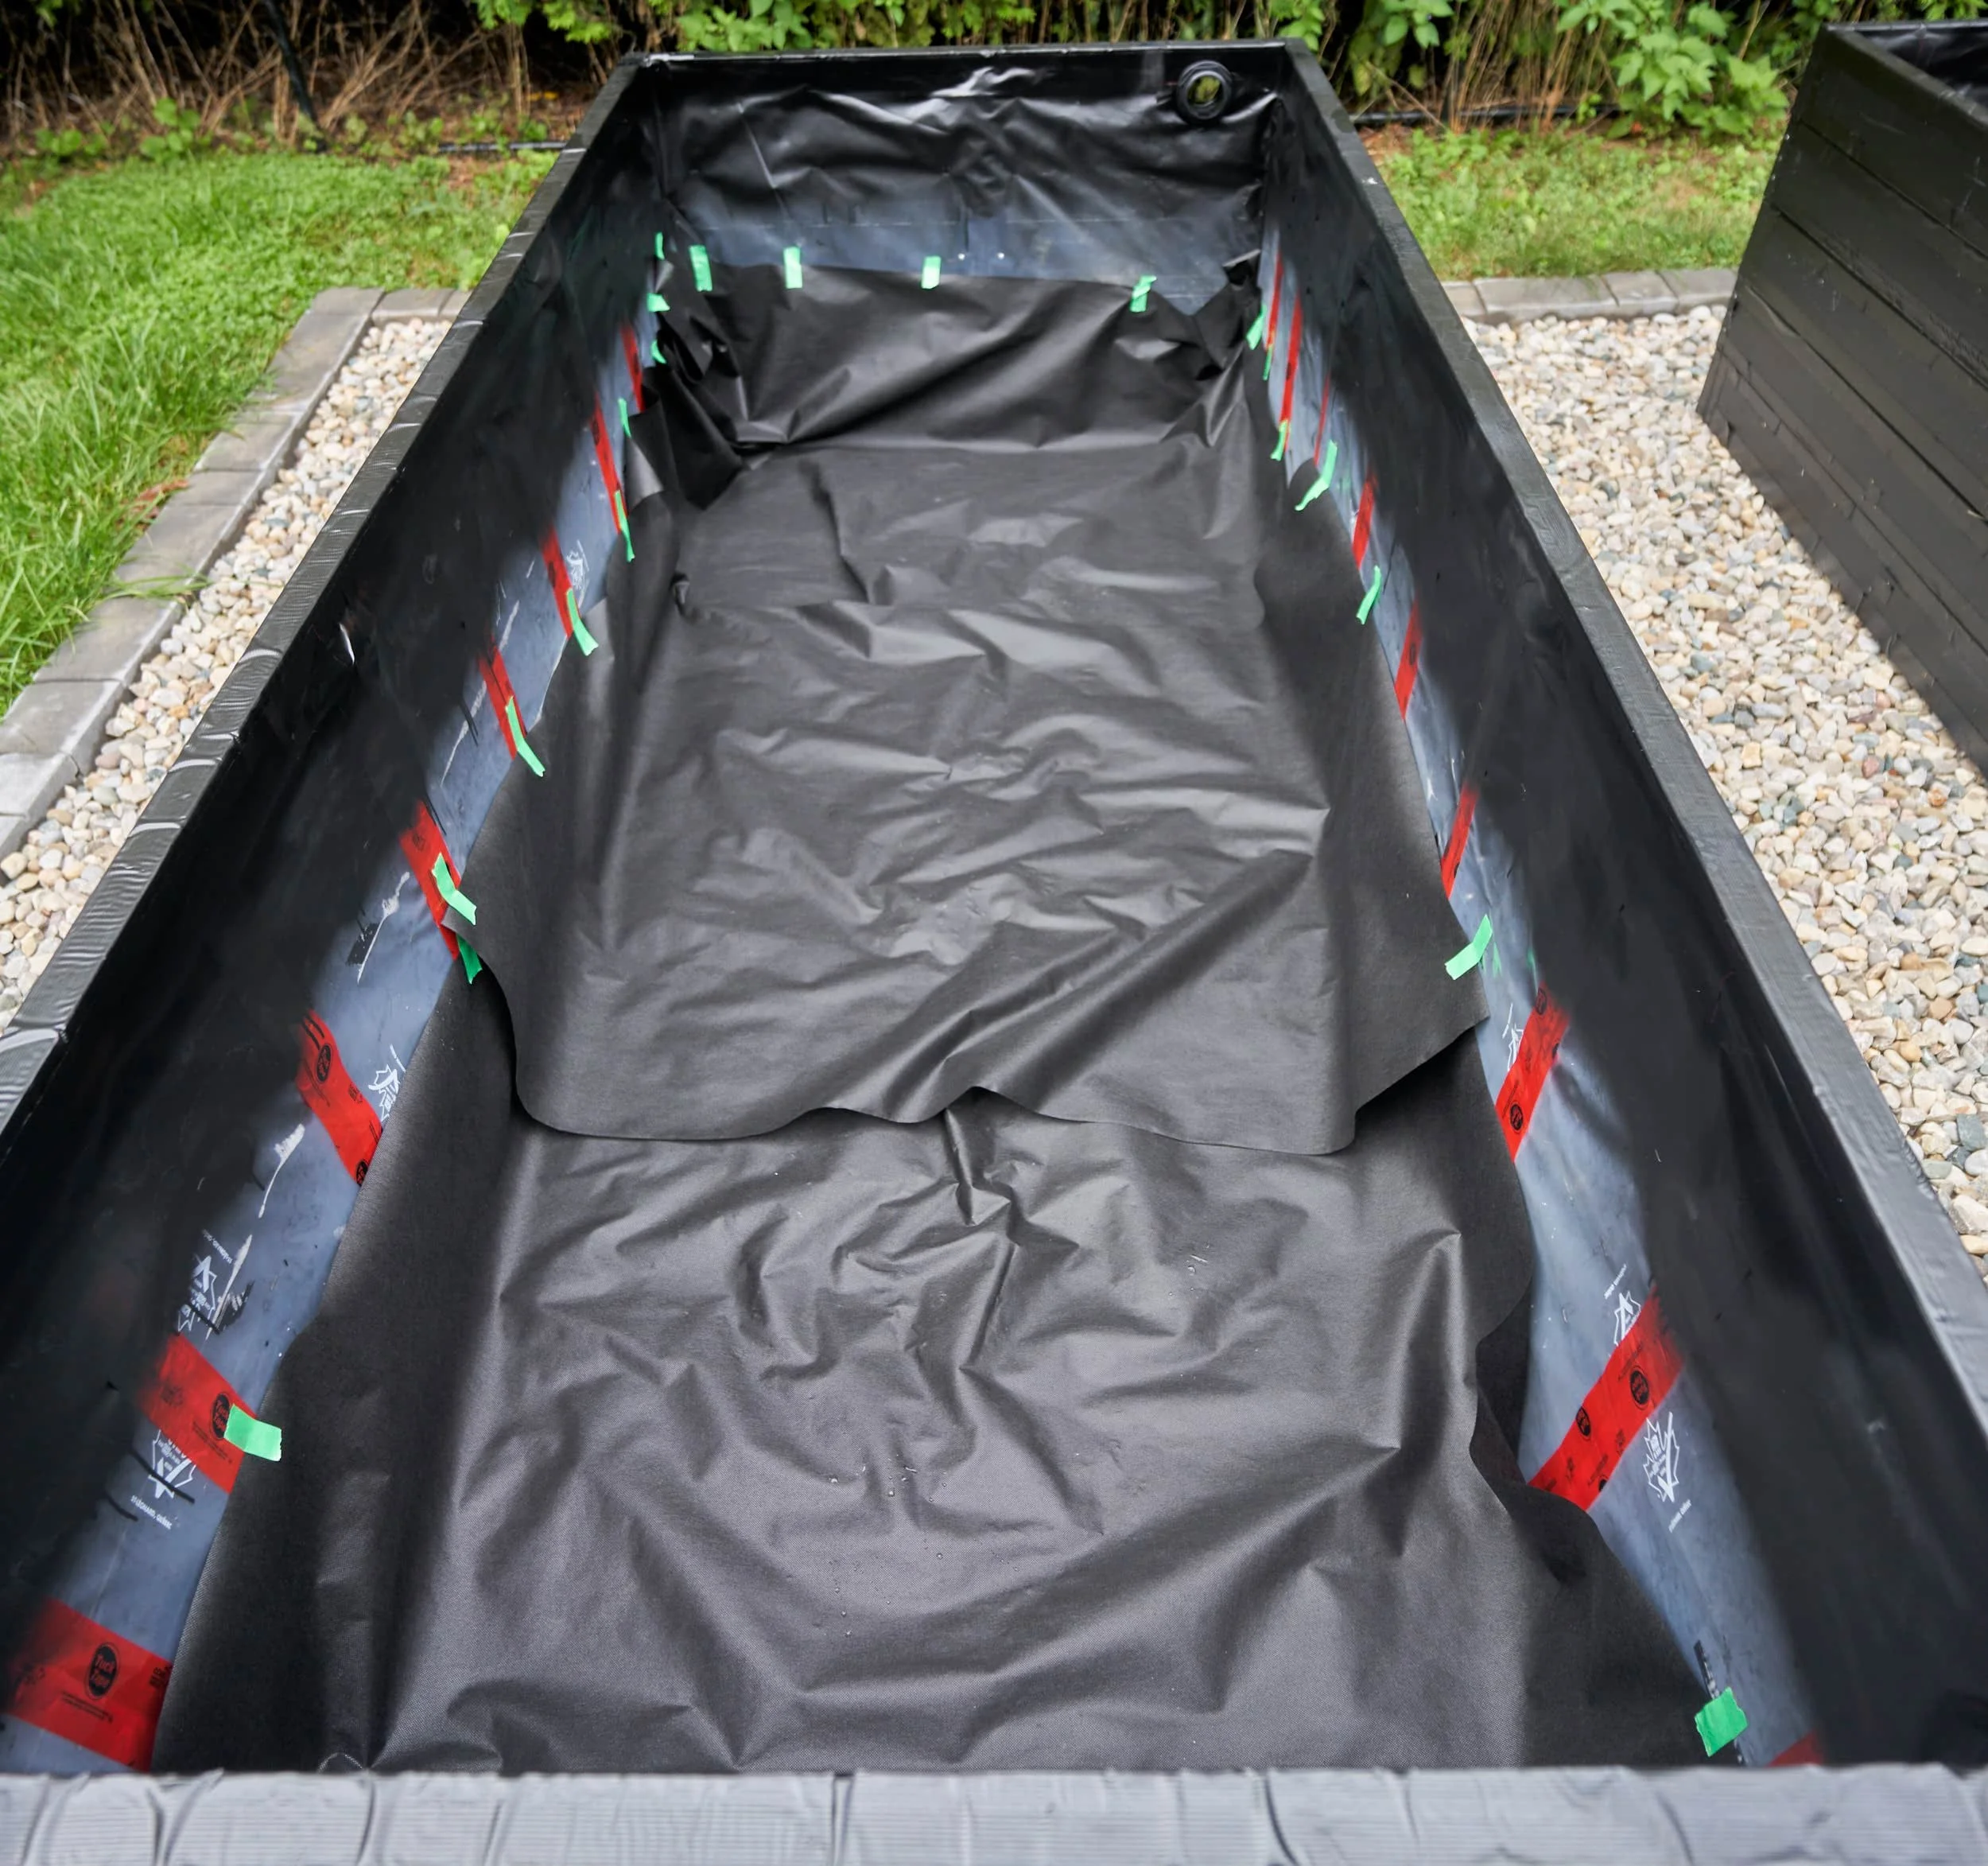
Step 10 - Sheathing, bulk heads
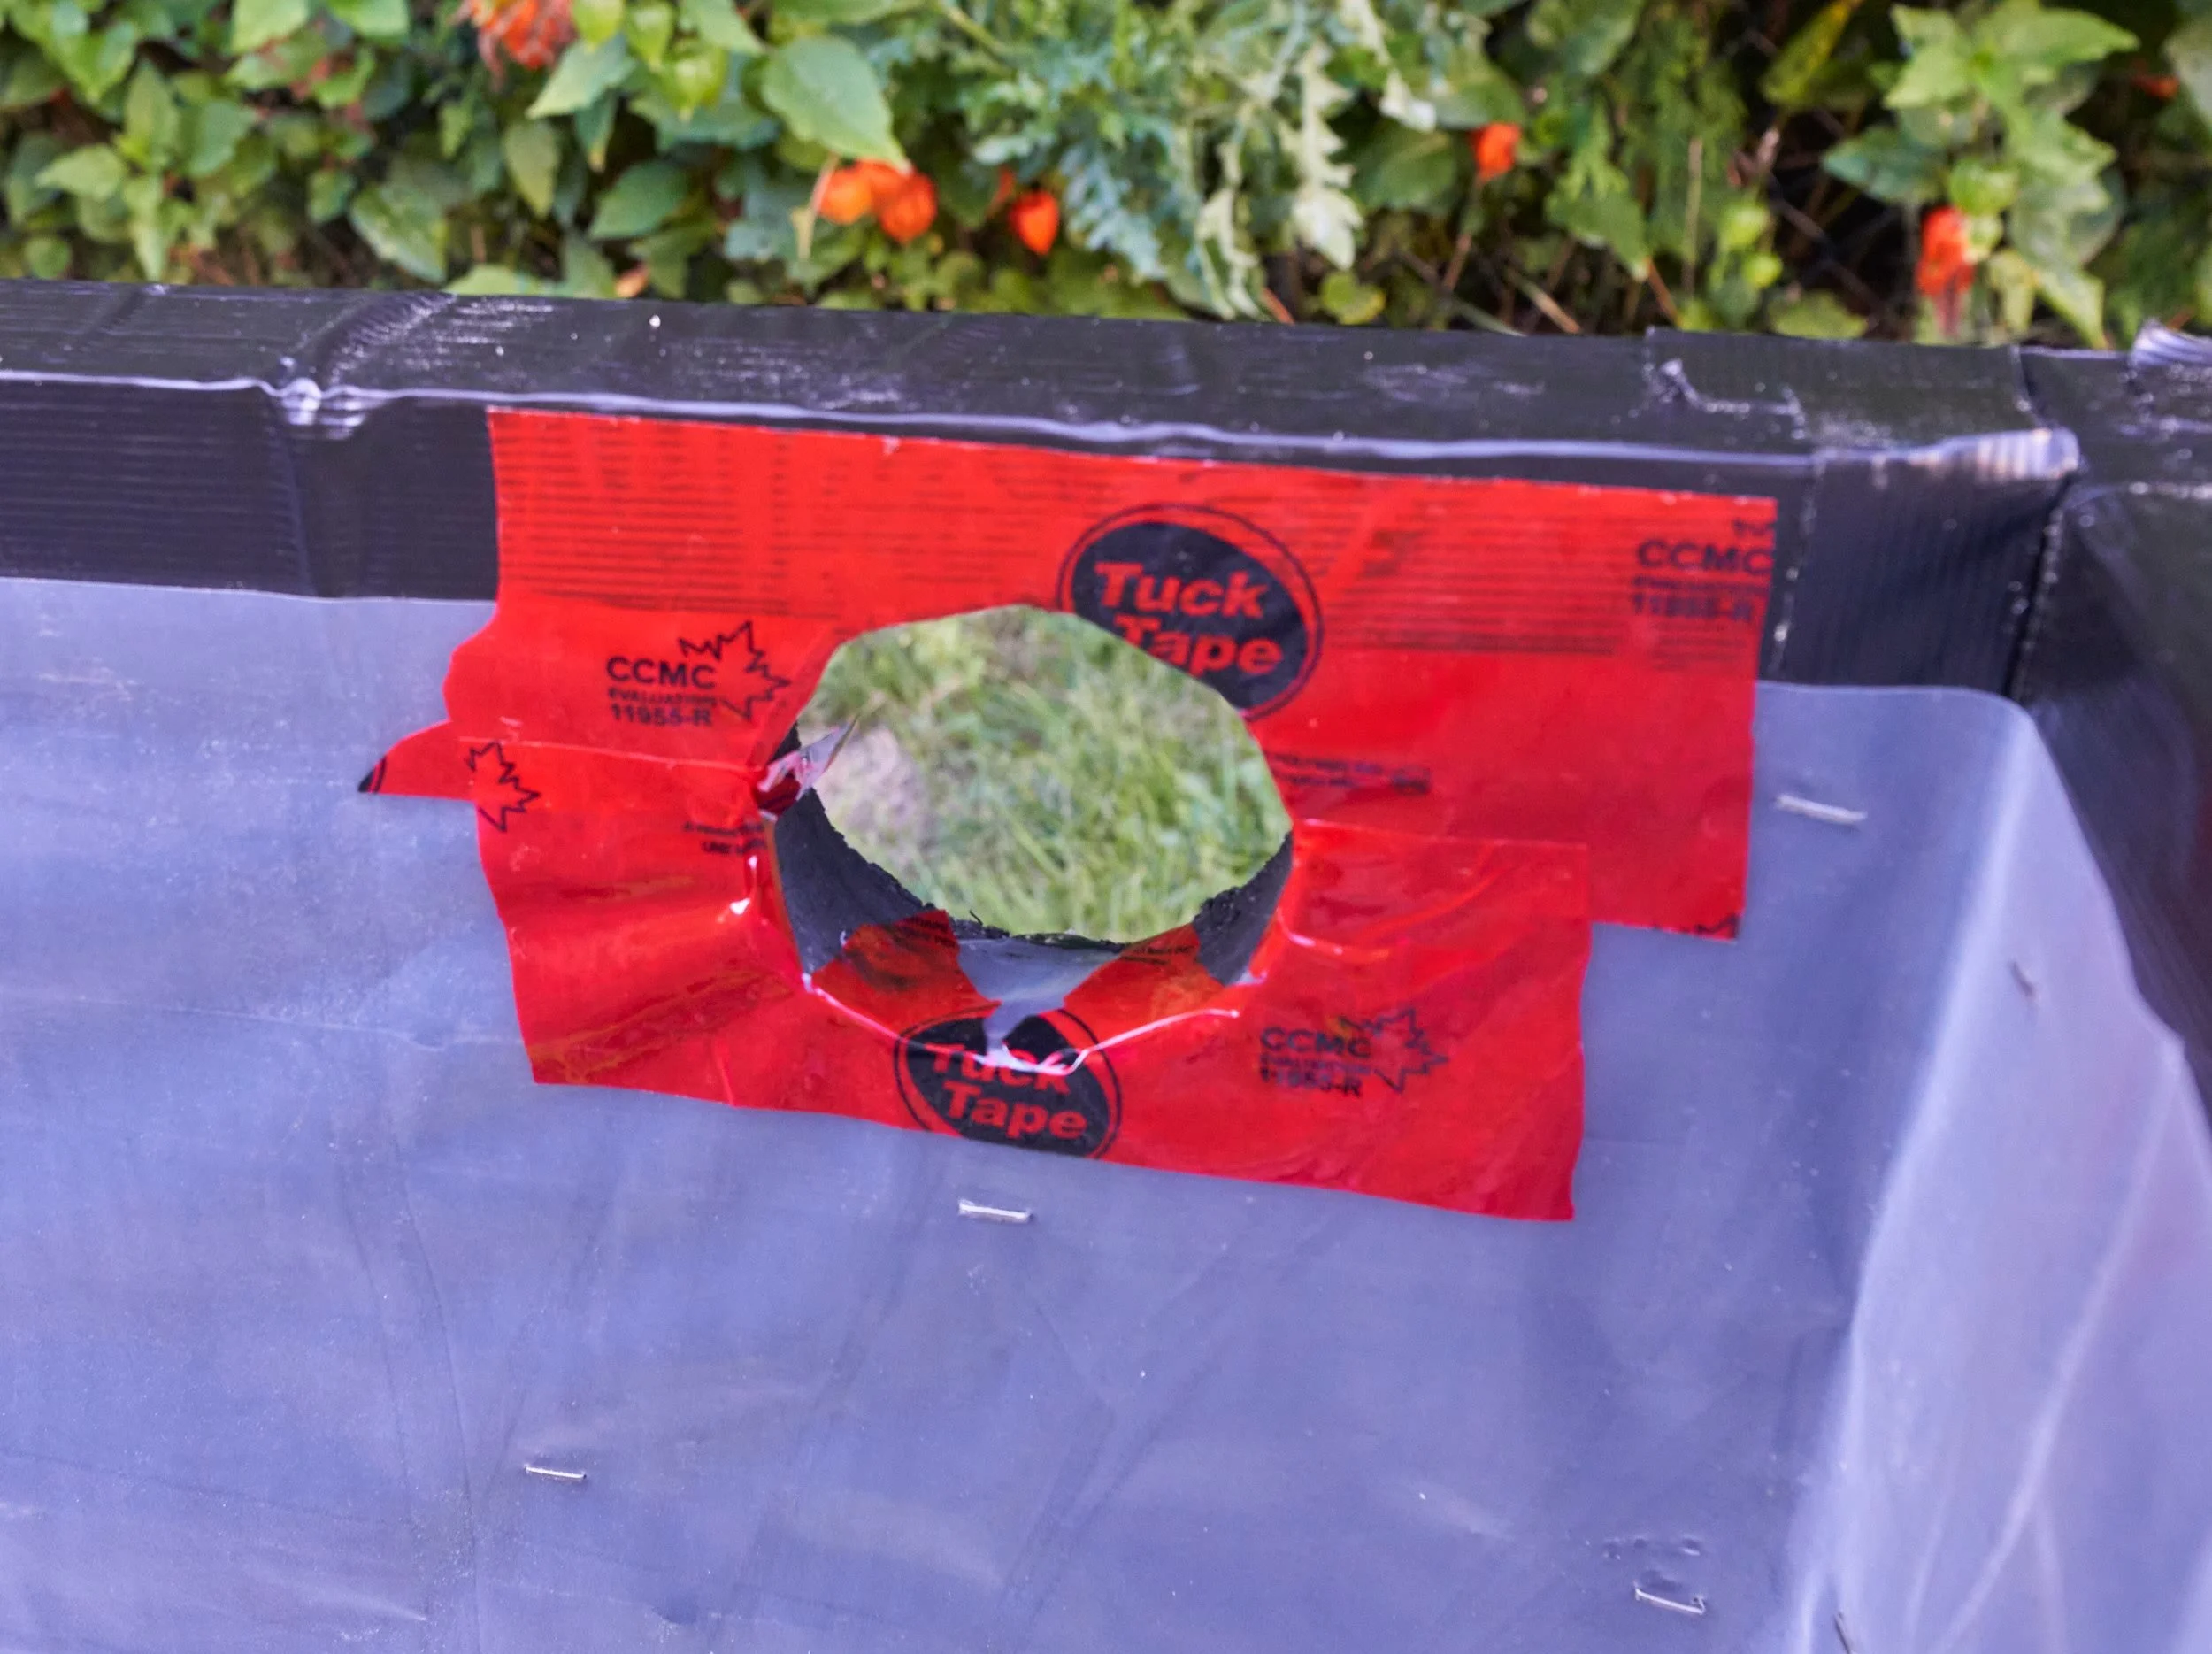
So the thing about planters is that they typically hold [wet] dirt — so I had the thought of using some form of plastic to further protect the inner walls from moisture damage (in theory, the outer walls would be handled by gravity). I had a bunch of vapor barrier left over from my basement Mega-Pantry project so I opted to use that. I ran out so close to the finish line but a friend of mine had some extra so I didn’t have to buy 500 million square feet just to finish this.


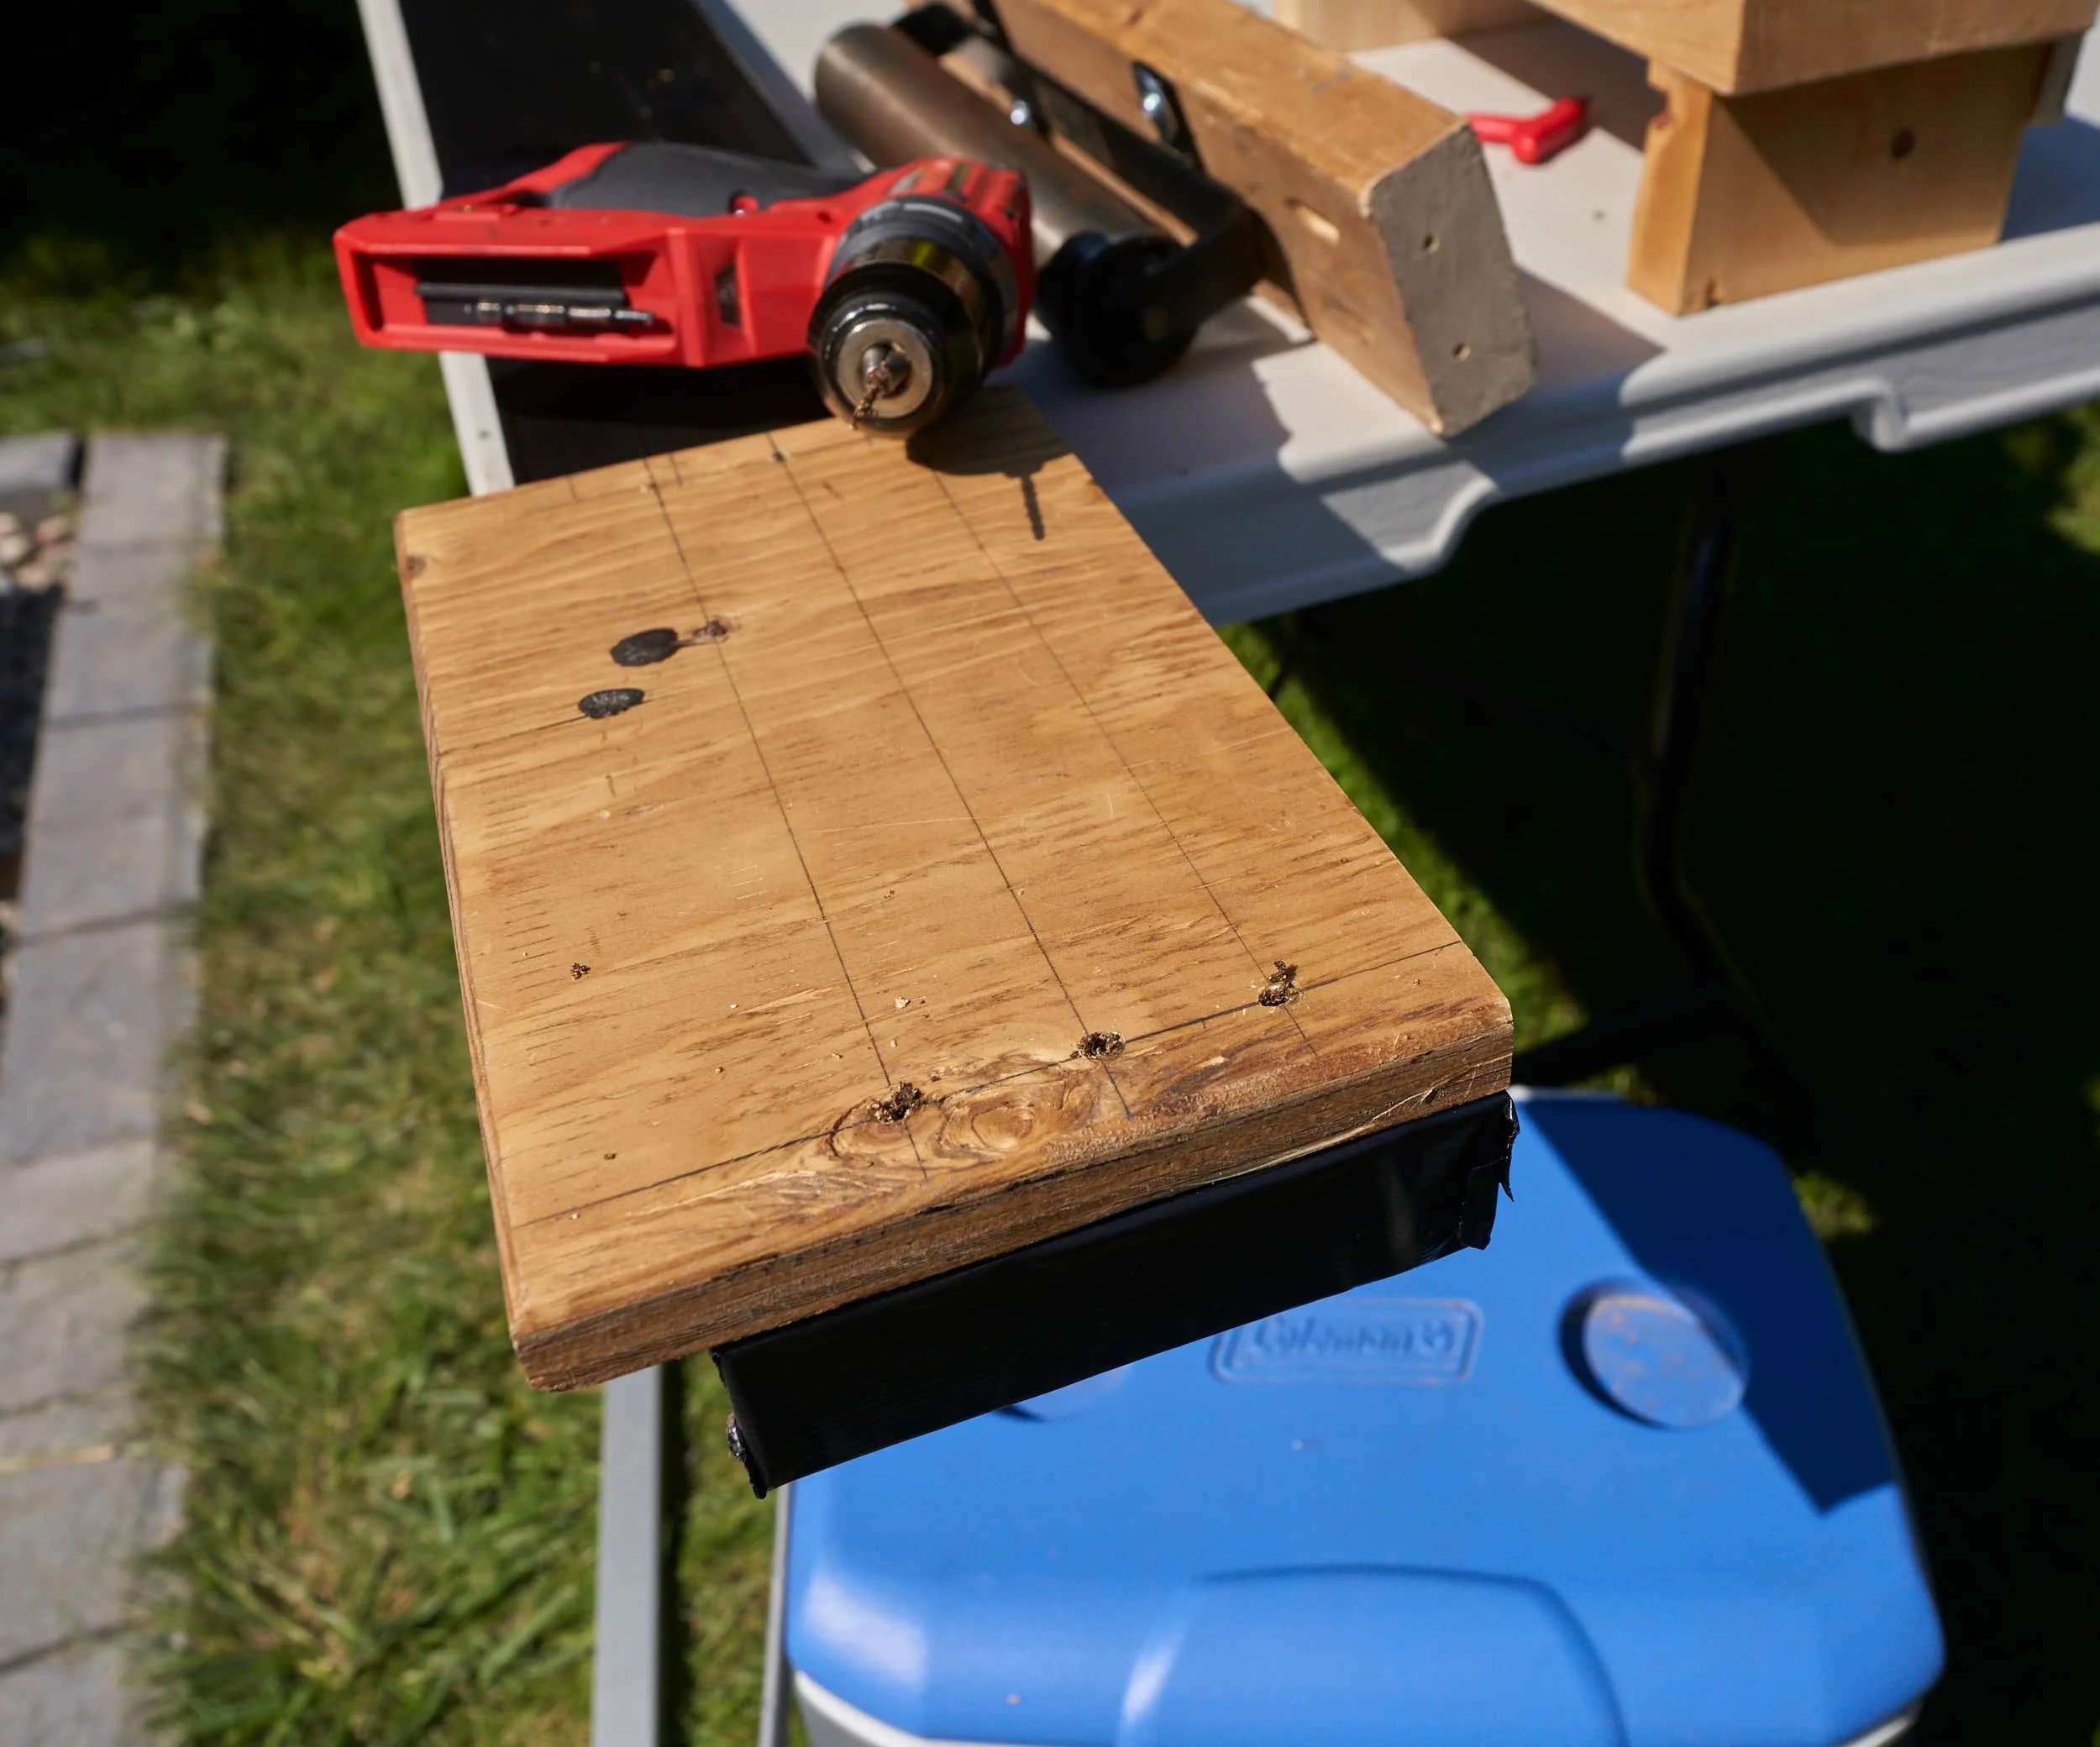
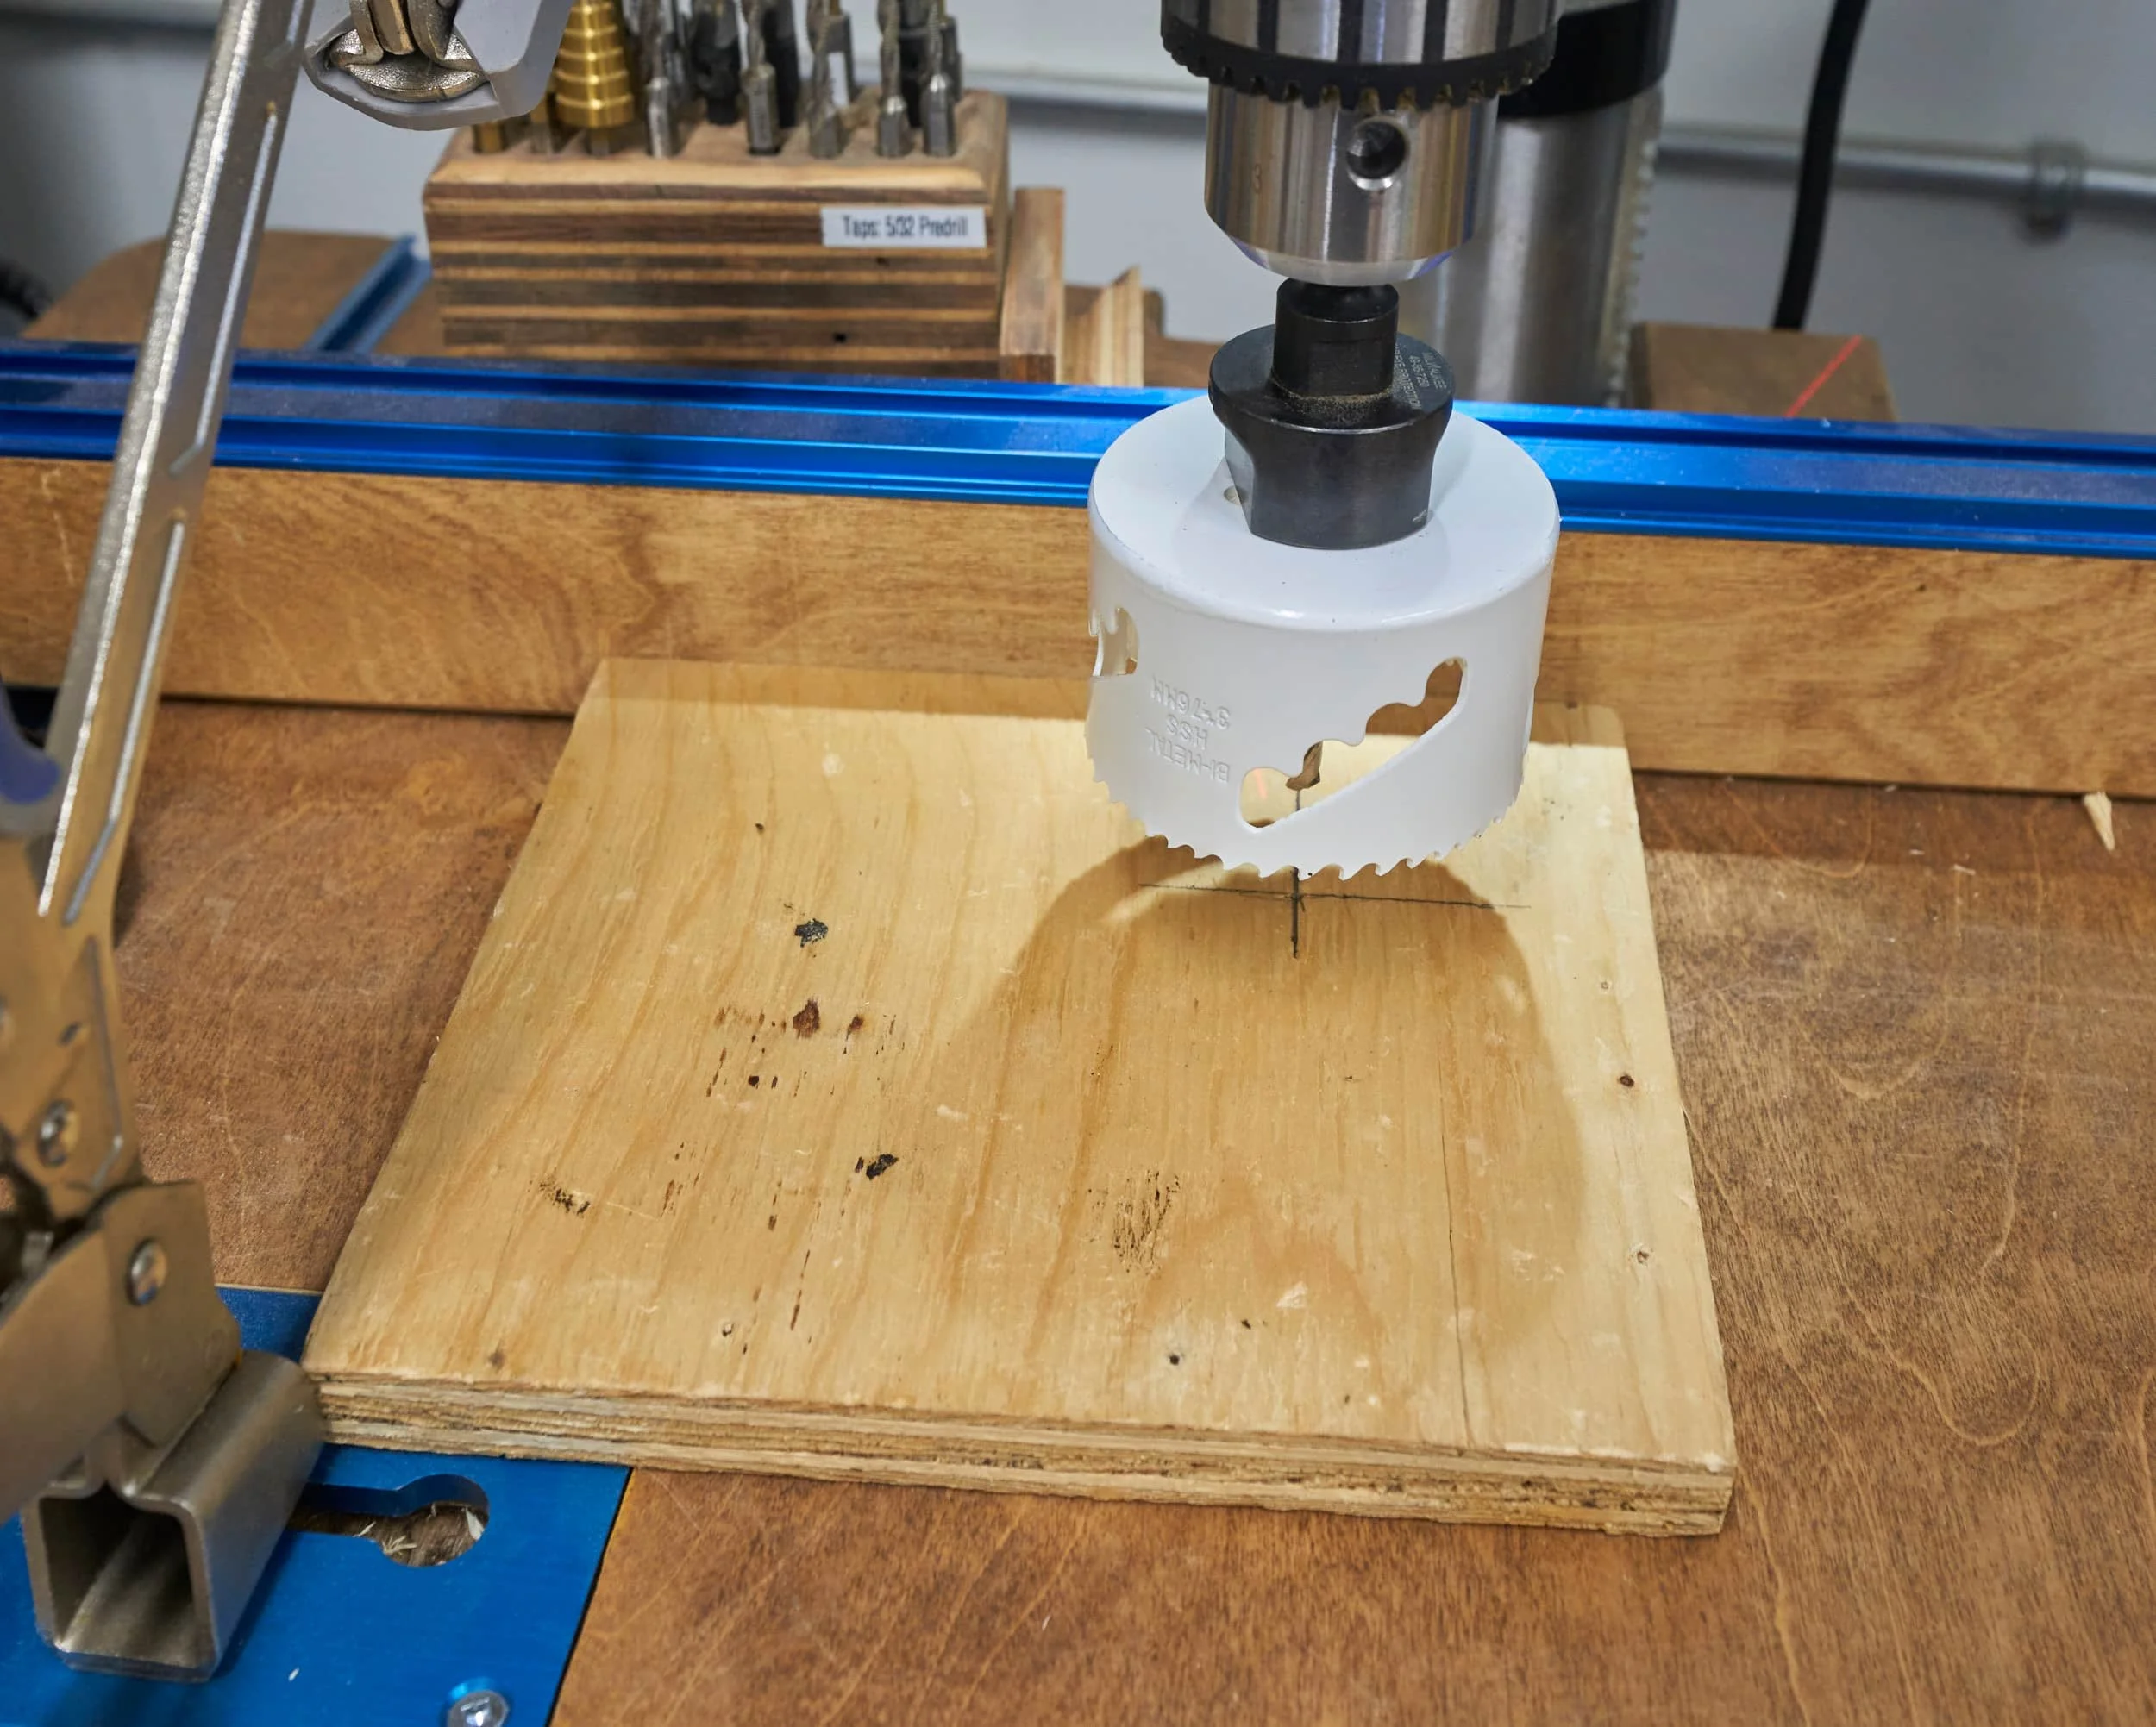
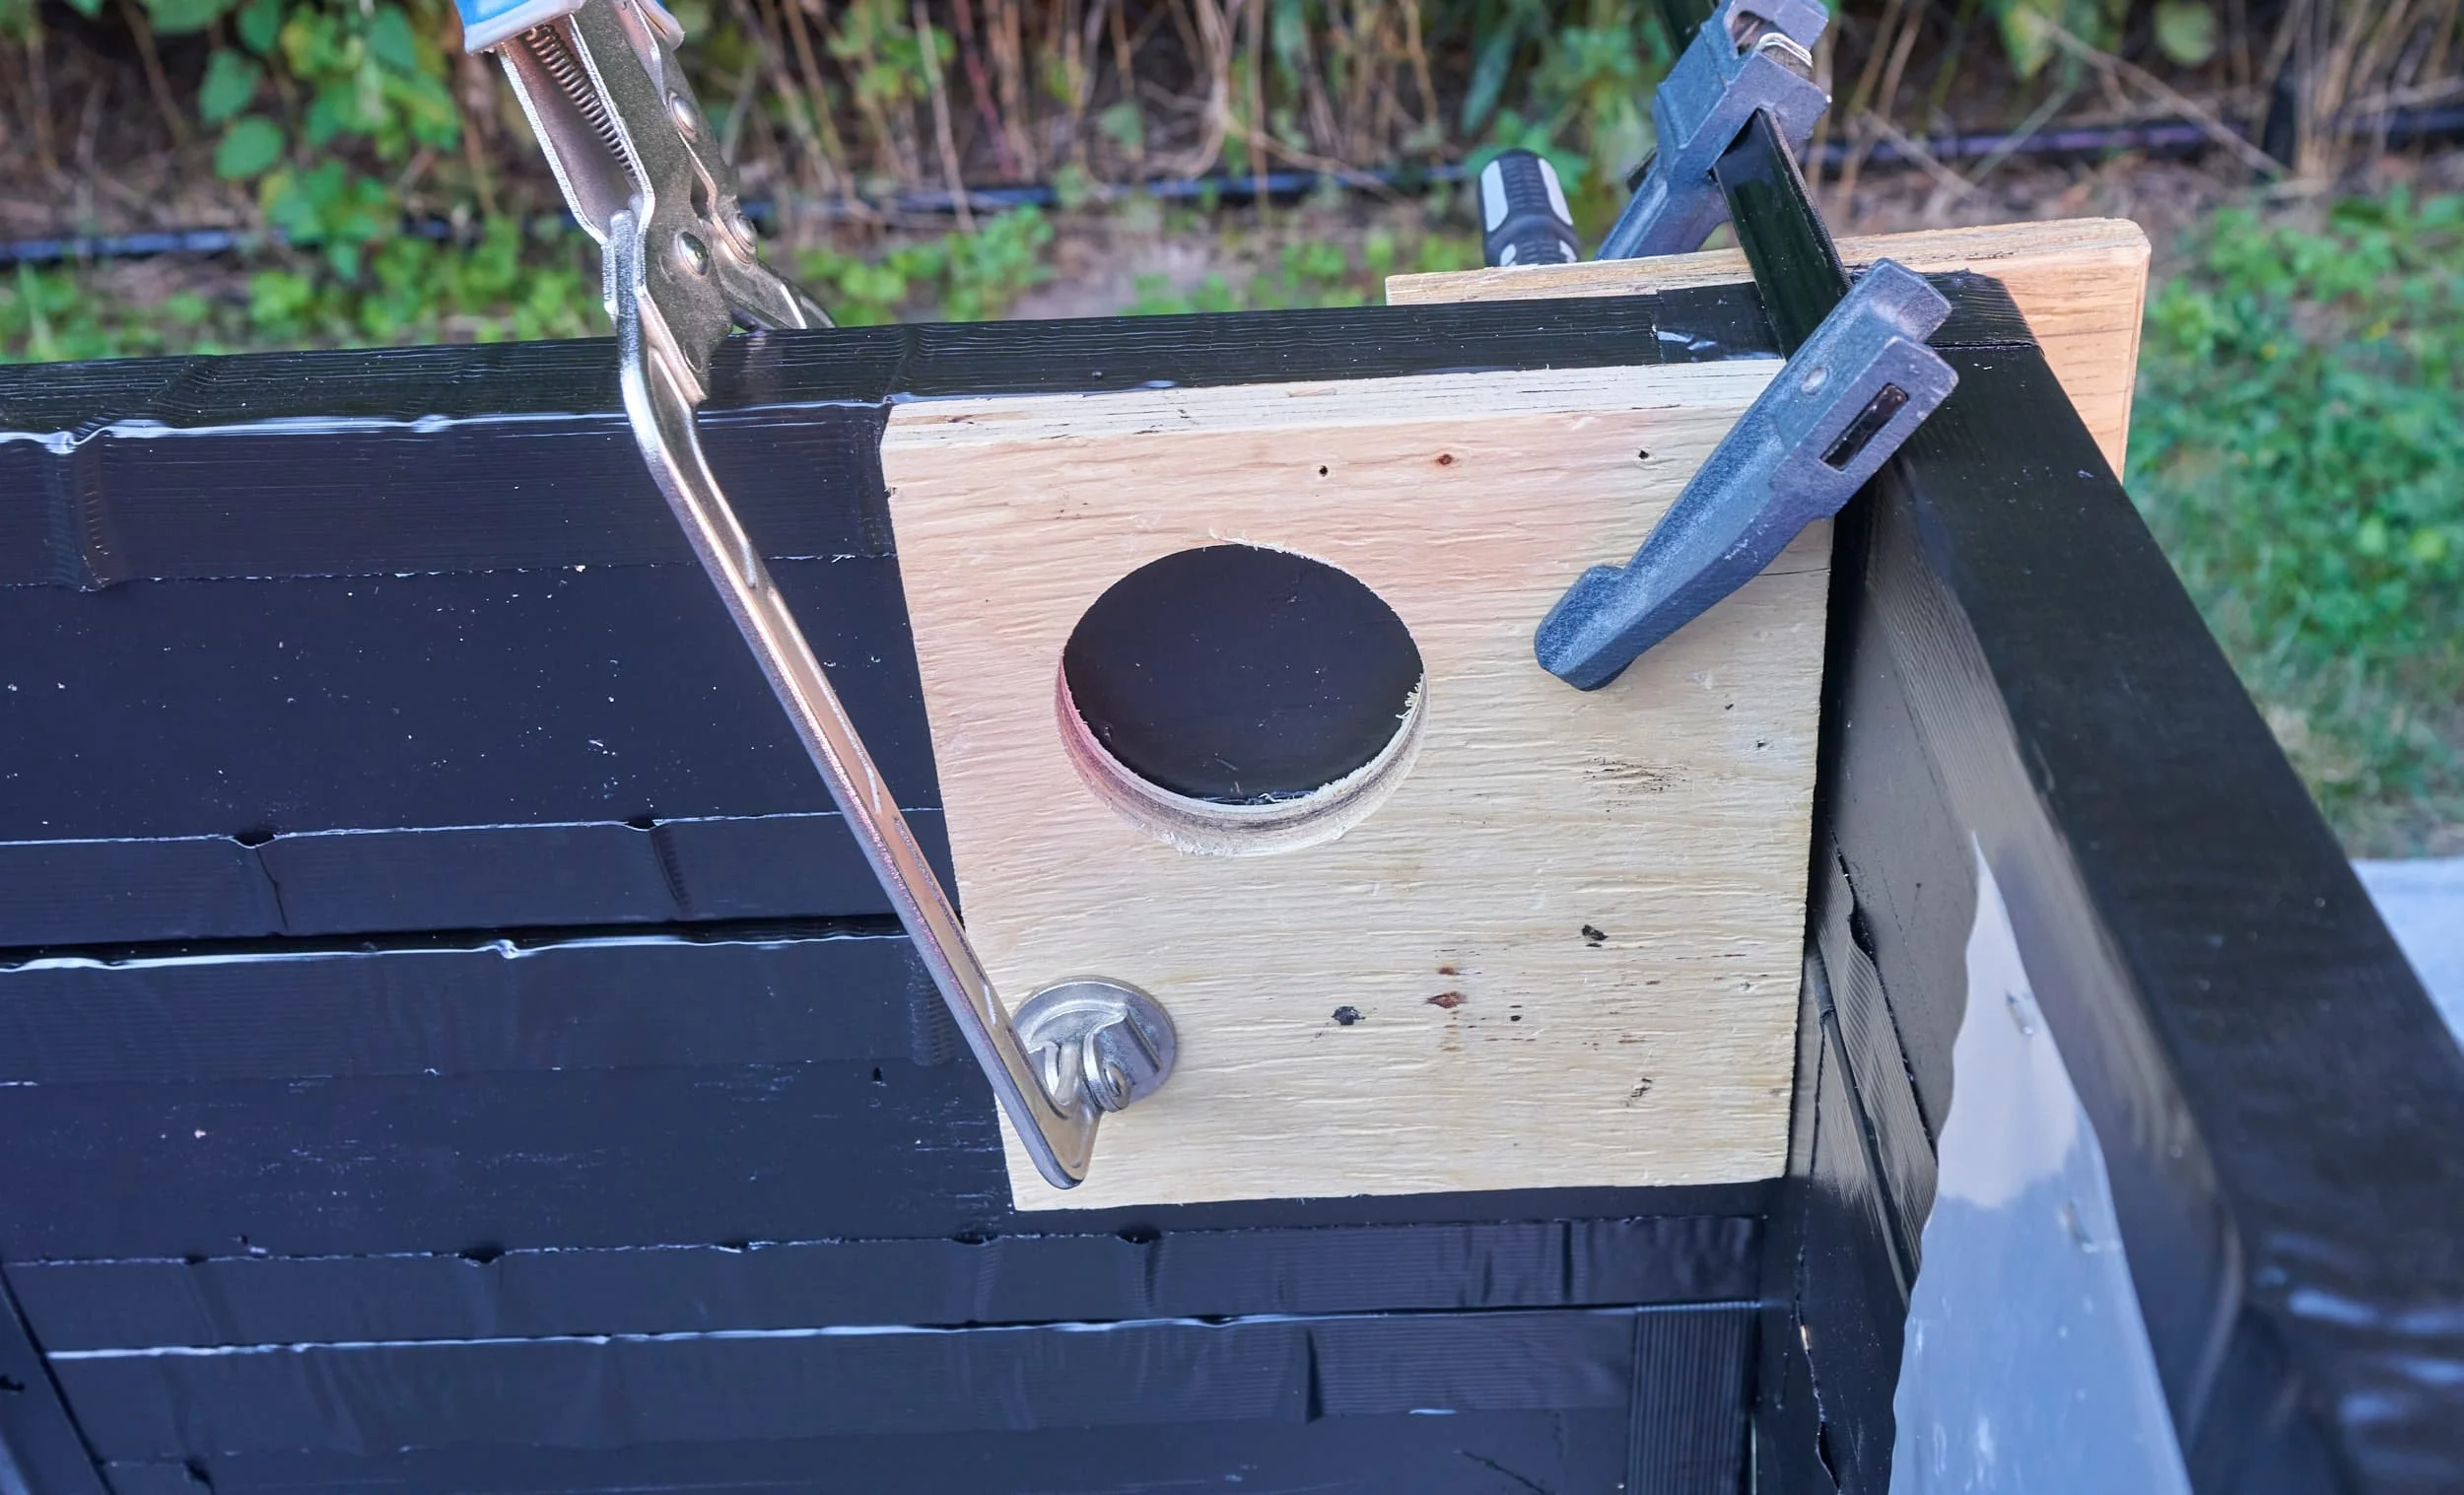
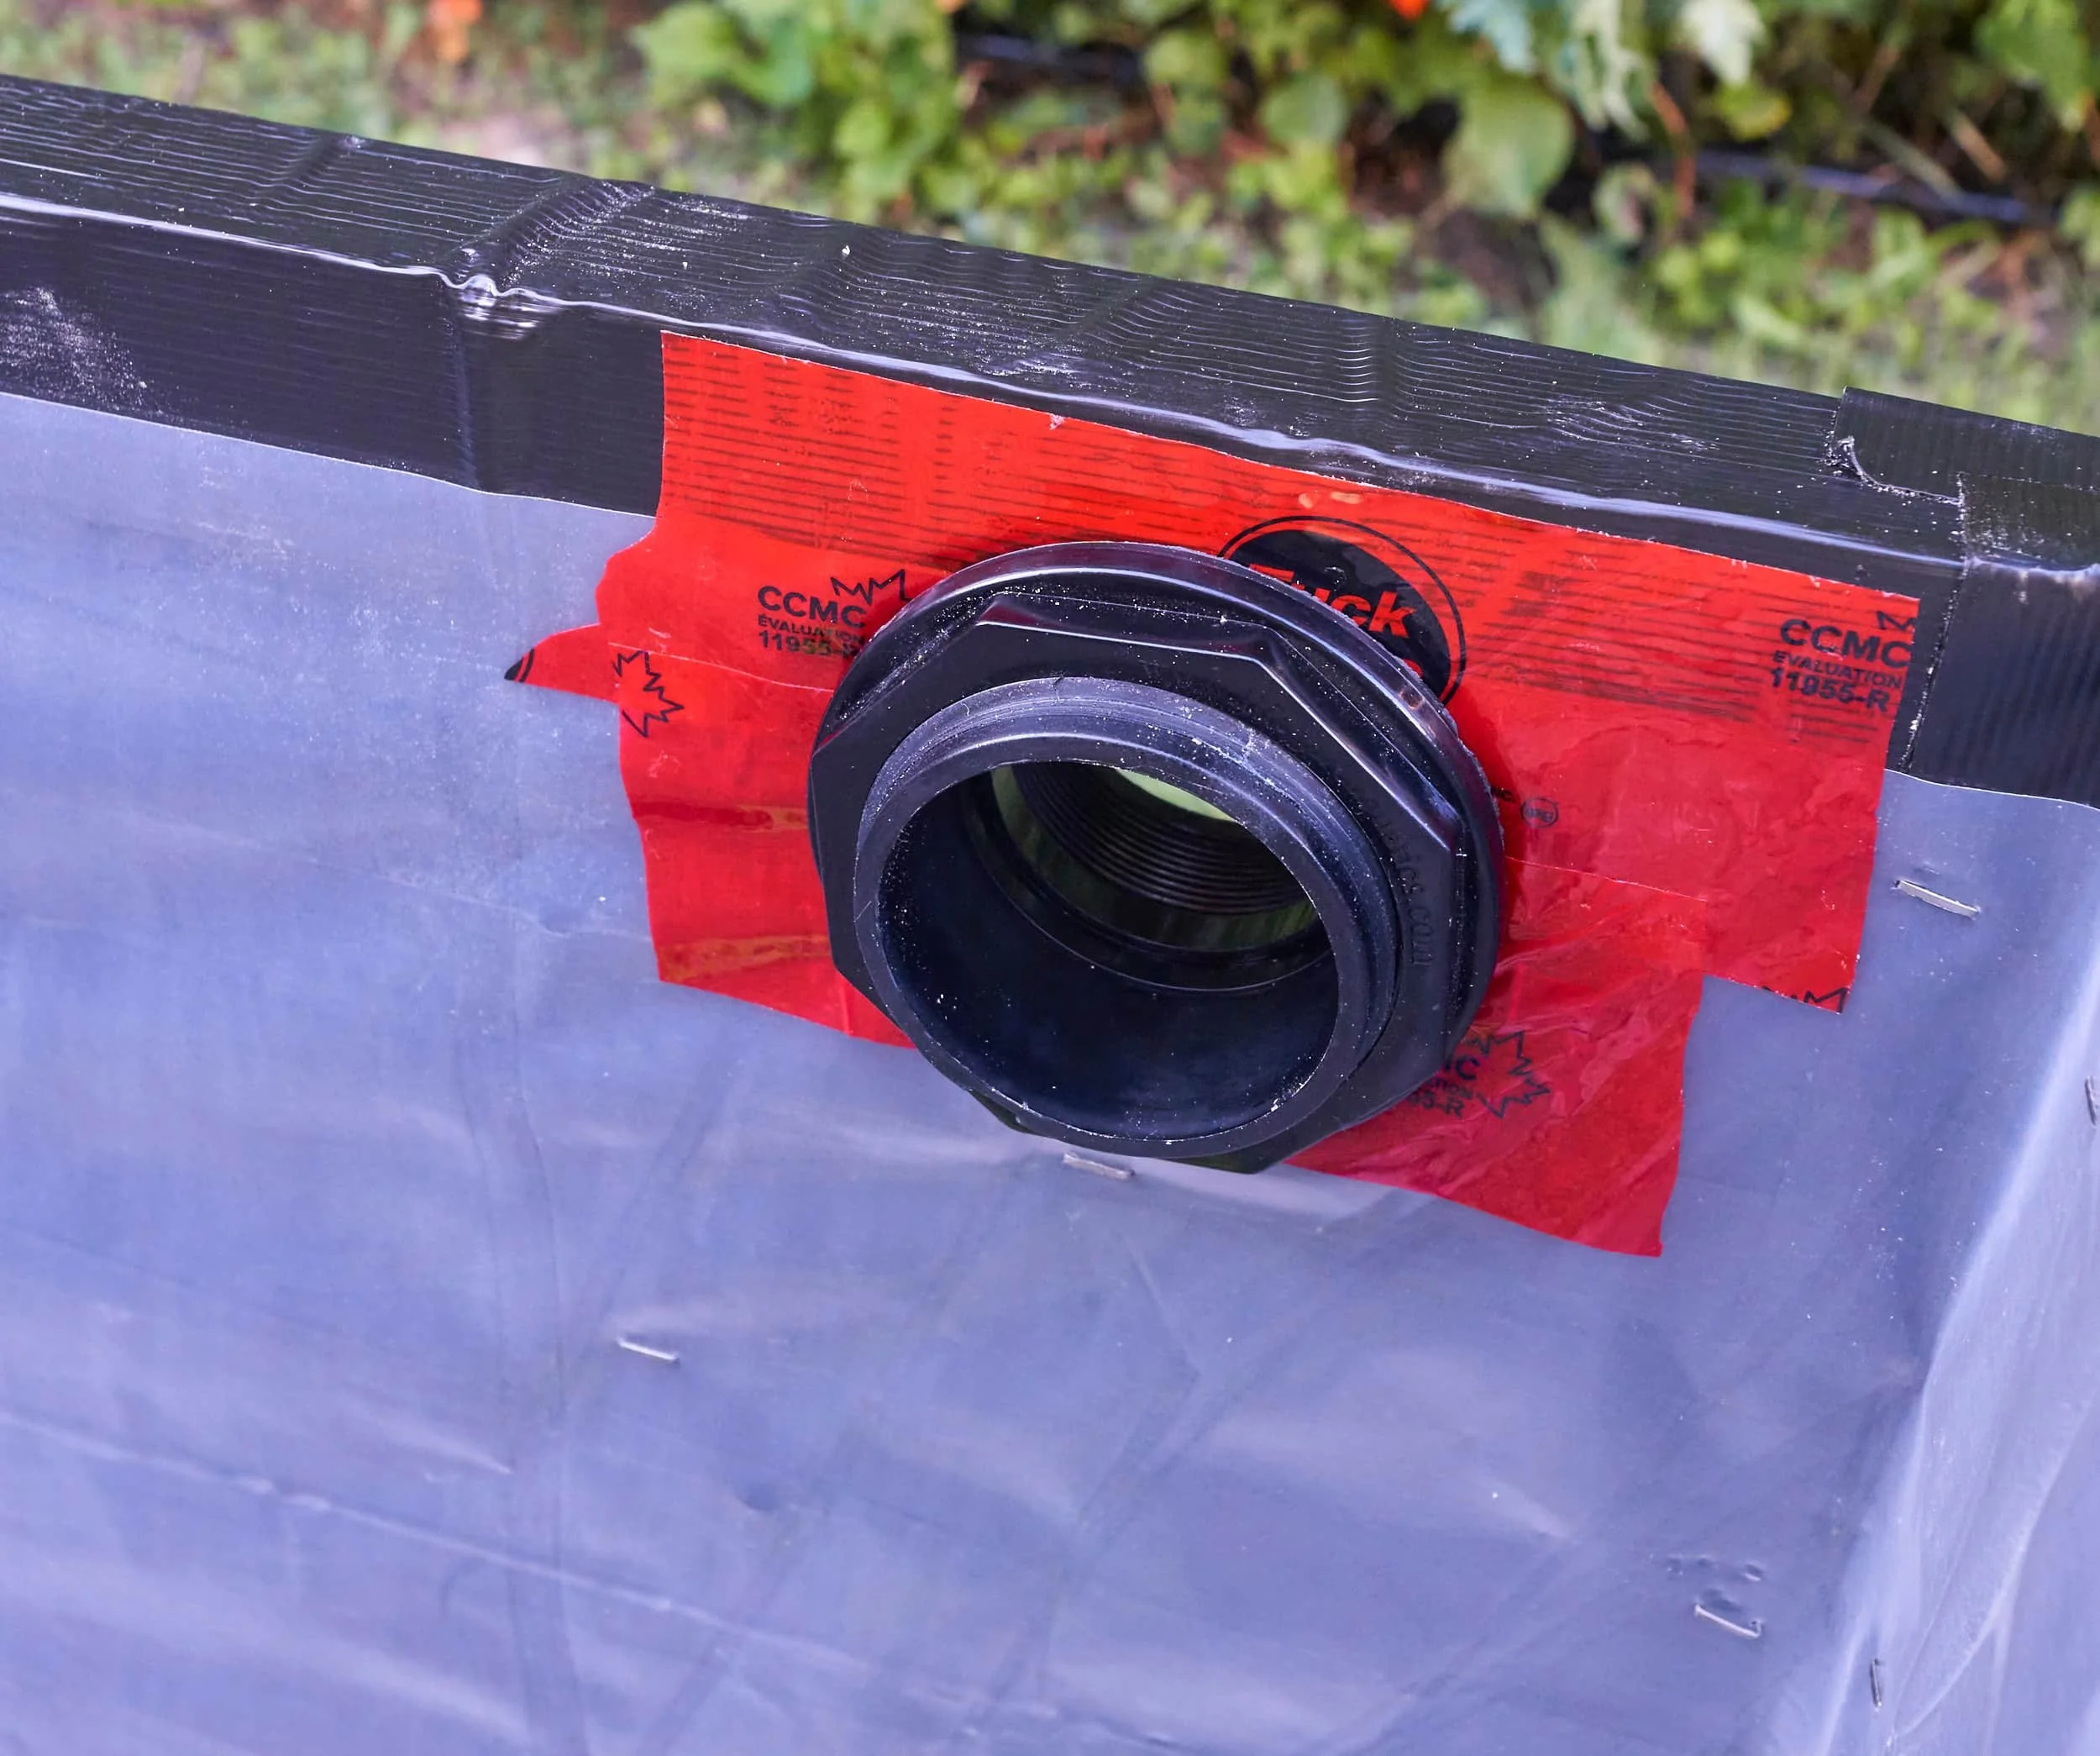
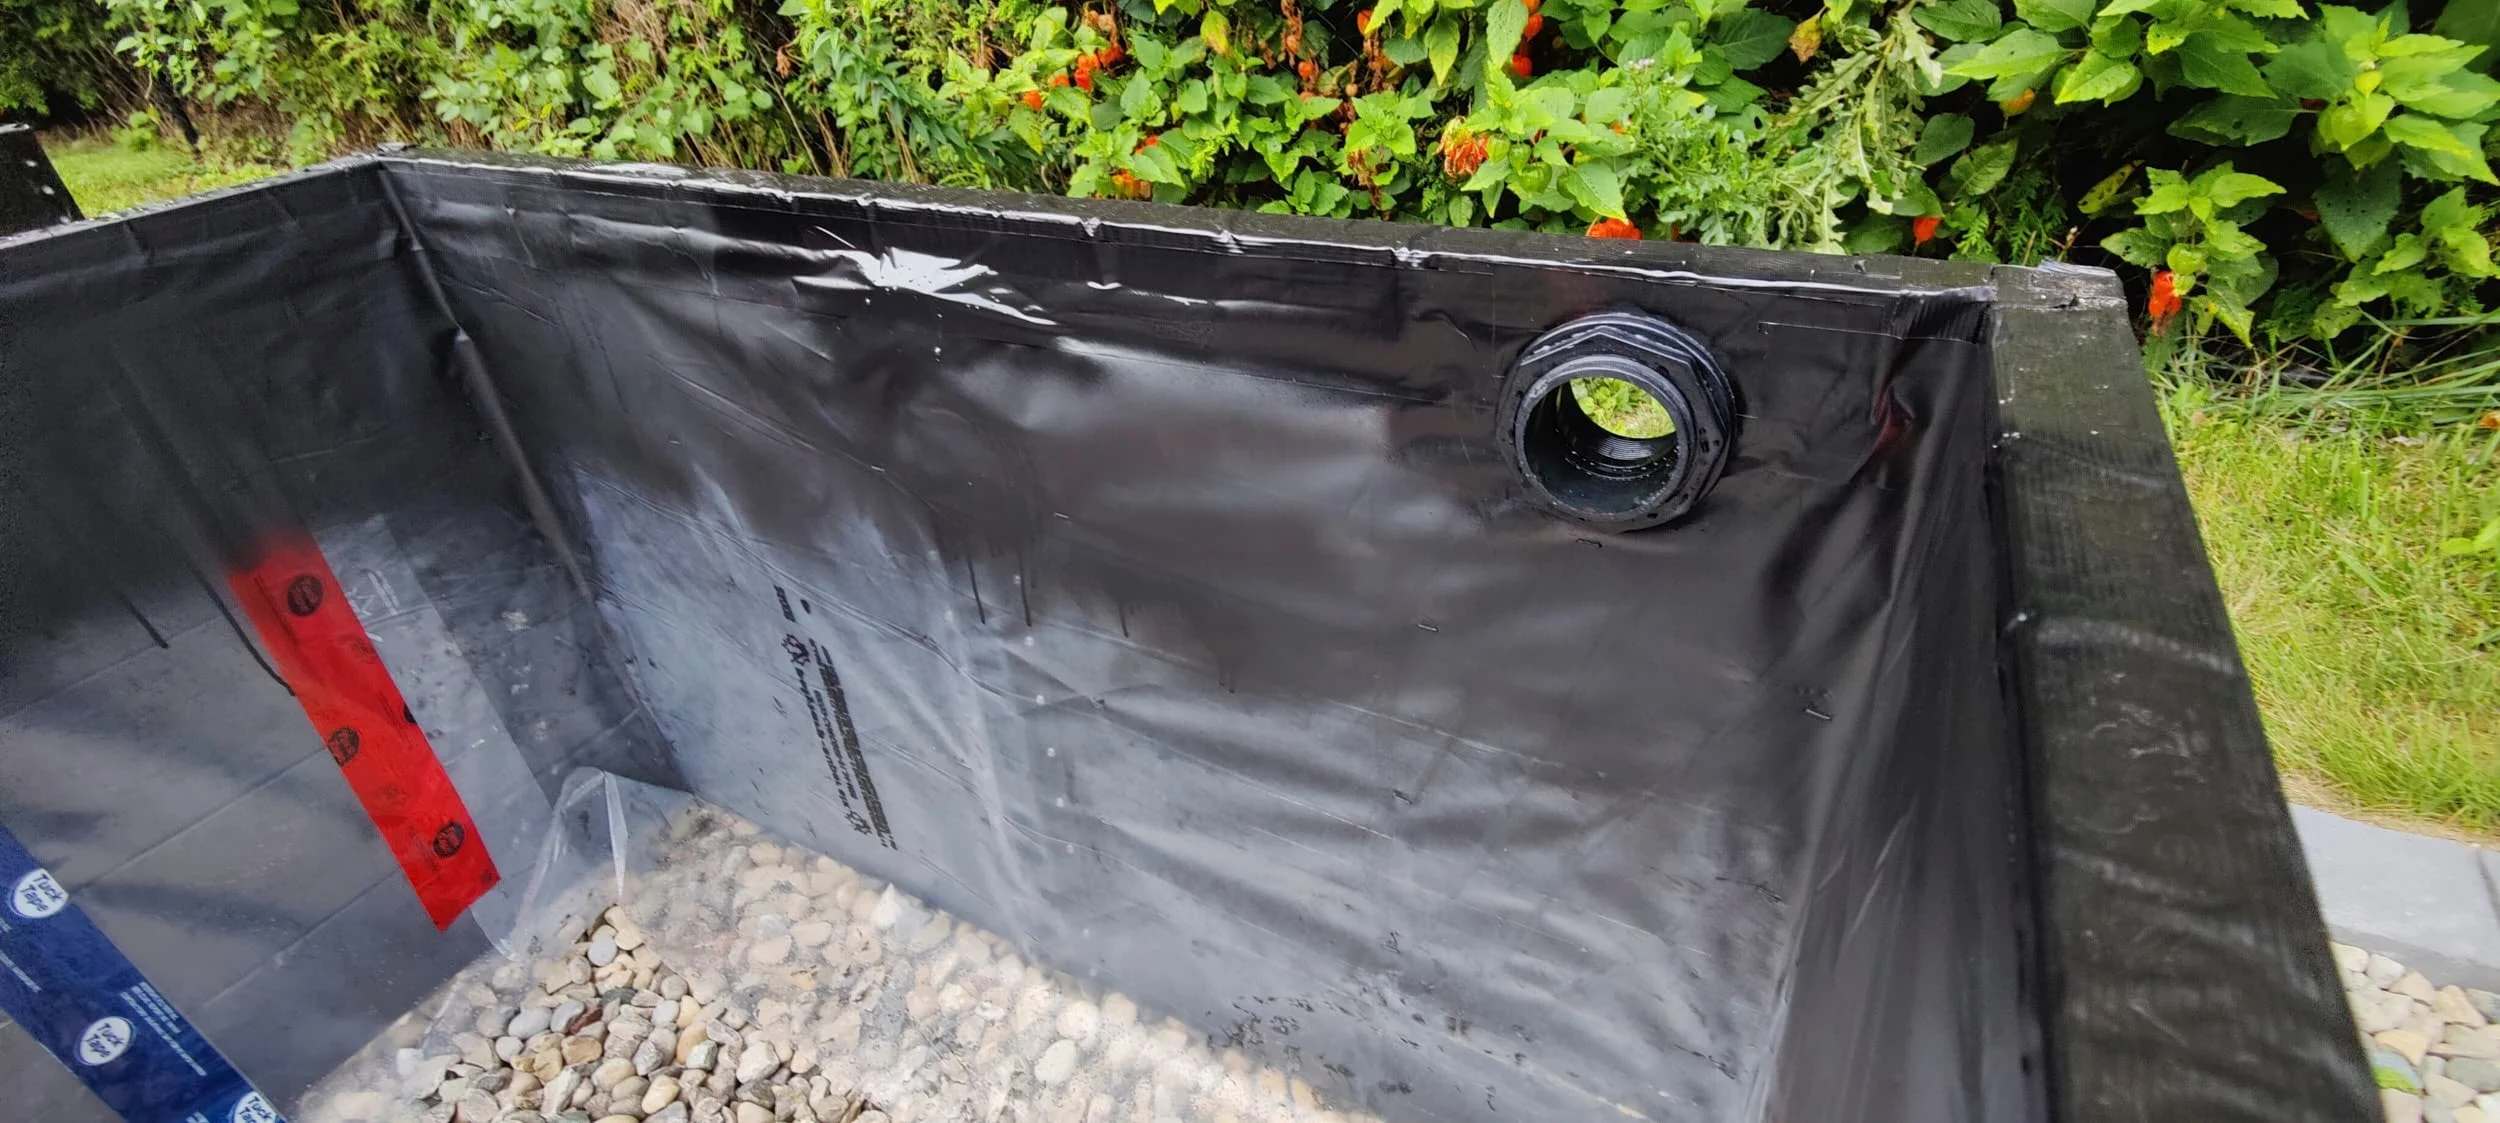
So now that I’ve spent all this time making this a protected as I can, the next thing to do is to punch a massive hole into it right? Of course.
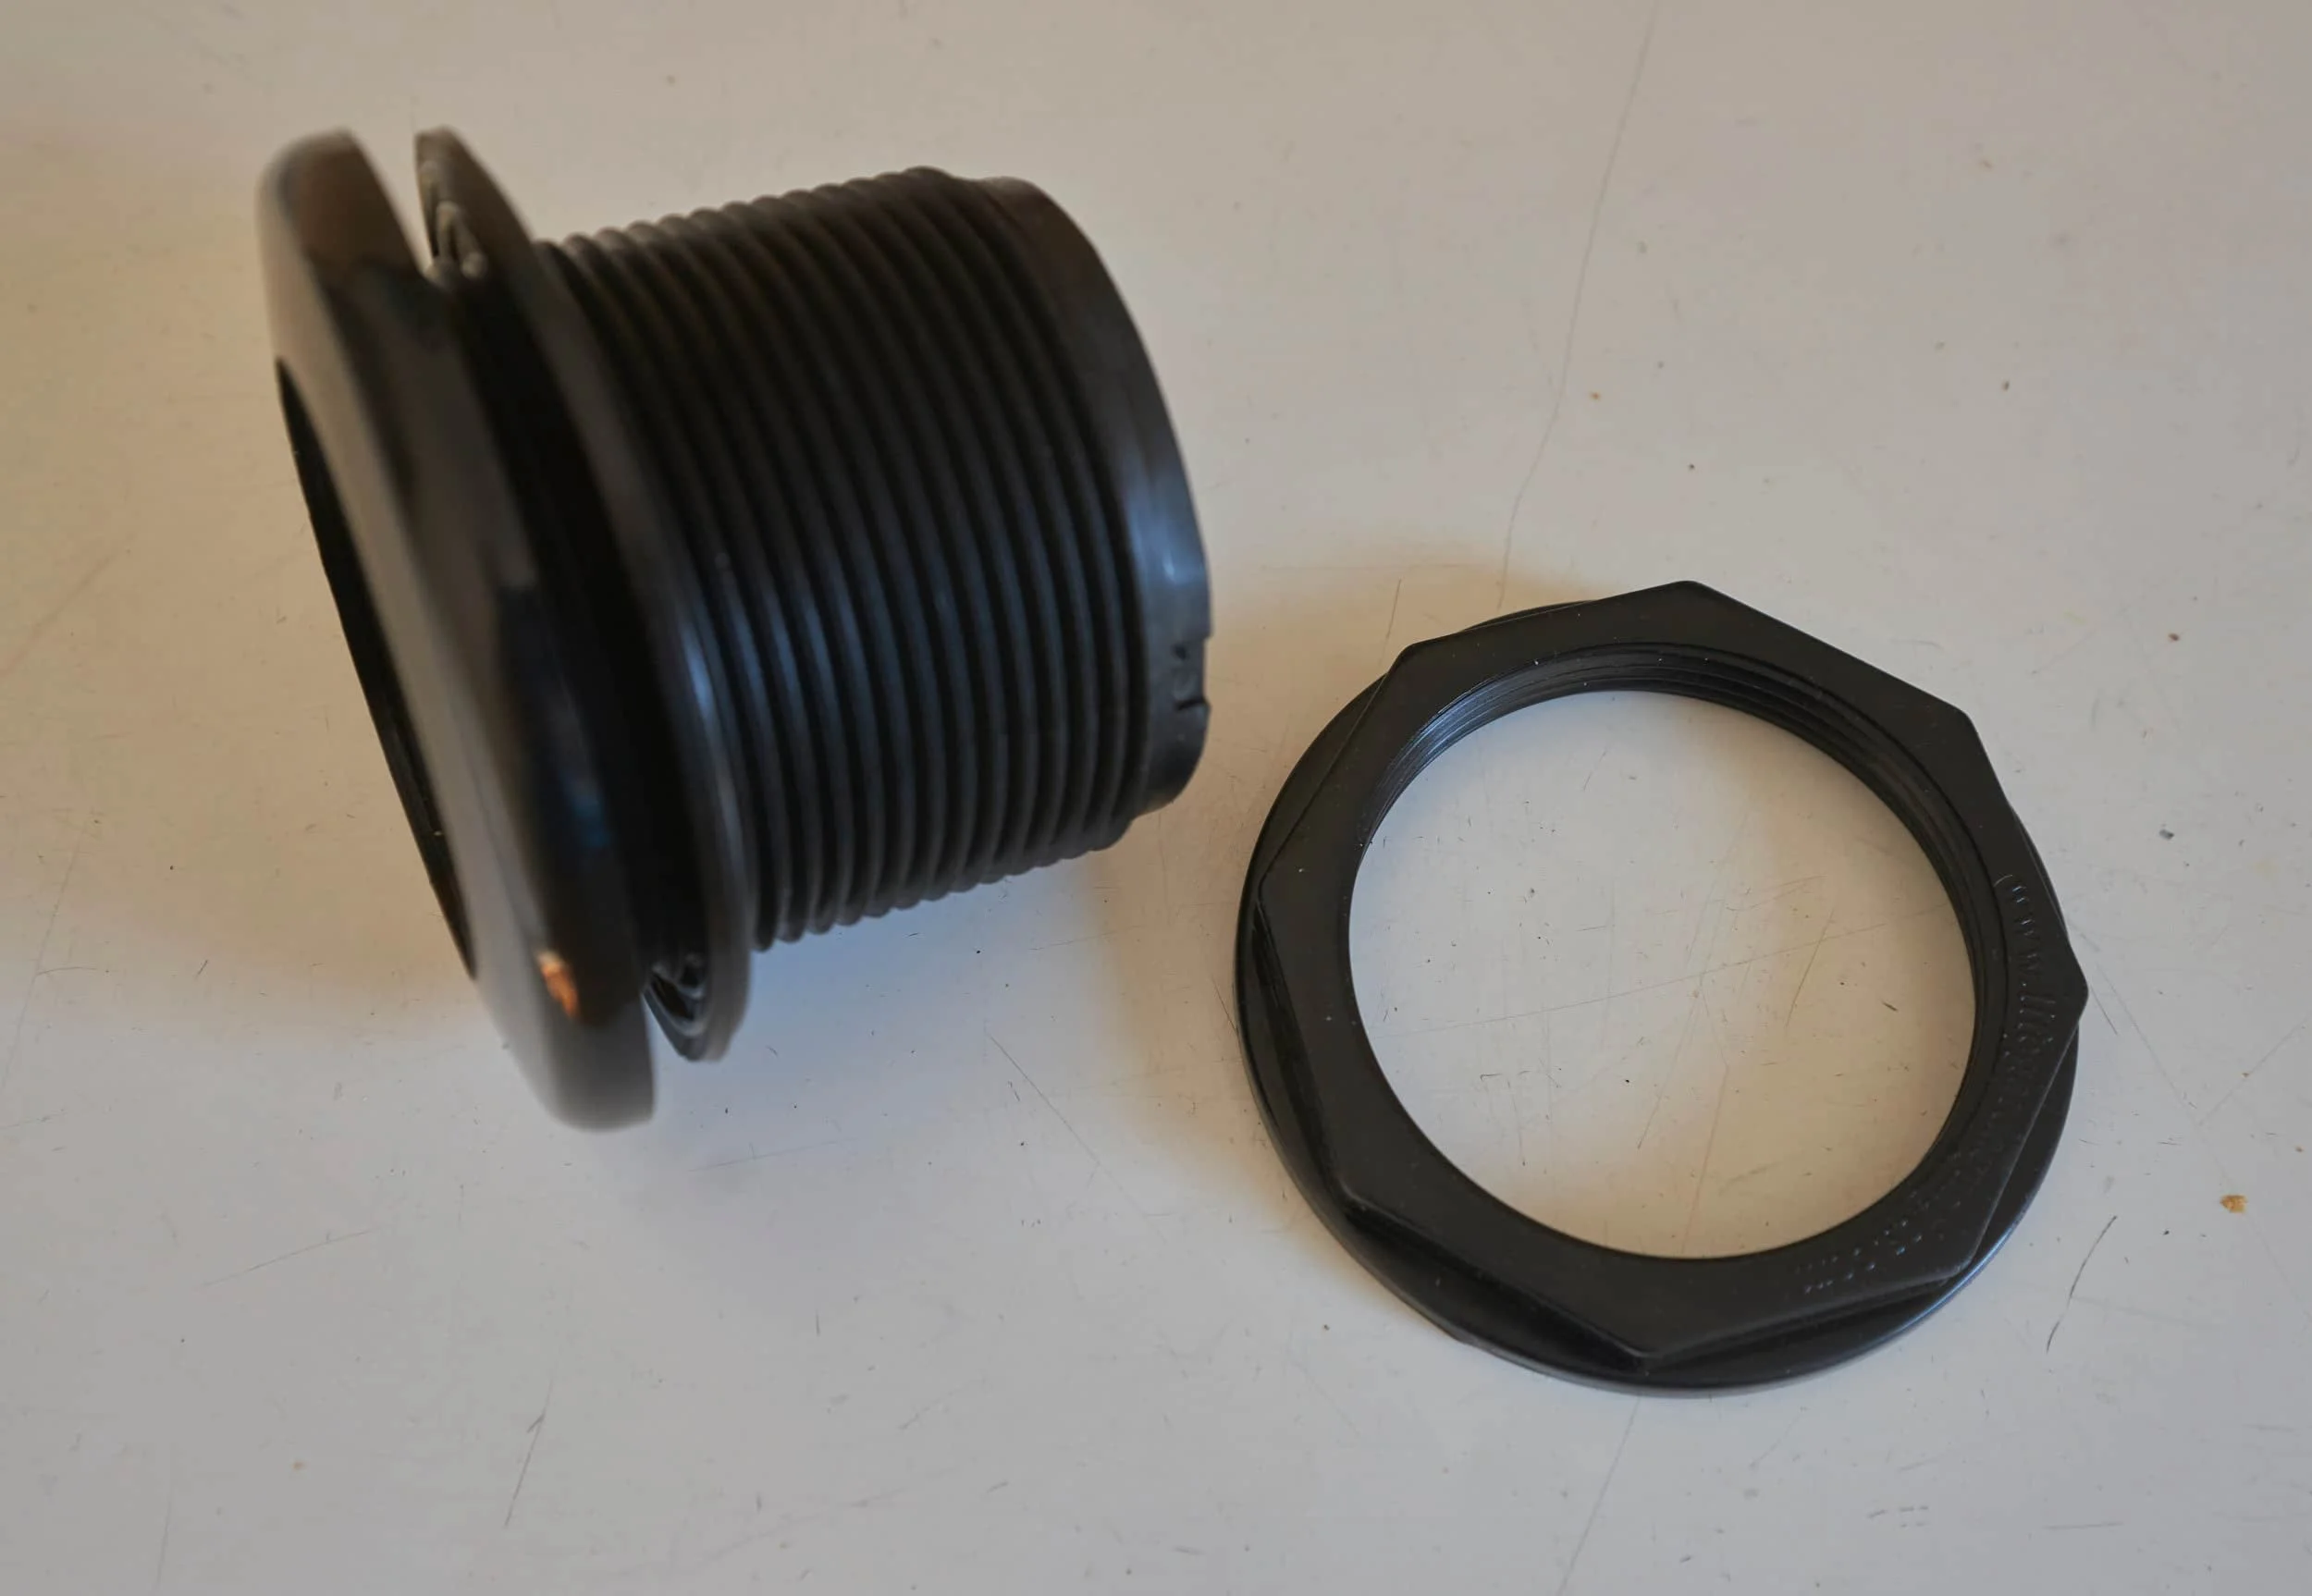
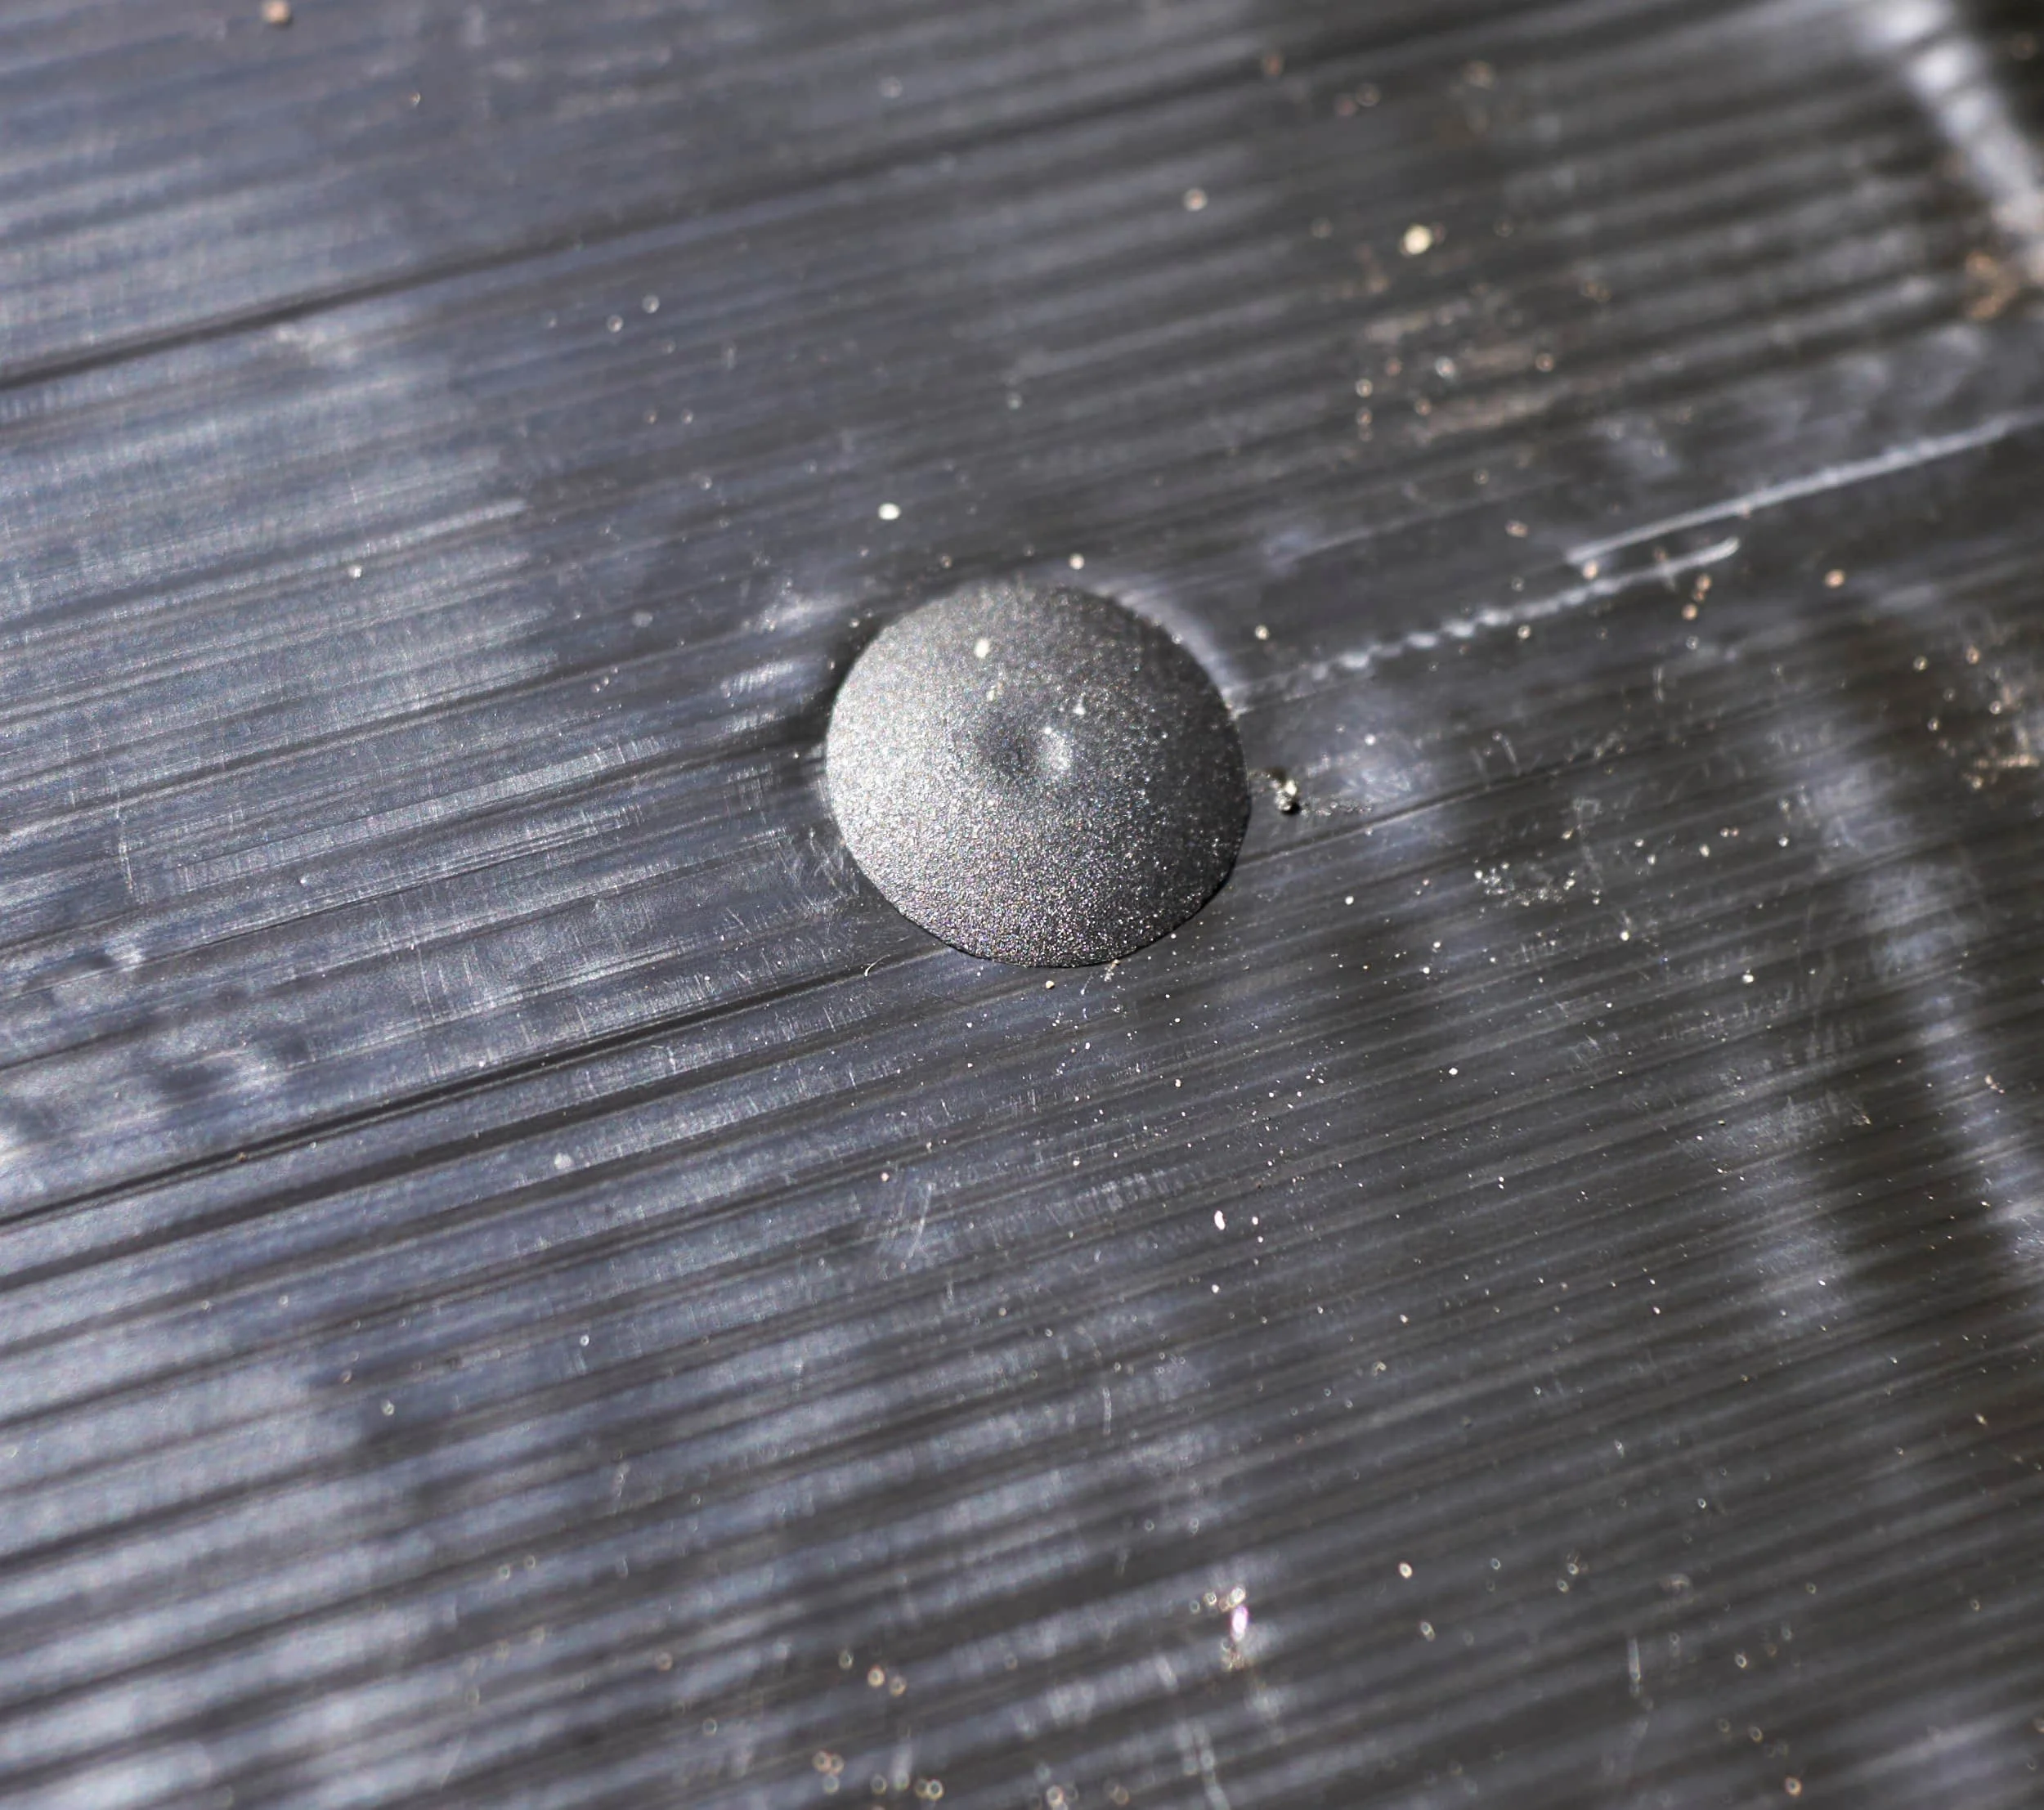
In my vision, I have a means of getting a water hose into the planter without draping it over the top edge. By using an aquarium bulkhead, I can get a watertight seal that also ensures that the wriggling in and out of the garden hose won’t physically damage the opening over time either. When I was done, I gave everything conspicuous a quick splash of spray paint.


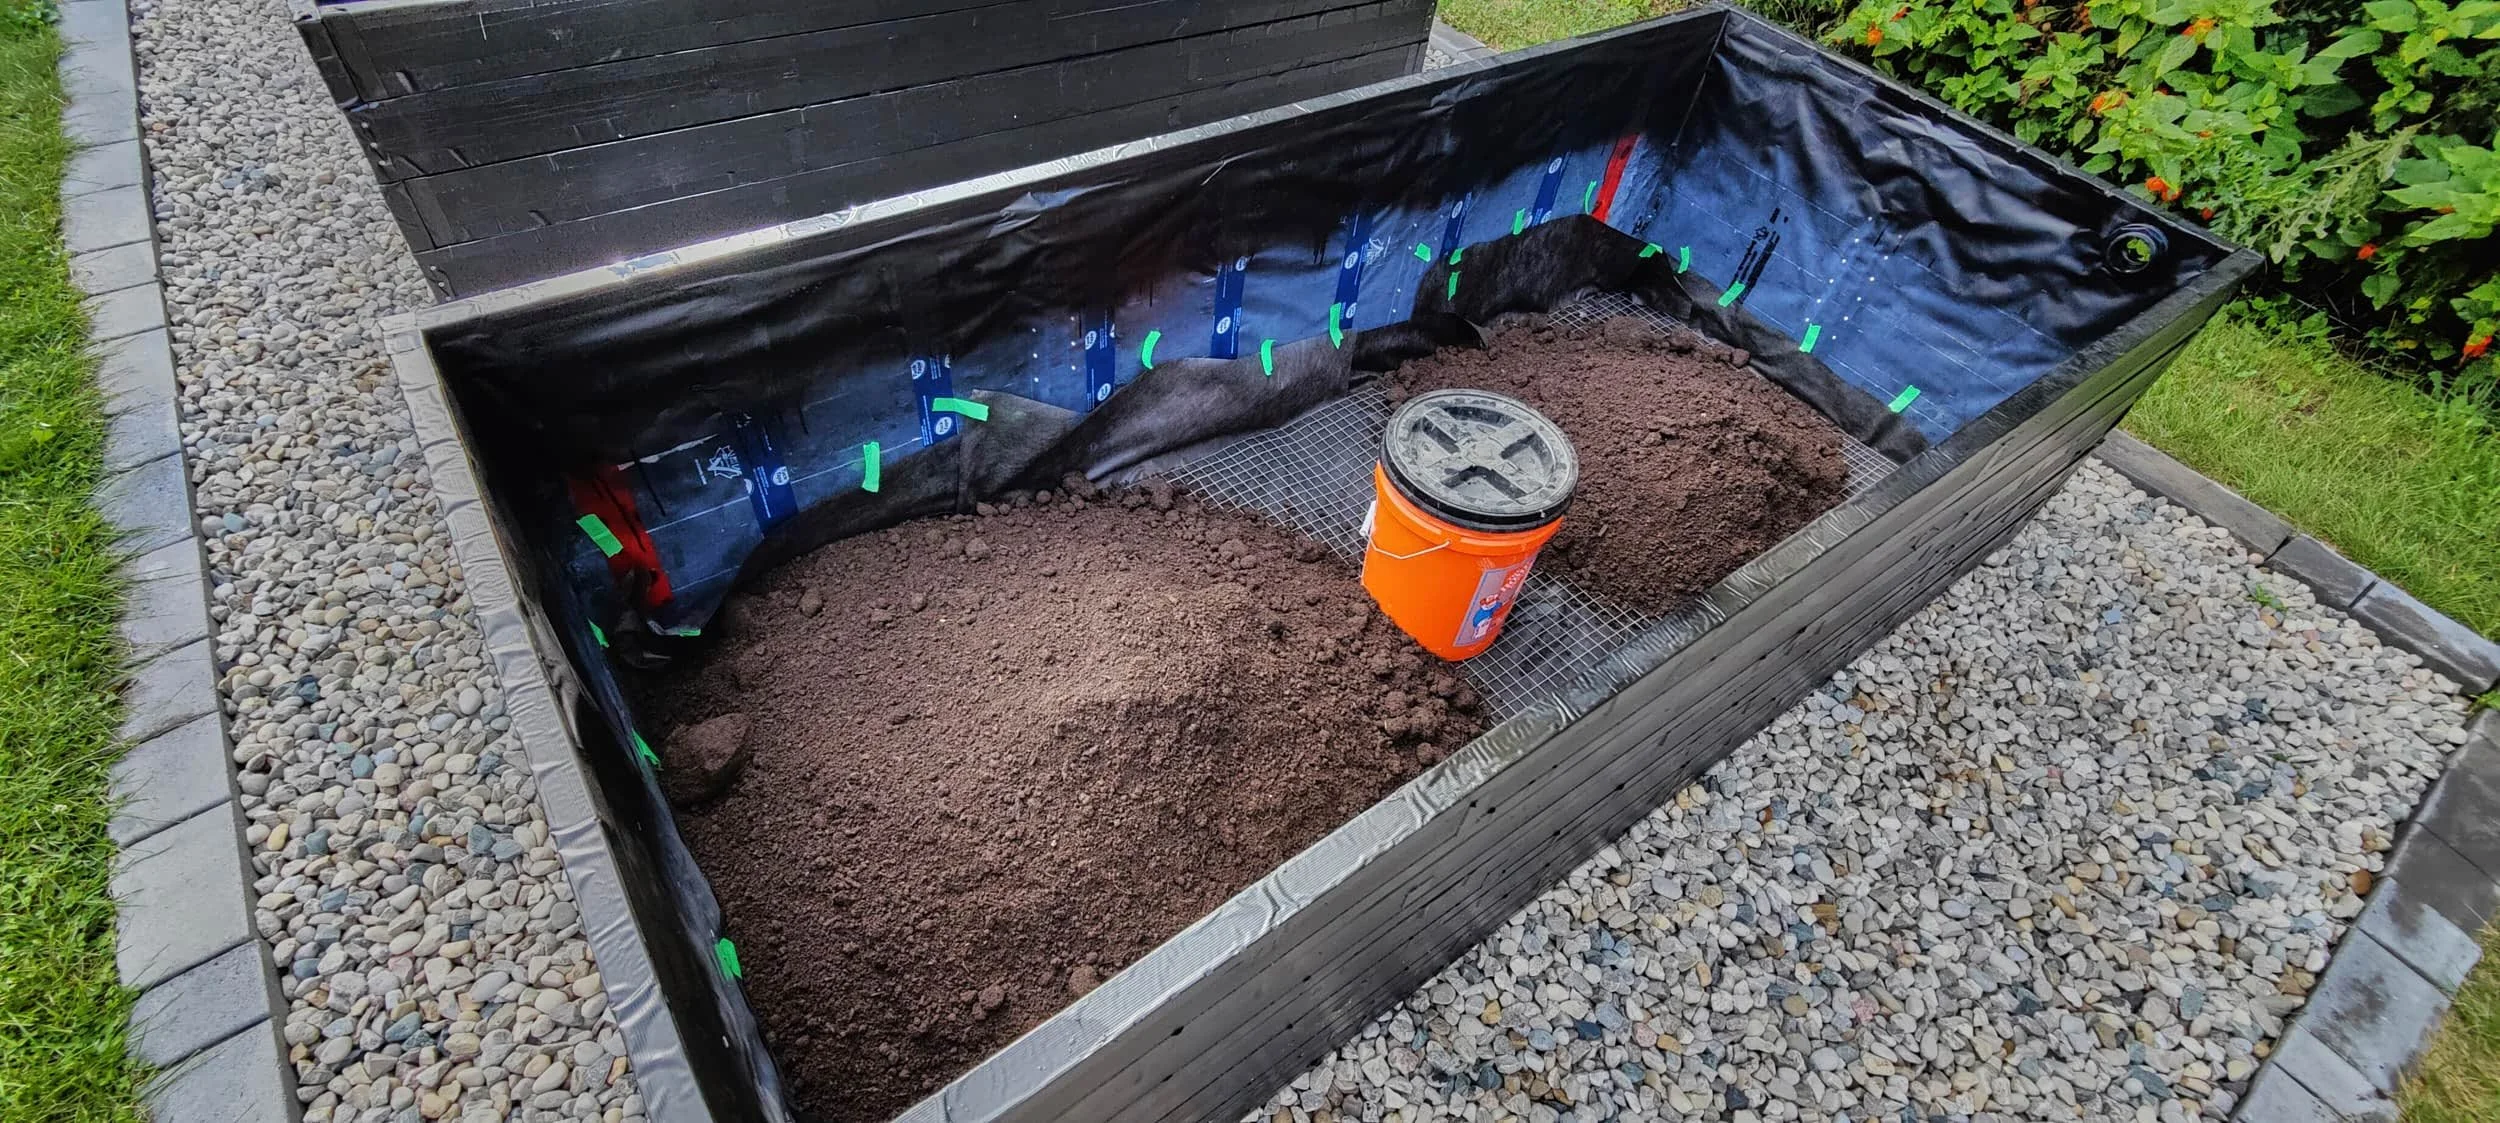
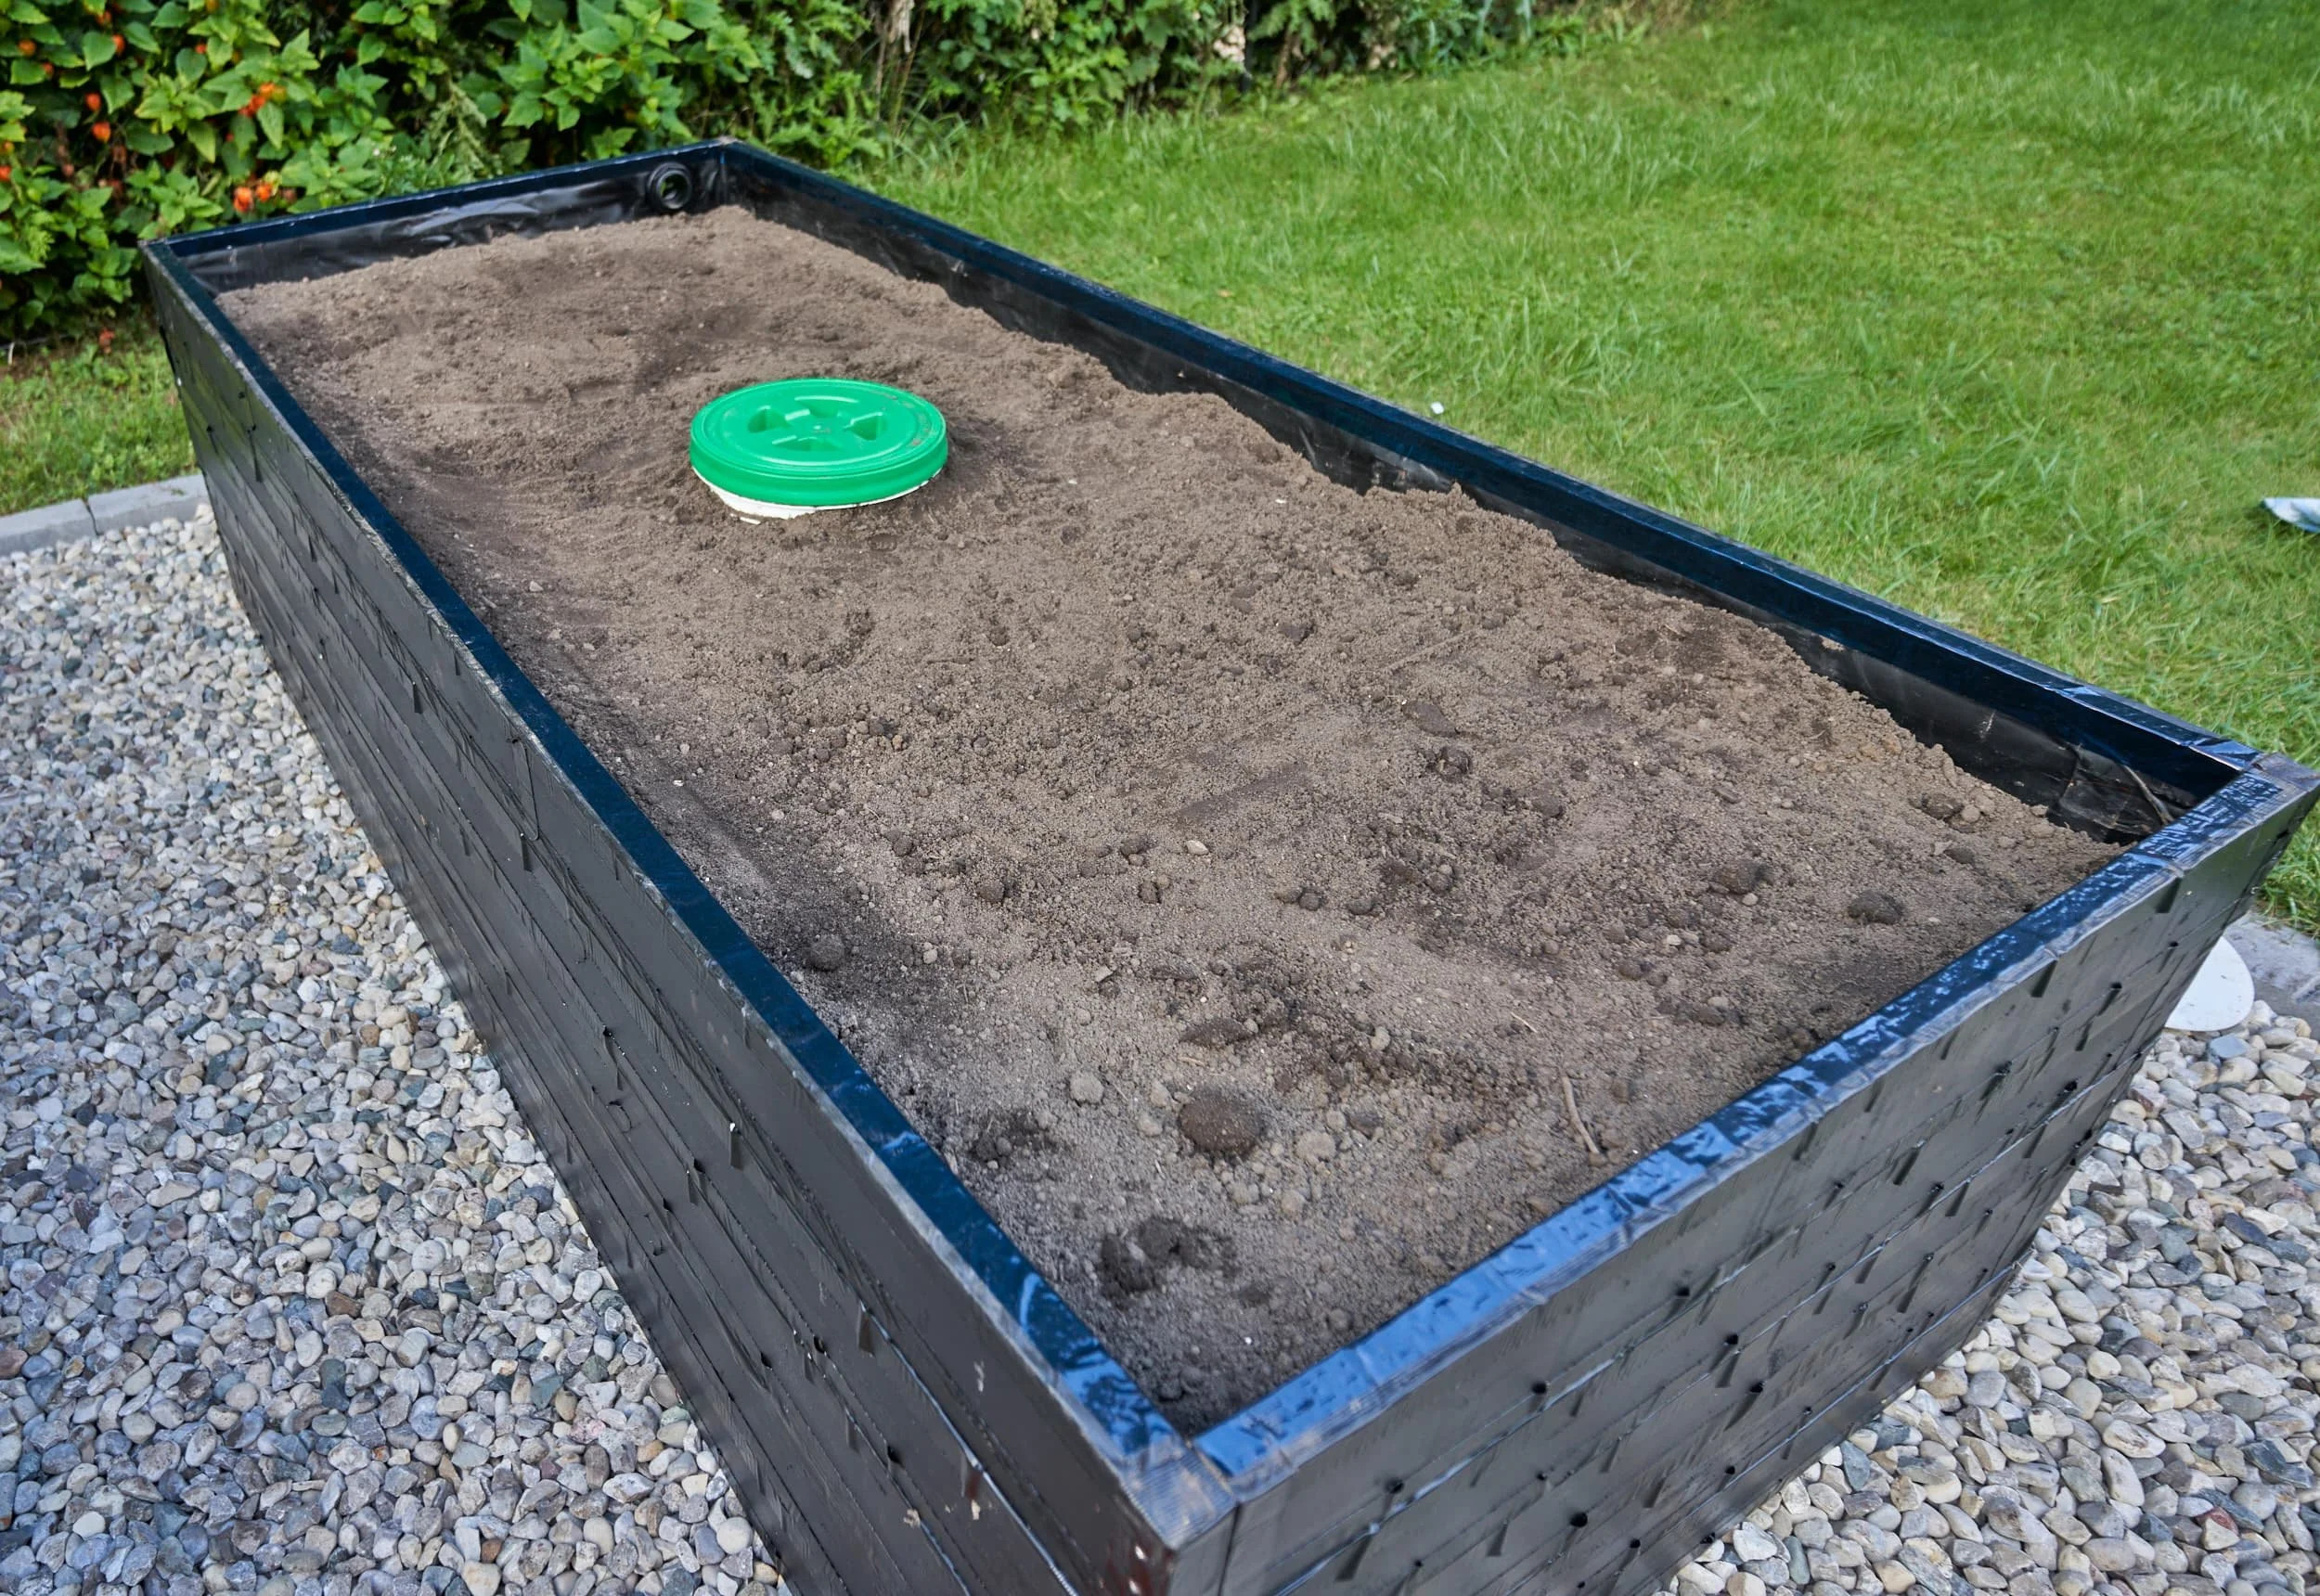
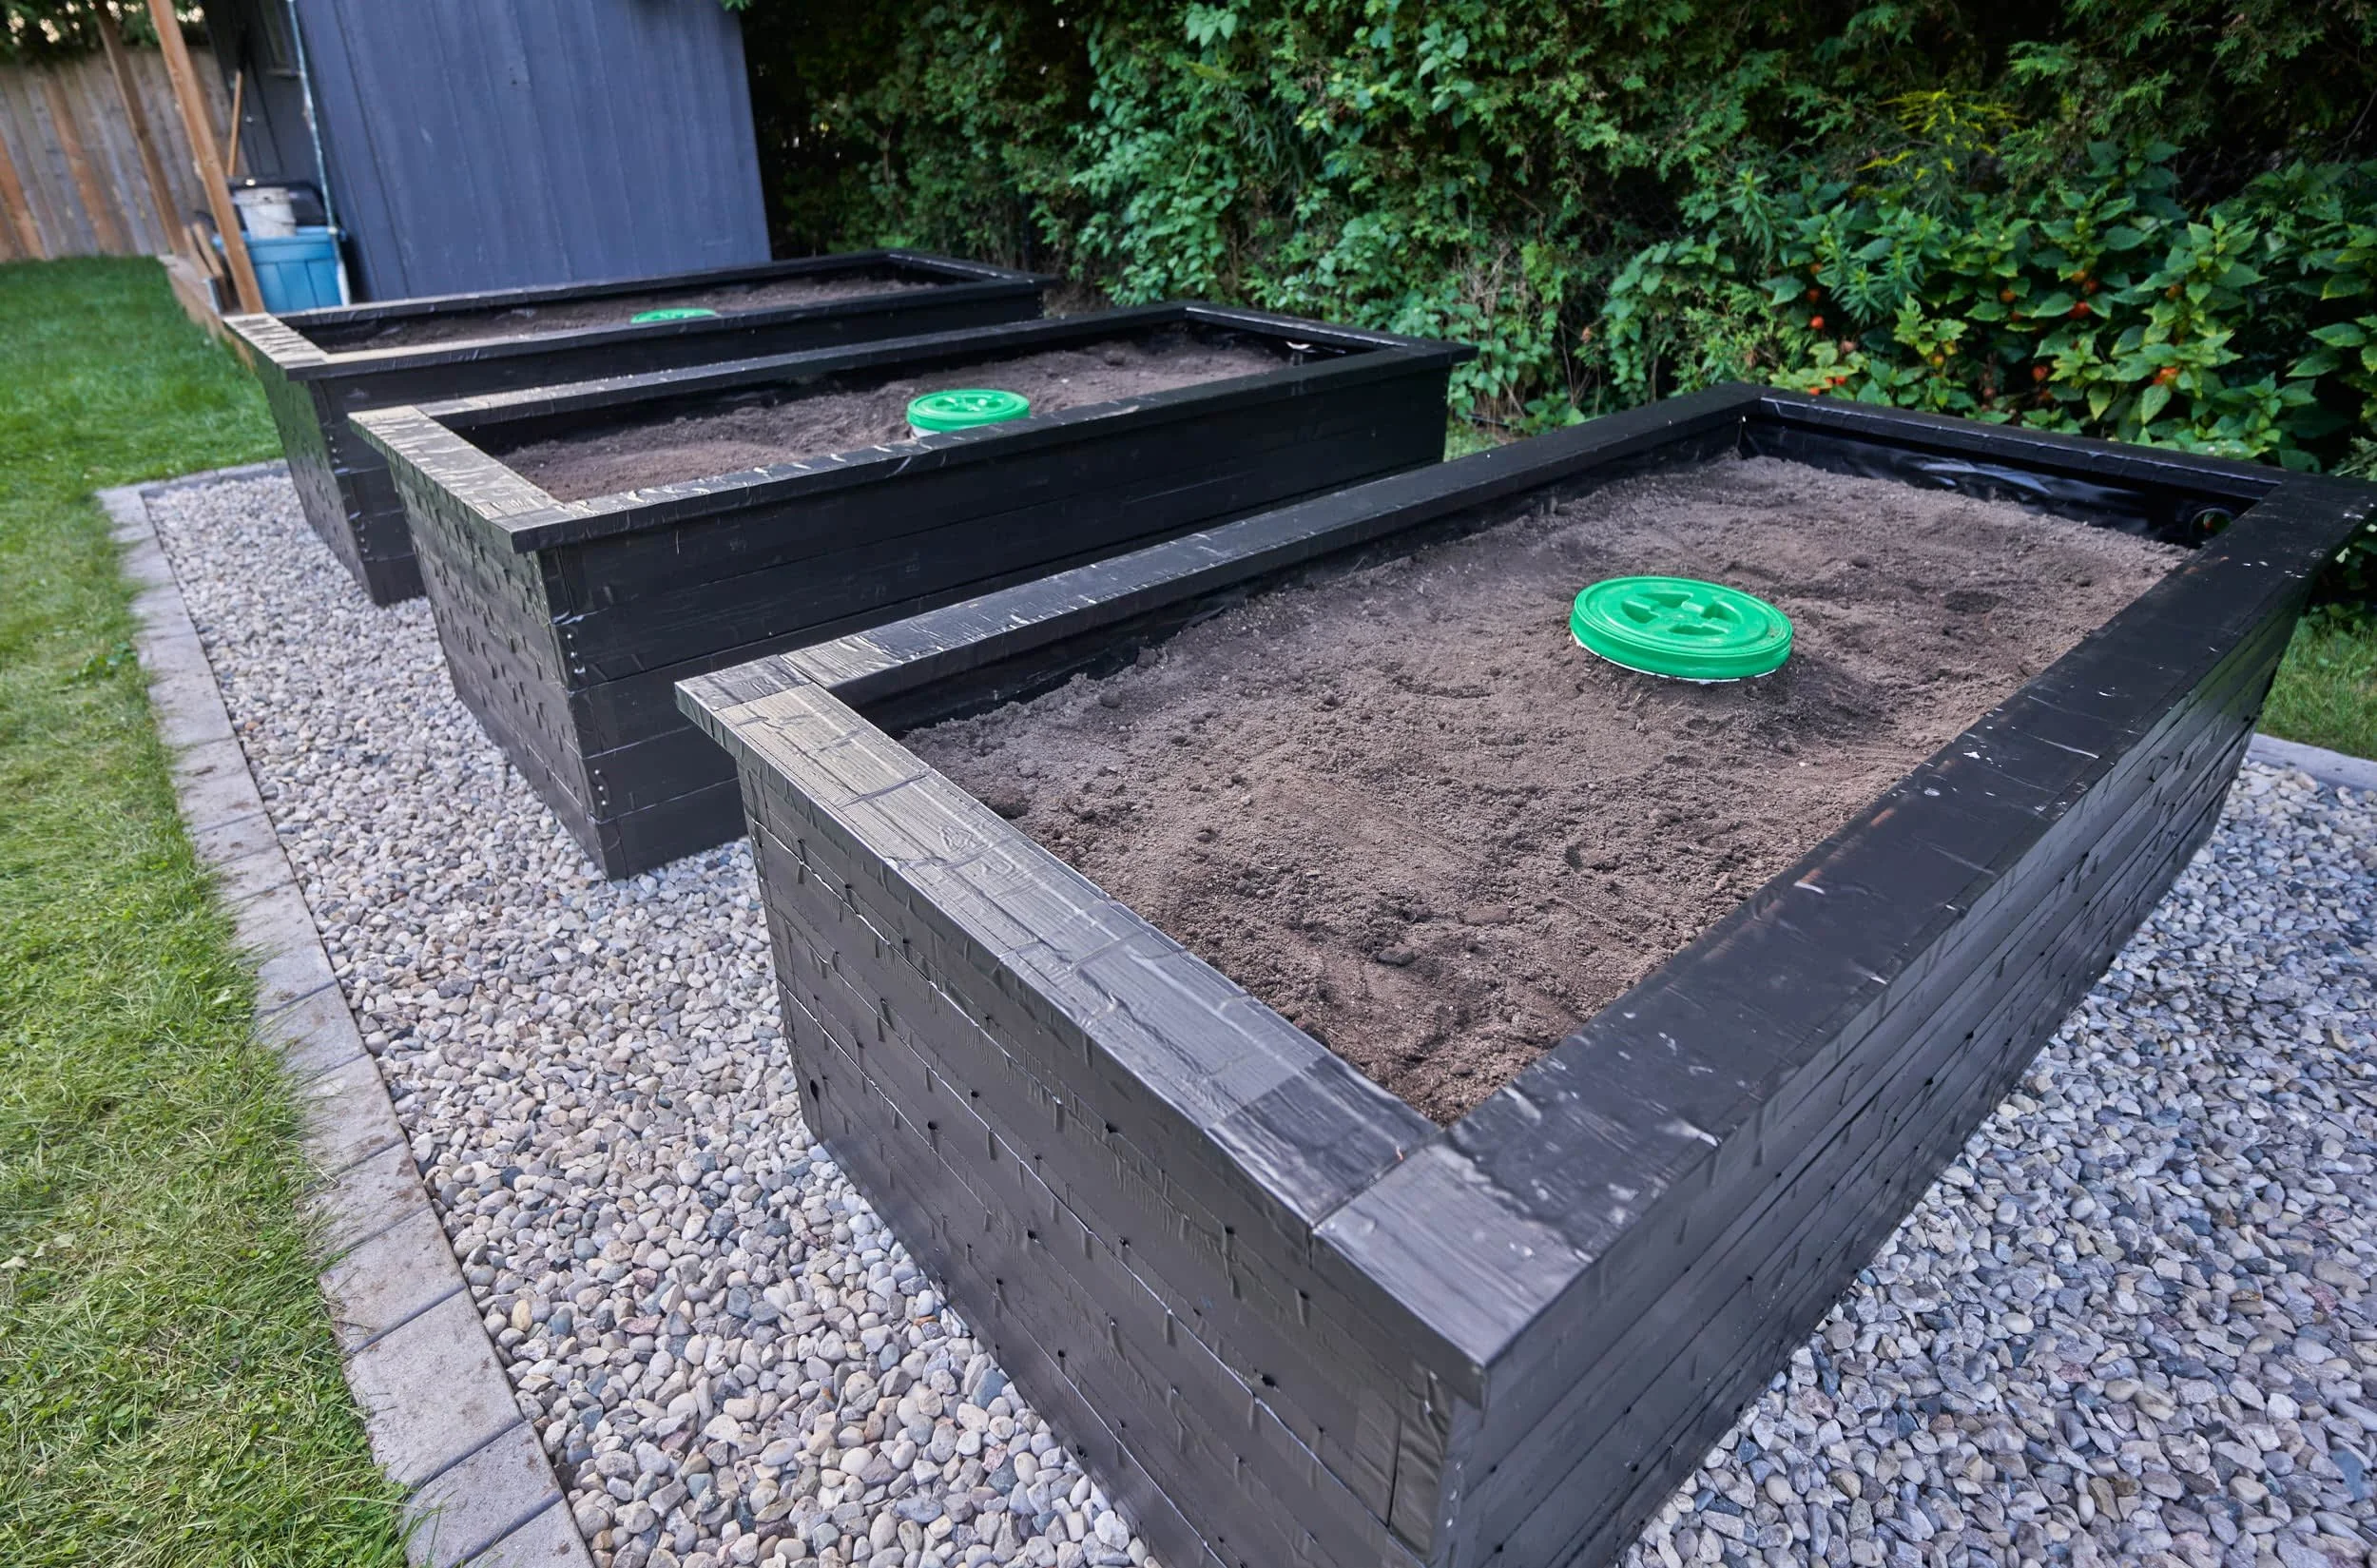
Step 11 - Getting dirt in the planters
With the basic construction done, it’s finally time to get dirt in the planters! We put in a call for some dirt and got quite lucky — it was delivered within an hour. We spent about six hours getting all the dirt moved into the planters. I didn’t make any effort to compact the dirt — it was due to rain so there was going to be natural compaction of the soil soon enough.


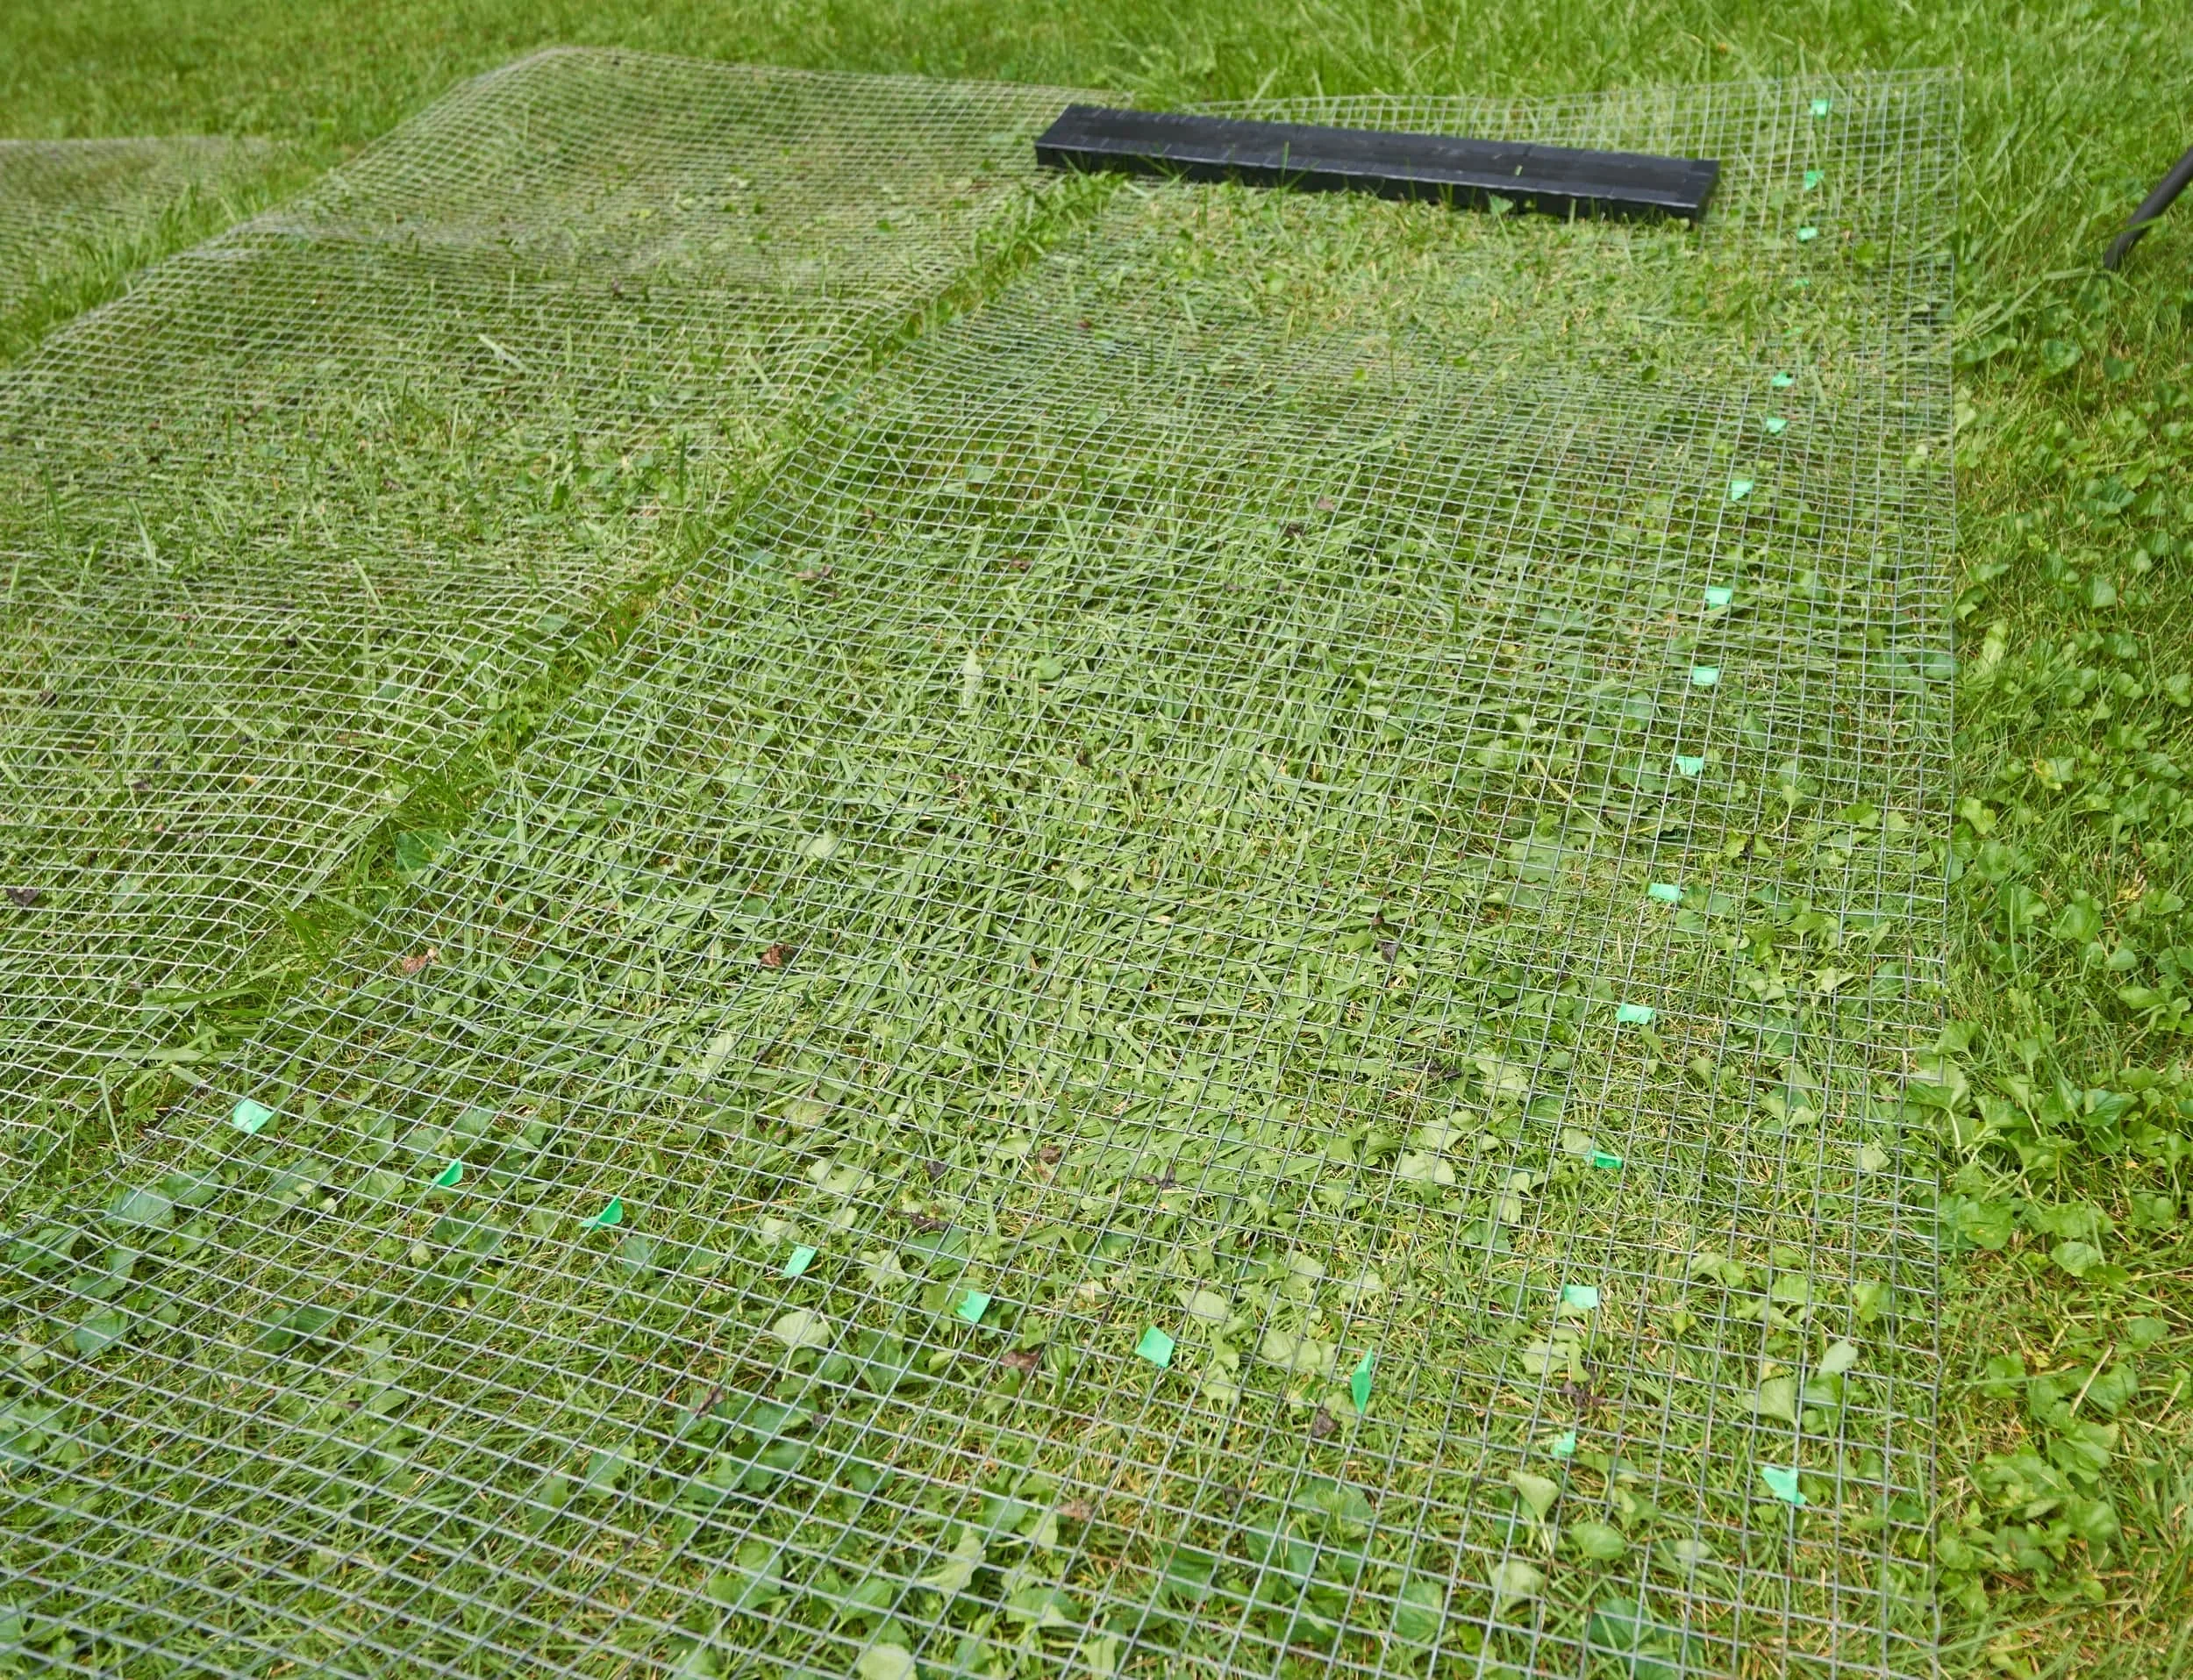
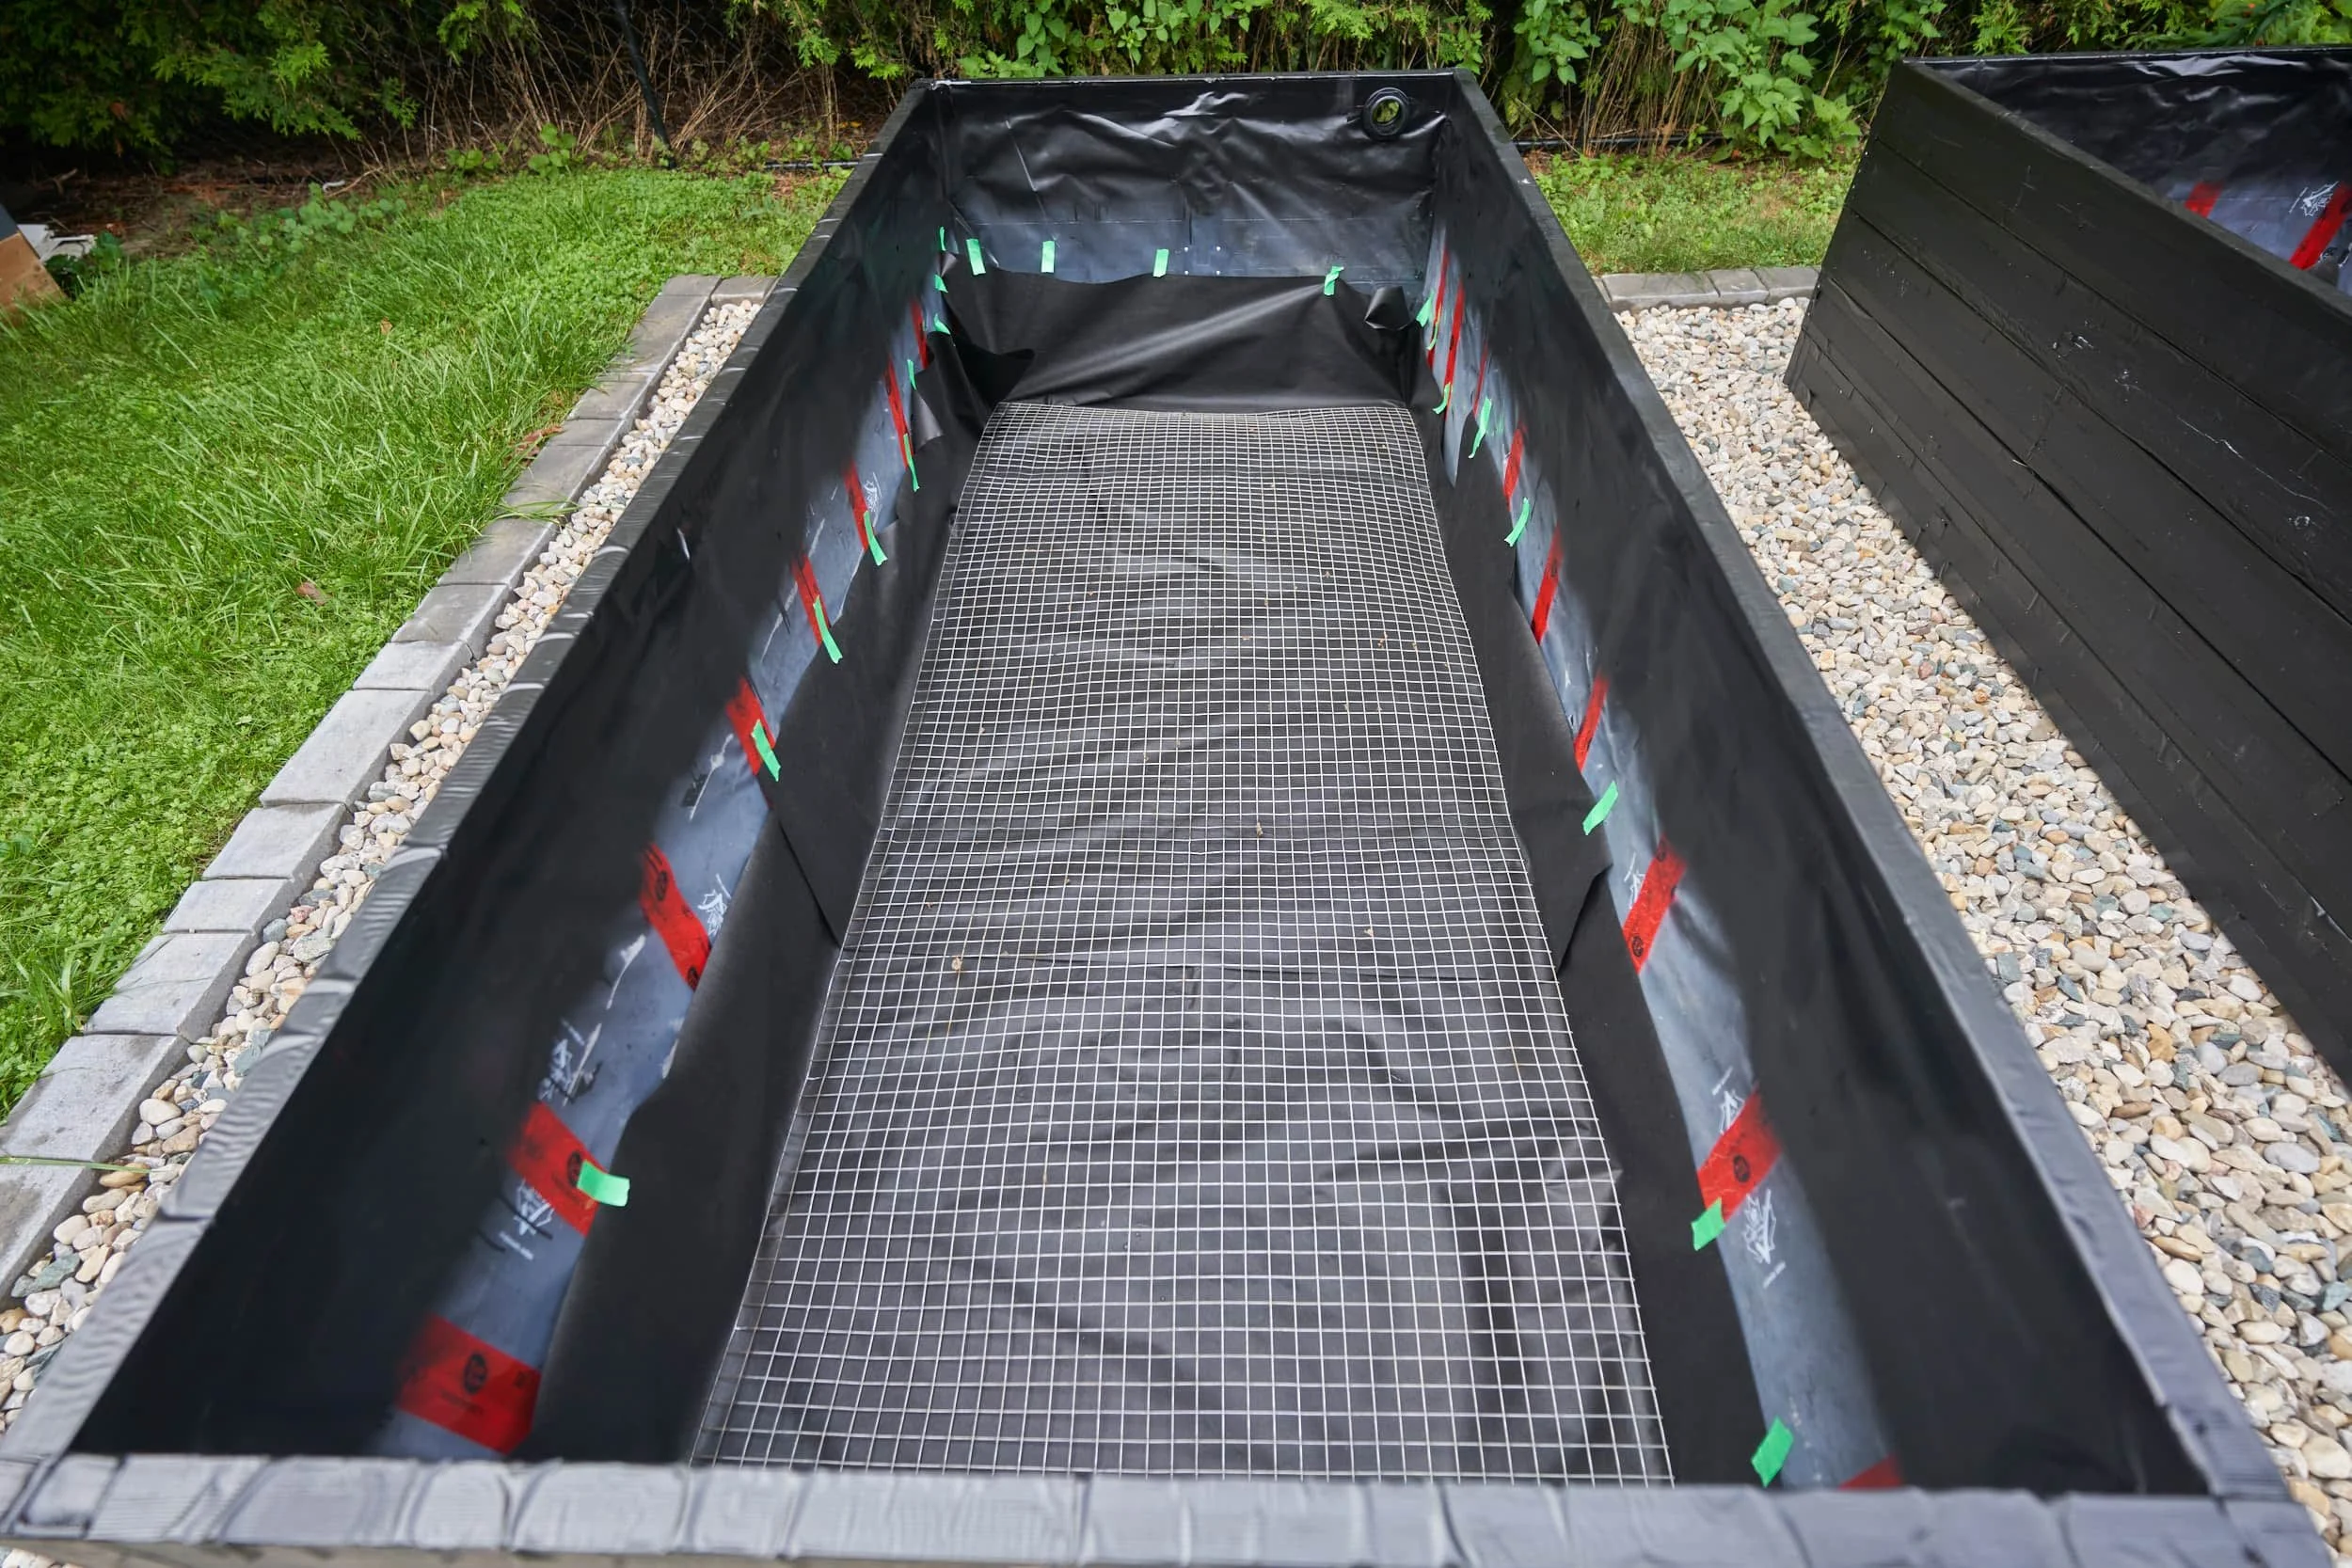
I don’t have a need, for it, but I wanted to lay down some landscape fabric and steel mesh to keep the dirt roughly contained should anything happen to the planters - aka mostly because I had it and wanted to find a use for it. We moved the dirt by using two garbage cans - so about 70 gallons a time.


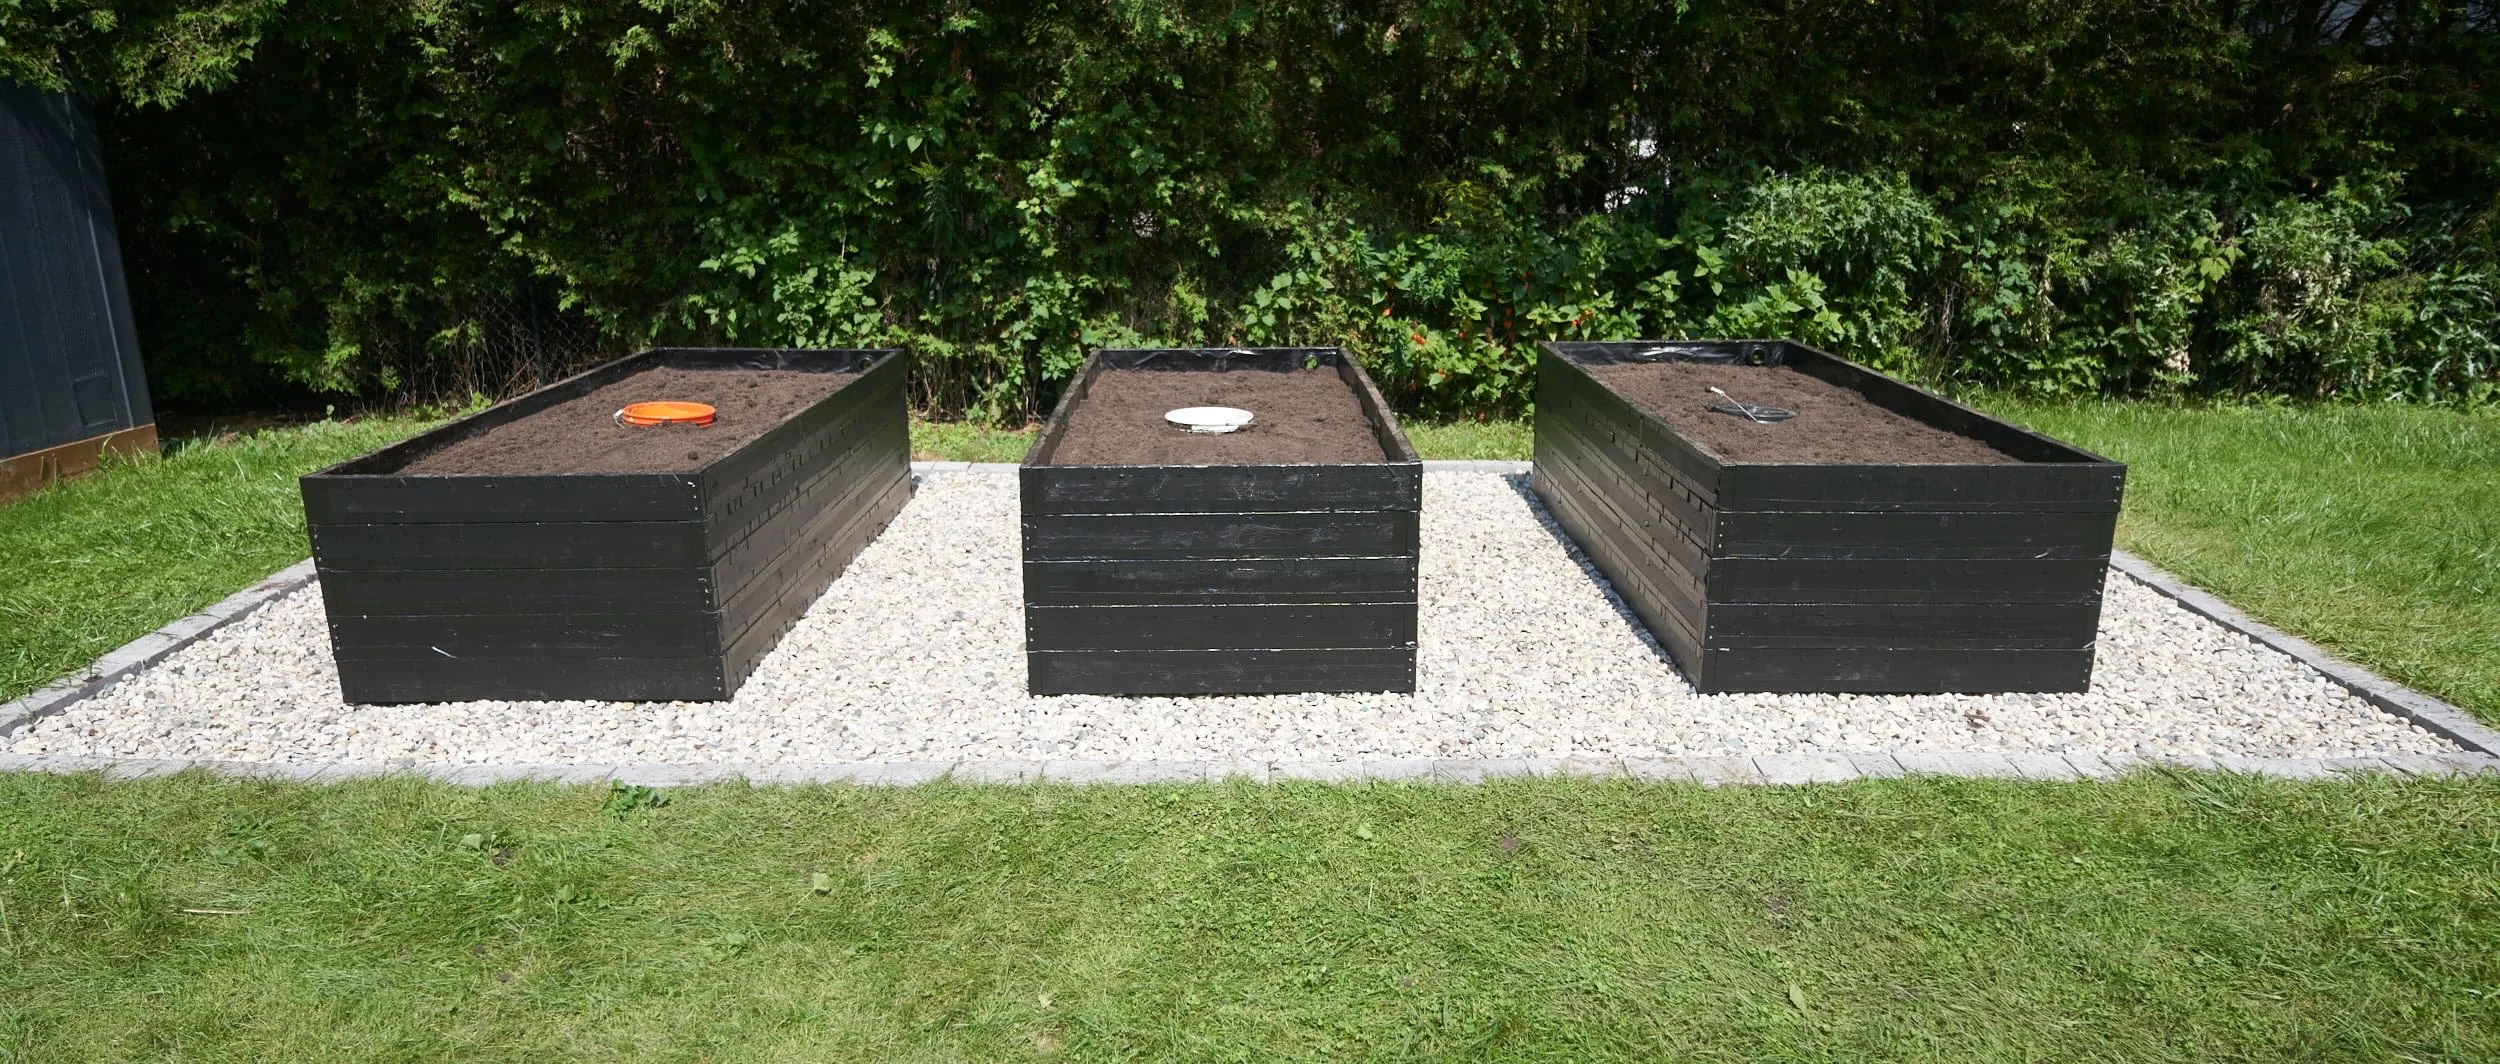
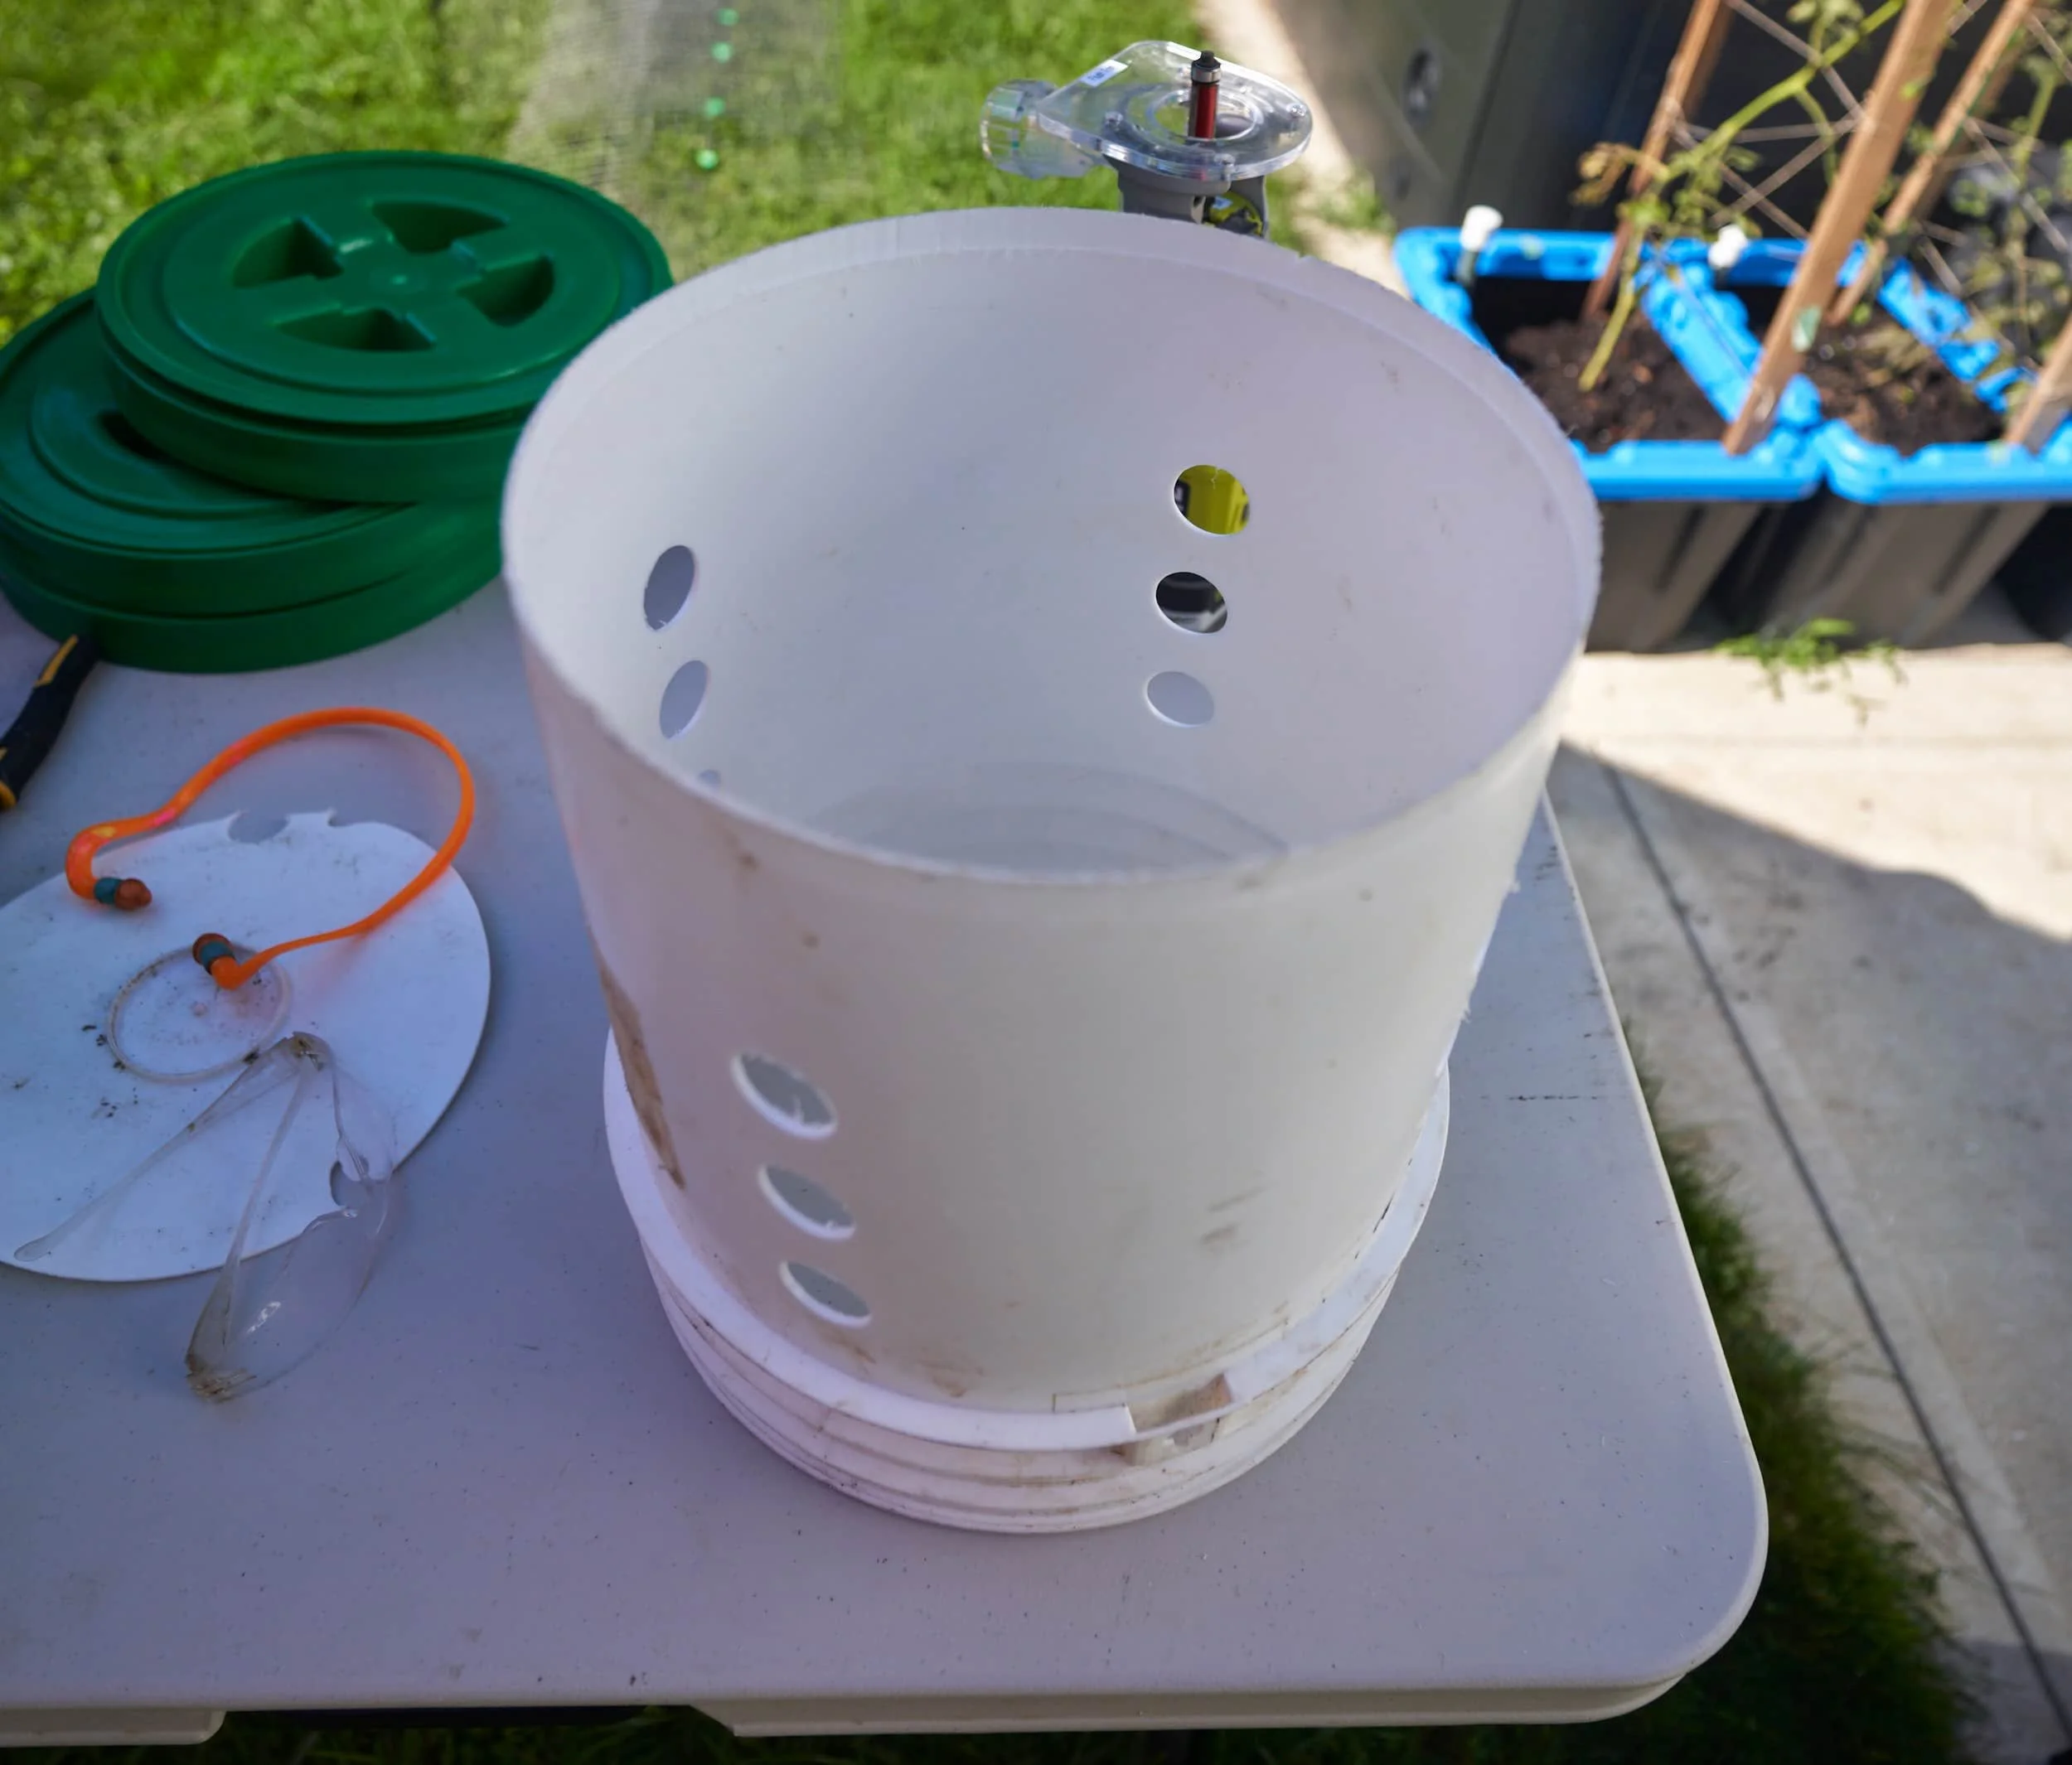
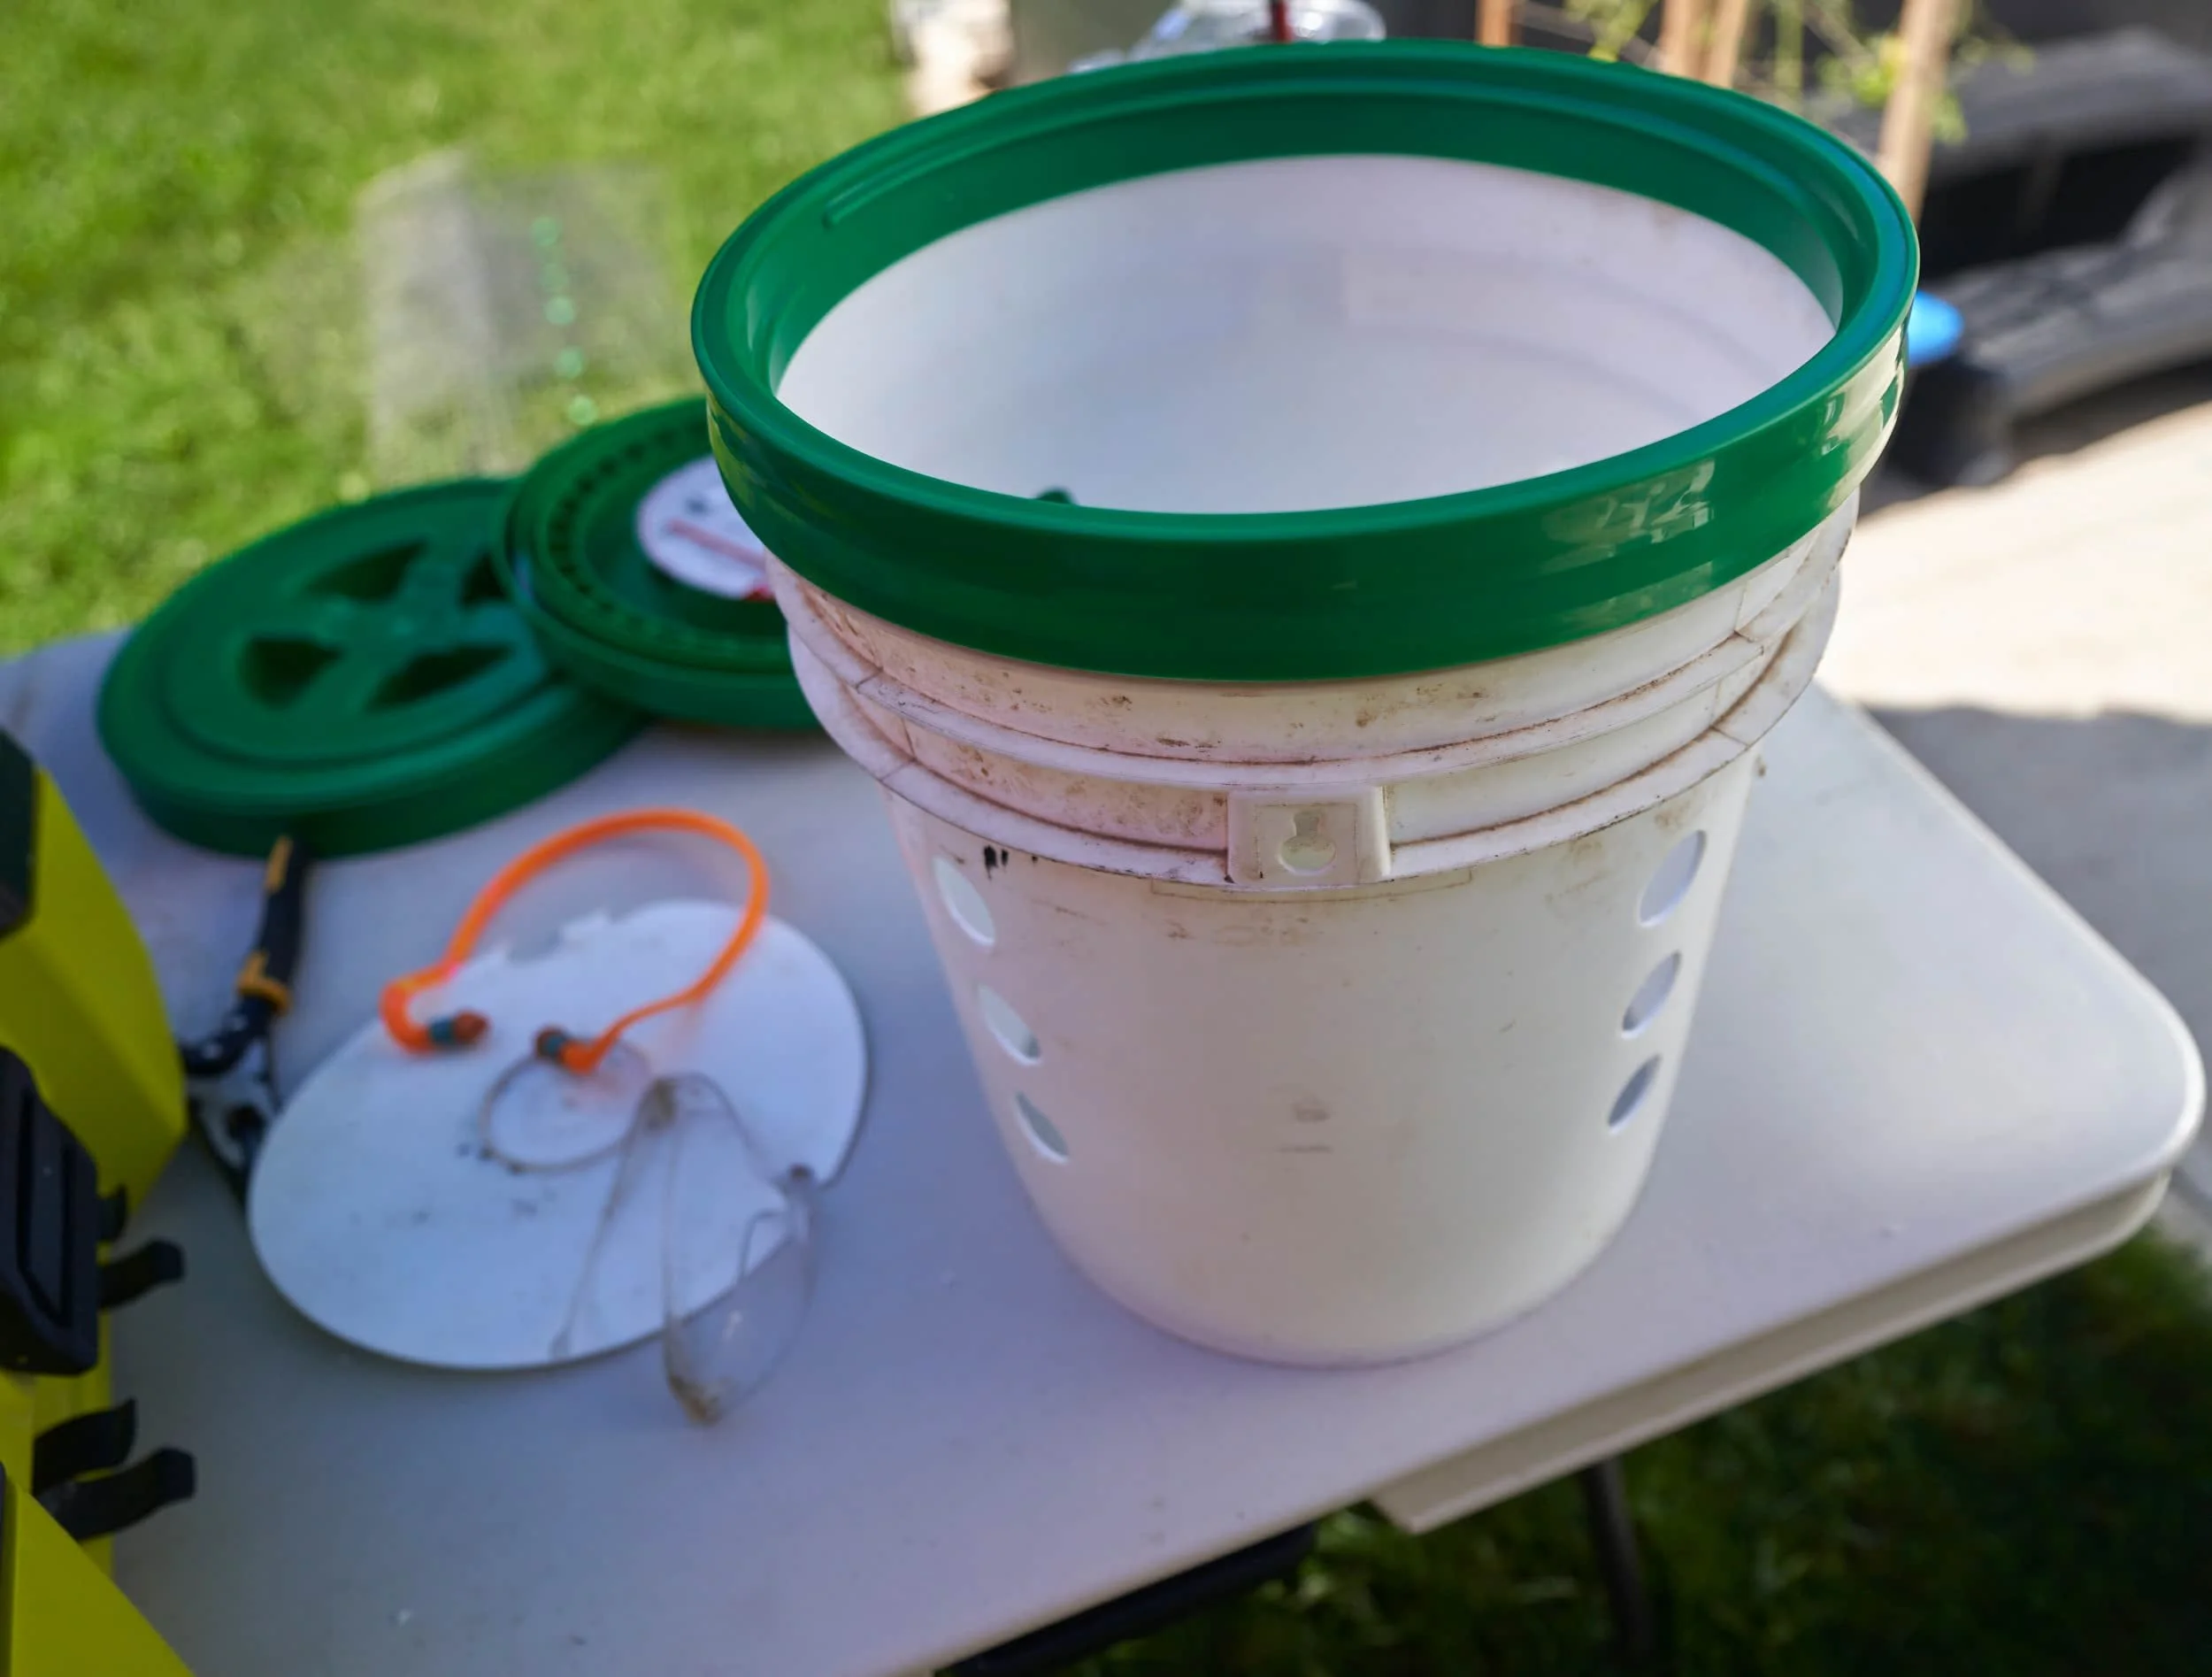
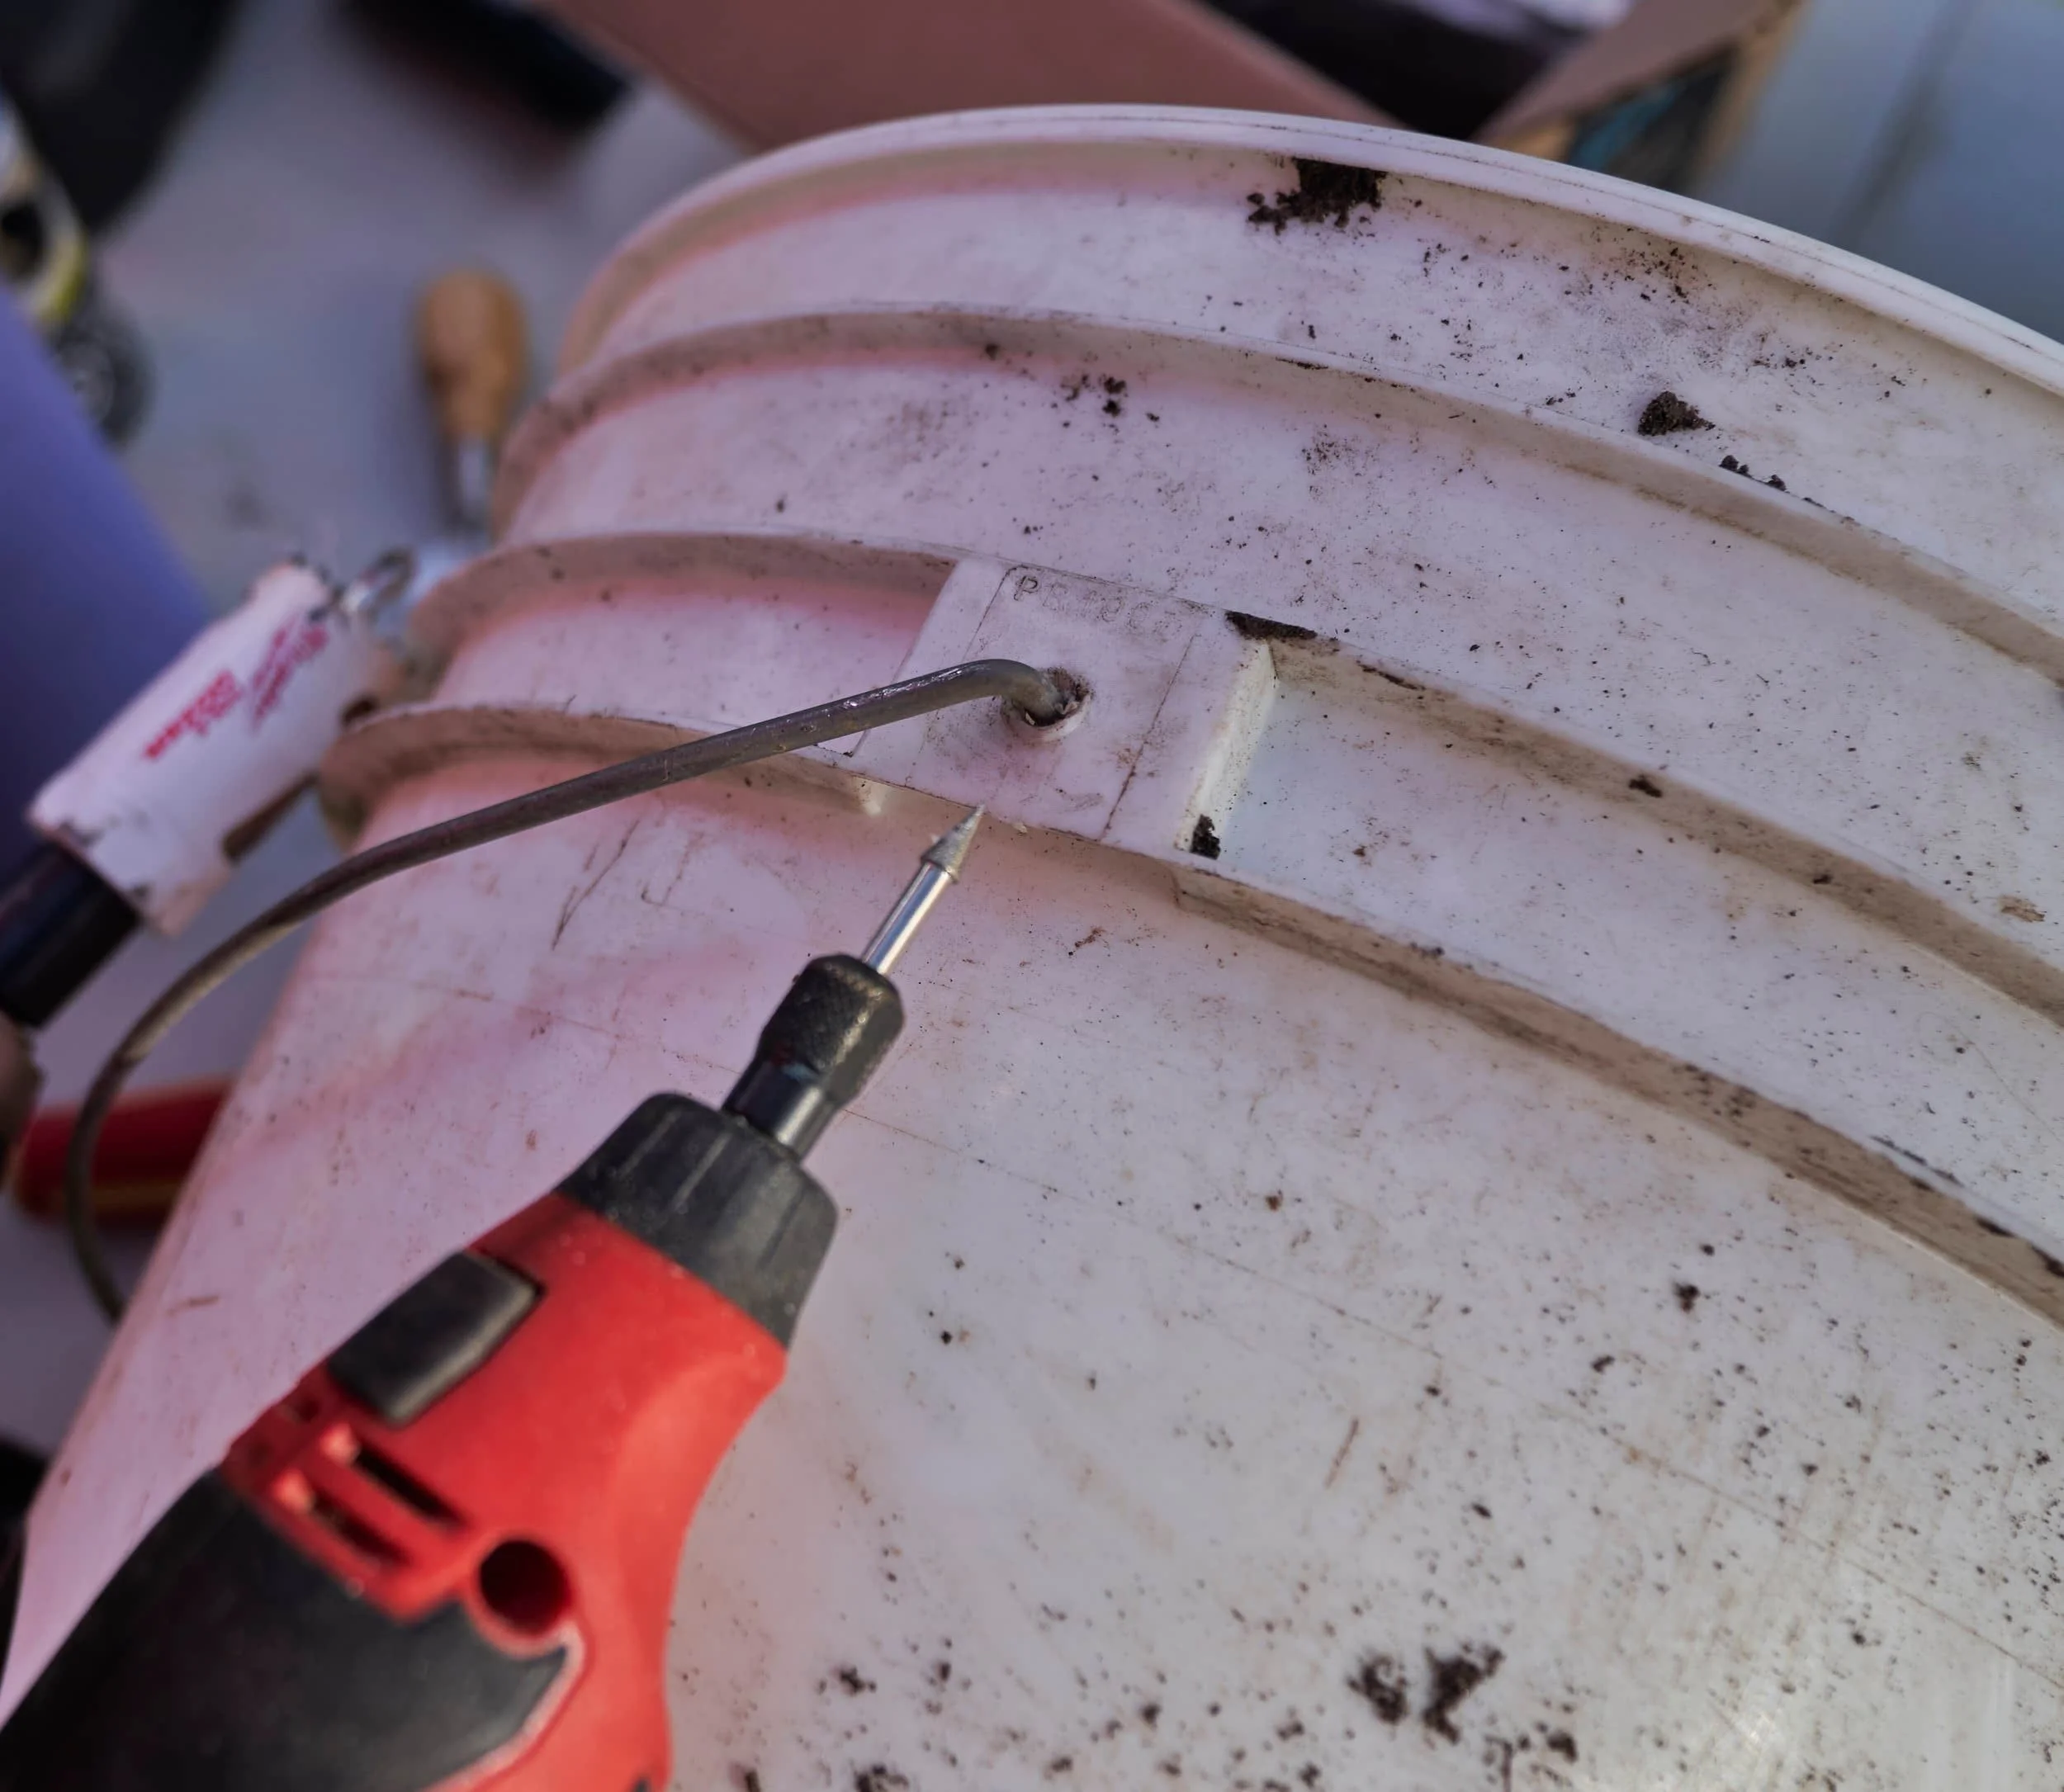
Step 12 - Worm composters
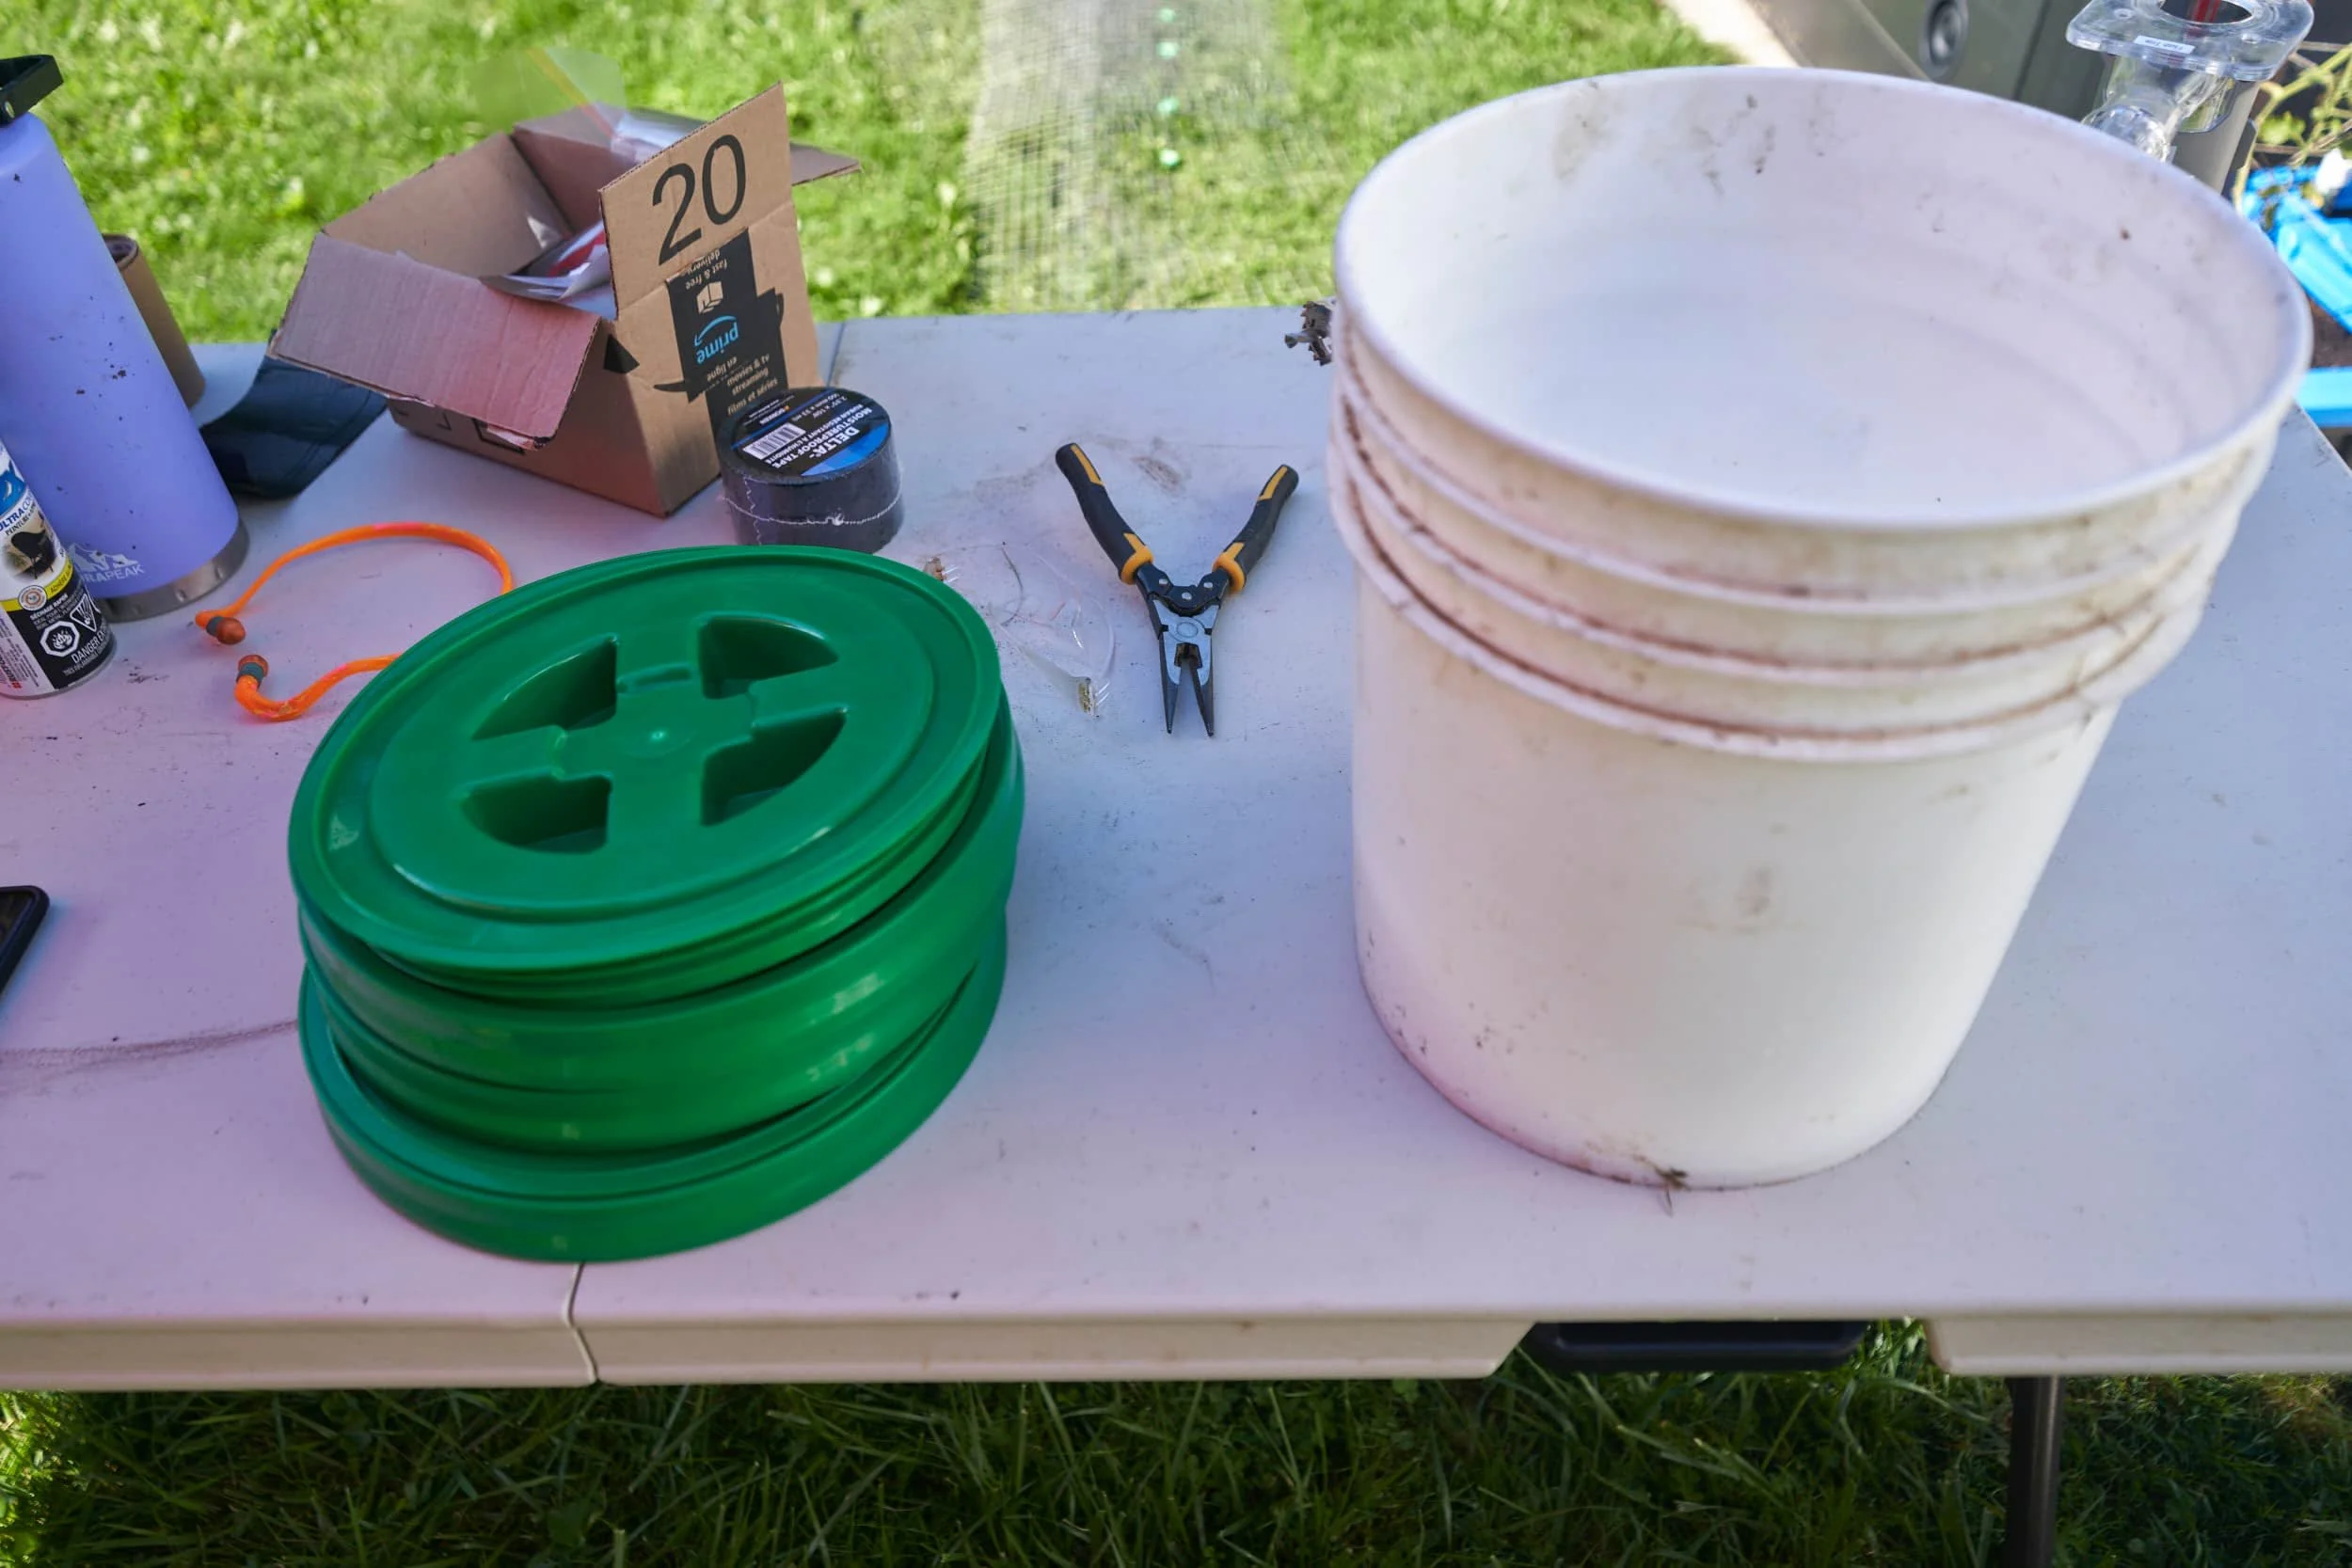
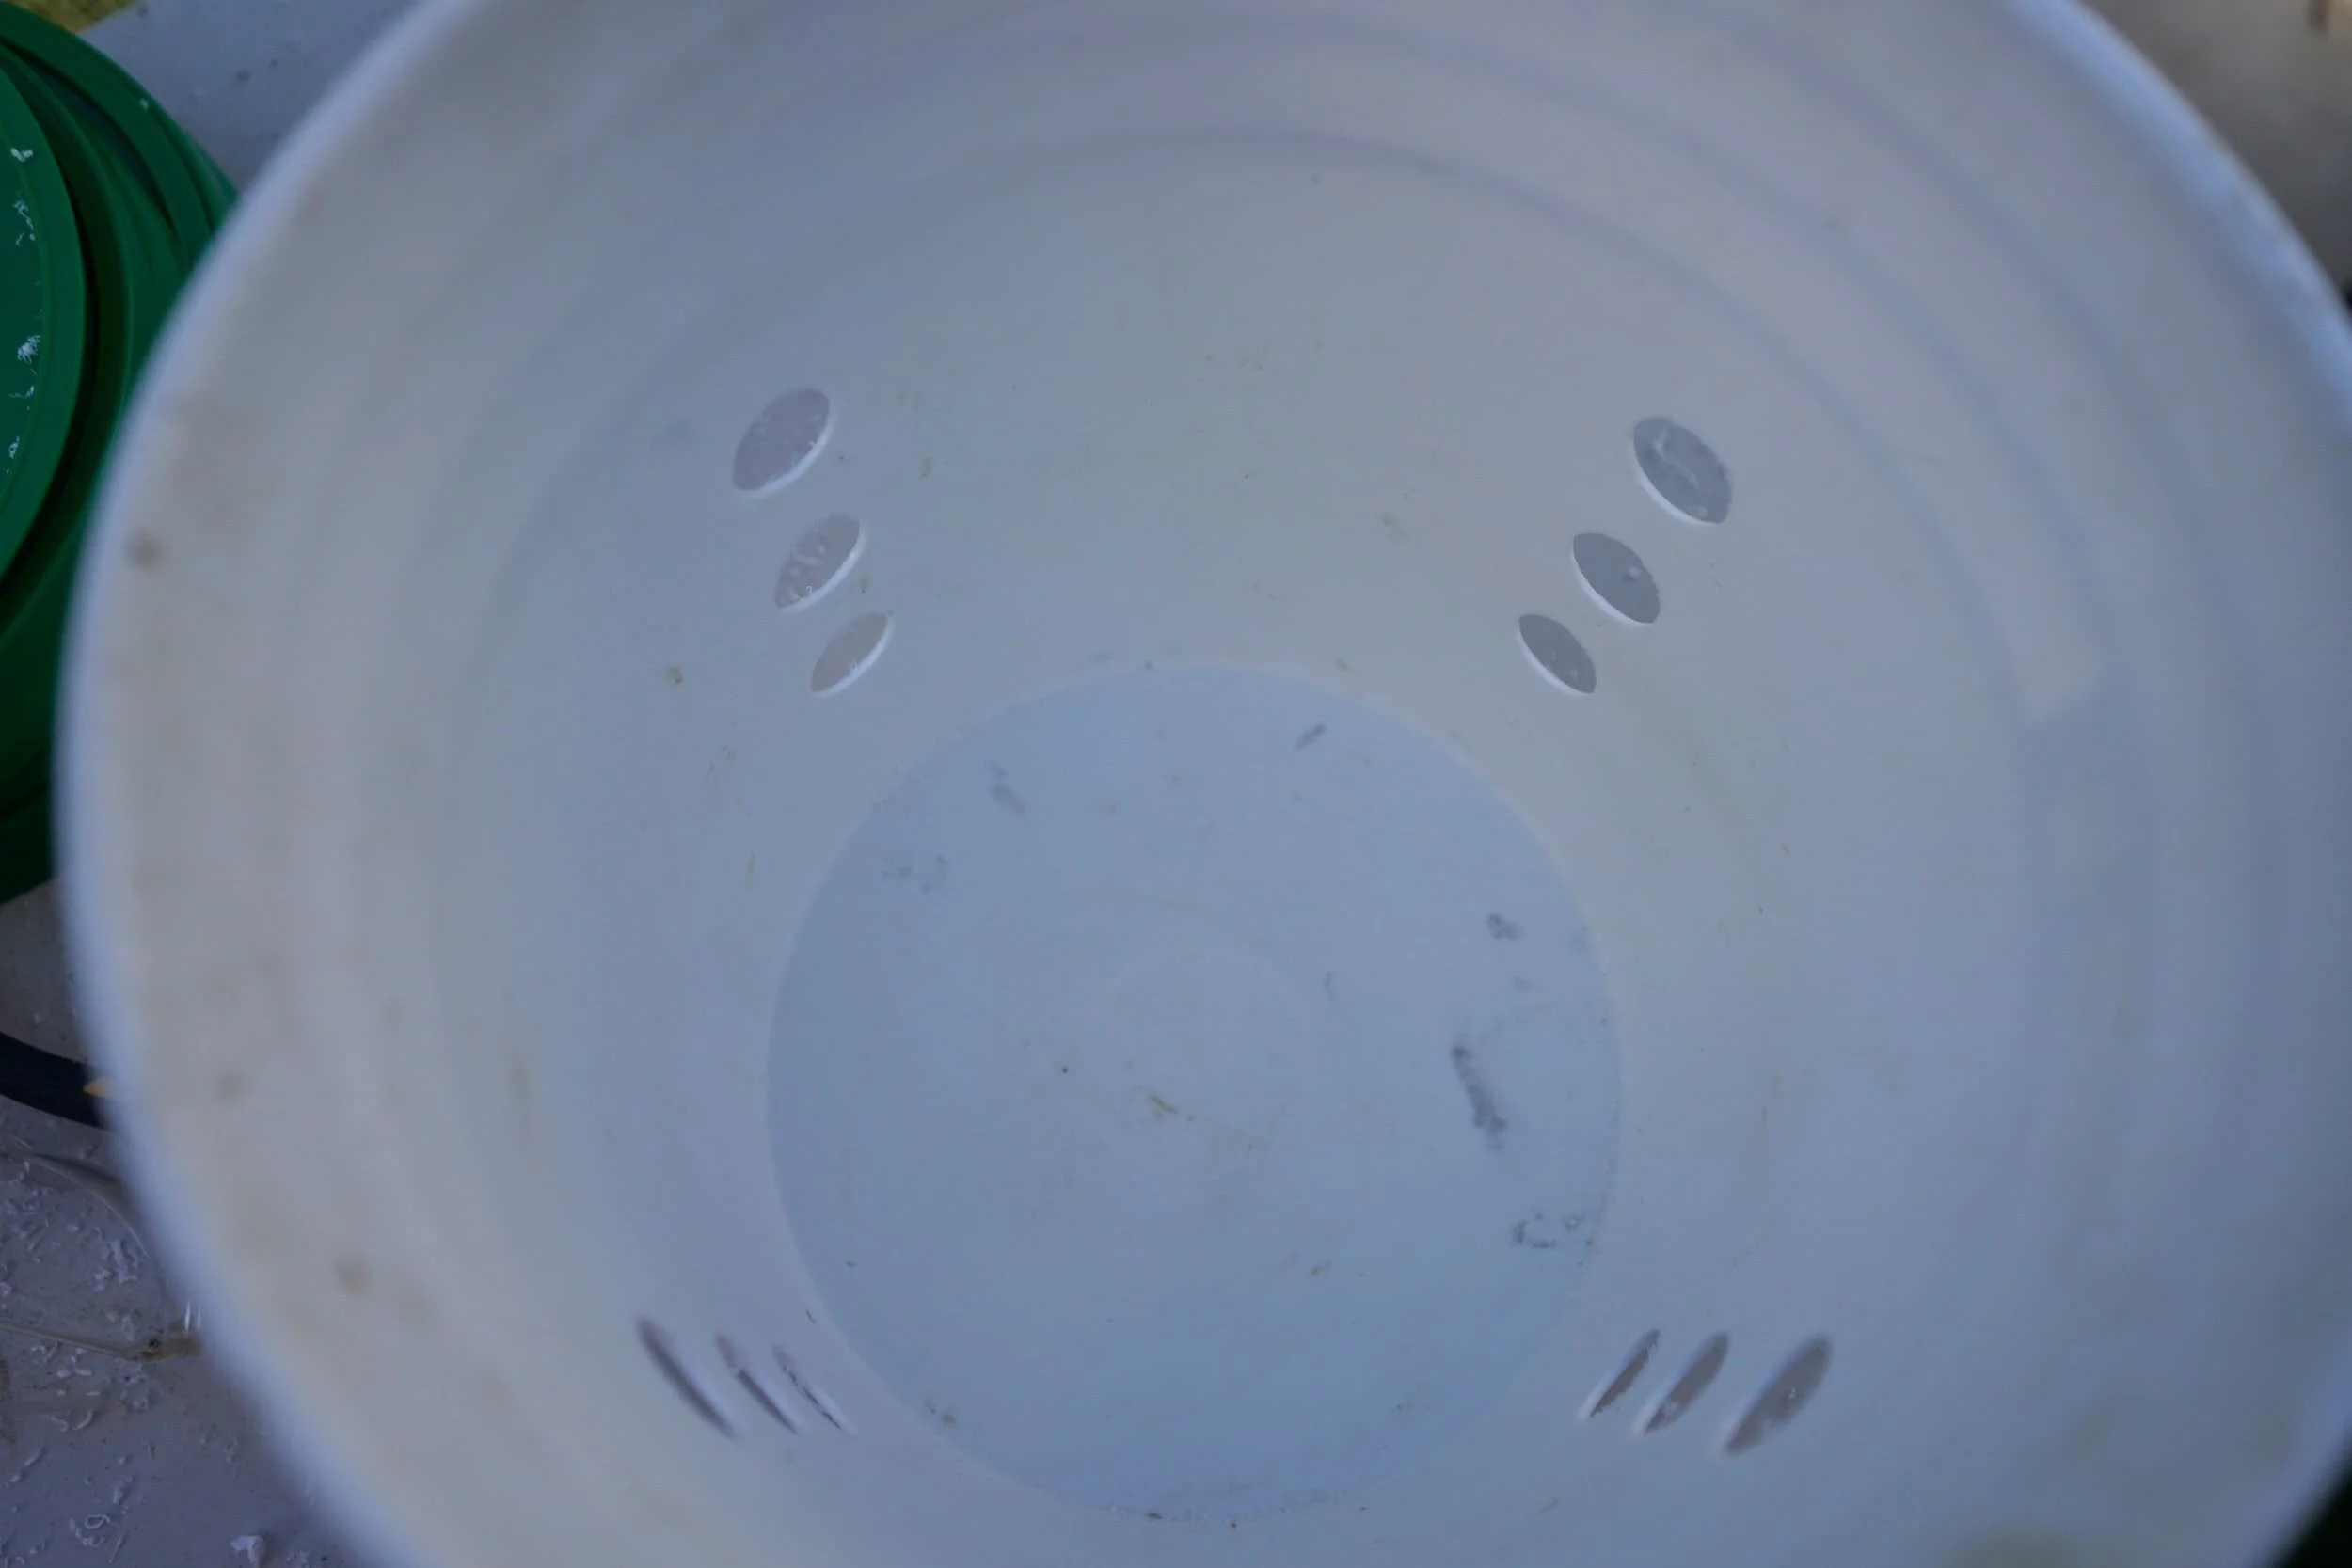
We’ve had a worm composter in the house for a couple of years now with reasonable success — so I wanted to try embedding a worm composter directly into the planter. This way the worms can do what they do naturally and we have additional composting capacity and we don’t have do disperse the compost — it’s already in the planter. You can totally buy a premade worm composter that can be direct buried and if I was just making one planter, I totally would just save the time and buy it. Since I was making three, it made more sense to just try and DIY all three it for somewhere between 1/3 and 1/2 the cost of buying a single one.


Step 13 - Top plate, trim, lights
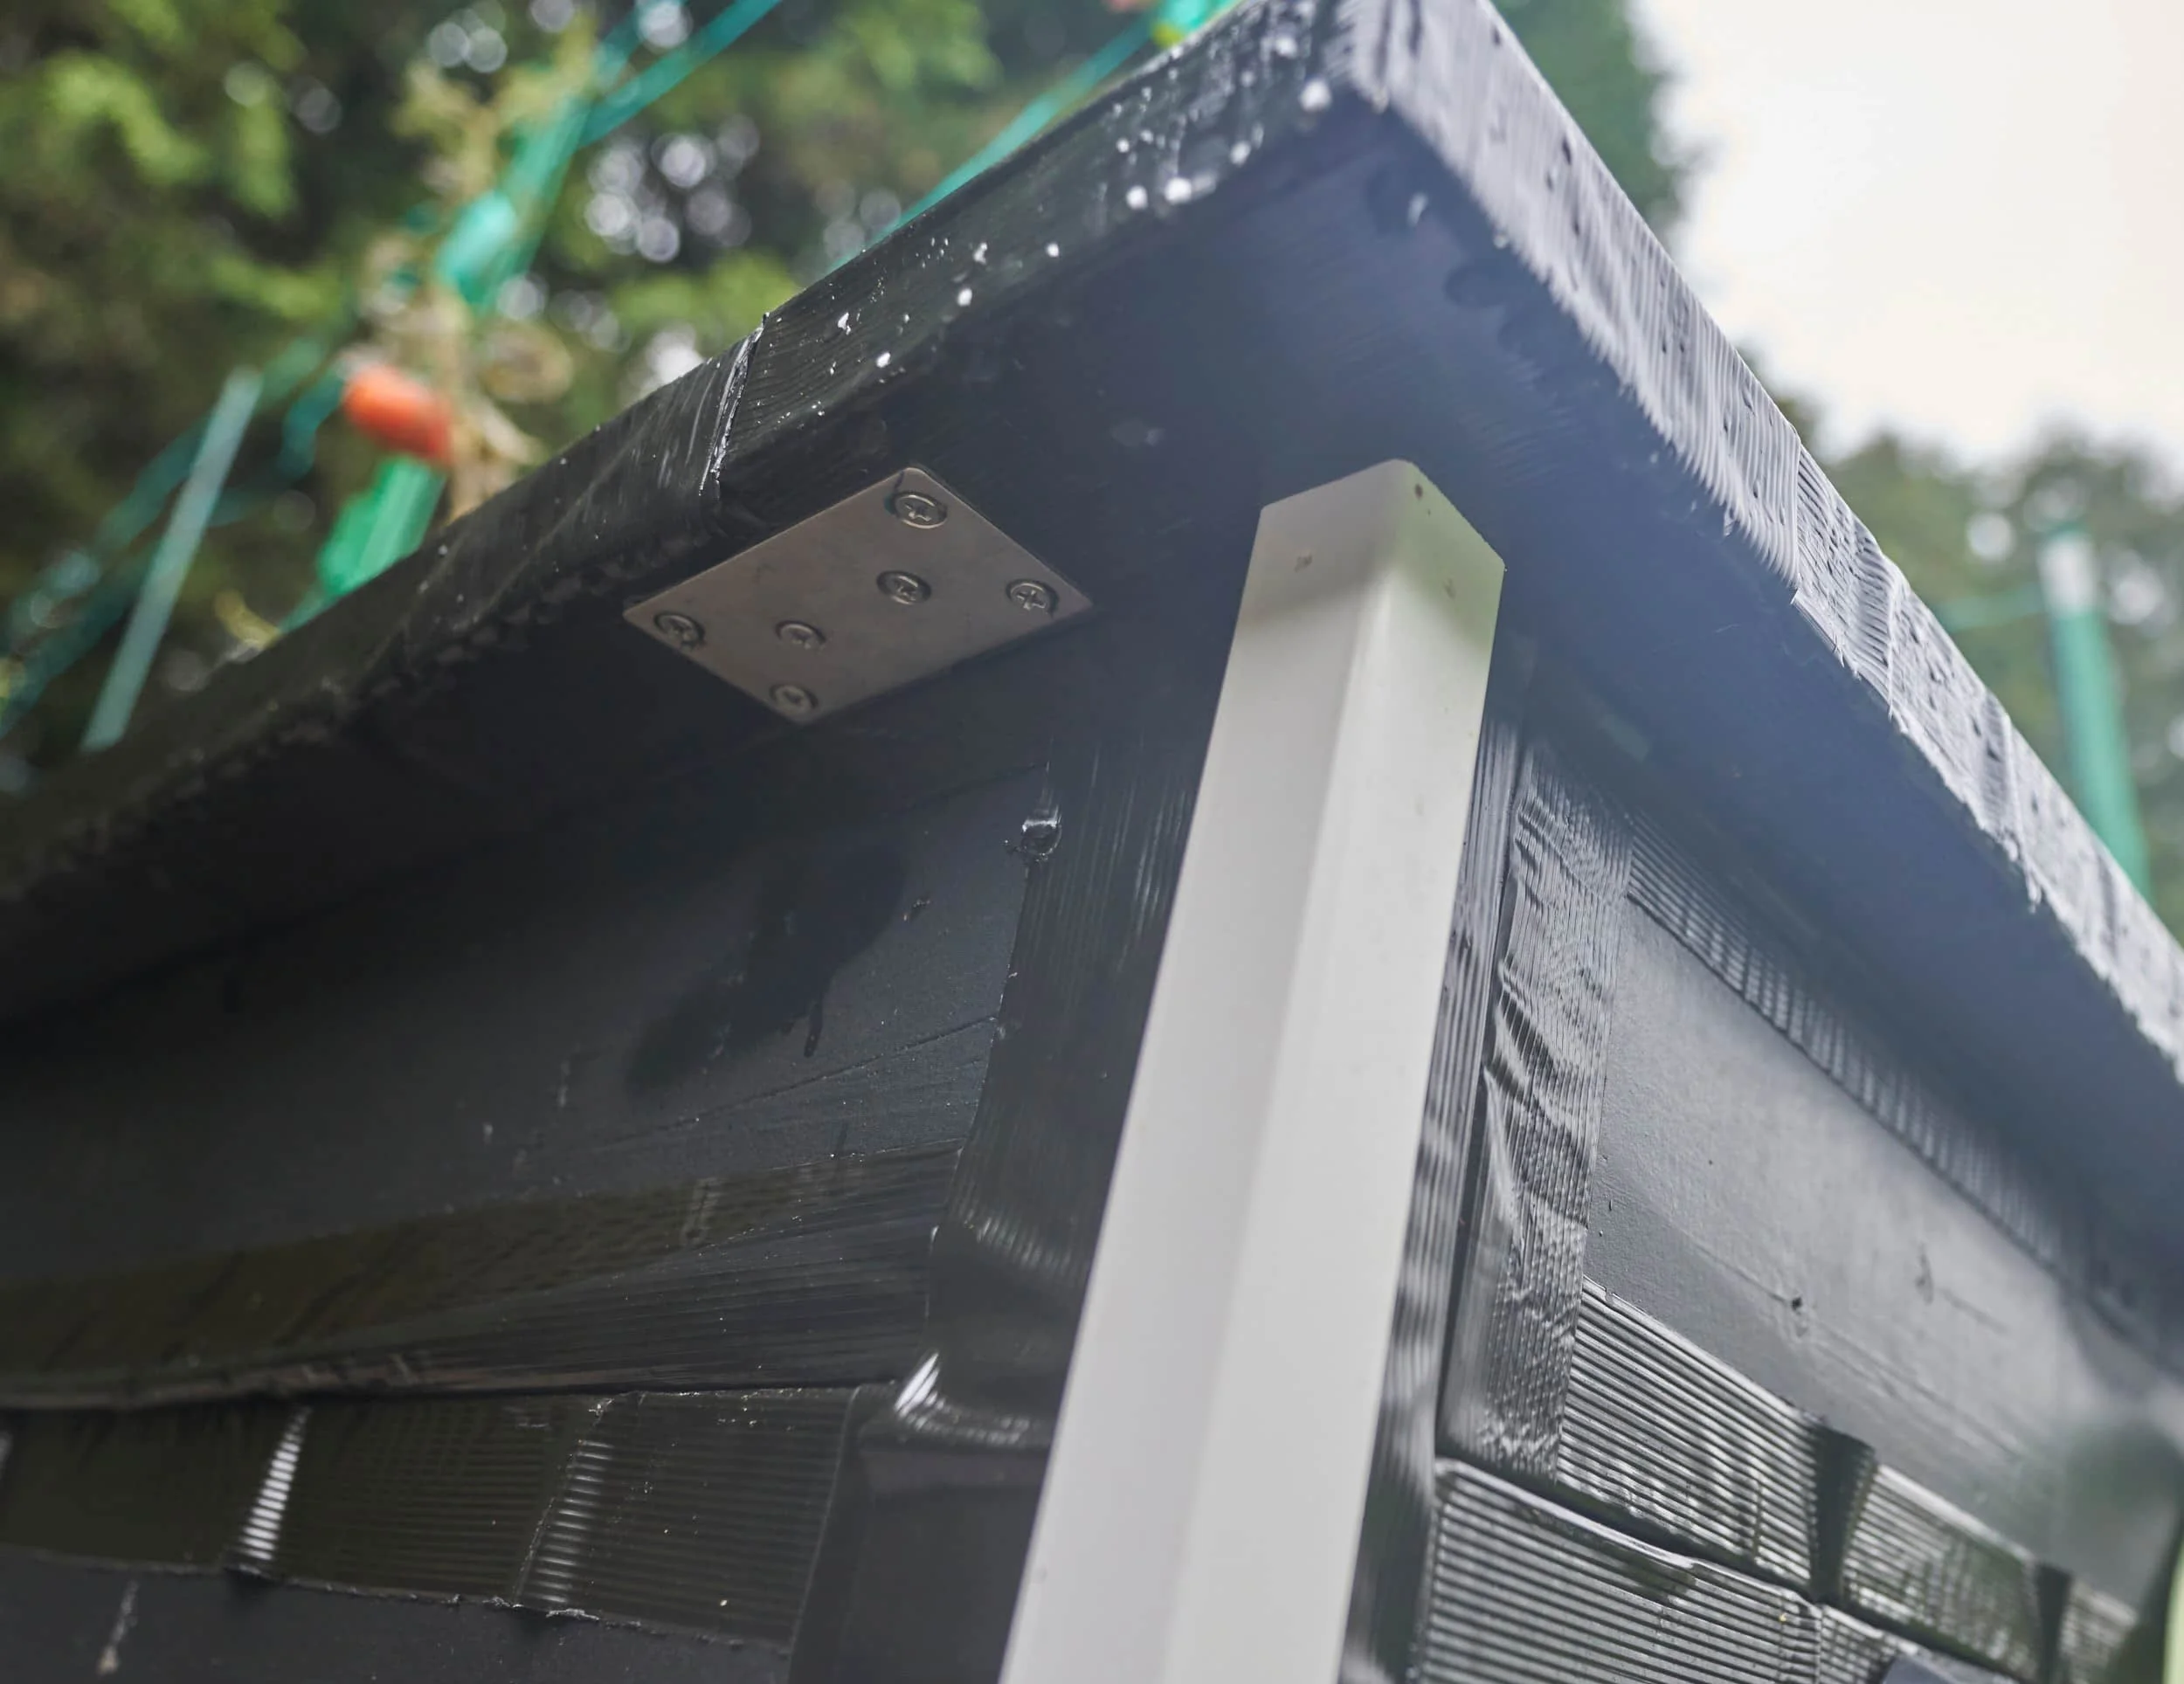
Making good progress and I can feel the end is very close. The top plate has been something that’s concerned me since the start — it’s a flat wooden surface that is difficult to get water to trickle off. I debated adding a shim to angle it and I also debated ripping a bevel into the top using my bandsaw but I ultimately went with the EZ-mode solution: joist tape.
I went with the boards ‘chasing each other around the perimeter’ configuration because that’s work worked and I just eyeballed the placement until it was close and then I went around with a combination square to finalize the inset. Once I got the top plate initially secured (using as few screws as I felt comfortable using), I went back with some angle brackets — not so much for full on strength but just to keep the top from pivoting too much (as it’s balancing on the top edge of the planter). A splash of spray paint makes it disappear from casual glance.
Some of the long board, if you’ll recall, had twist in them — and I didn’t joint it so the warp is still here. I bought some mending plates to try and correct this a bit. It’s not perfect, but it brings the gaps together a bit better.


My original goal
During my original design process, I had though about making the top plate sacrificial — every few years you pop it off and replace it with a new top plate. This way I could have a bit more aesthetic appeal but still keep to my original goal of being relatively low maintenance. I had hoped to have three colors: black for the body, white for the corner trim and a rich shade of brown for the top plate.
When I started pricing out the cost of materials to do this (compared to using the existing boards I had on hand that were already primed, painted, taped and ready to go), it wasn’t really a viable option.
Step 14 - Plumbing
We’re not great for watering our plants with any amount of consistency so anything I can do to help that will go a long way. For the initial iteration of this planter, I opted to go with soaker hoses and a mechanical timer. Watering the planters is as easy as popping outside, clicking a timer and we’re done. Everything uses quick disconnects so when we need to mow behind the planters, it’s just a single disconnect to get the plumbing out of the way.


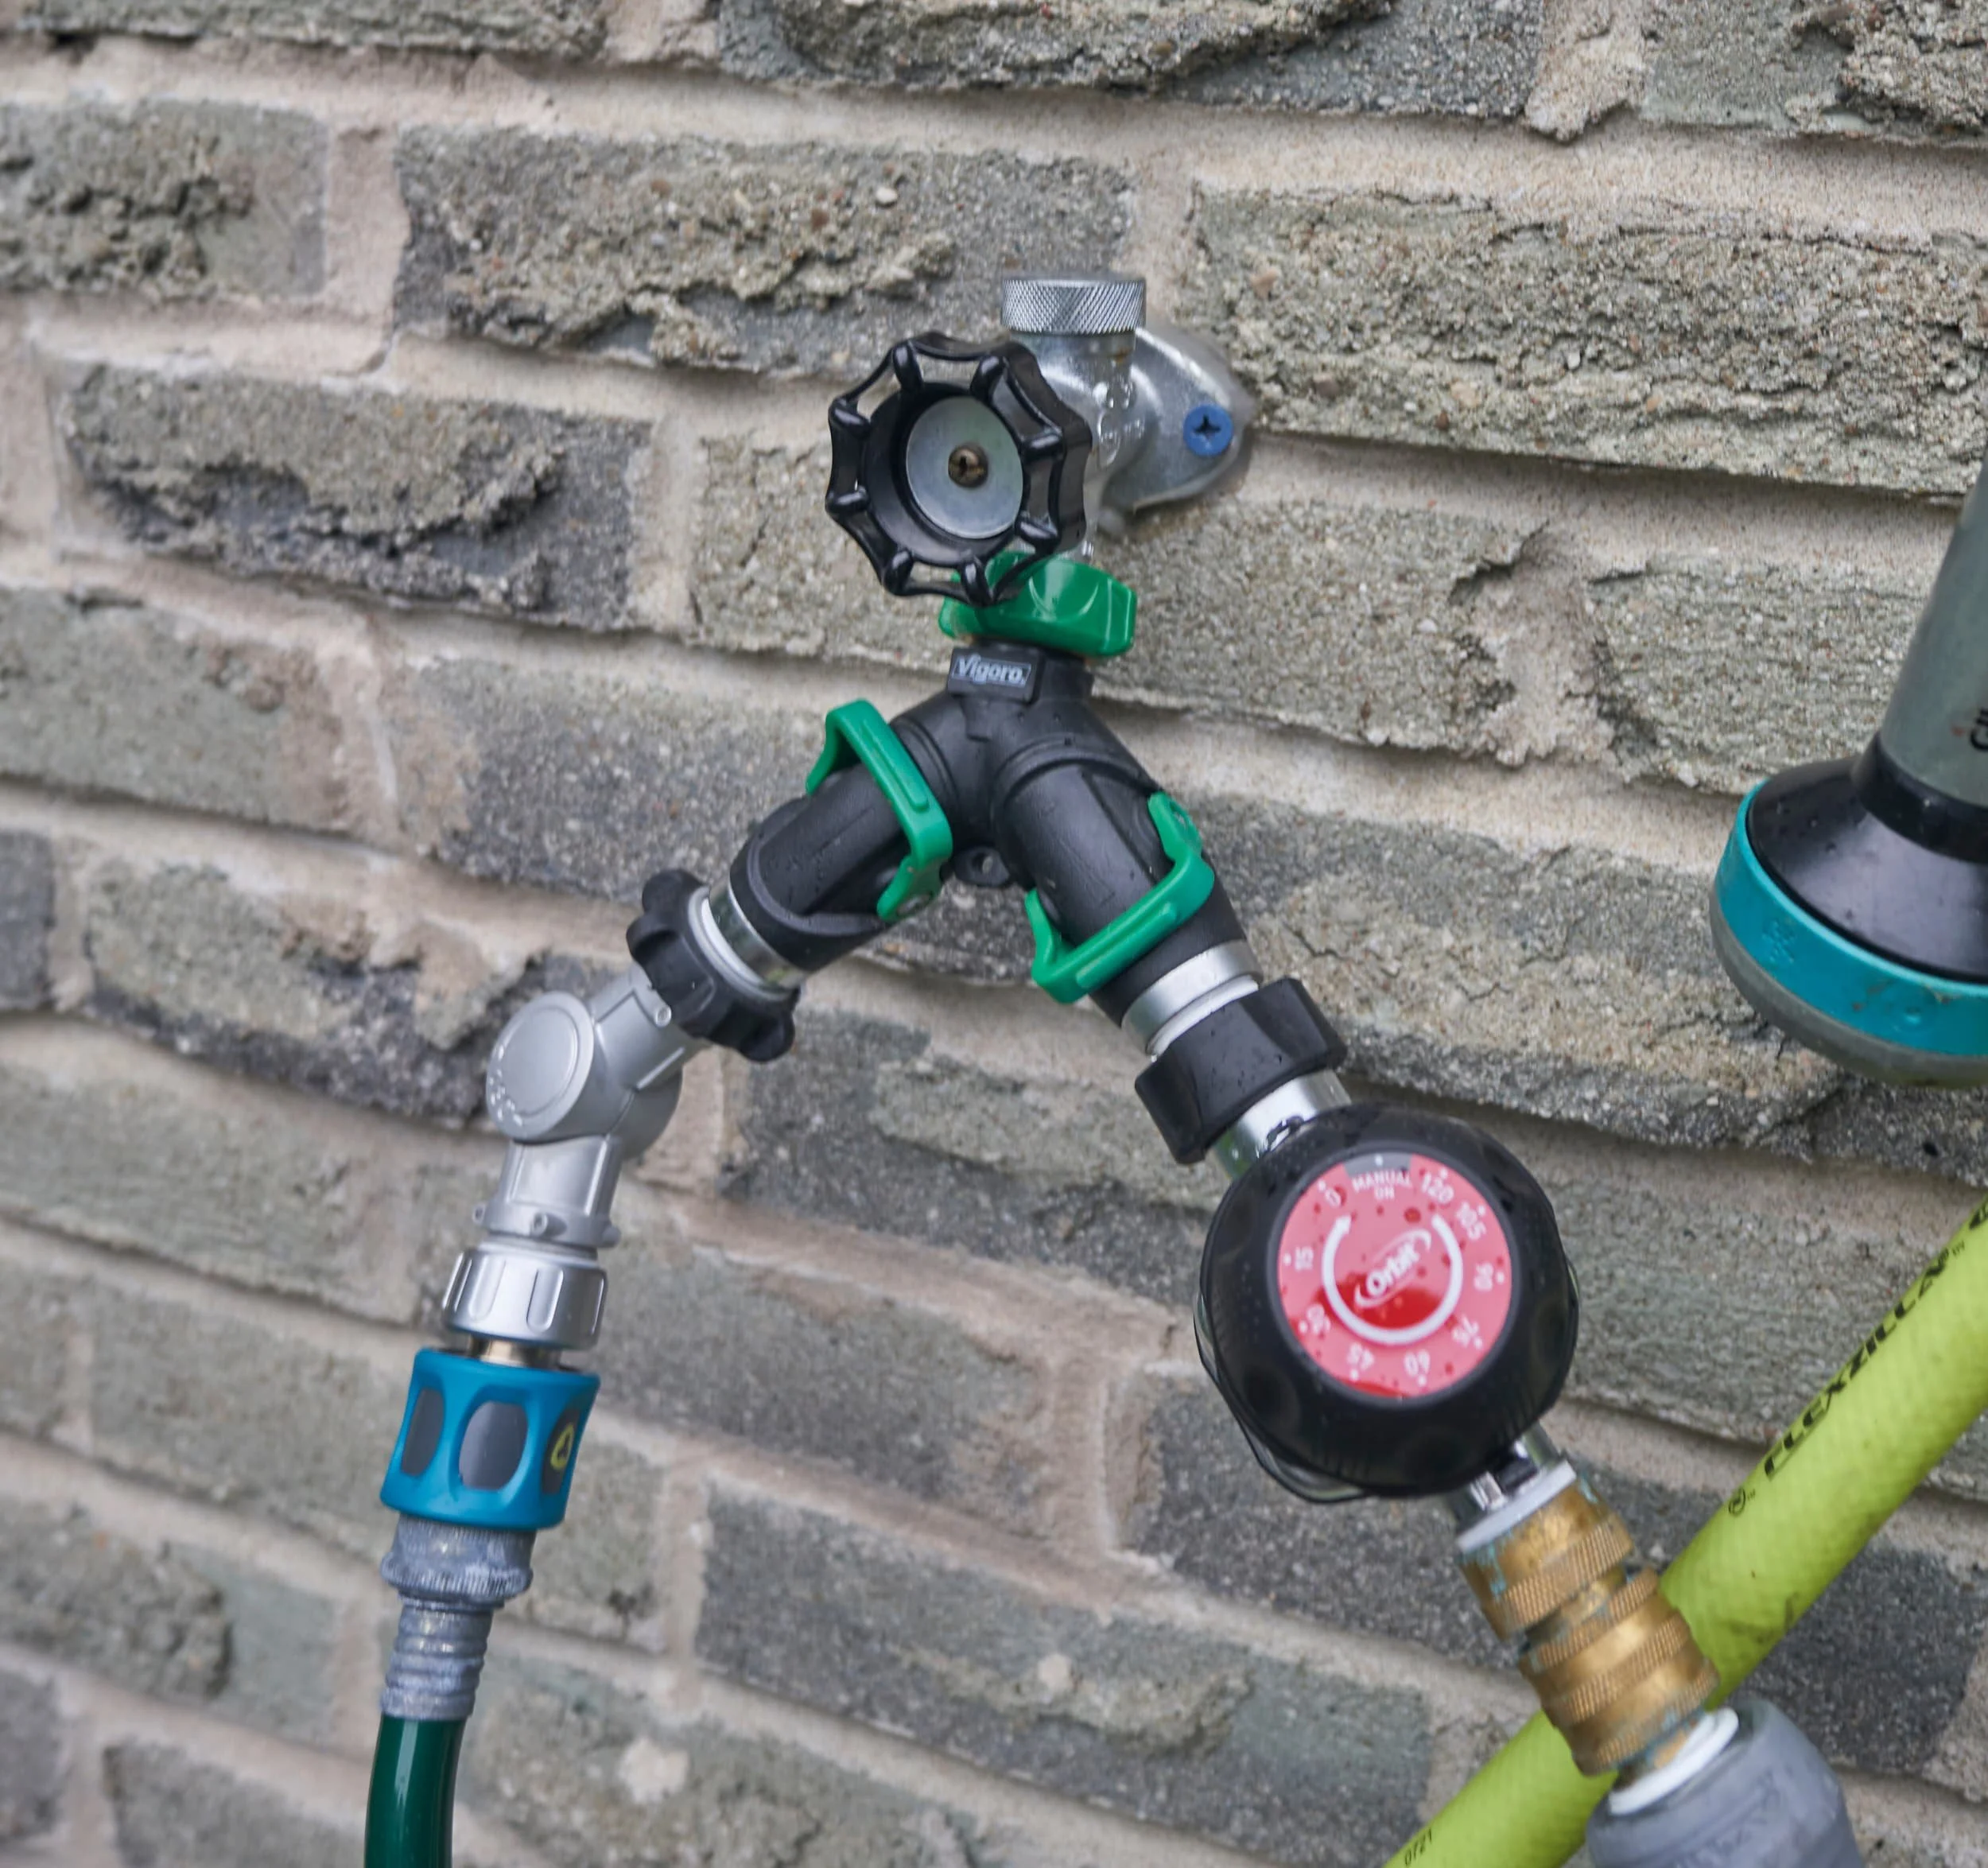
One annoying thing about soaker hoses is that the soaker bits start “right away” i.e., right at the connection point of the hose - that’s where the water starts to come out. So, if you need to go through a material first (like the side-wall of a planter), you’ll need to insert a piece of straight hose so that the soaker-bits are entirely inside the planter. For me, it was cheaper to buy a small pack of anti-kink extensions than it was to make my own since I had run out of hoses and repair kits by that time.
Having all of the 90-degree connections and the manifold probably does reduce the flow rate of water through the hoses but that’s not been an issue. In fact, I’ve found that I needed to dial back the water flow to a couple of the planters so that they all water evenly. Having
Step 15 - Winter prep
After going through this much effort, I wanted to find a way to make it easy to winter prep these planters: I bought some nicer tarps and found a way to make it easy to pack up the planter for the winter. The goal is to be able to consistently pack up the planters in about 5 minutes or so and by using D-rings, I can keep the entire setup fairly neat and tidy — they don’t particularly stand out unless you are specifically looking for them.


Step 16 - Misc. accessories
Off the bat, I got a few things to make the planter a bit easier to work with: some short and long fiberglass stakes and some fiberglass + PVC electric-fence-posts — perfect for running string lines across the planter. I bought a bulk pack of plastic plant support hoops but we’ll try those out next spring.
To make things easier for Nicole, I picked up a plastic (water sealed) .50 cal ammo box — this way, we can keep the commonly needed gardening tools right there, outside in the weather, by the planters.
All the common tools she might need to do some gardening can be kept right by the planters
Milestone
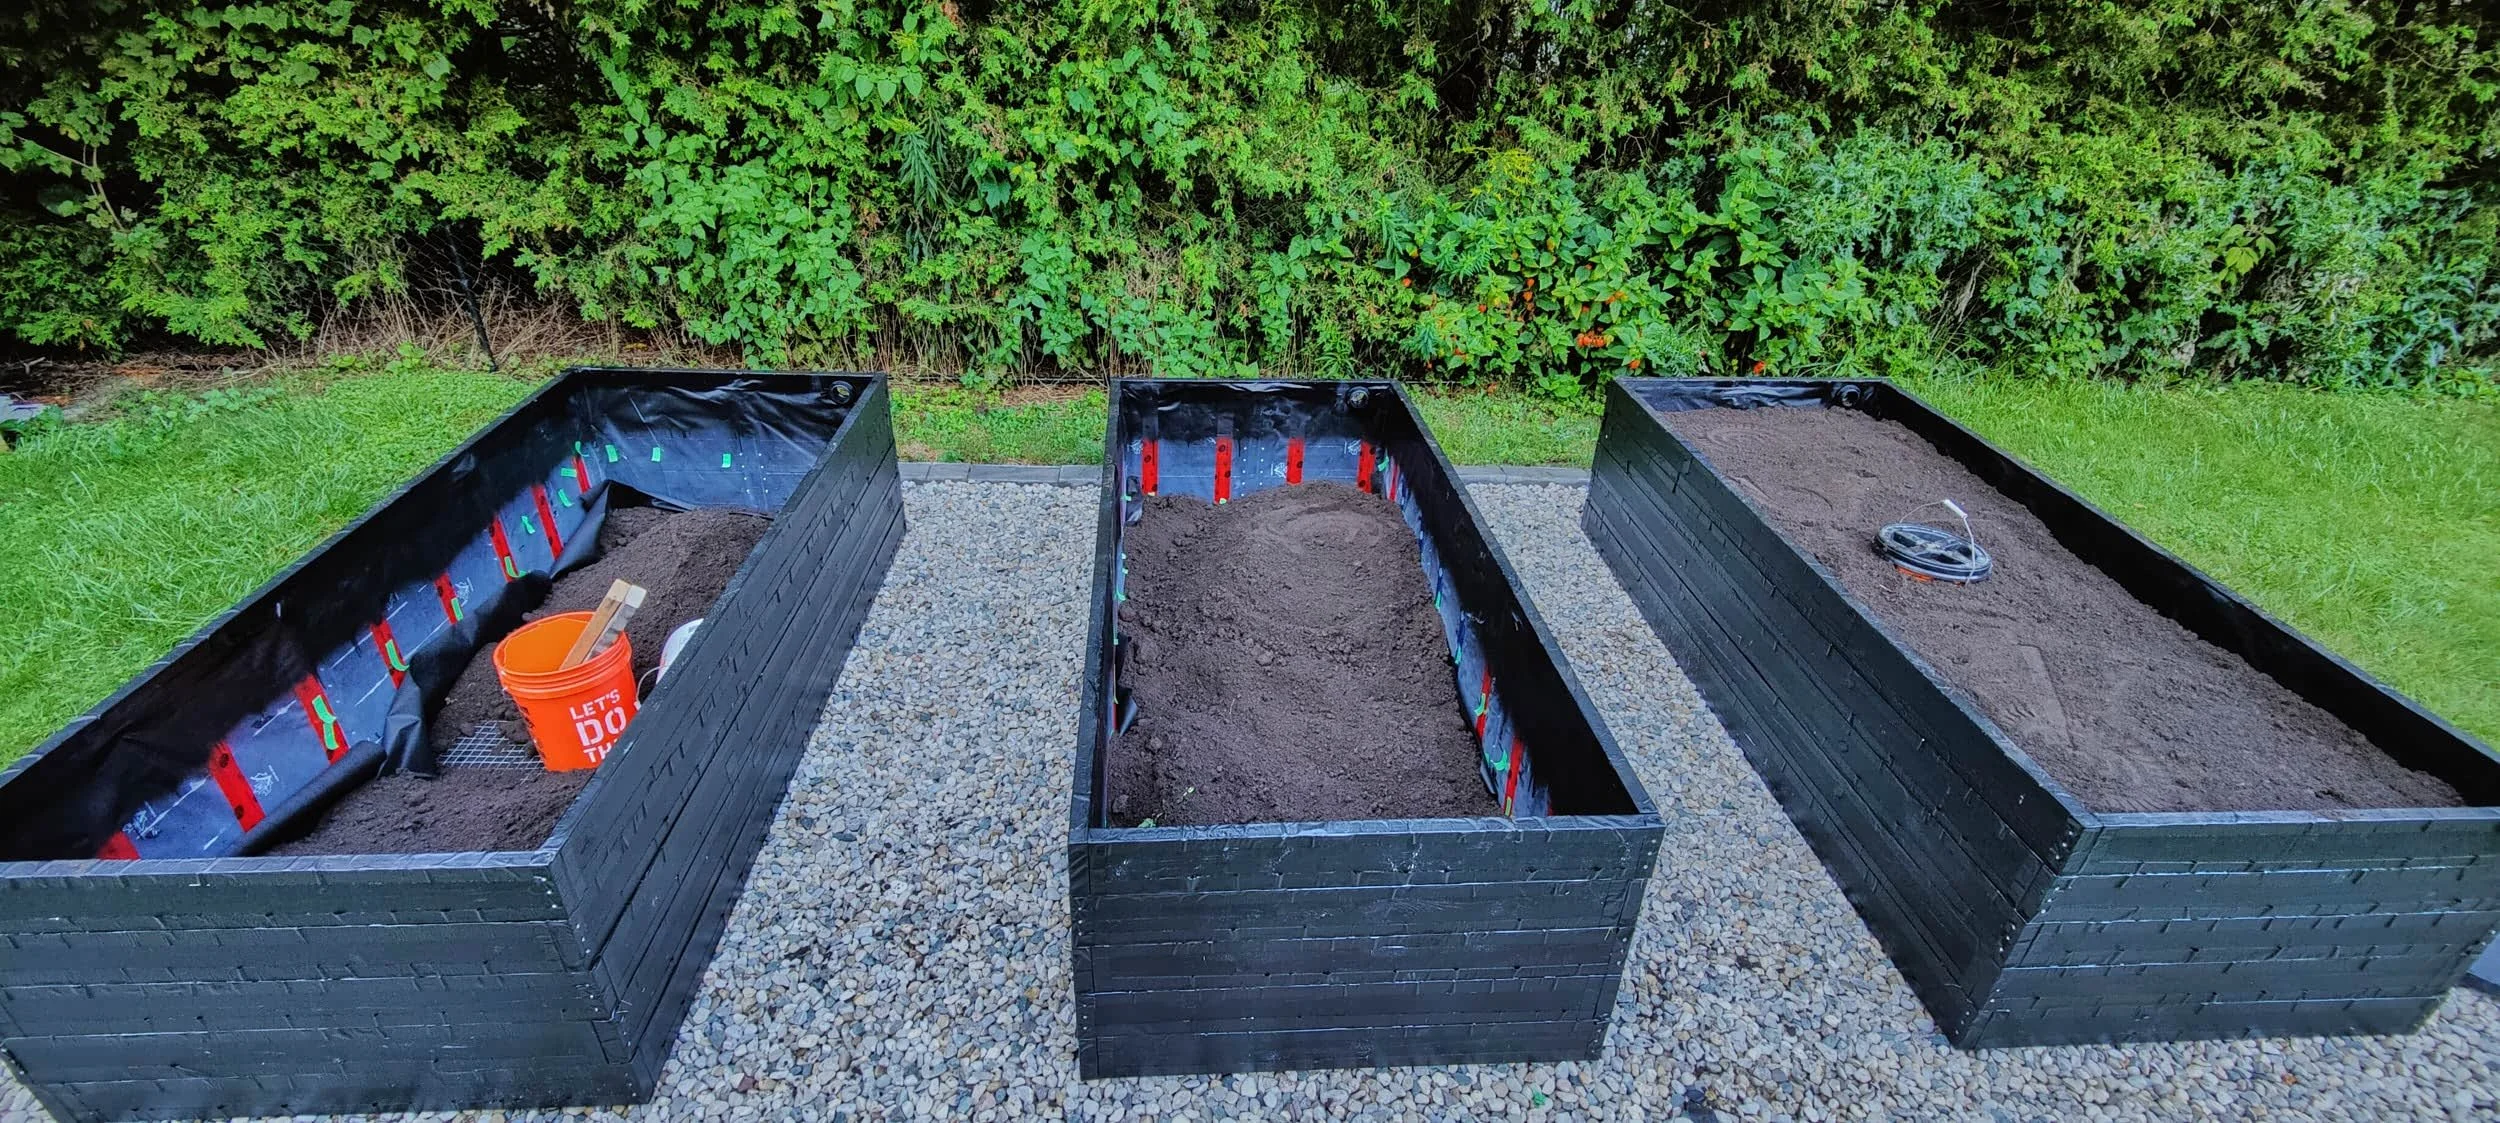
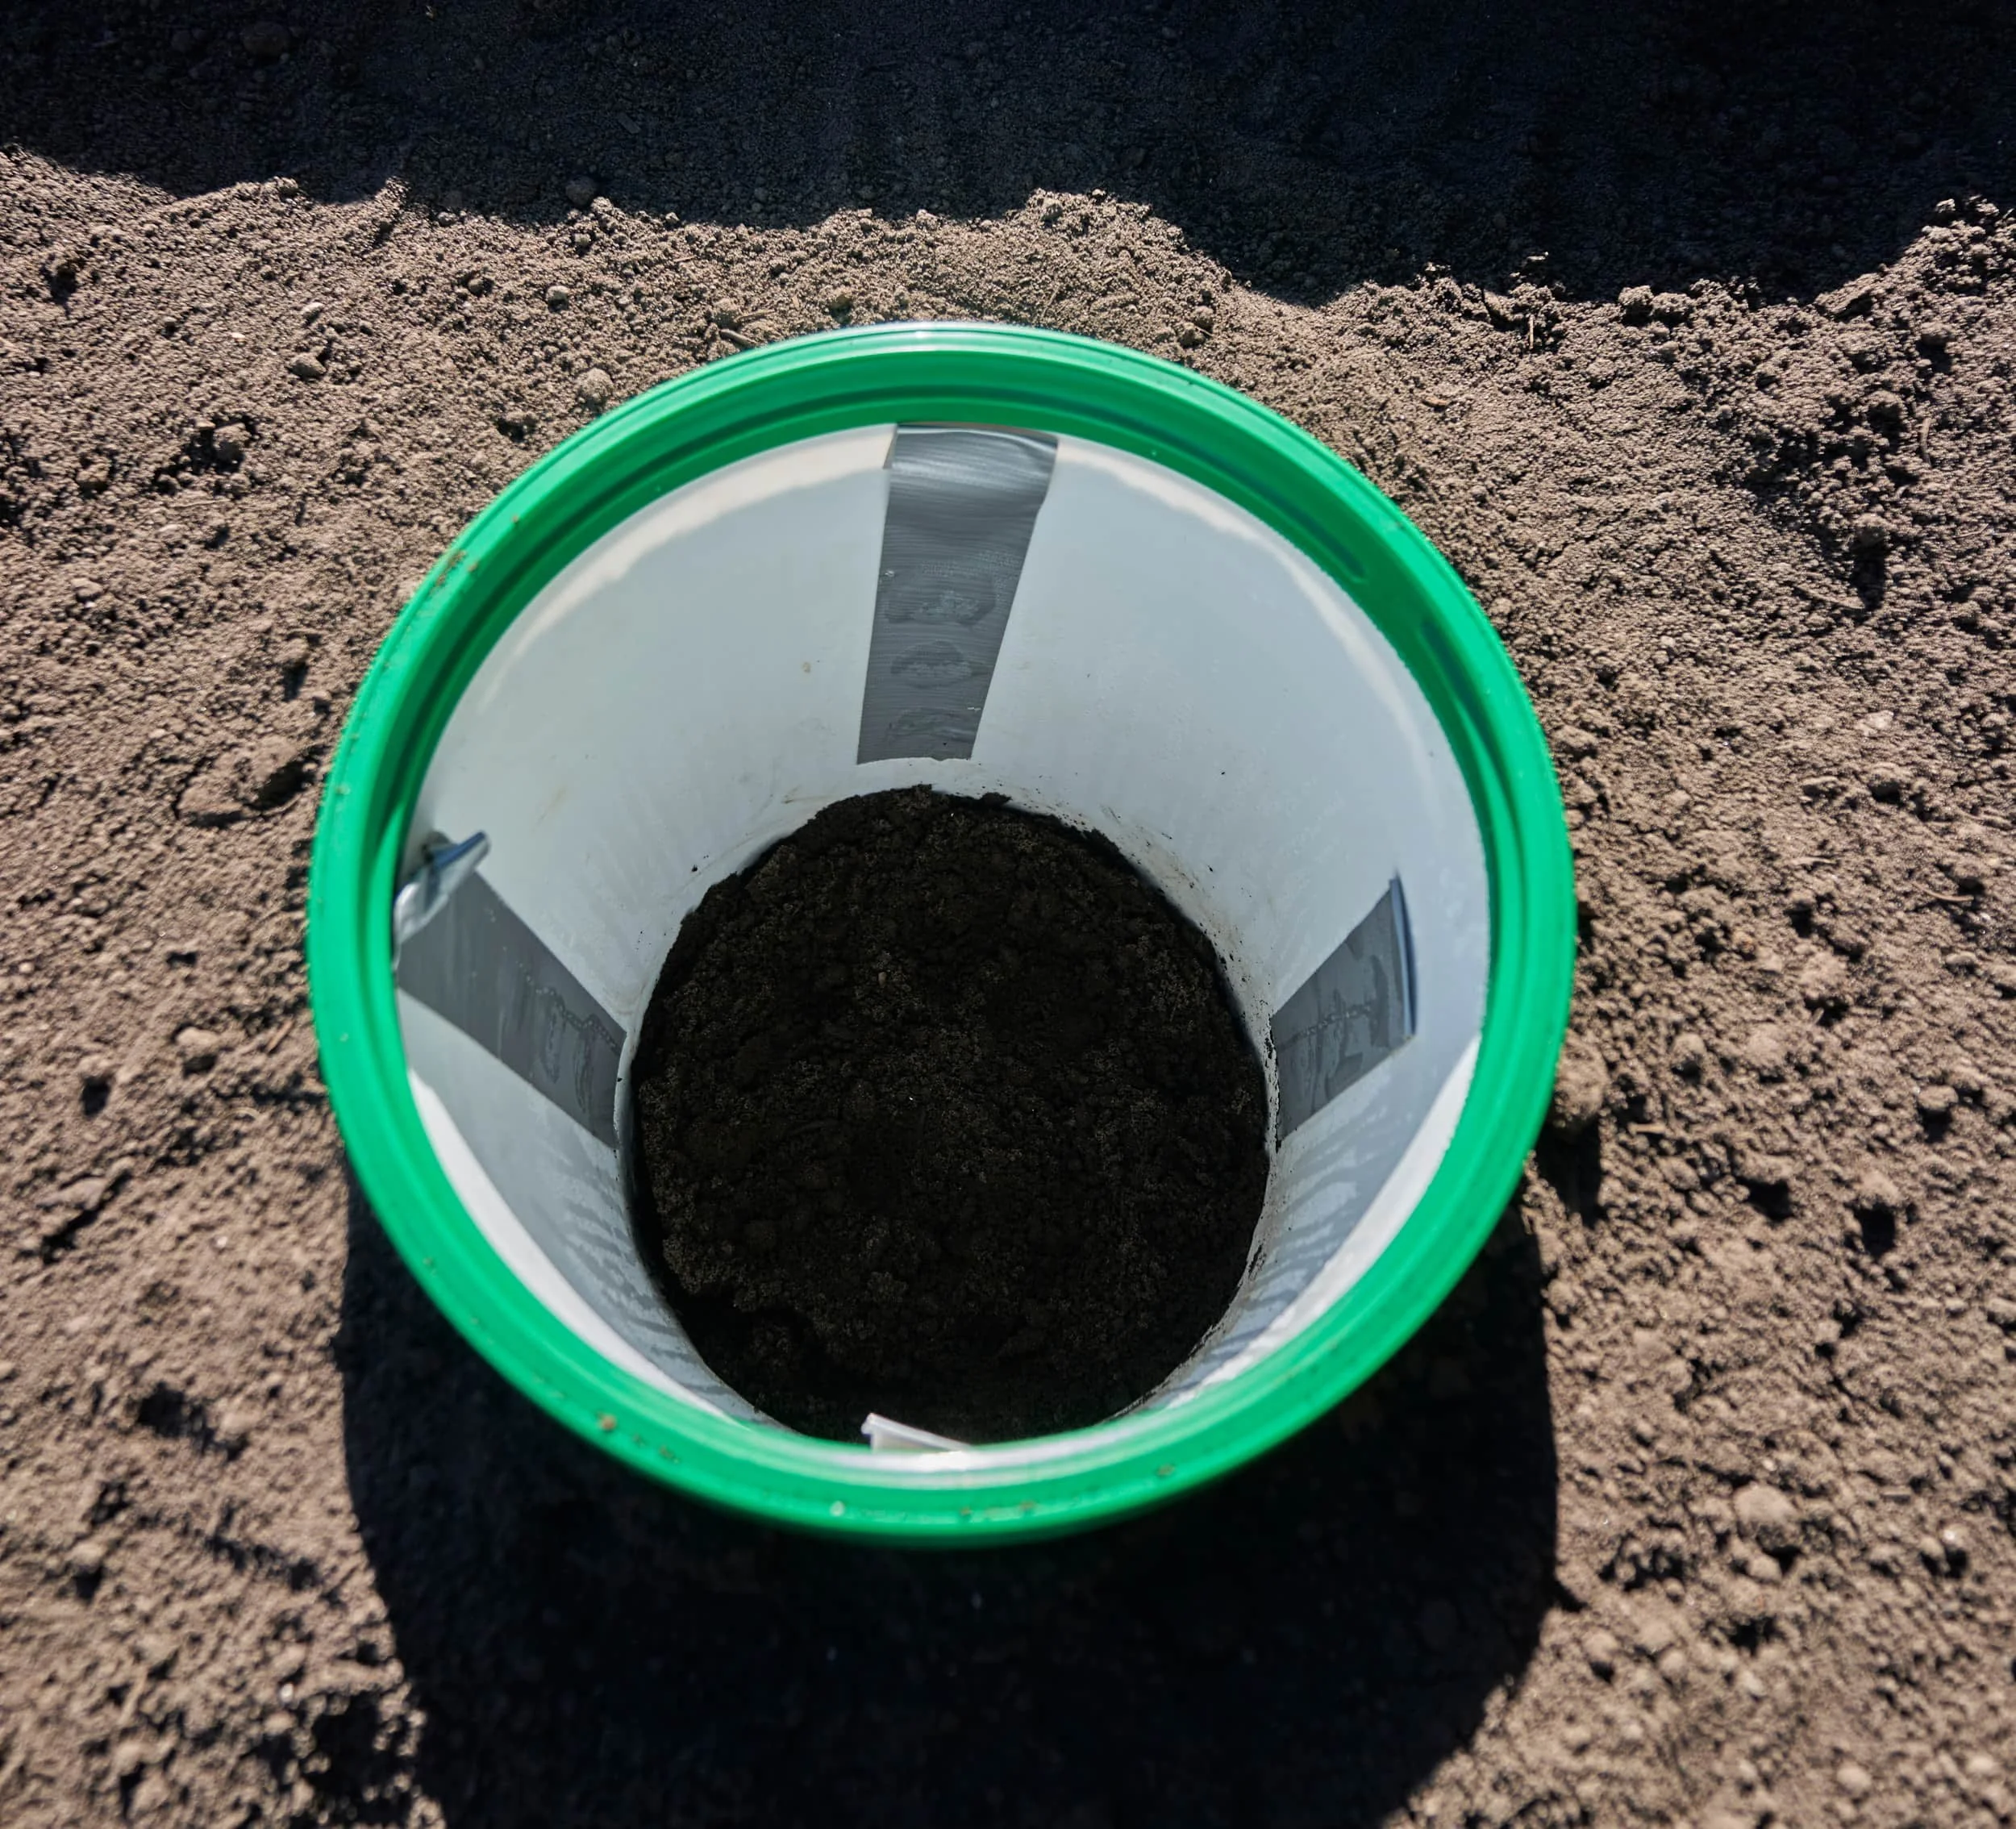
Over the course of the last week or so (funny enough, as we near the end of the season), this project has finally started to wind down and Nicole spent a couple days moving everything from our puny small planters to these comparatively massive garden beds (remembering to remove the duct tape from the worm composters!). Not sure if this will help us grow things — neither of us are green thumbs and we’re definitely not good at keeping plants alive but at least this will give us a shot next year.
Stepping back though, I’m pretty happy with how the planters turned out part of me thinks that we maybe should have pushed for four planters — it didn’t take very long to fill up the existing ones!
A few strong points:
Having a generous buffer of space (the rocks) around the planters and making sure to allocate a ton of space between the planters makes it pretty nice to use
Hooking all three planters up to a common (timed!) water source makes it so much easier to ensure the plants get water if-when they need it
Adding tie down anchor points now, during nicer weather and test fitting everything before cold weather gets here I think will make the winterization process a lot nicer
The MVP of this entire project was the gorilla dump cart! Without that cart, we used it for everything - without it, it would be miserable to move all the dirt, stone and fill around
I set out with the initial goal of building a set of planter boxes from untreated lumber that I want to last me the better part of a decade. No — pushing on two decades. I think there’s more than a fighting chance that I’ve met that objective. Let’s look at the failure vectors:
Rust: every single fastener is stainless; there’s a small chance that the fasteners for the D-ring are not stainless but at the first sign of rust I’m happy to swap that out. Everything else is plastic, fiberglass, PVC, etc. I suppose the e-track is not stainless, but I couldn’t really find 2-foot e-track in a stainless variety - I’m hoping the extra two coats of plasti-dip (and the fact it’s wrapped behind vapor barrier) should make this a non-issue
UV exposure: what exposure - every single visible (and underside) surface is covered in primer, paint and possibly up to two layers of joist tape. I’m not saying that these things can’t fail but that’s nothing that a quick (albeit recurring) splash of spray paint can’t fix over the decades I hope to have this
Rot/Moisture: this was the big one, how to make an outdoor box that is meant to hold wet dirt… not get wet. Short of epoxying or rubber-coating everything (and that was my original plan to be honest), I think I’ve given everything the best chance it has. There are some holes in the vapor barrier from stapling it on but staple holes I imagine will be minor. The only substantial source of moisture contact is the fact the planters are literally sitting on the ground - although the ground contact surface is wrapped in joist-tape. I really hope this is good.
Only time will tell, but I think we’re in good shape.
Mix-ups, surprises and lessons learned
If I had to nail down a single lesson from this entire project, it’s “holy crap, just use brick”. For the purposes of being a planter, brick would have been indestructible: no rust, no rot, not so much UV fade, relatively waterproof, no warping, negligible heat expansion. Full stop. Done.
This project was definitely one of the longest projects I’ve ever done. I initially thought the hardest part would have been the landscaping/excavating elements and it probably would have made it into the top three if we hadn’t done material-delivery and a dump-bin - would have been countless trips back and forth in the pickup - and doubly exhausting because you have to unload (and sometimes load) each trip.
The most pain in the butt process was definitely painting. To that end, splurging for a paint sprayer where you can just dip the intake hose into the can directly? Totally worth it because it means you don’t have to stop (what feels like) every 35 seconds to refill a small cup and then spend time thinning the paint down. It’s just spray-spray-spray. The only frustrating element is that it’s really dependant on weather: for the only time in history, I wanted heatstroke conditions (35C+, all-day-sun) but for a month (or maybe more), all we got were gloomy cloudy or rainy days with a high of 24C. The dry time (for basic touching) just goes through the roof.
One surprising discovery were the plastic and fiberglass electric fence posts — they come with nice, pre-build hanging slots for running string across. The only downside is that I find they aren’t nearly as sturdy as I’d like (they are dependent on how hard you pack the dirt) so I might revisit this with some concrete-in-pepsi-bottle footings that we can just pop the fence-post into. We’ll see how they hold up next year and tackle it if needed.
Appendix - Costs
Trying to summarize the cost of the planters is tricky because of two factors
For stuff I already have, do I include that? When I started the project, I already had a bunch of tools, supplies, equipment etc.; for example, I already had some leftover vapor barrier from a previous project, so I didn’t have to buy much to complete the project.
For new purchases, how much do I include? I bought a bunch of tools that will definitely see future use (i.e., paint sprayer) and I have a bunch of consumables that are leftover, so the full cost isn’t entirely captured.
Best I can do is inventory costs by rough category
Construction: this is primarily the costs of raw materials (ginseng kiln frames, stainless-steel screws, staples and brad-nails, braces, mending-plates, screw-crap covers, e-track, PVC trim) but also some small hand tools (replacement nail puller, prybar and vise grips for the ones that broke) and some misc. purchases (like precision glue bottle) - $730
Gardening: this includes material purchases for the DIY worm composter (5-gallon buckets, ready-seal lids, plastic plate) as well as any gardening specific accessories (fiberglass plant stakes, electric fence posts, clips, string line) - $265
Landscaping: this includes the major expenses related to the excavation and filling of the base layer (bin rental, 5-yards of triple-mix, 2-yards of 1” clear stone, a bit of screen, weed barrier, landscape staples, an extra transfer shovel and the Gorilla Cart) - $1300
Misc.: a bit of catch all for ‘decor’ related things (ammo-crate, solar lights) - $50
Paint: this covers just the consumables (primer, paint, spray-paint, Plasti dip) - $615
Paint color: Grand piano (aka hella black)
Primer: tinted with ~1oz black
Spray paint: Canyon black, Satin
Plumbing: this covers all of the bits to get the planters to be easy-watering (soaker hoses, anti-kink adapter, repair kit, quick-connects, 4-way manifold, 90-degree adapter, irrigation timer, aquarium bulkhead). I didn’t include the preexisting stuff I already had (hoses, flow valves etc.) - $325
Bonus: from quick testing, it appears that the quick-connect kit I bought on Amazon is compatible with the set that I’ve been using from Yardworks so I’ll likely buy another batch of the cheapo ones just to have extras.
Tools: this includes power tools mostly that I bought for the build (metal detector, paint sprayer, power planer) but doesn’t include the tools that I already had. I didn’t include smaller things like the hole-saw I needed to buy for drilling into the planter. - $750
Waterproofing: this encompasses the consumables I needed to protect the interior of the planters (joist tape, vapor barrier and sheathing tape) - $400
Winterizing: this includes all the bits needed to get the planters ready for winter (tarps, d-ring, rubber strap and bungee cords) - $185
Which brings the rough total to an eye watering $4620. It is neat, however to look into how the expenses break down, both by category (roughly itemized above) and by ‘type of expense’.


Appendix - By the numbers
It’s kind of fun to go through some of the numbers involved
Ginseng frames: 28
Broken down into
2x6x10 boards: 56
2x6x4 boards: 72
2x4x4 boards: 36
1” x 1” steel grid sheets: 25
0.75” x 0.75” steel grid sheets: 2
Unusable steel grid sheets: ~1
Trips to bring home: 7
Metal fasteners to remove: ~10lbs
Wood shavings from planing: ~250 gal
Landscaping
Landscaping staples: 42
Earth excavated: ~5 yards
1” clear stone: ~2 yards
Triple mix: order 5-yards, got 6-yards
Screen: ~10-gallons
Landscape fabric (3’ x 100’ rolls): 3+
Bricks: 52 (used Oldcastle Townsend wall blocks)
Painting
Primer: ~3 gallons
Paint: ~4 gallons
Spray paint: ~2 cans
Plasti Dip: ~2 cans
Number of times I cursed at the small paint sprayer and painting in general: 500+
Planters: 3
2x6 (42” and 96”) boards: 36 (stacked 5 high)
Stainless steel angle brackets: 24
Stainless steel mending plates: 12
2-ft e-track: 18
1” stainless steel pan-head screws: ~300 (attaching e-track to panels), + 6 (hanging the solar lights)
2.5” and 3” stainless wood screws: ~180 (perimeter) + 36 (top plate)
Why have two different sizes? I originally targeted 2.5” but occasionally the countersink bit would slip and plunge a bit too far (I predrilled every single hole), so for those scenarios, I would switch to 3”
1/2” stainless staples: ~250
1-1/2” stainless brad nails: 72
Solar lights: 6
Number of non-stainless fasteners used: 0
Waterproofing
Rolls of joist tape: ~14
Rolls of sheathing tape: ~2
Winterizing
D-ring shackles: 6
18” bungee cords: 15
30” rubber strap: 3

Related
Before the mega-planters, we had a small collection of self-watering planters. See how I built them here.
Product links may be affiliate links: MinMaxGeek may earn a commission on any purchases made via said links without any additional cost to you.