

Build Log: Self-Watering Planters
After building the Grow Station, it was a matter of time before I would need to transition the plants out of the nursery area and into bigger pots, likely outside. One of the challenges I have with plants is actually getting around to watering them and so they end up having spotty watering. I’m by no means a green thumb and definitely don’t enjoy the regular-upkeep so I wanted to make a self-watering planter so I wouldn’t have to deal with this anymore. I had previously built a set of these planters last year and they performed as well as I could have hoped (from a self-watering perspective).
Quick Links
Goals and objectives
From a gardening perspective, I wanted to make something where I would only have to water once every couple of weeks or so — even in the middle of summer and with super thirsty plants. Our yard gets sun all day so I tested this out with tomatoes and zucchini and I found that I was hitting my desired watering intervals. The project is quick and easy to knock out and putting it together didn’t cost all that much so this year, I set out to make a bunch more.
Step 1 - Prepping the totes
Selecting the tote
For my planters, I went with Mastercraft 45L storage totes. My criteria was fairly open ended:
Something in the 45L range — to keep the final weight manageable
A lid that had a recessed center portion
The lid needed to be a removable, snap in place type, with support around the entire ring of the tote ideally
Bonus: the lid had holes on the edges for attaching locks - more on this later…
From Home Depot, the HDX 45L totes are also a good option (and usually a couple bucks cheaper) — go with what is cheaper, or whichever fits the rough size/shape/proportions you might want.
Selecting the risers
Once you’ve selected a tote, you need to identify how much of the tote will be allocated for the water reservoir — and find something that is roughly that height. Whatever it is you use to get that height should be waterproof yet have holes throughout it so water can pass freely (or be made of a material where you can drill holes in it easily). It’s also important that whatever you chose needs to be strong enough to hold the [distributed] weight of all the soil in the tote.
You can use dollar store organizer bins, cheap plastic flower pots or even off-cuts of ABS/PVC How many of these bins/pots you need will depend on their size — this will make sense later on with the pictures.
Cutting the lid & dry-fitting
The first step will be to cut the middle of the lid out. This will act as a divider for the planter so we want this to be as big as possible so that as little soil as possible can fall through the perimeter. It’s not absolutely critical that the cutout completely go to the edges of the tote, but the smaller the gap, the easier.


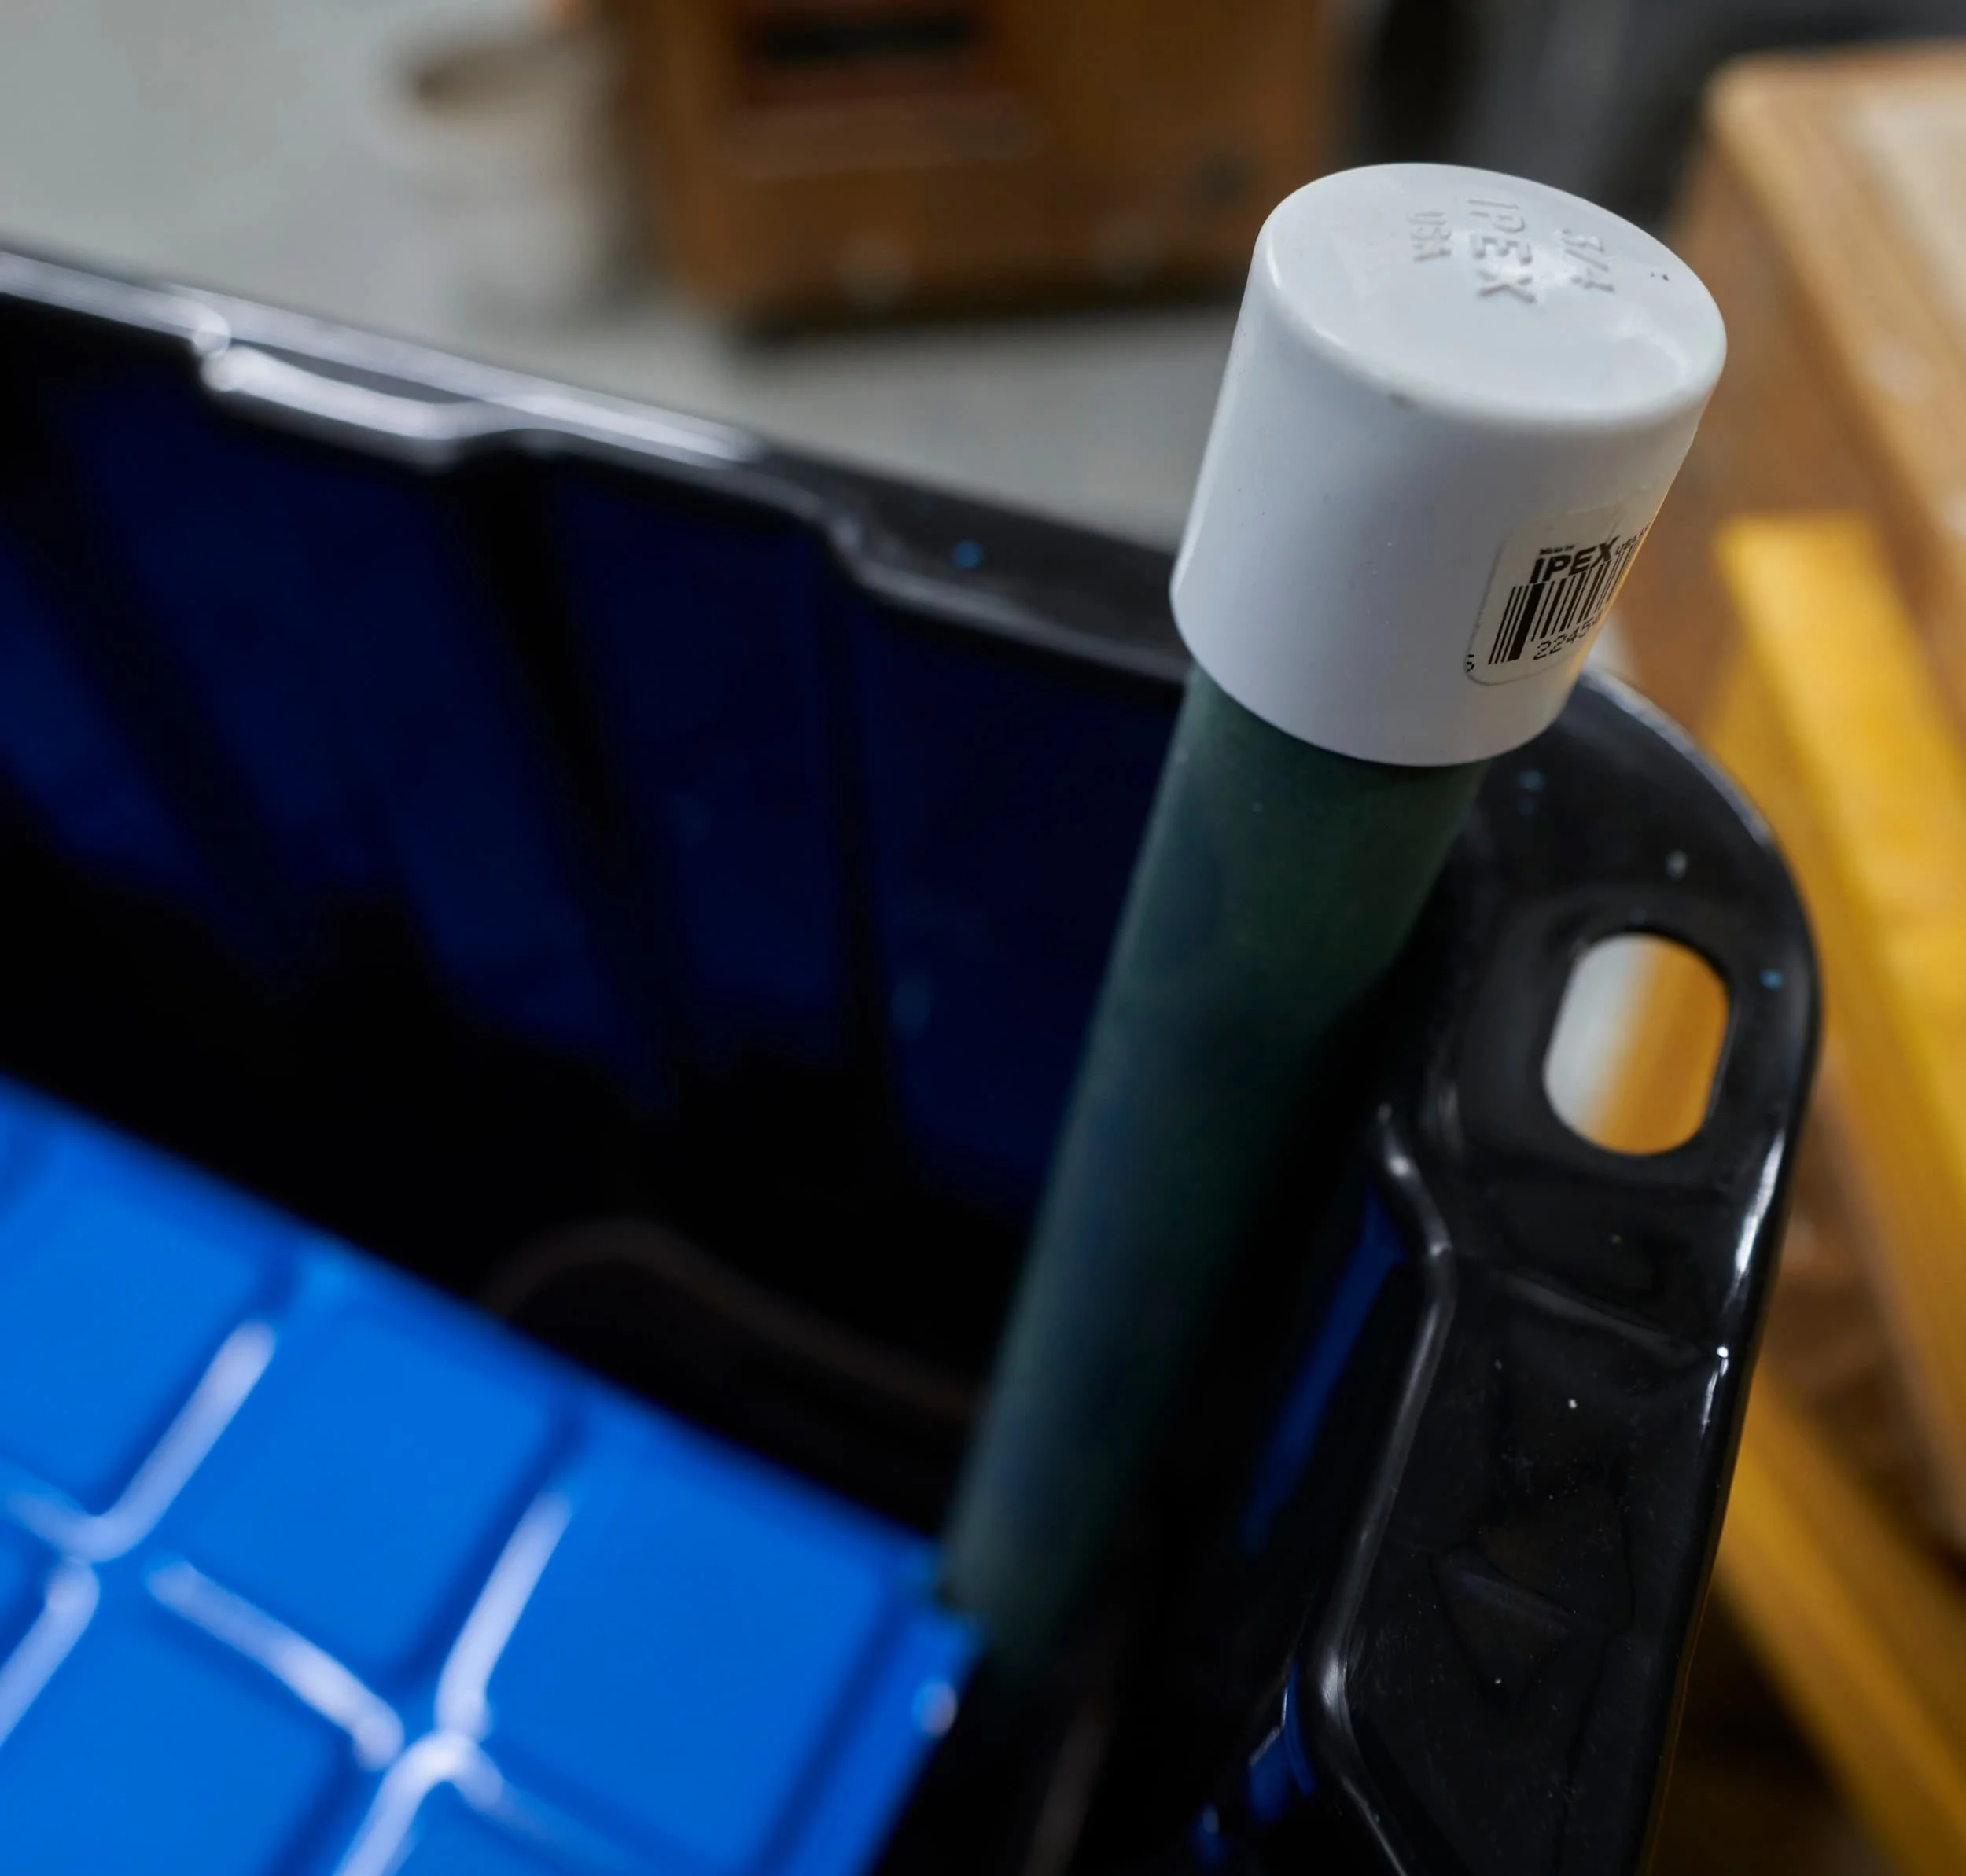
Step 2 - Prepping the water transfer
For this step, we want to find a way to get water from the outside, down into the reservoir and then to get water from the reservoir into the upper soil area. For the former, I opted to use 3/4” PVC because I had a bunch on hand — make sure to cut a taper onto one end. This ensures that you don’t unintentionally block the tube when inserting it.


Now, we have a way of filling the water reservoir so the next step is to facilitate transferring water from the reservoir to the soil and for this I used shop rags. Being made of cotton, they will allow water to transfer through them and since they are rags, I can jam them into the perimeter of the planter to keep dirt from falling below.


Step 3 - Drilling the overflow
The final step here will be to drill a single drainage hole on the side of the planter. The only criteria is to make sure the hole is below the inserted lid. This overflow hole is what determines how much water the planter can hold: you will fill the planter via the PVC pipe and water will rise throughout the bottom layer until it gets to the hole. Once a bit of water dribbles out of the hole, that’s when you stop adding water.
For the size of the hole to drill? You want to drill something that will let water actually overflow but not too big that you’re inviting a plethora of bugs to make a home - I went with a 5/16” hole.


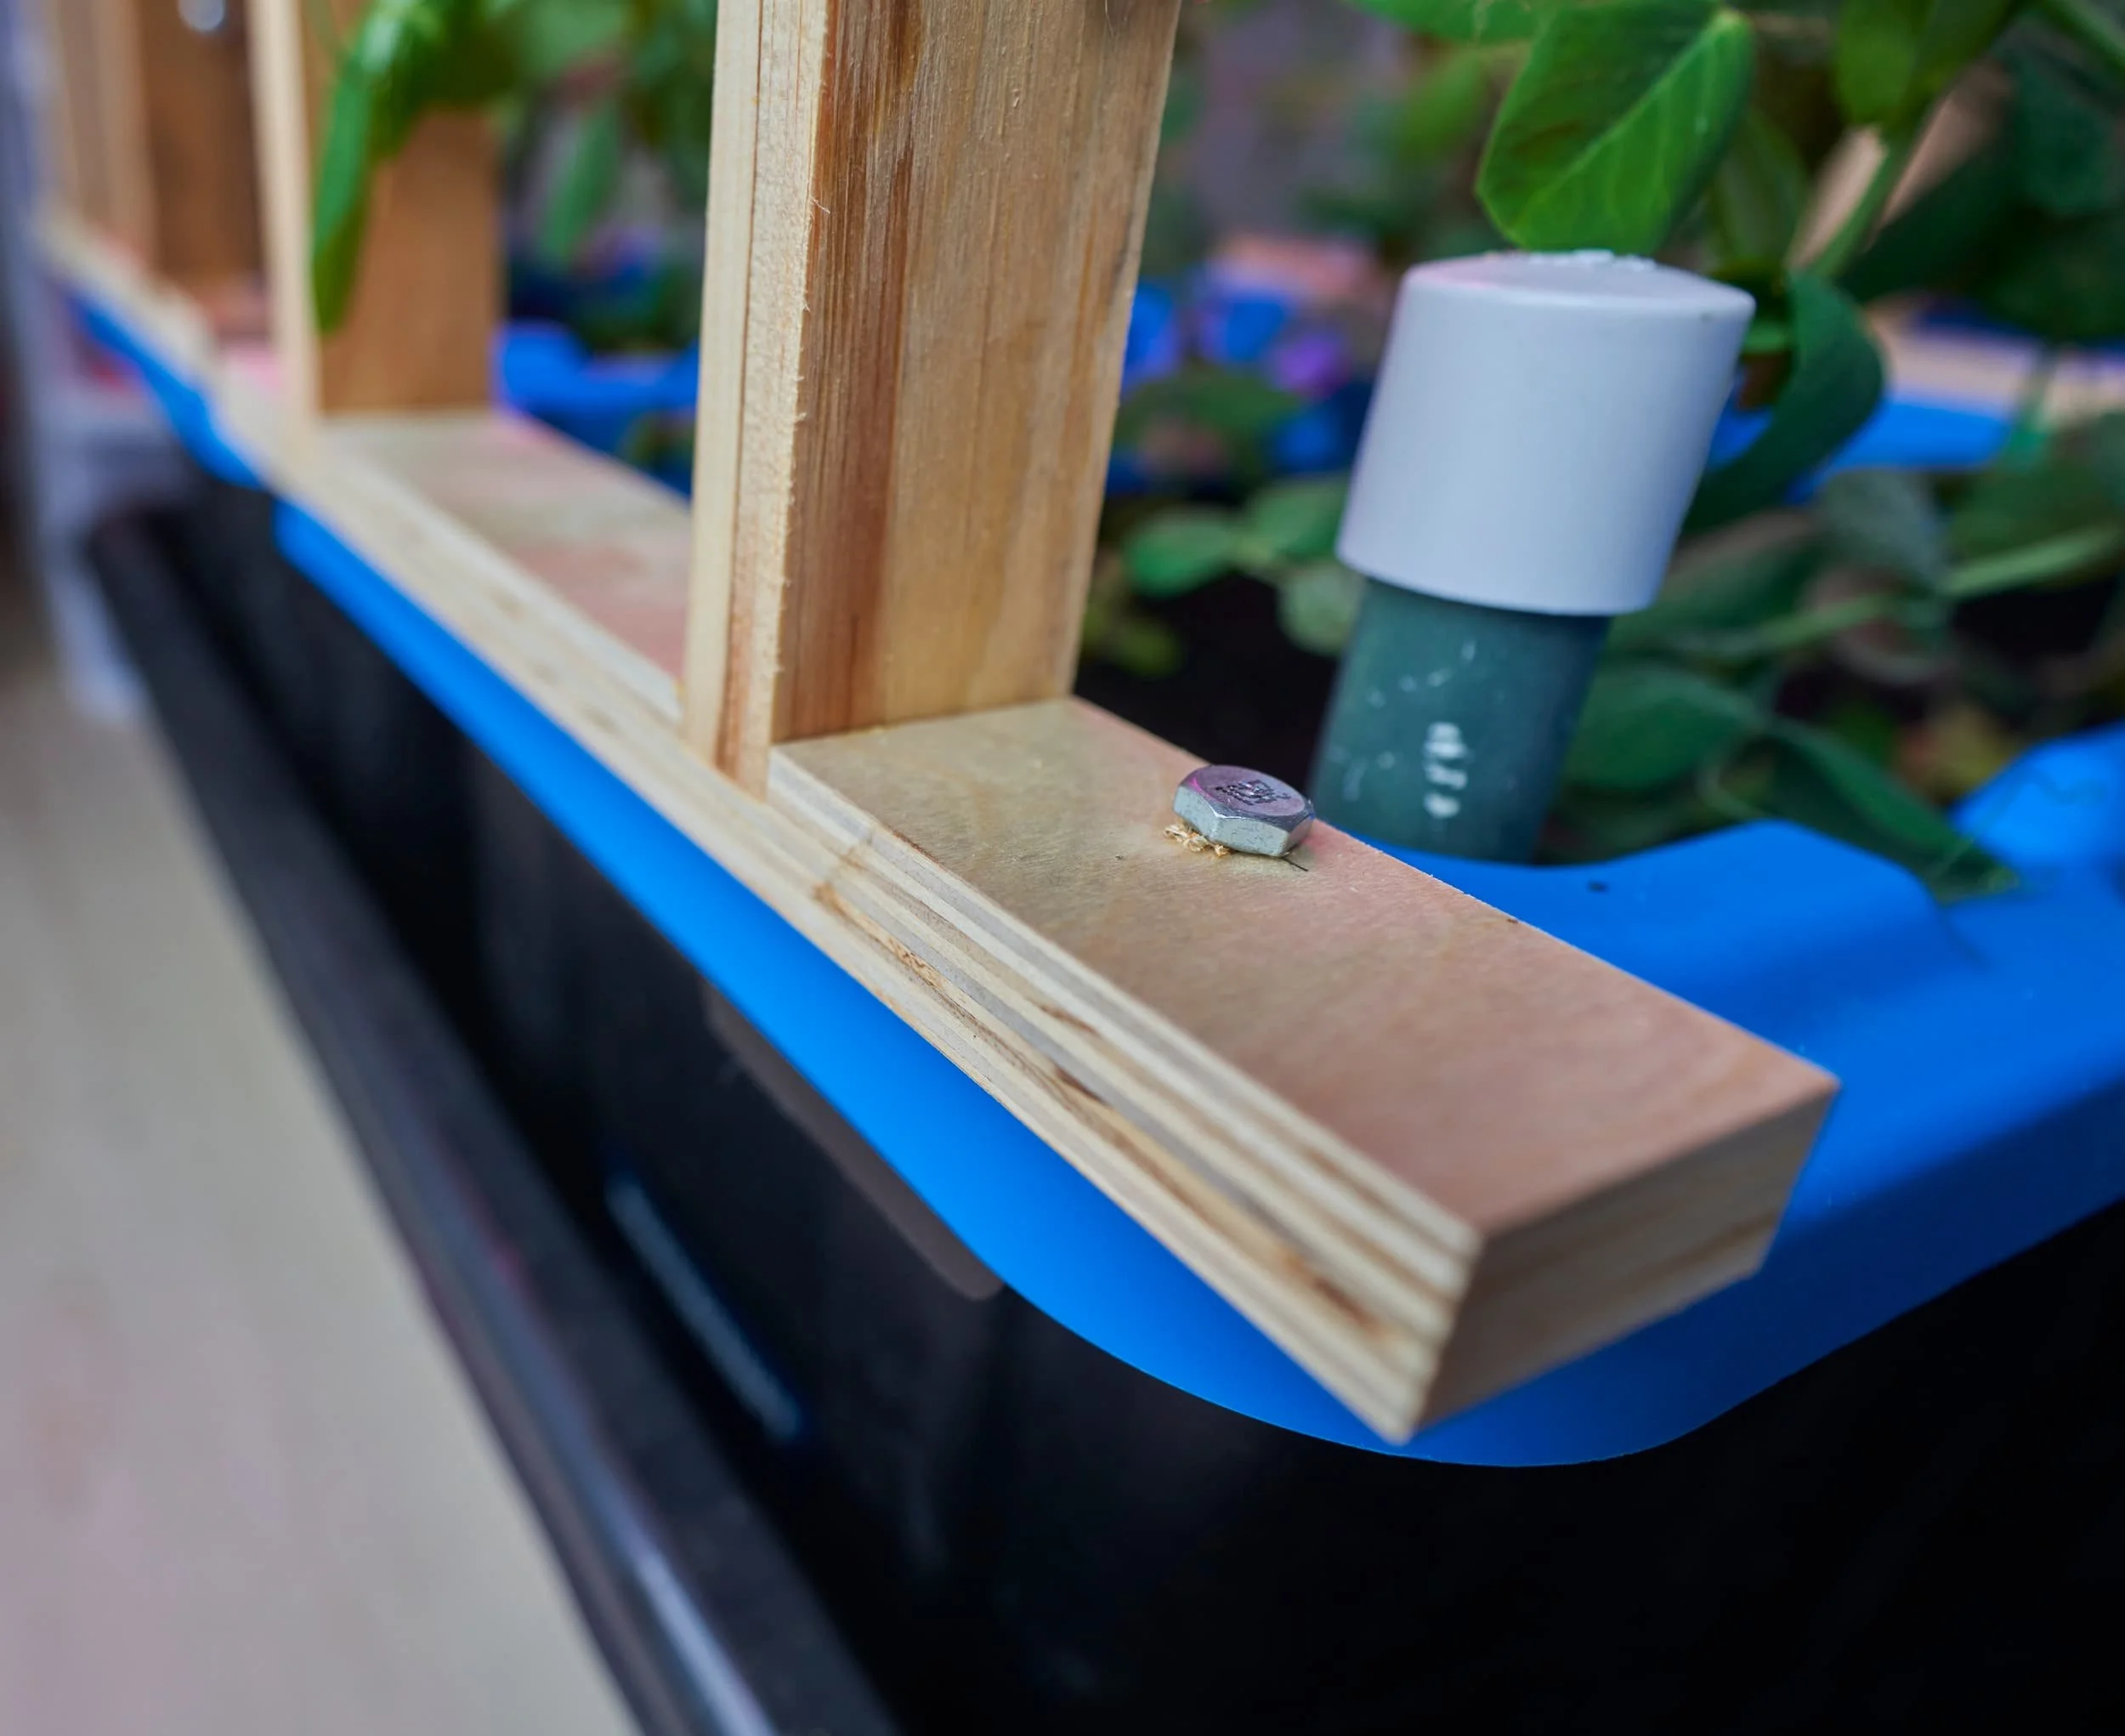
Step 4 - Scrap wood trellis
So during the selection process for the tote, I wanted totes that had "holes for locking” — we’re going to use those holes for alignment purposes. For my trellis, I just figured this out as I went, using whatever scrap materials I happened to have on hand.


Milestone
I had previously built a few of these planters last year so I knew the design worked but this year was the first I added the trellis. Overall, the project is pretty approachable: the components are relatively cheap to source and there’s not much to it. The hardest (at least here in Canada) is waiting for the totes to go on sale!
If, for some reason, you need a stronger trellis (say for tomatoes), an easy swap-in would be to use some cheap chain link or you might consider running some vertical lengths of string from each row of the trellis, to the top cross-bar (or both). By tying the horizontal lines to the cross bar at the top, you can really cut back on the amount of sag.
The planters I made here hold roughly 12L of water and I’ve found the reservoir can handle most of what I throw at it.
Self watering planter and trellis.
Product links may be affiliate links: MinMaxGeek may earn a commission on any purchases made via said links without any additional cost to you.