

Build Log: Grow Station
We are looking to grow some vegetables and herbs this year and I have a stack of materials that I’ve been kicking around "just in case” for a while now - so this was a great opportunity to knock out a quick project. I’m not a green thumb by any means, but if I can throw some woodworking and tech at a project, I’ll at least give it a shot.
Quick Links
Starting point
Over the last couple months, we’ve cleared out the space in the den so we can actually access it. Now that I’ve brought the printer downstairs, things are cleared off the desk there — perfect for putting something new there ;)
A bit of a blank slate space-wise to get a grow station
I don’t have a whole lot of specific goals or requirements — this is the first time building something like this so, I’ll build something and see where it stands.
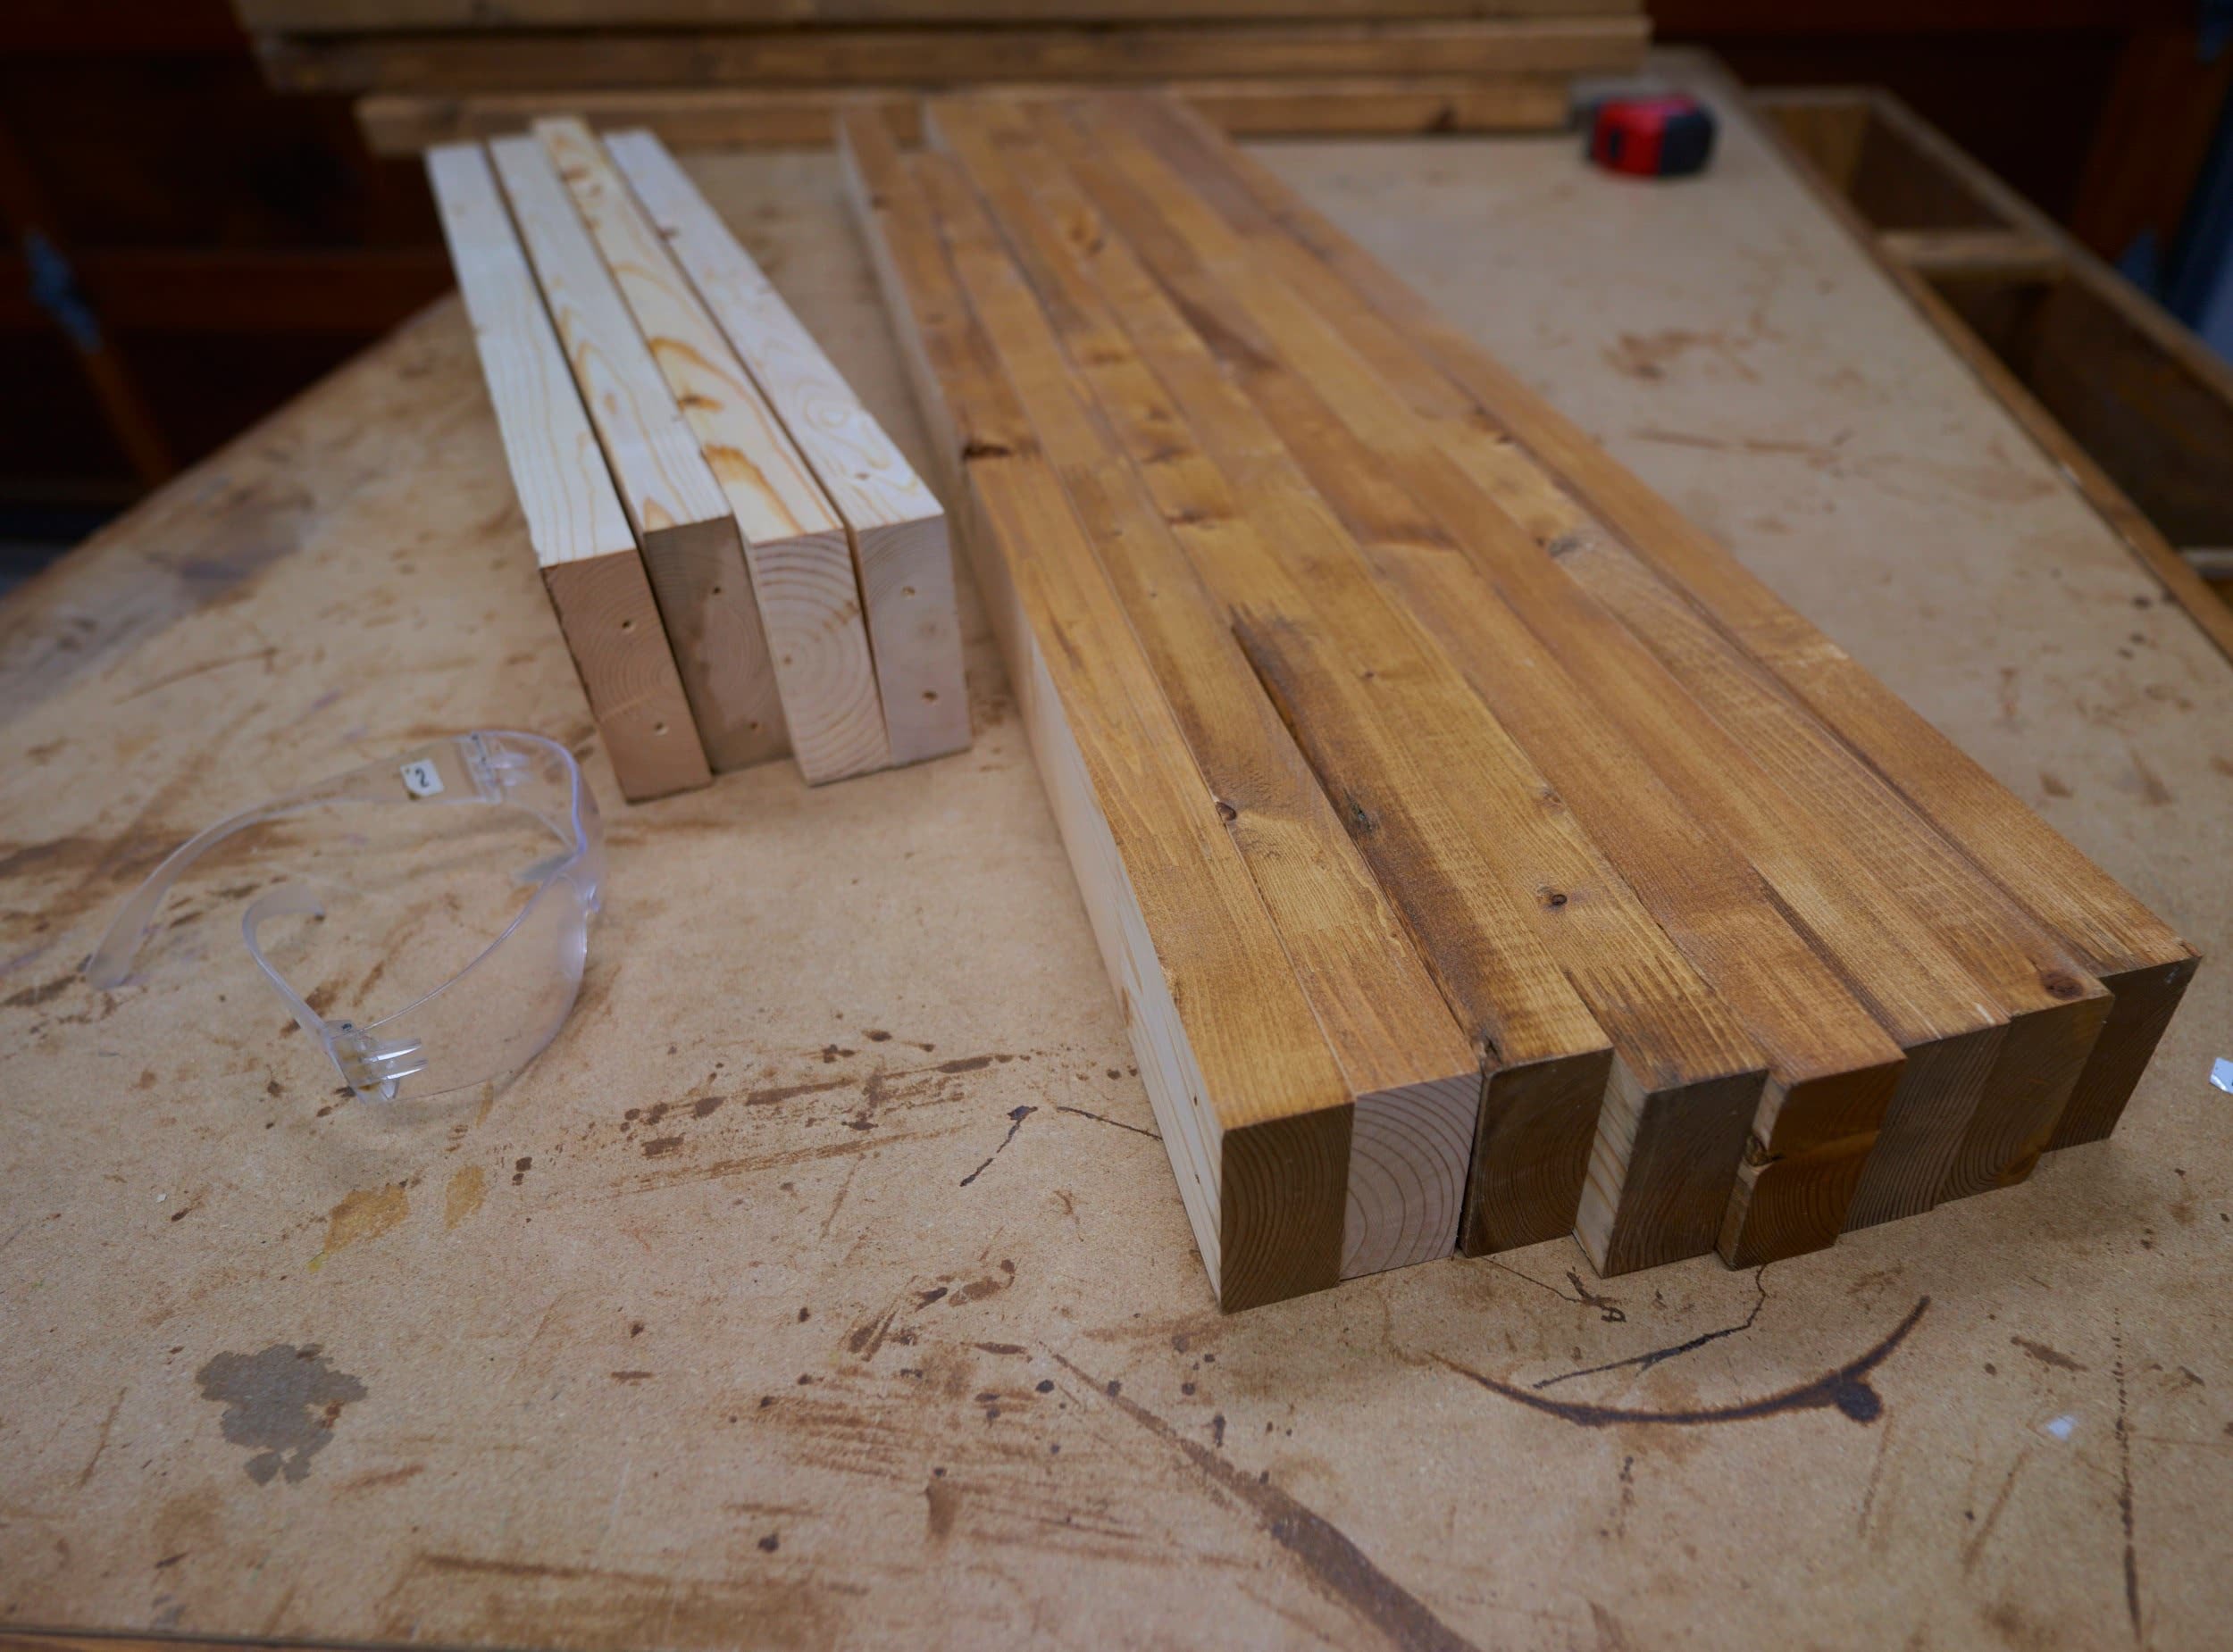
Step 1: Milling lumber
At our previous place, I built a pantry shelf of sorts in the basement and after we moved here, the 2x3s were promptly moved to my ‘I’ll use it one day’ wood pile (woodworkers know it’s code for ‘sit there forever’). I was determined to start using up all this material that was frankly just getting in the way.
For this shelf, I definitely don’t need the sheer beefiness of 2x material and this was a fairly safe opportunity to practice milling (safe as in: if I over-milled it, that wouldn’t be the end of the world). While this was mostly 2x3 framing, I did have a need for a few 2x4s as well, so I also milled those down — more on this later.


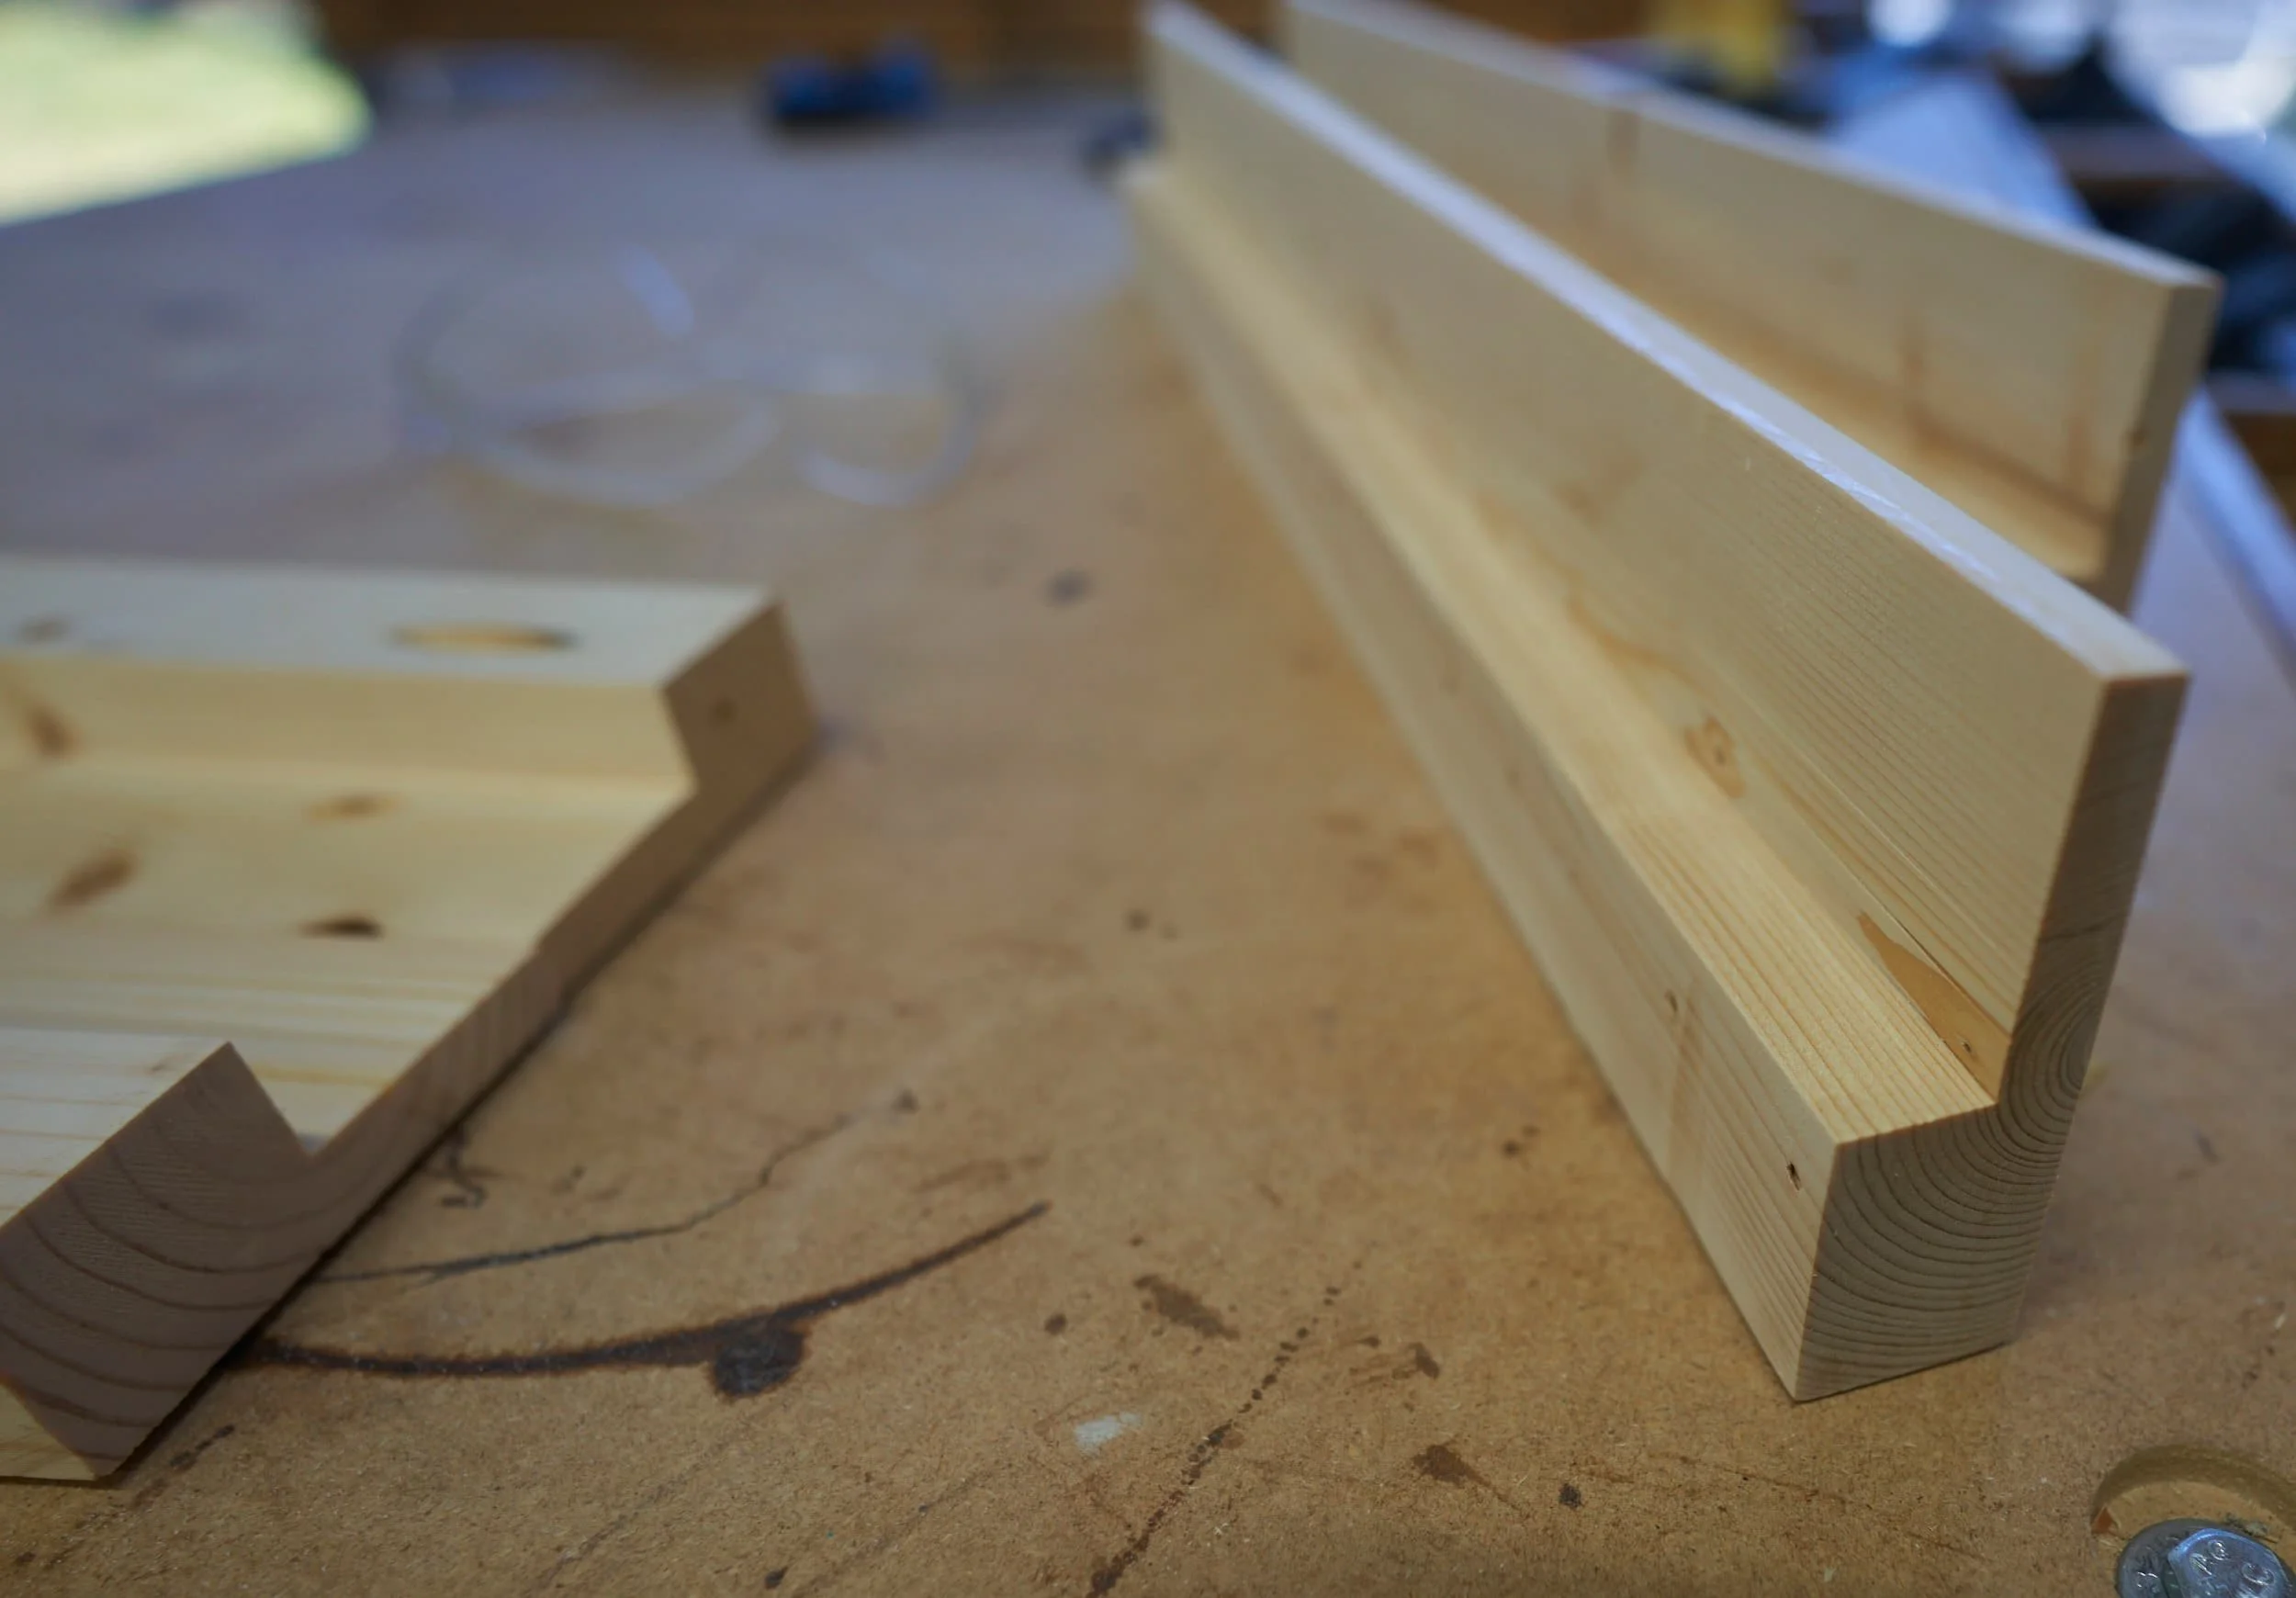
Step 2: Building the frame
Although pocket holes would have functionally been fine for this application, I just wasn’t feeling it. Since this was a growing space, there wouldn’t be a convenient spot to put the holes since you obviously can’t have the holes on the outside — but since this is a growing space where I’d be interacting within the shelf, you can’t have the holes on the inside either…
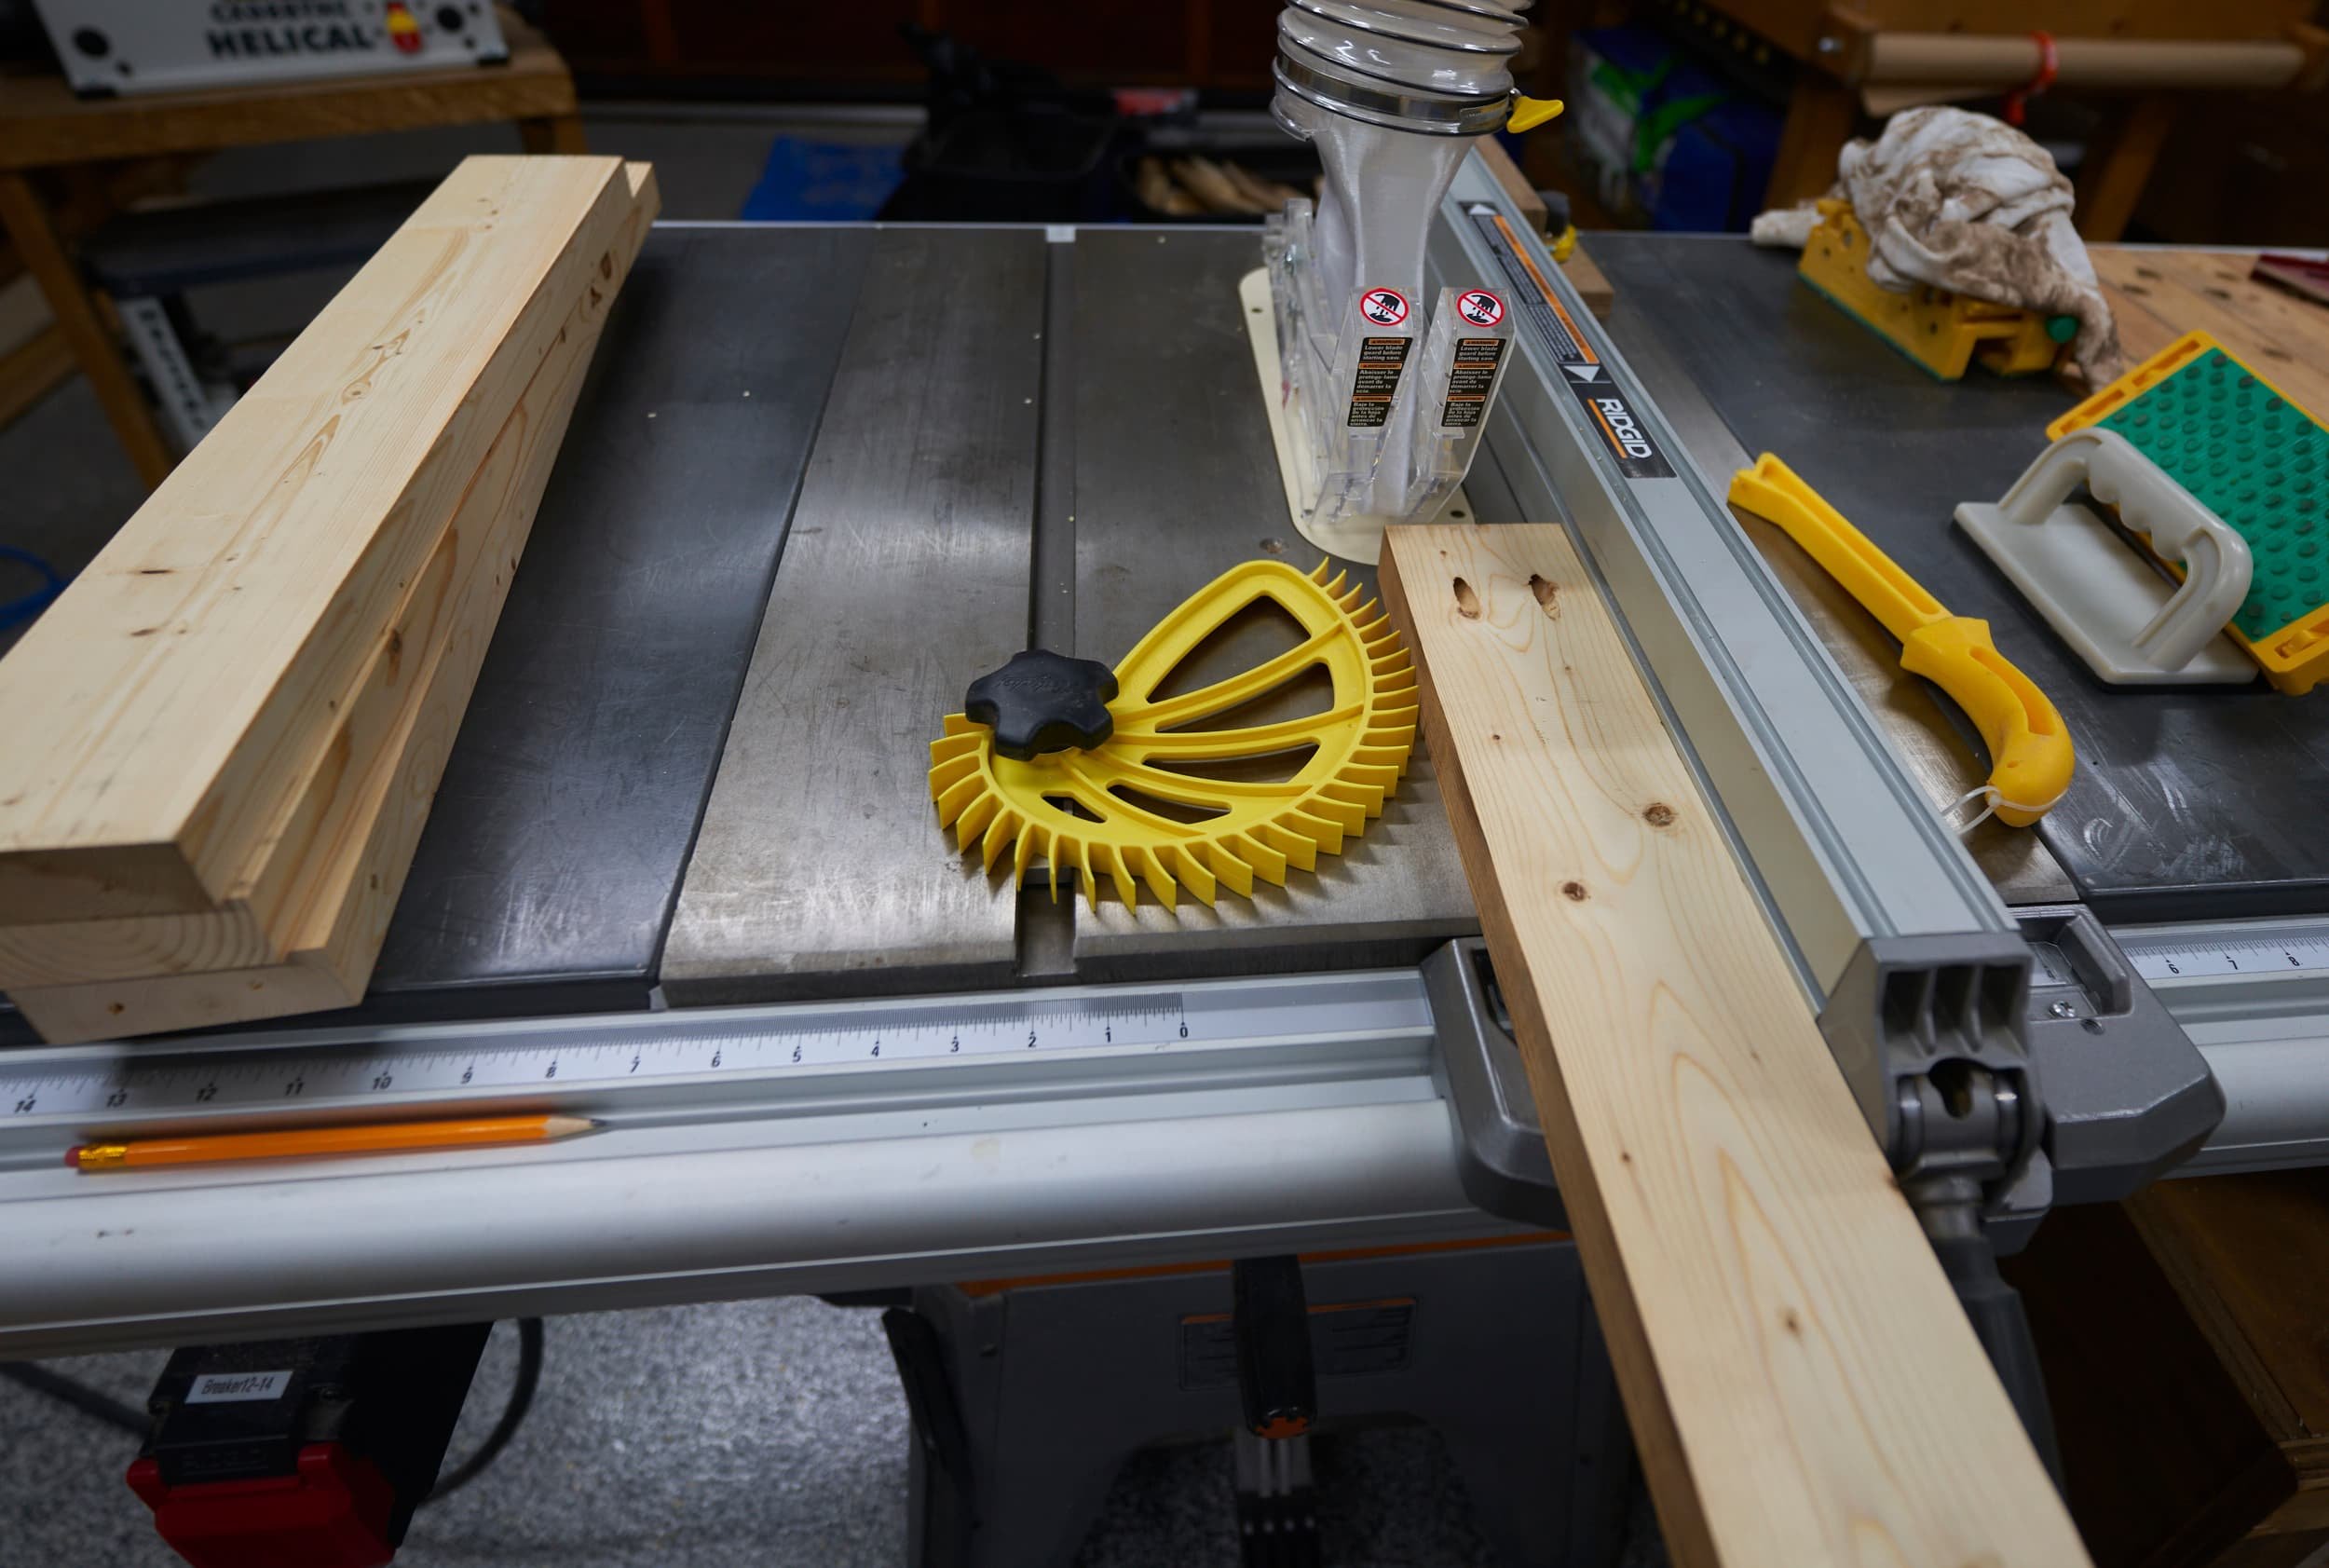
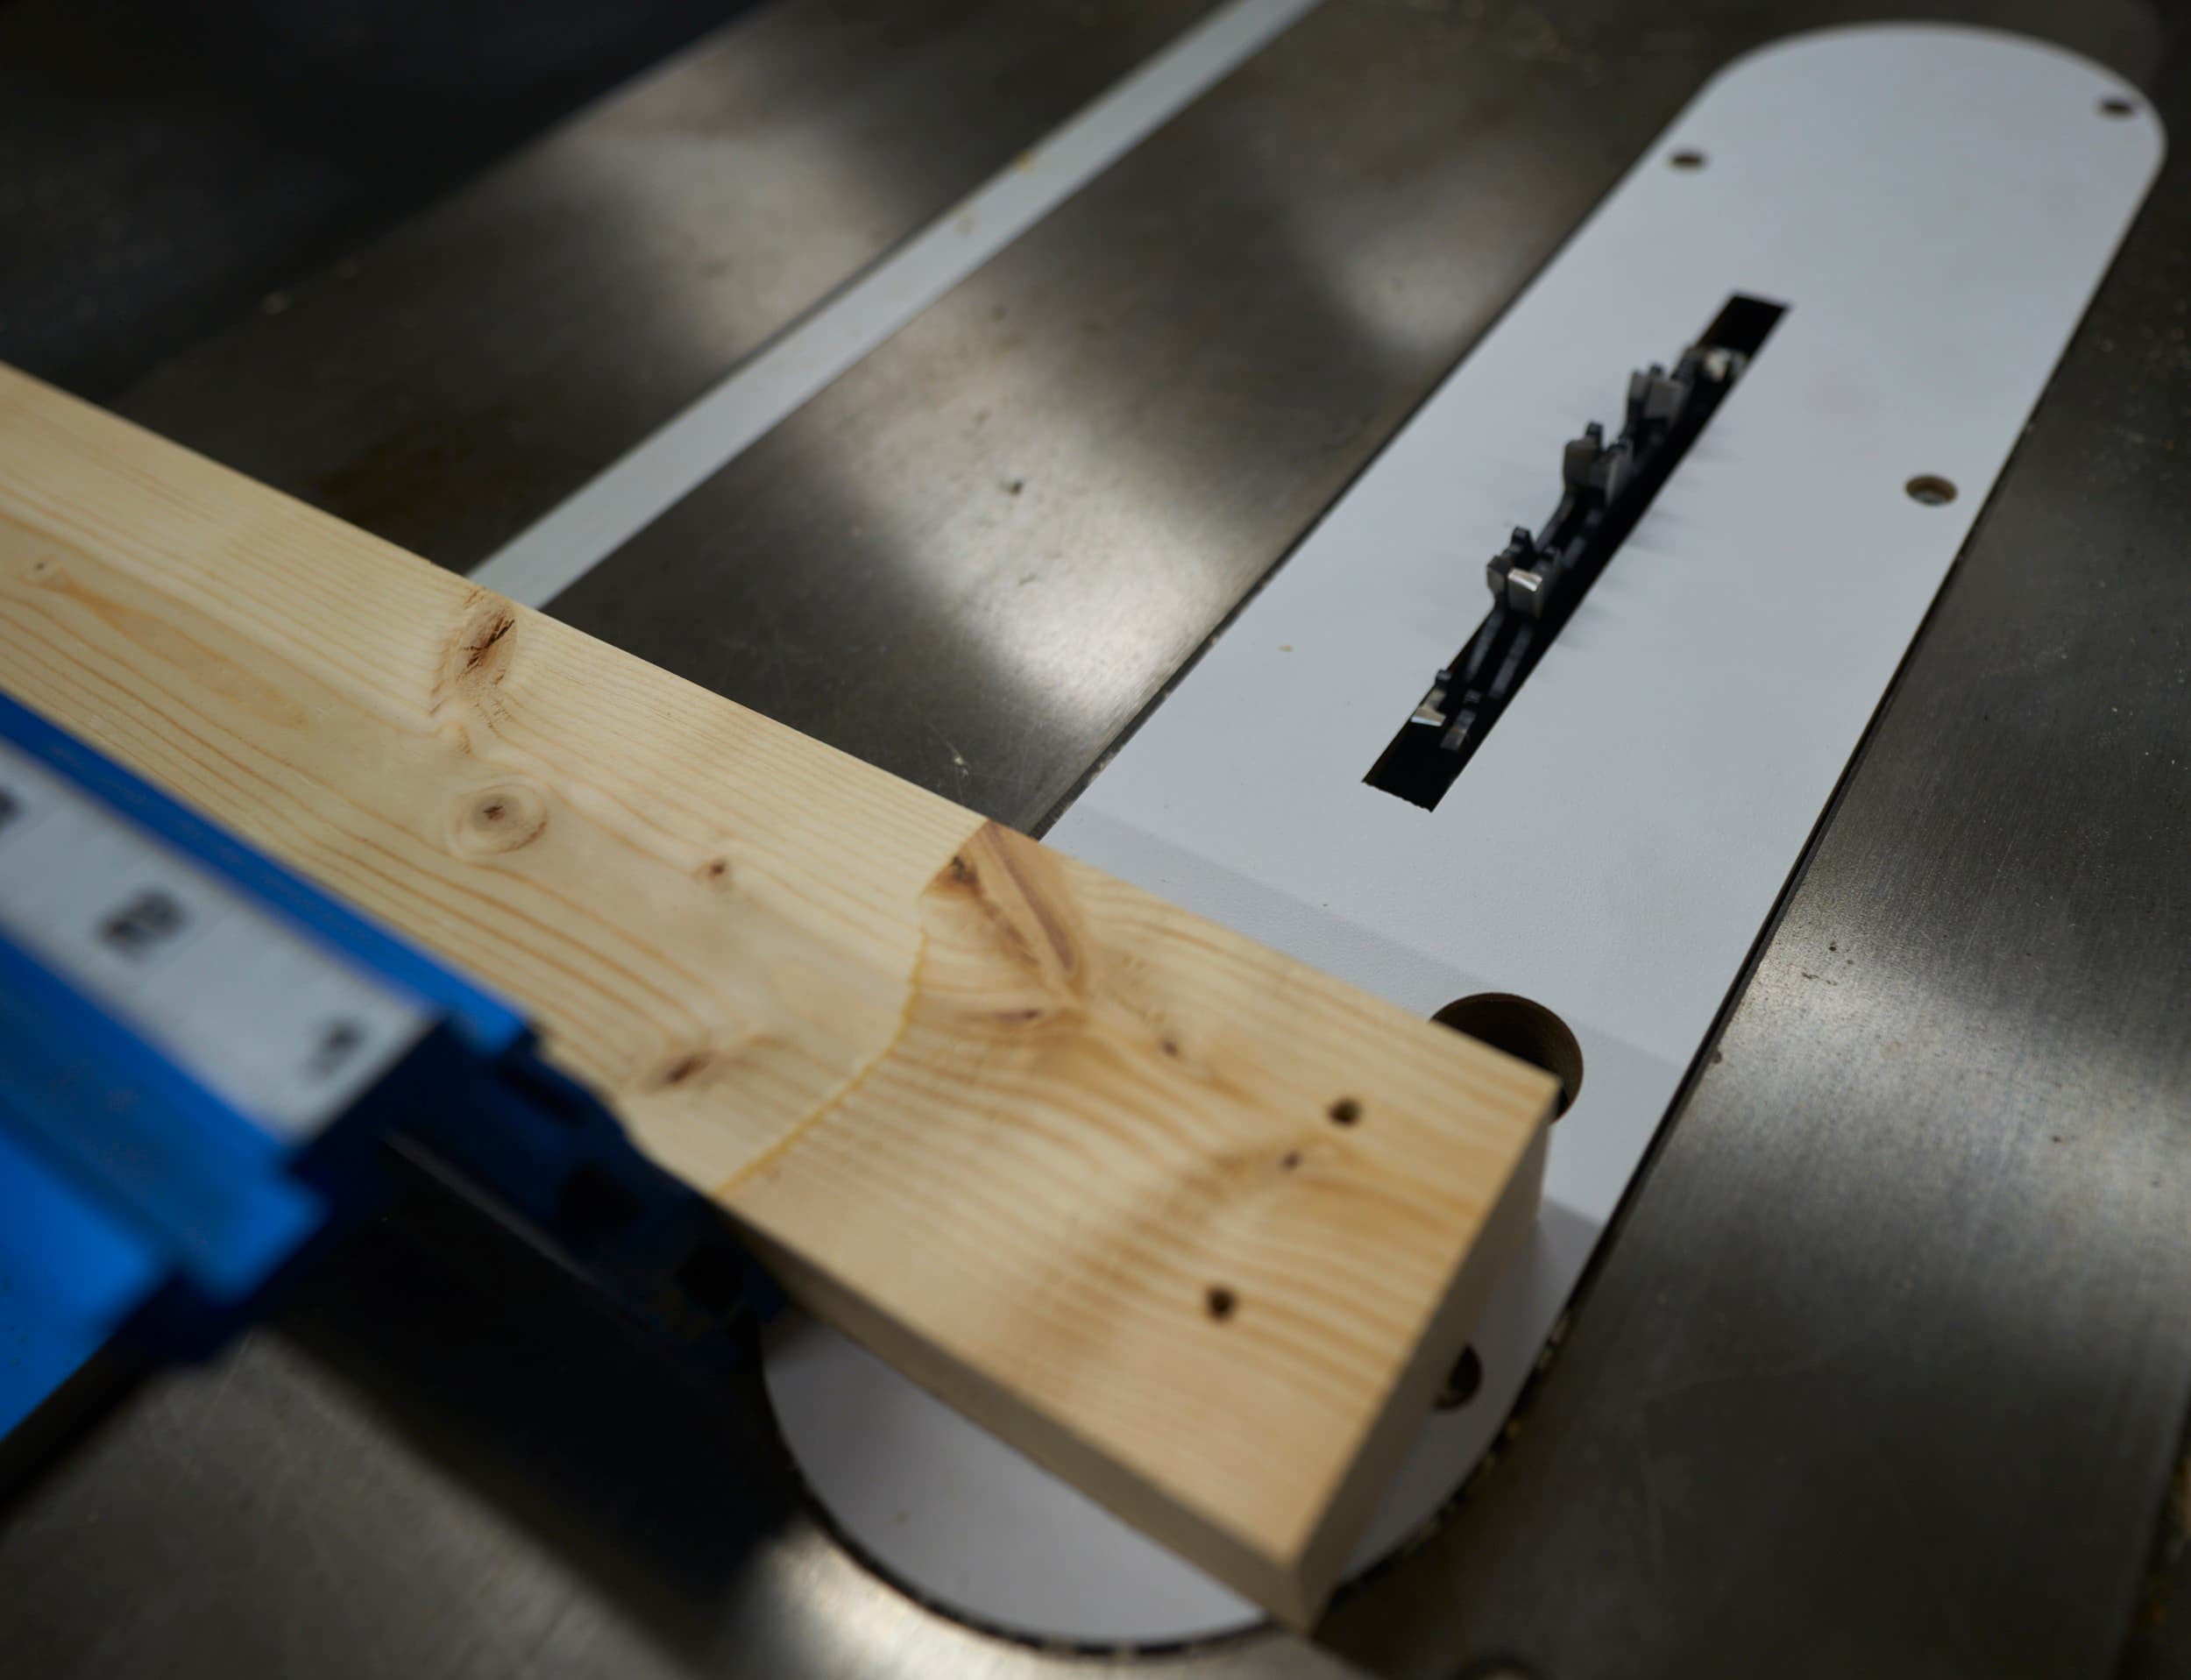
For brevity, I went with half lap joints which I using a dado stack. In hindsight, I probably could have taped a bunch of the pieces together and cut the half-laps all at once, but I didn’t think of that.
While I had the dado stack installed, I took the opportunity to hog out the bulk of the cuts on the 2x4s for my shelf-supports.


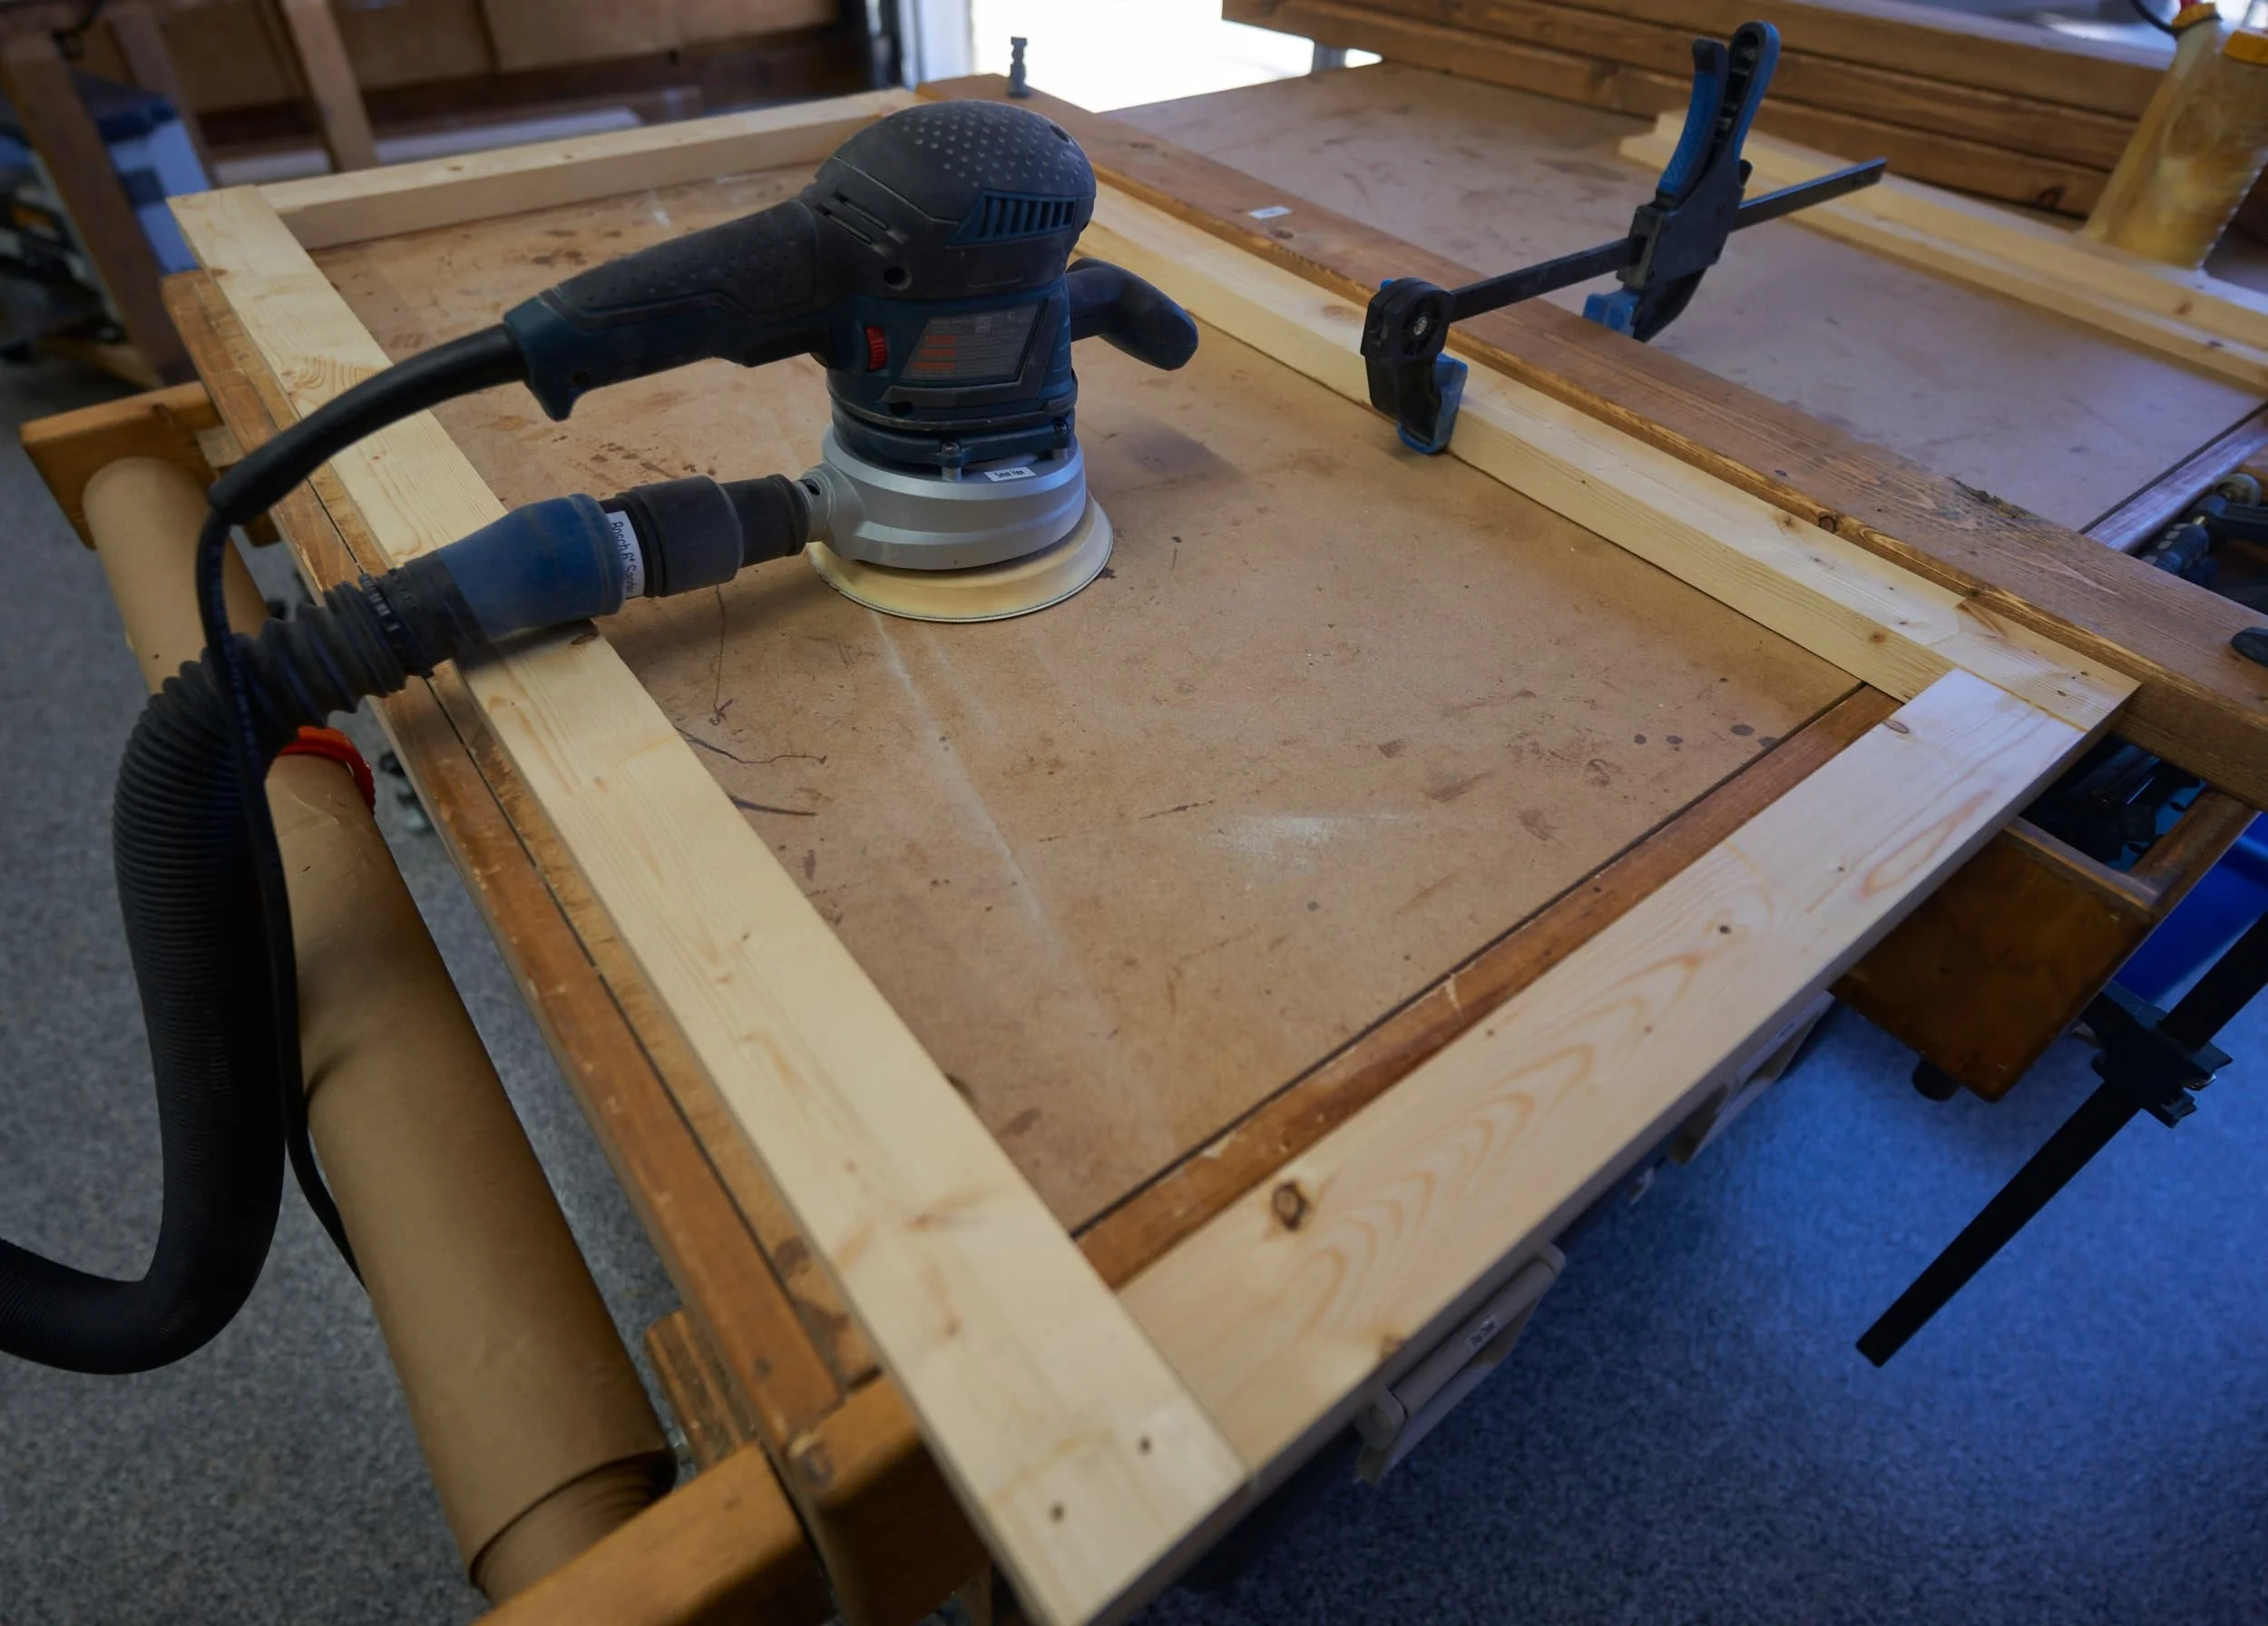
Step 3: Attaching the shelf-ledges
Now I can attach the shelf supports. I went with this route because I wanted a ~50” span inside the shelf and I had a specific piece of plywood (that was already 48” wide) to use. By recessing out the thickness of the plywood, I could drop the plywood in and the remaining shoulder on the 2x4 would give me the additional left-right span I was looking for.
This was why, for these pieces, I used 2x4 instead of 2x3 — the extra width of the 2x4 gives me plenty of room to have a ledge.


Why the need for 50” span?
I ordered some 48” lights and I didn’t know exactly how close to that tolerance the lights were going to be, especially with any plug connections. By the time I had started this project, the lights were delayed by a couple days (and I want to get a move on the project). By baking in a bit more breathing room, I knew I could finish building everything and be assured the lights would fit.
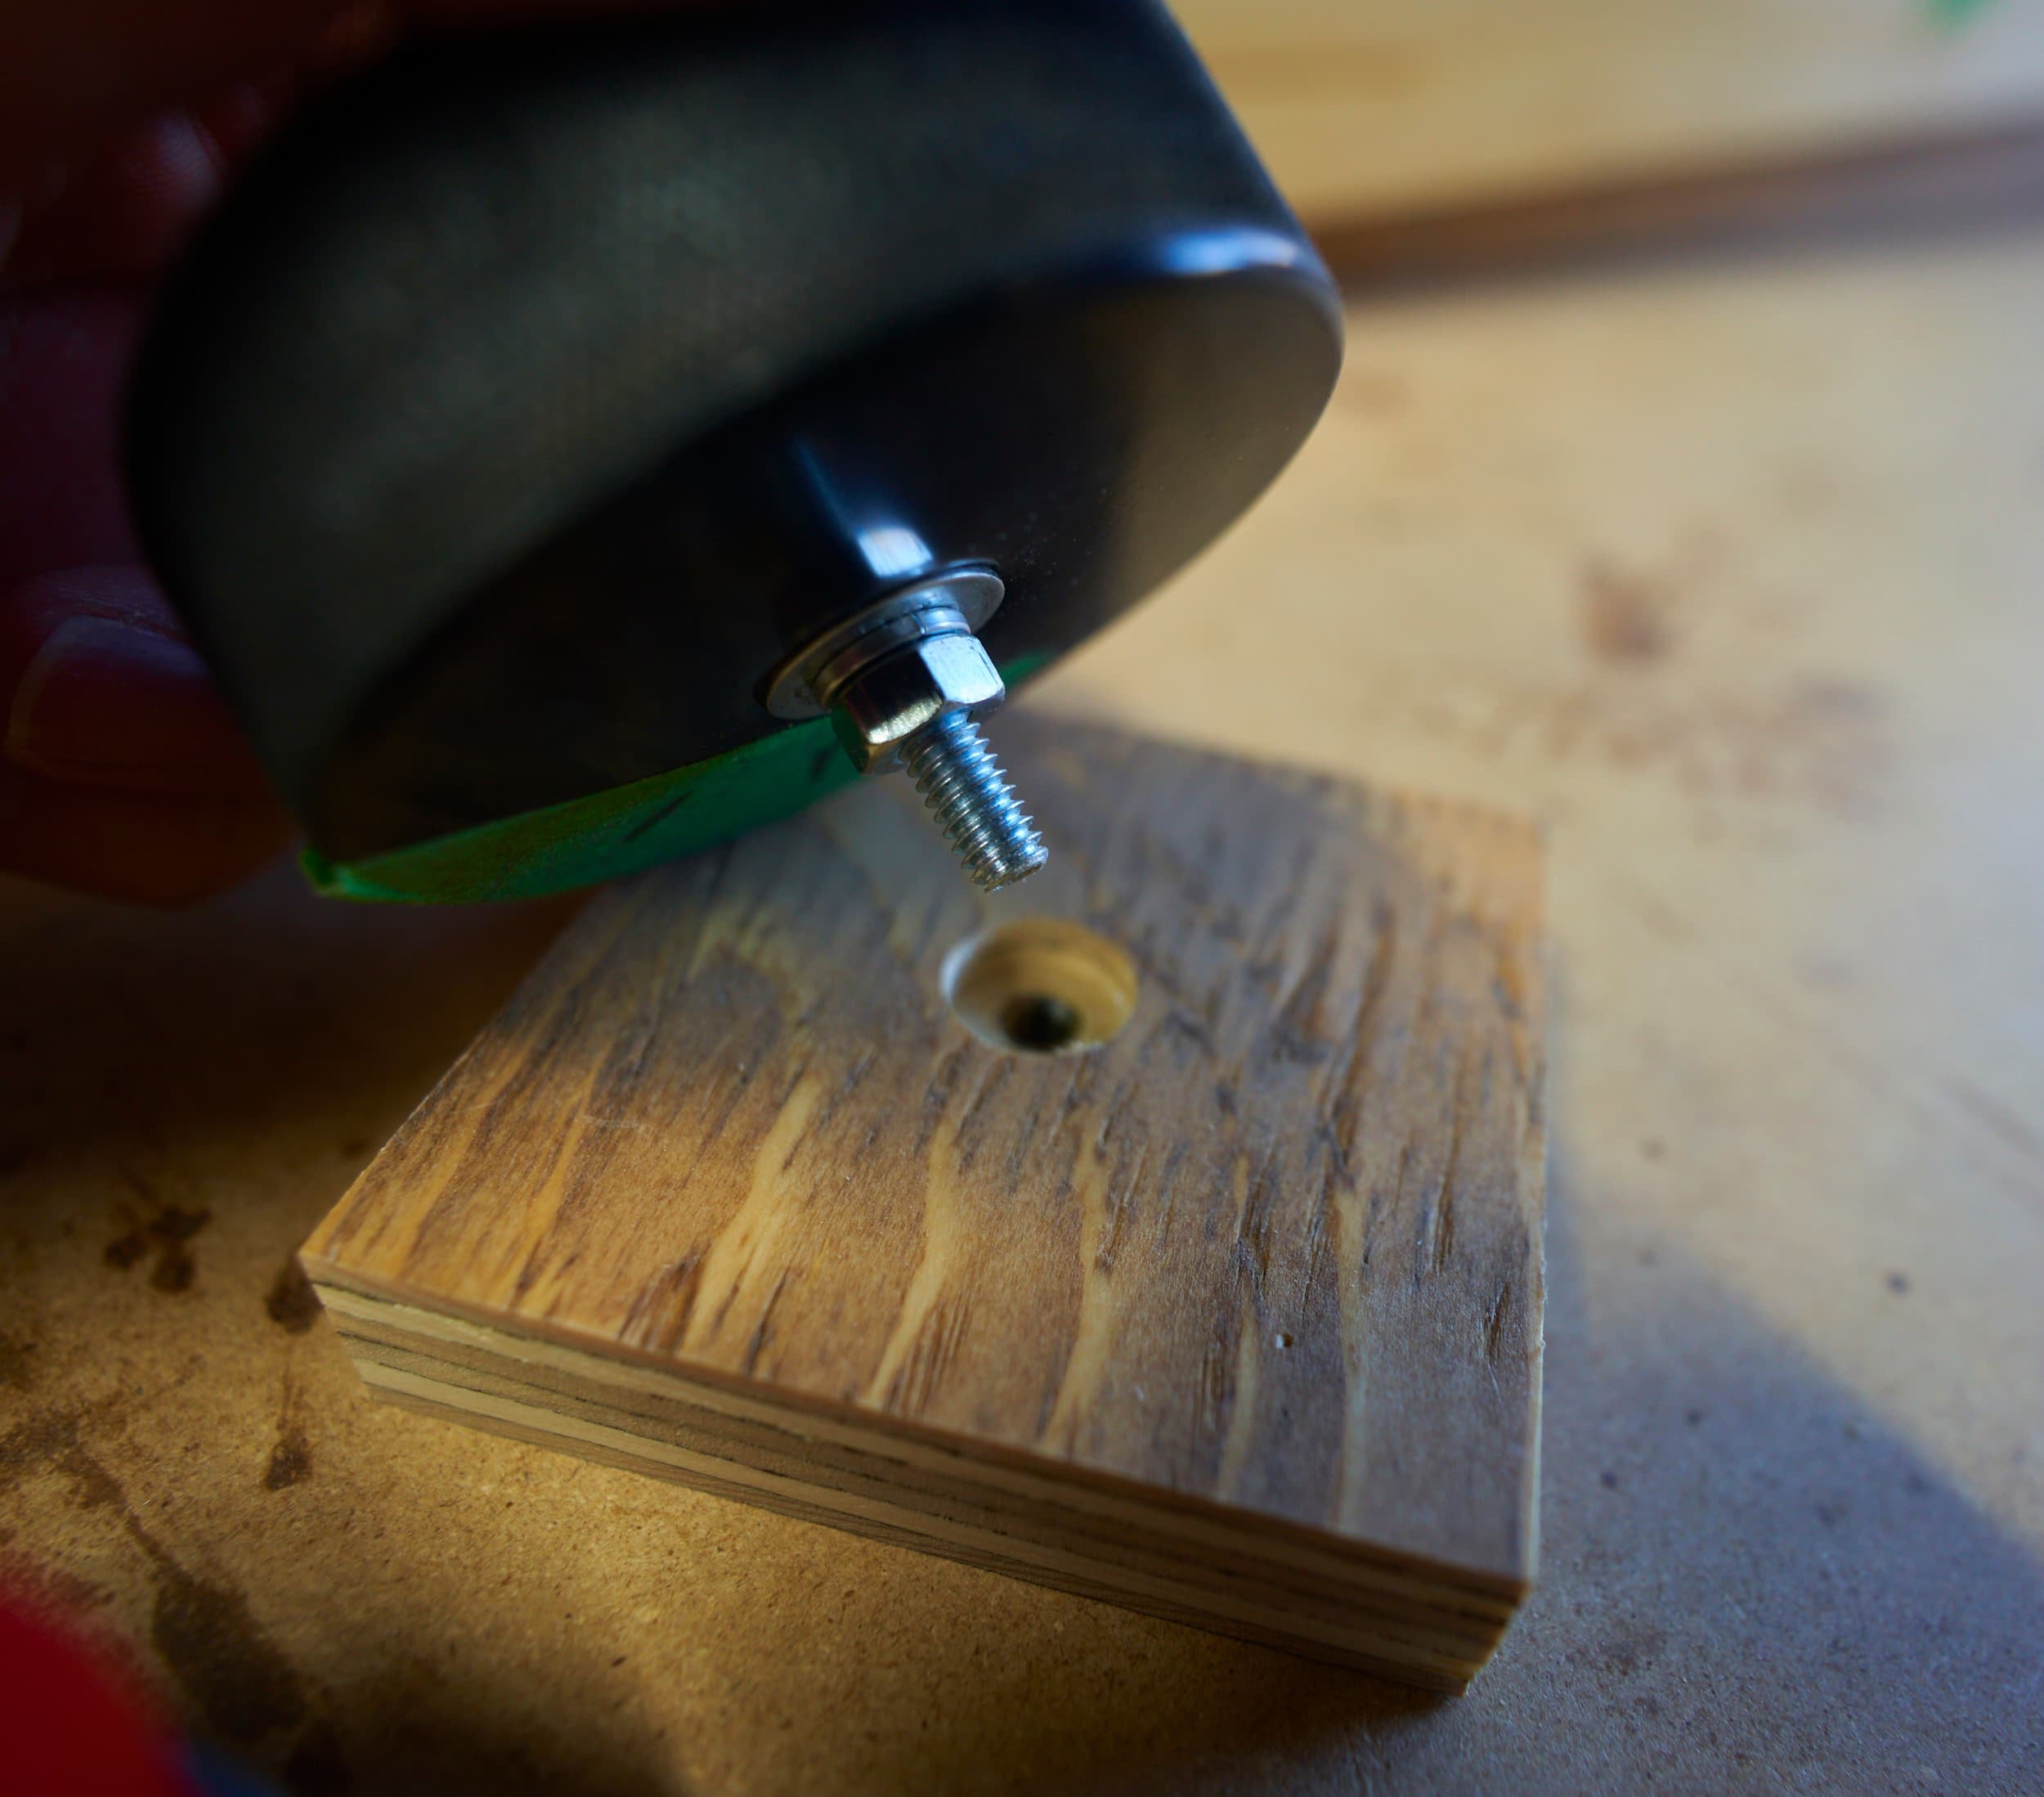
Step 4: Footpad
Because this shelf is being placed on a ‘desk’ of sorts, I wanted to use some rubber footpads to both minimize the chance of scuffing up the desk and reduce the chances of ‘unexpected movement’. I made this shelf with very minimal clearance underneath the bottom shelf (because I only intend to place a boot tray there), so I had to add some counterboring to the footpad so the hockey puck foot could recess further into it.


Step 5: Initial assembly
Now that the left/right assemblies are complete, I connected them in the middle using a couple sheets of plywood. I was going for roughly 50-inch span in between, so with plywood at 48-inches, I you can see the shoulders on the shelf-supports giving me the extra span. I opted to permanently affix the shelves in place to keep the shelf stiffer.


Step 6: Lights
The lights were finally delivered so I could get around to getting them installed. It’s a good thing that I designed this with ~50” width between — because the plug for the lights needs room to be inserted as well.


I had originally planned on having a skeleton/ladder for the top — just enough material to mount the lights, I changed my mind here to fully enclose it. This would make the whole shelf stiffer but more also, I cut this piece to full-width so I wouldn’t have to add an (unsightly and non-relevant) shelf support. To keep things simple (and since the upper shelf has less vertical space to work with as well), I flush mounted the upper lights.


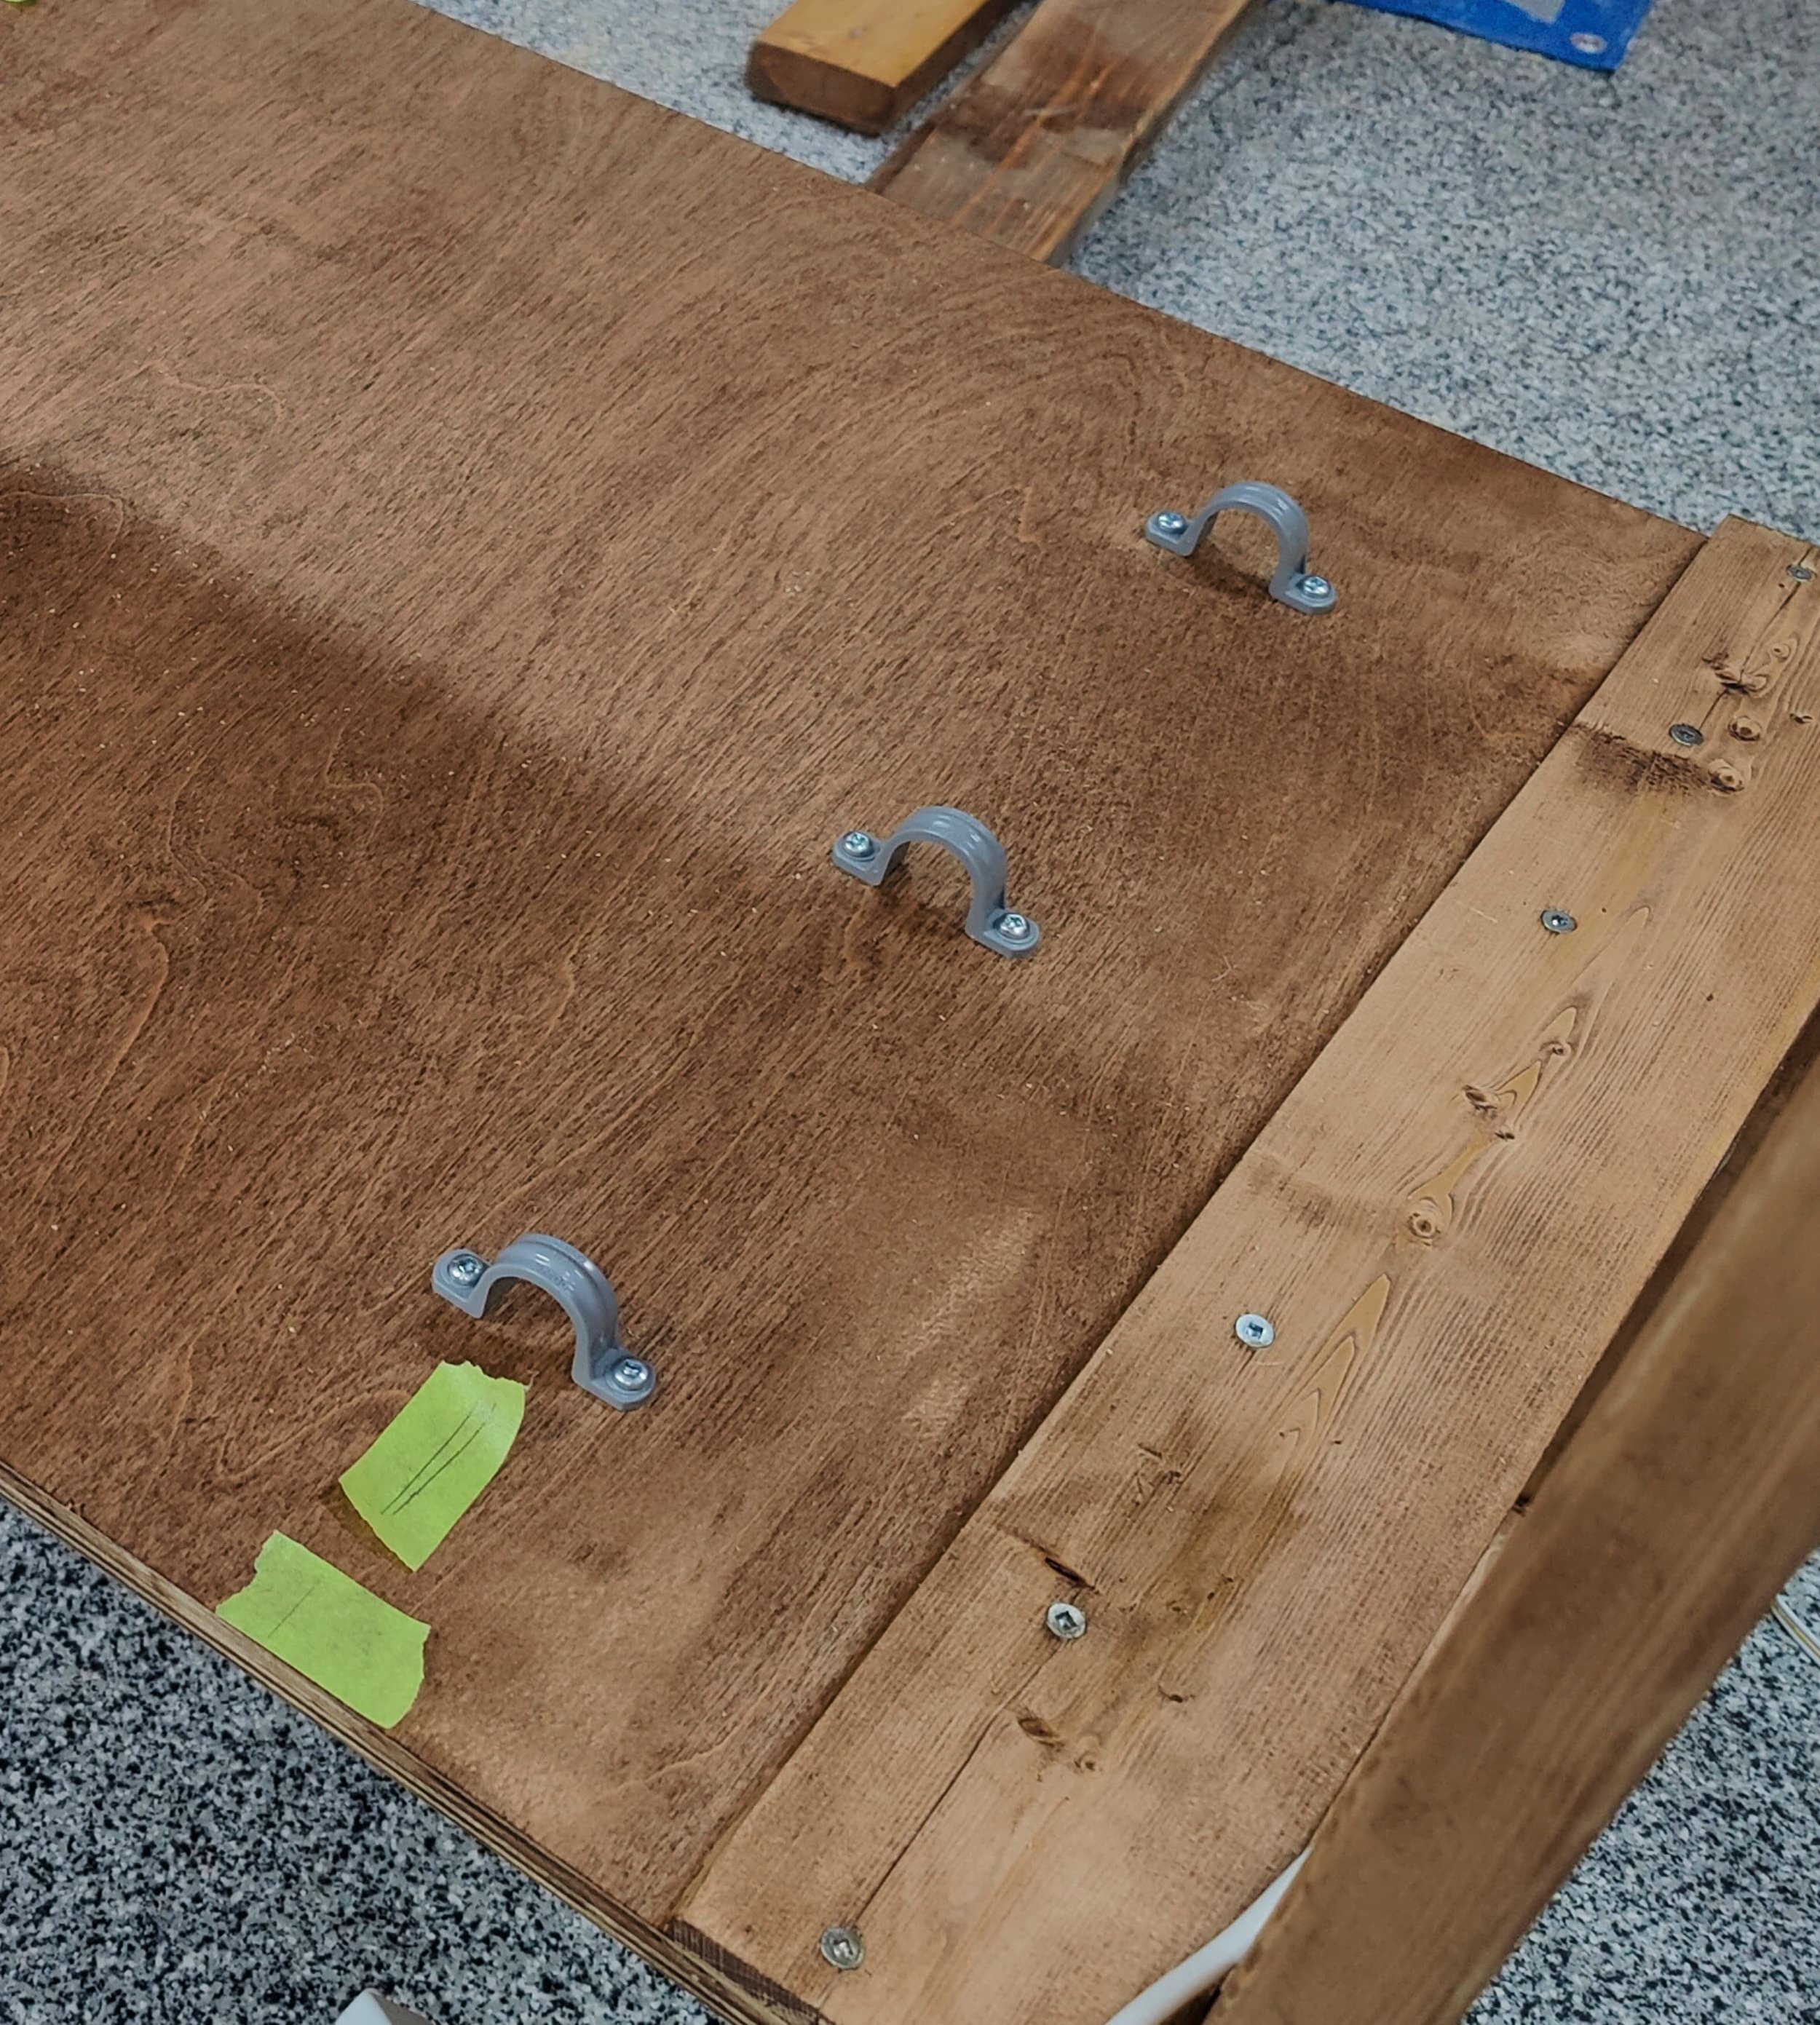
Step 7: Covering the sides
On a suggestion from a friend (and because I readily had the materials handy), I opted to cover the sides and back with mylar, to reflect both the lights and any heat into the grow space.
The side coverings are individual sheets of 1/4” hardboard. The back, being wider, is just three sheets of 1/4” hardboard just leaned against the shelf — I ran a small strip of packing tape at the top to just gently hold it in place. The last, smaller strip, I had to cut a cord passthrough to run cords in and out of the grow station. I left this piece untapped at the top in case I needed to more readily remove it.


Milestone
So I got some seeds planted into Grow Station and I noticed that the humidity collecting on the domes tends to drip a bit. I popped all of the plants out and hit the two shelves with four coats of exterior polyurethane, just to help it a bit in case water does come into contact. I also used large silicone mats to minimize the chances of this happening. The silicone mats also isolate the heat from the heated mats away from the wood (not that I expect the small amount of heat to do any damage, but it’s a side benefit).
Grow Station, done for now


(Gardening) stuff I used
Barrina Grow Light (6x42W) with a couple of generic smart plugs — the lights are configured to automatically turn on and off
Heated mat (10x20.75) and Inkbird Thermostat Controller. I Googled the germination temperature for the various seeds I was working with and after looking at all of the different temperature bands, settled on getting a ‘low’ and ‘high’ heat zone for 70F and 85F. The controller has a neat app-interface which is a nice bonus (but you can get the base functionality with the physical buttons on the controller)
Gardening trays
Bootstrap Farmer 5” Pot and Mondi Square Saucer (2L) — for now, my plan is to use these as ‘final pots’ for smaller herbs etc.
Bootstrap Farmer 6-cell plug tray insert — using these to get seeds started
Mylar thermal blankets (I only used one blanket to enclose the box)
HWASHIN 10.5” self-watering planters — the plan is also to use these as ‘final pots’ for smaller plants that I’ll keep indoors fulltime
A couple points
I was originally going to get some cheap Jiffy trays — the ubiquitous type you find at all garden home centers. Compared to the cheap Jiffy tray ($4 for me), I paid just a little over twice that ($9) for the Bootstrap Farmer ones but my initial impression is that, for my uses, these should last me effectively forever.
When I got the 5” pots, I was strongly debating the 2.5” pots (my decision was ultimately easy — they were sold out). I think down the road, I still might get some 2.5” pots but it’s not a priority for me at the moment since I have the self-watering planters
Product links may be affiliate links: MinMaxGeek may earn a commission on any purchases made via said links without any additional cost to you.