

Build Log: Entertainment Hutch
This is our first time being in a place that might justify having a second TV (not just for the sake of having a second TV) and because we’ve only ever really been in places where one TV made sense, we didn’t have much by way of furniture, accessories or organization for the second TV. Being the secondary setup, it was it’s mostly just me piling crap haphazardly in the general direction of the TV - my wife’s been pretty patient about this being a total mess! Since this is a secondary setup and intended to be a quick in-between-projects build, I didn’t want to make it too fancy or expensive.
Quick Links
Goals and Objectives
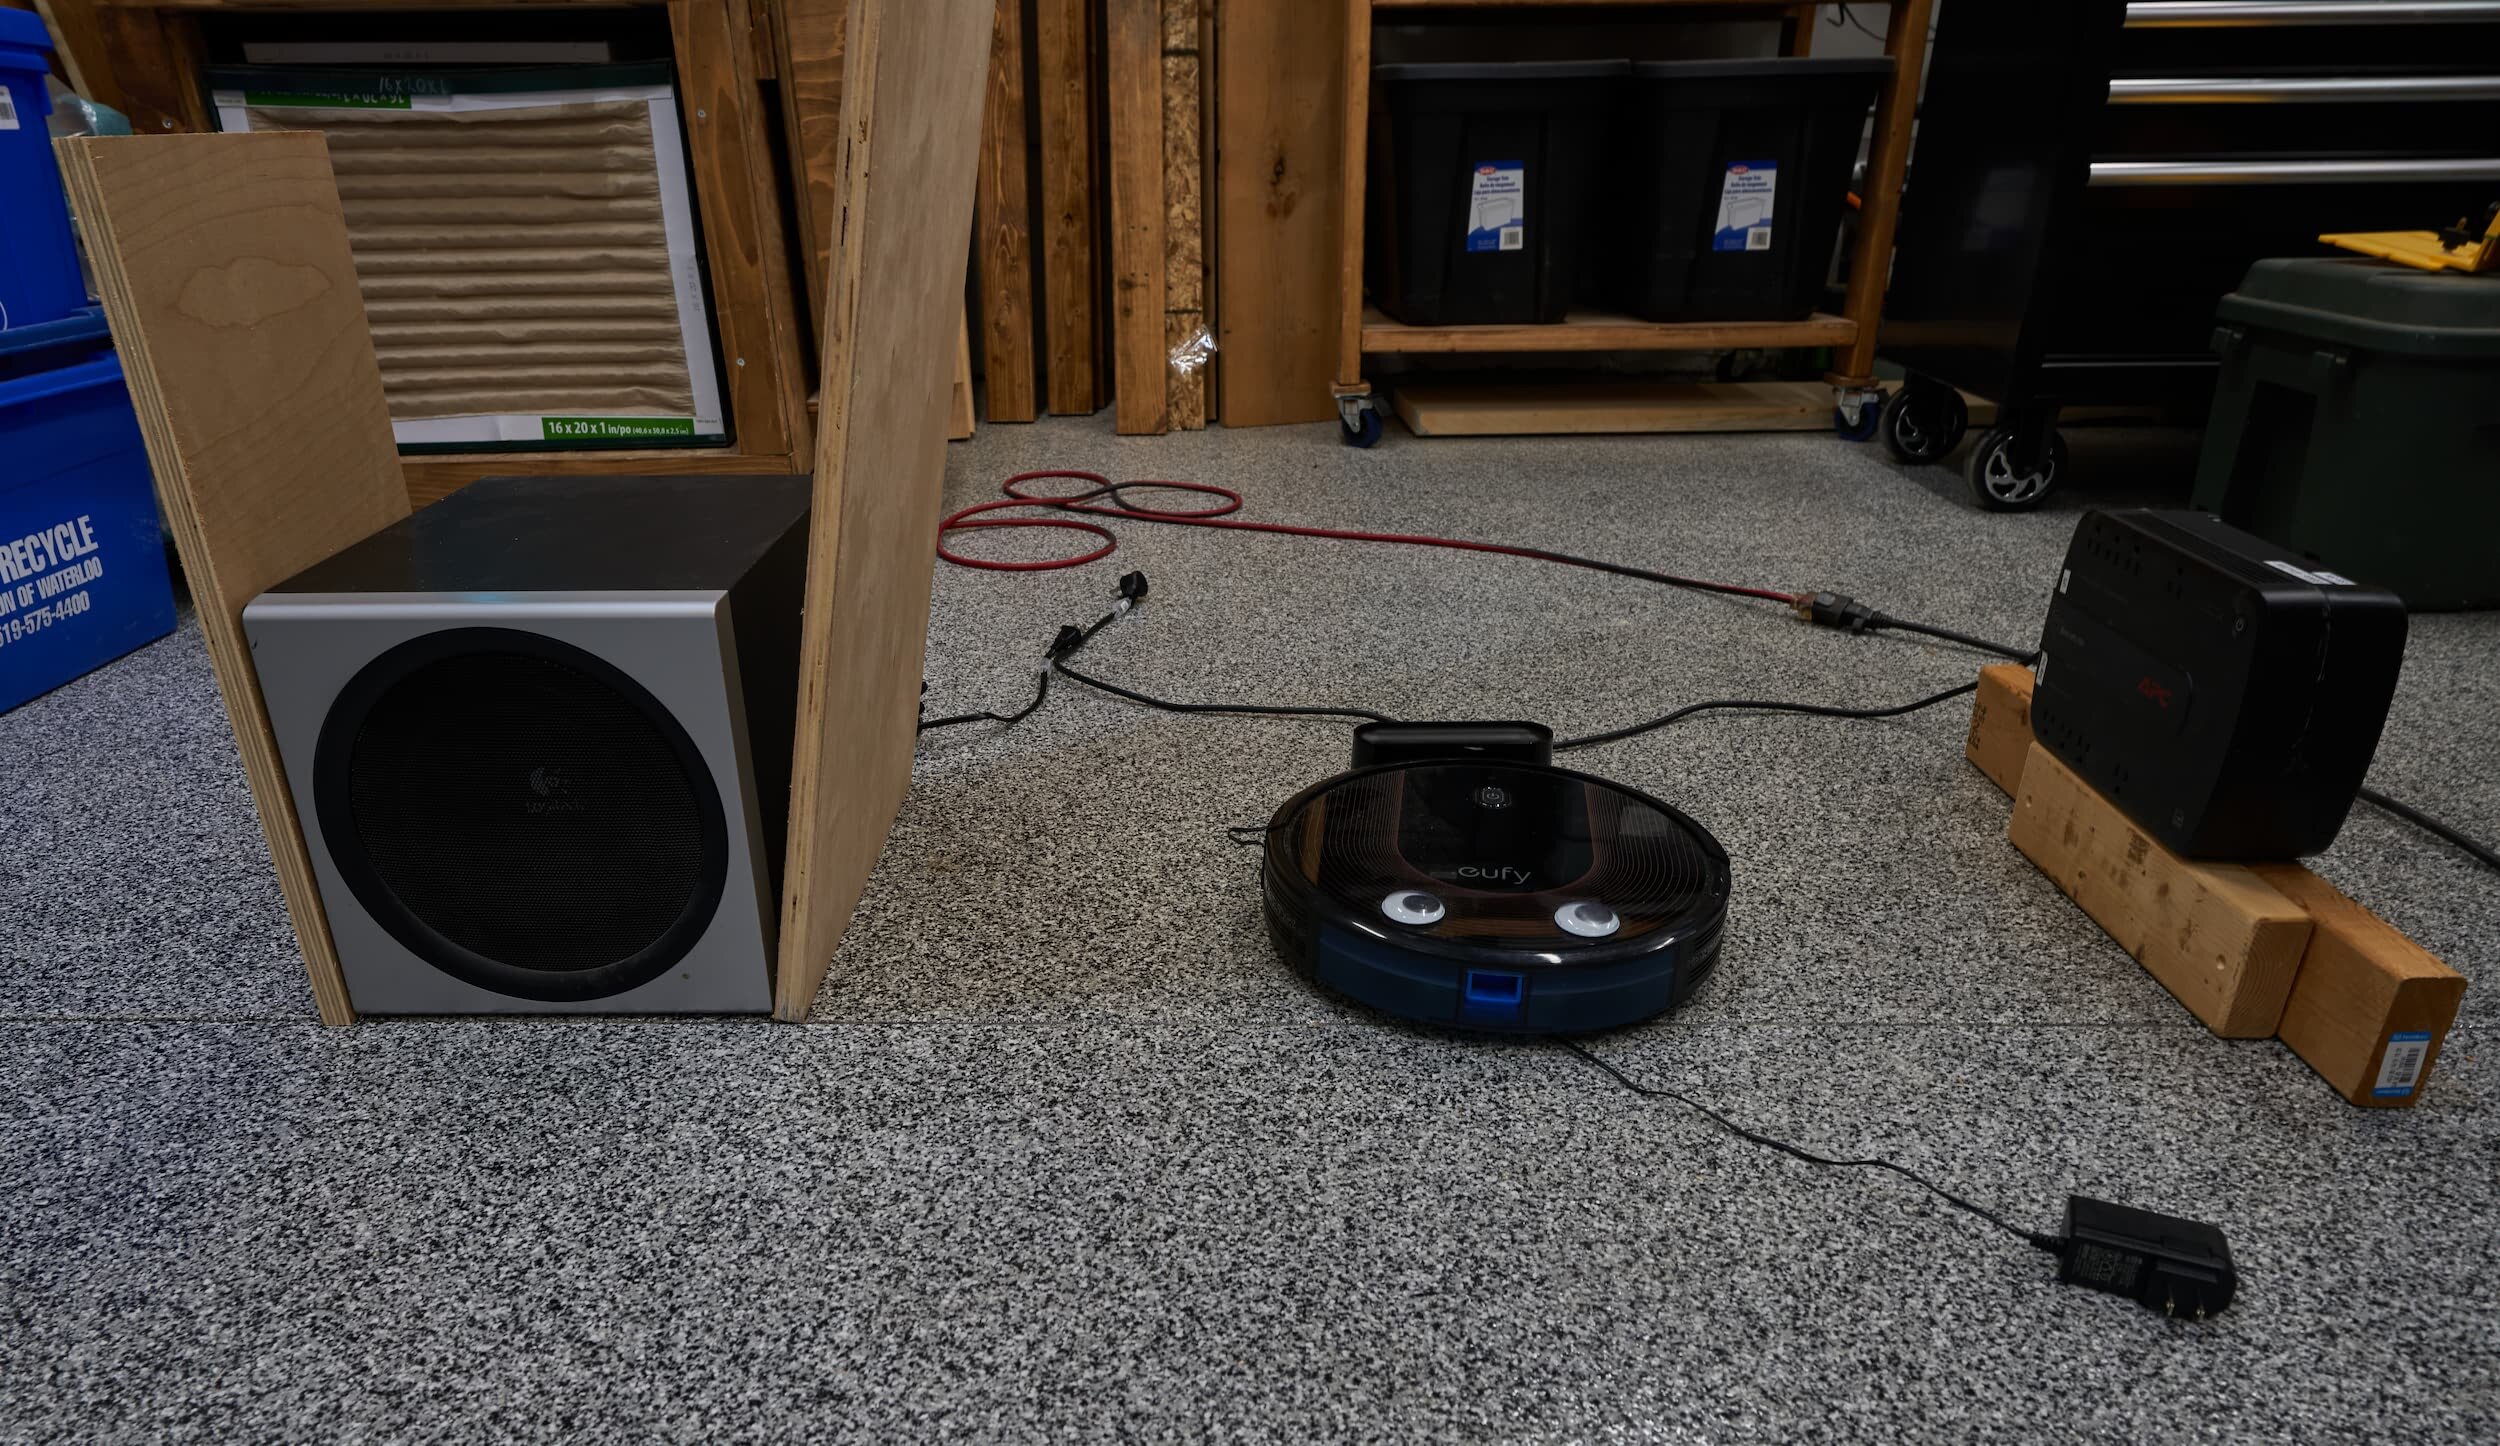
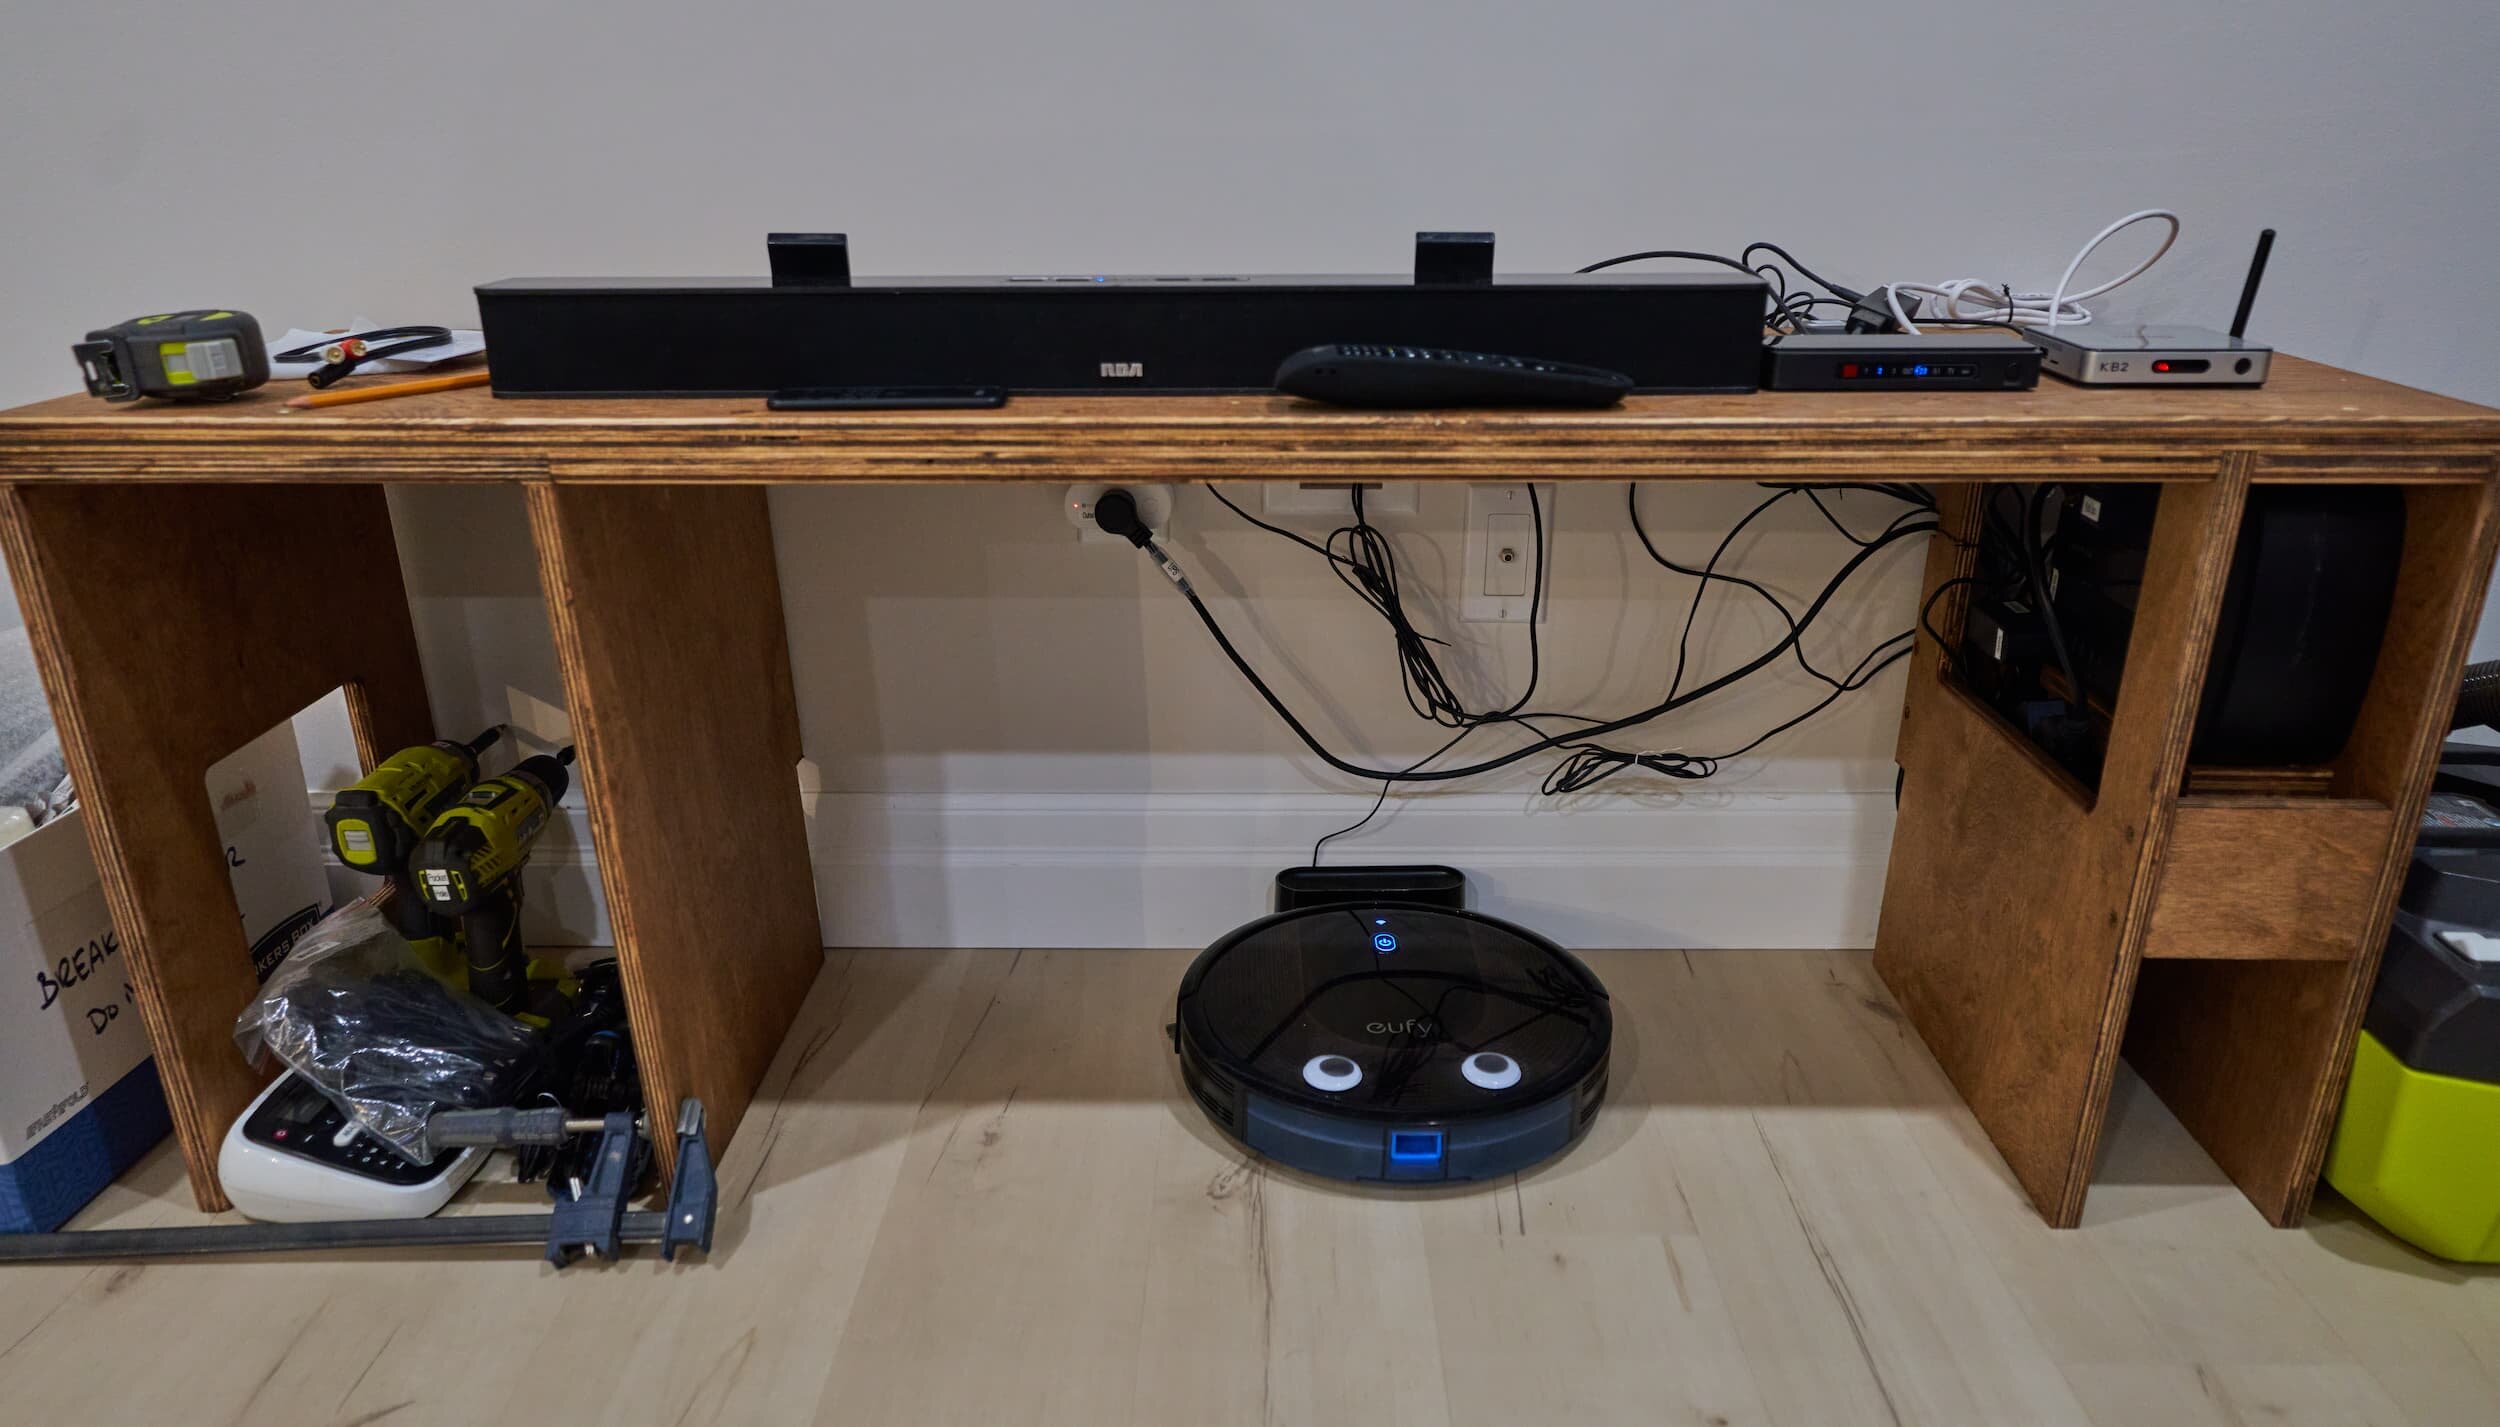
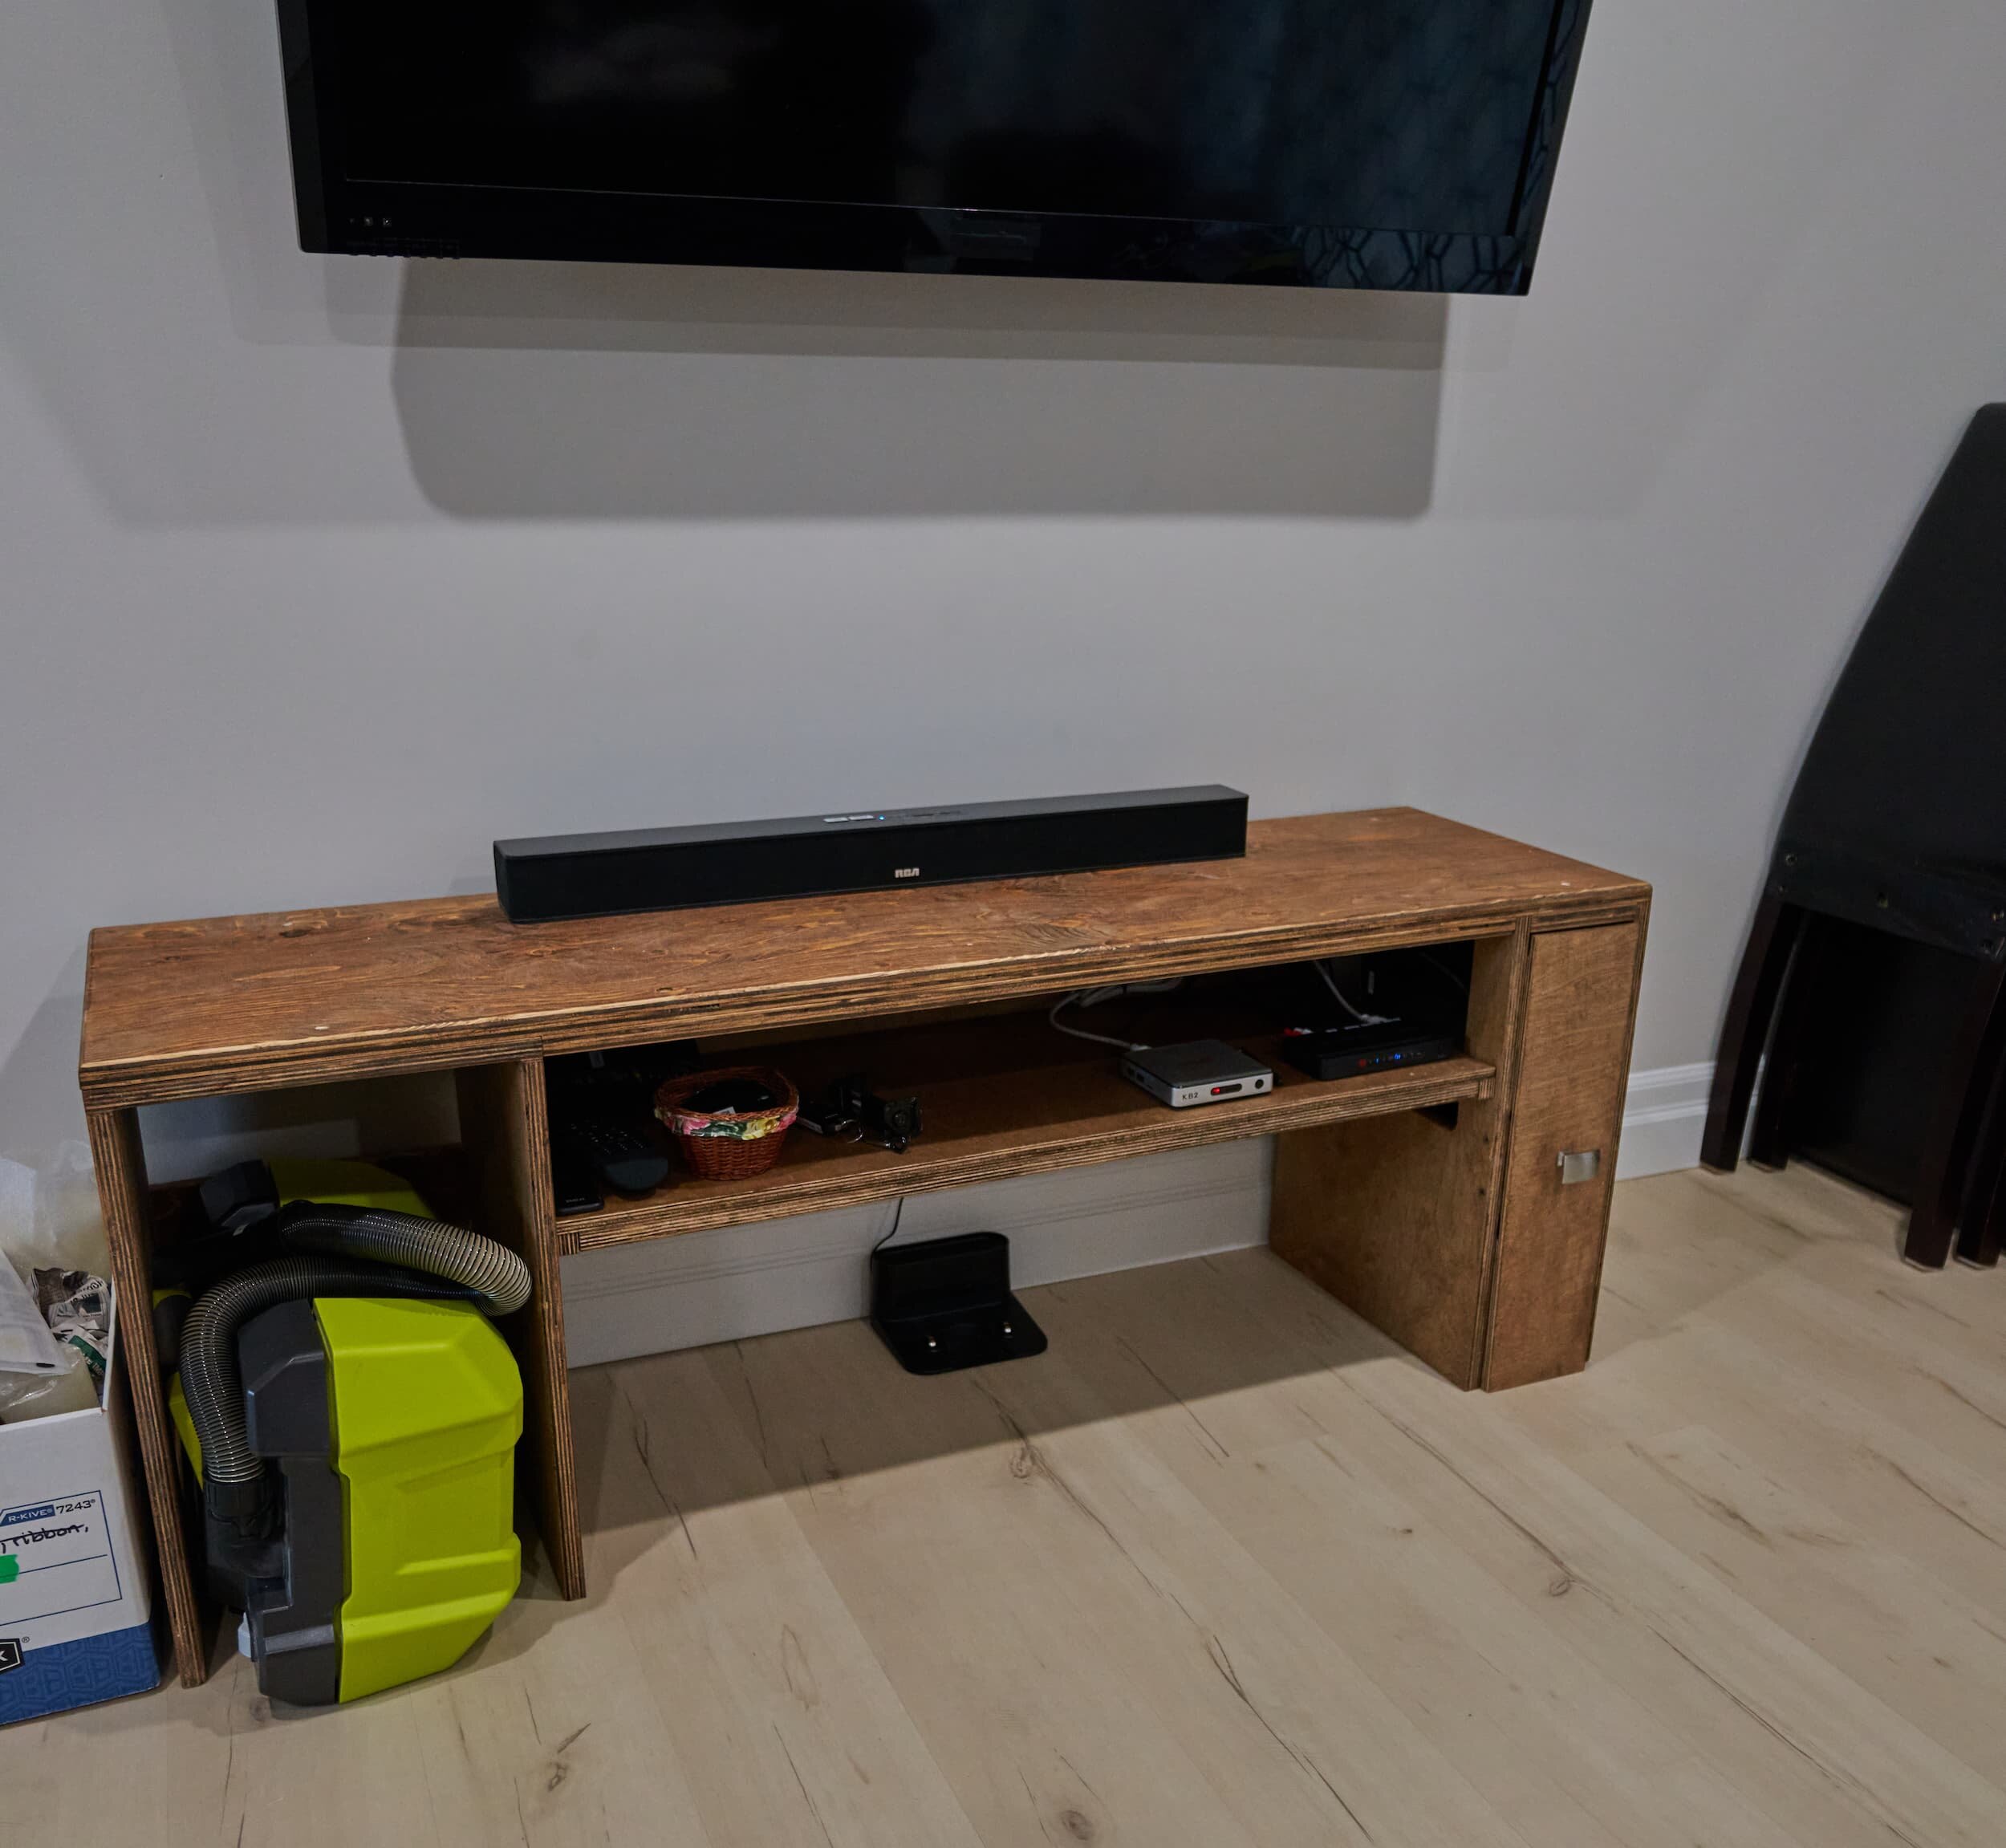
This entertainment hutch is intended to be a quick project that let me use up some material I had lying around and to make a home for a bunch of crap in our living room. In particular, I wanted to have a somewhat dedicated space for our robo-vac to park so we’re not tripping over the base station all the time. In our space, we happen to have a cable passthrough already installed in the wall for a TV so I wanted to leverage that to keep things as tidy as I could. I also wanted to have a cubby for my subwoofer on one side, a UPS on the other and to try and keep the cables manageable — all without buying a receiver.
Step 1 - Left Cubby
The left cubby was the easy one: I had already built a similar enclosure when making my second wall-desk. In fact, a long time ago, I had stumbled upon the very same set of speakers at a pawn shop for $60 so I had an extra set kicking around. Well, I had this second set at work, but we all know what happened to going into the office. Having the same set at home made it easy to mock out and size the cubby in person.
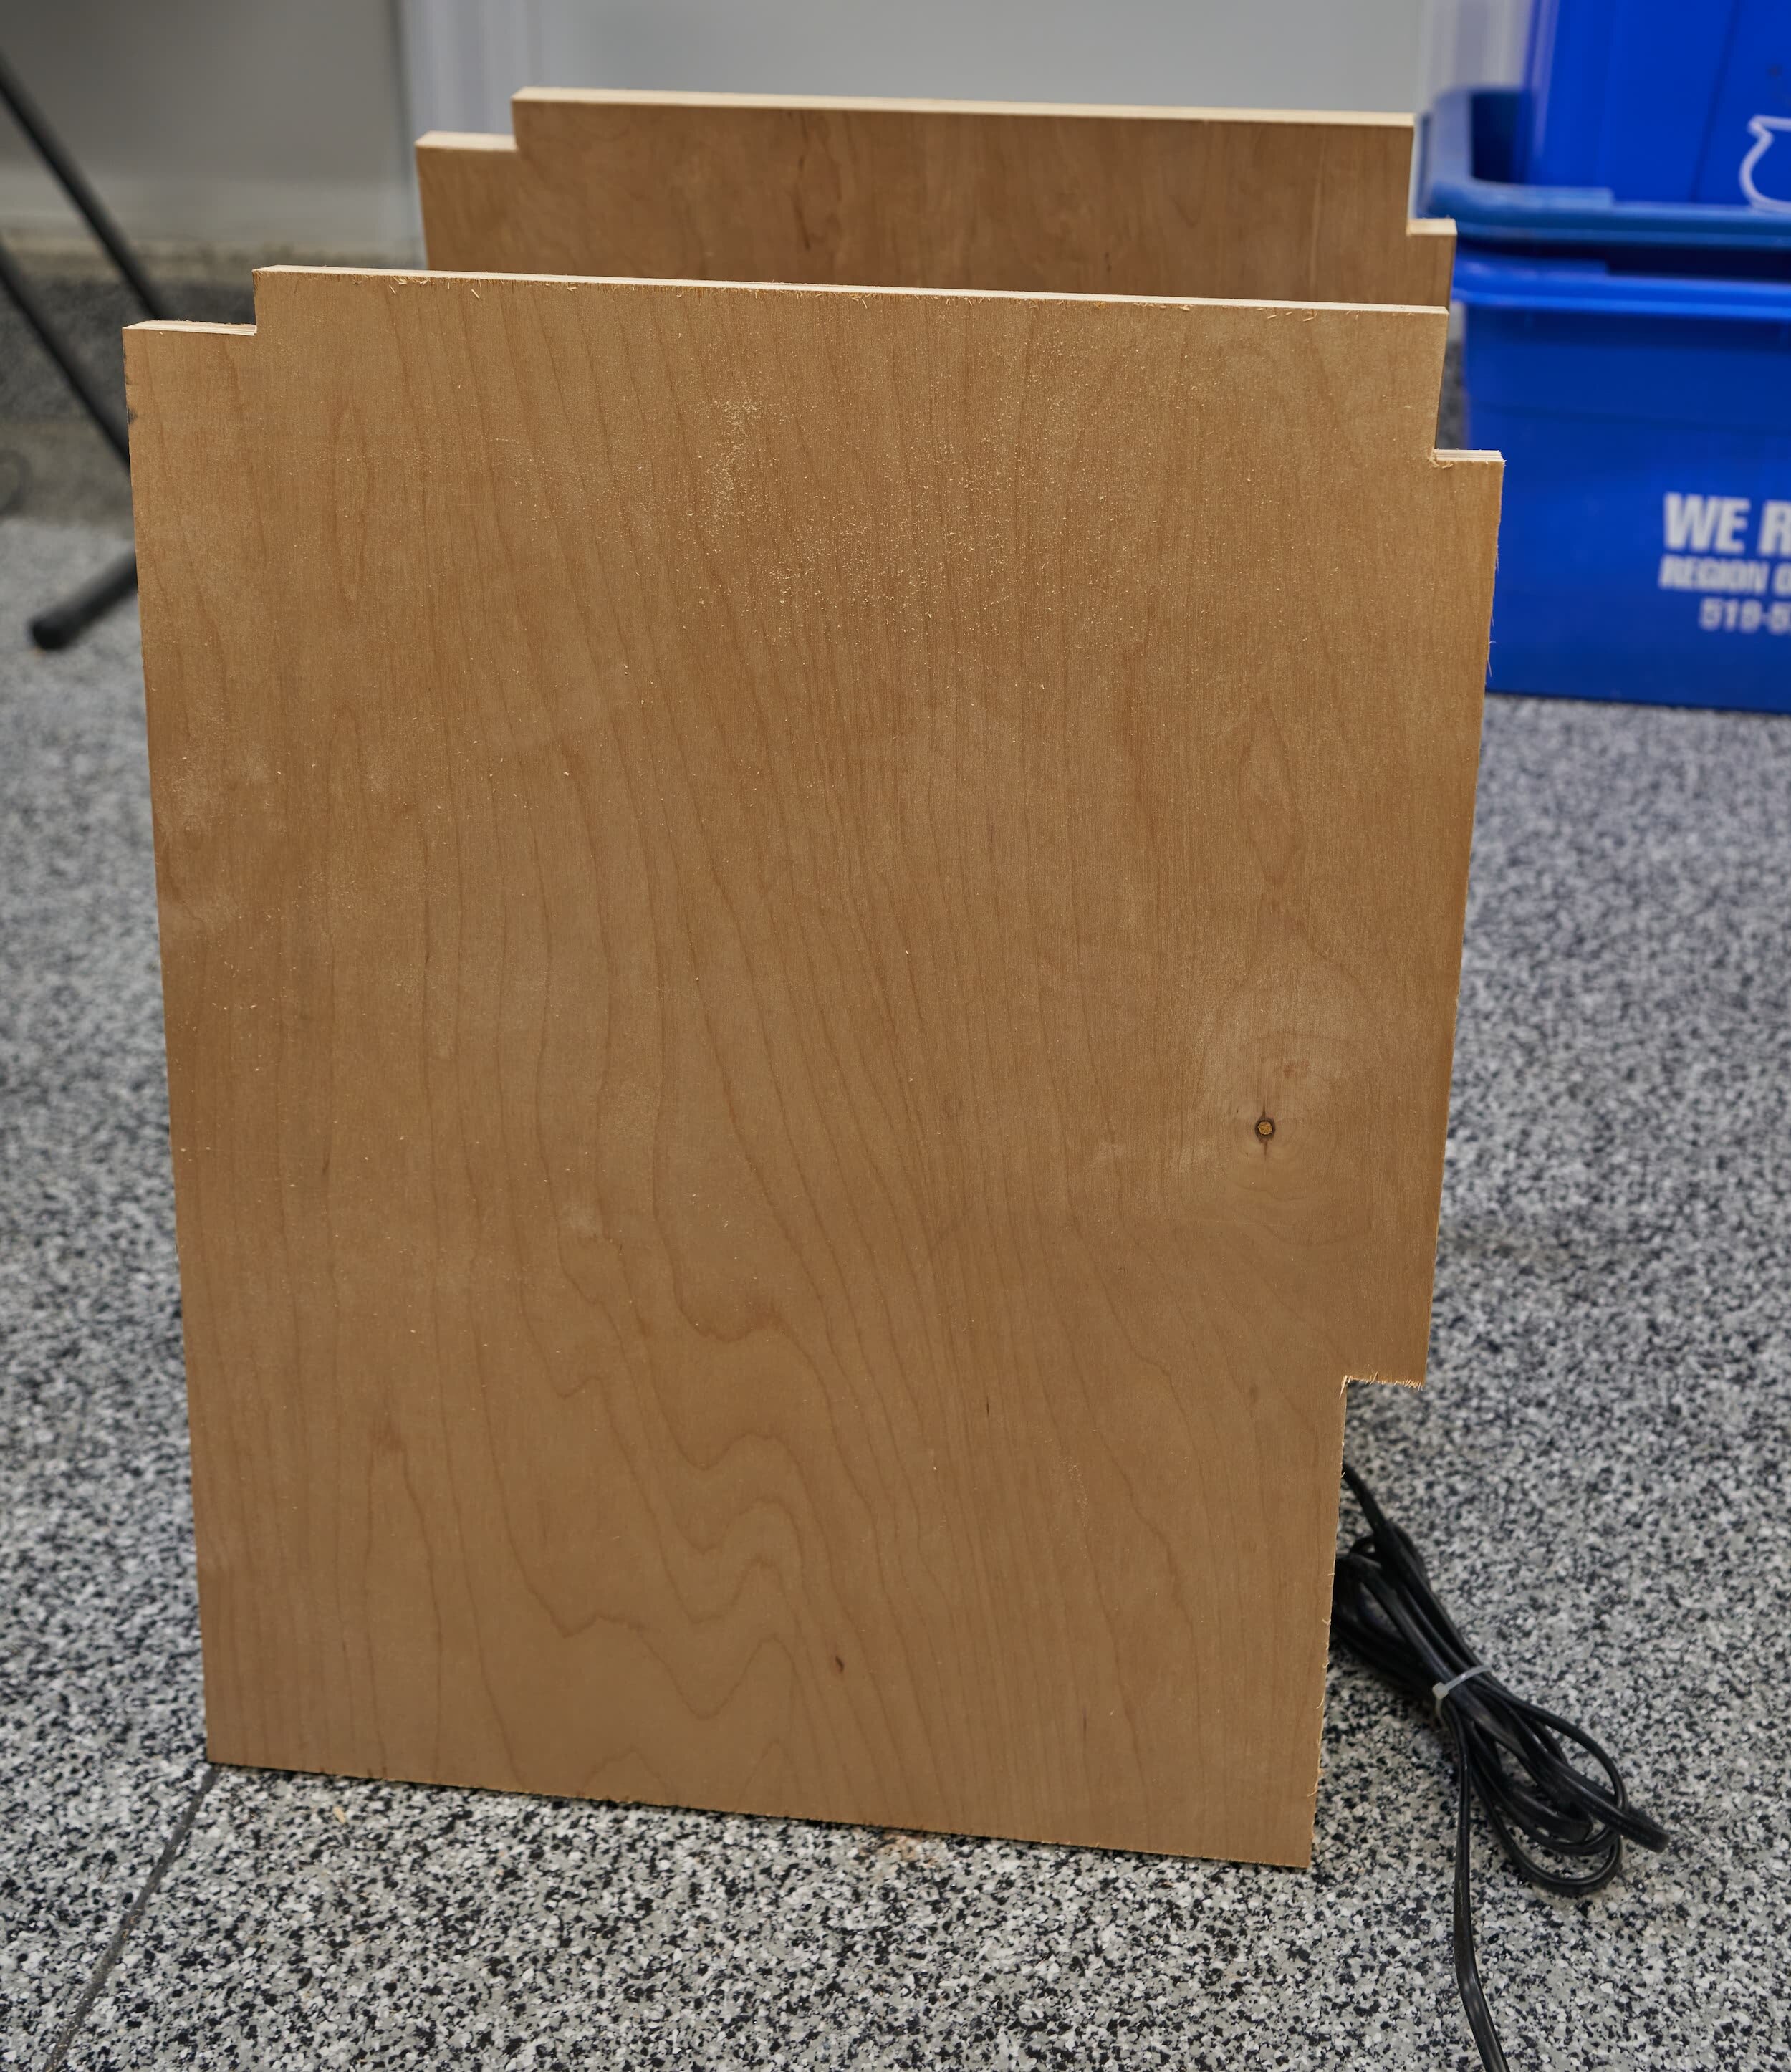
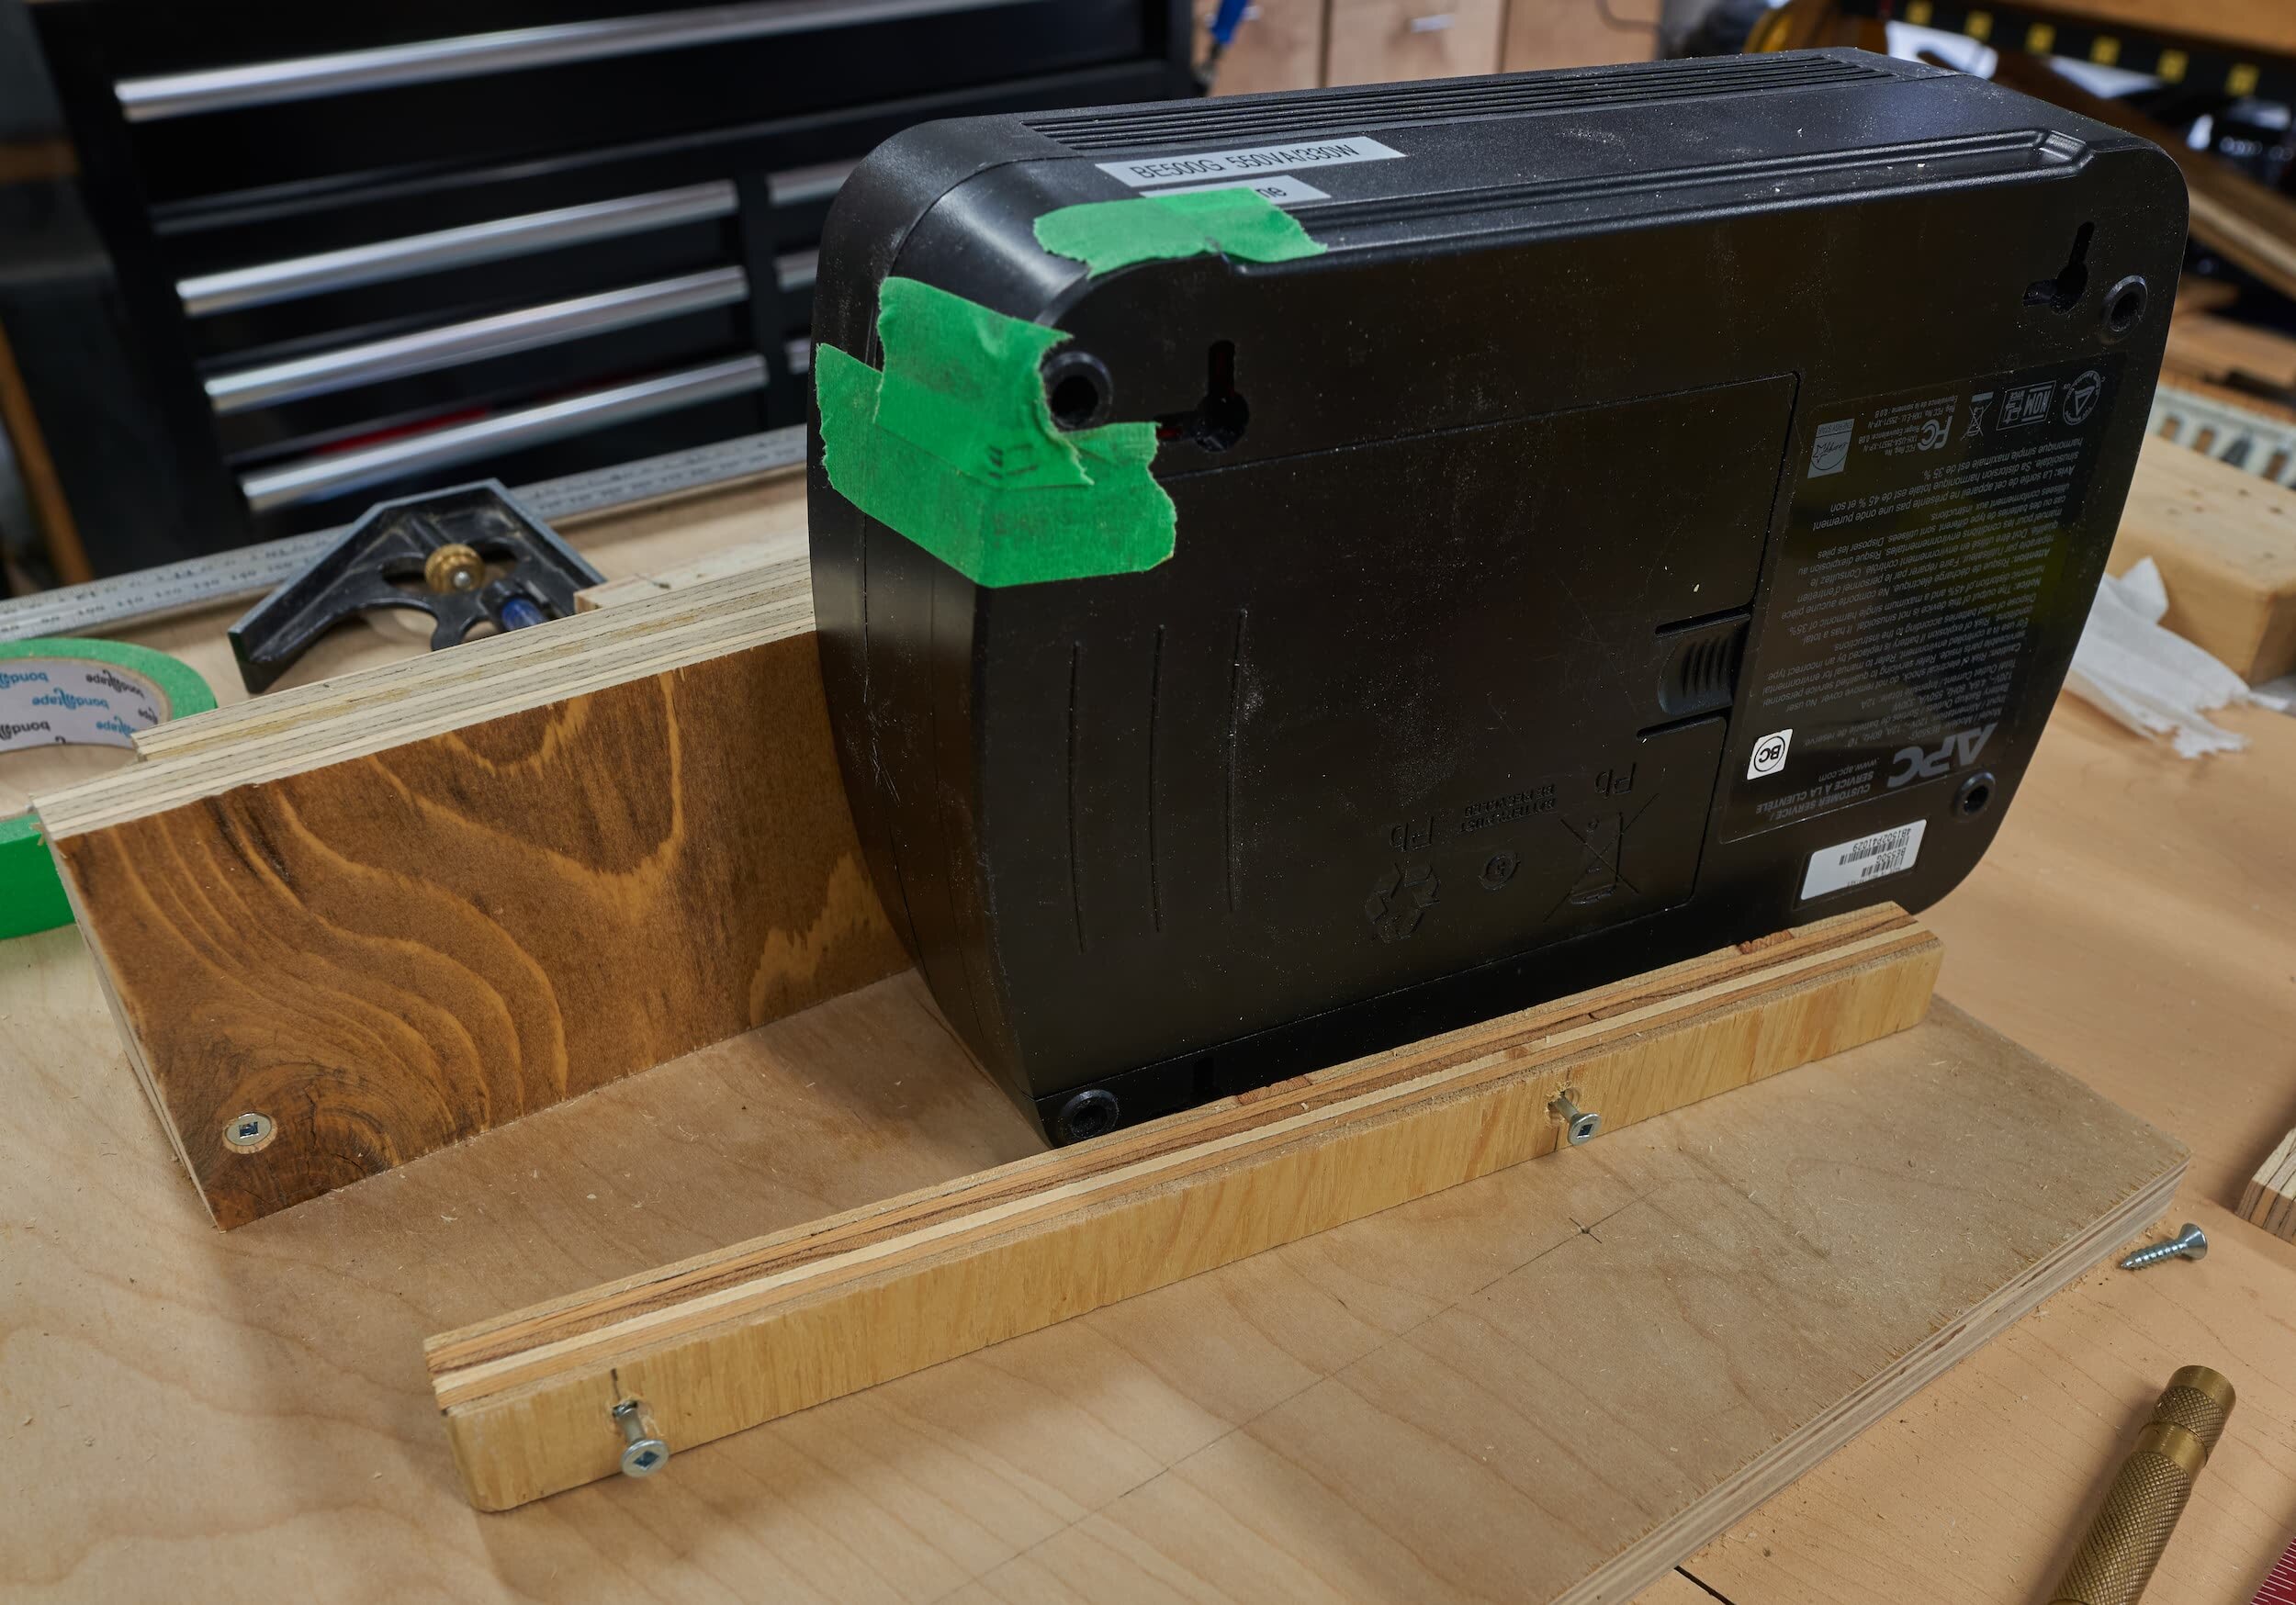
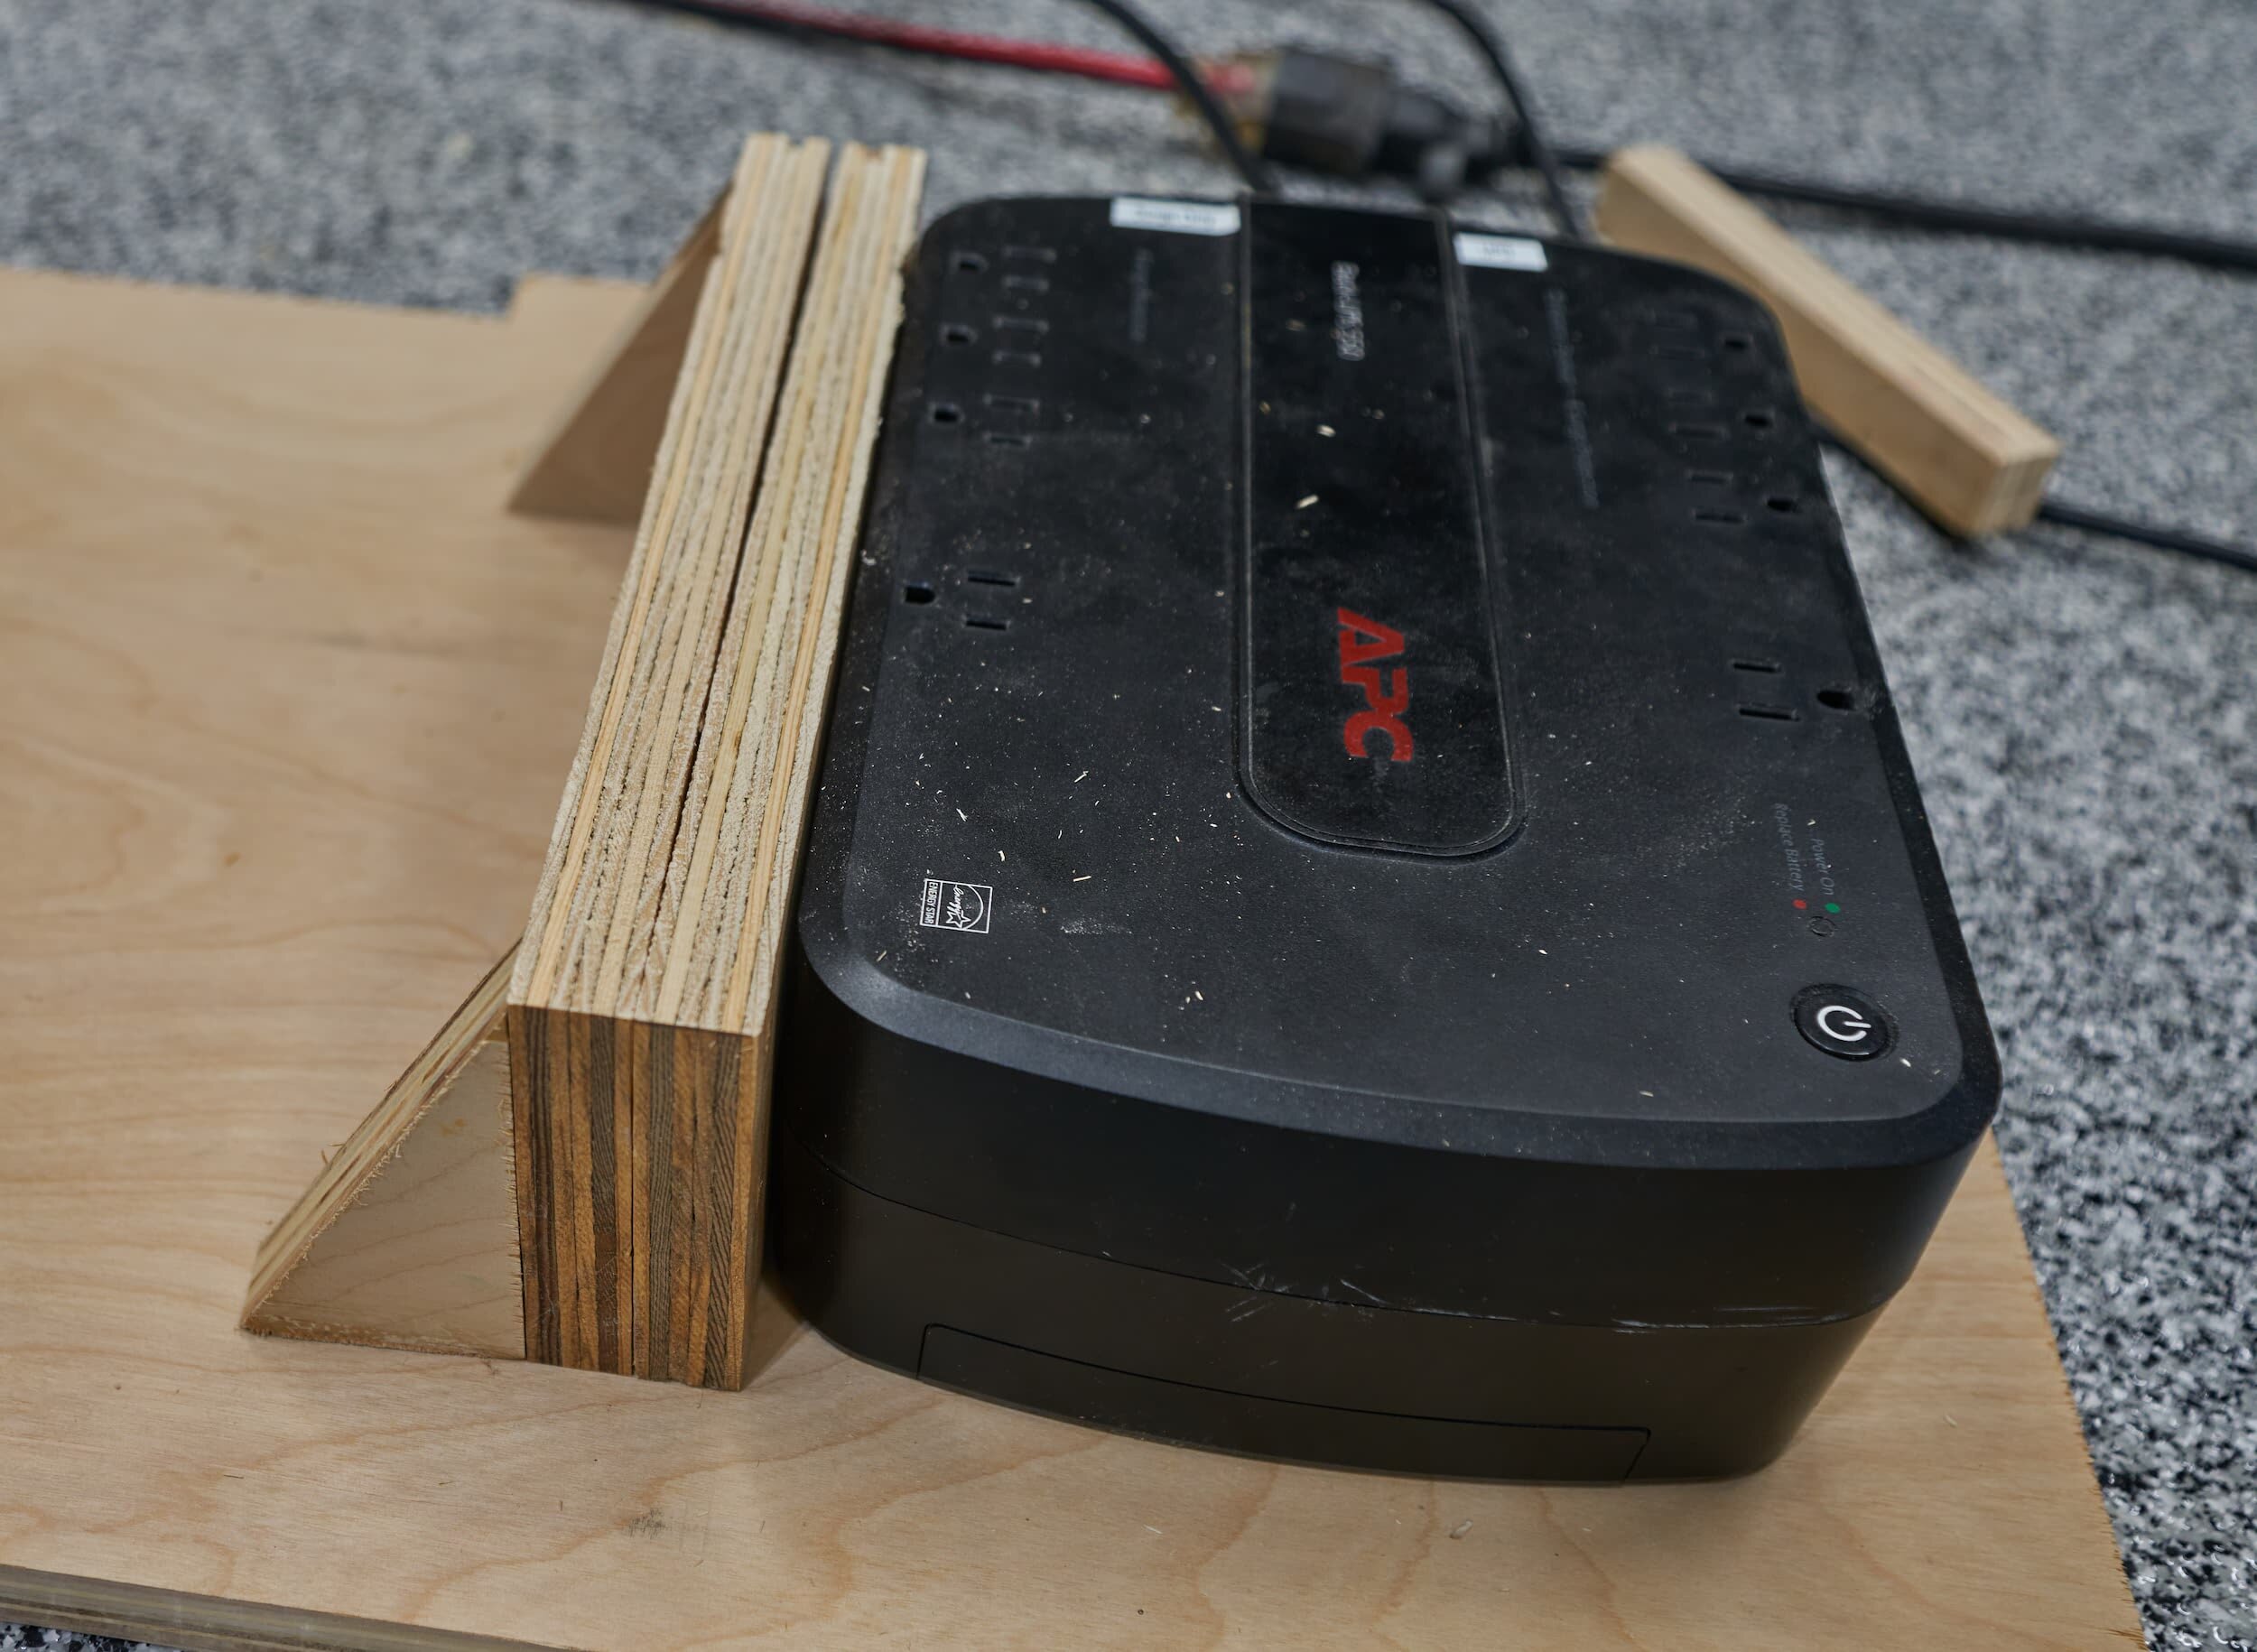
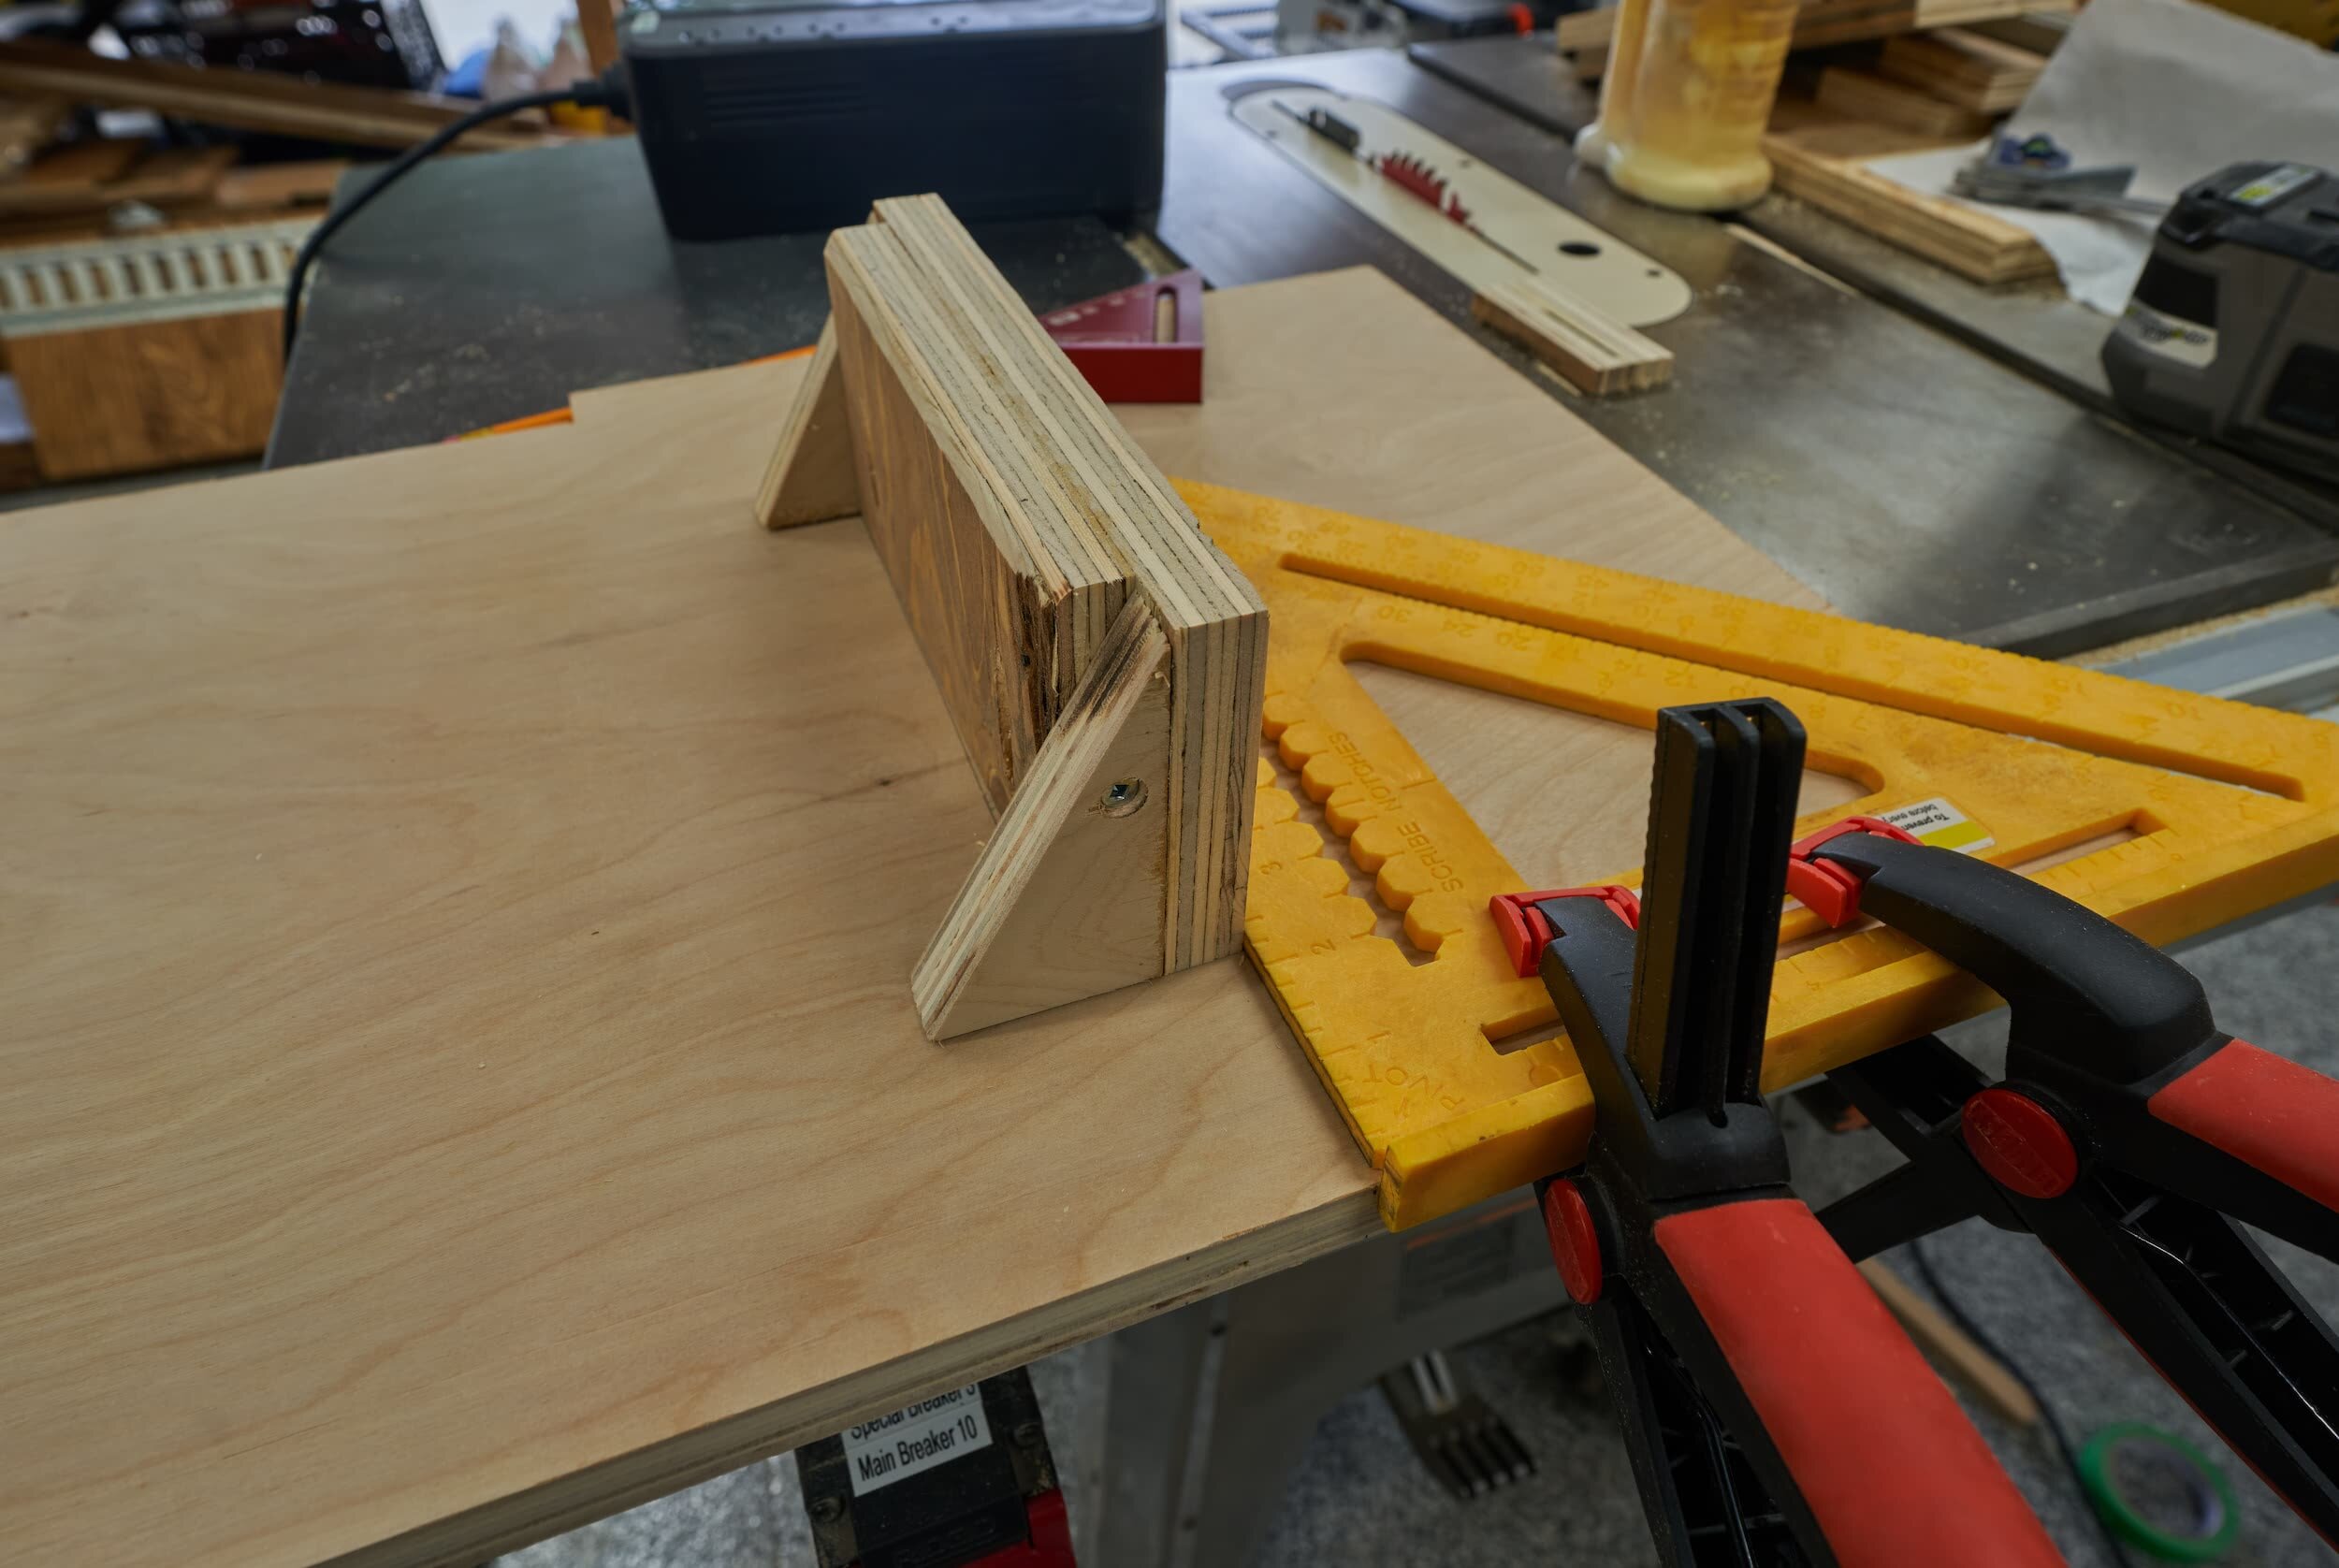
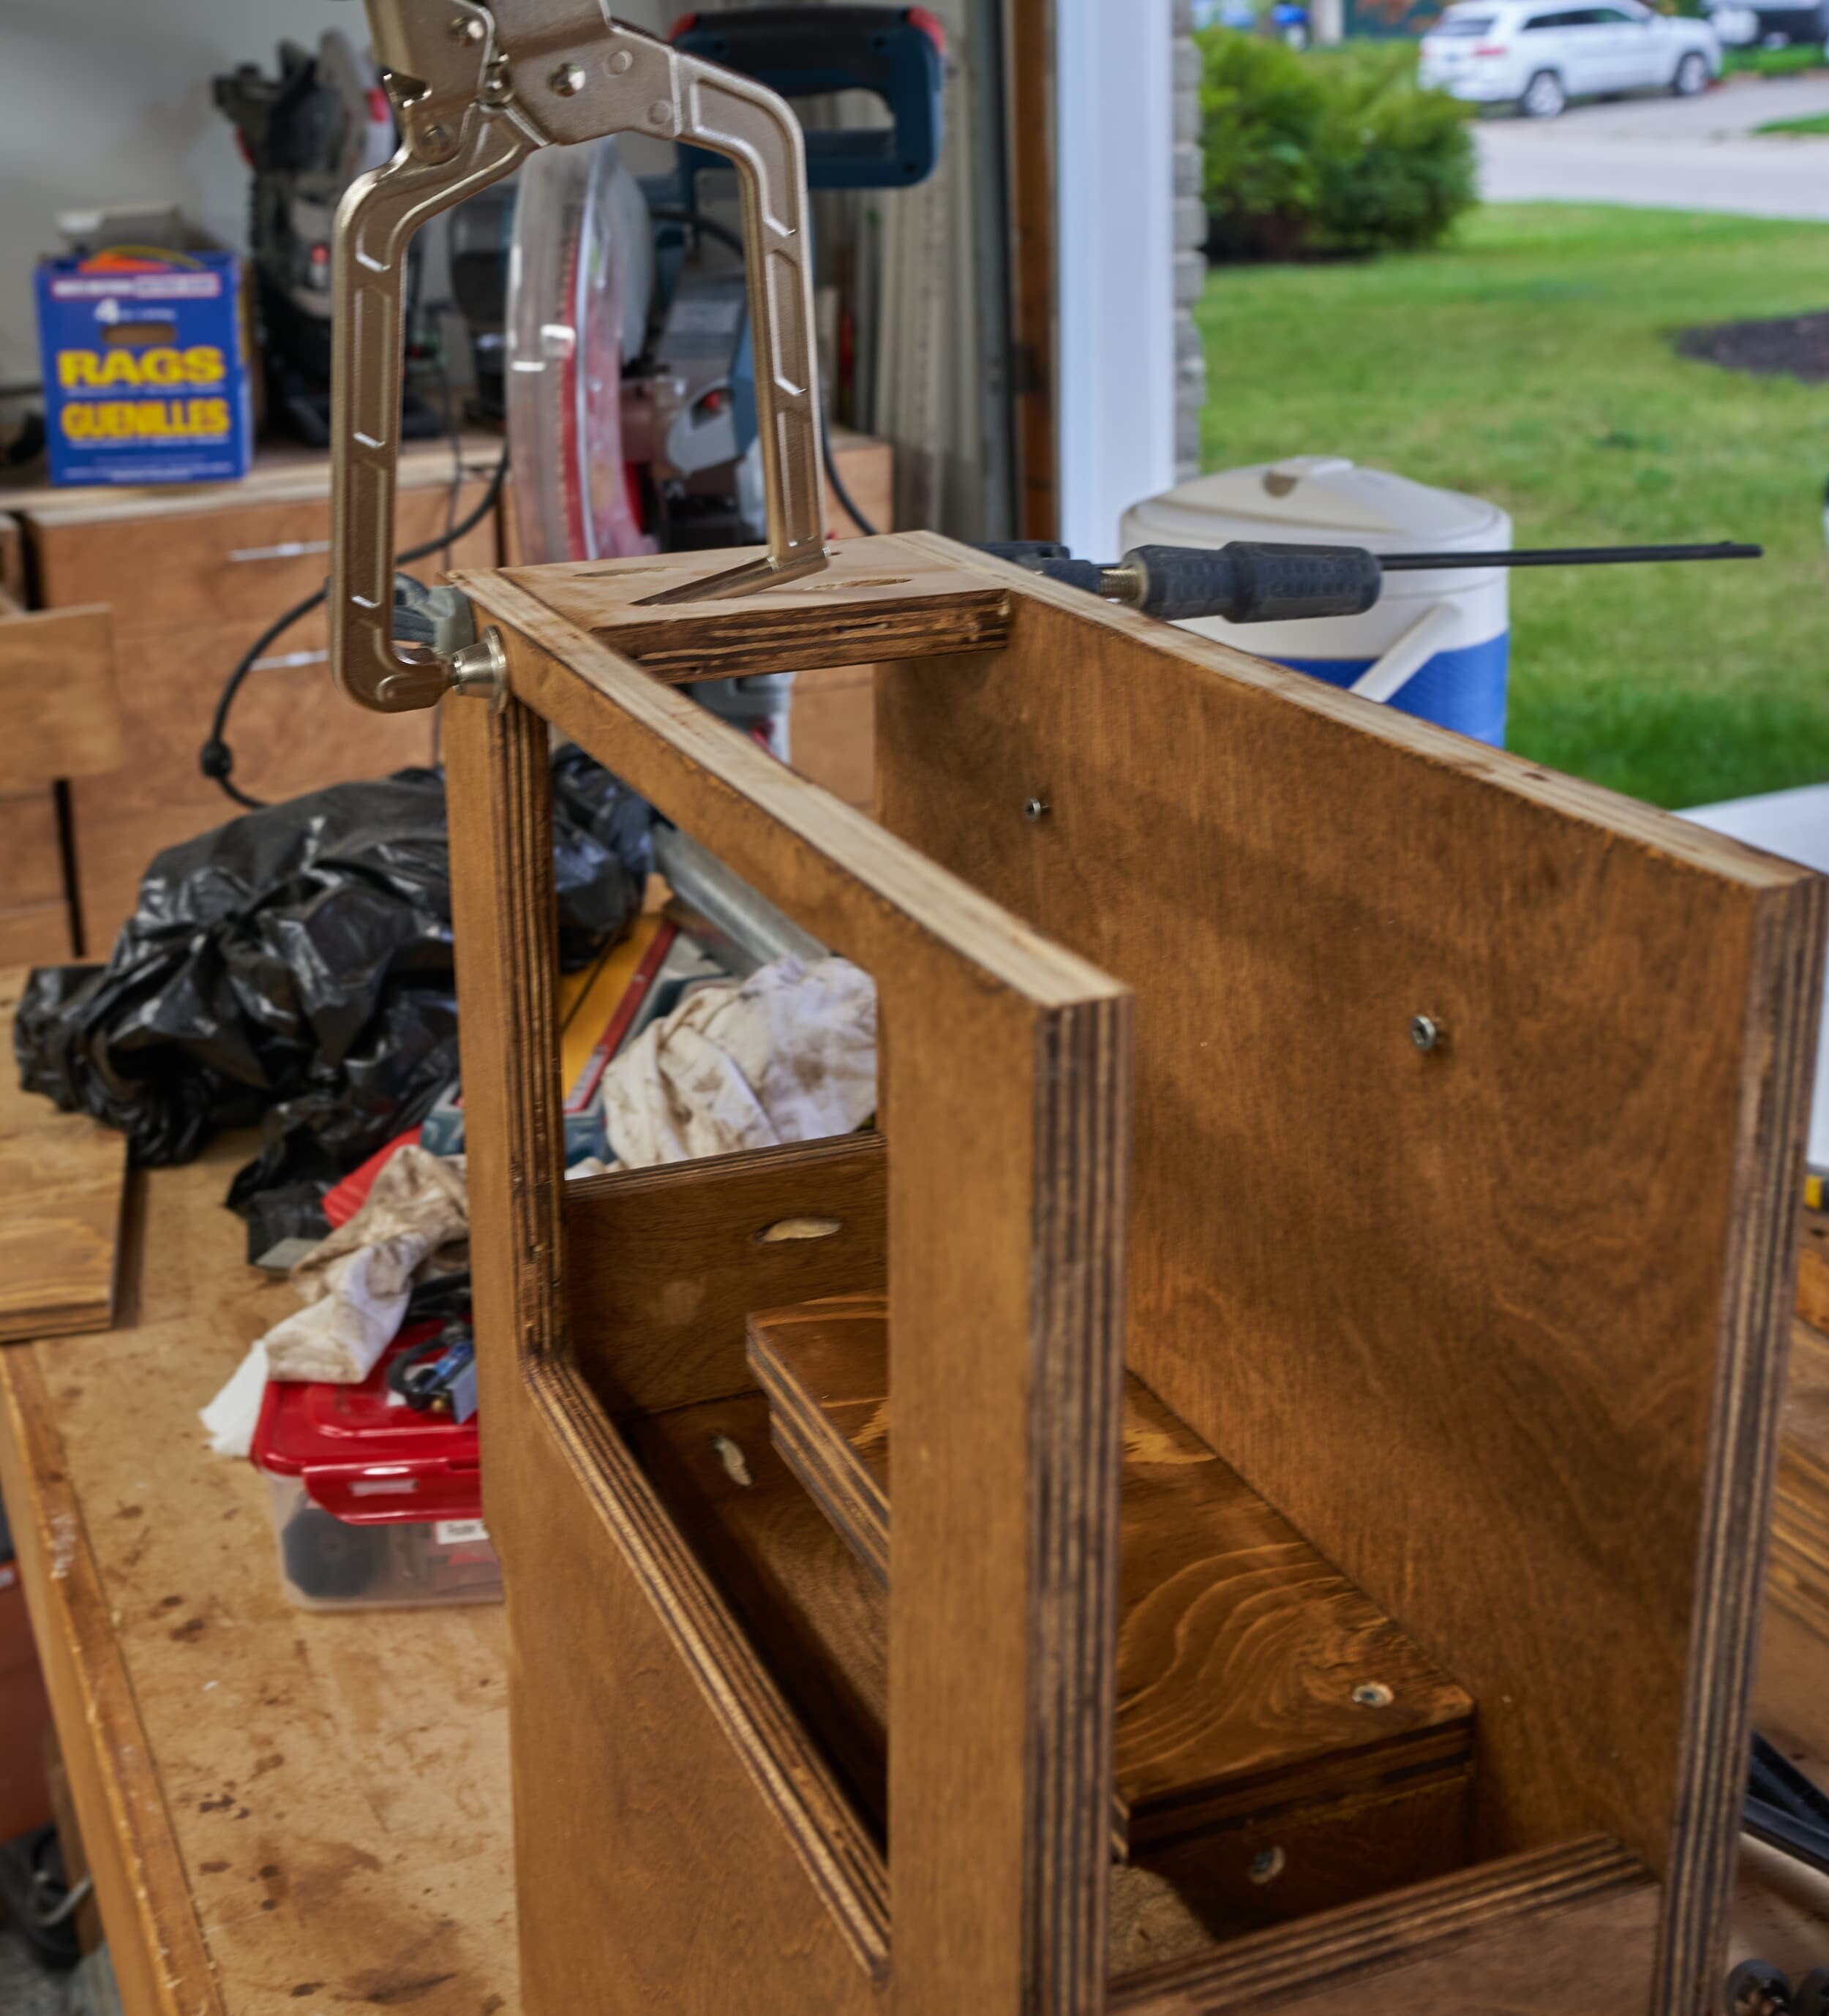
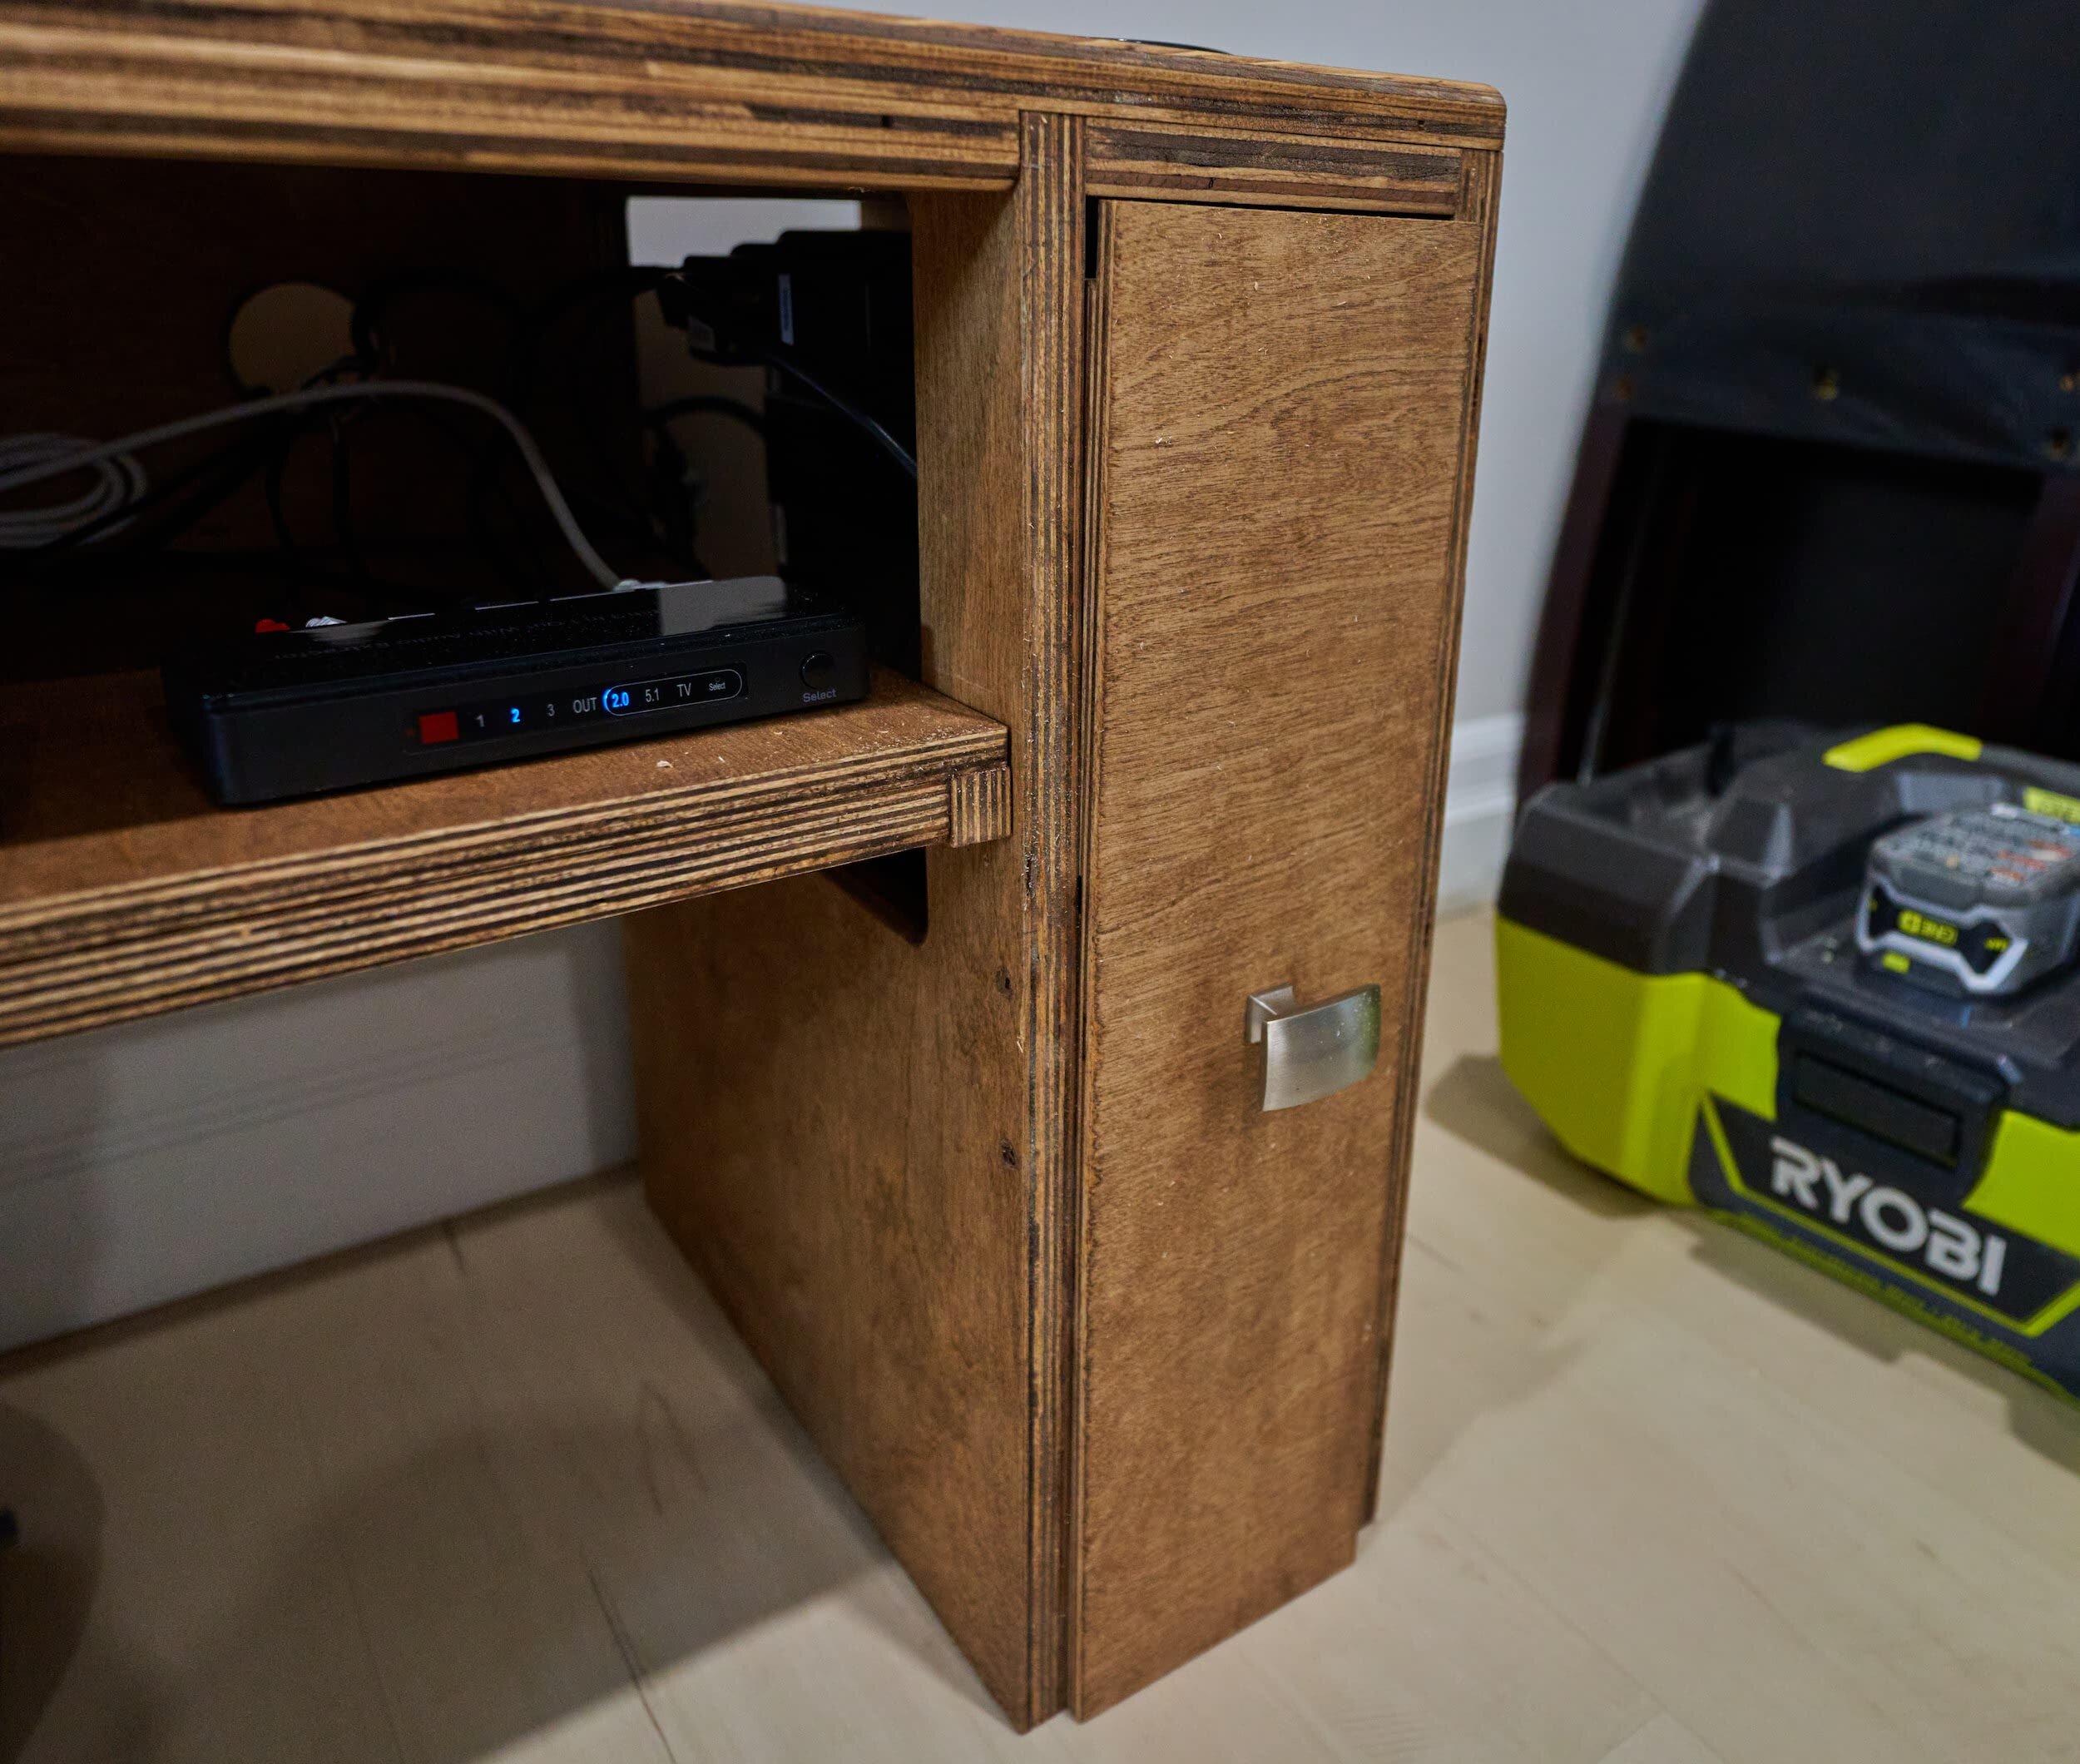
Step 2 - Right Cubby
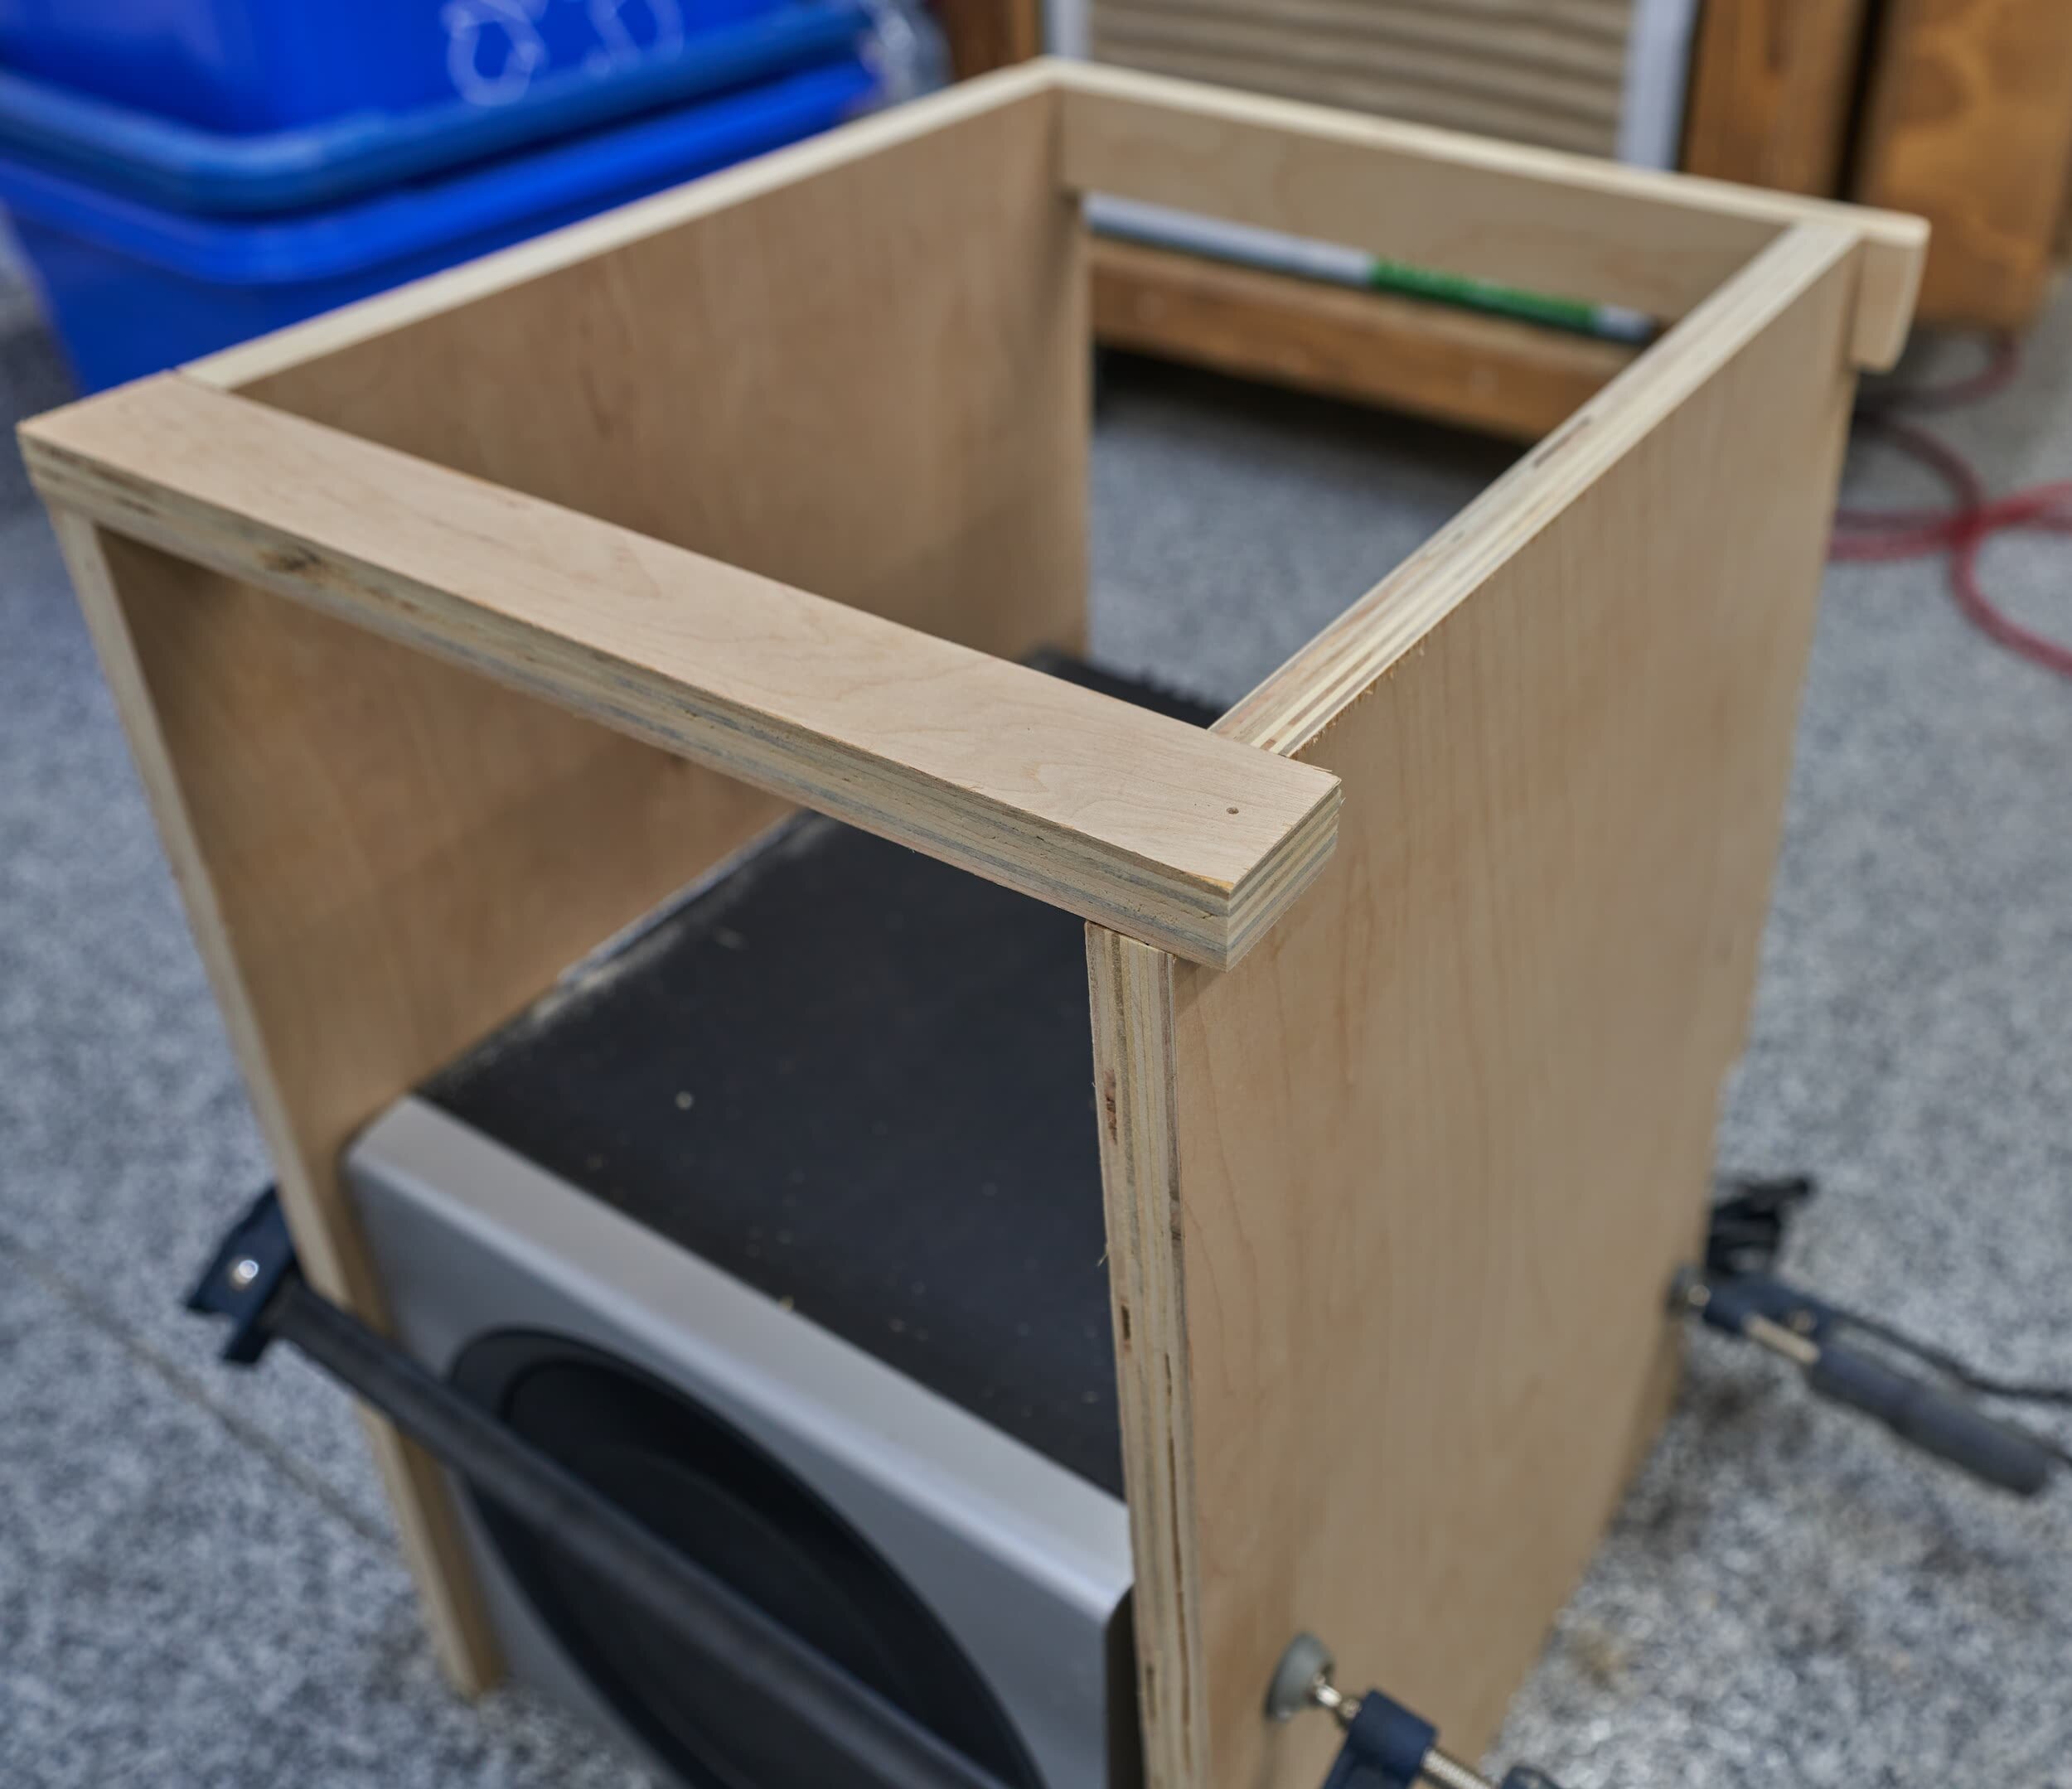
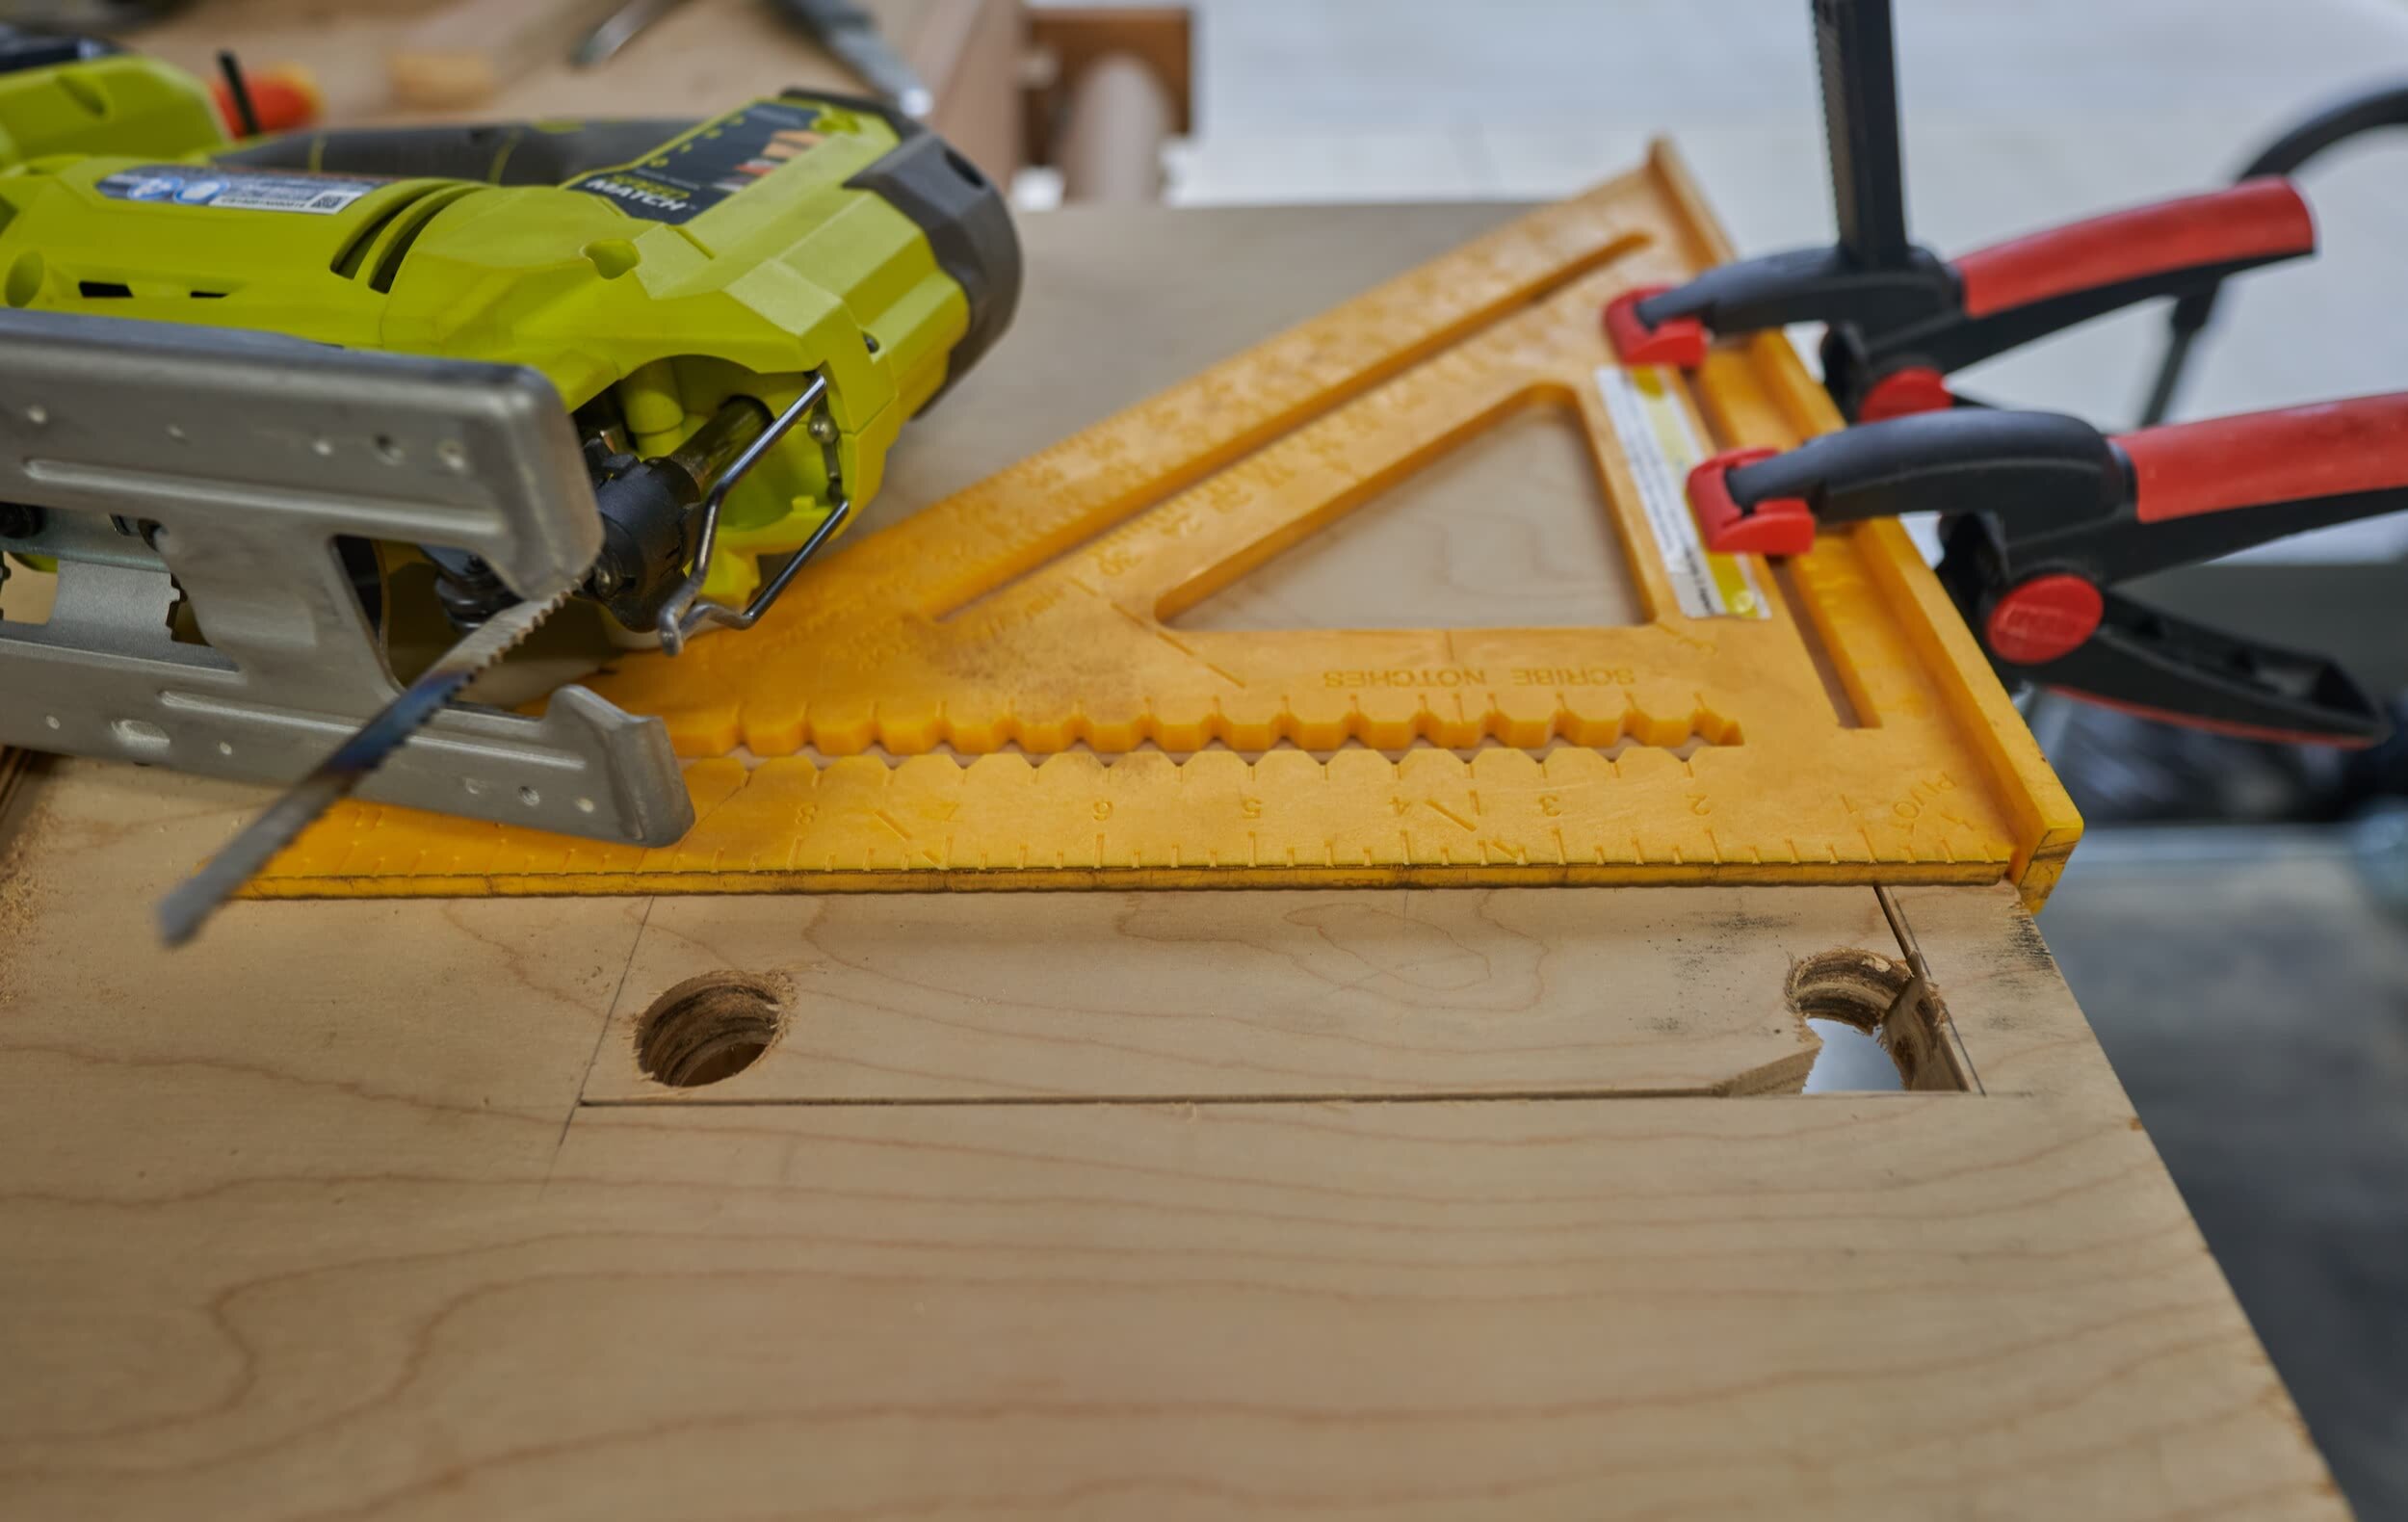
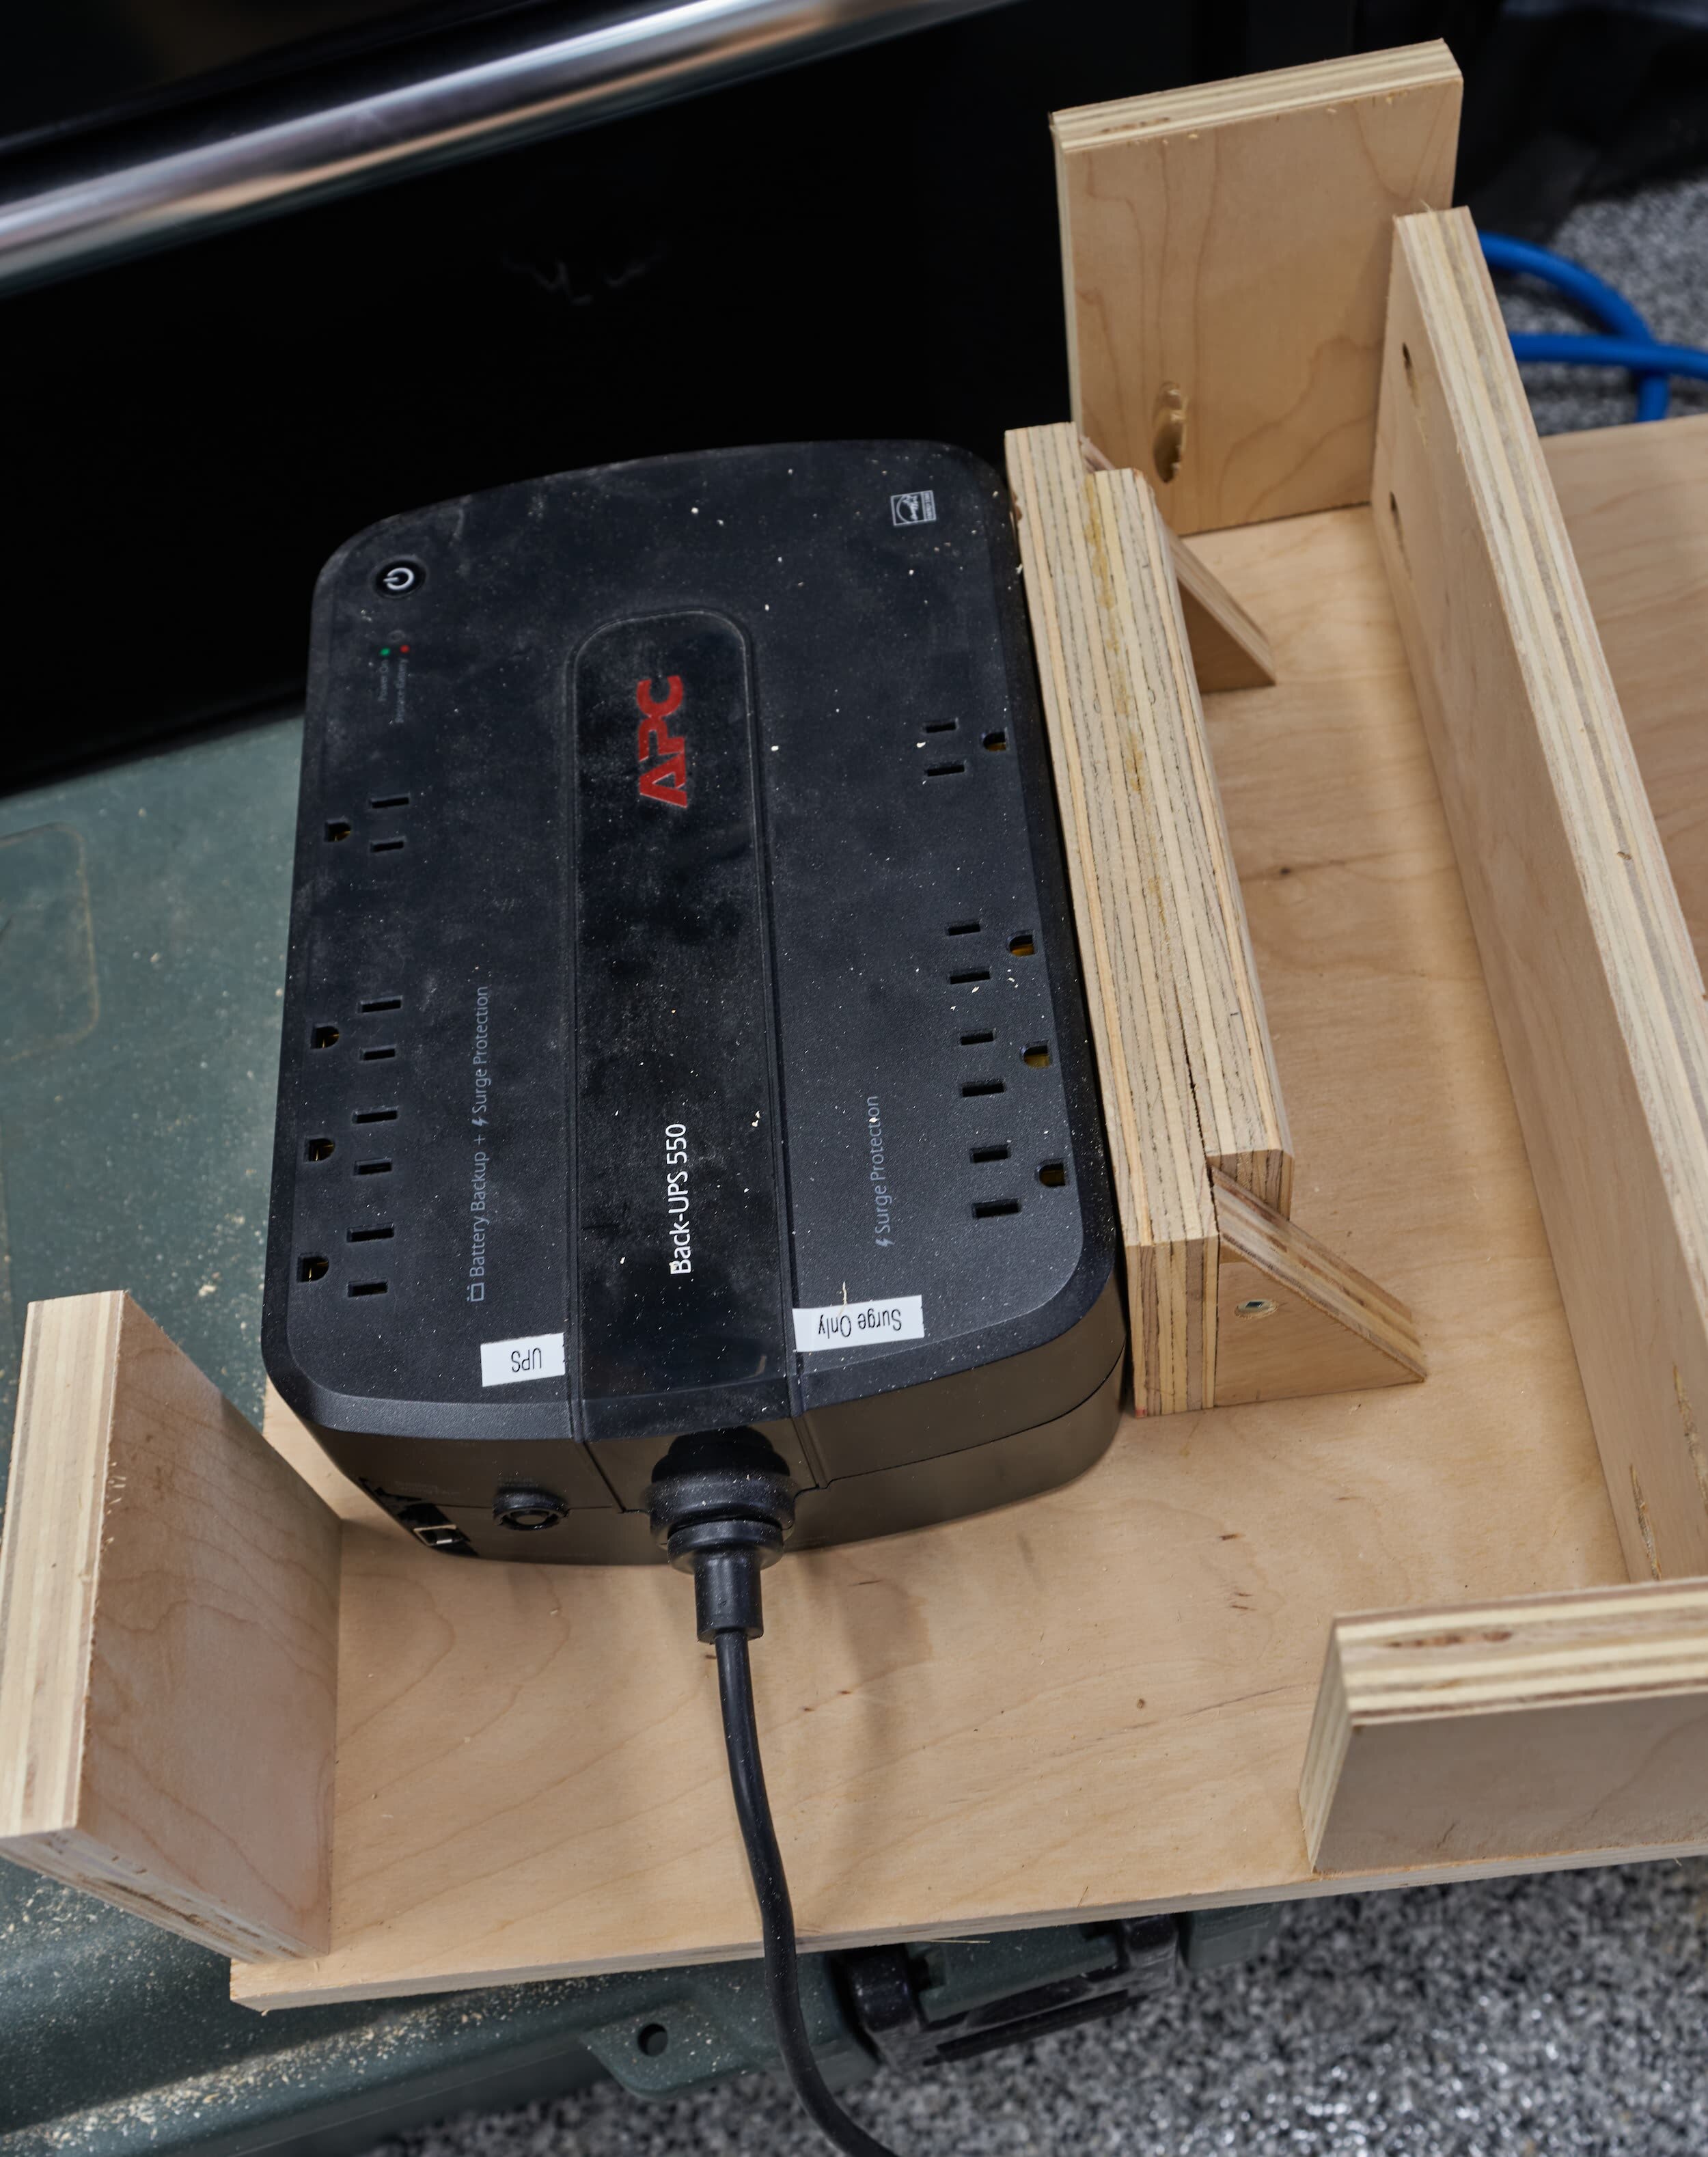
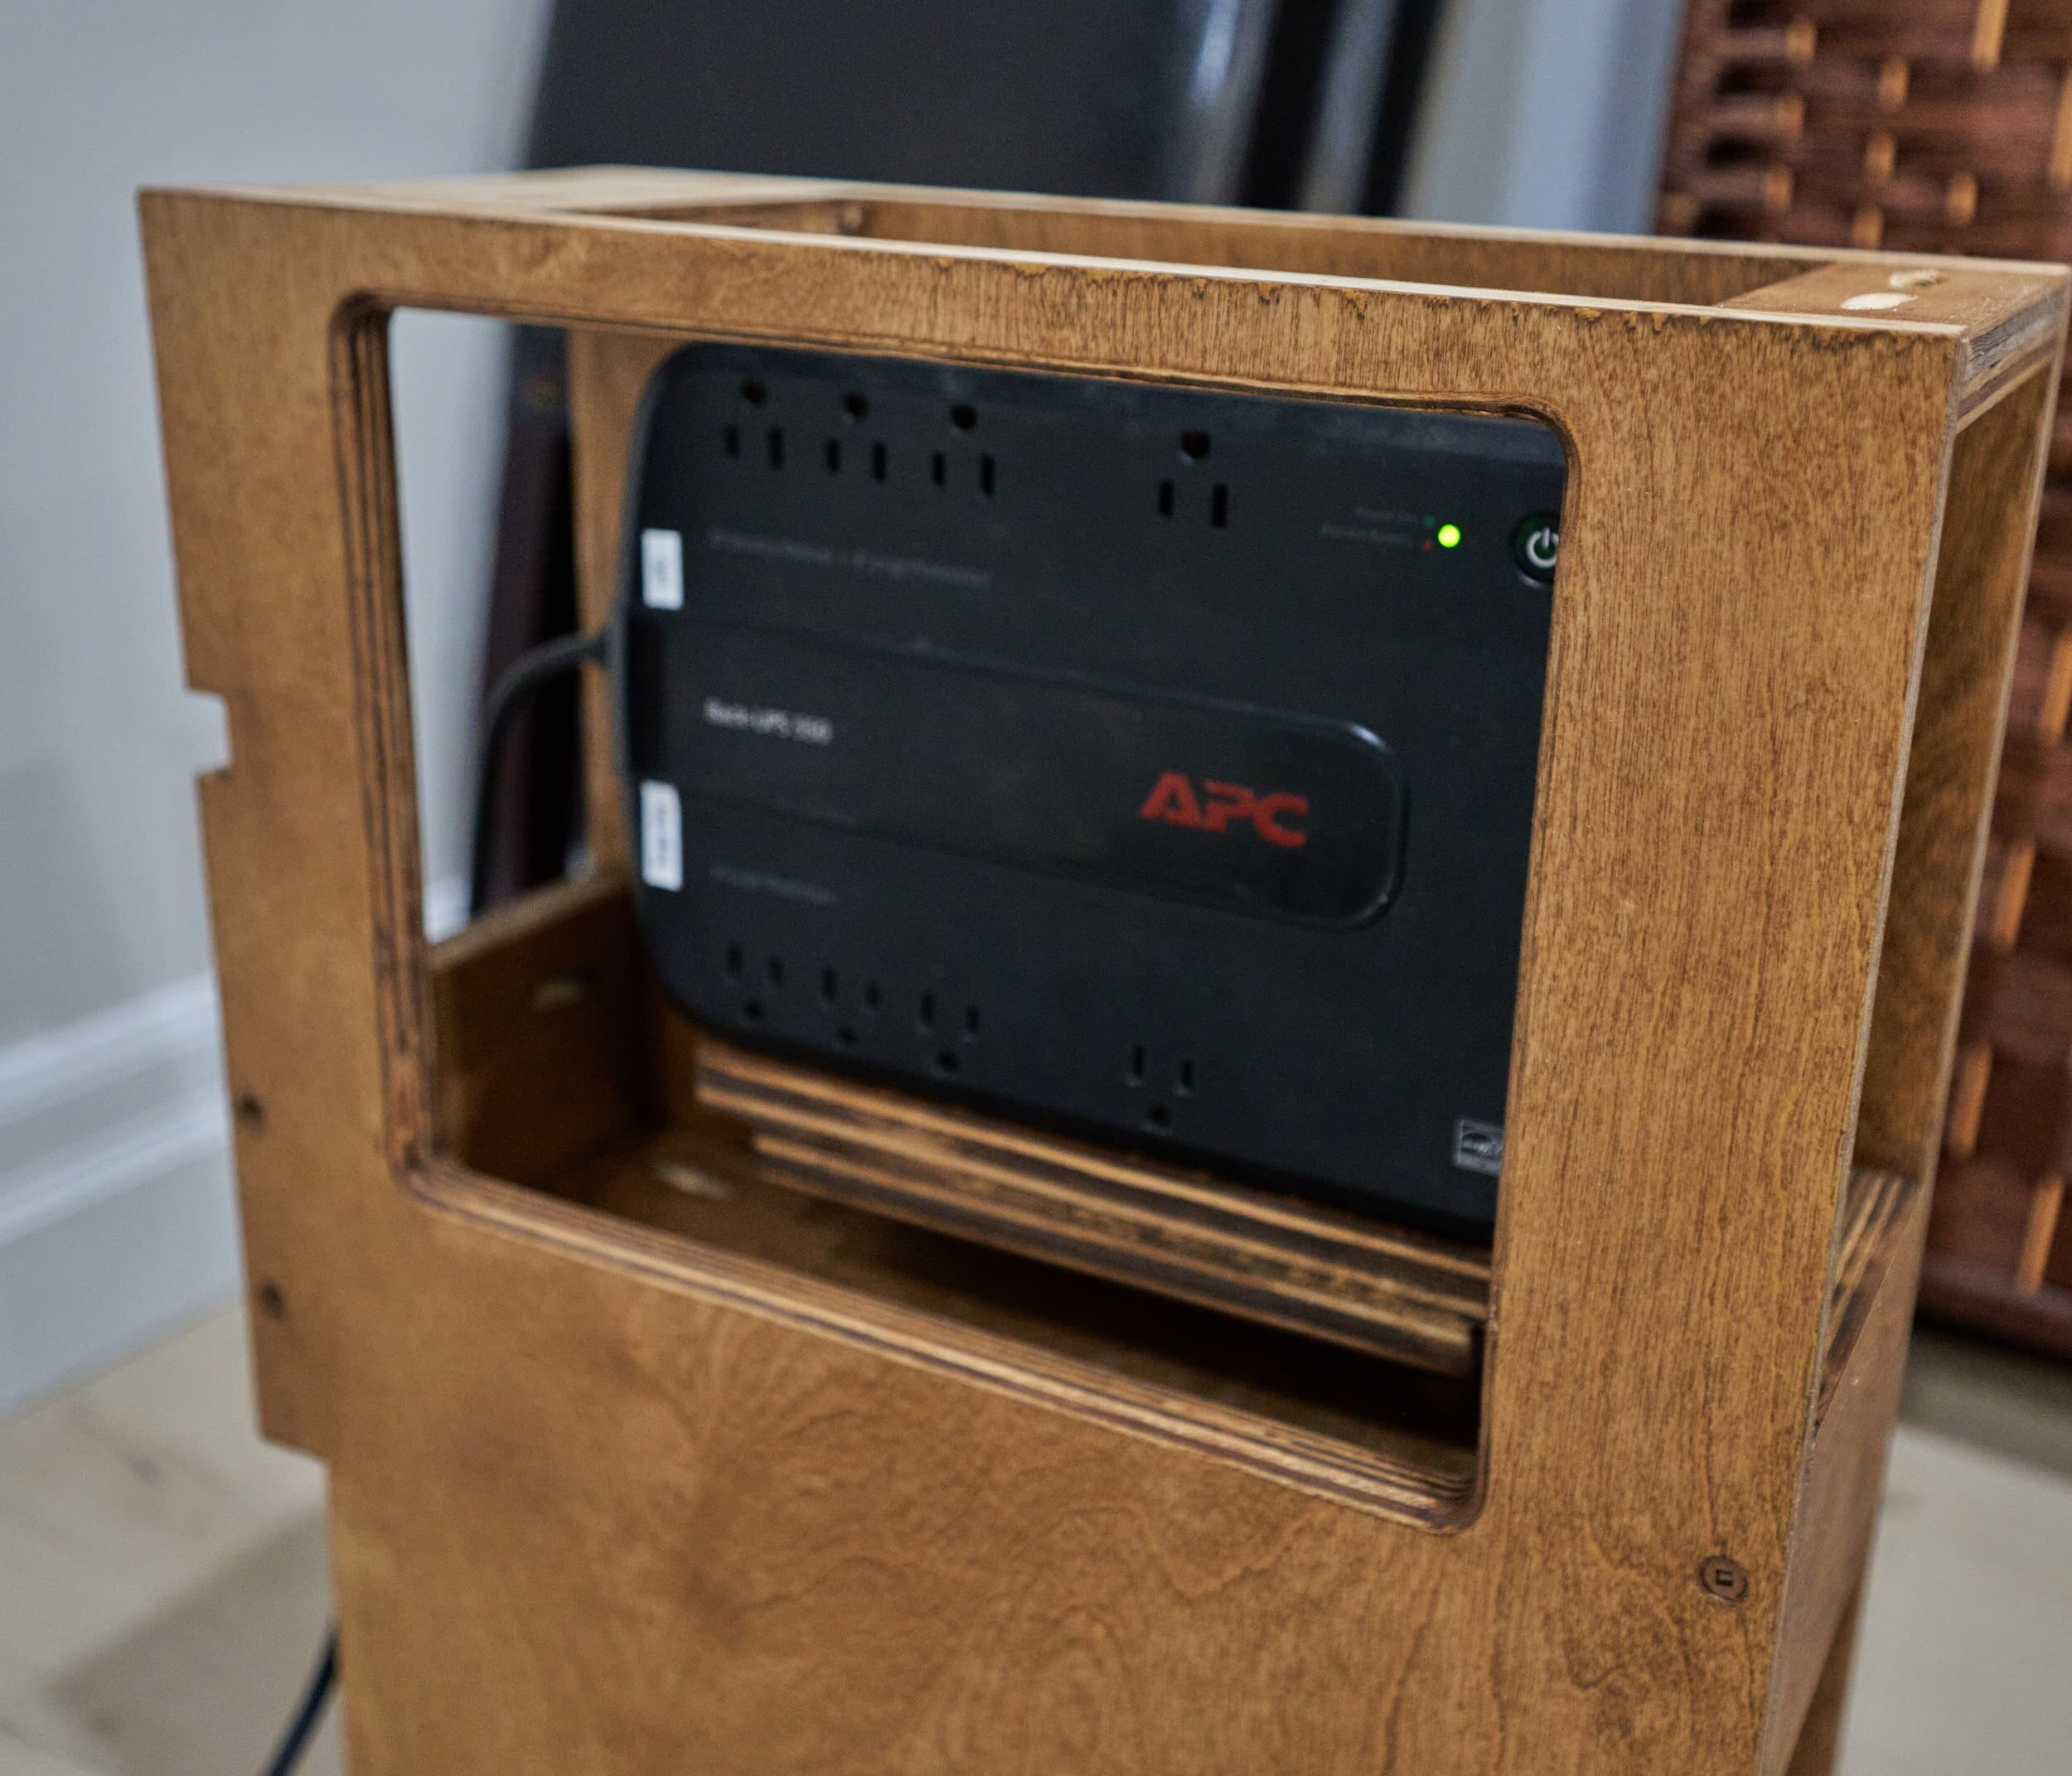
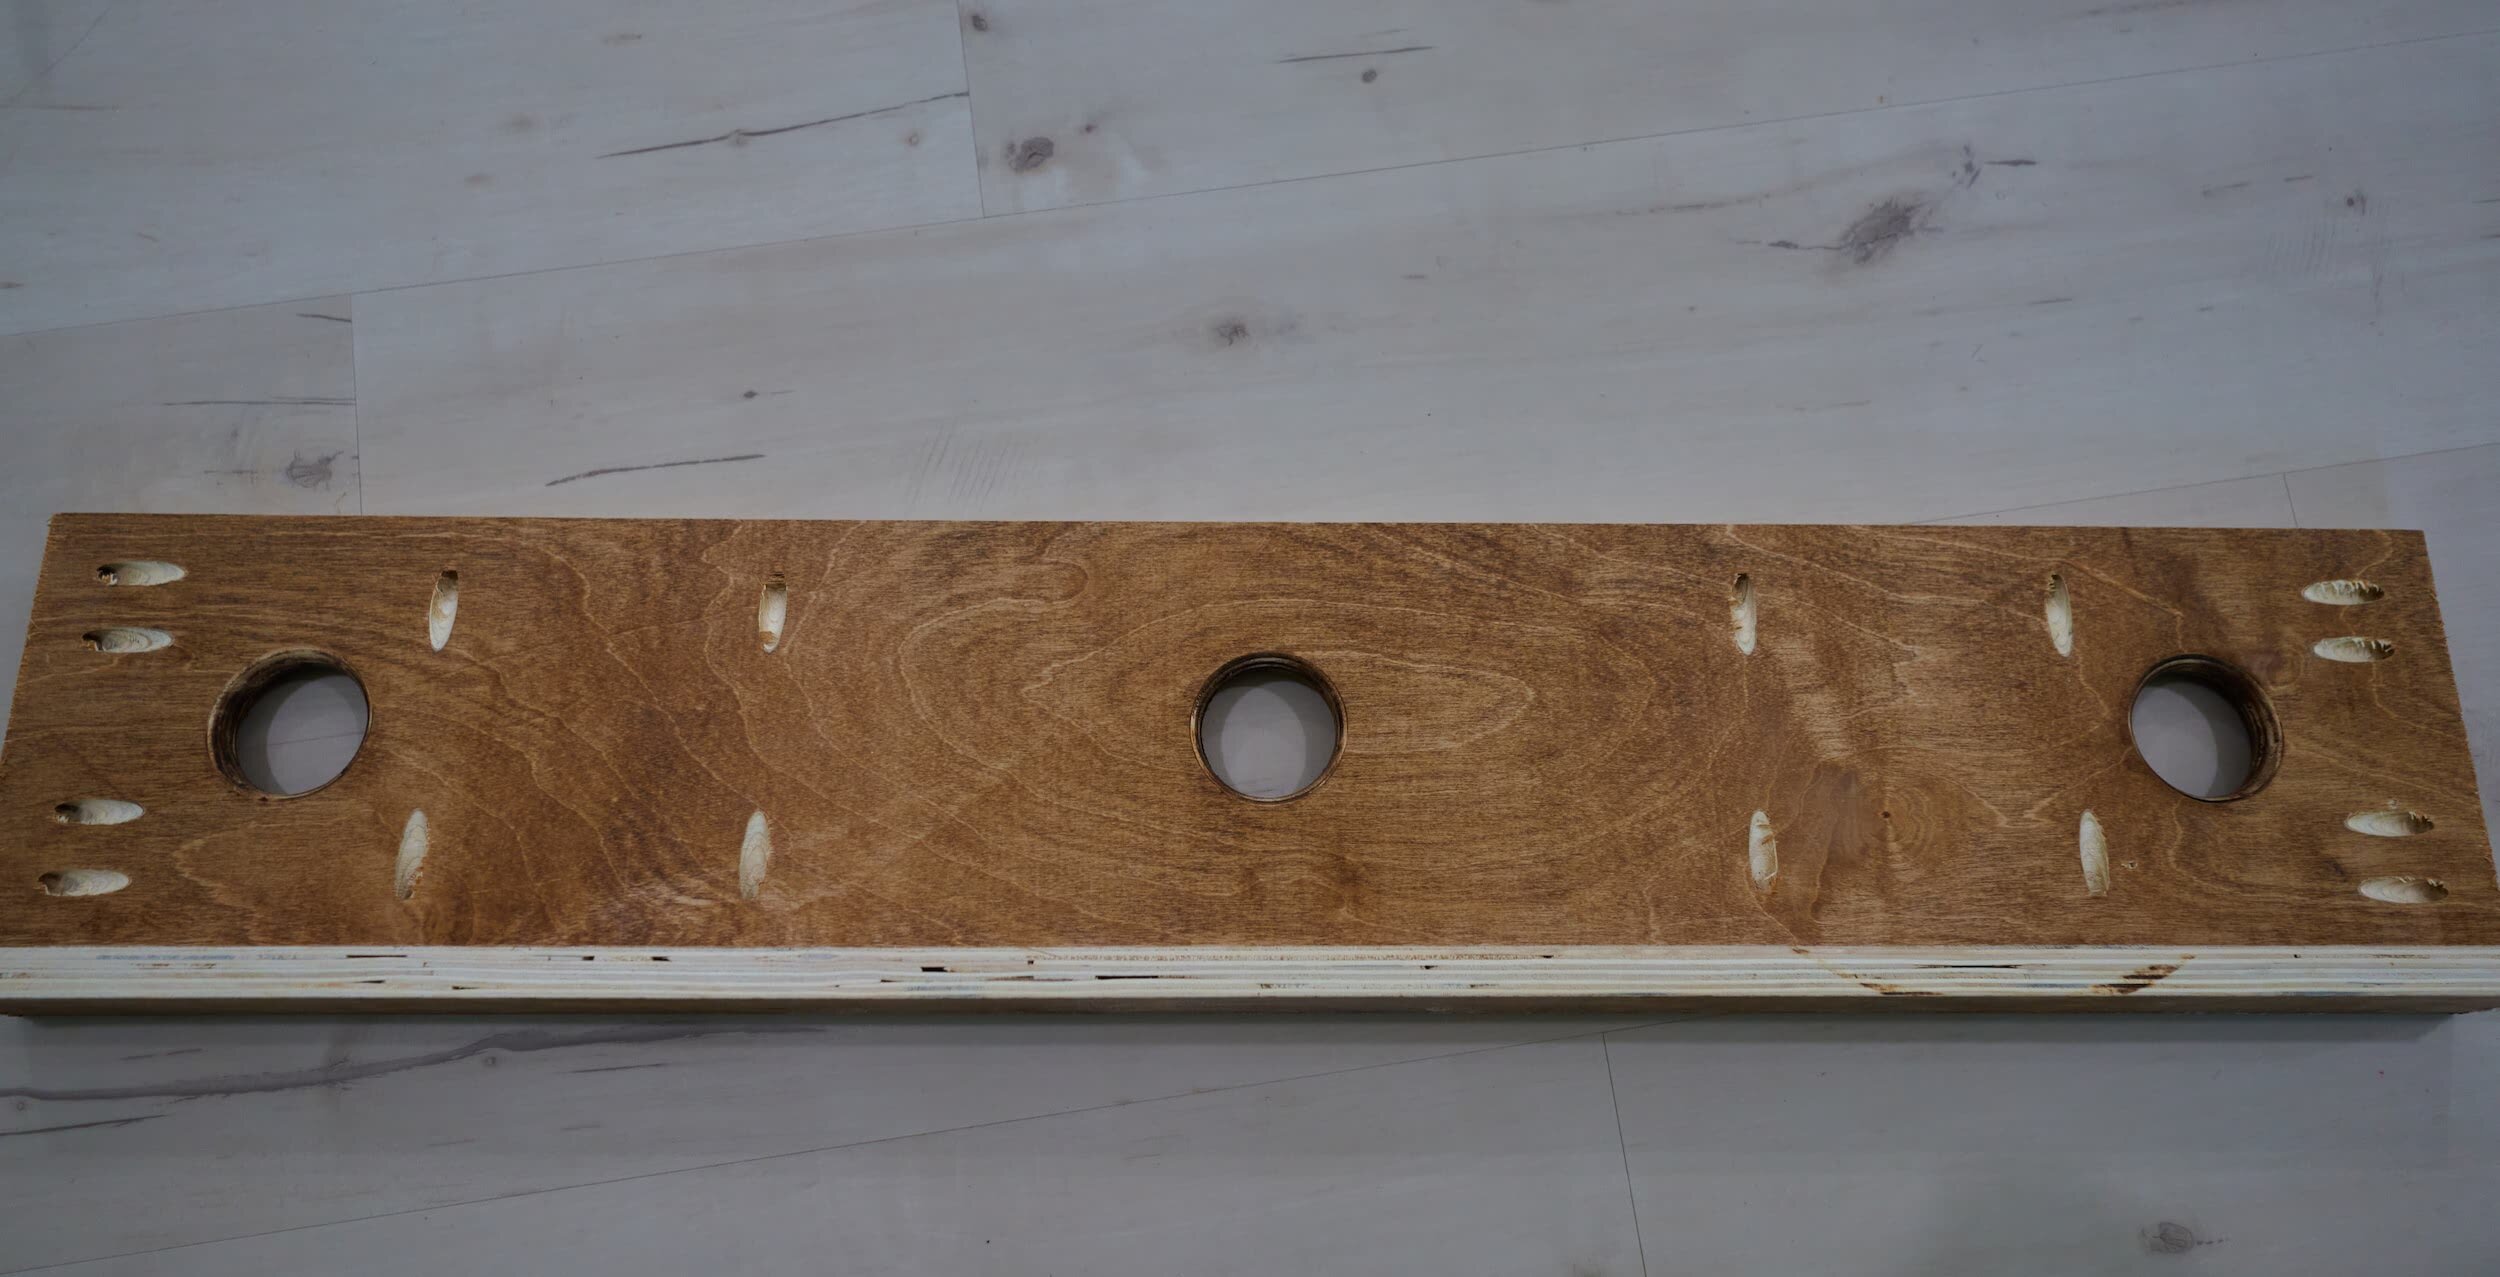
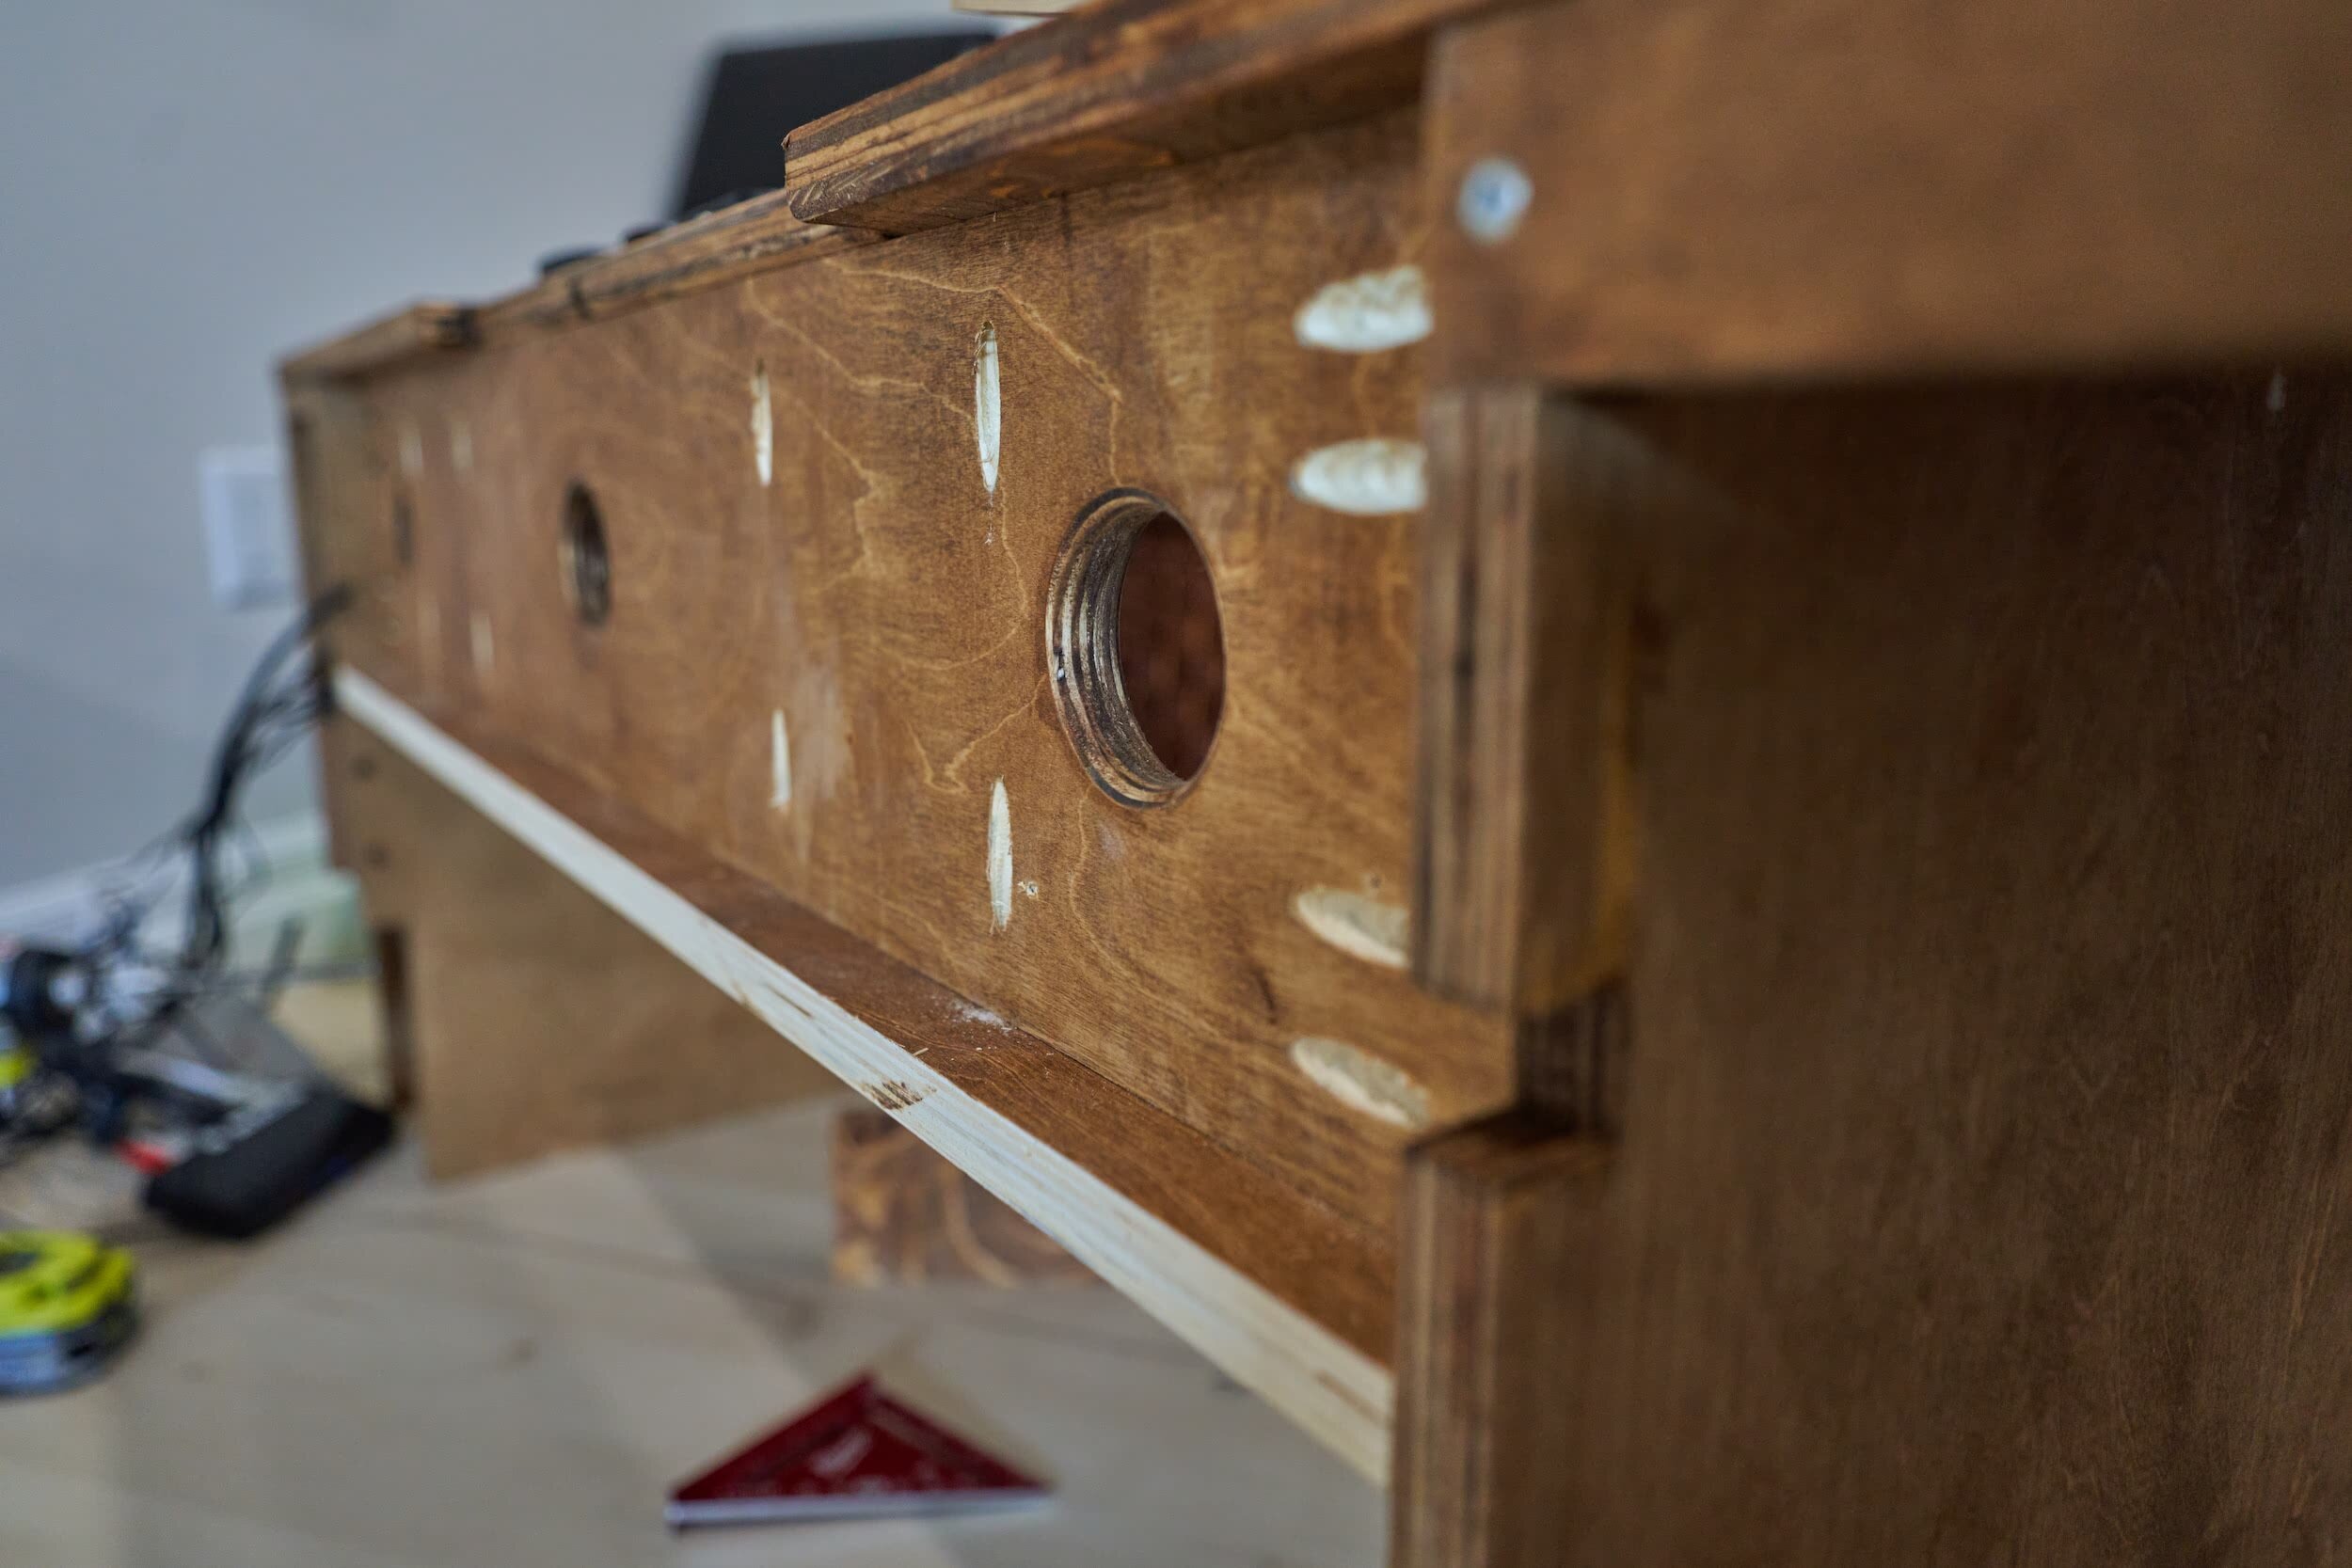
The right cubby was a bit complicated: I originally started with just a side panel and a way to mount the UPS high up: this way, the bottom portion of the panel would be ‘clear’ so I didn’t have to make the entire thing even wider to accommodate the robovac, but then I thought that might not be very ridgid, not to mention super tippy. So I added another panel to make a box out of it but also had to cut out a large opening so that I could actually install/remove/use the UPS. But by making this its own ‘box’, I had the space below the UPS which would come in handy later.
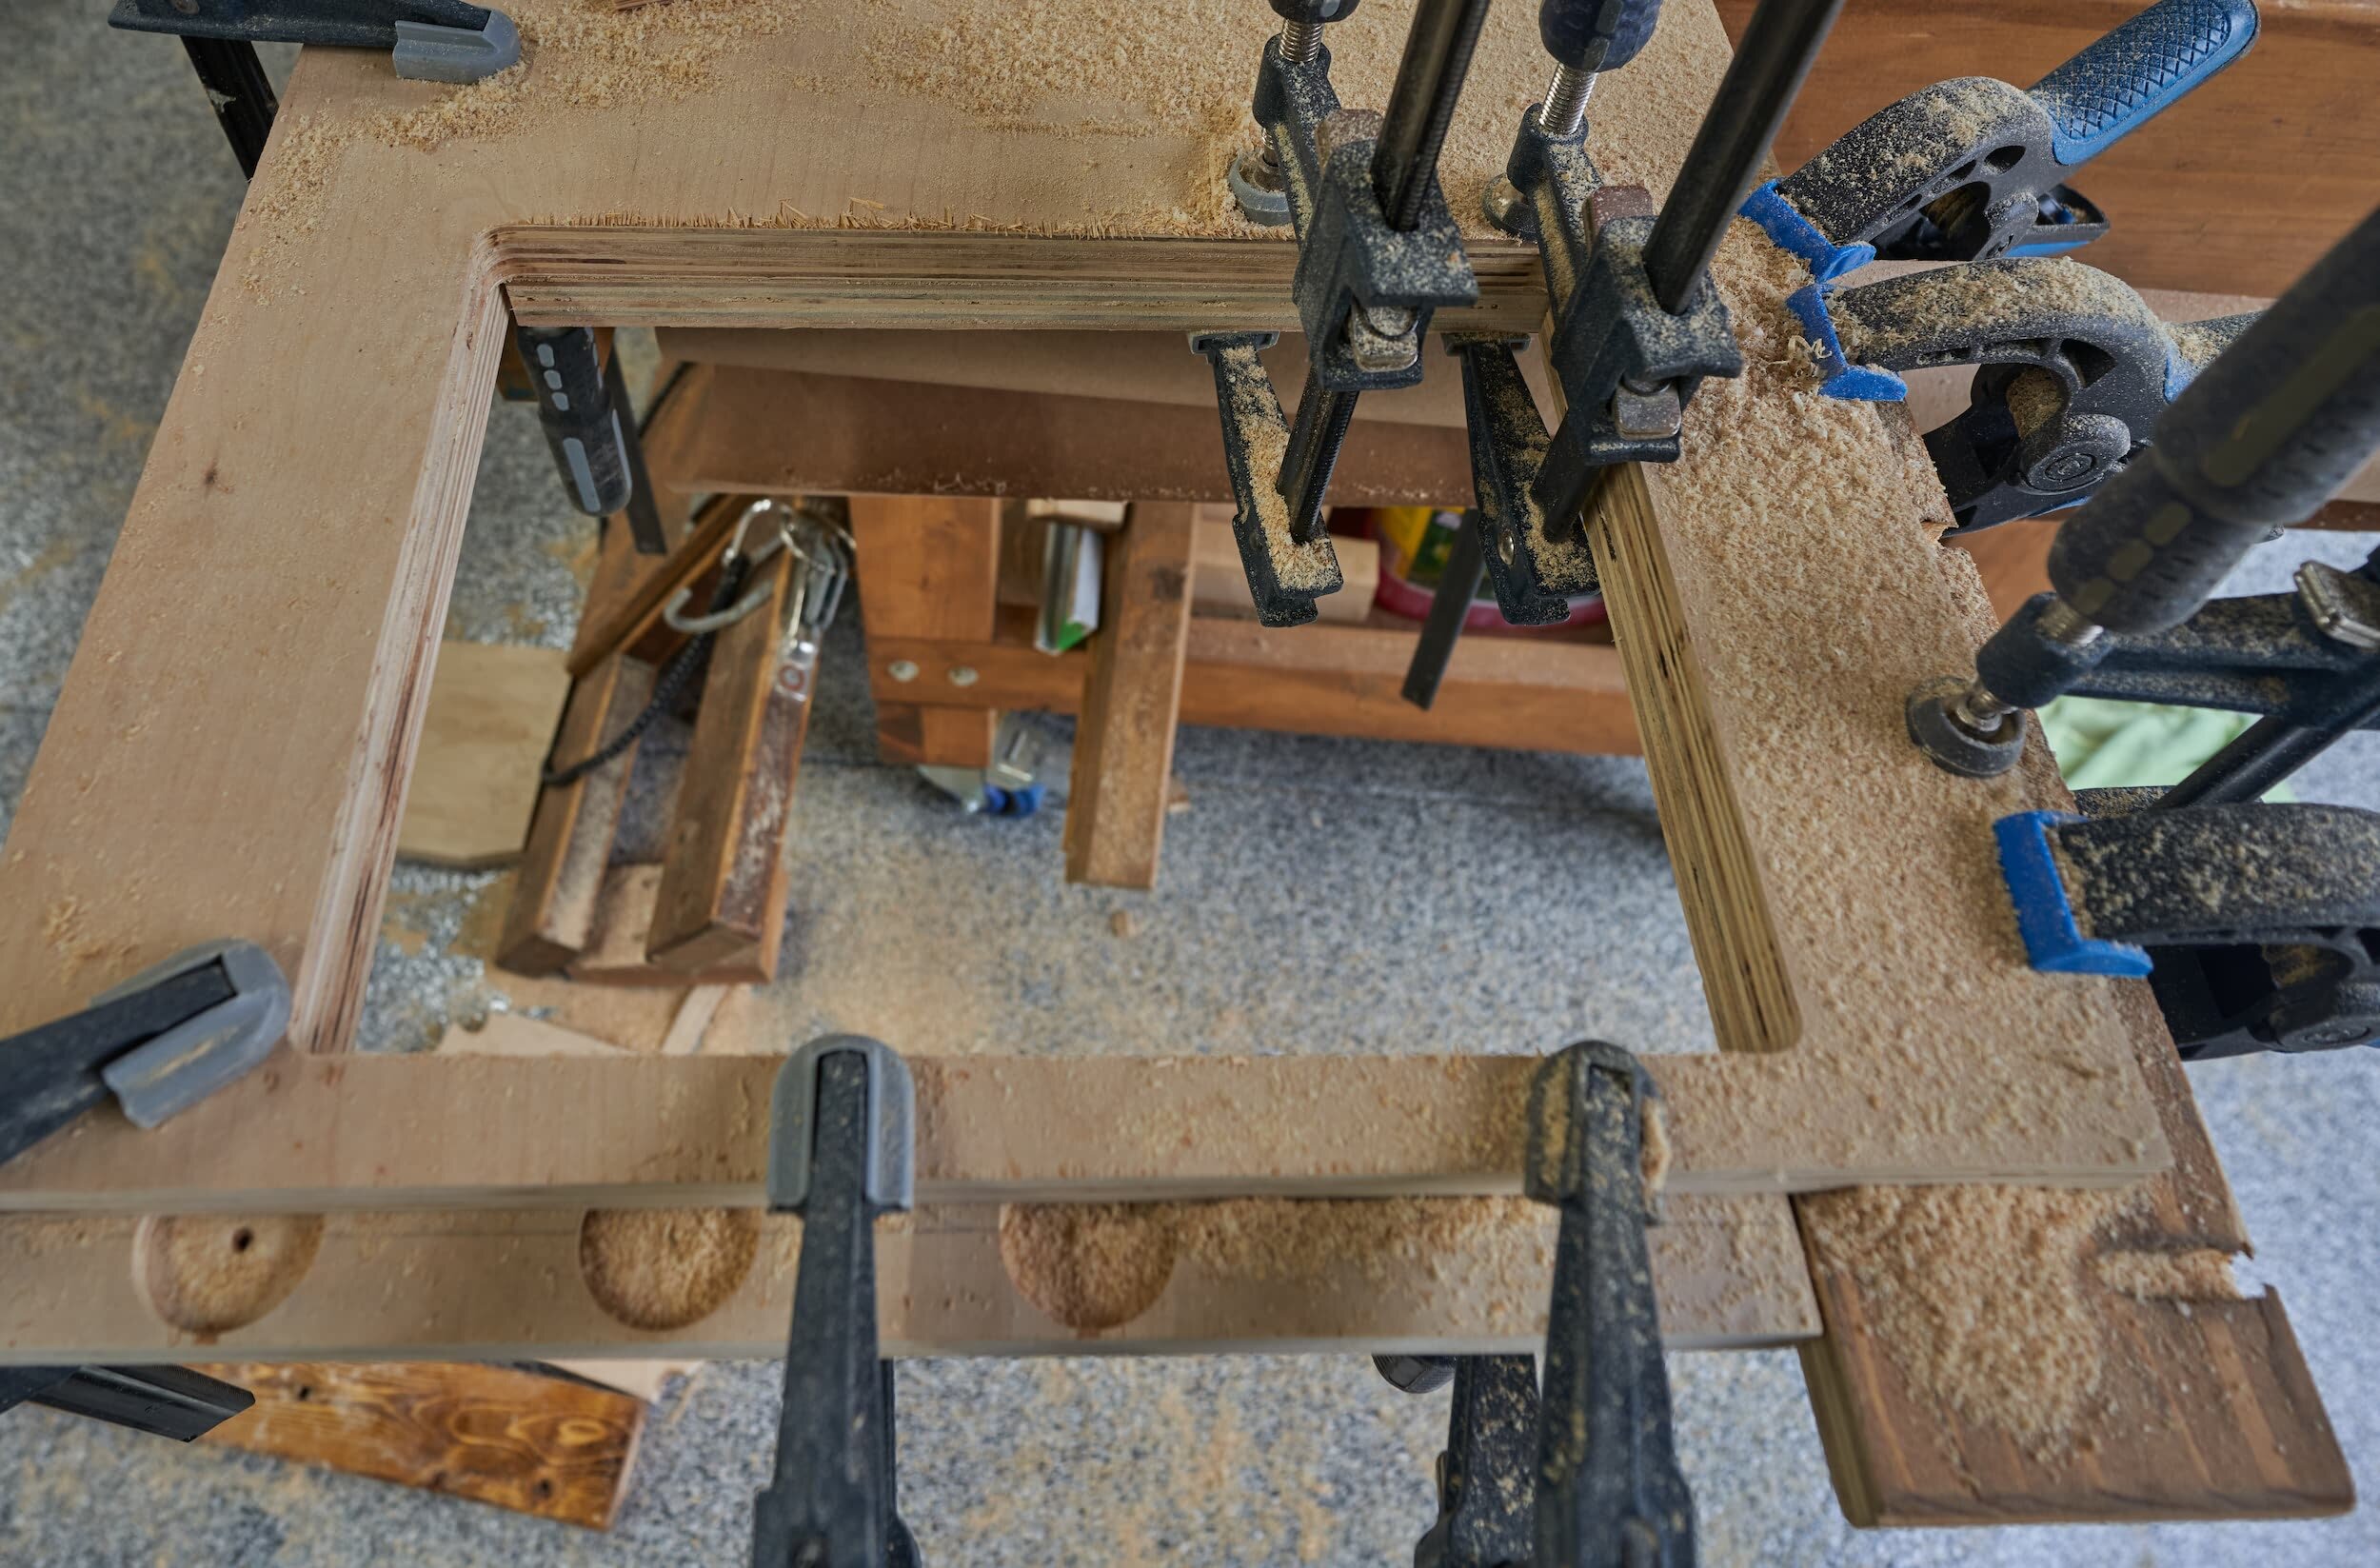
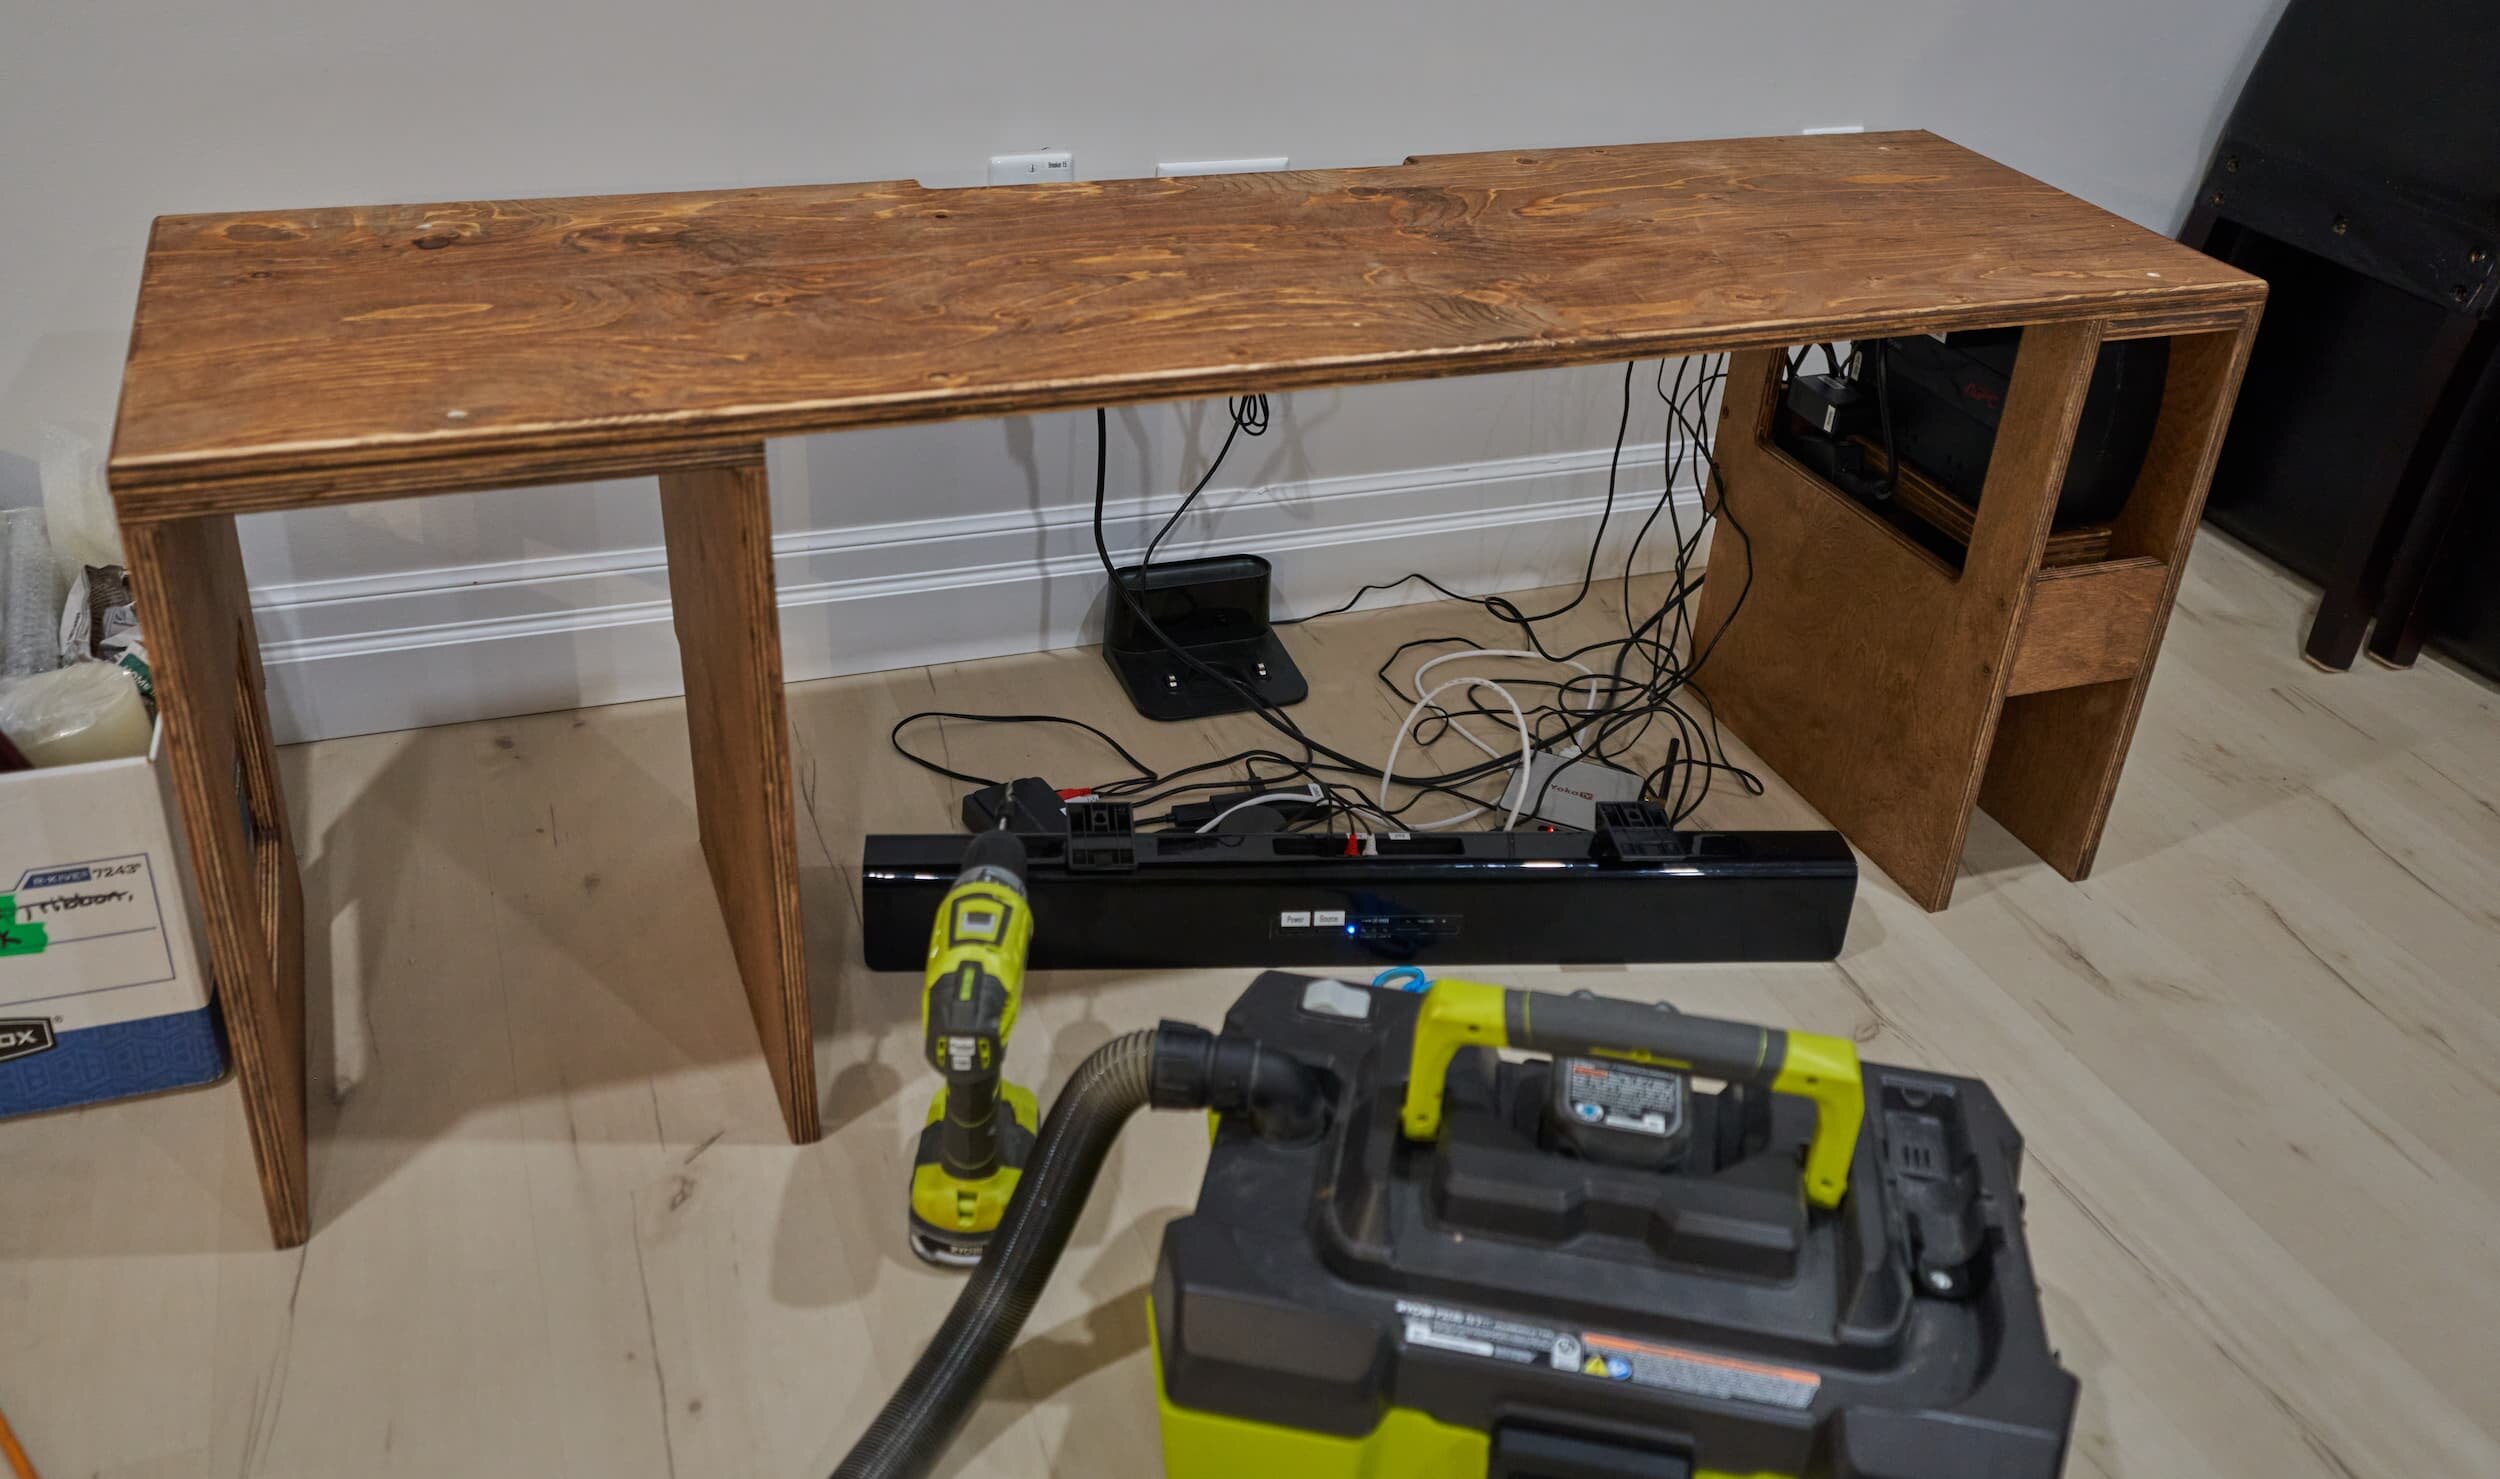
Step 3 - Bringing it Together
I thought the hard parts were behind me, funny enough, getting everything wired up in clean way was nearly just as much work!
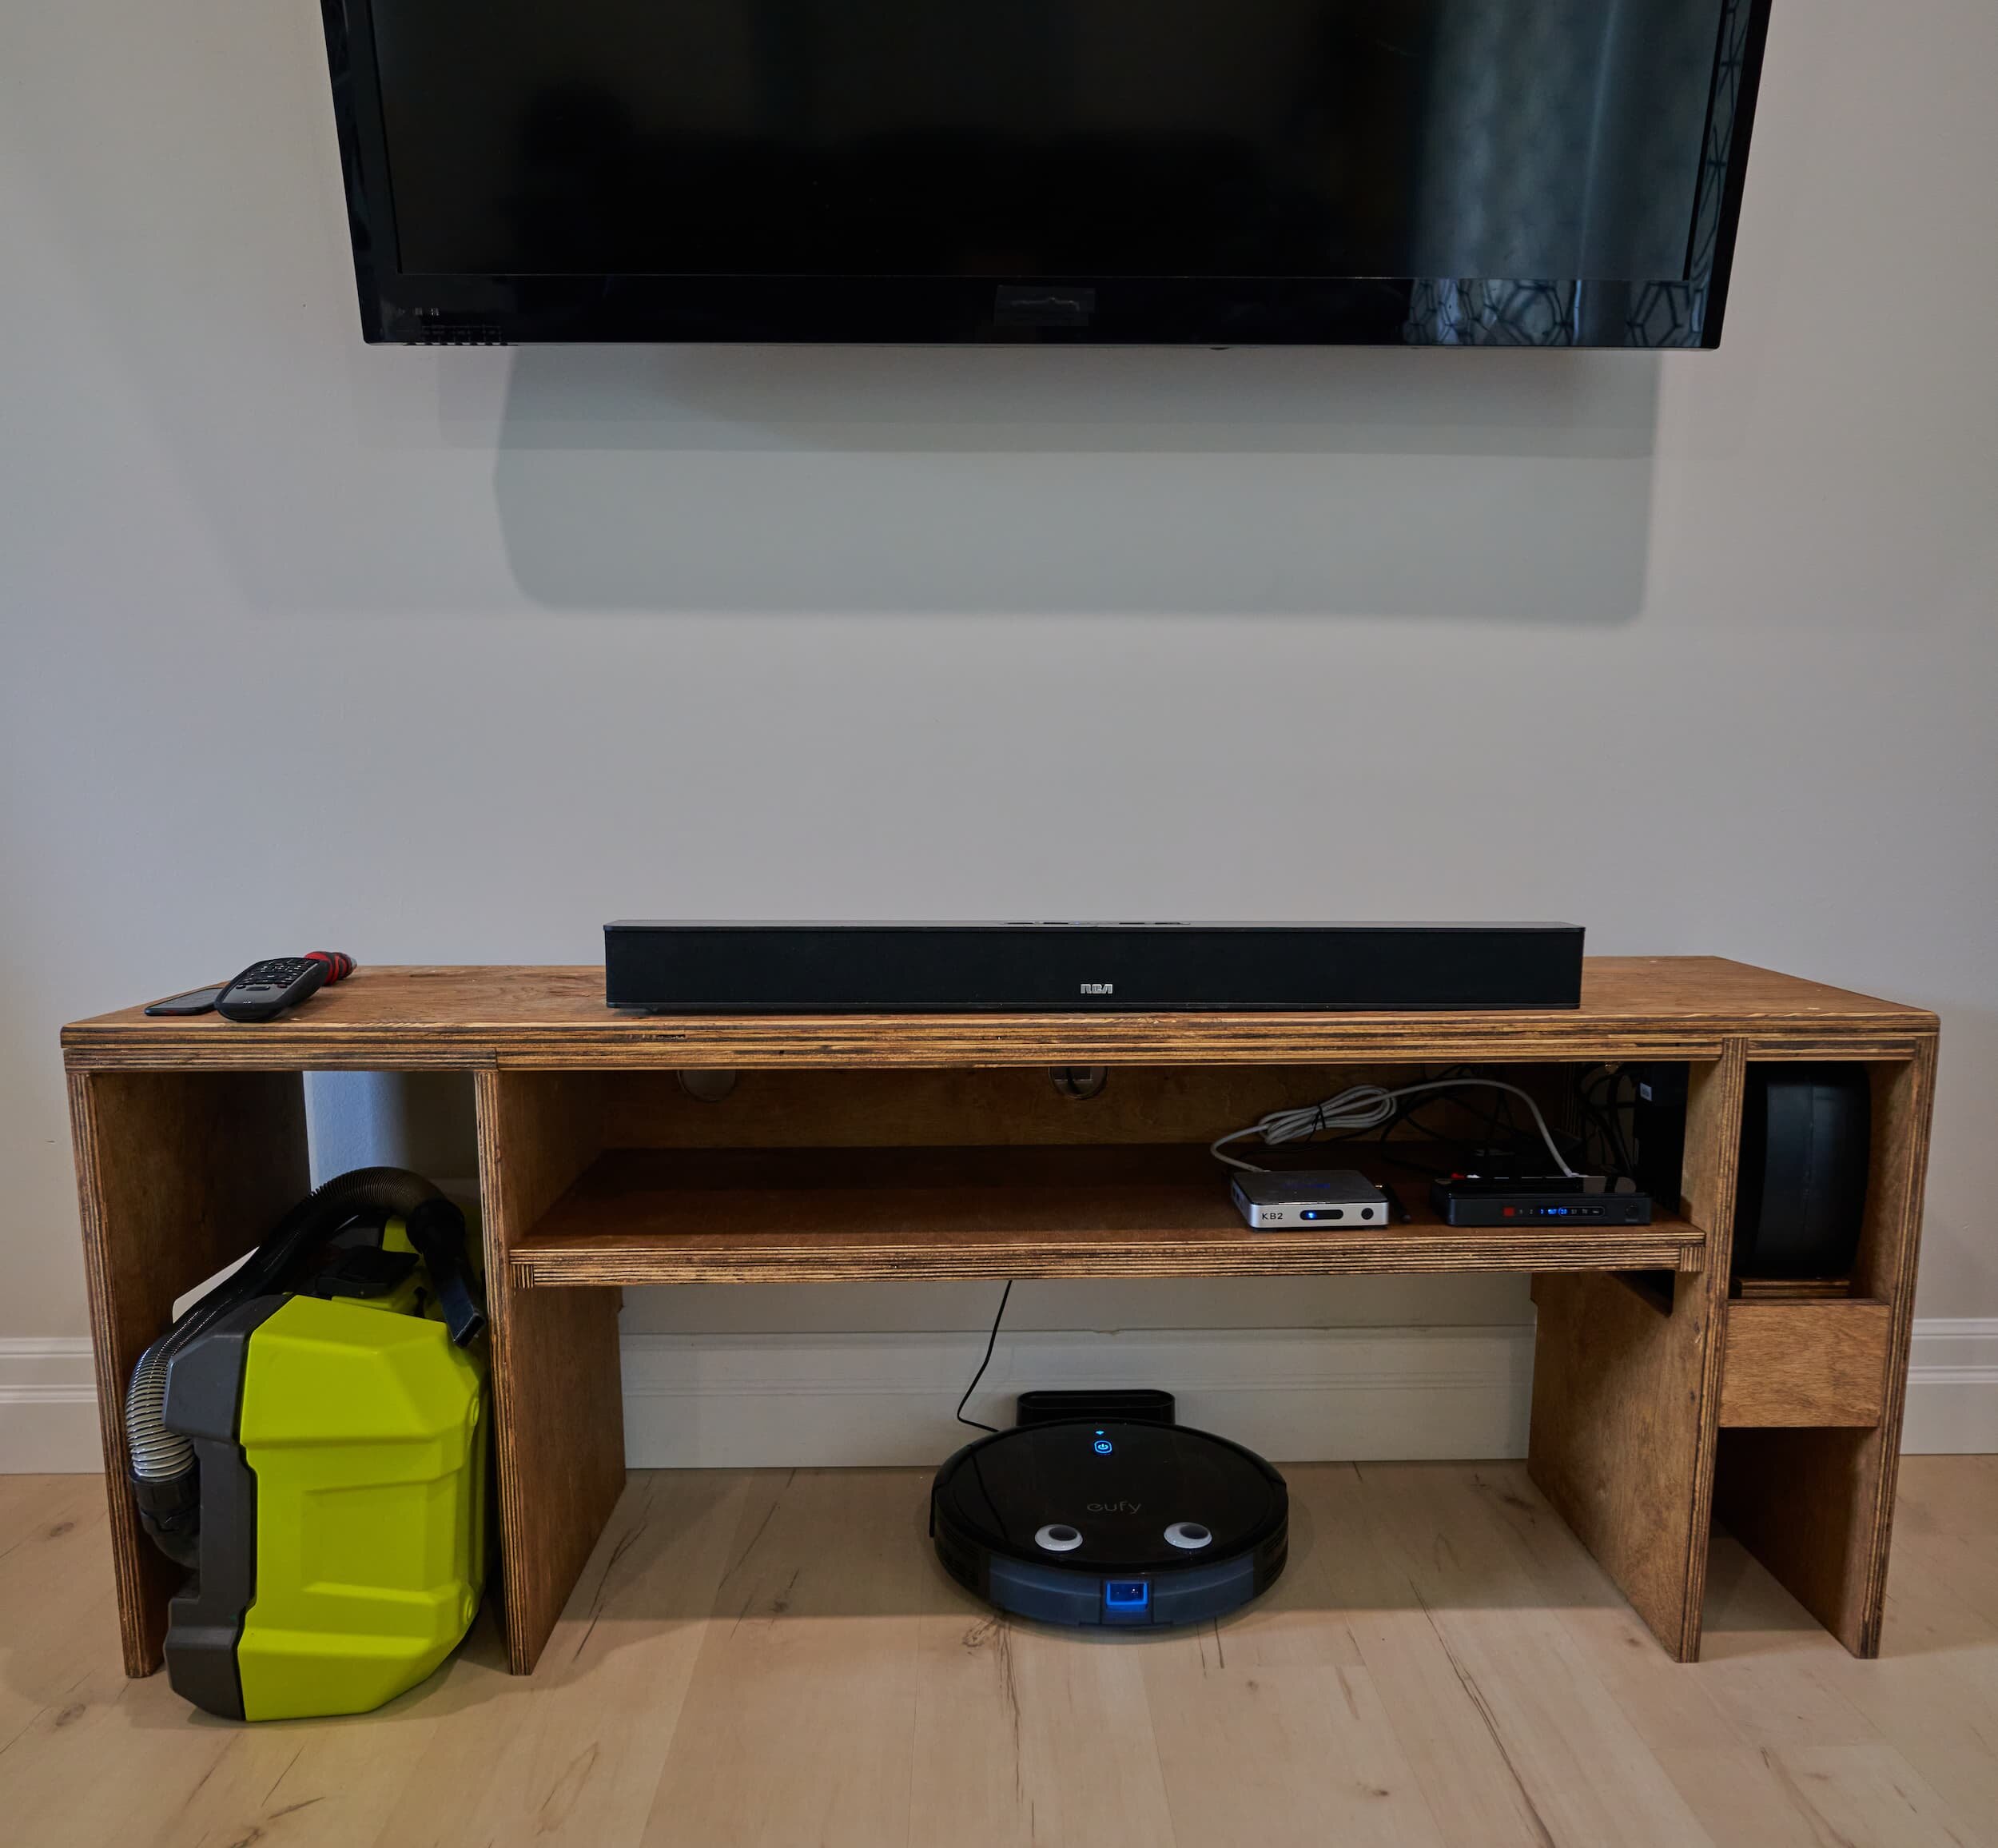


Milestone
When I went back to the office, I grabbed my speakers — the living room TV setup is good for now
Mixups, Surprises and Lessons Learned
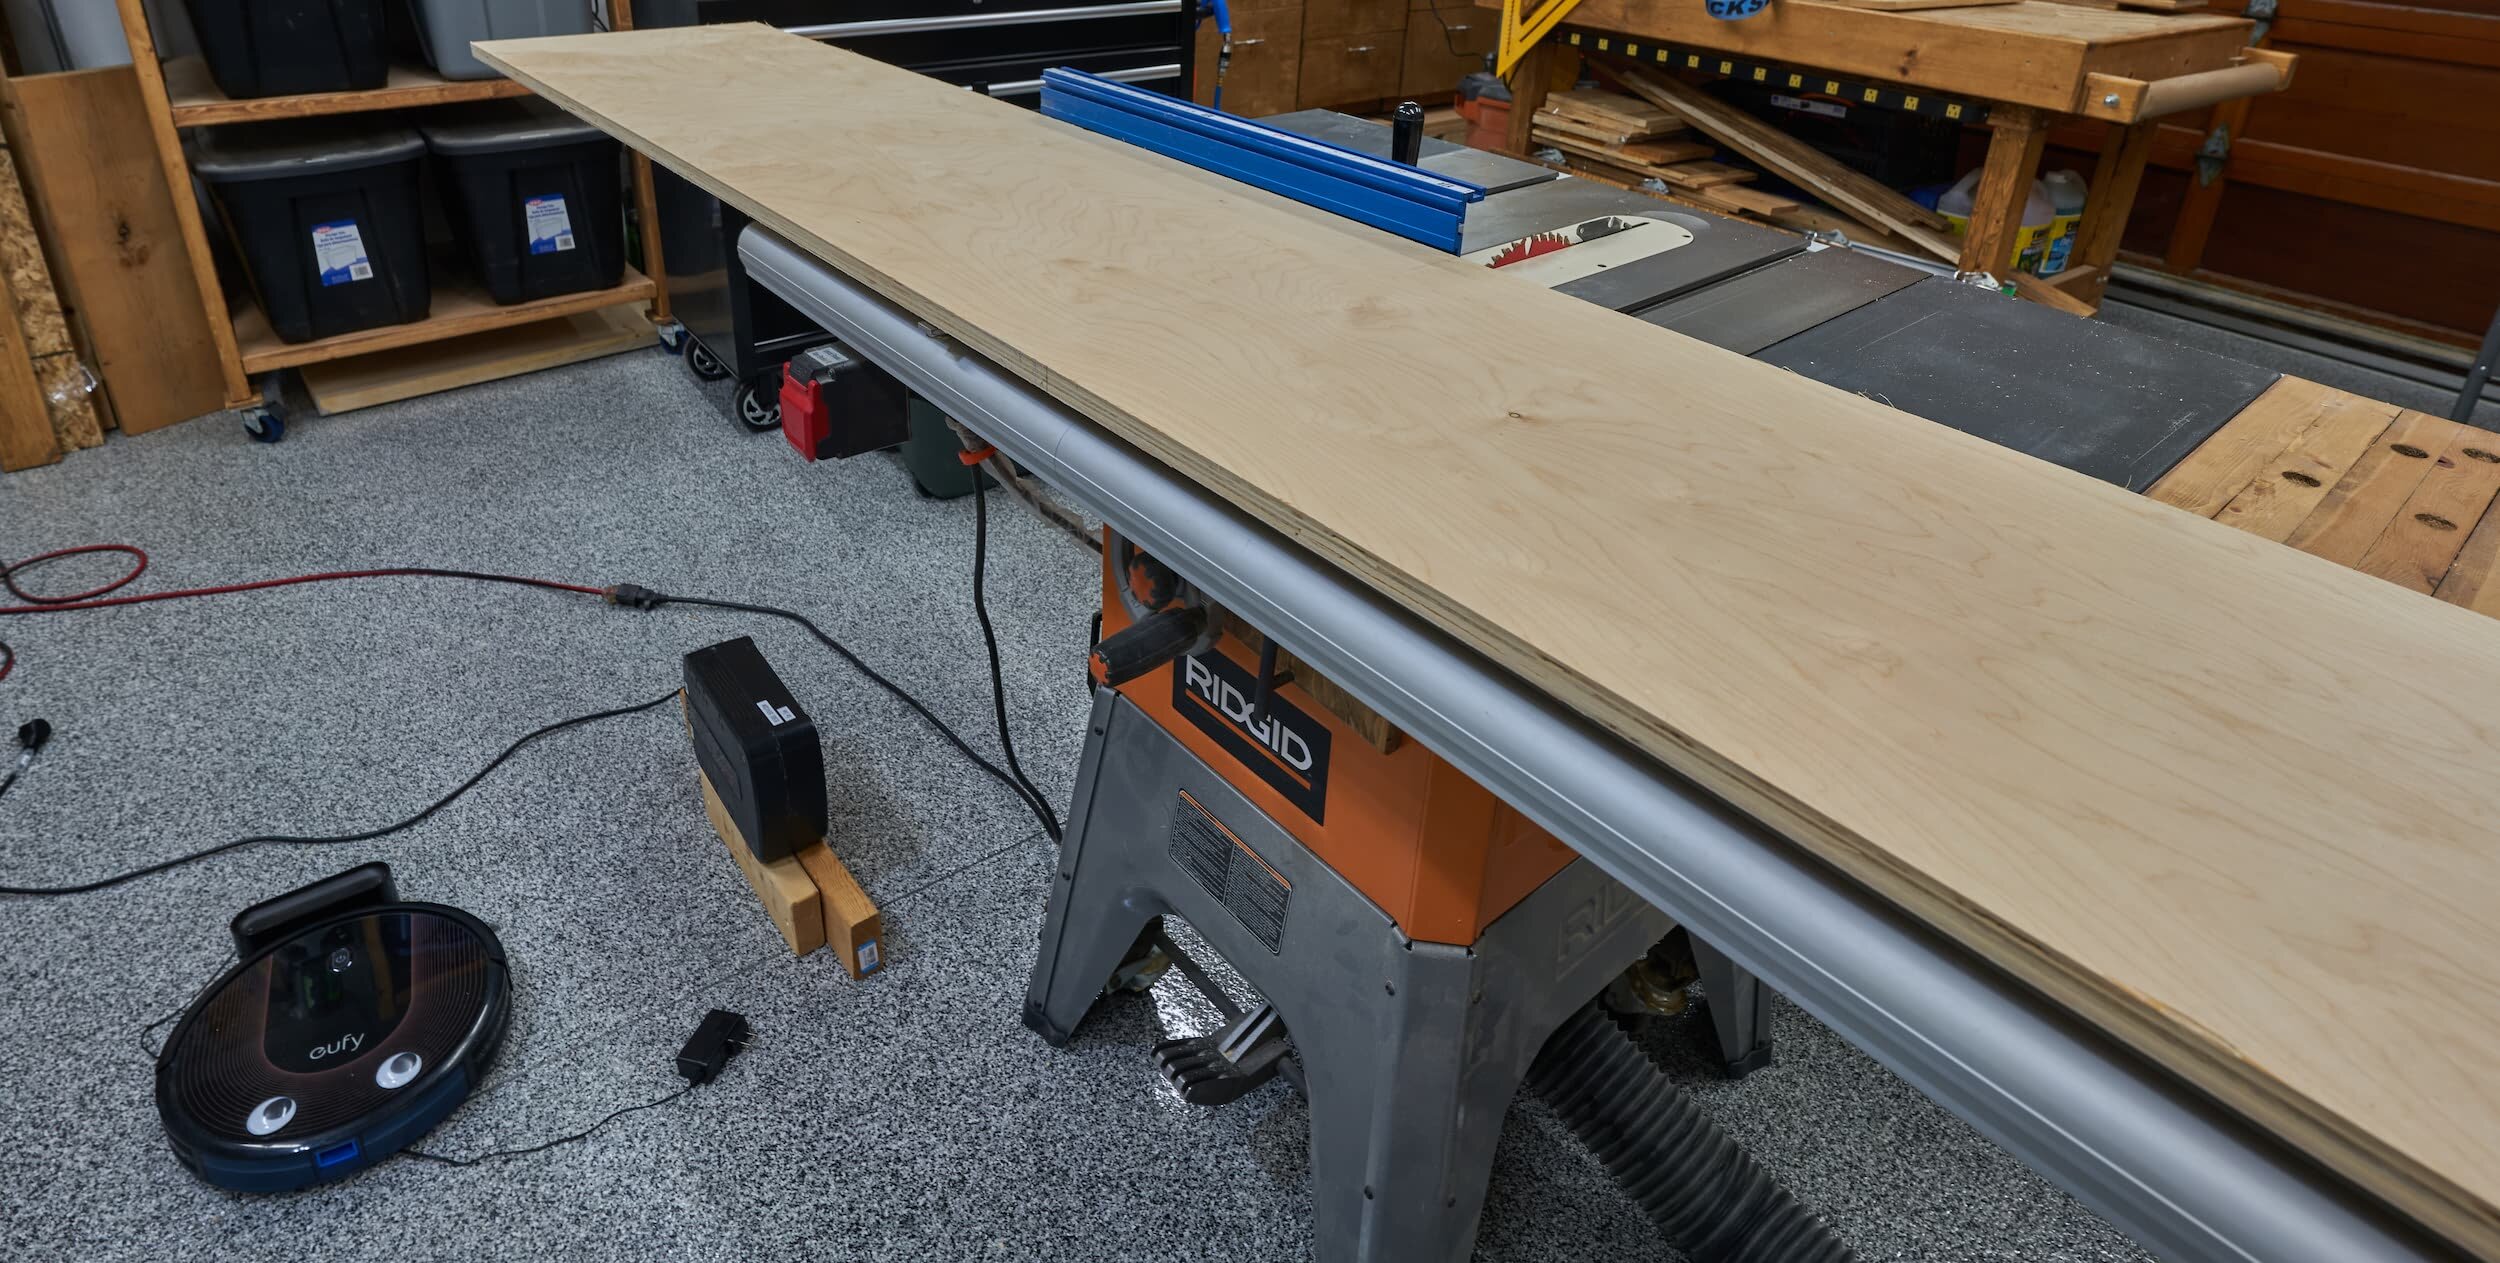
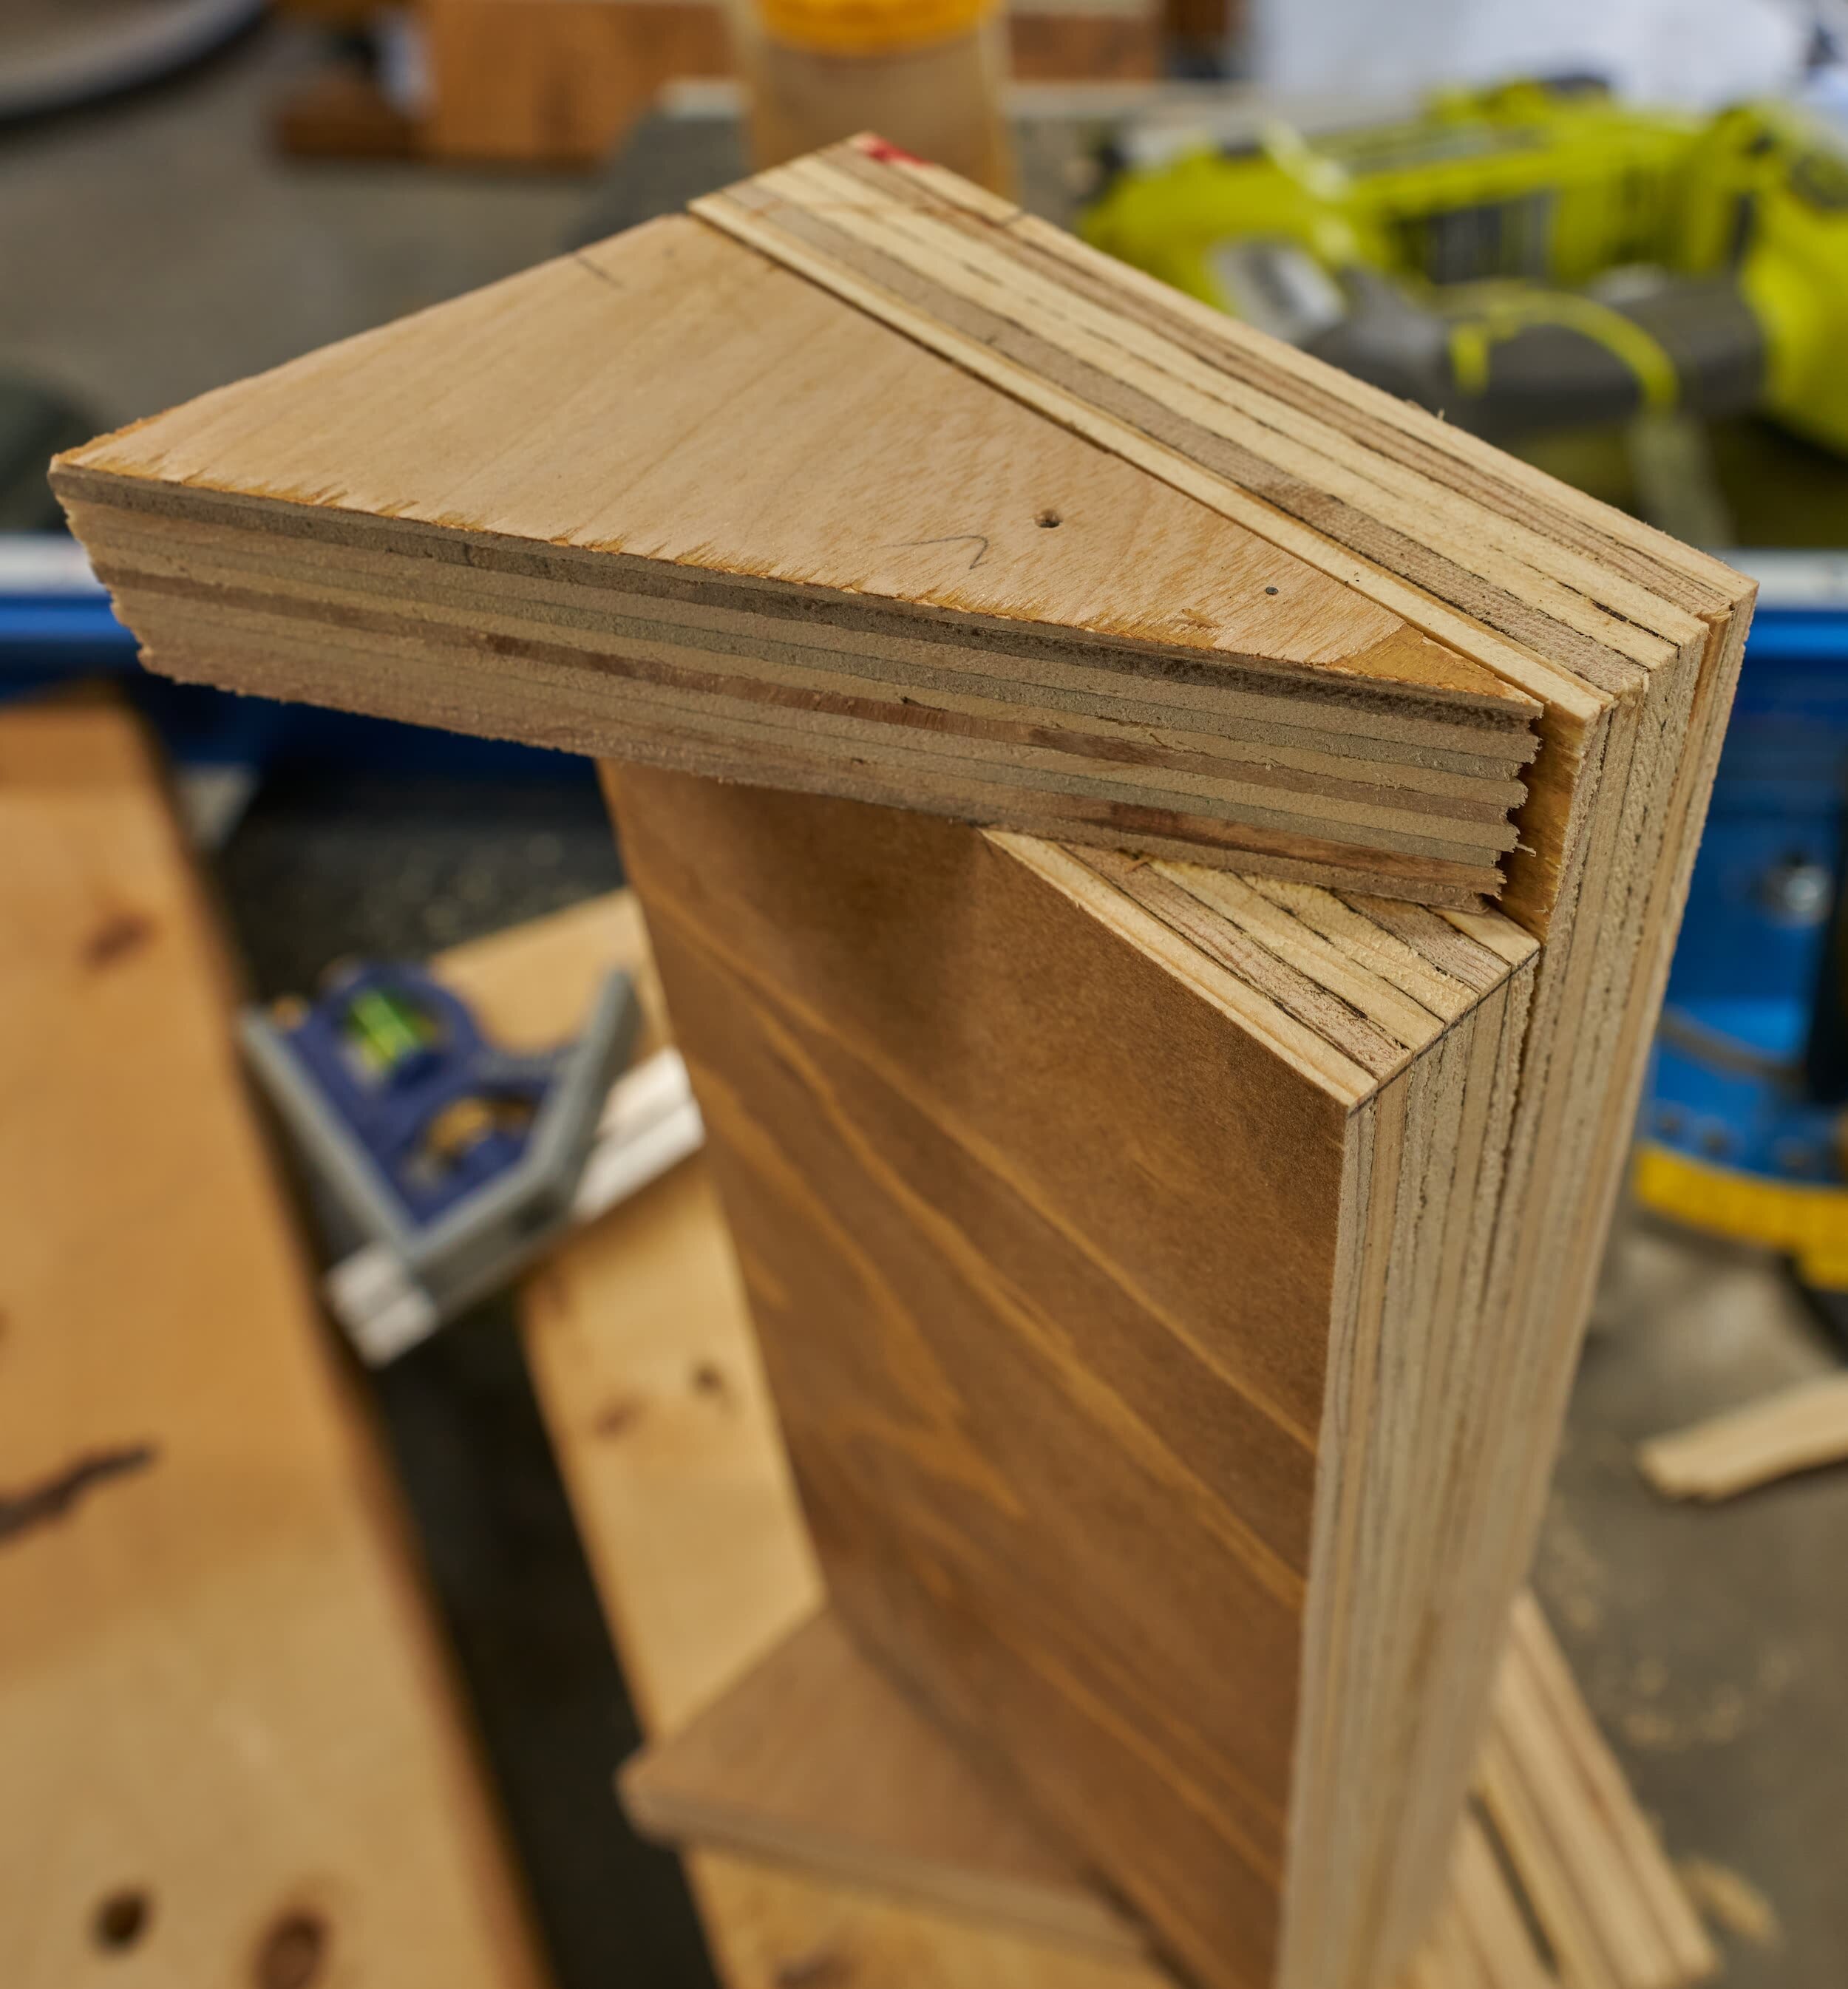
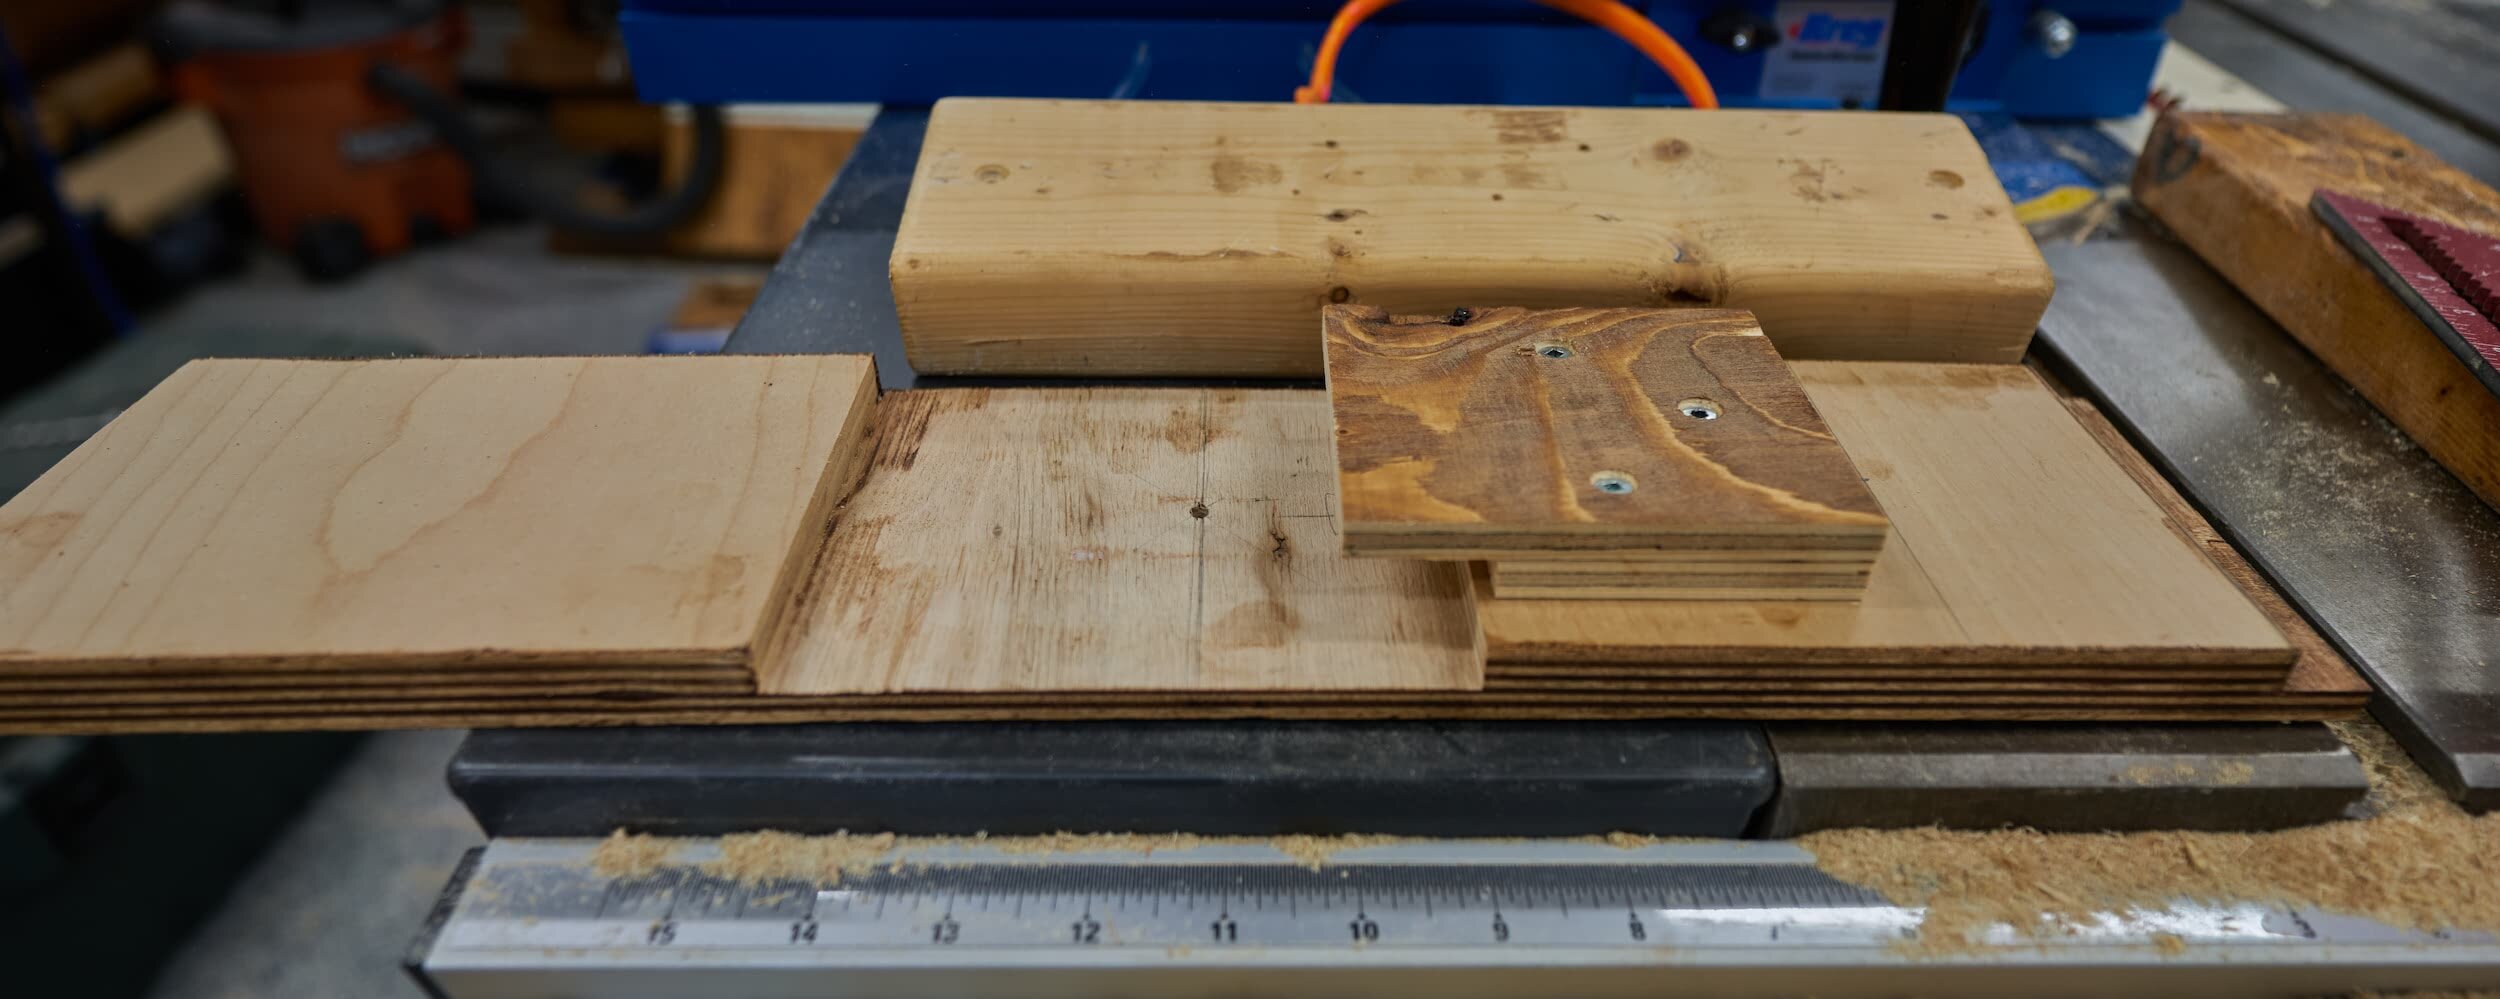
By far the hardest challenge was being constrained to working with that initial offcut of plywood as the primary material for this build:
The width of the offcut dictated how deep the overall shelf could be
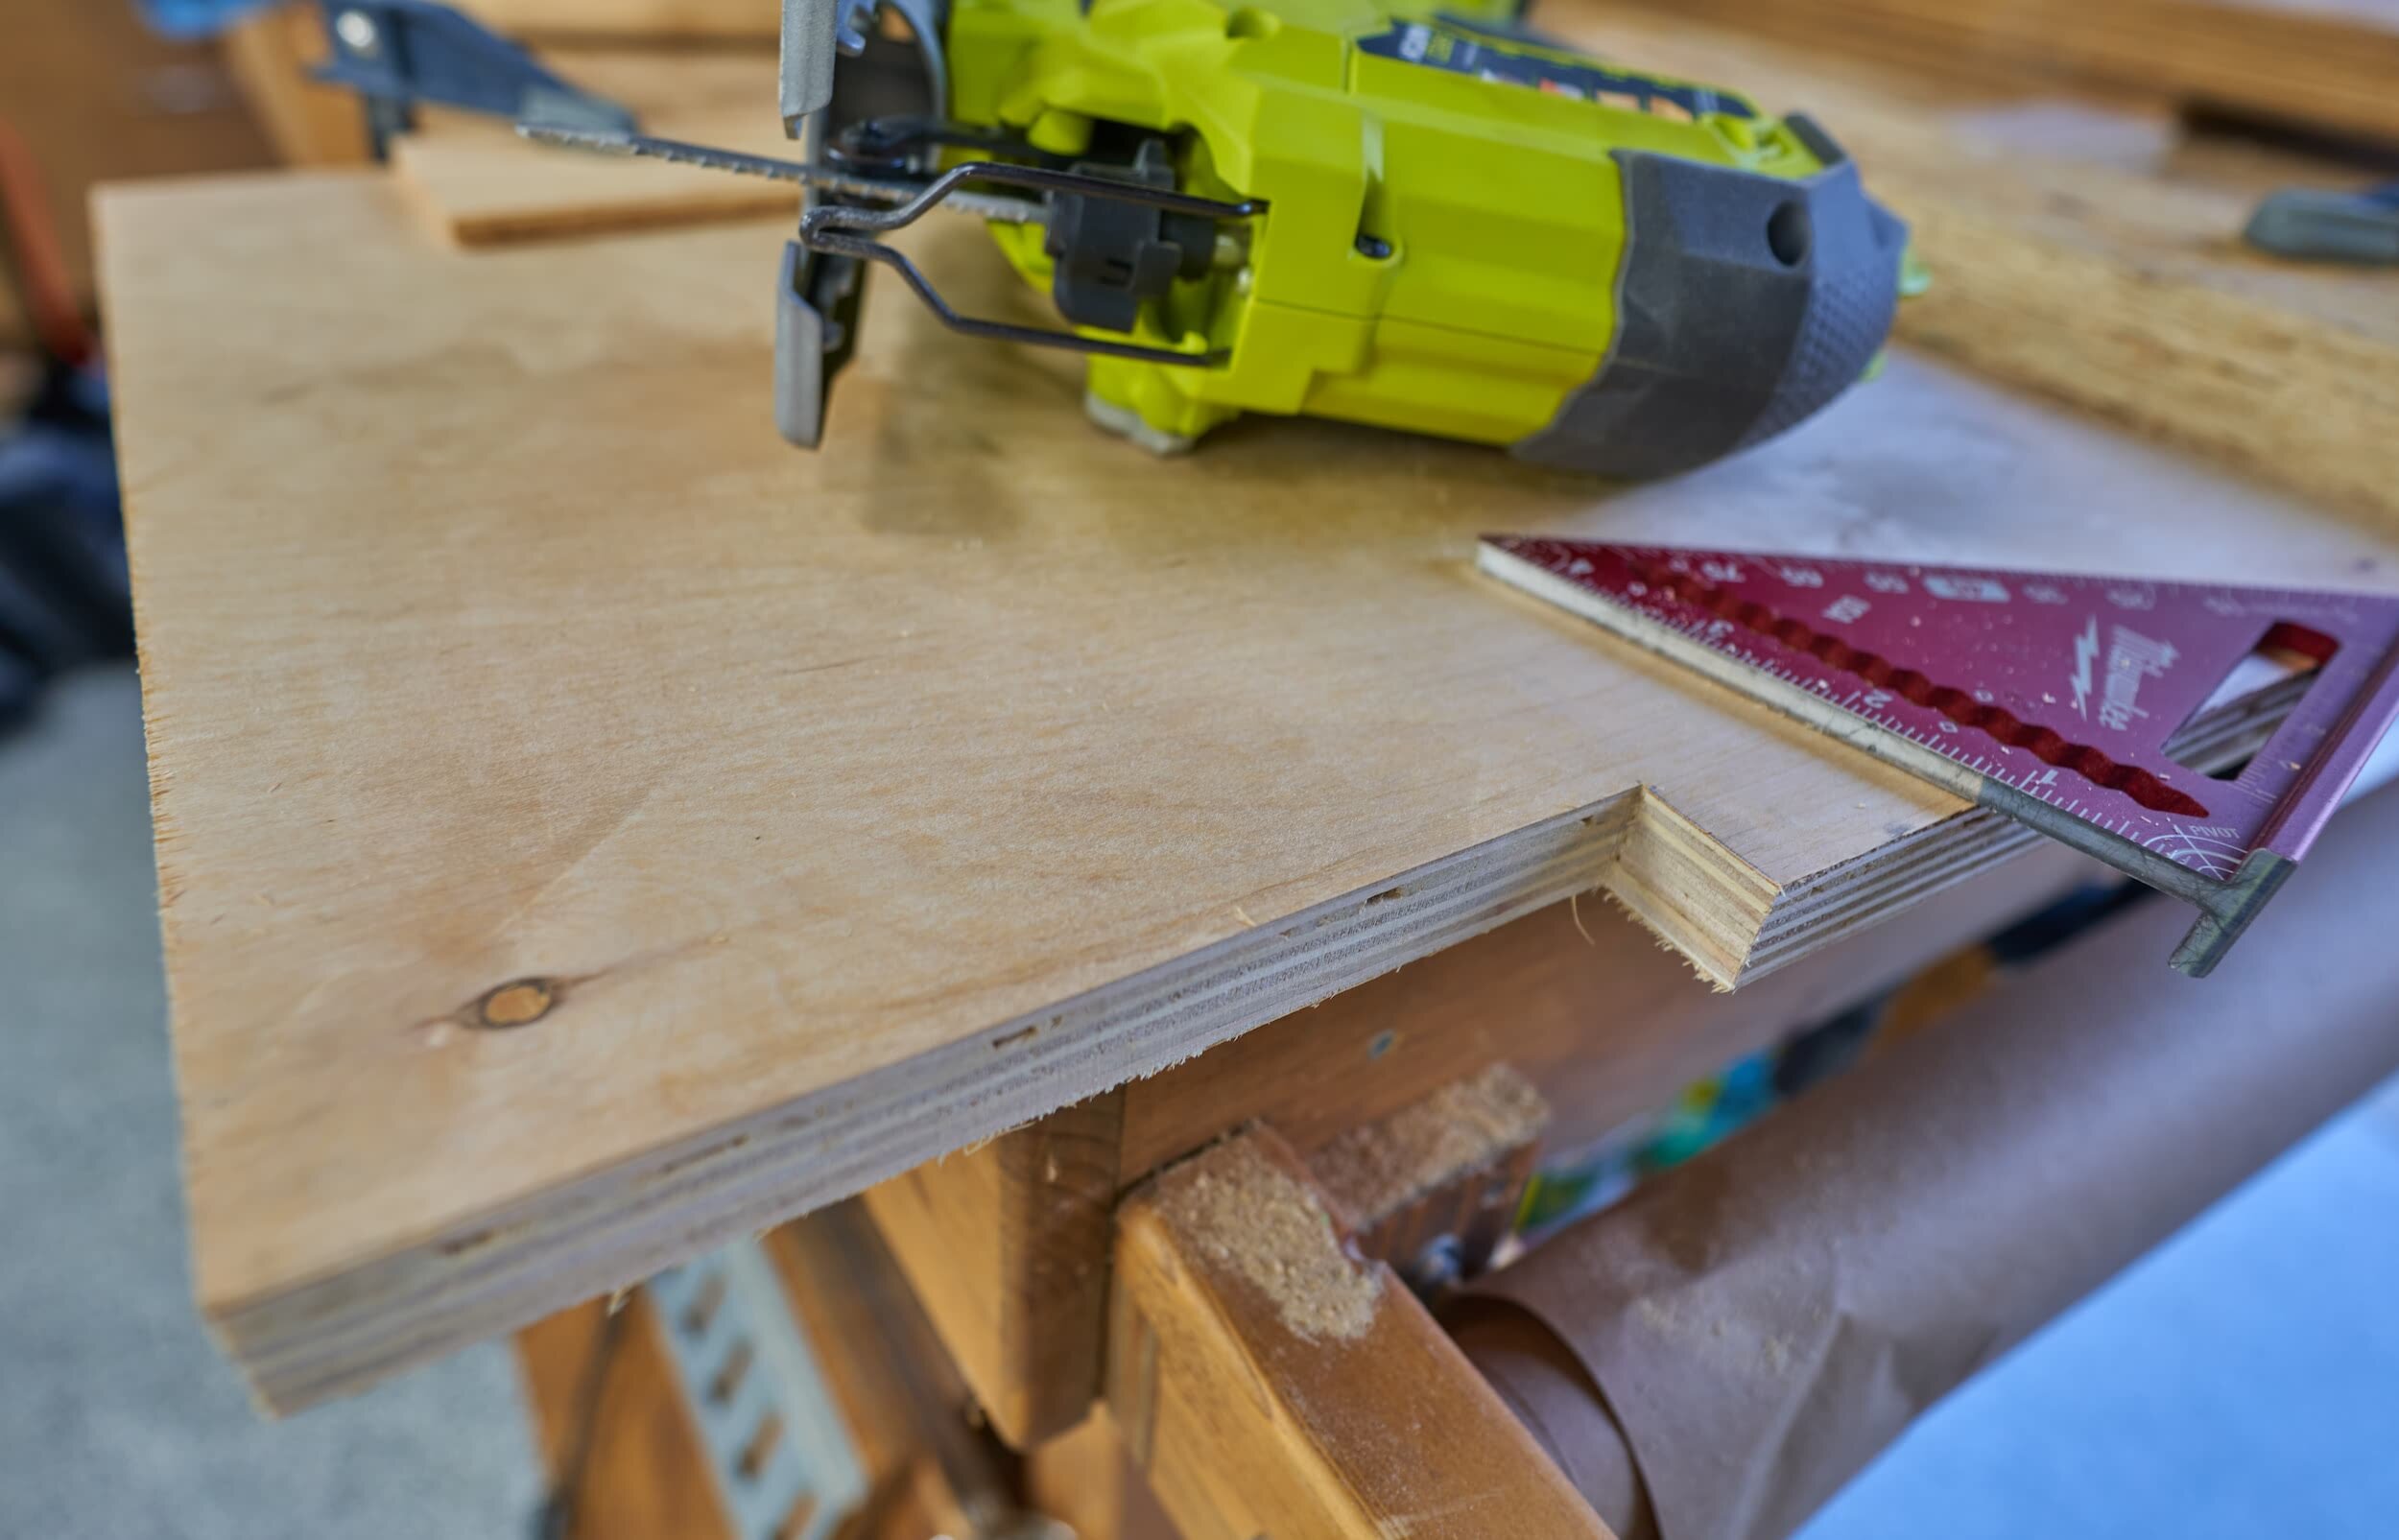
However, the size of the UPS dictates how big the opening for it needs to be
Which ultimately means the amount of material left after cutting out the opening was fairly small
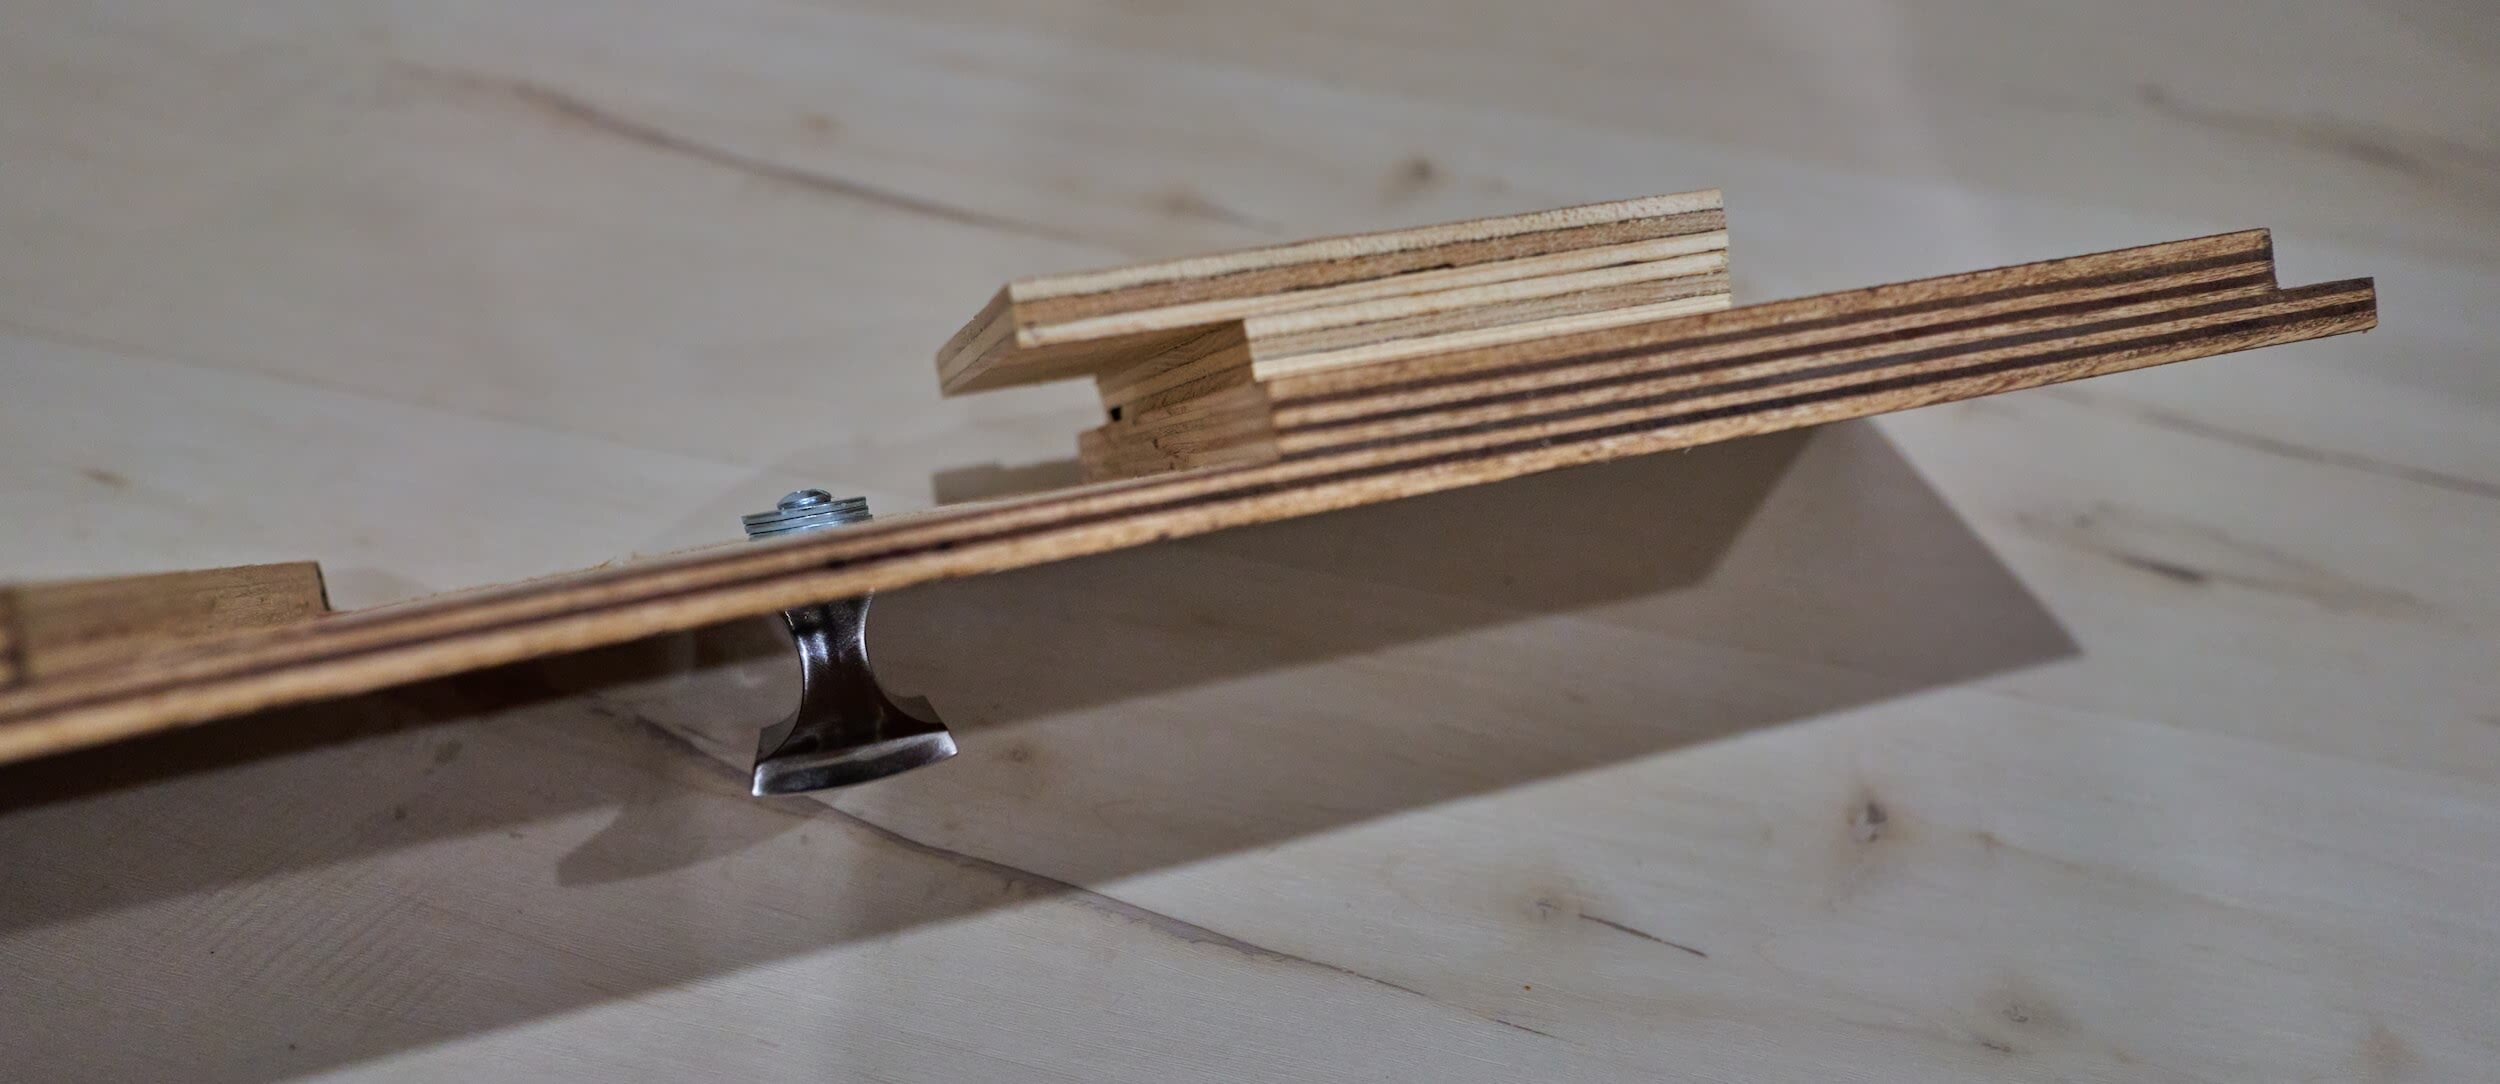
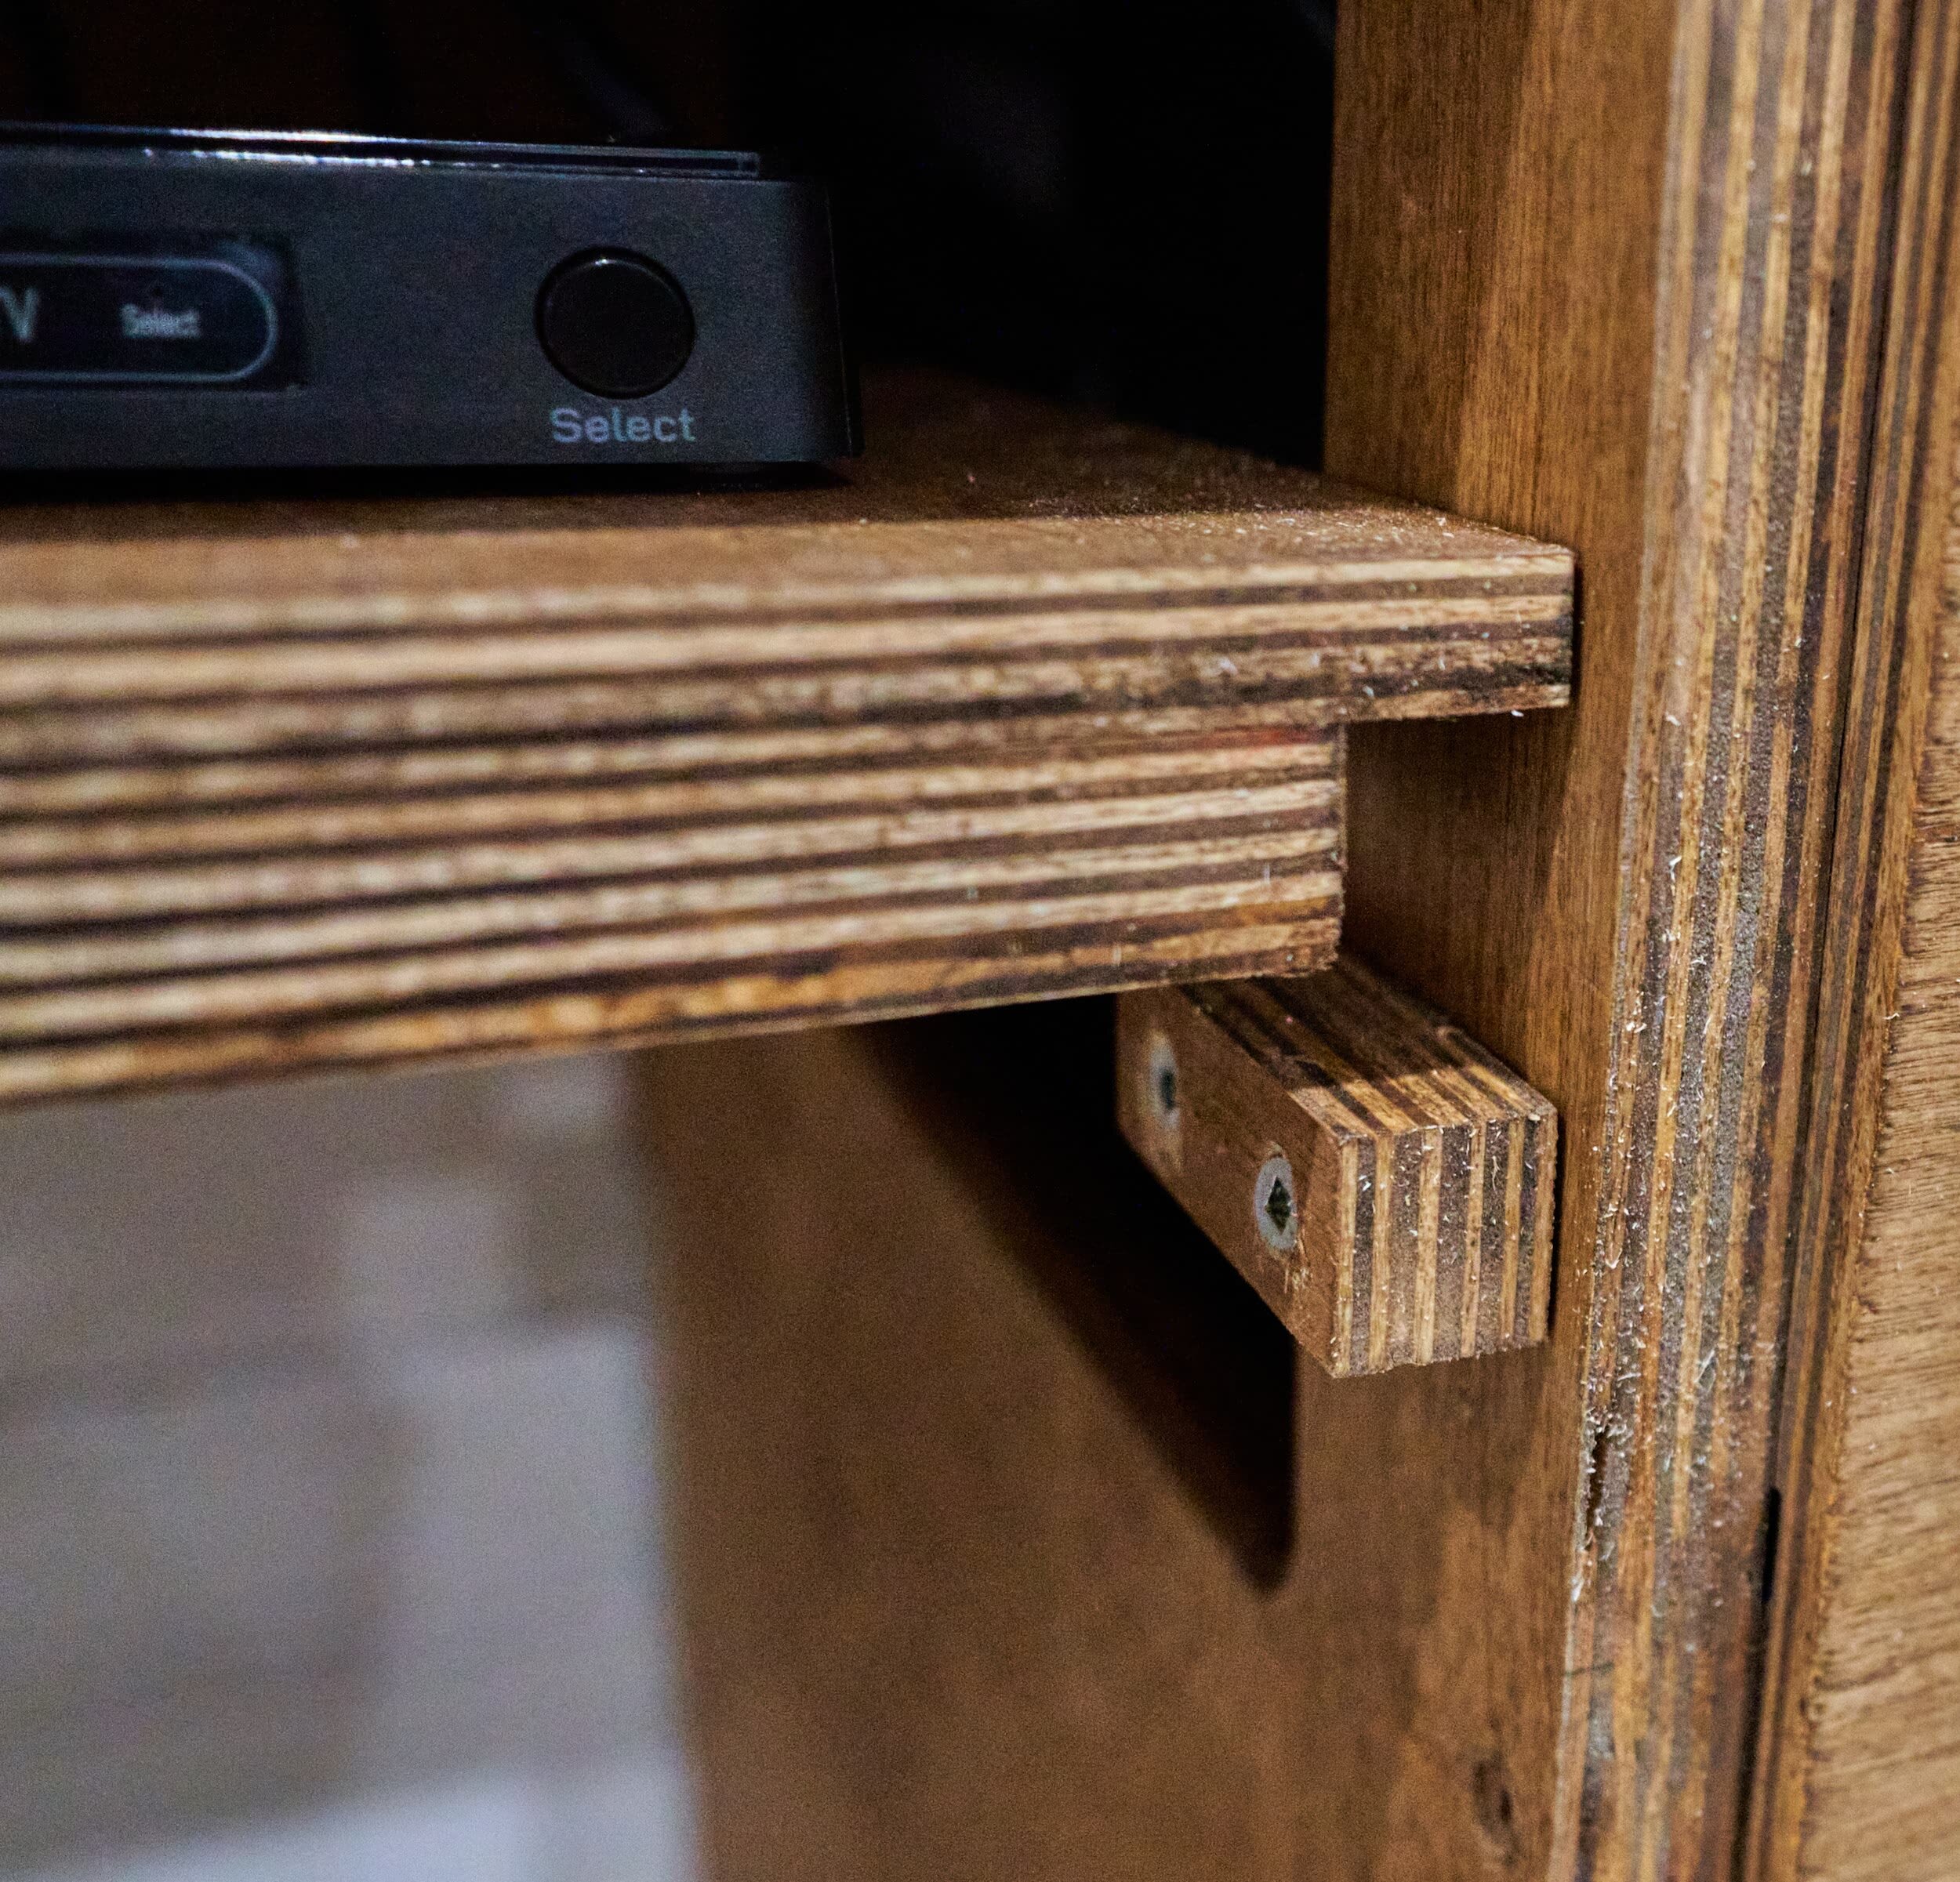
On the front side, this doesn’t have a huge impact - the plywood offcut I used as the shelf support only needs to support a screw… but on the back side (where I biased my cutout), this determines the front-to-back placement of the cord cover … and I could totally use another inch or two to shove all the cords!


The remaining gripes are mostly fit and finish:
The front cover was a bit of an afterthought, I couldn’t really make a super clean door for it and, due to the way I had to cut a relief on the back side, it exaggerated the tendency for it to warp
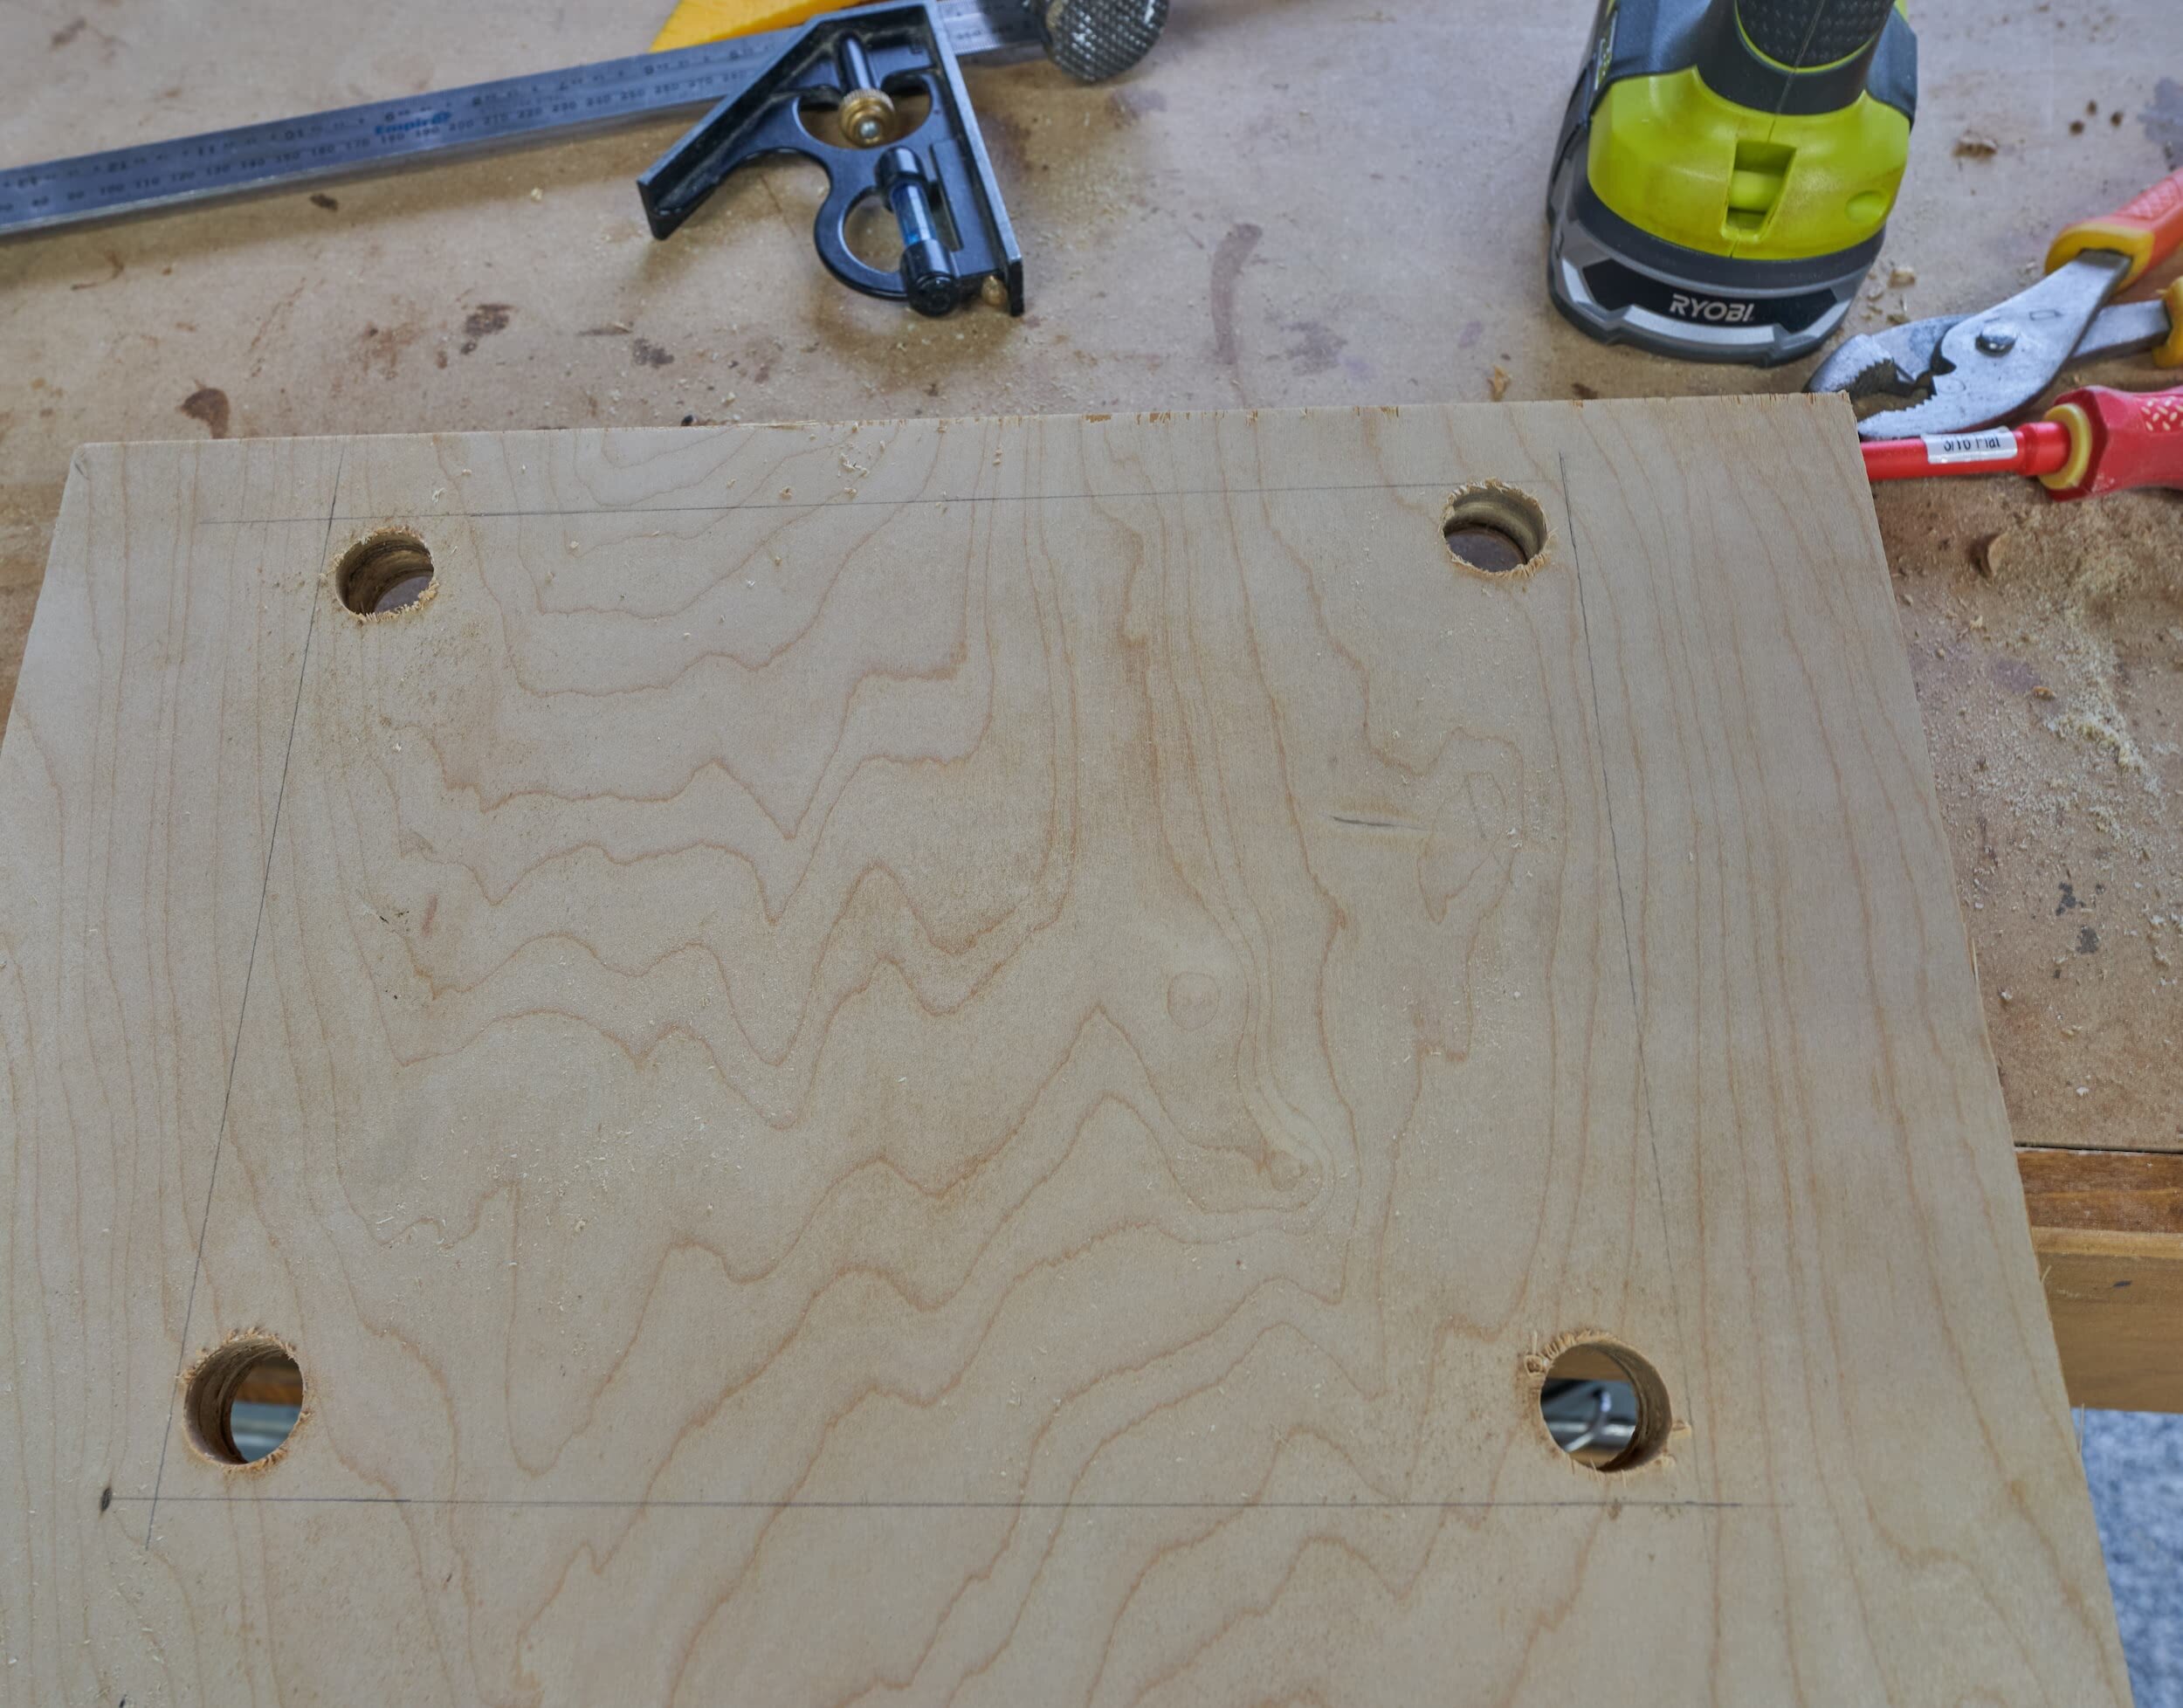
I made the cable cutouts prior to assembling (and didn’t have all of the cables handy) so it was a bit of an eye opener when I started feeding cables into/out of the cubbies that I was totally maxing out the capacity of the meager pass-through (I actually bought thin HDMI cables to alleviate this)
On the A/V side, the big challenge I have is that, I have no way to remotely control the volume: instead of buying a receiver, I used a HDMI splitter with a built-in audio extractor - this lets me directly hook up my computer speakers (but my speakers don’t have a remote). My current cheapo TV does have an audio-out that I can connect the speakers to, but it is not linked to the TV’s volume setting (and I don’t have a headphone jack which would be tied to the TV’s volume control). I snaked a 3.5mm stereo cable up through the wall in preparation for a future TV upgrade that will have a headphone port.
At some point, I think I’ll want to replace my cheap little Android Kodi box with something more performant that won’t choke up parsing through my NAS or playing 4K HDR x265 content. Since this is intended to be a secondary setup, I don’t think I’ll go with a full blown HTPC as I did in the basement, but it’s definitely something I’ll revisit after I upgrade the TV.
Featured Gear
The bones of the setup is pretty plain:
Cheap 1080P TV we had before I upgraded the main TV setup downstairs
Google Chromecast Ultra and Amazon Fire Stick 4K
A cheapo Android Kodi Box (AMLogic S912 , 2GB RAM). Officially, this decodes 4K60 HDR10 in H265, but reality suggests otherwise
The bits that might be a bit more unique:
APC Back-UPS 550 which is strong enough to keep everything running through a power blip; I used a CableCreation right-angle outlet saver to reduce the footprint to the wall
Mounting Dream MD2617-CA fully articulating TV mount; I probably could have got away with a tilting mount, but I was familiar with the installation of this one specifically (since I just installed it for the main TV) and the extra articulation comes in handy if I ever want to do anything behind the TV (like run a stereo cable up)
Logitech Z-2300 speakers which are sadly, discontinued however, the modern spiritual successors (Z623/Z623) are a good stand-in.
A 3-source HDMI switcher with audio extraction (both 2.1 and 5.1) with a remote; I used thin HDMI cables (2’/6’) in conjunction with couplers to make HDMI extensions - this allowed me to put the Fire and Chromecast out of sight underneath the UPS
SofaBaton smart universal remote to try and keep the amount of clutter in the living room to a minimum
Our faithful robo-vac, the Eufy 30C; there are some newer models now but this model goes on sale regularly and does everything we need (for now!)
Product links may be affiliate links: MinMaxGeek may earn a commission on any purchases made via said links without any additional cost to you.