

Build Log: Wall-Desk for Nicole
After building my first desk (read about it here), my wife wanted one for her station too — thankfully this was always part of the plan. The build for her desk went much more smoothly for three reasons
A lot of lessons learned during the construction of my desk
Her PC was simpler and as such, there were fewer customization needs on the desk
Her desk was ‘downstream’ from mine and there were no plans to pass power further downstream to another guest station
All in all, it took half the time (maybe even less) to build her station.
Quick Links
Where we started...
Similar to me, she started out on a Costco plastic folding desk as well, albeit a slightly smaller one. Like my old desk, this was also cheap, easy to transport, easy to clean and easily supported the weight we put on it. Being a smaller desk though, the desktop surface didn’t have a hinge running down the middle. It had similar faults though:
The legs the struts always get in the way
Being 2¼ to 2½ inches thick, this can be a bit thick for many ‘clamp on’ accessories (and the table isn’t for strong compressive force)
Again, since we rent, this ruled out any major “built it into the wall” options.
We were in the midst of moving and swapping monitors around during this phase, but even ignoring the monitors, this isn’t really optimal. Like it’s not terrible, but it’s not great either.
Goals and Constraints
Being the ‘second’ station in a waterfall configuration means that this desk had power and network connectivity passed down to it. This faux-wall would be responsible for providing network connectivity further downstream (i.e., a guest station). Technically it’s able to provide power further downstream but I likely won’t take advantage of that.
So the goals for her desk echo what I set out to address with mine:
[1] Clean up this desk. This is the big motivator for both the desks: to eliminate all of the cable and device clutter by integrating it directly into the faux-wall.
Move the subwoofer to the other side so is ample footroom — eliminate any cable runs caused by this
Eliminate cables running from the floor (computer) up to the desk
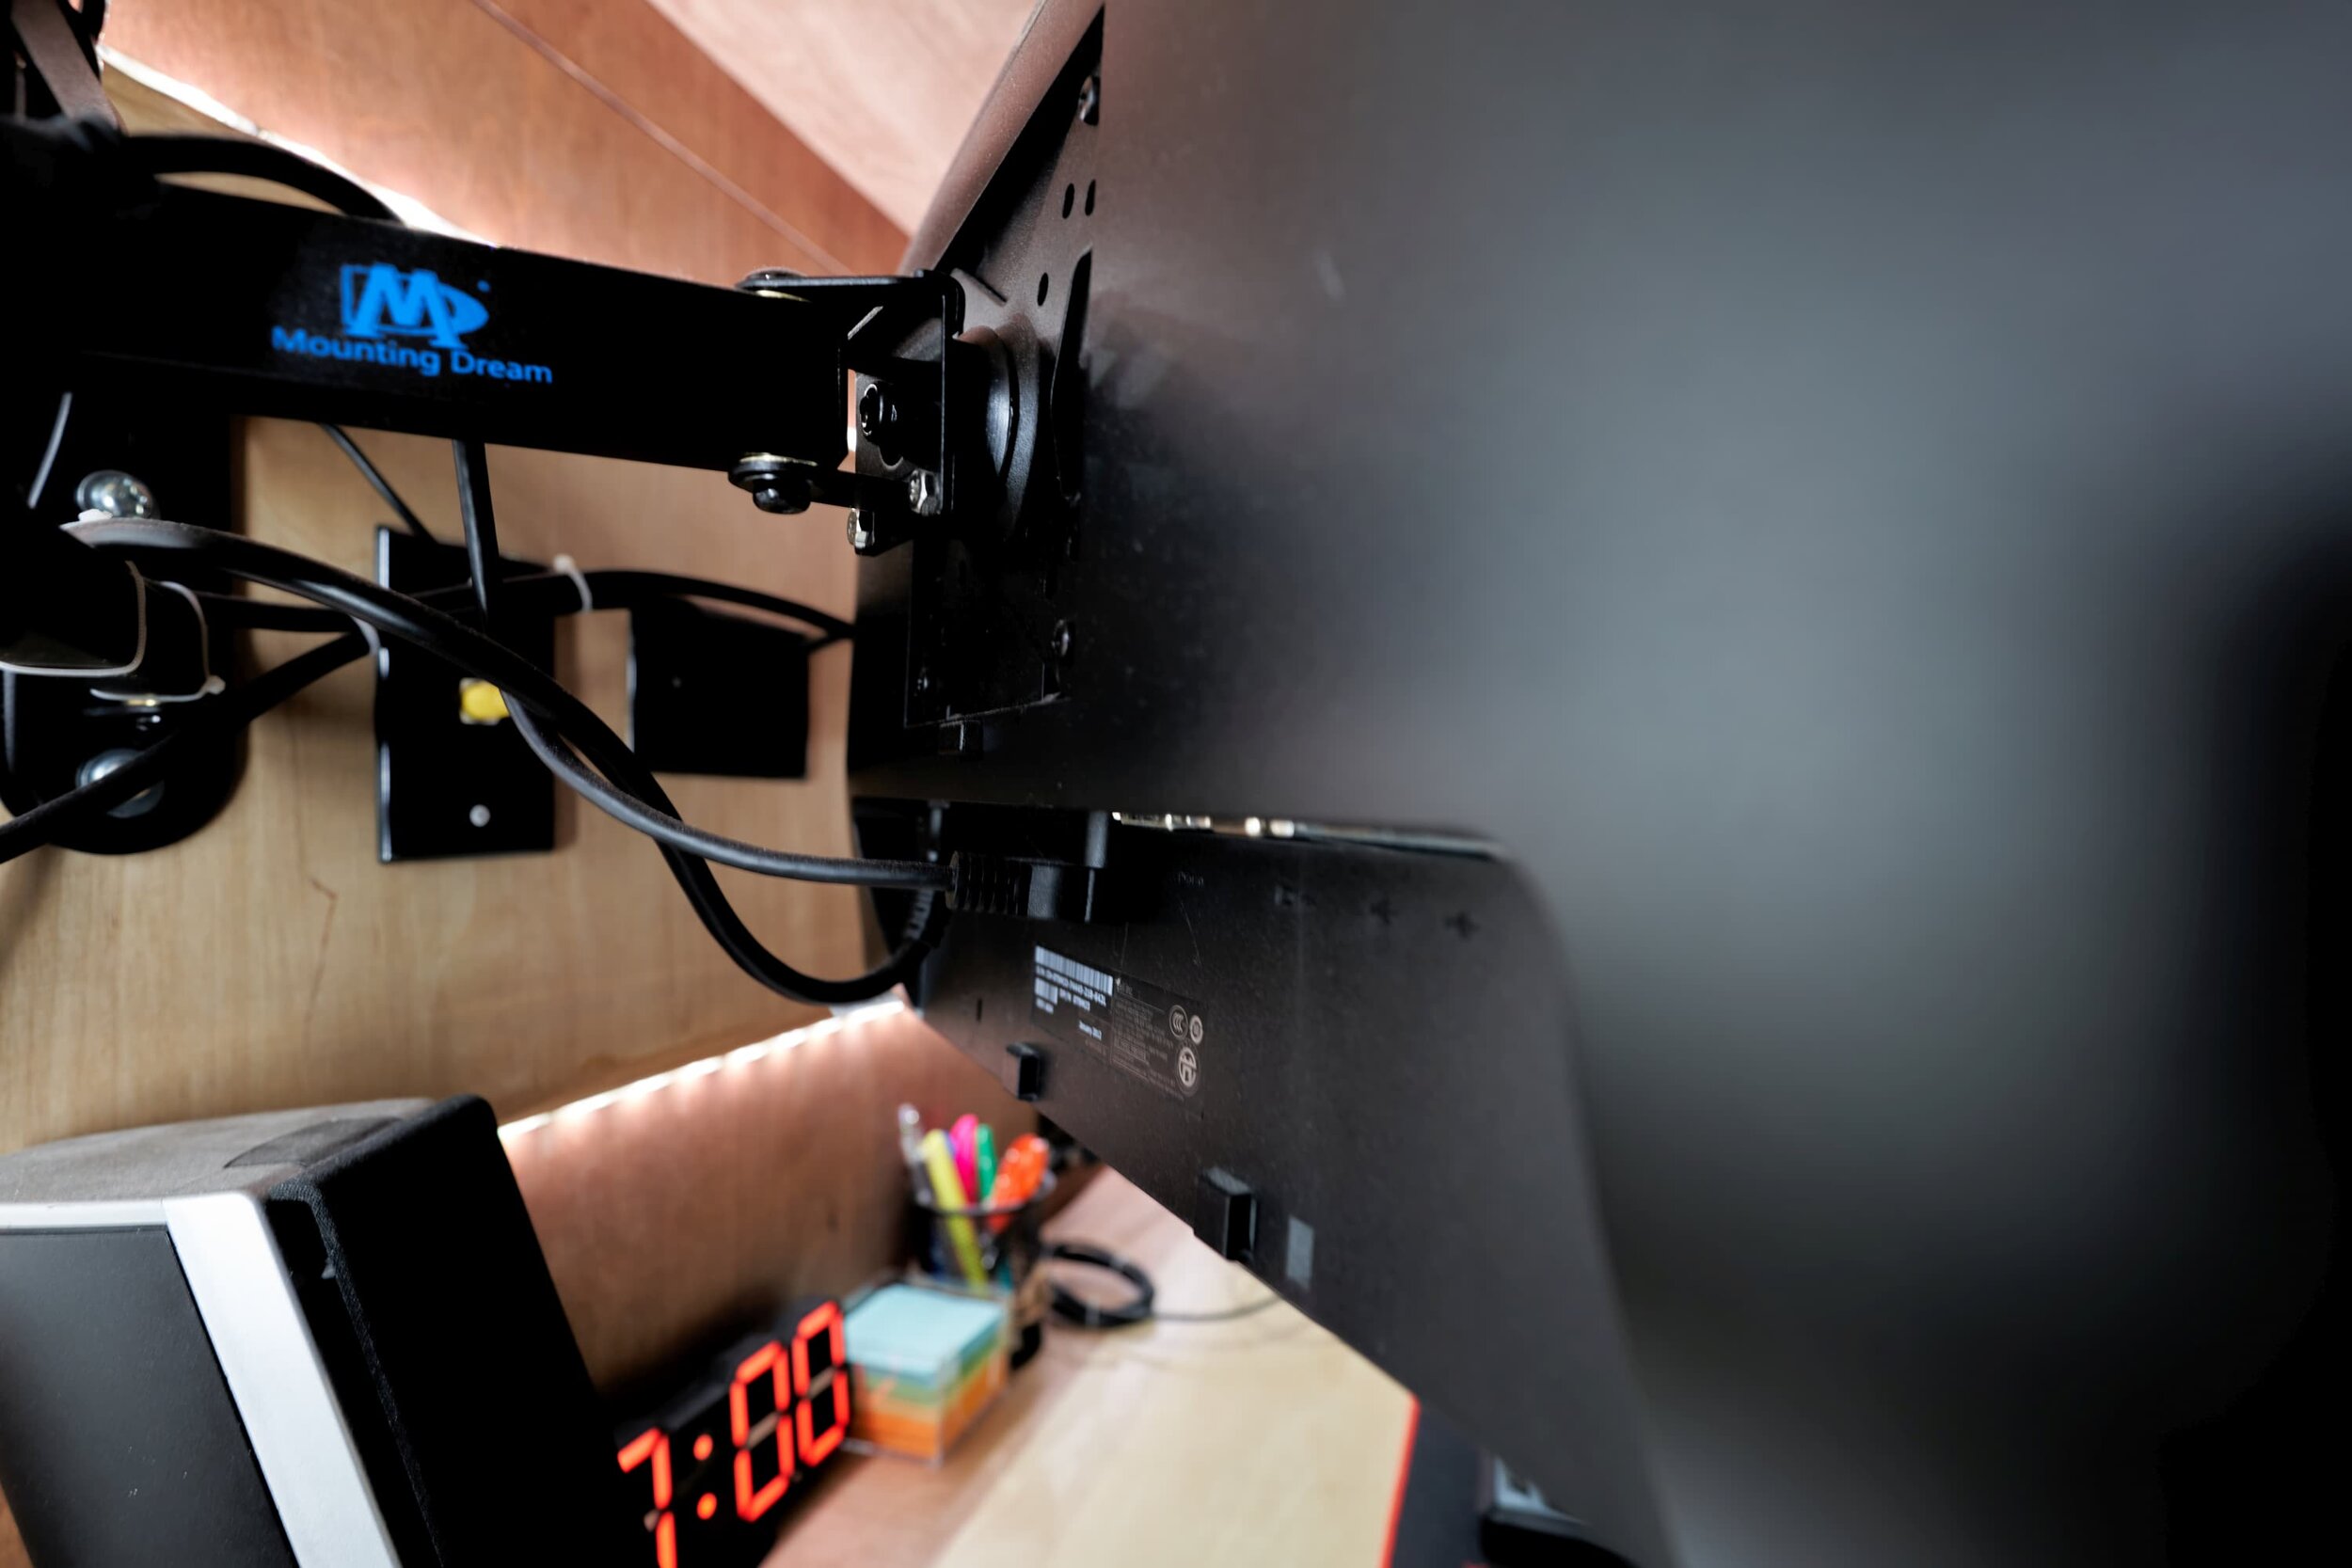
Monitor mounting decoupled from the desk (mounted to the wall)
Mount the speakers to the wall so they are off the desk
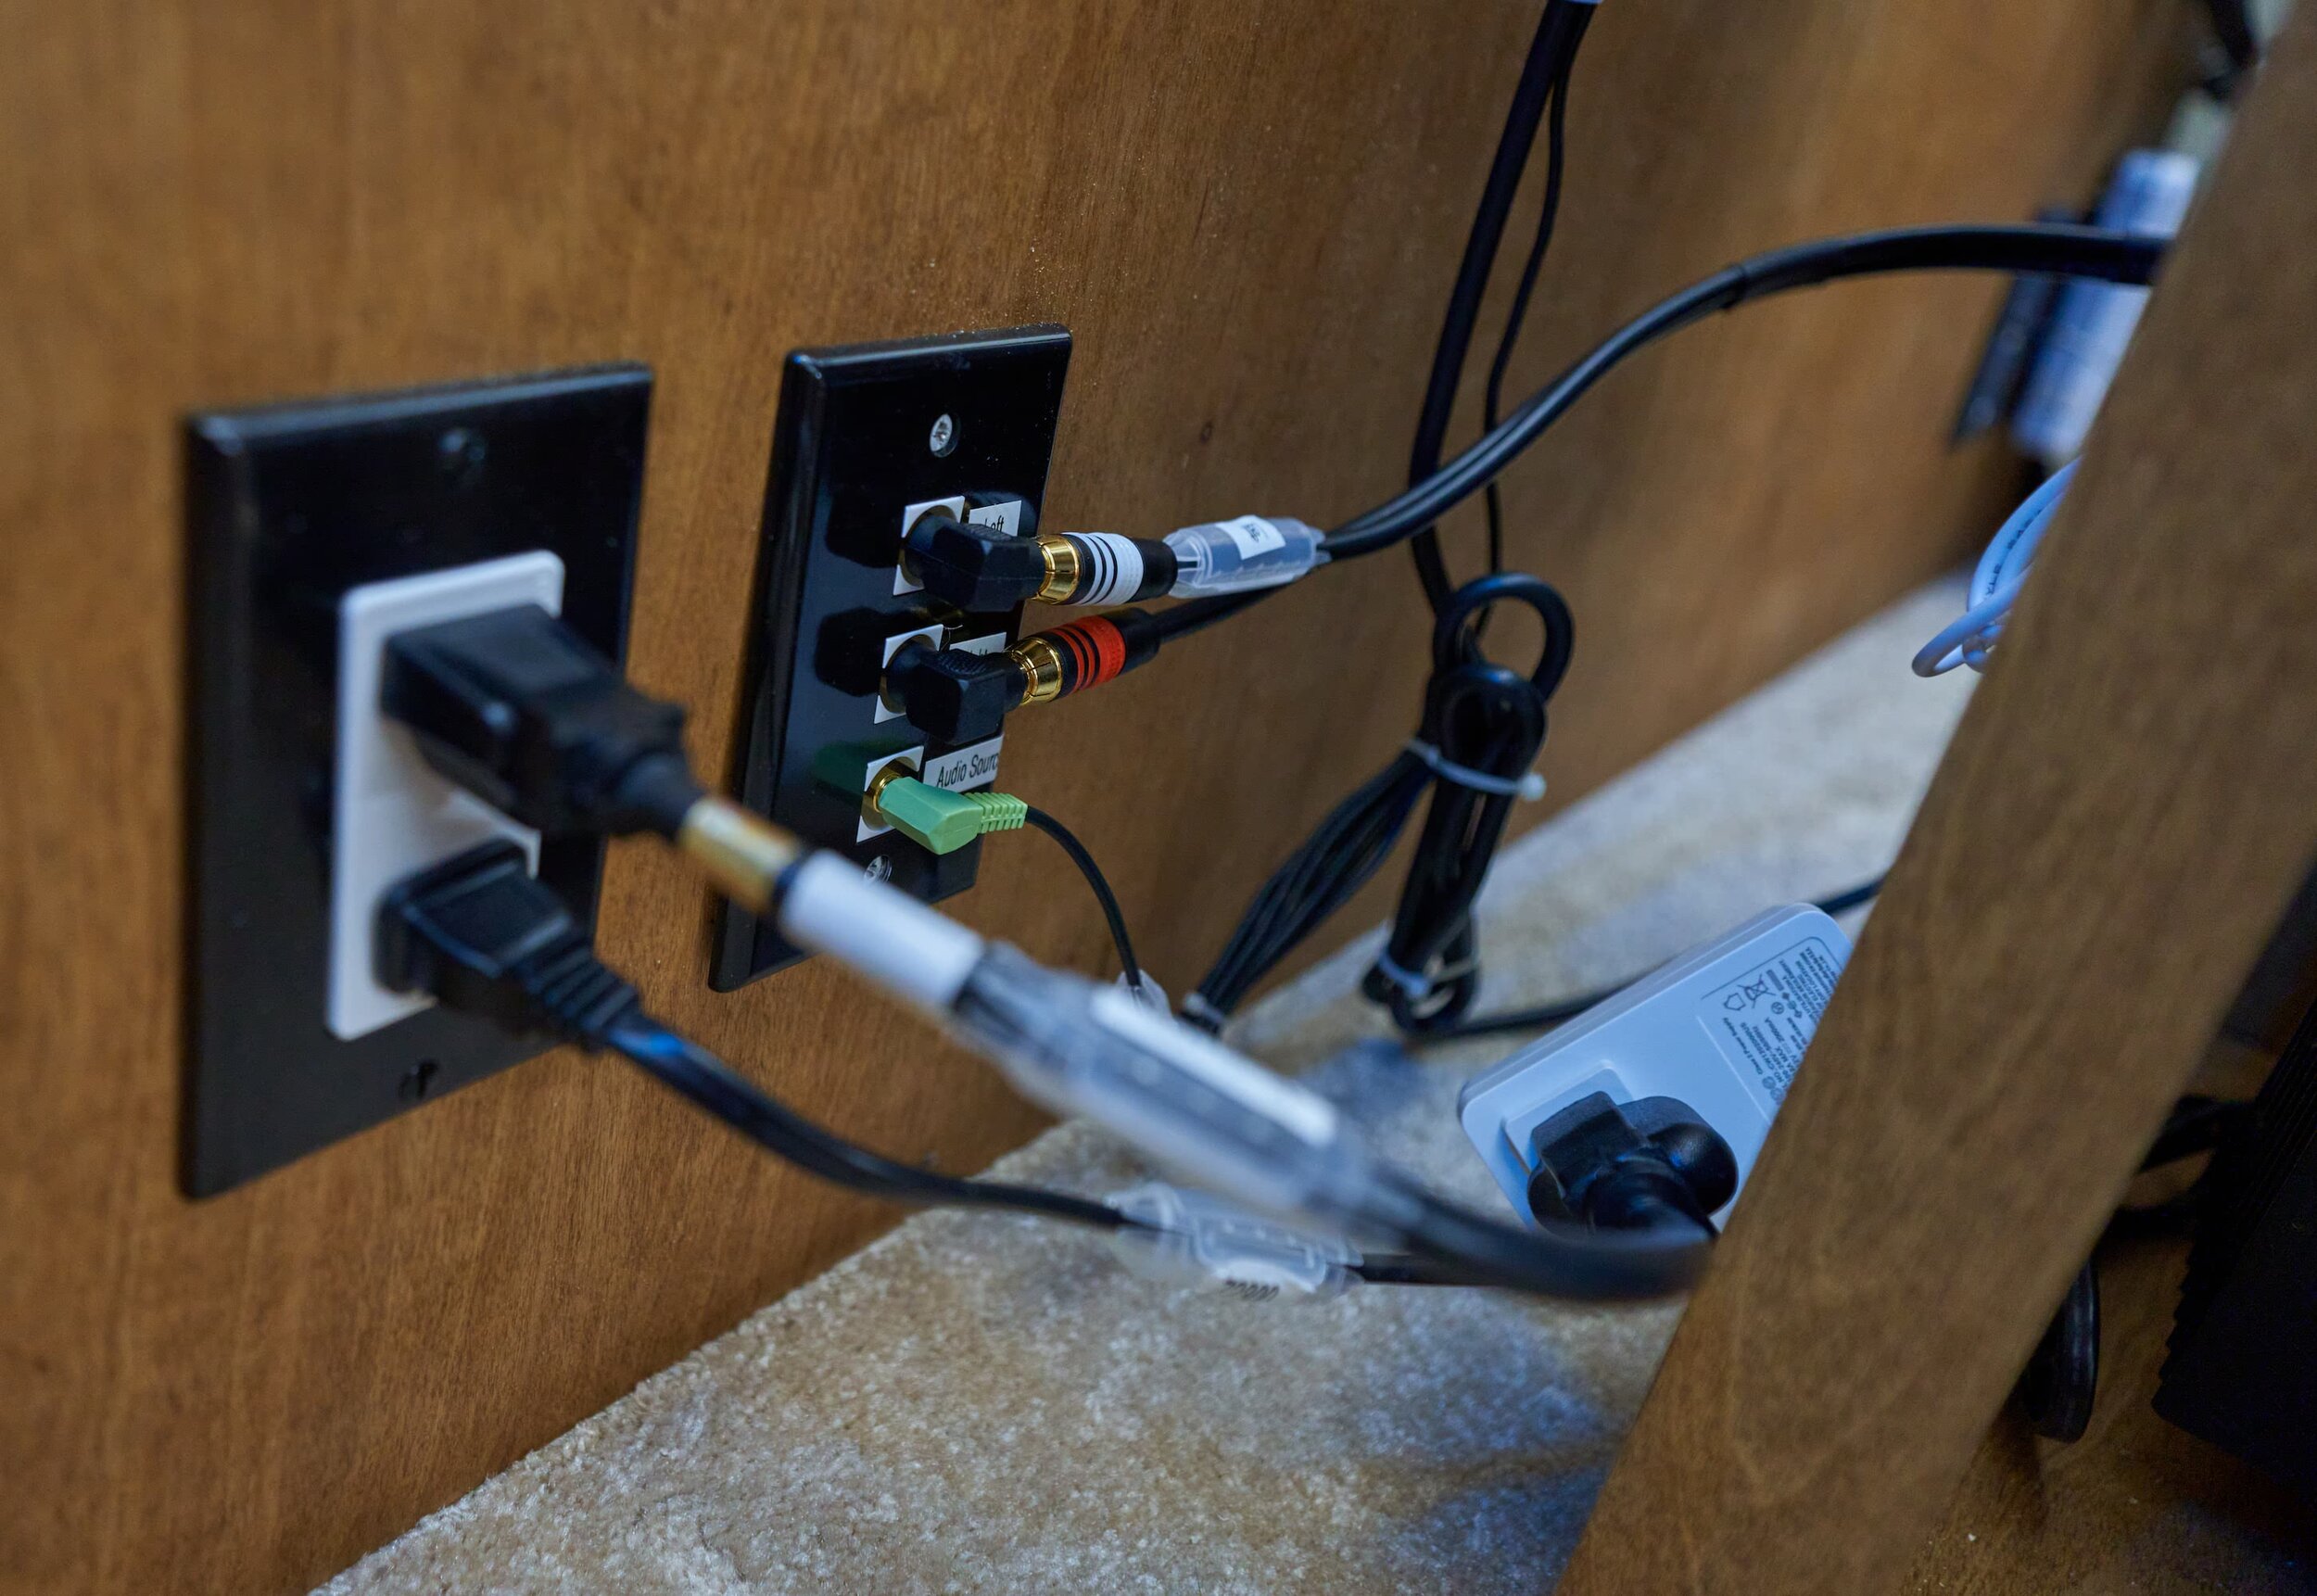
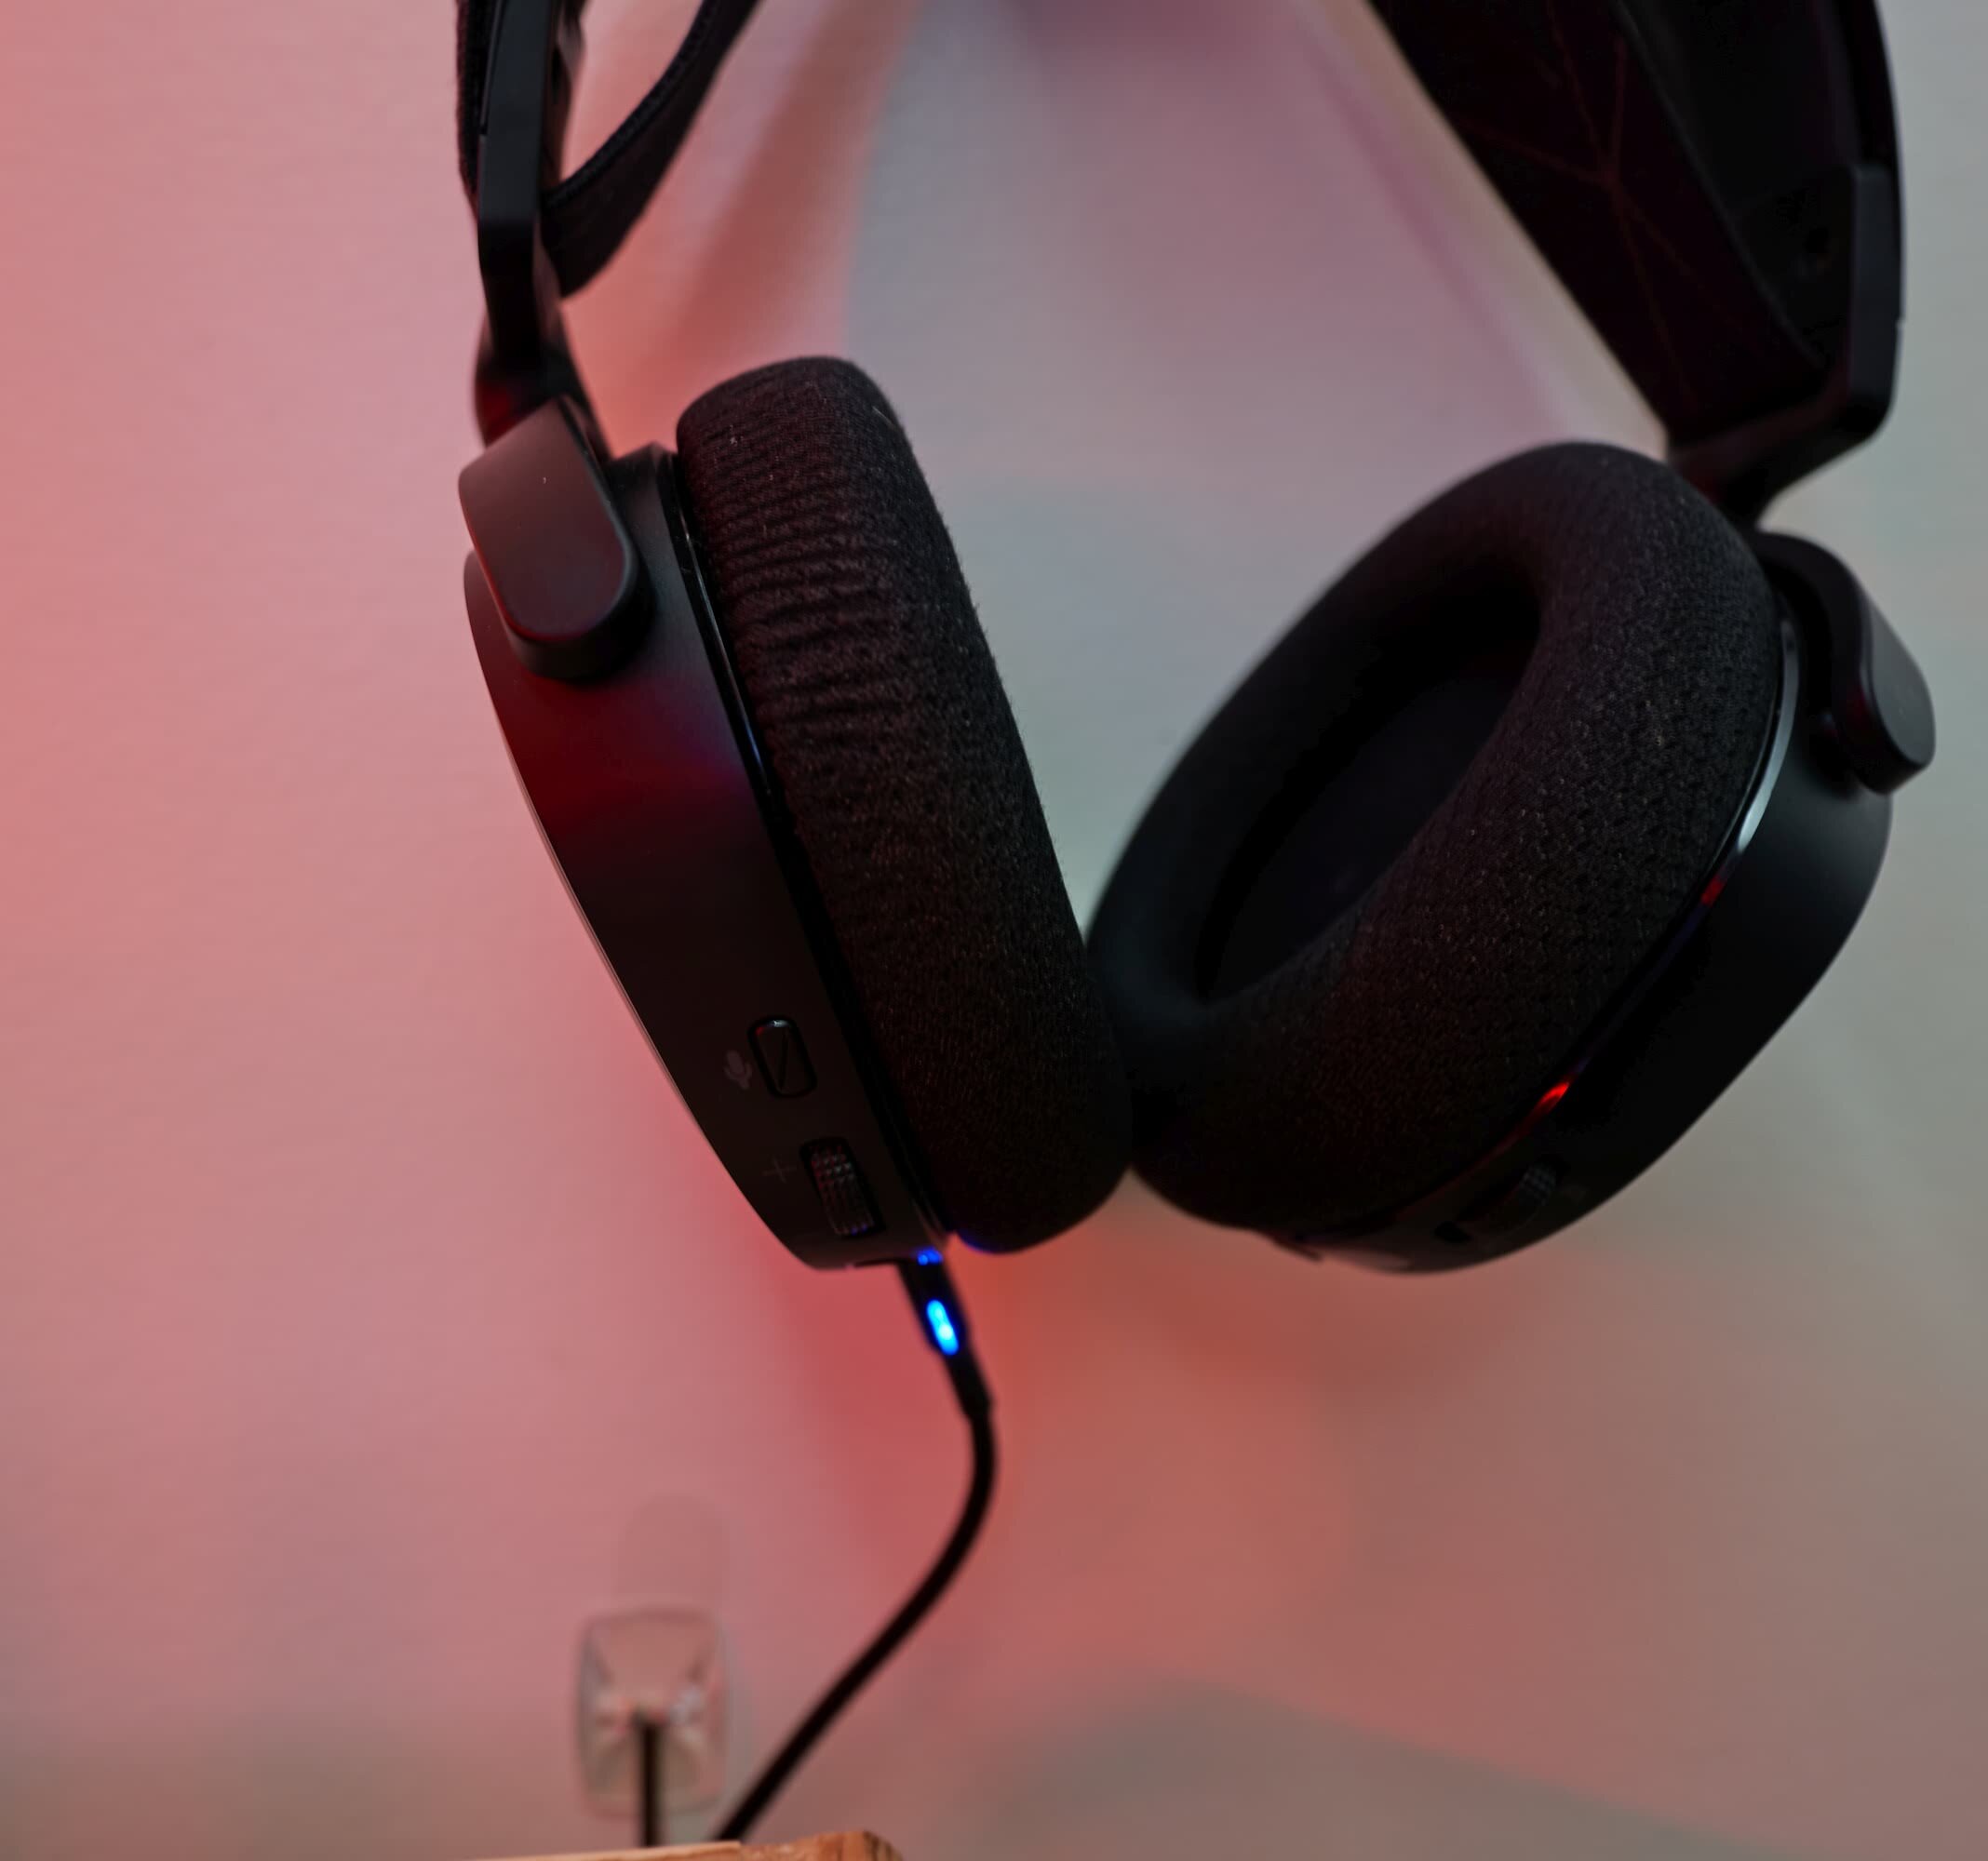
[2] Simplify the audio situation. One of the complexities of this setup is the mixture of 2.1 speakers and a [true] analog 7.1 headset. If the computer is set to 2.1 then the headset is only getting 2.1 channels and conversely, if the sound card is set to 7.1 then when using speakers, the audio will sound wrong. The only real way to solve this is to have the two sound devices hooked up to separate audio devices and ‘somehow’ find an easy way to toggle between them.
In the above setup, the keyboard (of all things) has a built-in sound card — you can see the green speaker cable connected to that (running to the 2.1 speakers) and the 7.1 headset is connected to the ‘main’ sound card. This works — but now there’s yet another cable on the desktop to manage!
The computer room we’re working with, illustrating the flow between the desks
[3] Since we rent, the following additional considerations came into play:
Nothing too dependent on the layout, shape or size of a room
Had to be somewhat self-contained and/or able to be broken down for eventually moving
Rough Design
The actual construction of the faux-wall is almost identical to my wall so I’ll just gloss over them here. Again, this project will be broken down in to five components:
The faux-wall: a framed plywood wall that I would attach the monitor mounts to and hide cables inside, routing them left-right and up-down
A laminated-ply desk top. The only difference with our desks here is that her desk would be a foot shorter (left-right).
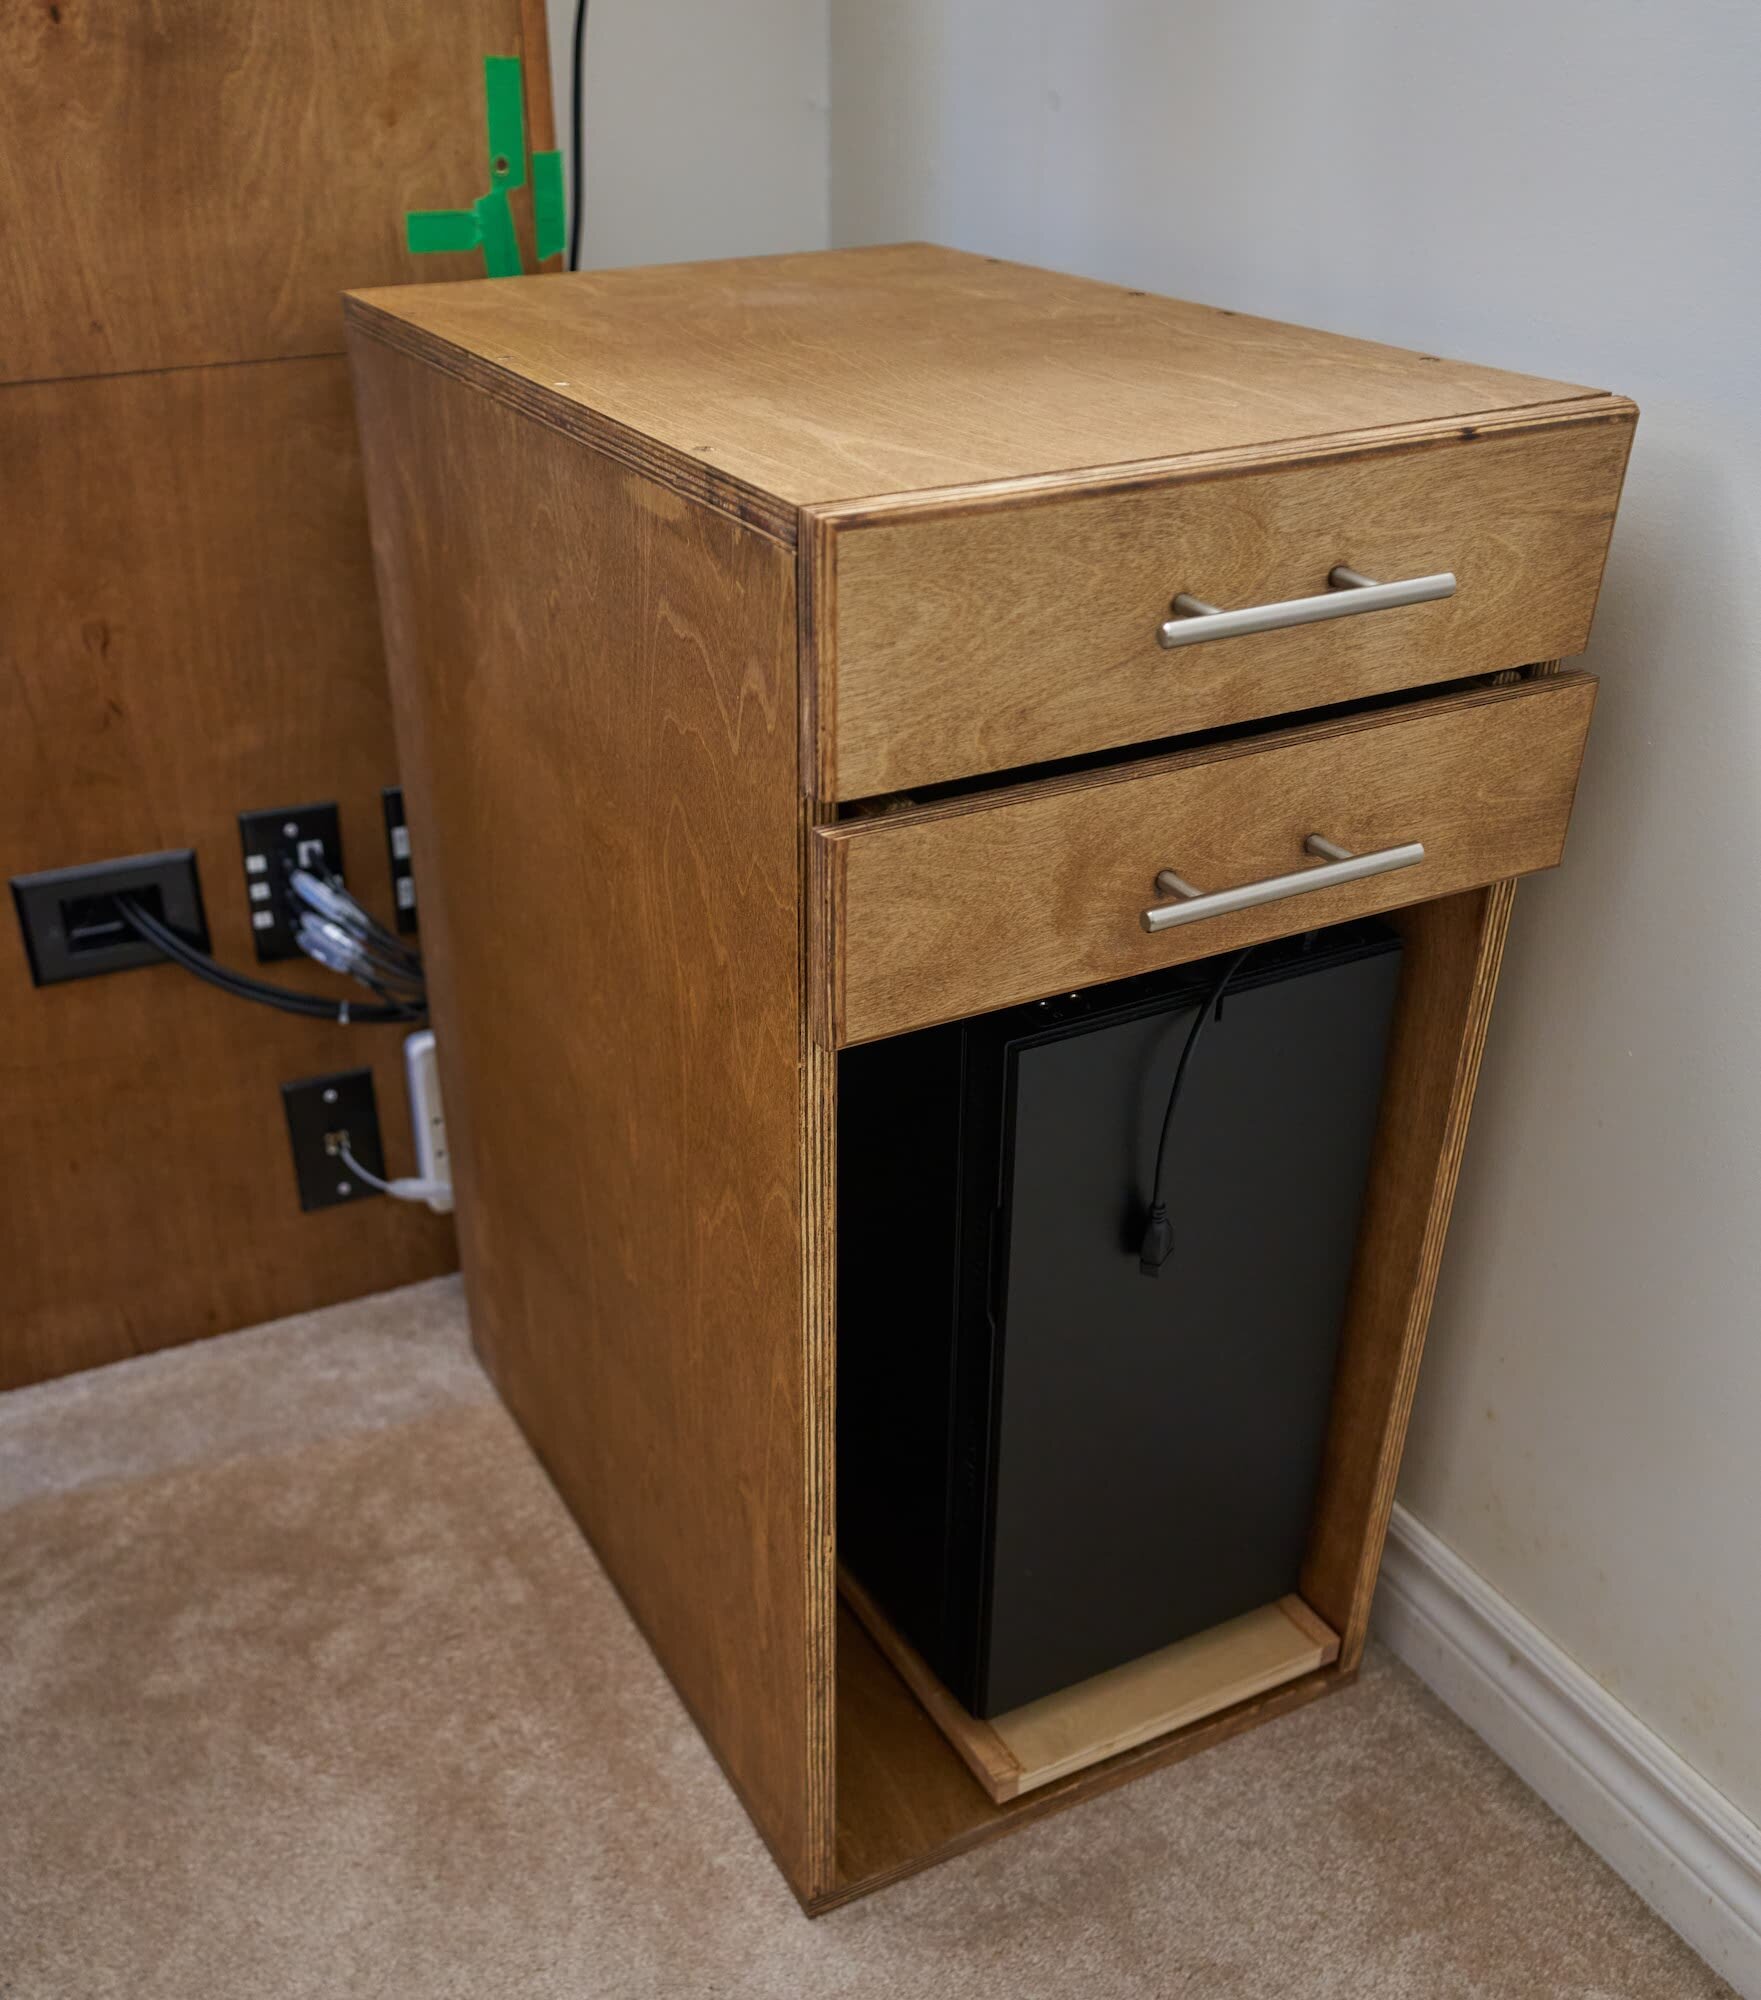
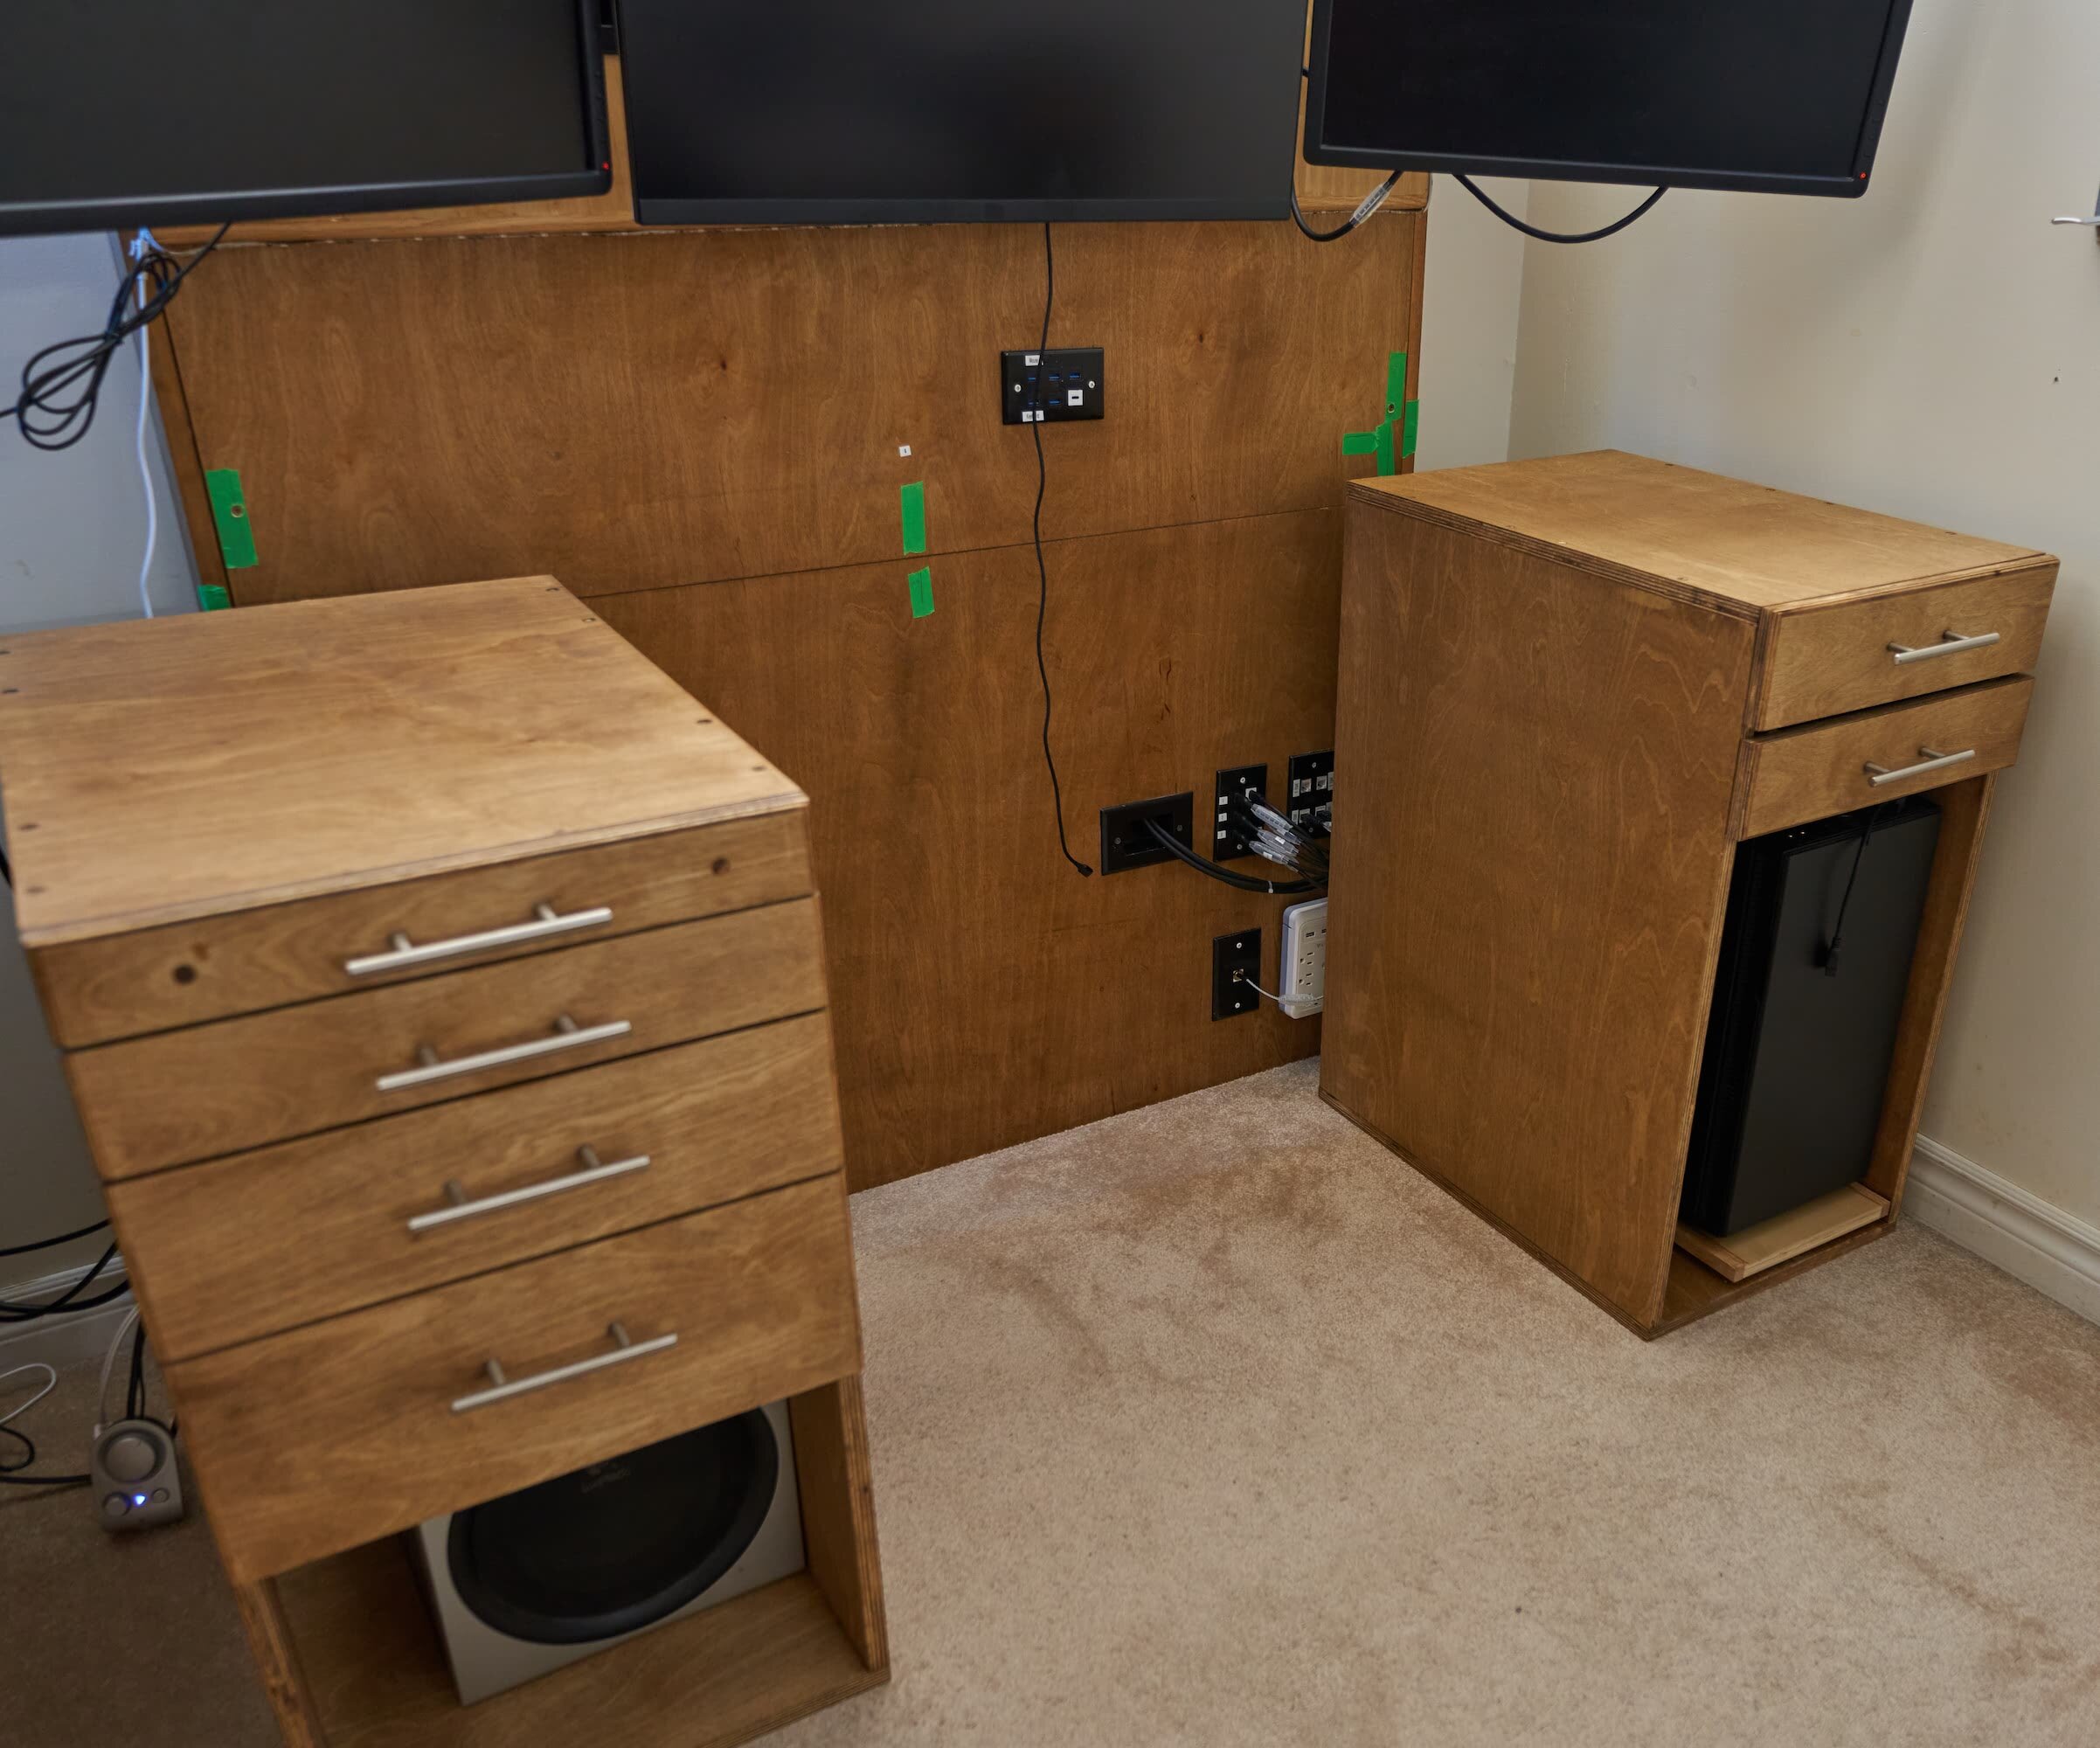
A right cabinet which would house the computer
A left cabinet which would house the subwoofer
Some form of overhead storage
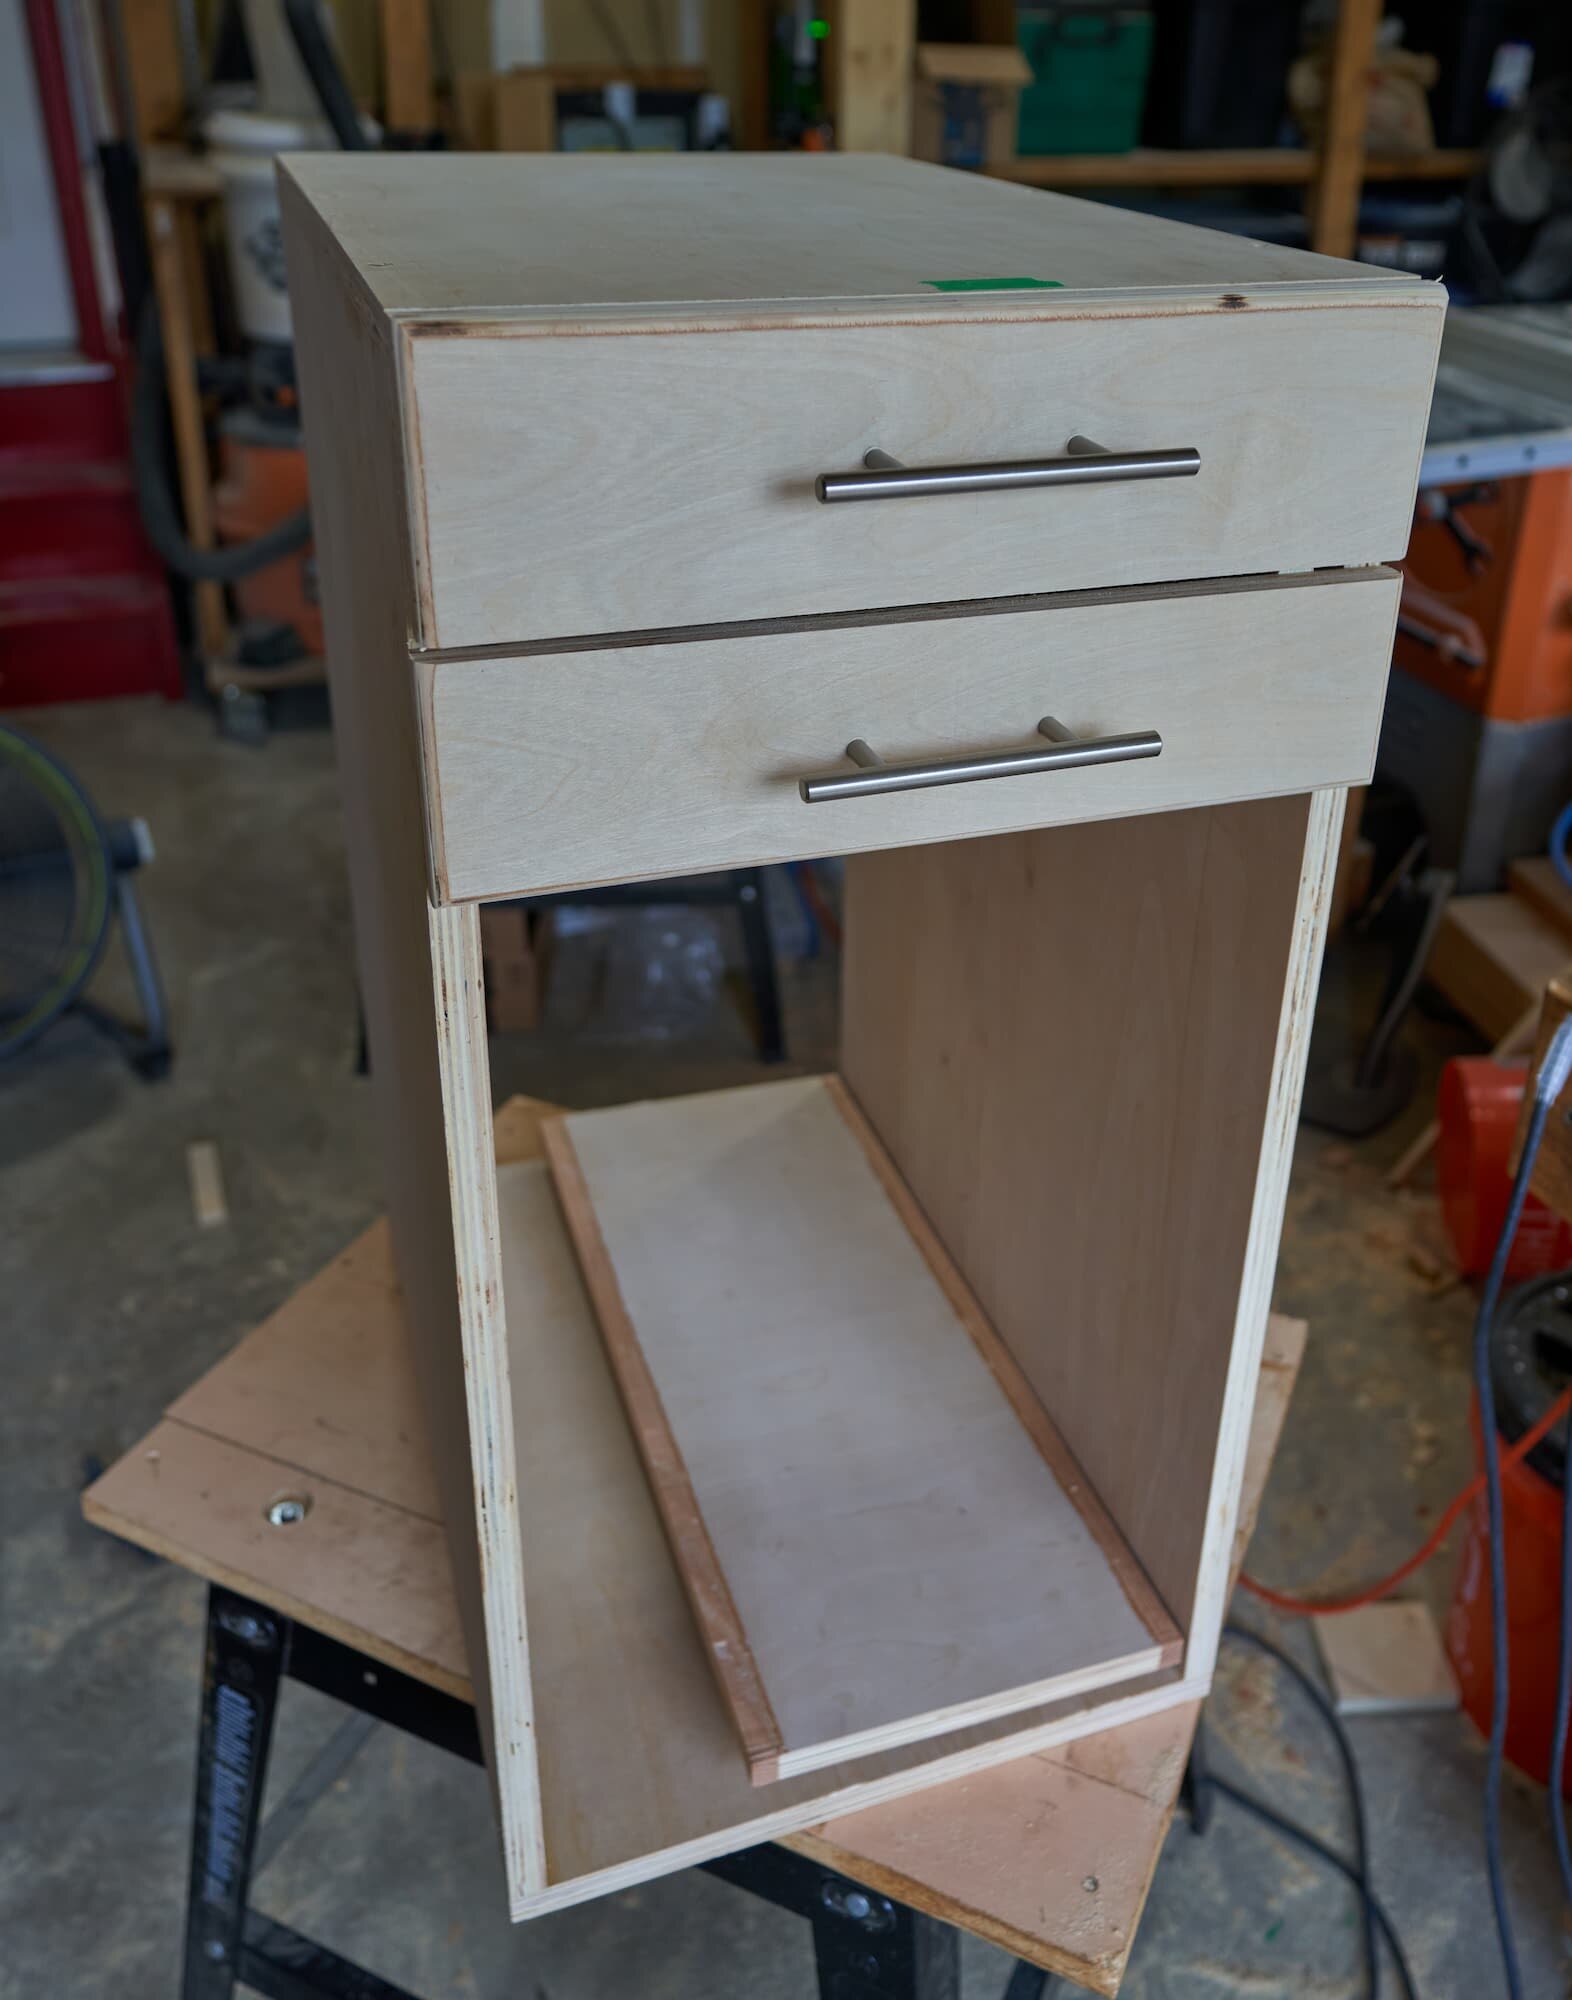
She also wanted a pull-out work surface although, I’m only implementing one on the left-cabinet.
I opted to go with identical measurements as my desk to save on time. She sat in my chair for a couple seat-tests just to verify if the seat could adjust in such a way everything would be comfortable for here.


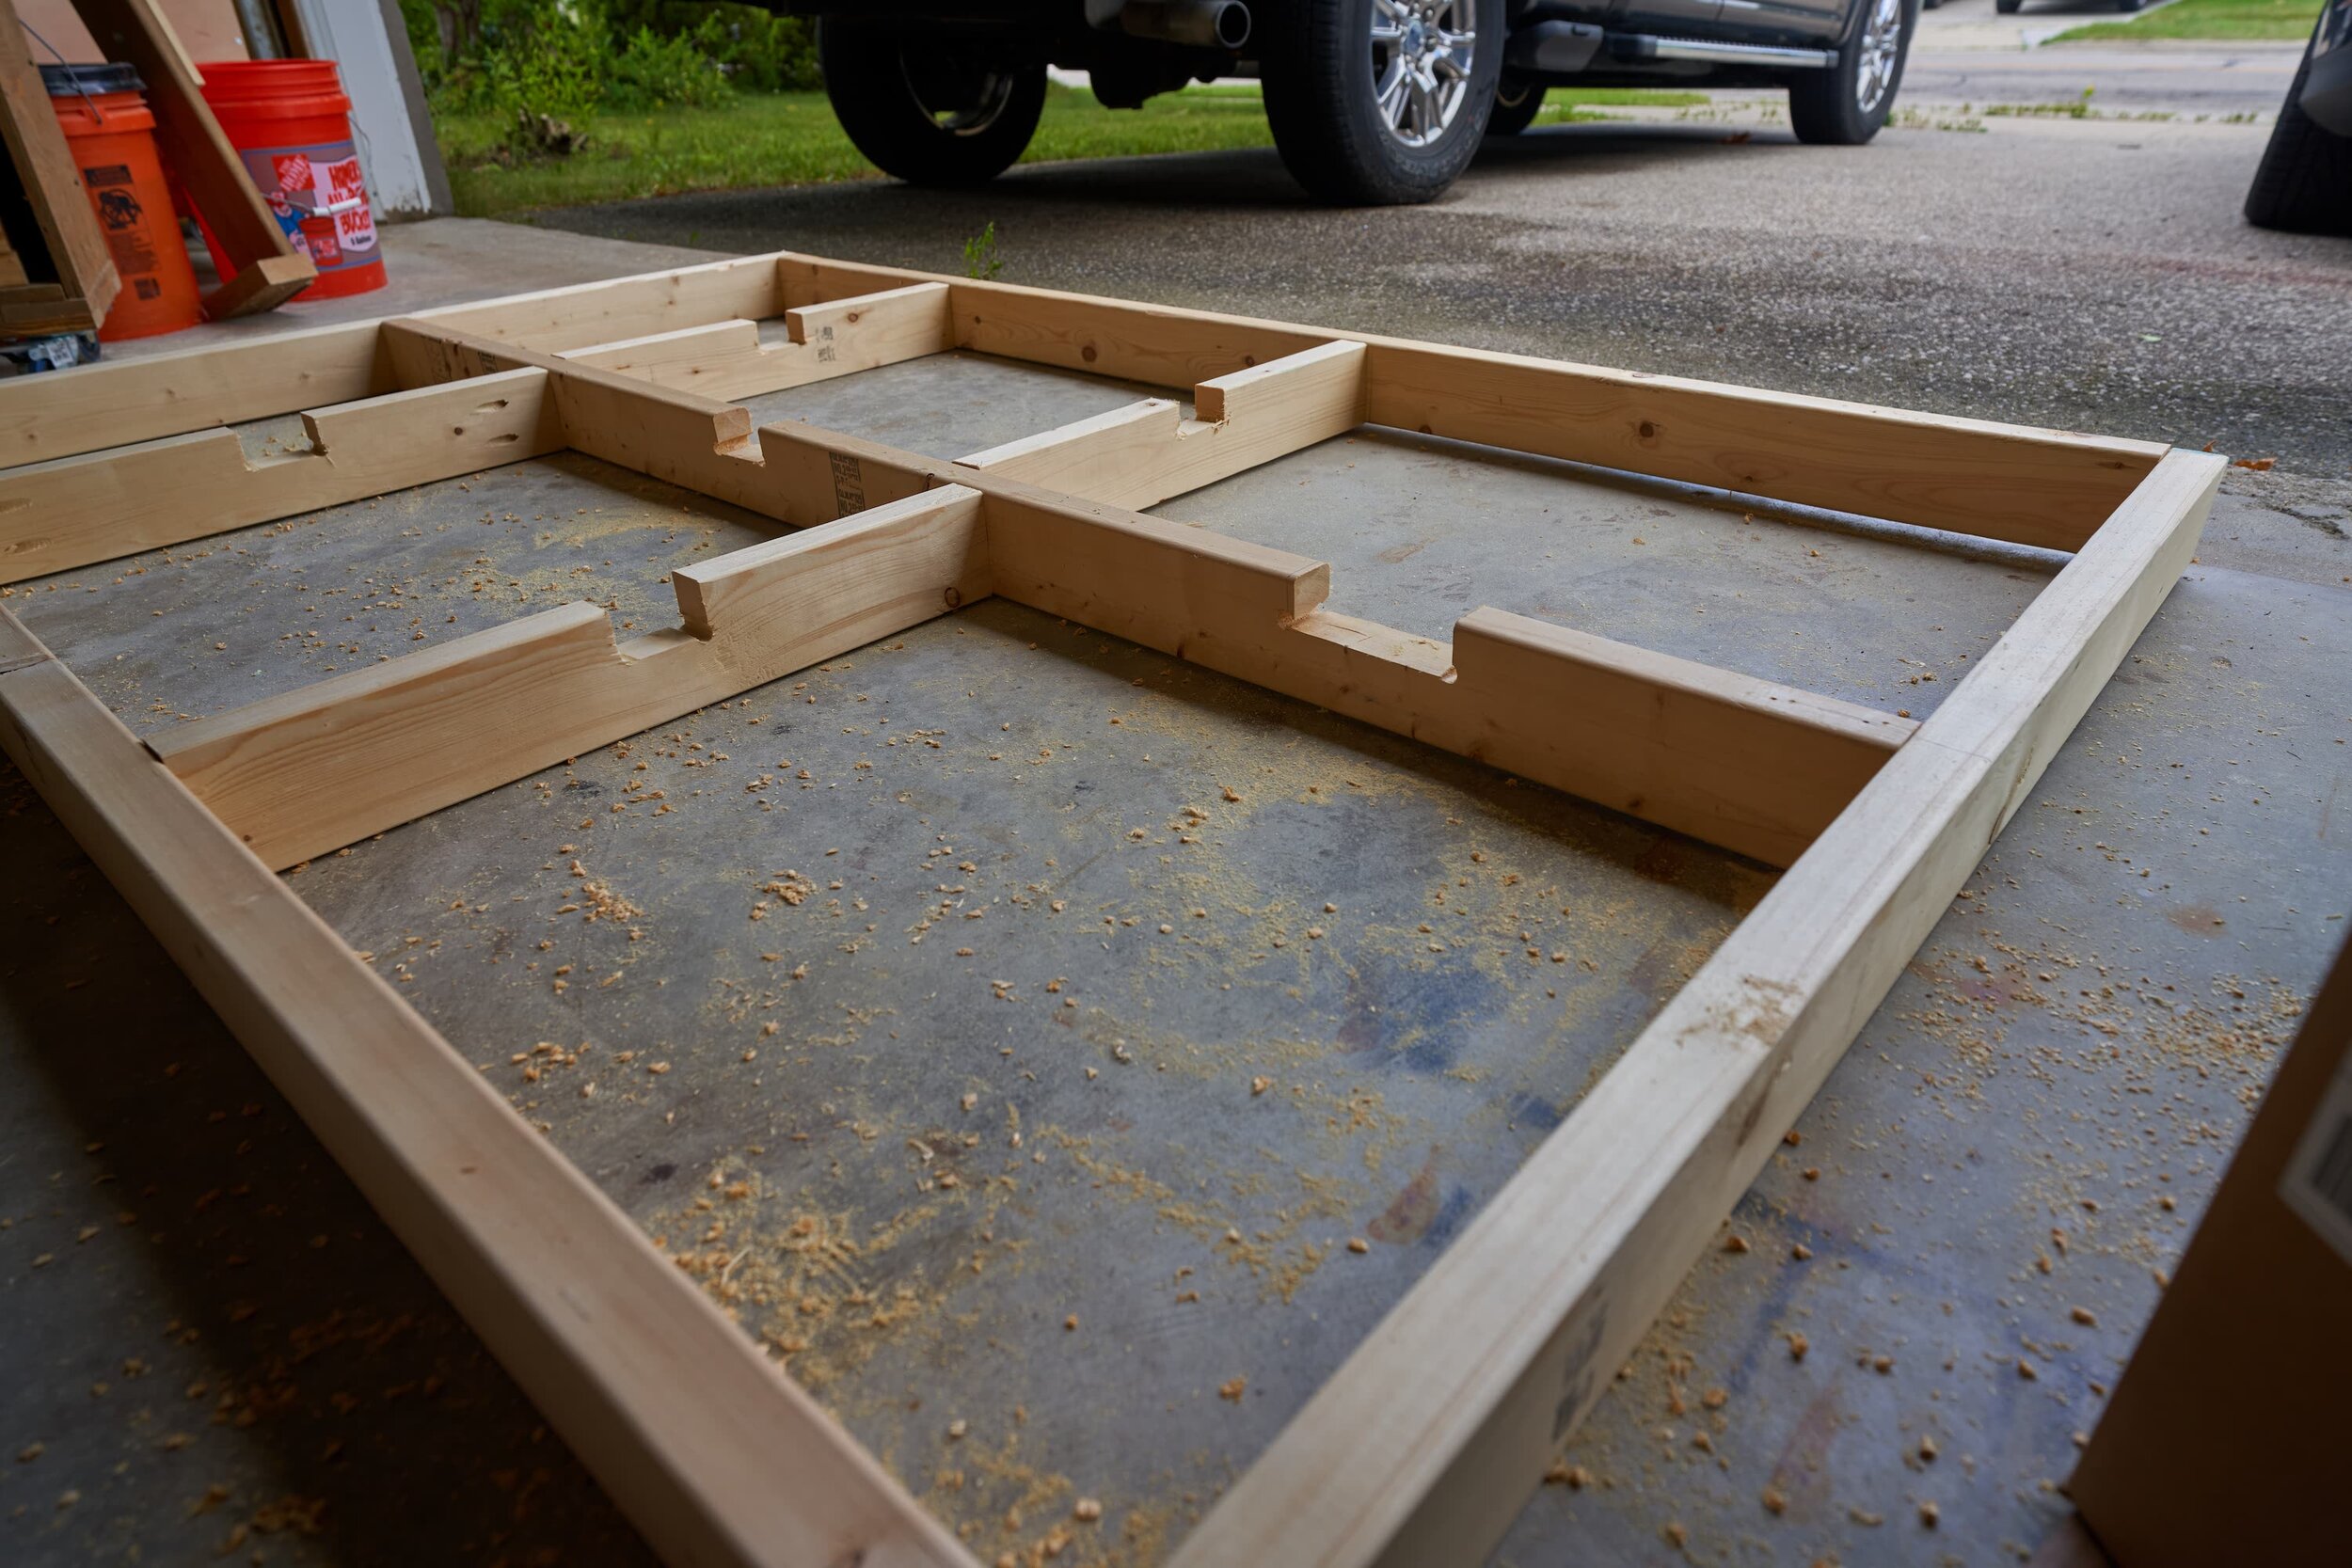
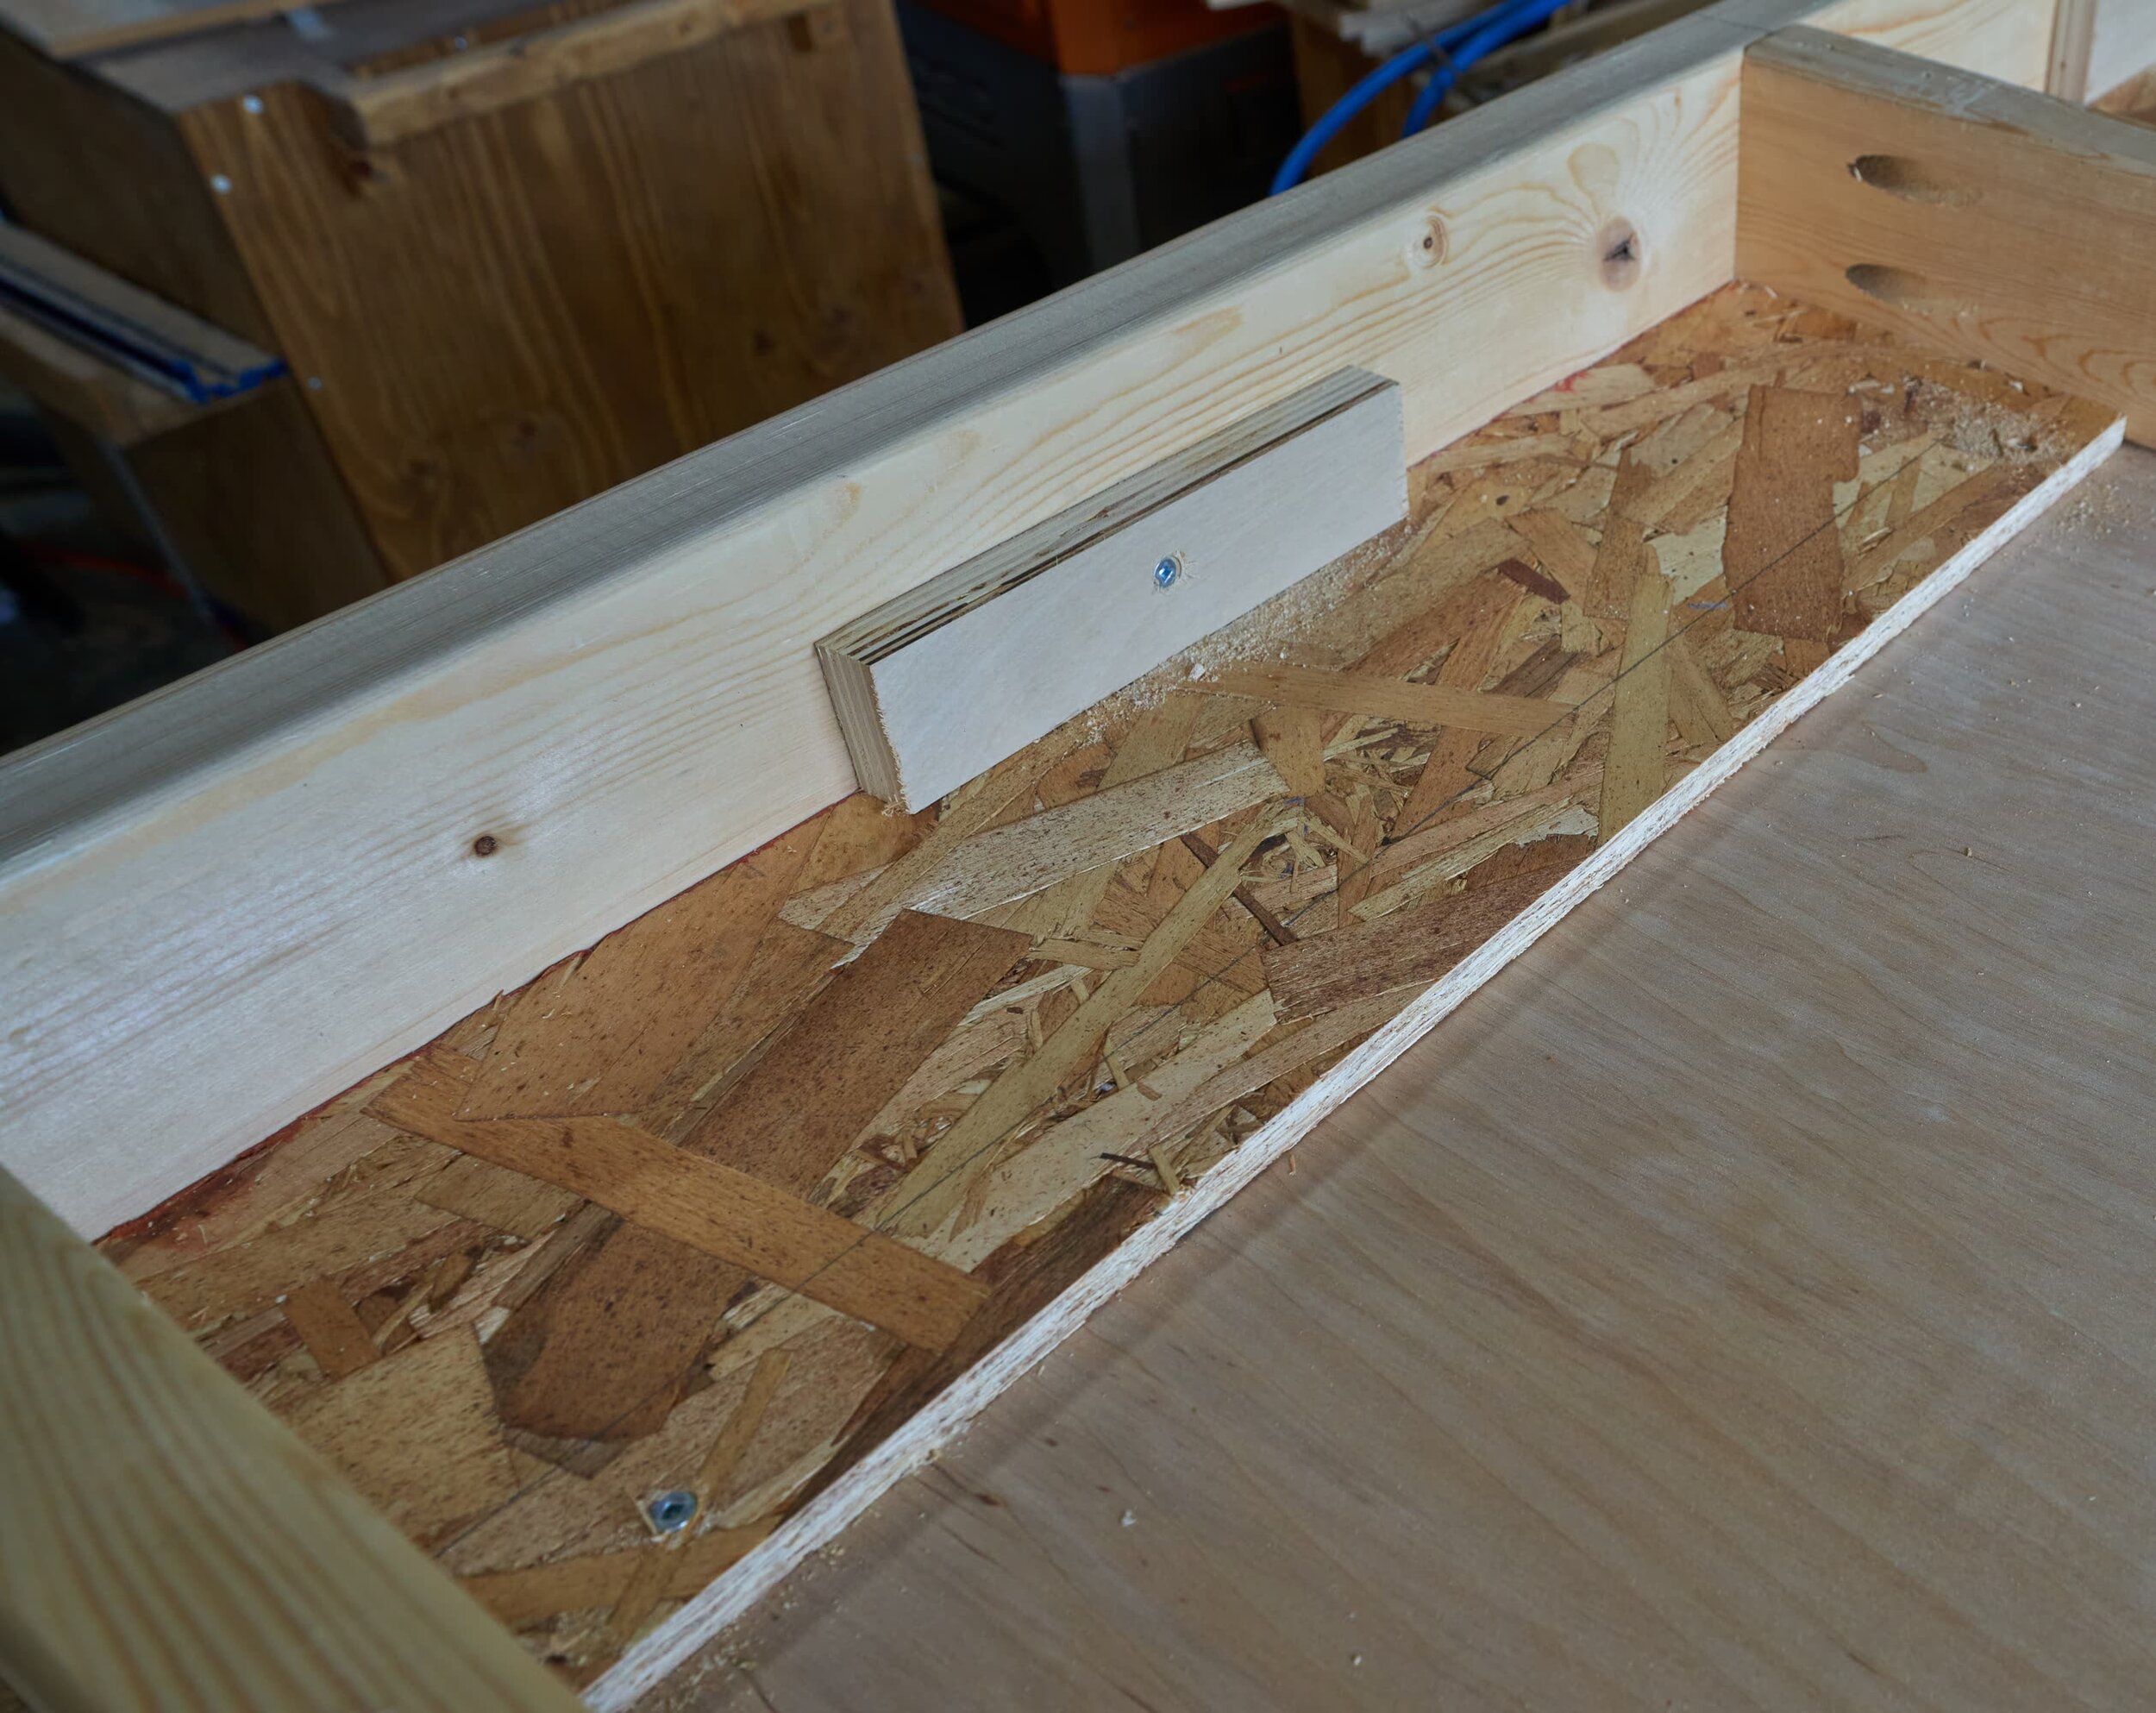
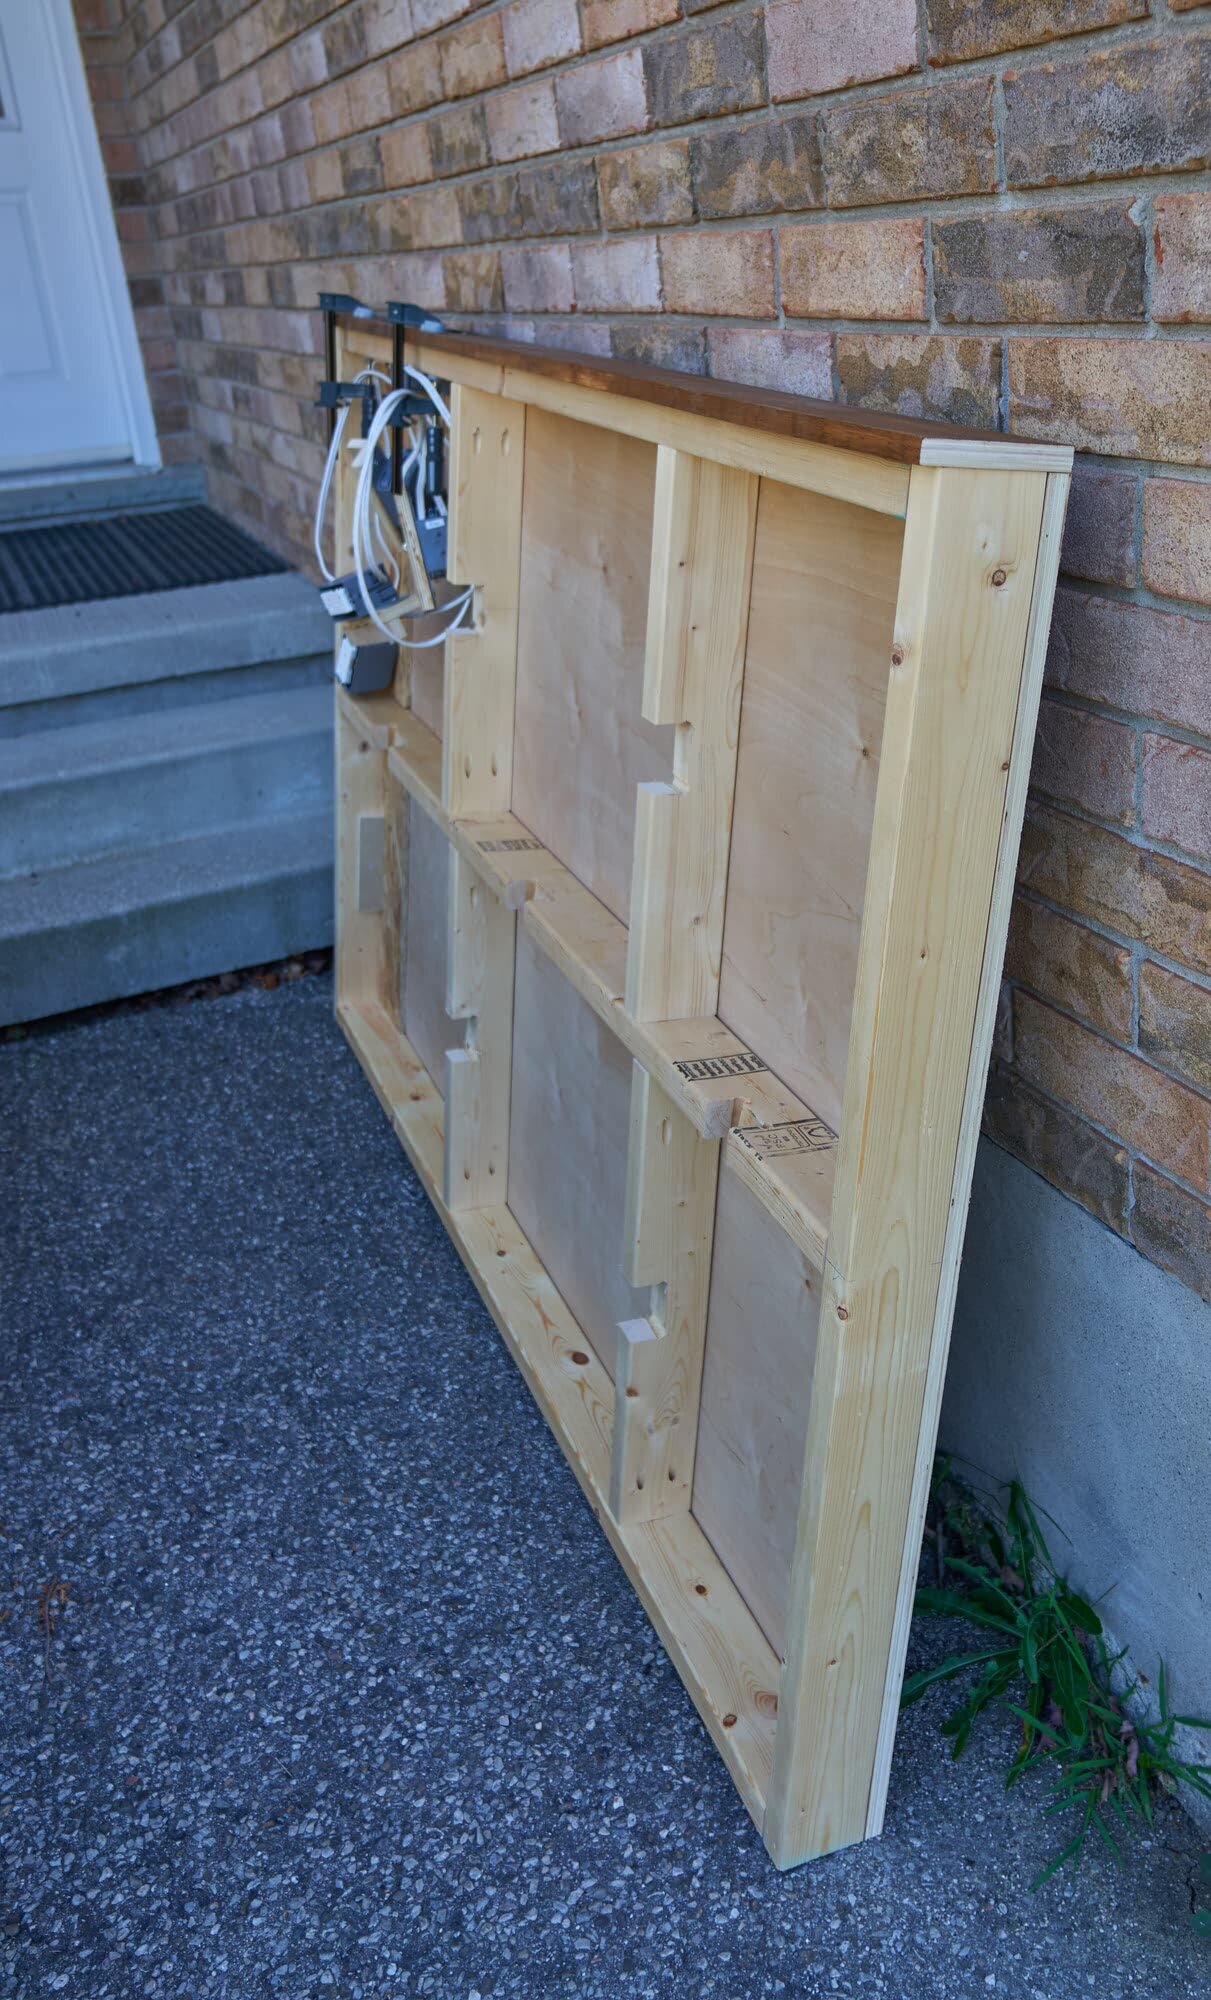
Step 1: Framing the Faux-Wall
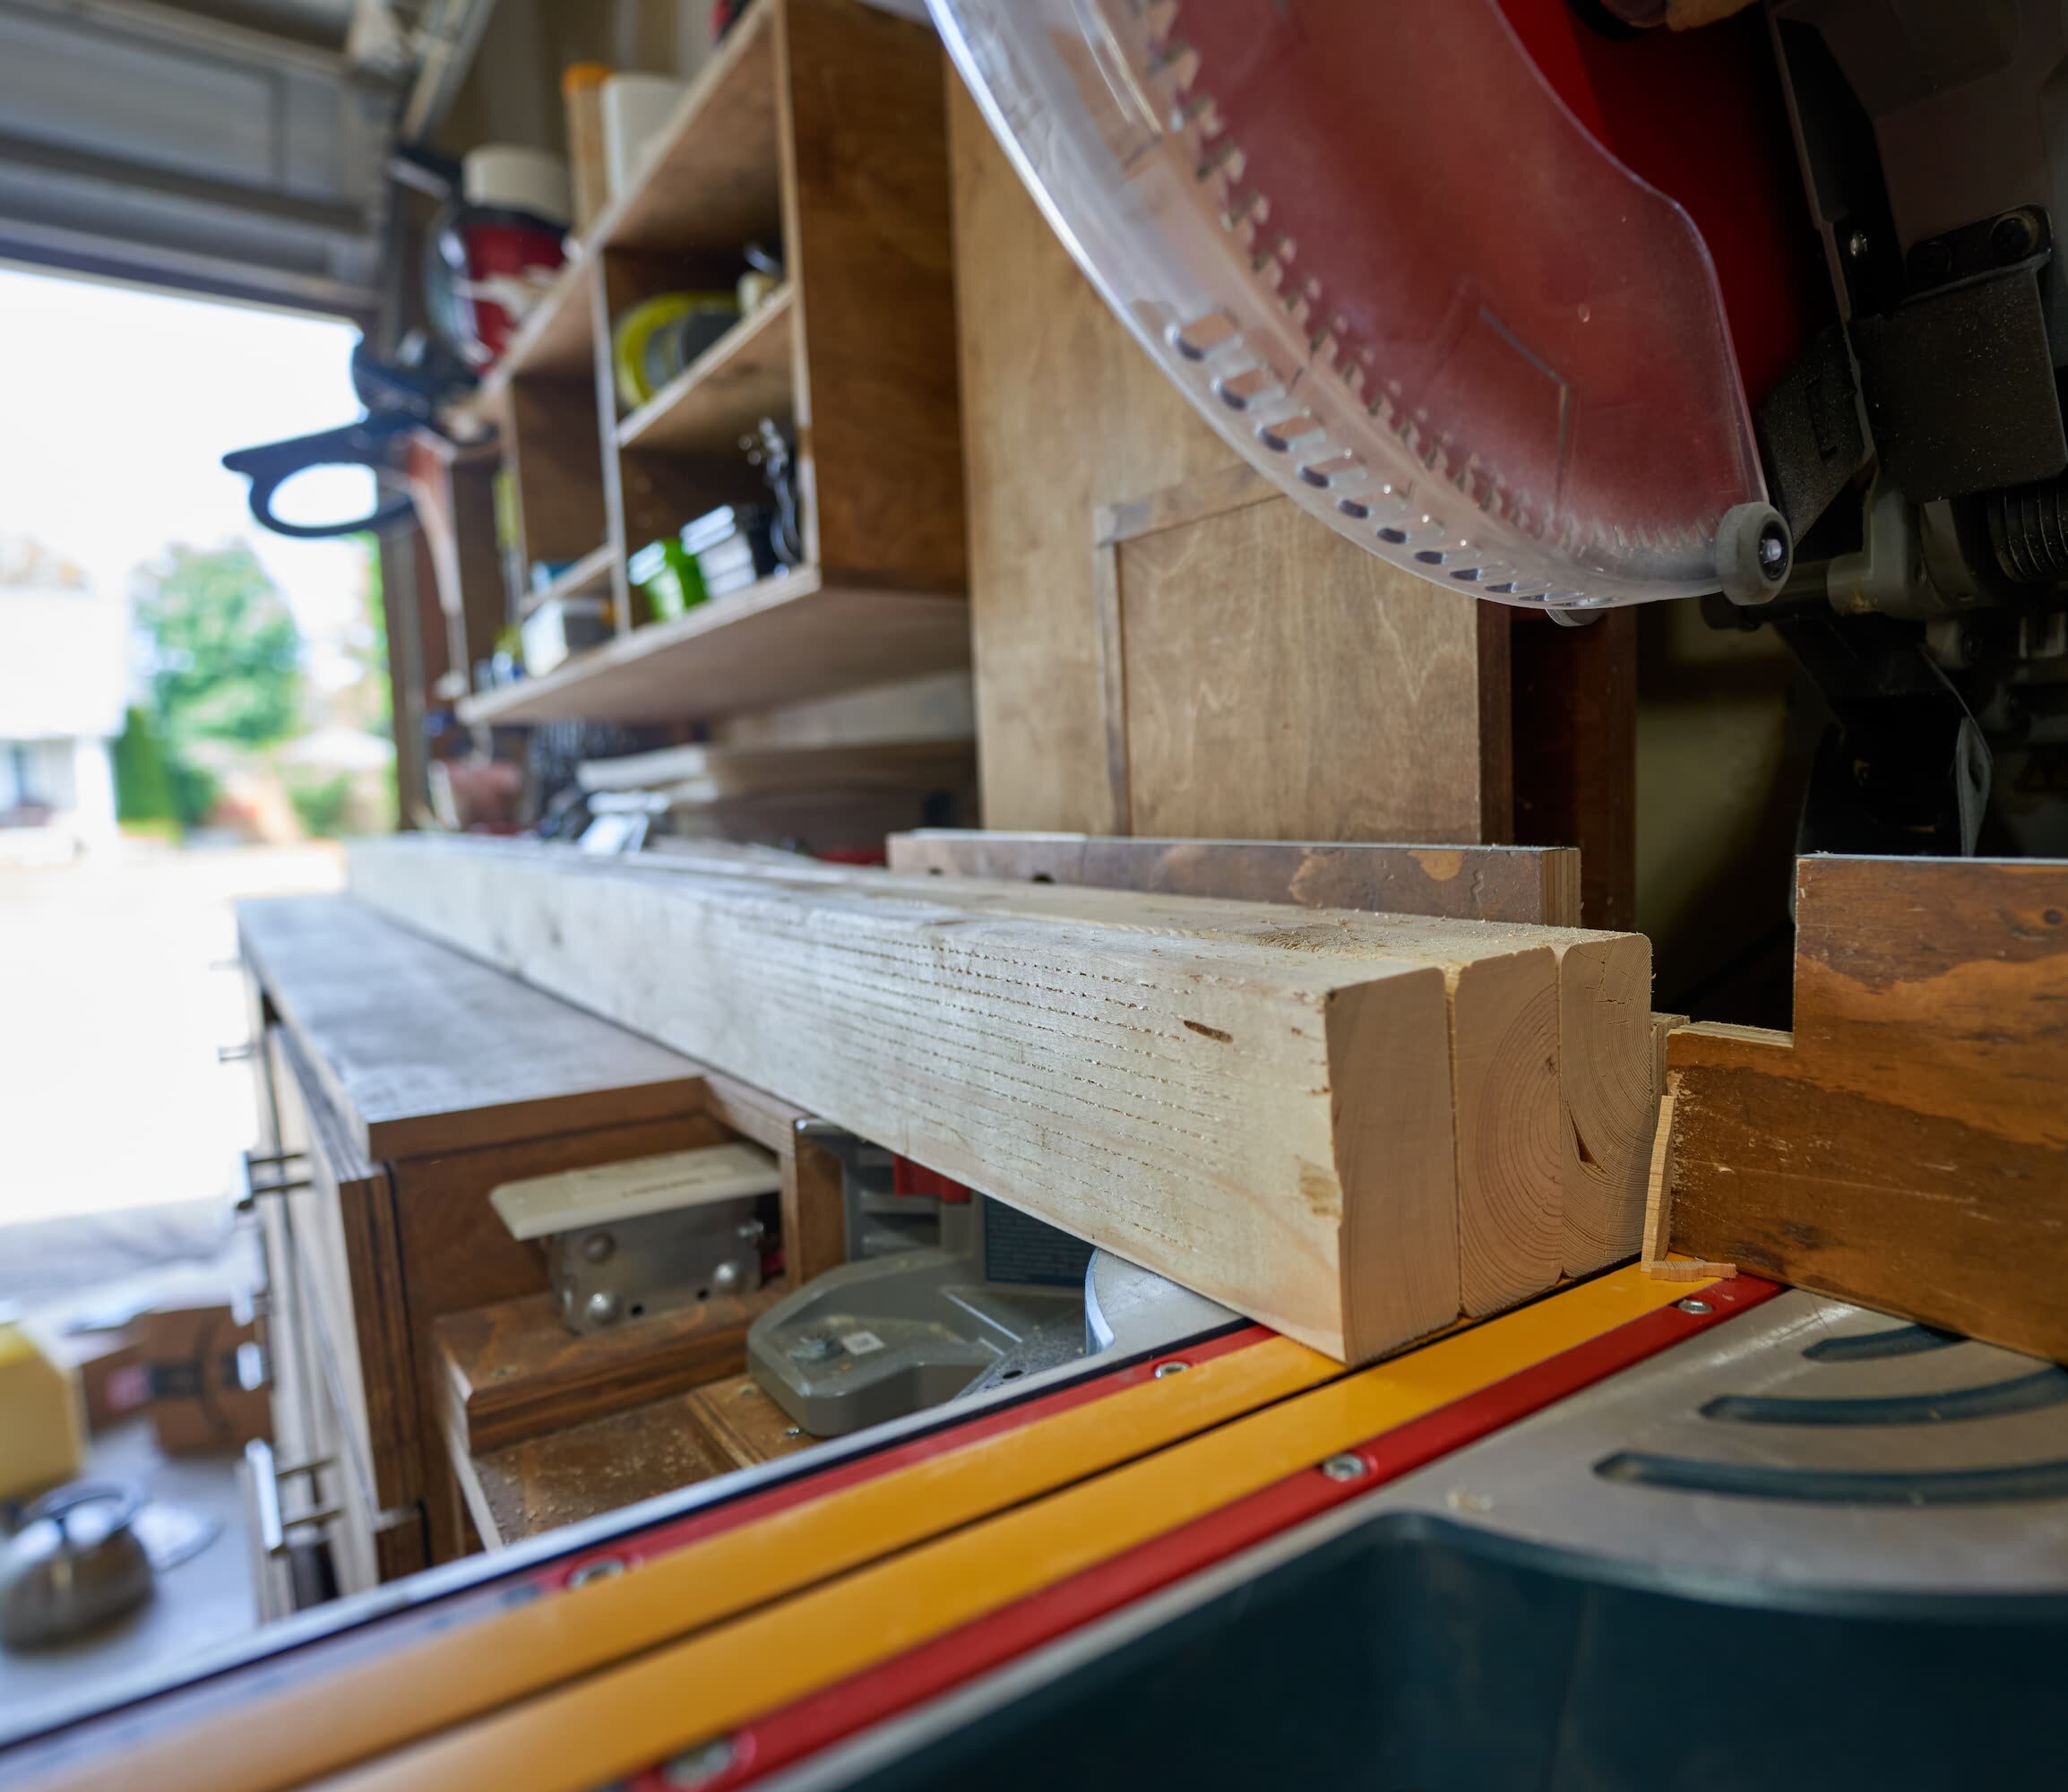
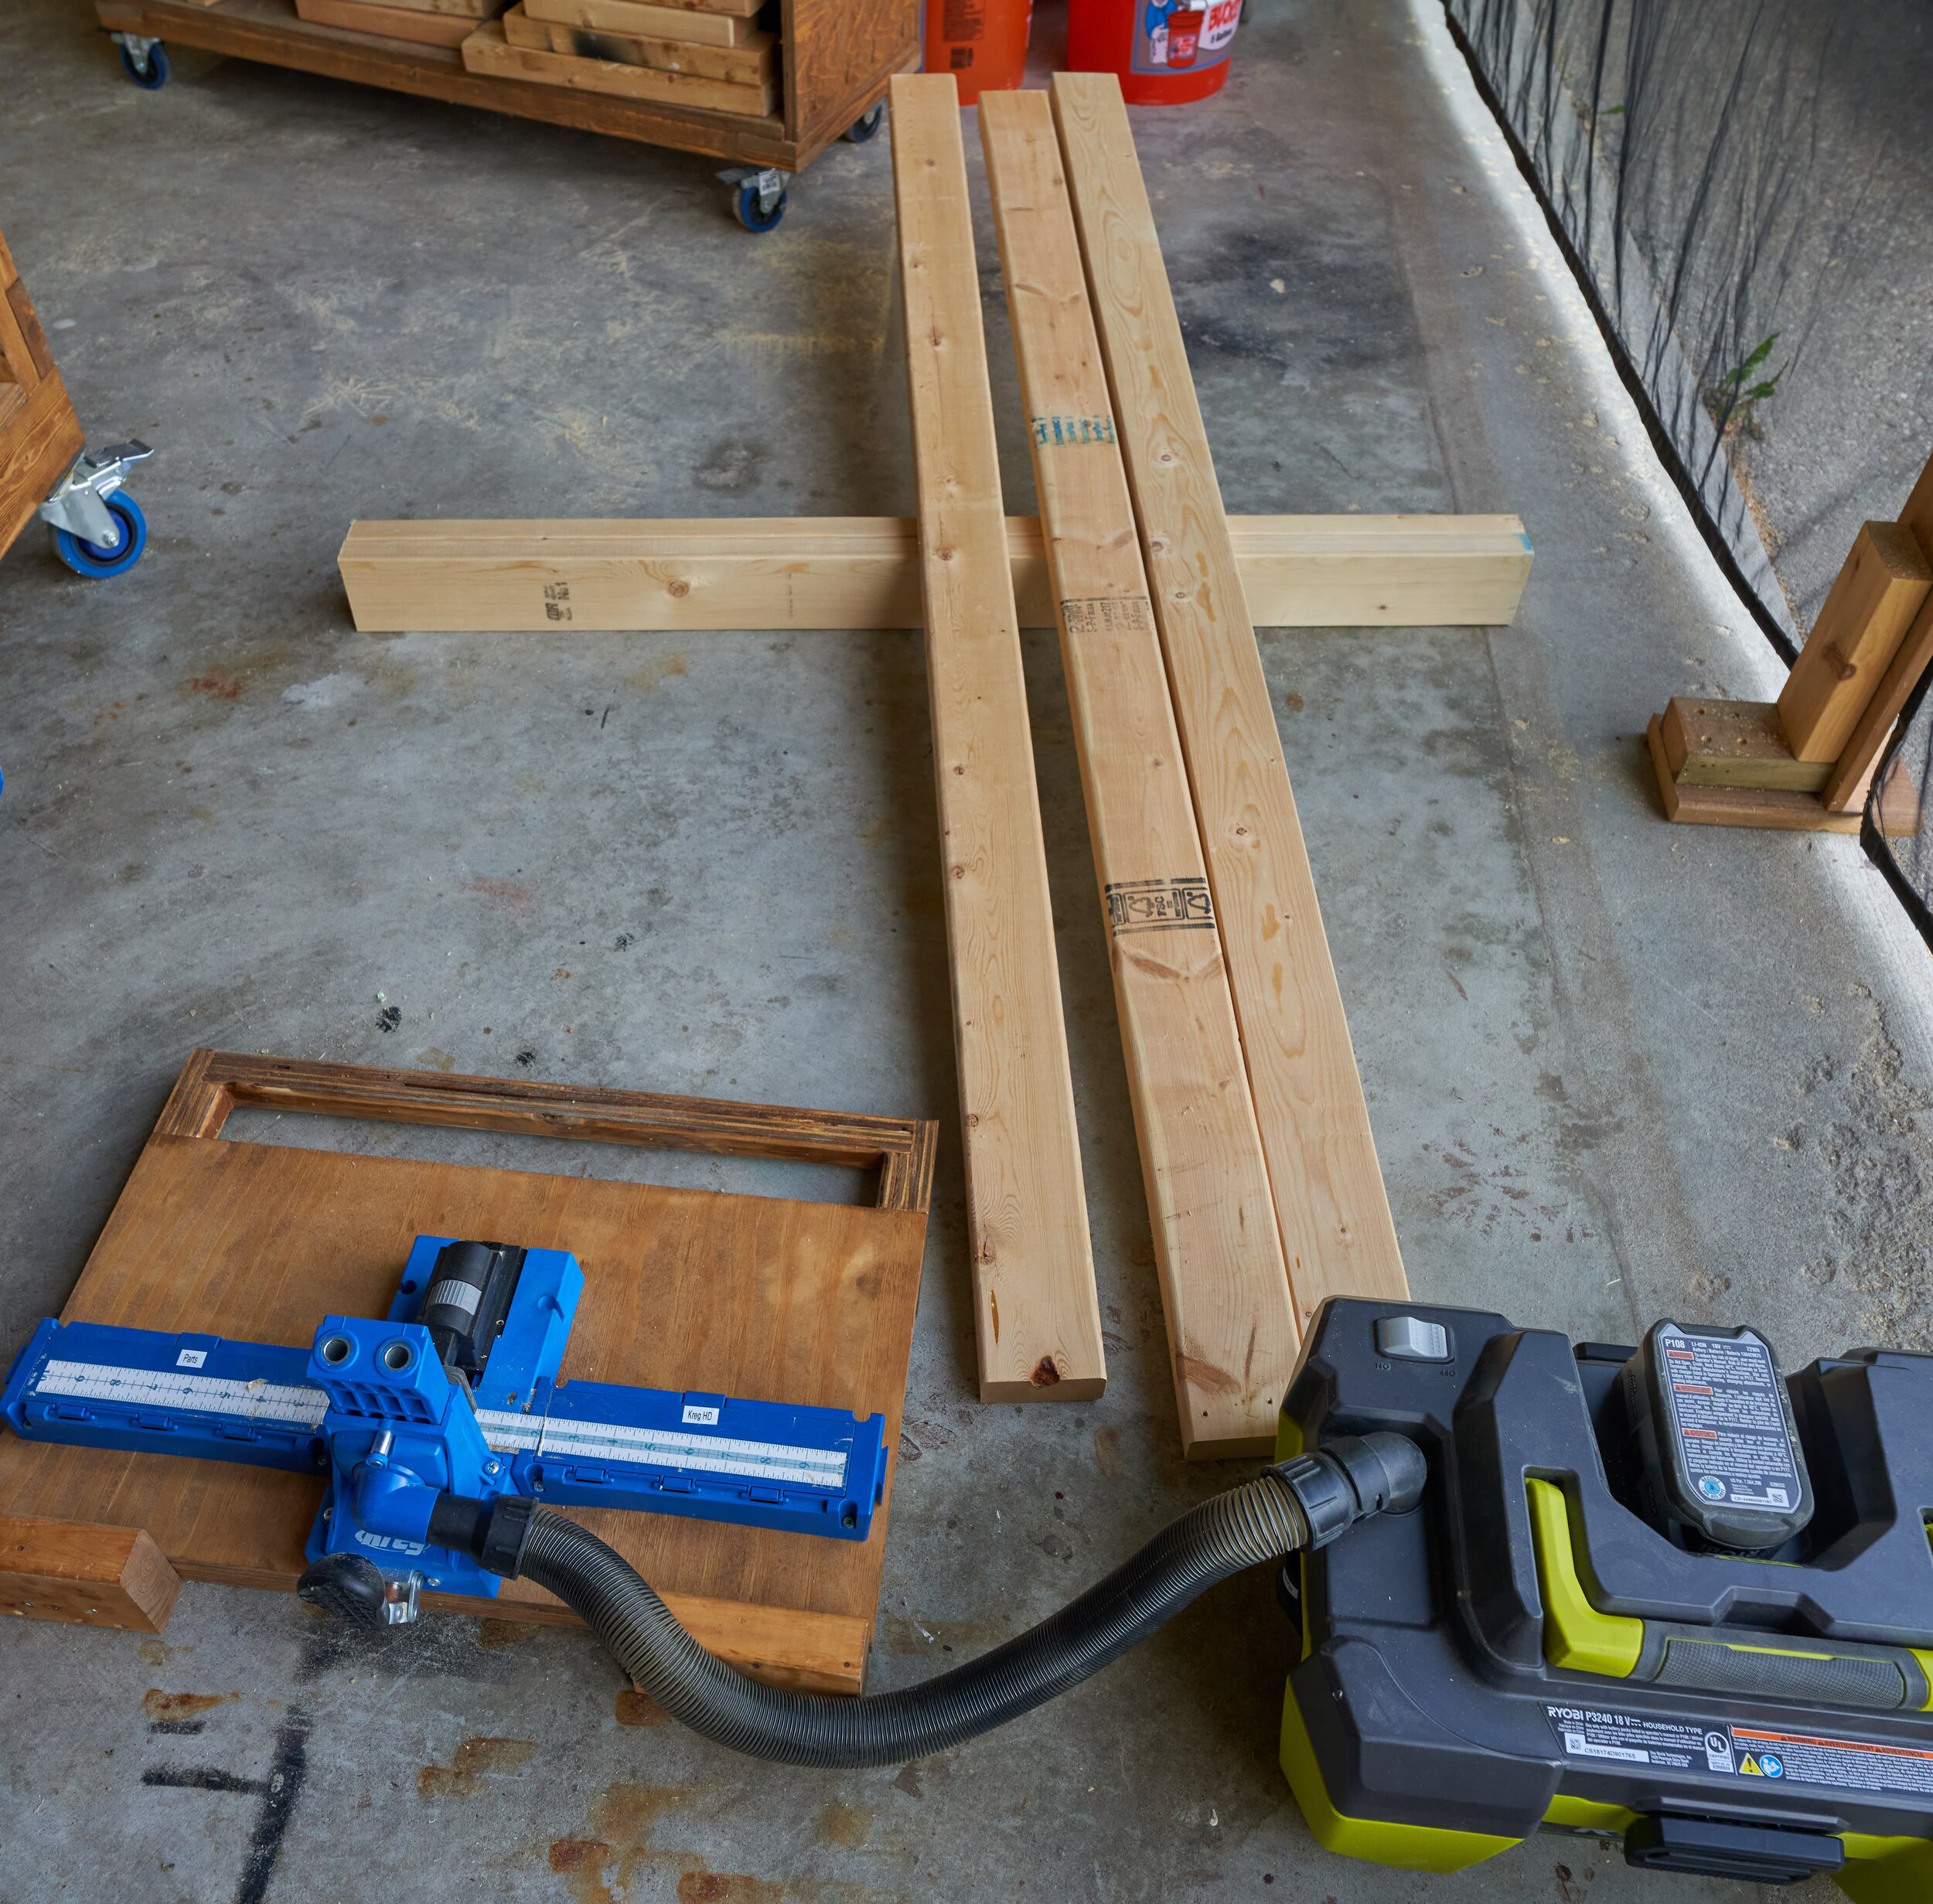
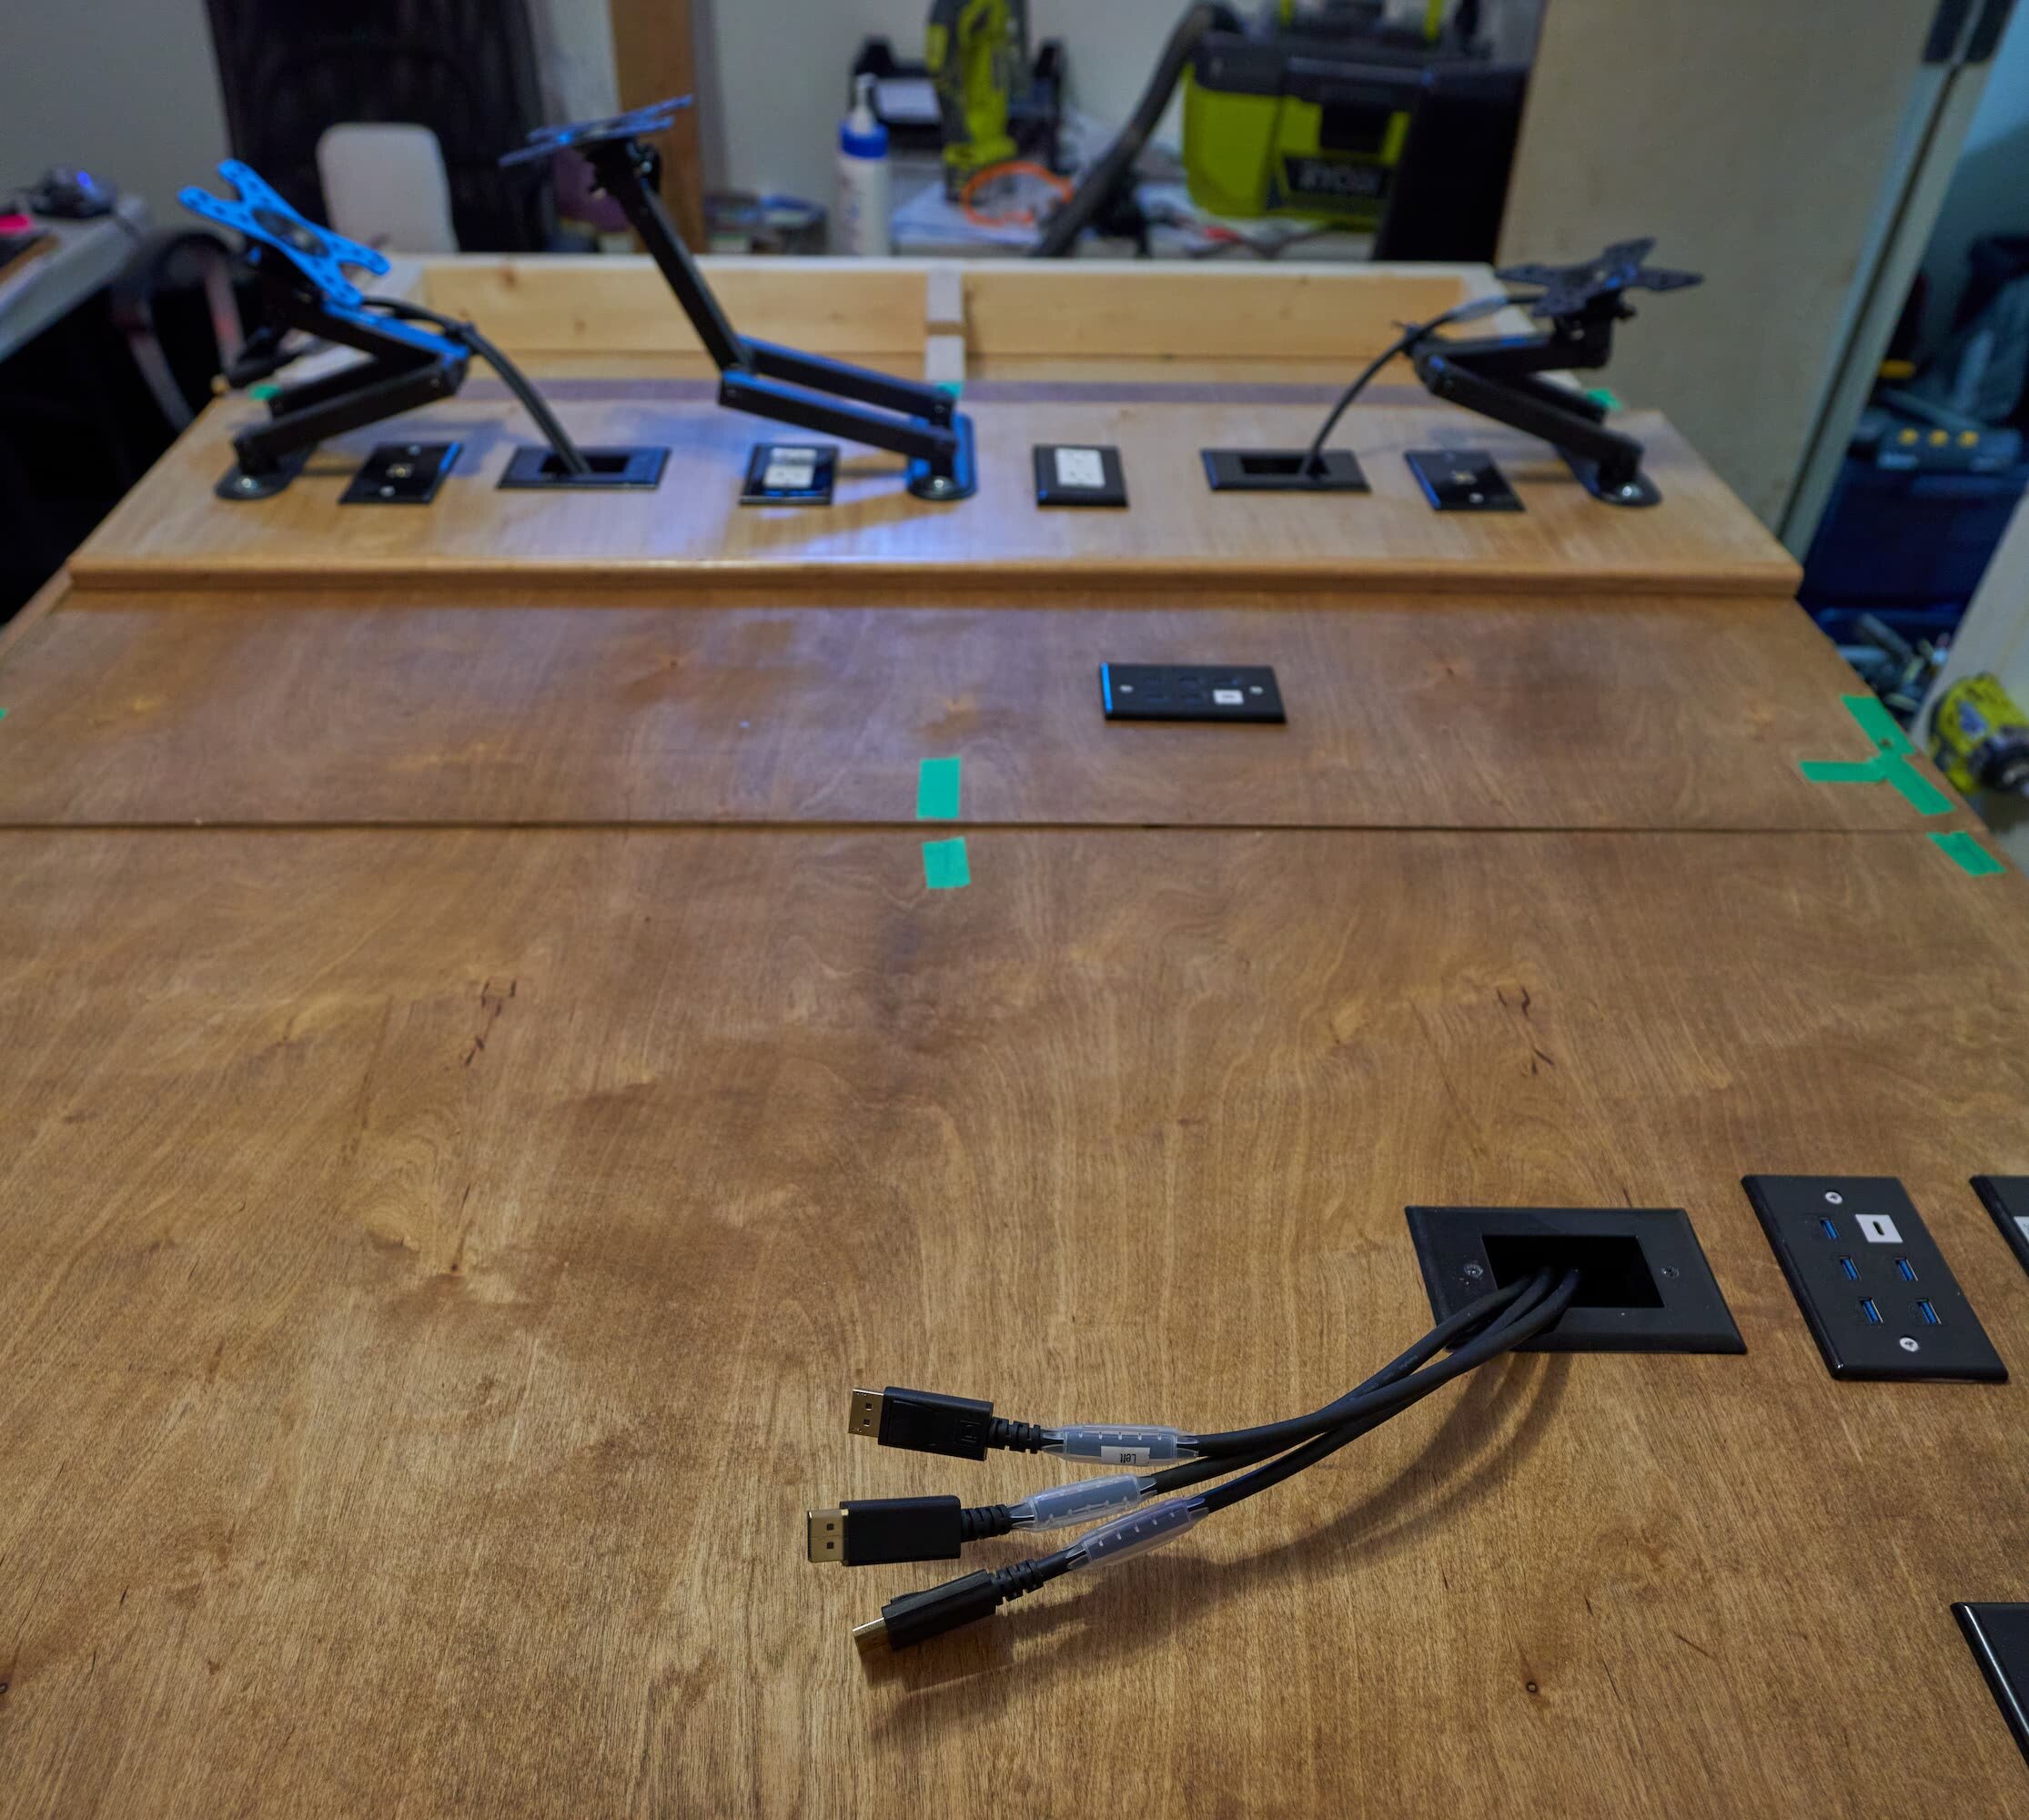
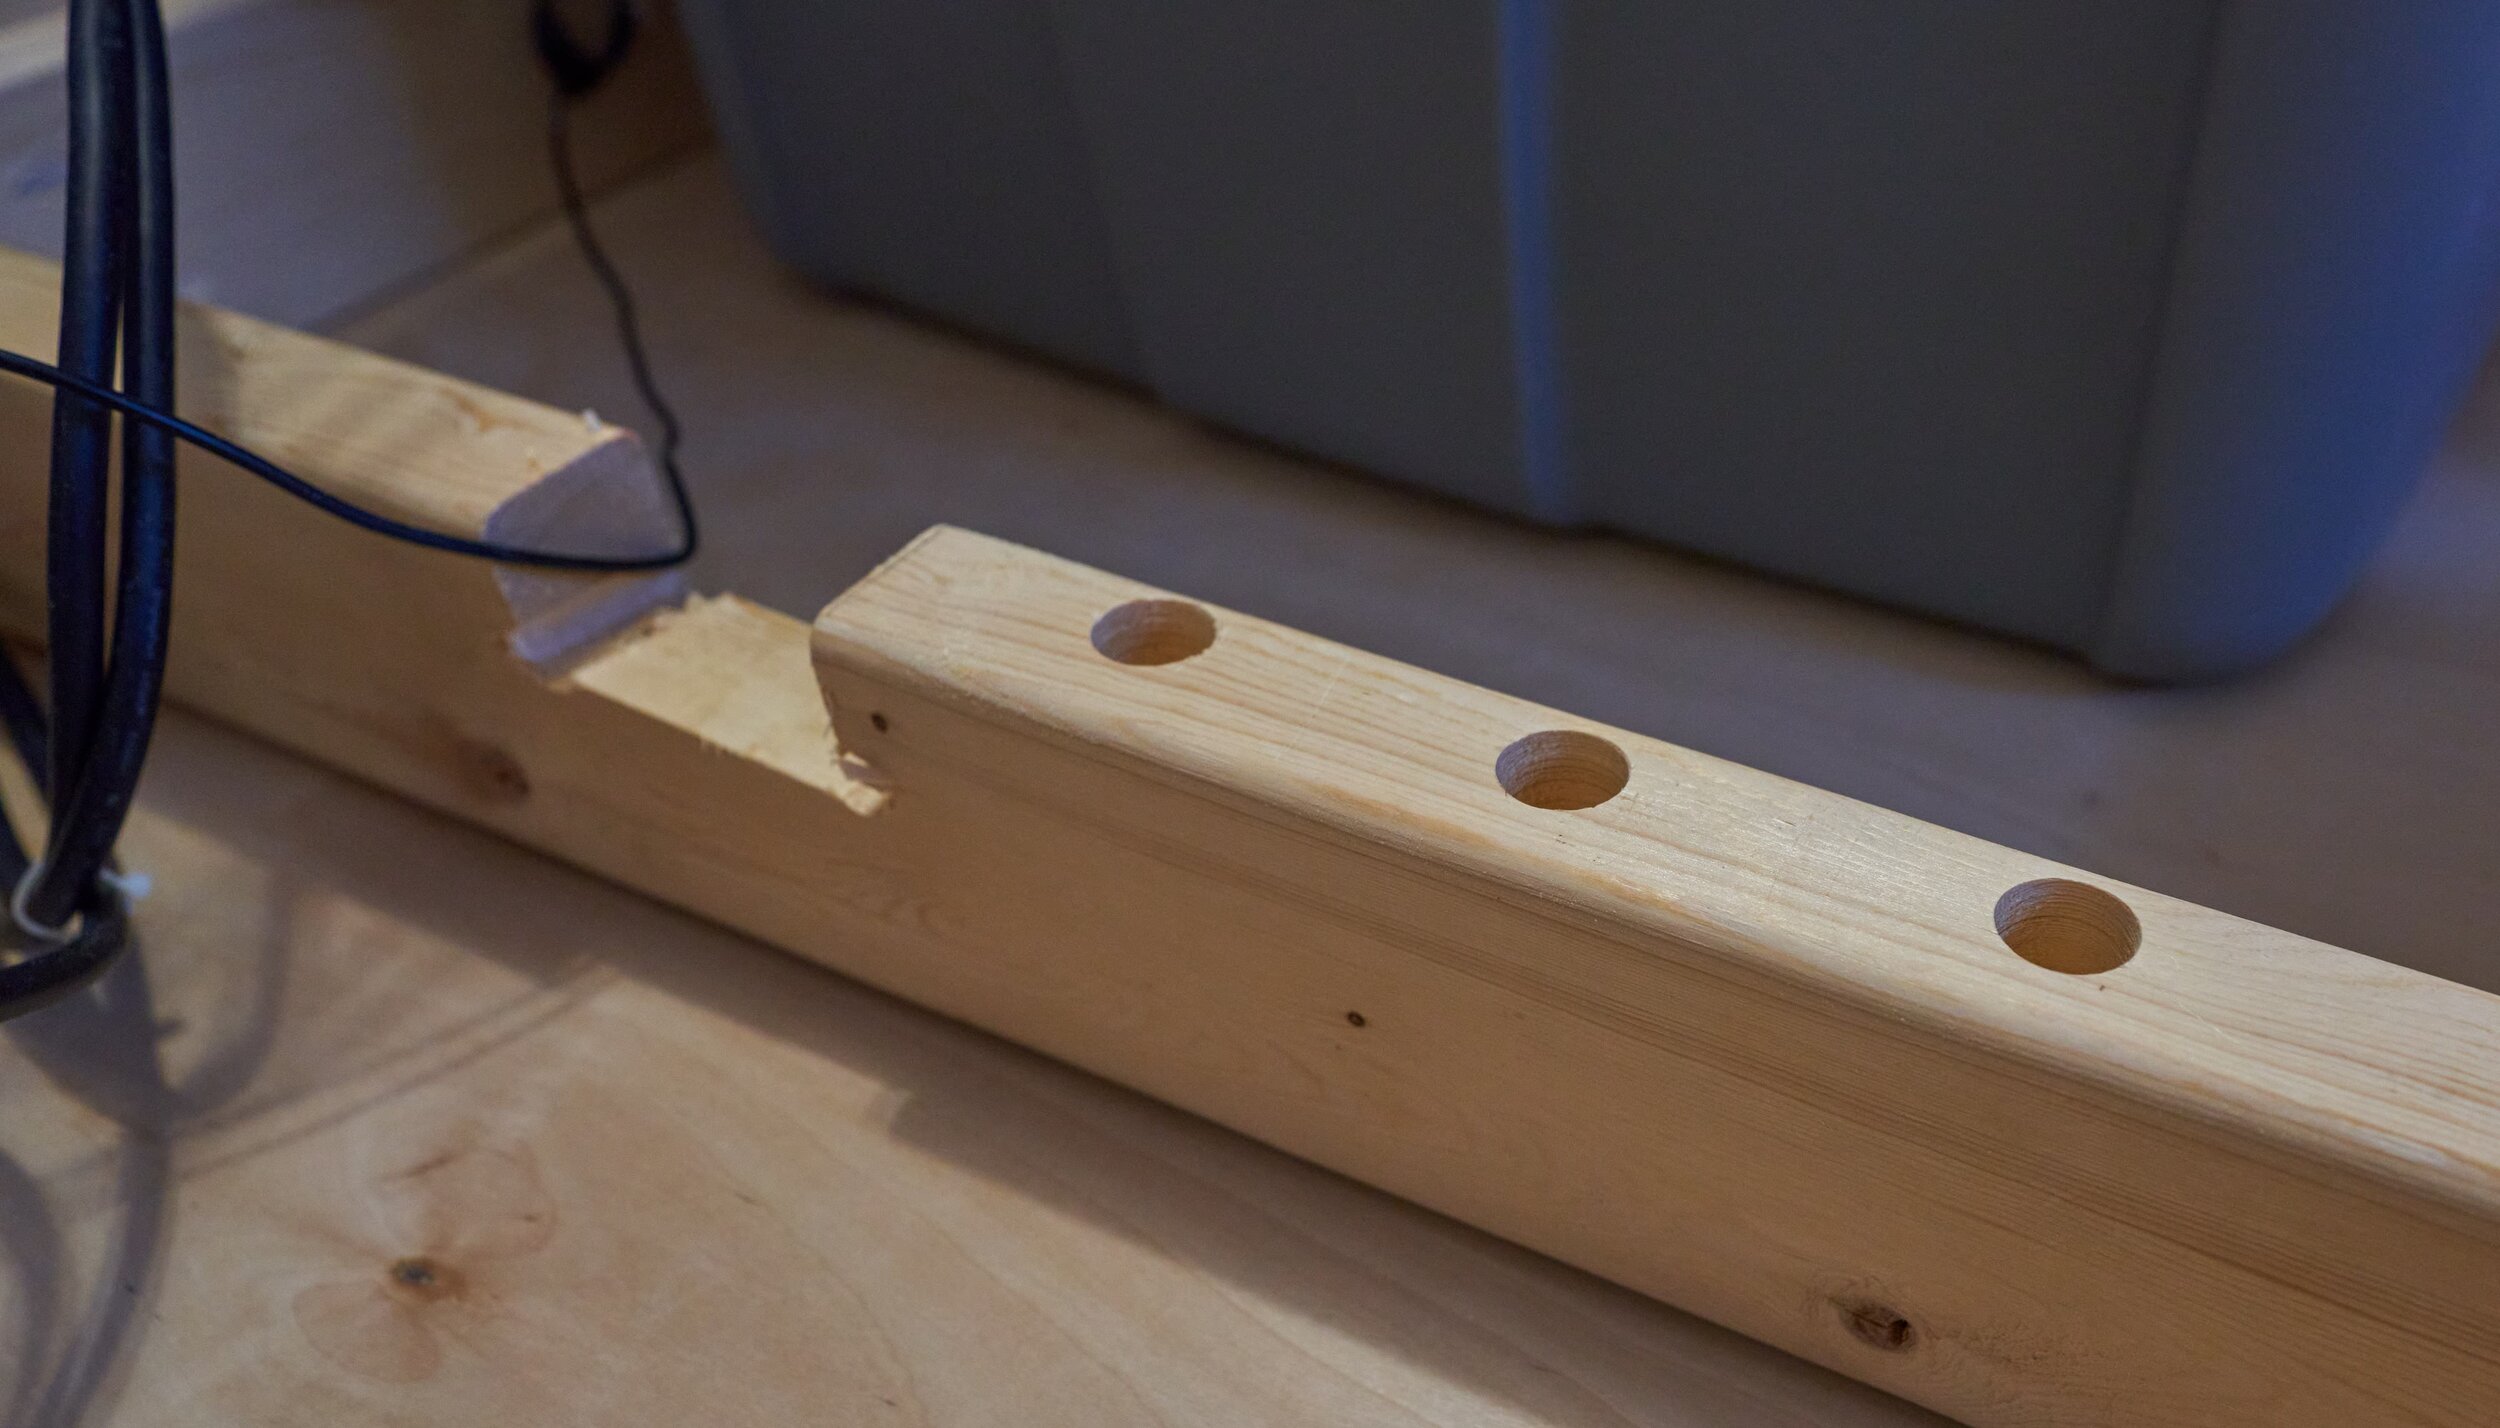
Having all the measurements on hand, this entire process was super fast - 60 minutes including a break for some hot dogs. A big lesson learned from the first faux-wall was to cut the cable pass-throughs at this stage when it’s easy to access the framing members.
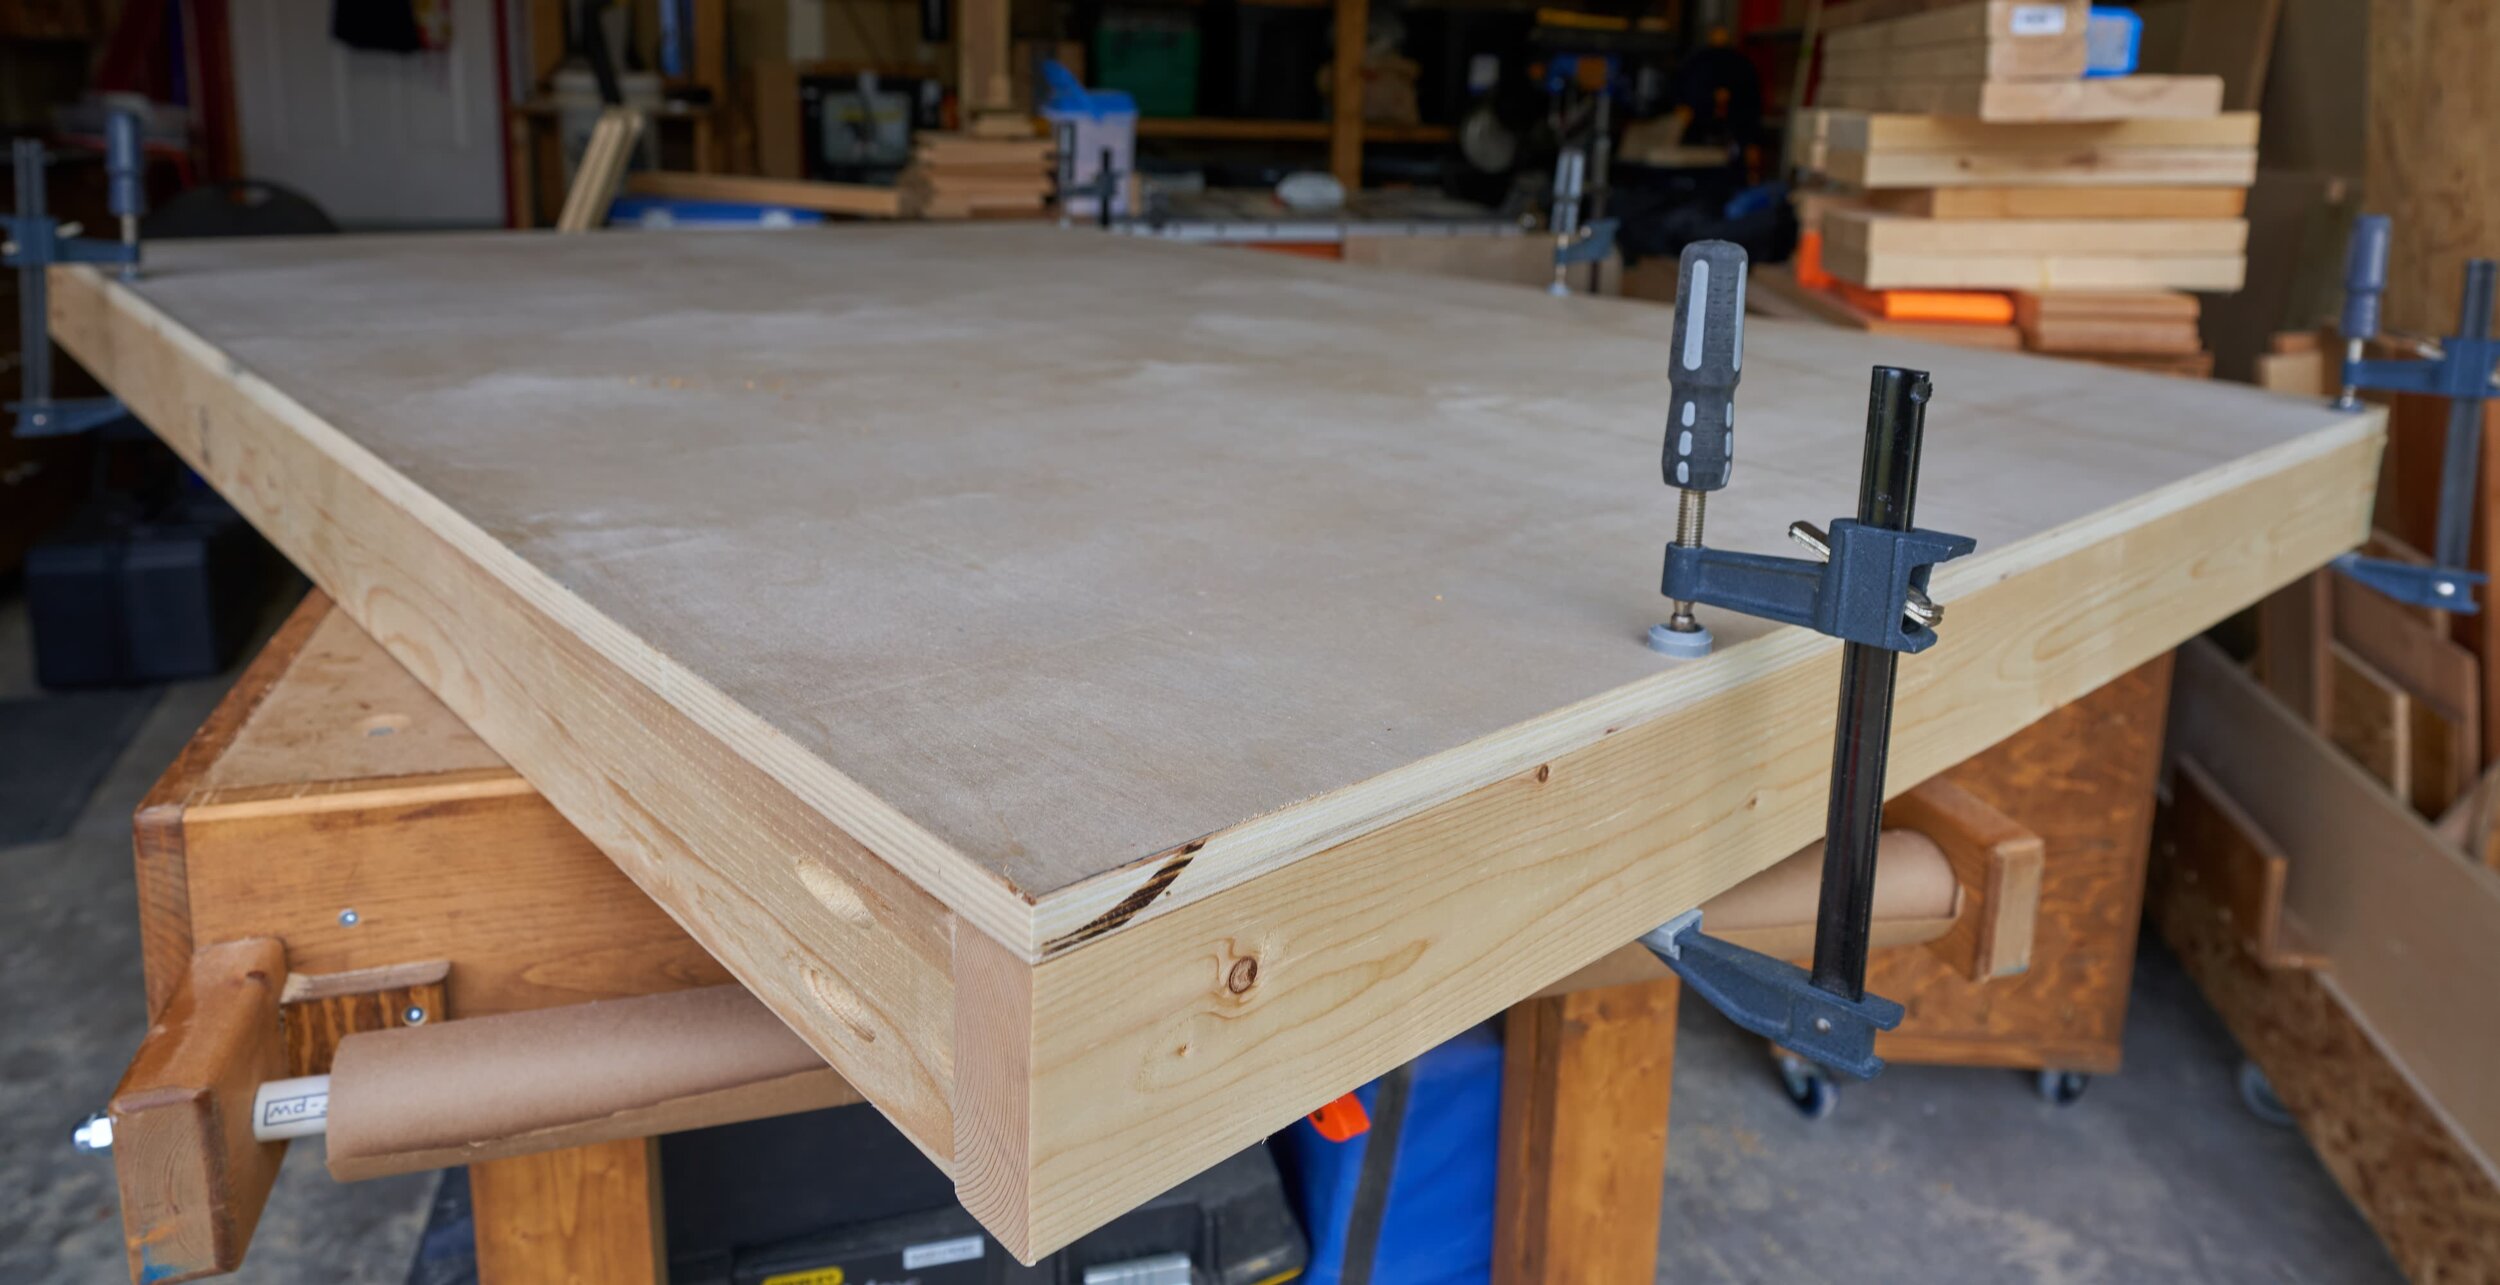
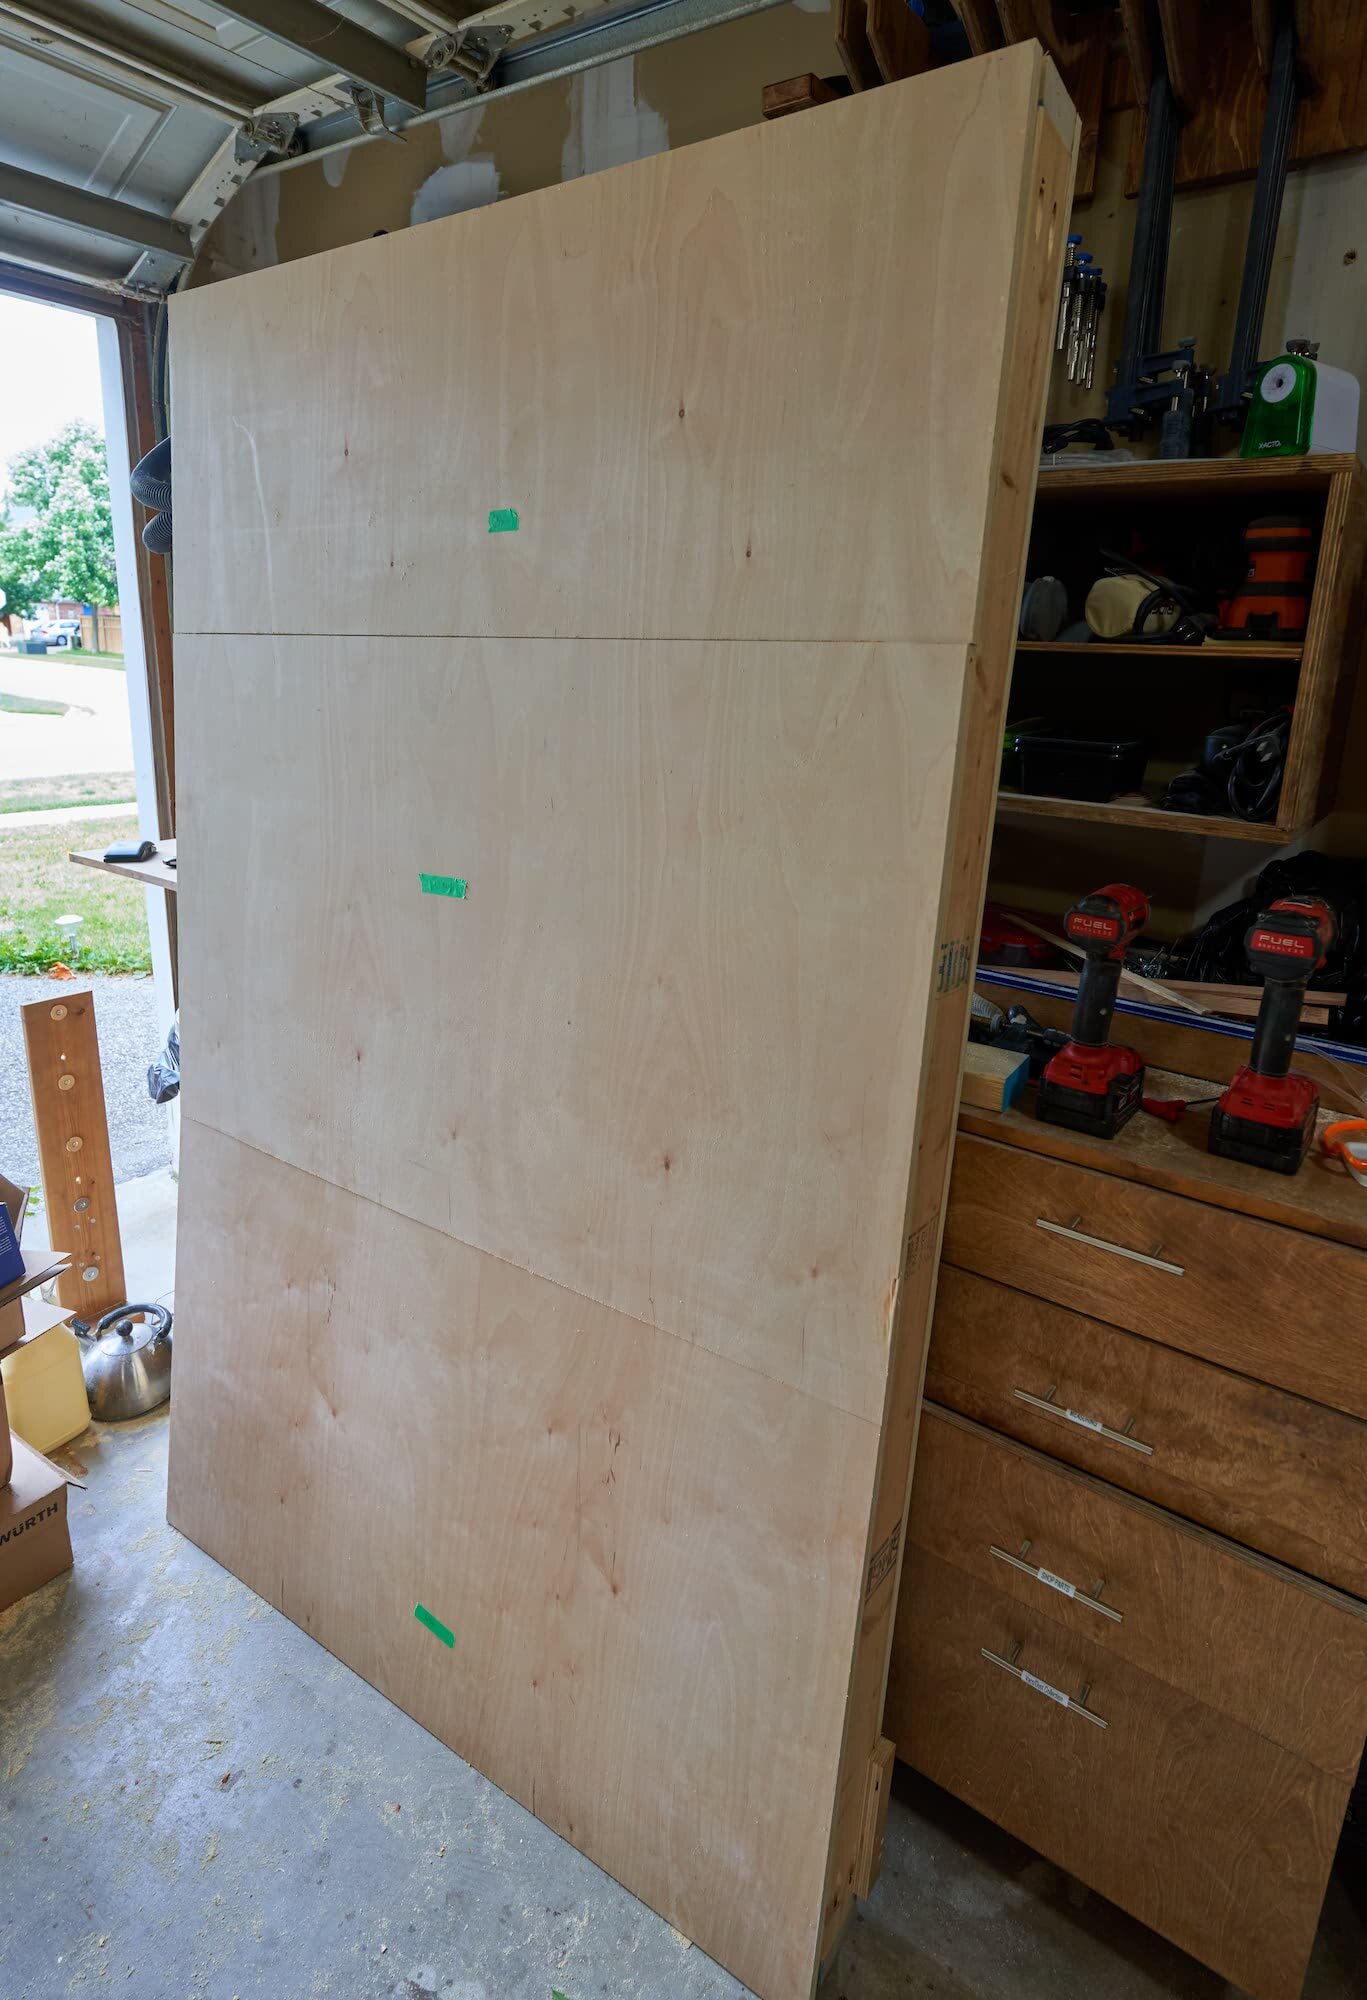
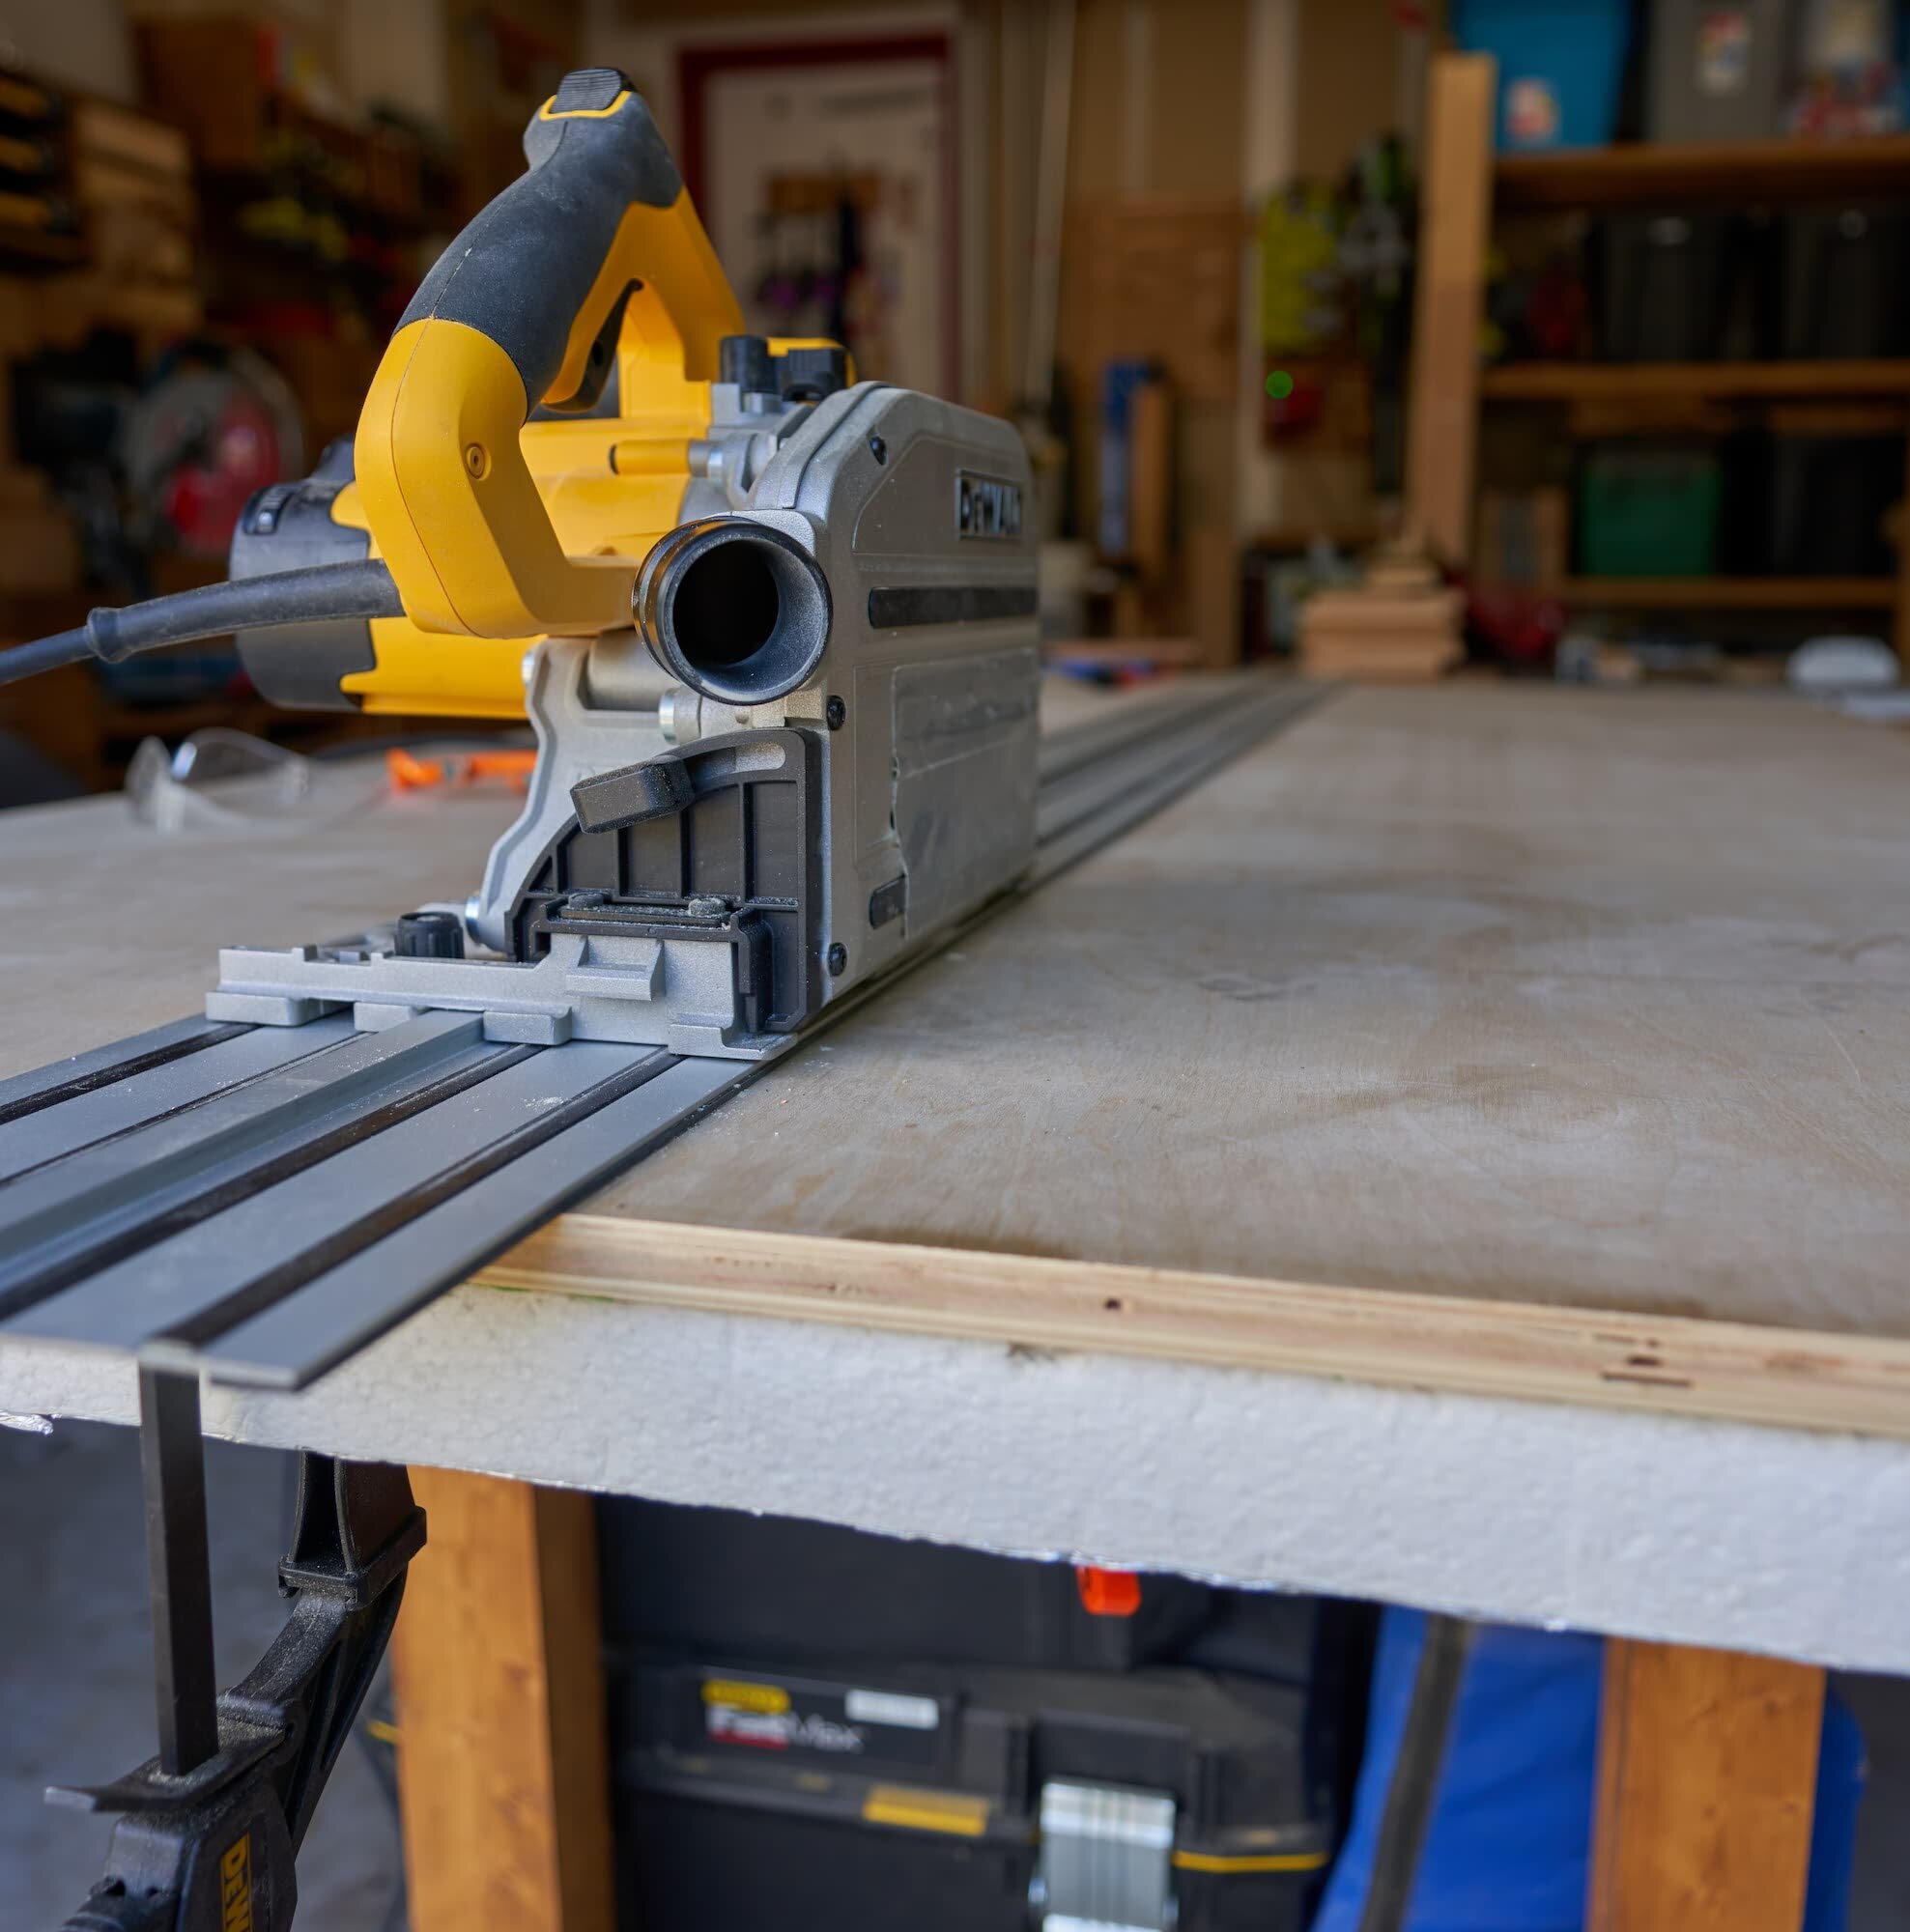
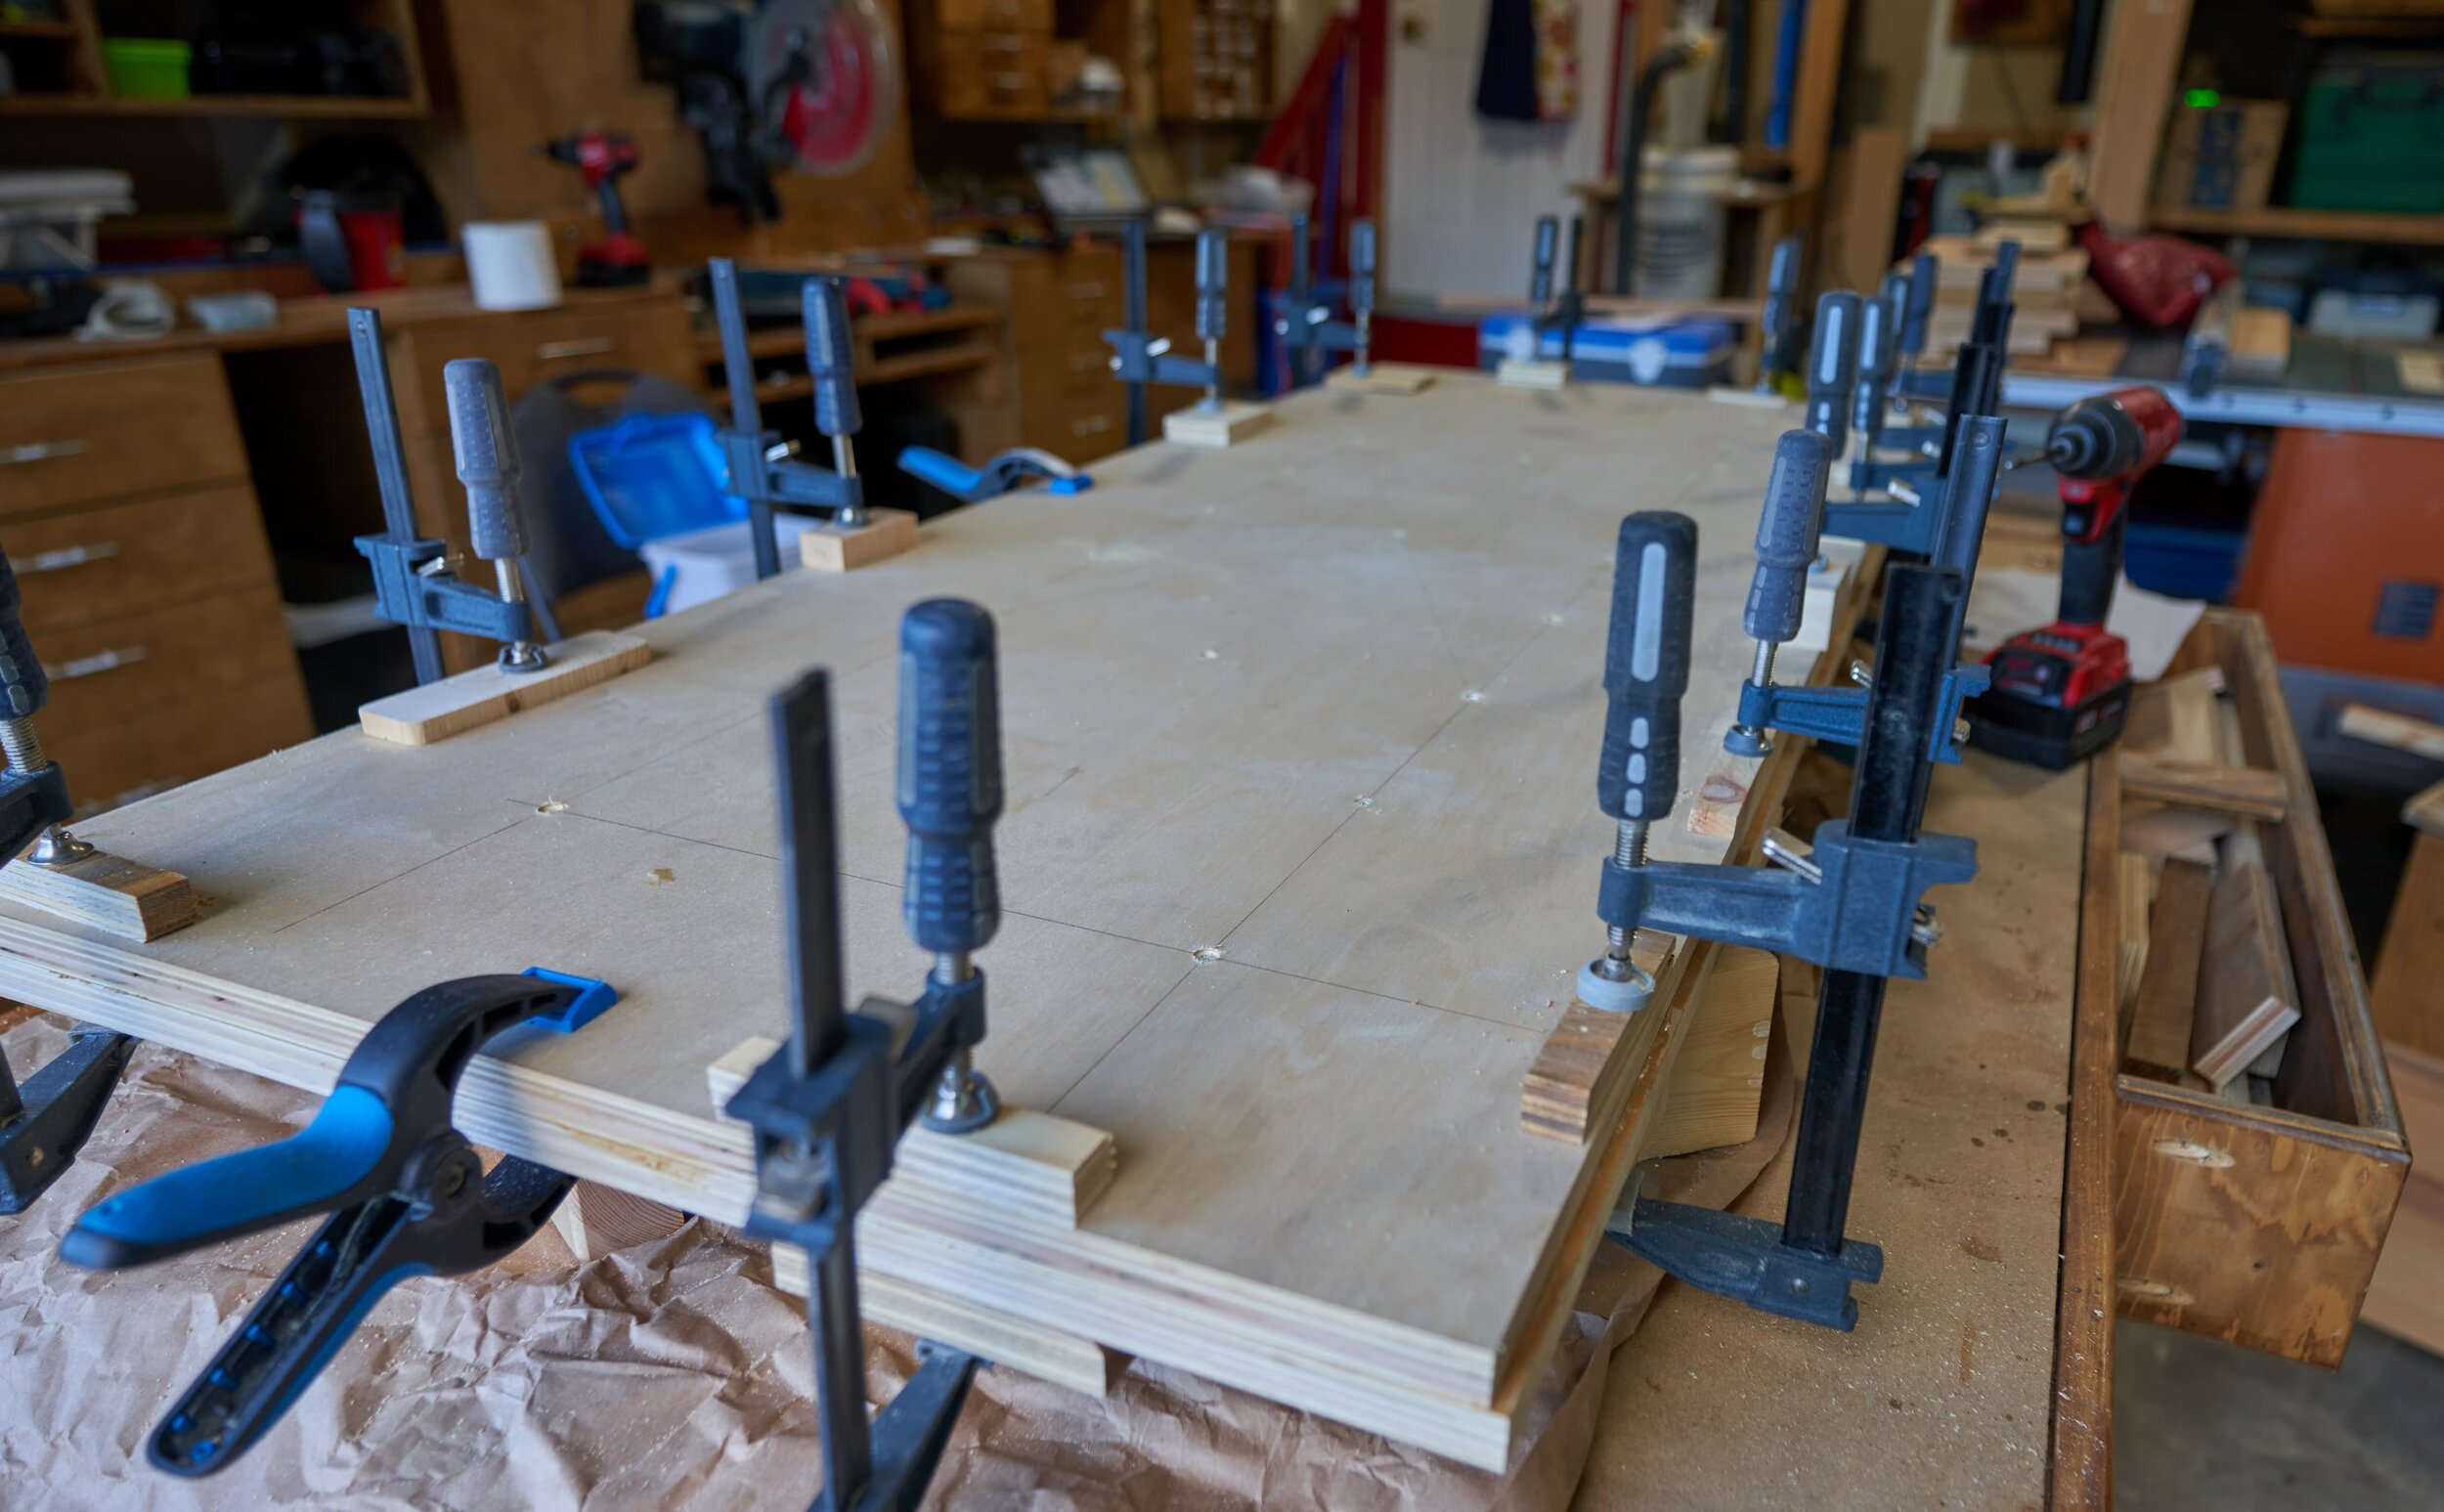
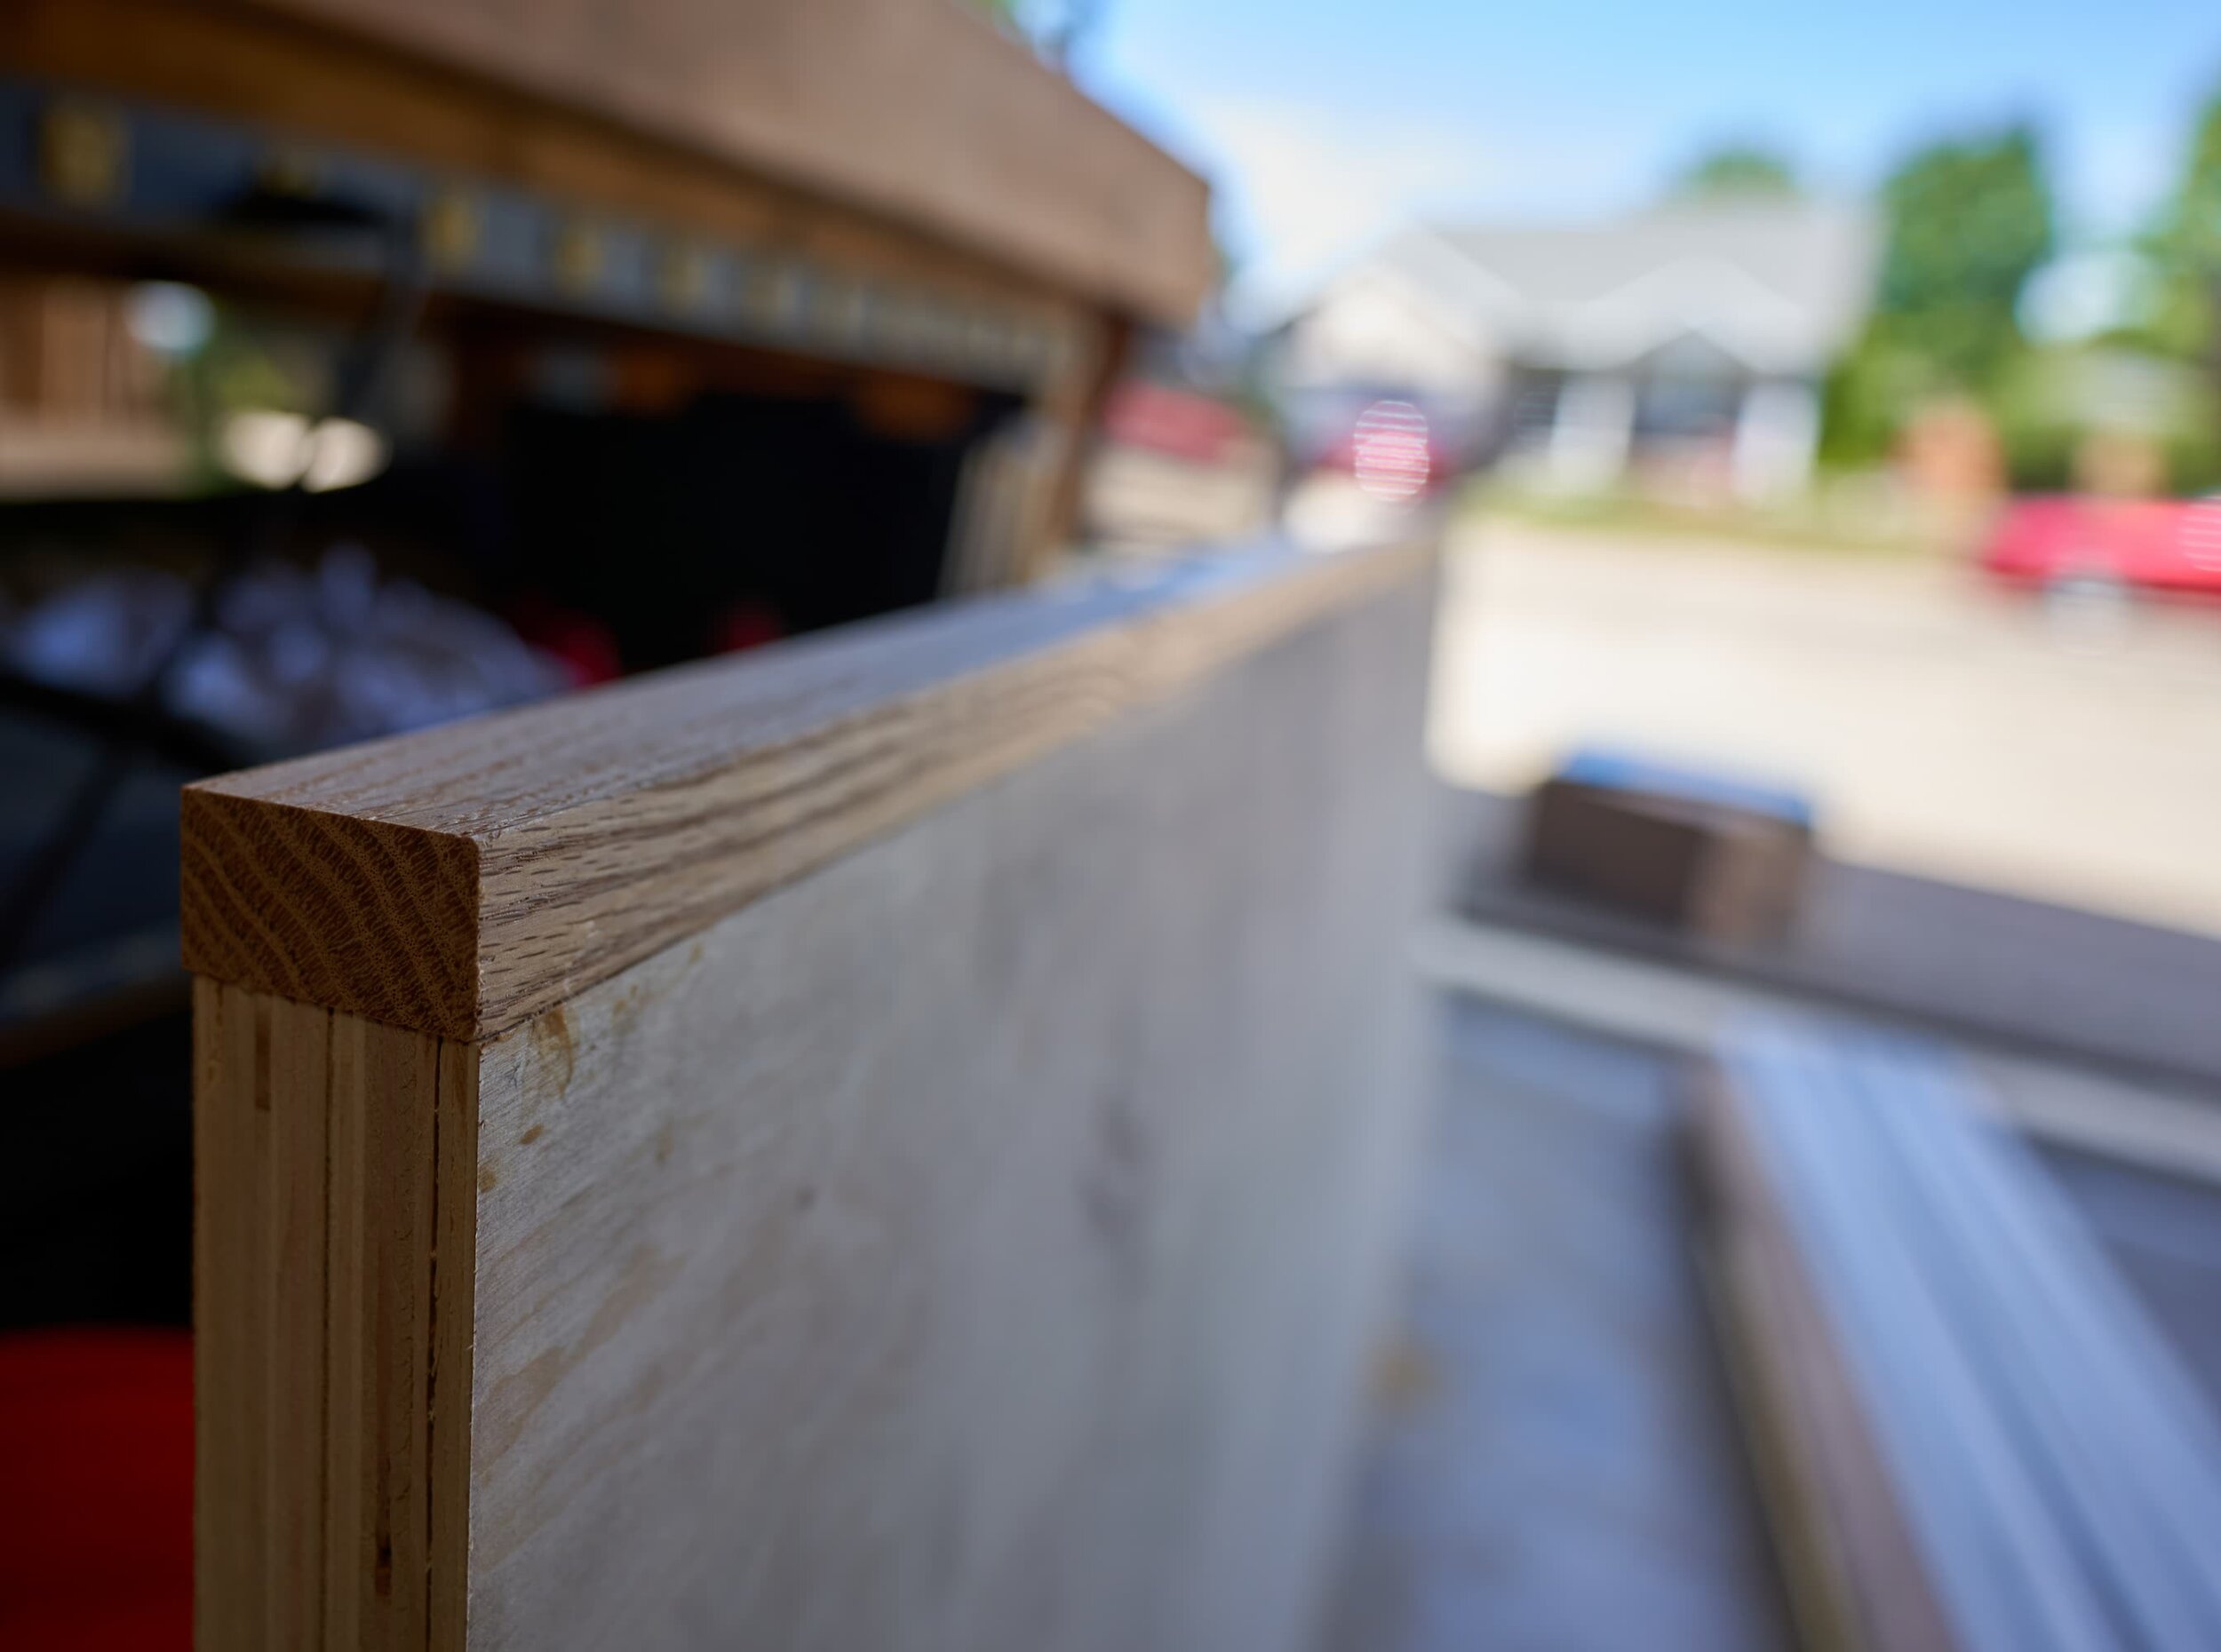
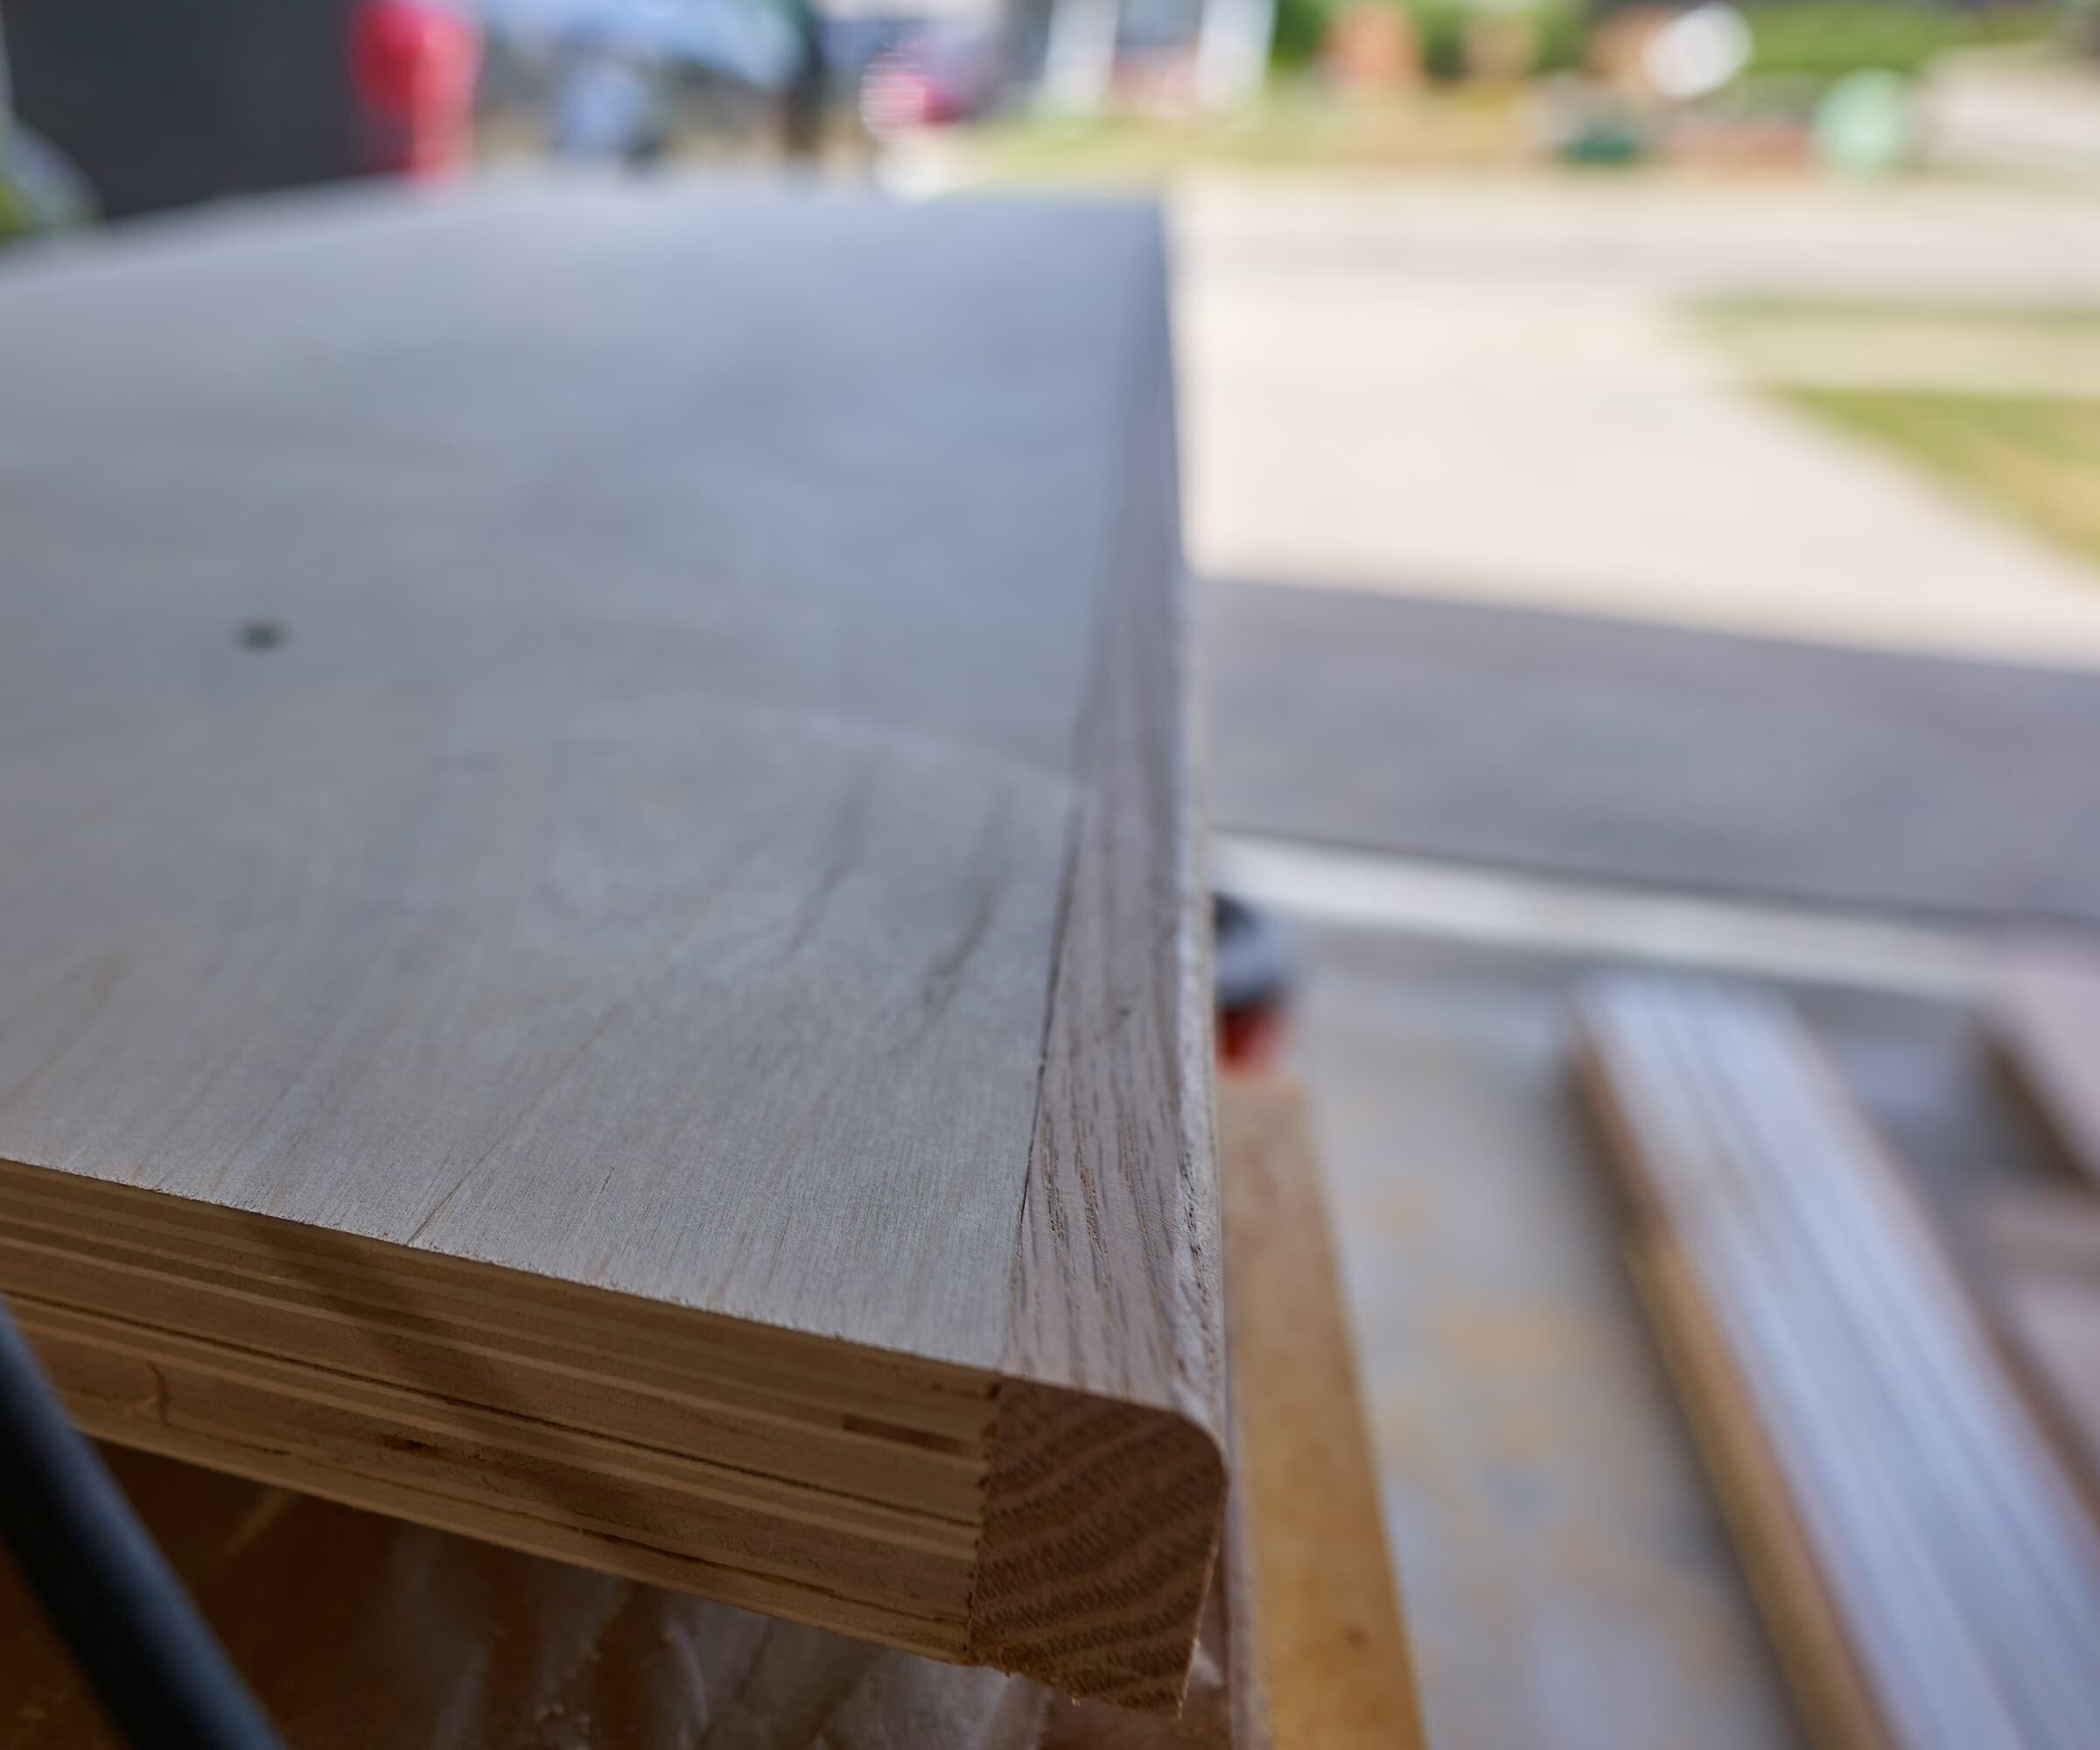
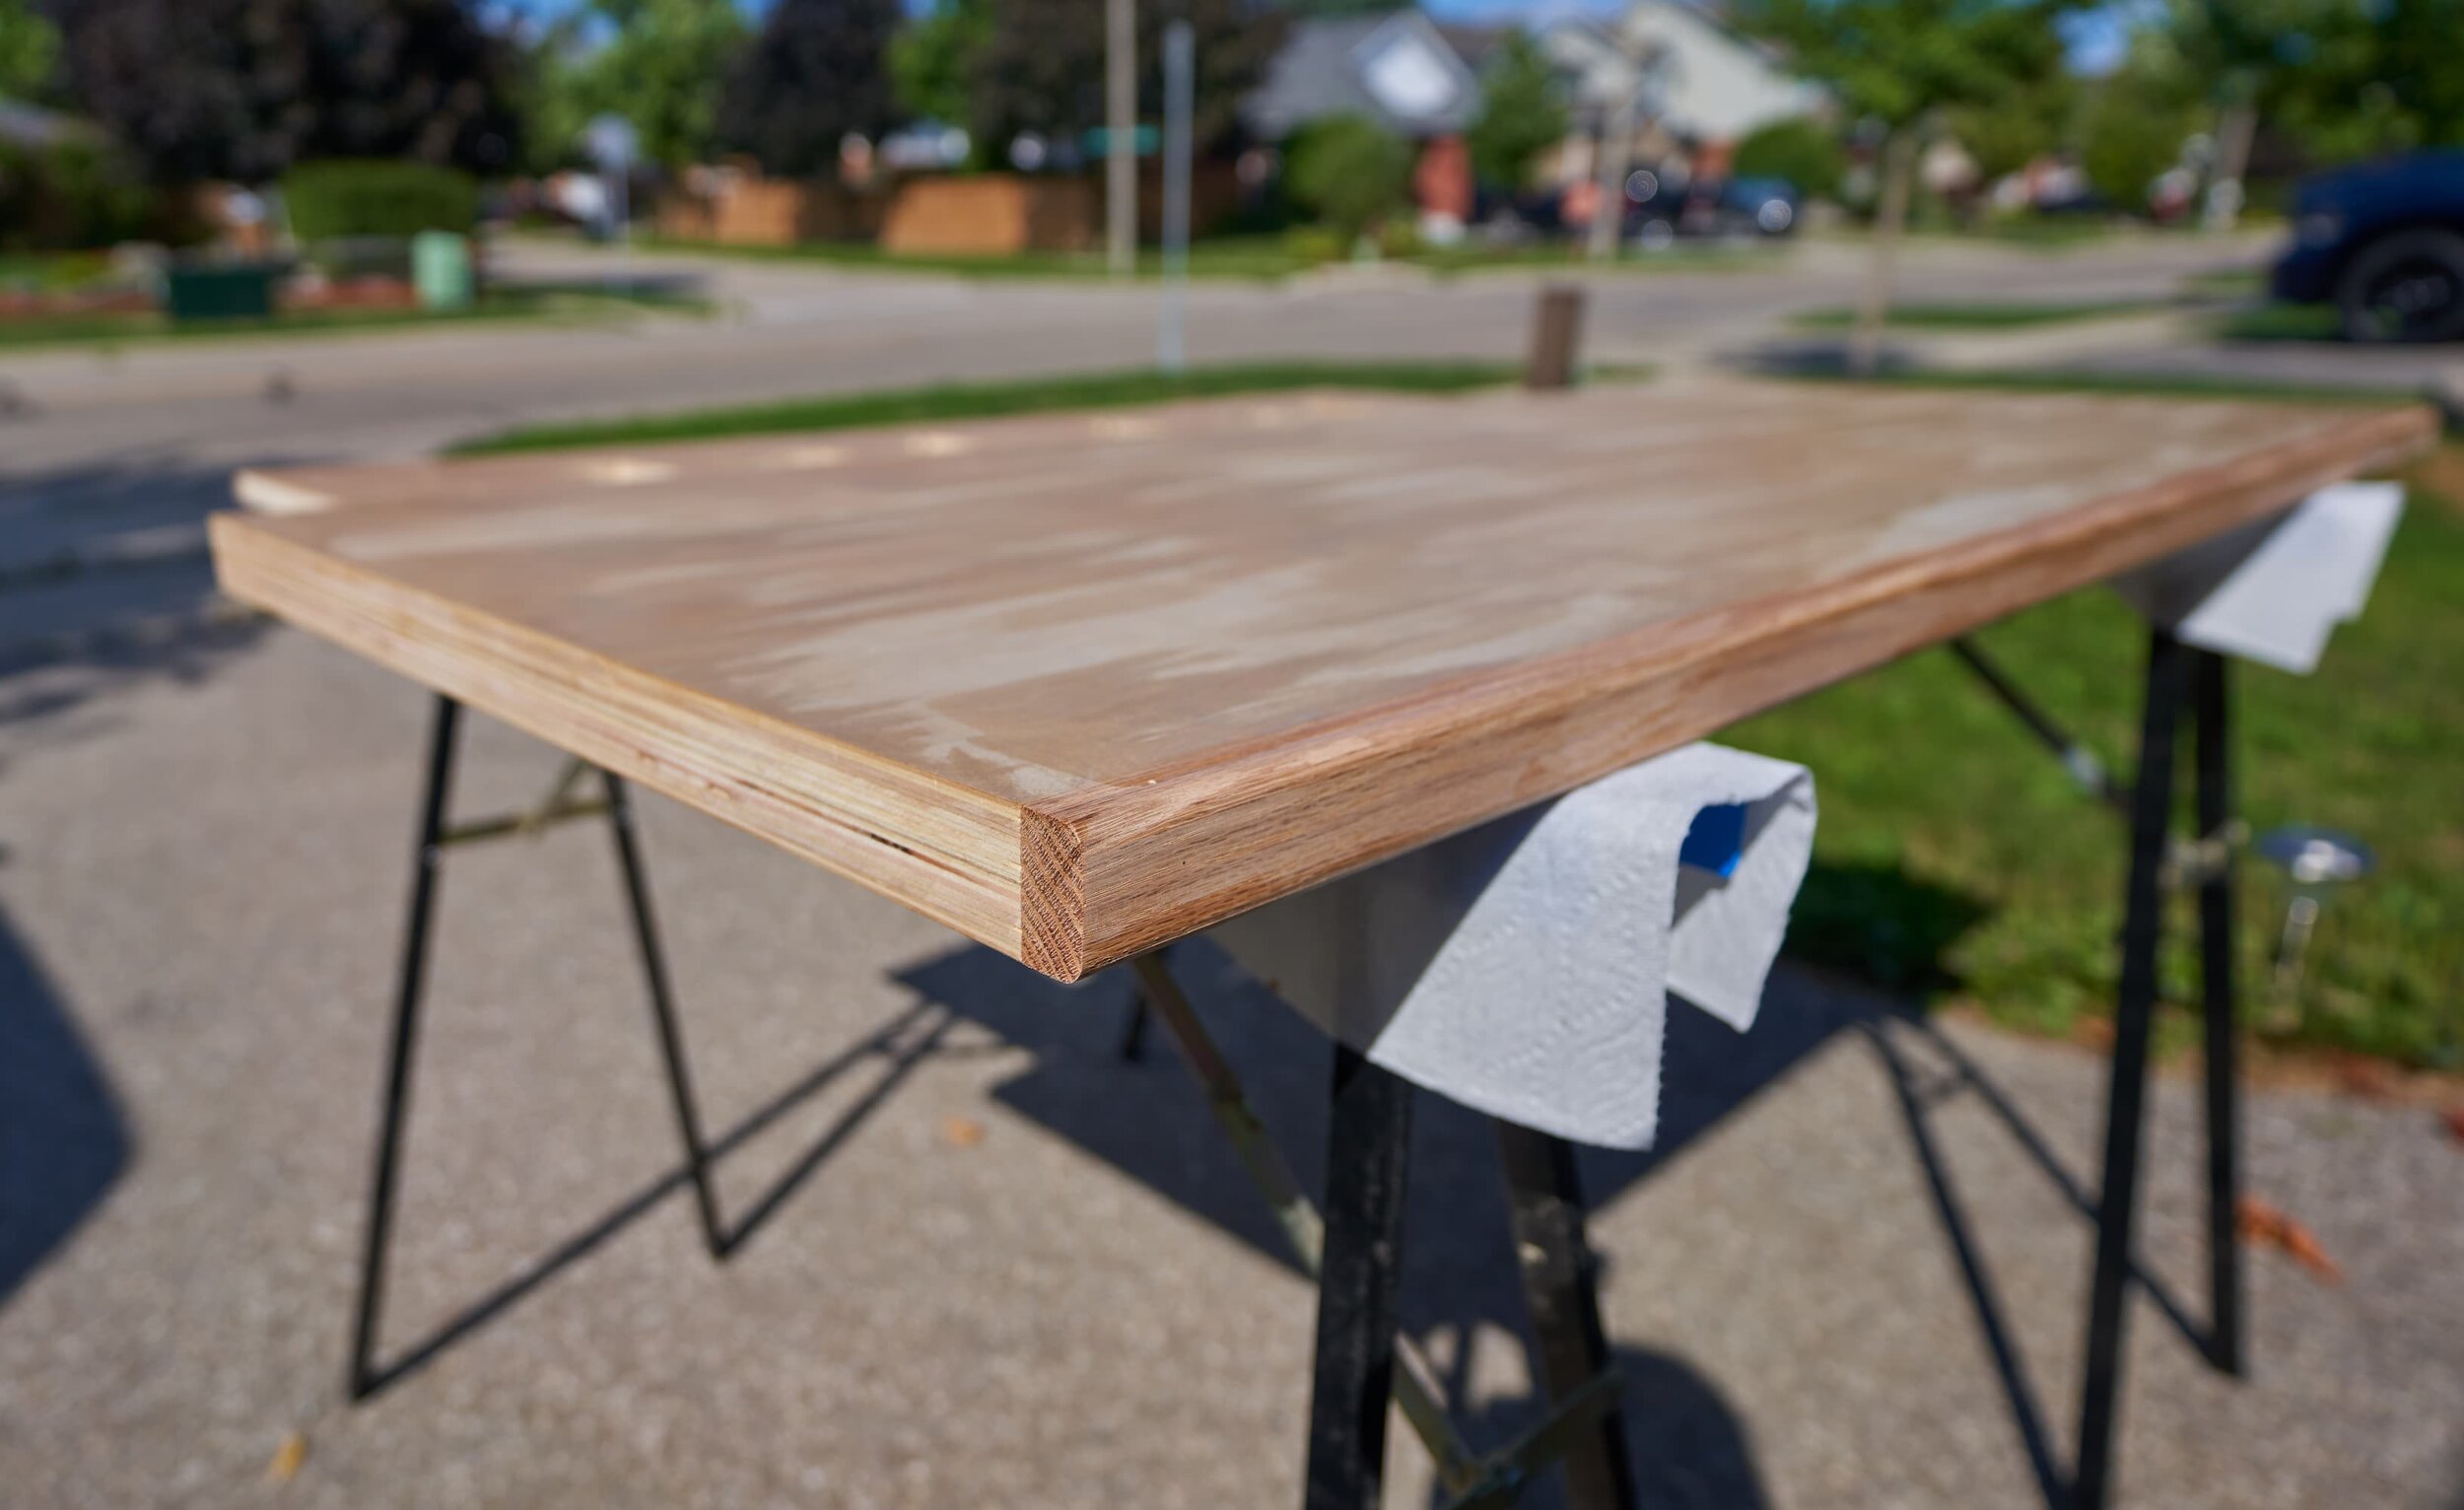
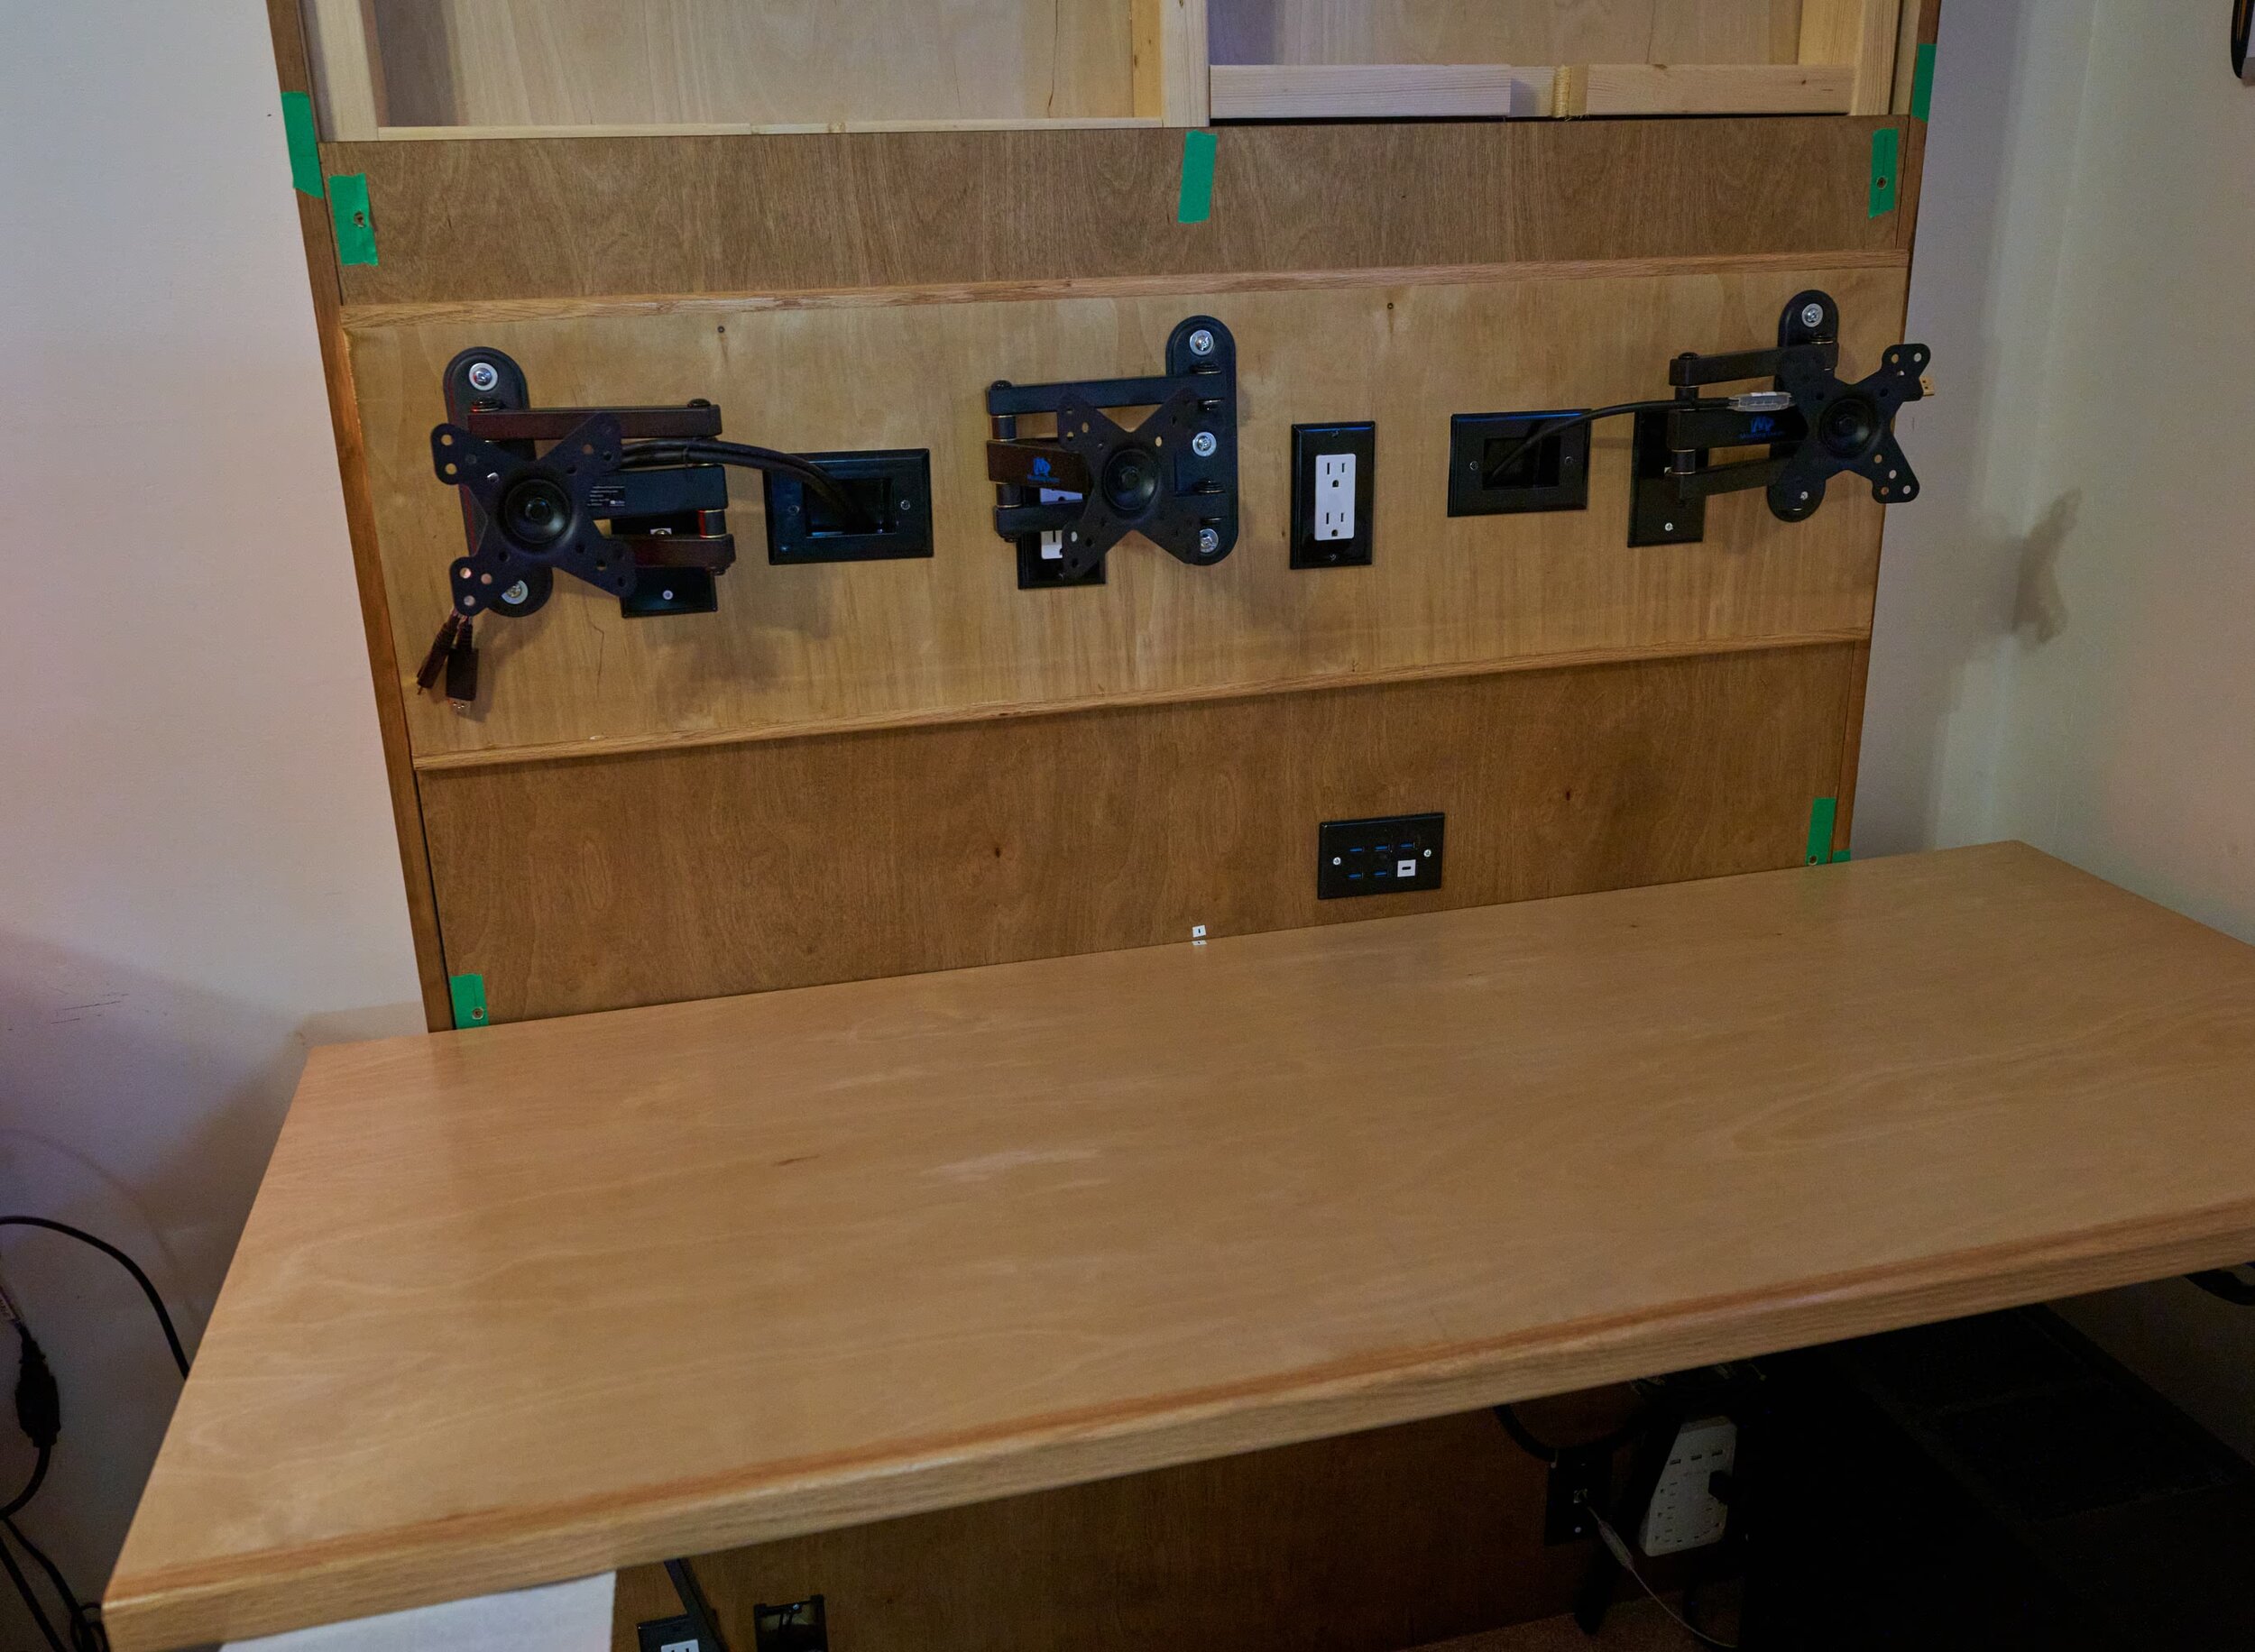
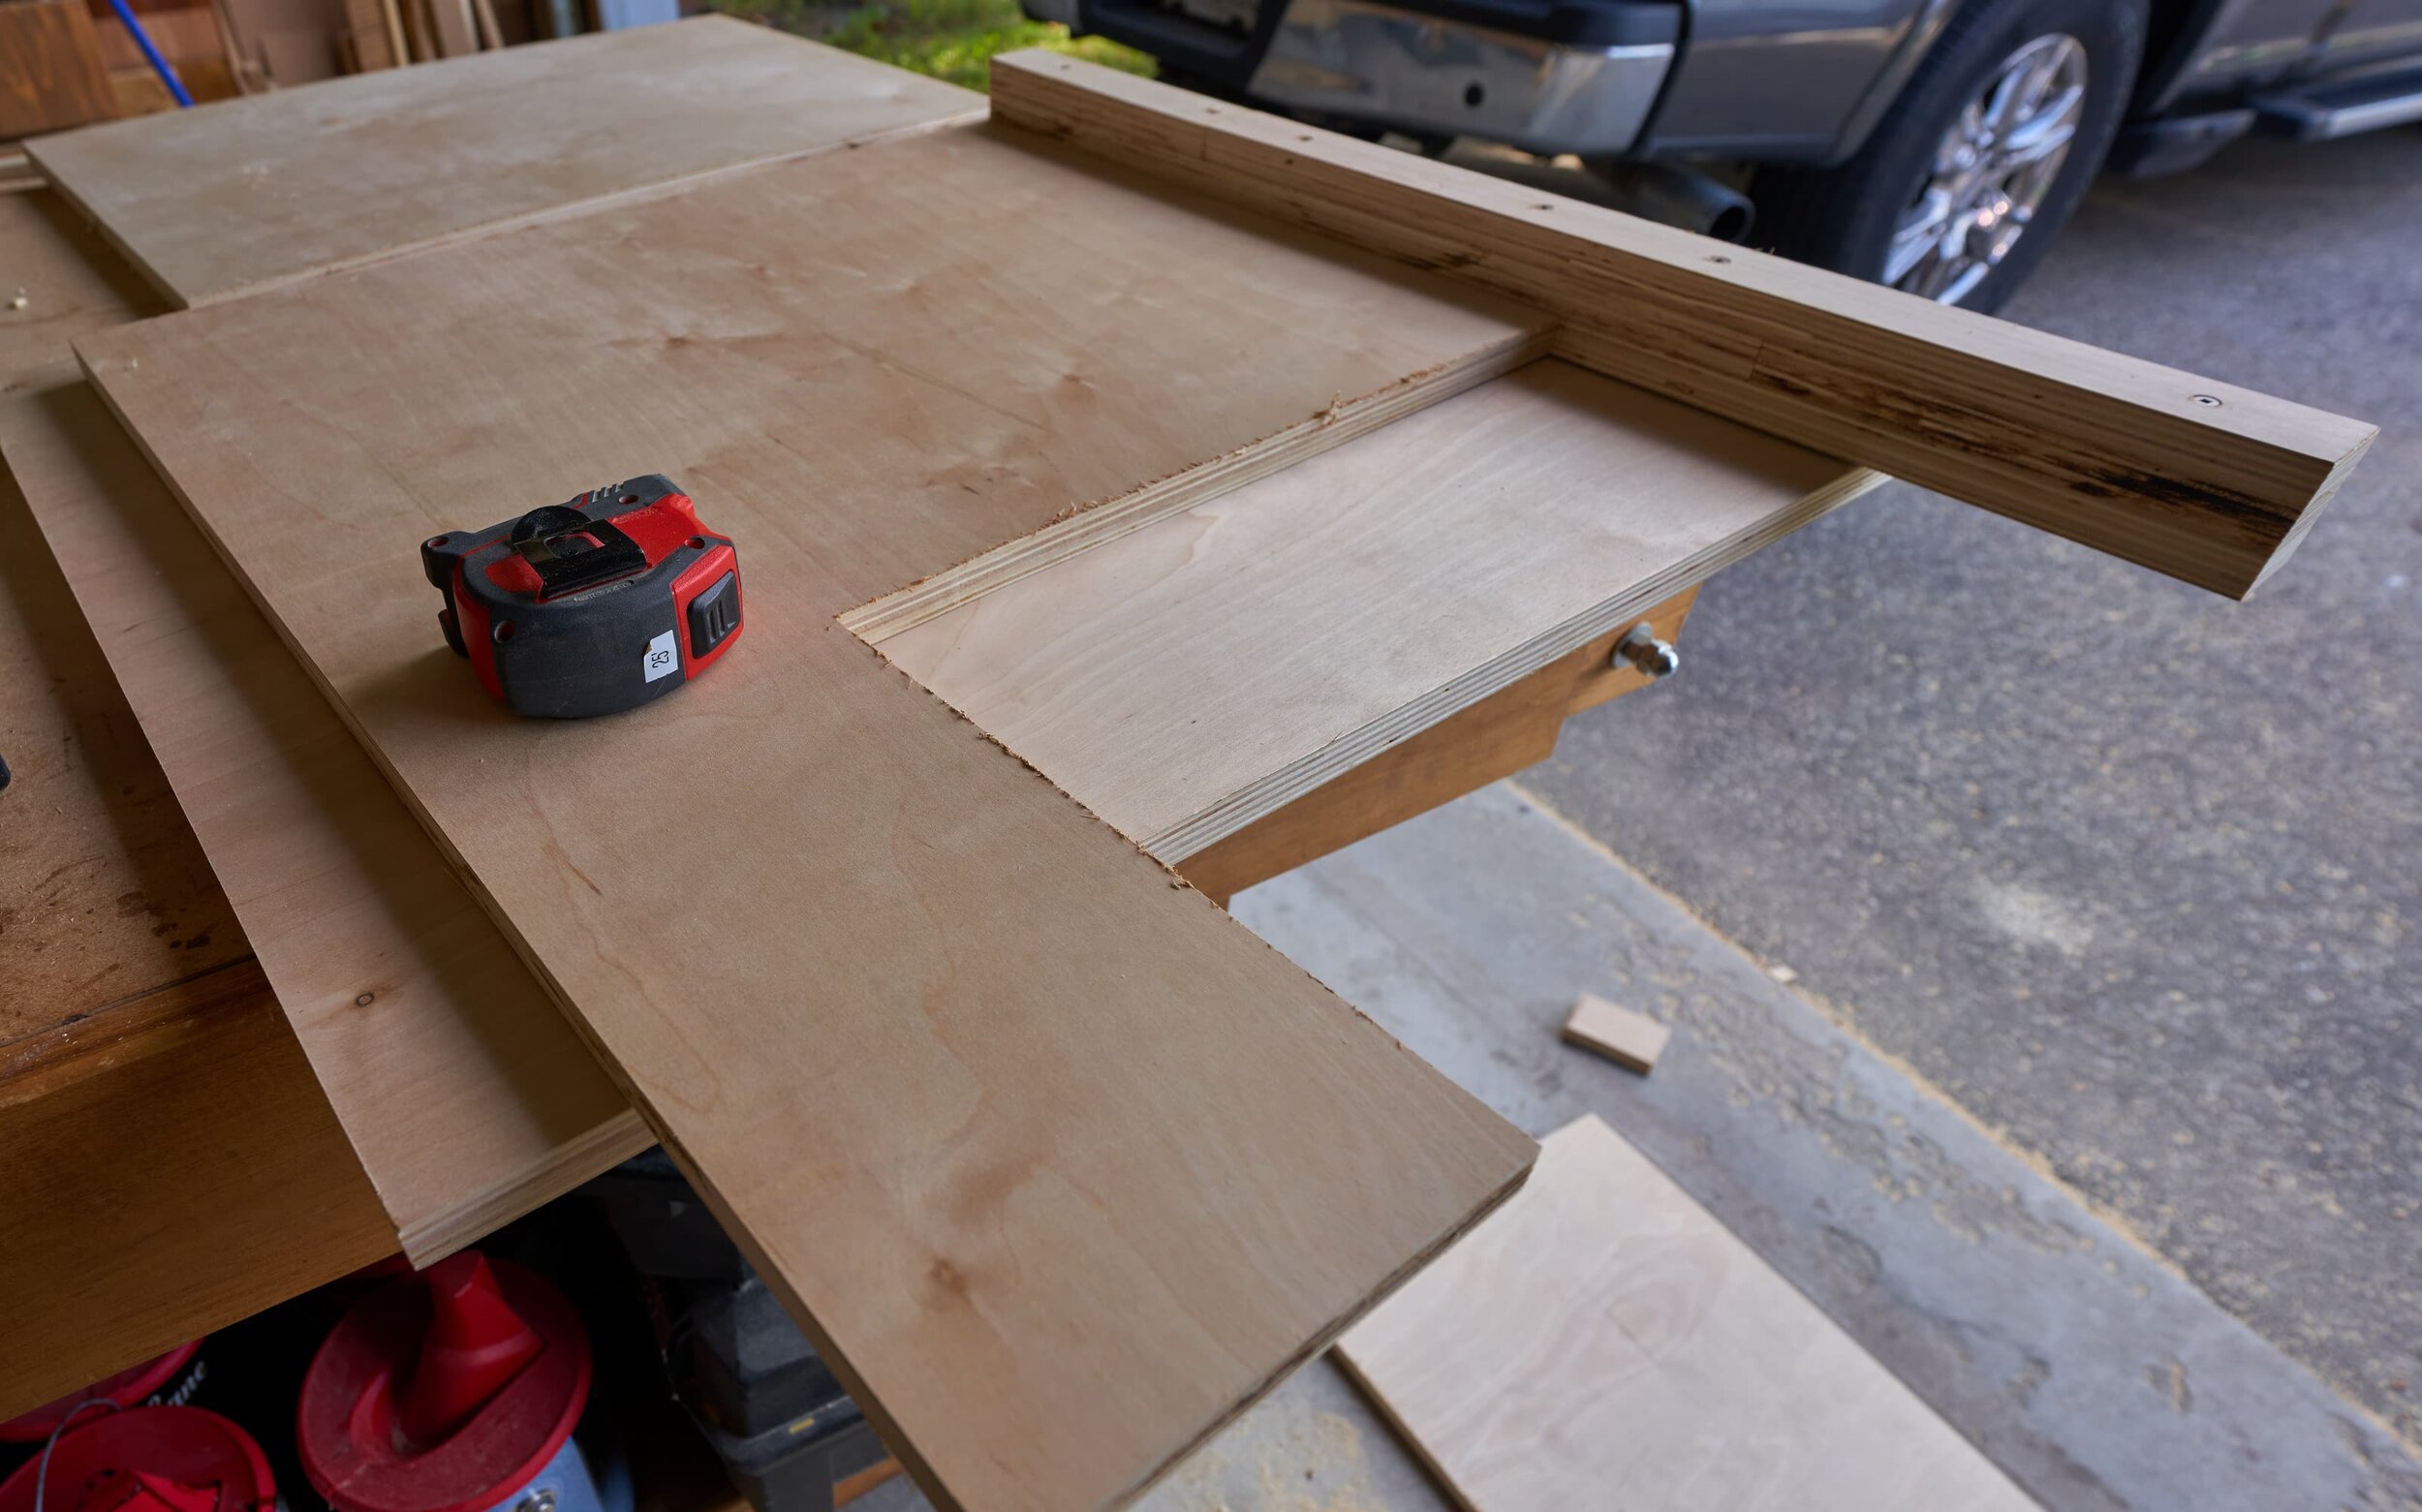
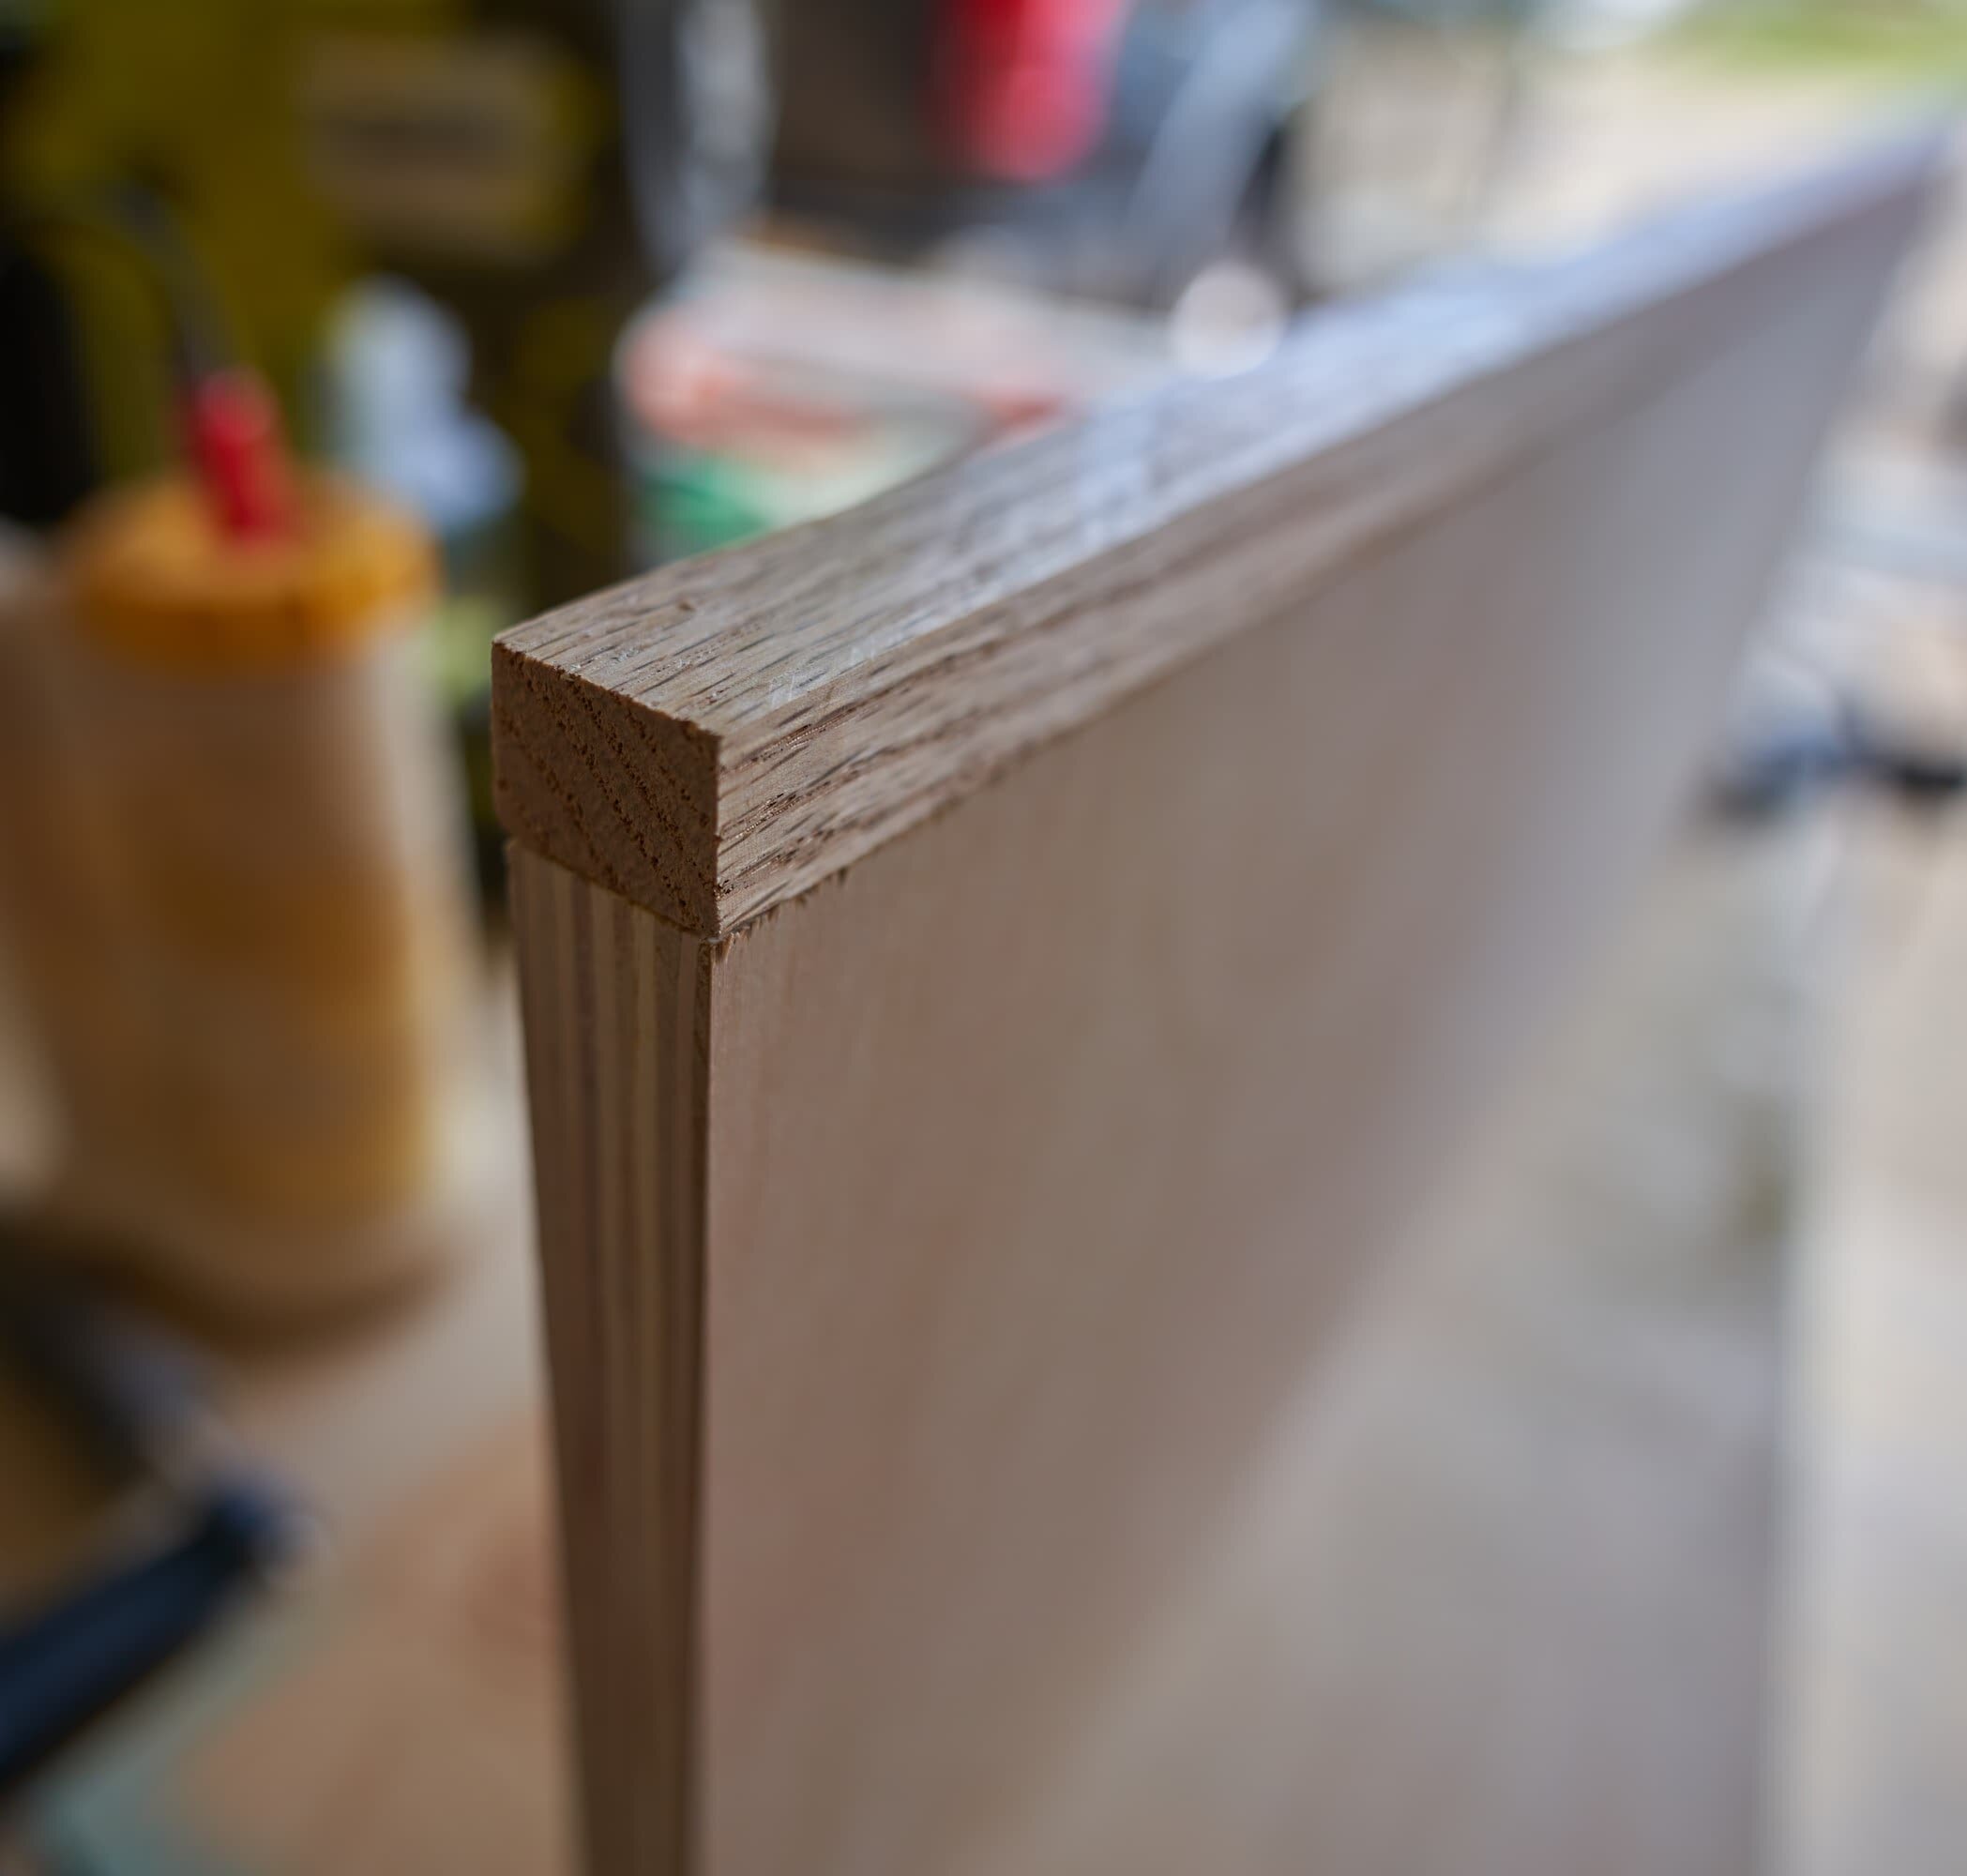
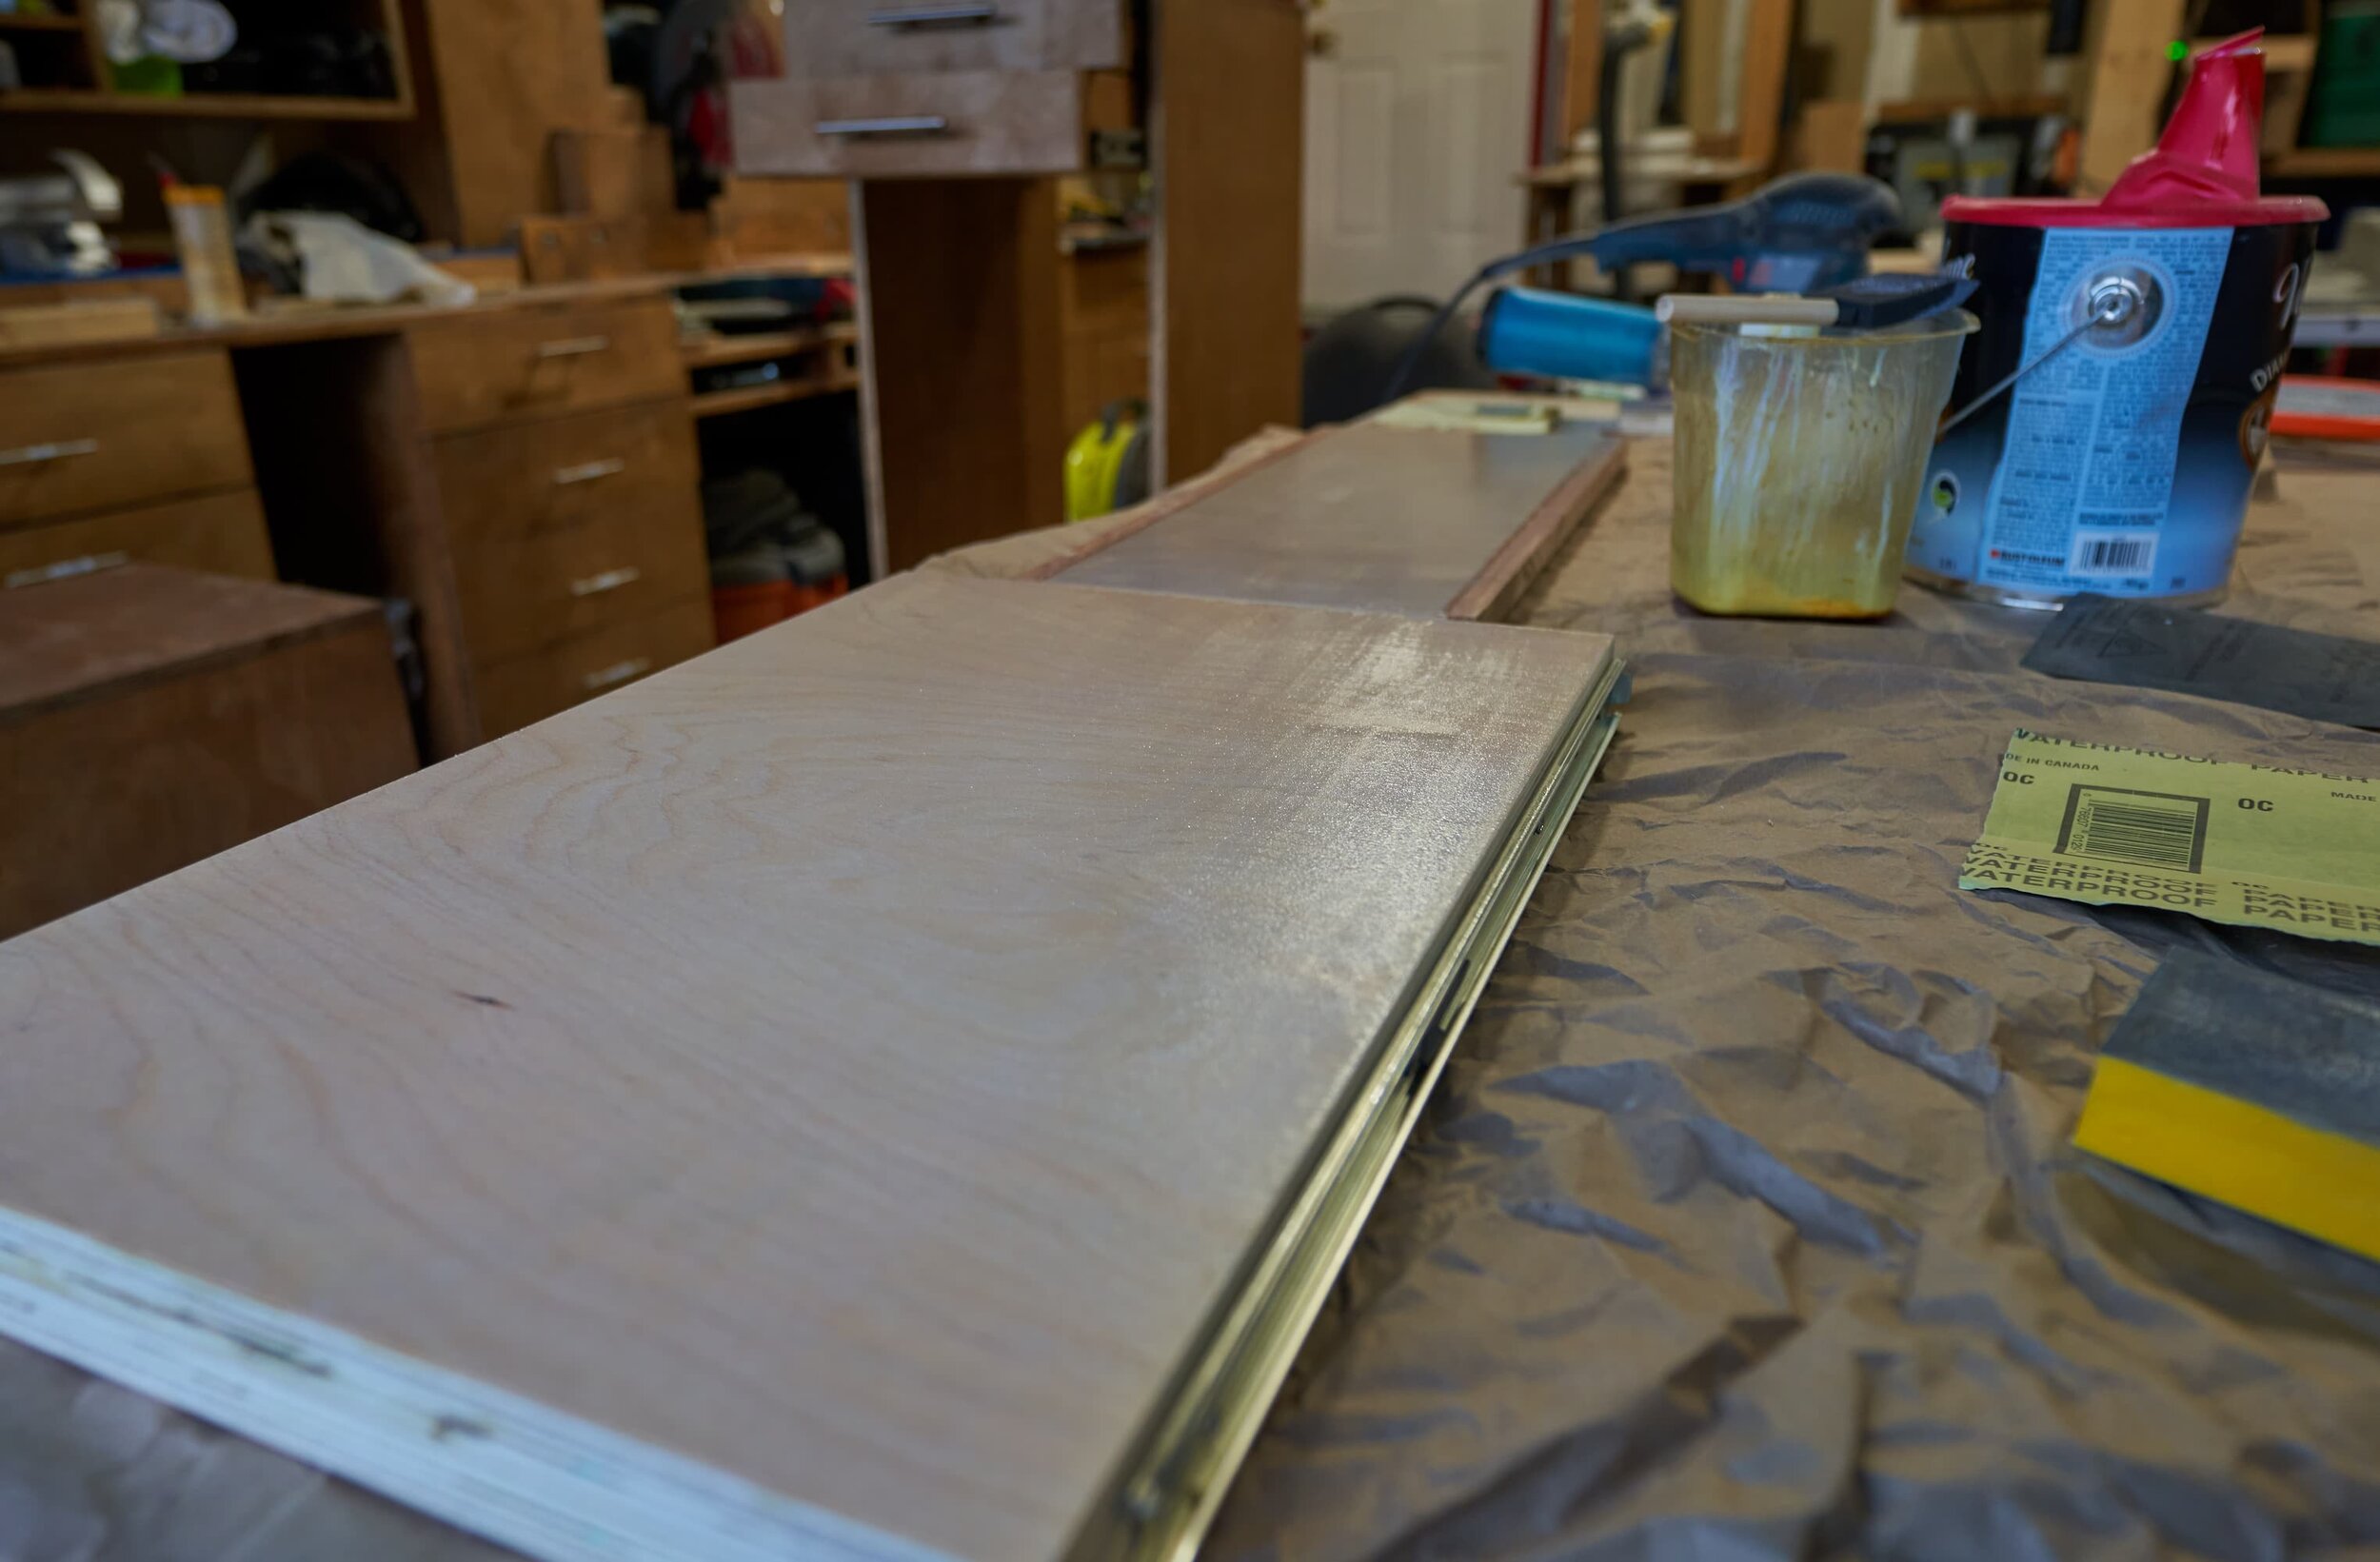
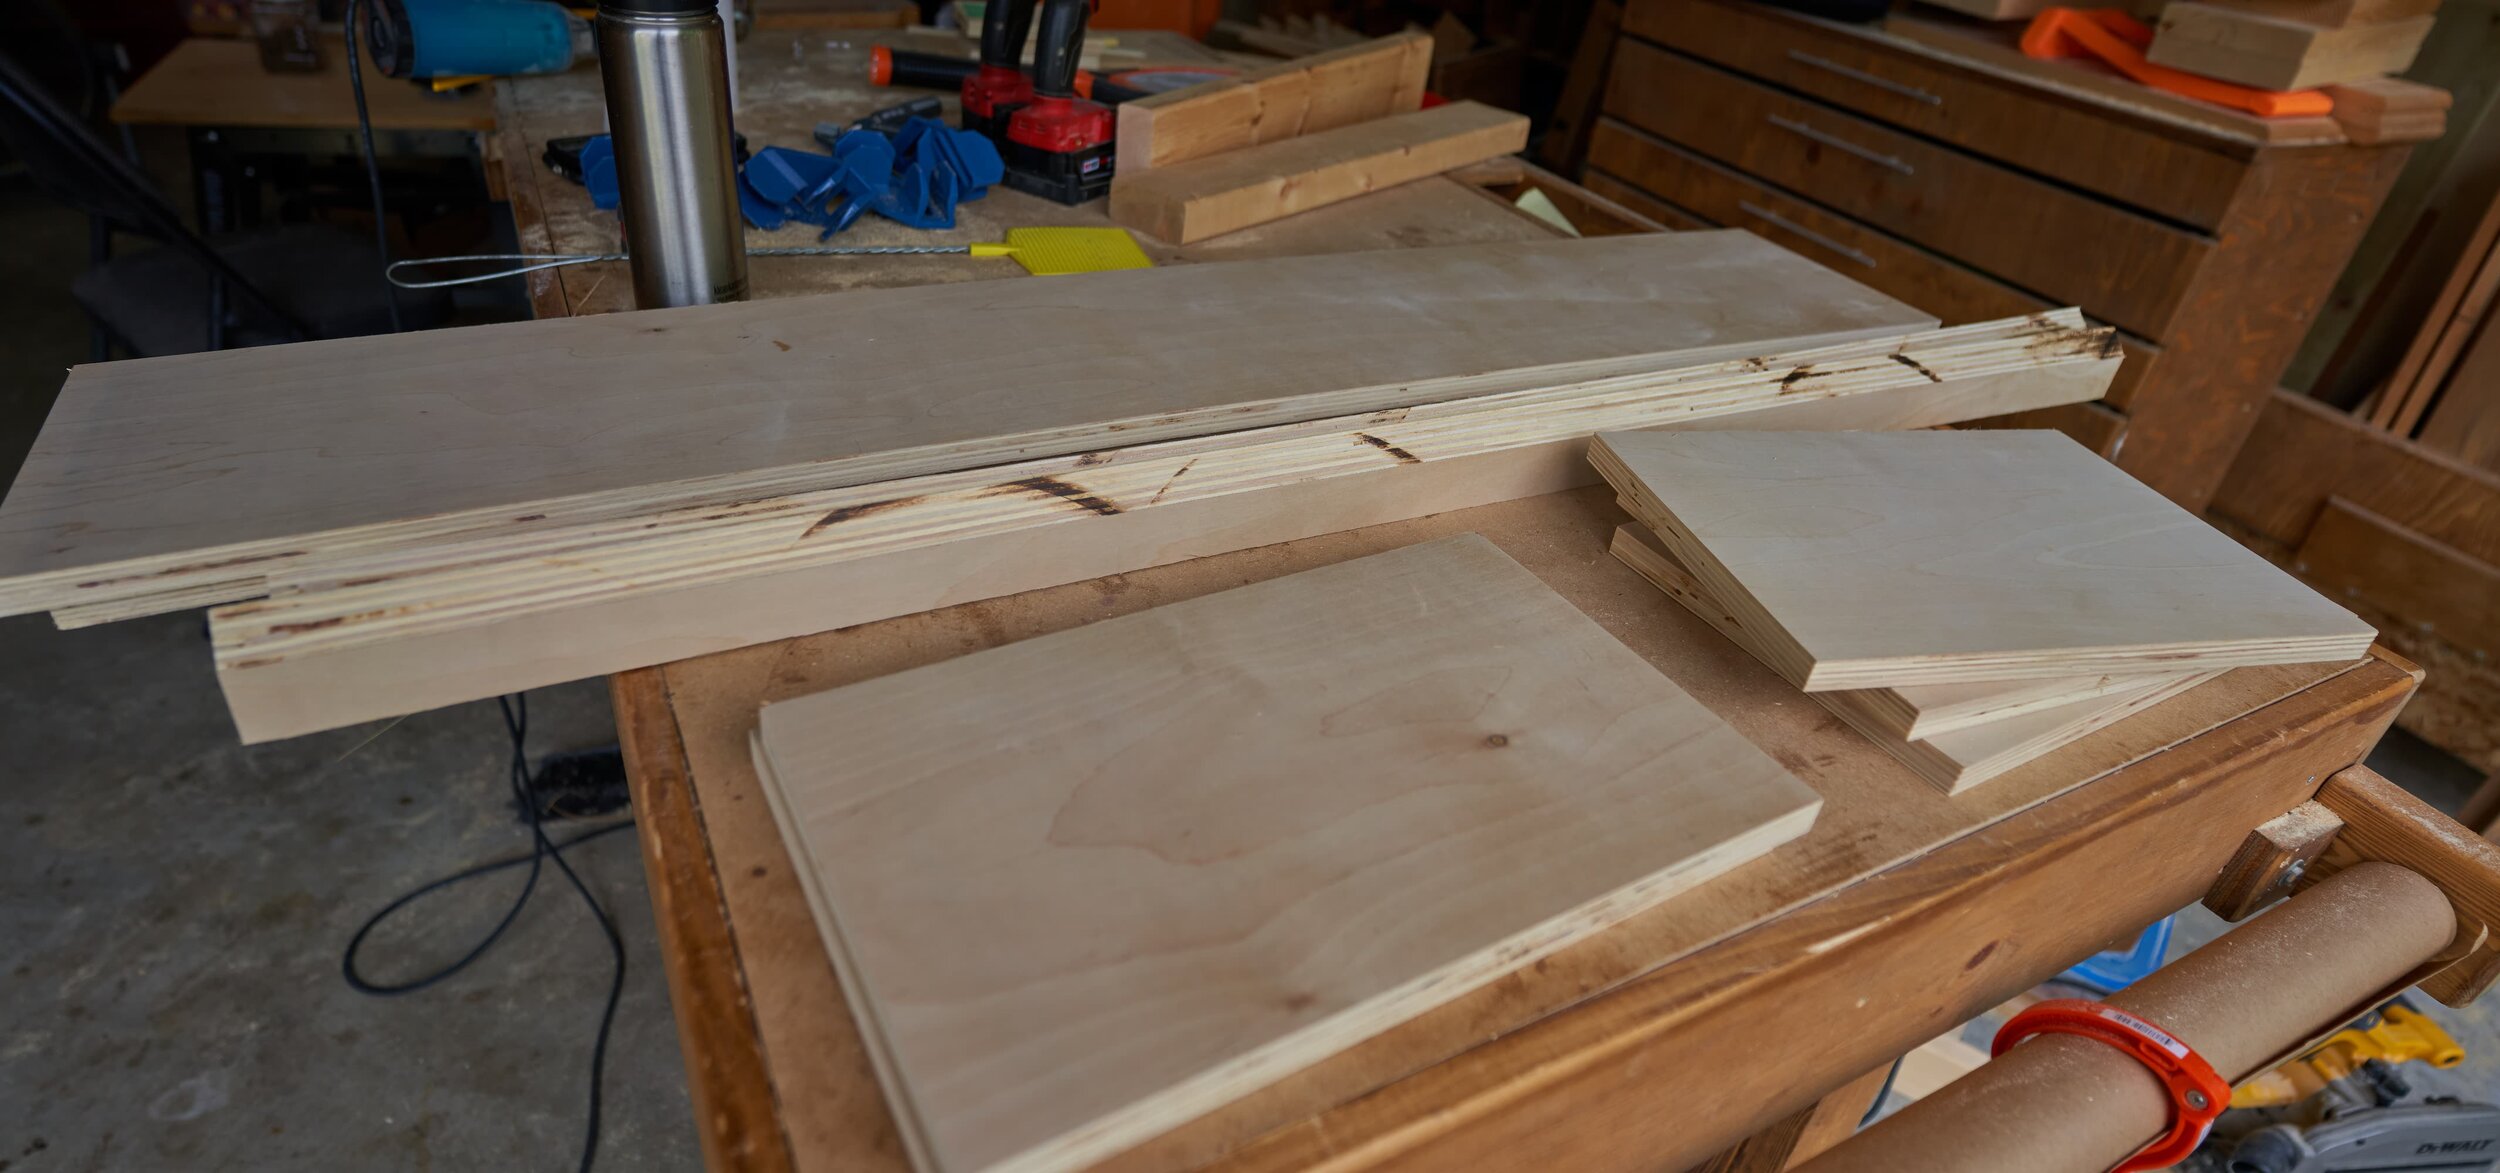
Step 2: Making the Top
I built this the same way again but just using a pair of 5’ panels. “Working ahead of myself”, I added the red-oak trim to the leading edge at this stage.
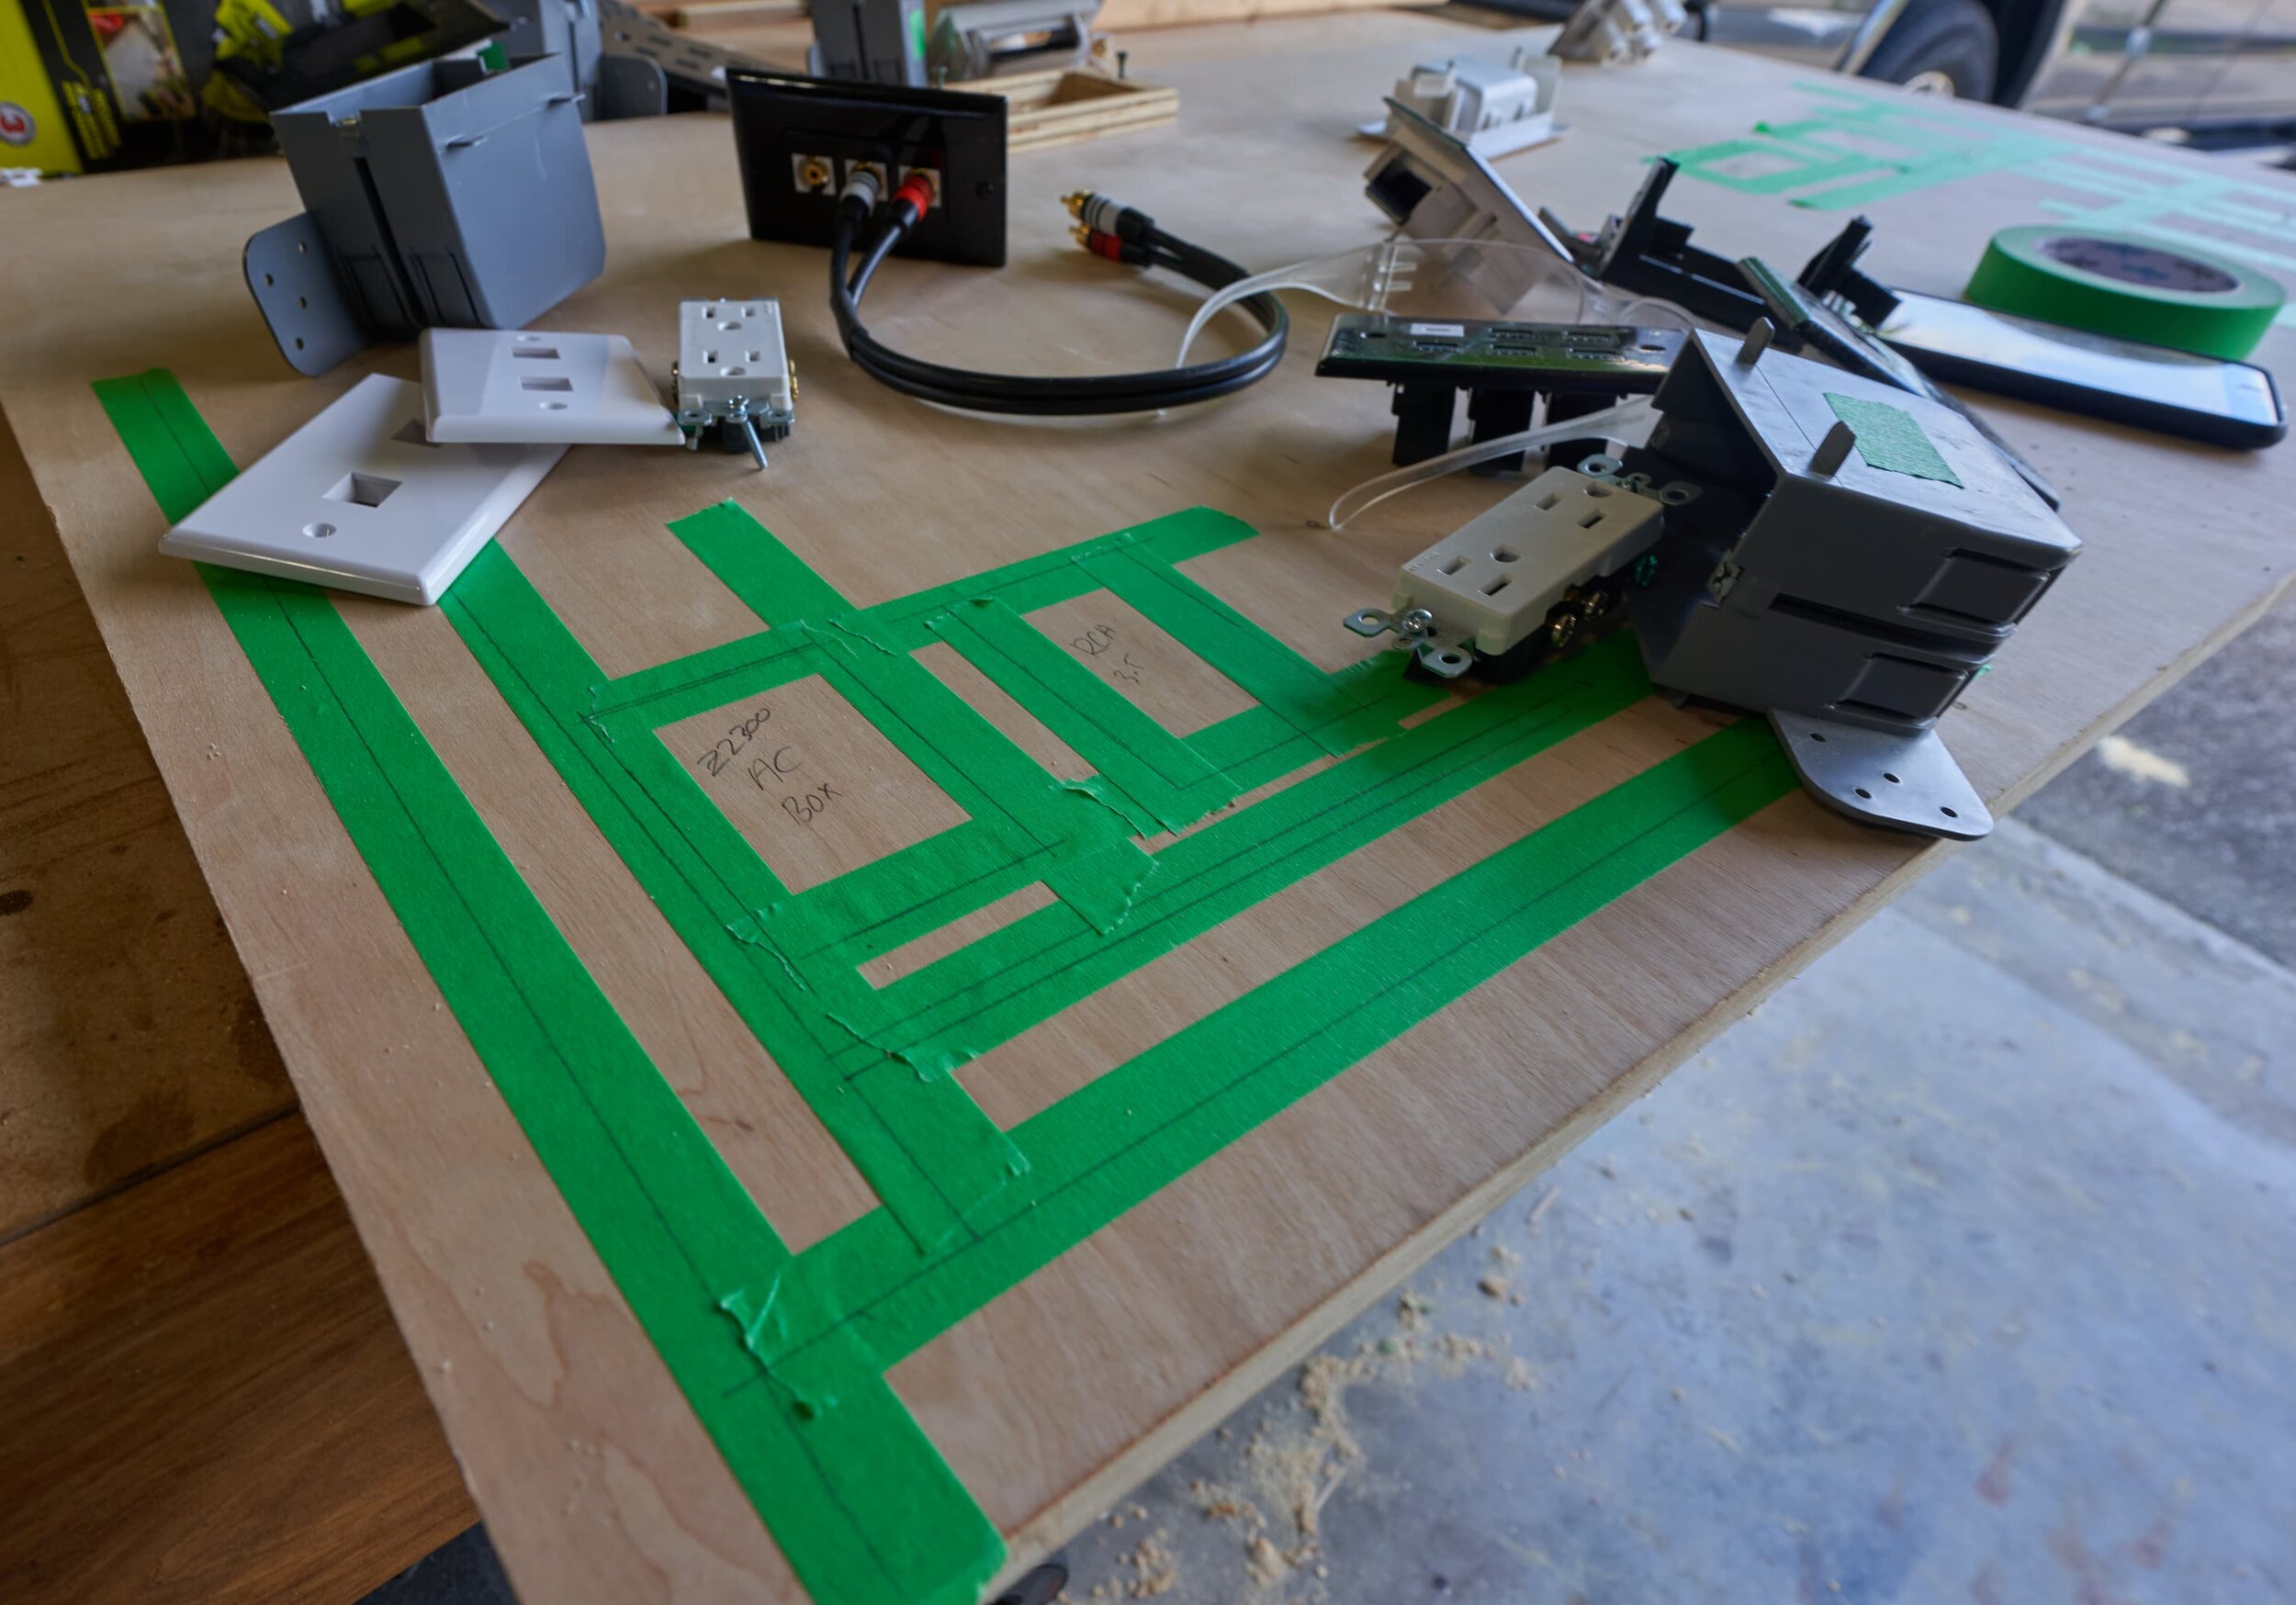
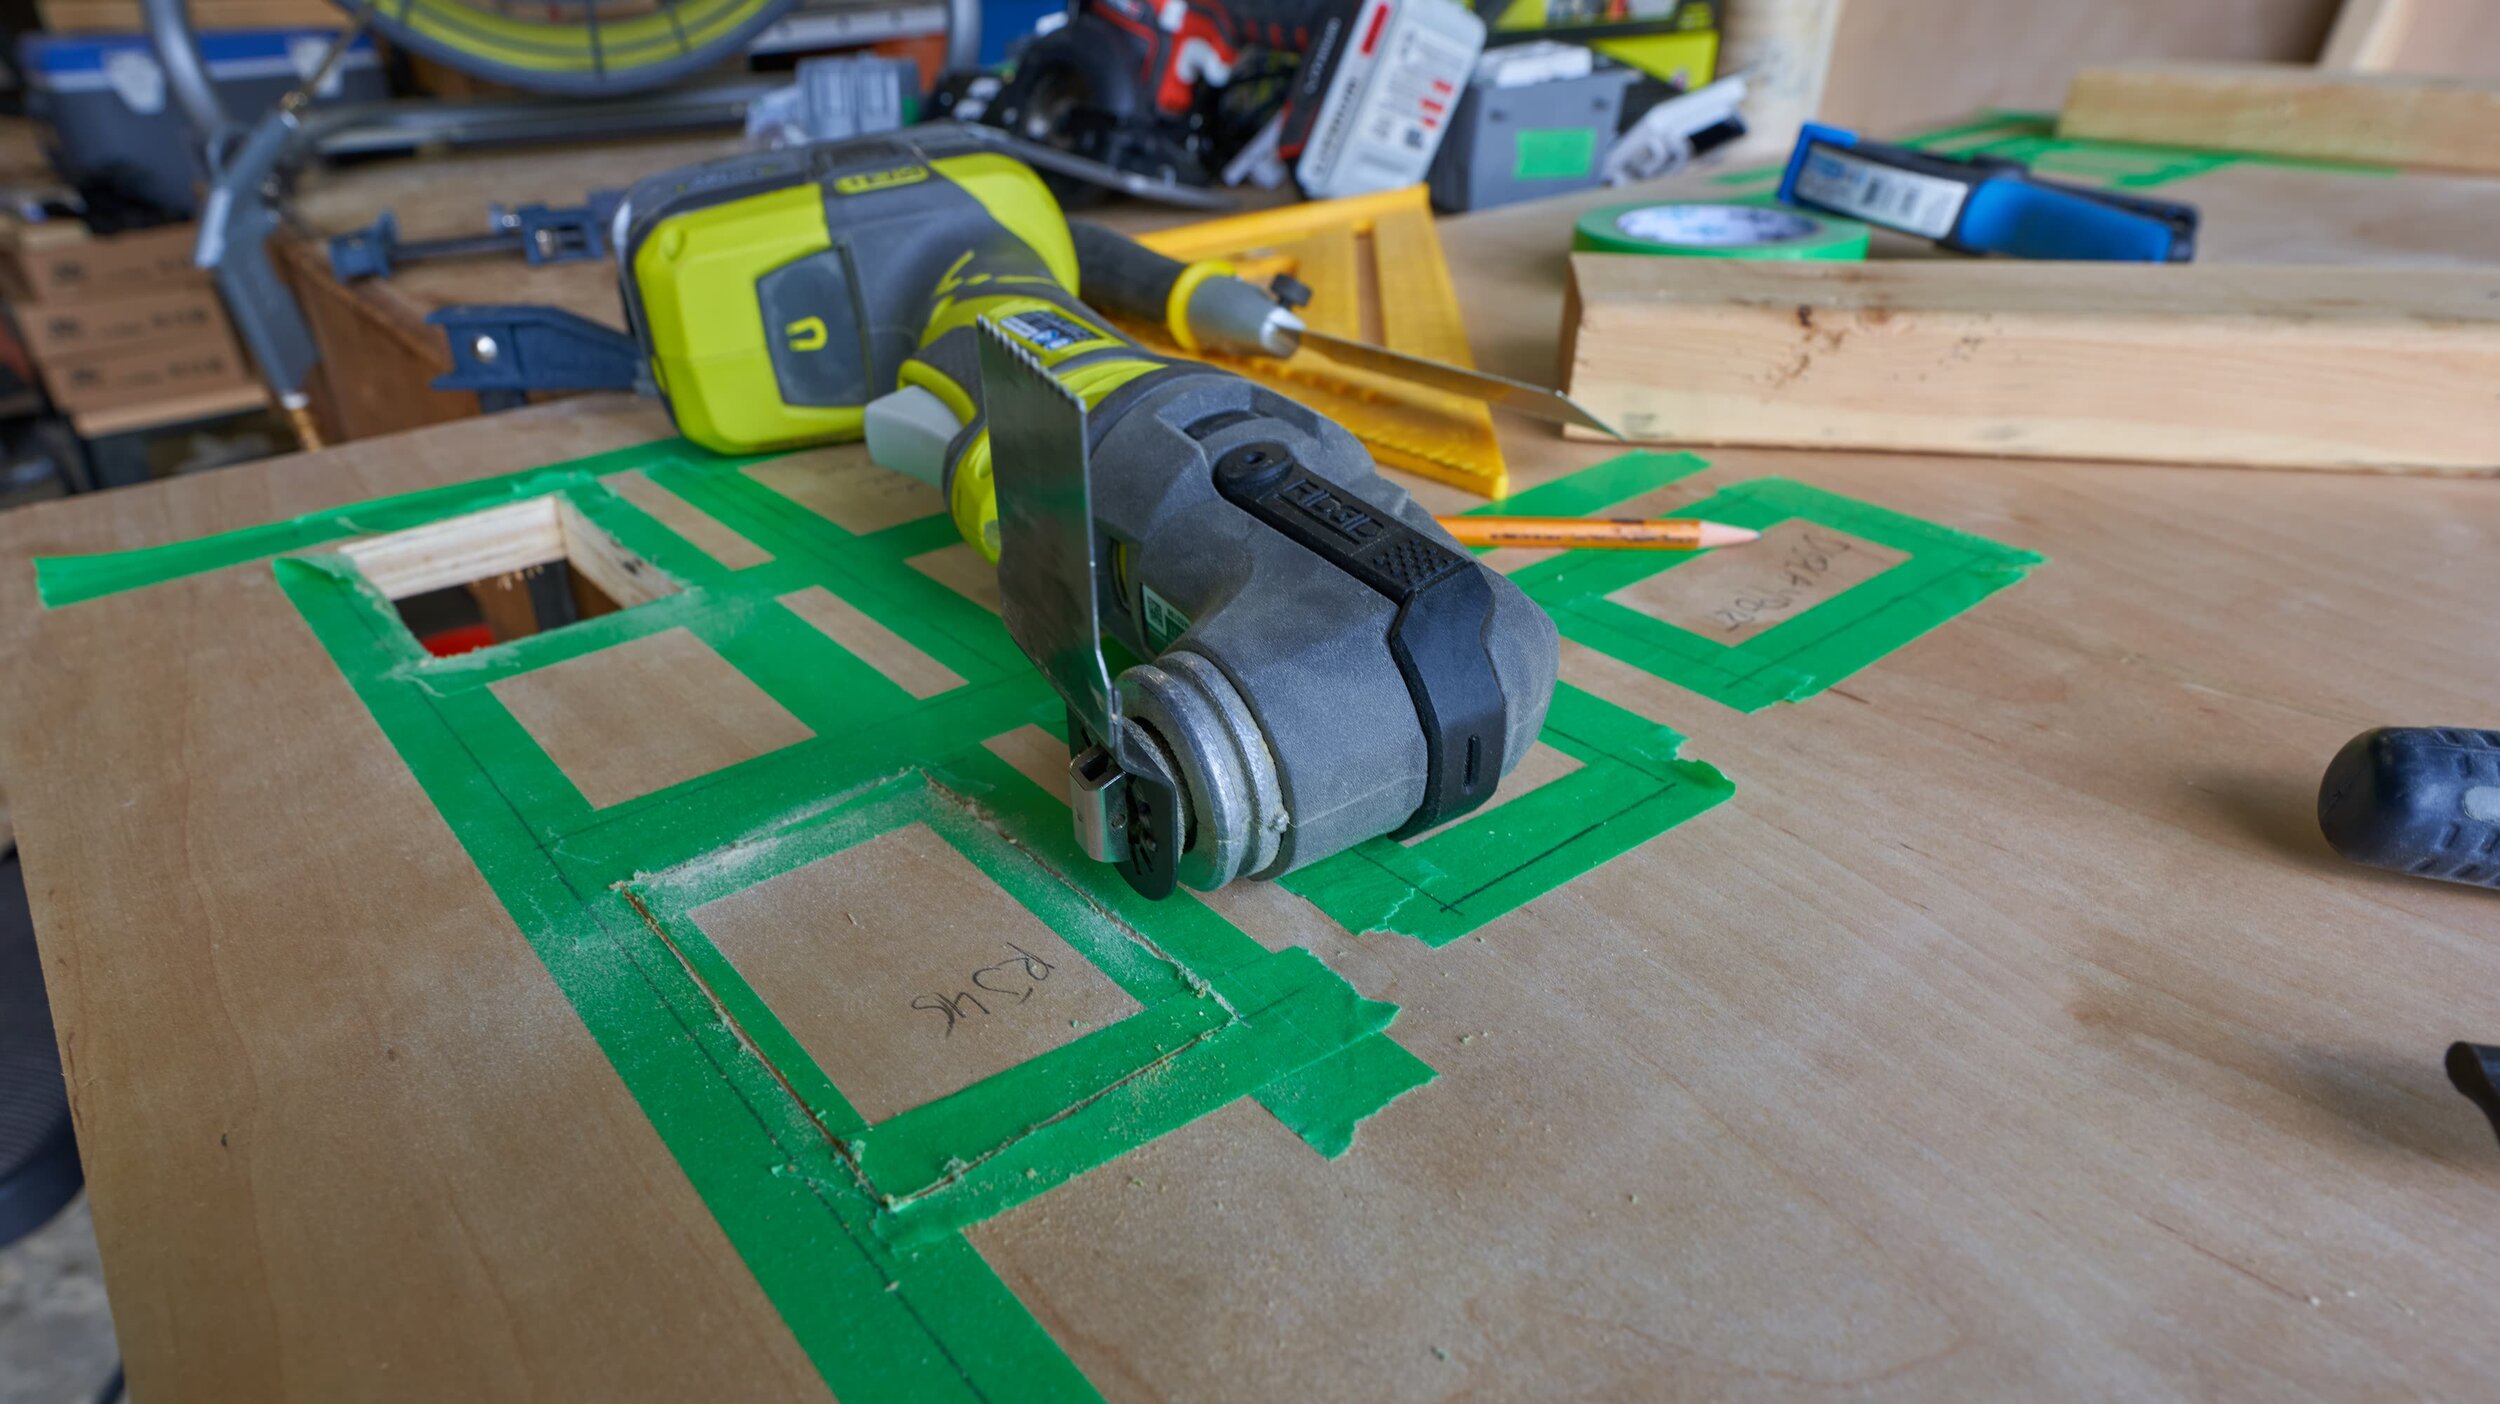
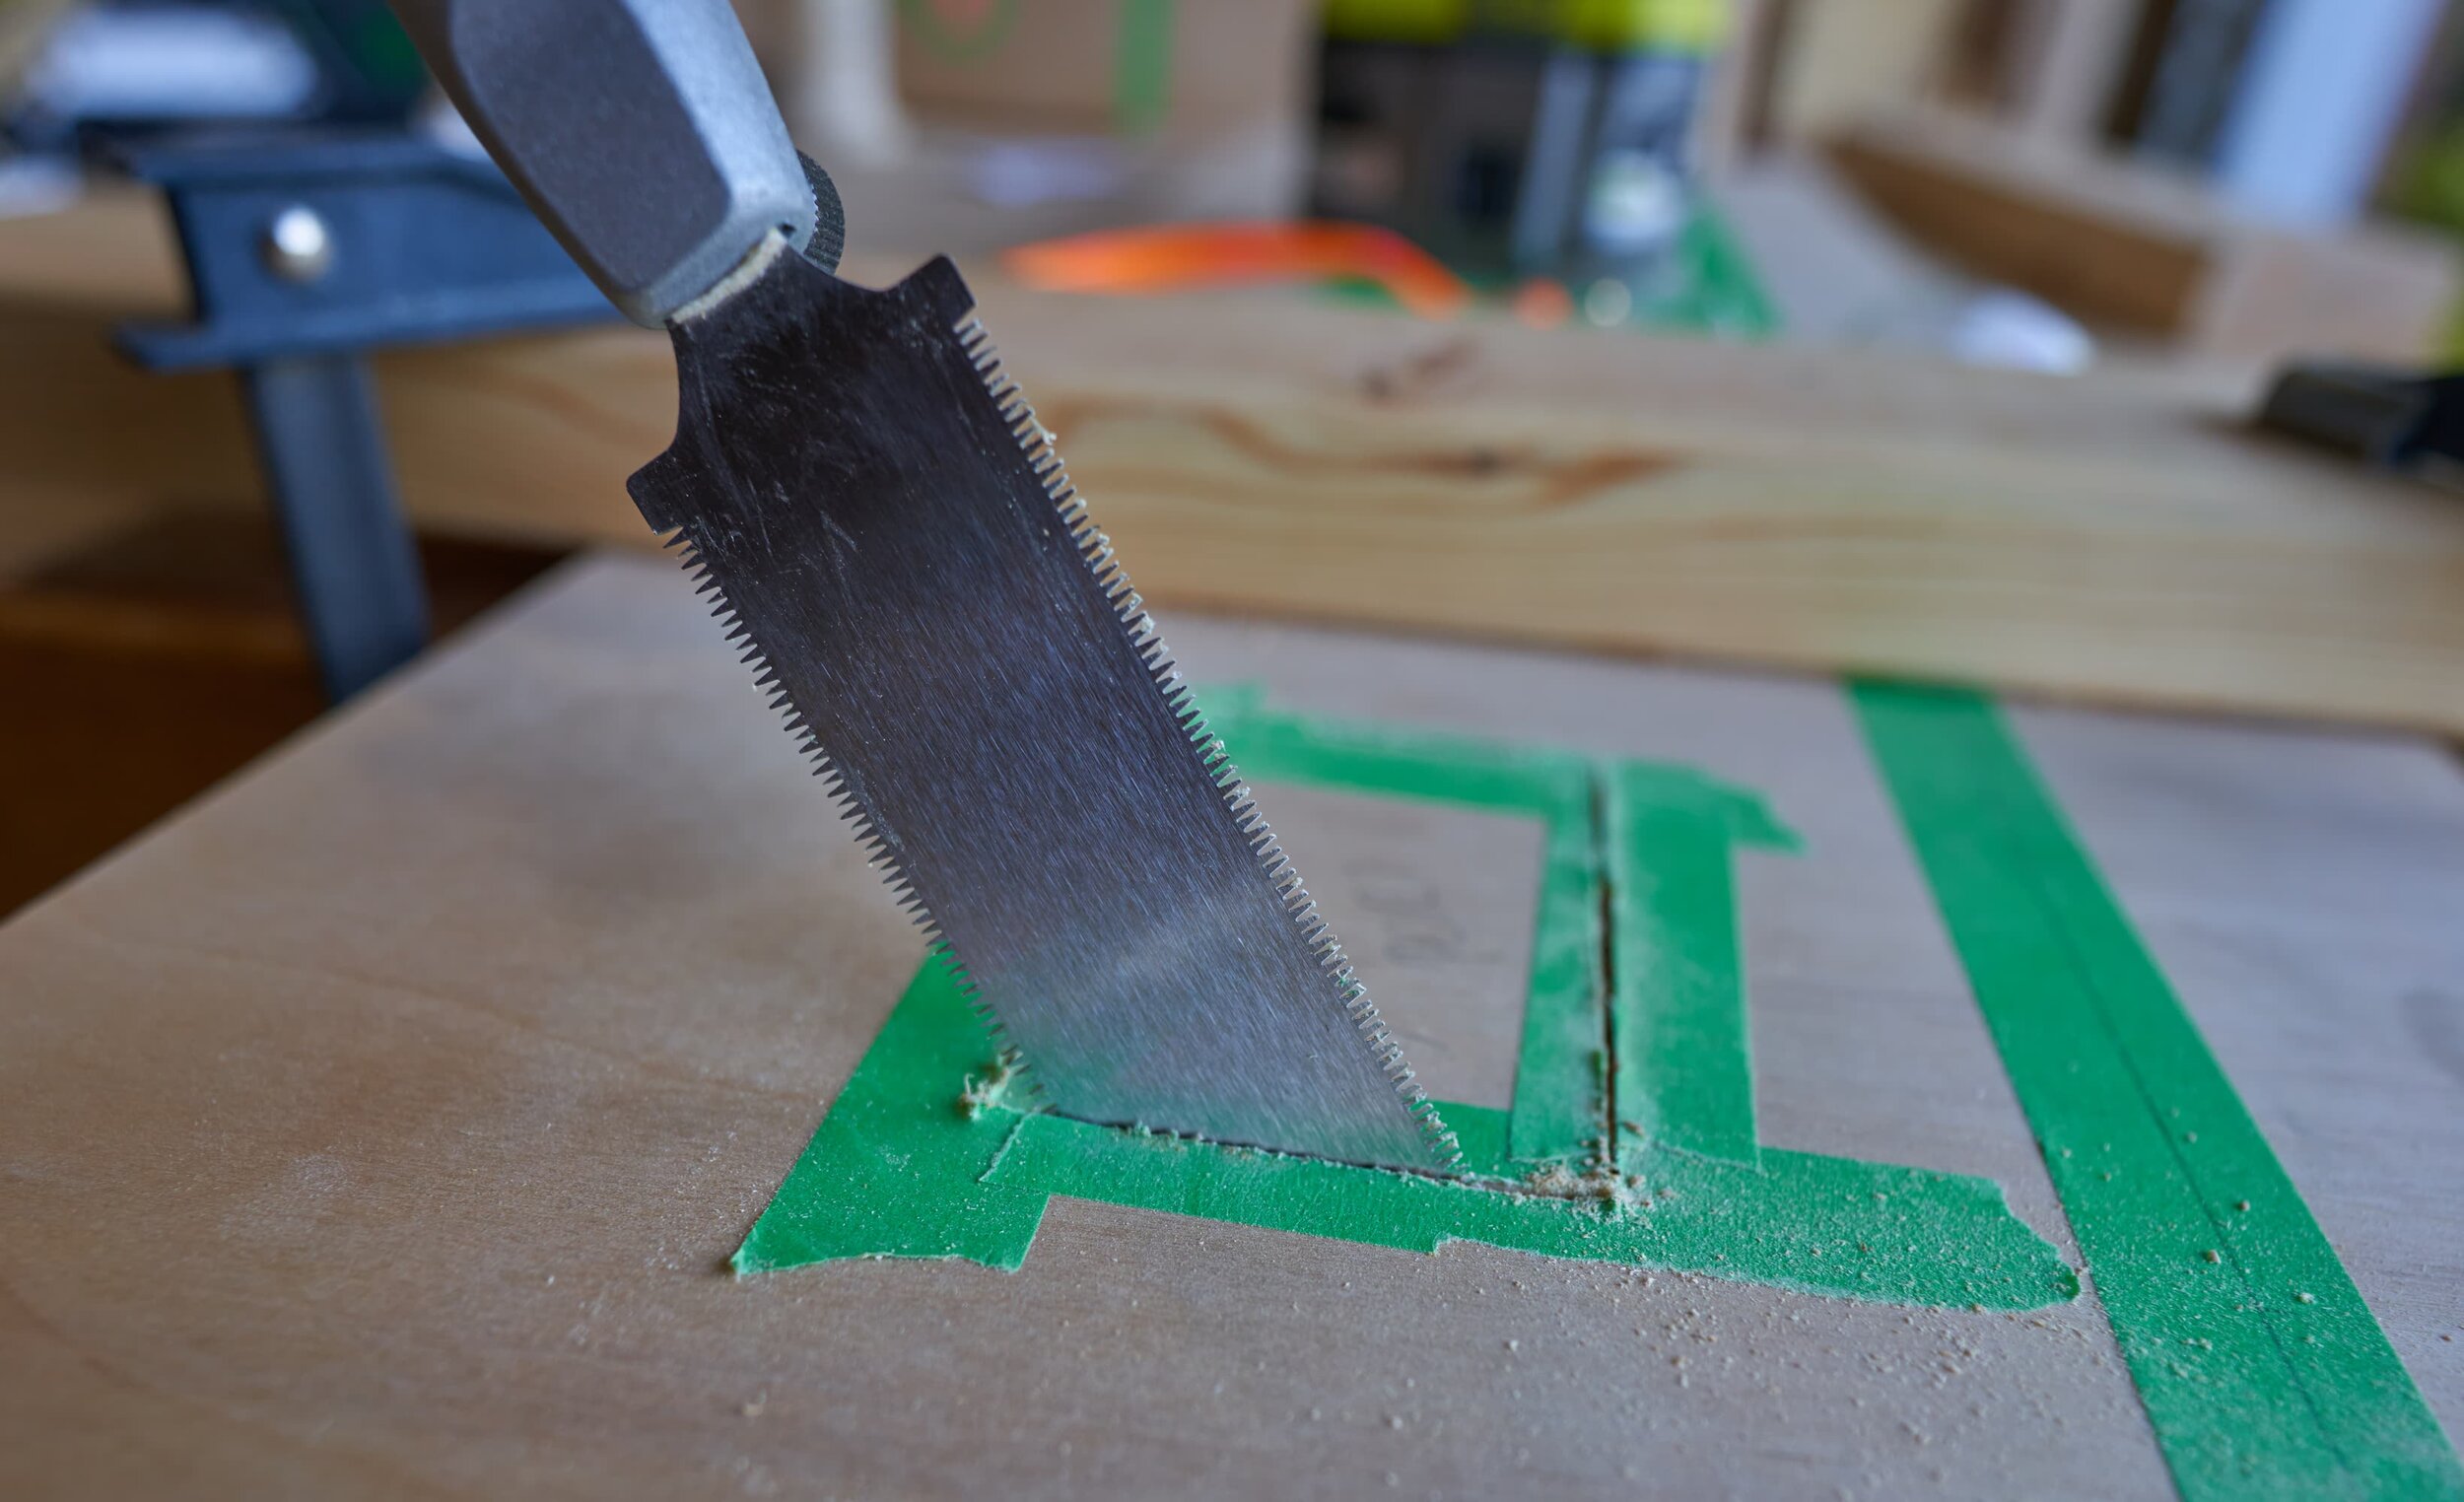
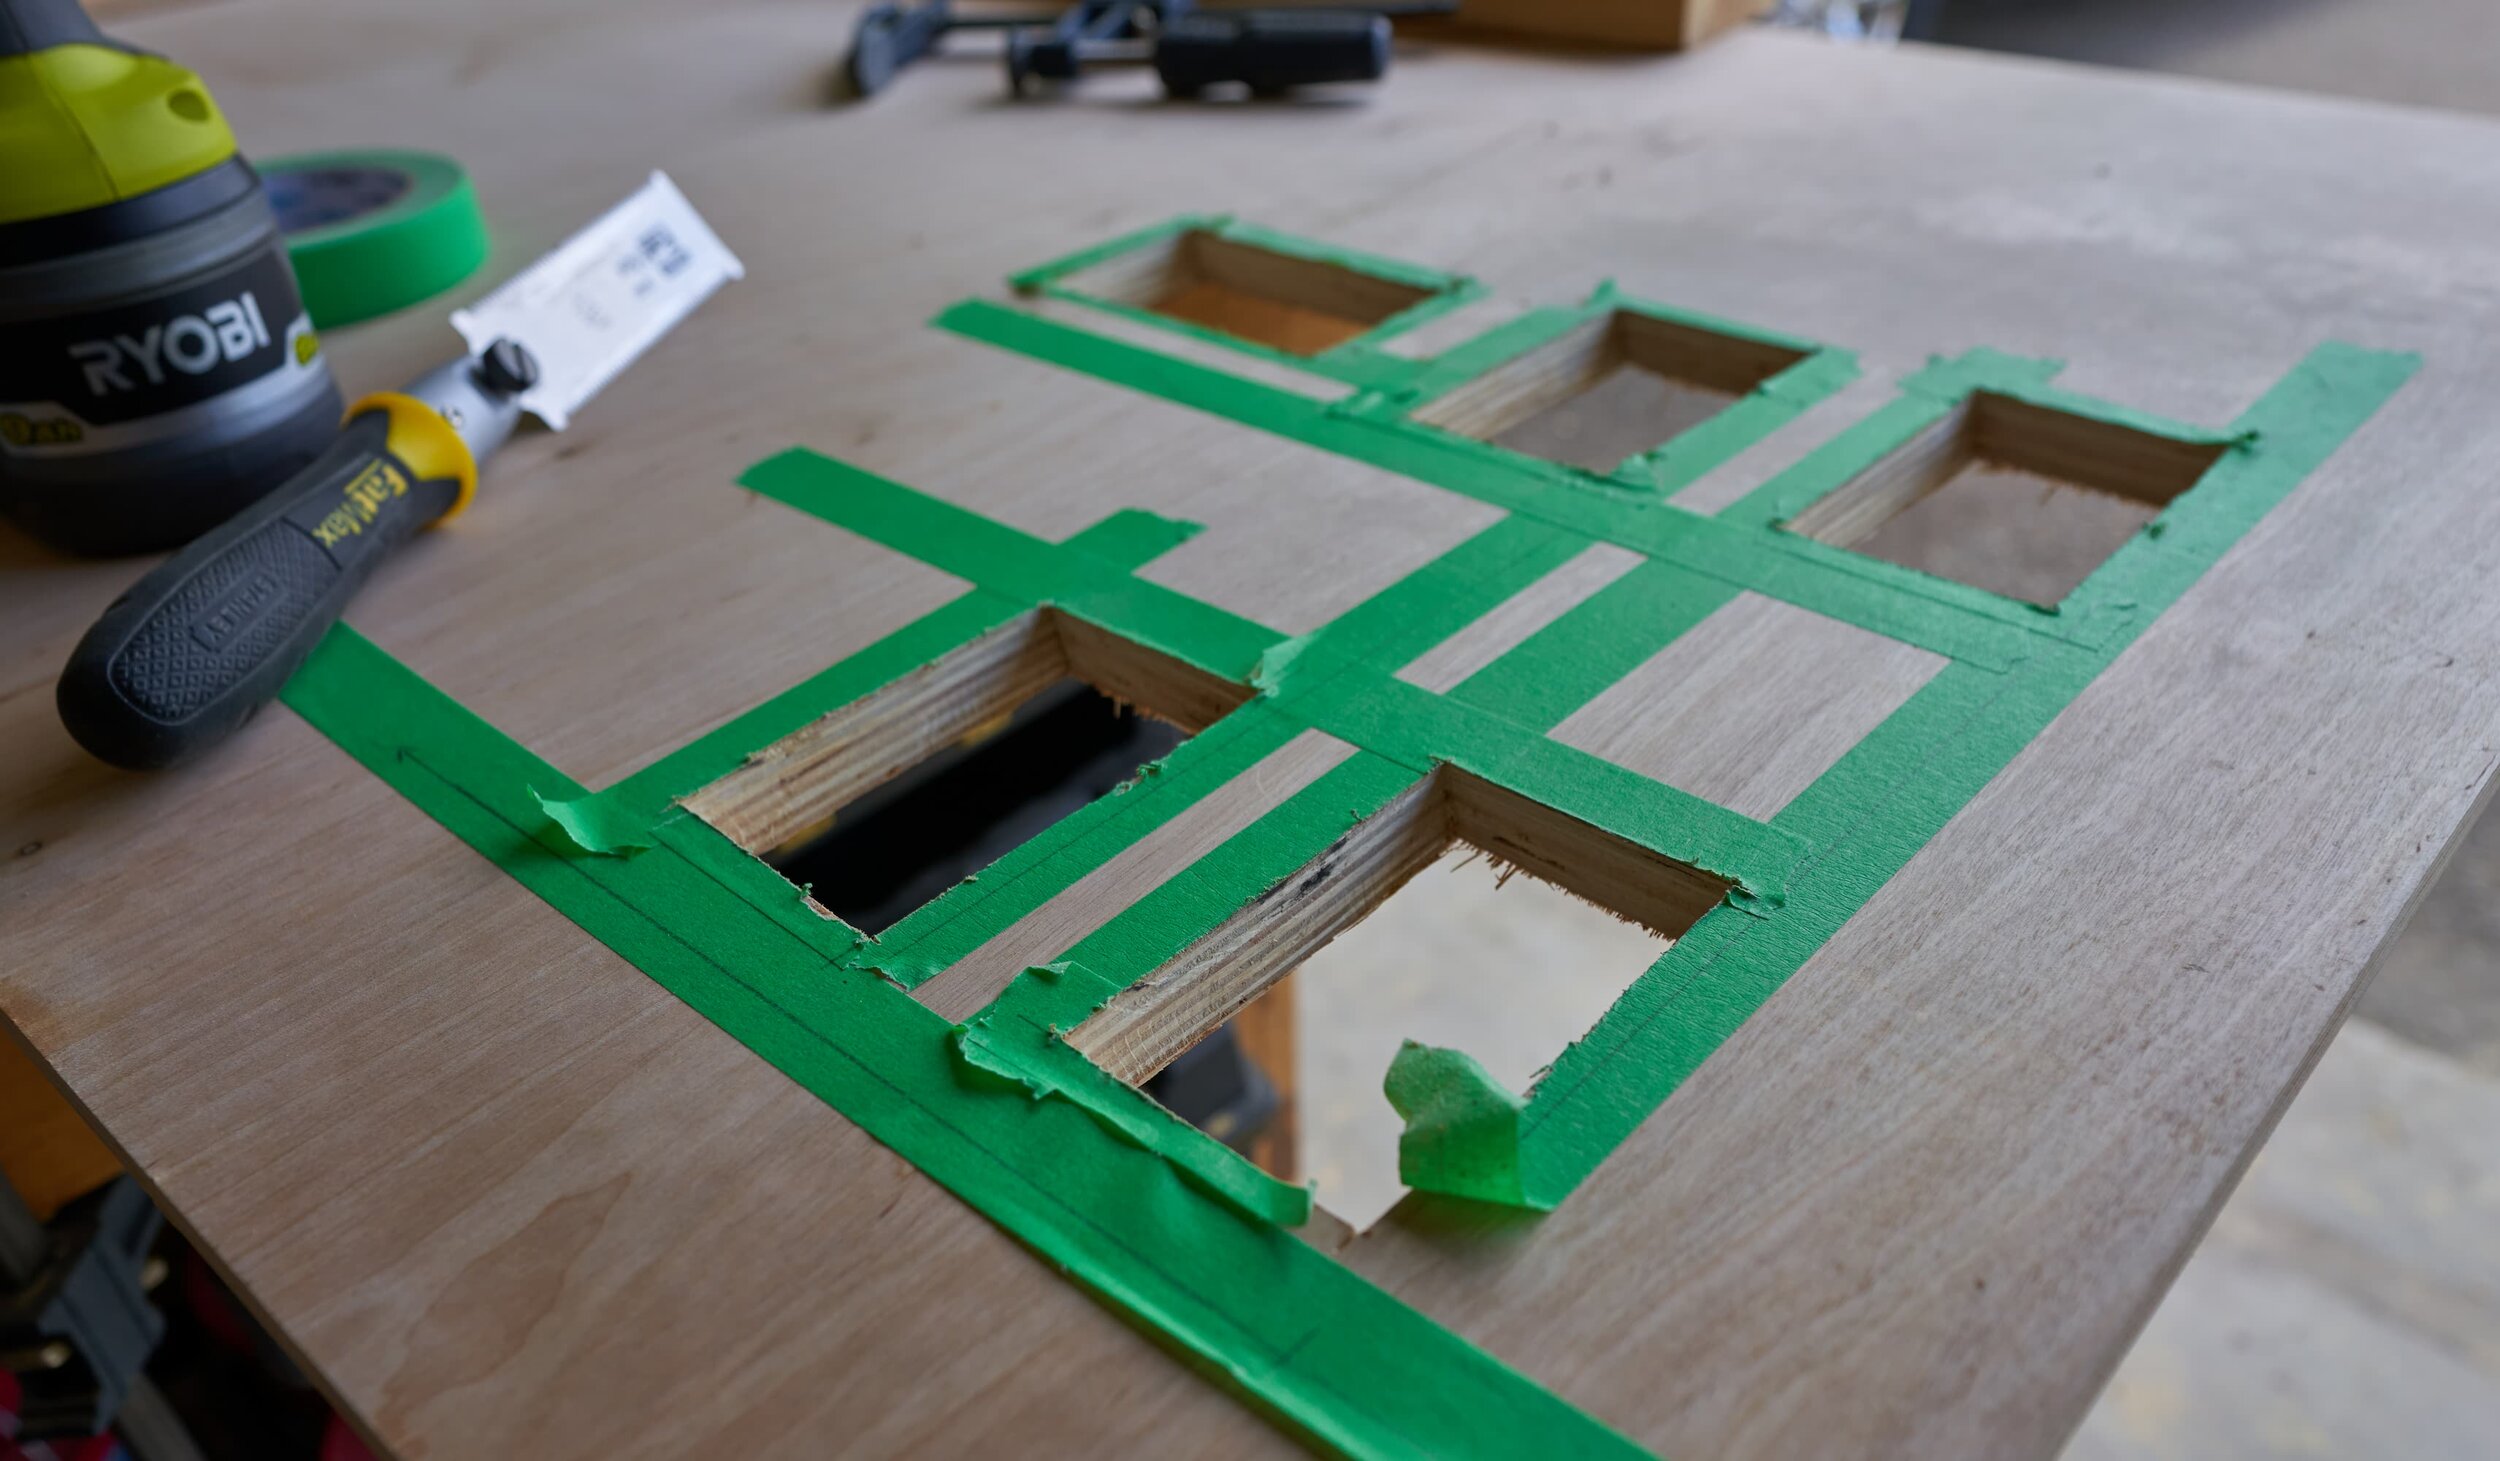
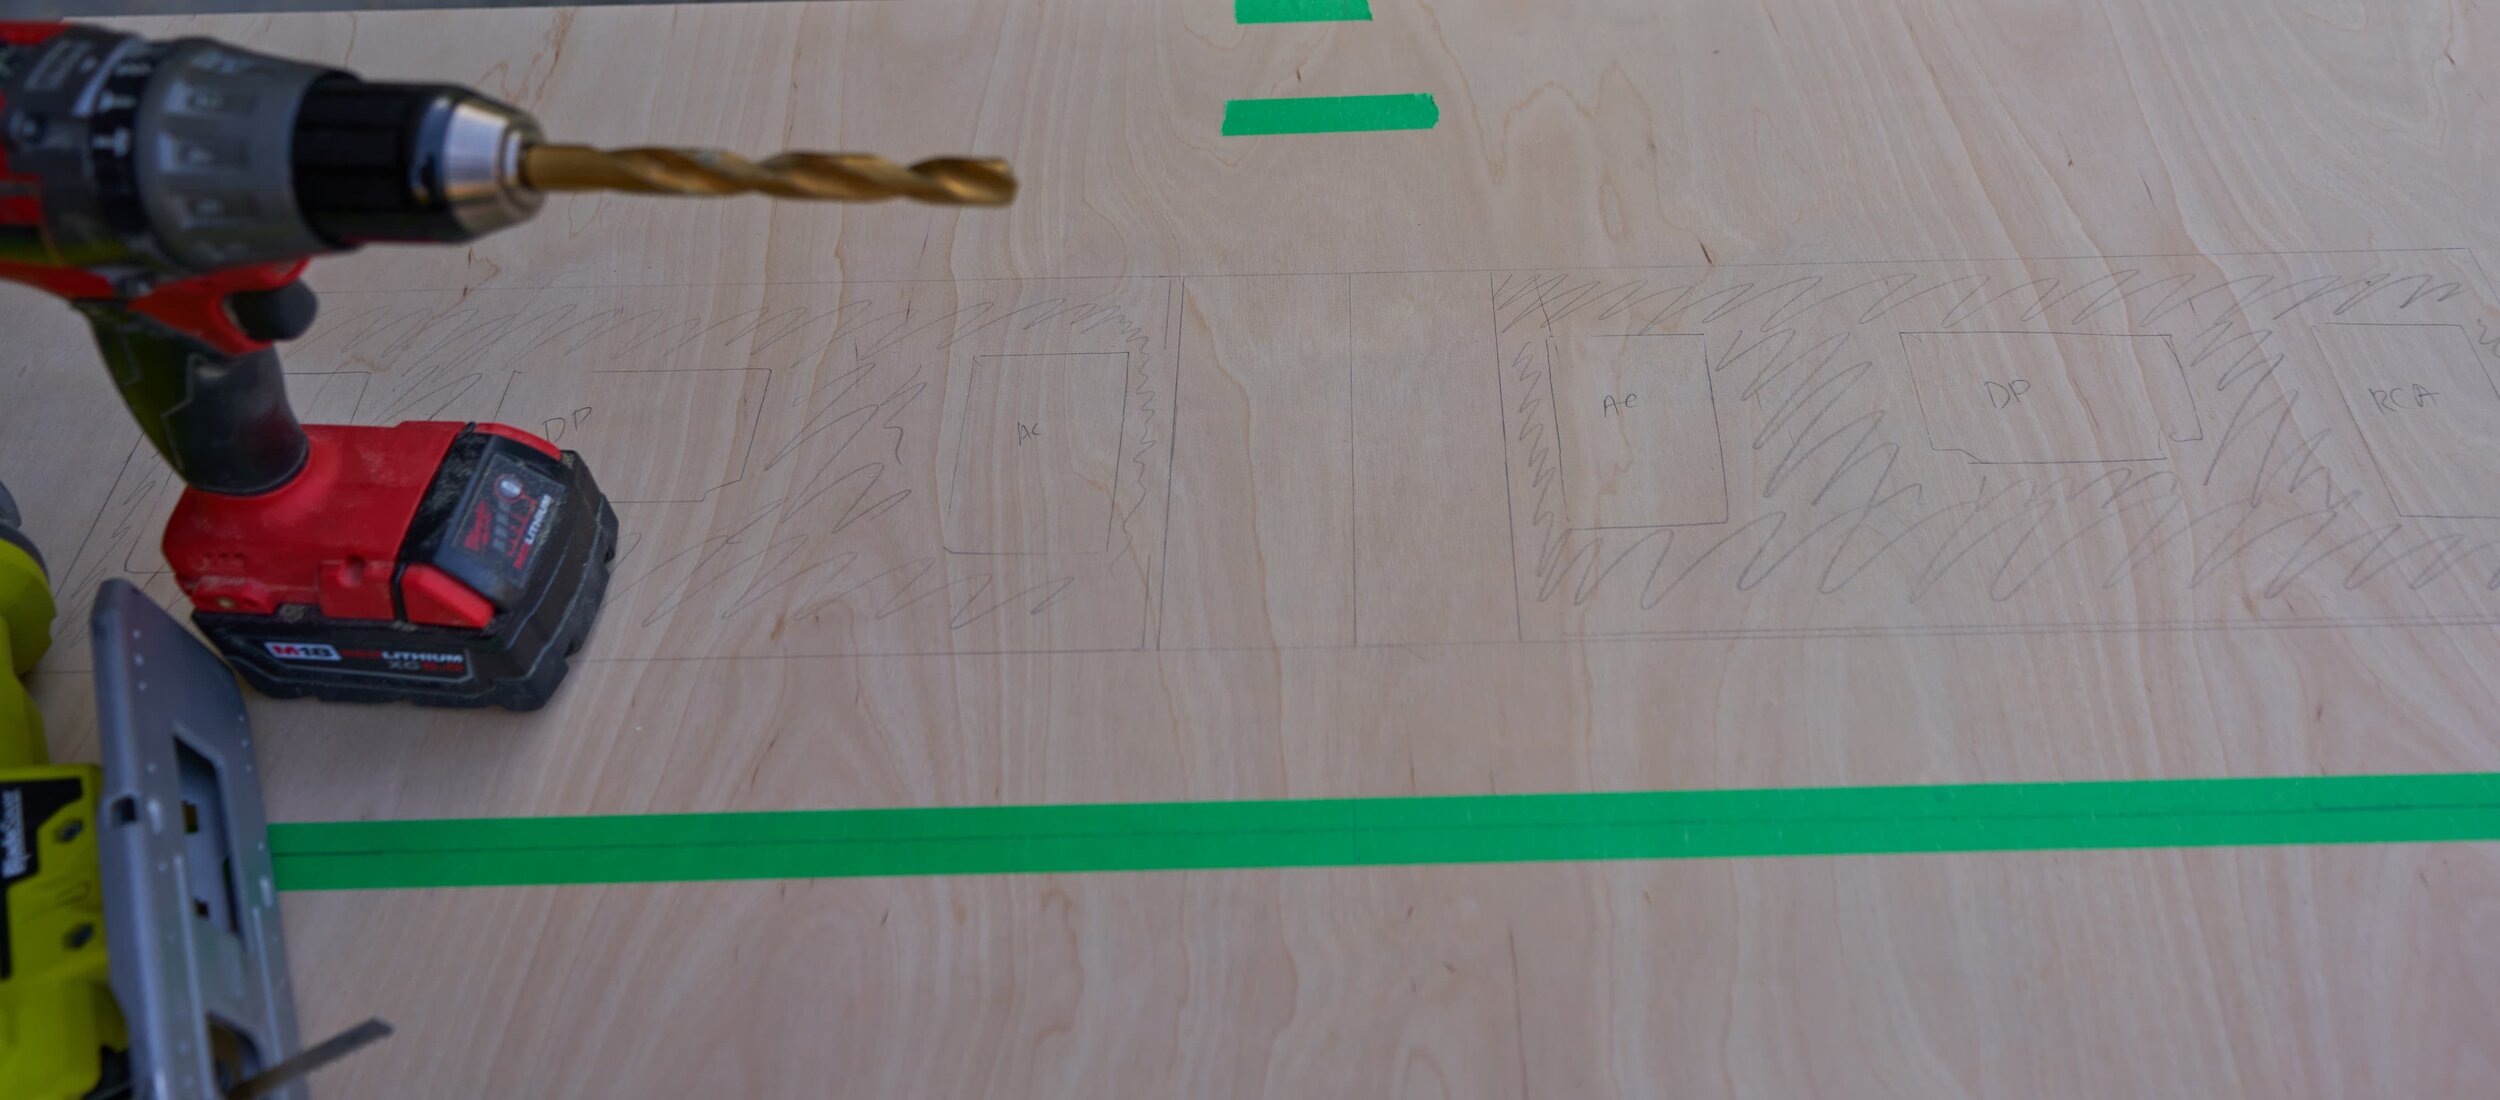
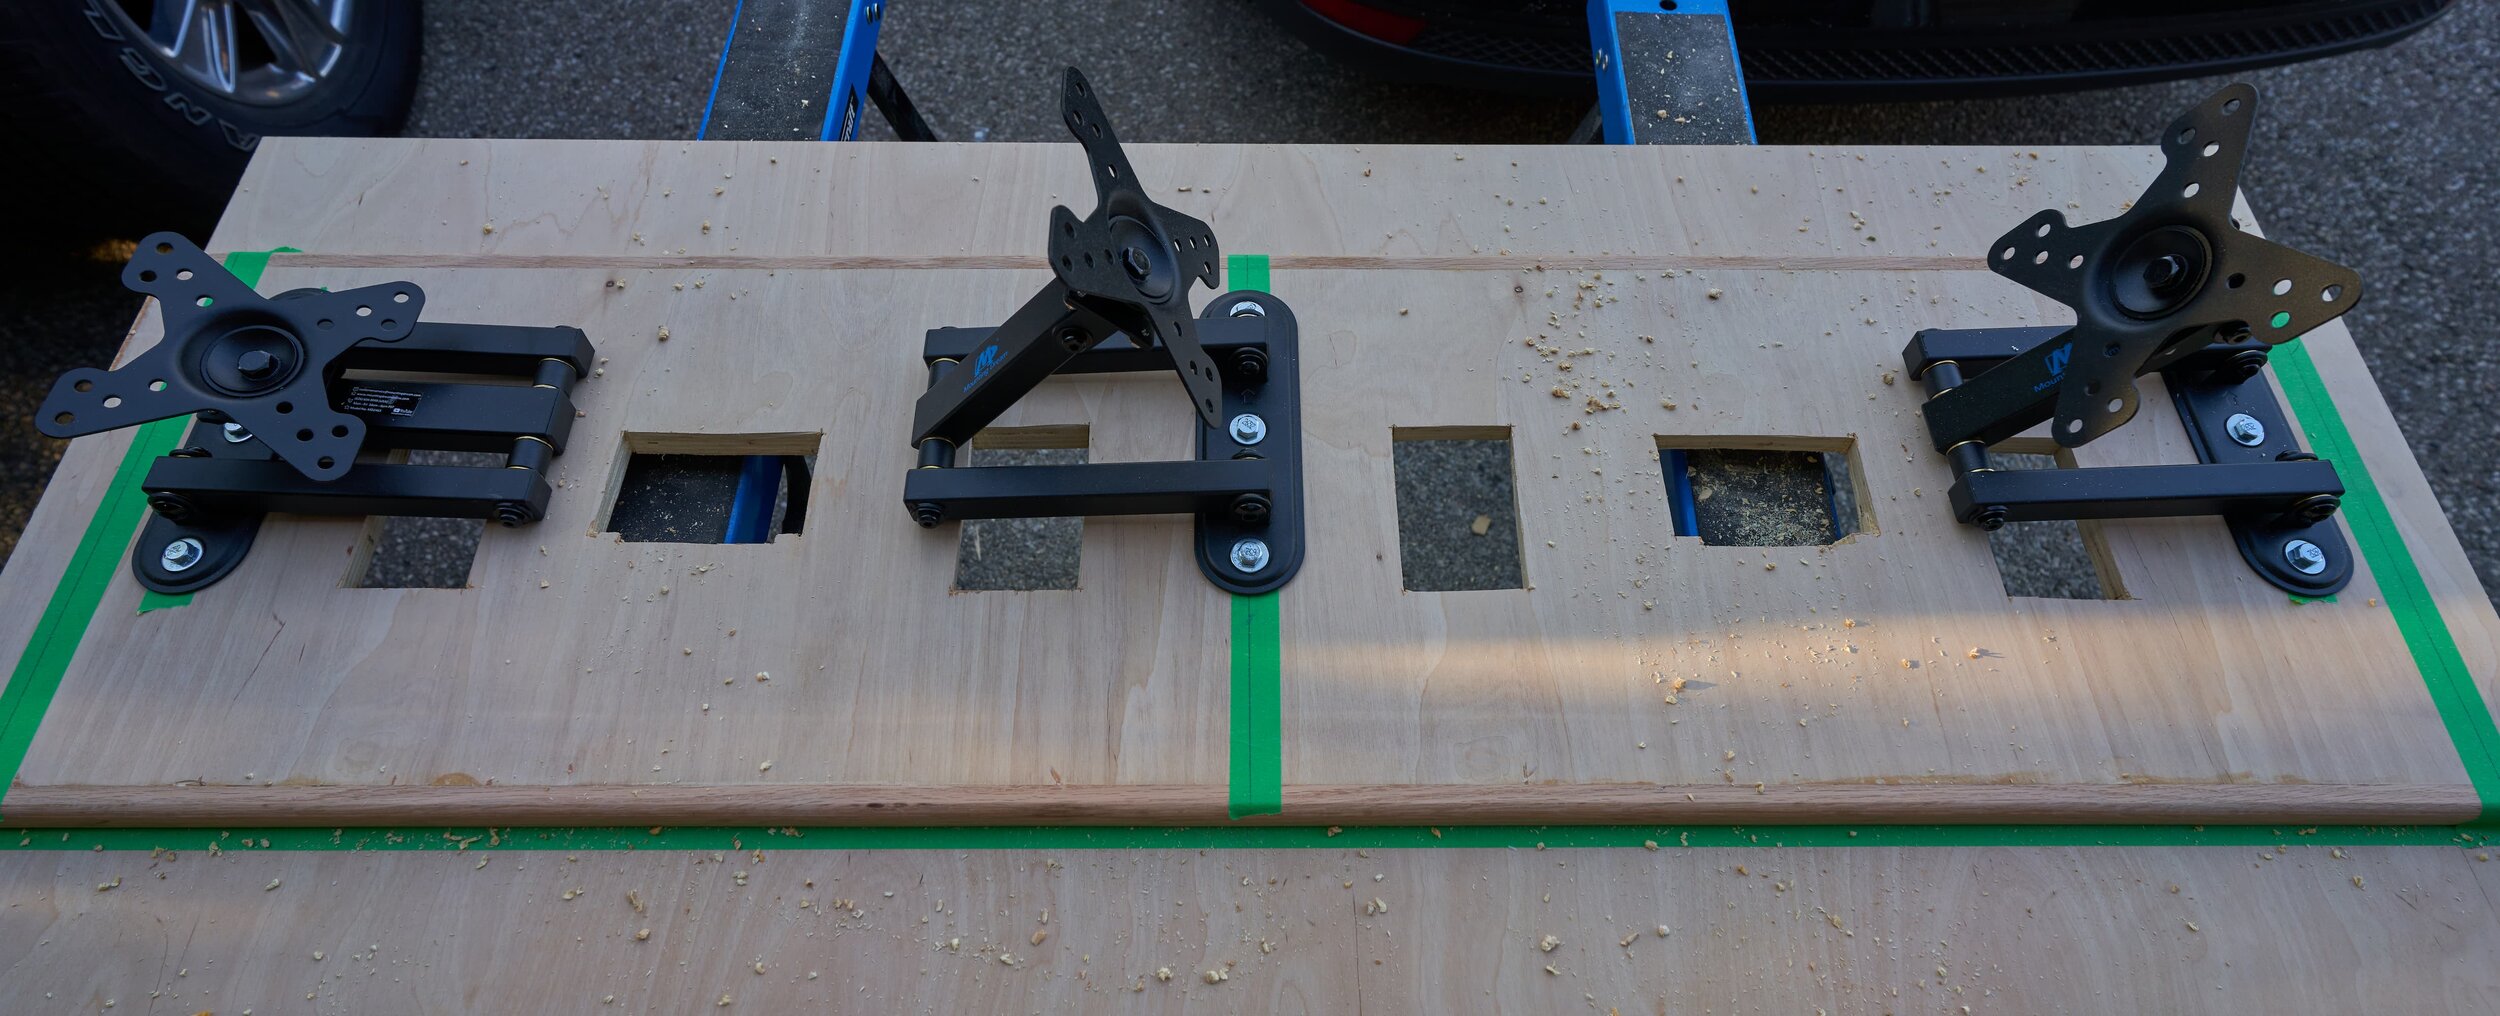
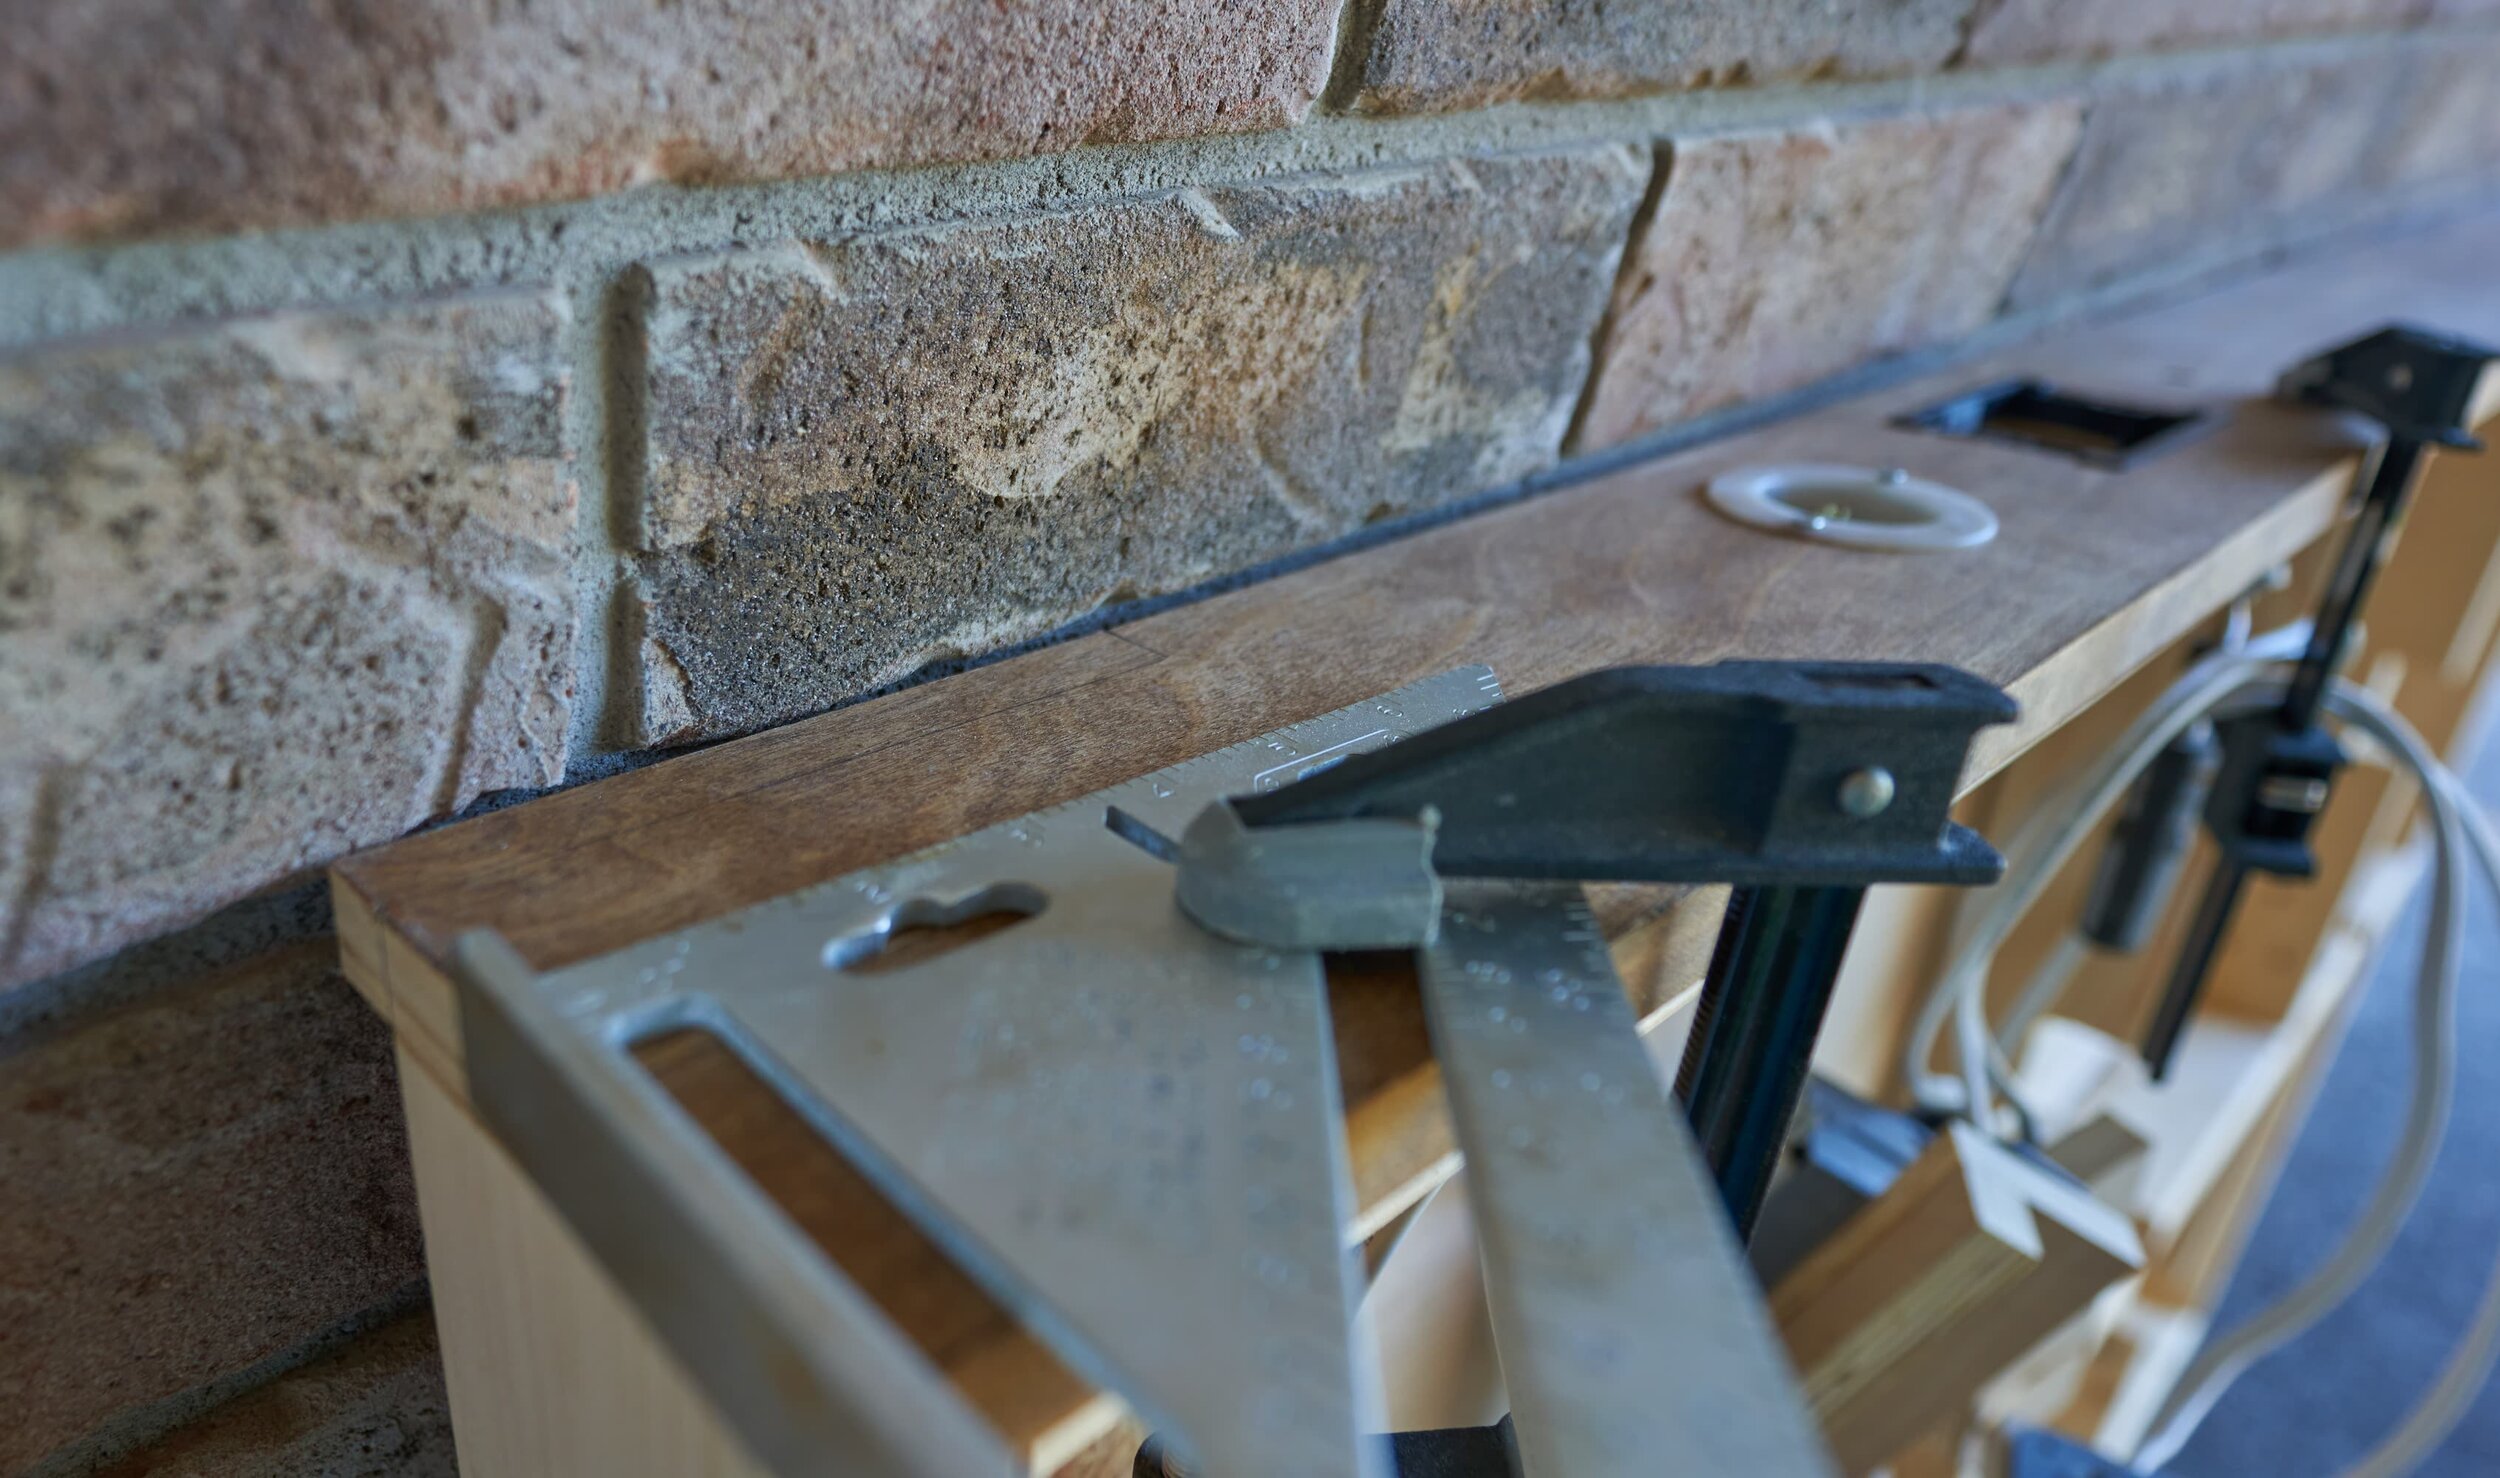
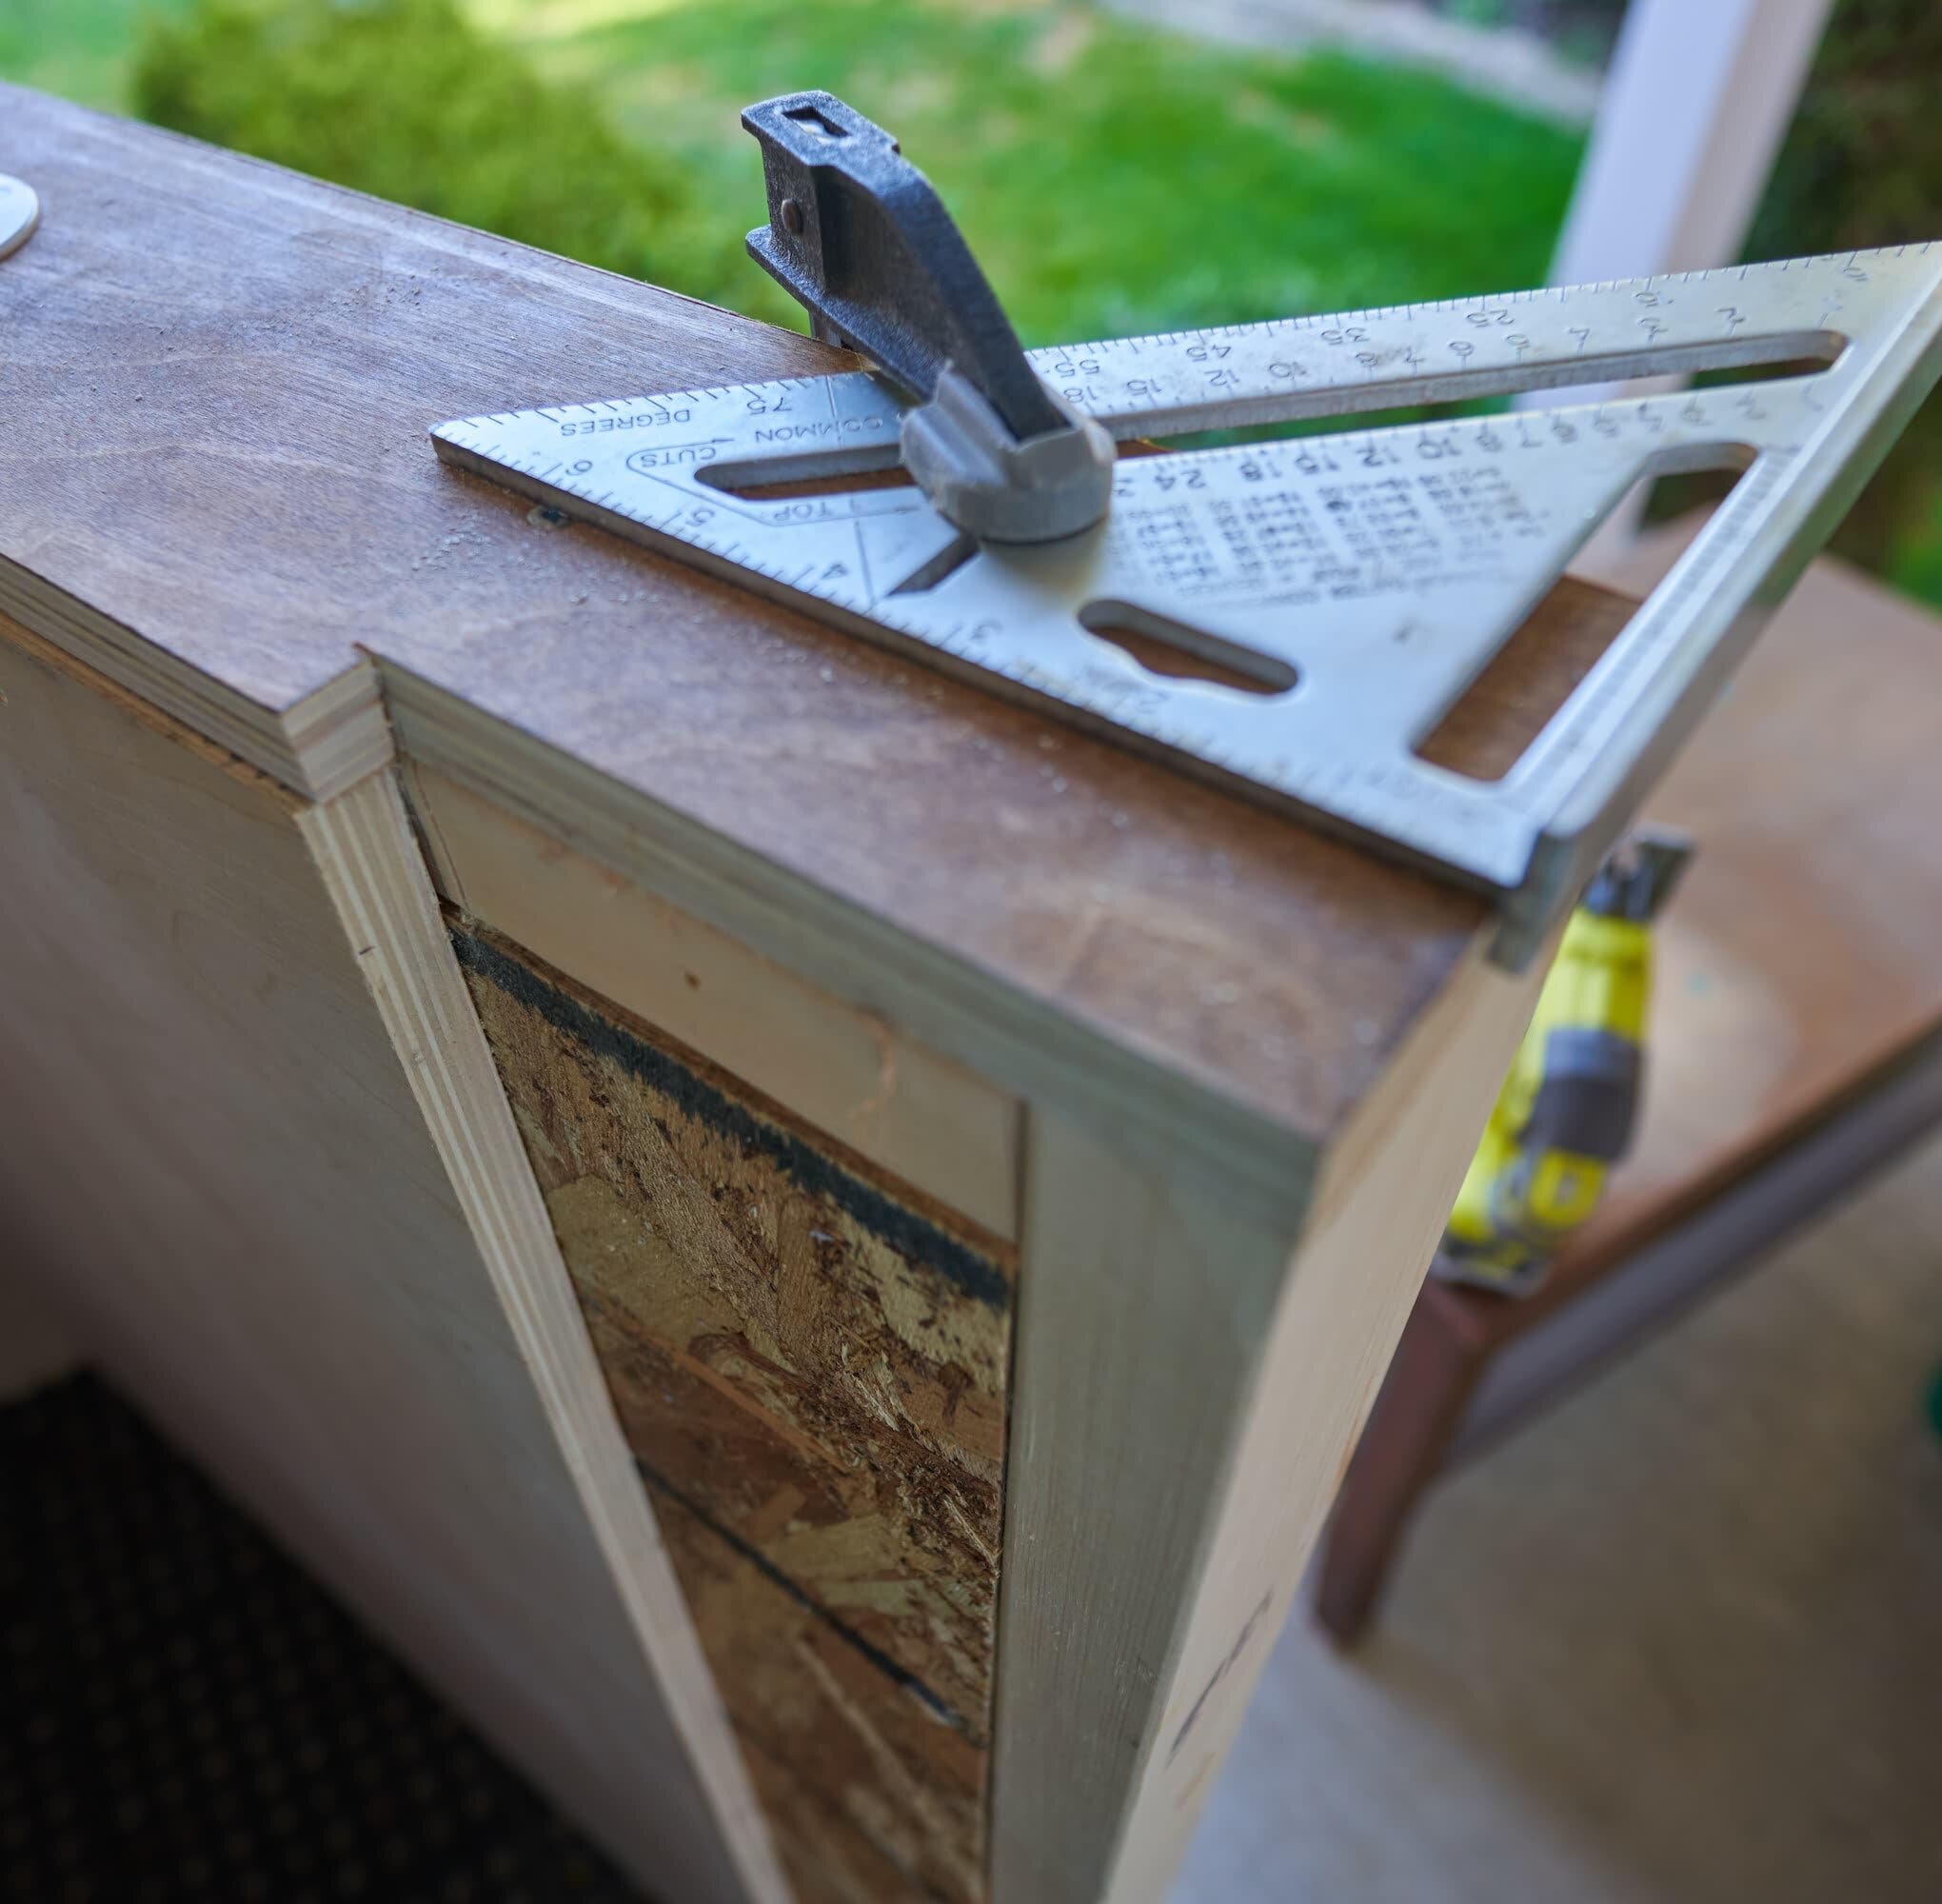
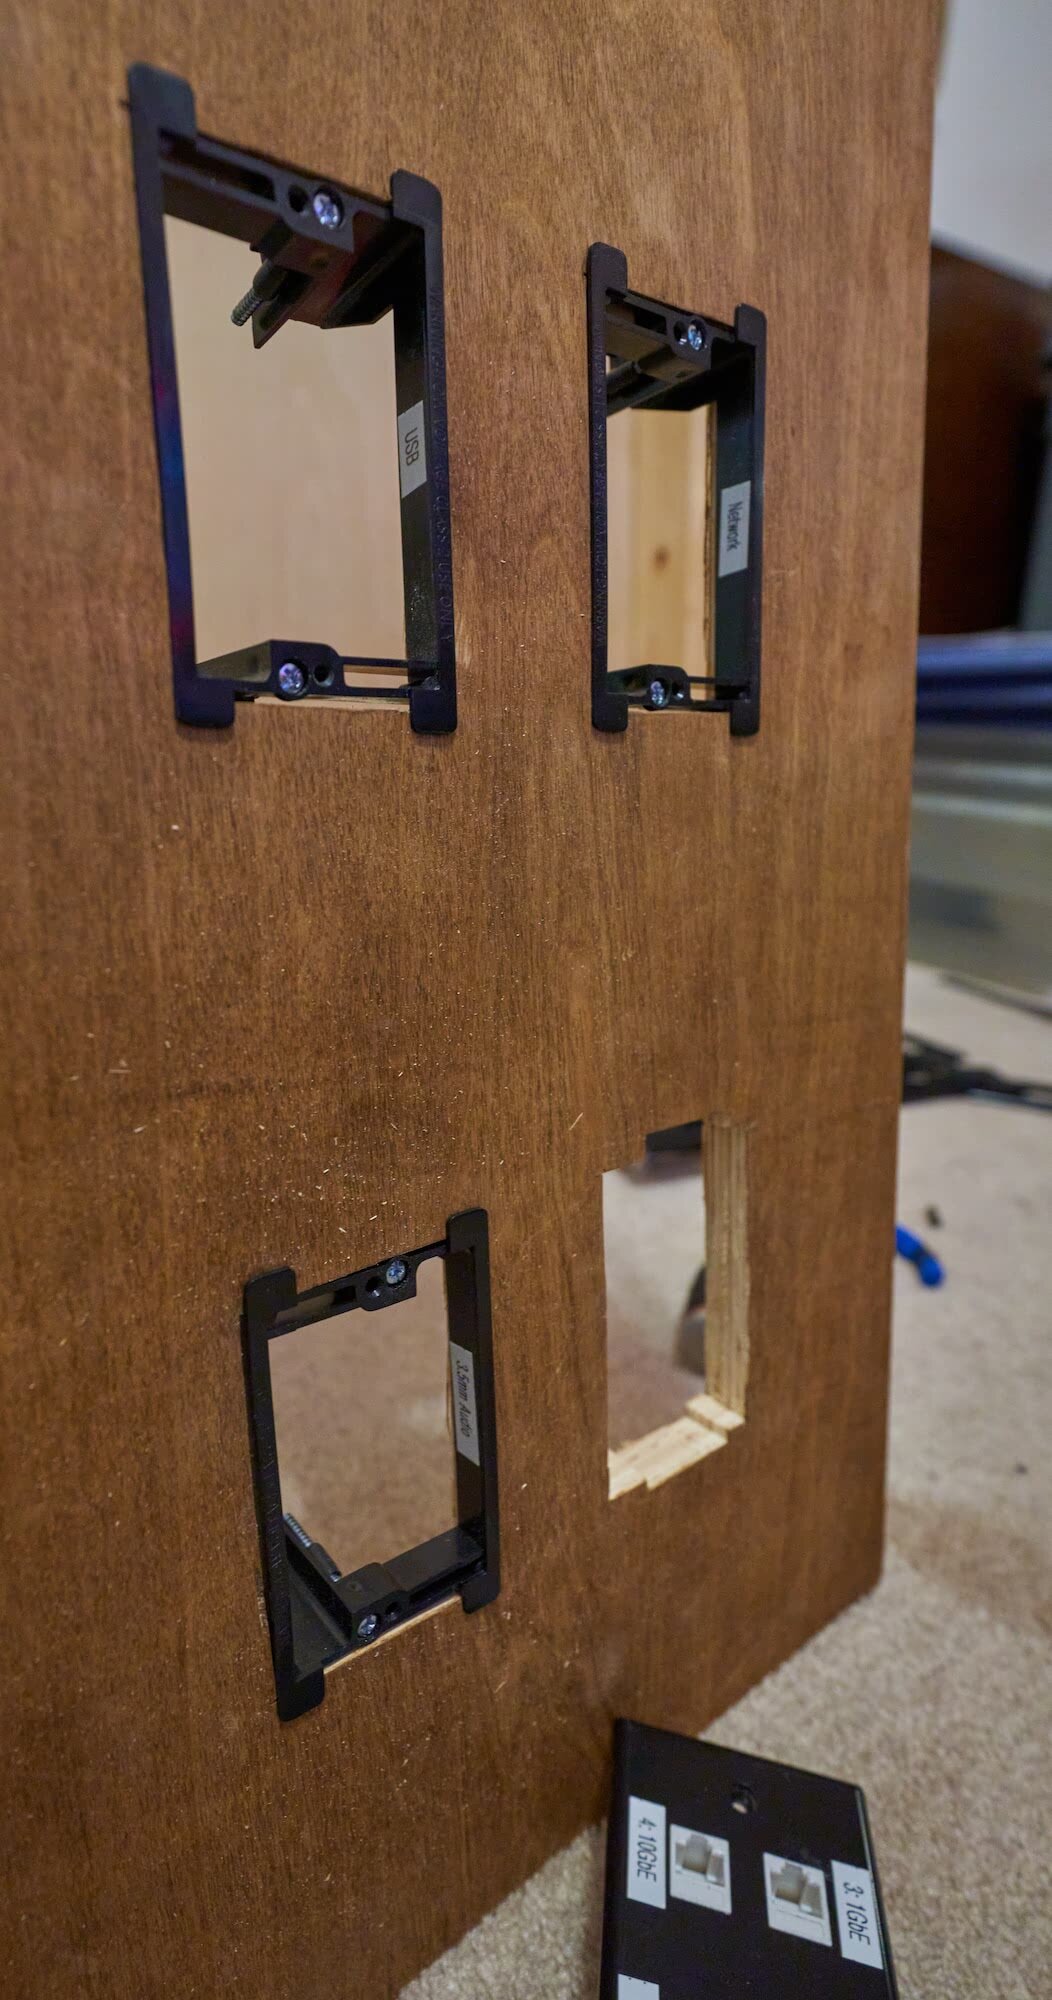
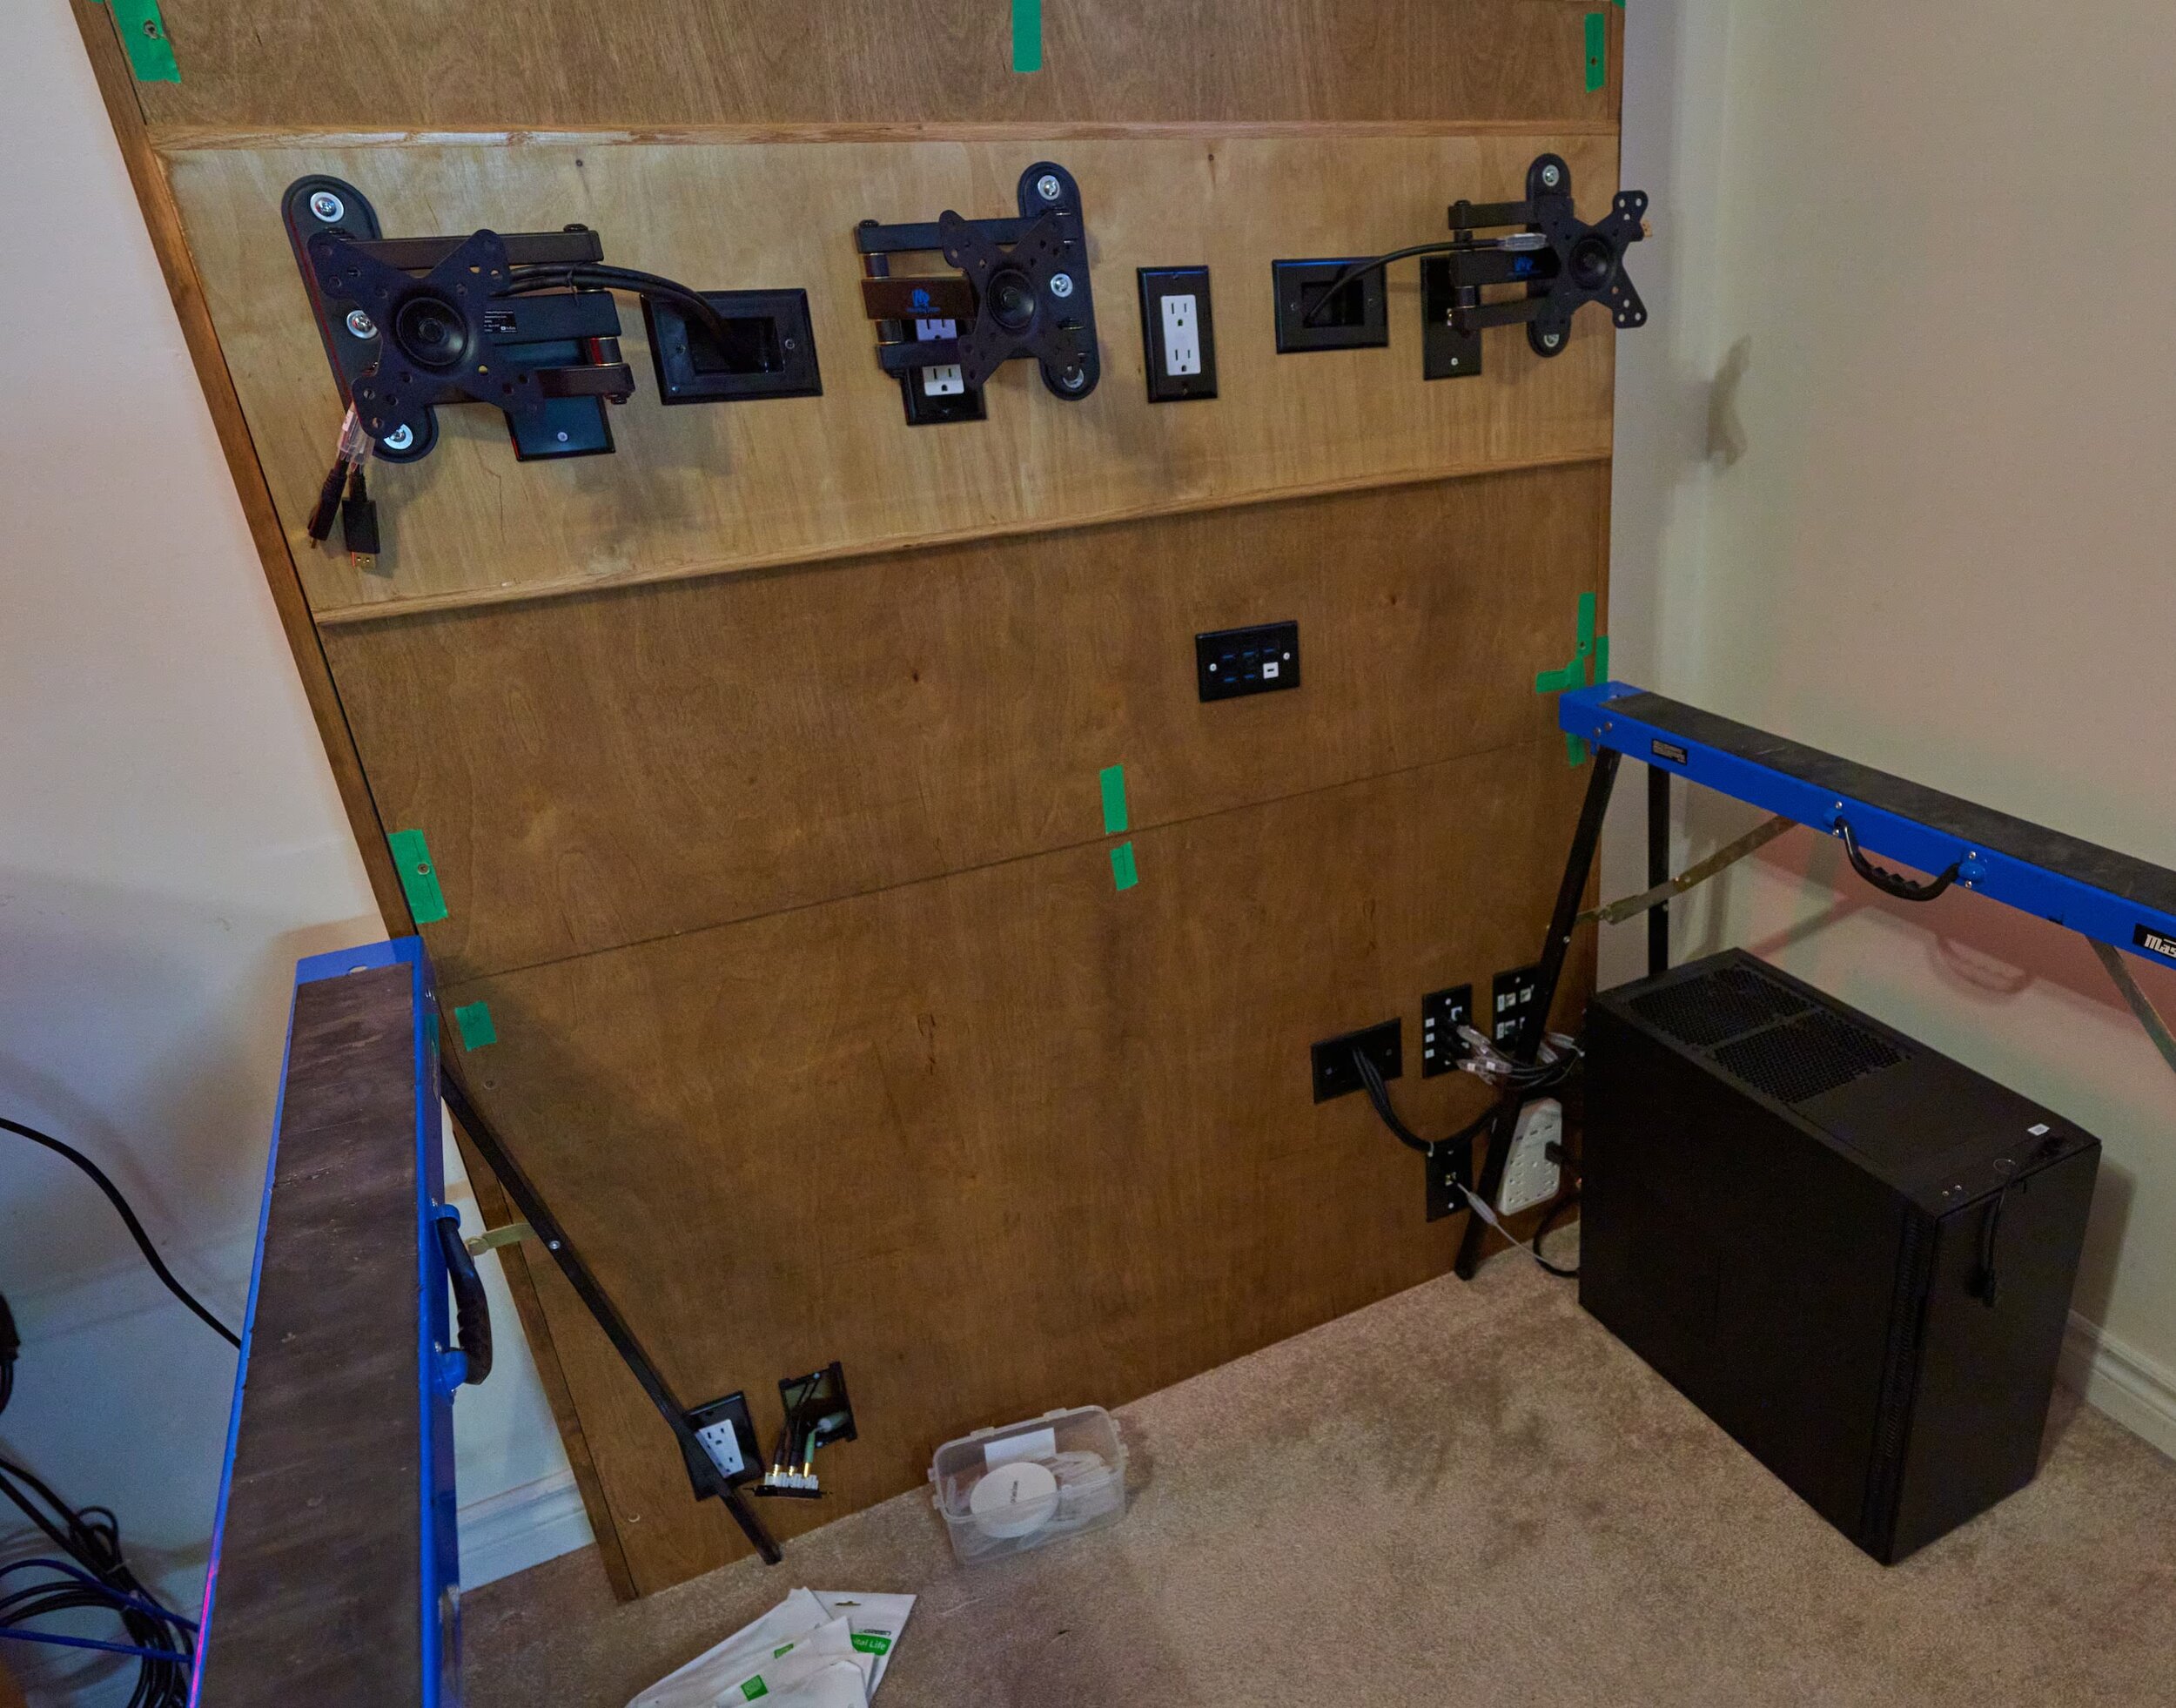
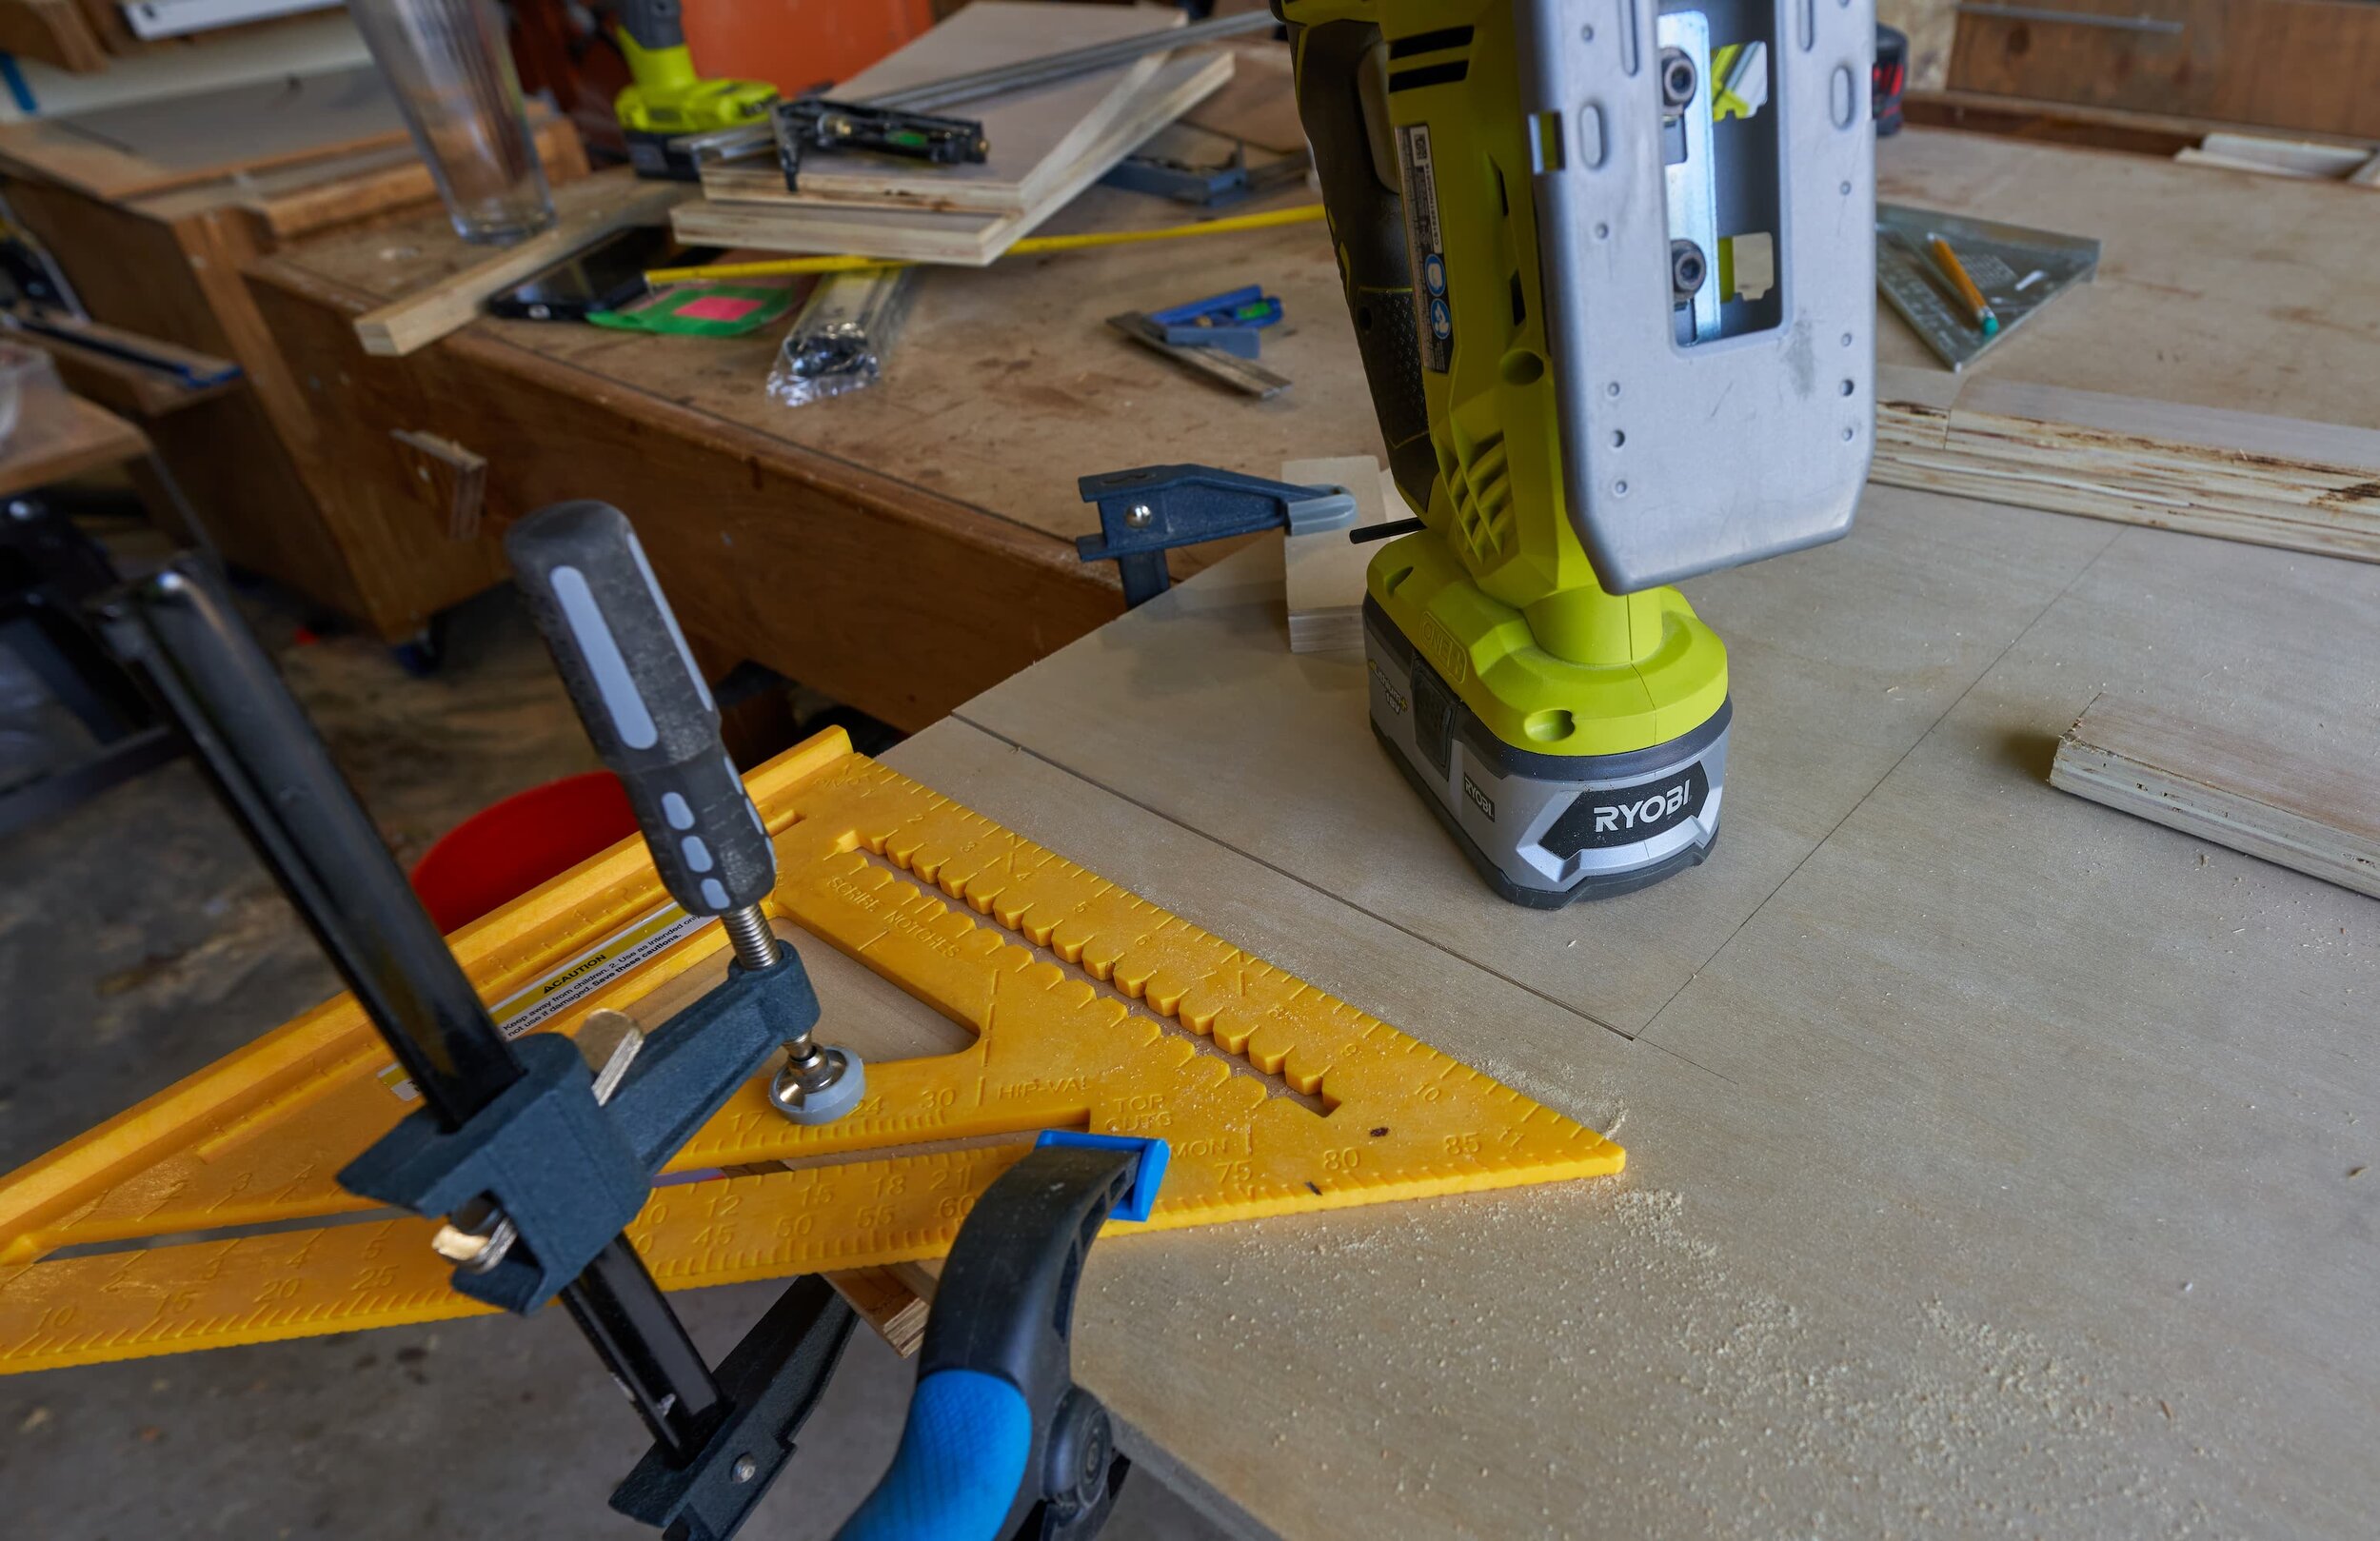
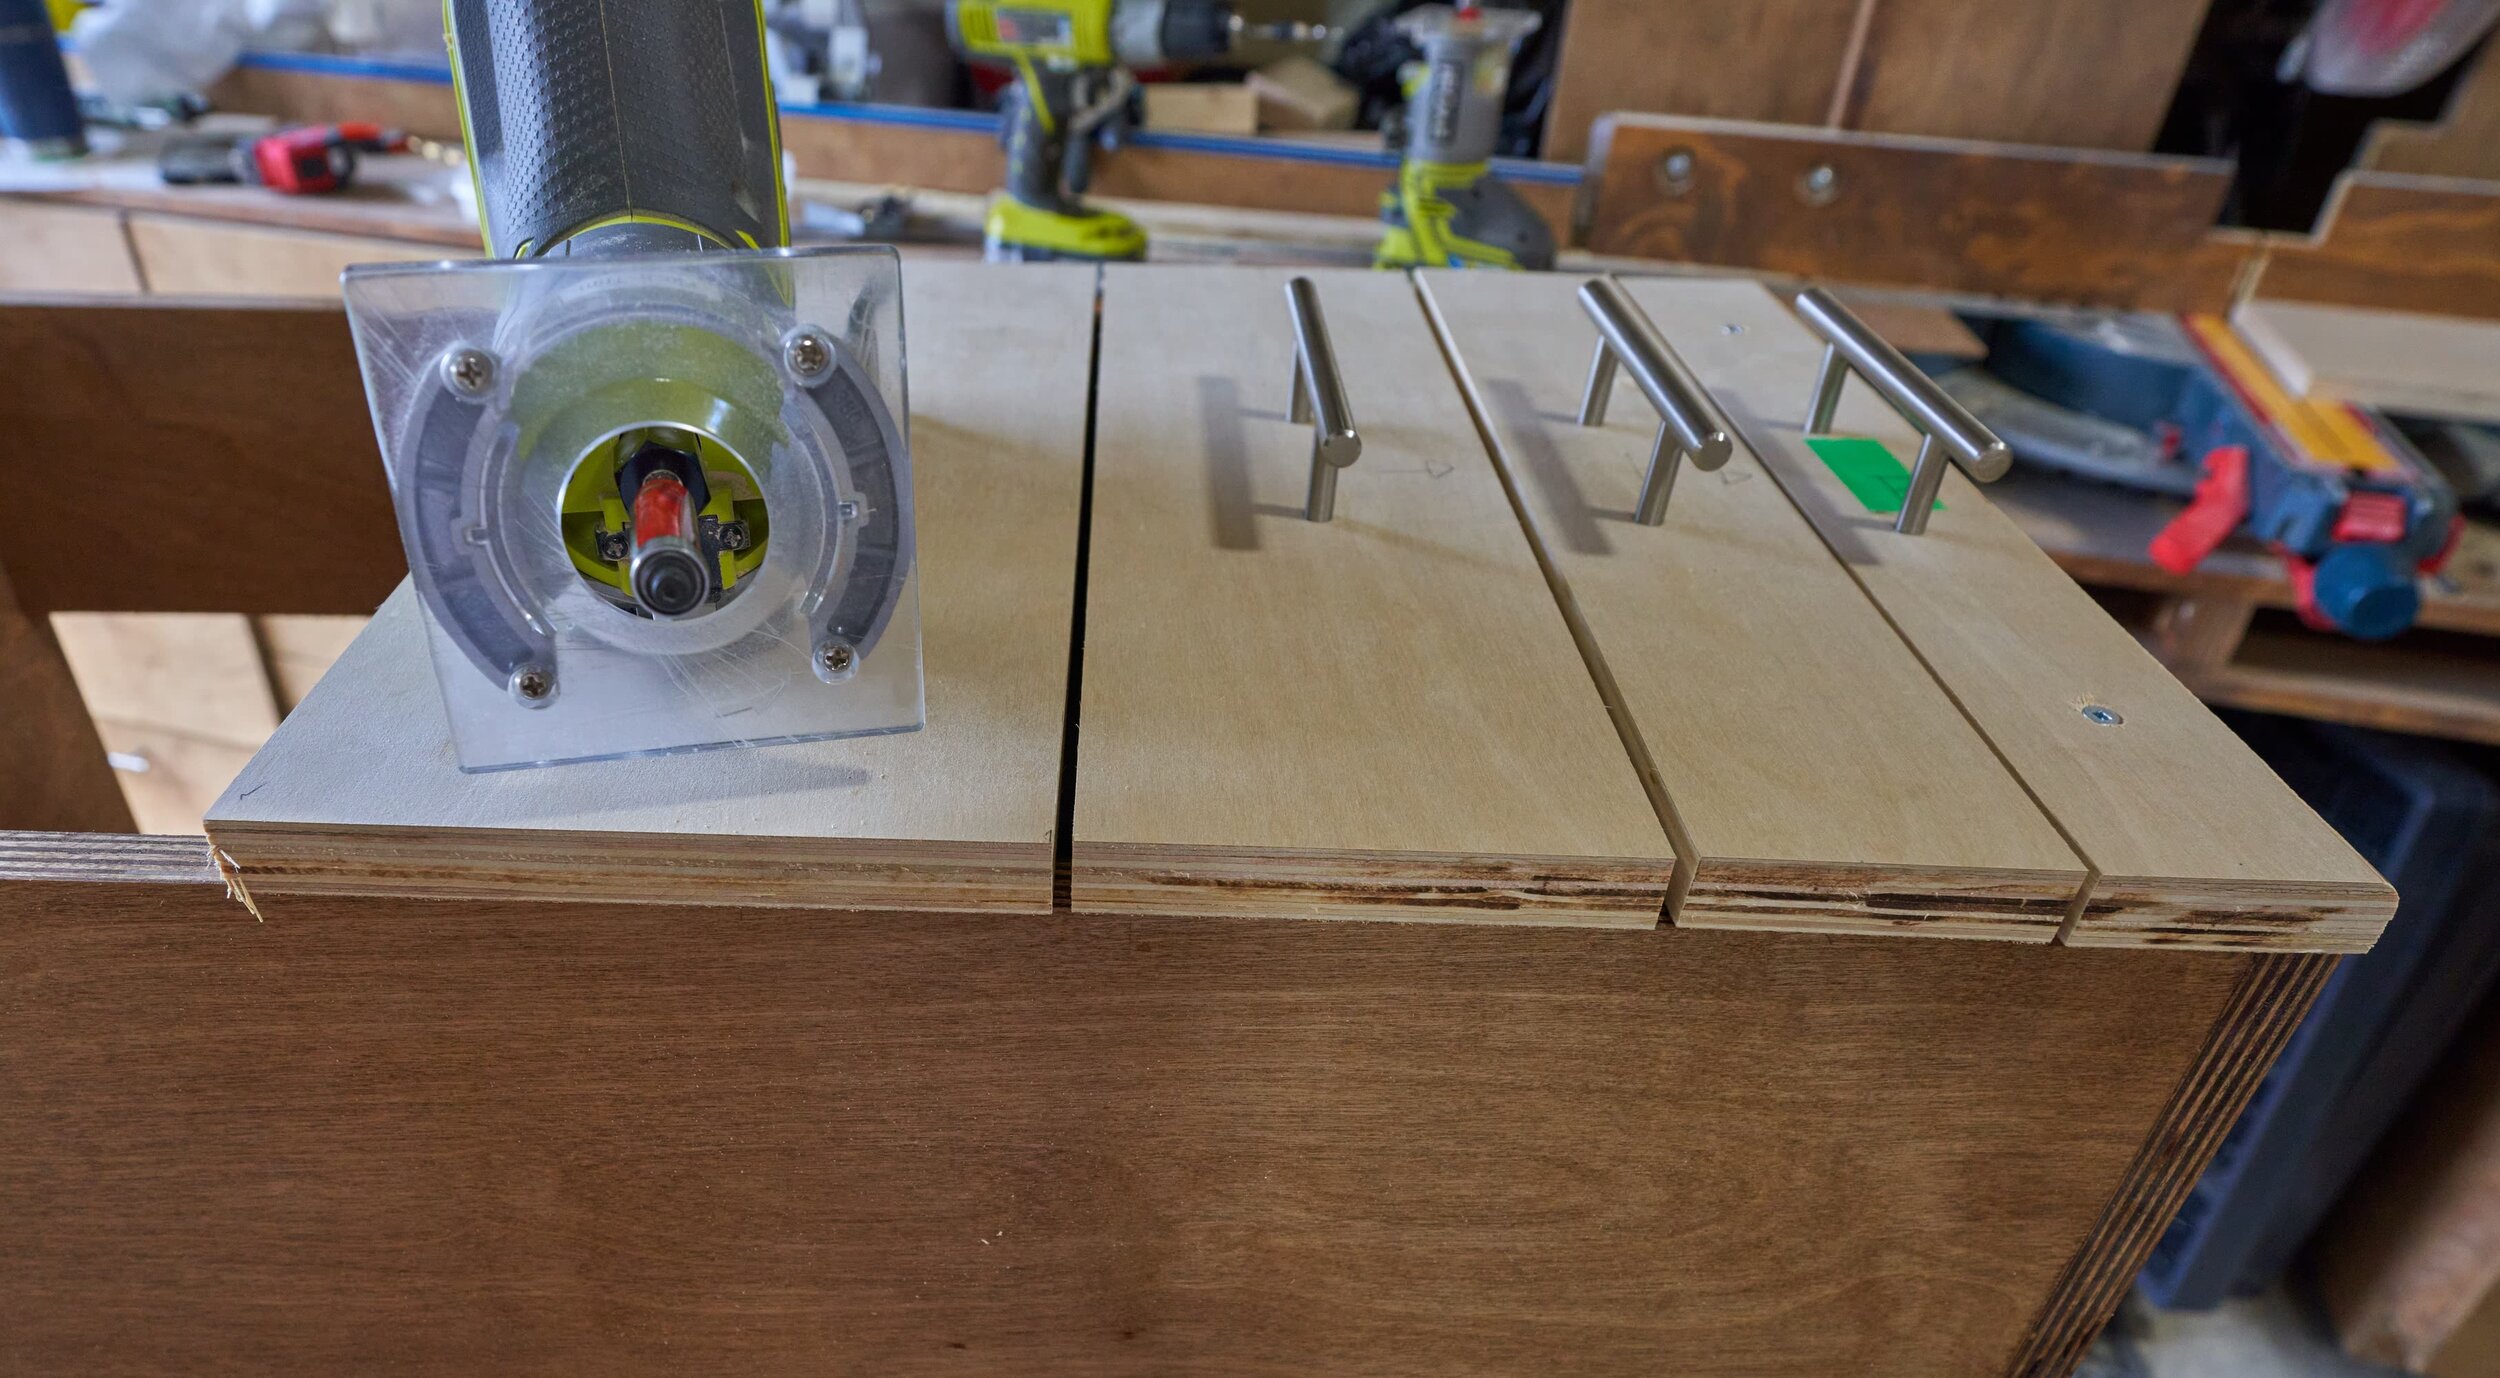
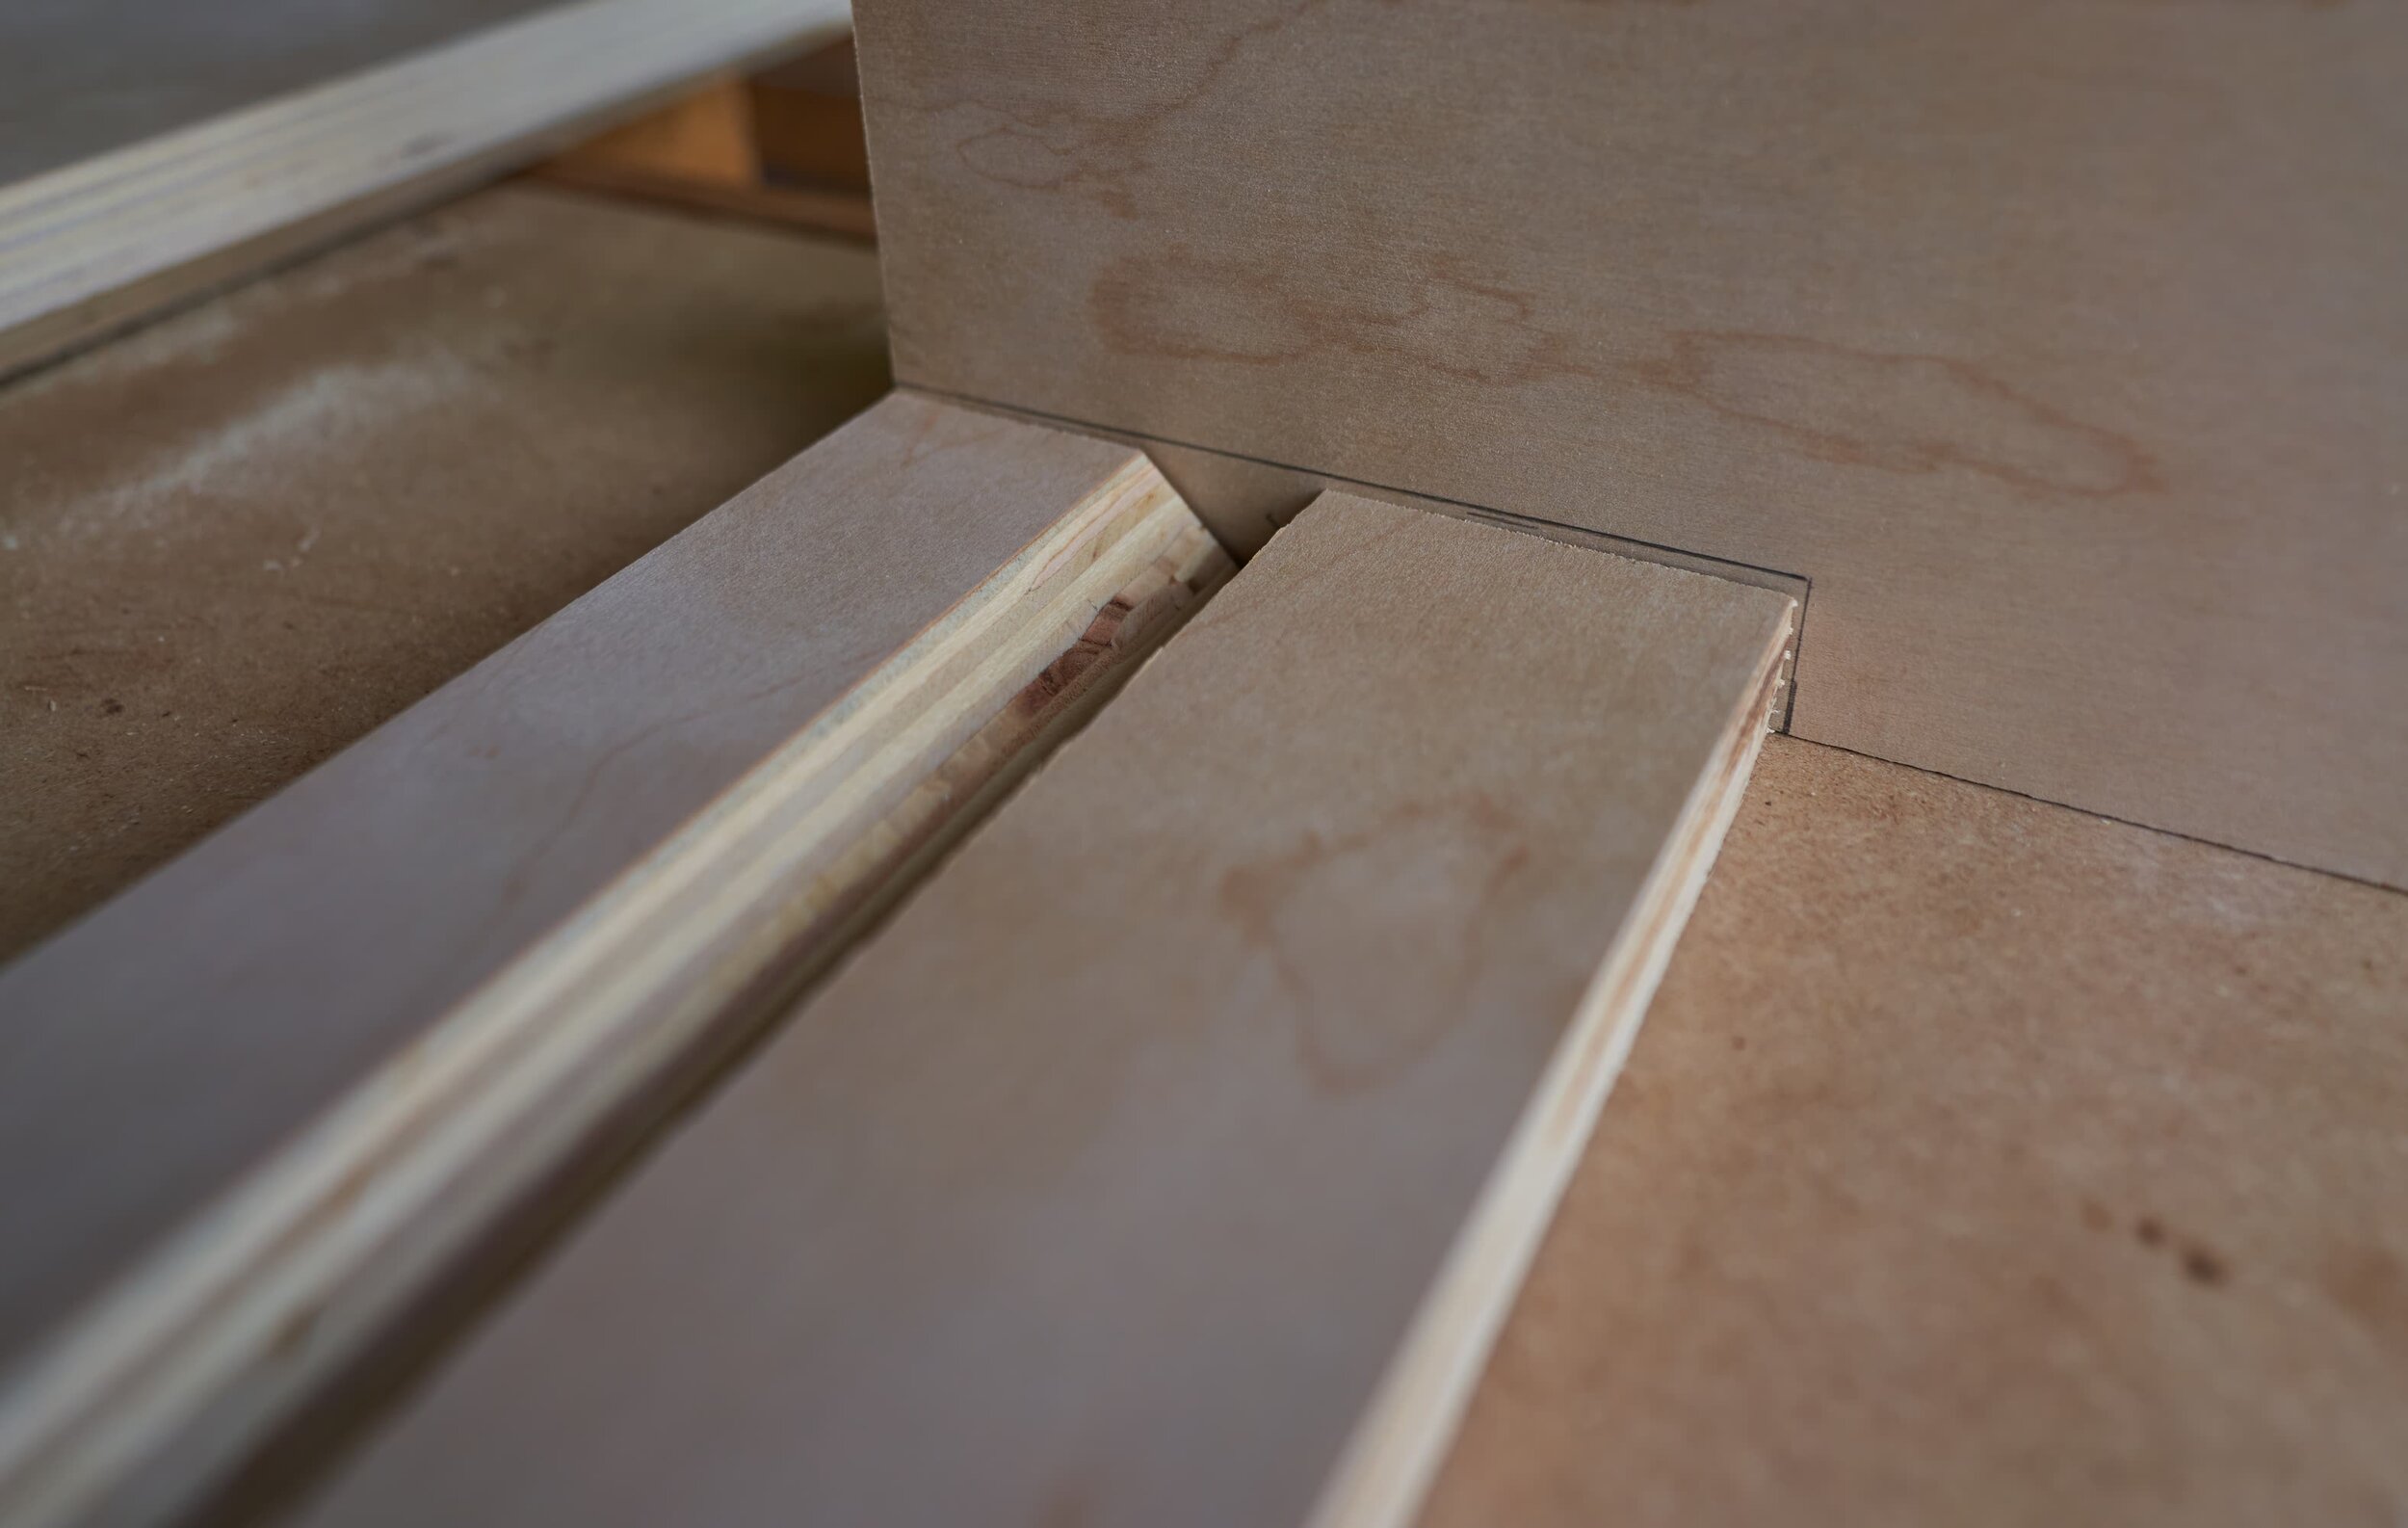
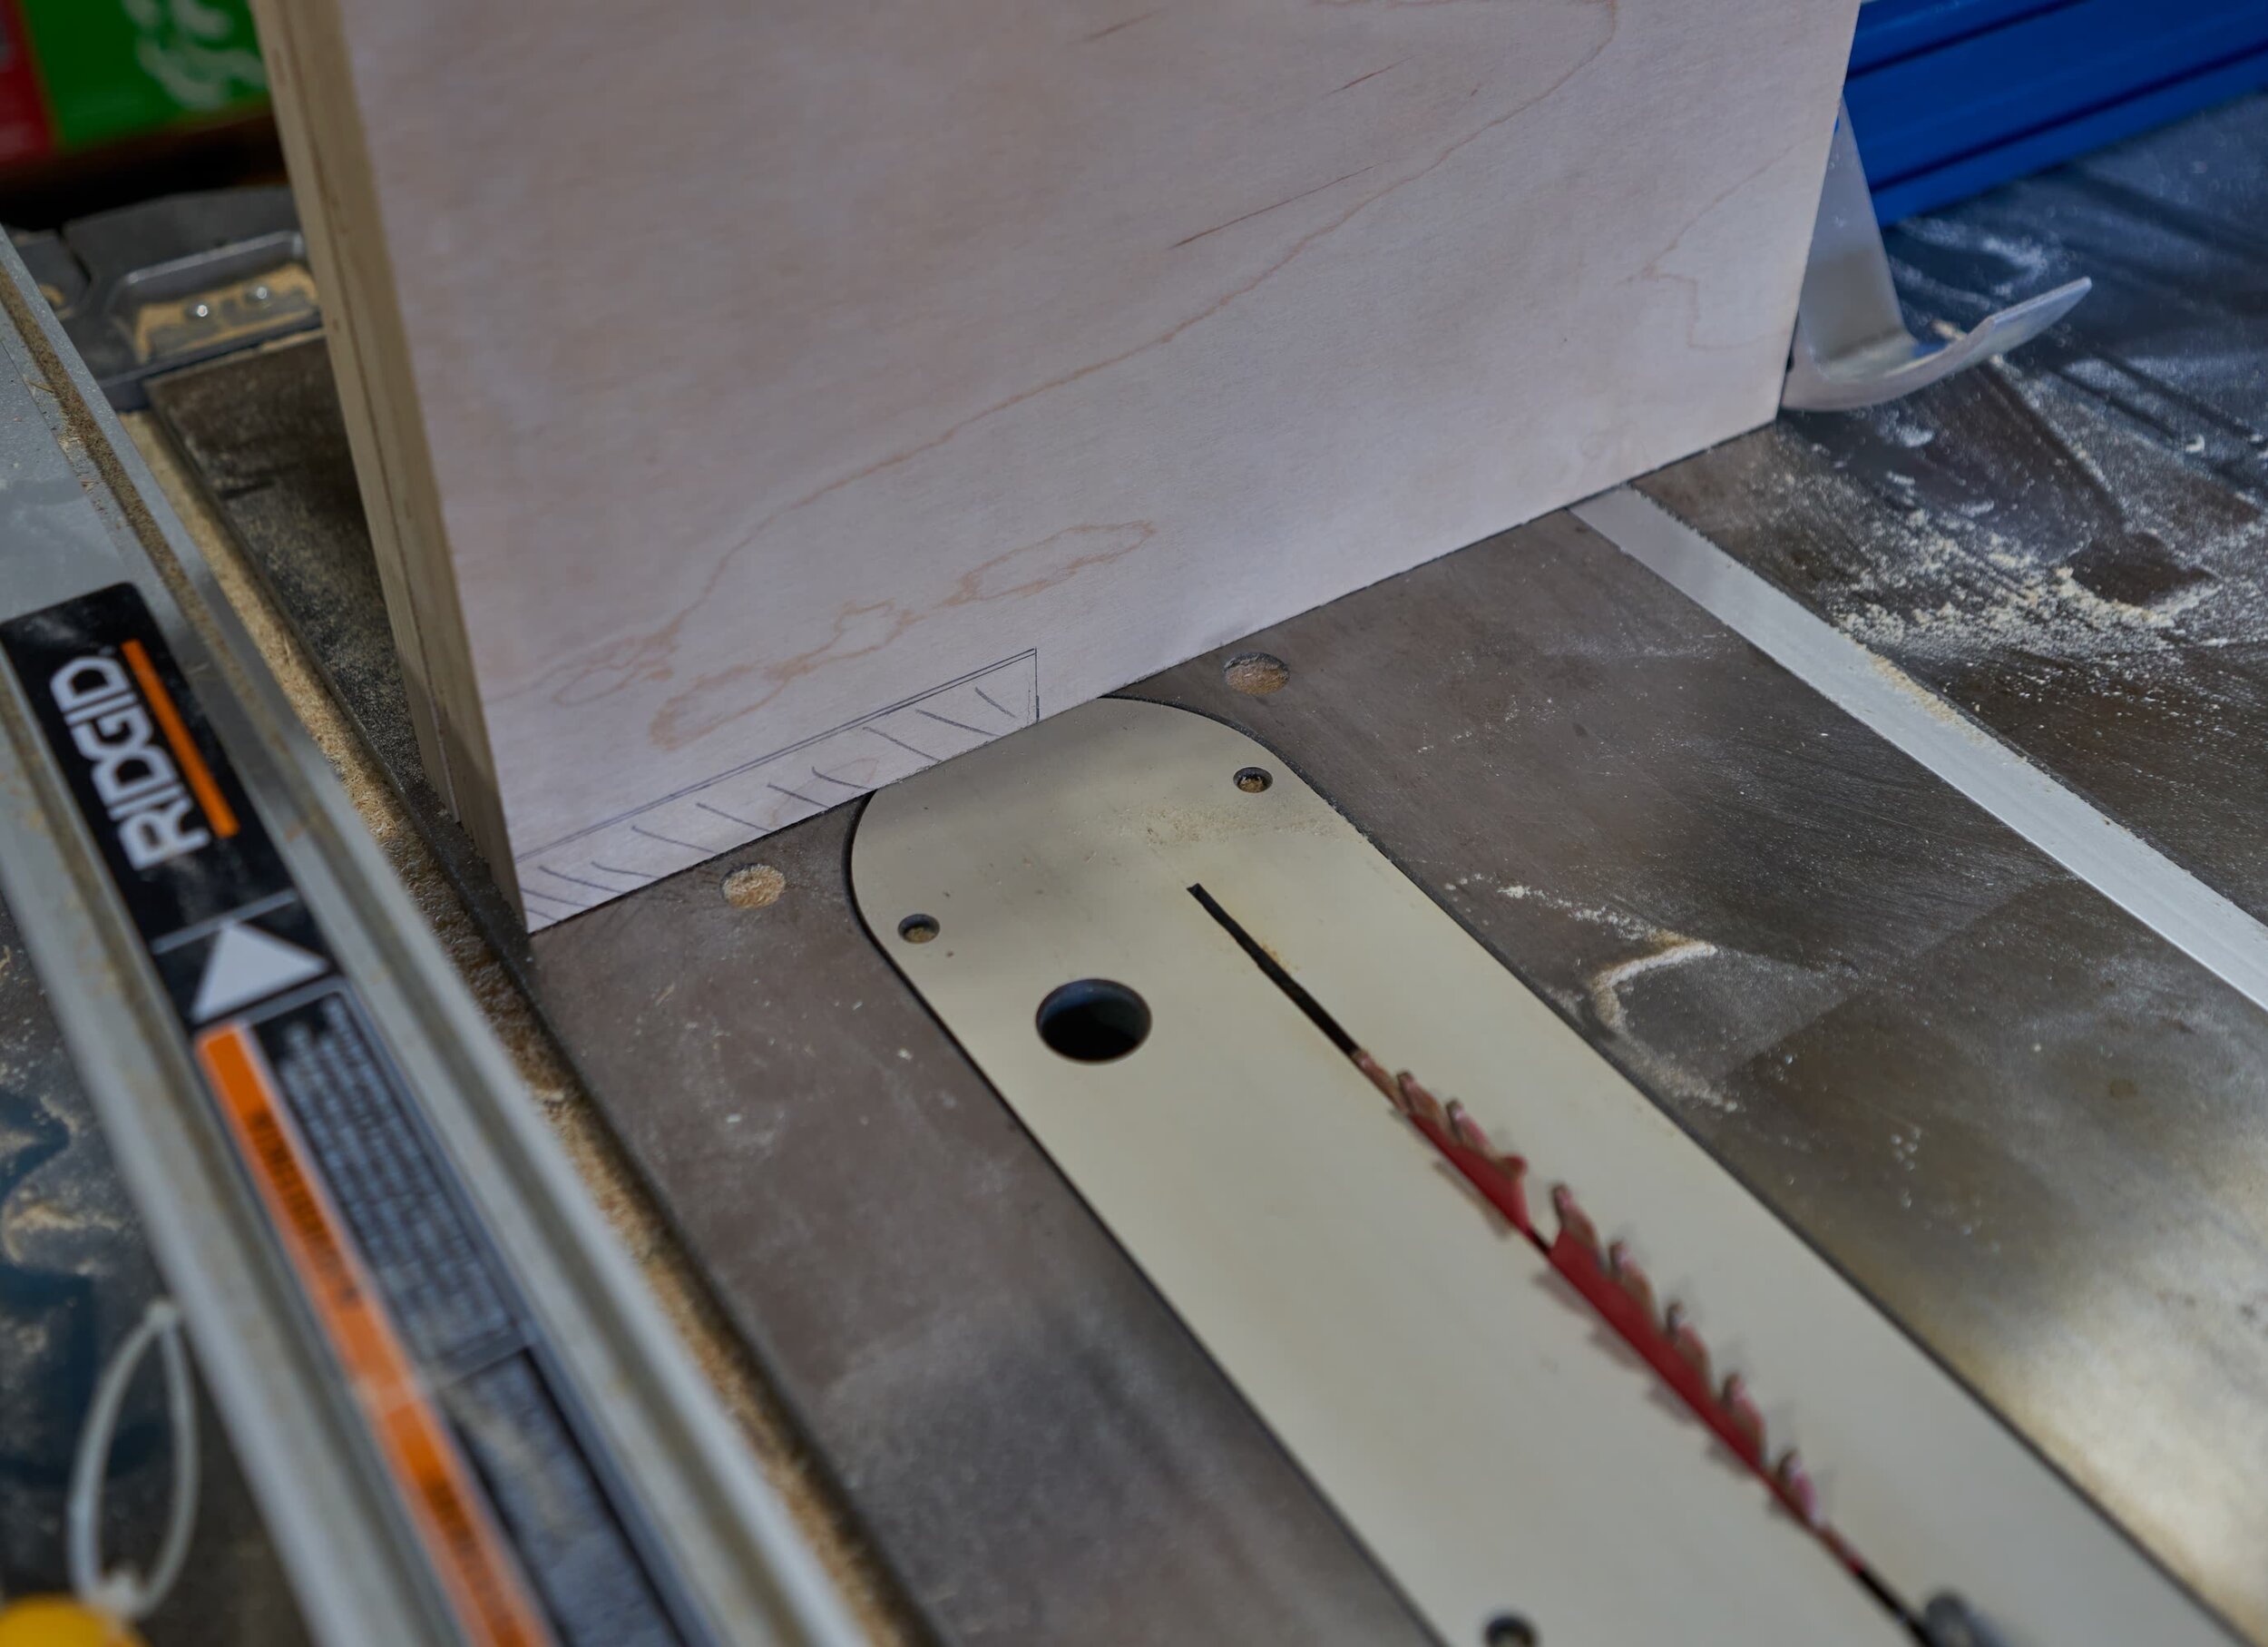
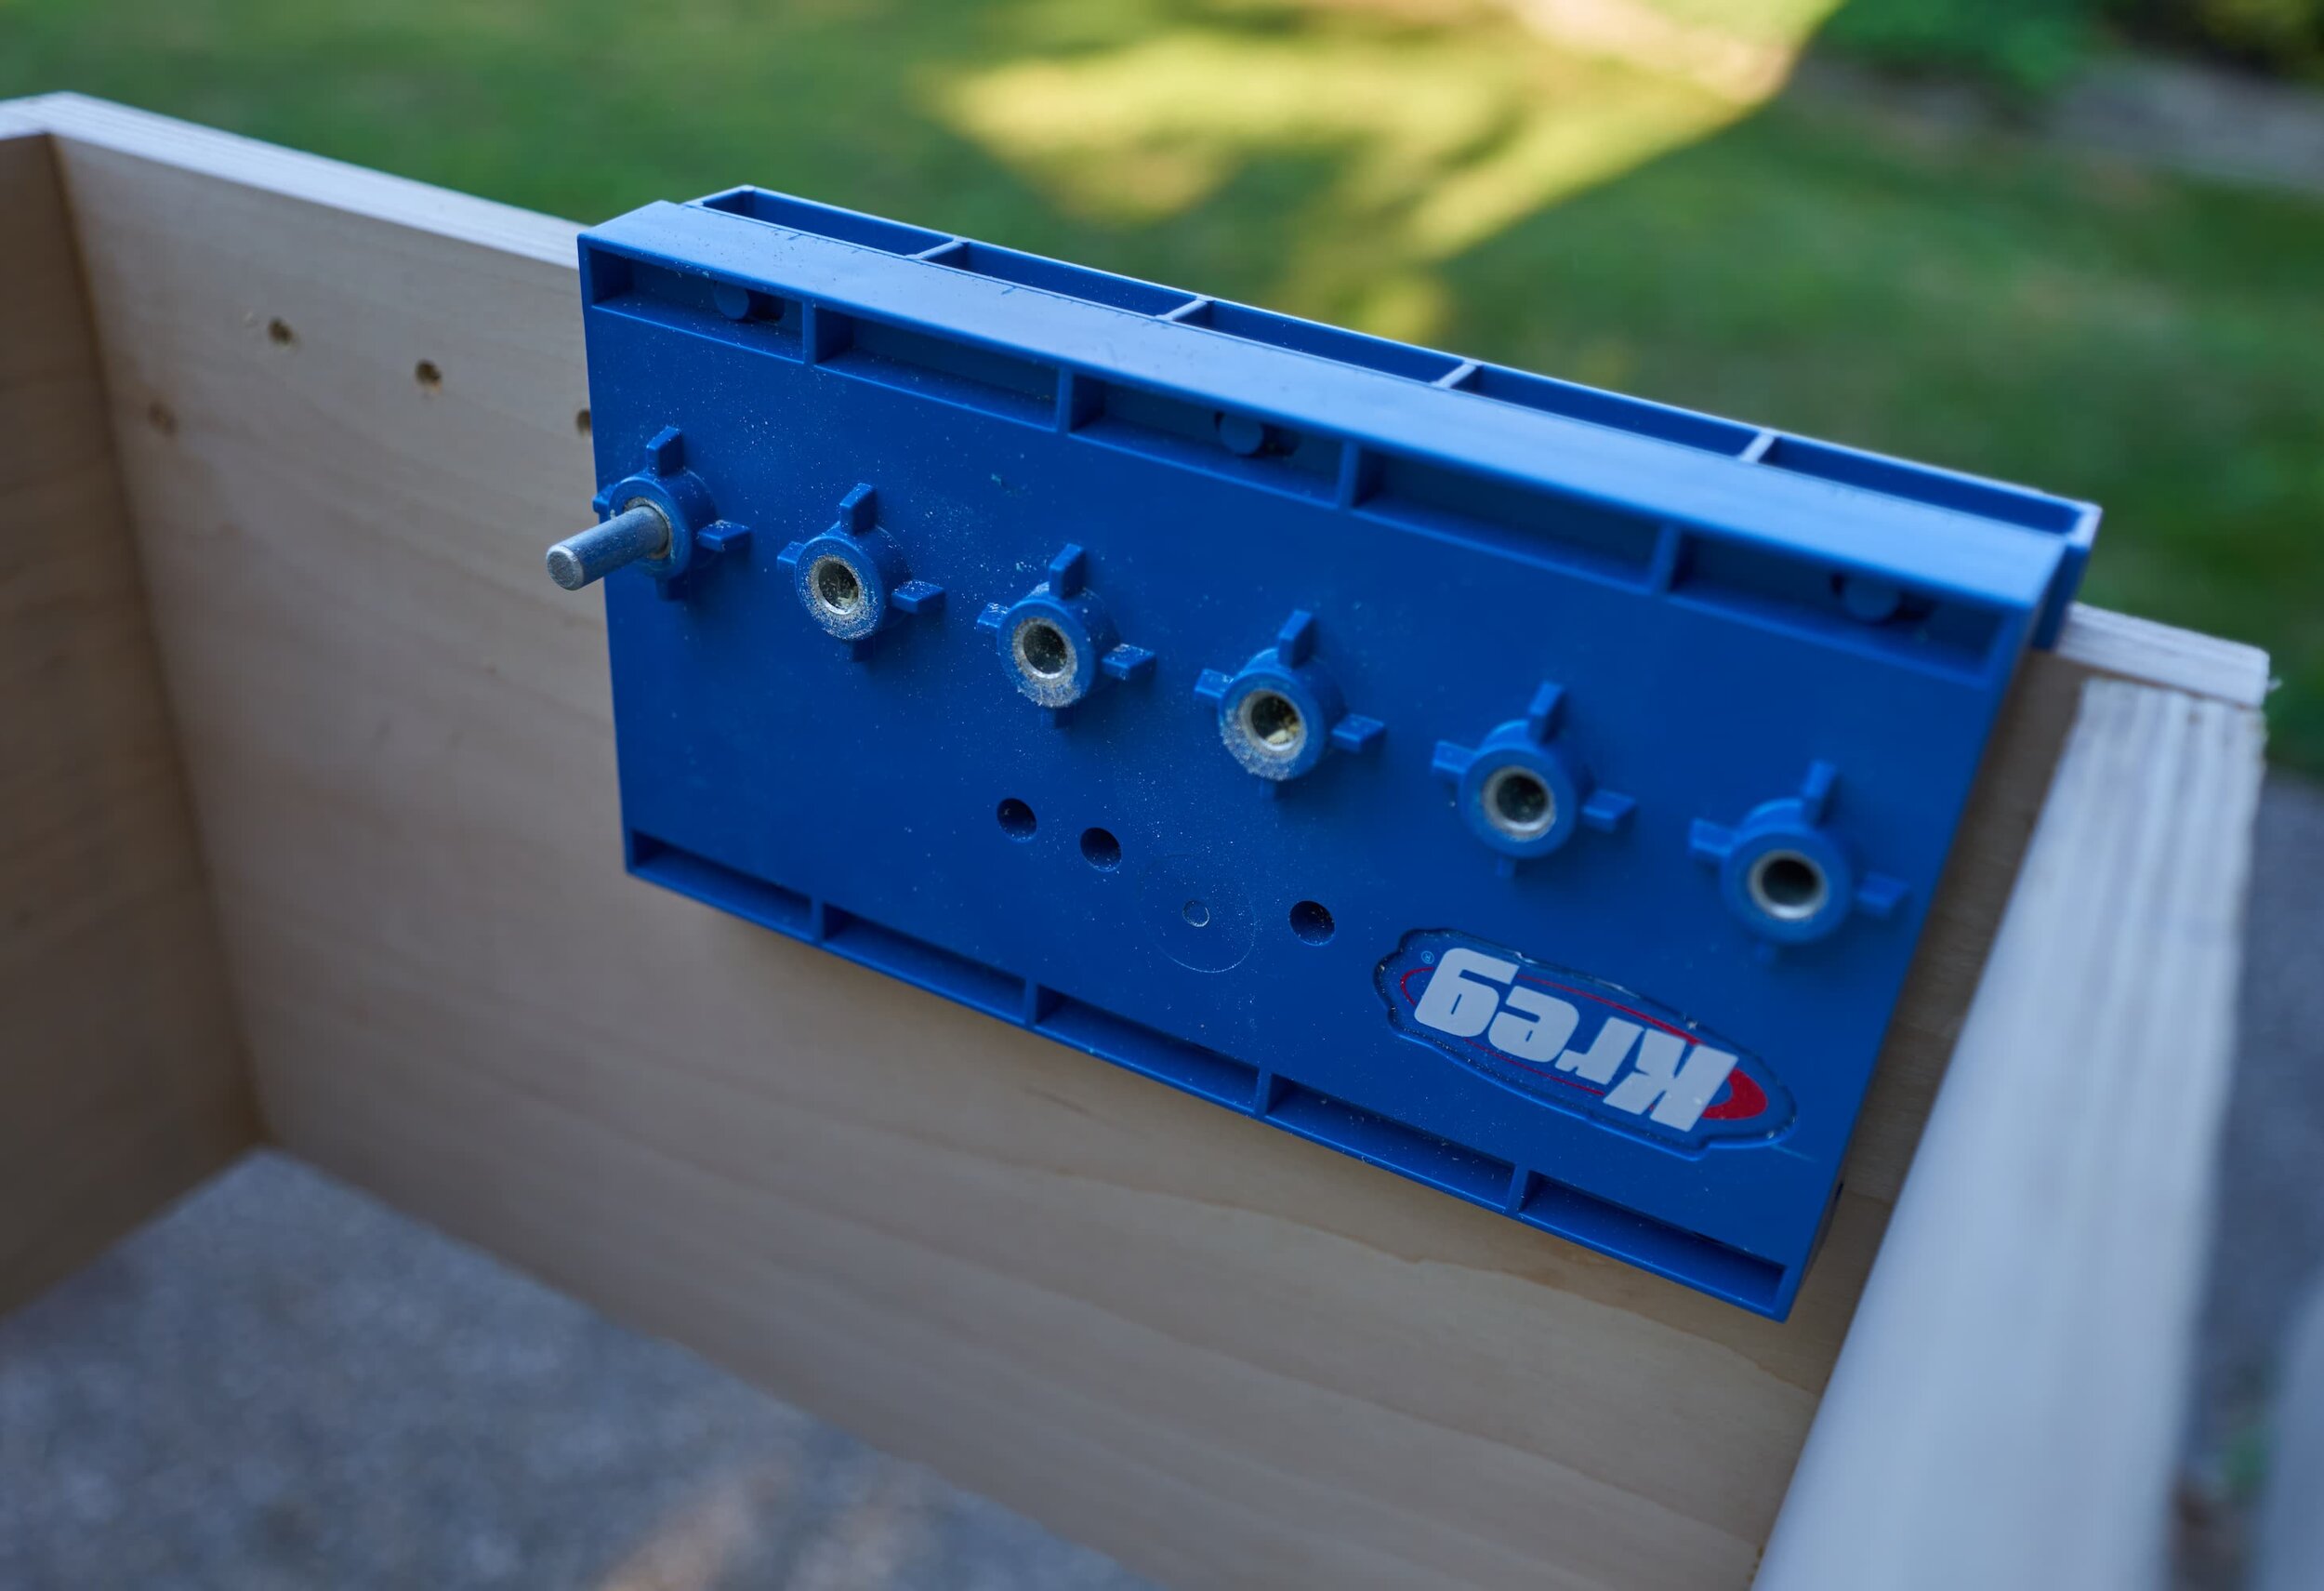
Step 3: Cutting inserts for keystones
The biggest lessons learned from the Mk I desk was that making super-precise cutouts was a total waste of time. Subconsciously, I think I knew it but the stubborn ox in me wanted to see if I could do it regardless. A combination of learning my lesson and a much simpler configuration for her station meant this only took two days to complete.
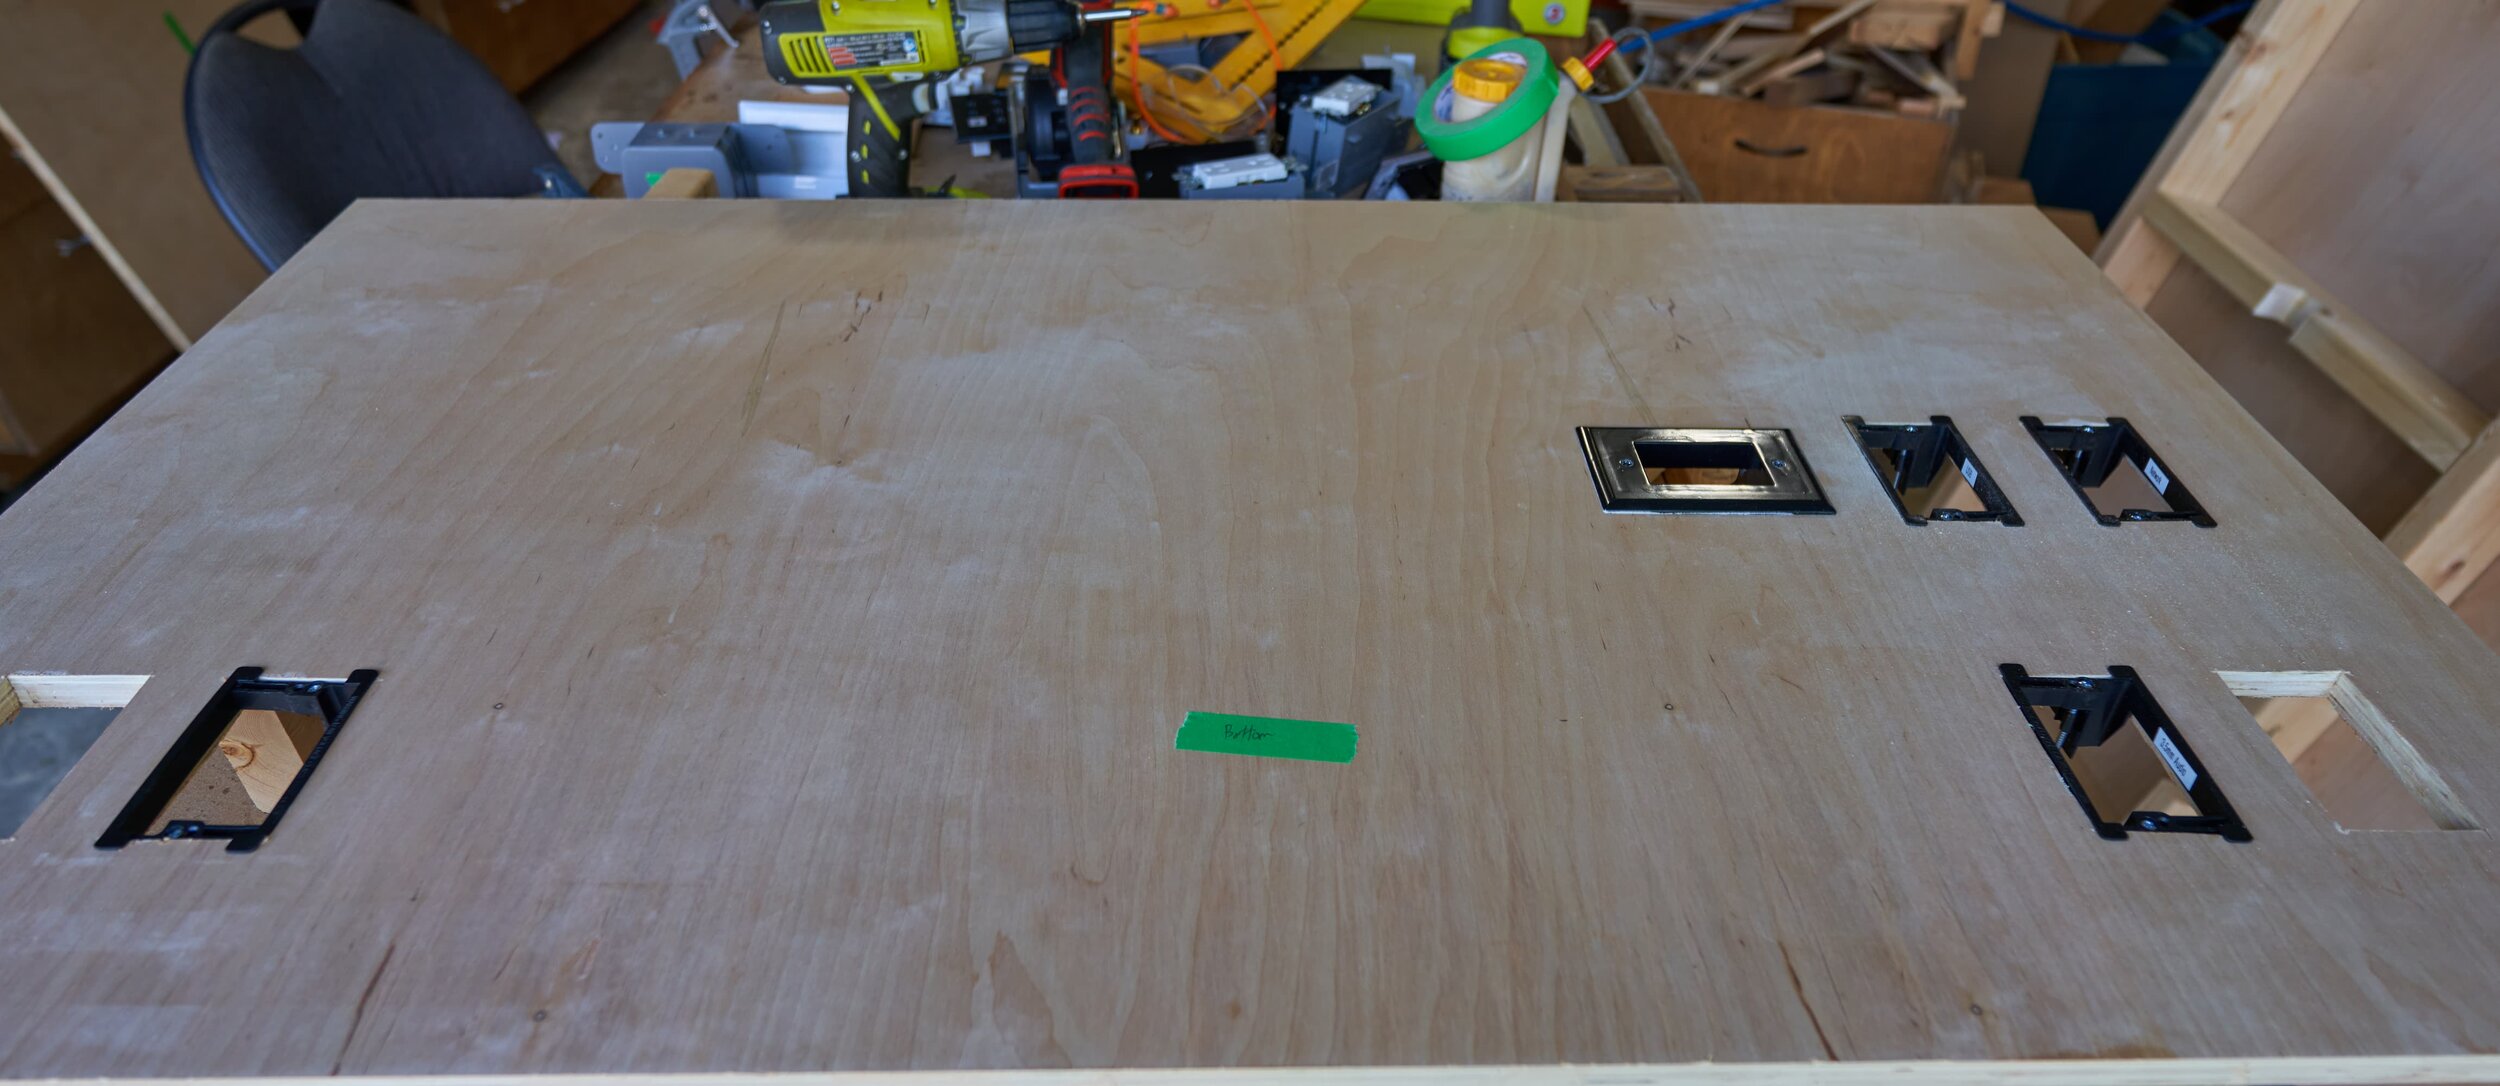
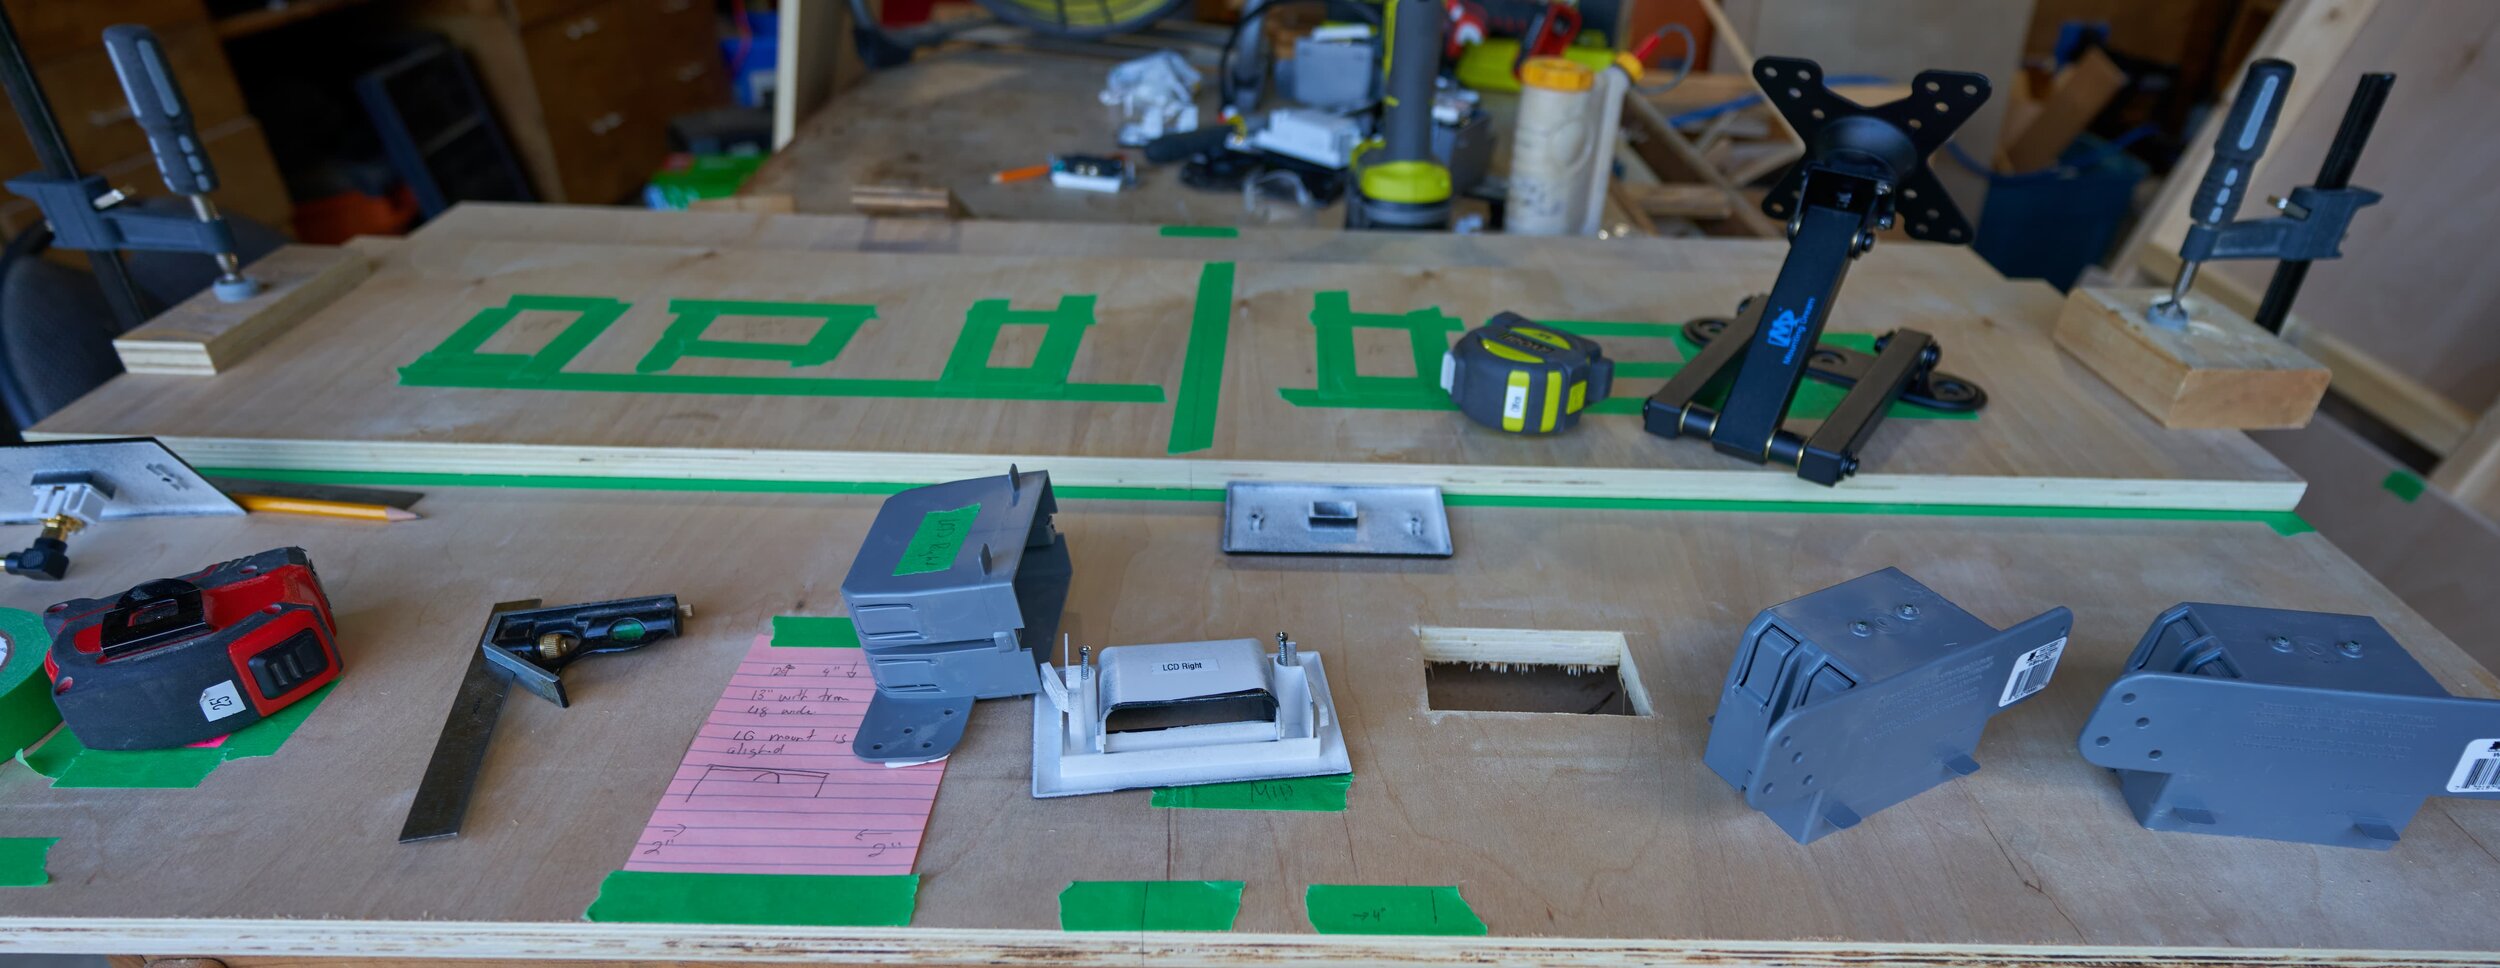

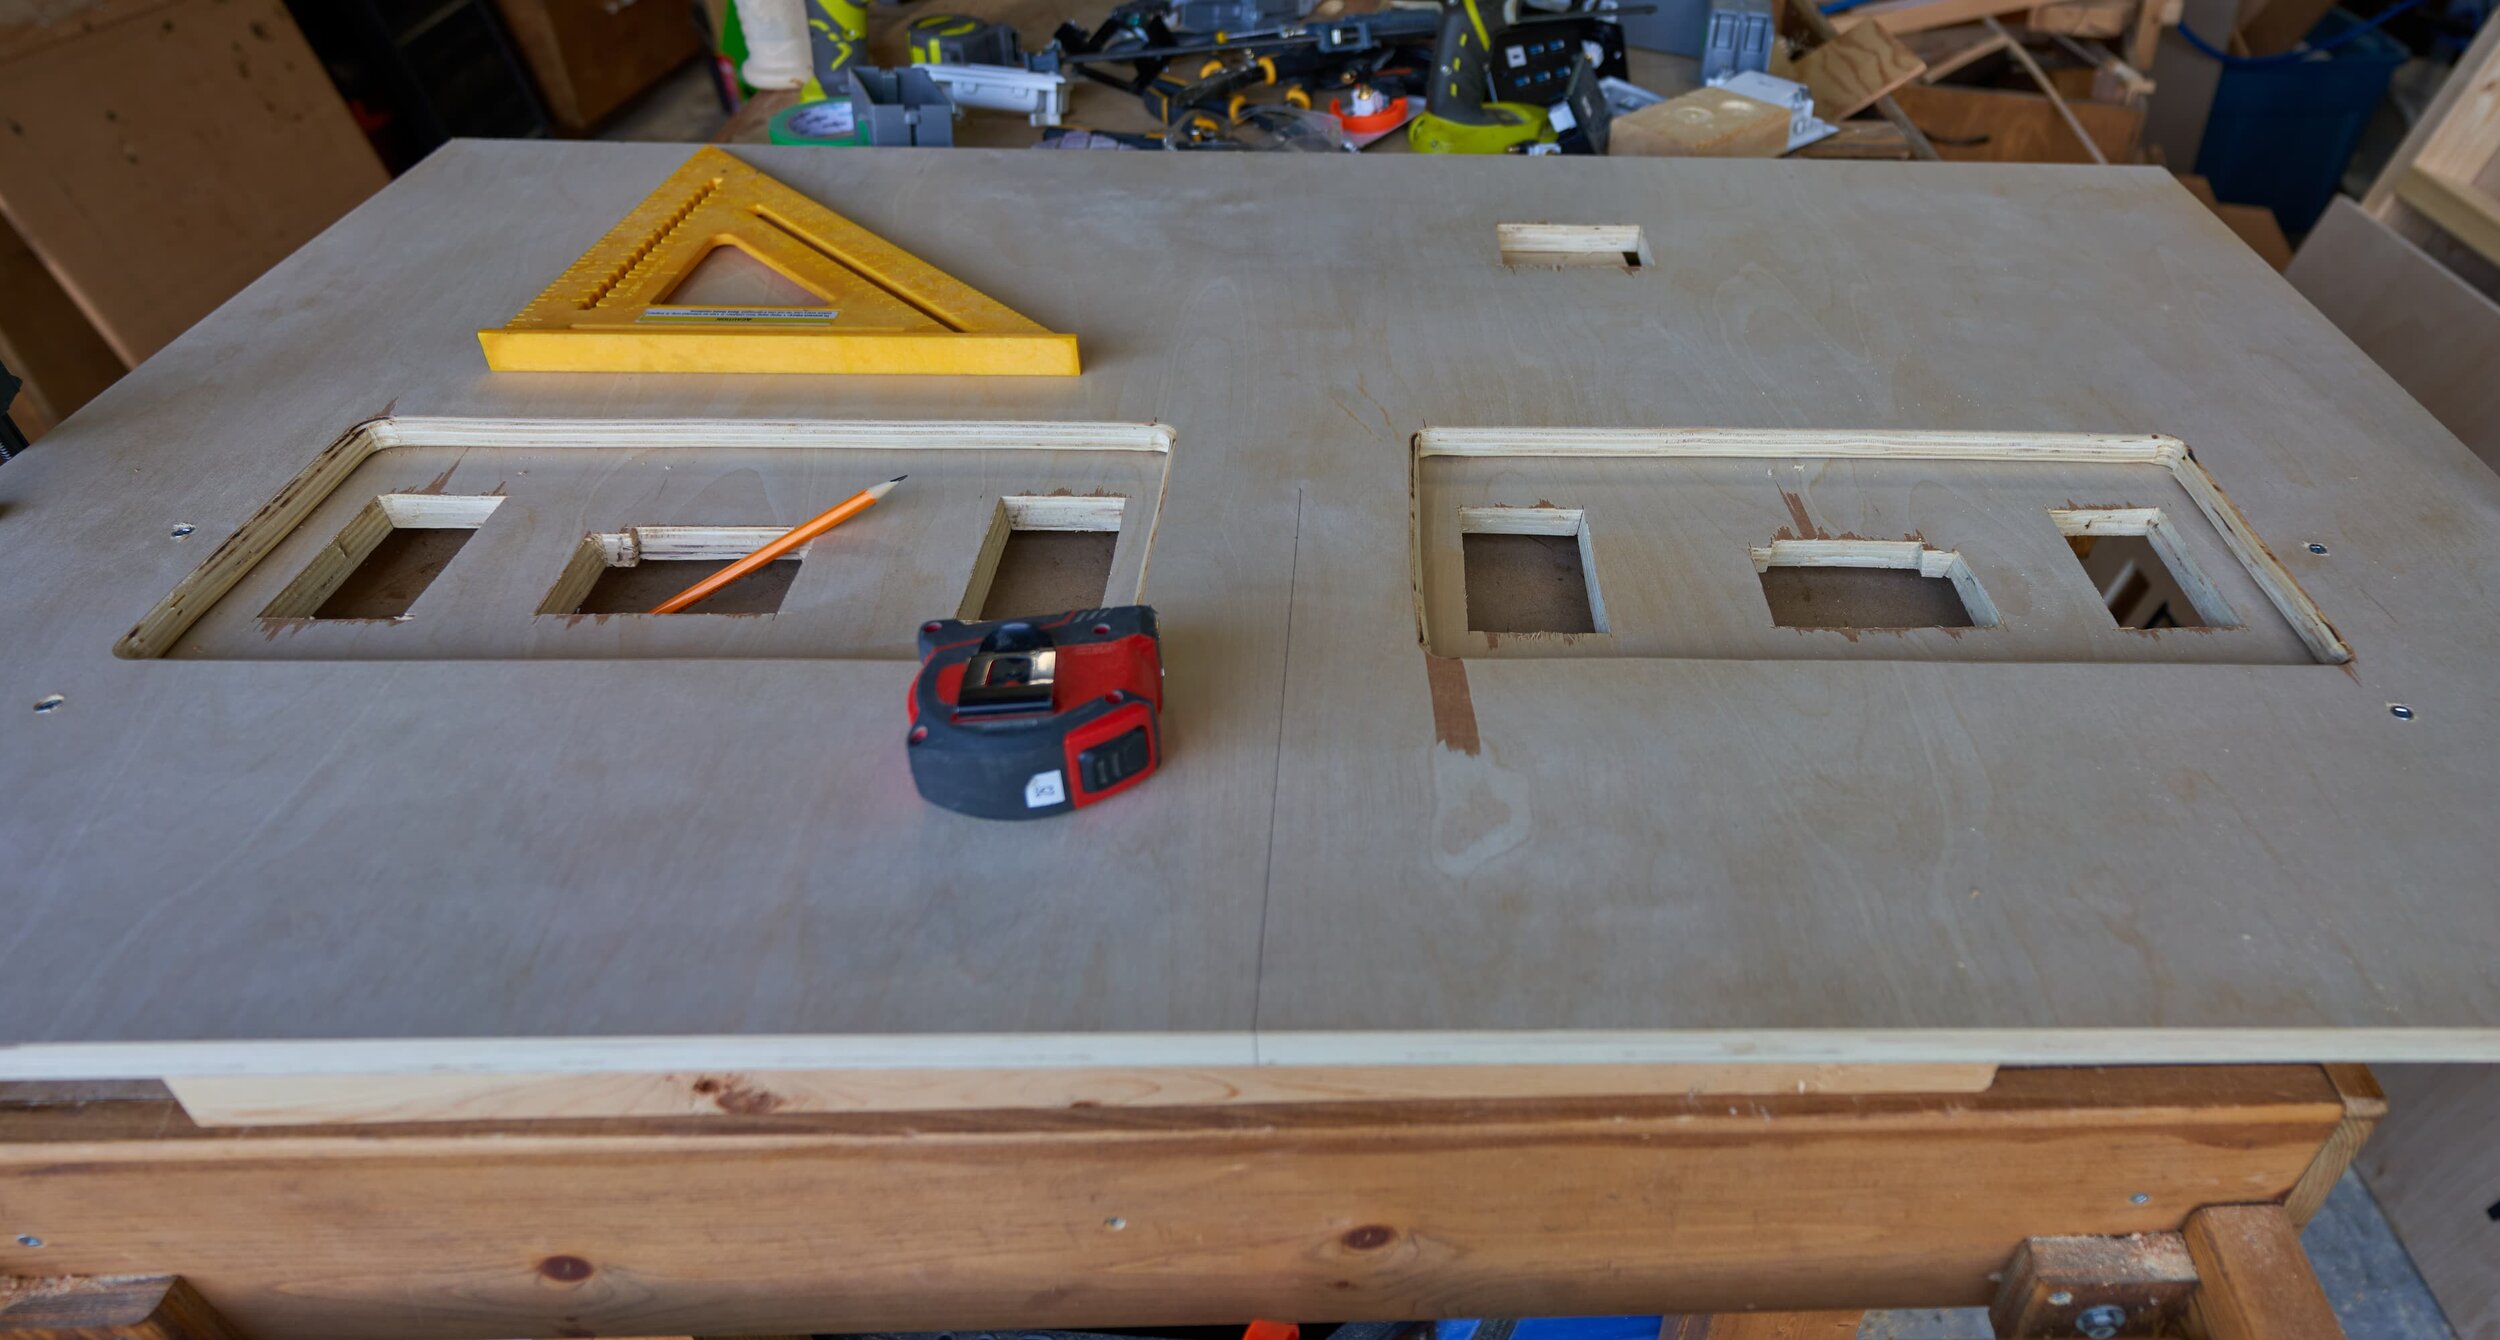
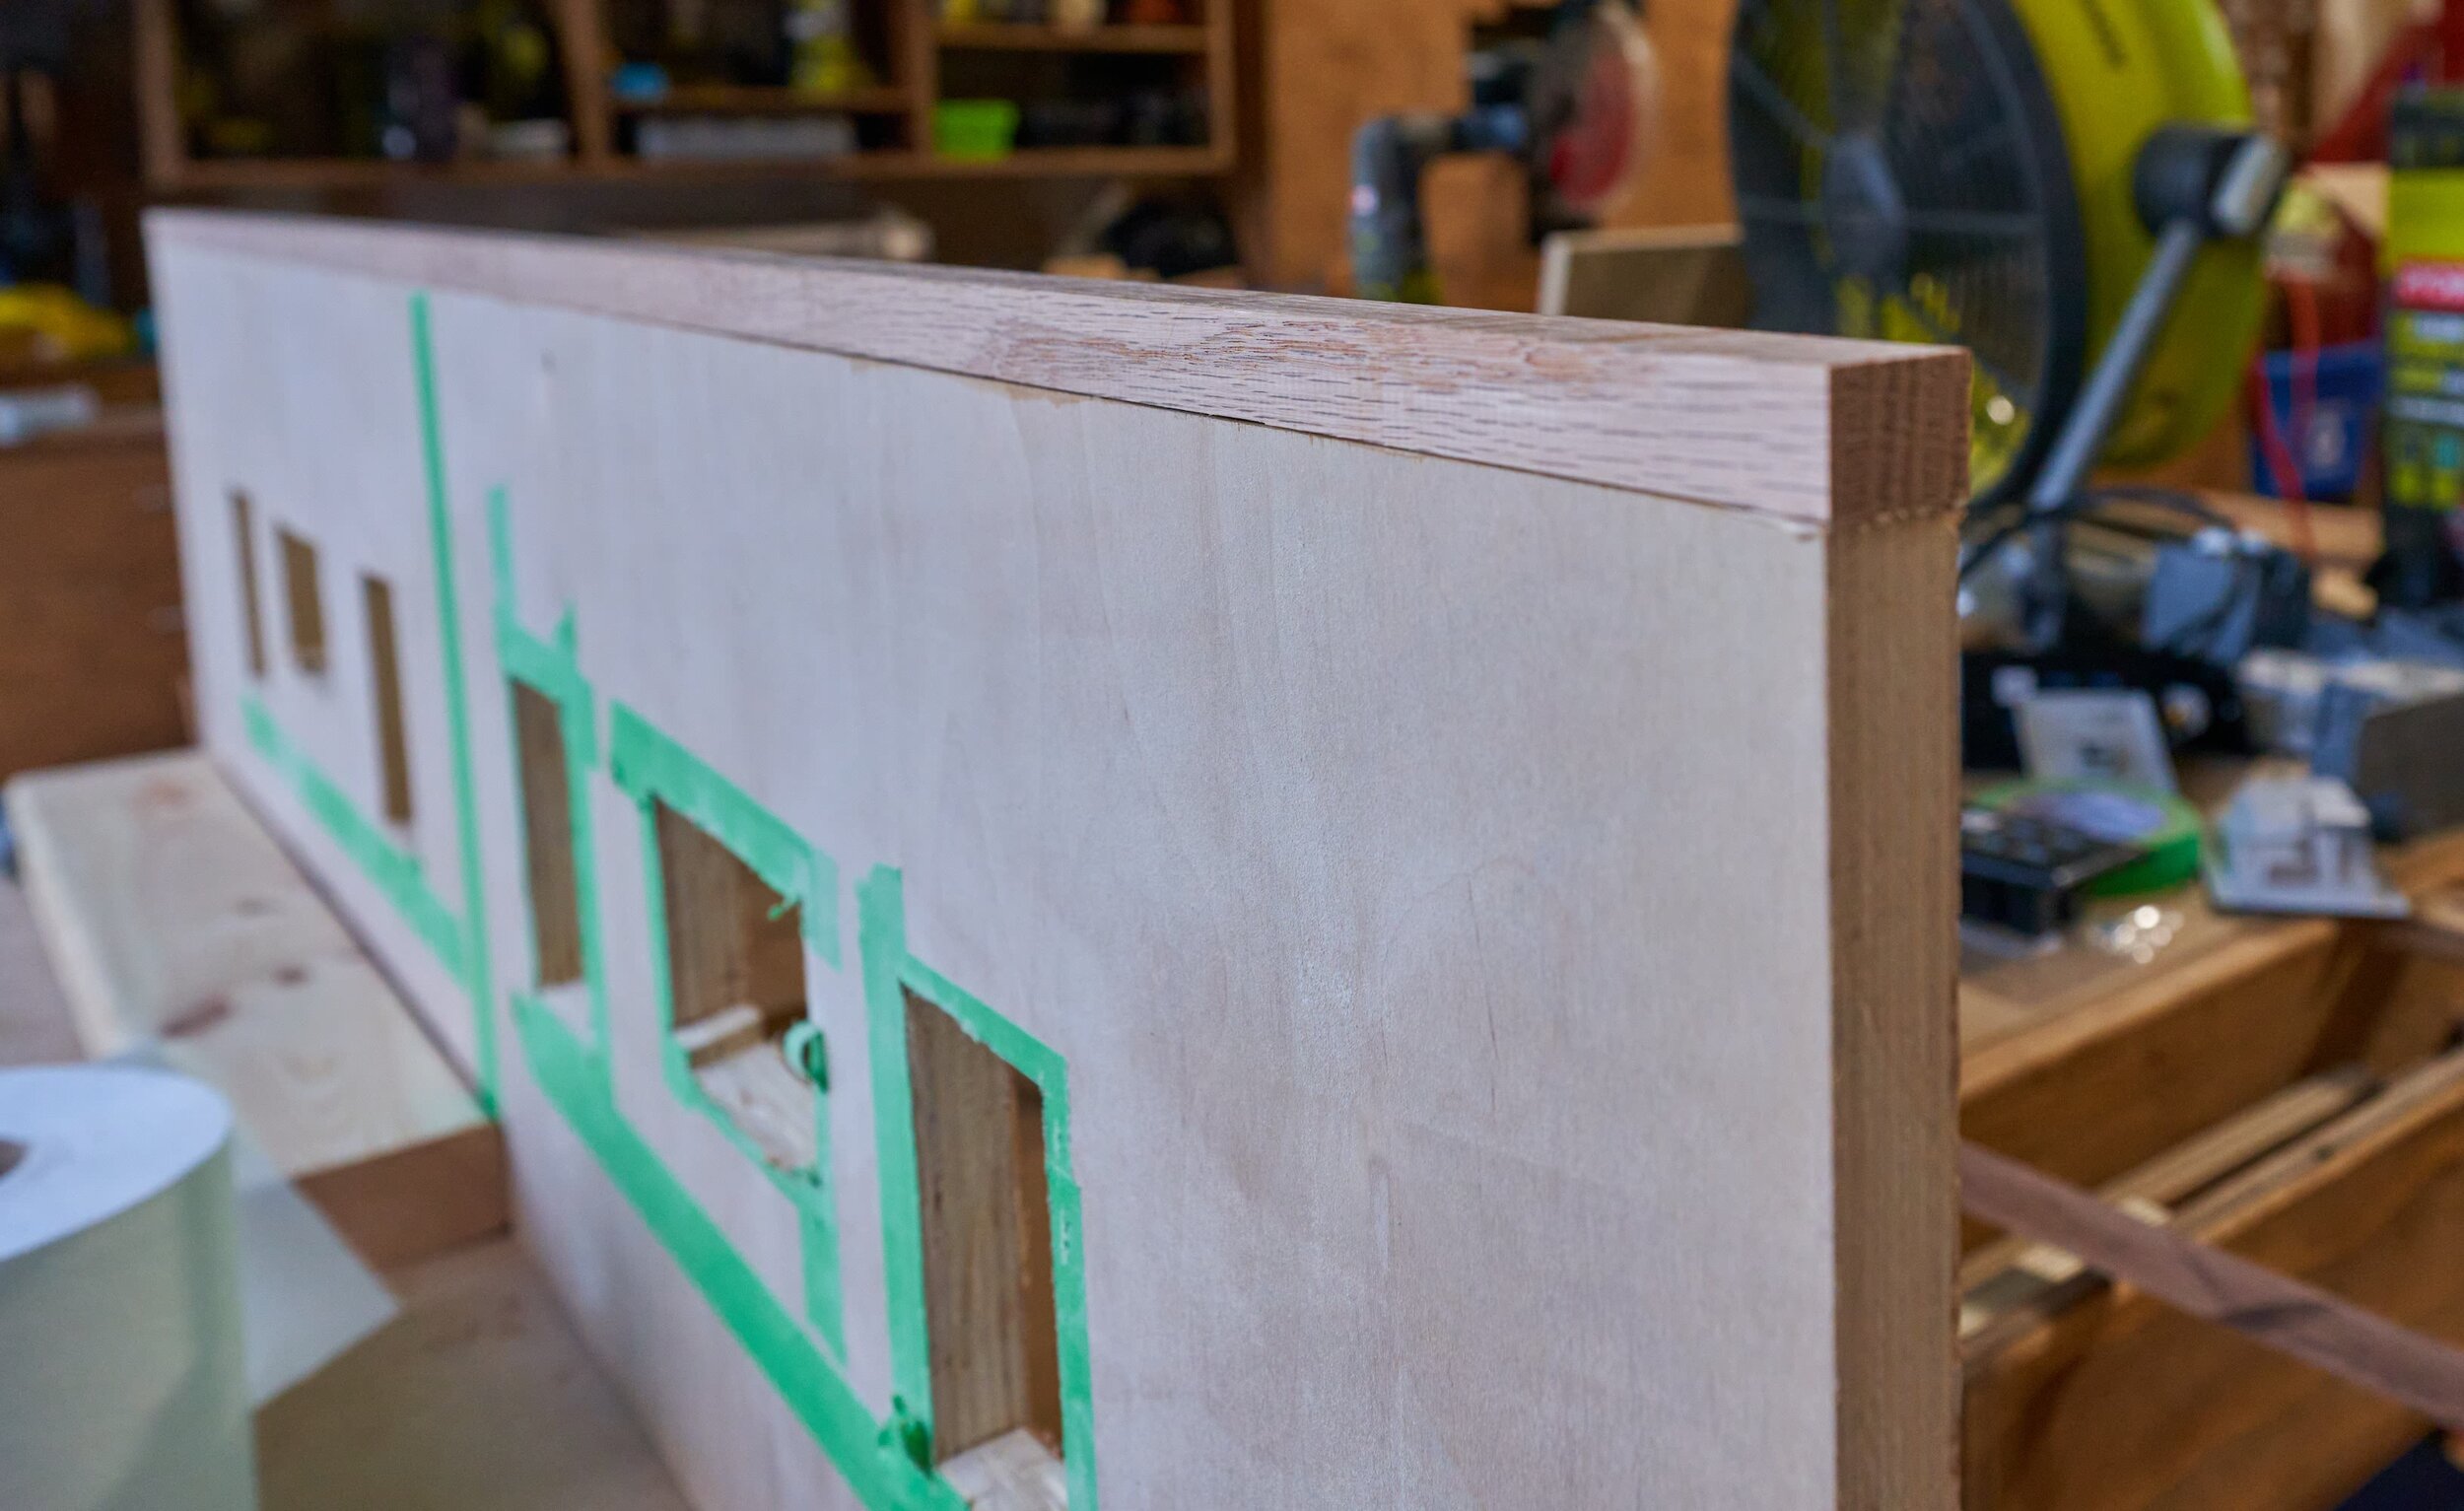


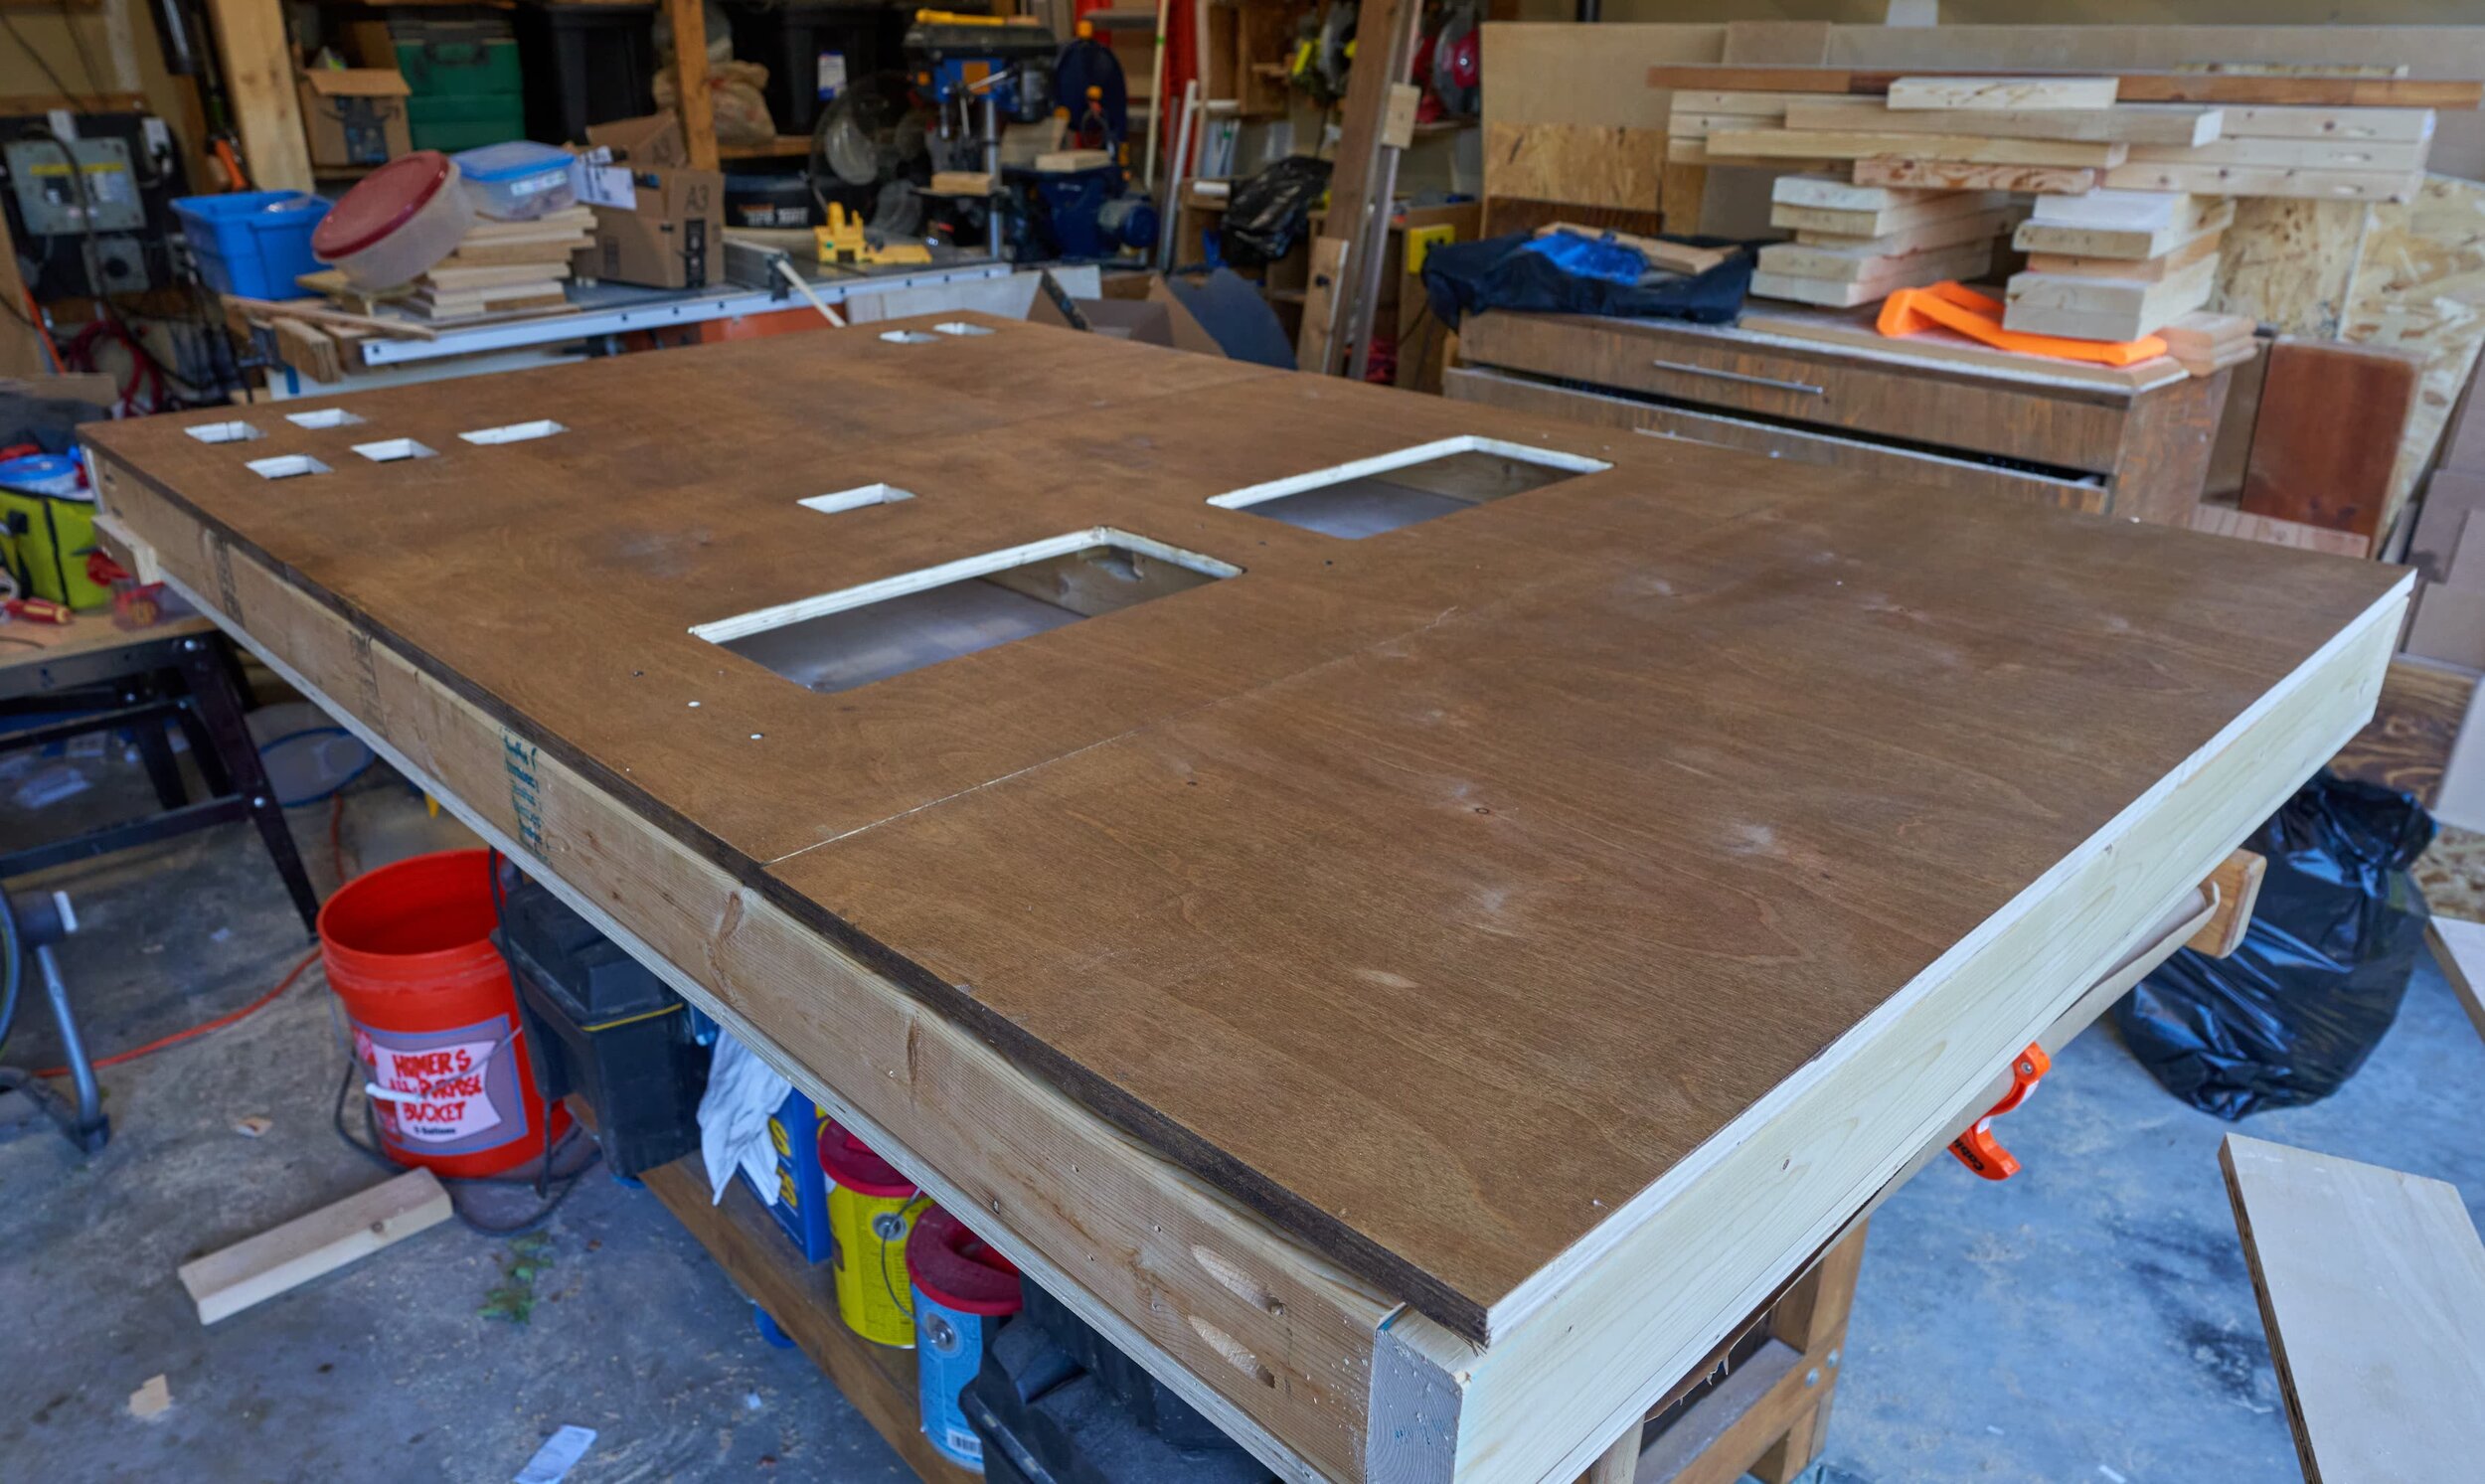
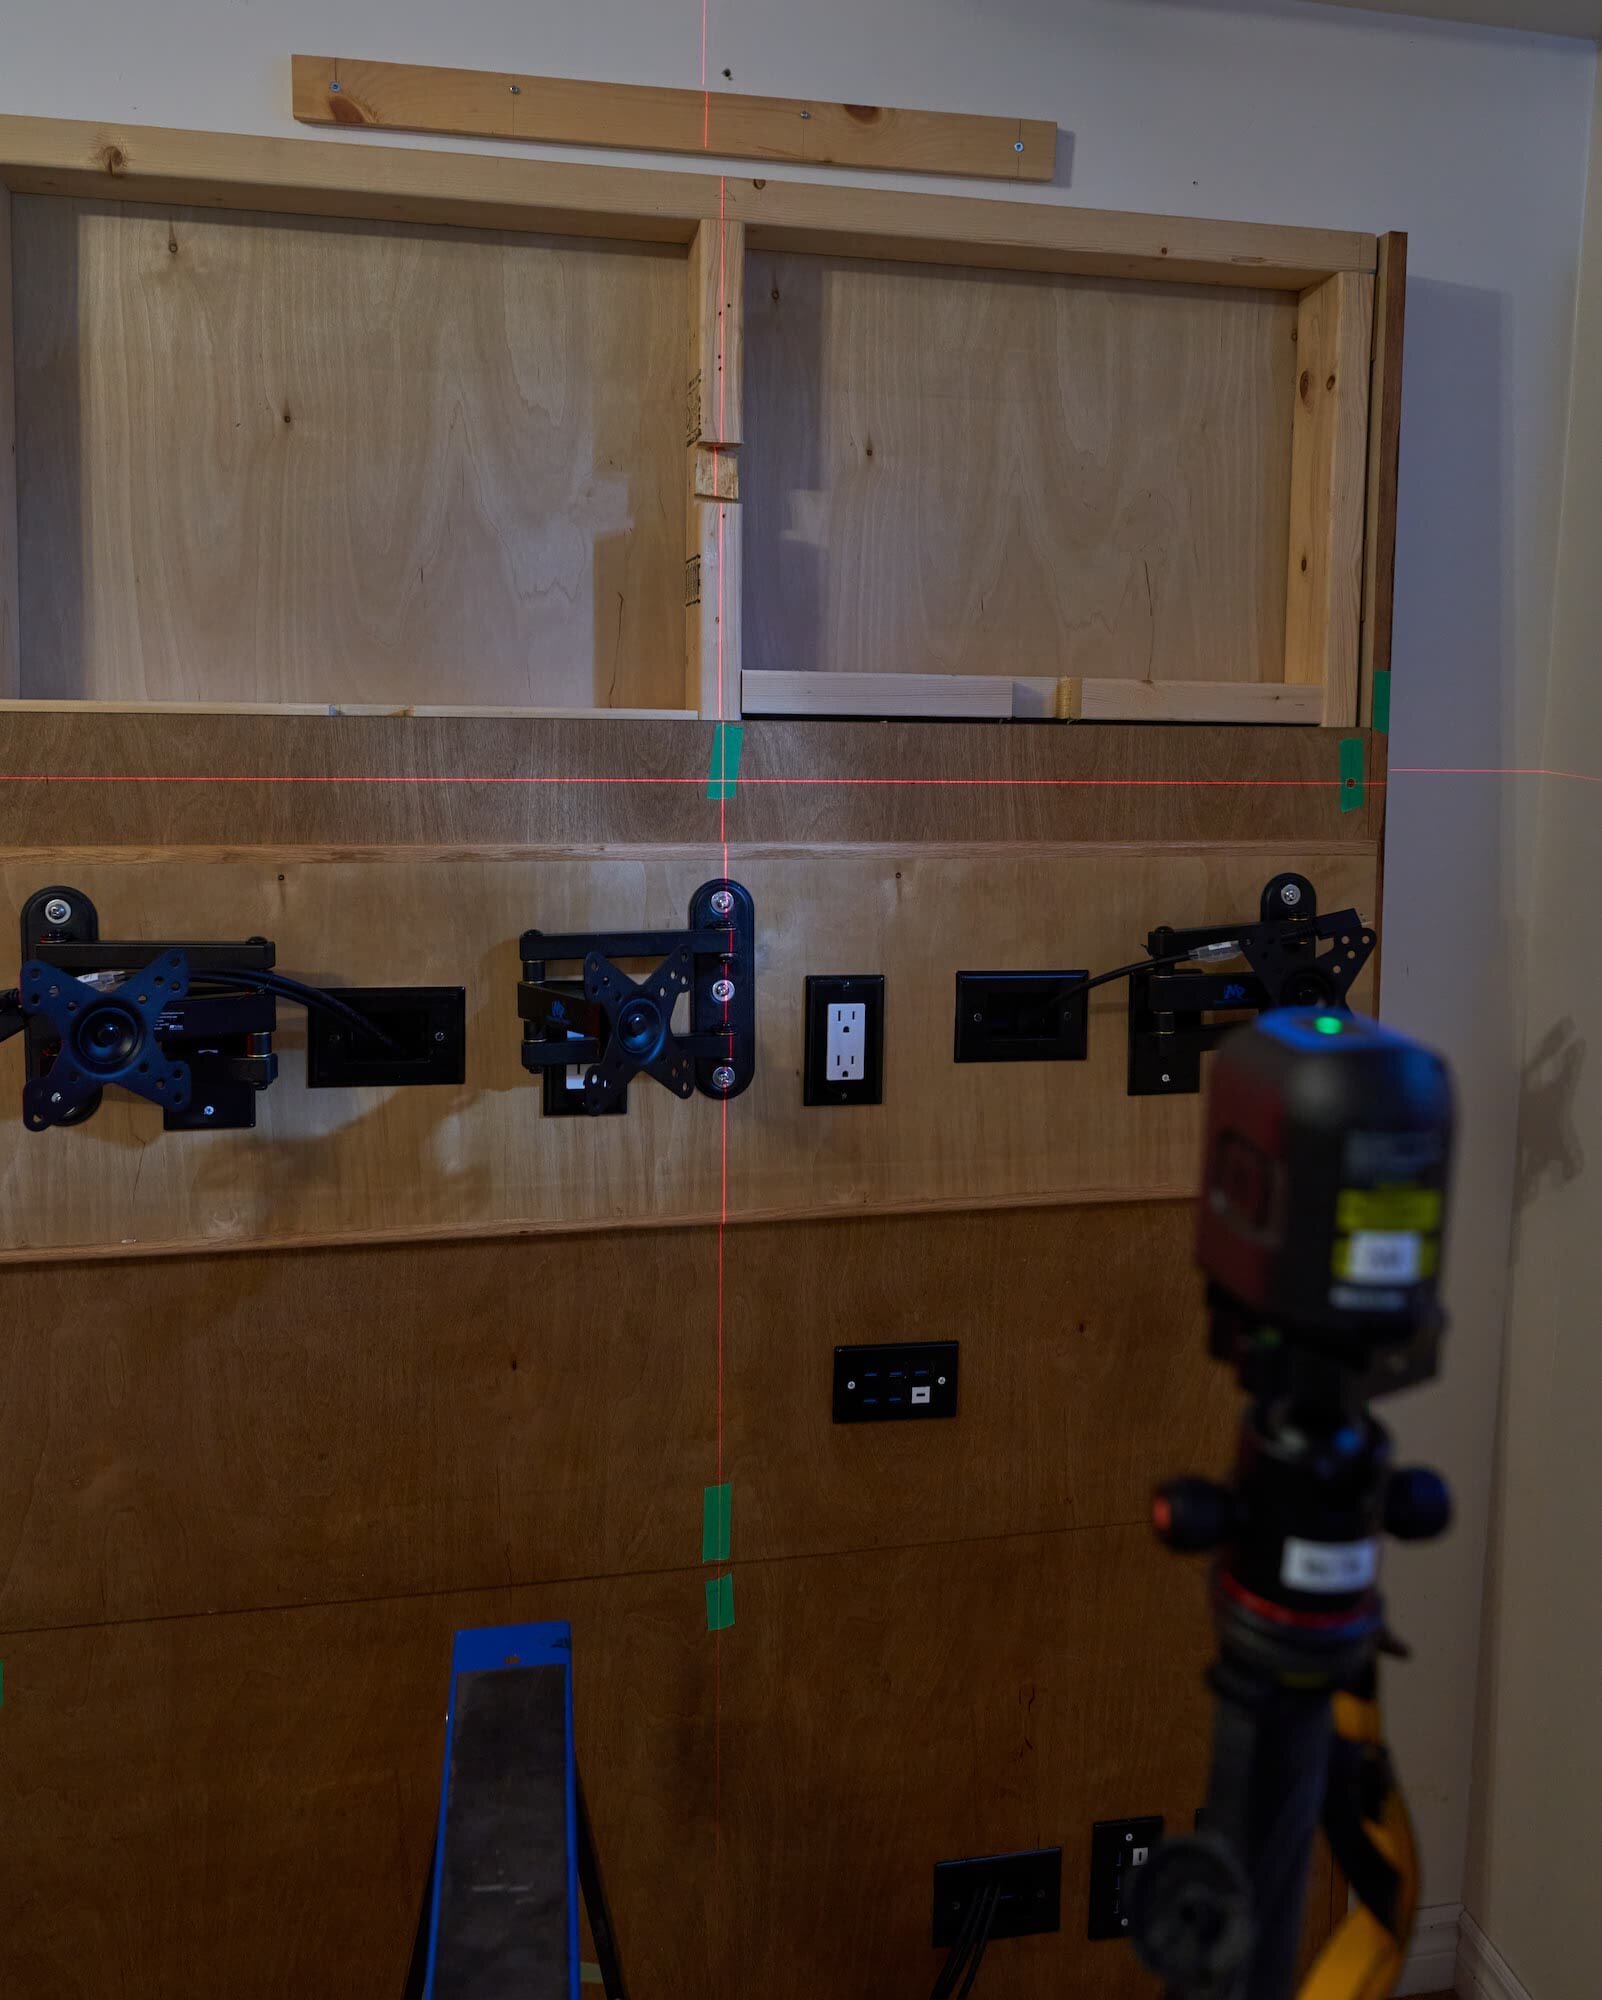
Milestone 1
With the experience of building the other faux-wall and lessons learned still fresh in my mind, it was fairly quick to get to this stage. That’s not to say that there aren’t going to be a few mishaps along the way.
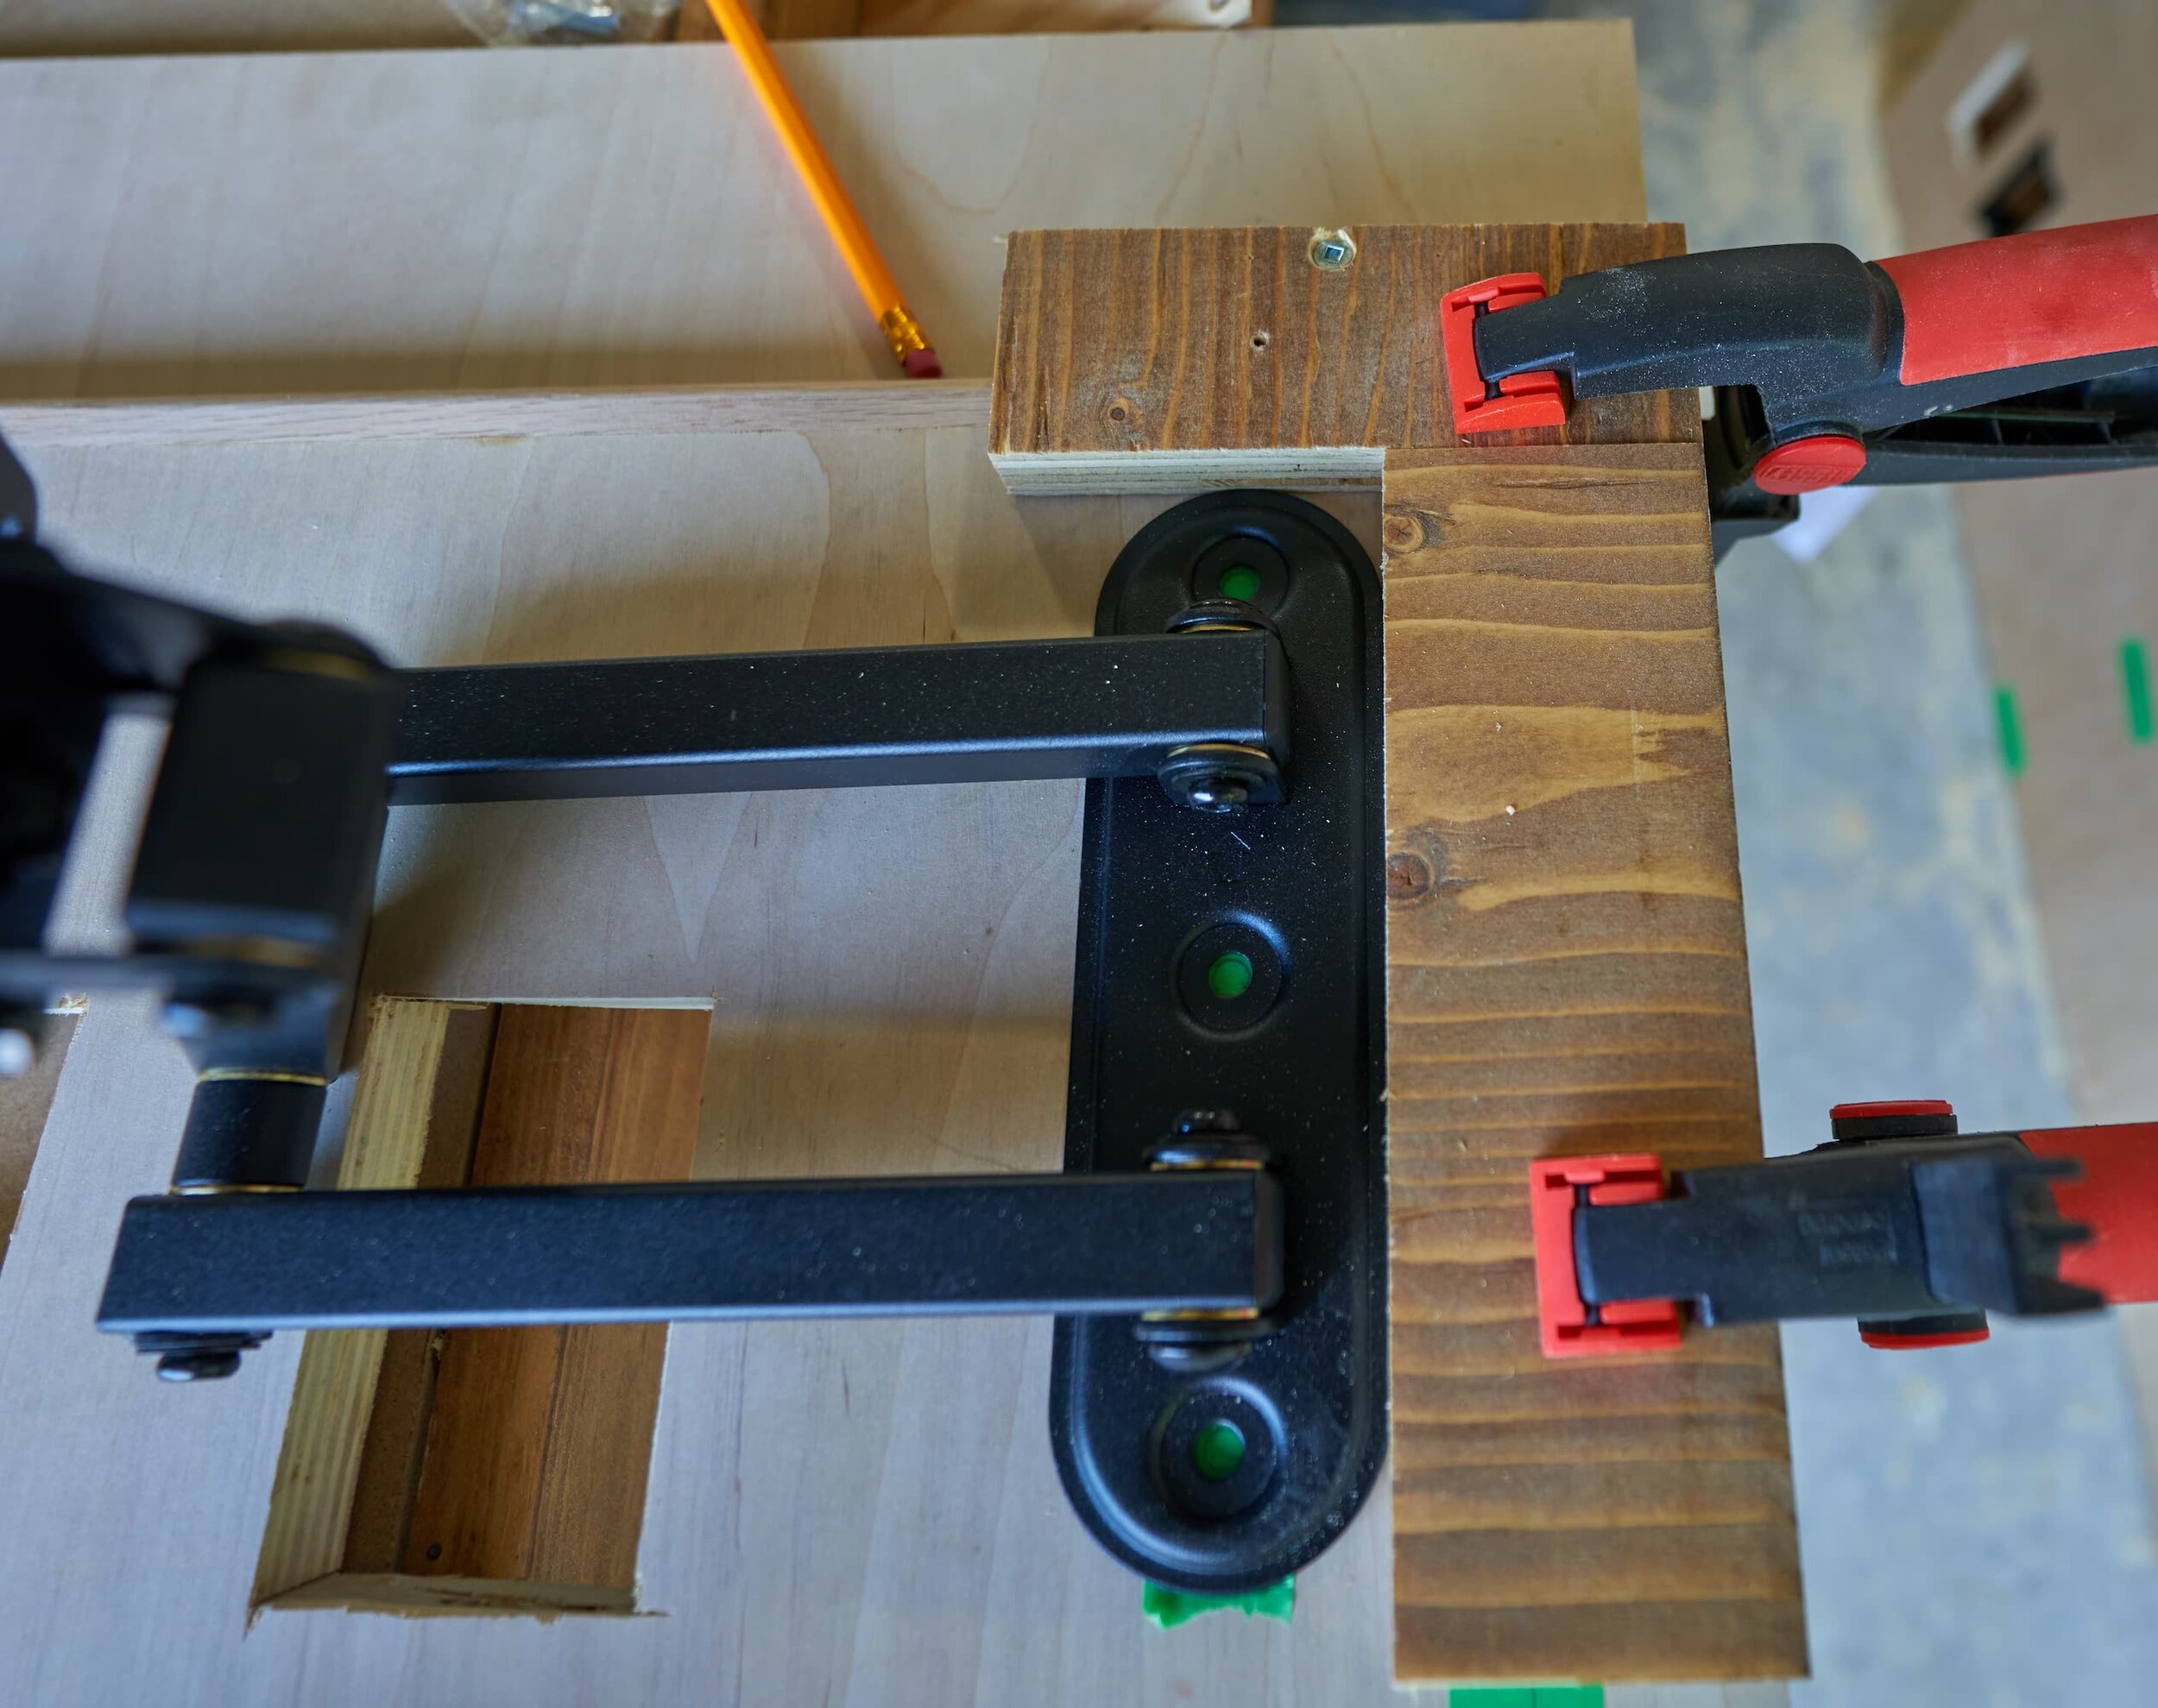
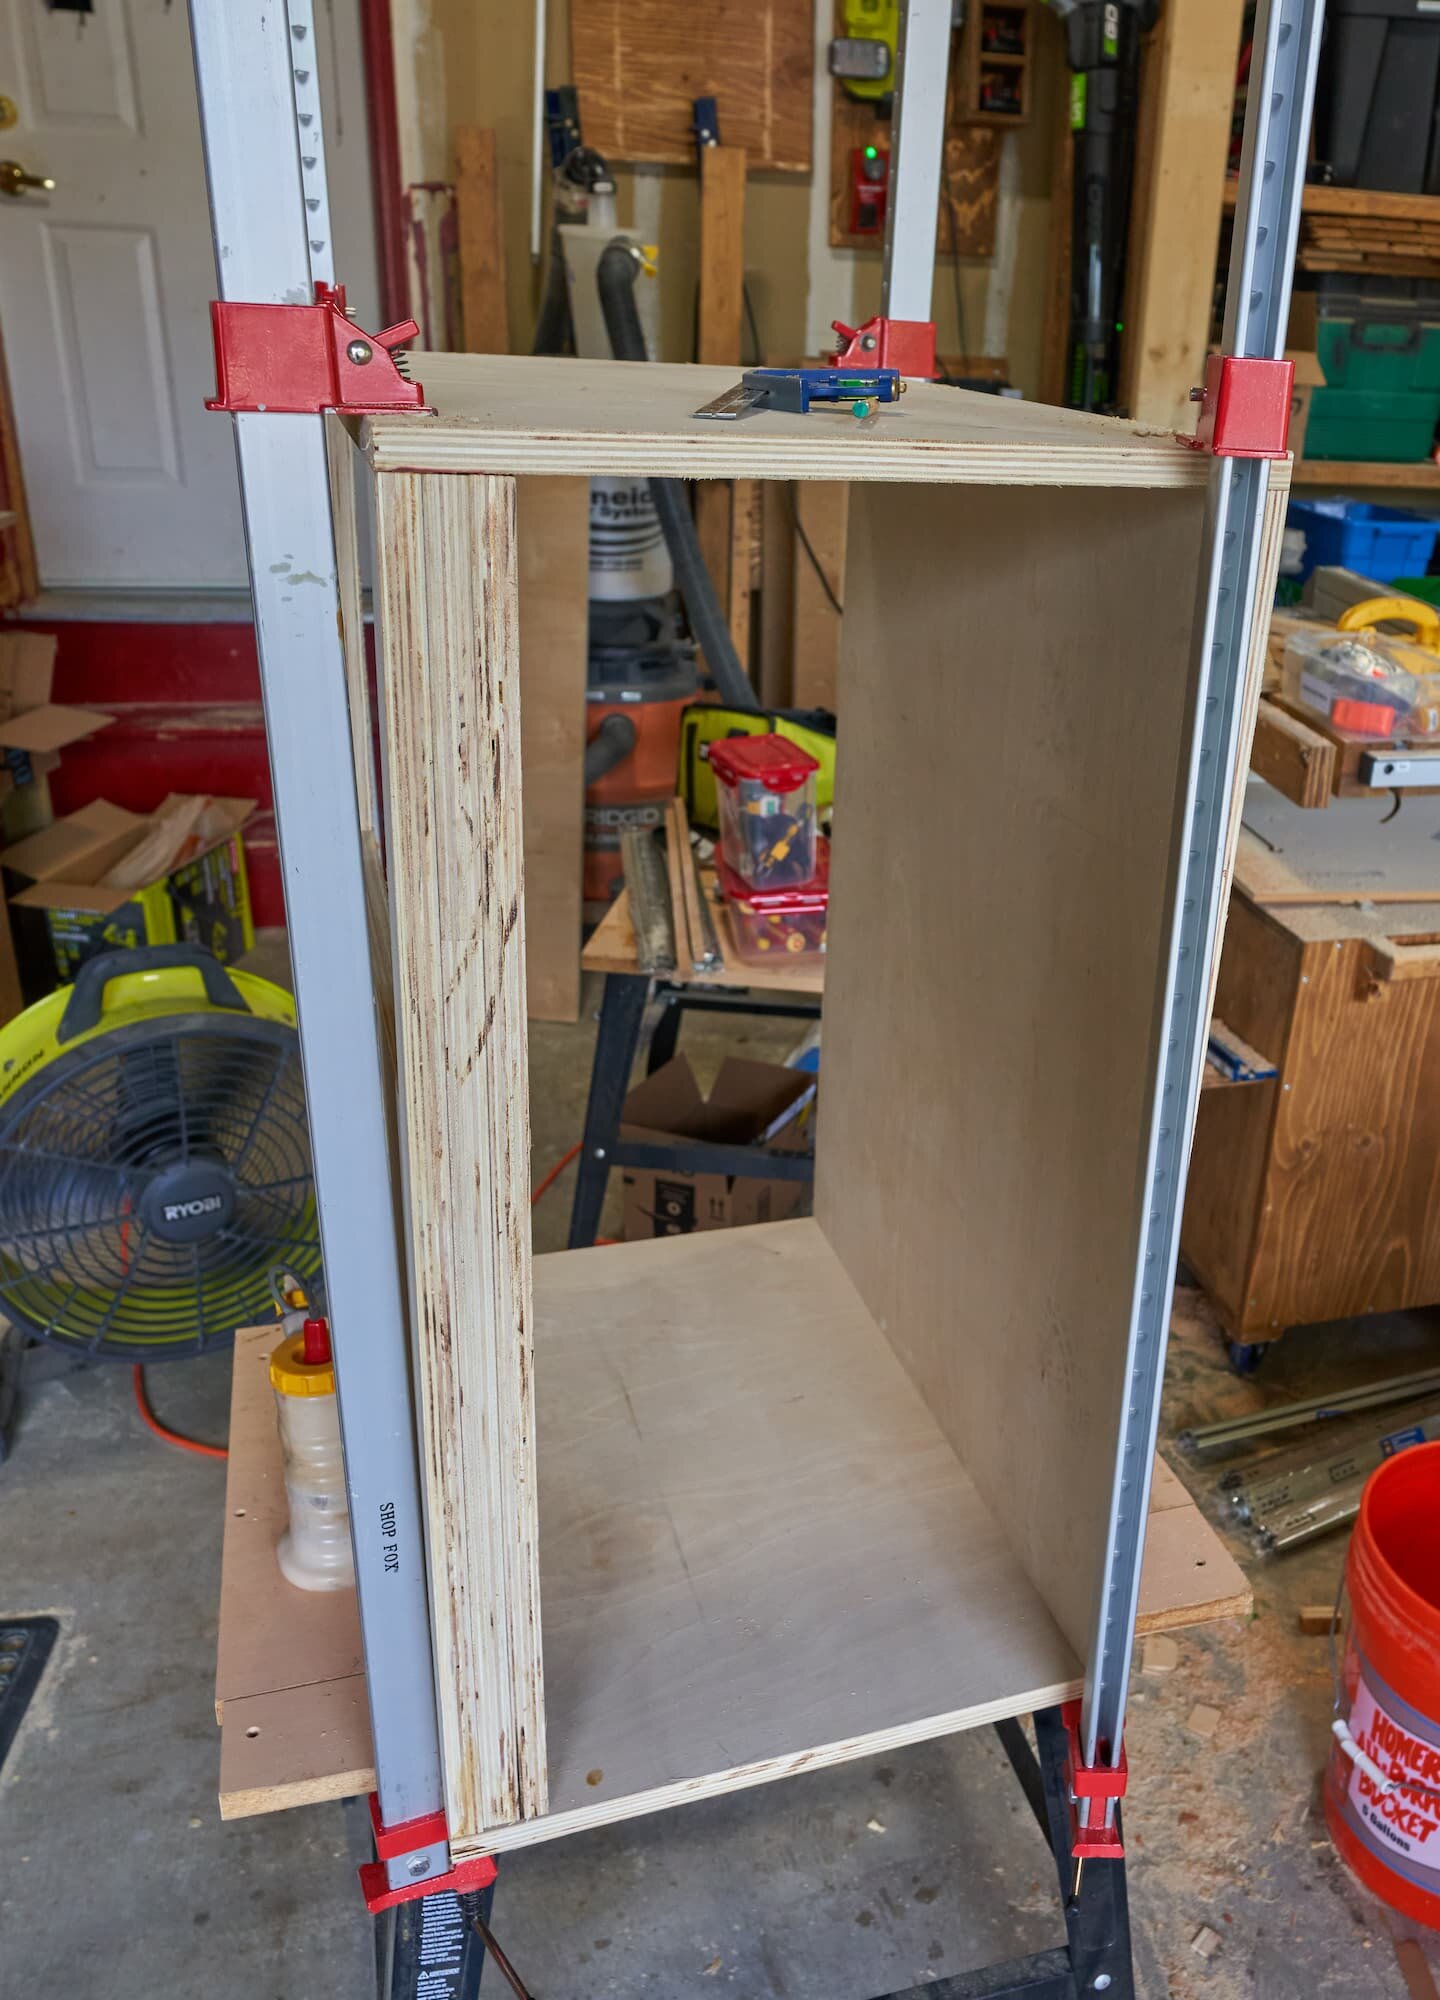
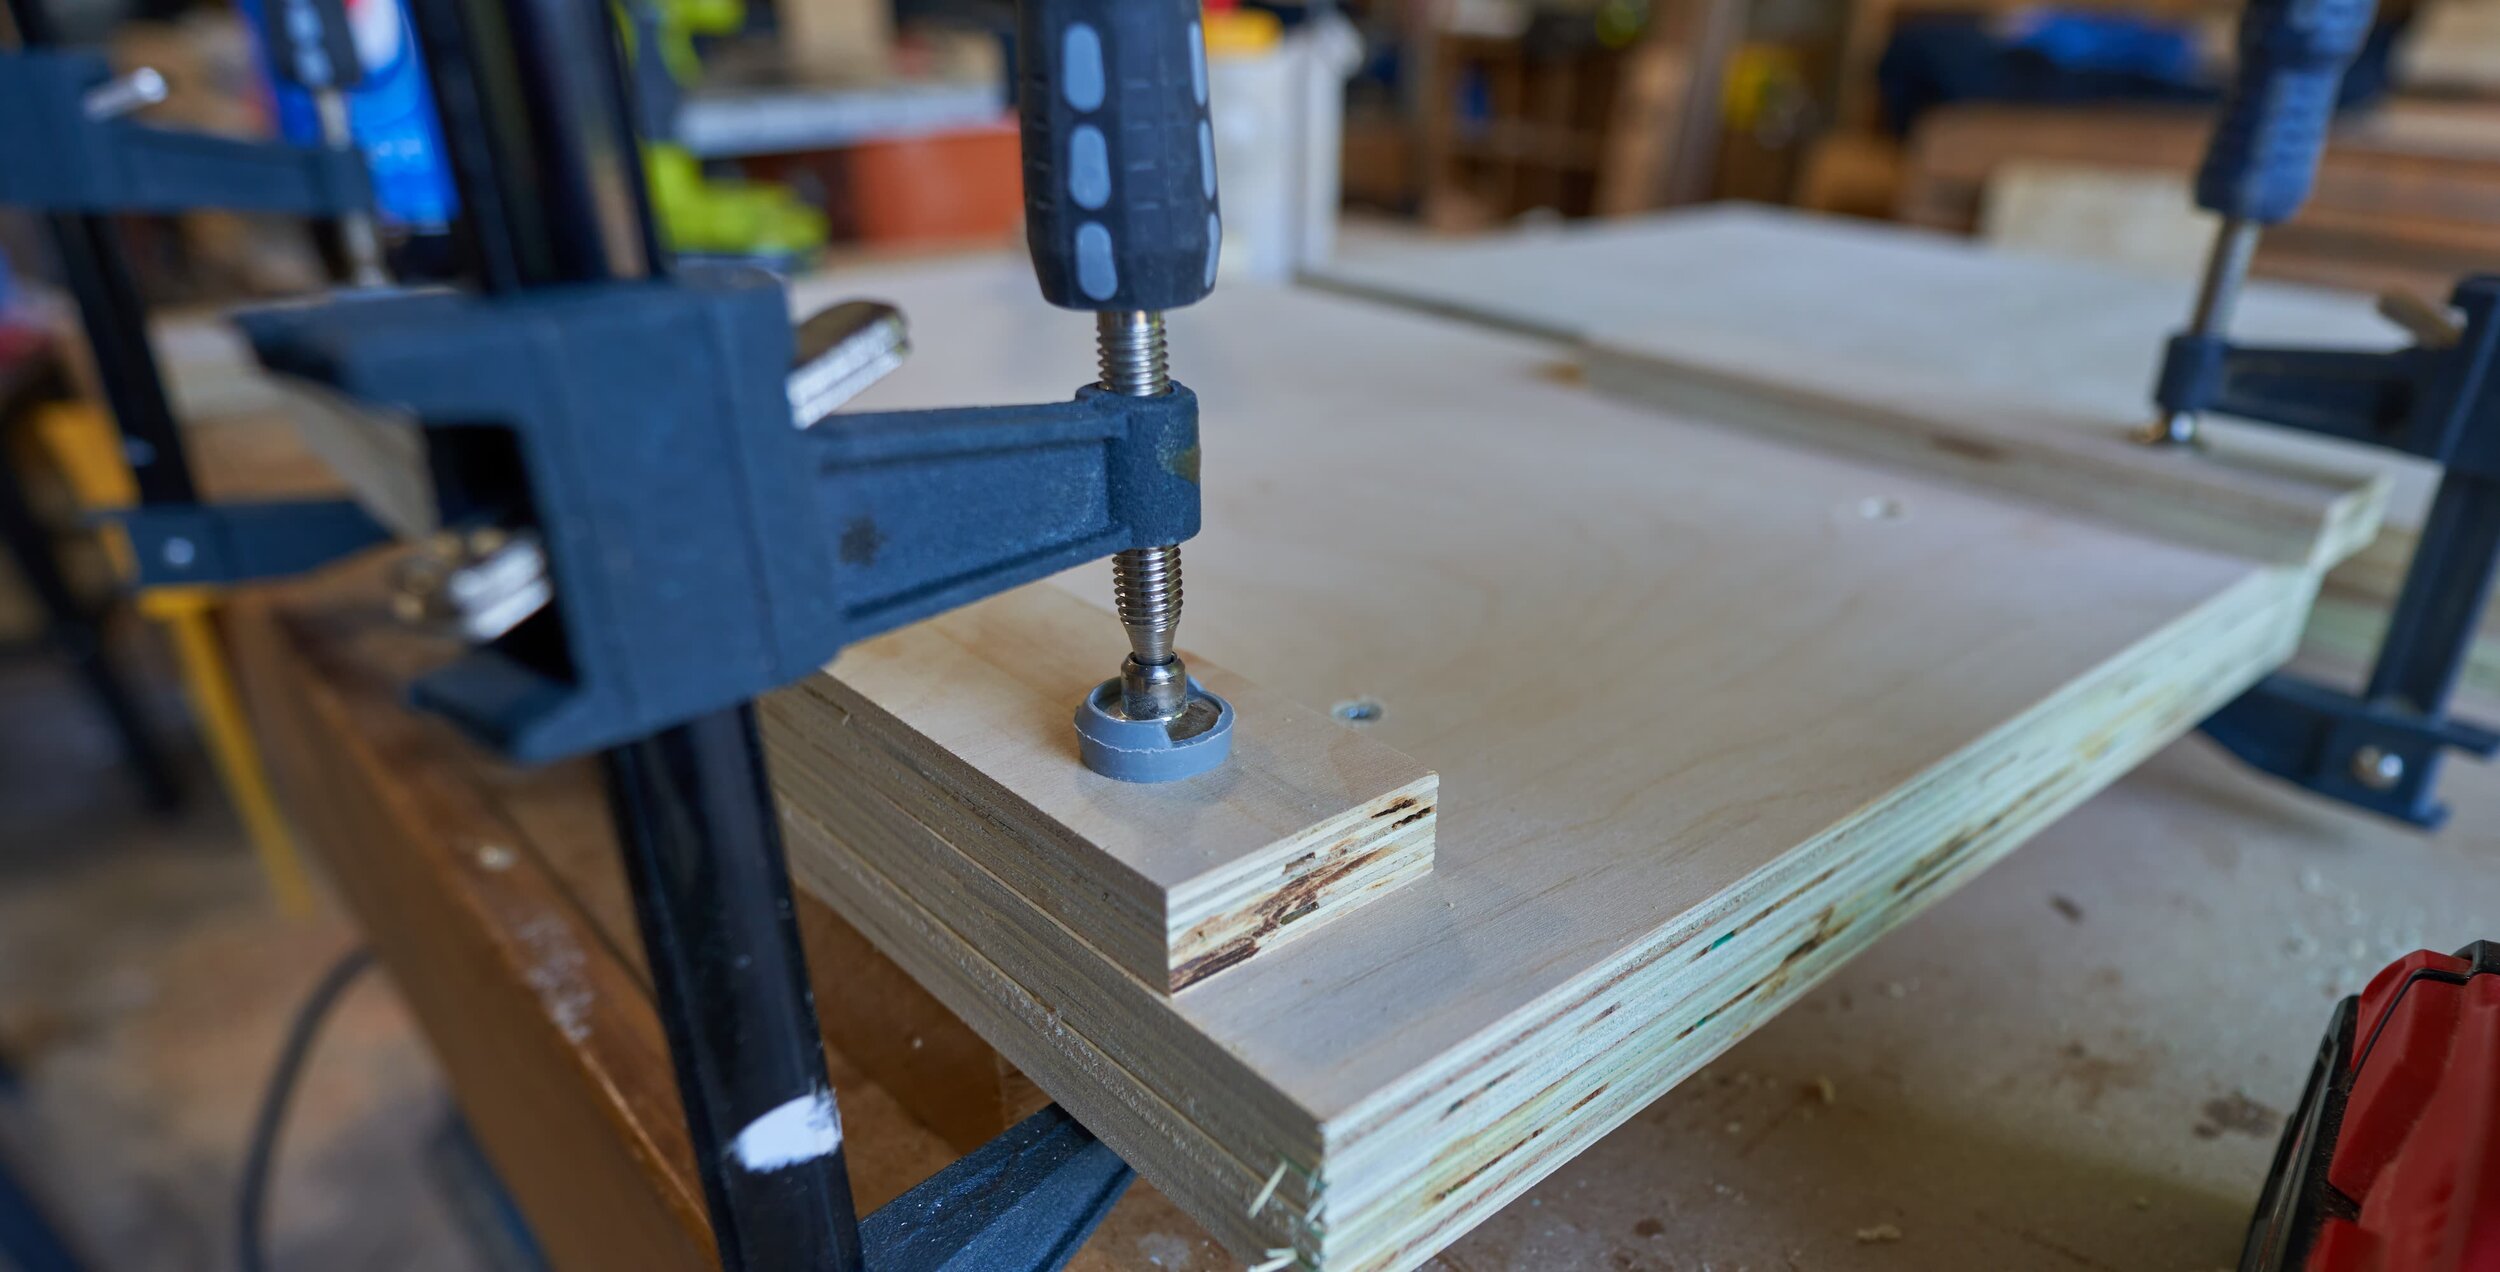
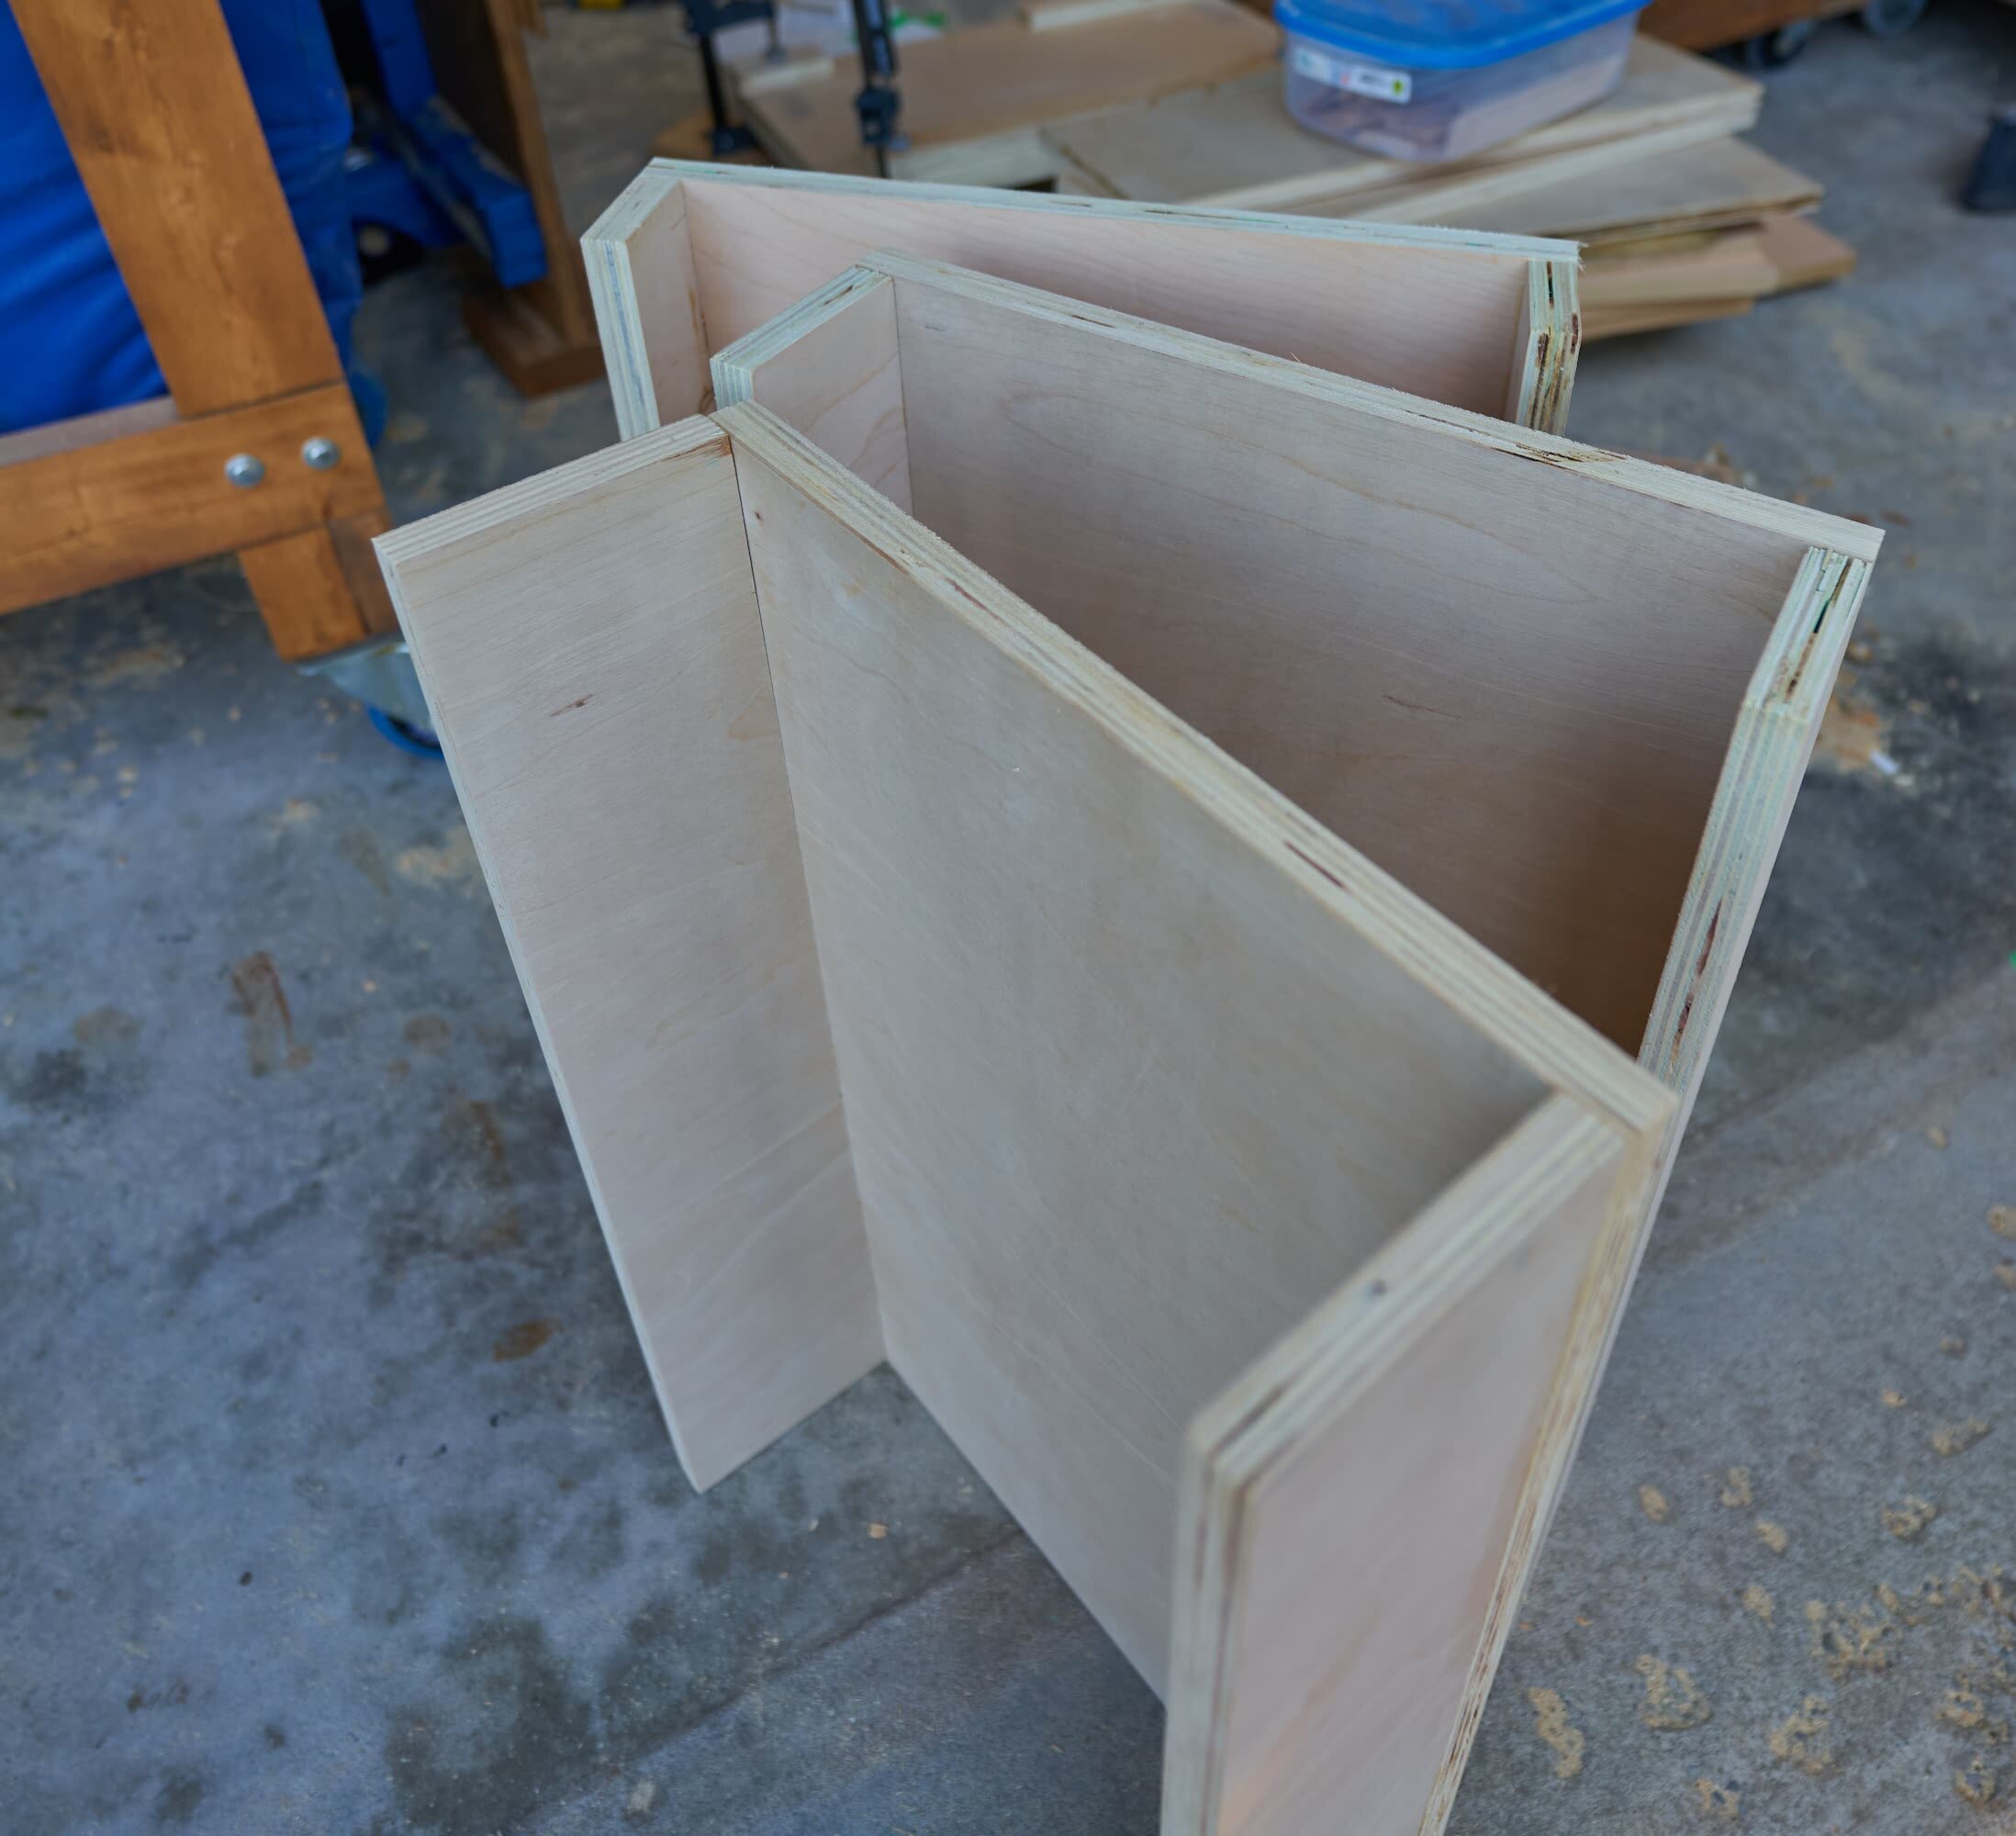
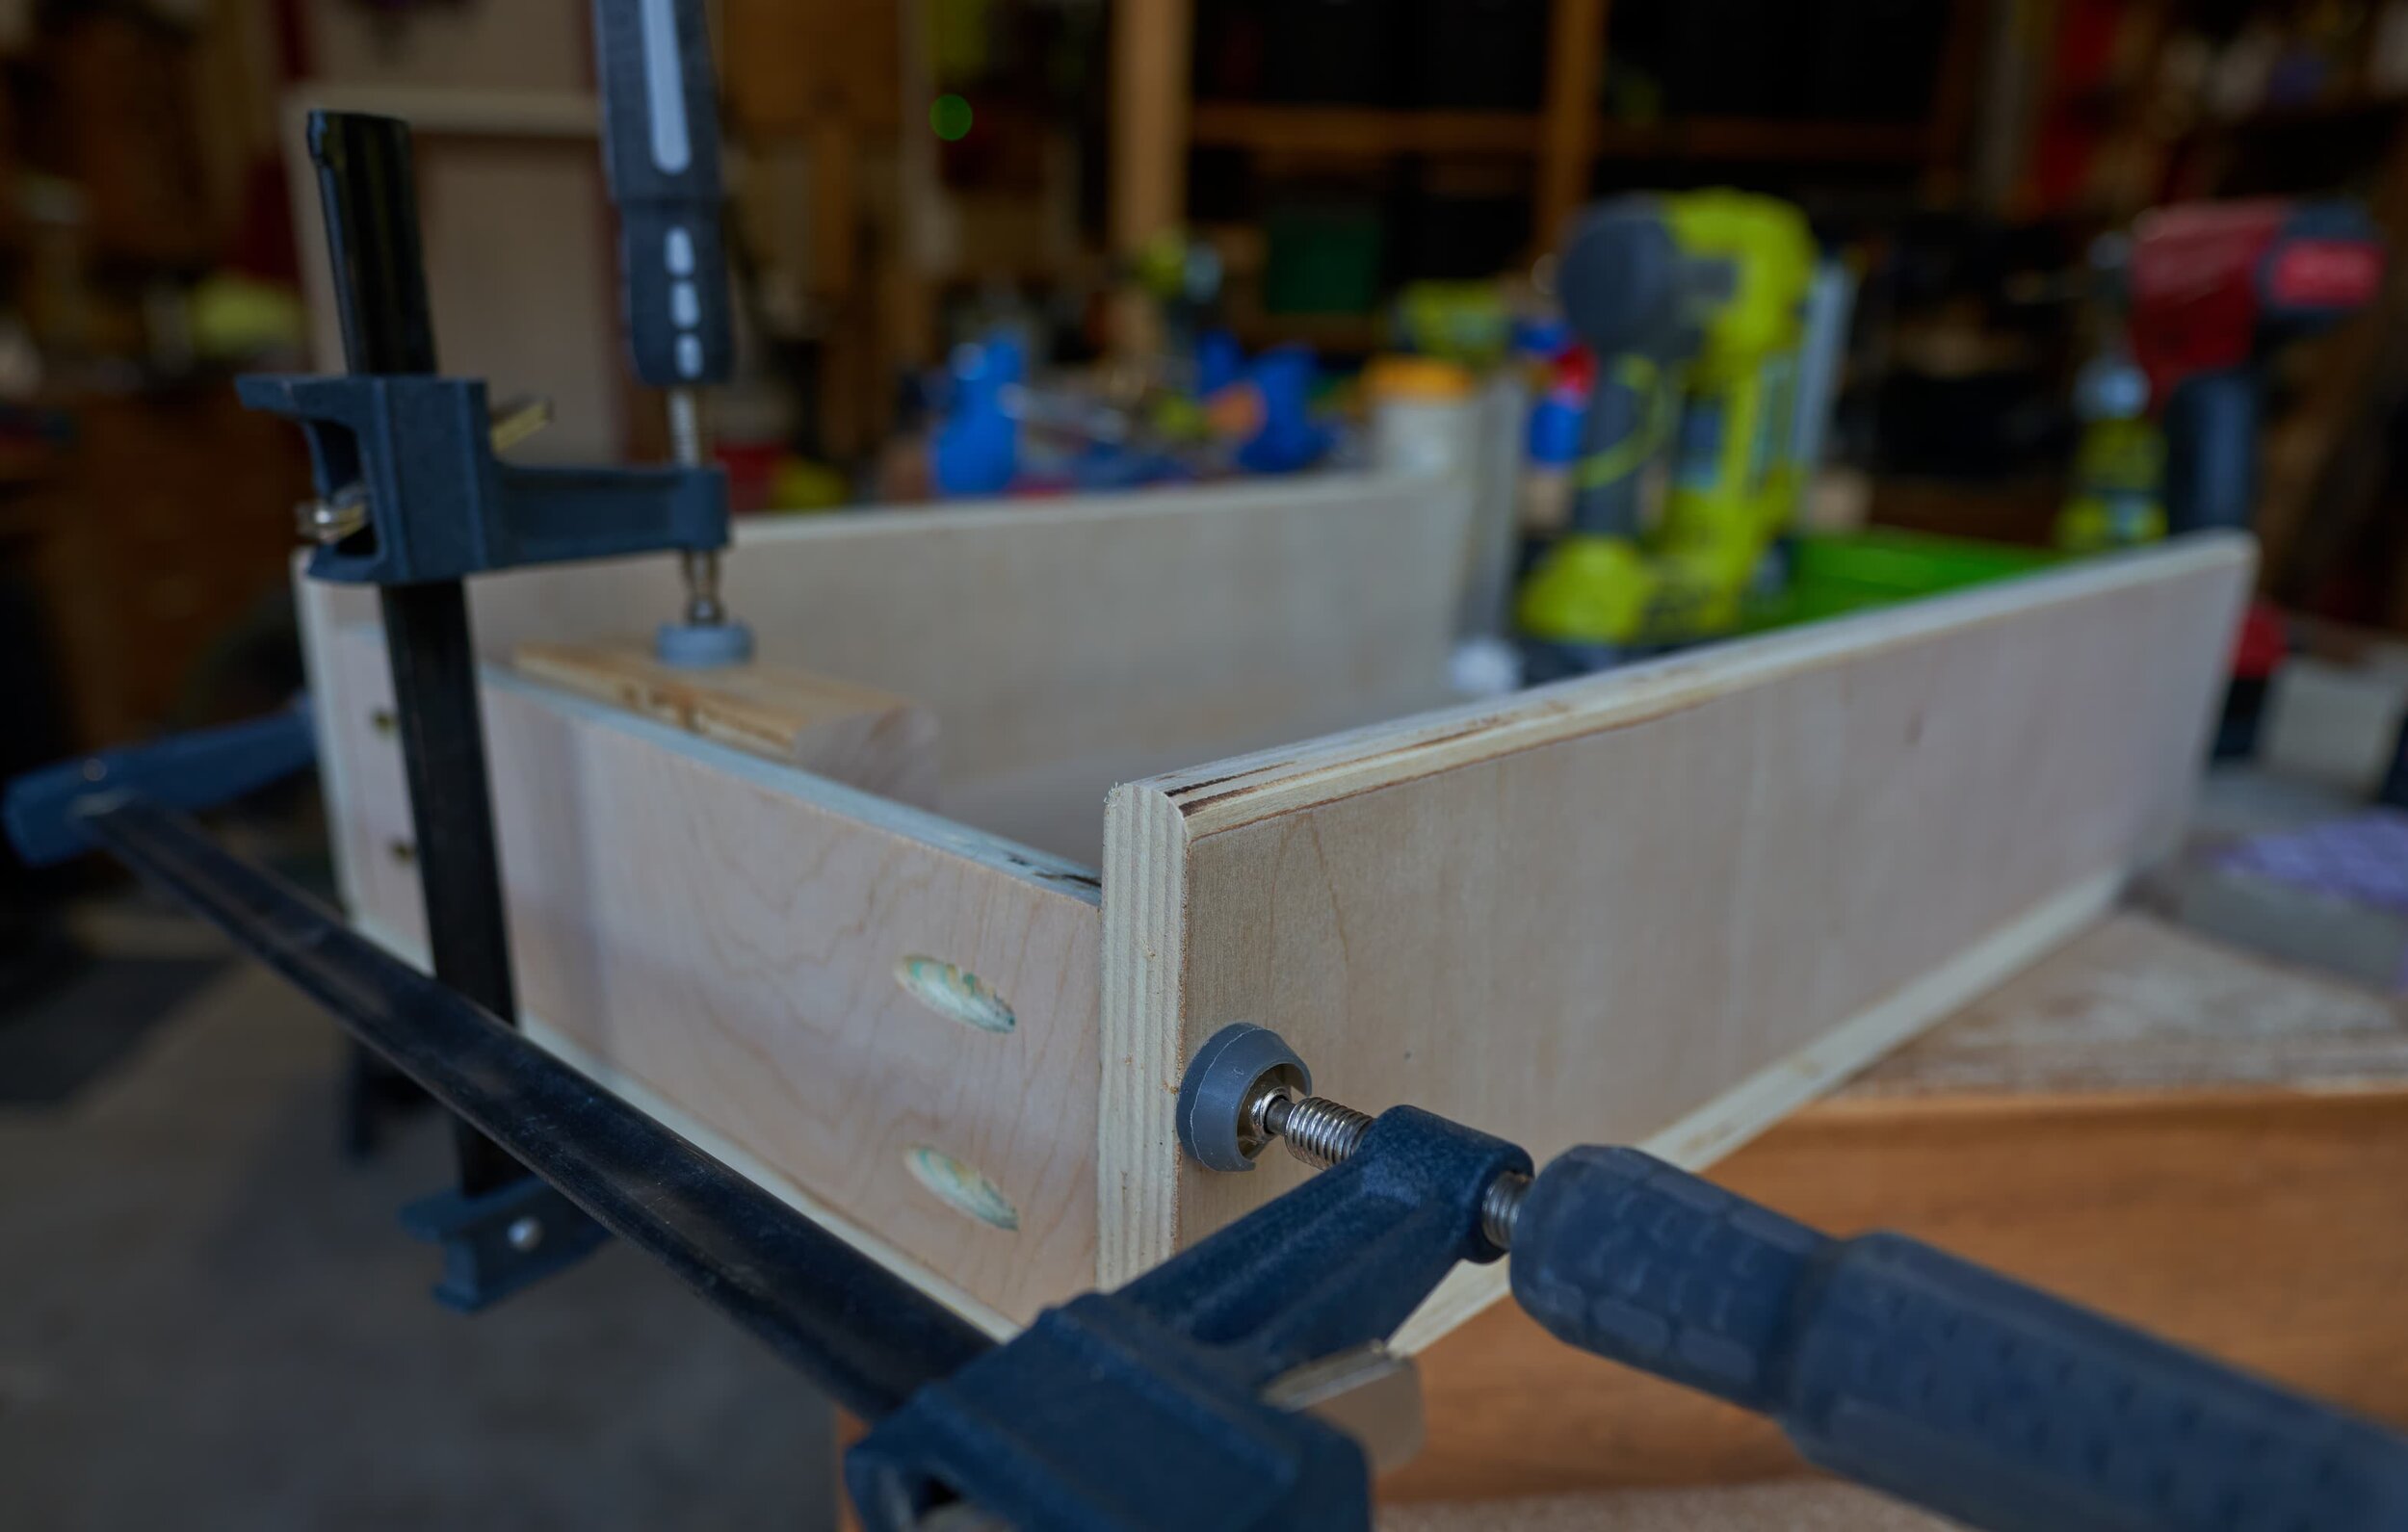
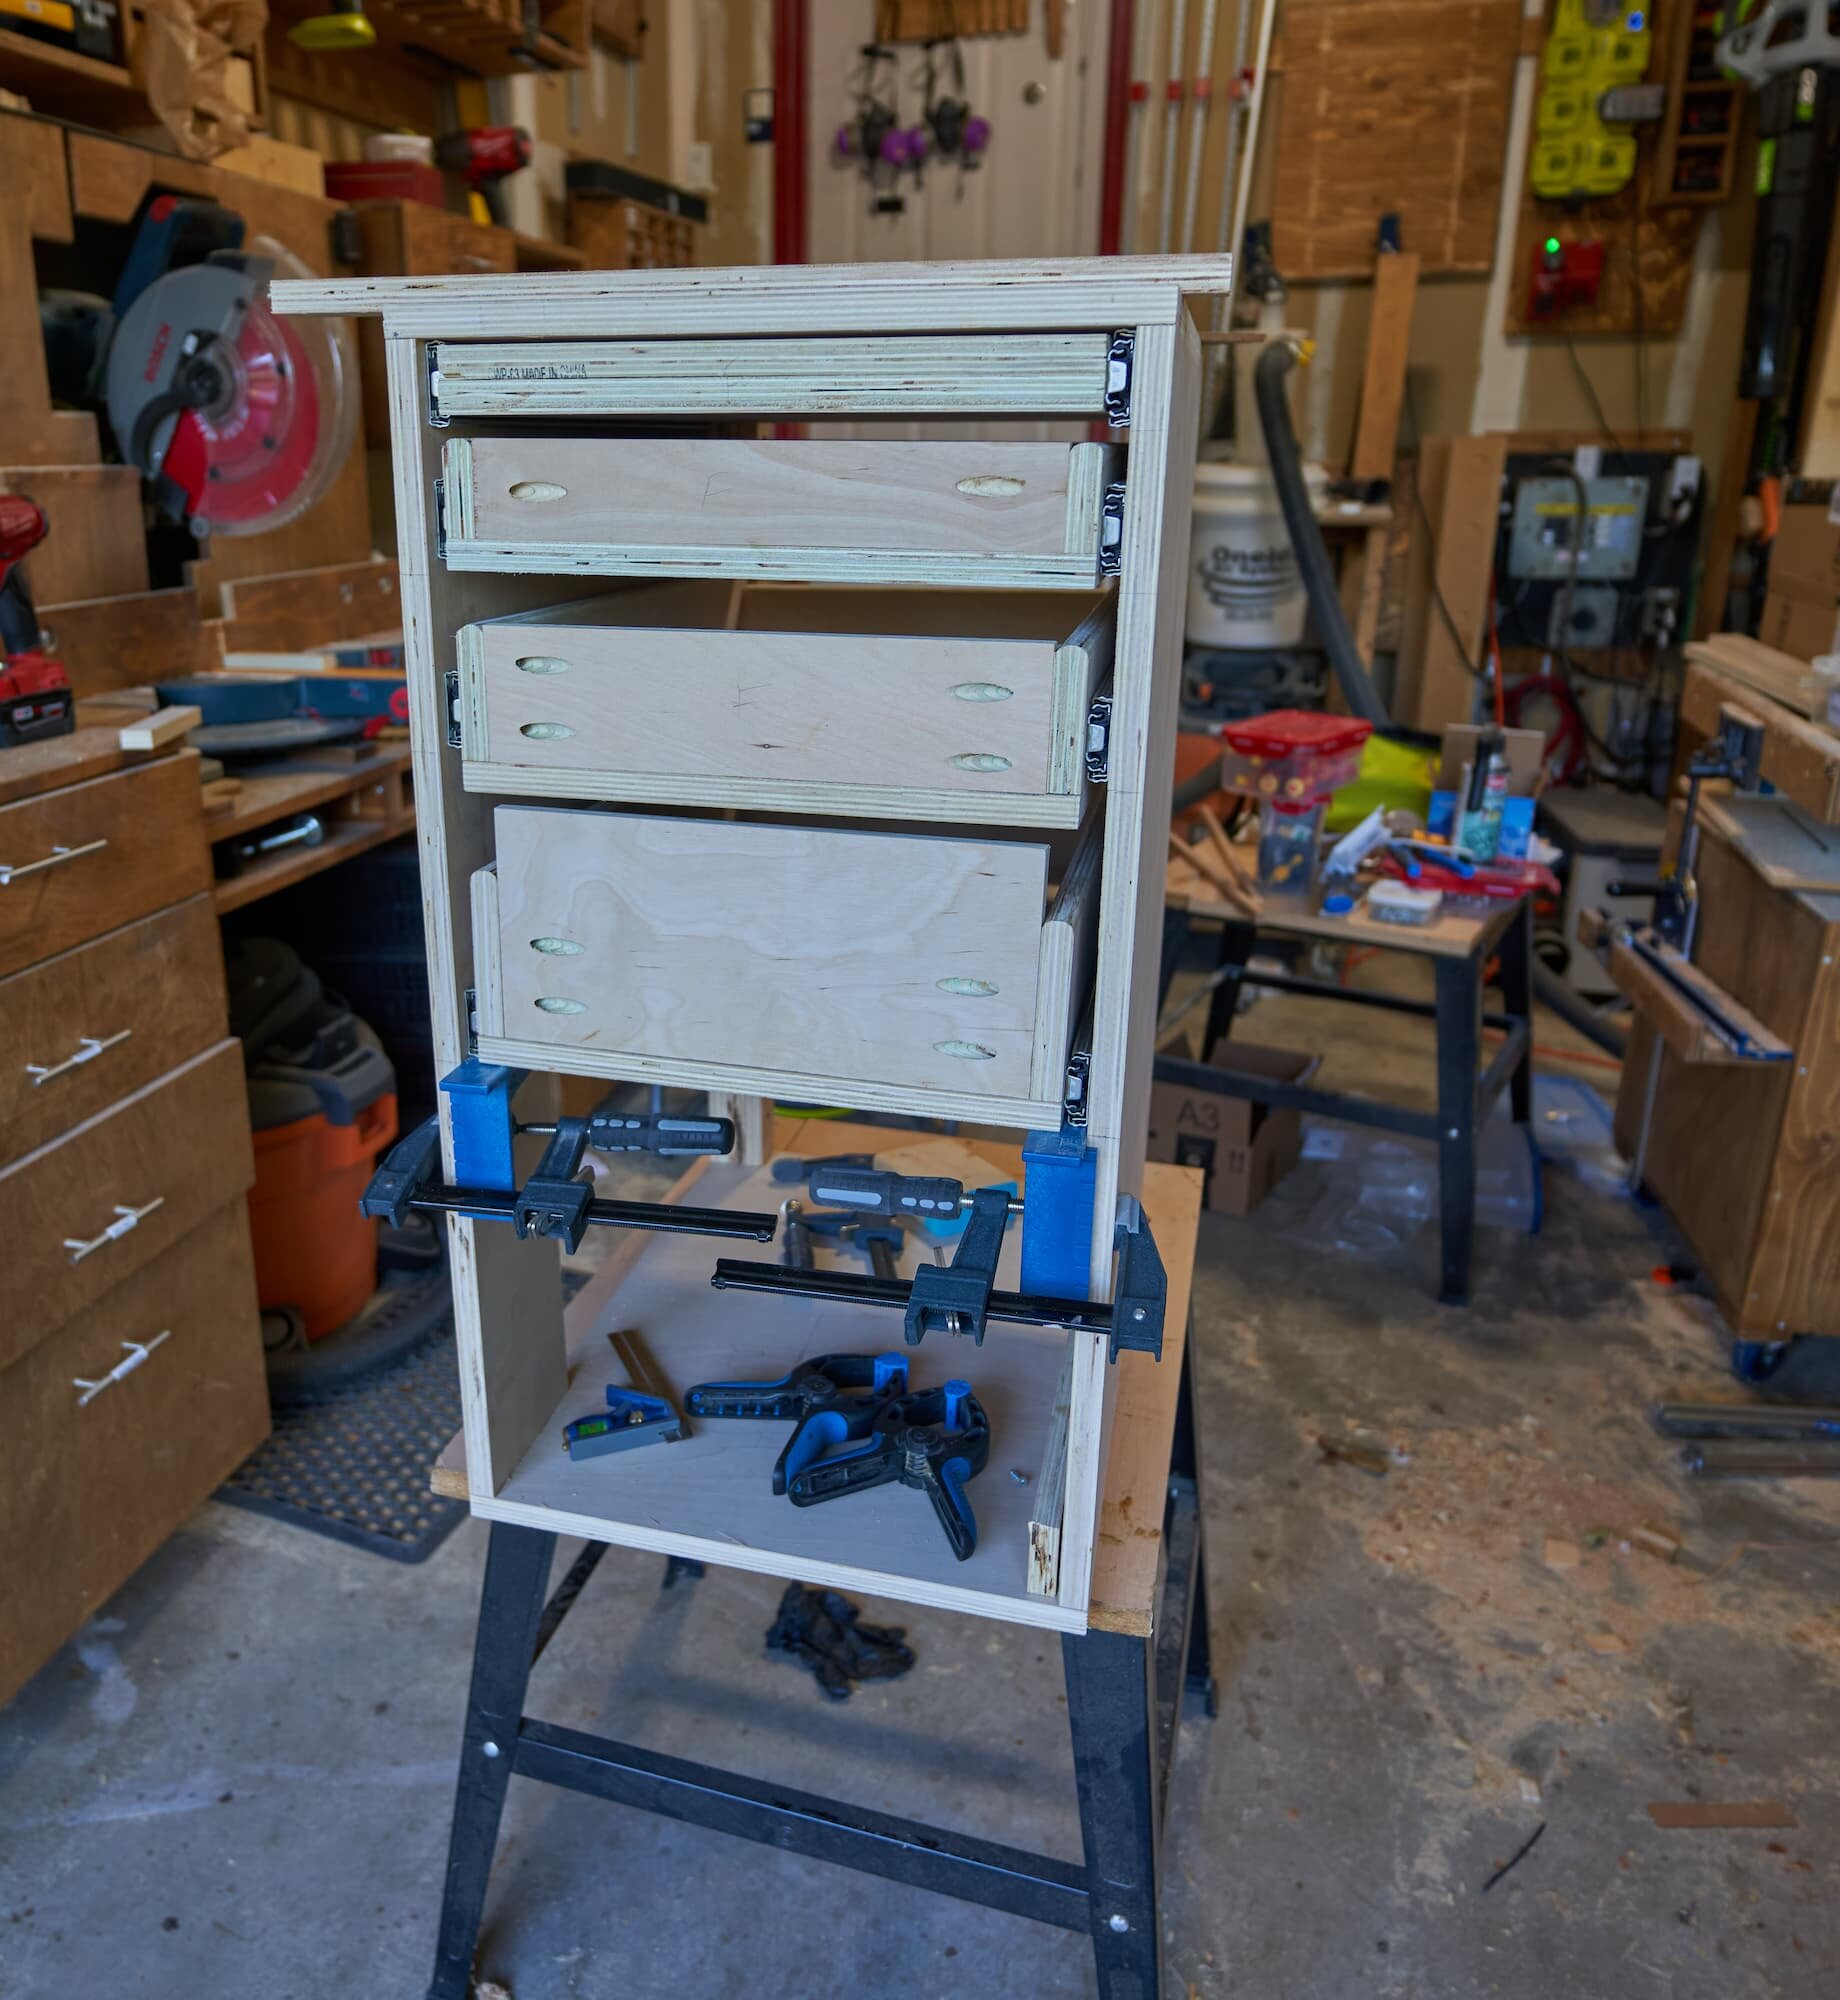
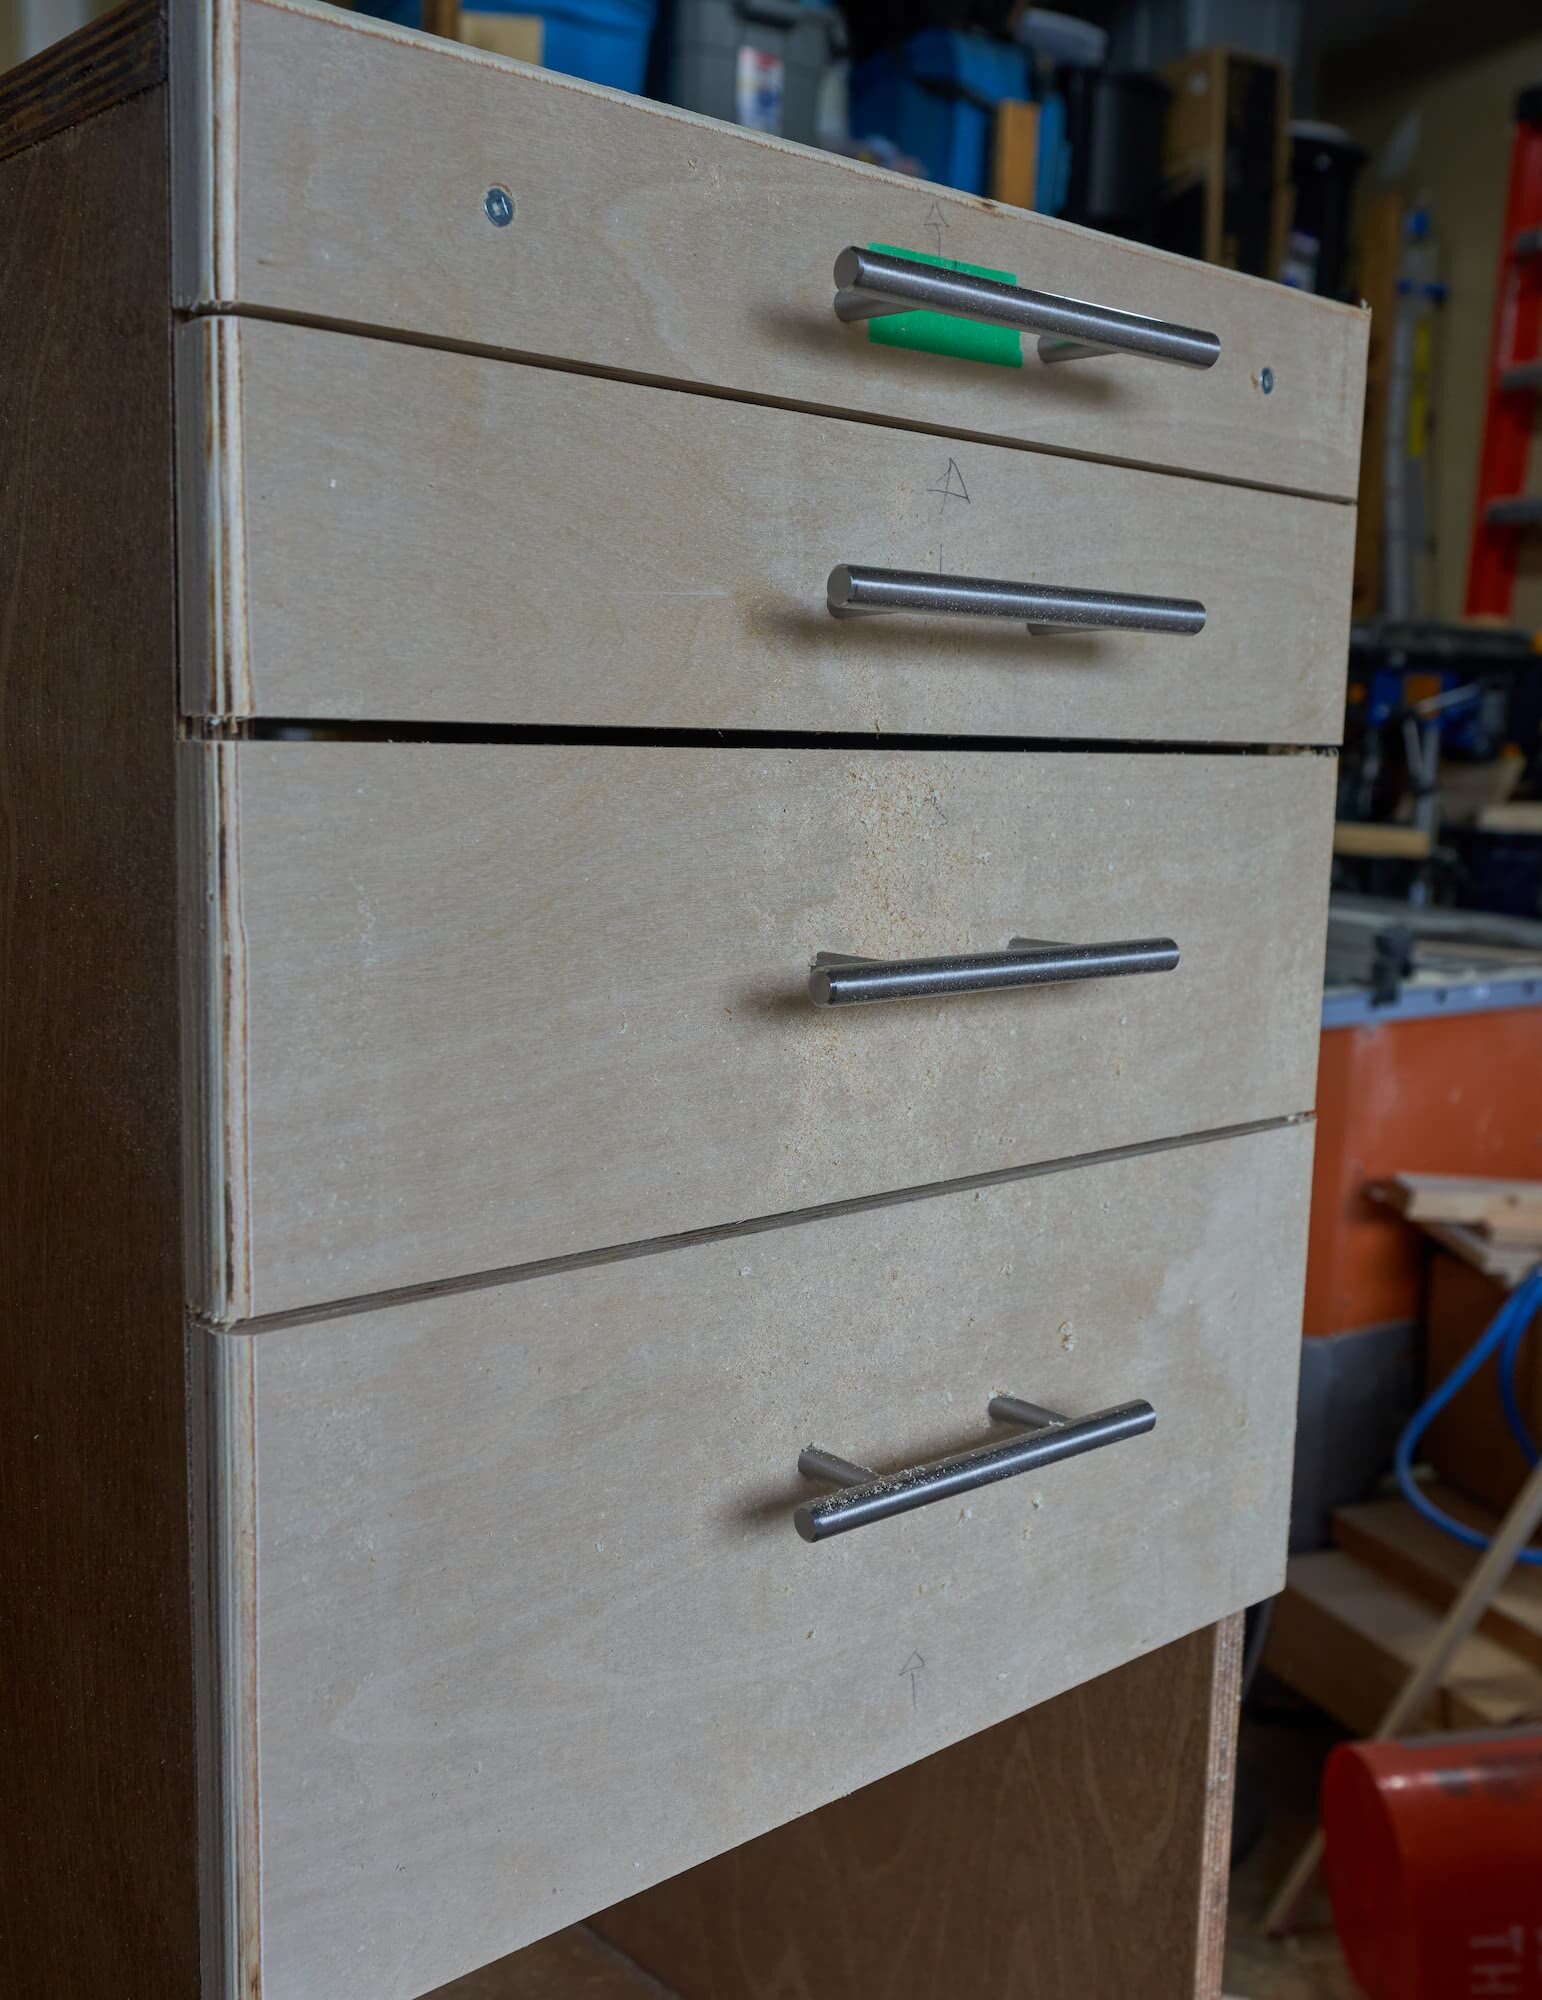
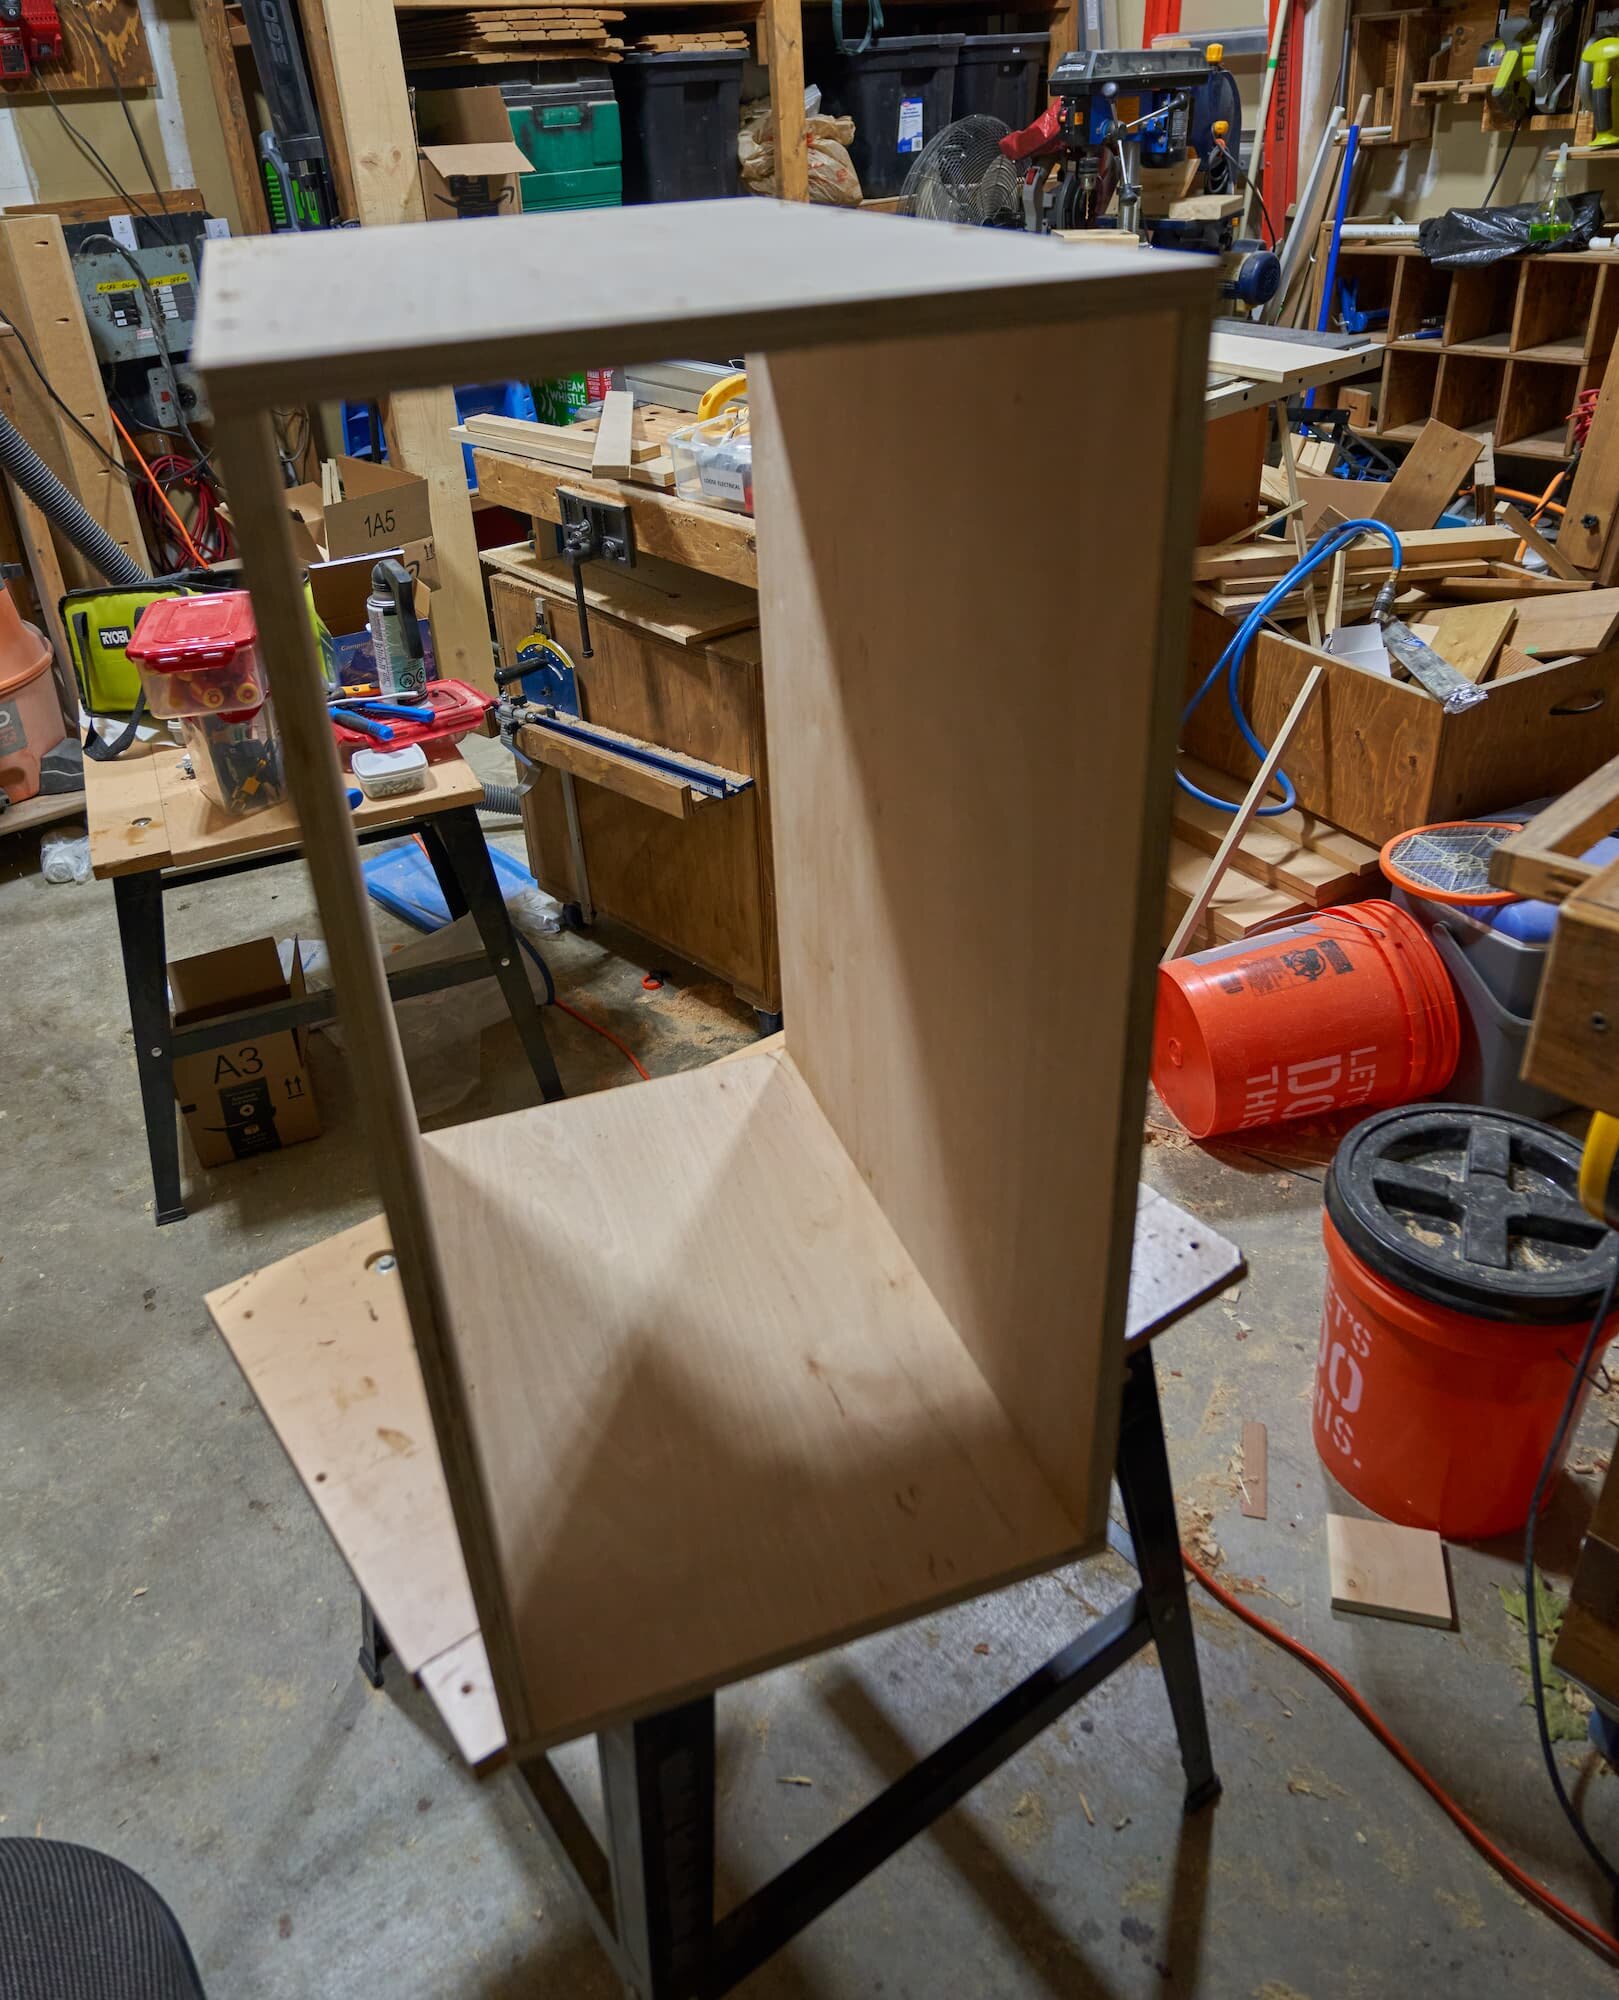
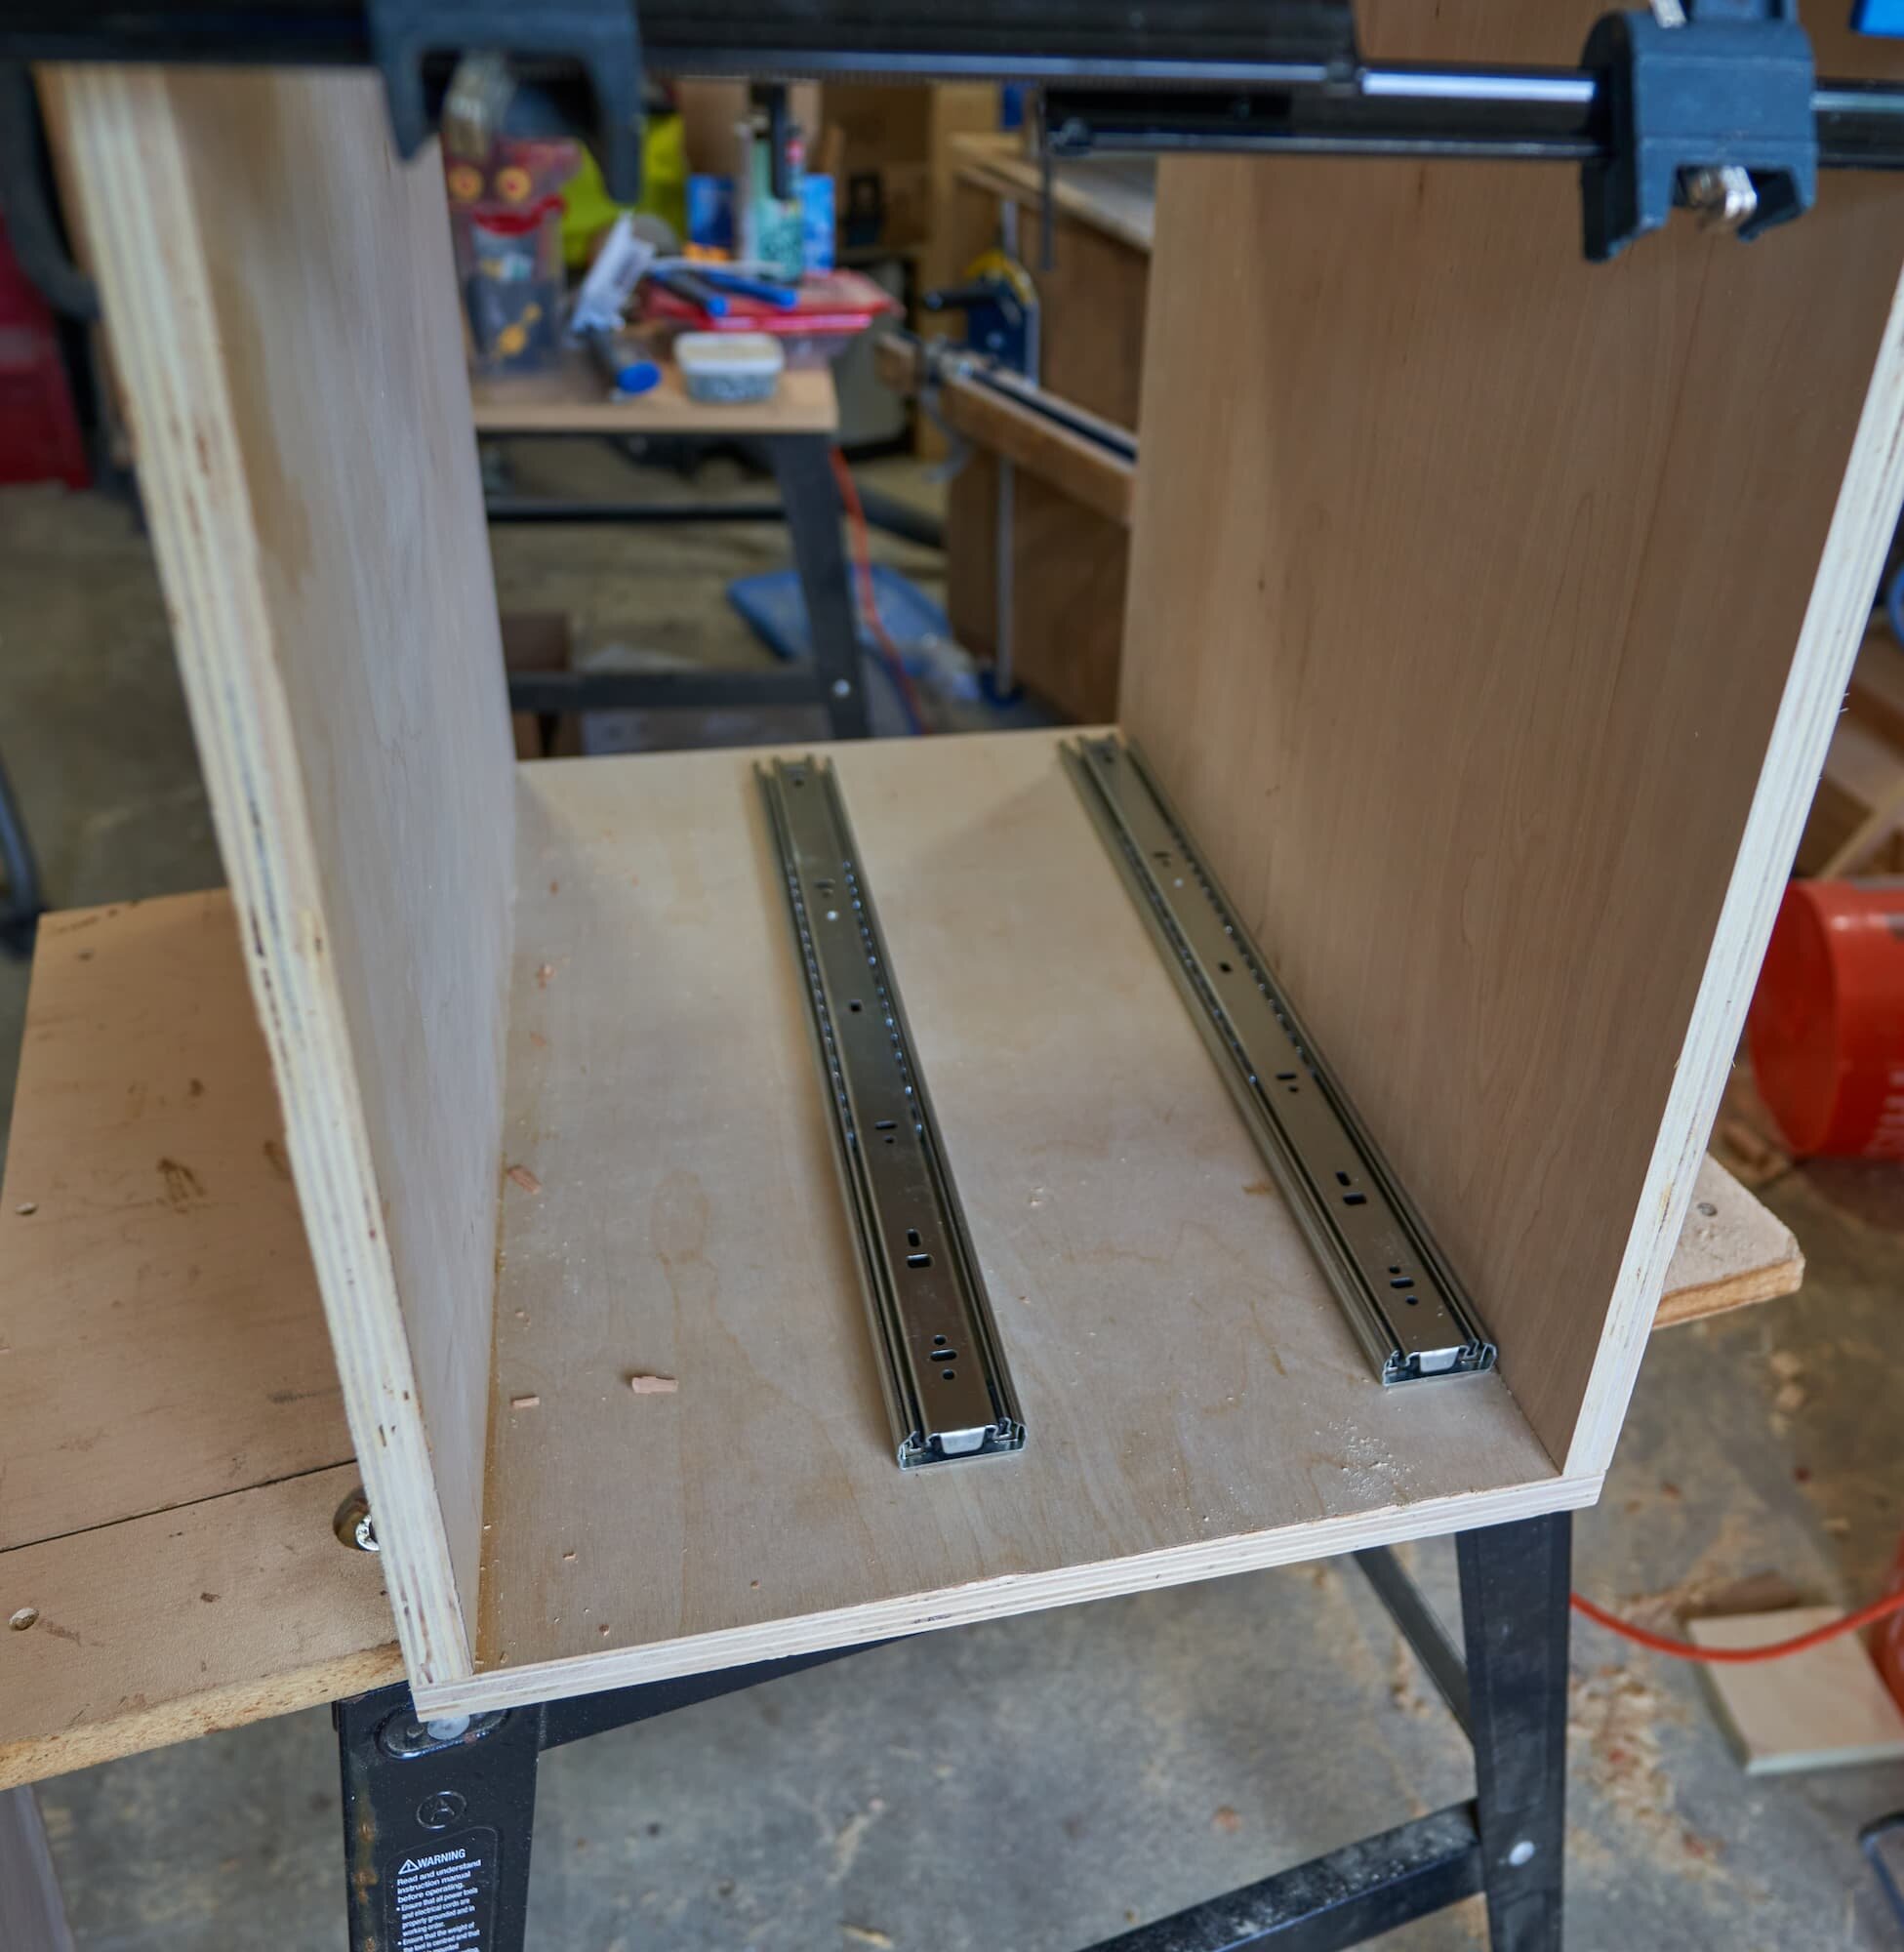
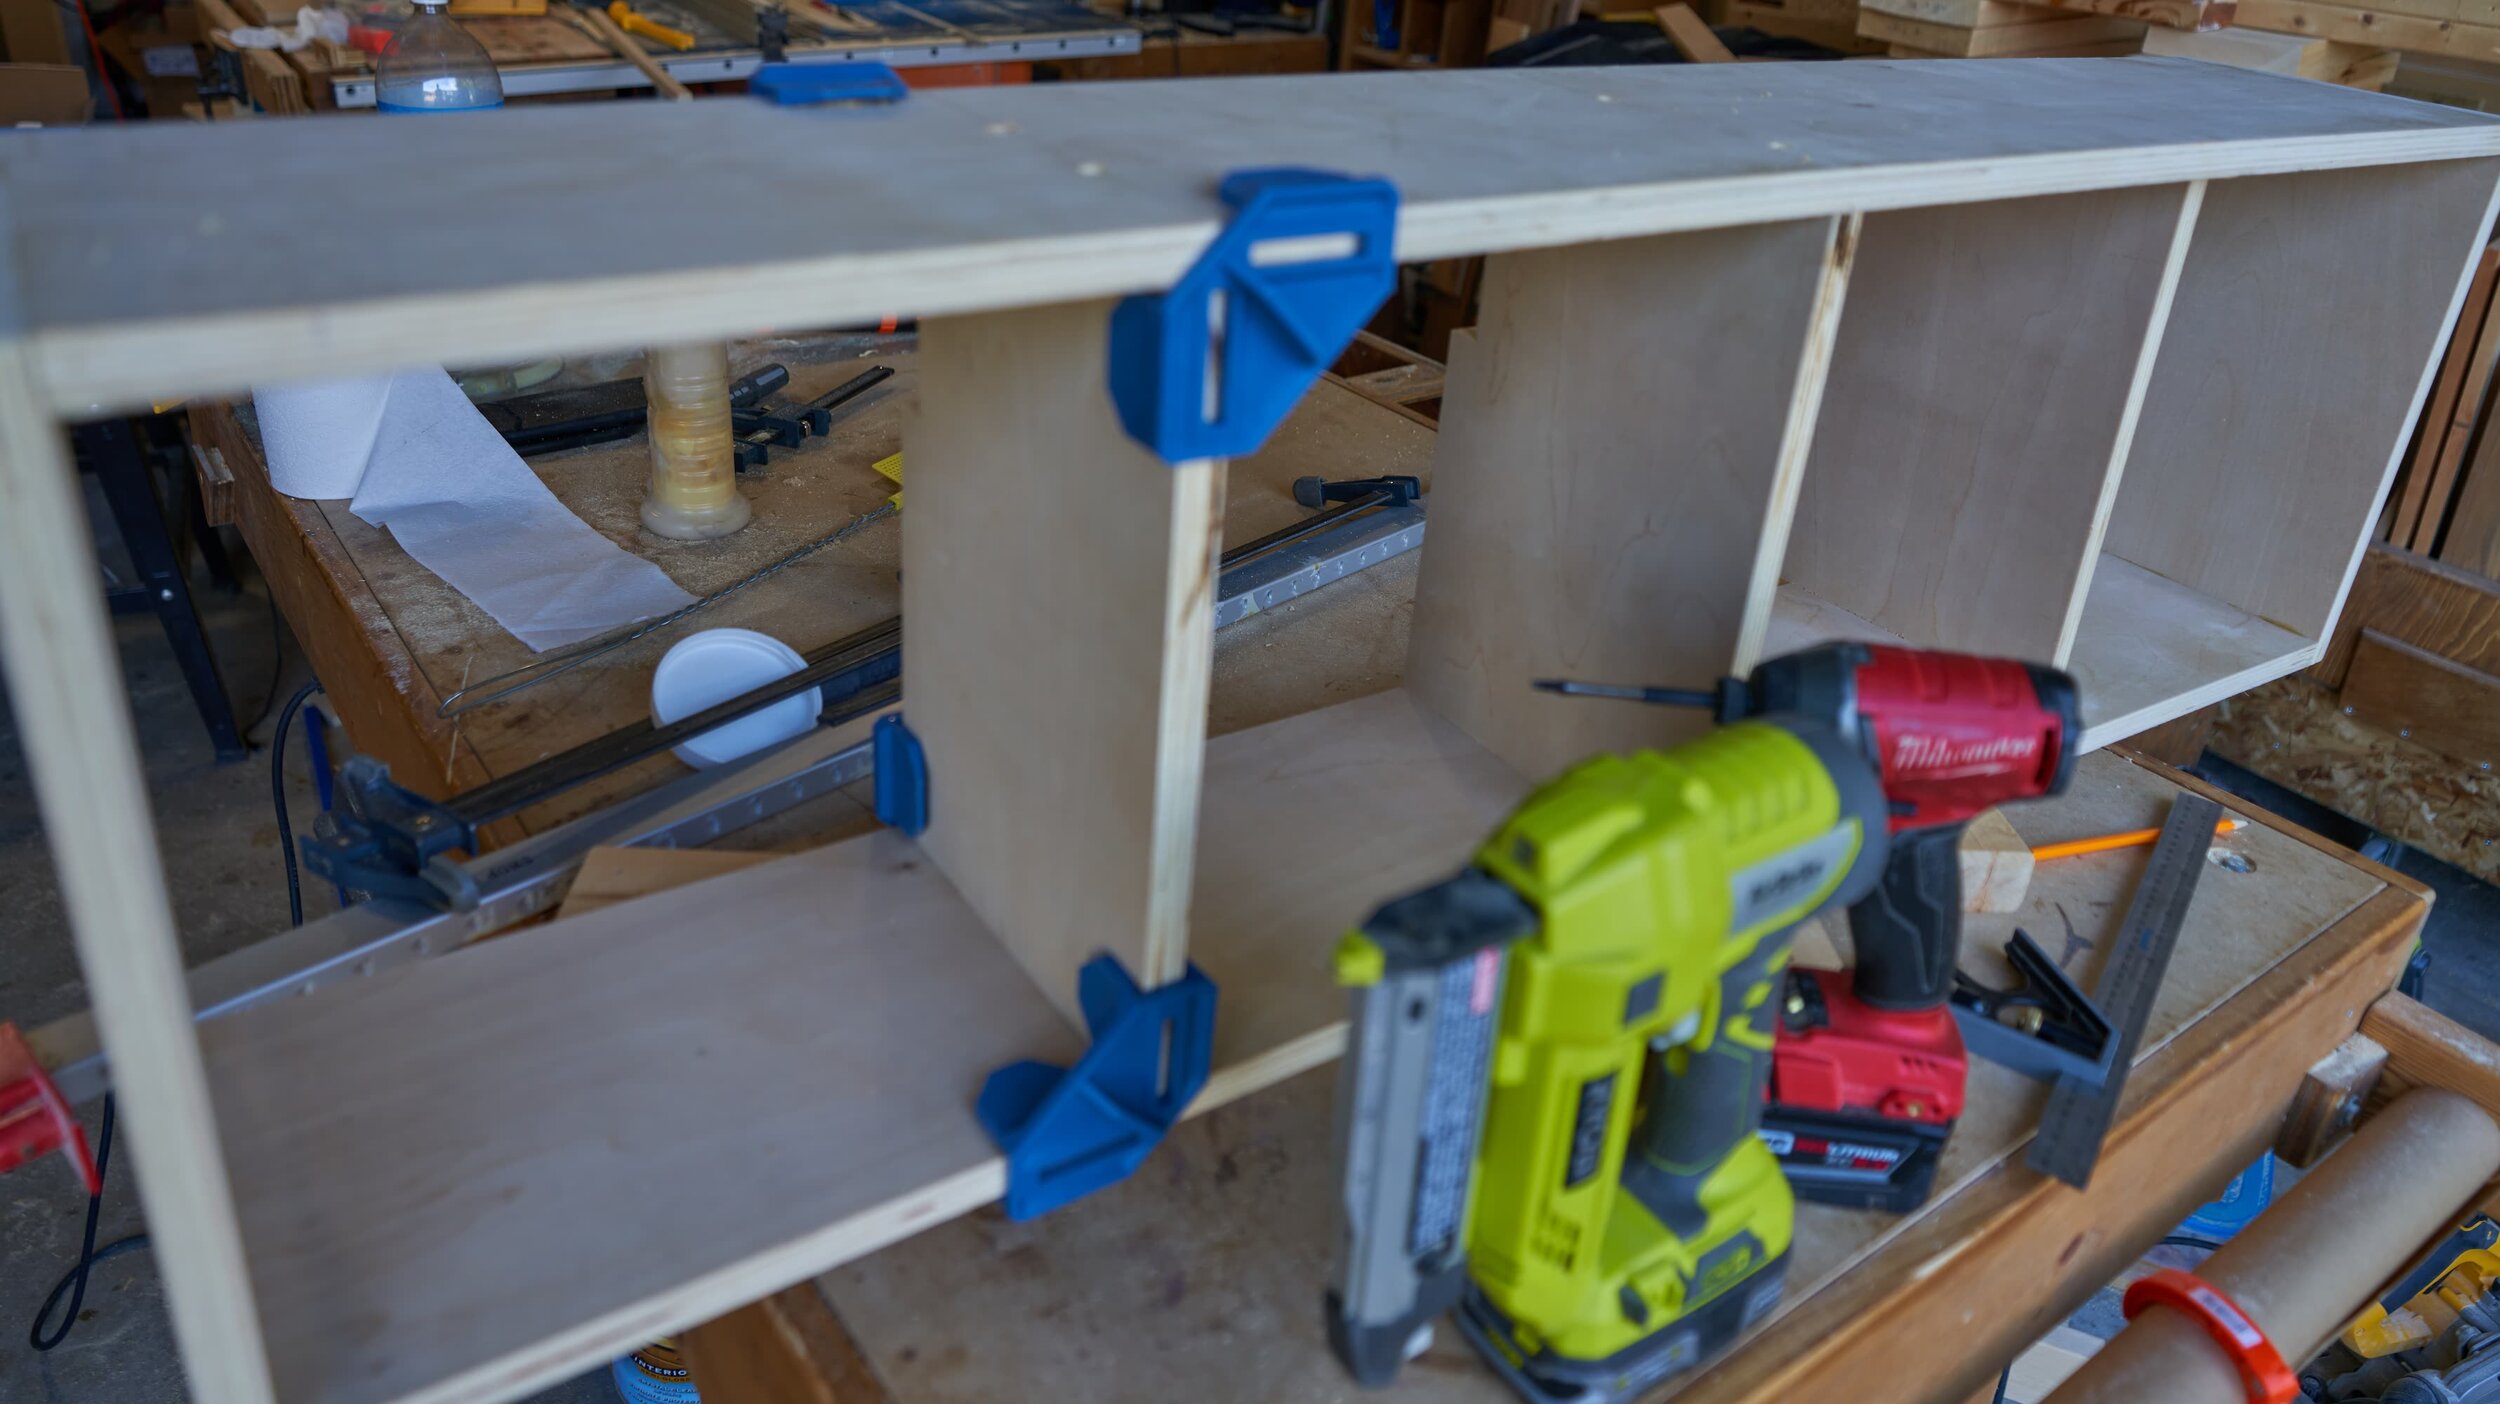
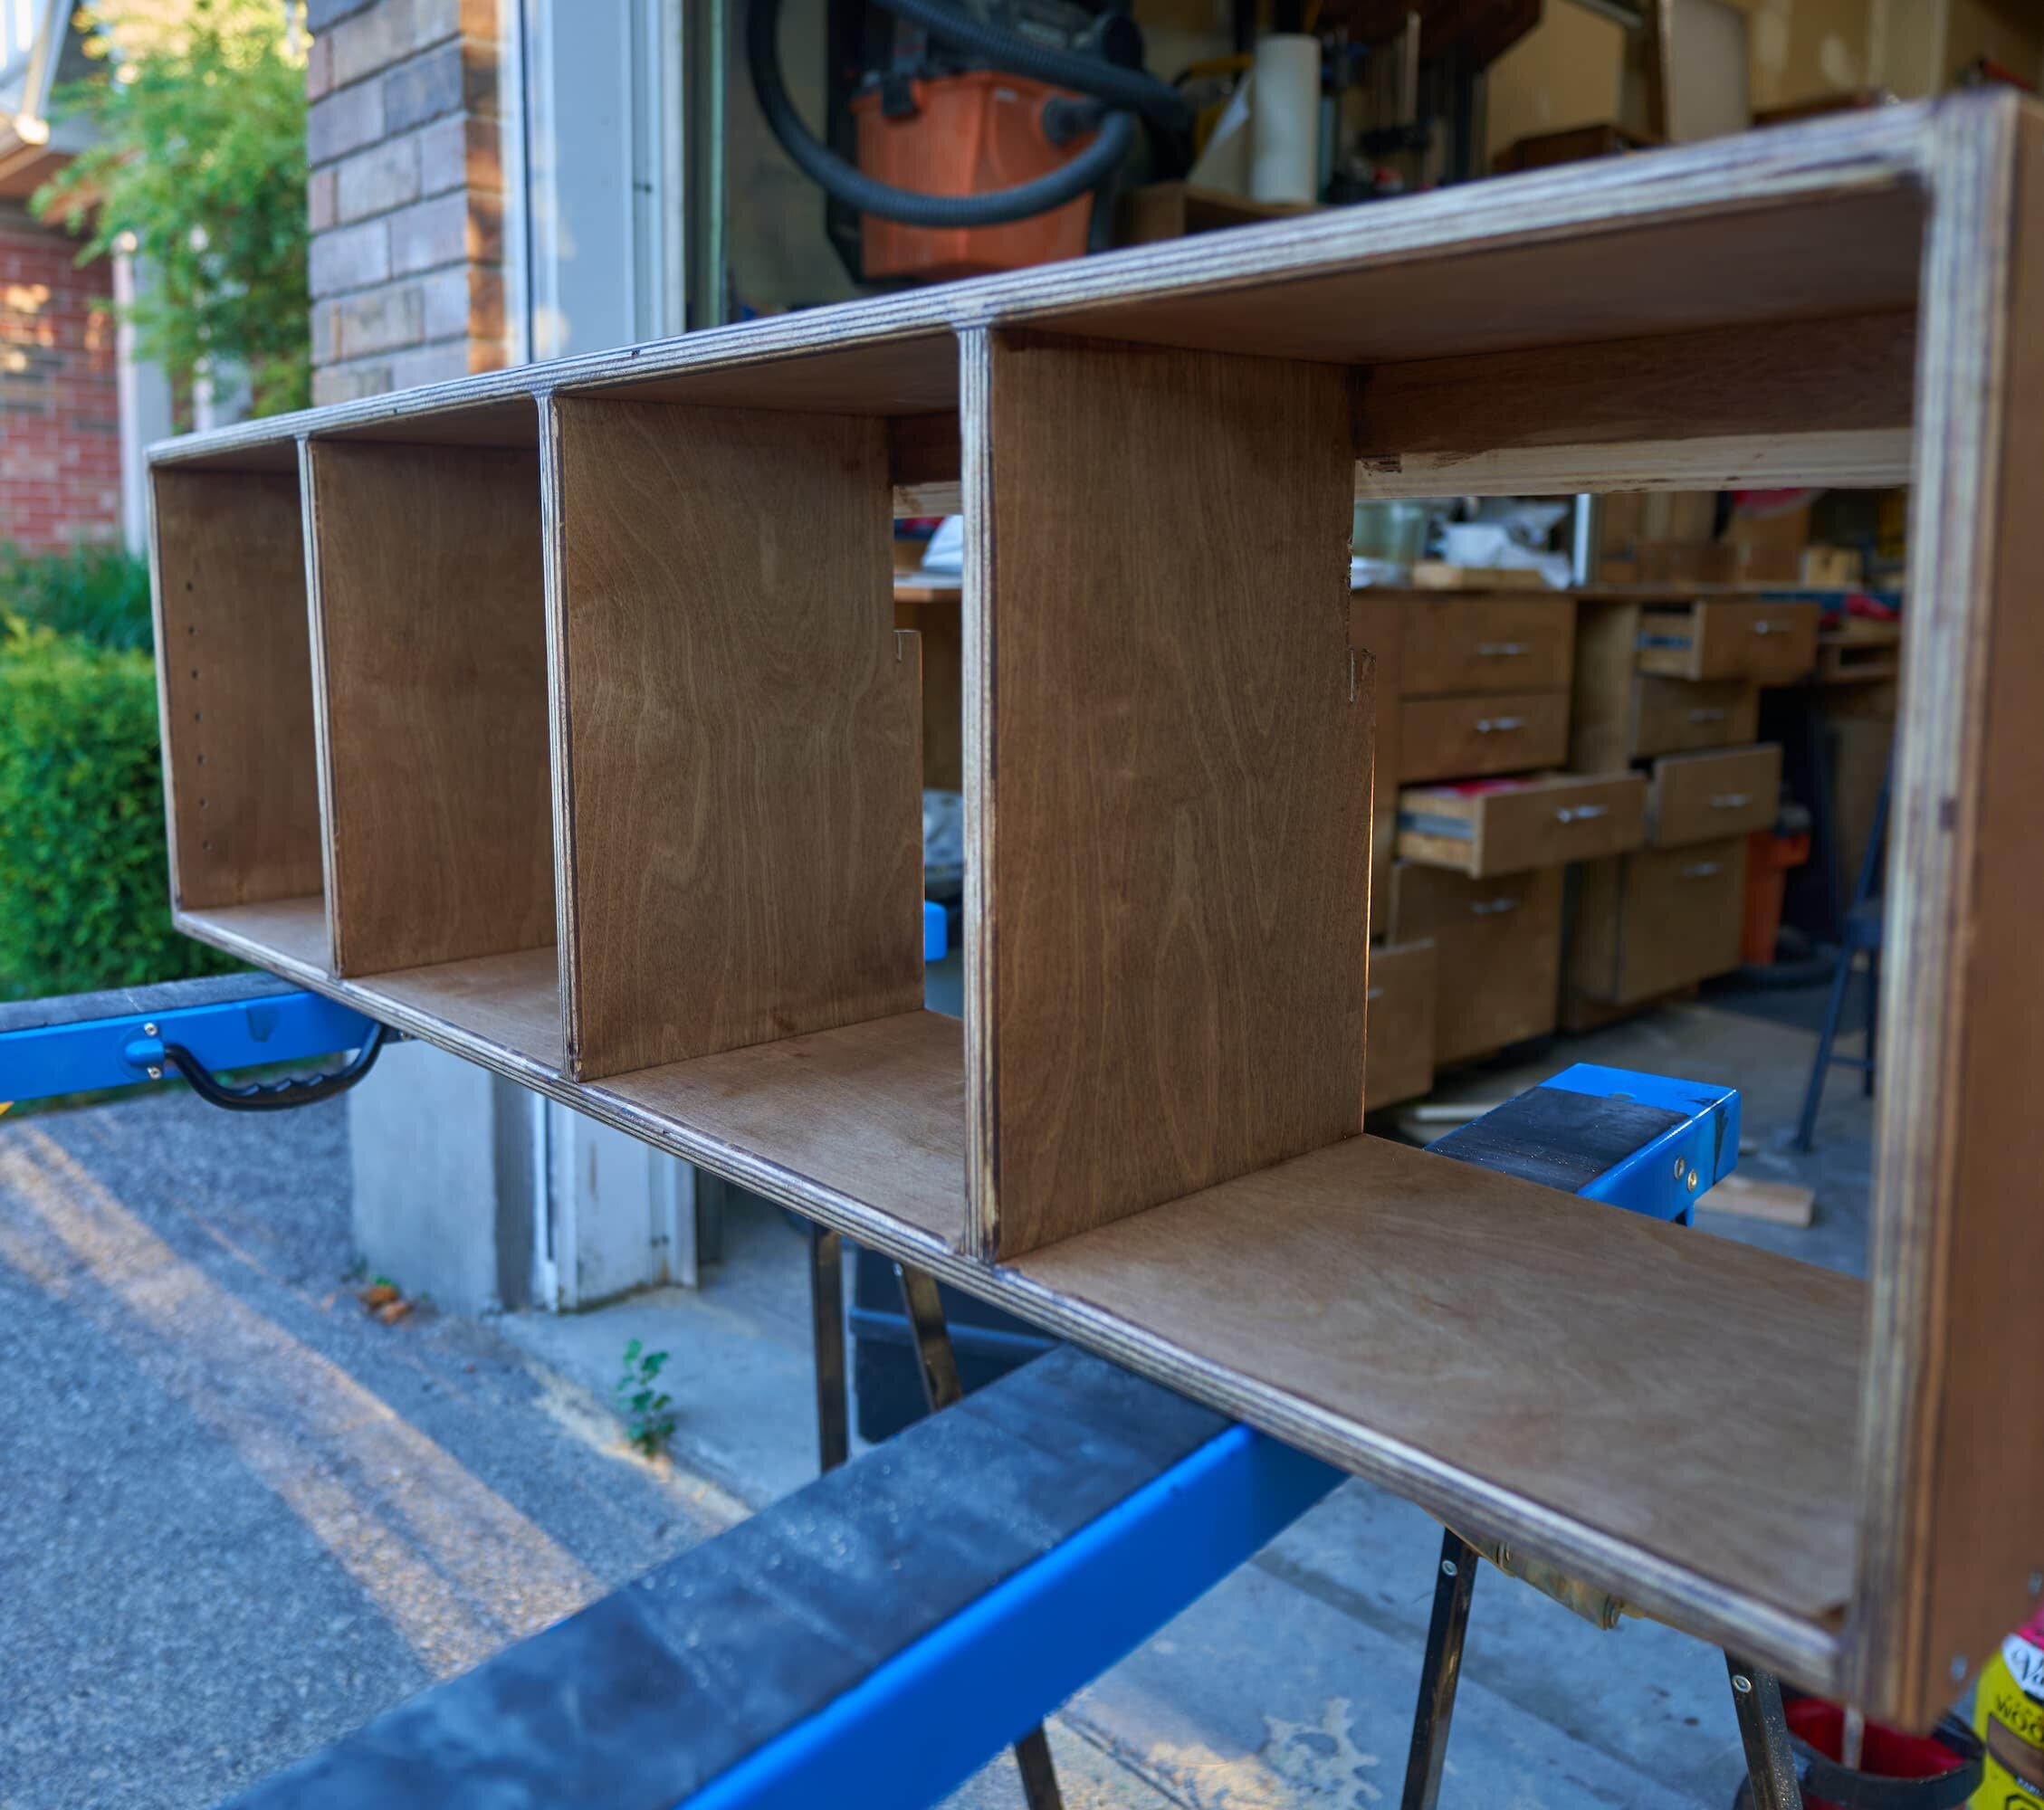
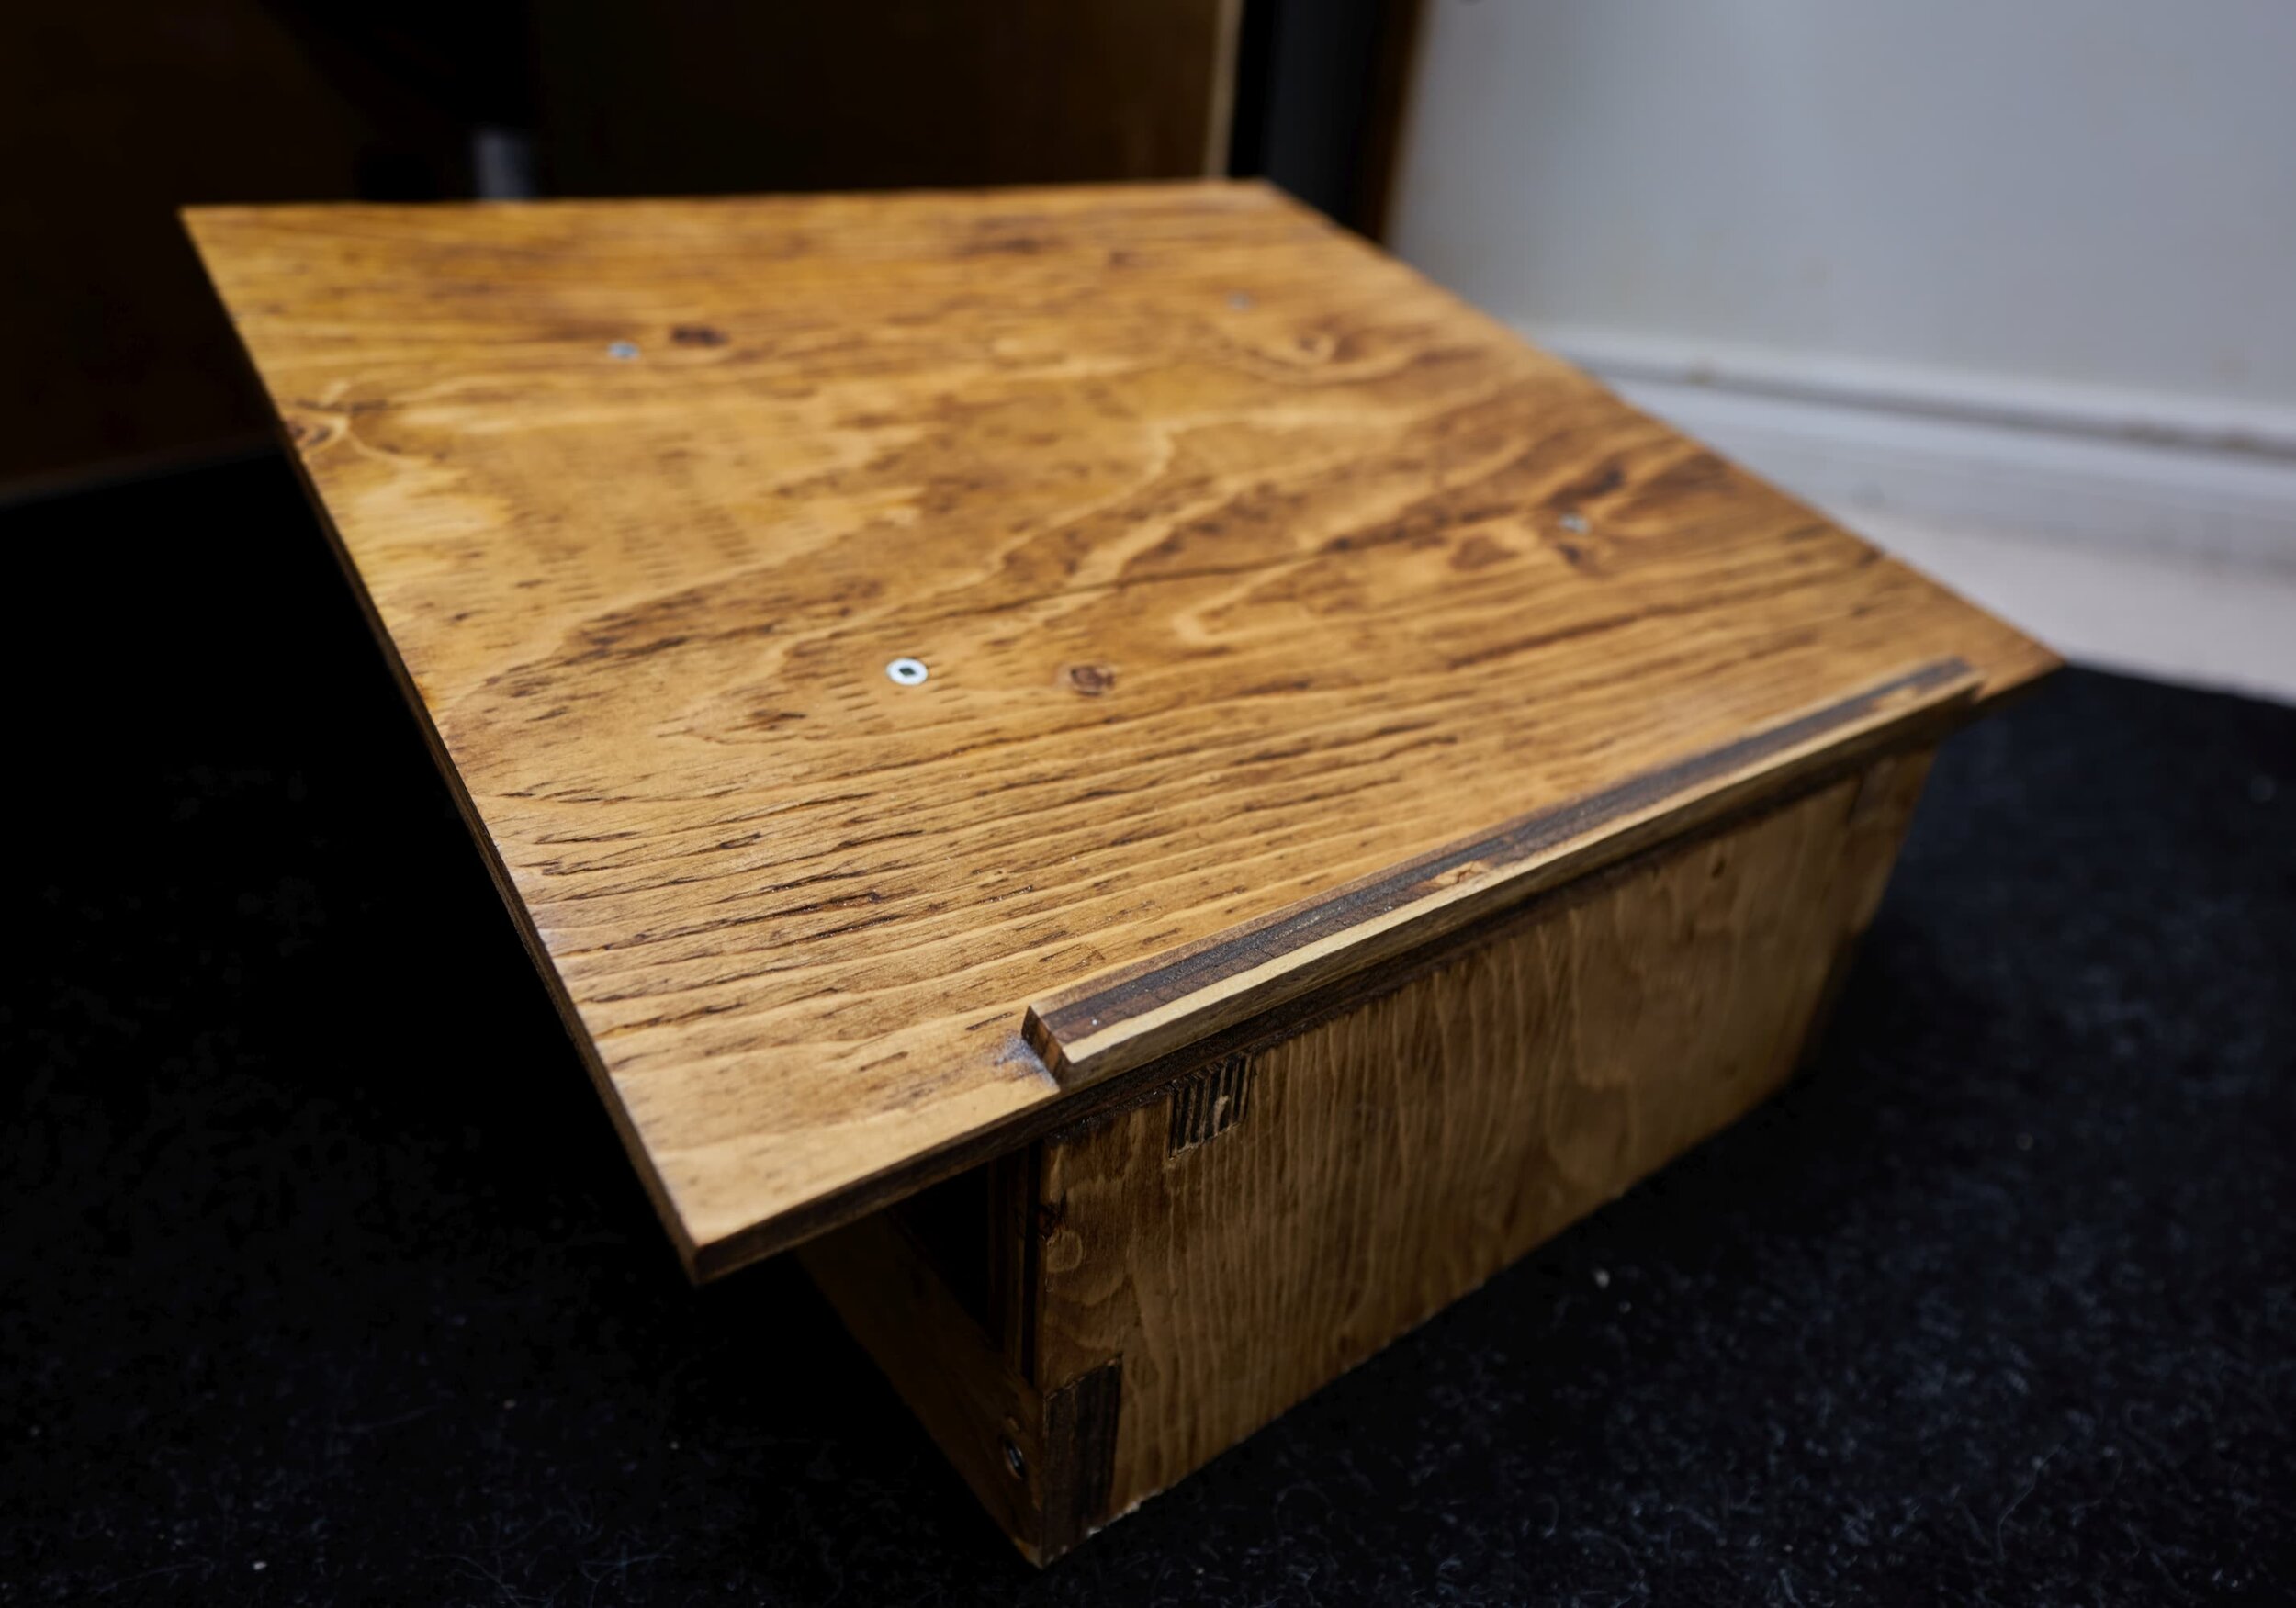
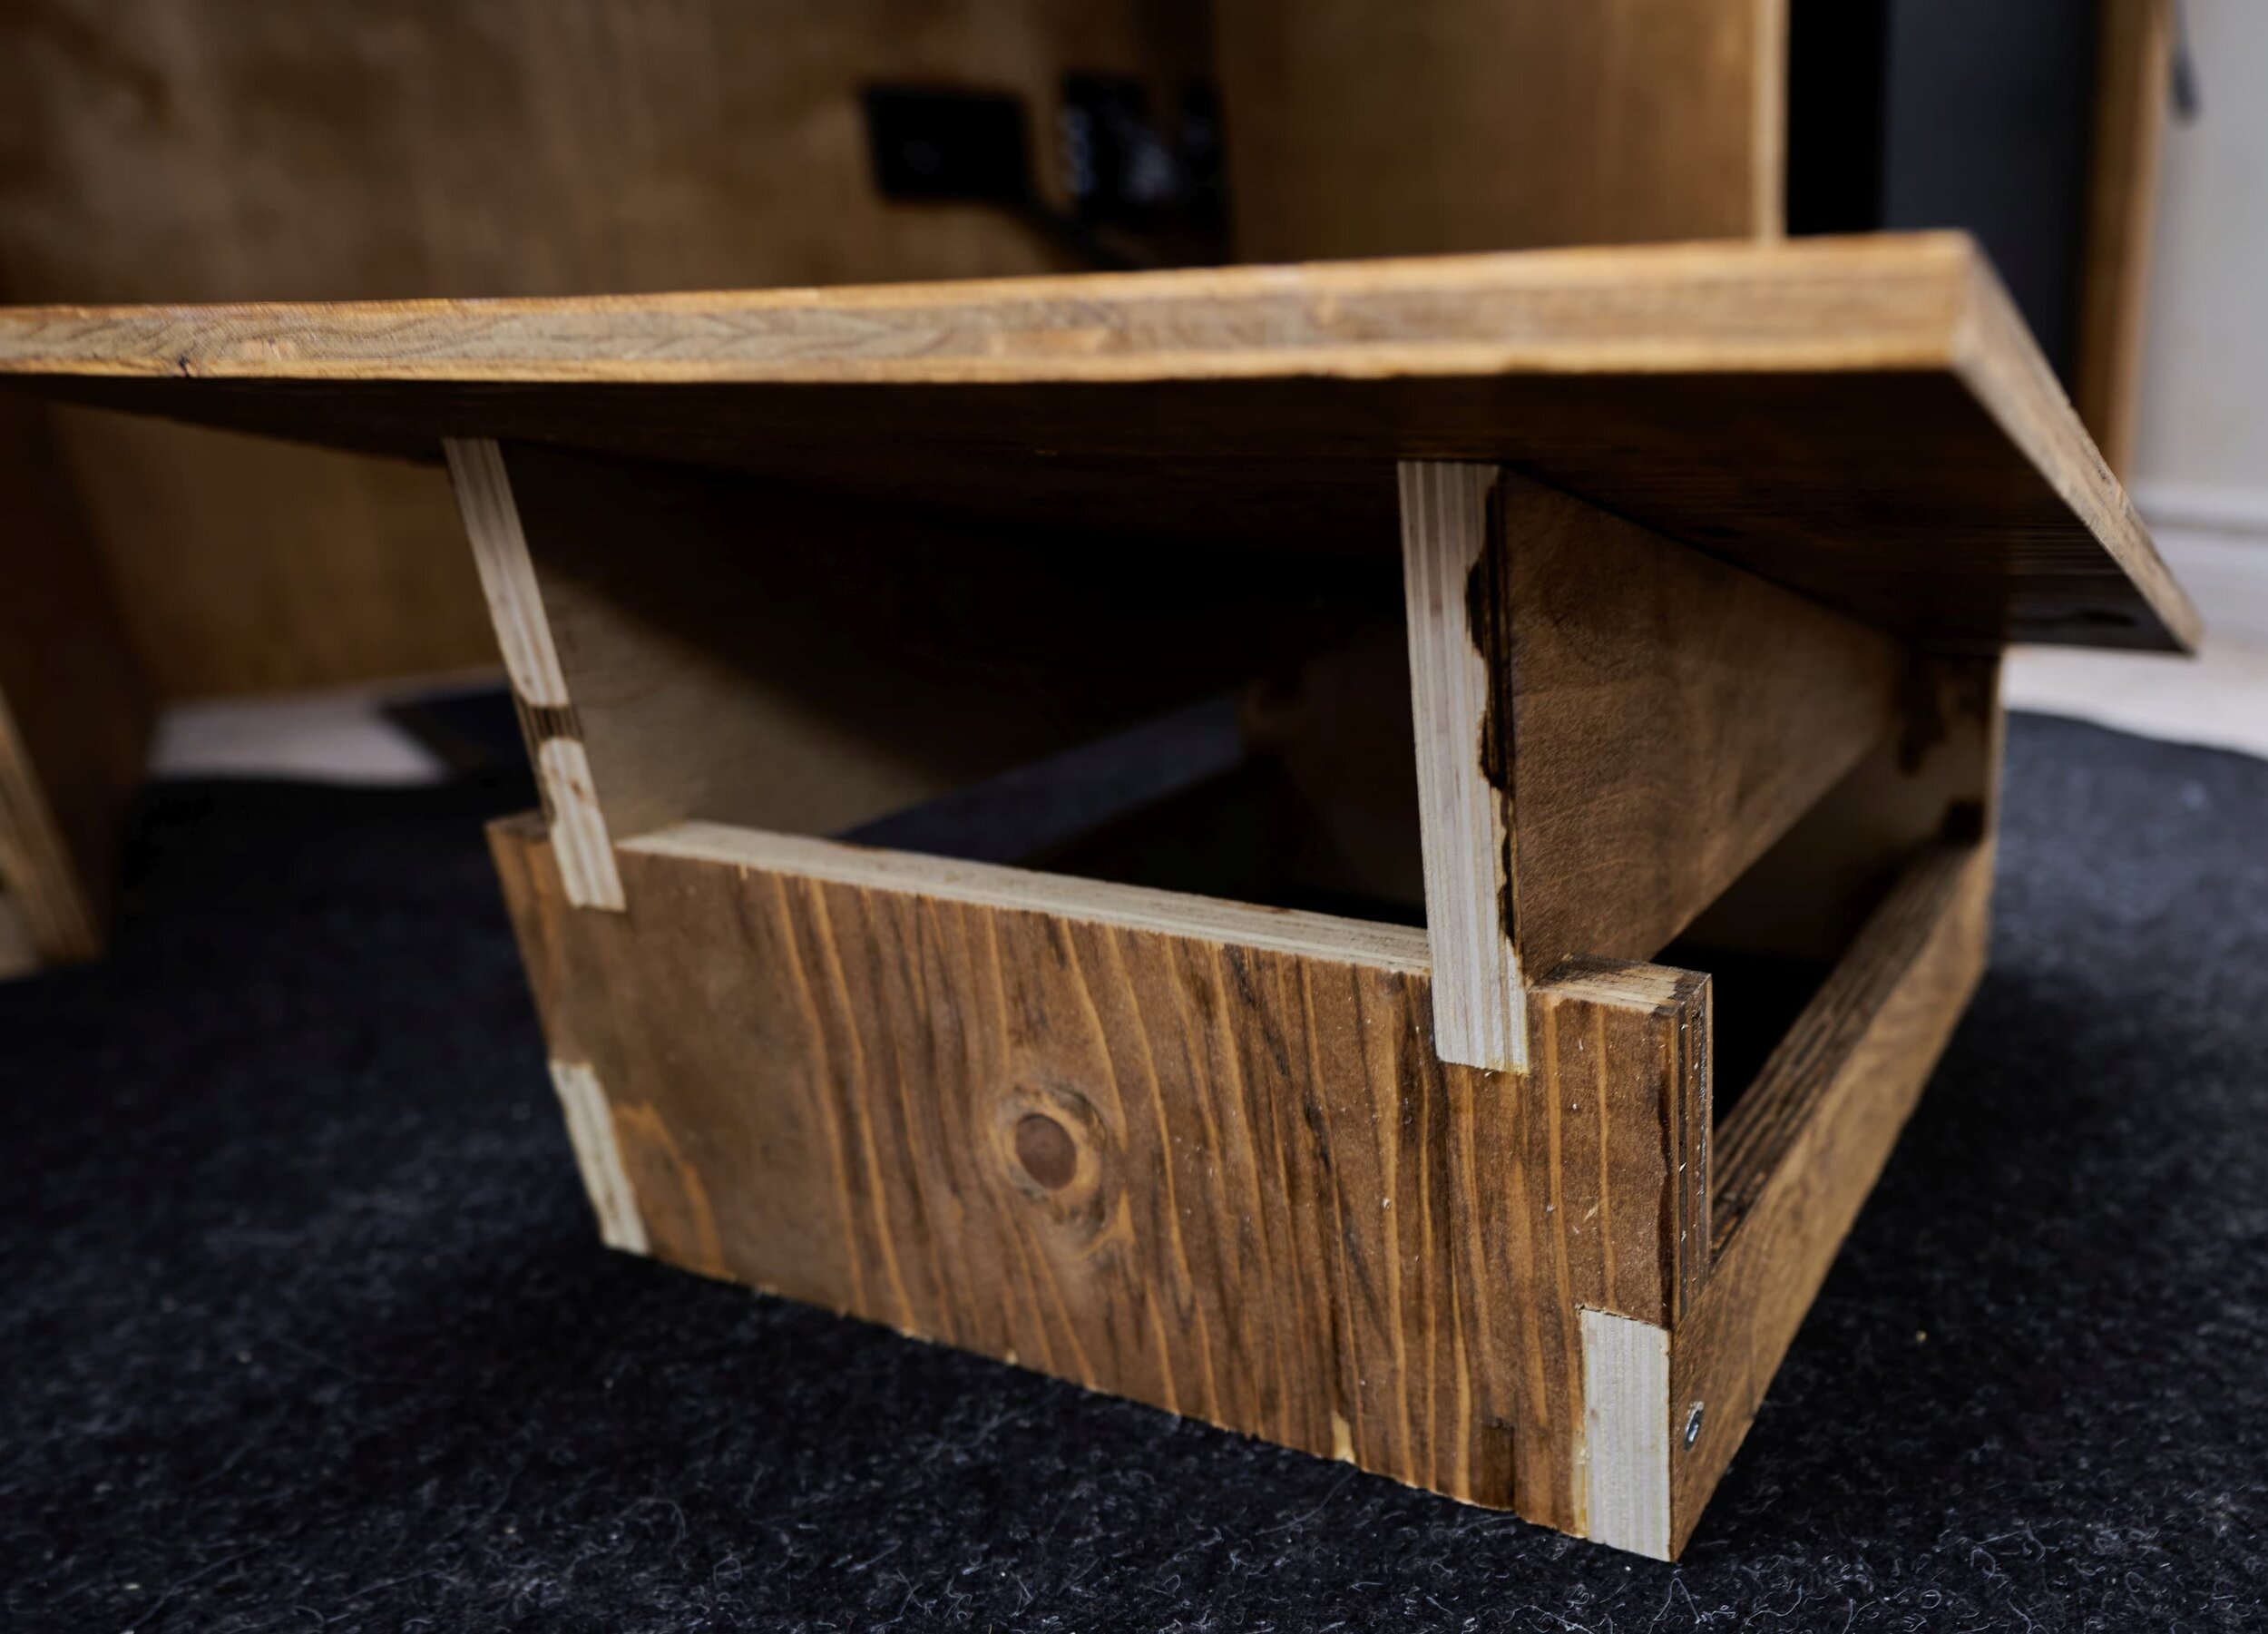
Step 5: Building the cabinets
Knowing roughly what to expect and plan for here made this a bit easier so I batched these two cabinets out simultaneously. The cabinets are sized to fit into this space (yet still not be to restrictive in the future) and to fit the hardware currently deployed (with some wiggle room). Sizing these cabinets was a bit tricky, to maximize the space in between them (for legs/movement) while still keeping the cabinets wide enough to be useful.

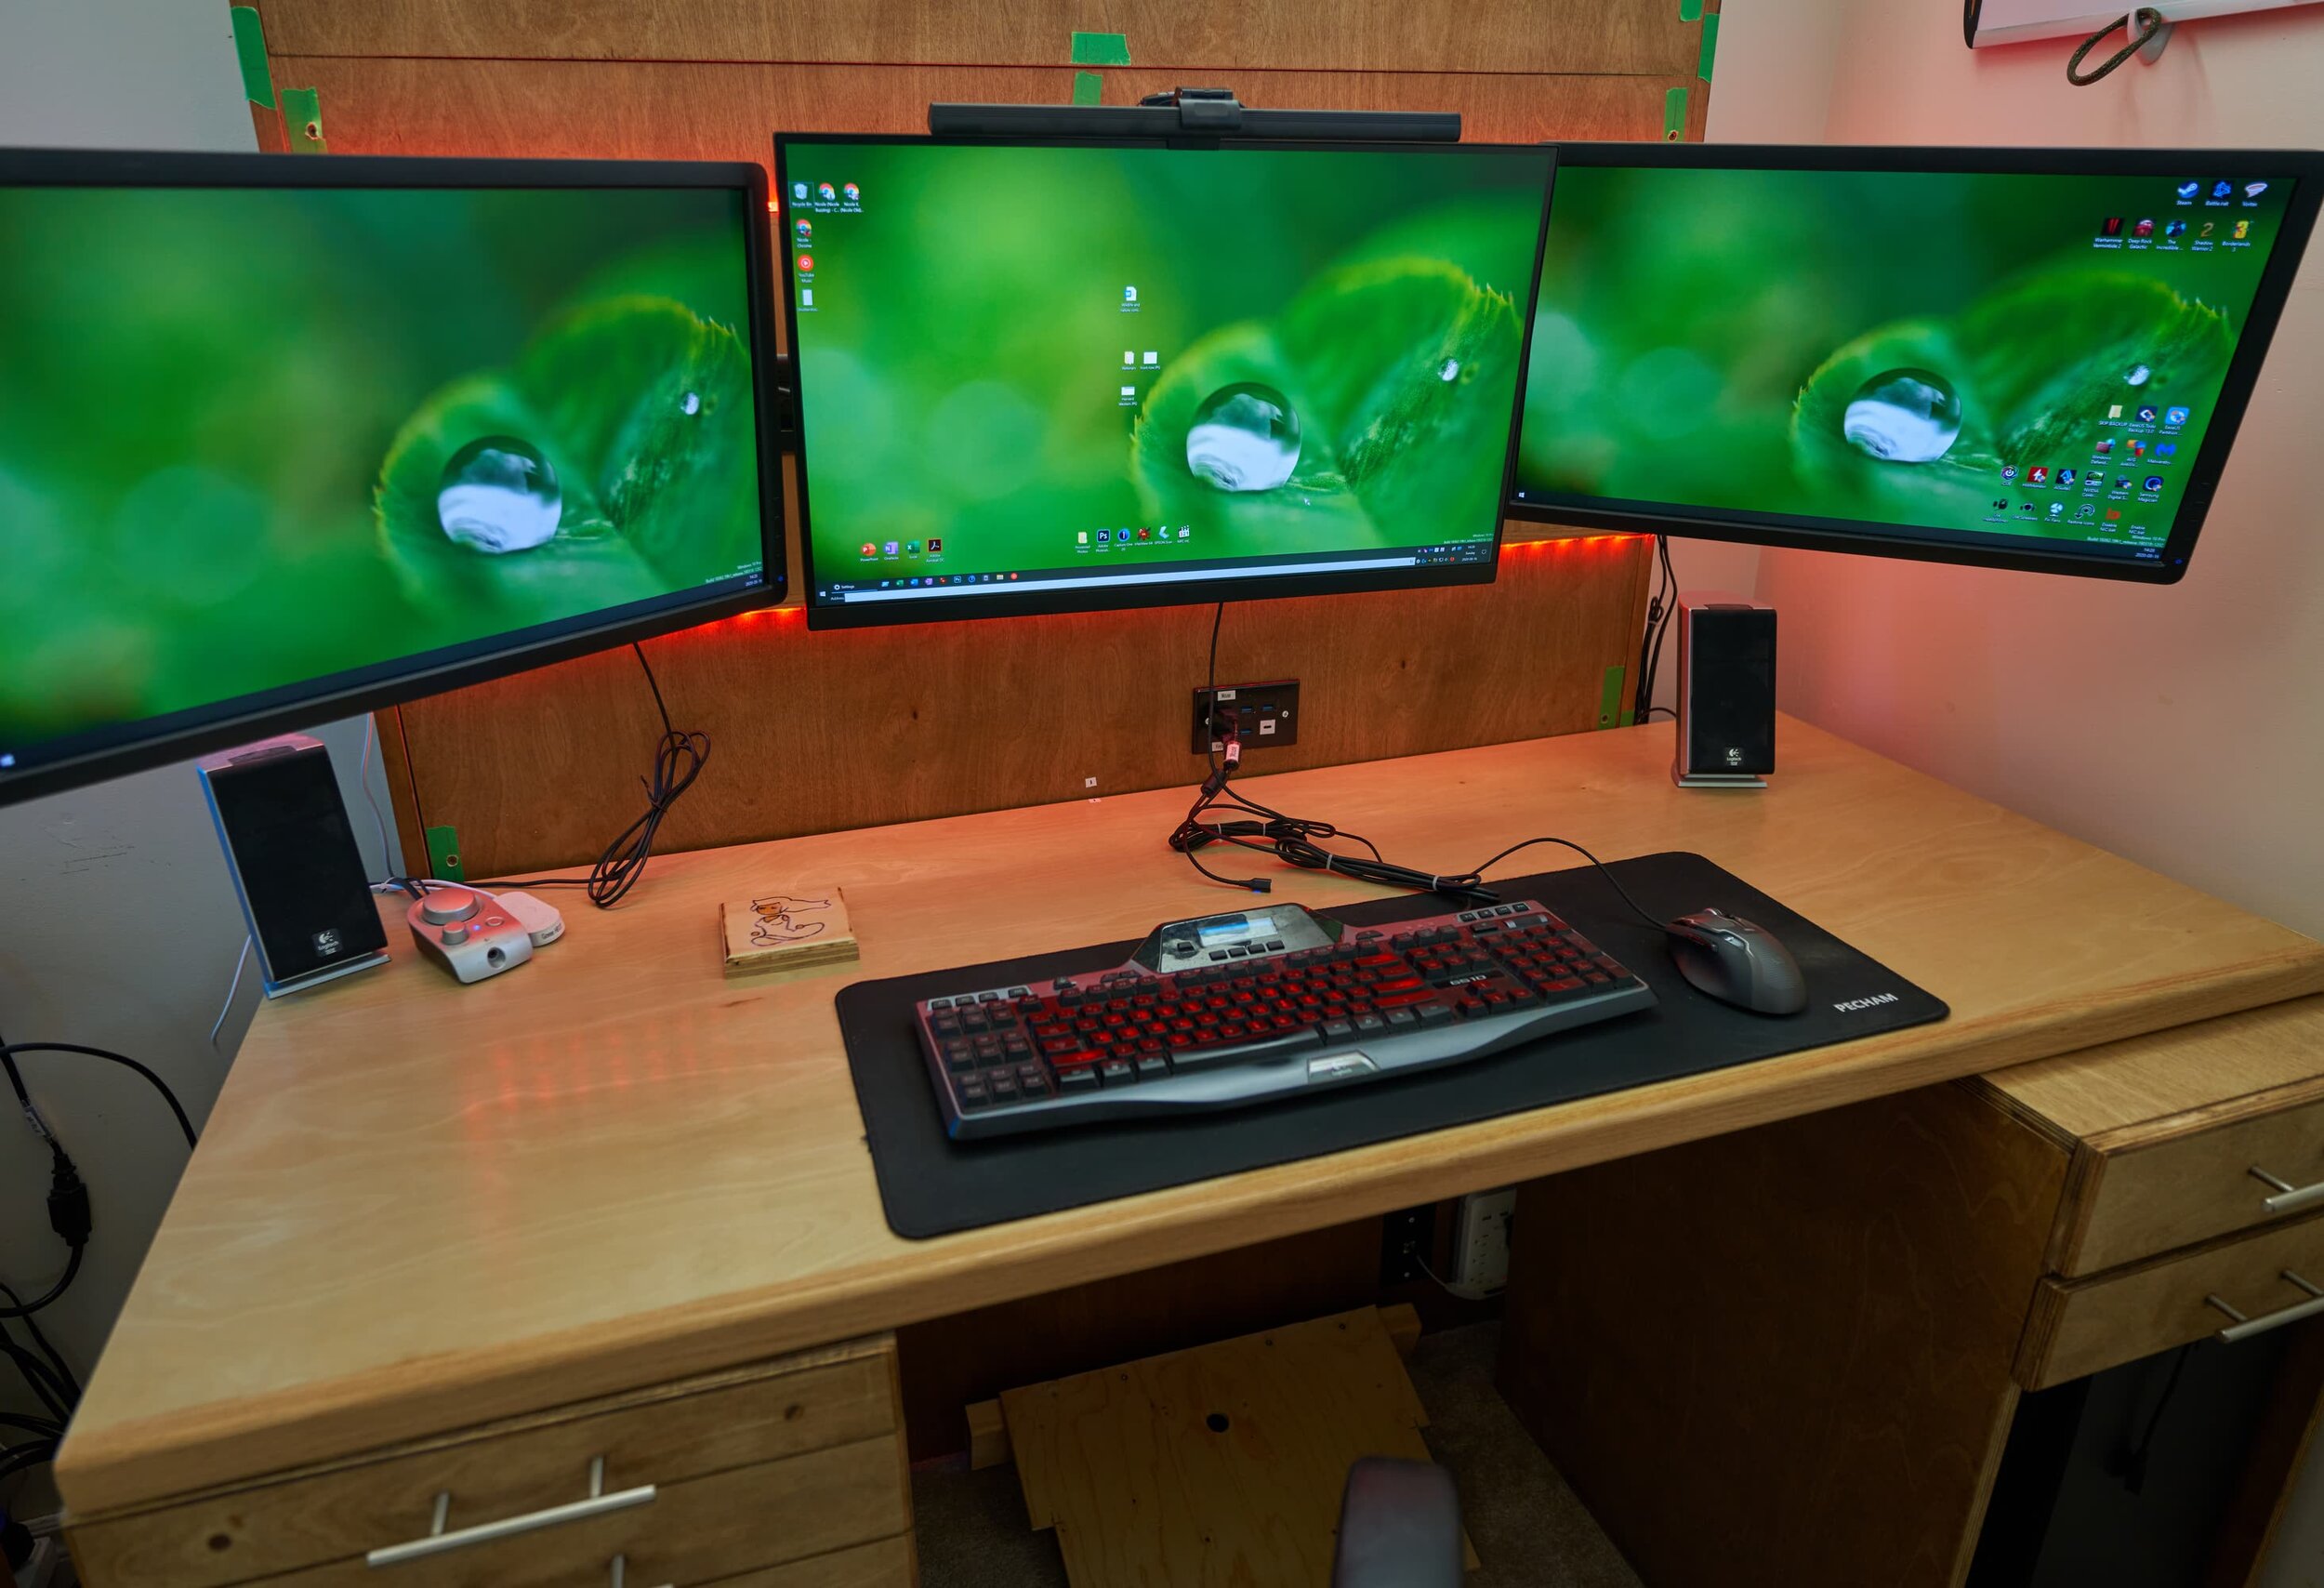
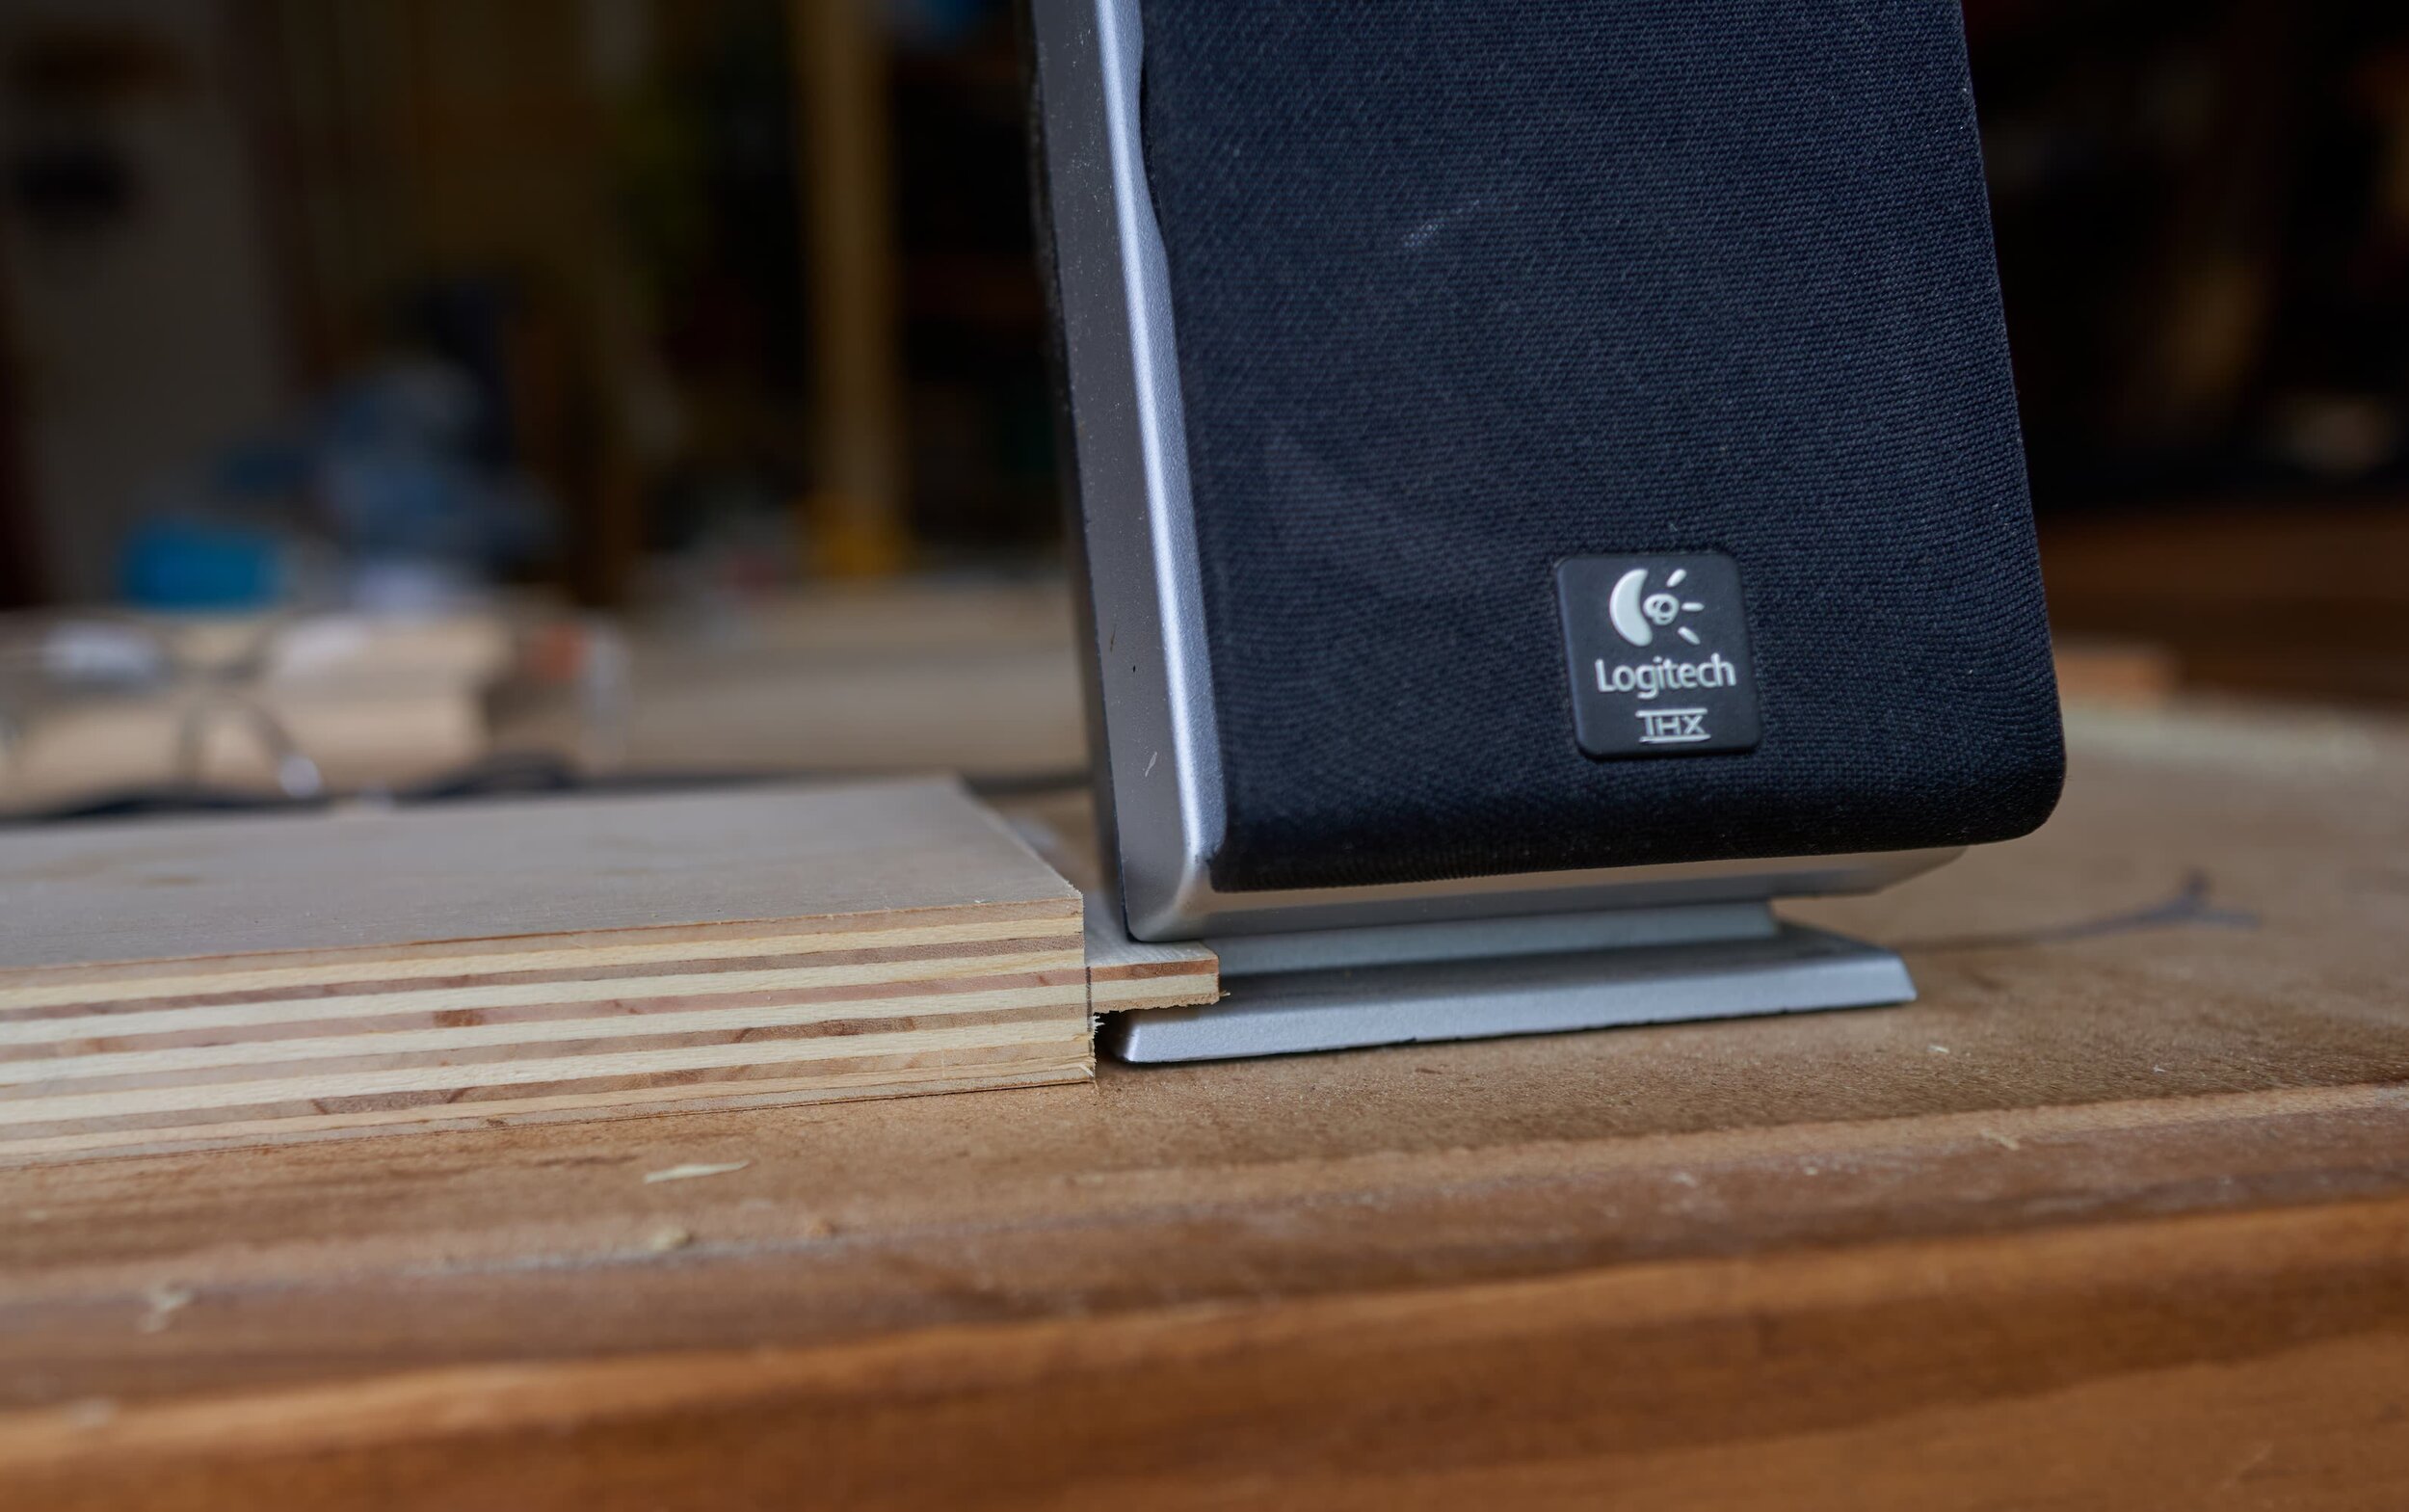
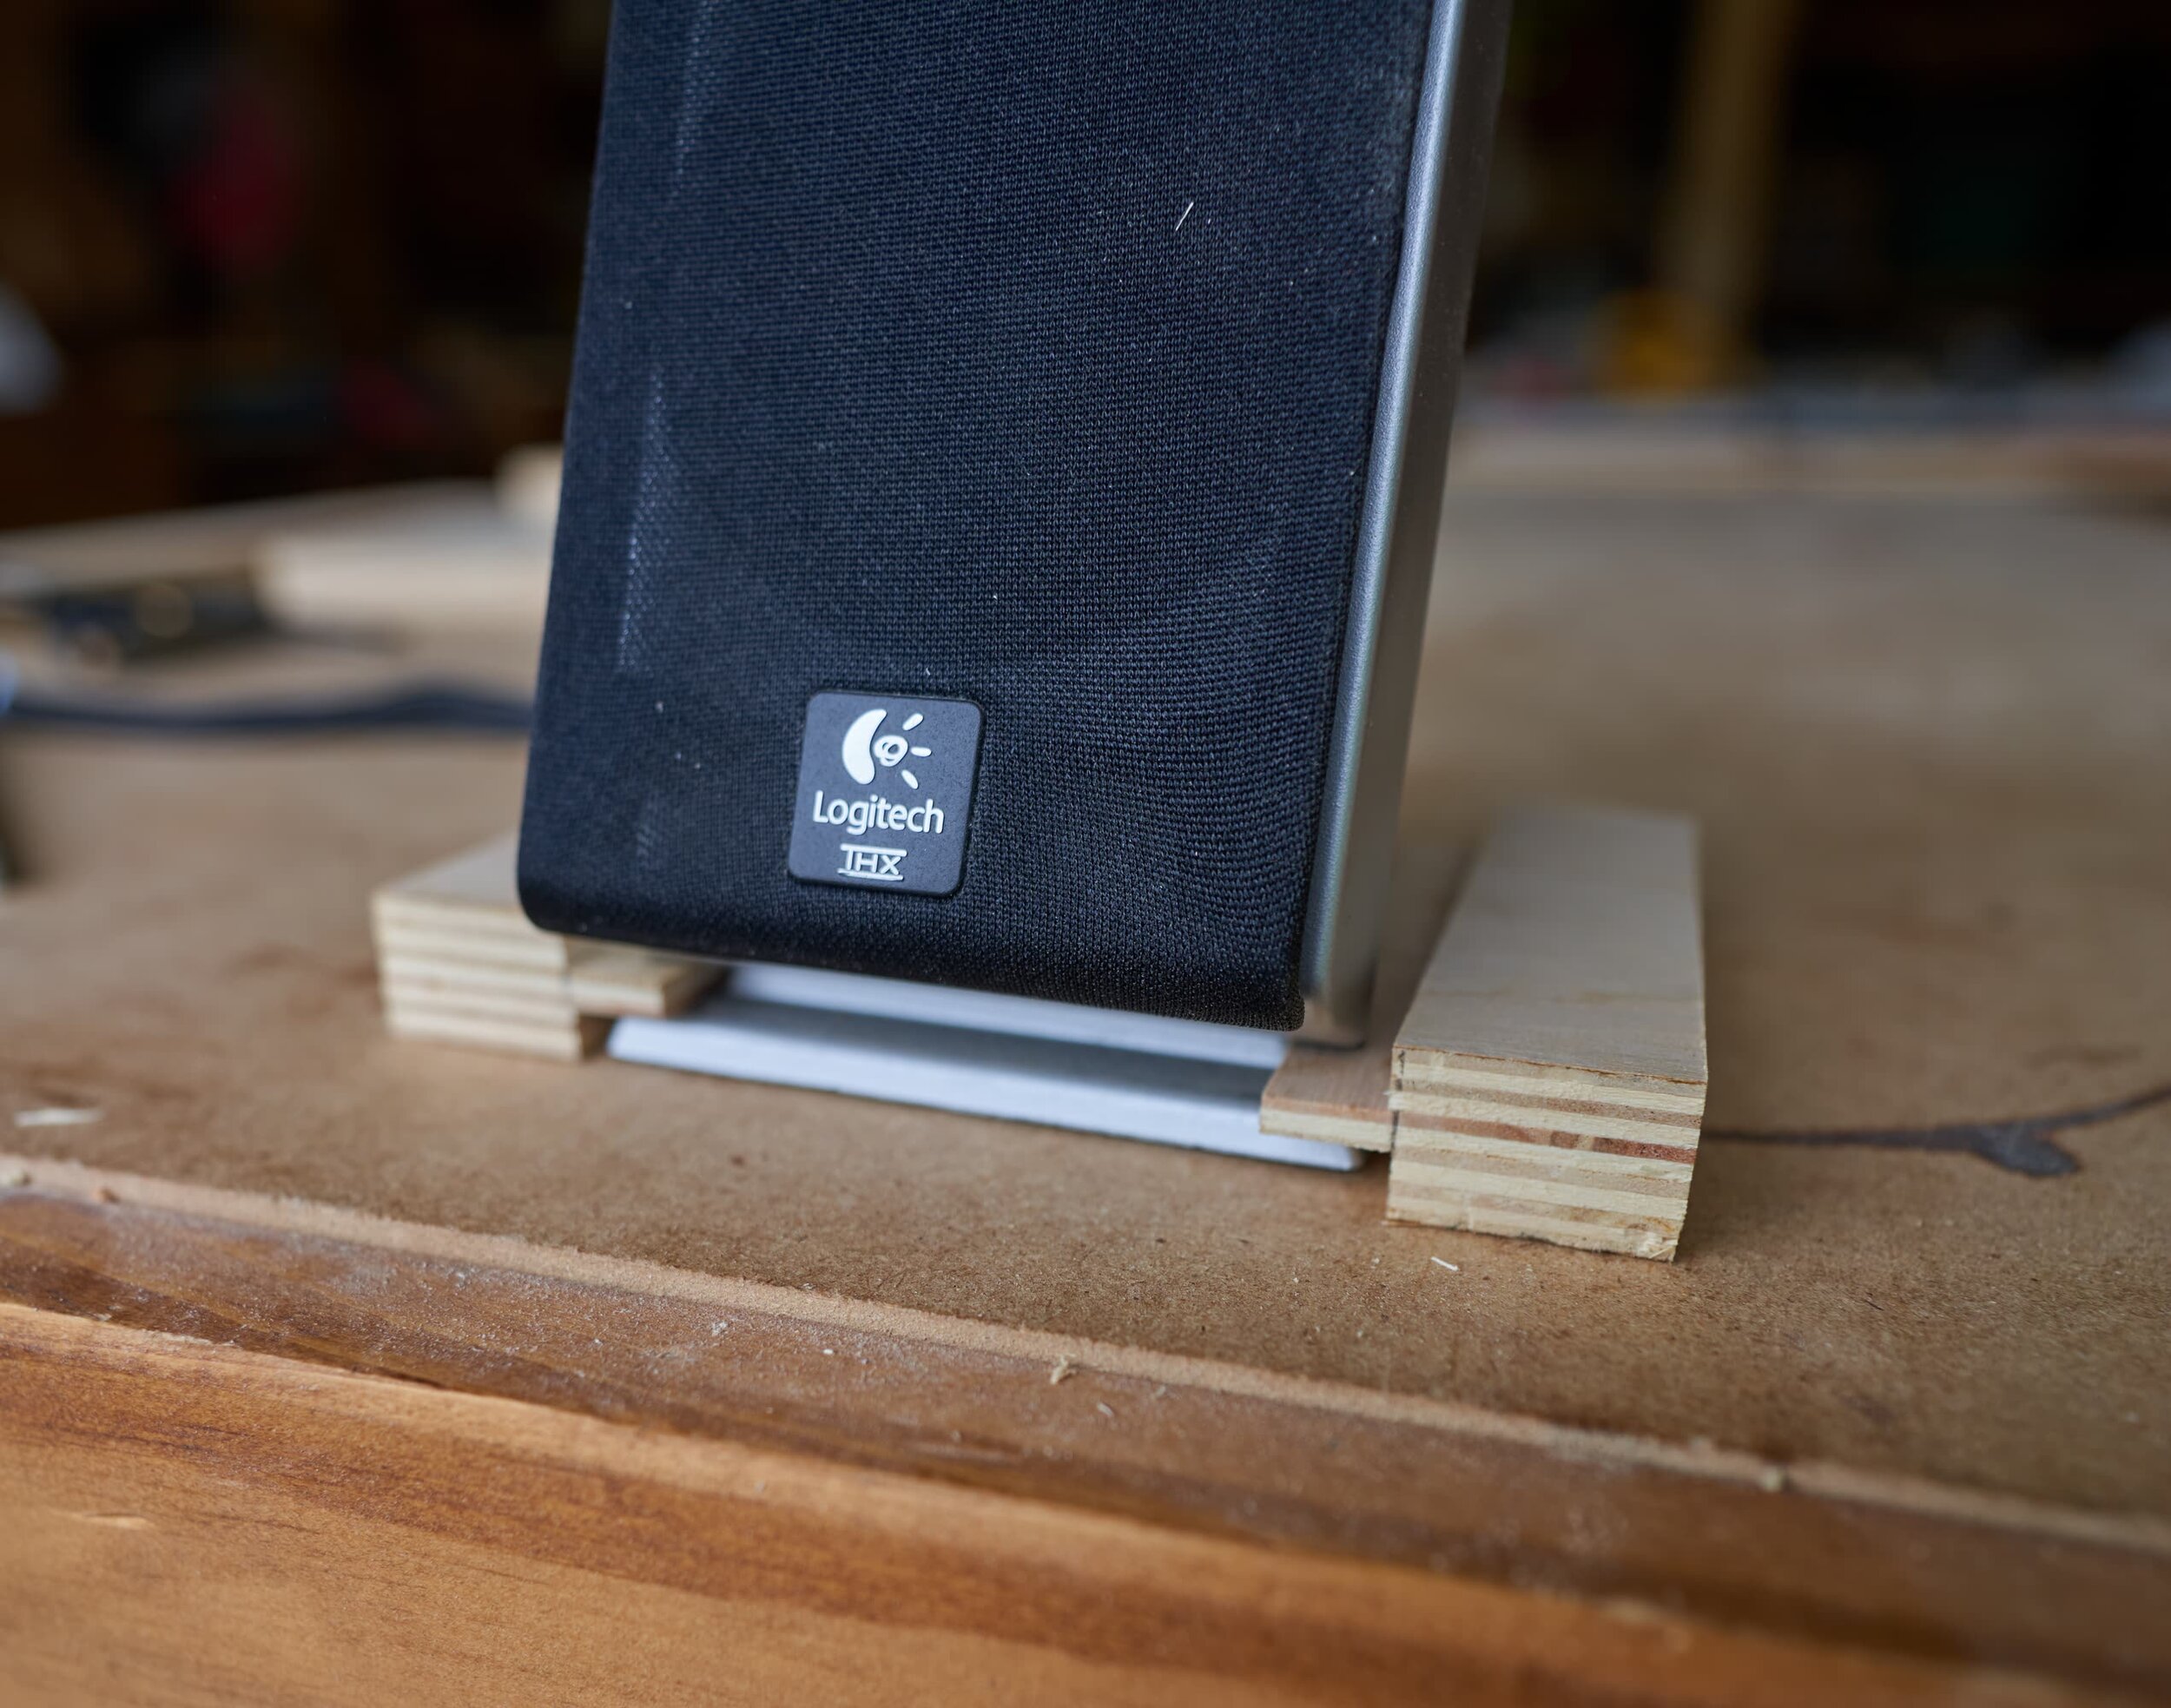
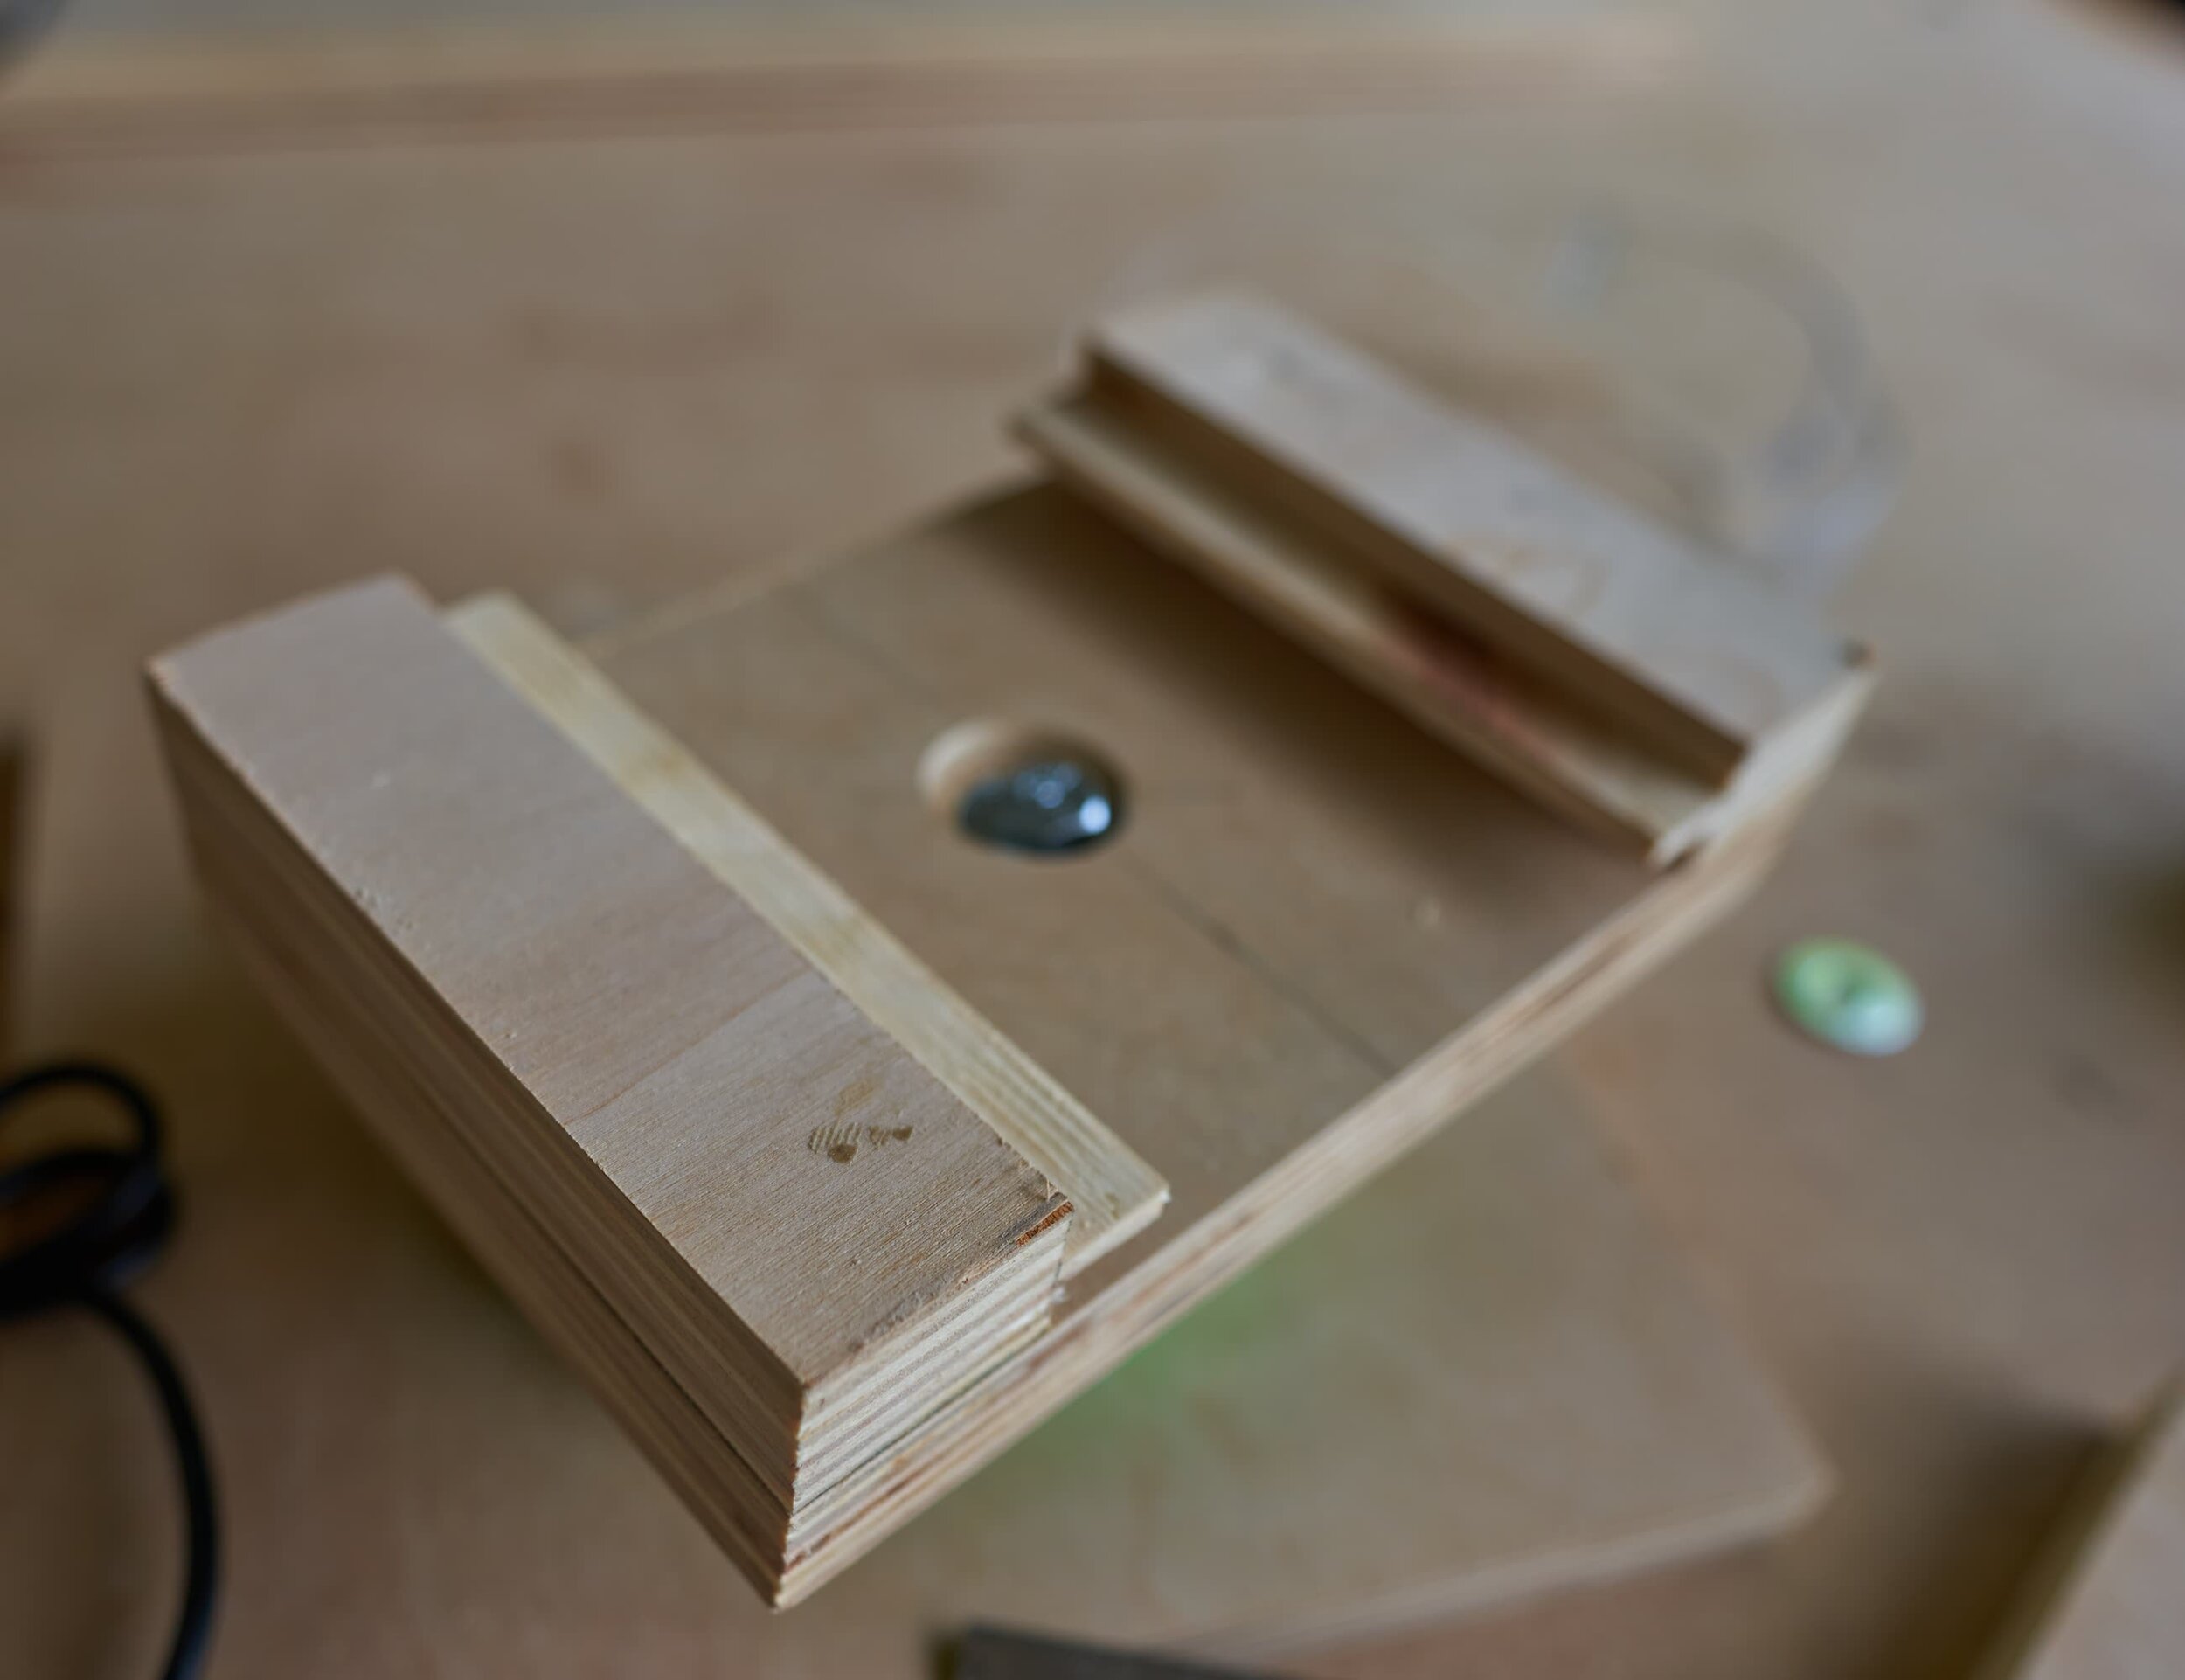
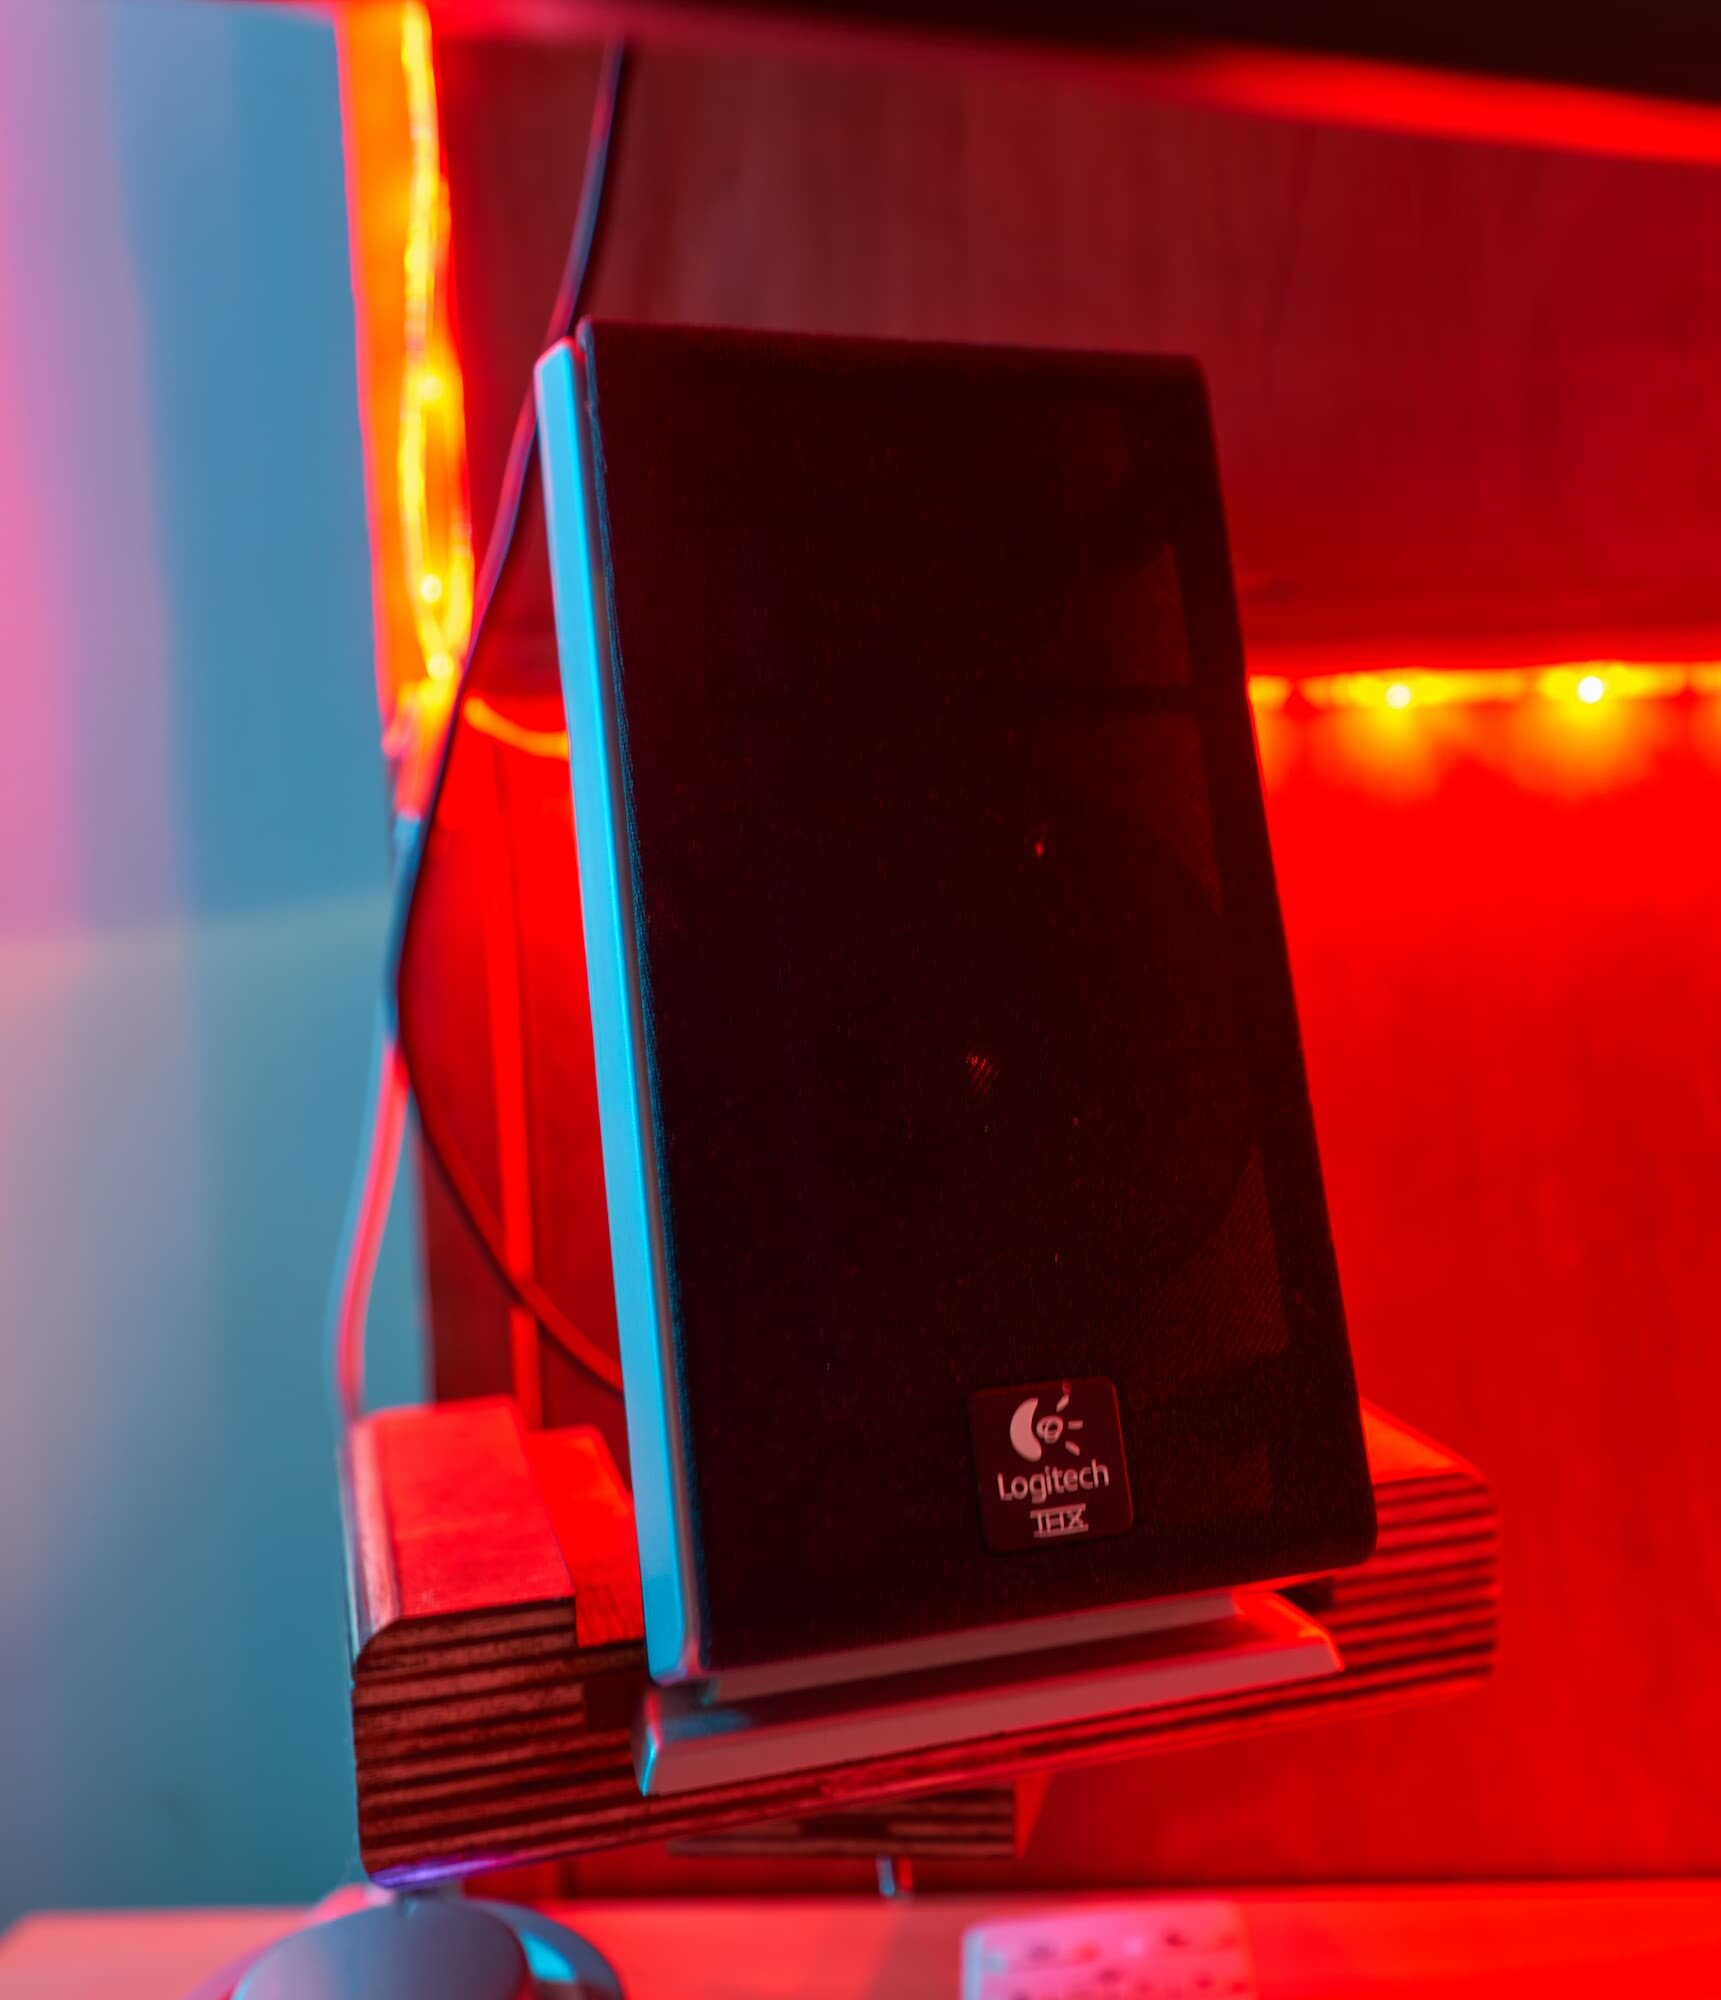
Step 6: Mounting the speakers
The Logitech Z2300 speakers I use for this computer don’t have an easy way to wall-mount the satellites so I had to get a bit crafty to get these speakers off the desktop.
Step 7: Overhead cubby
I made this cubby almost exactly like the cubby on my Mk I desk so it was super easy to knock out. The only two changes were to use ¾” plywood for the top panel (I used scrap ½” on the other cubby) and to have more options in the adjustable shelving compartment.

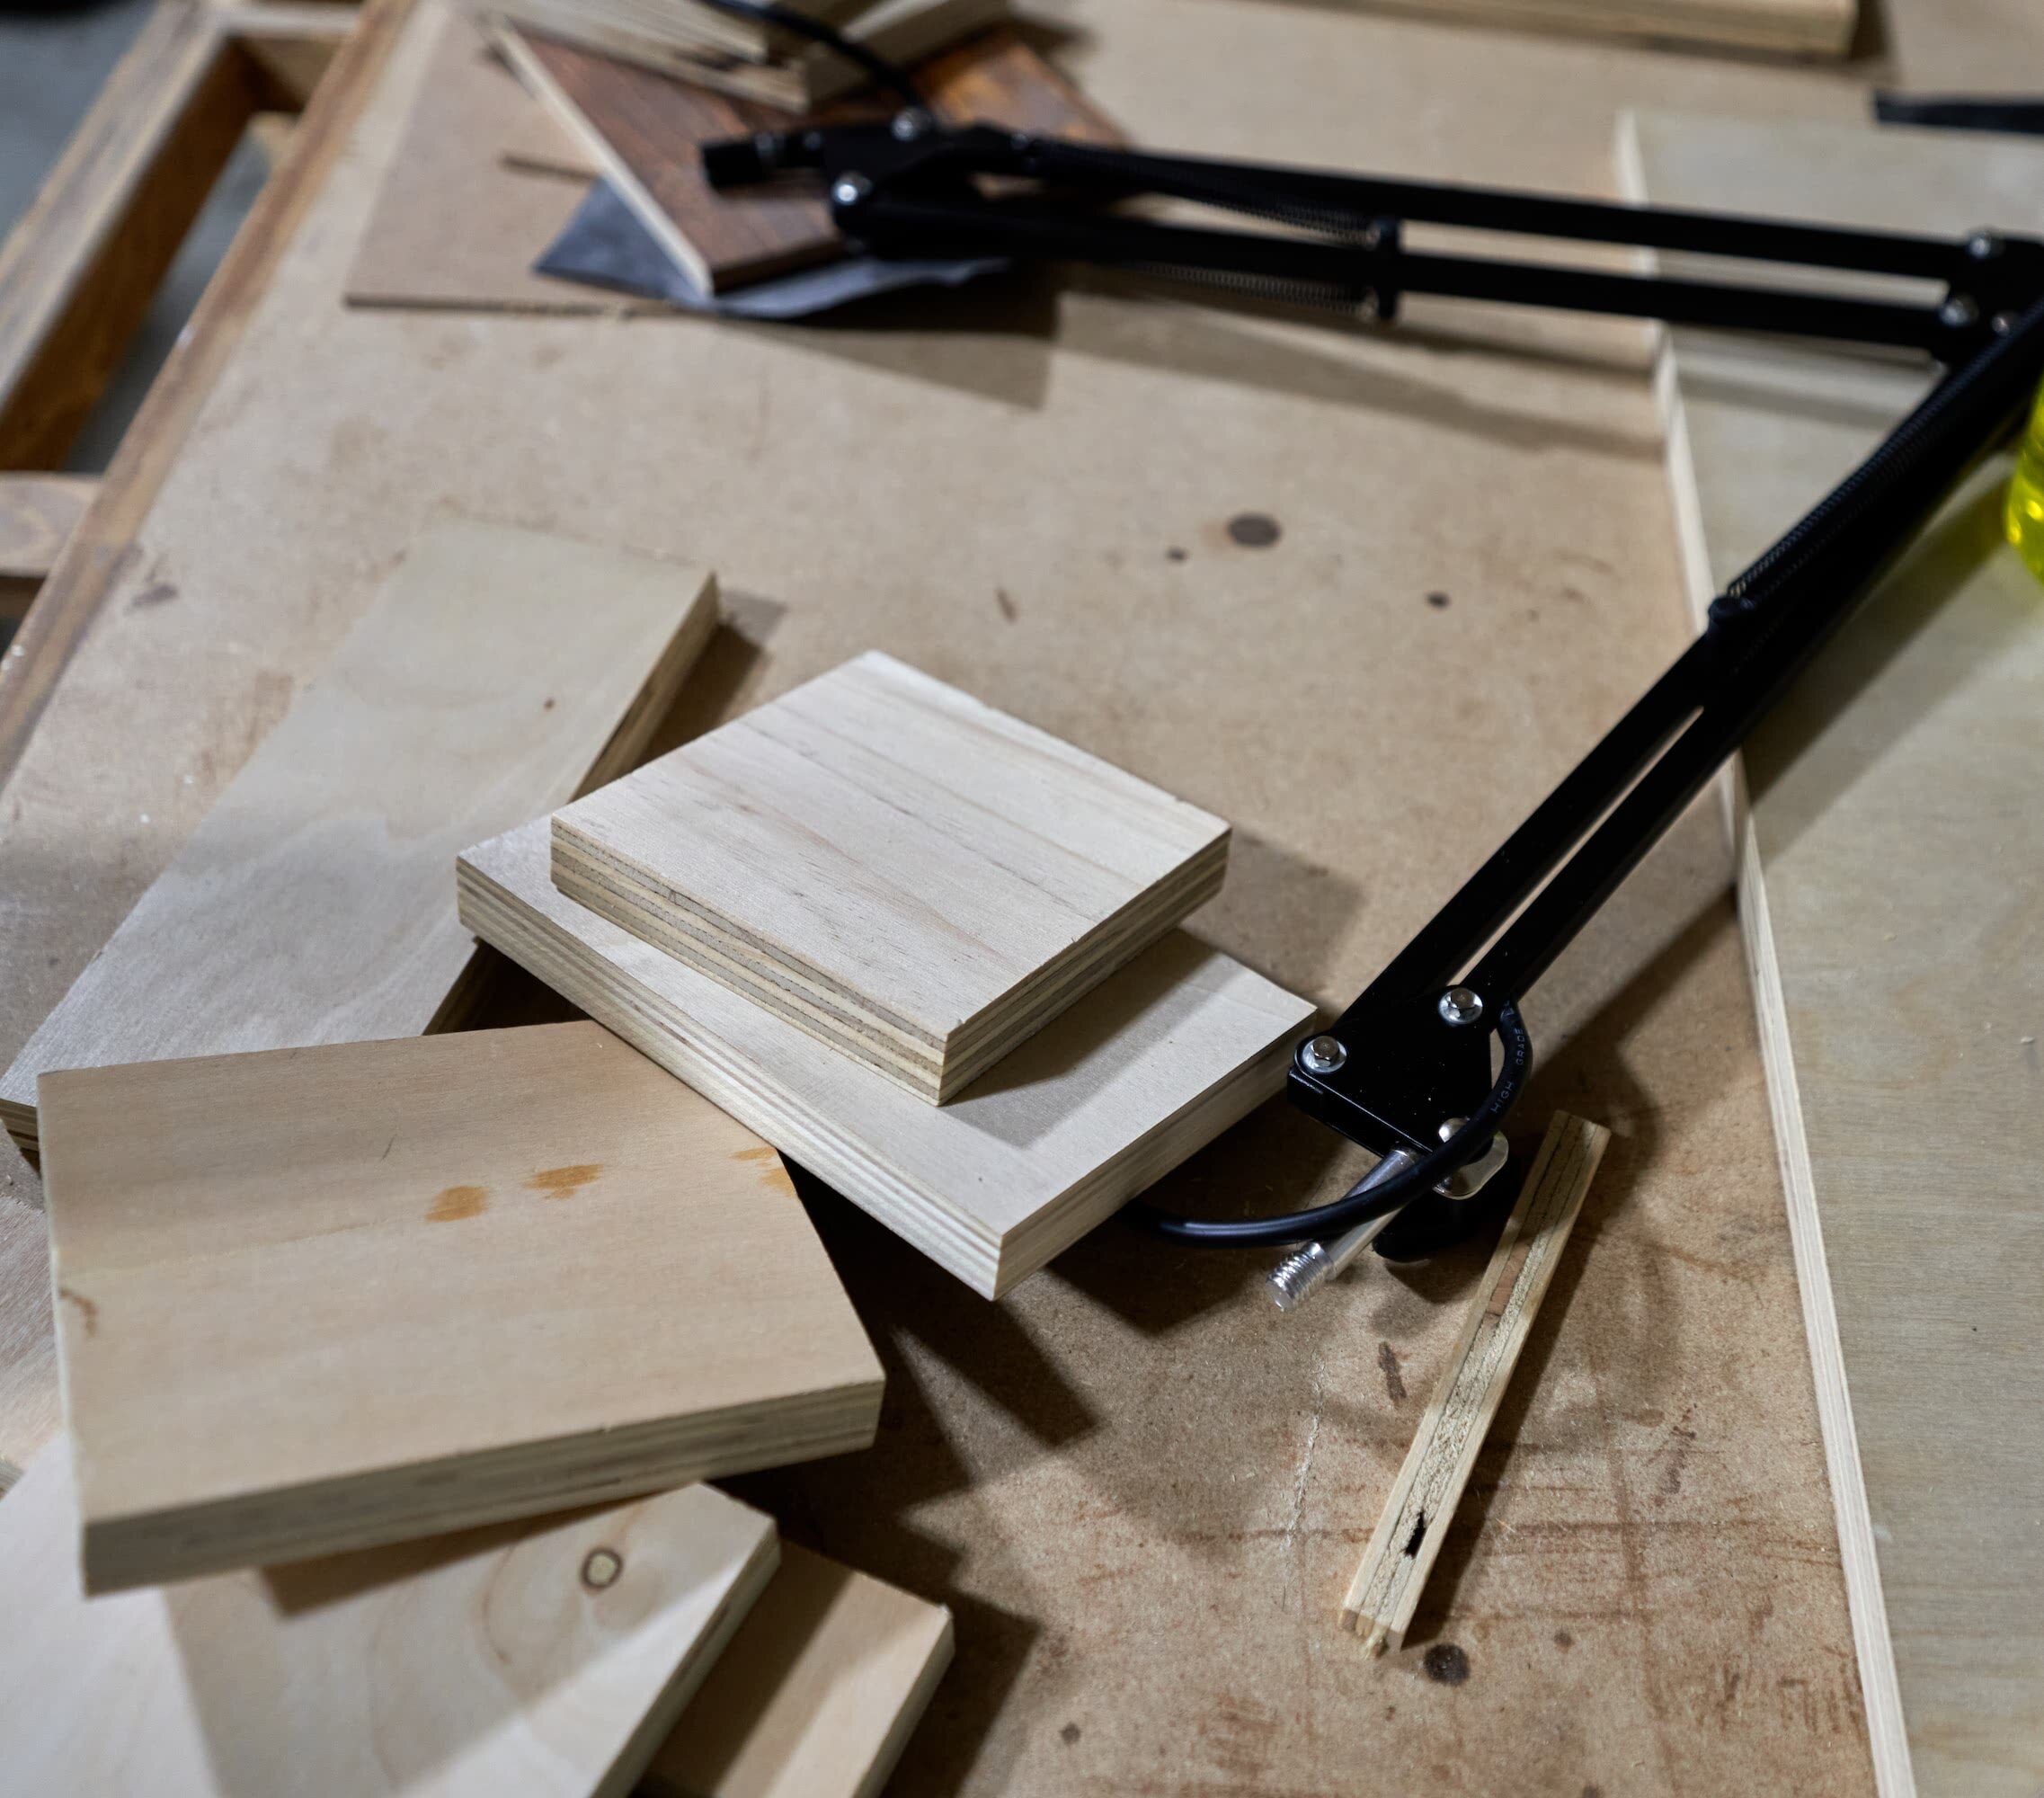
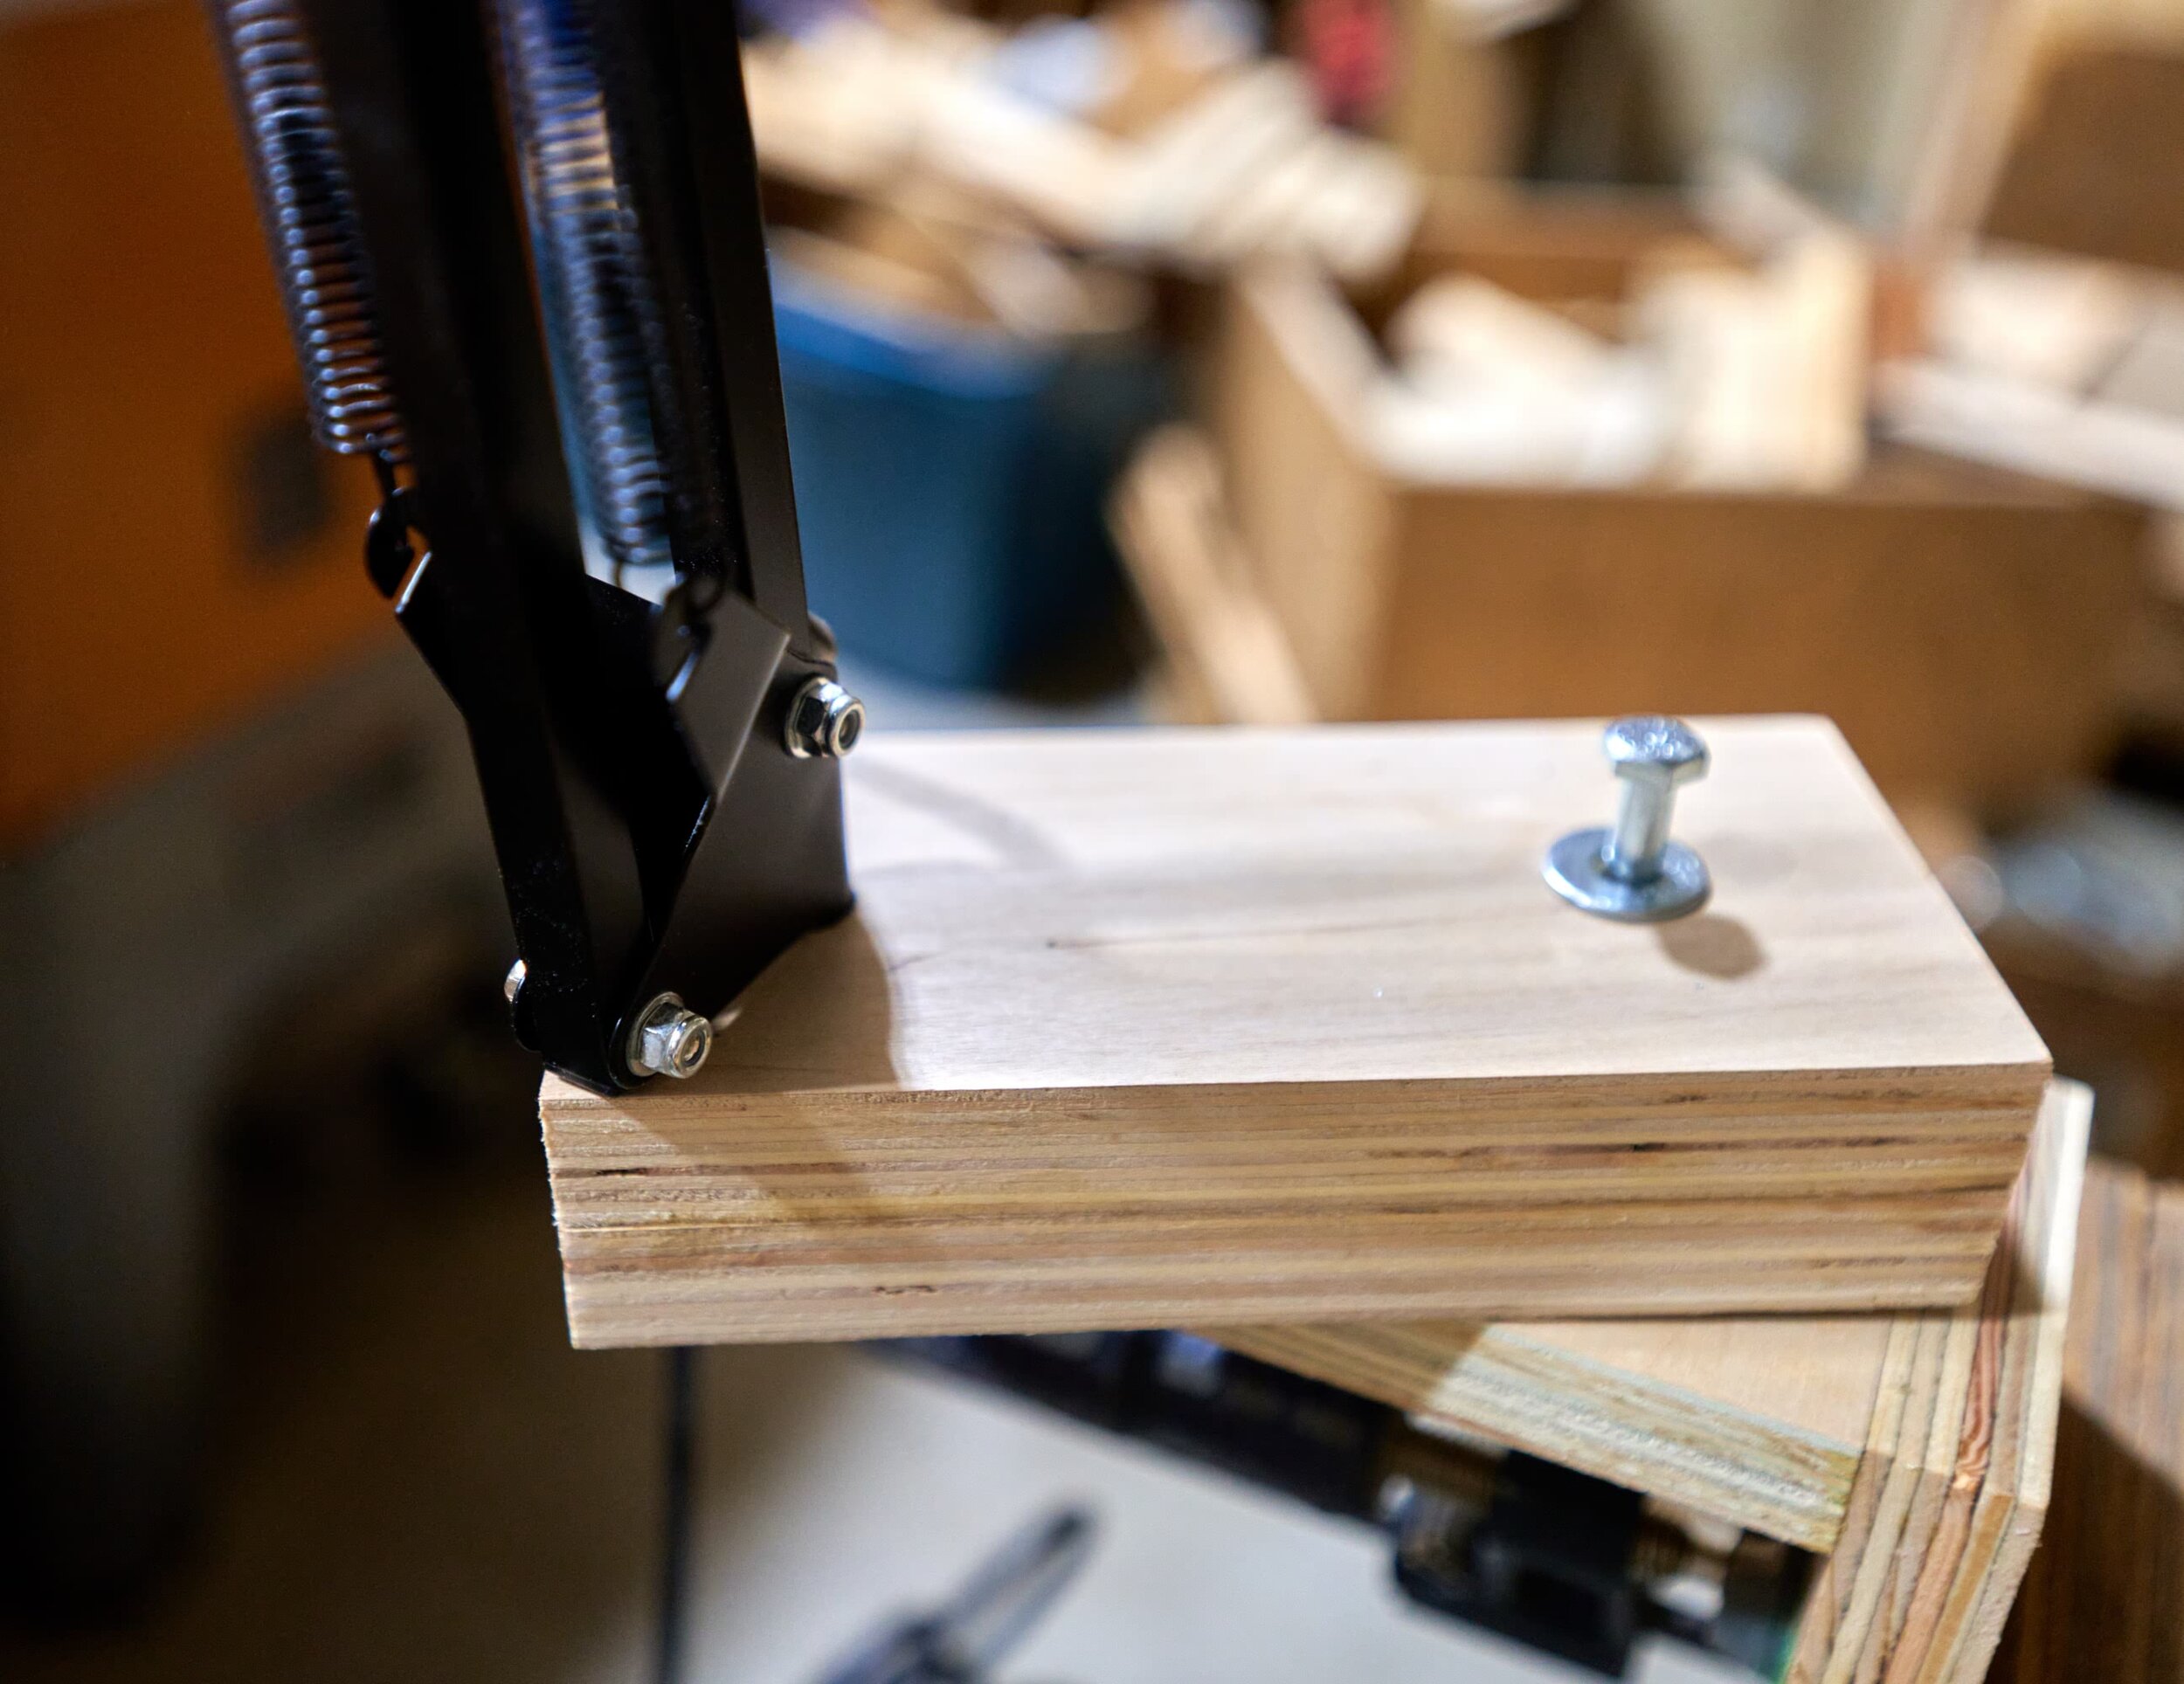
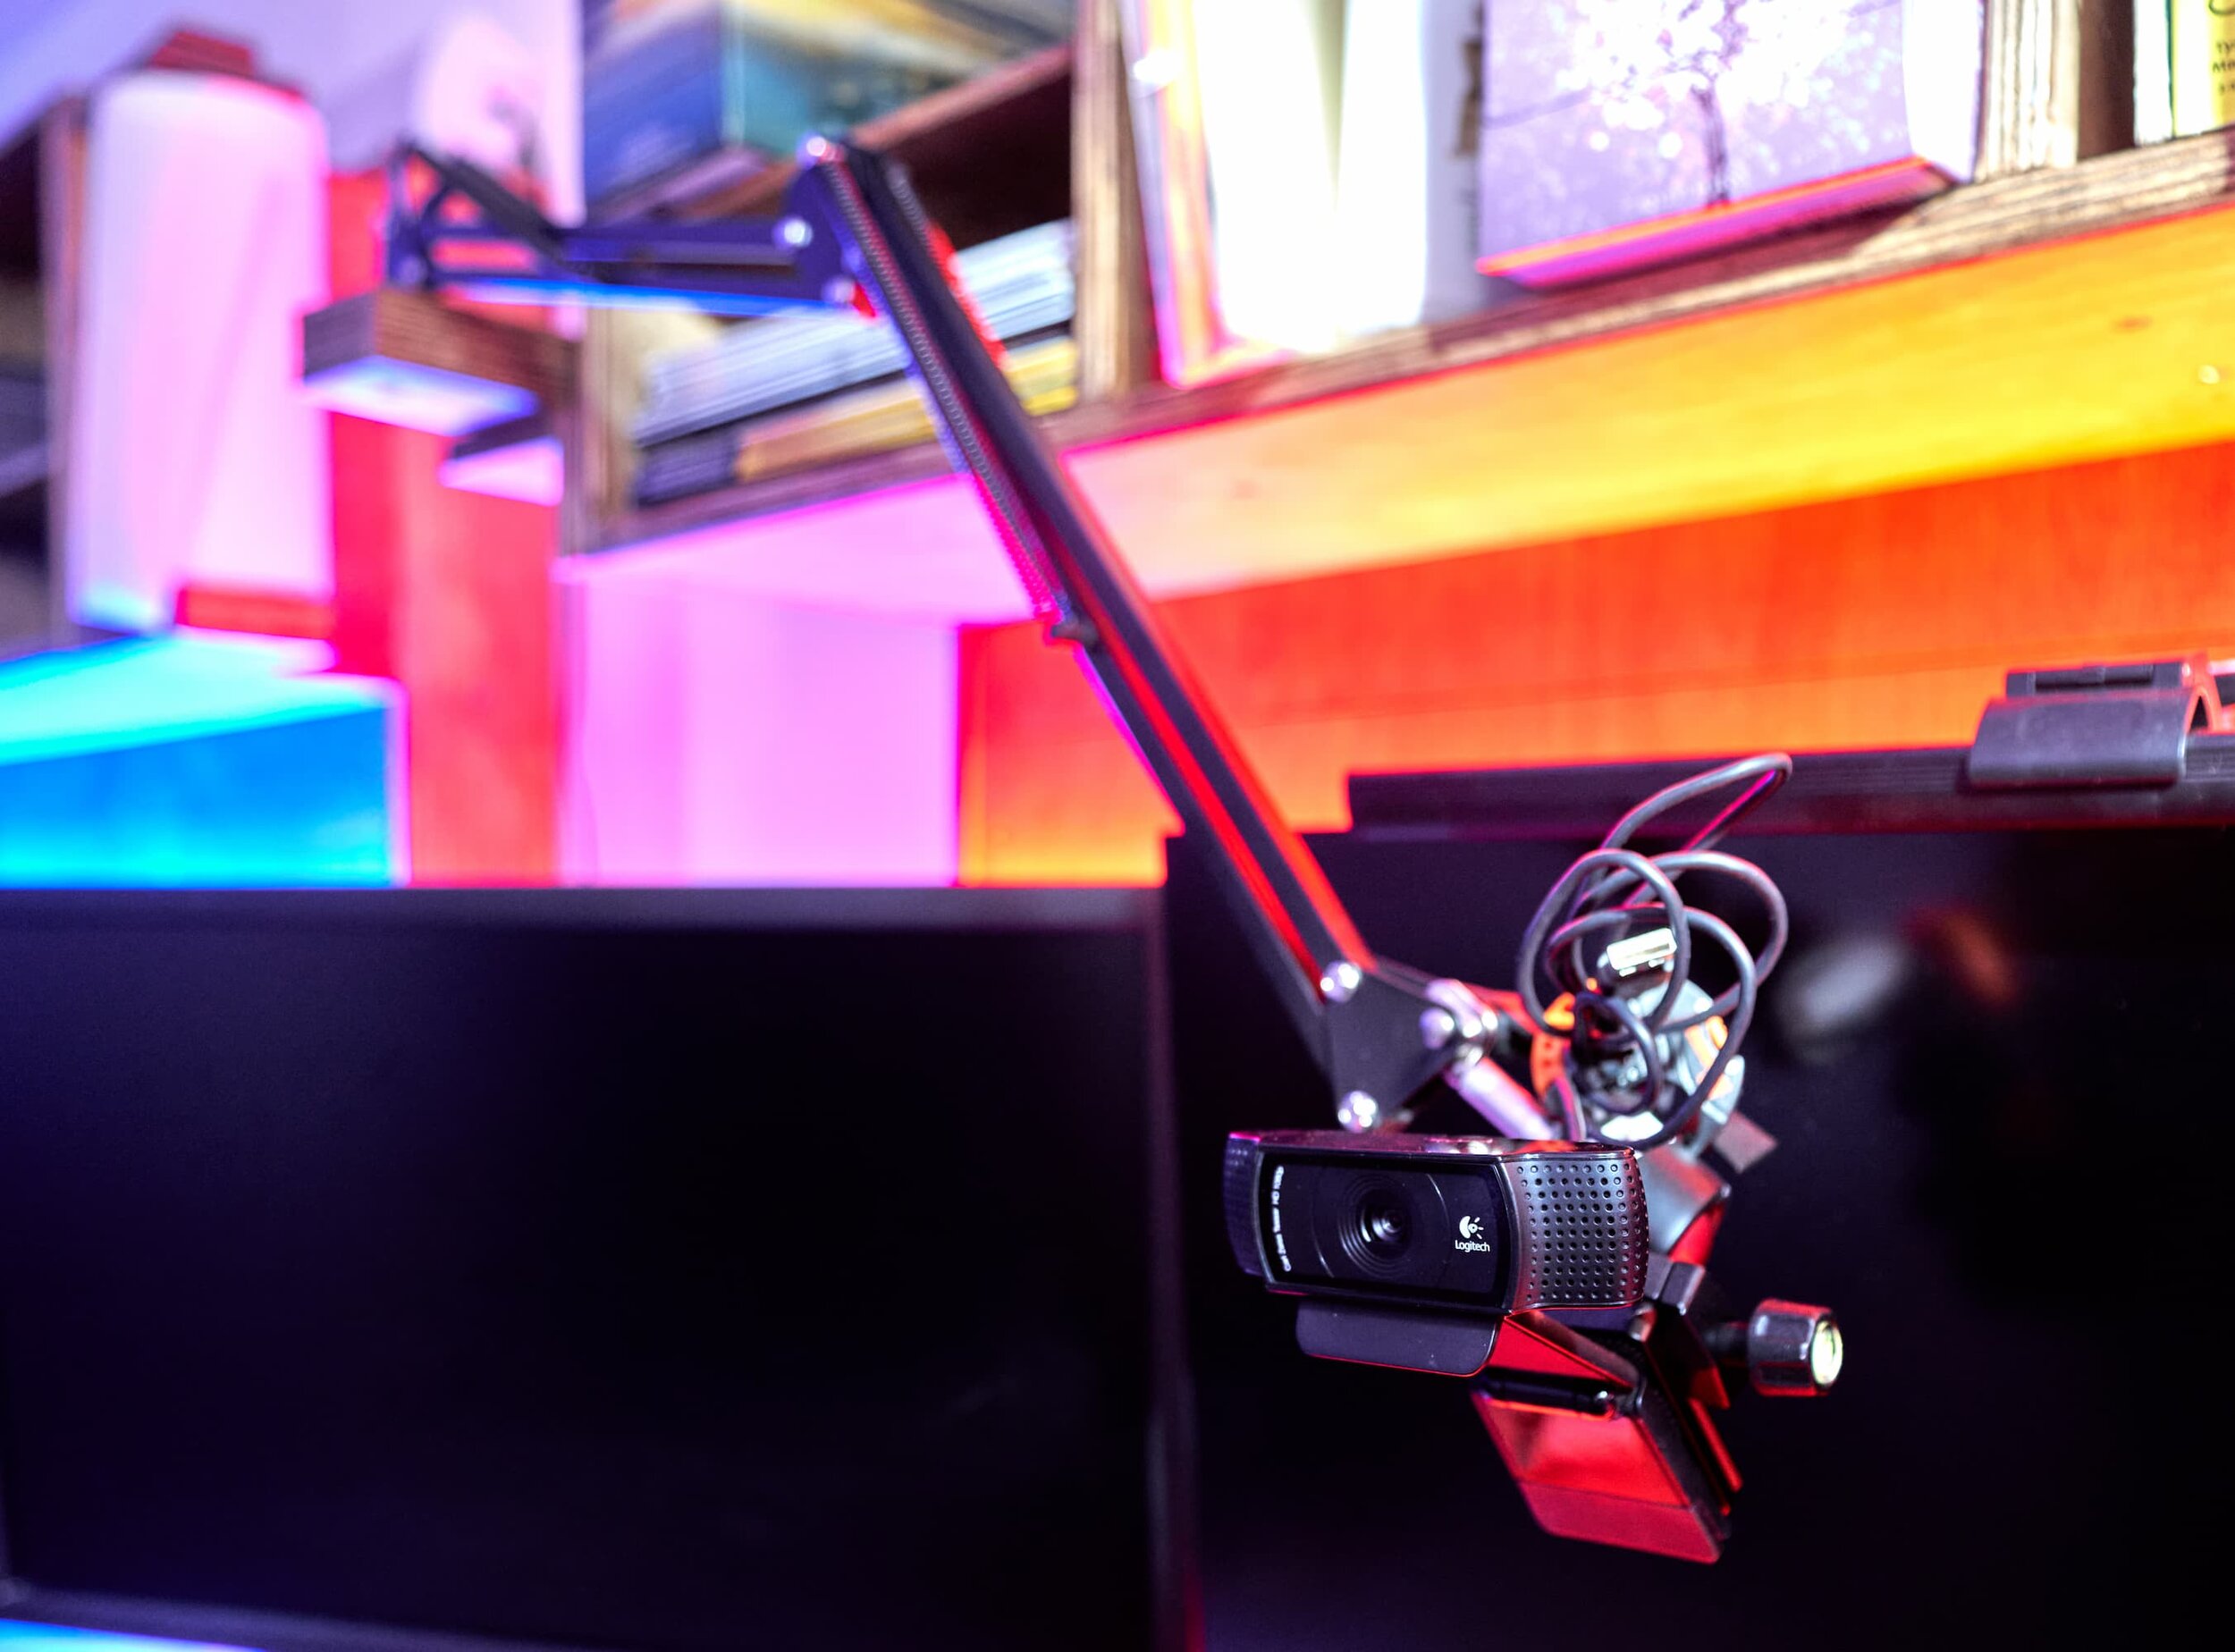
Step 8: Cubby attachments
The overhead cubby provides for a relatively solid attachment point for mounting additional accessories. To support her conference calls, I had mounted a webcam on a boom arm. The boom arm has a ball-head mount on it and the webcam attaches via a quick release plate. This allows the webcam to be swapped out for any other compatible accessory.

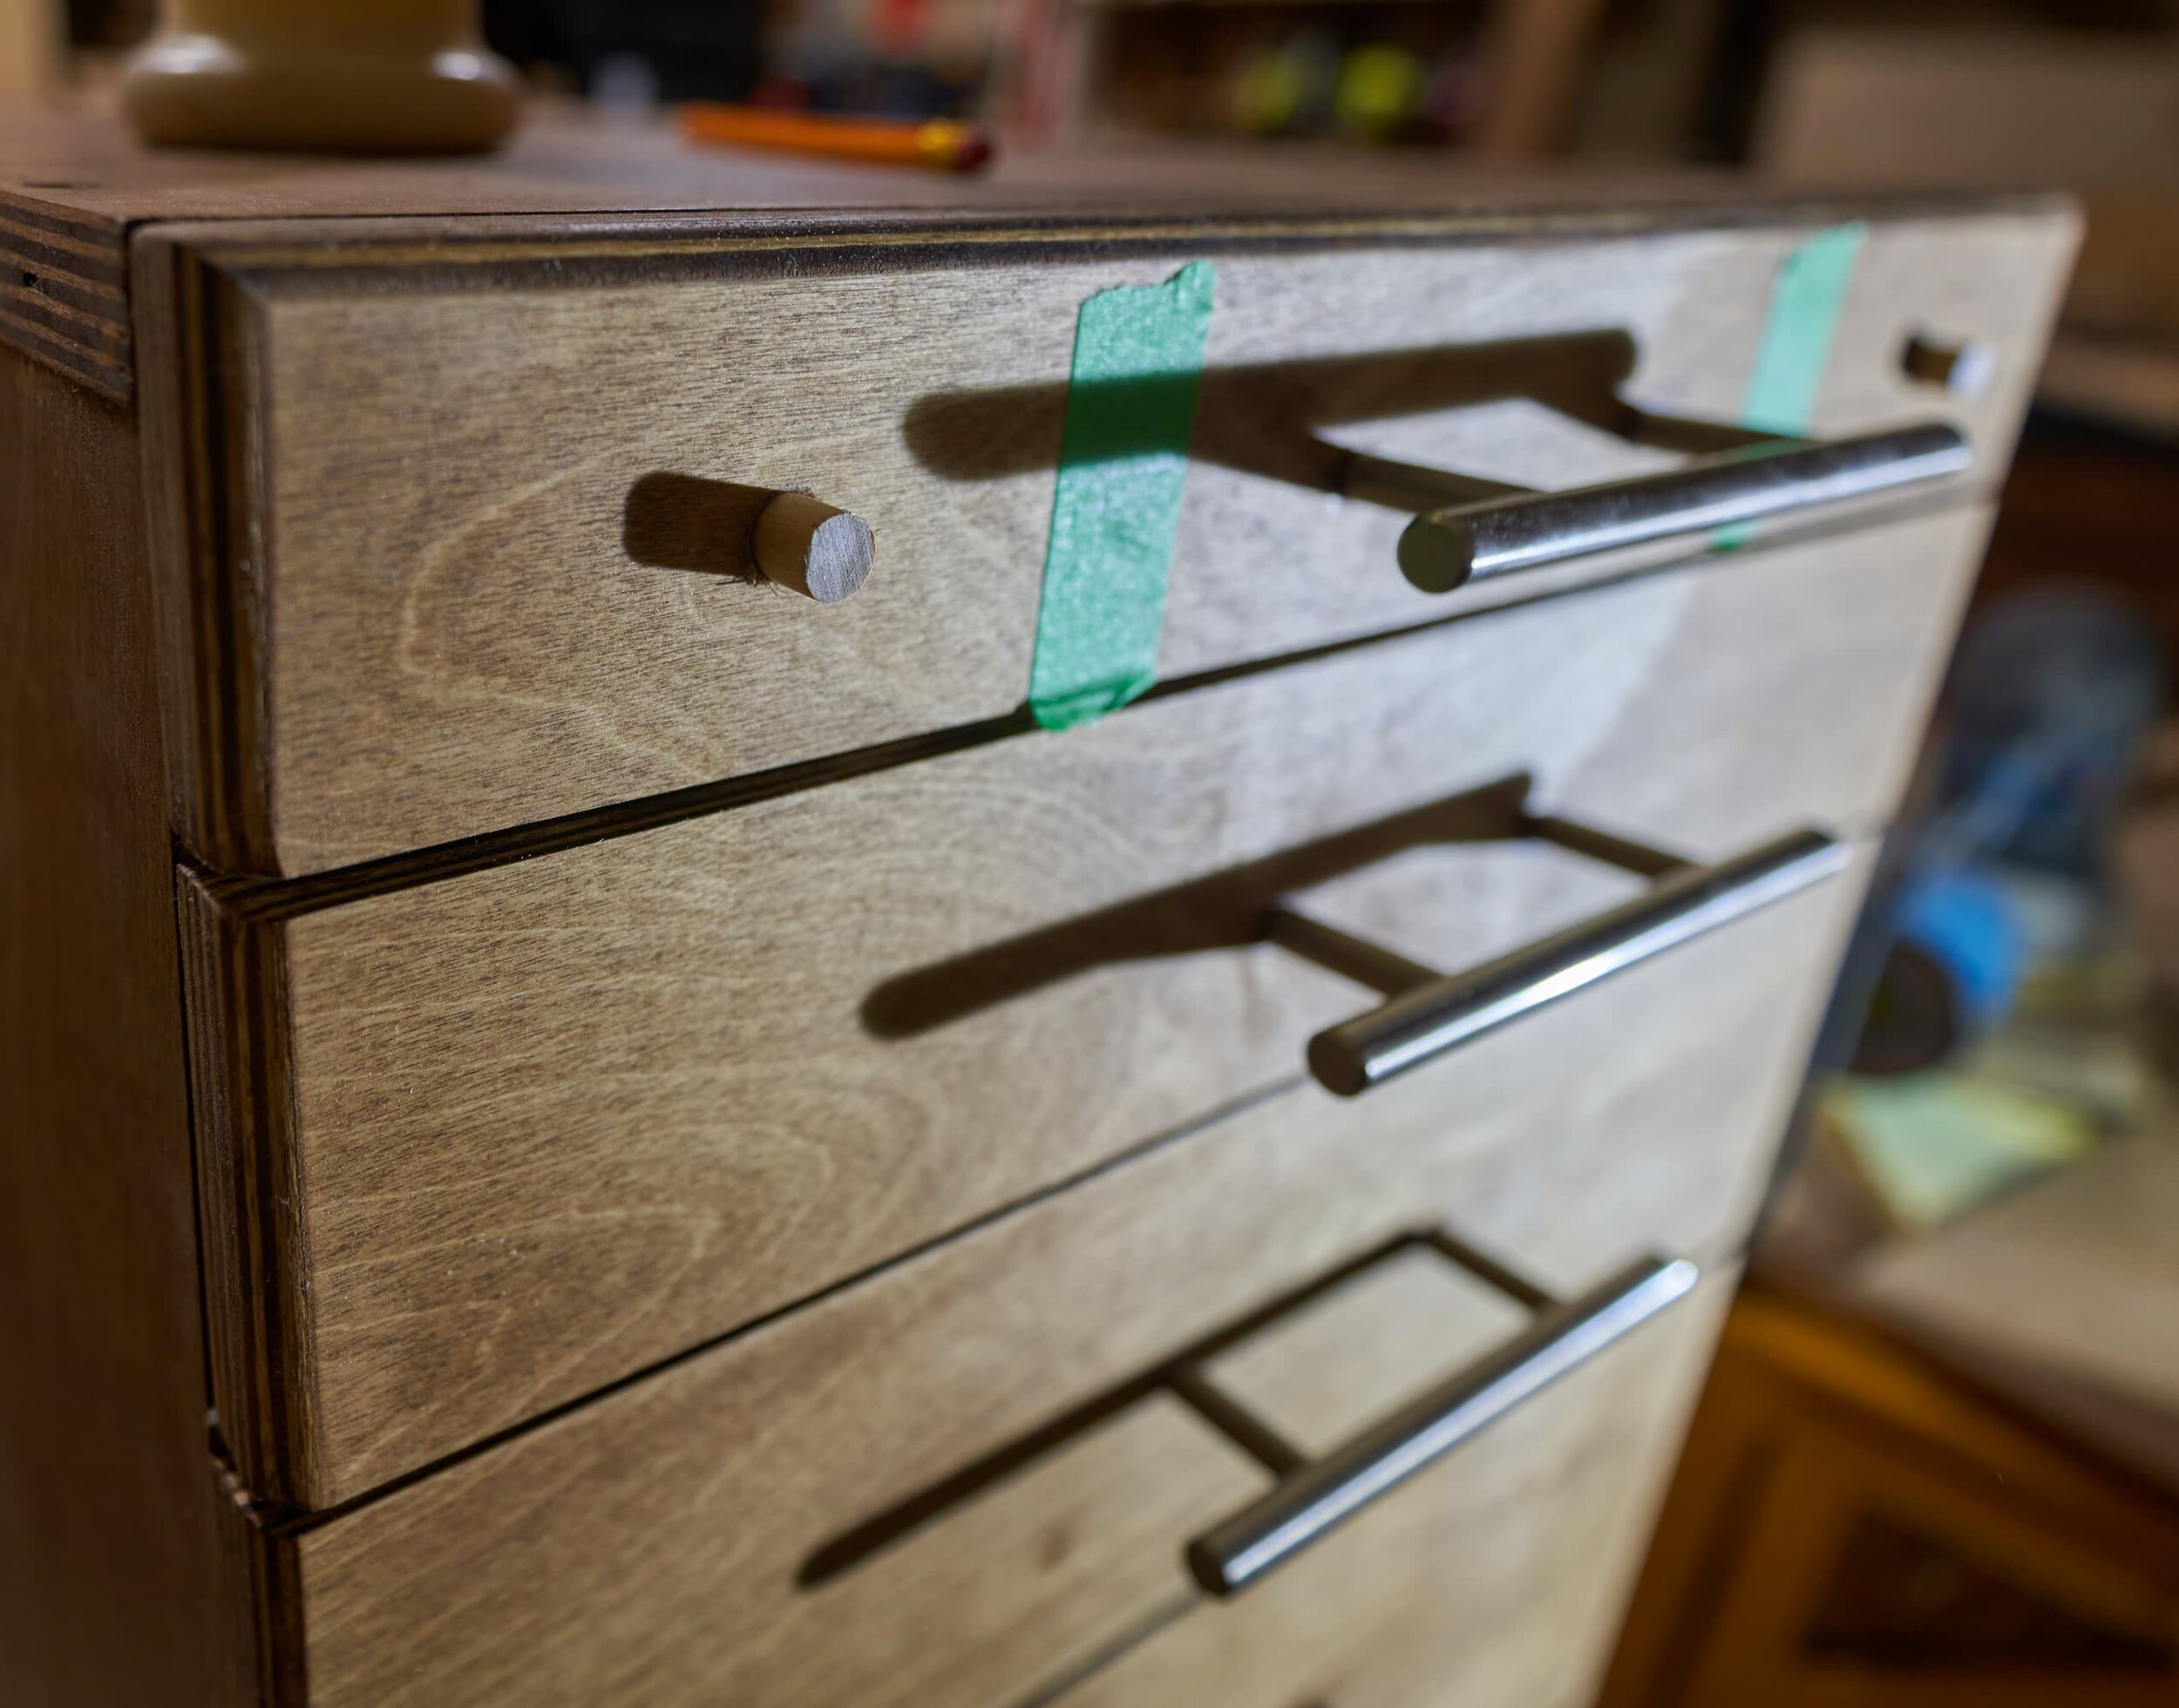
Step 9: Furniture additions
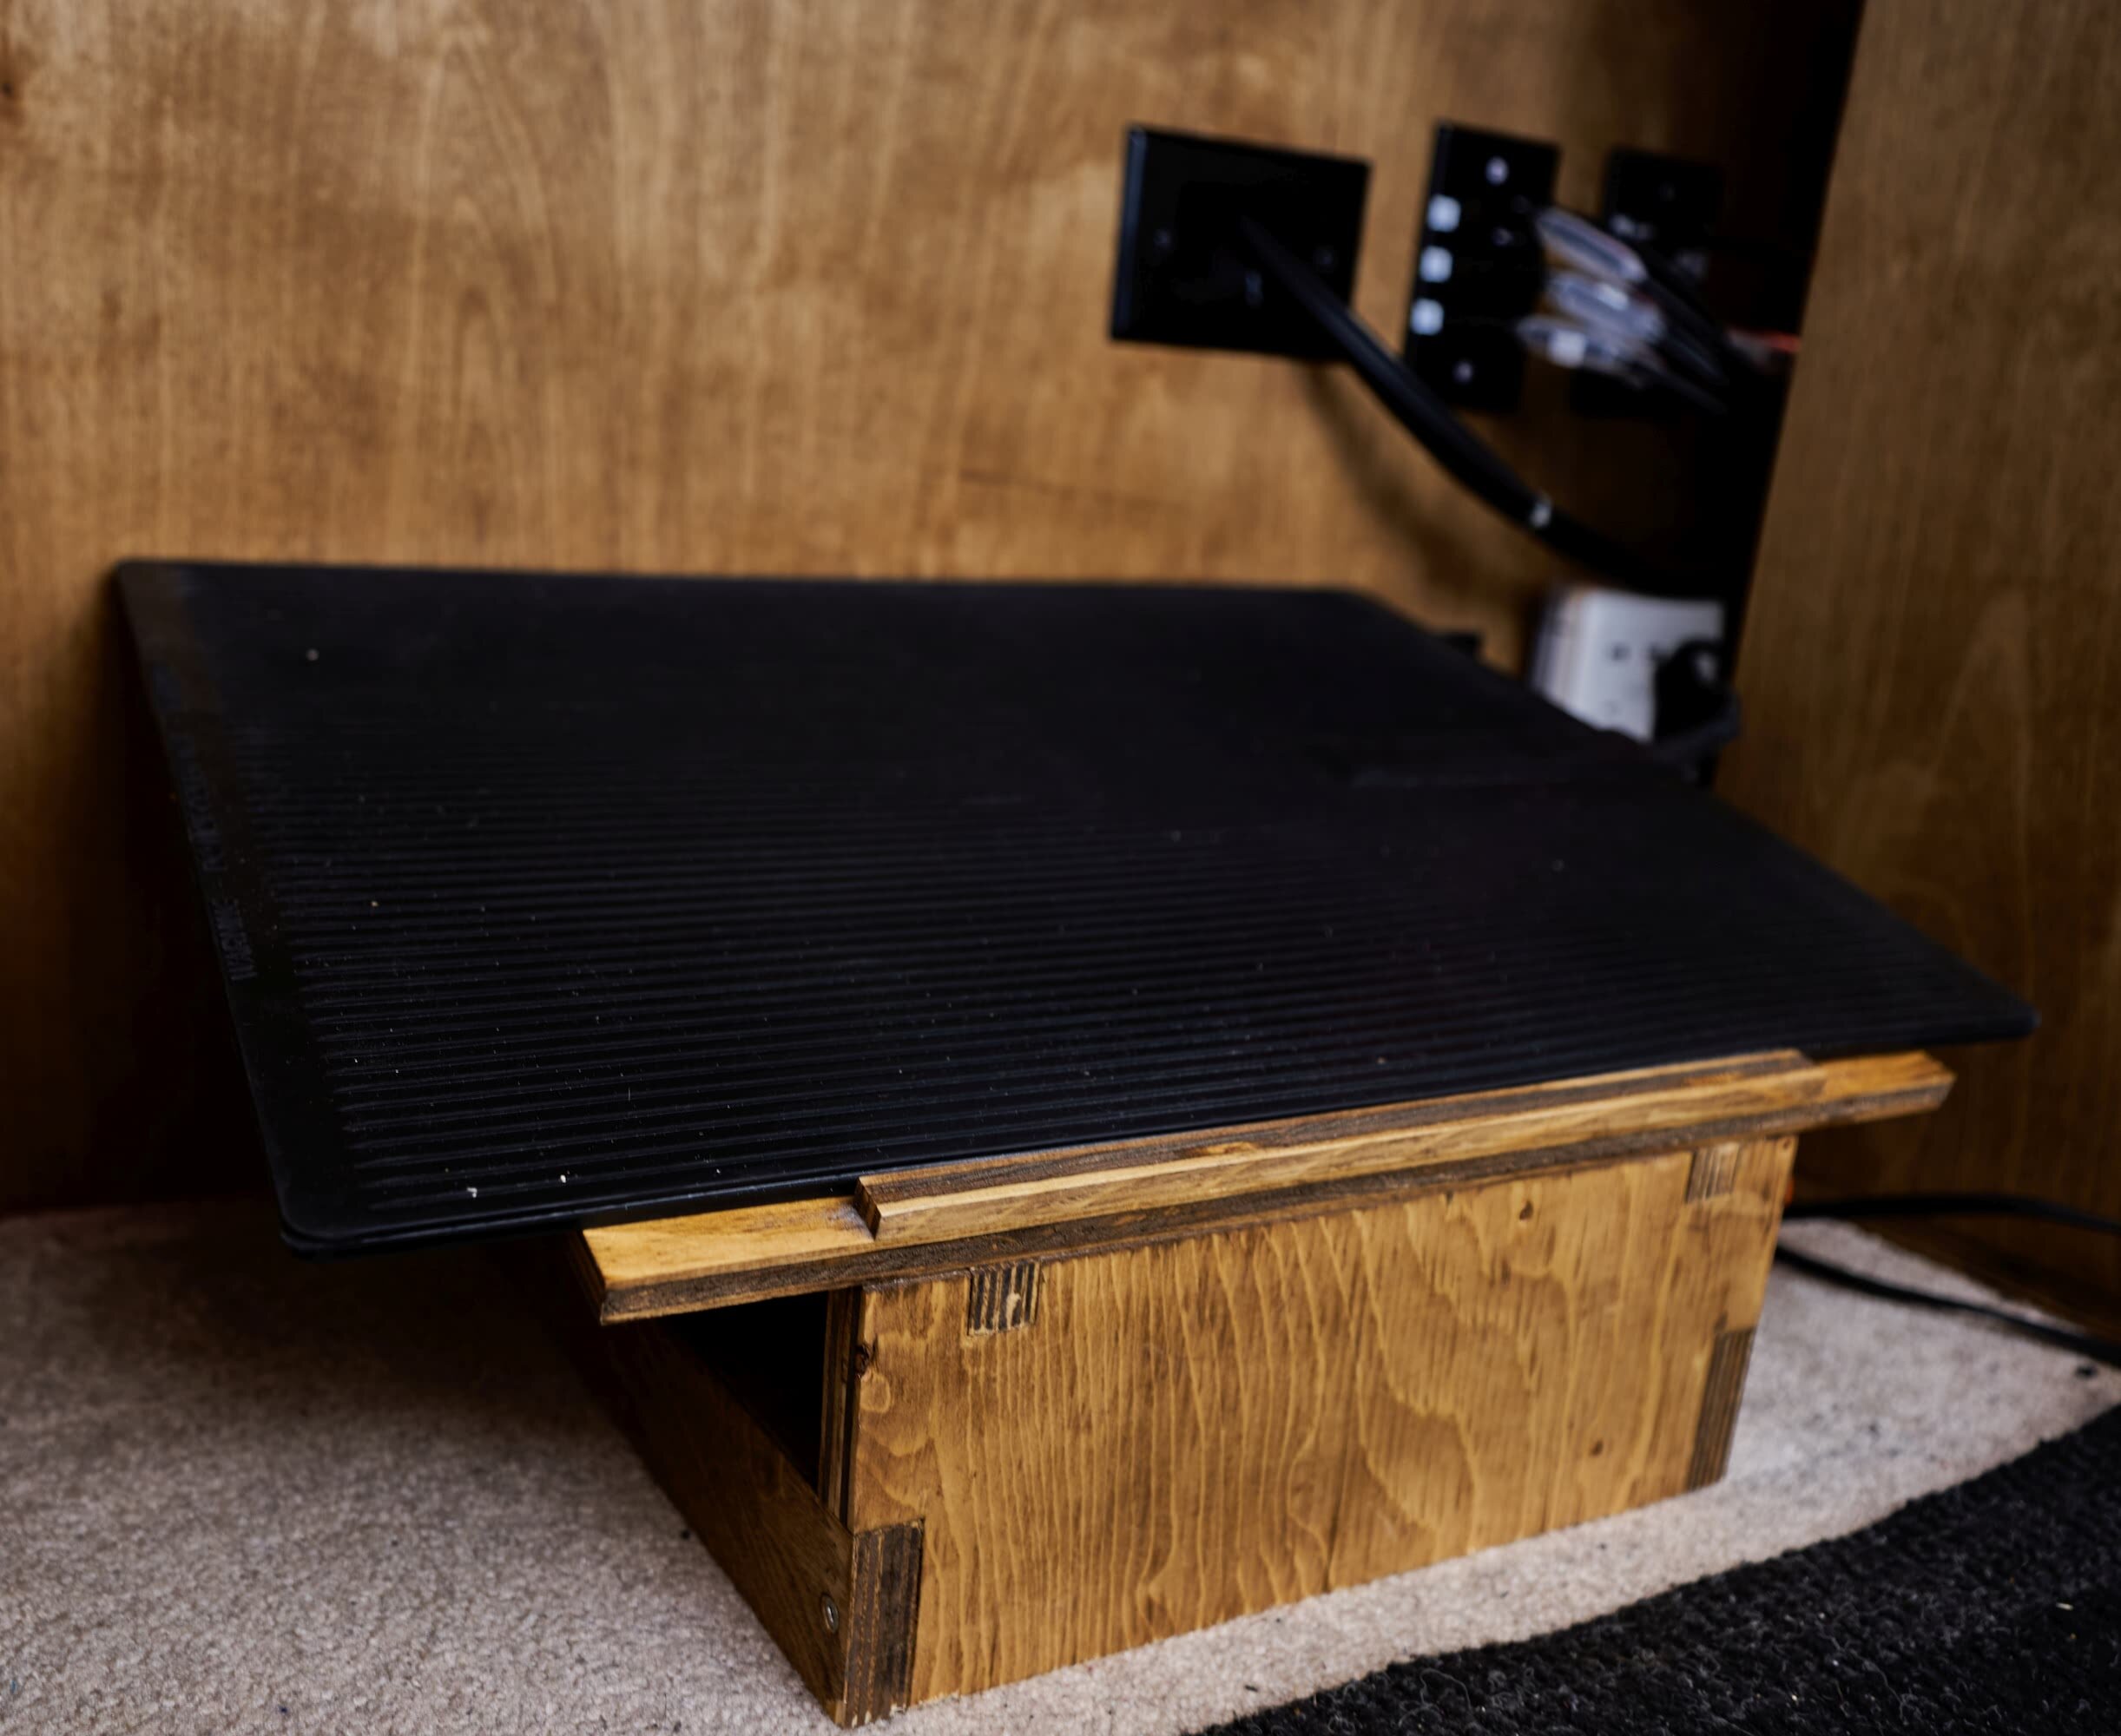
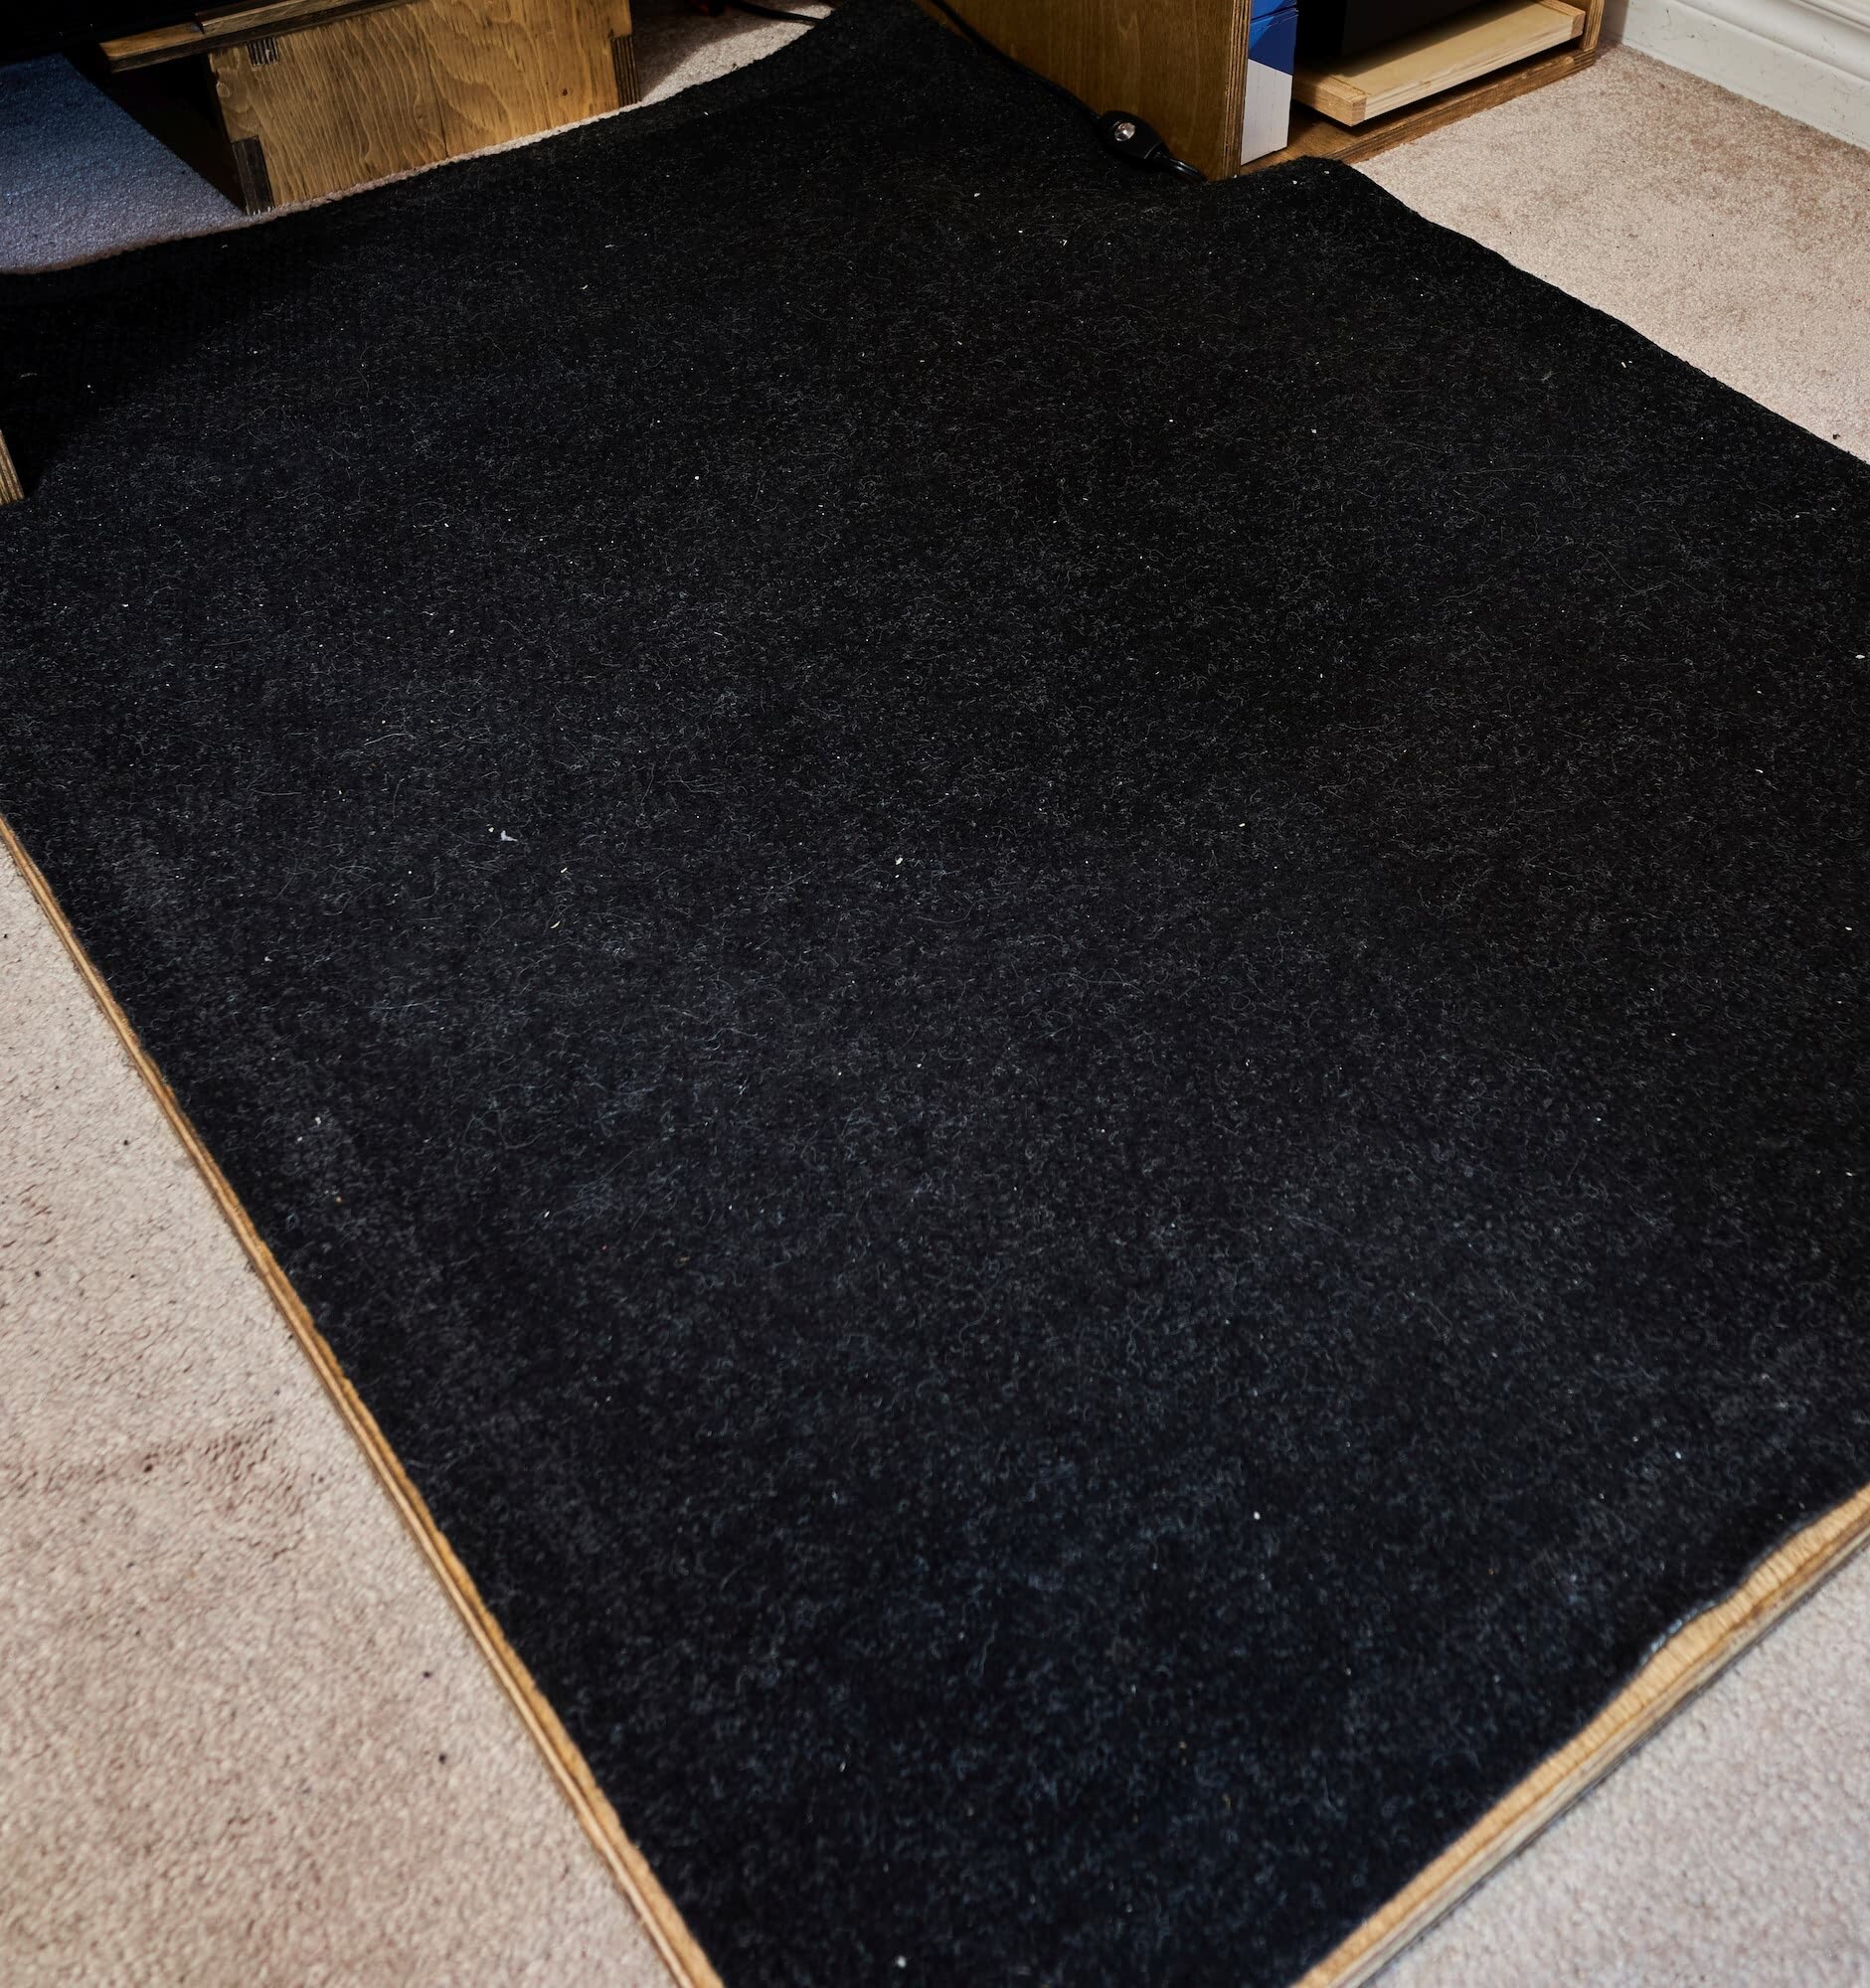
My wife and I have used the IKEA Markus chair for years now - we feel it’s a great chair for the price point, but since she now works from home full-time, it made sense to get a slightly more ergonomic chair. It might be a bit controversial but we went with the Autonomous Ergochair 2 - an easy choice since I was gifted it. To support the seat change though, we’re going to add a footrest and floormat.
One unplanned, interesting thing of note: the right cubby is pulled forward about six inches to accommodate ‘general bulkiness’ behind the computer. There are two unintended consequences:
There is an extra six inches revealed on the top surface of the right cabinet — but below the desktop surface). As odd as it sounds, this actually works out great and gives a spot ‘off the desk’ to put small doodads — like a phone.
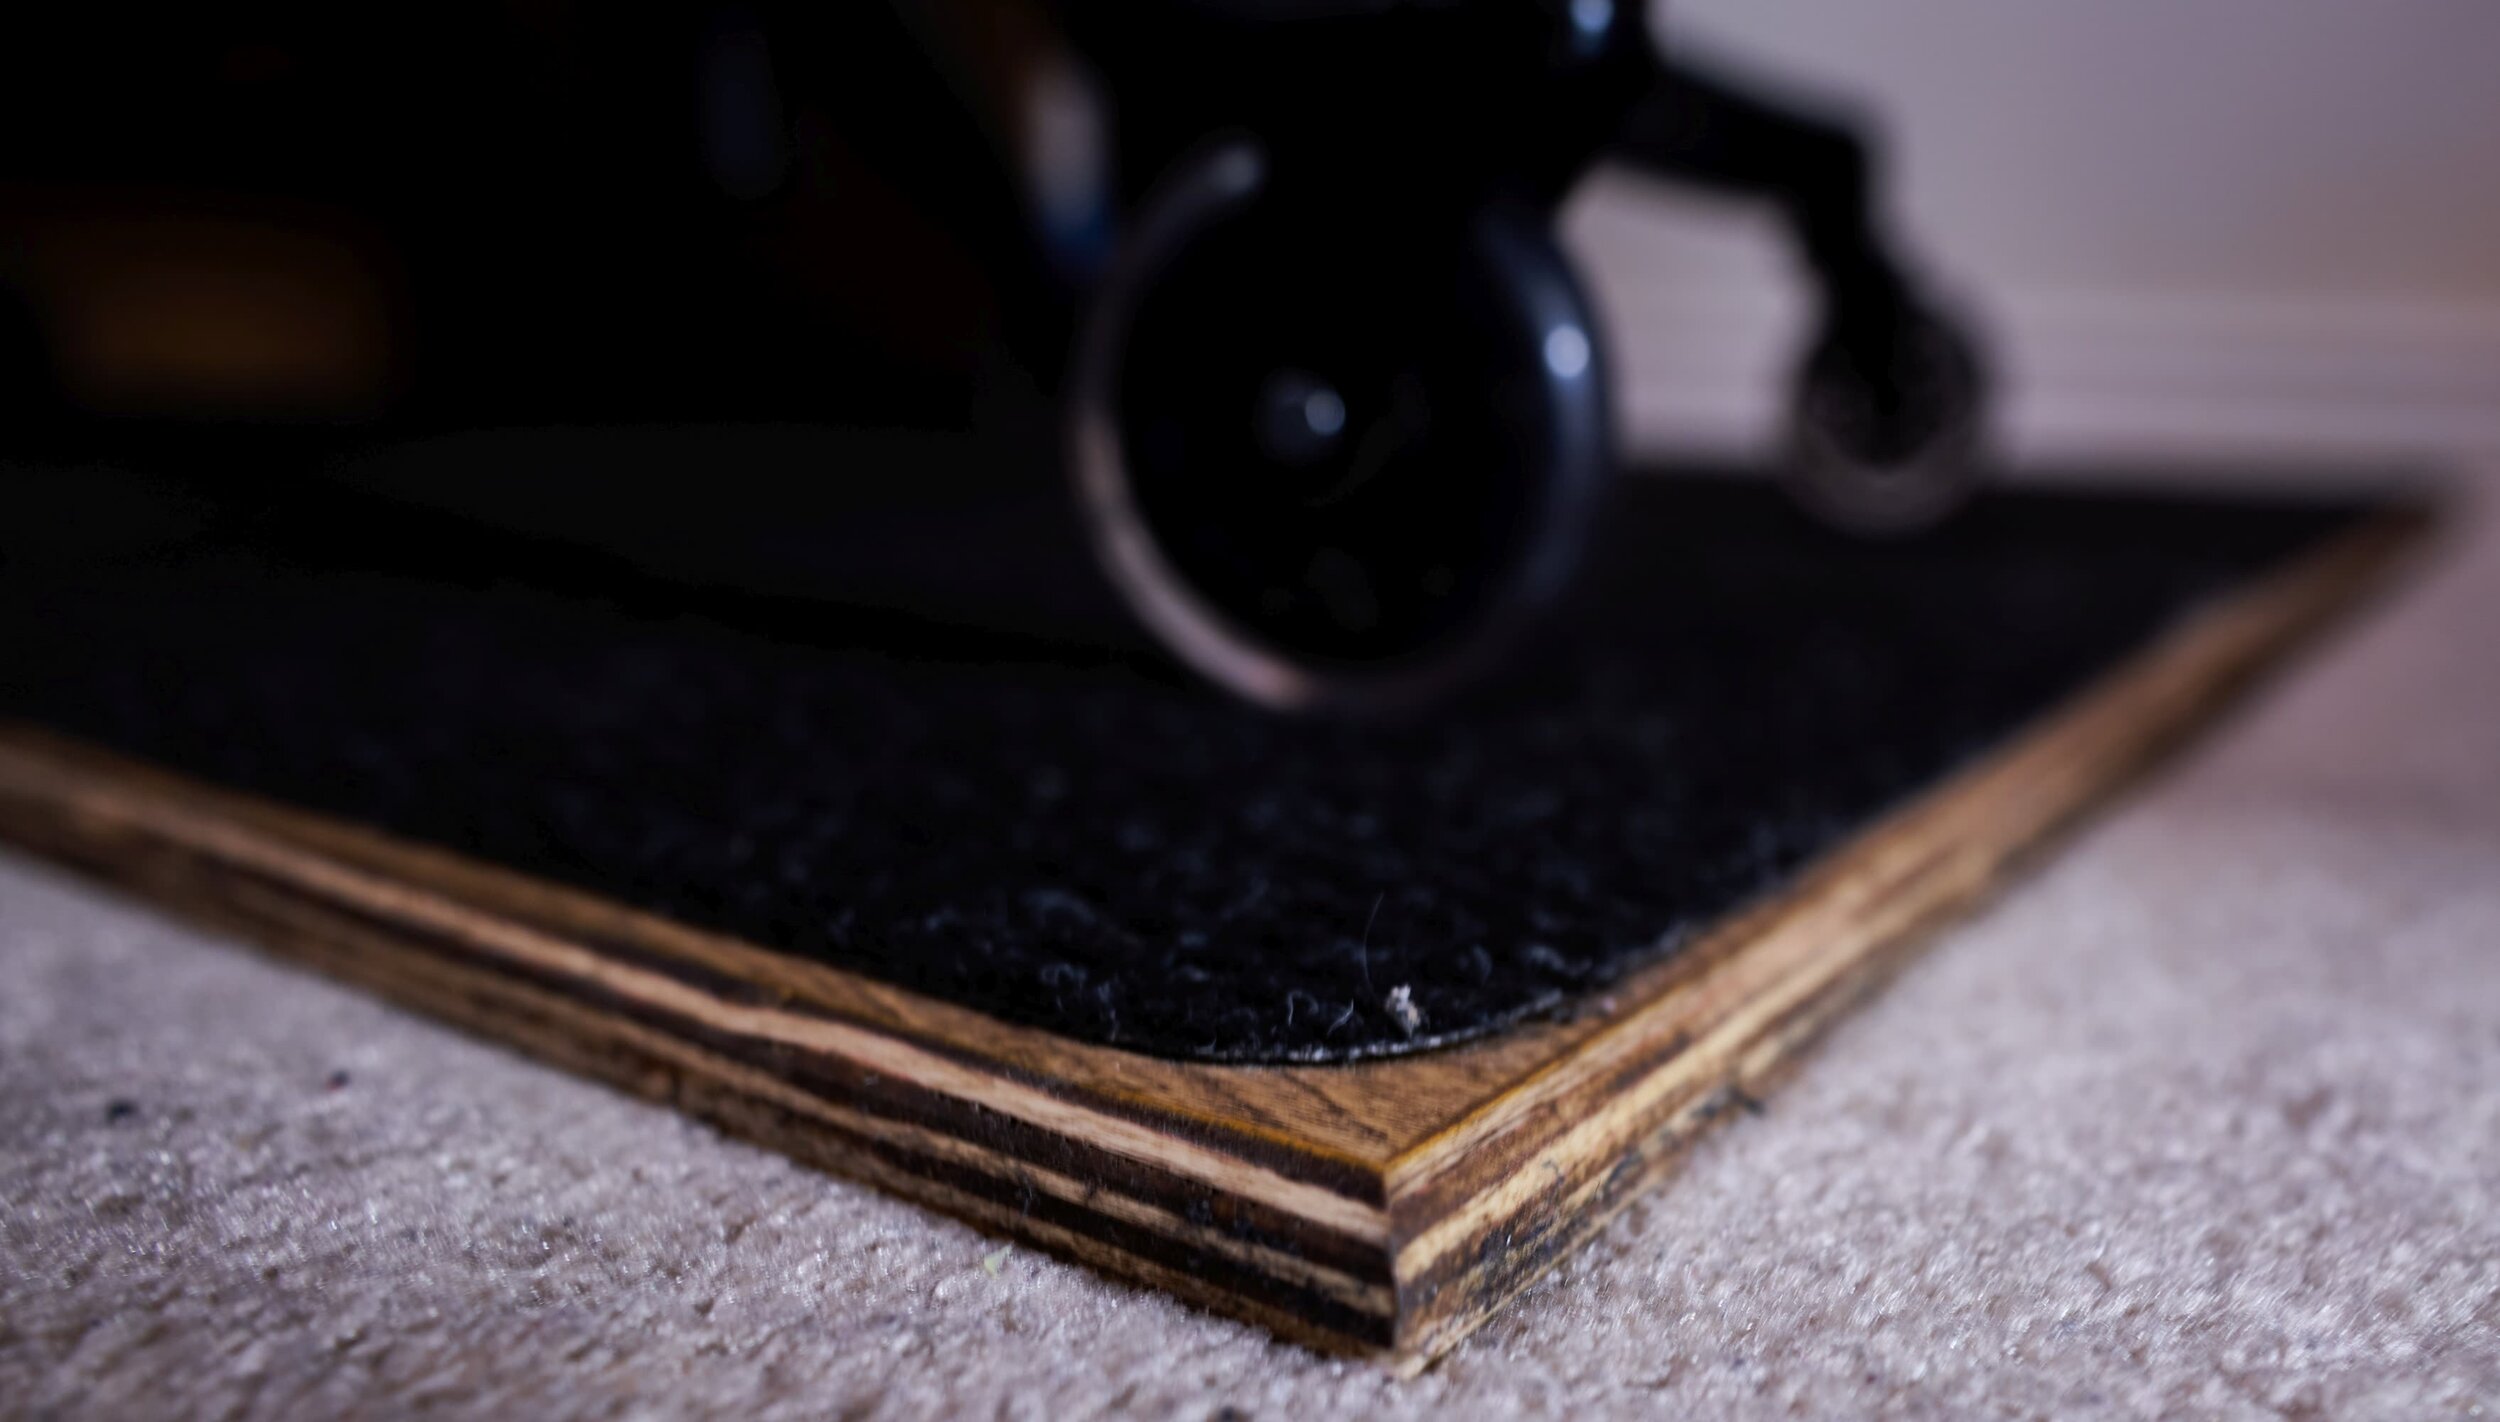
In order for the floor mat to be set correctly, the lip needs to be cut with this offset in mind.
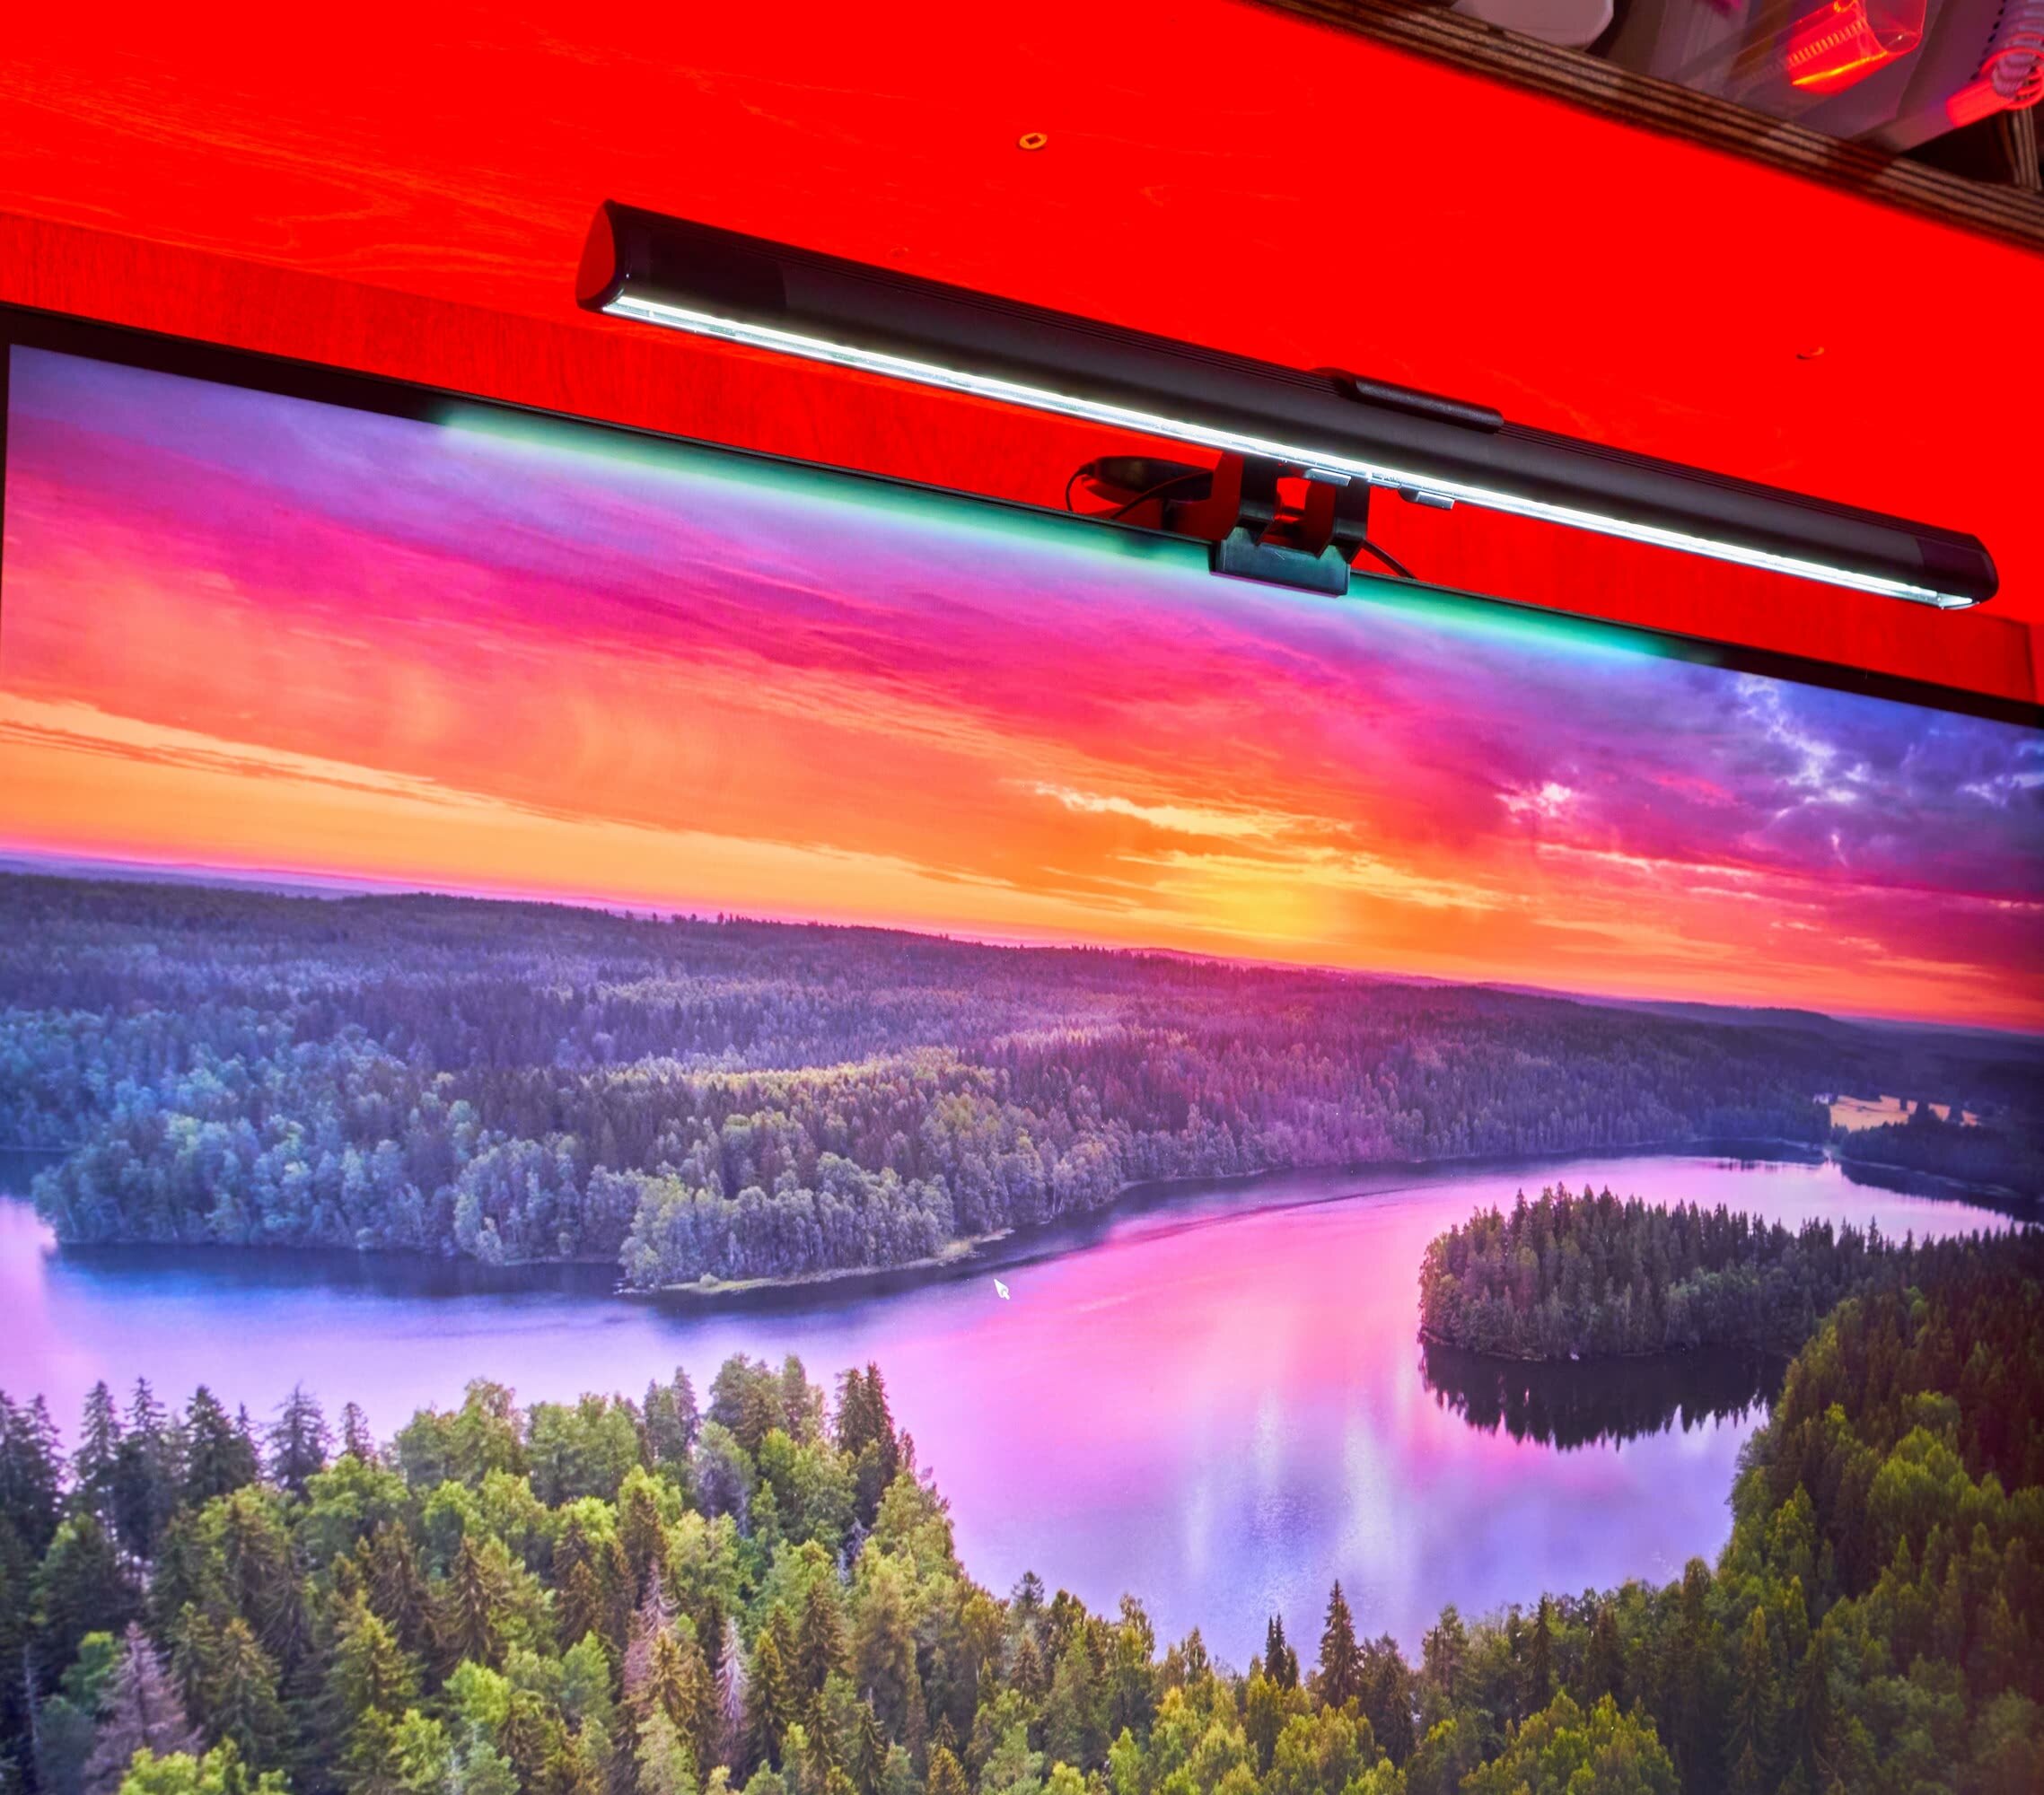
Step 10: Tech enhancements
Many of these changes I’ve tested driven with my first desk and improve the day to day livability and utility of the desk.
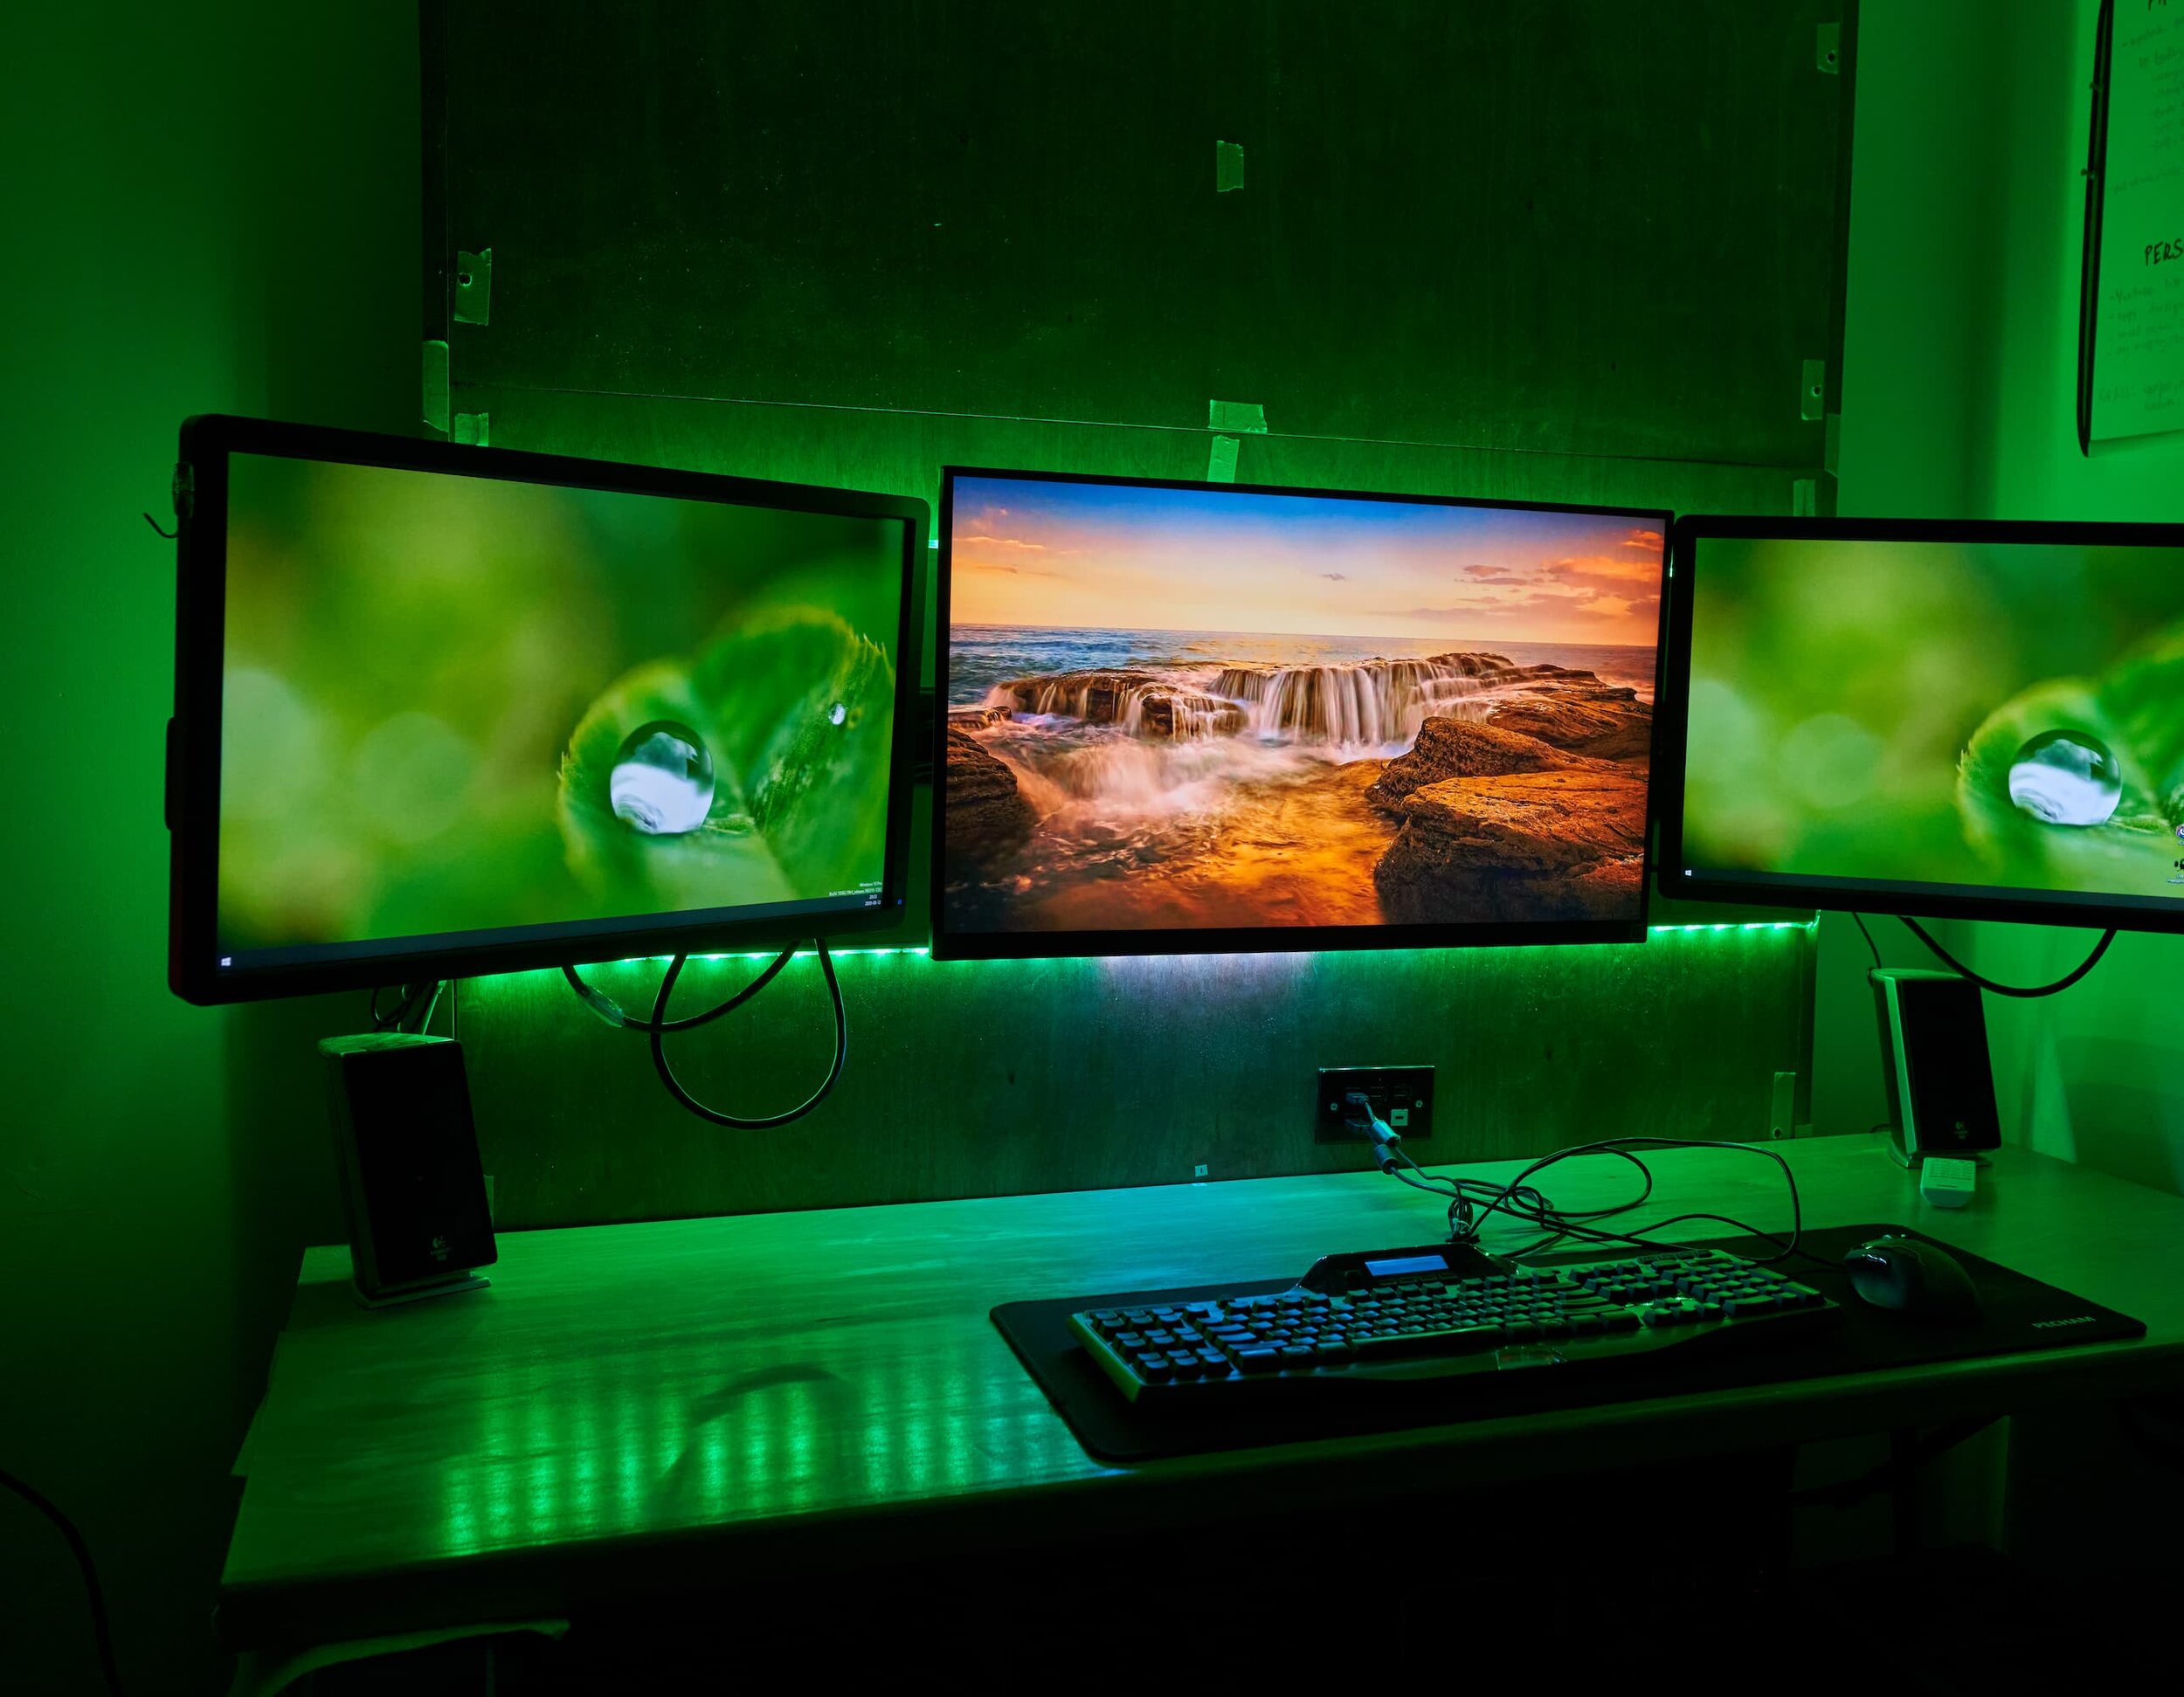
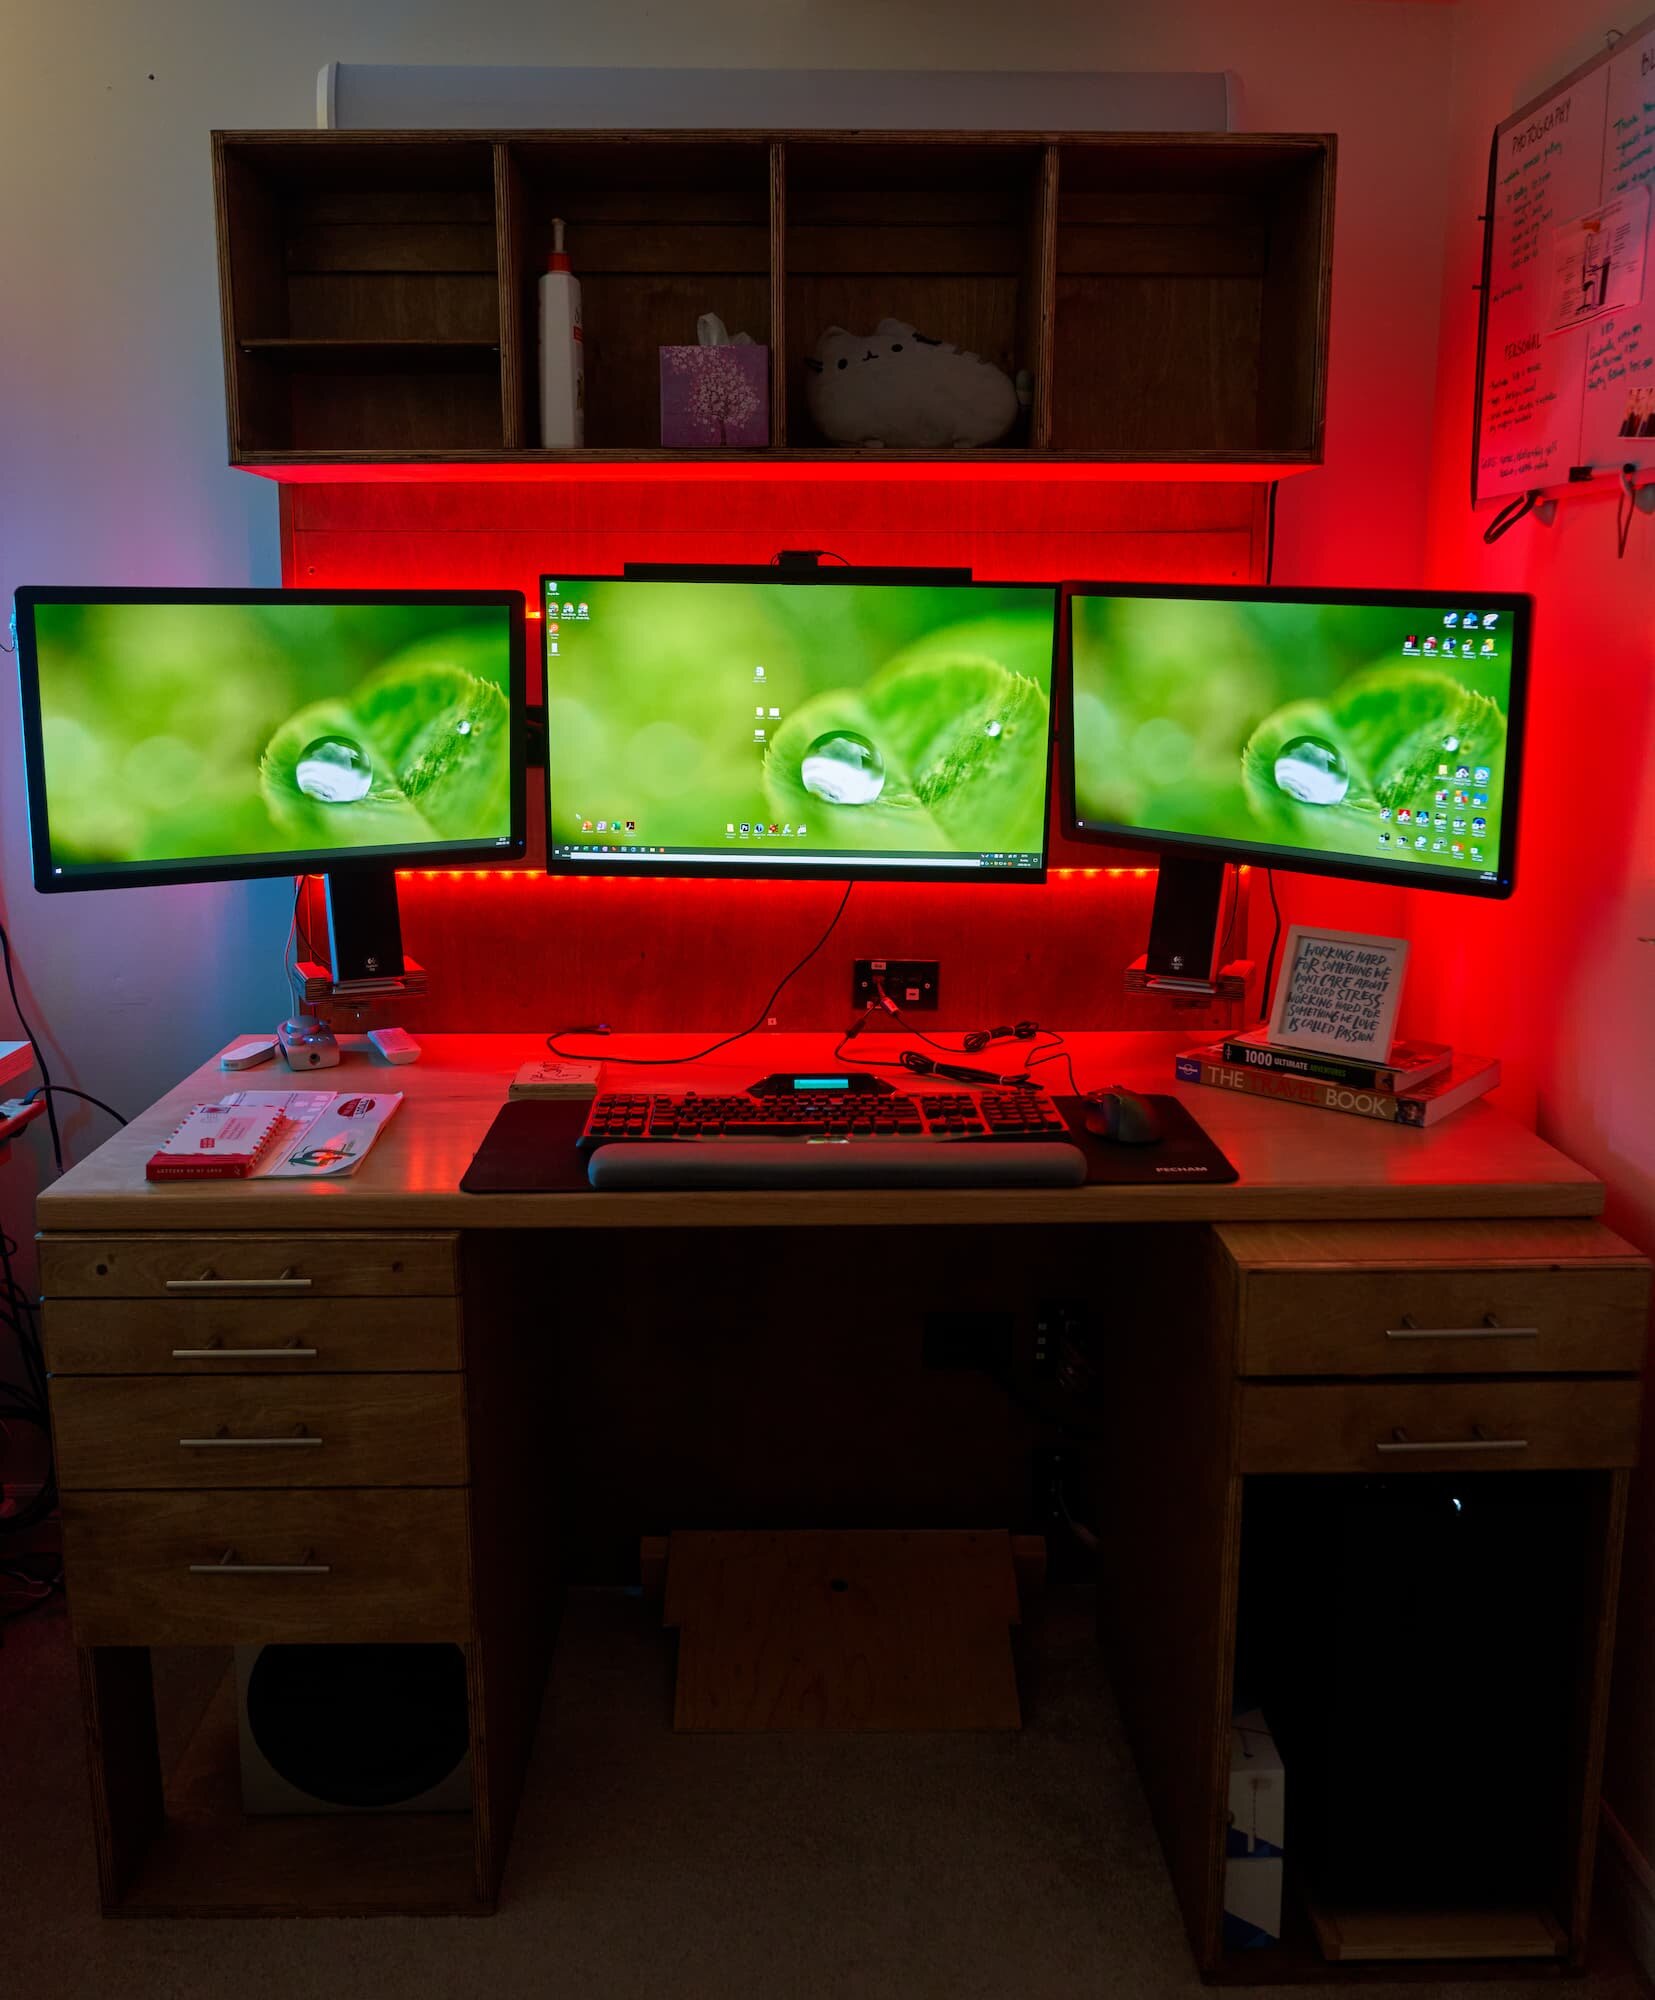
Milestone 2
I started this project with three objectives:
Clean up the cables of my desk
Address the audio situation between the headset and speakers
Make all of this modular/moveable
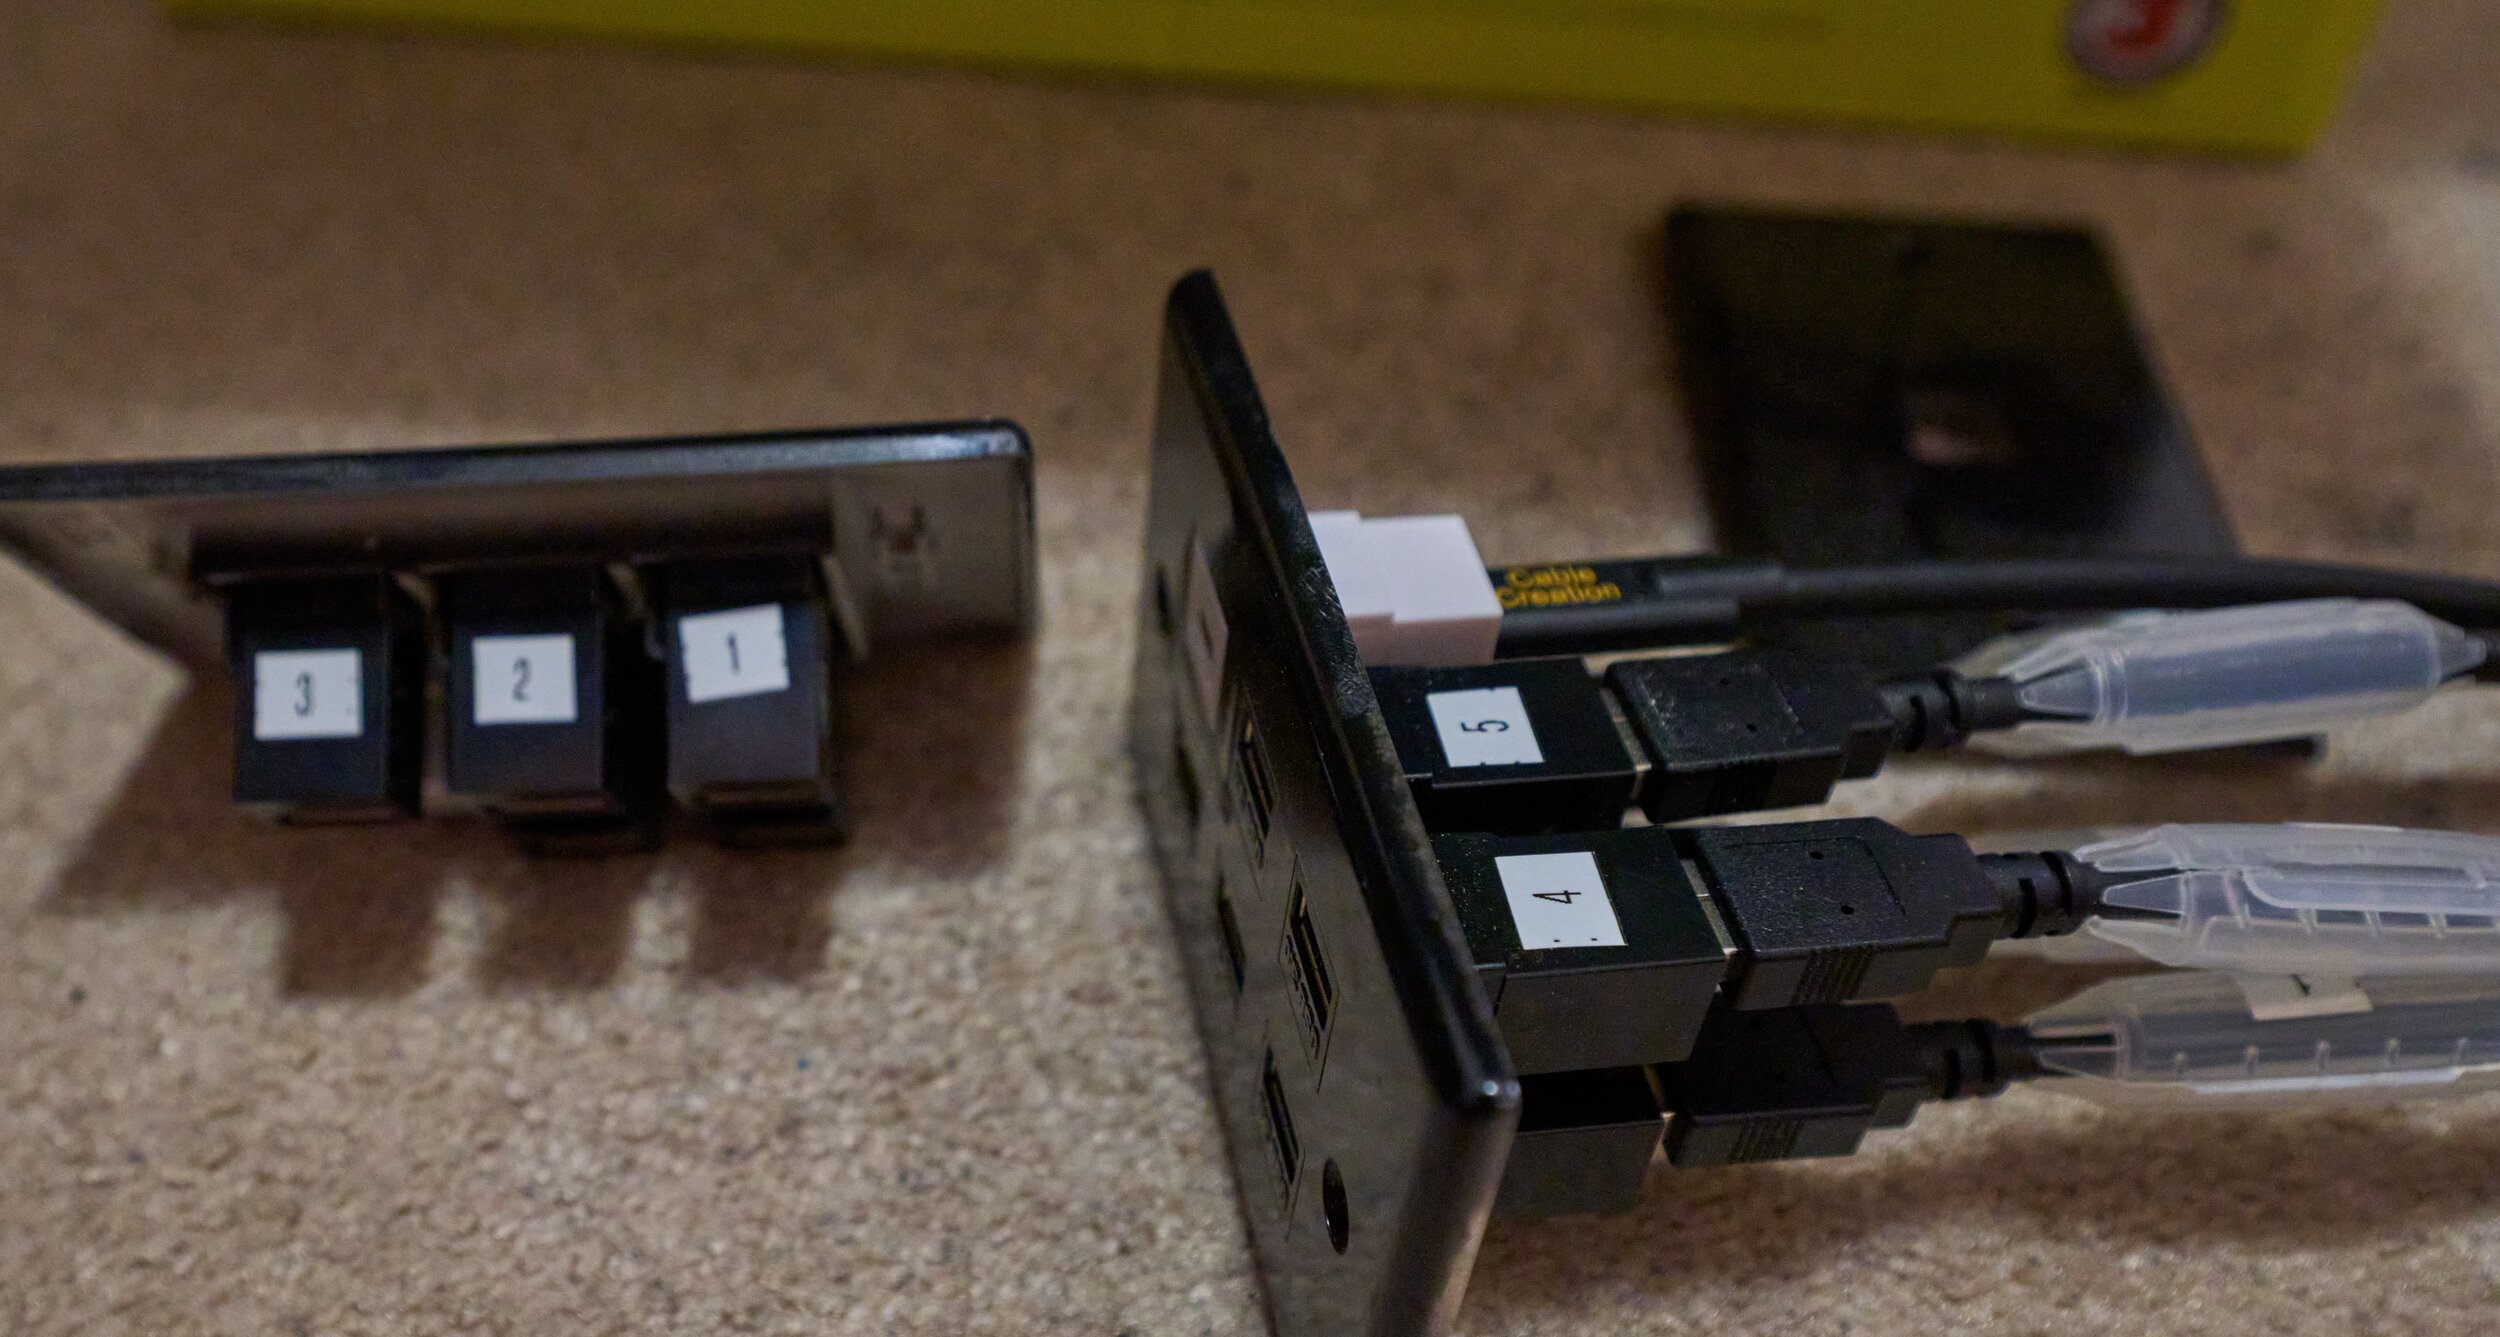
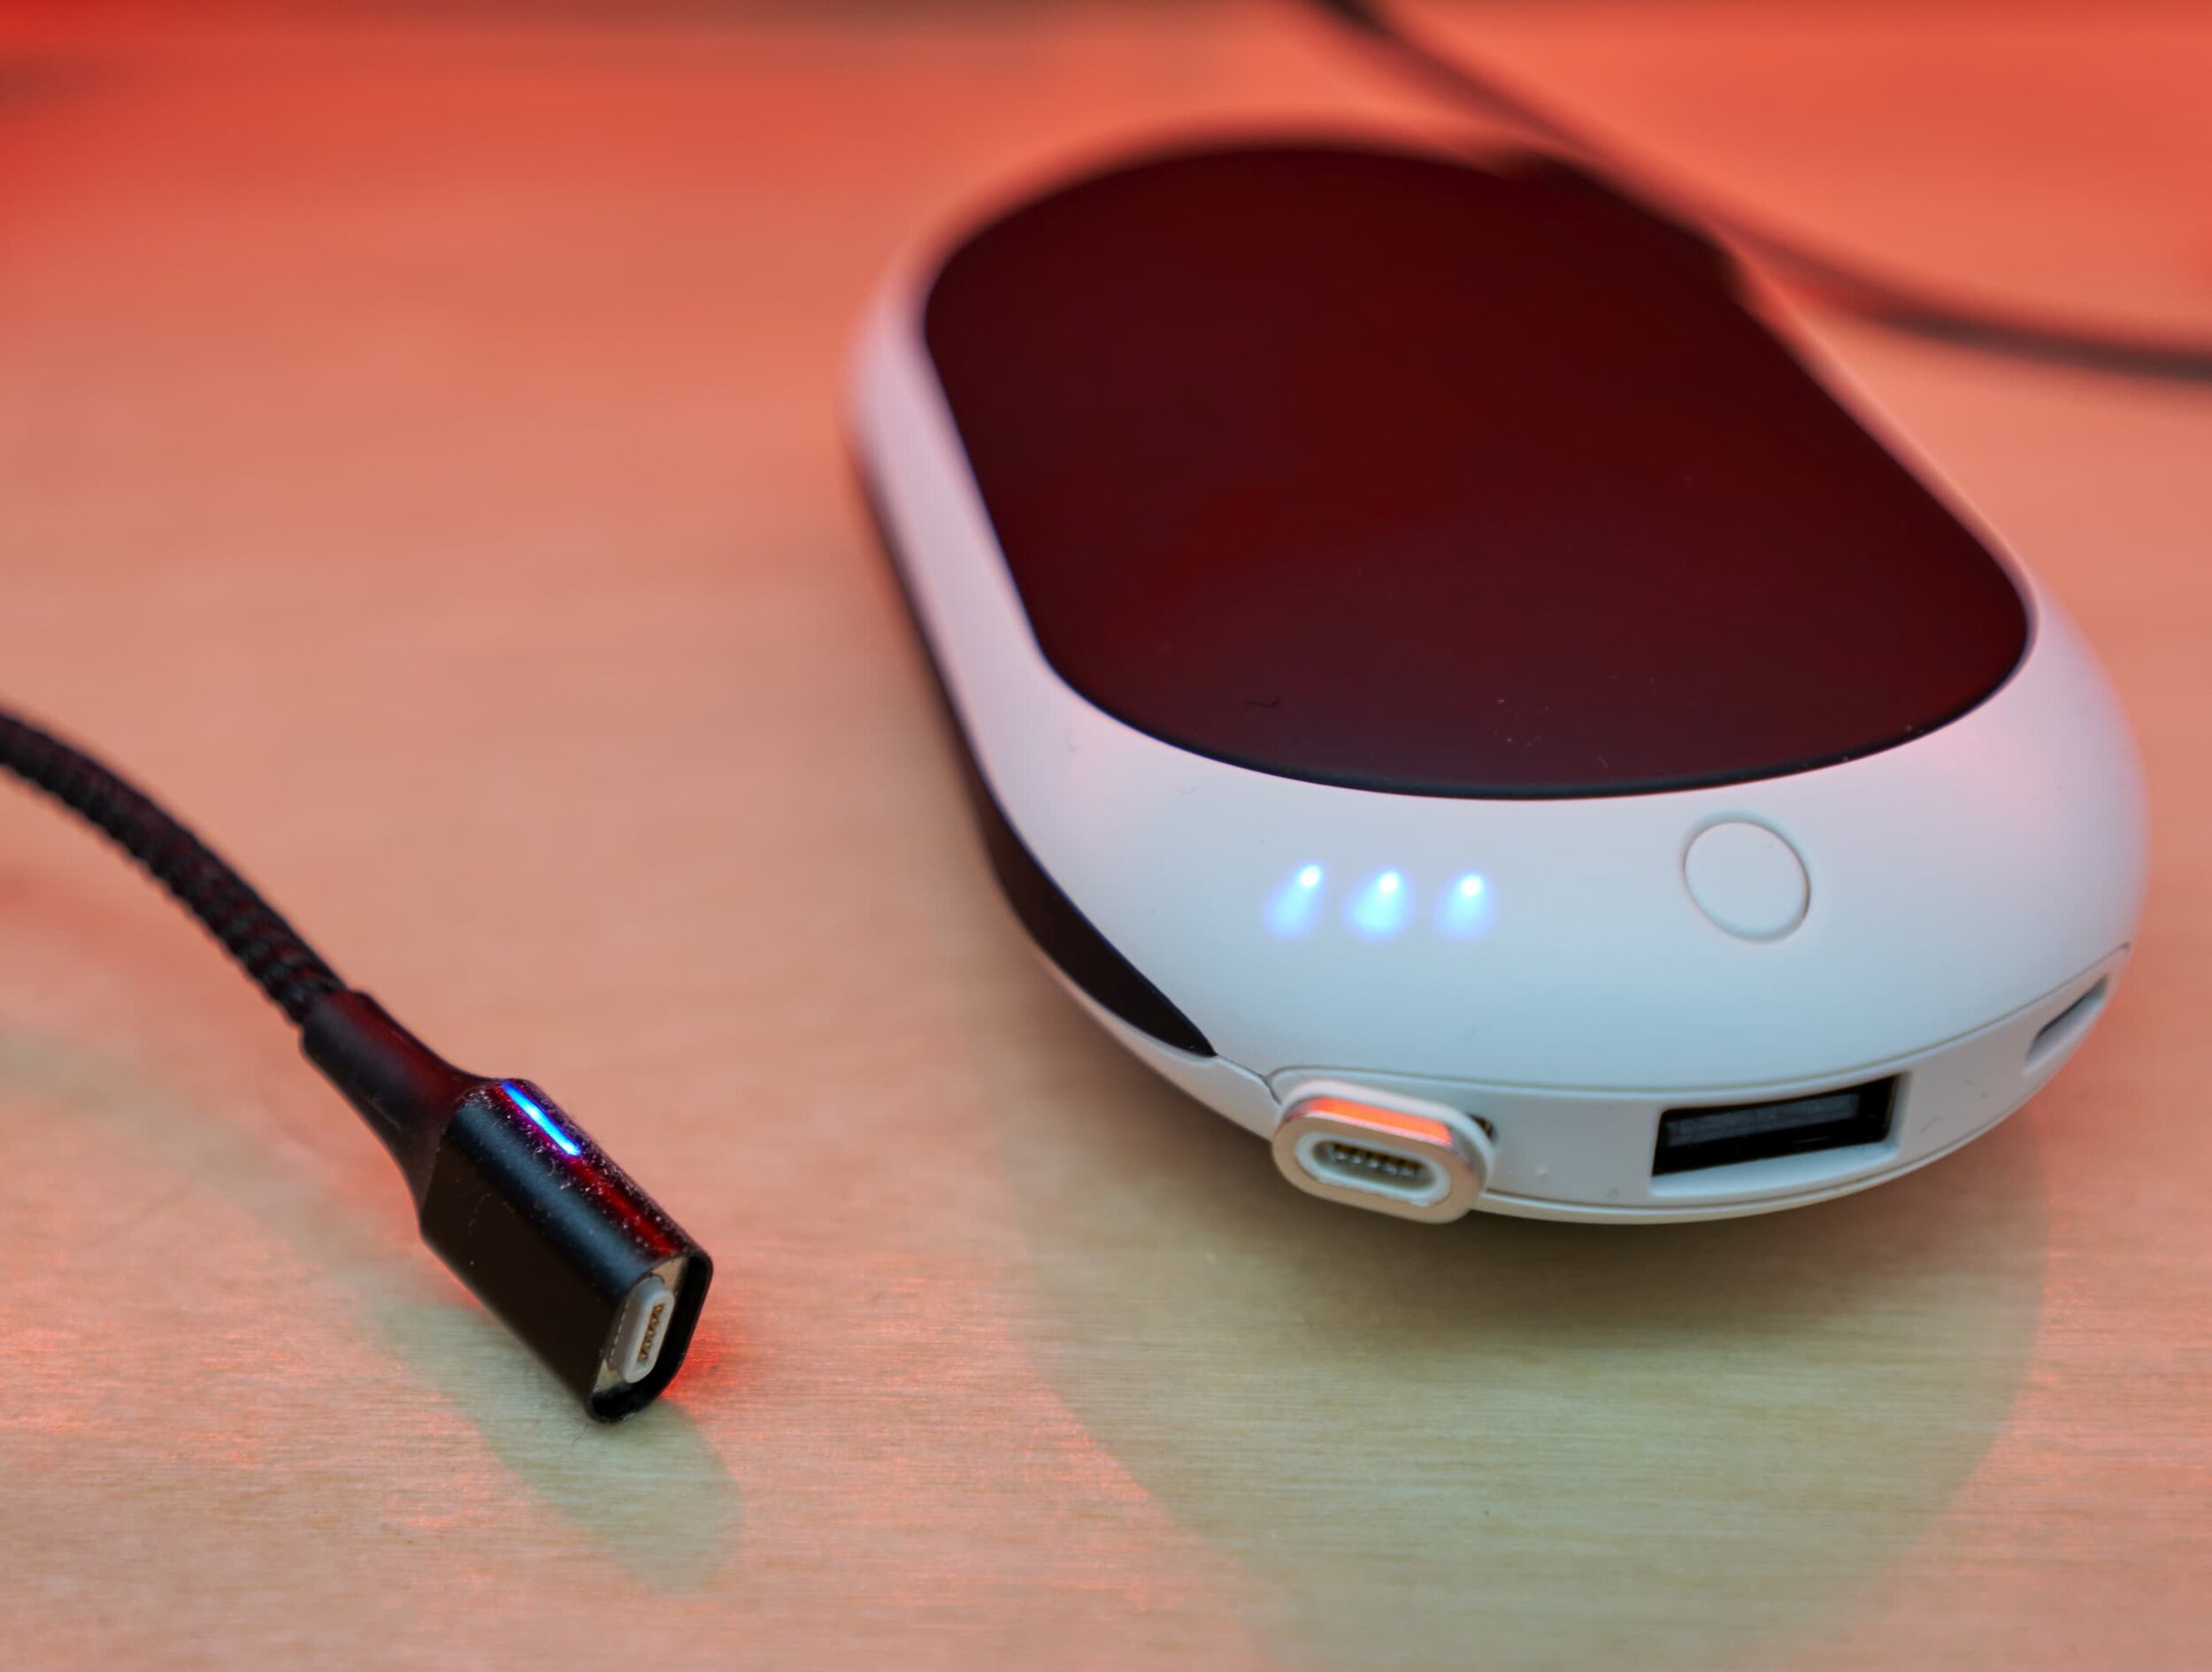
The faux-wall handles much of the cable management while keeping everything still modular. Switching her to a wireless headset eliminates the desk clutter from a wired headset and also, by switching to USB audio, I can keep the headset on surround sound and the main speakers on stereo. By using magnetic charging on the headset, it’s really easy for her to switch to and from the headset.
2021-02: done for now?
Mix-ups, Surprises and Lessons Learned
Networking mix up
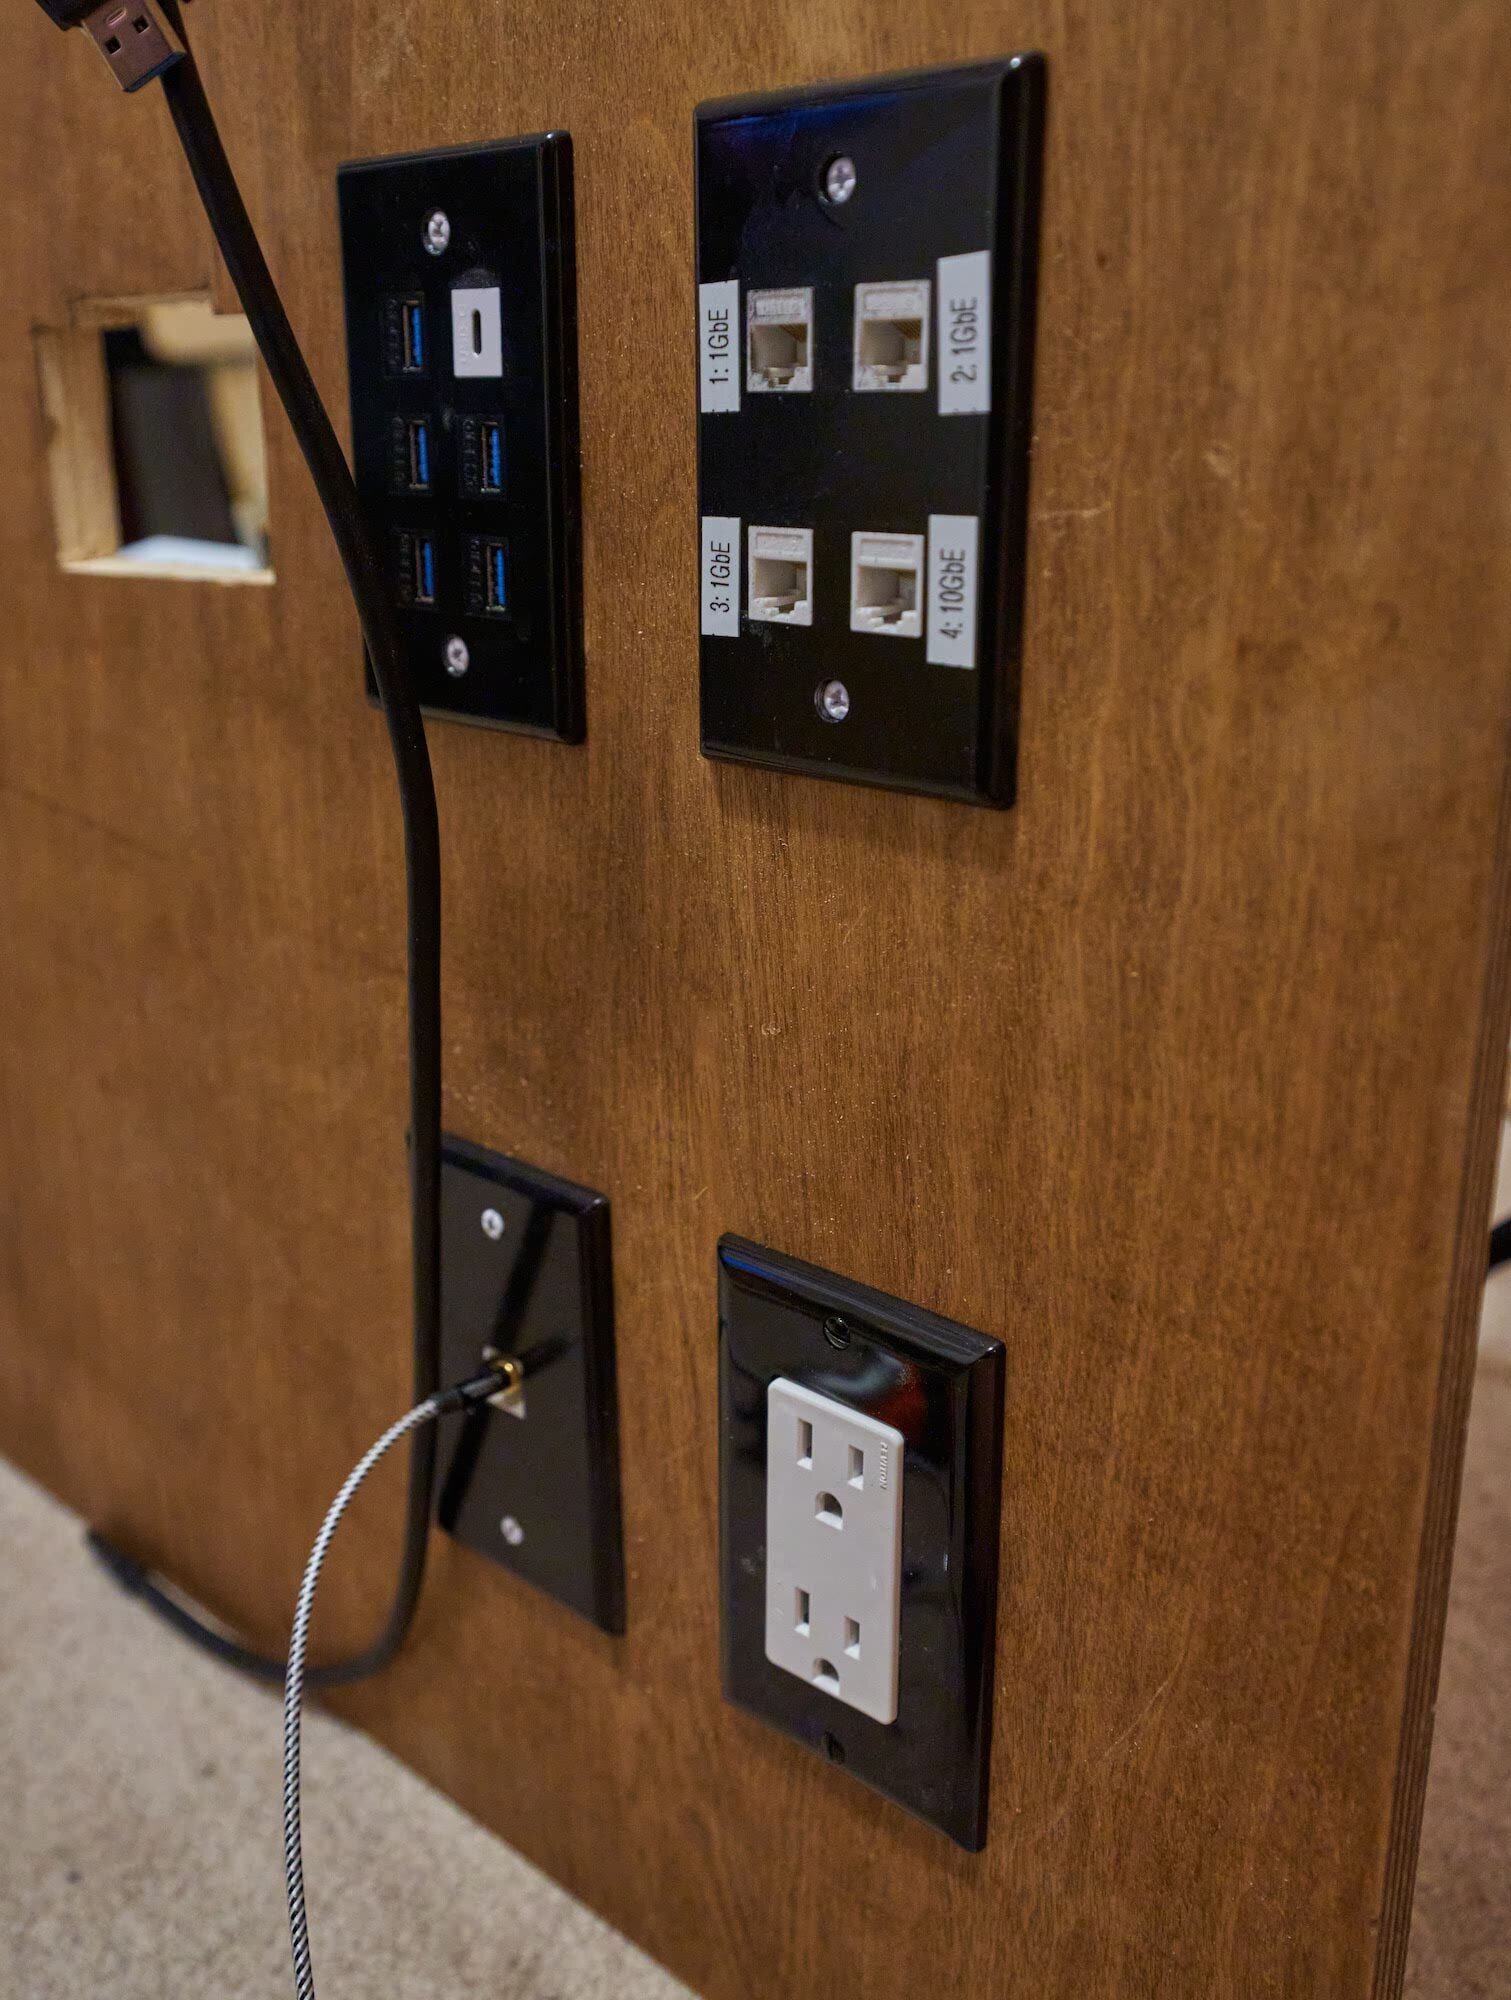
In my original vision, I had planned for a three-station setup: my desk, this second desk and a potential future guest or troubleshooting station. Looking at the network drops needed:
Desk 1: PC (10GbE + 1GbE) and Laptop (1GbE)
Desk 2: PC (10GbE + 1GbE)
Desk 3: Two distinct 1GbE
Since the desks are configured as a waterfall, this means that Desk 1 needs to ‘take in’ a minimum of seven network connections (2x 10GbE, 5x 1GbE) in order to pass down all the necessary links. Unfortunately, I only have six inputs - I had forgotten to account for the laptop’s network drop. By itself, this is not a huge deal: guest station gets a single network drop instead of two. But we’re not done yet.
UPS mix up
One difference between the desks I didn’t take into account was power and the physical placement of the UPS units.
For Desk 1, the UPS is placed directly alongside the PC in the cabinet
Because of this, the upstream faux-wall is not covered by a UPS which in turn means, power flowing downstream (to Desk 2) is not covered by a UPS
So this puts me in a predicament:
For Desk 2, if I do the same and put the UPS directly alongside the PC, then all the other equipment in both walls won’t be covered by a UPS
If I put the UPS in front of the faux-walls then both faux-walls and Desk 2 (and it’s PC) will be protected by a UPS — but now the UPS is too far away to connect the UPS to the PC (in order to trigger a safe shutdown)
I could ‘double-up’ and put a UPS covering the walls and one covering Desk 2’s PC but that would be an extra cost for very little gain. In order to connect Desk 2’s PC to the UPS, I would need to have a USB keystone (which I didn’t have spots for). I opted to pass the USB signal via ethernet. This works well, the second PC is connected to the UPS’s data port, but now there are no more ‘extra’ network drops.

Related
Now that you’ve seen the desk build where I abstract the tech and gadgets as infrastructure, take a peek at the computer that inspired it!