

Build Log: Dining Table
We’ve hobbled along for the last few years with an IKEA office table used as a dining table — it was cheap but man, it was an exercise in frustration: it constantly vibrated and moved and was never level for more than a day. Now that we’ve got our own place, I can finally make a dining table that we can use for years to come.
Quick Links
Rough Design
Over the years we’ve had a variety of different dining tables: plastic folding tables, a card table, a supersized parson table to our most recent, an IKEA office table. All of our previous dining tables had a couple things in common (other than ‘not being a great fit at the time’):
They were all four-post/leg tables with the legs set right up against the corners. This way, the table made sure that whenever you tried to squeeze by, you’d whack your foot off one of the legs
They were simultaneously lightweight yet unwieldy and always a pain to get settled into a place
They simultaneously supported (on paper) a lot of weight (evenly distributed of course), but I never had any actual confidence in the table: the top would flex under moderate load and every time I inevitably bumped into the leg, the table whole table would move
Initially, I thought to make a table with a removable-leaf that seems to be all the rage, but decided against this due to the significant increase in complexity for such a design versus how few times we might even add/remove the extension leaf: we finally have a space that where we could conceivably leave the extension leaf installed year-round. By leaving out the extension leaf, the table would ultimately be much more rigid as well.
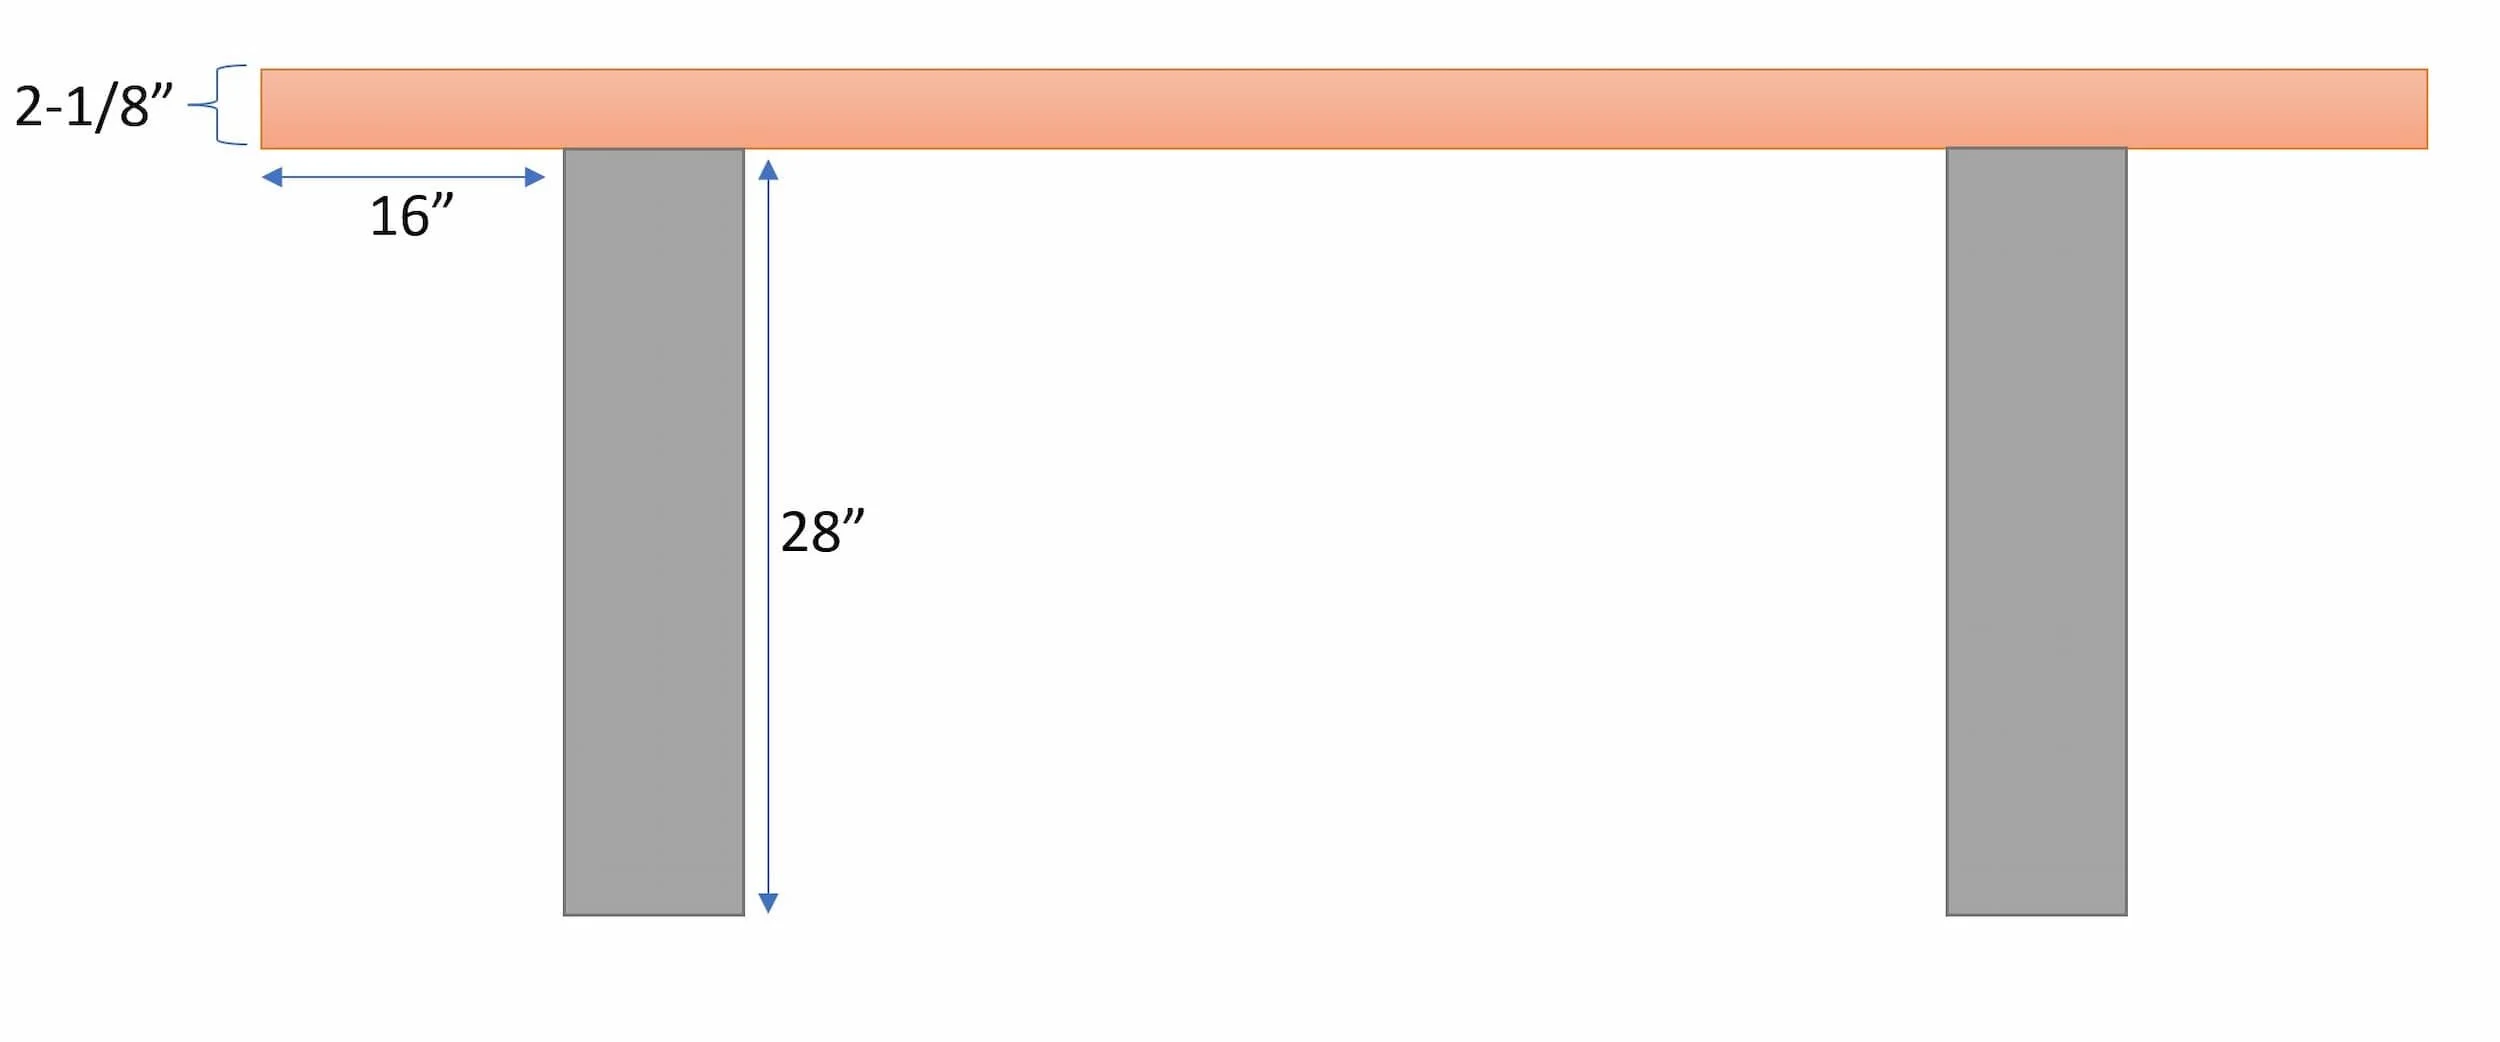
With that out of the way, the overall design I was going for was focused on the legs rather than (more commonly), the top. I guess the closest table archetype would be a trestle or double-pedestal; I specifically wanted a design where the legs had sufficient mass/footing where I could forgo a connecting stretcher - removing yet another thing I would bump my knee against.
Sizewise, I wanted to target seating for six to eight: very roomy seating for three per side and potentially a seat at each end of the table. By sizing the length to be generous, this could also be a fairly cozy four-per-side as well.
Step 1 - Laminating the Top
I had quite a bit of success with the ‘laminated-ply with hardwood-trim’ style that I used for my computer desks - it’s super ridgid, relatively flat and straightforward to put together. For the dining table, I wanted it to have quite a bit of heft to absorb vibration and resist movement.
I went with three sheets of plywood for the main top: I considered using two sheets and having faux spacers for the in-between layer but [1] I wanted the extra mass and [2] just brute-force laminating a full sheet was much easier to do without worrying about aligning strips evenly (since I hadn’t fully settled on a final size). It was definitely a good call to get as far along as possible before cutting the table to final dimensions.
I went with baltic-birch for the main top and (tragically!) walnut ply for the middle and bottom layers — I got a stupendous deal on walnut ply so I couldn’t really say no to that.


Step 2 - Milling the Walnut
I’m super grateful for having a jointer and planer combination: it made getting the walnut into tip-top shape a snap. I totally had to chop the beam in half though — I just couldn’t effectively/safely run this piece cross the jointer. After getting it milled up, there were a couple of knots, cracks and splits that I filled with epoxy (confession: I totally eyballed the ratio of resin and hardener). After the epoxy hardened, I ran everything again through the jointer/planer combo to clean everything up.
At the end of this, I had two super-smooth and satisfyingly flat, straight and smooth walnut boards to work with.


Step 3 - Sizing up the top
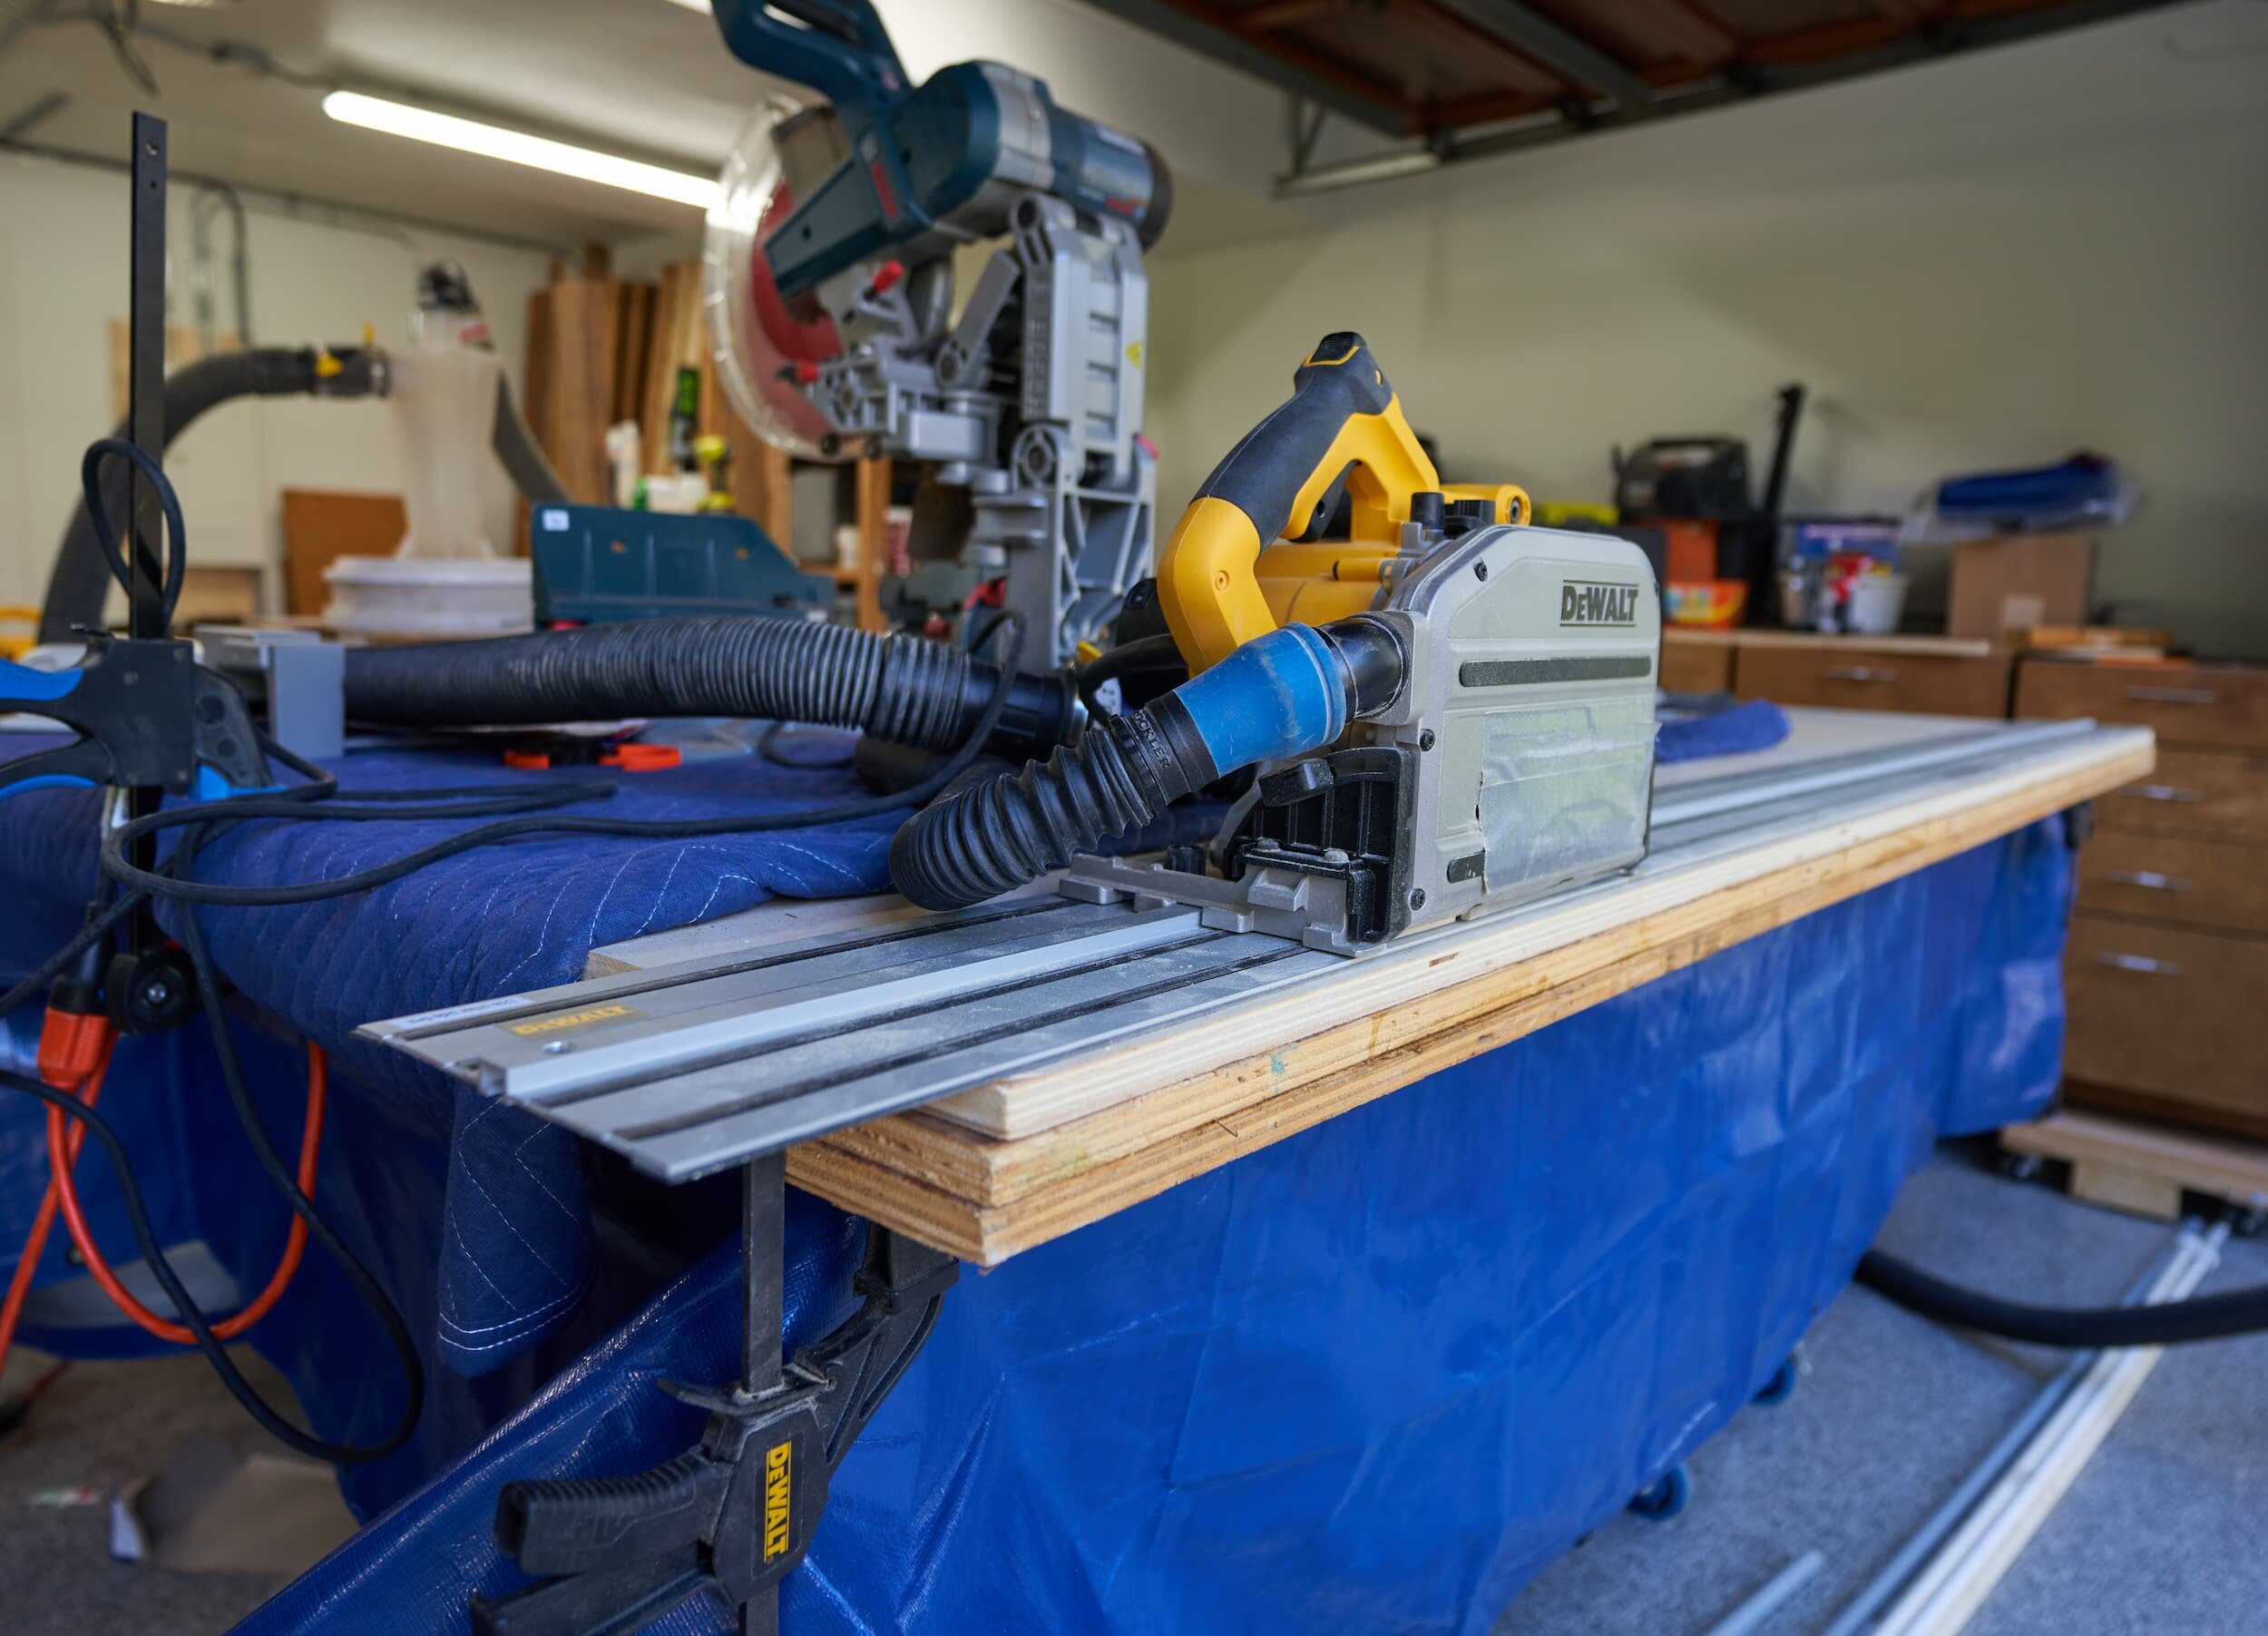
This step started off a bit stressful but then got super stressful in a hurry: being triple-thick, the overall table-top was too thick for me to cut through with my track saw — and then trying to find a way to safely use an absolute unit of a flush trim bit freehand was exciting.


Step 4 - Finishing Touches
This was both exciting and oh-my-gawd-why-is-this-so-heavy; I’d say the table top was in the range of 260lbs which isn’t terrible except that it’s huge and you have to be super careful with it not to scratch it up (or bang into things). We did quite a dance to get it inside:
First, we left the tabletop on the workbench and just rolled the workbench to the front steps
We got sawhorses on standby and got some toolboxes stacked on the steps to level everything out
We slid the table-top onto the toolboxes on one end and got sawhorses to hold the back end; then we got the workbench out of the way
We flipped the tabletop so it was vertical and shimmied it towards the door
Using 2x4s and 2x6s we built-up a platform to clear the lip of the house
On the inside of the house we readied a dolly cart
We struggled to carefully get the one end of the tabletop onto the dolly and we did a very awkward dance to get it into the house
Inside the house, we did a big lift to get it onto sawhorses
Once on the sawhorses we got the legs bolted on, one at a time


Milestone
Ironically, this ended up being somewhat of a '‘turbo project’ — from start to finish was just a bit over a week. It was periods of waiting (for glue and epoxy to cure) and then a bit of frantic effort at the end. Even with all of the little mistakes that as the creator, I see all the time, I’m super happy with this table. I set out to build a table that was bigger than what we were using, was sturdy as hell and didn’t readily transmit vibrations or move when you bumped into it and this was a success.
Throughout the build process, I was second guessing myself, wondering if I should have went with two layers of plywood versus three; now that the table is built, I can unequivocally say that I am very glad I stuck it out with three - the thickness is just right and now that the table is in its ‘final place’, the added weight helps. This table is movable but you need to go out of your way to move it: the table top is probably 260lbs and each of the legs was probably 60lbs.

Mixups, Surprises and Lessons Learned
For being a turbo project, I learned a lot!
Epoxy top: I had originally planned on doing an epoxy pour on the table top but due to the dropping temperatures, I’ll have to revisit epoxy when the weather warms up. The good news is that the polyurethane coating can stay — I can just epoxy straight on top of it
Insetting the legs: I debated routing out a 1/4” channel for the legs to sit recessed in but I just didn’t have time to do it; rather, I didn’t have time to fix any (likely? potential?) mistakes that would come up. If I had a bit more time to design this better, I would have pre-installed the legs onto a plywood backer with captive threaded-inserts on the back-side and recessed all of that into the base of the table. It would have been nice to have low-profile, black furniture bolts as well, but the machine screws worked out okay
Arcing the corners: I had originally planned on putting an arc on the corners, but I didn’t have an massive template bit to use (and didn’t have time to order one); I had to settle for basic edge profiling
Perimeter trim: this was tricky - if I made the walnut extra tall, it would be easy to center the trim against the tabletop, but it would be risky/tricky to flush trim that (even more so than it already was) but if I made the trim exact-size then it would be also super stressful to nail the glue procedure dead-on. Even ripping the walnut down to size was stressful: I had to rip it down in a few passes otherwise it would bog out my table saw
Running out of material: for some reason I thought that a single 8ft, 8/4-board of walnut would be enough to wrap the perimeter of the table (and maybe it was for the original hypothetical table size) but when I ripped the hardwood down to size, I realized I didn’t have enough (I would have needed an 8’ wide board give or take); thankfully the lumber yard had another (even nicer, thankfully) 8/4 board of walnut I could buy on short notice
Thickness: Going with three sheets of 3/4” plywood was quite challenging since it exceeded the cut capacity of my tracksaw by about 1/8” which added unneeded stress trying to cut the table to final dimensions. If I were to do this again, I’d go with 5/8” ply for the middle sheet to bring the thickness down ever so slightly
Glue up: for big (and complicated) glue ups like this, it’s super helpful to have a second person!
Obviously, each table will be different for everyone, by for reference, this is mine:

Product links may be affiliate links: MinMaxGeek may earn a commission on any purchases made via said links without any additional cost to you.