

Worth It (2022.1)
This post is the first in a series where I was to shed some light on things that might not necessarily be obscure, but rather have a good chance of being overlooked. The type of thing that you might see on the shelf and wonder just how useful it really is before moving on and then forgetting about it until you see it again the next time ;) I want to try and keep the focus on smaller products and practices that are still applicable to a lot of shops.
Worth It Series
This post is part of a series, check out the other posts!
Quick Links
Smart outlets
I have a few smart outlets in my shop and they solve few problems that I didn’t even knew I had:
allowing me to turn on/off devices with hard to reach locations (i.e., air compressor) and
allowing me to set countdown timers for some devices (i.e., run air cleaner for 30 minutes) and by extension,
to make sure everything is powered off nightly on a schedule
Currently, I use el-cheapo smart-outlets which primarily come in two flavors: 10A and 15A. The 15A models usually are usually bulkier, more expensive but in addition to the increased capacity, they often come with more software features like power-utilization monitoring. I happen to be in the Google Home ecosystem (for now) but generally, finding el-cheapo smart switches for Google Home or Alexa is pretty easy.


To interact with these smart devices, I bought a Google Nest Mini and a cheap outlet-mount for it: for my space, the Nest Mini puts out enough volume for some background working music and I can leverage some simple smarts:
“Ok Google, turn on the air compressor”
“Ok Google, give me a 15 minute countdown”
I have Nest Mini mounted high up, at the ‘back’ of the shop so it’s out of the way but at the same time, I can still hear and interact with it.
I have the Nest mini mounted high up, so it’s both out of the way and has easy coverage for the room.
One note about these cheapo devices:
The features available on the smart outlets seems to constantly be in flux, particularly for the typically more feature-rich 15A units — it can vary even by the manufacturing batch of the same model of outlet. Two things that I’ve notice to vary a lot are
Whether or not the smart outlet lets you [a] schedule ON/OFF/TOGGLE actions or [b] if it only allows you to set ON-schedules. Outlets that let you set ON/OFF/TOGGLE are much preferred because you can then create guaranteed-off triggers i.e., at 10PM every day, turn the switch off (even if it’s already off).
Some outlets expose more data to event-triggers than others: I have one outlet that gives me access to POWER and CURRENT status in addition to STATUS and as such, I can react to changes on those data points. You could use this as a poor-man’s automated dust switch:
when the power draw on saw-outlet > 10W, turn the vac-outlet on
when the power draw on the saw-outlet < 5W, turn the vac-outlet off
The availability of these features and settings can vary wildly and it can be a bit frustrating to do trial-and-error purchasing (especially as these Chinese knockoff brands rotate regularly through places like Amazon).
Labels and organizing
Labels
So, I like labelling things. A lot. In the shop, I try to set up my labels to pre-emptively address some questions that I might ask when looking at something:
What circuit is this tool on?
What size wrench, socket or allen-key do I need to remove this specific component?
If there’s a consumable (filter bag, filter etc.) what is the model number of the consumable?
If there’s a consumable with a potentially limited lifespan, when I did I open it?
For cords (i.e., extension cords), what type is the length of the cord and gauge of the wire?


I extend this to the outlets too where I identify which breaker powers that outlet — my previous shop spaces only had a limited number of breakers so it was important to know which outlet was on which breaker. One additional thing I’ve done at this shop is to make bigger labels which I can read from further away to identify the breakers.
Large, easy to read labels make it super easy to identify which circuit you might be plugging into — handy if you want to fire up a track saw and a wet-dry vac for example.
I label almost everything so I ended up just getting a dedicated label maker for the shop.
Cable management
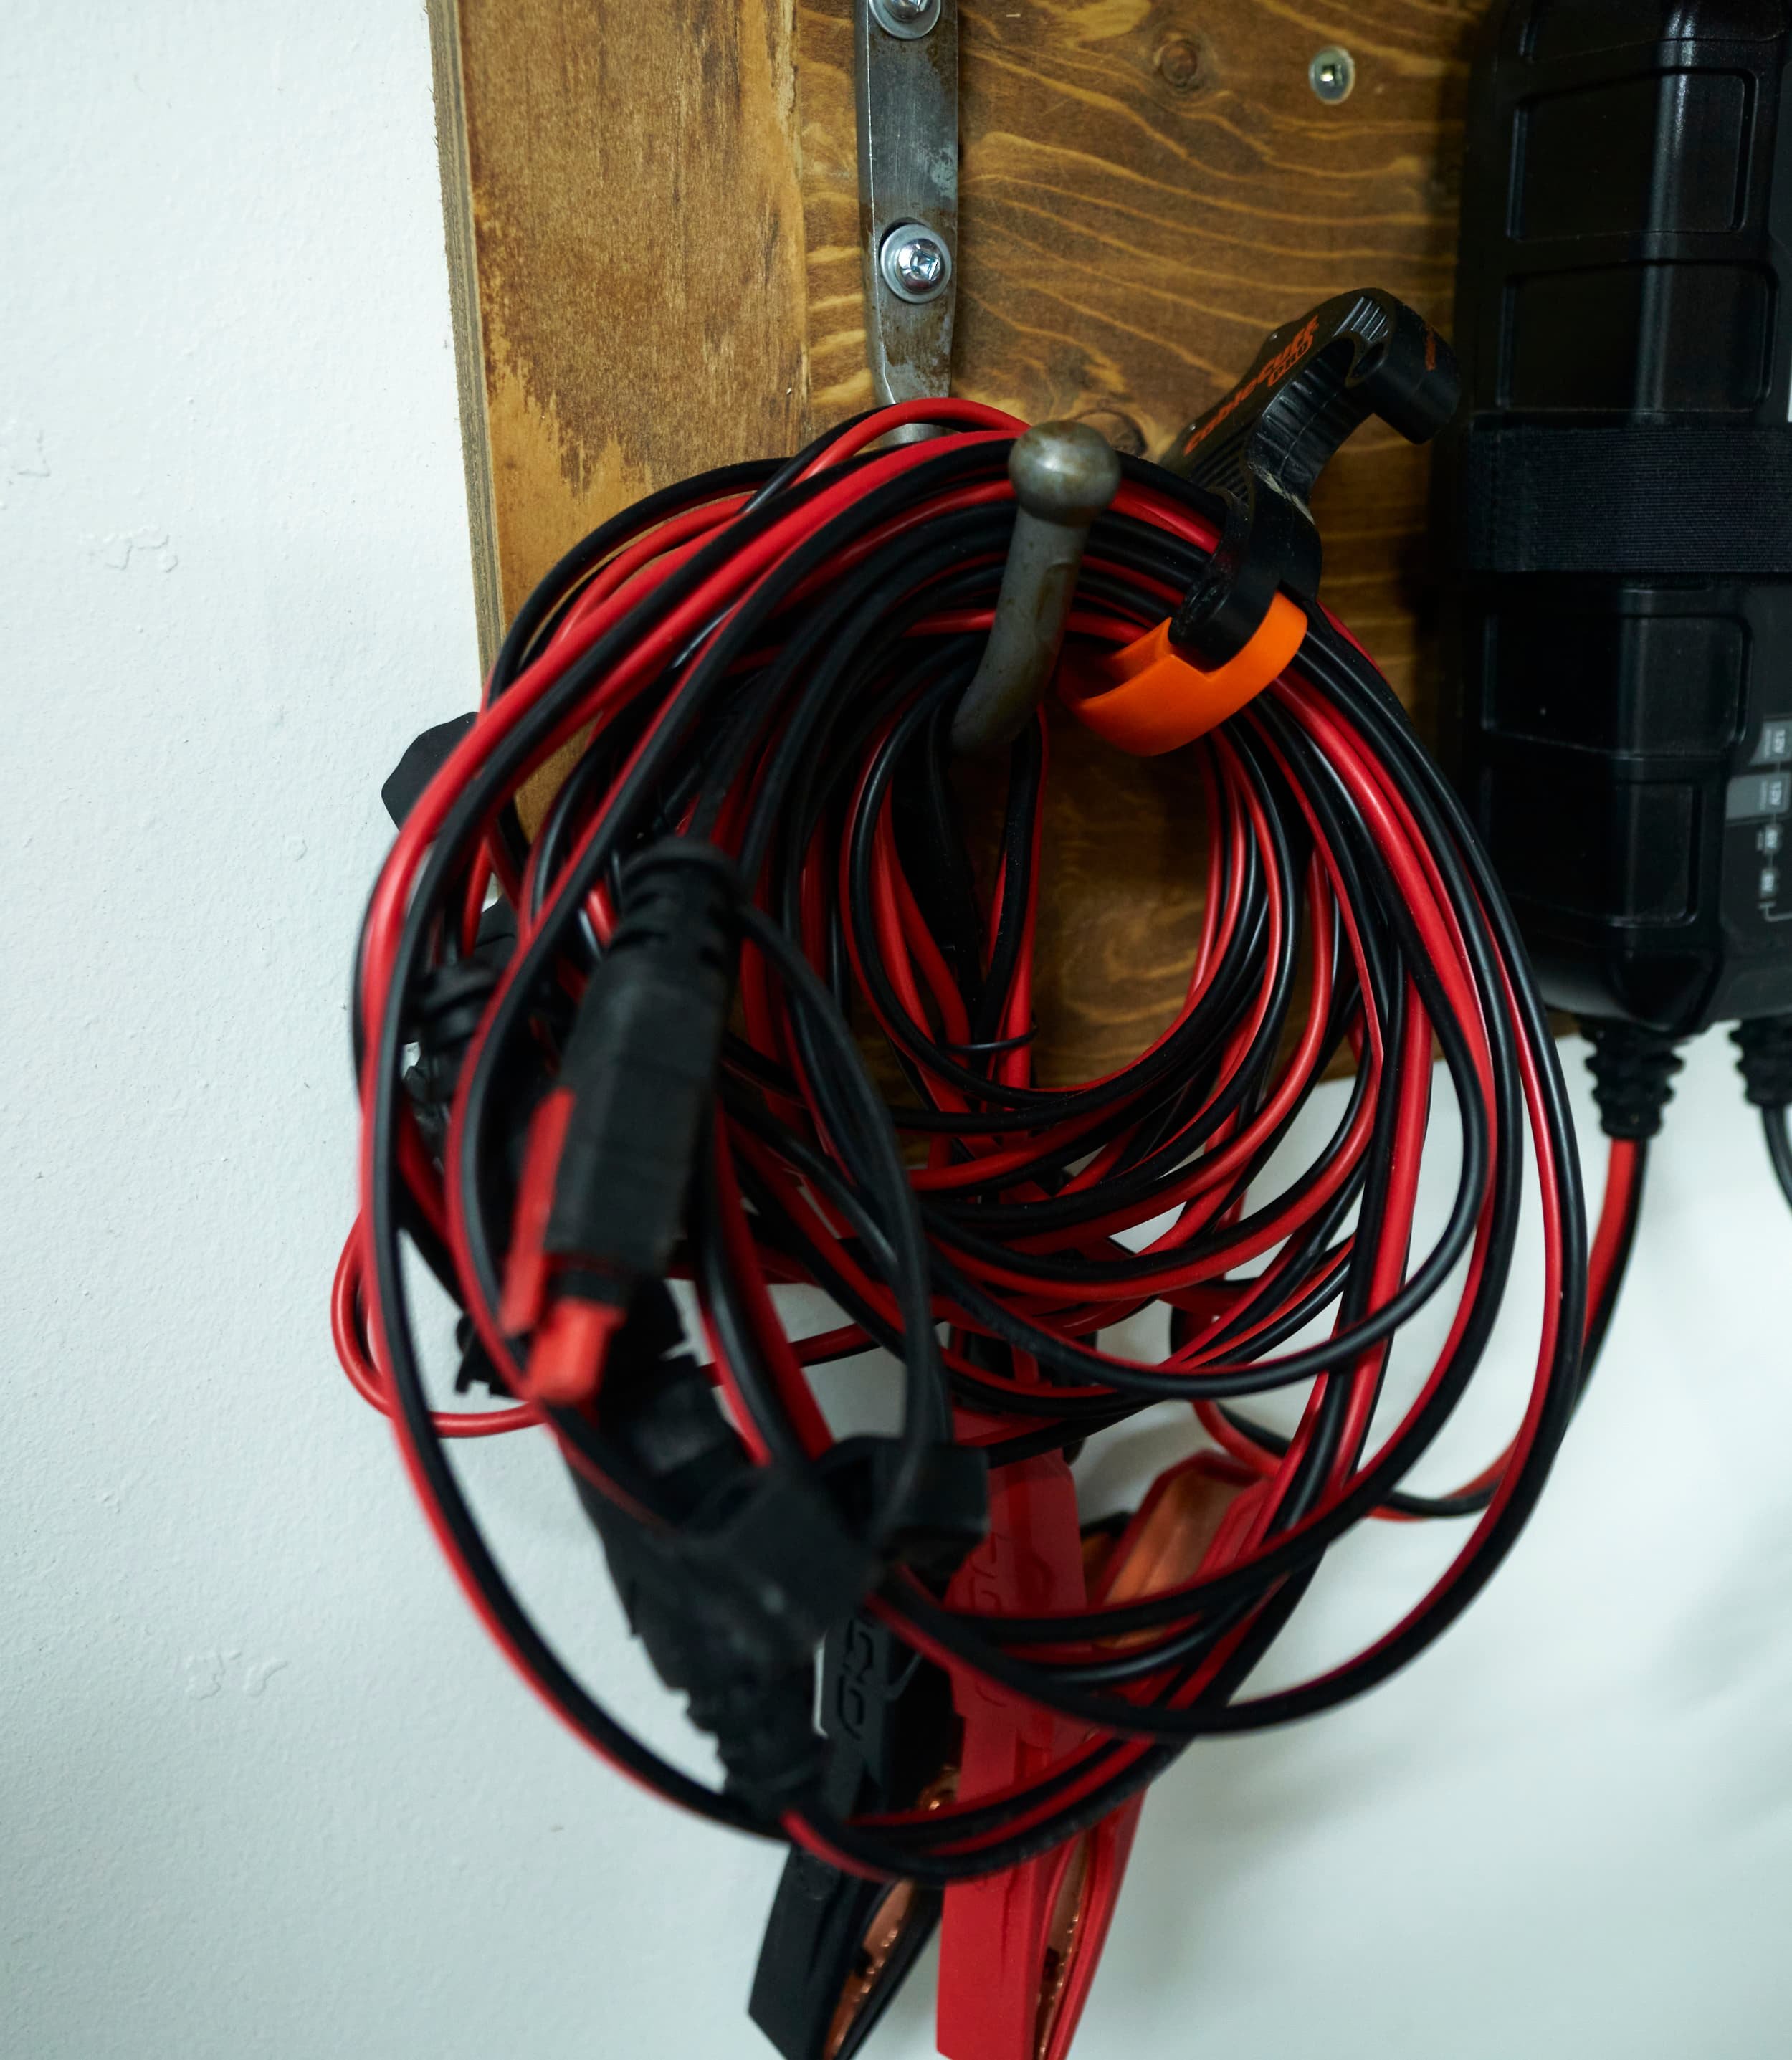
For wrapping up loose power cords, extension cords and the like, I make extensive use of Cable Clamp products. The these cable cuffs are intuitive to open, they are easily opened/closed and generally just work. They certainly aren’t cheap by any means, but over the years, I’ve migrated almost every corded tool or kitchen appliance to tidy up with a cable cuff.
In the case of extension cords, I make a point to throw a label on there identifying the length and wire-gauge so that when I inevitably go rummaging for an extension cord, I have that information handy.
For my corded tools, I make extensive use of CordID Pro tags by a company called dotz: every cord has a label at the plug-end to tell me which tool it’s connected to — super handy when you come up to a power bar/splitter with a bunch of things plugged in.

Coolers
At my previous places, I always worried about keeping chemicals in the garage over the winter so every November and April, I was make the multiple trips in and out of the house to migrate the temperature sensitive chemicals in and out of the house. I’m thinking things like paint, stain, glue etc. During my first winter here I noted that the ballpark temperature of the space dropped to 15C/59F or so - a bit low, but not enough that I’d be super worried about leaving stuff in the shop.
I ended up buying a bunch of cheap coolers to keep my chemicals in. This ended up having a few benefits:
By keeping everything my chemicals in coolers, I can worry even less about temperature extremes
I can group my chemicals thematicallay: paint, shop chems, lawn, auto etc.
If there is a leak of some kind (it’s inevitable), the leak will be contained to the cooler
If I do need to move the chemicals, I can move a bunch of them all at once in one trip
Since the jars and bottles are all stuffed into coolers, I opted to add labels to the top of the containers (of course I did) to make it easy to identify the chemical I’m looking for.


Dust collection
For keeping the shop clean, getting a cyclone has been a total game changer and I can’t recommend it enough. I have both the ‘fancy’ Dust Deputy system and a (much!) cheaper Woodstock unit. This begs the question of which unit is better and I would say without hesitation, the Dust Deputy unit is substantially better, but for the price, I’m certainly not upset with the performance of the Woodstock unit. I’ve heard great things about the Dustopper unit which I feel, based on the design, would perform better than the Woodstock, but again, not as well as the deeper/taller Dust Deputy.
At the end of the day though, which specific cyclone, I don’t think matters too much — for general chip collection, they will all be fine. Having a cyclone separator in place, especially in conjunction with using filter bags means that I haven’t had to open up my vacuum (either to change the bag or clean the HEPA filter) in years.
Taking it a step further, by adding automatic vacuums switches (i.e., iVac switches), dust collection becomes something that you no longer have to consciously think about: you turn the tool on and do your thing — the dust collection will happen on its own. There is a bit of a nuisance if you are making single, quick cuts — these switches need a second or two of the tool running for their automatic switching to kick in but overall, the convenience of not having to think about turning a vacuum on or off while working makes it so worth it.
Marking & layout tools
Trim squares
A few years ago, I picked up a 4-1/2" trim square as part of a combo kit and I love it — the smaller size being easier to use in tighter spaces or when I don’t need to extend a line very far through a panel or I’m using 2x4s. Not unique to the Milwaukee squares, I really liked that there was no pivot notch — I have never ever used the square for pitching so I always found the notch was throwing my straight lines off ever so slightly.
What I think might be unique to the Milwaukee squares is the size/depth of the heel of the square (the “reference edge”) — it’s a different size/depth depending on which side of the square you’re looking at: one is 1/4” (perfect for bisecting 1/2”) and the other is 3/8” (perfect for bisecting 3/4”). Bisecting a 1/2” or 3/4” is great when I want to lay out screw locations in plywood.
Compact combination squares
Not just combination squares but specifically, multiple compact combination squares. While longer (12” and 16”) combination squares are great for extending lines, I primarily use smaller (6”) combination squares as depth gauges more than anything. Having multiple compact combination squares allows me to reliably set layout lines at different depths without introducing human error from constantly changing the position of the square.
Used in this fashion, the primary thing I am looking for in a combination square is mostly ‘how easy the knob is to use’ and ‘how visible are the markings’. I’m not particularly choosey but from my experience, I find that the Irwin and Empire are both super nice to use. If you do end up getting multiple of the same combination square, you’ll want to label them otherwise, you’ll eventually mix them up when working with multiple layout lines that may be visually close in depth ;-)
Nut and bolt sizer
A more recent purchase for me, I can’t believe I went so long without one! I figured that since 95% of what I work with is 1/4-20, I would almost never encounter odd nuts and bolts, so why bother? I picked up a cheap thread checker and it turns out I have way more ‘odd sizes’ than I thought I did!
These thread checkers identify both metric and imperial threads so it’s super handy for when a part breaks and I need to figure out what size replacement part I might need. When I’m done, it collapses down into a compact bundle and I toss is in a drawer so it’s out of the way.


Product links may be affiliate links: MinMaxGeek may earn a commission on any purchases made via said links without any additional cost to you.