

Build Log: Mobile Tool Bases
I recently bought a floor-standing bandsaw and in my shop where free-space is rapidly becoming a luxury, I needed to find a way to keep the saw mobile. Previously, I had bought a floor-standing drill press which I mounted on a universal tool-base that I got on sale a few years back. I didn’t particularly like the universal base so I wanted to explore a different option.
Quick Links
Mobile base options
Universal tool base
Other than the table saw (which came with an integrated, highly functional, mobile base), I’ve never owned floorstanding tools before. Compared to my previous benchtop variants, my bandsaw (166 lb) and drill-press (160 lb) are substantially heavier (roughly 4x) and in the case of the drill press, was a lot more top-heavy. I was particularly concerned with the drill-press being top-heavy since my garage (like many), has a slope to it.
Initially, I had tested the drill-press on a universal tool-base which was okay. Having a pair of fixed and spinning wheels, I found shuffling the tool around a huge pain in the butt. I had previously used this universal base as the mobile platform for a DIY tool chest I made and that was a much better application. With the drill-press being so top-heavy, moving it around never quite felt right. That being said, once moved into position, the mobile base could be leveled out to account for any slope; once leveled, it was stable enough.
Looking back, this type of mobile base is best suited for:
Larger, heavier loads (like a rolling tool chest) where there is less of a chance to teeter and tip and the object has enough size to be leveraged around and/or
Tools that spend most of their time placed where they are being used and rarely moved
My application was the total opposite: the drill press was small and ungainly and it spent the majority of its’ time packed in the storage-location so I would need to move it before using.
Caster wheel dolly
At the total opposite end, an easy option would be to slap a bunch of casters to some wood and make a dolly from it. The obvious downside here is that, this will increase the height of the tool by the height of the dolly - making a top-heavy drill-press even more top-heavy. You can mitigate the extra height by sinking the tool base ‘into’ the dolly.
Having four casters on the dolly would make moving the tool around way easier with the downside that, like a car, the only point of contact with the ground are those four contact patches on the casters; I was concerned that, even with locking casters at each corner, my tools weren’t heavy enough to keep steady. I reduce the chances of slip by throwing down a 2x4 as a wheel-chock, but that’s not a great solution.
Washing machine/appliance dolly
For my network rack, I explored washing-machine dollies which are very similar to the universal tool-base but generally have the leveling-feet inside the footprint (less of a stub-toe hazard); they also have spinning-casters at each corner so they are a bit easier to maneuver. I had a bit of a concern with the largely-plastic construction (although supposedly metal-where-it-counts) but the design of having the leveling feet emphasizes even more so that the tool is intended to (rarely be) moved from- the primary place it will be operated, rather than to- (and from-) — setting and unsetting the leveling feet each time would be a huge pain.
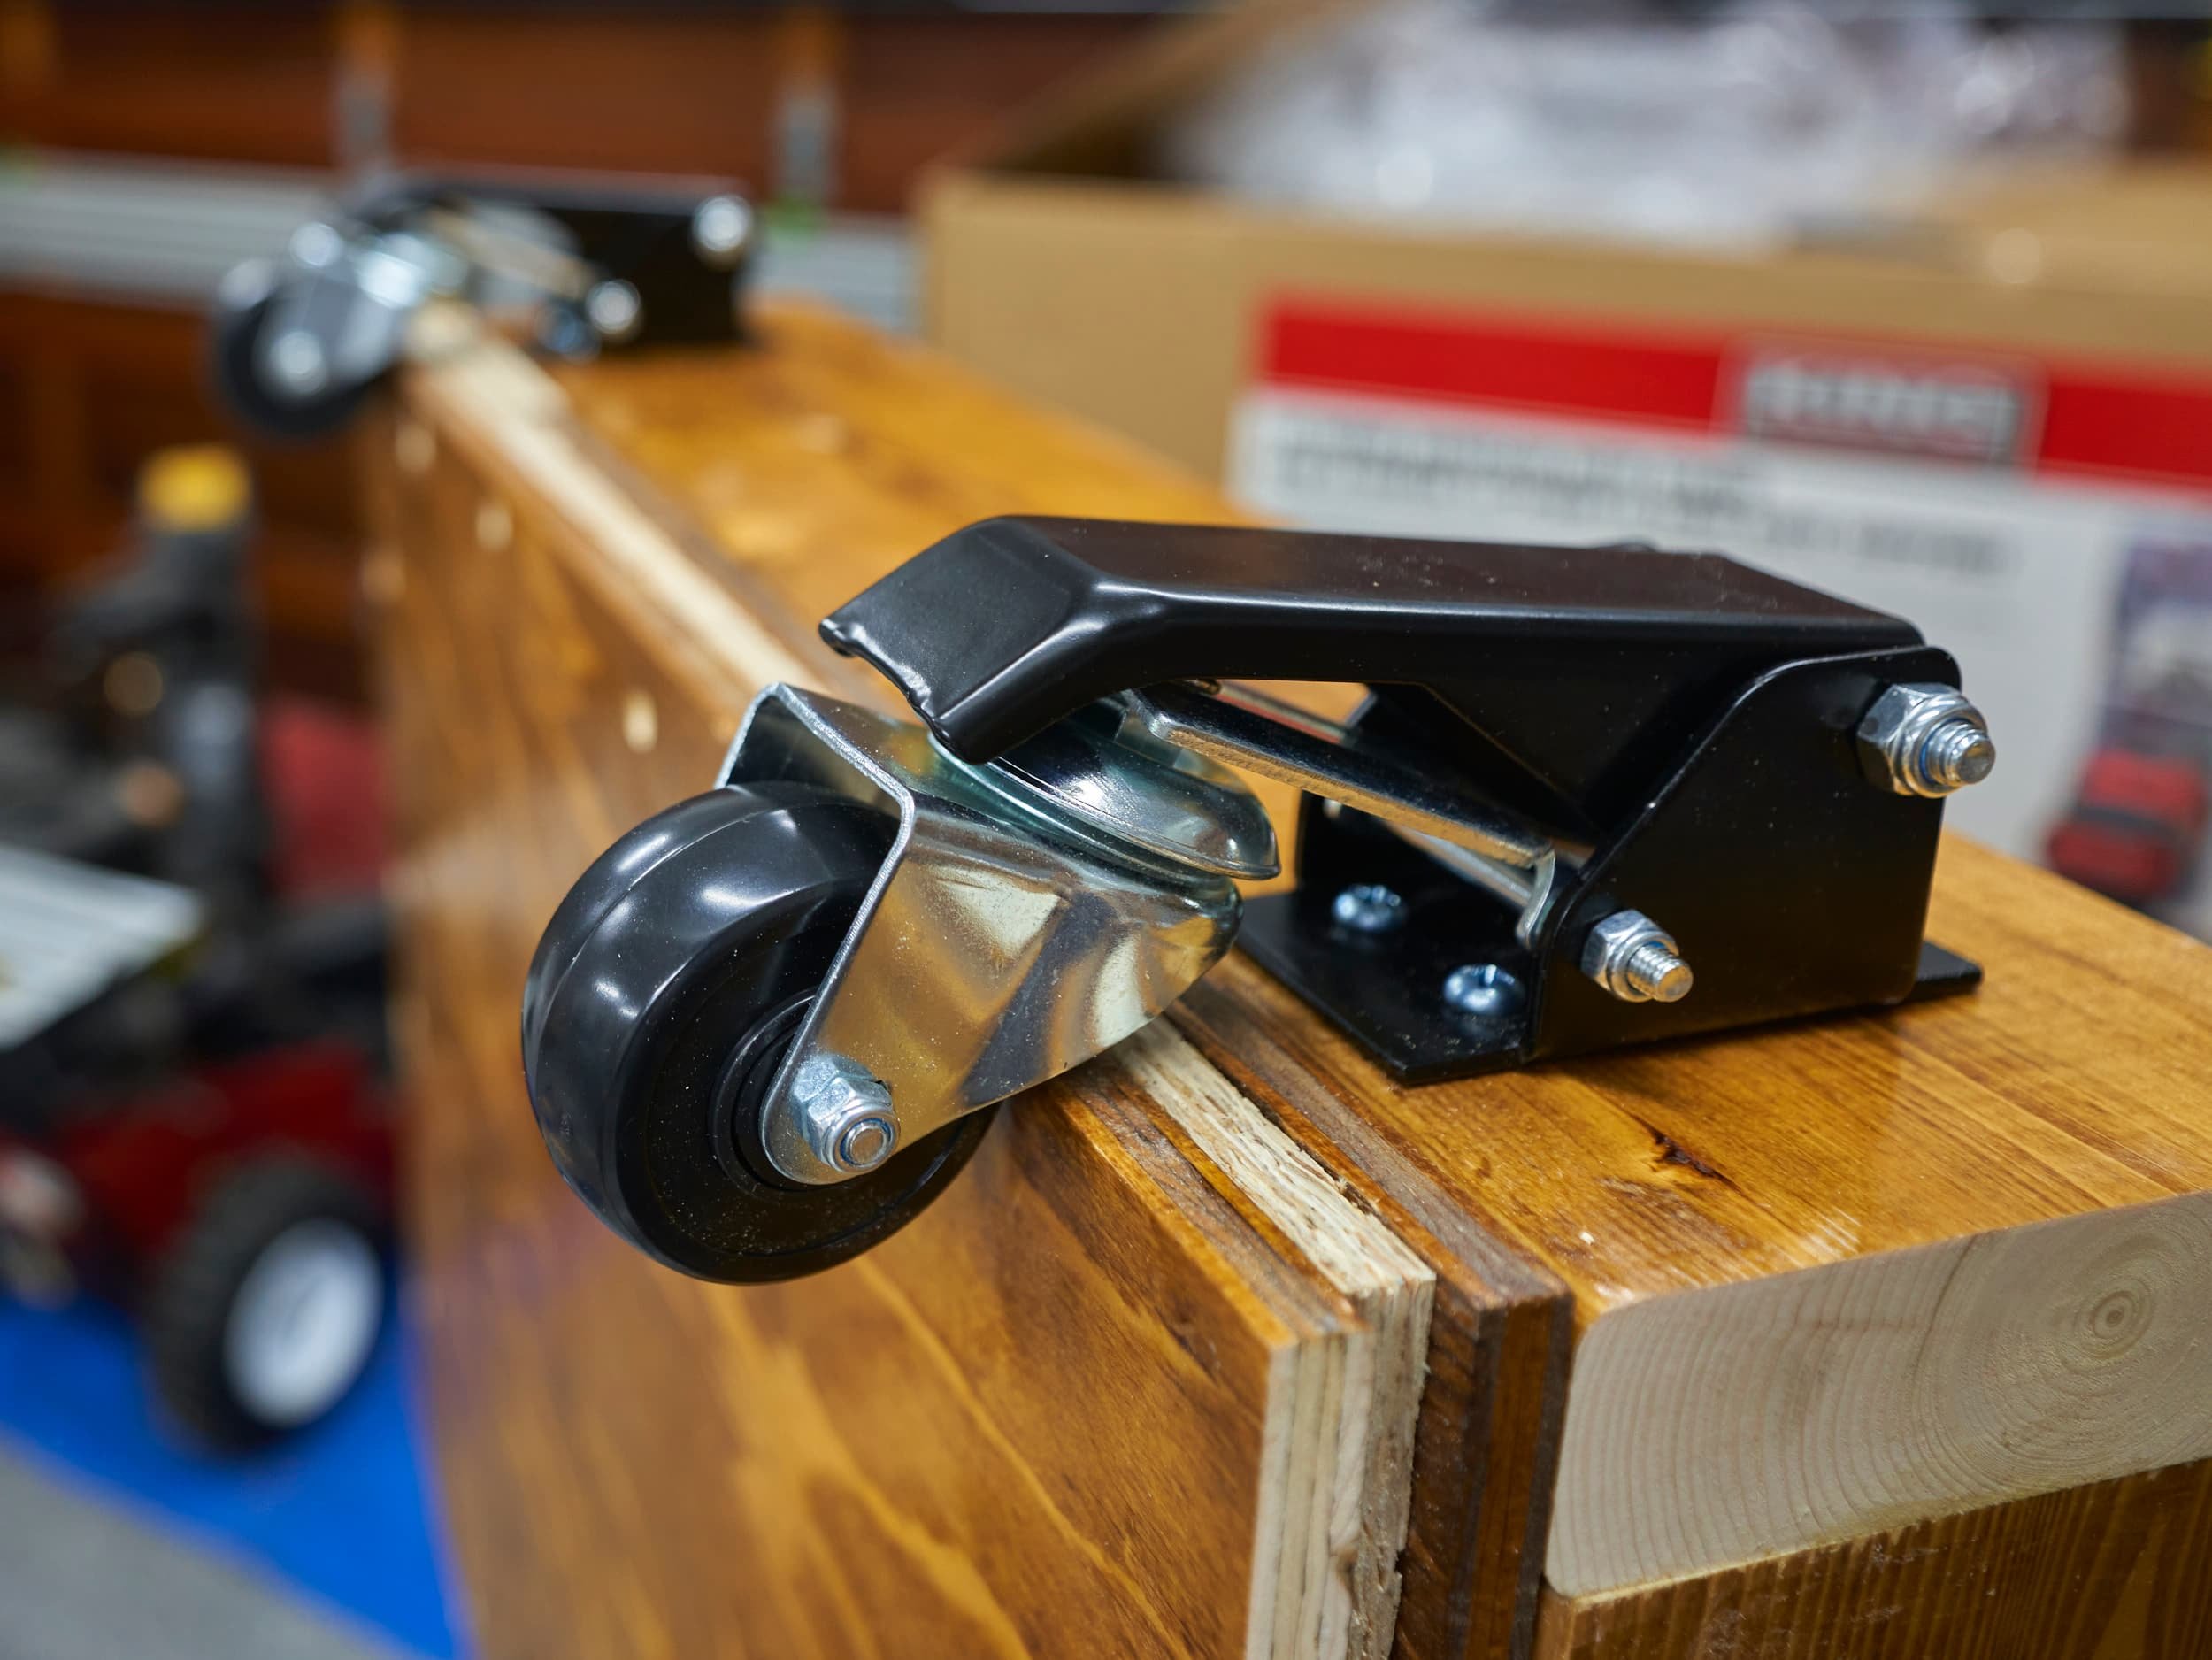
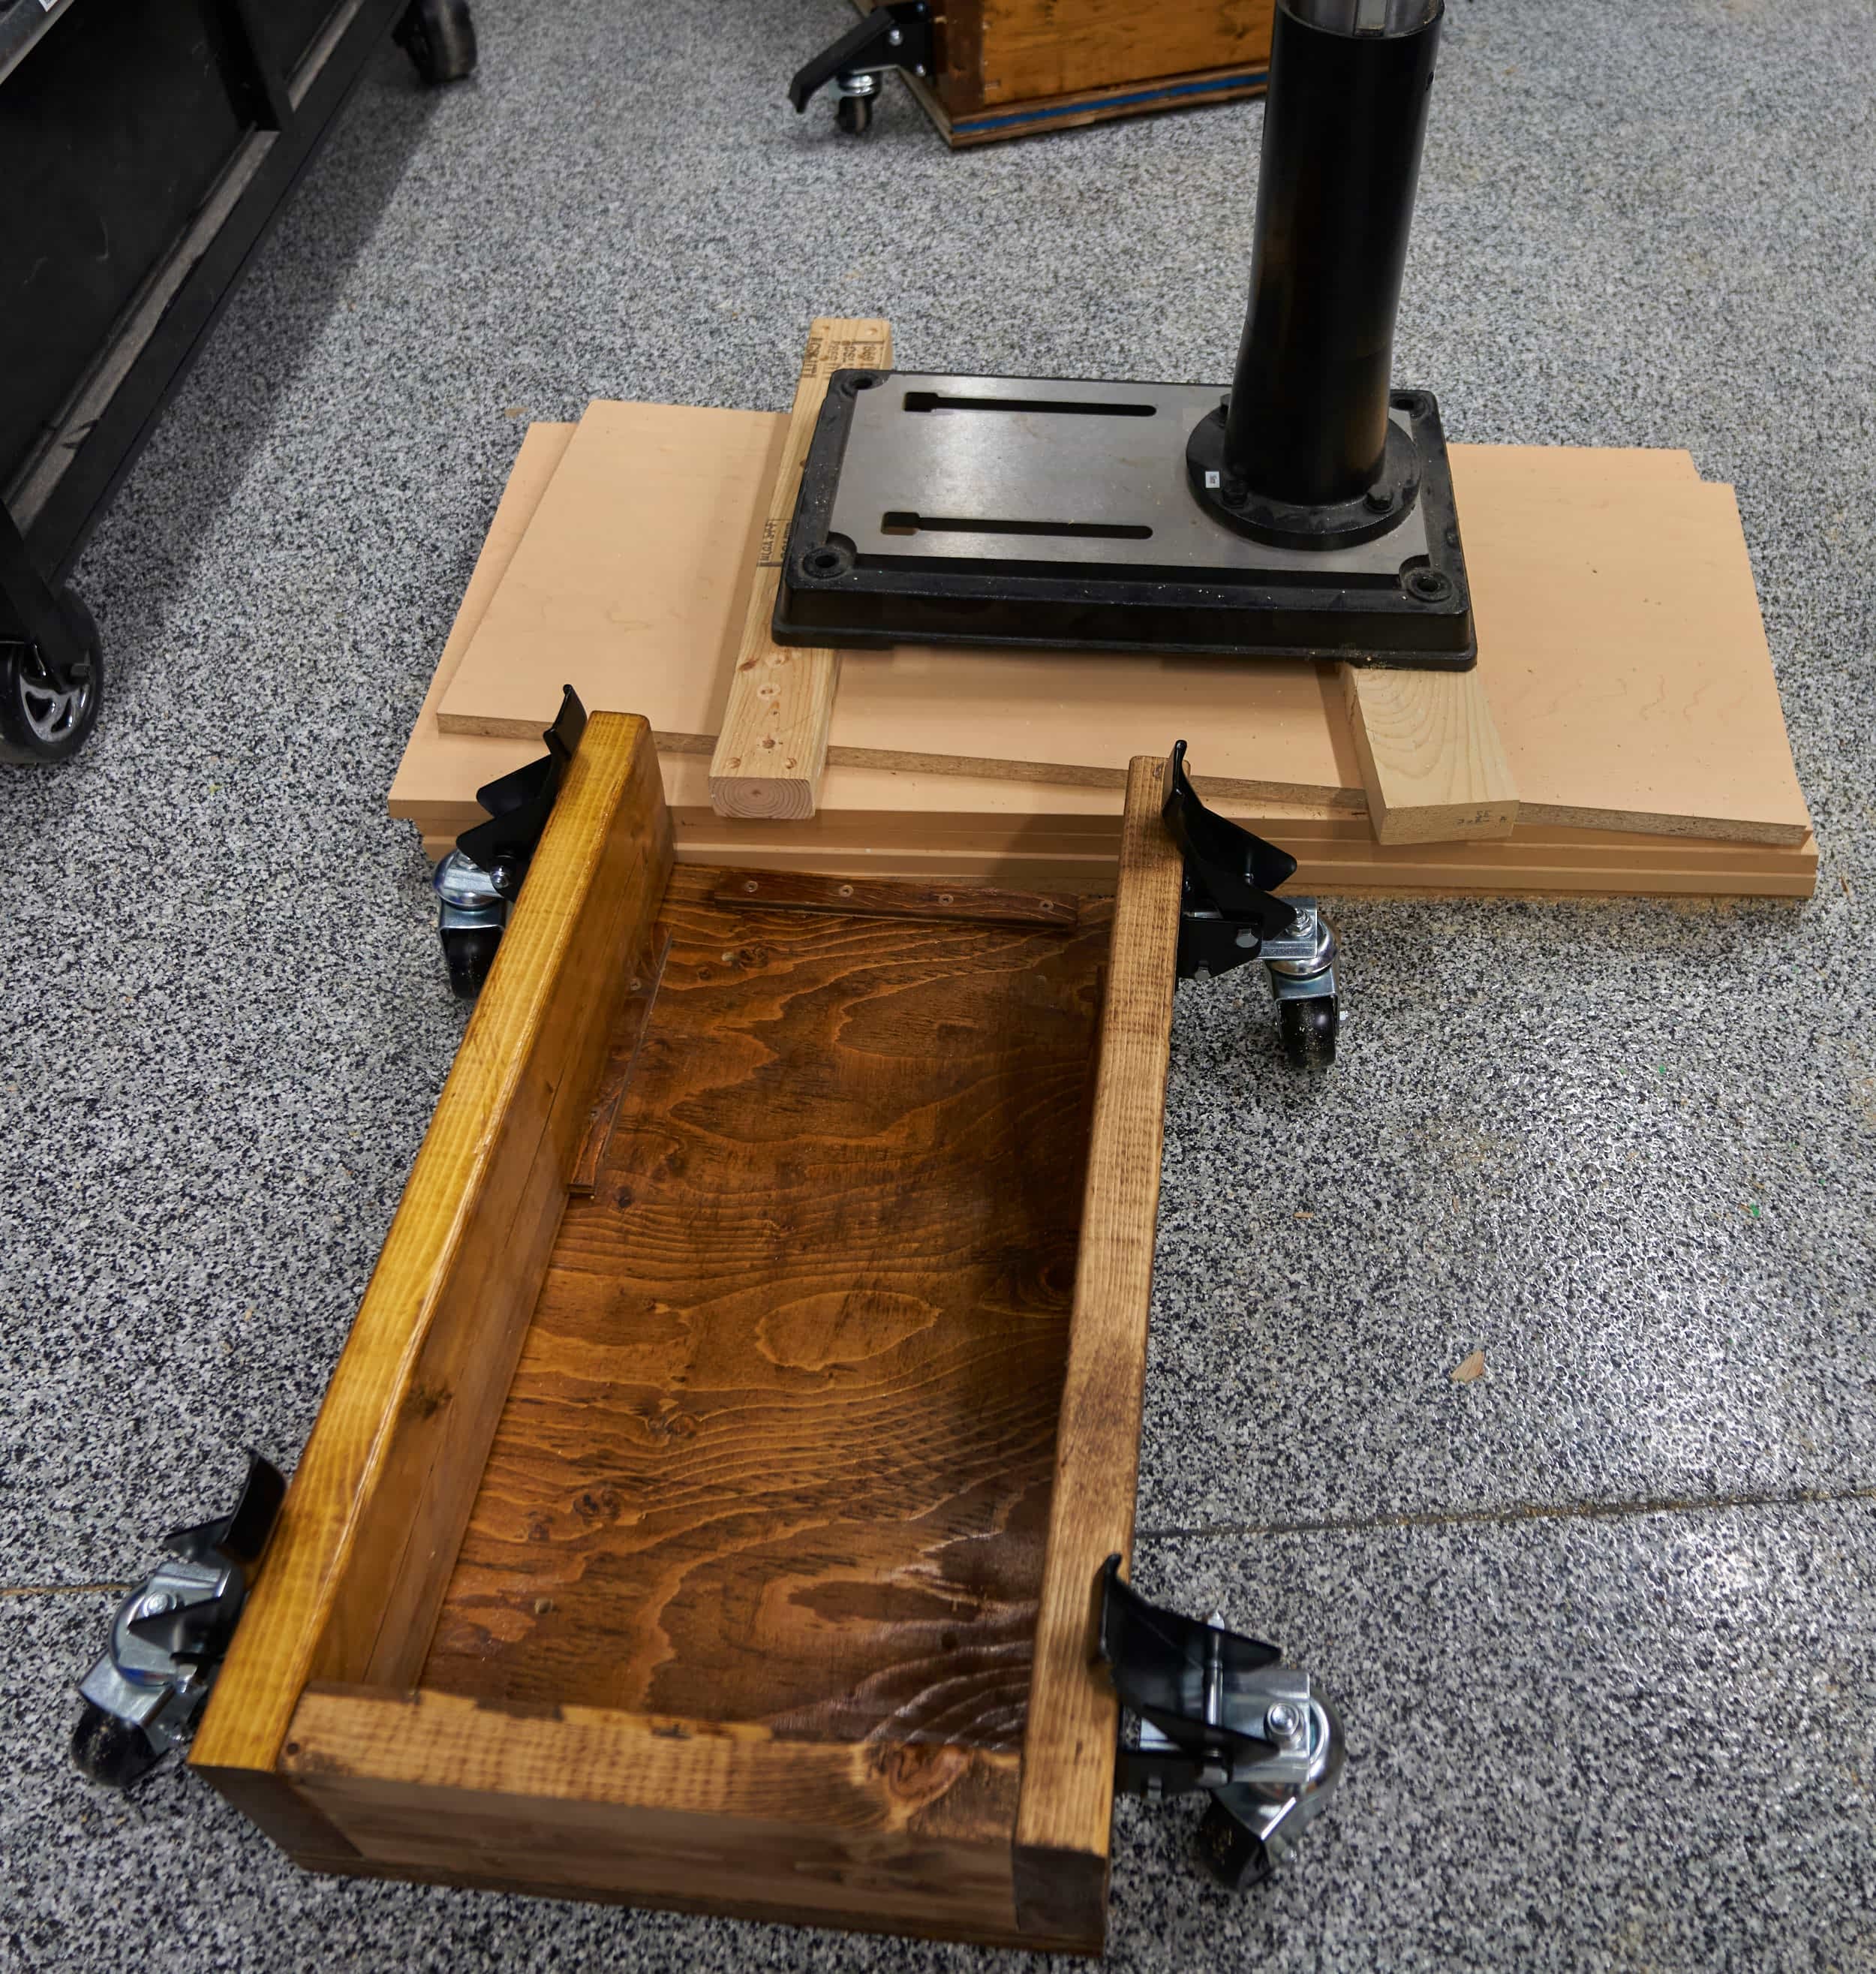
Popup casters
The idea of popup-casters marries the best of both worlds: the ability to move (with free spinning casters) paired with the ability to place the tool entirely on the ground for maximum stability. There are some potential downsides:
These can be somewhat expensive
The casters are generally fairly small (2-3/8” versus 4”+ that I might install if i were to make a platform) so they might not roll as smoothly
For some loads, 100 lb per caster may not be sufficient
They stick out quite a bit! (this can be mitigated with a clever design where you have these on quick-release plates)
Initially I really liked the idea of the quick-release plate popup-caster (say that three times fast!) — you seemingly get the best of all worlds: you only have to buy one set of casters and can install the quick-release plates (normally cheaper) on all of your tools. Once you’re done moving them around, you can pop the casters off and then you don’t have to worry about wheels ‘sticking out’. The downside here is that it would be a huge pain to have to crawl down under each tool to pop the back casters on each time I wanted to move it. So that was a no go.
By sheer coincidence, a set of four pop-up casters went on sale for $42 so fate had decided.
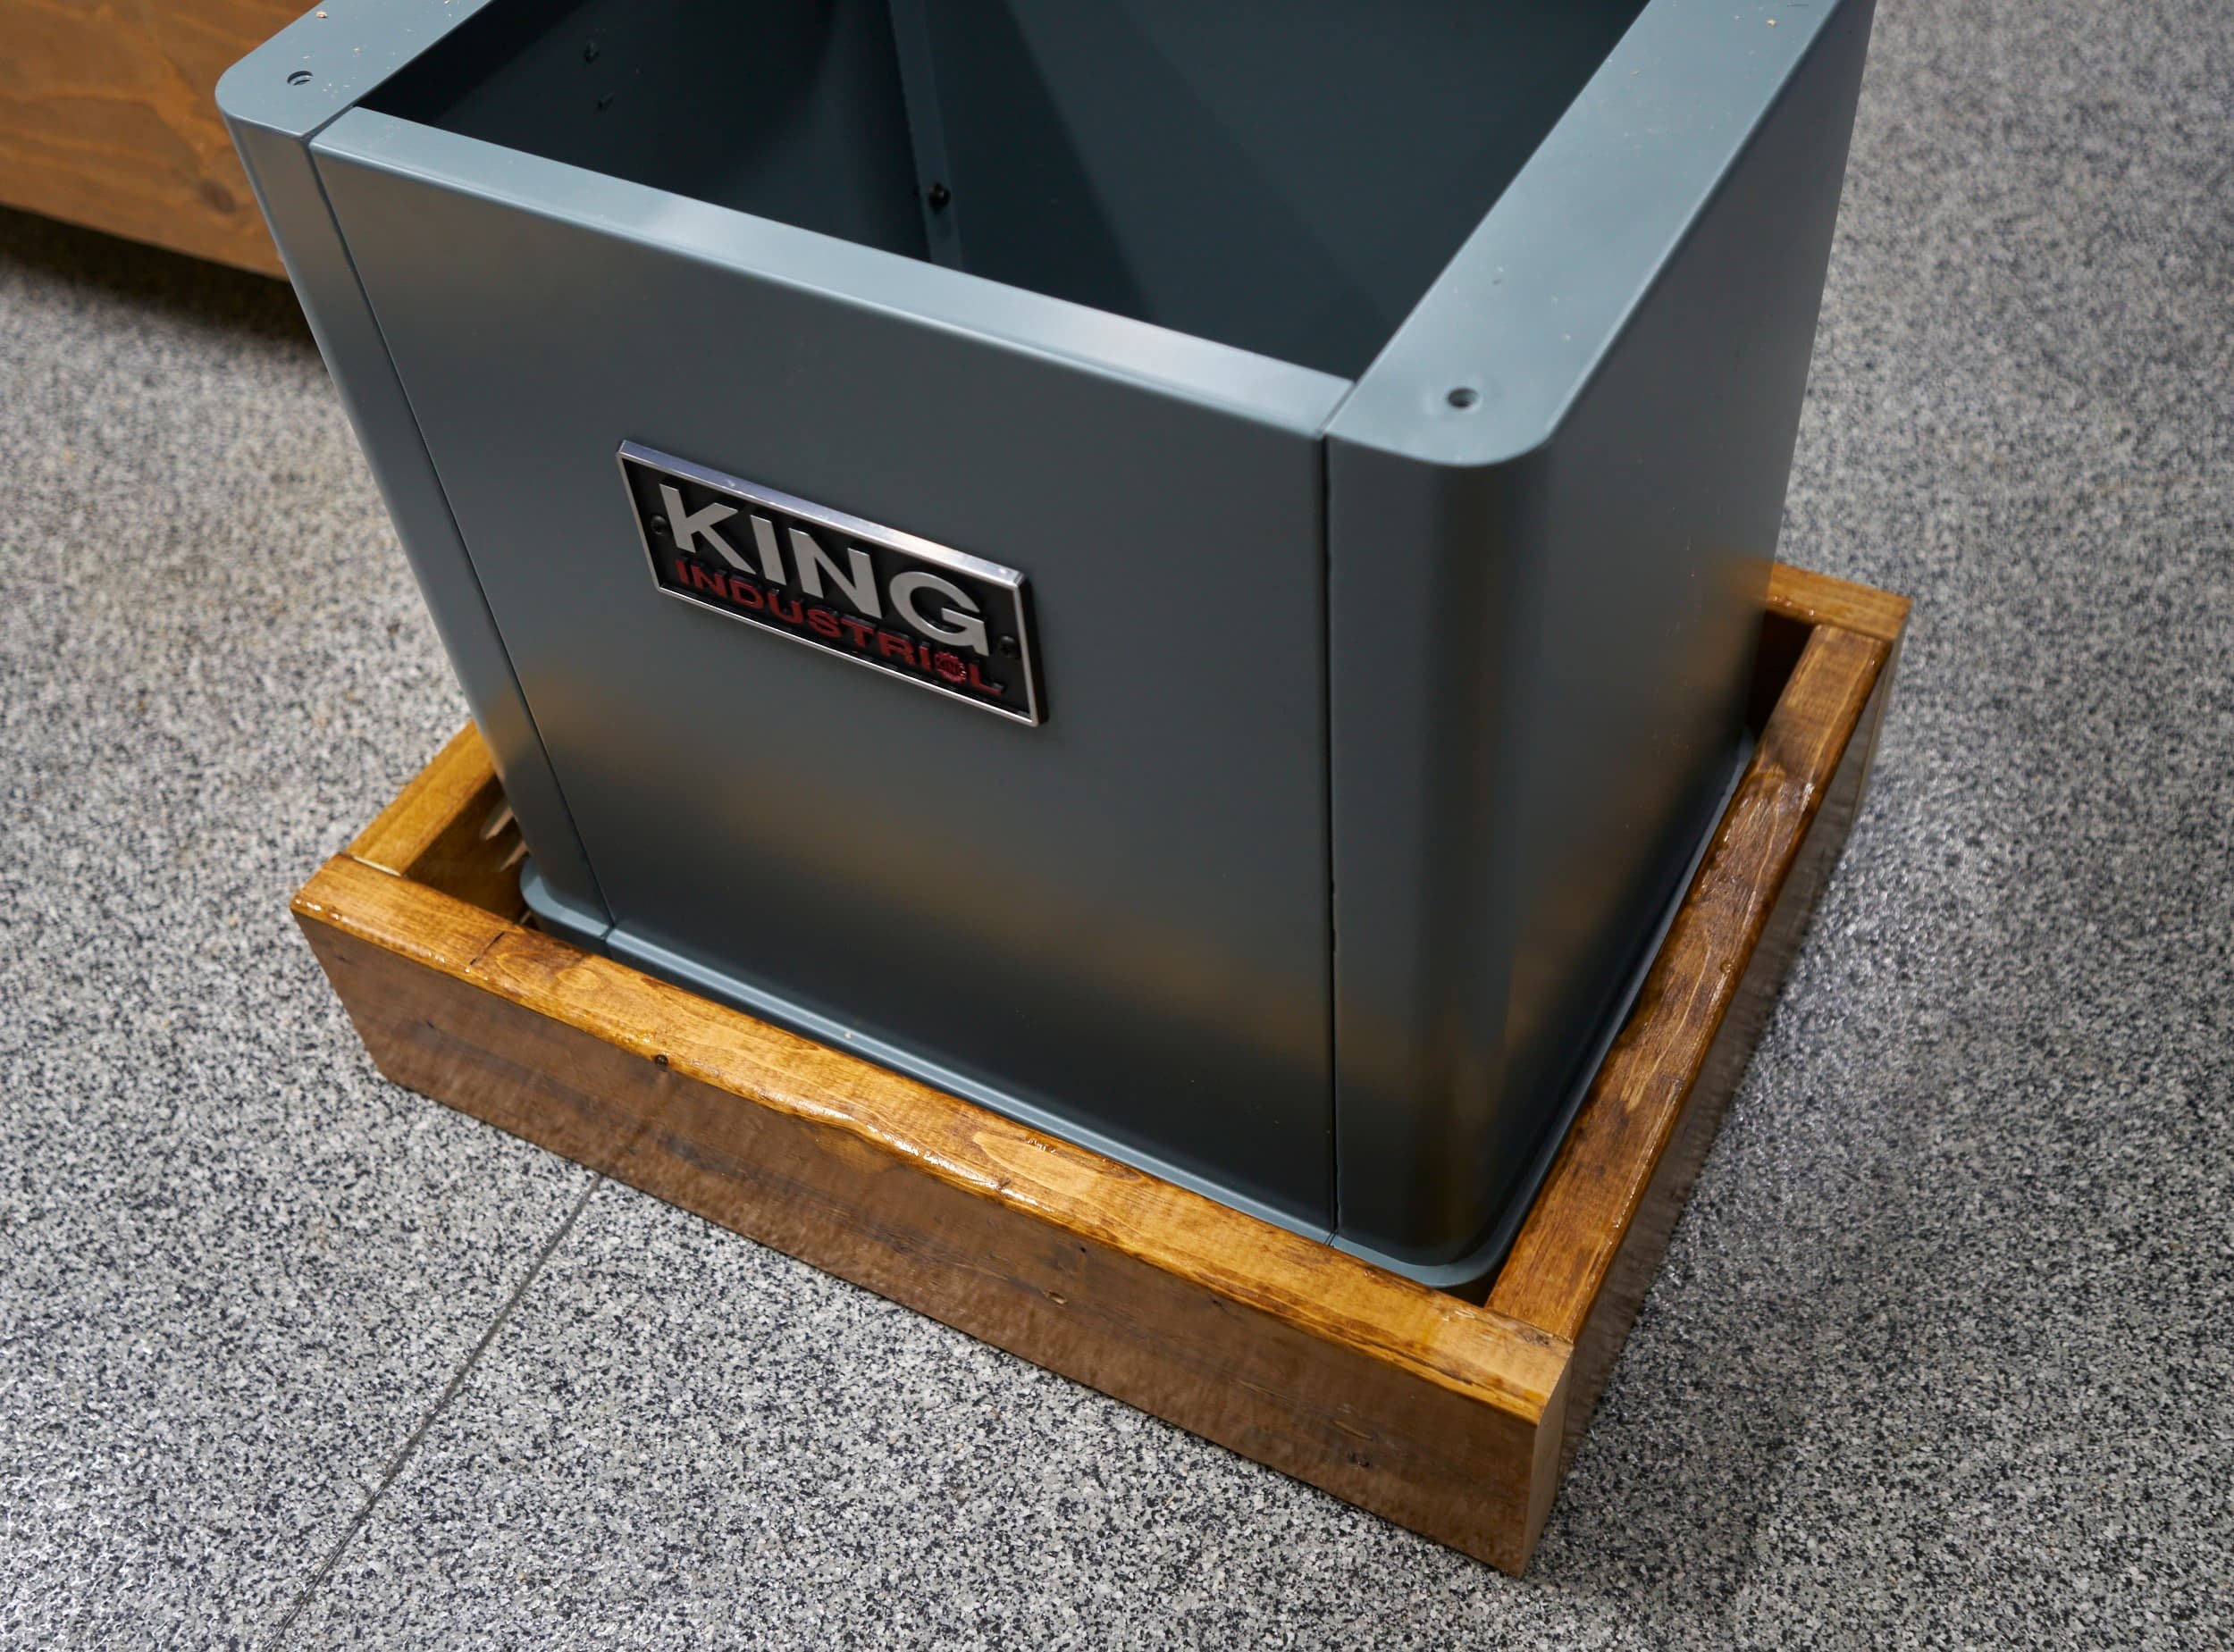
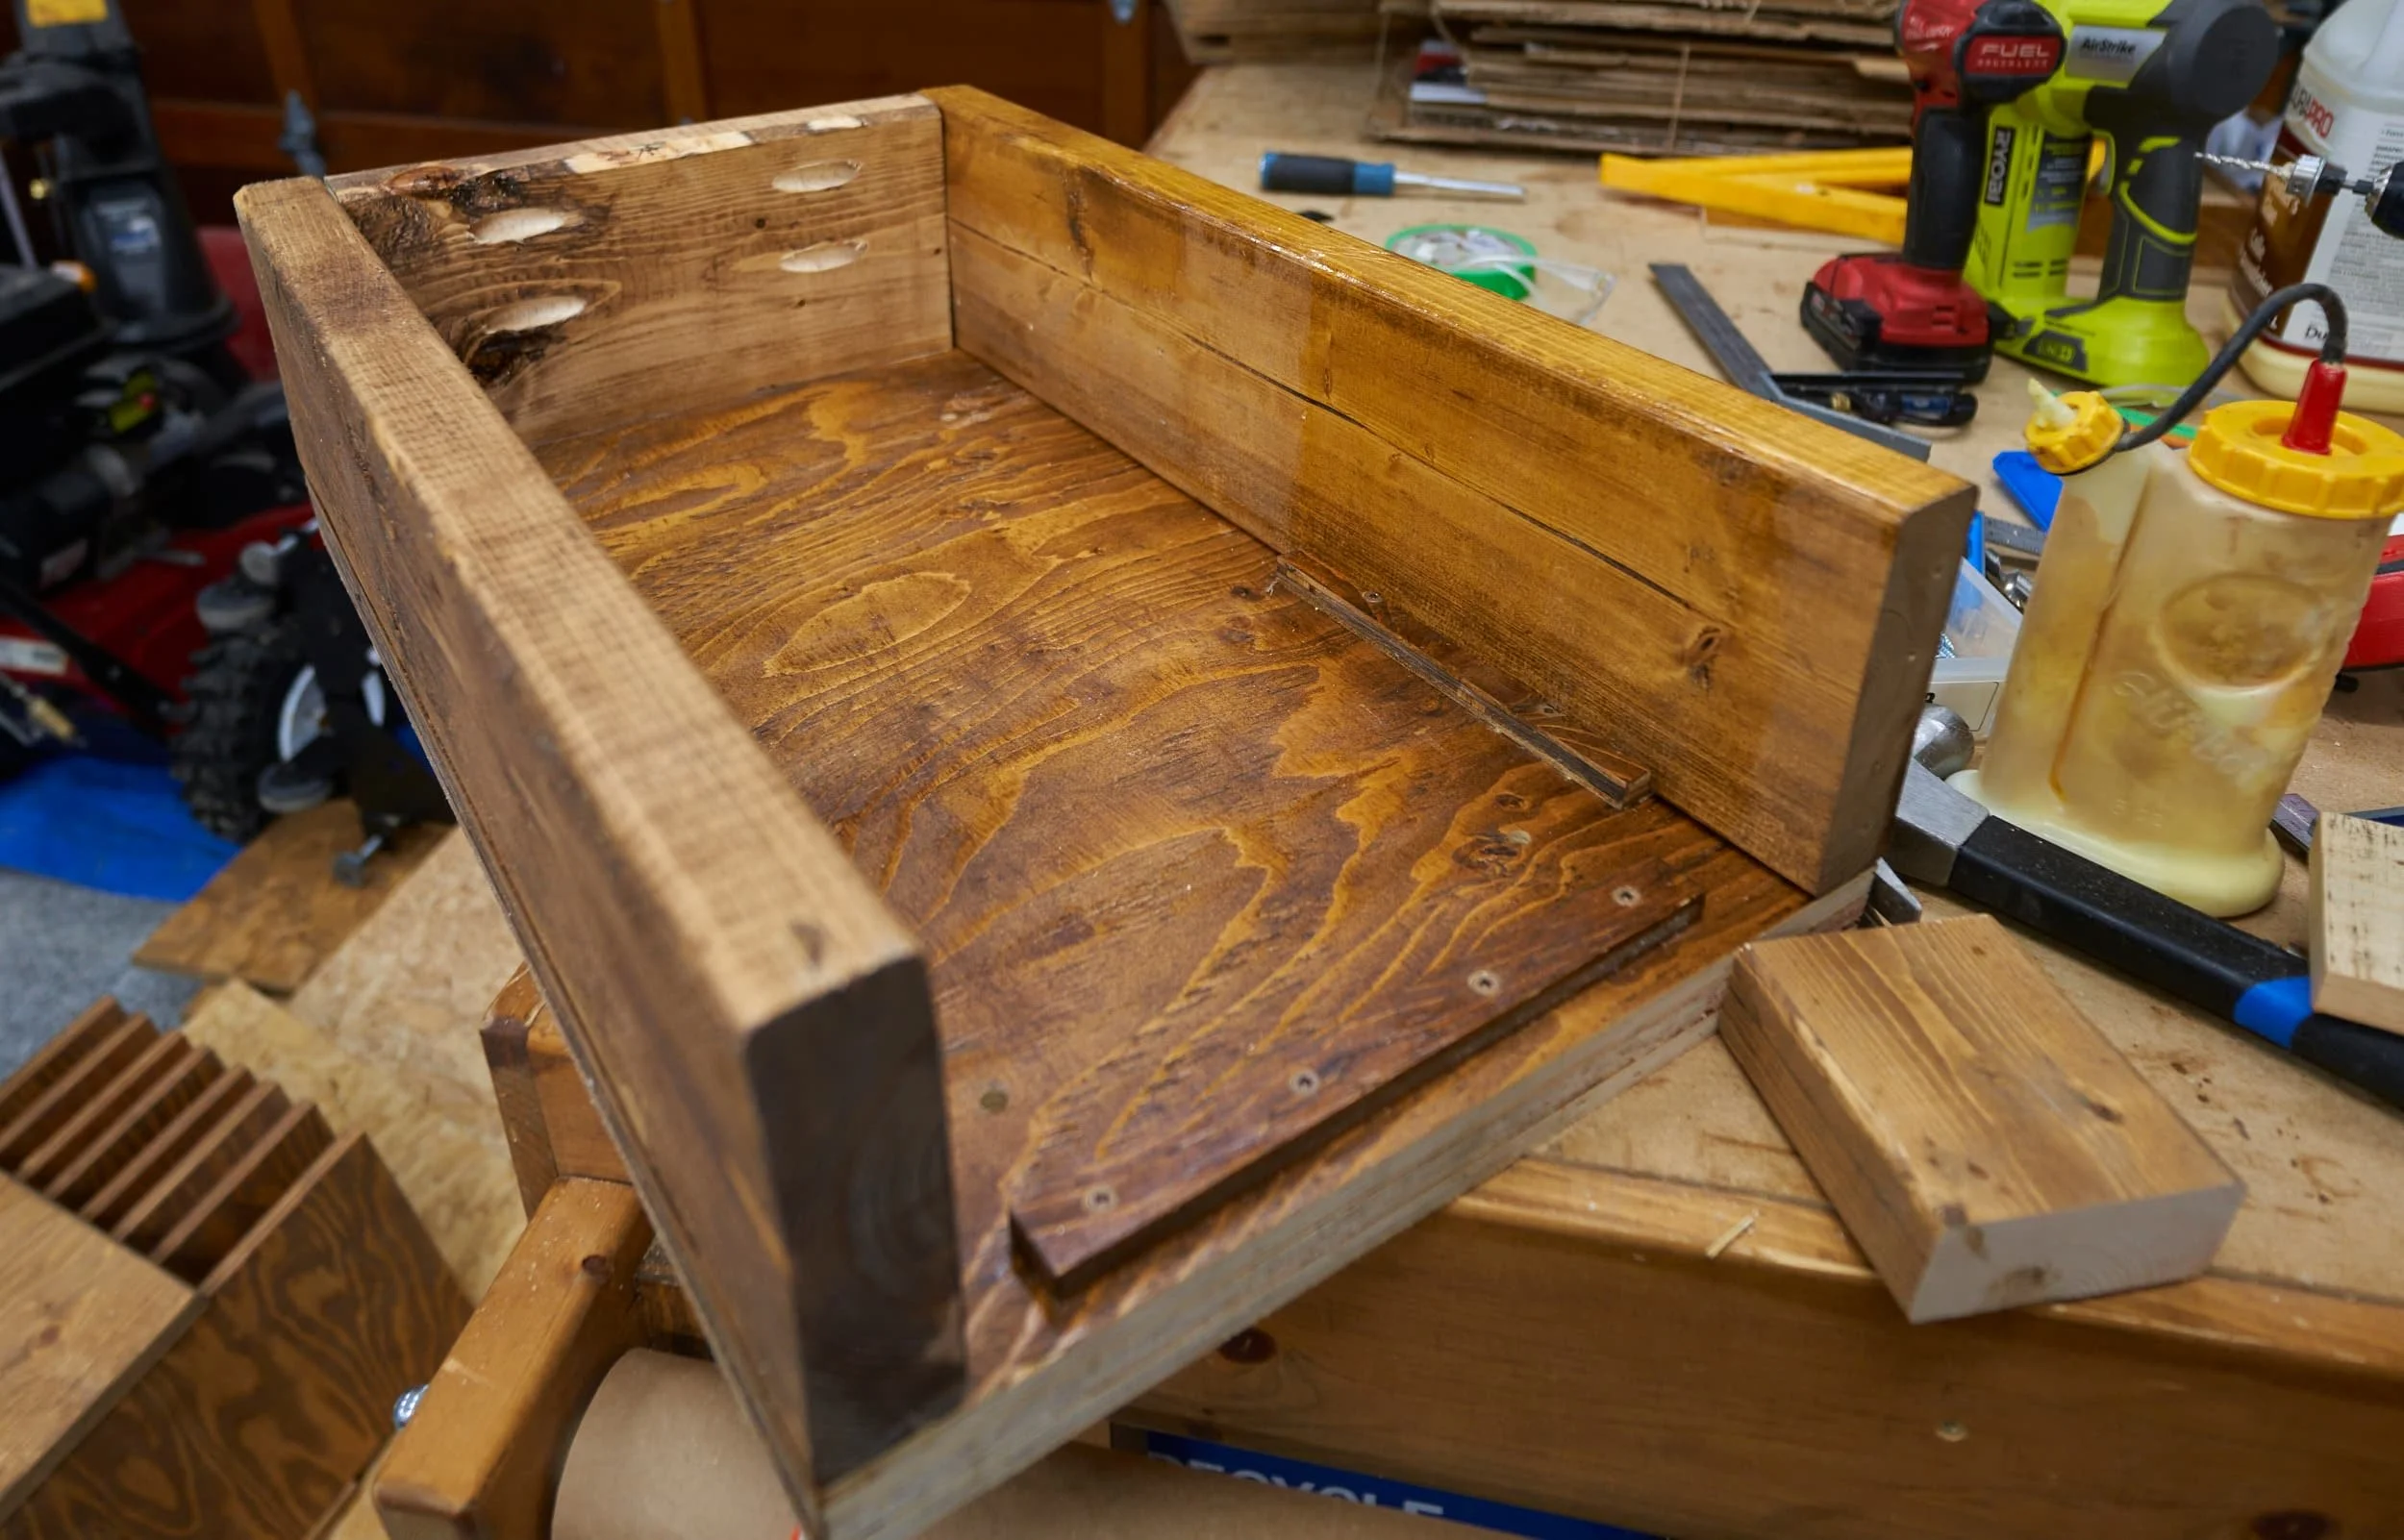
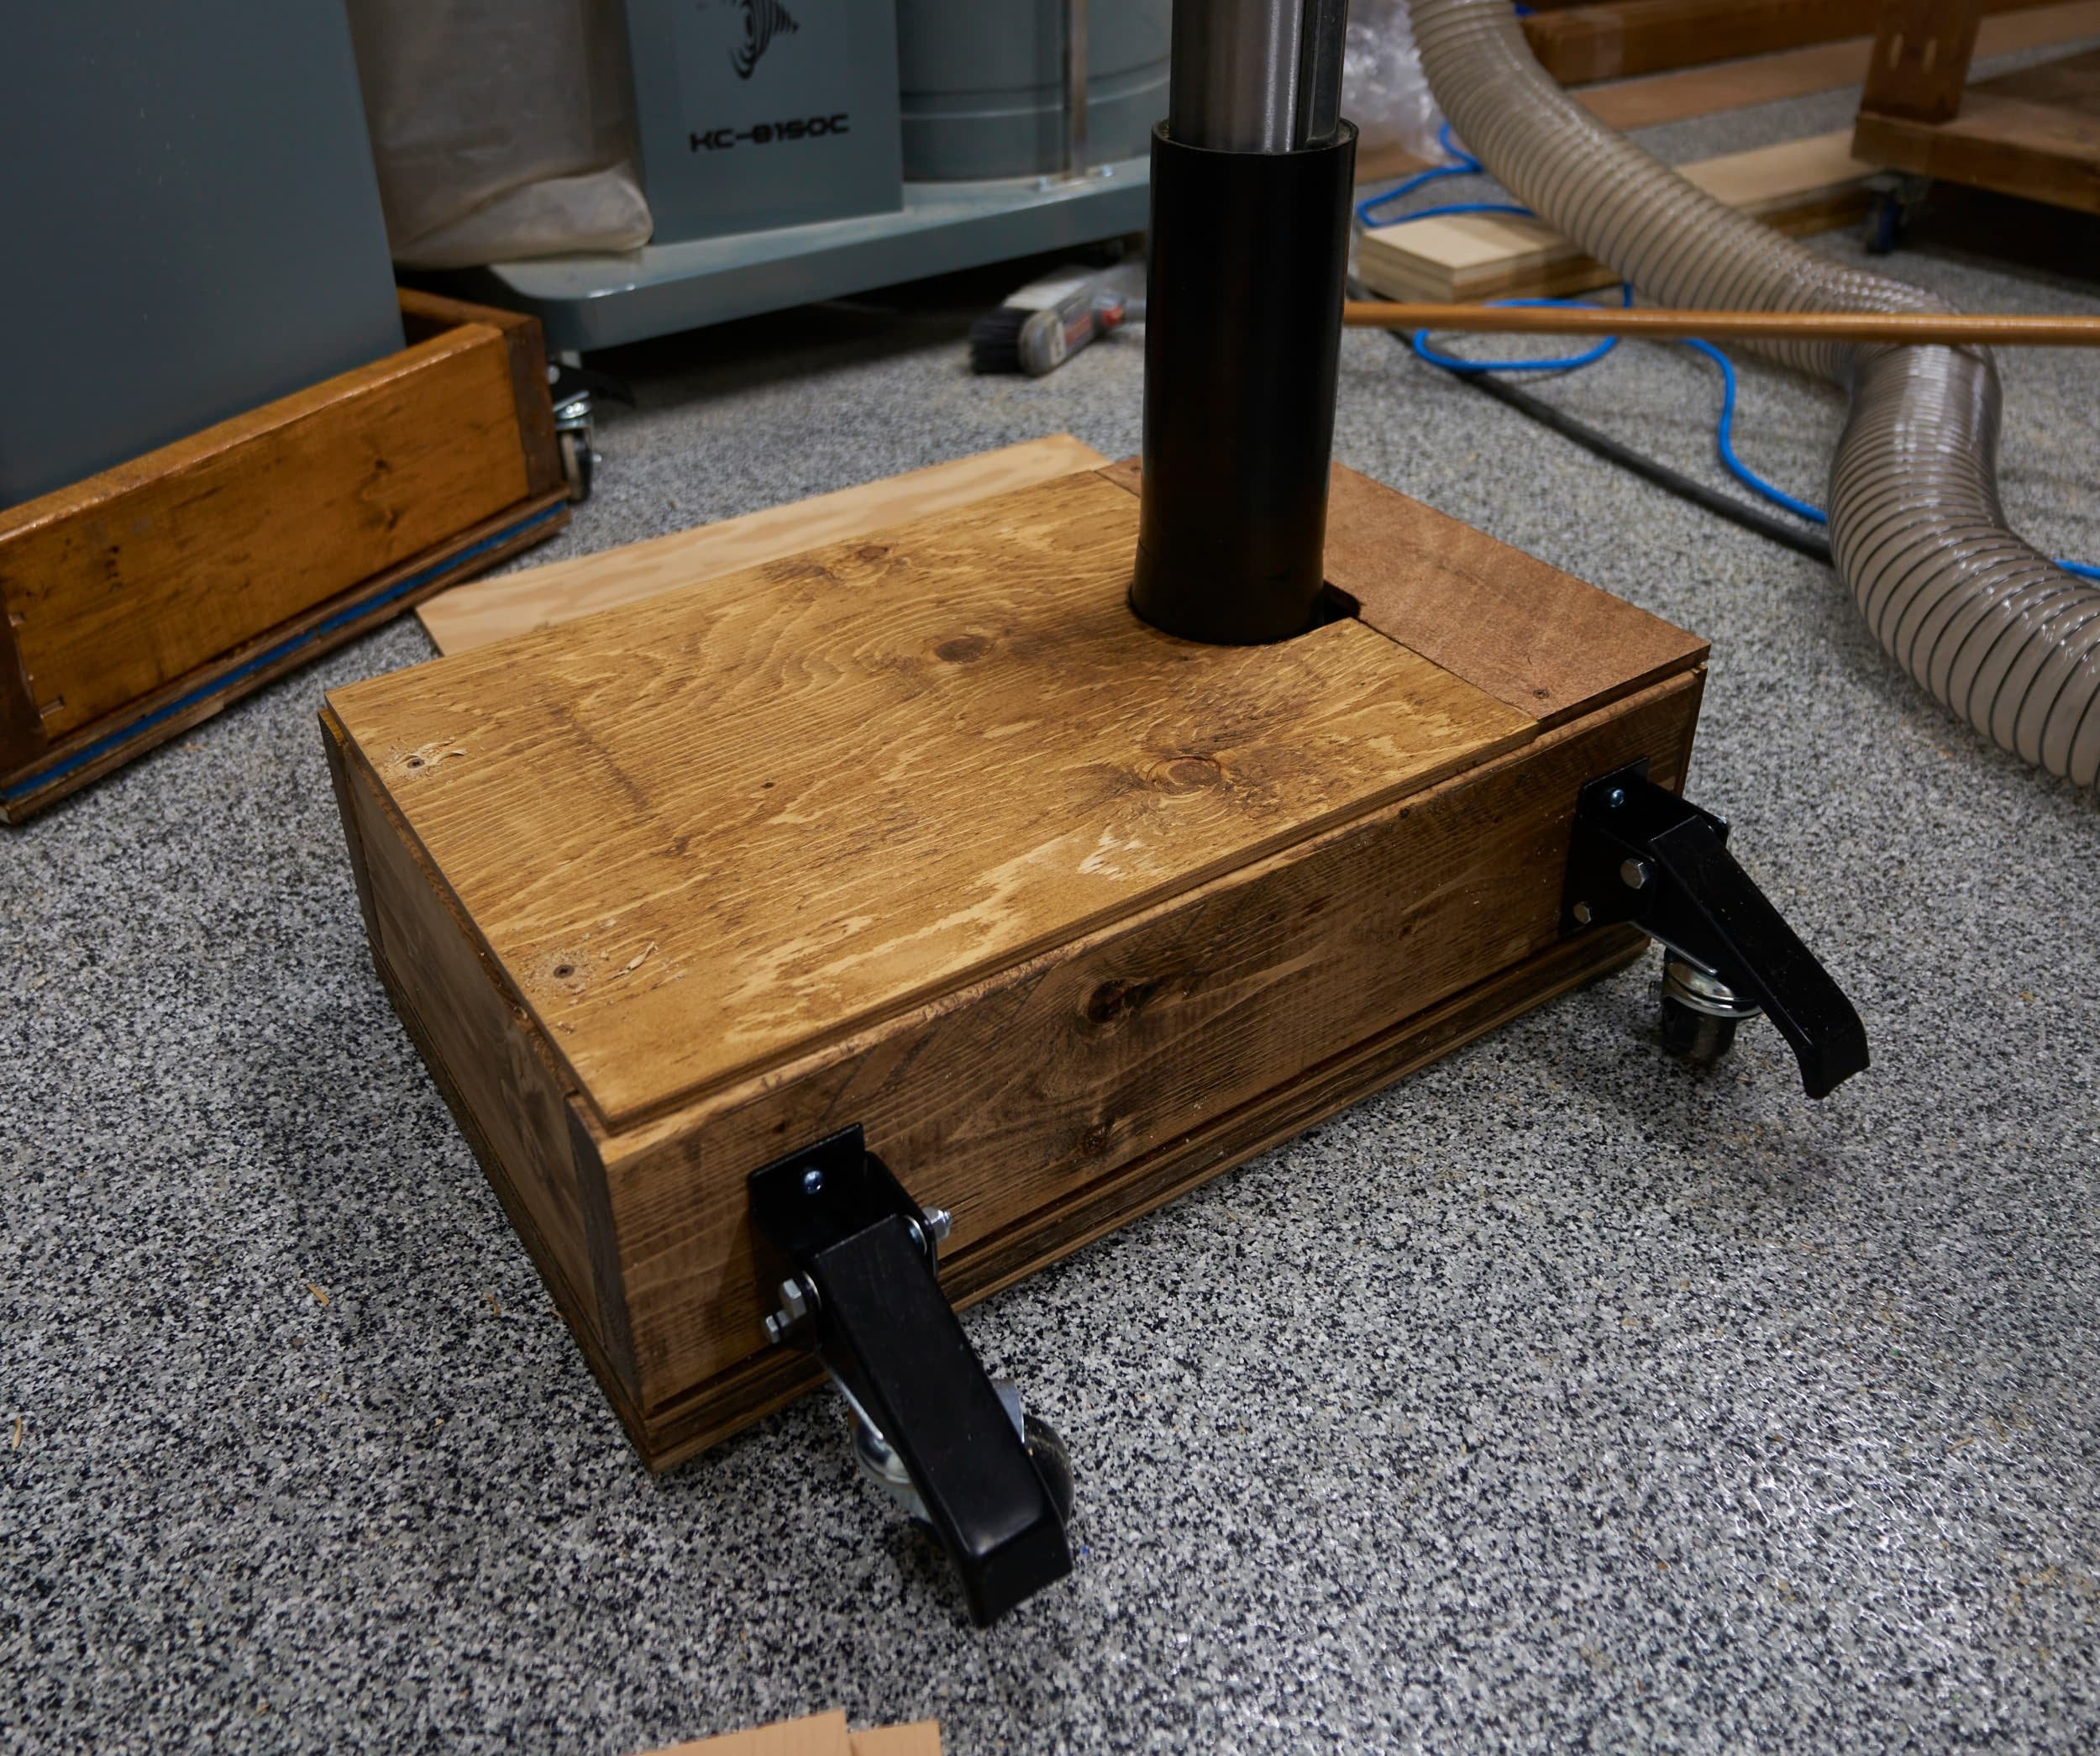
Bandsaw base
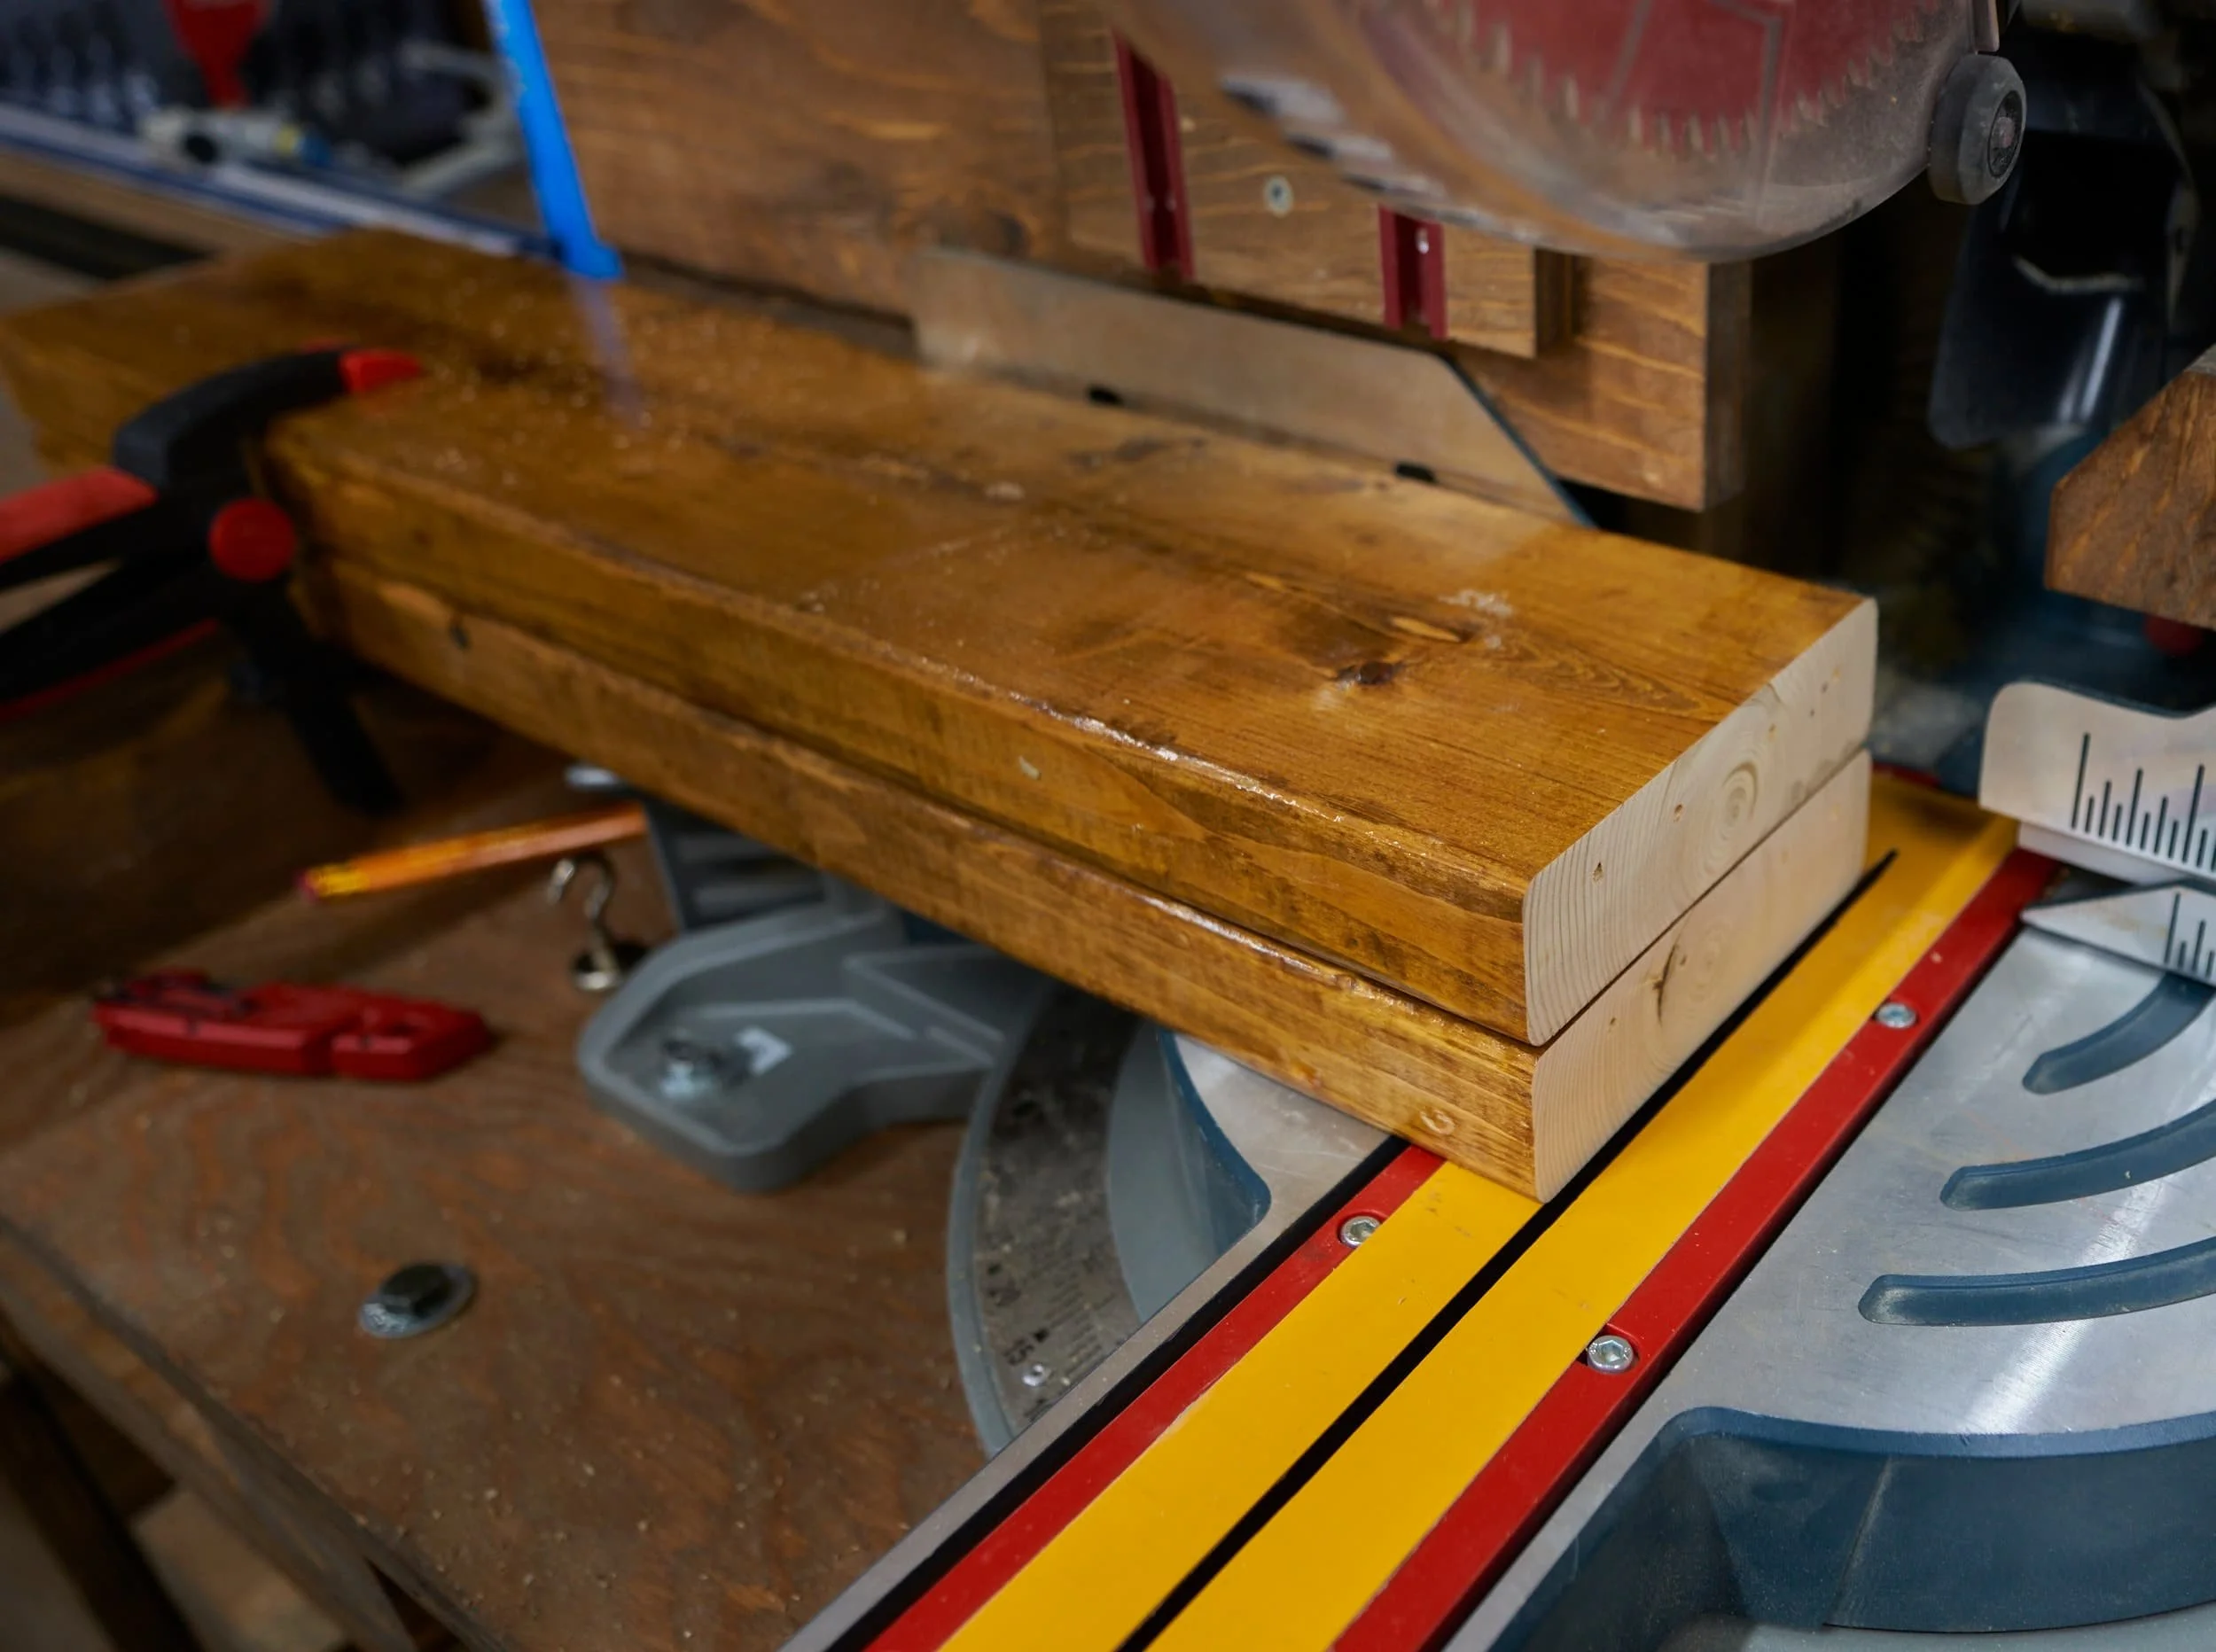
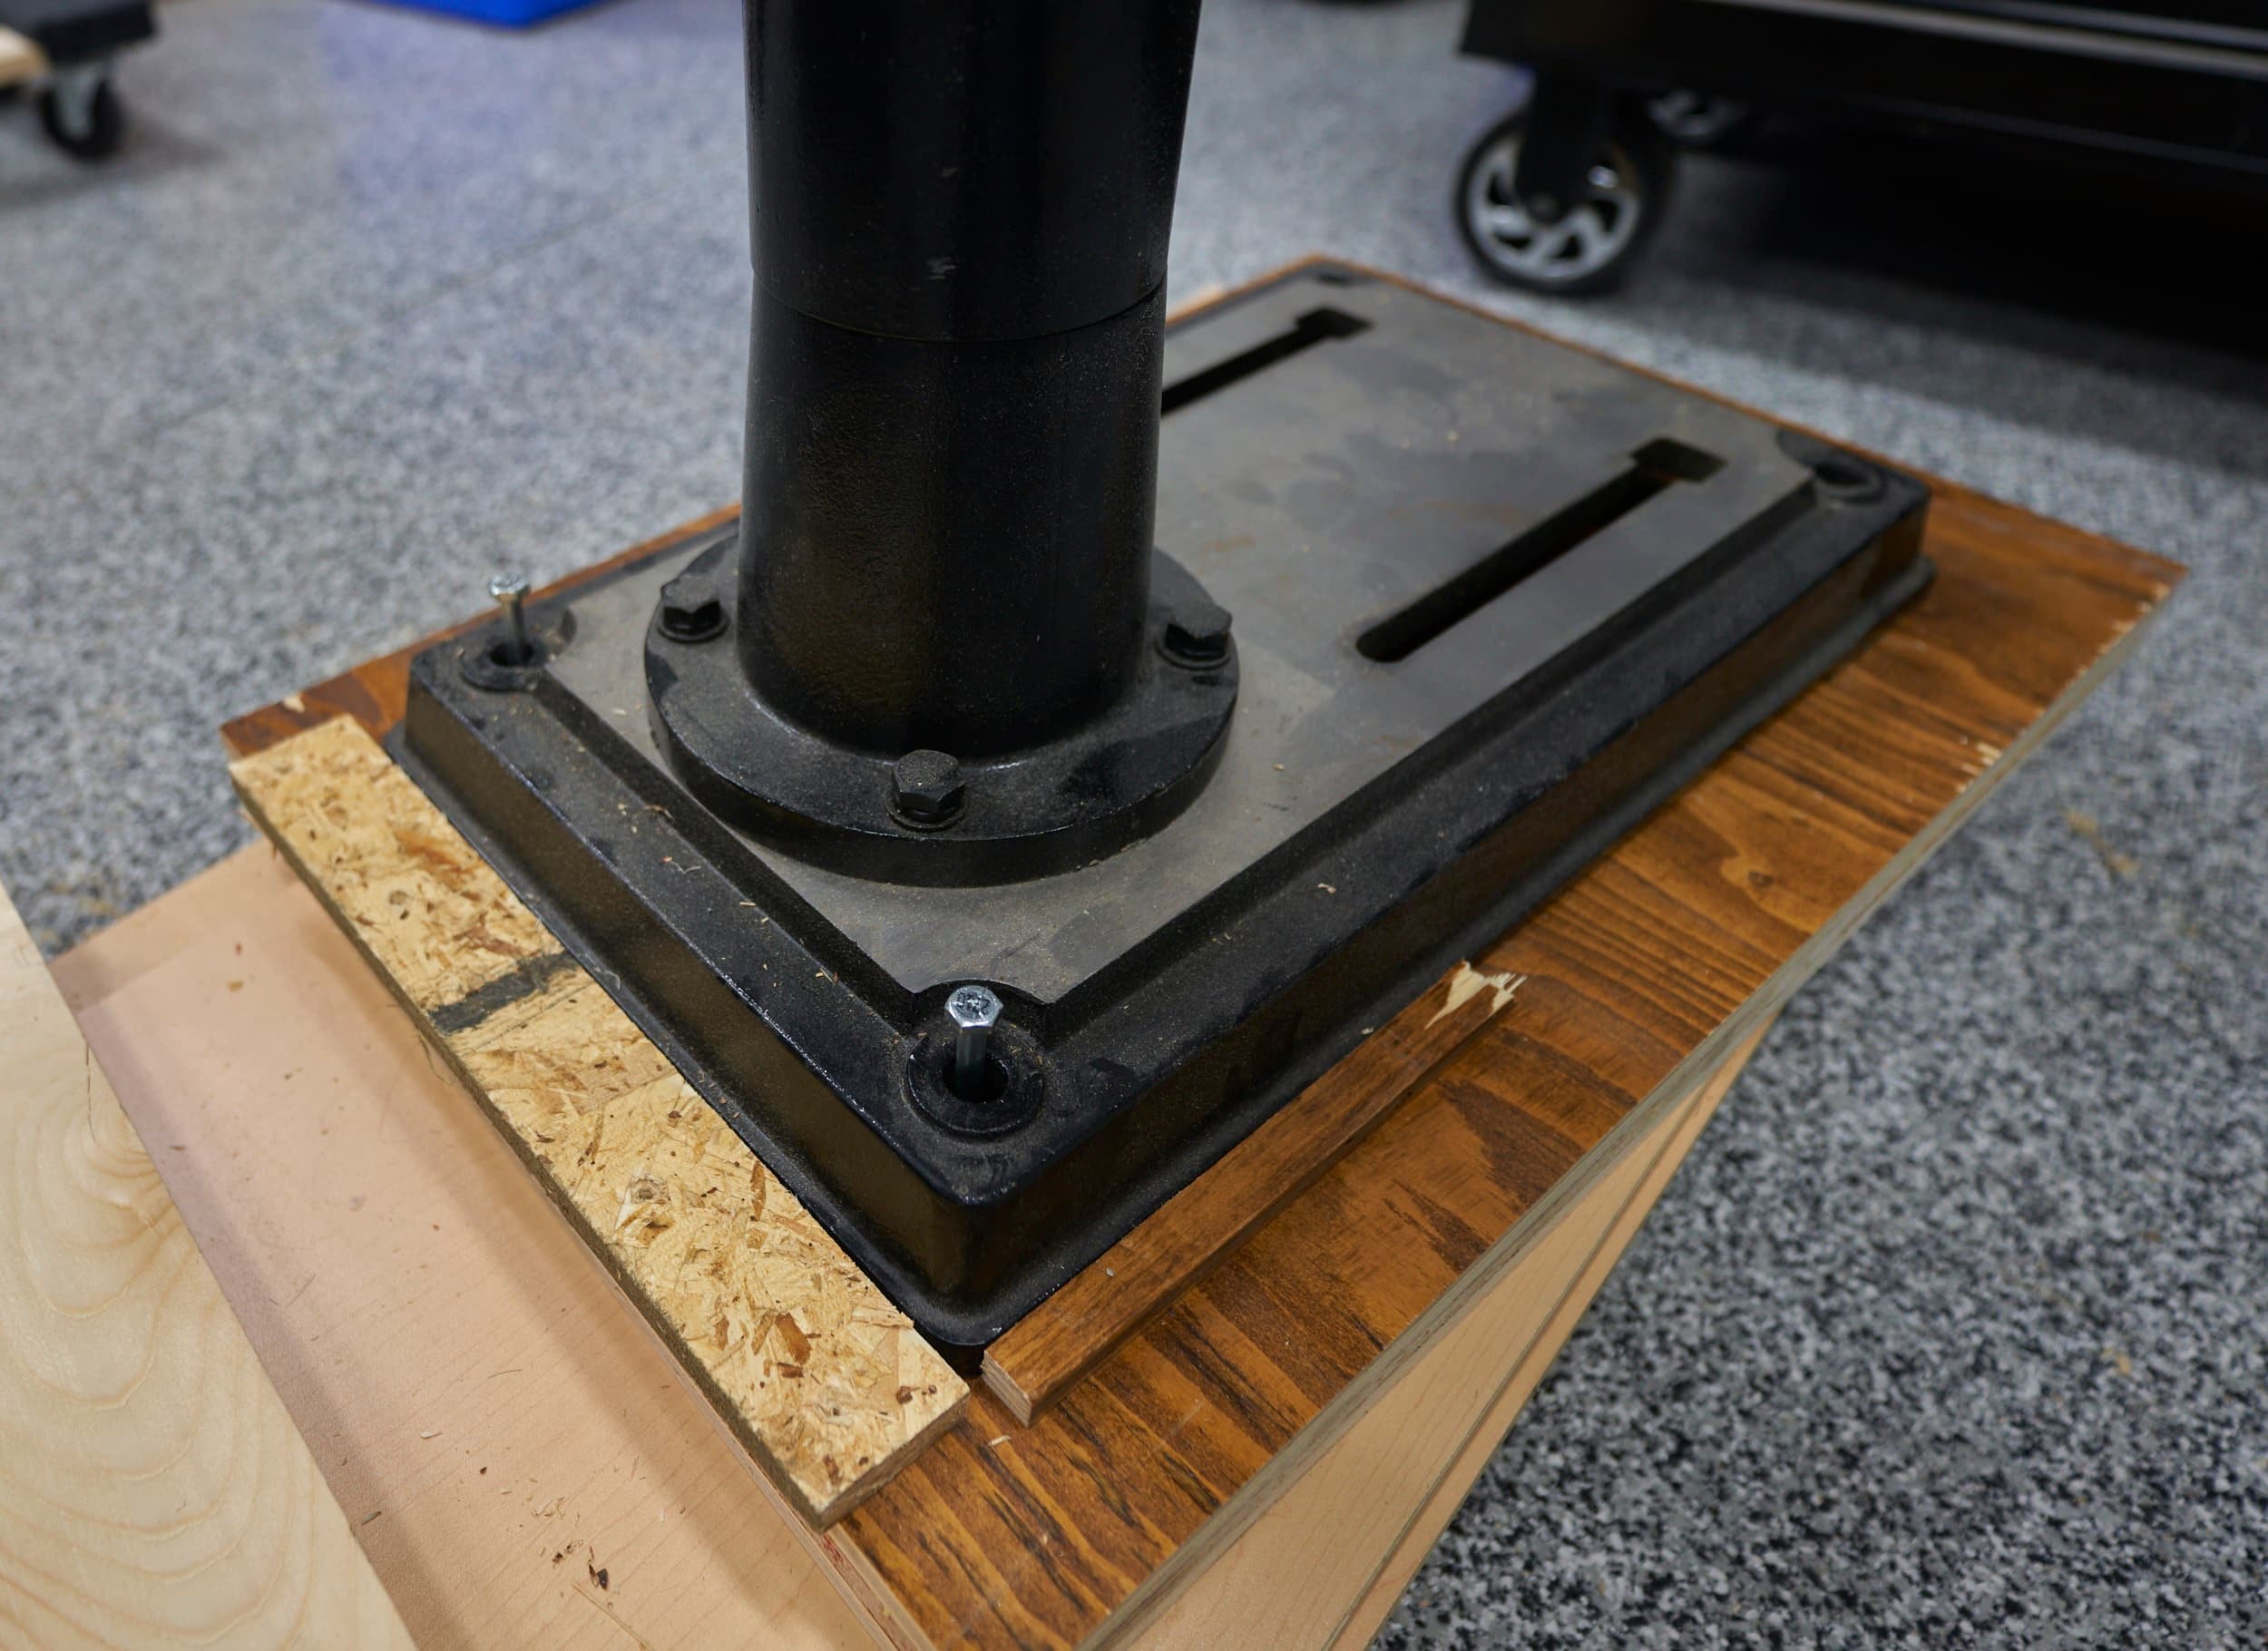
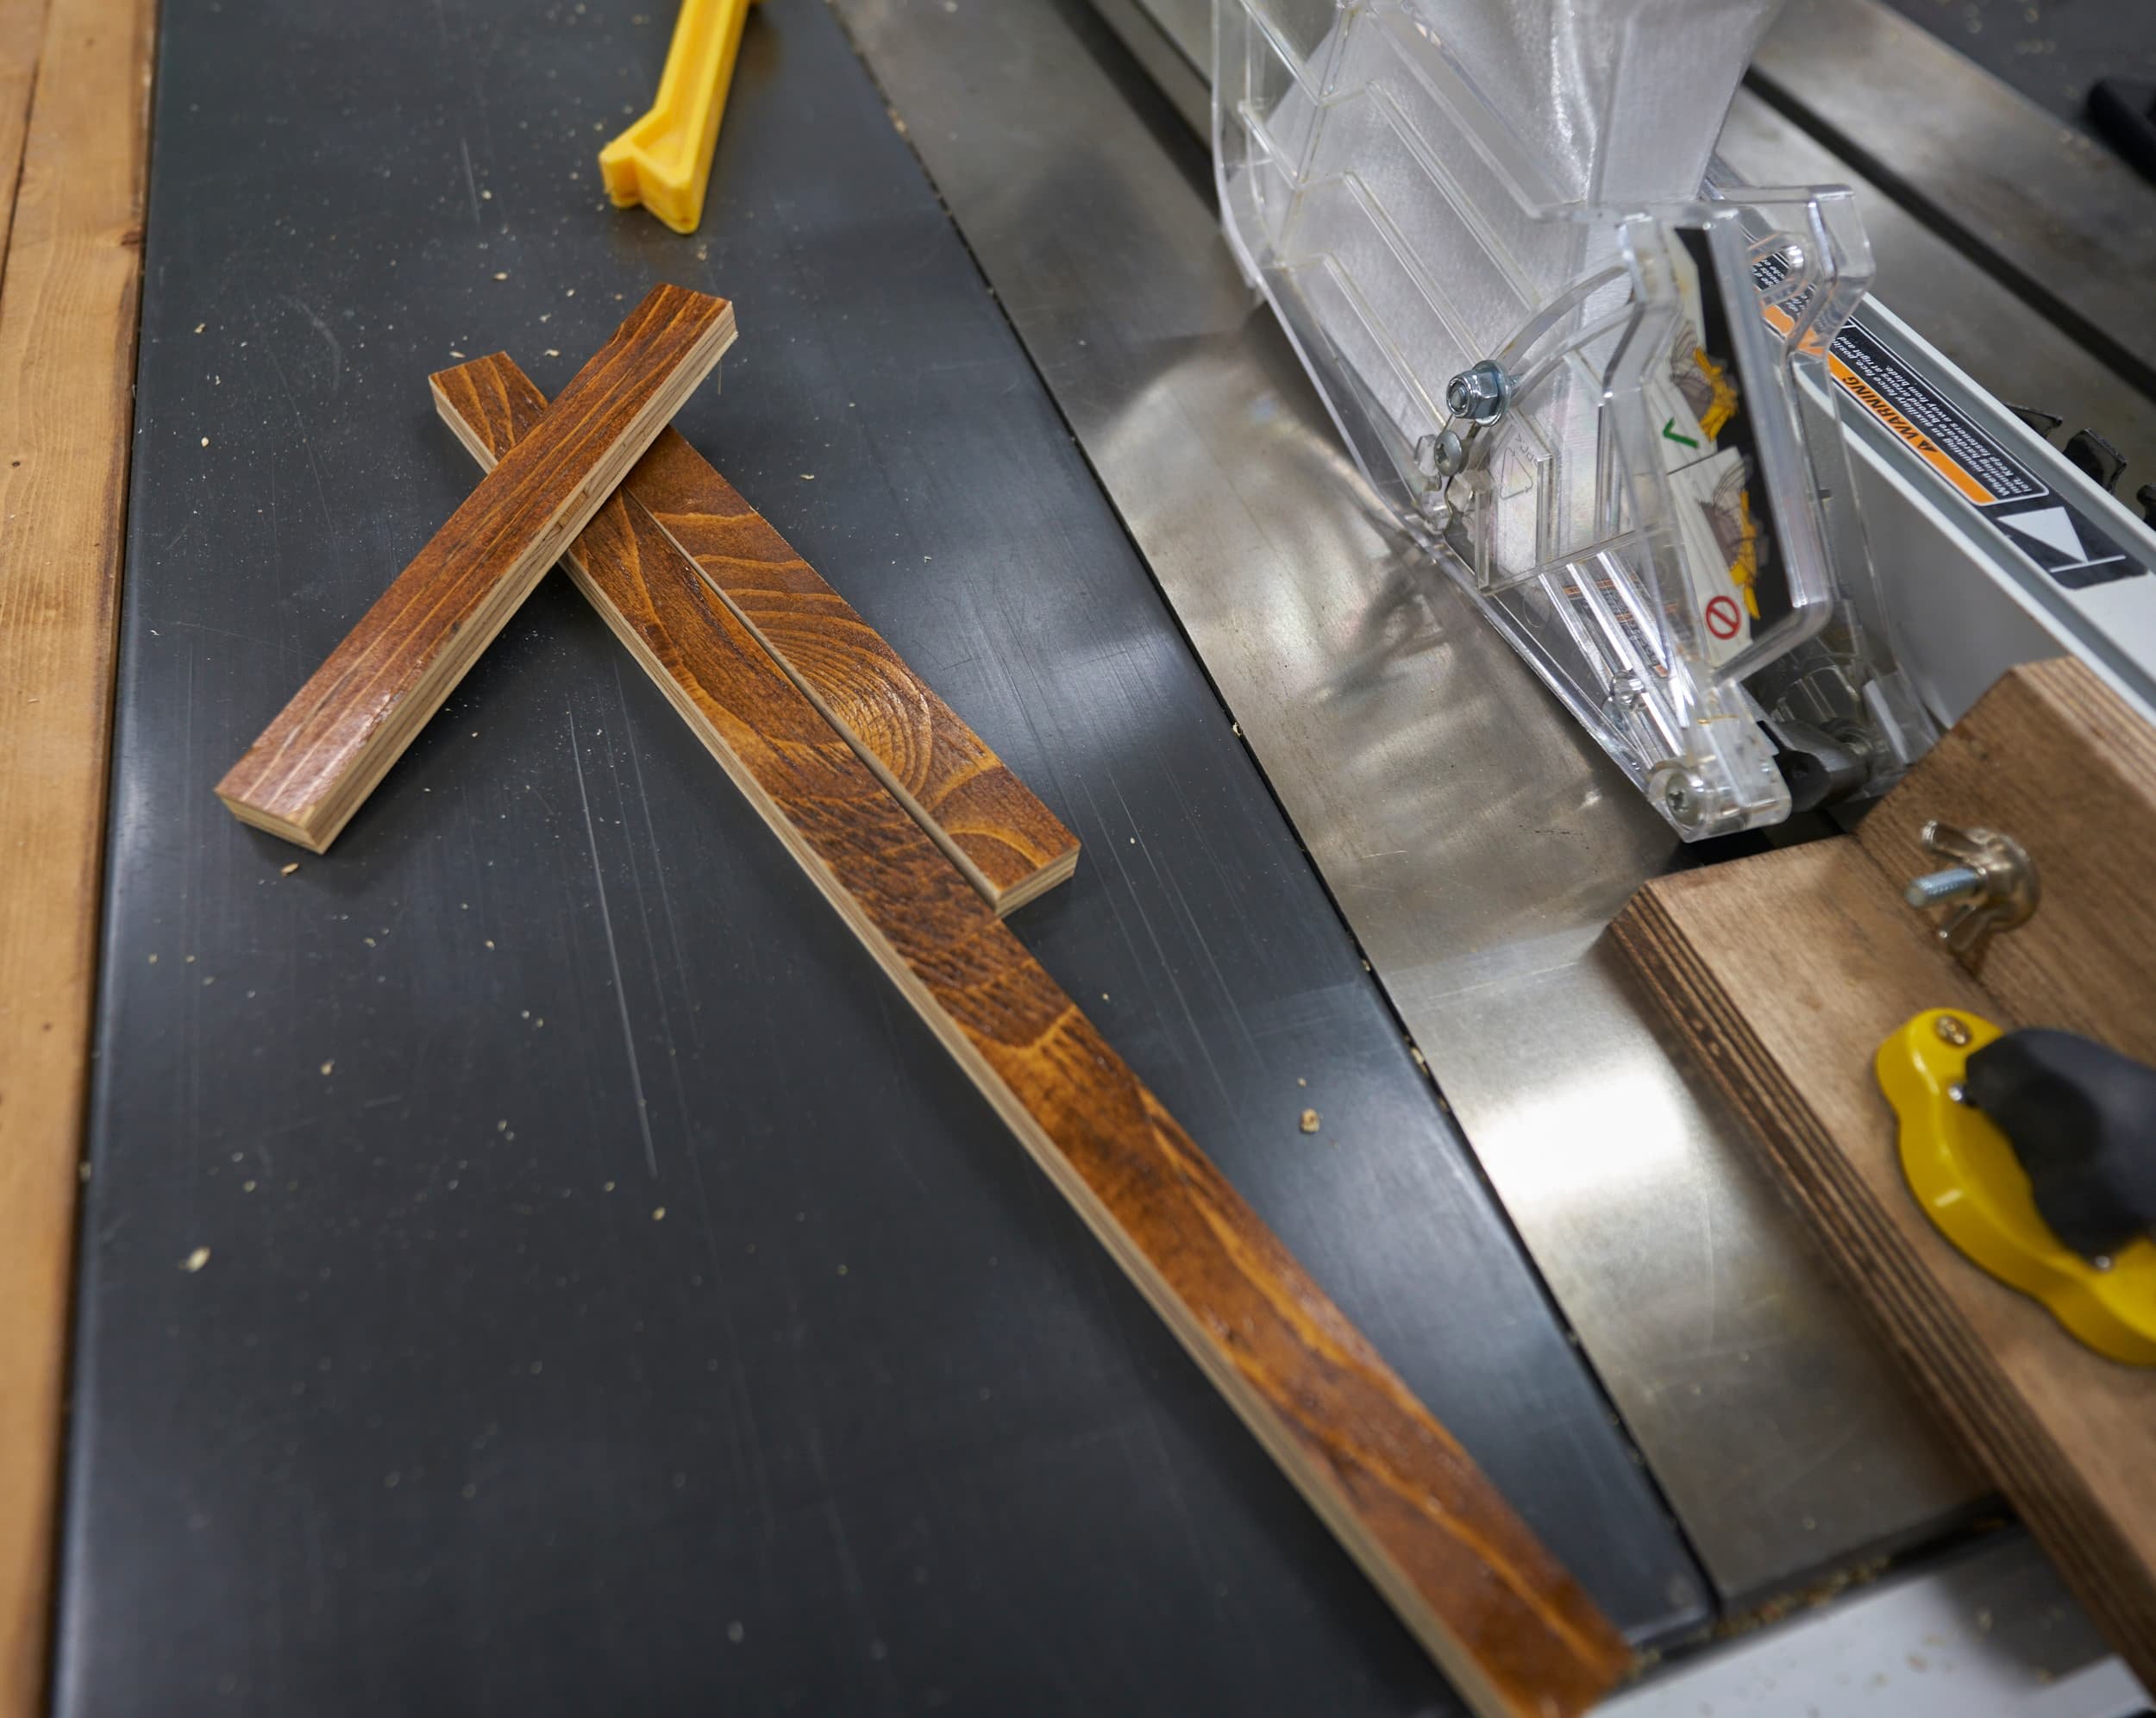
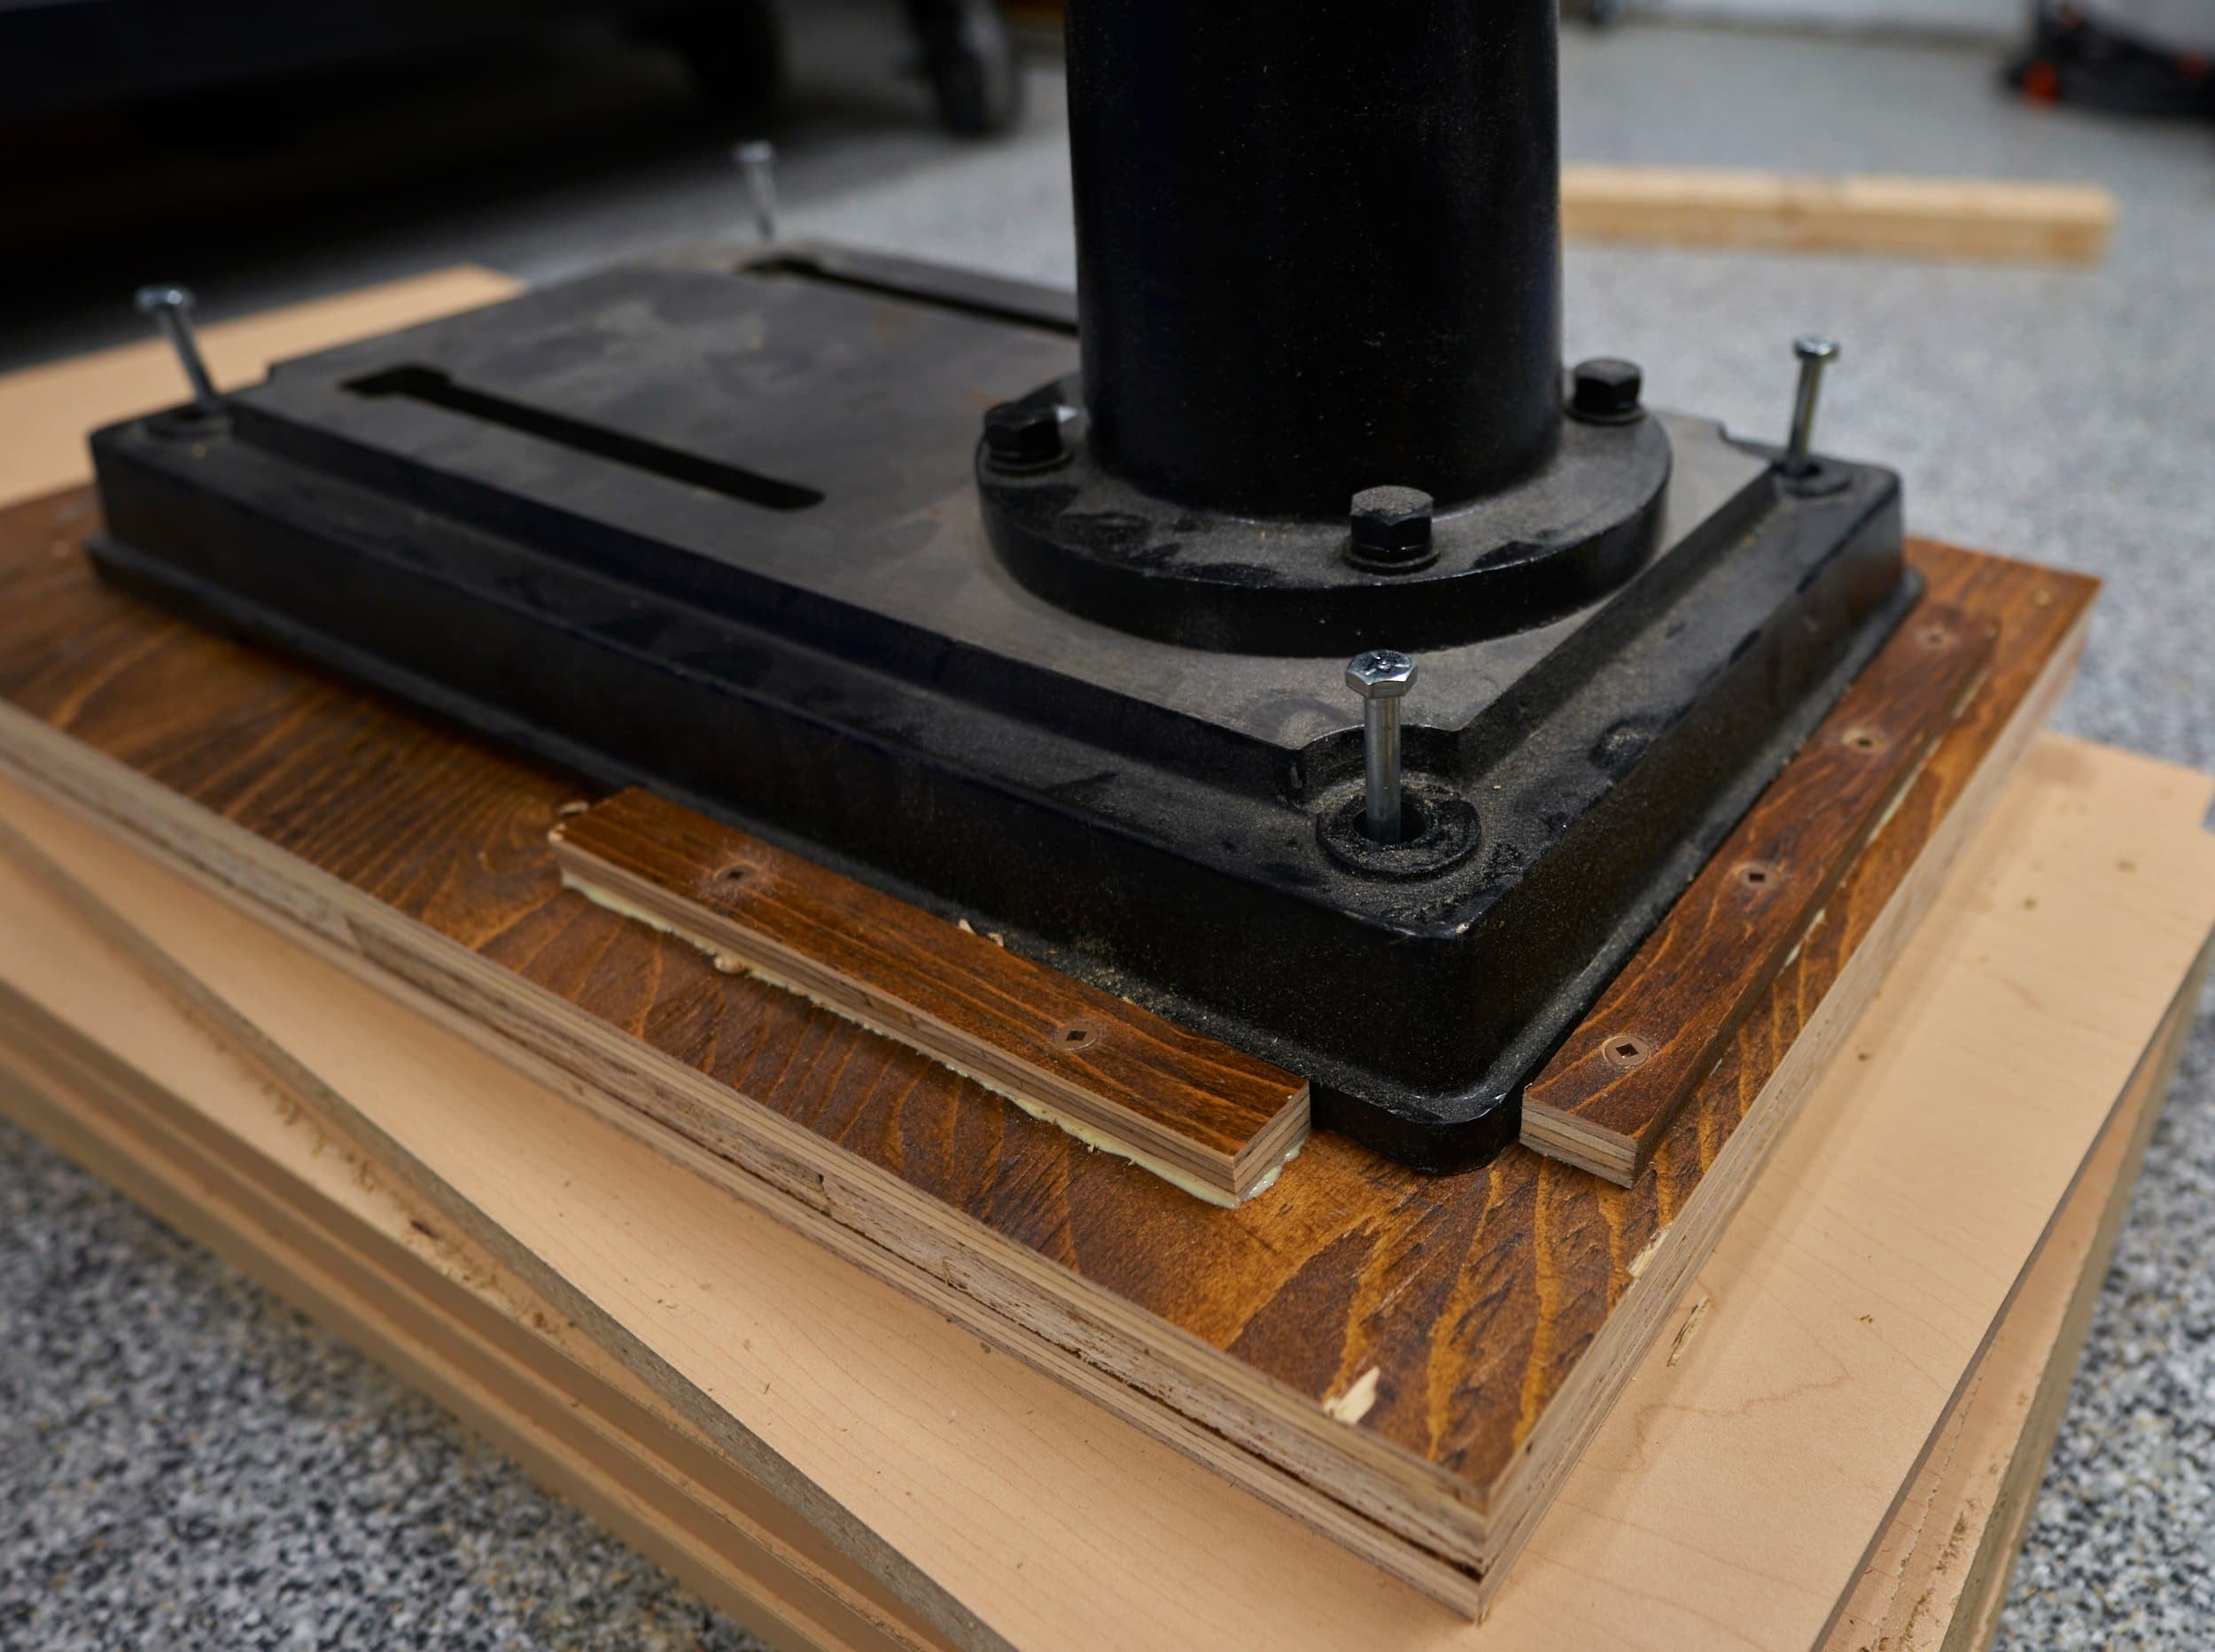
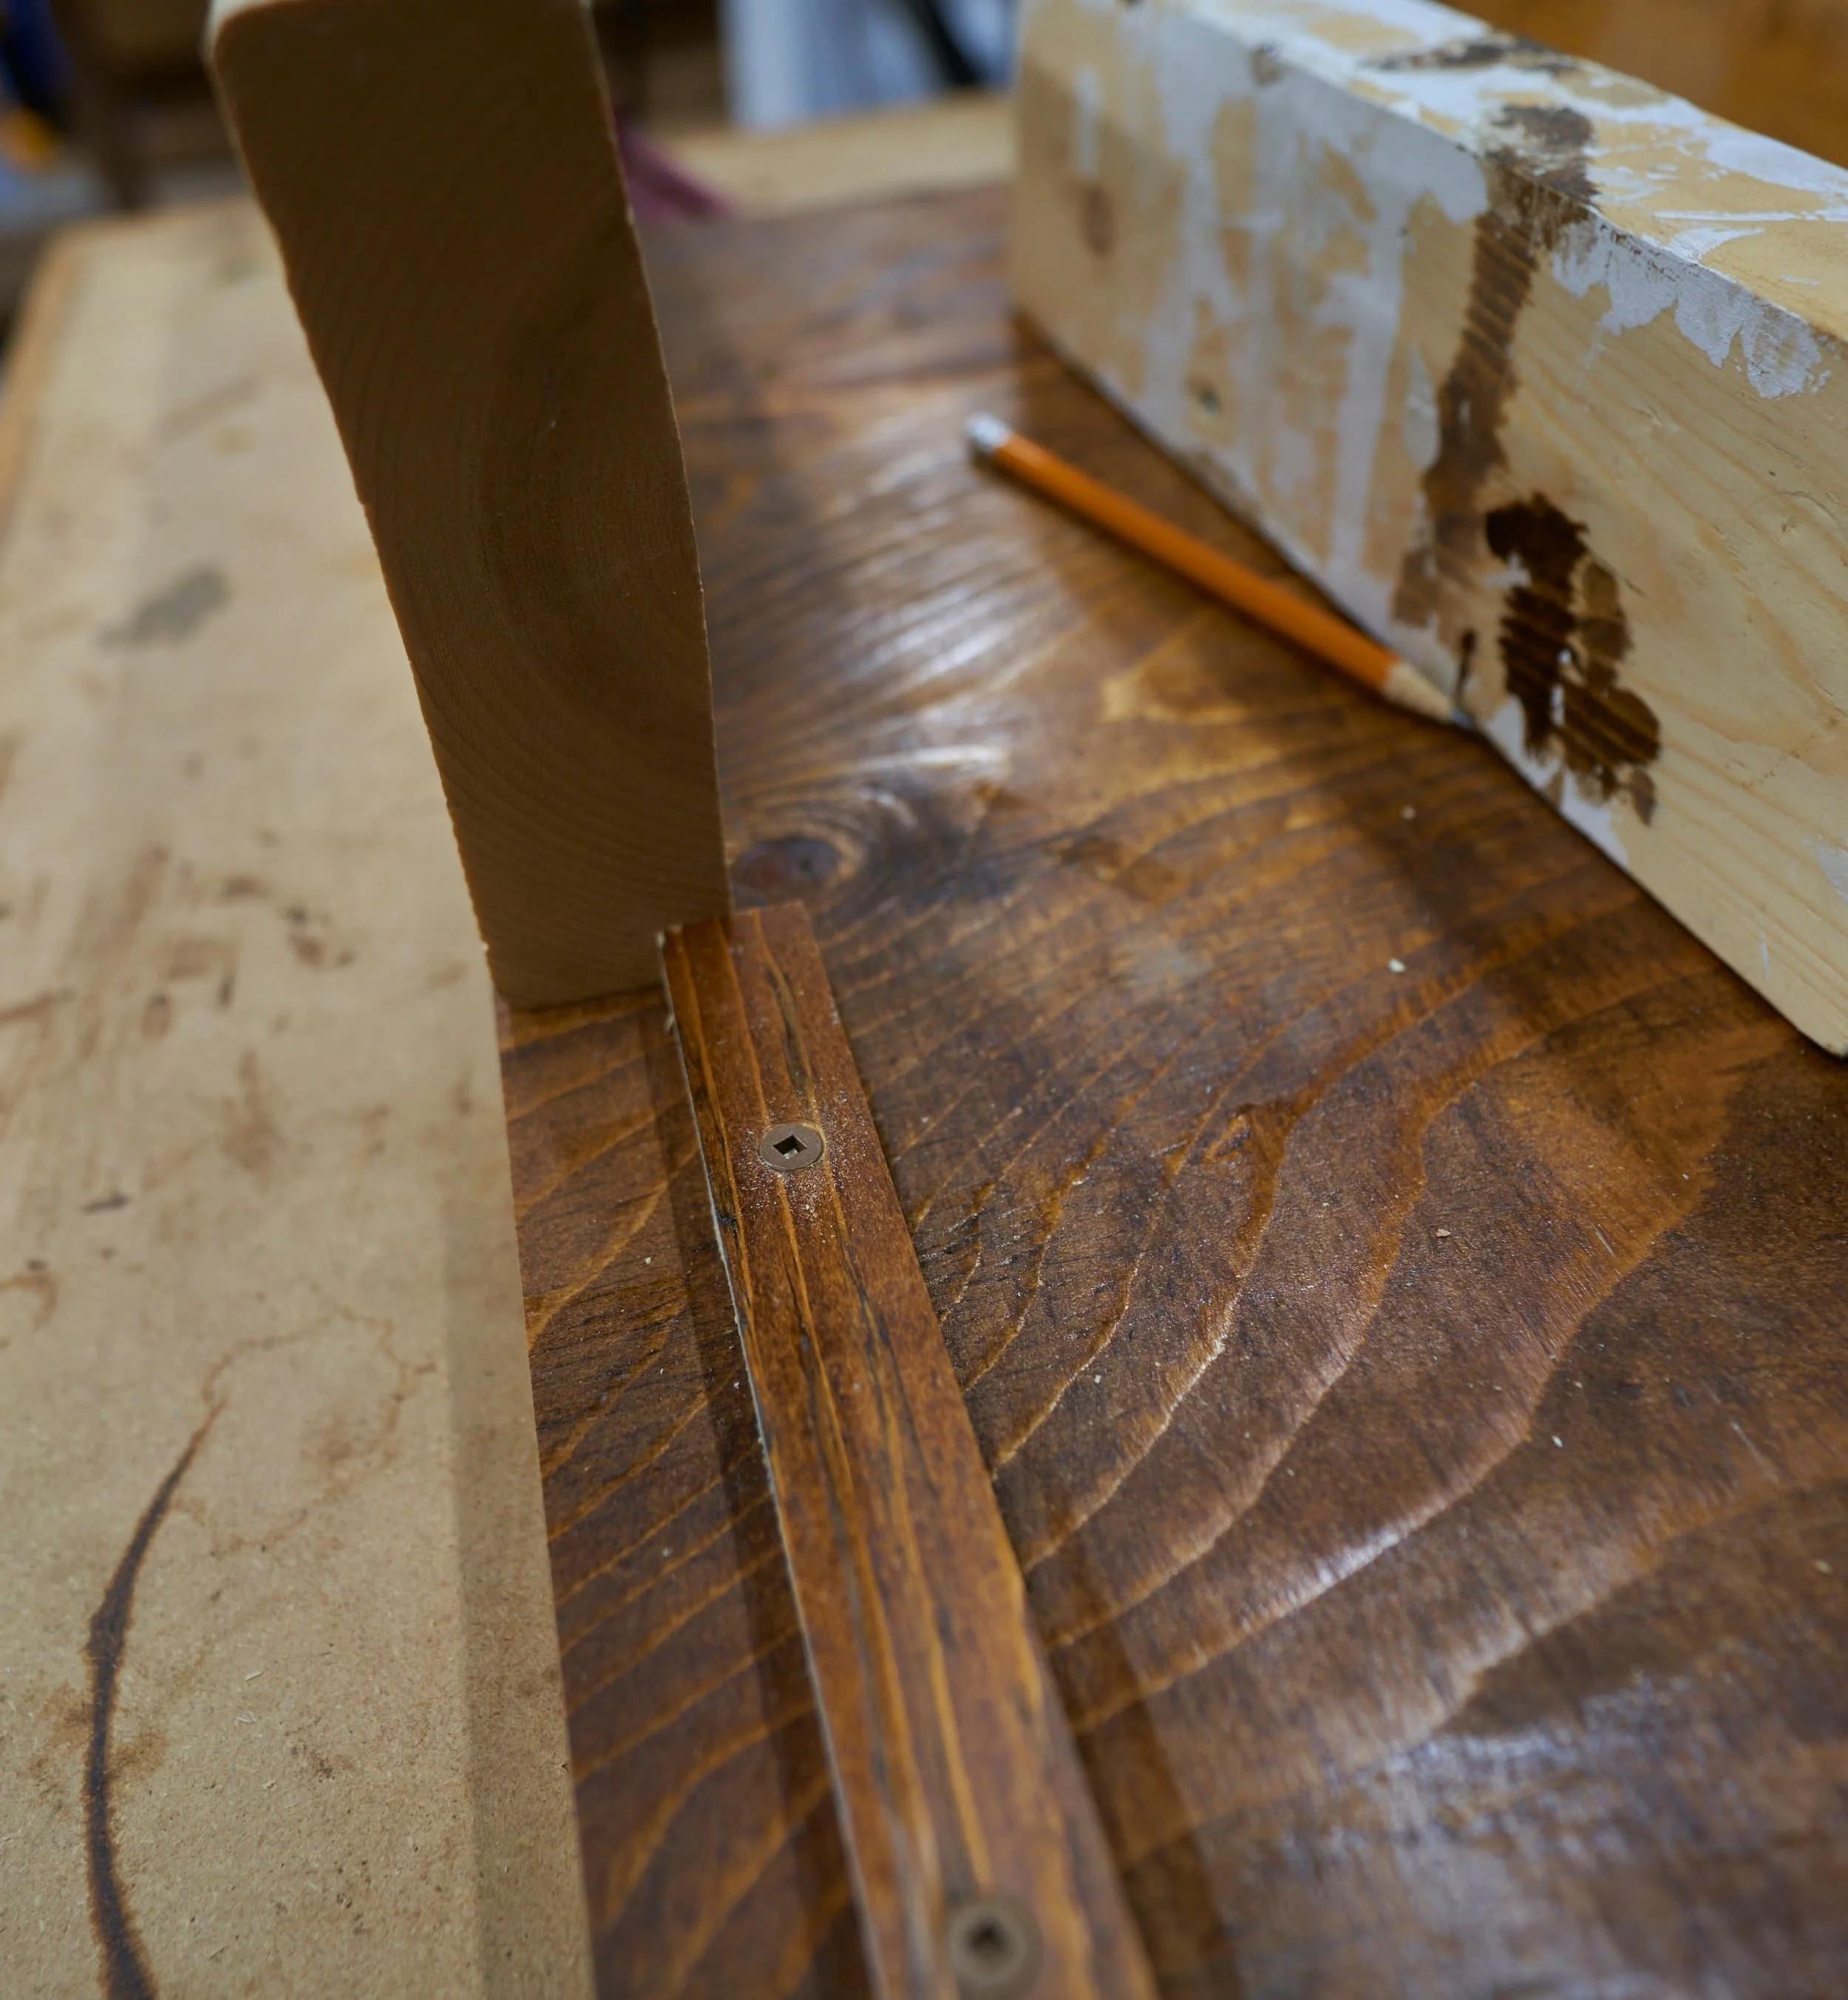
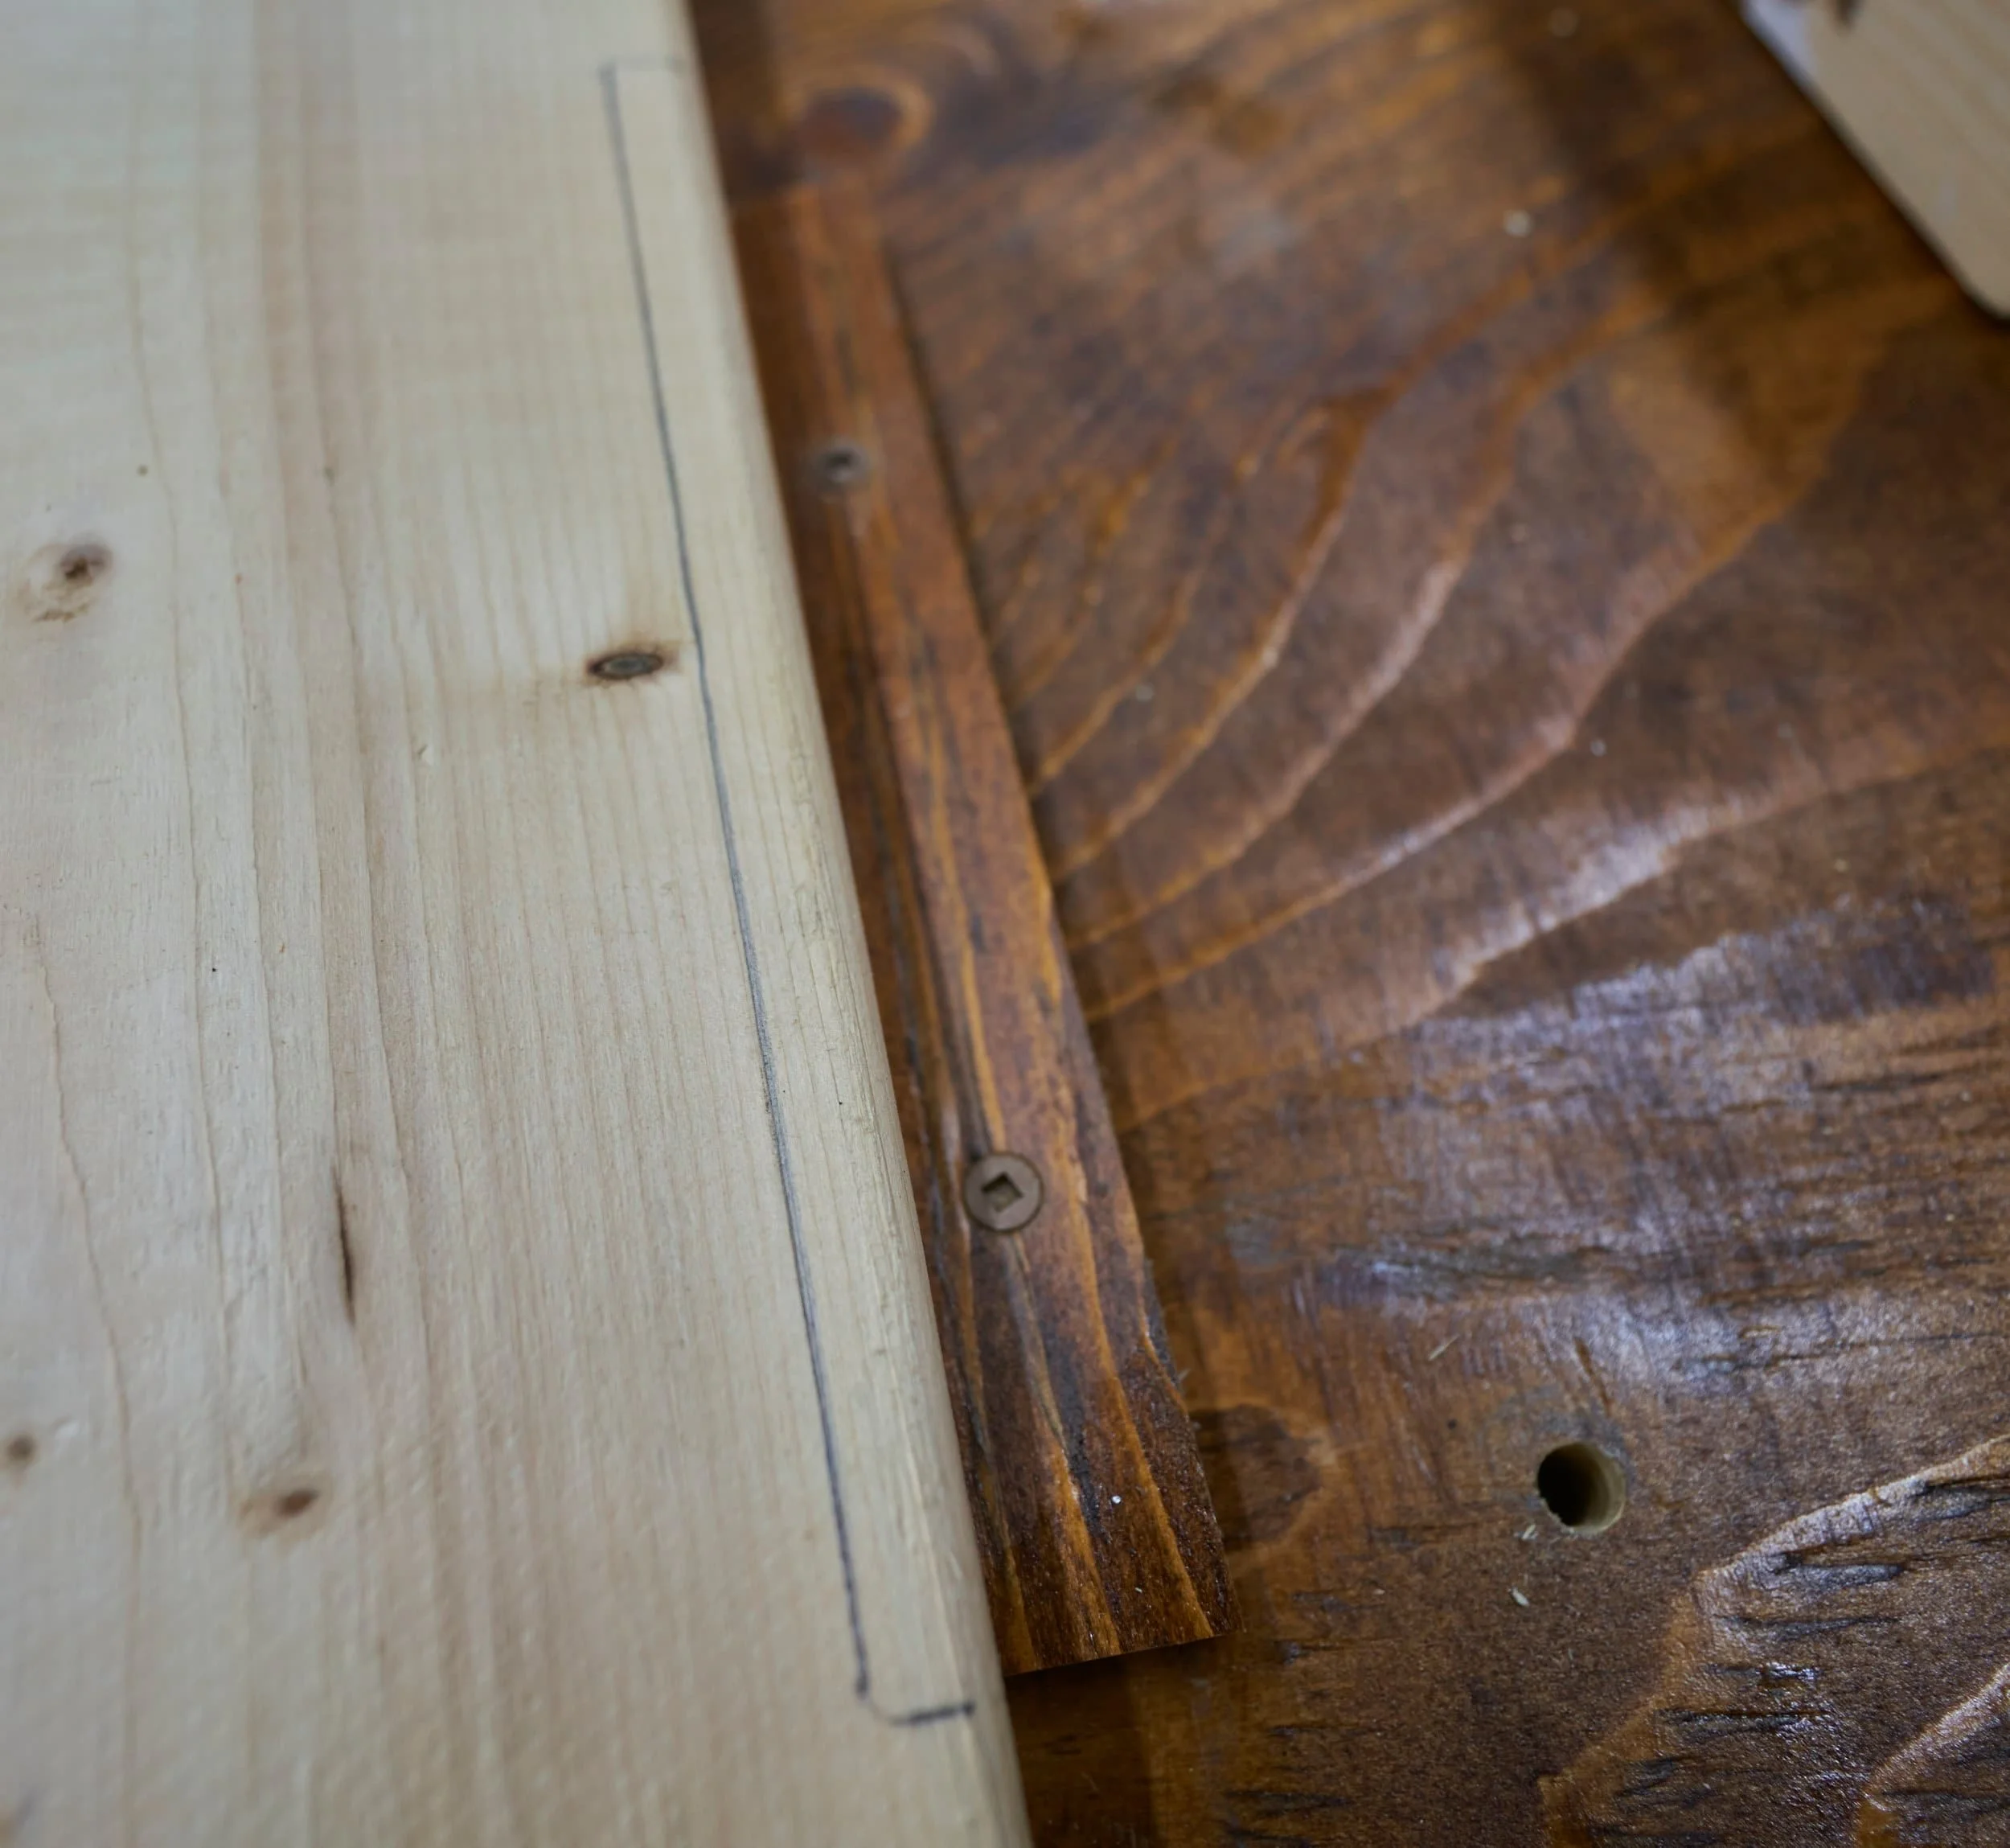
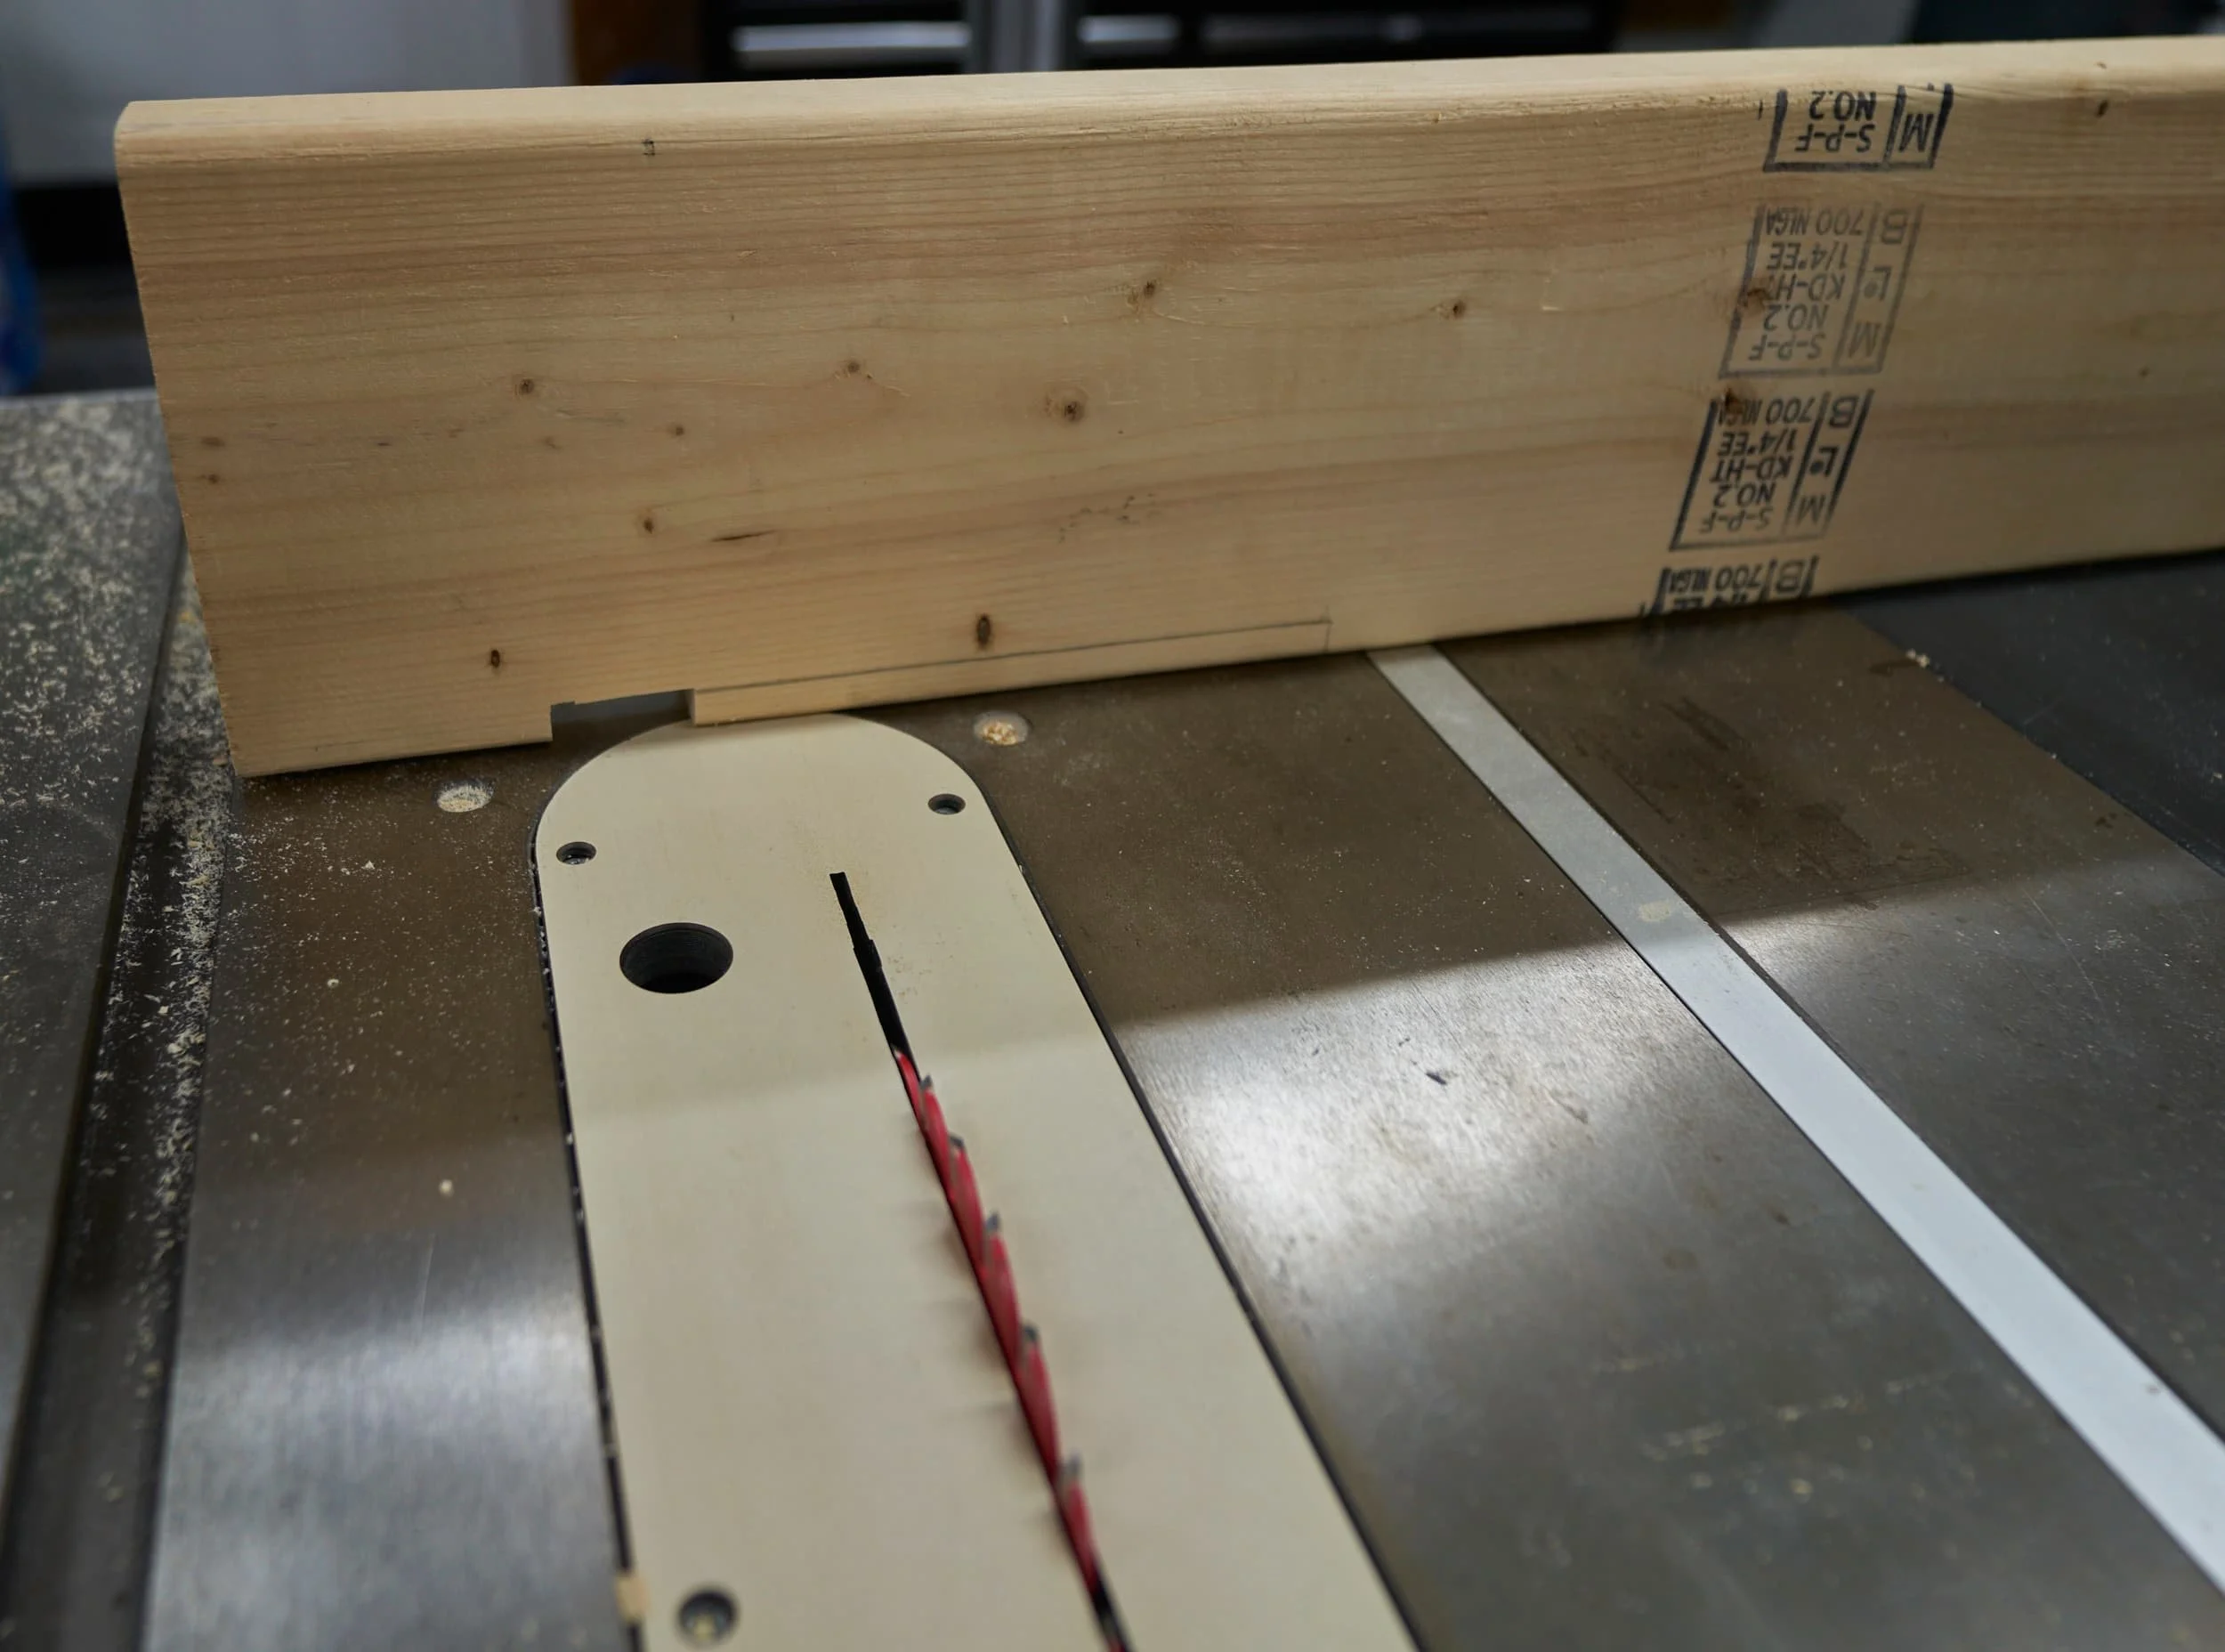
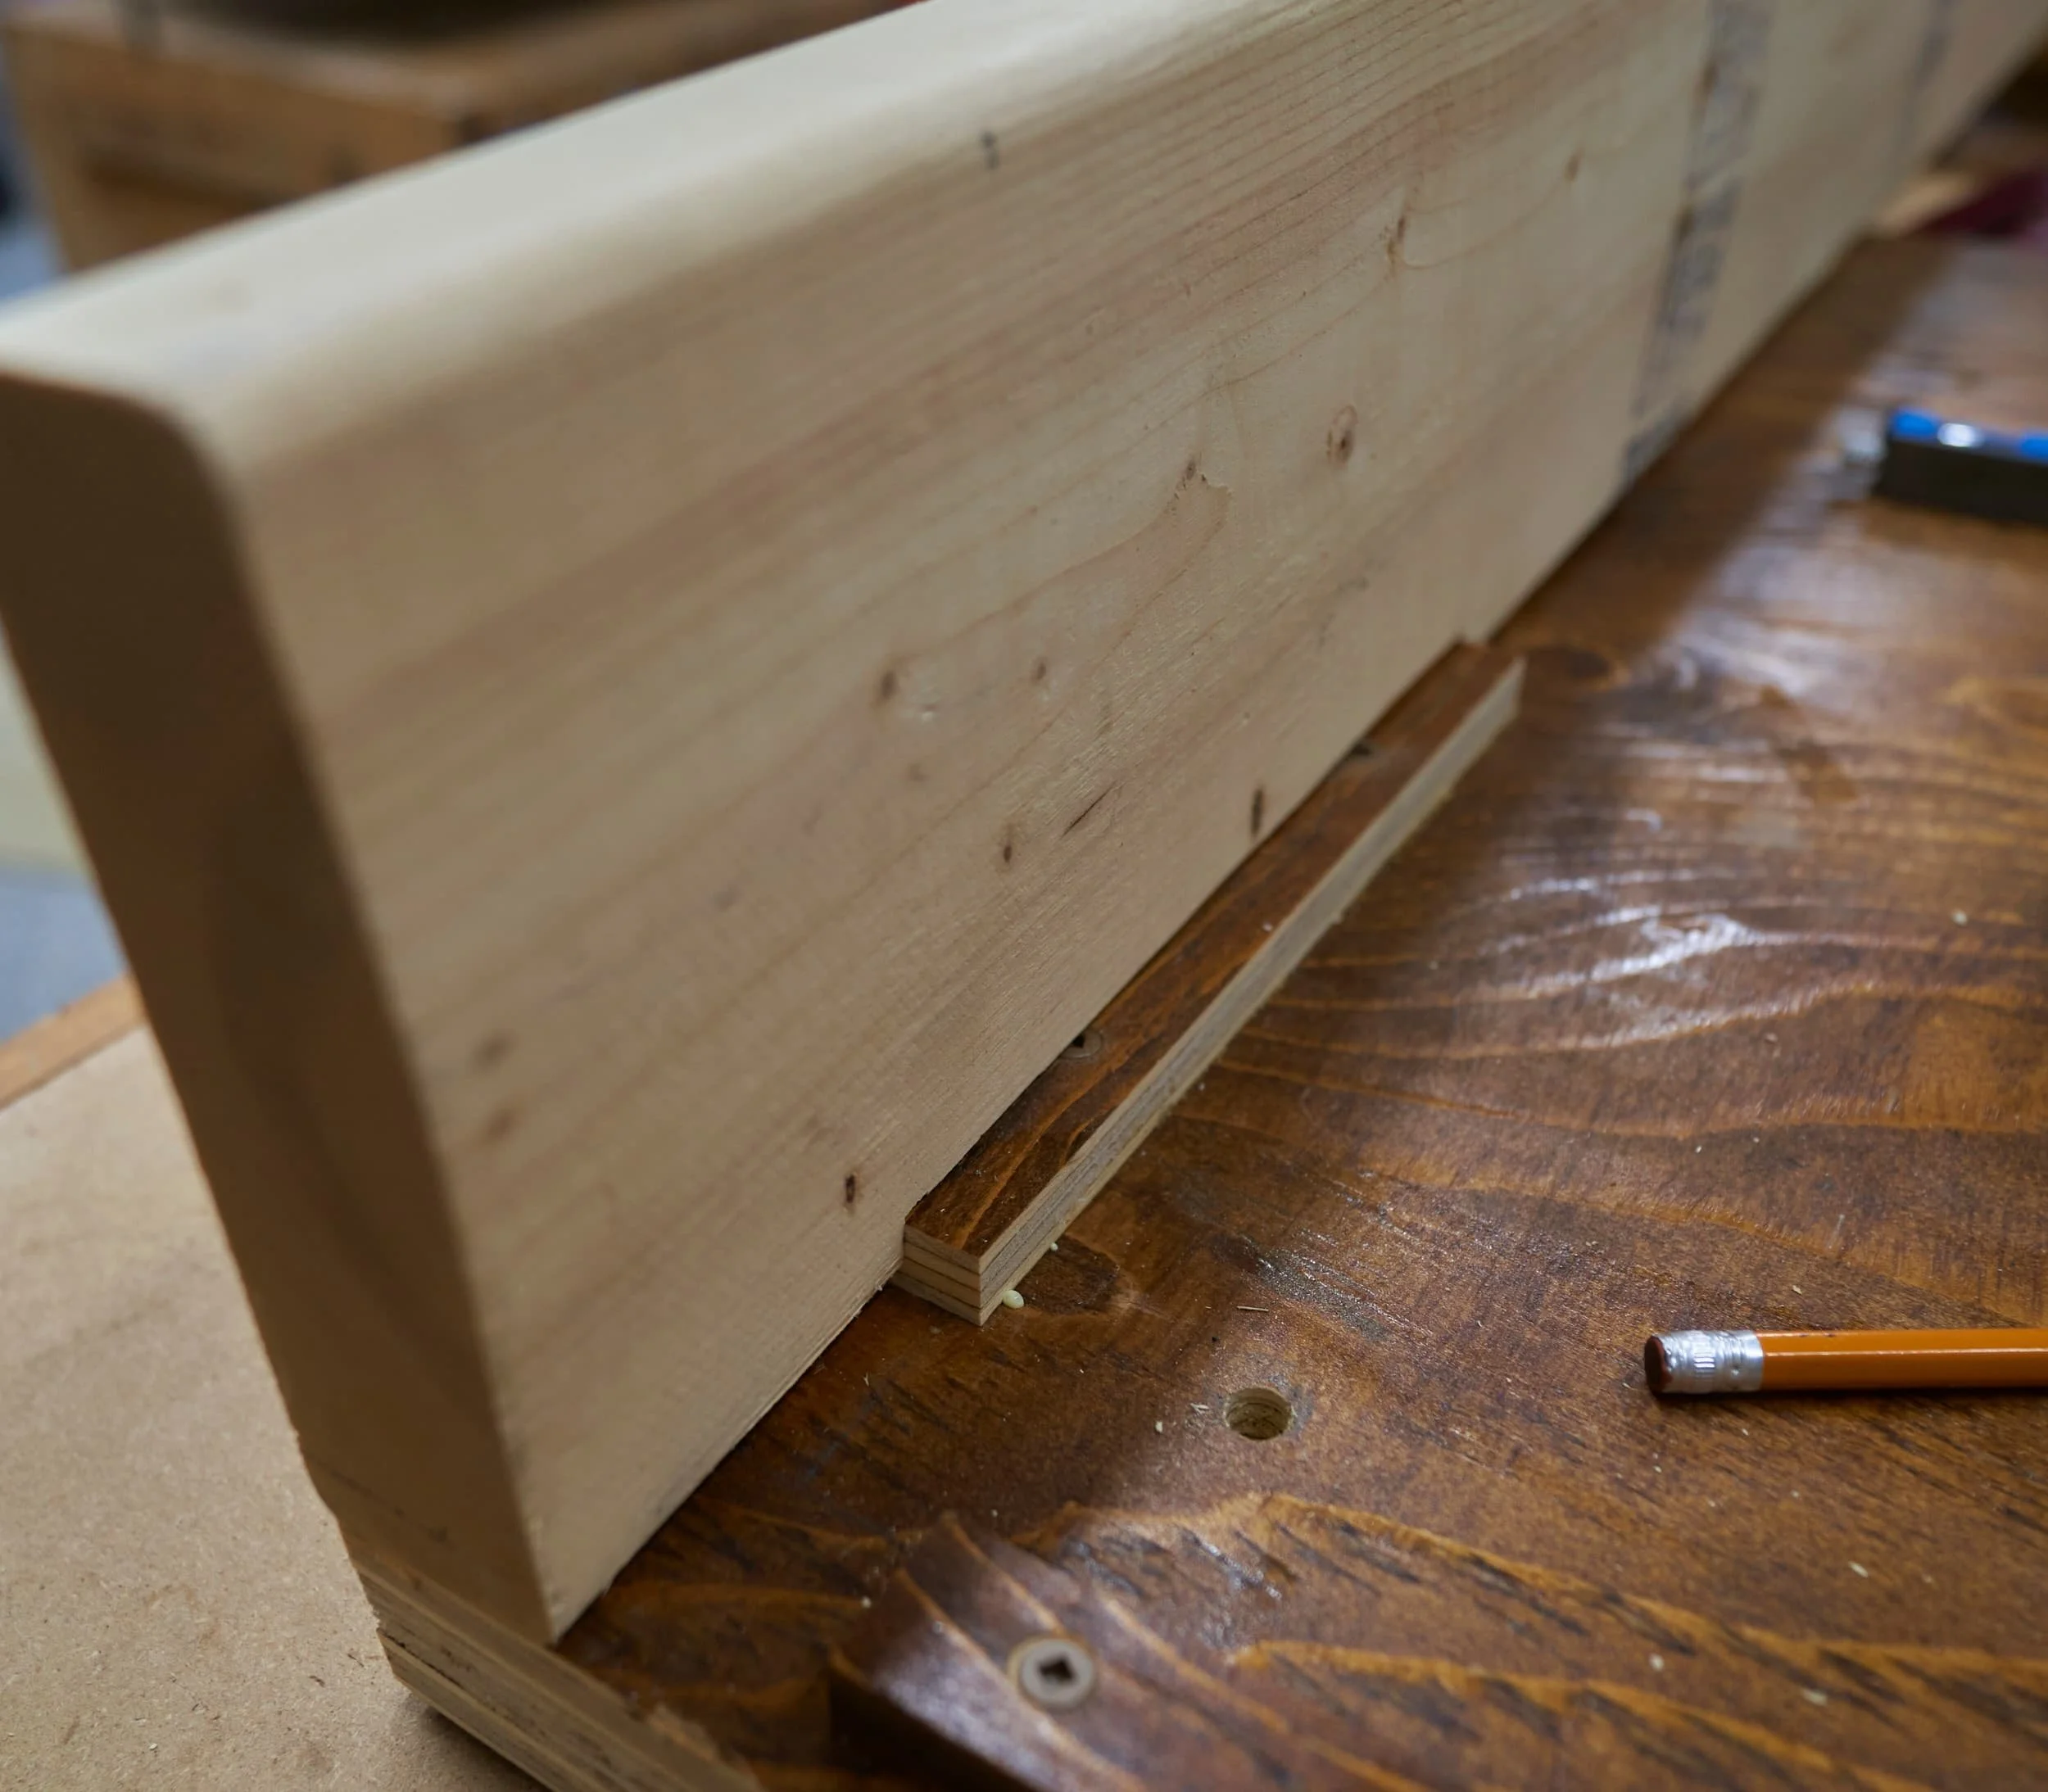
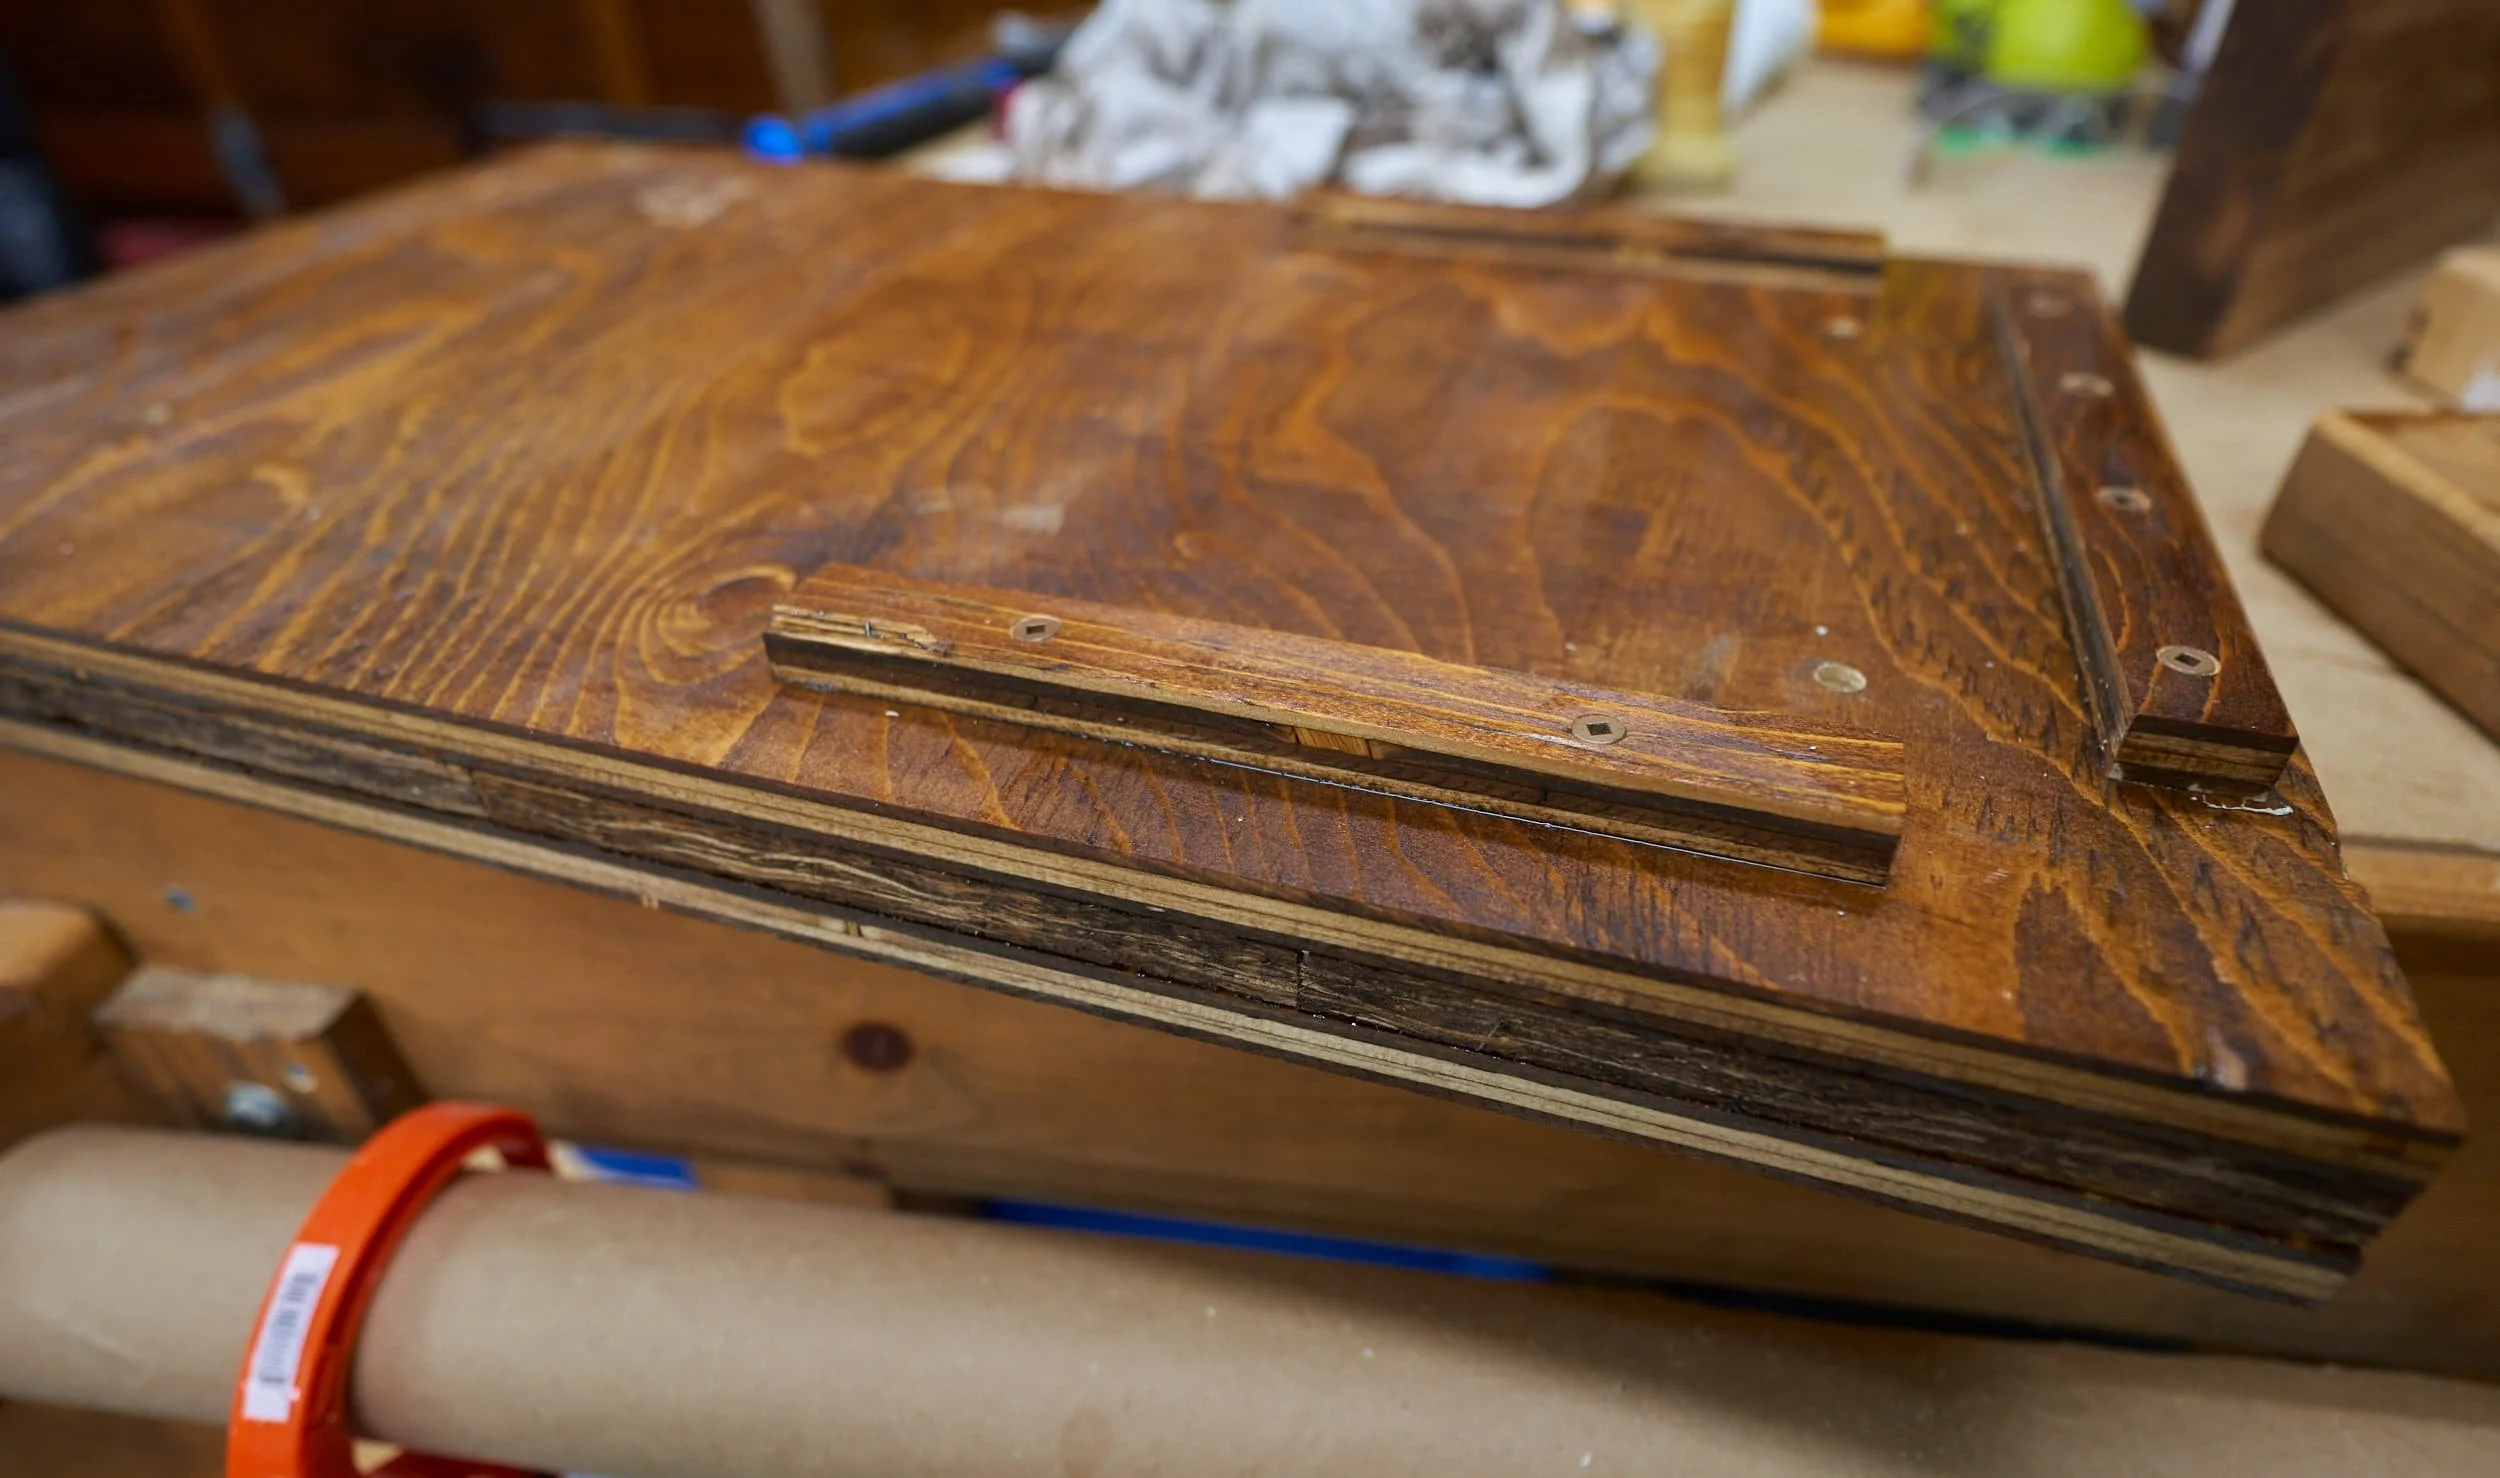
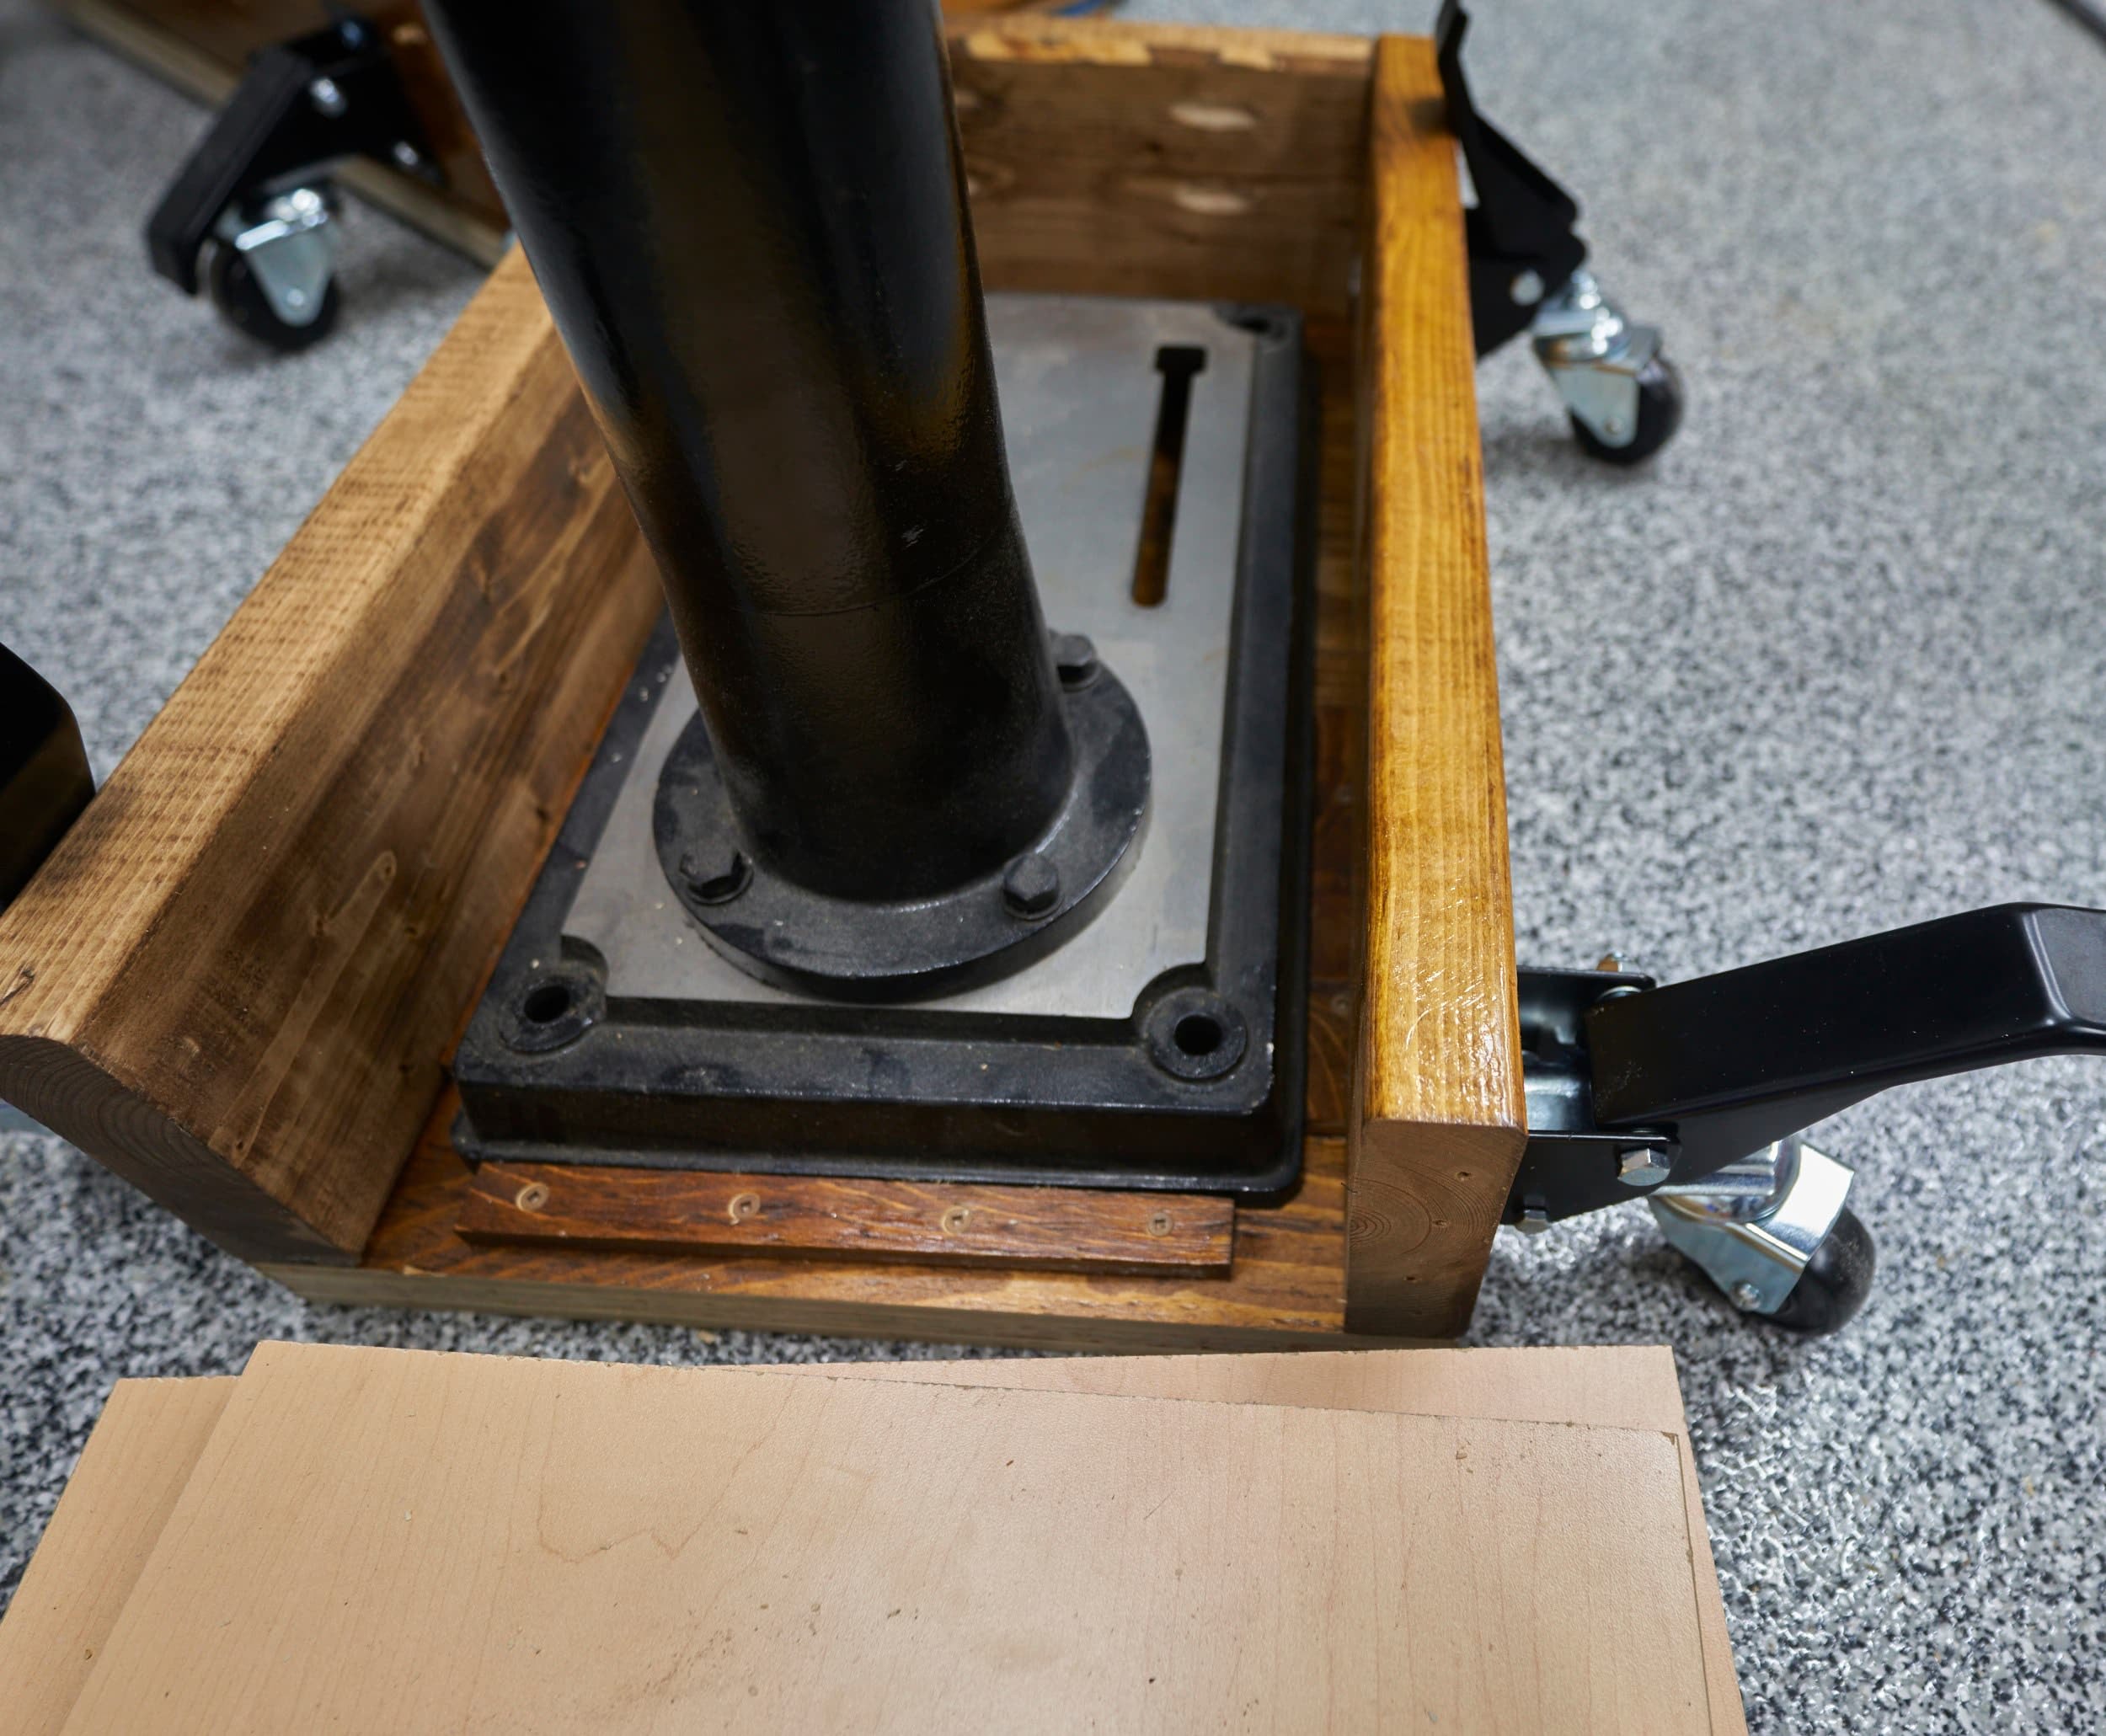
The pop-up casters require the base plate to be installed with a vertical offset; in most installations, the plate will be installed on vertical legs so there is plenty of material to mount to however in this application, there aren’t any vertical legs, so I opted to use 2x6s. The extra size of 2x6s allows me to mount the plate and have a nice continuous perimeter.
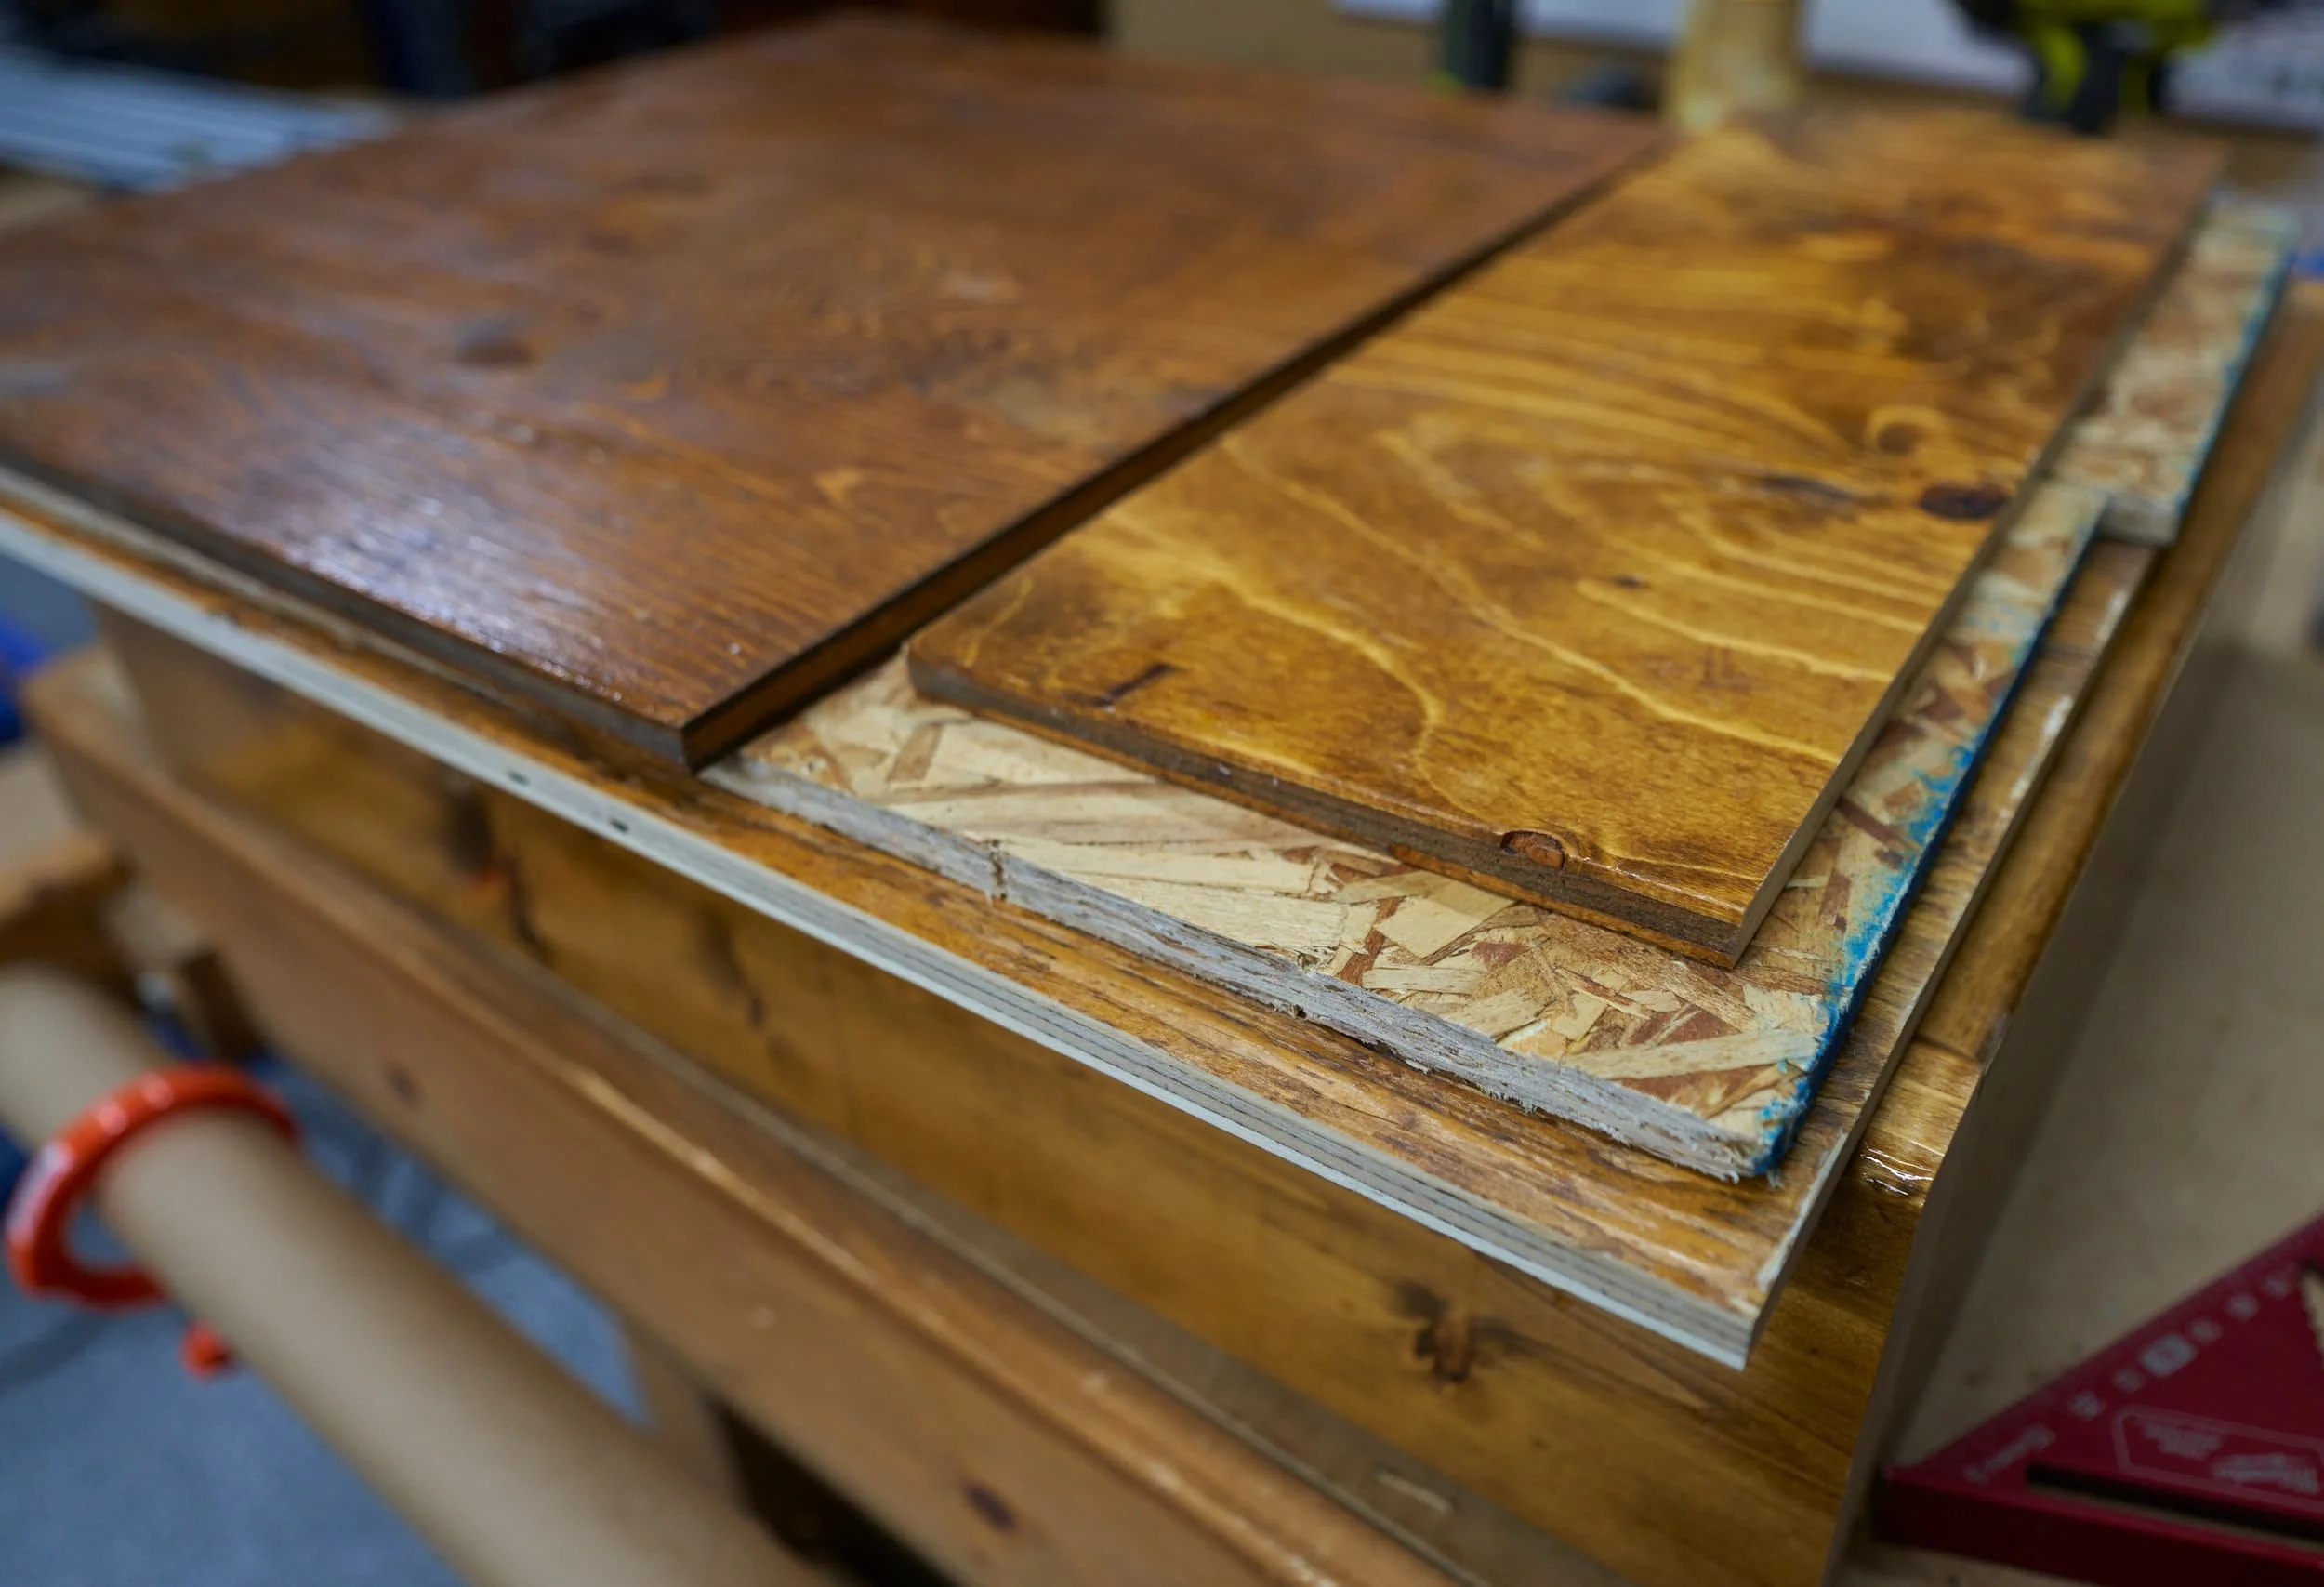
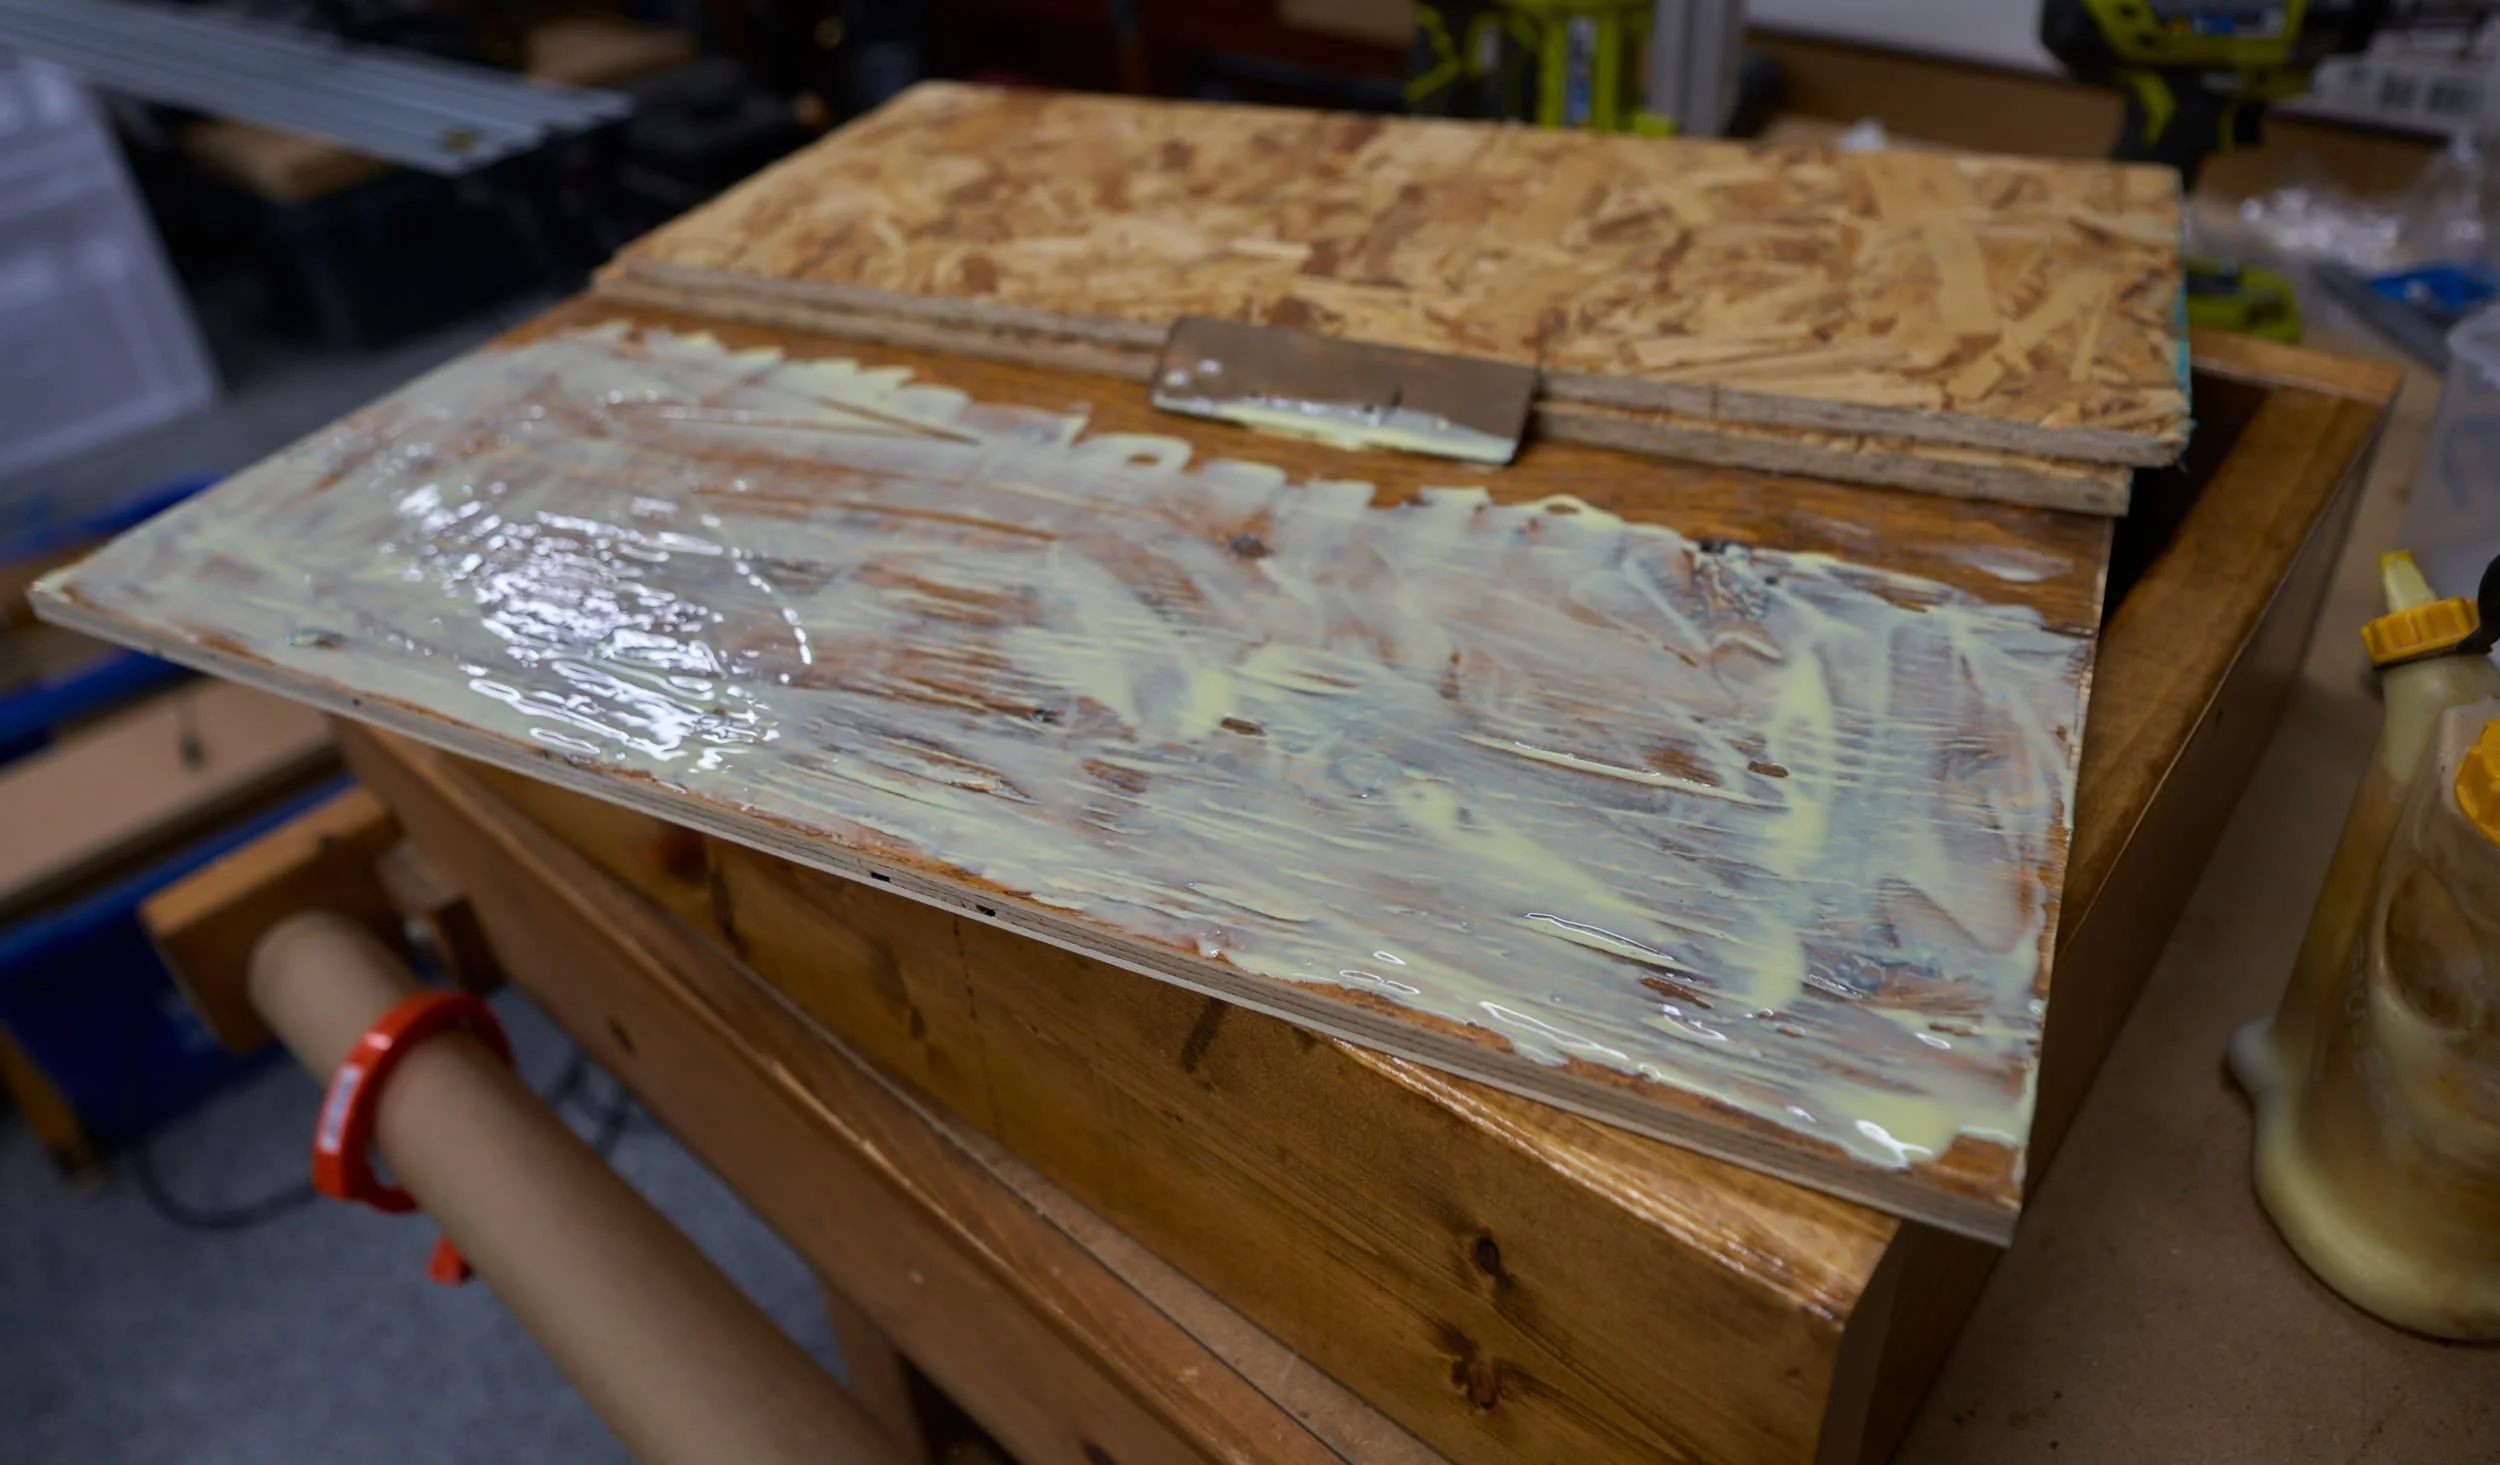
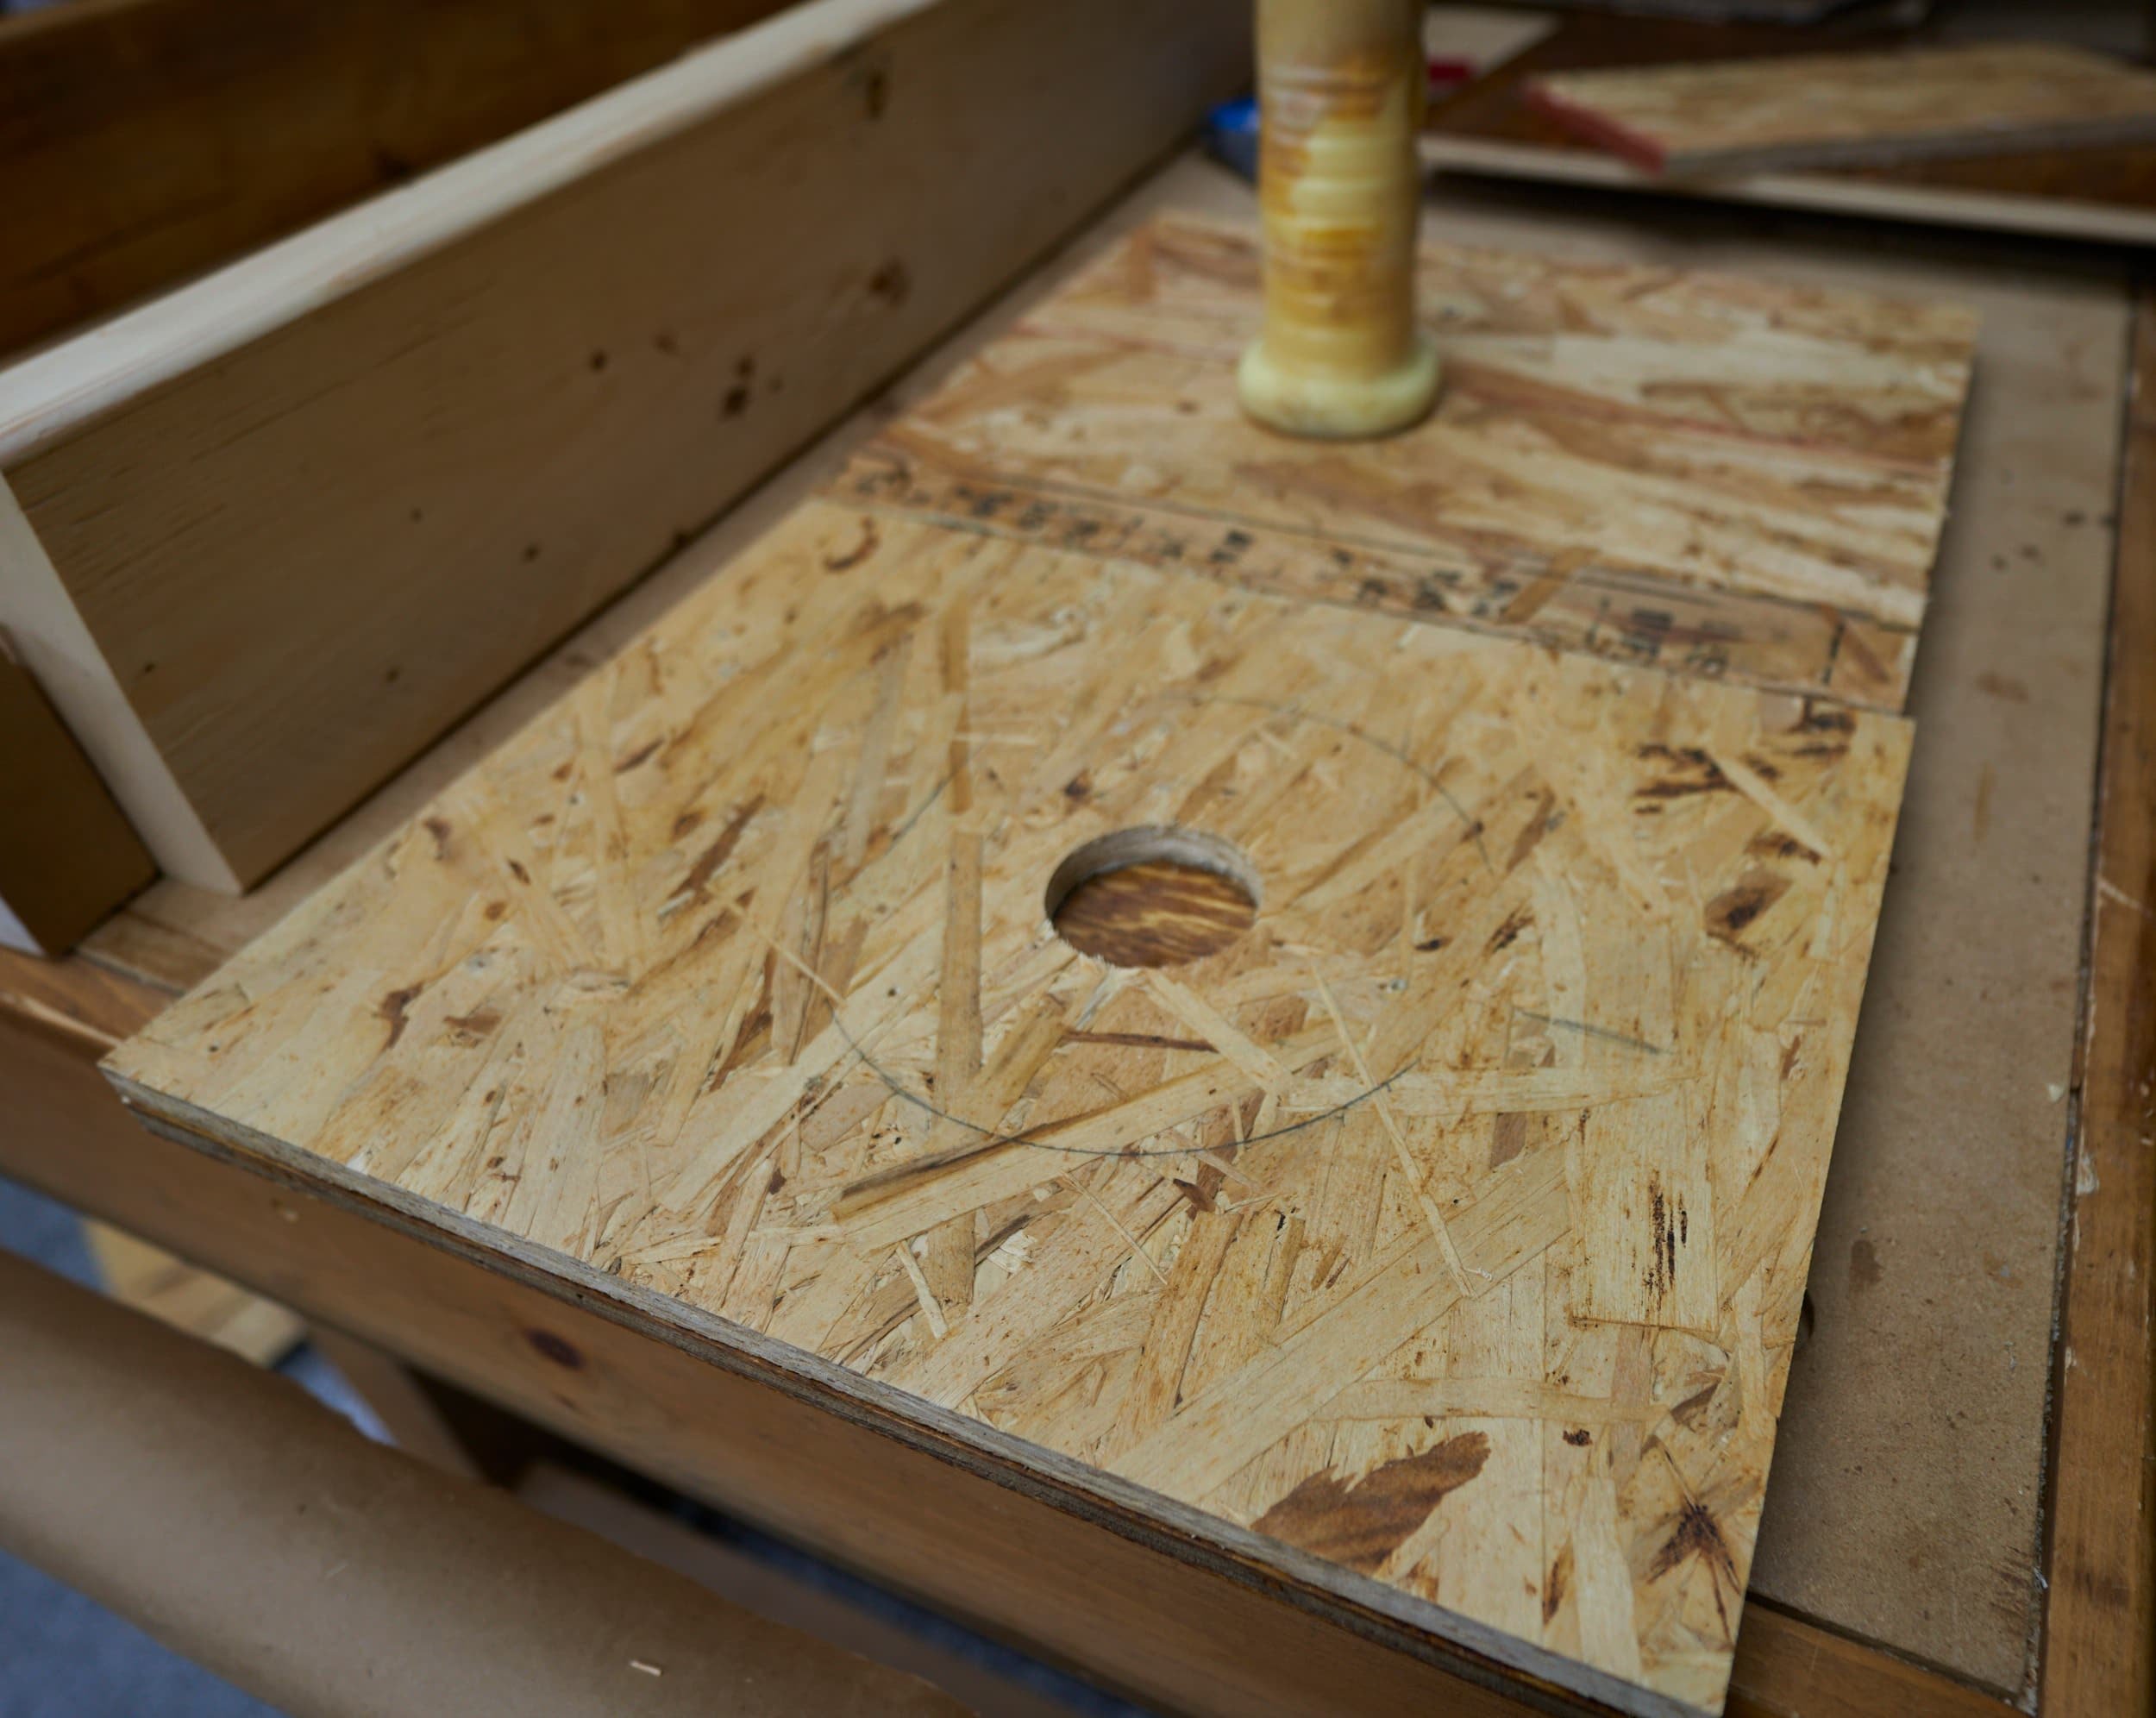
For the base, I opted to make a laminated sandwich of 1/2” plywood, 1/2” OSB and another layer of 1/2” plywood as that was the scrap material I had on hand. The resulting sandwich is quite sturdy and resists warping across multiple axes. I placed the 2x6 perimeter atop the base and ran 3” screws through the bottom.


Thoughts on the bandsaw?
My bandsaw is the King KC-1402FX and so far, it seems pretty capable. I briefly debated the KC-1433FXR since a promotion had it somewhat close, pricewise. I ultimately passed on this and only slightly regret it. Sort of. It’s complicated.
Differences between the three bandsaw options
For my purposes, the headline difference is that I’d be trading a future/potential increase in resaw capacity (12” vs 8-3/4”) against
A slight power drop (3/4 HP vs 1 HP) and
A slight loss in out of the box resaw capacity (6” vs 8-3/4”)
Long-term, I don’t think I would need the extra resaw capacity (famous last words!) and the possibility that installing a riser-block might reduce the rigidity of the tool swung the choice in the favor of the 1402.
But of course there’s a catch.
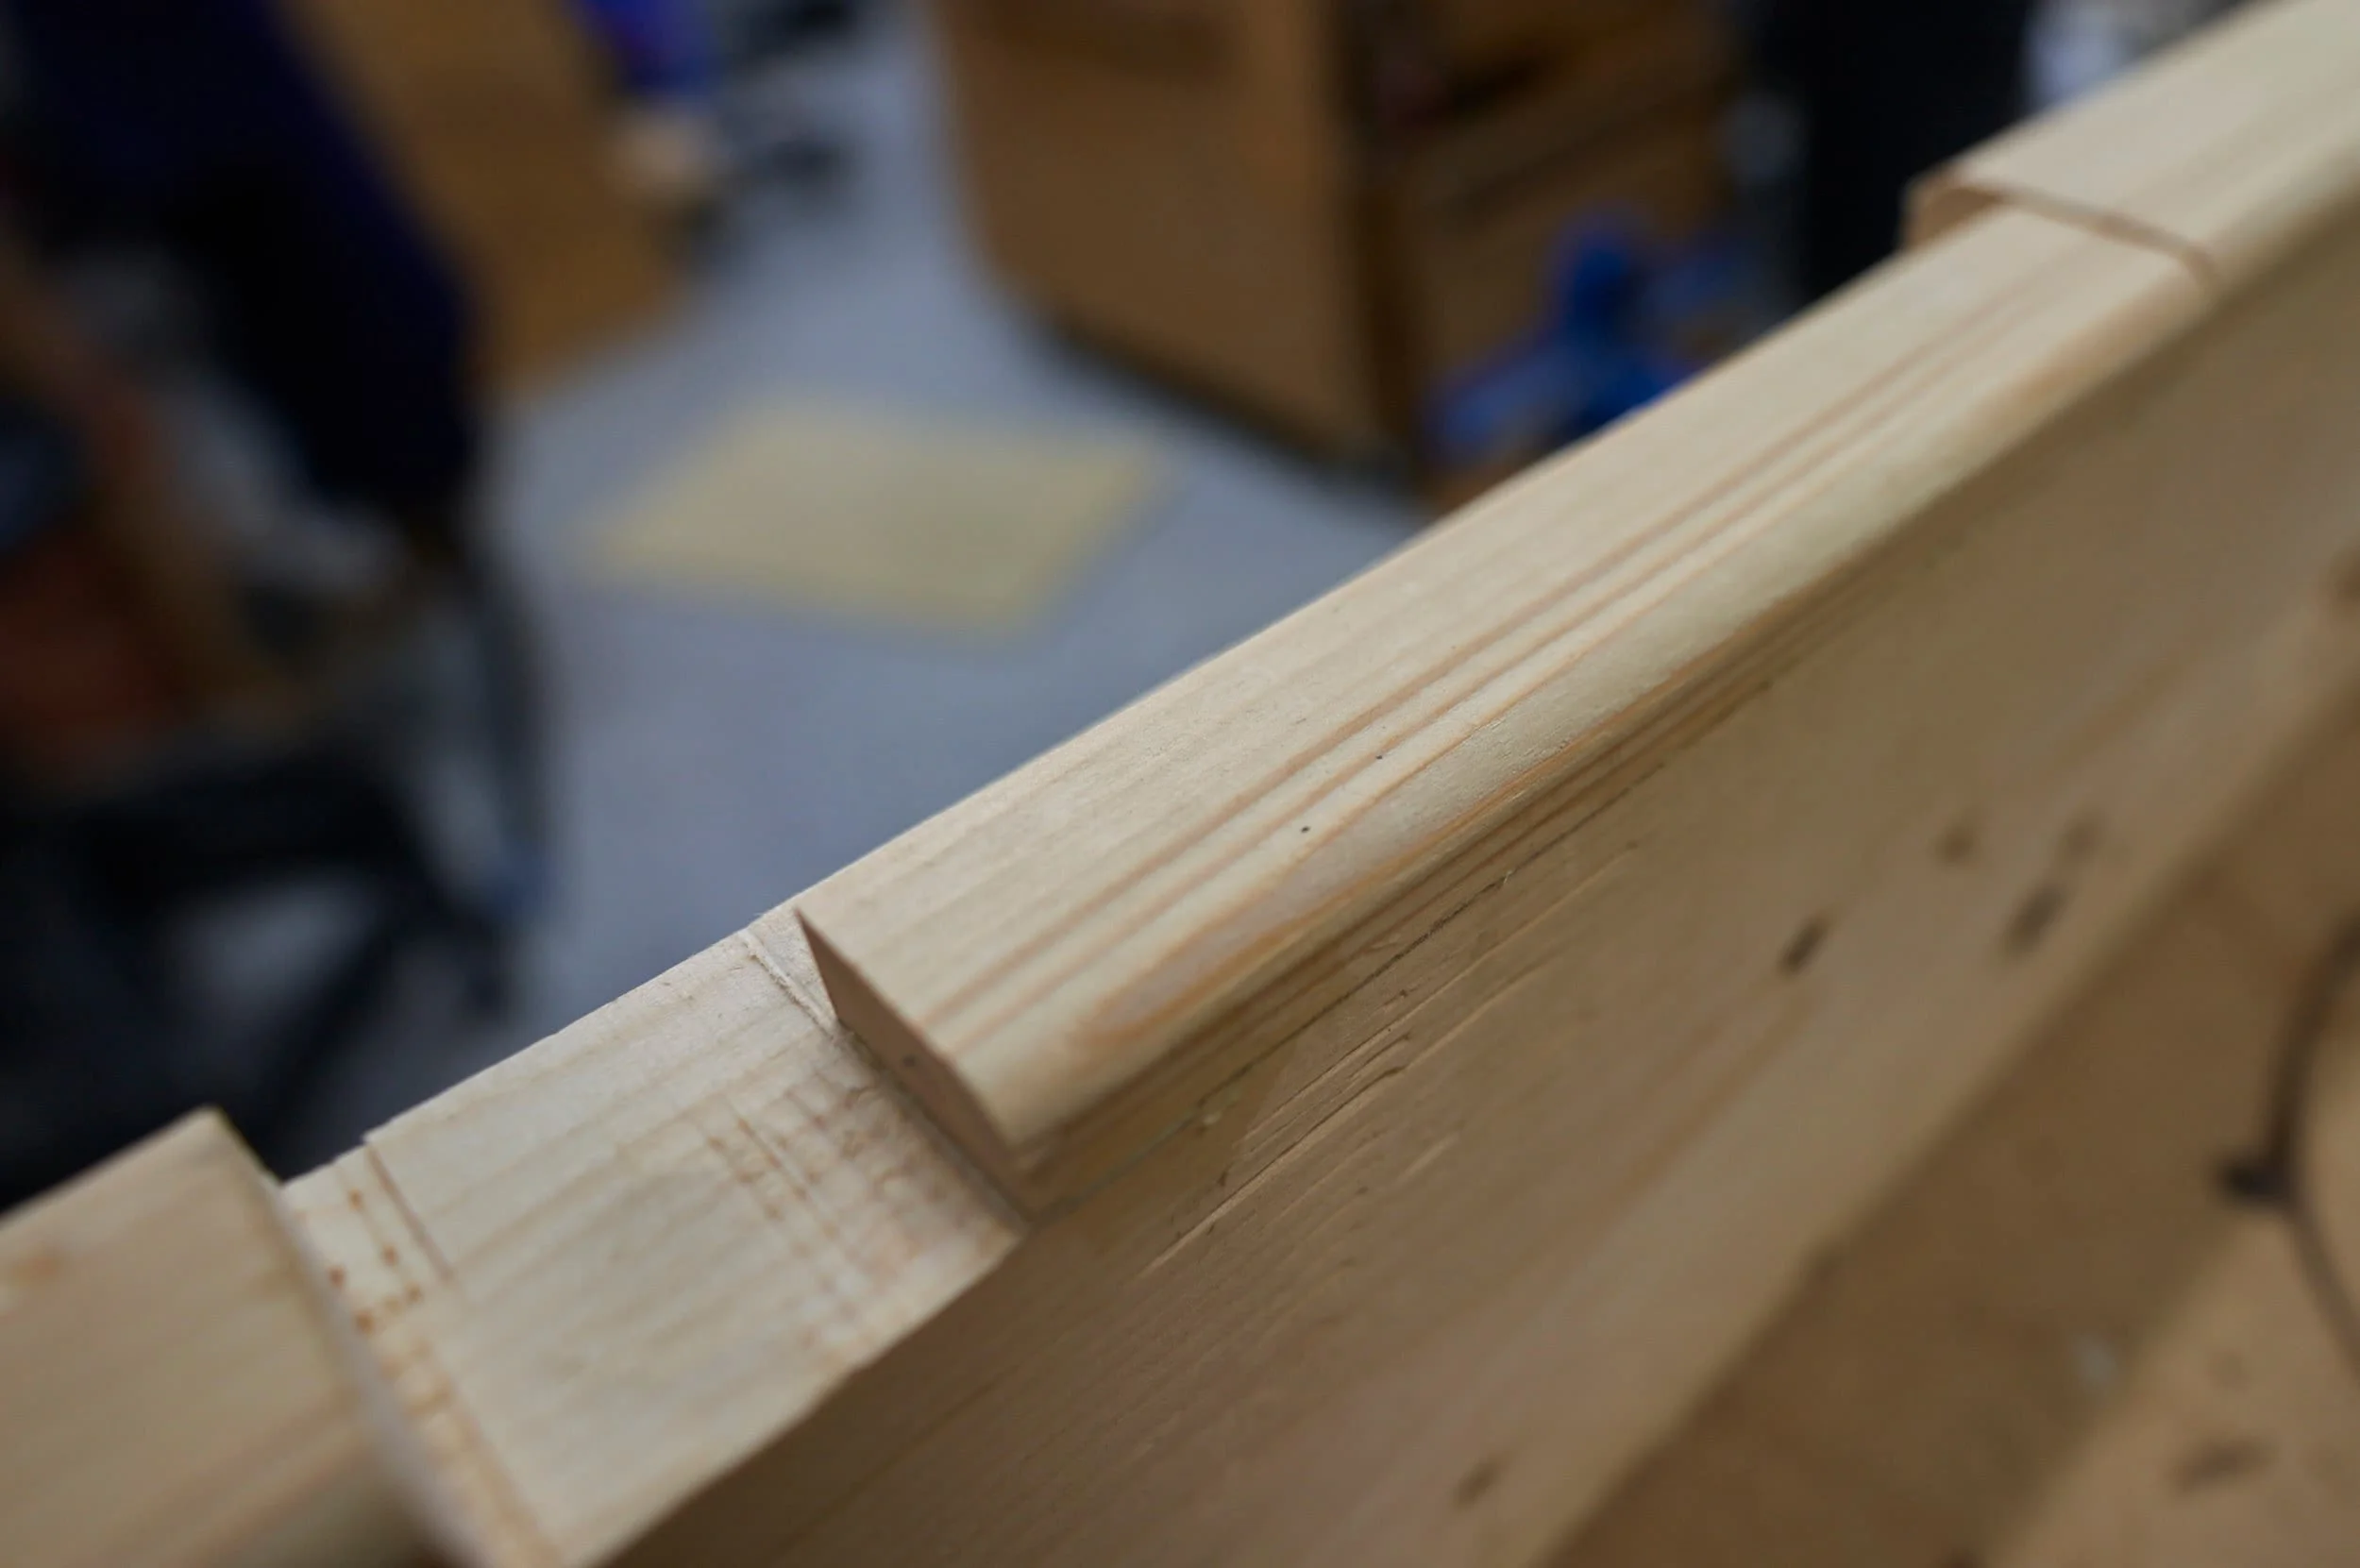
Regardless of the saw I went with, my plan was to replace the fence with a Kreg bandsaw fence. Almost every 14” bandsaw out there has two (or more) bolt holes on the outside edge of the table and the fence simply bolts to that, easy peasy. #foreshadowing.
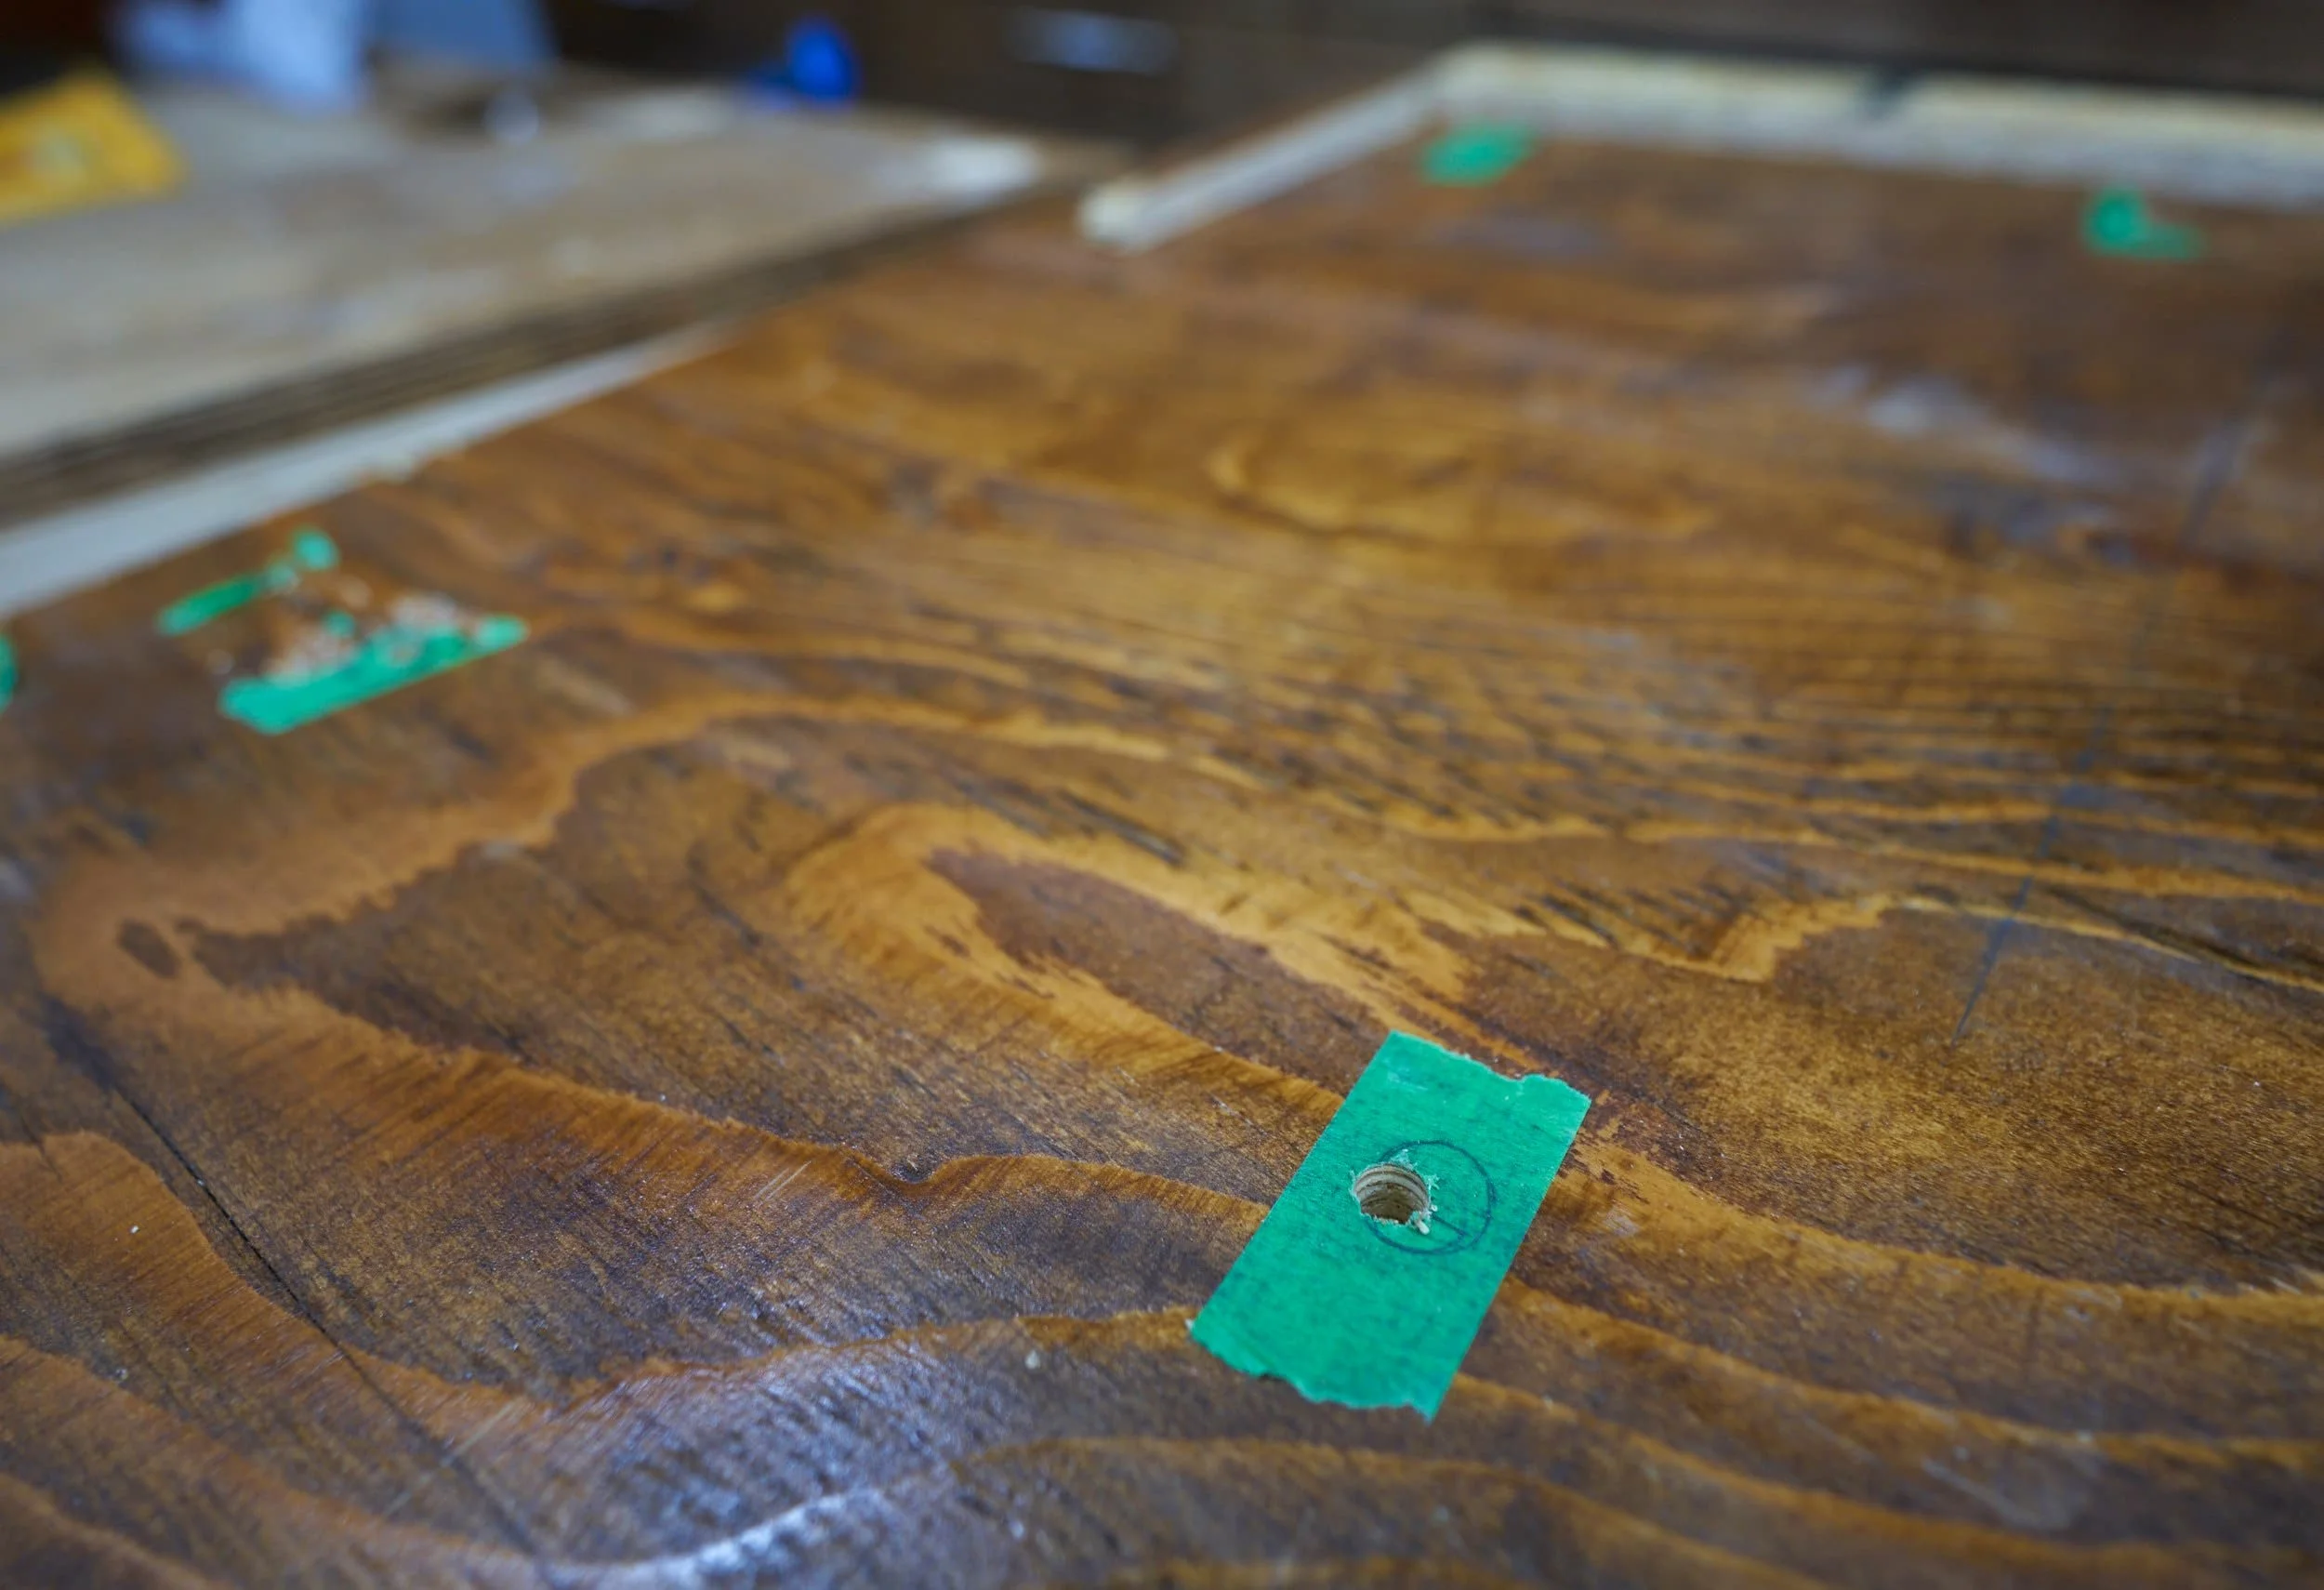
The 1402 uses a nonstandard fence mount where there are bolt-holes on the underside of the front-edge of the table; by running bolts through the front, we can T-slot in the fence to the table. The 1433 (of course), uses the standard mount.
With some steel square-tube, I think I may be able to rig up something that will let me retrofit bolt holes on the front but I suspect that the most effective route forward is to drill and tap some holes into the face of the bandsaw table. Nothing I’m not willing to do, just a bit unfortunate that I need to do it. I think long term, I’m going to end up having to drill and tap some holes into the face of the bandsaw table which is … unfortunate more than anything. This is problem for future me.
Nonstandard bandsaw fence mount
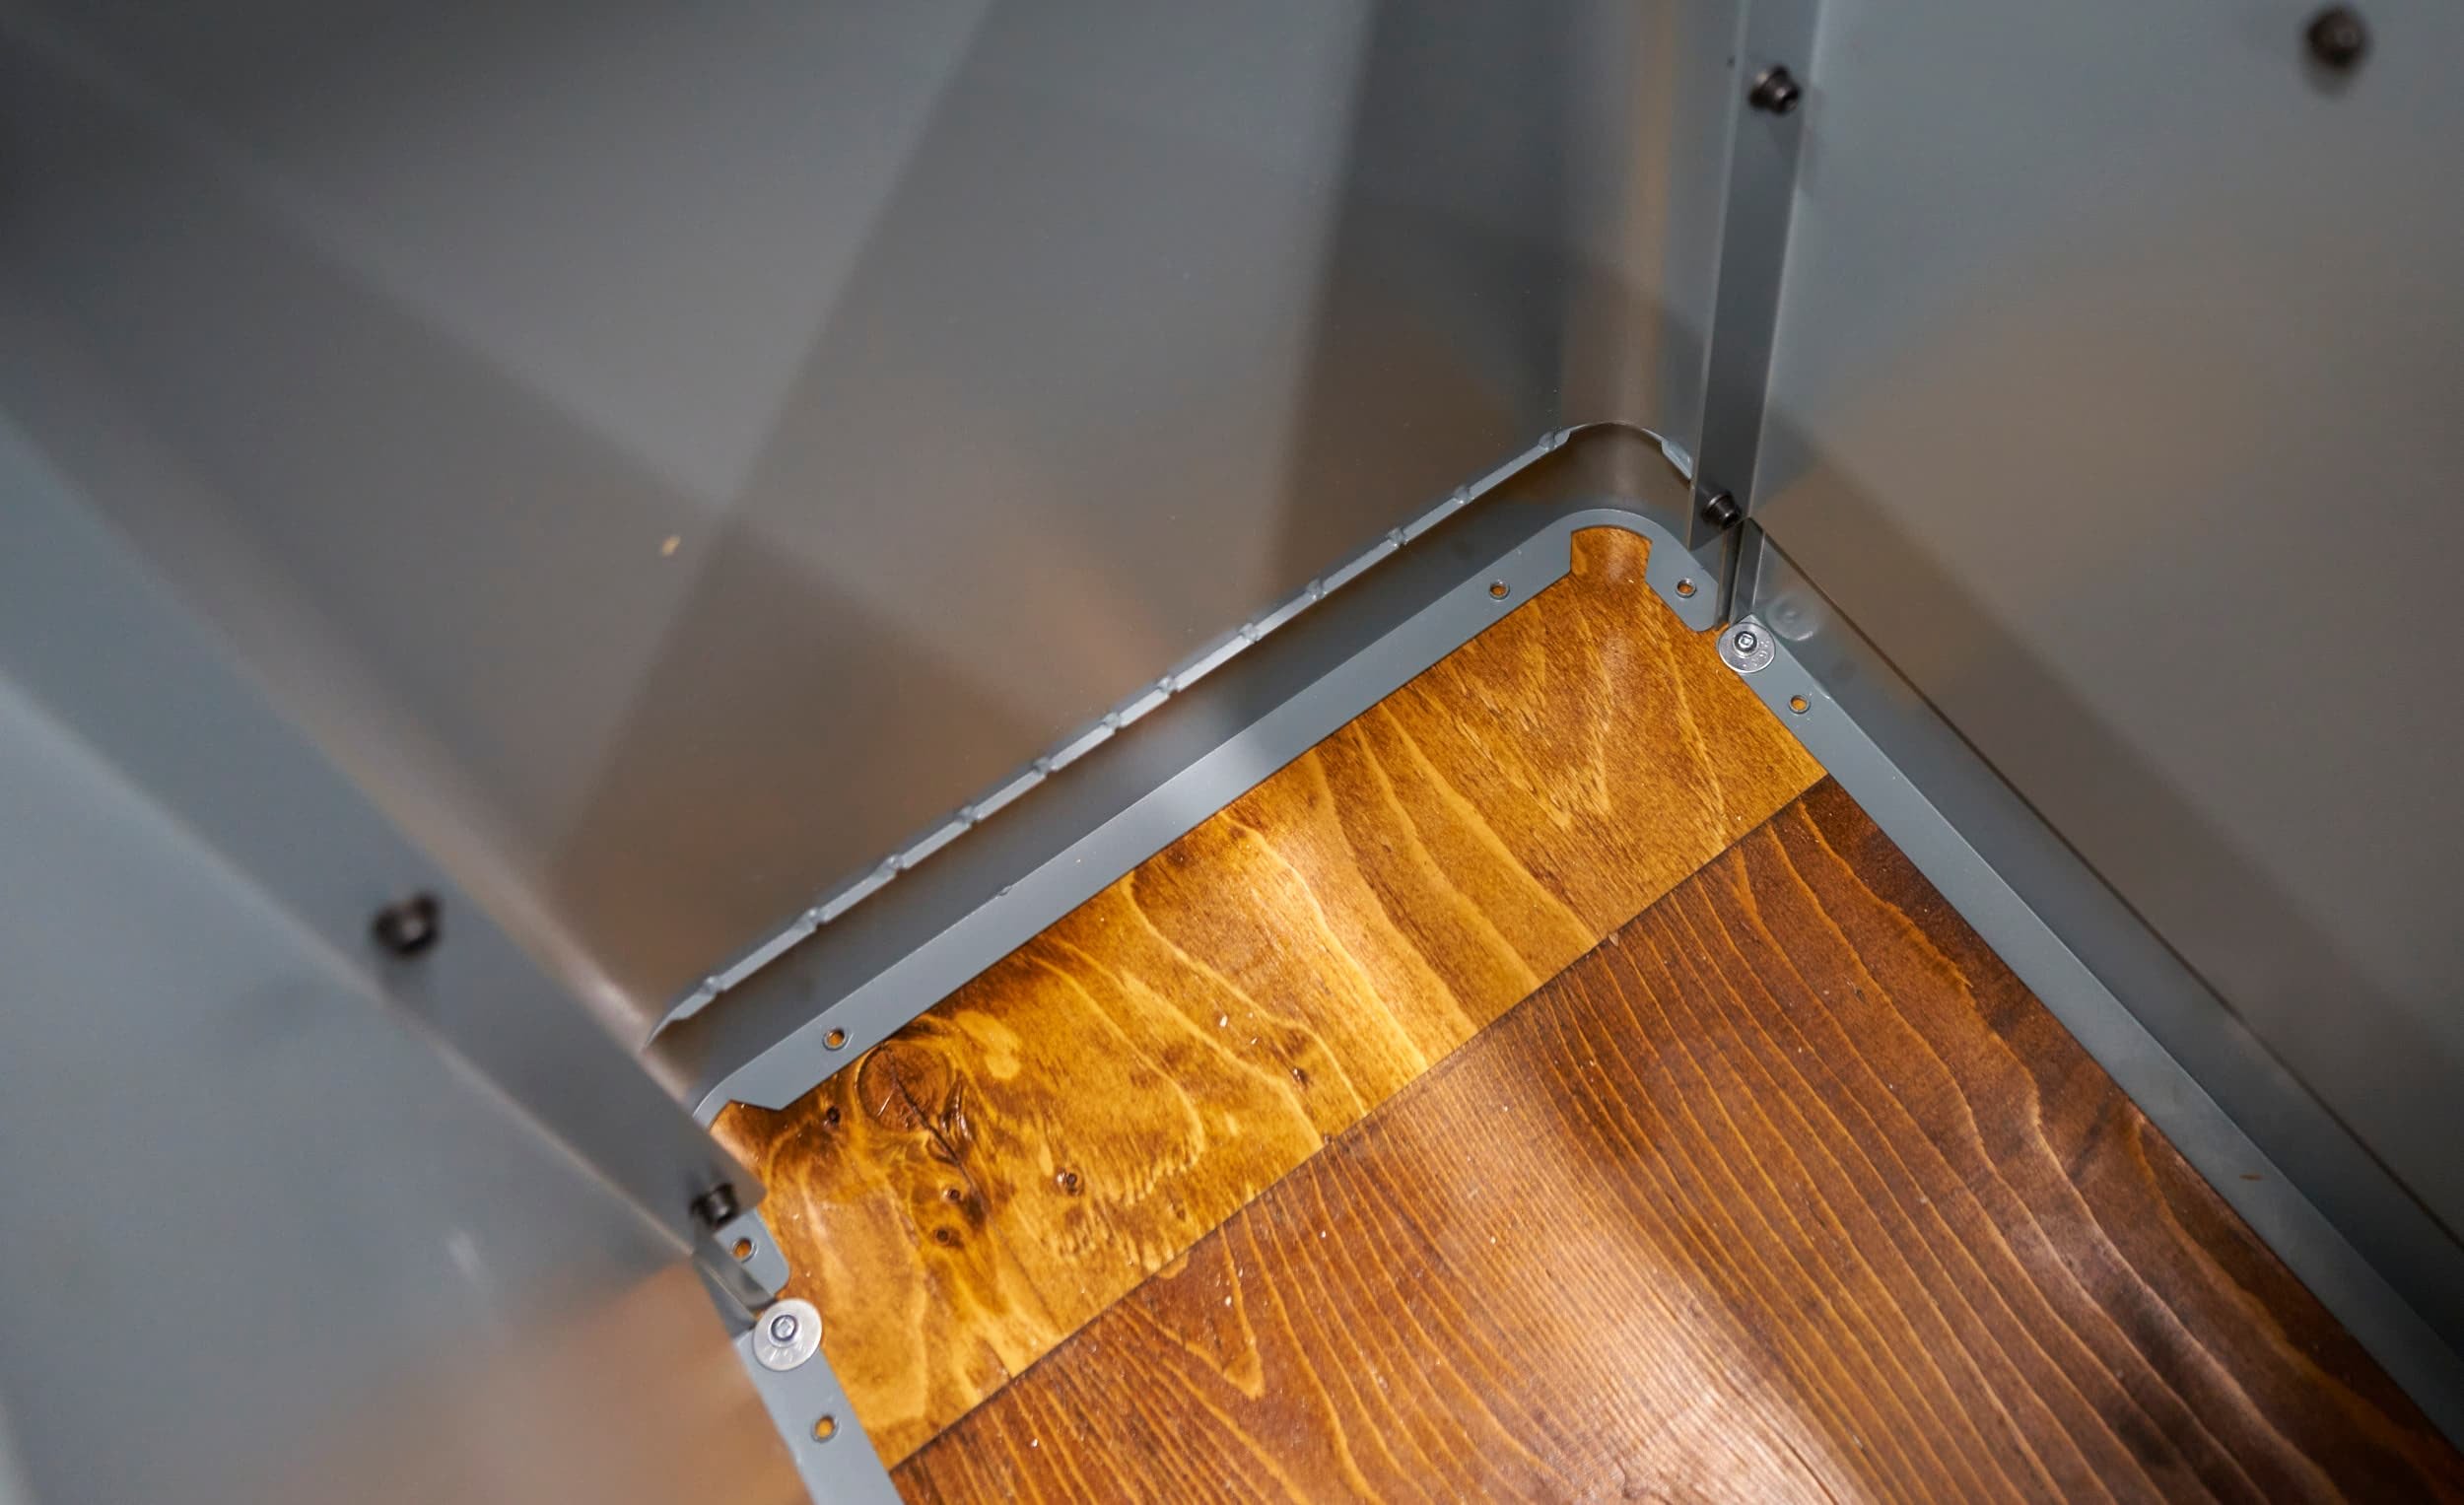
Drill-press base
The mobile-base I had made for the bandsaw was my first time using popup-casters and I was impressed with just how easy they just worked, I decided to bite the bullet and make a similar base for my drill press. I just hated how tipsy the universal mobile base made my drill press feel and the sheer pain it was to play the game of shuffling it back and forth to slide it laterally (since two of the wheels are fixed).


Thoughts on the drill press?
I hate changing drive belts. Maybe it was the cheapo benchtop drill press I had before were I had to fight with it to get the belts on and off, but I was totally turned off from this. I’ve known about the existence of drill presses with digital speed controls for some time but always assumed it was just way out of my budget.
As a pleasant surprise, I came across the Nova Viking 16” drill press for roughly 50% off so it was a no brainer. This drill press is the nicest tool I’ve ever used - by a long shot. For me, the headline features are having a digital depth stop and auto-start/stop. I can’t speak to the amount of wobble and deviation in the chuck as compared to other premium drill presses — my experience is limited to a $99 special, benchtop drill press. As much as I can tell, this drill press is incredible.
I bought a super cheap drill press table that was on sale; for a cheap table, it’s fine but it is definitely… not great, so I might make my own table and return this one.
Milestone
This was my first time working with popup-casters and I thought they were great - even the drill press which was previously a cumbersome, top-heavy and tipsy tool feels stable — even while raised up. Having both of these tools on wheels means I can roll them out of the way into a corner when not in use.
I want to tackle getting an aftermarket fence for the bandsaw — the stock fence is utter trash (as I expected it would be, so no unpleasant surprise there) and to build a drill press table while I can still return my current one.

Product links may be affiliate links: MinMaxGeek may earn a commission on any purchases made via said links without any additional cost to you.