

Build Log: Offcut Cart
When I broke down my original plywood crat to make the Indoor Plywood Box, I was left without a way to organize random offcuts and scraps. This meant that I was moving my scraps and offcuts from one pile to another, leaning them against anything where they would inevitably slide and fall, and I’d be tripping over them. As such, I had to whip together something (anything!) to get the disaster under control.
Quick Links
Starting point
In the corner behind the side door to the garage, I had a low-traffic patch of space that I could stash all my offcuts — before I emptied out the corner to get a better picture of the space, I was already using this as a leaning disaster of random boards and panels. At least this way, the space would be intentionally put to use.
I didn’t really have a particular design or concrete requirements in mind: I knew I wanted to be able to store a bunch of offcut strips as well as different sized boards and even larger sections of panels. Due to the space constraints, I wouldn’t be able to store really wide panels — but that’s why I have an indoor-plywood storage case, right?
I debated doing a shelf versus a cart — I could pre-level the shelf to account for the slope and could even account for the additional step and it could definitely take a whole bunch of weight, but, a cart, I could roll it out of the way; and since I could roll the cart out of the way, that would allow me to make the entire cart slightly larger, extending into the back of the door a bit (while still being able to use the door).
If I ever needed have the door wide open, then I could roll the cart out of the way temporarily.
One of the nice things about this project was that I could put all of the scraps I had kicking around to use — as I made each piece of the cart, that would be one less board to trip over.
Candidate space
Step 1: Base & back
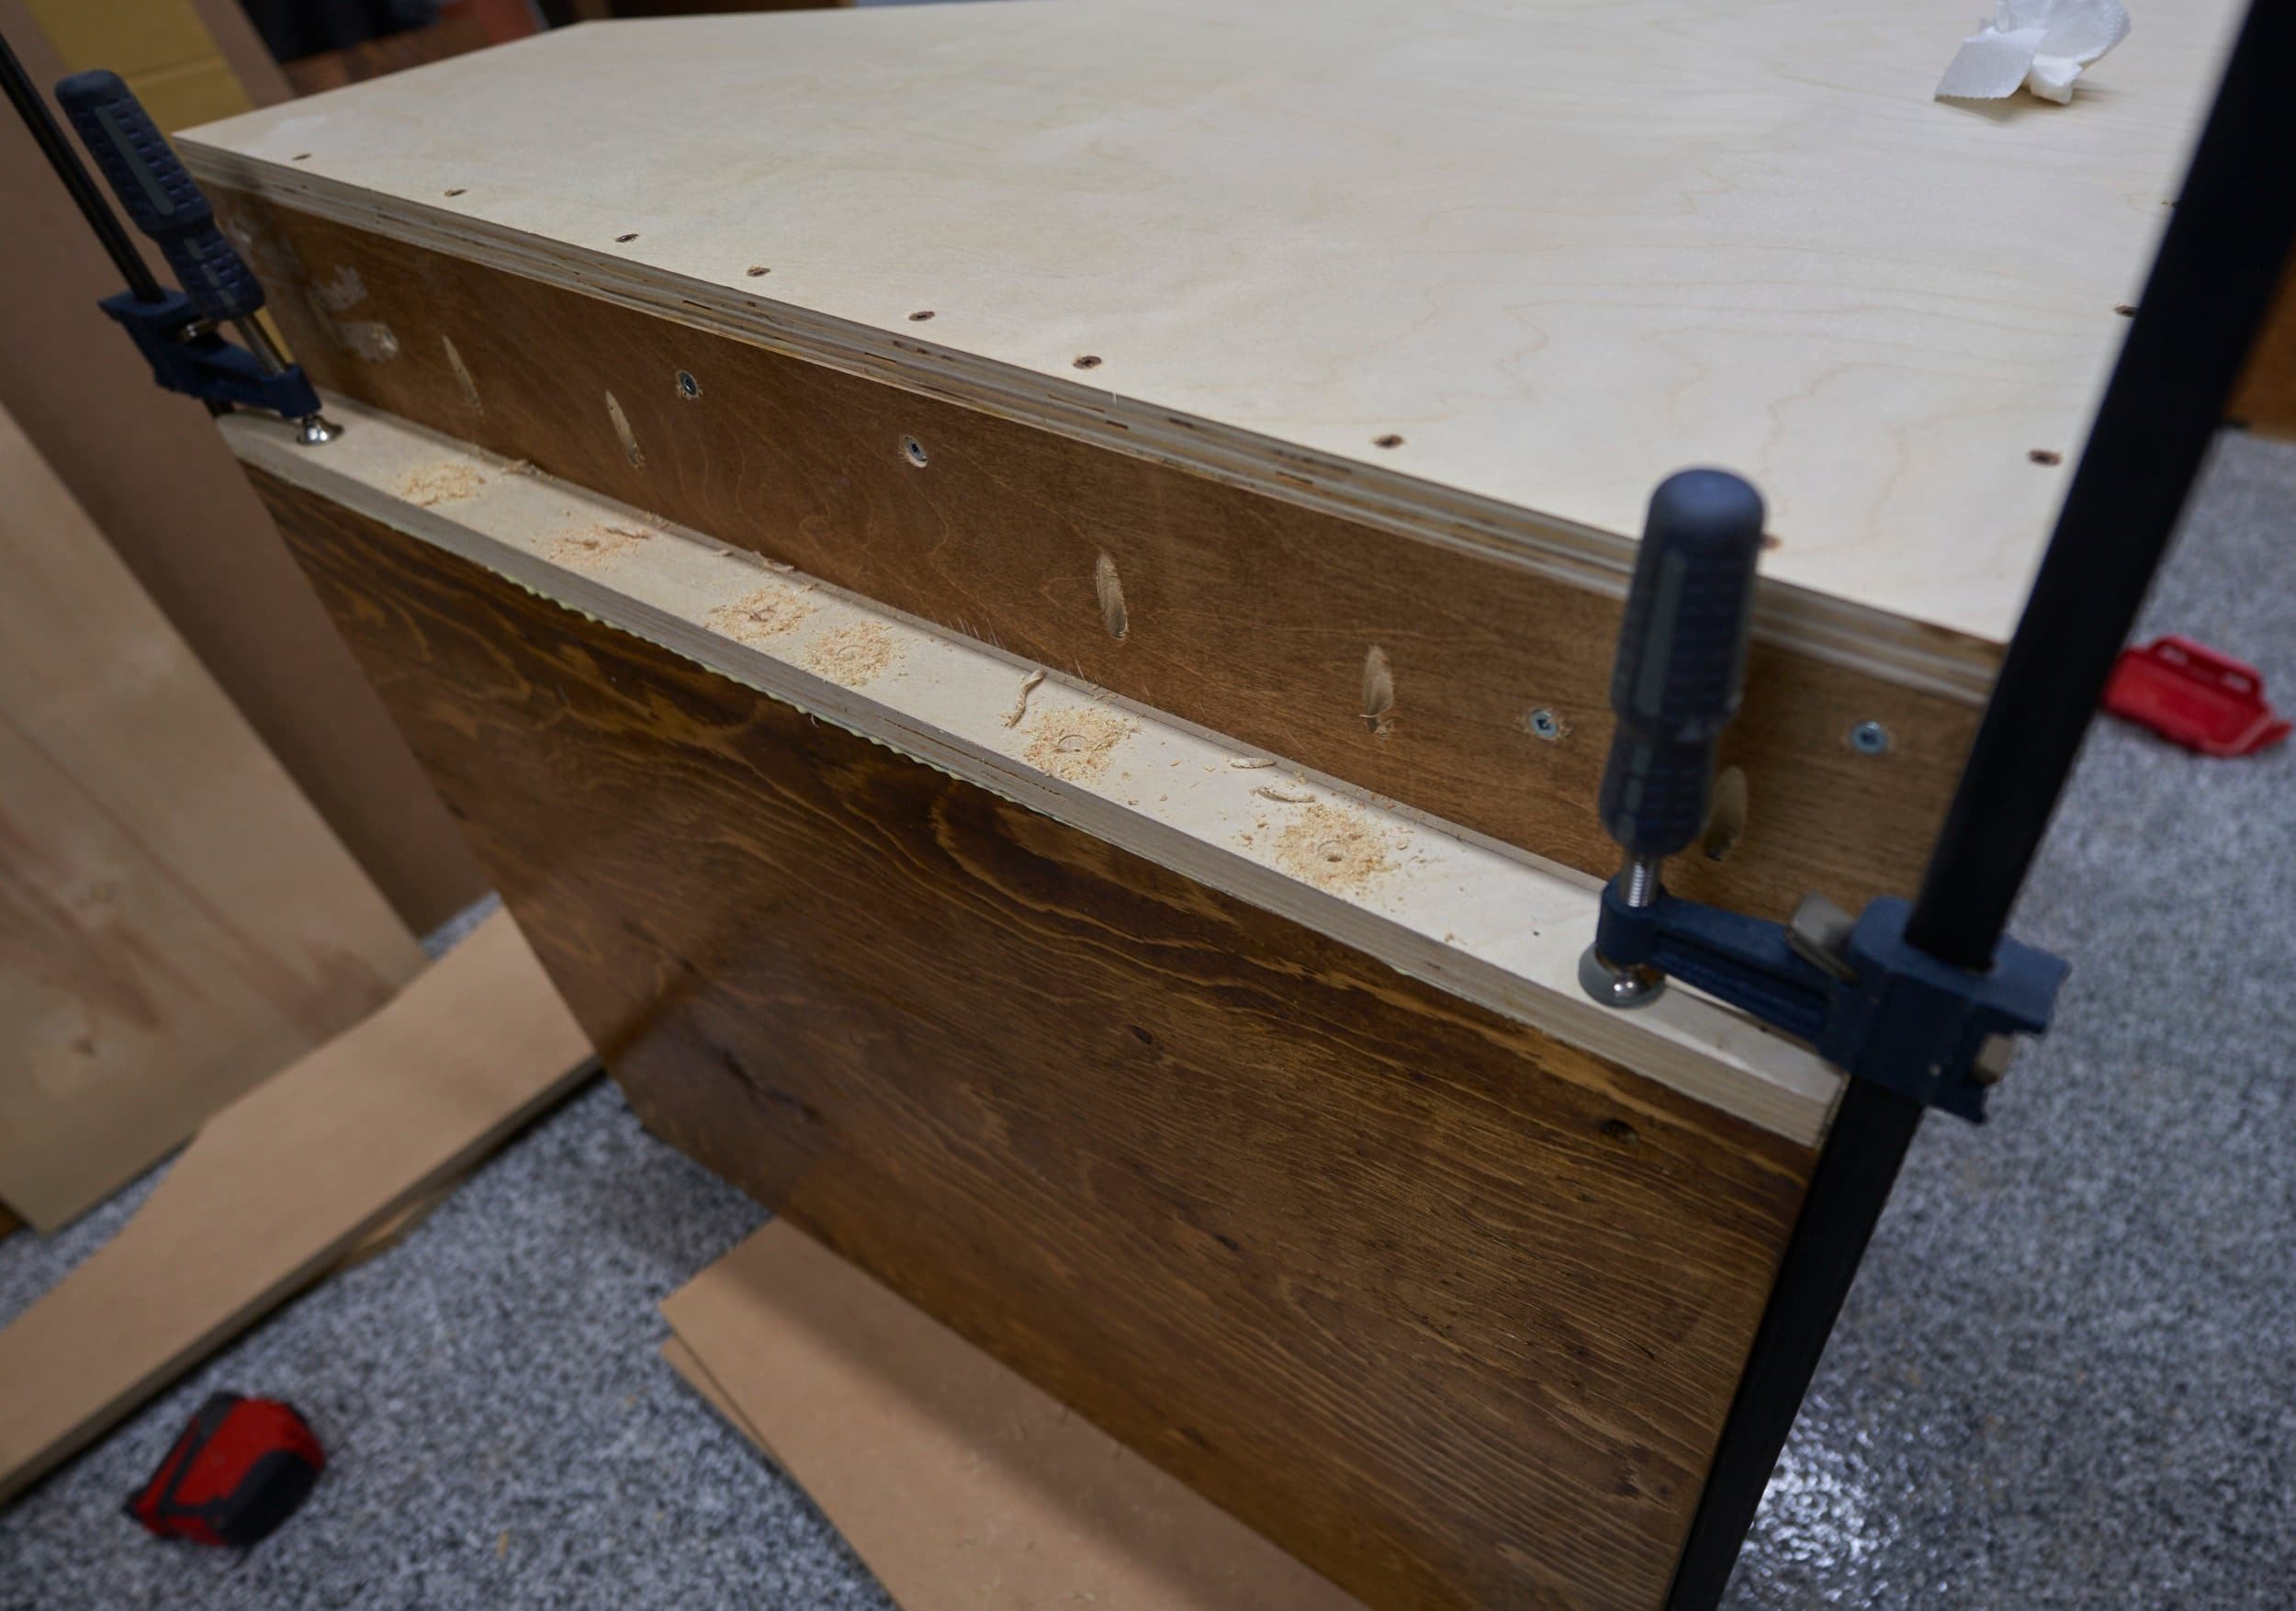
For the base, I needed it to be thick enough that I could directly attach caster wheels to it (without bolting on additional ‘shoes’) and sturdy enough not to crumble under the weight of a fully loaded cart. For the base, I cut down a panel of 3/8 plywood from a stand I broke down and in between it, I sandwiched 5/8 OSB. The back was just a prettier piece of 3/4 plywood.


The corner where I plan on parking this cart has a concrete perimeter lip — about 6” high and roughly 4” deep. I could totally lean something against the wall and then push the cart up against it but it would be a matter of time before I pulled the cart out and the boards leaning on the wall decided to come with the cart and send me into a cursing frenzy as everything fell down. I wanted to make use of that “wasted space” so I went with a ‘magazine holder’ that I would hang off the back side of the cart:


To make the magazine holder bump out, I went with a double-laminated base plate — this would give me a ton of surface area for glue and lots of space for screws; I opted to use a single panel of plywood for the back as I just needed to contain any panels here and that was sufficient. In terms of which pieces get glued to which, the order of operations matters a bit as I don’t have access to certain faces after attaching them.


Due to the way I’ve attached the ‘magazine holder’ there is a bit of a question of the shear-stress but I think we’ll be fine — the opening is only roughly 4” wide anyways so I can’t fit all that much in there.
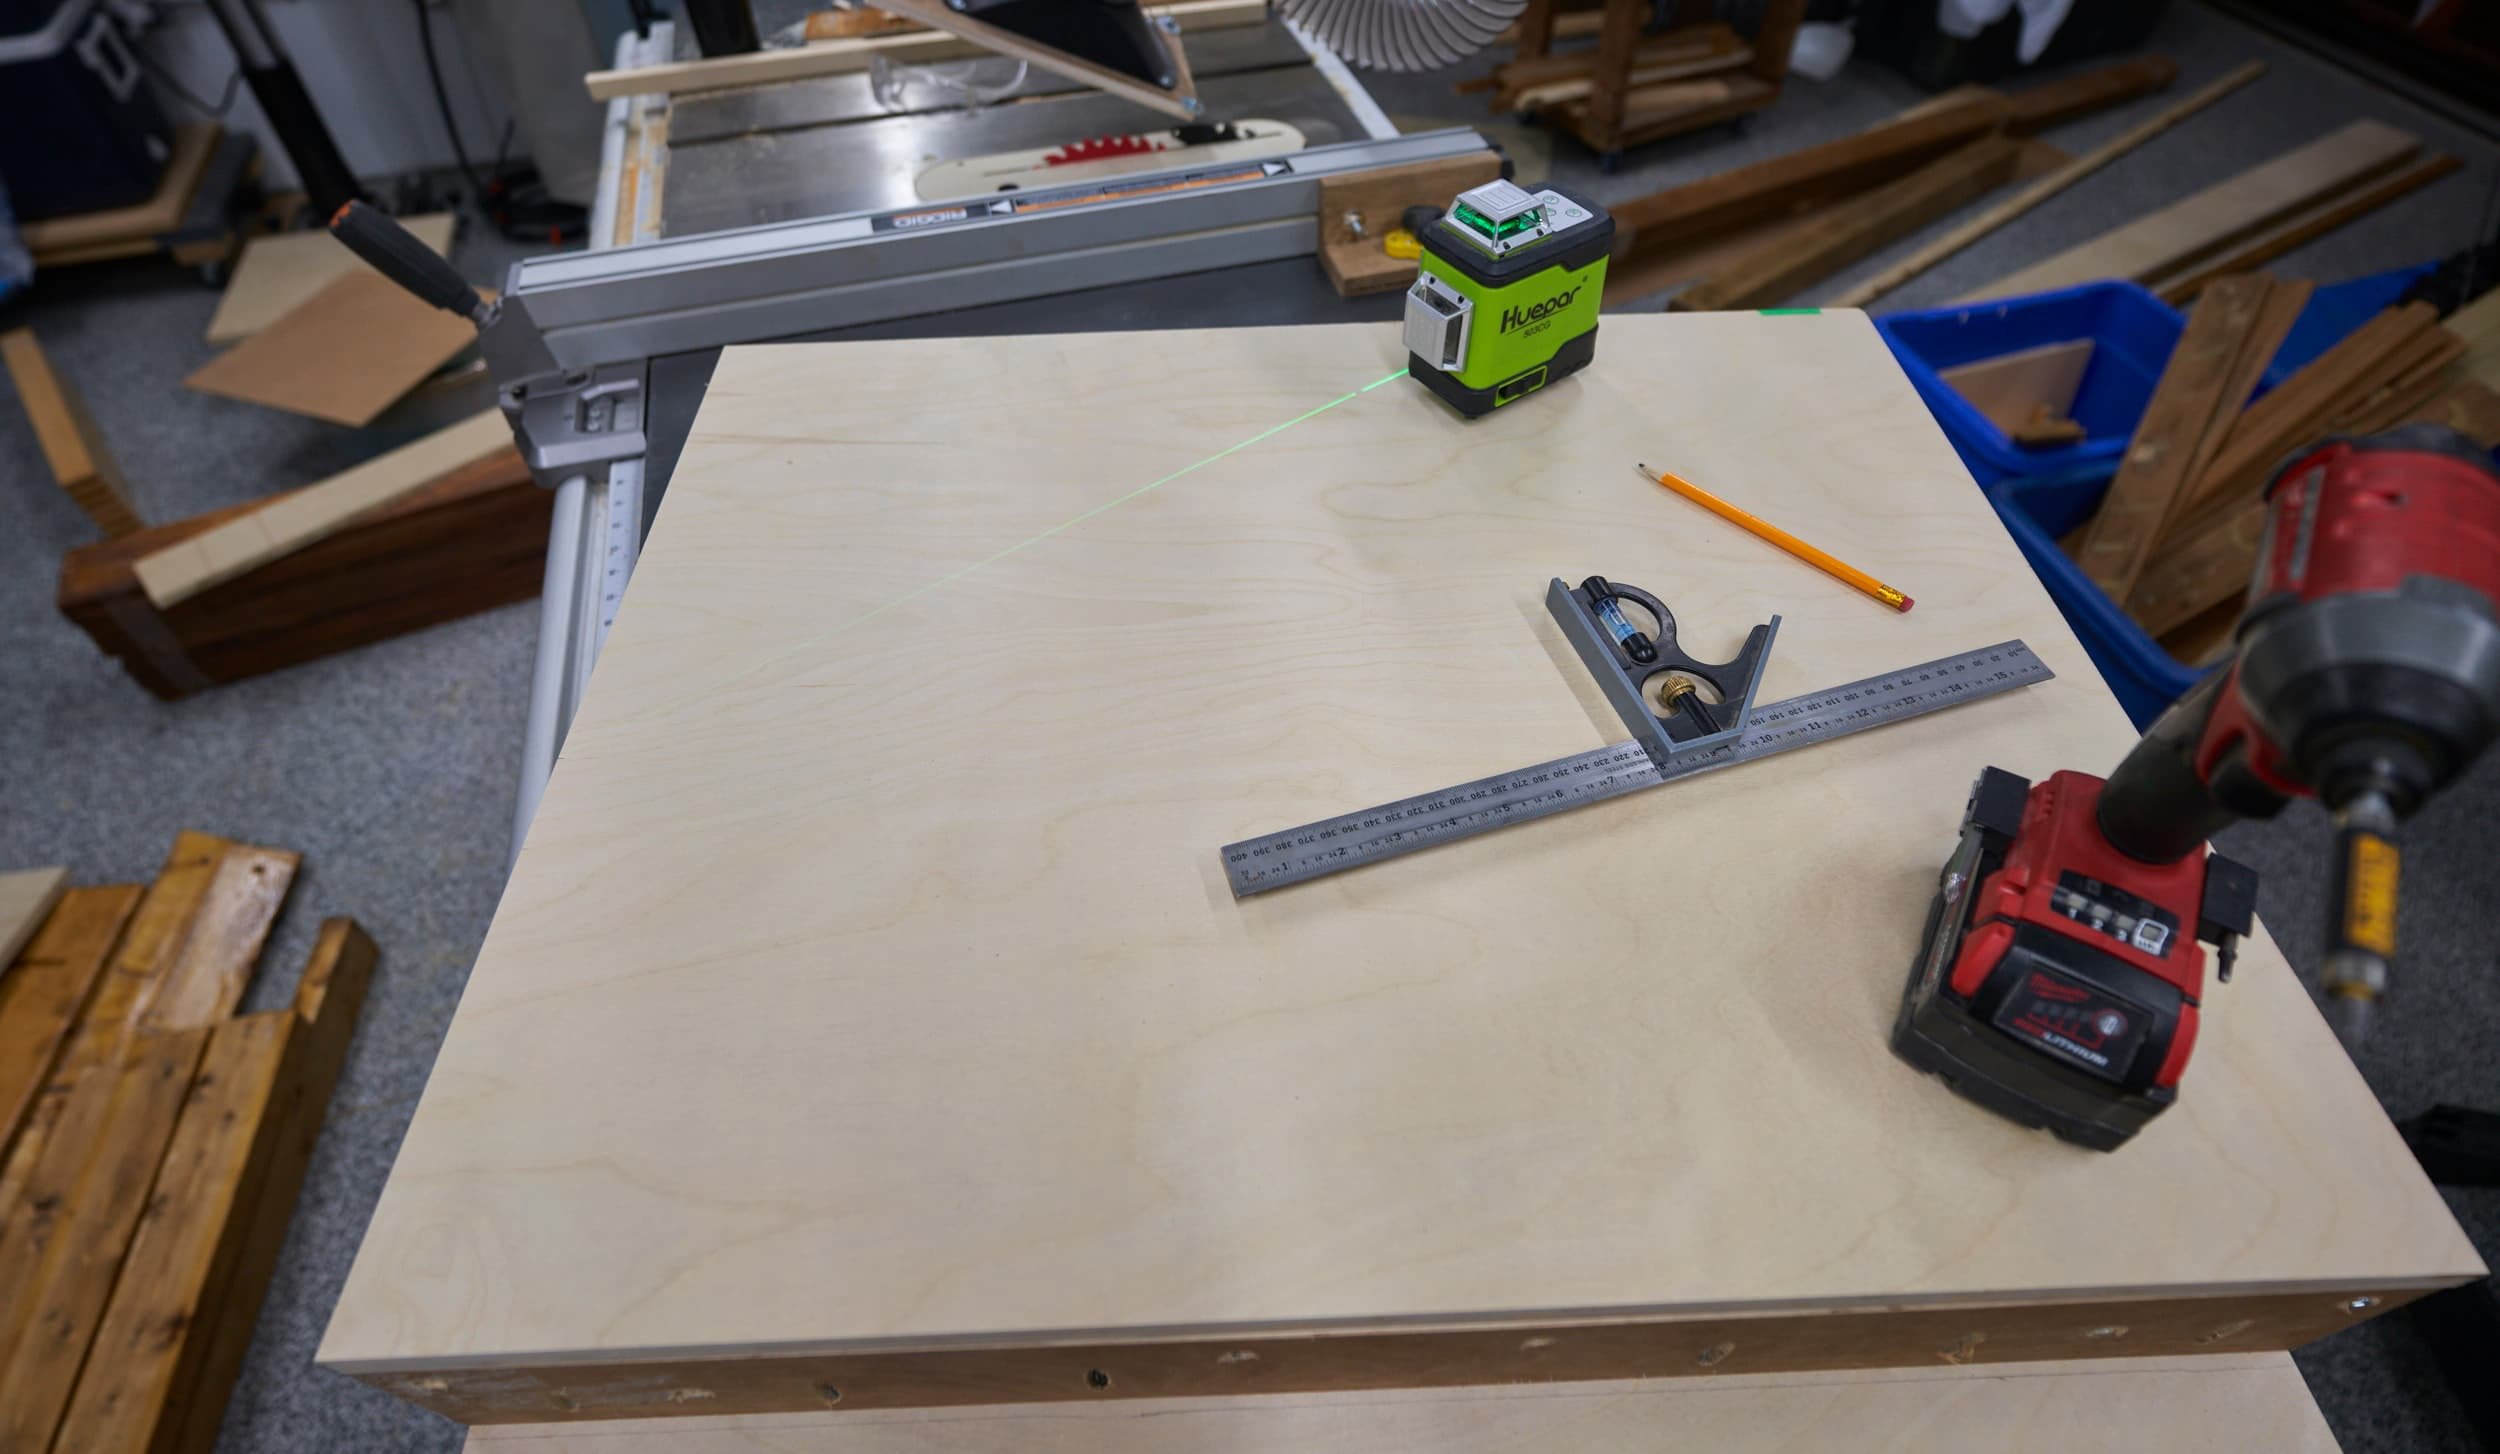
Step 2: Side panels
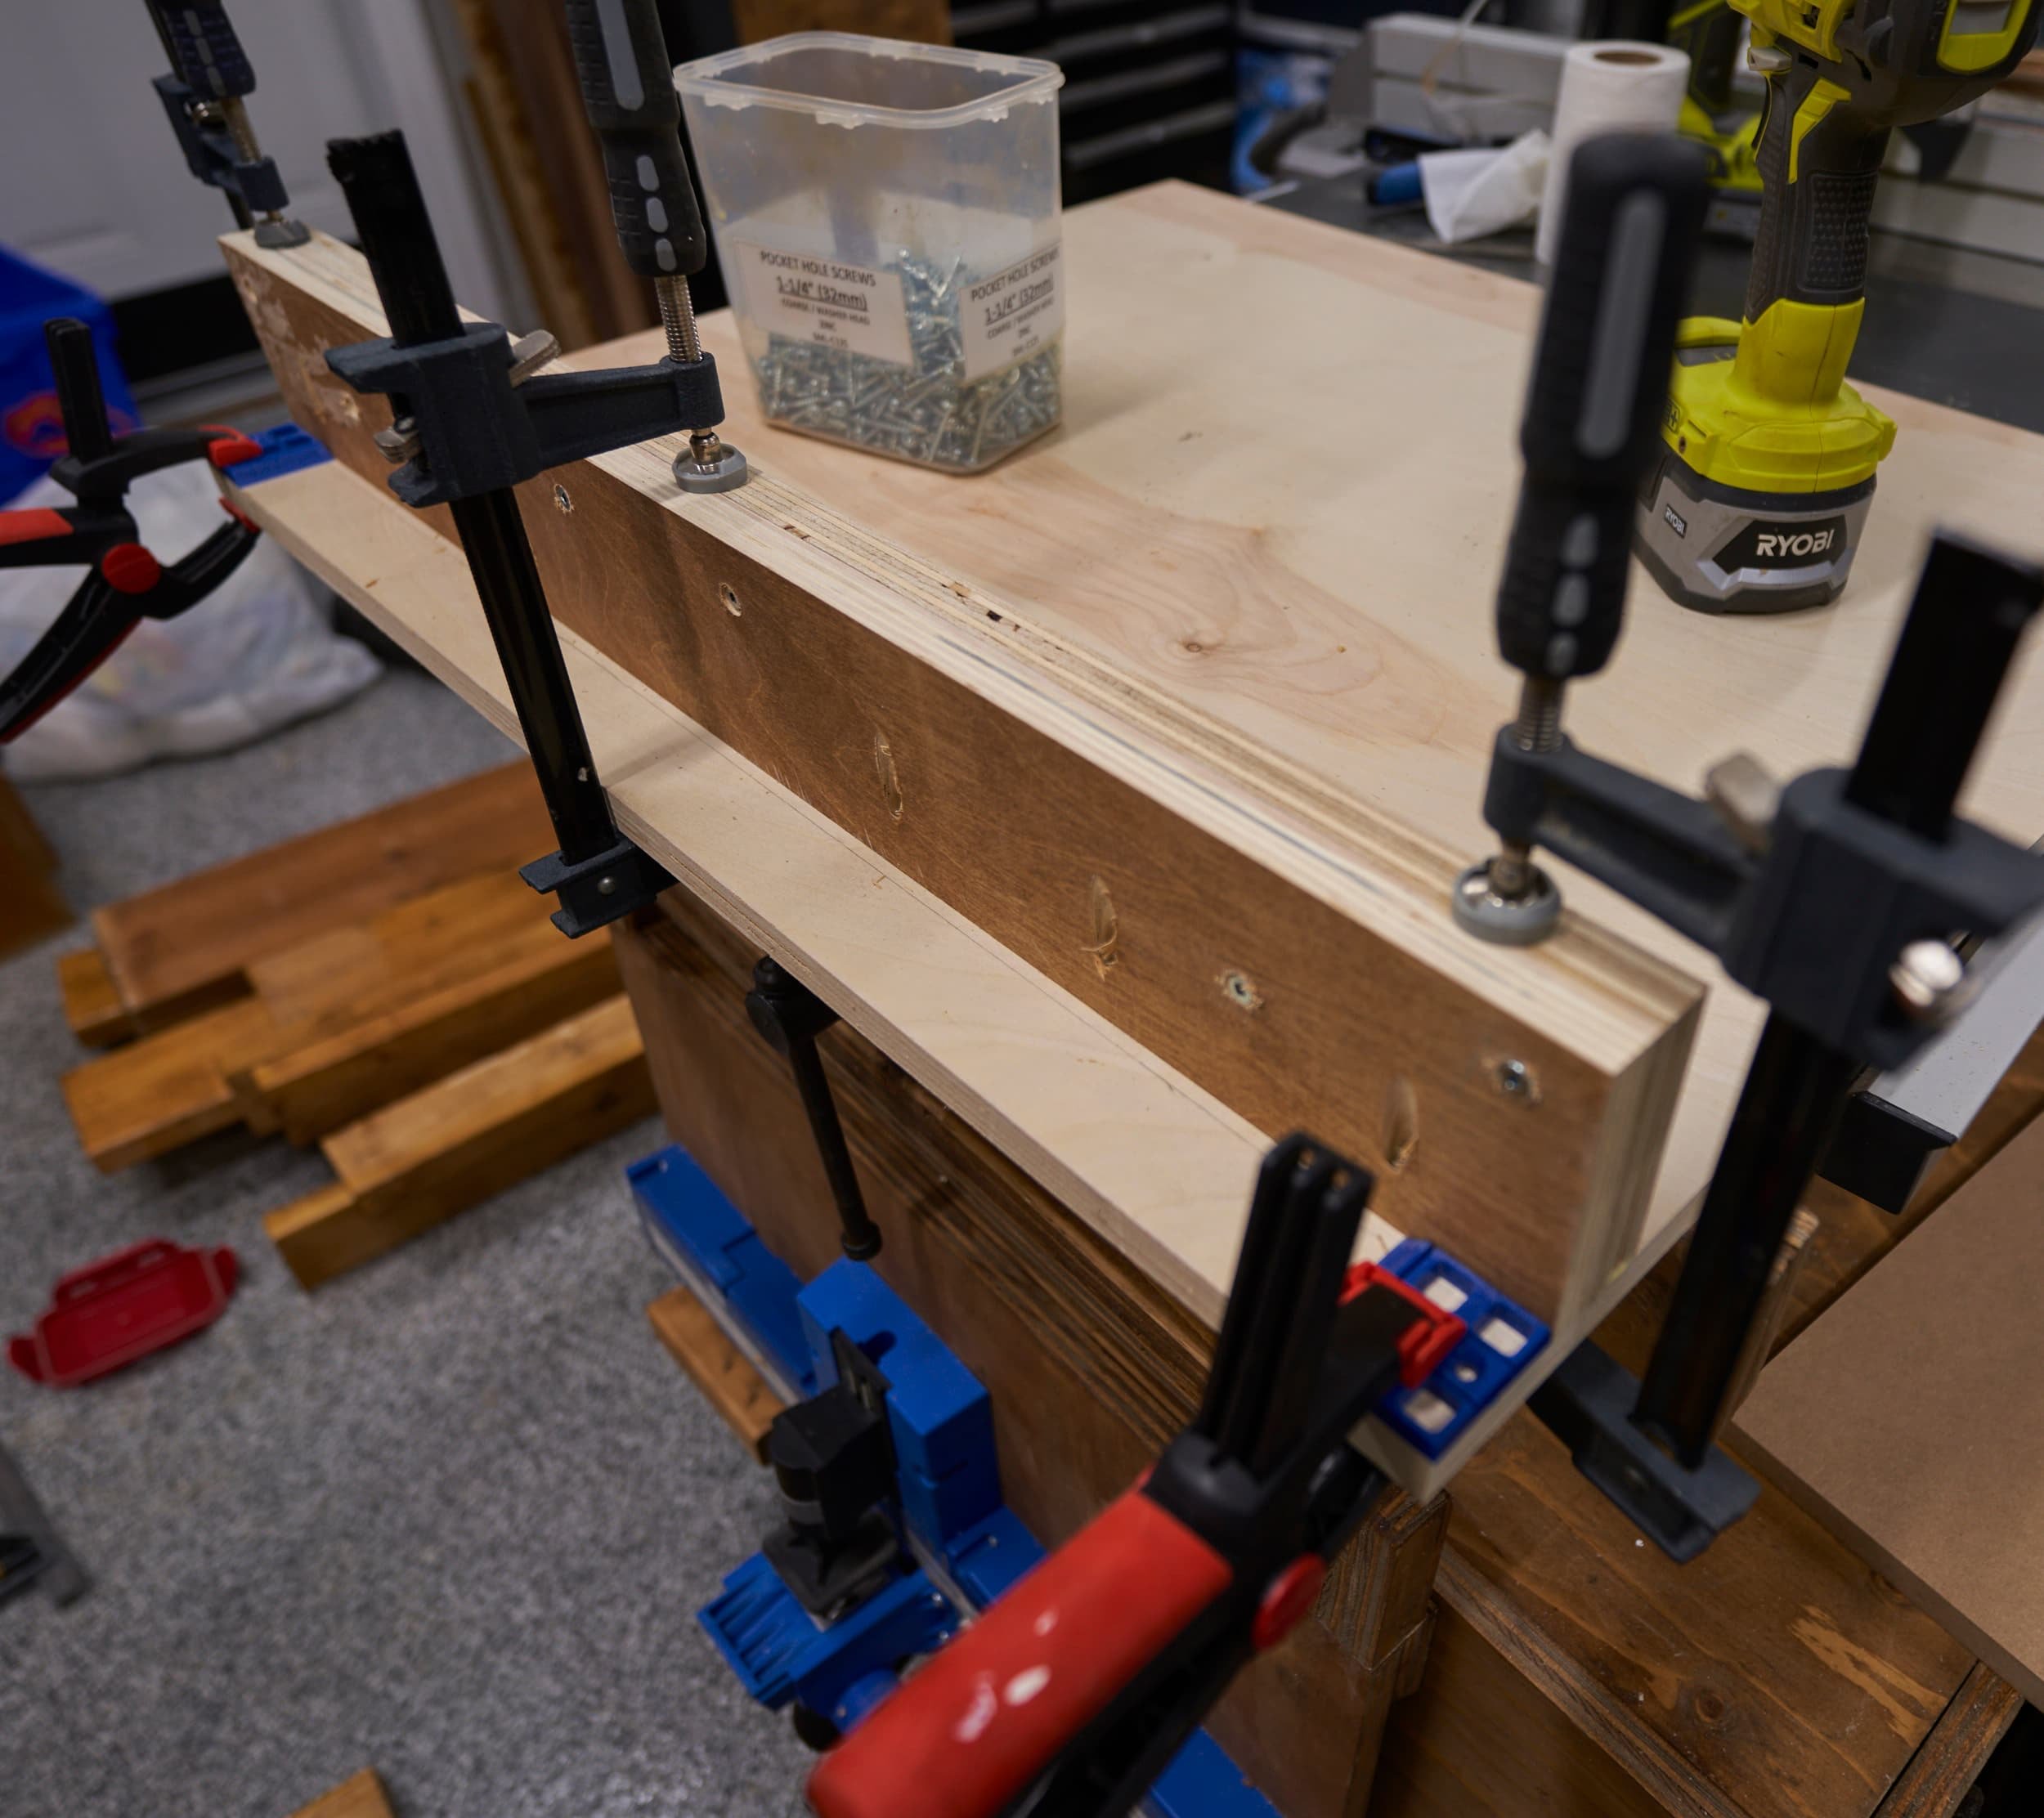
For the side panels, I mostly raided the scraps, putting together panels to match the existing height. Since I didn’t have appropriately sized panels, I built them up using glue and pocket holes. I also took the opportunity to install the caster wheels to the base (cannibalized from the previous plywood cart!) since it would a pain to get to the underside the further along this project I got.
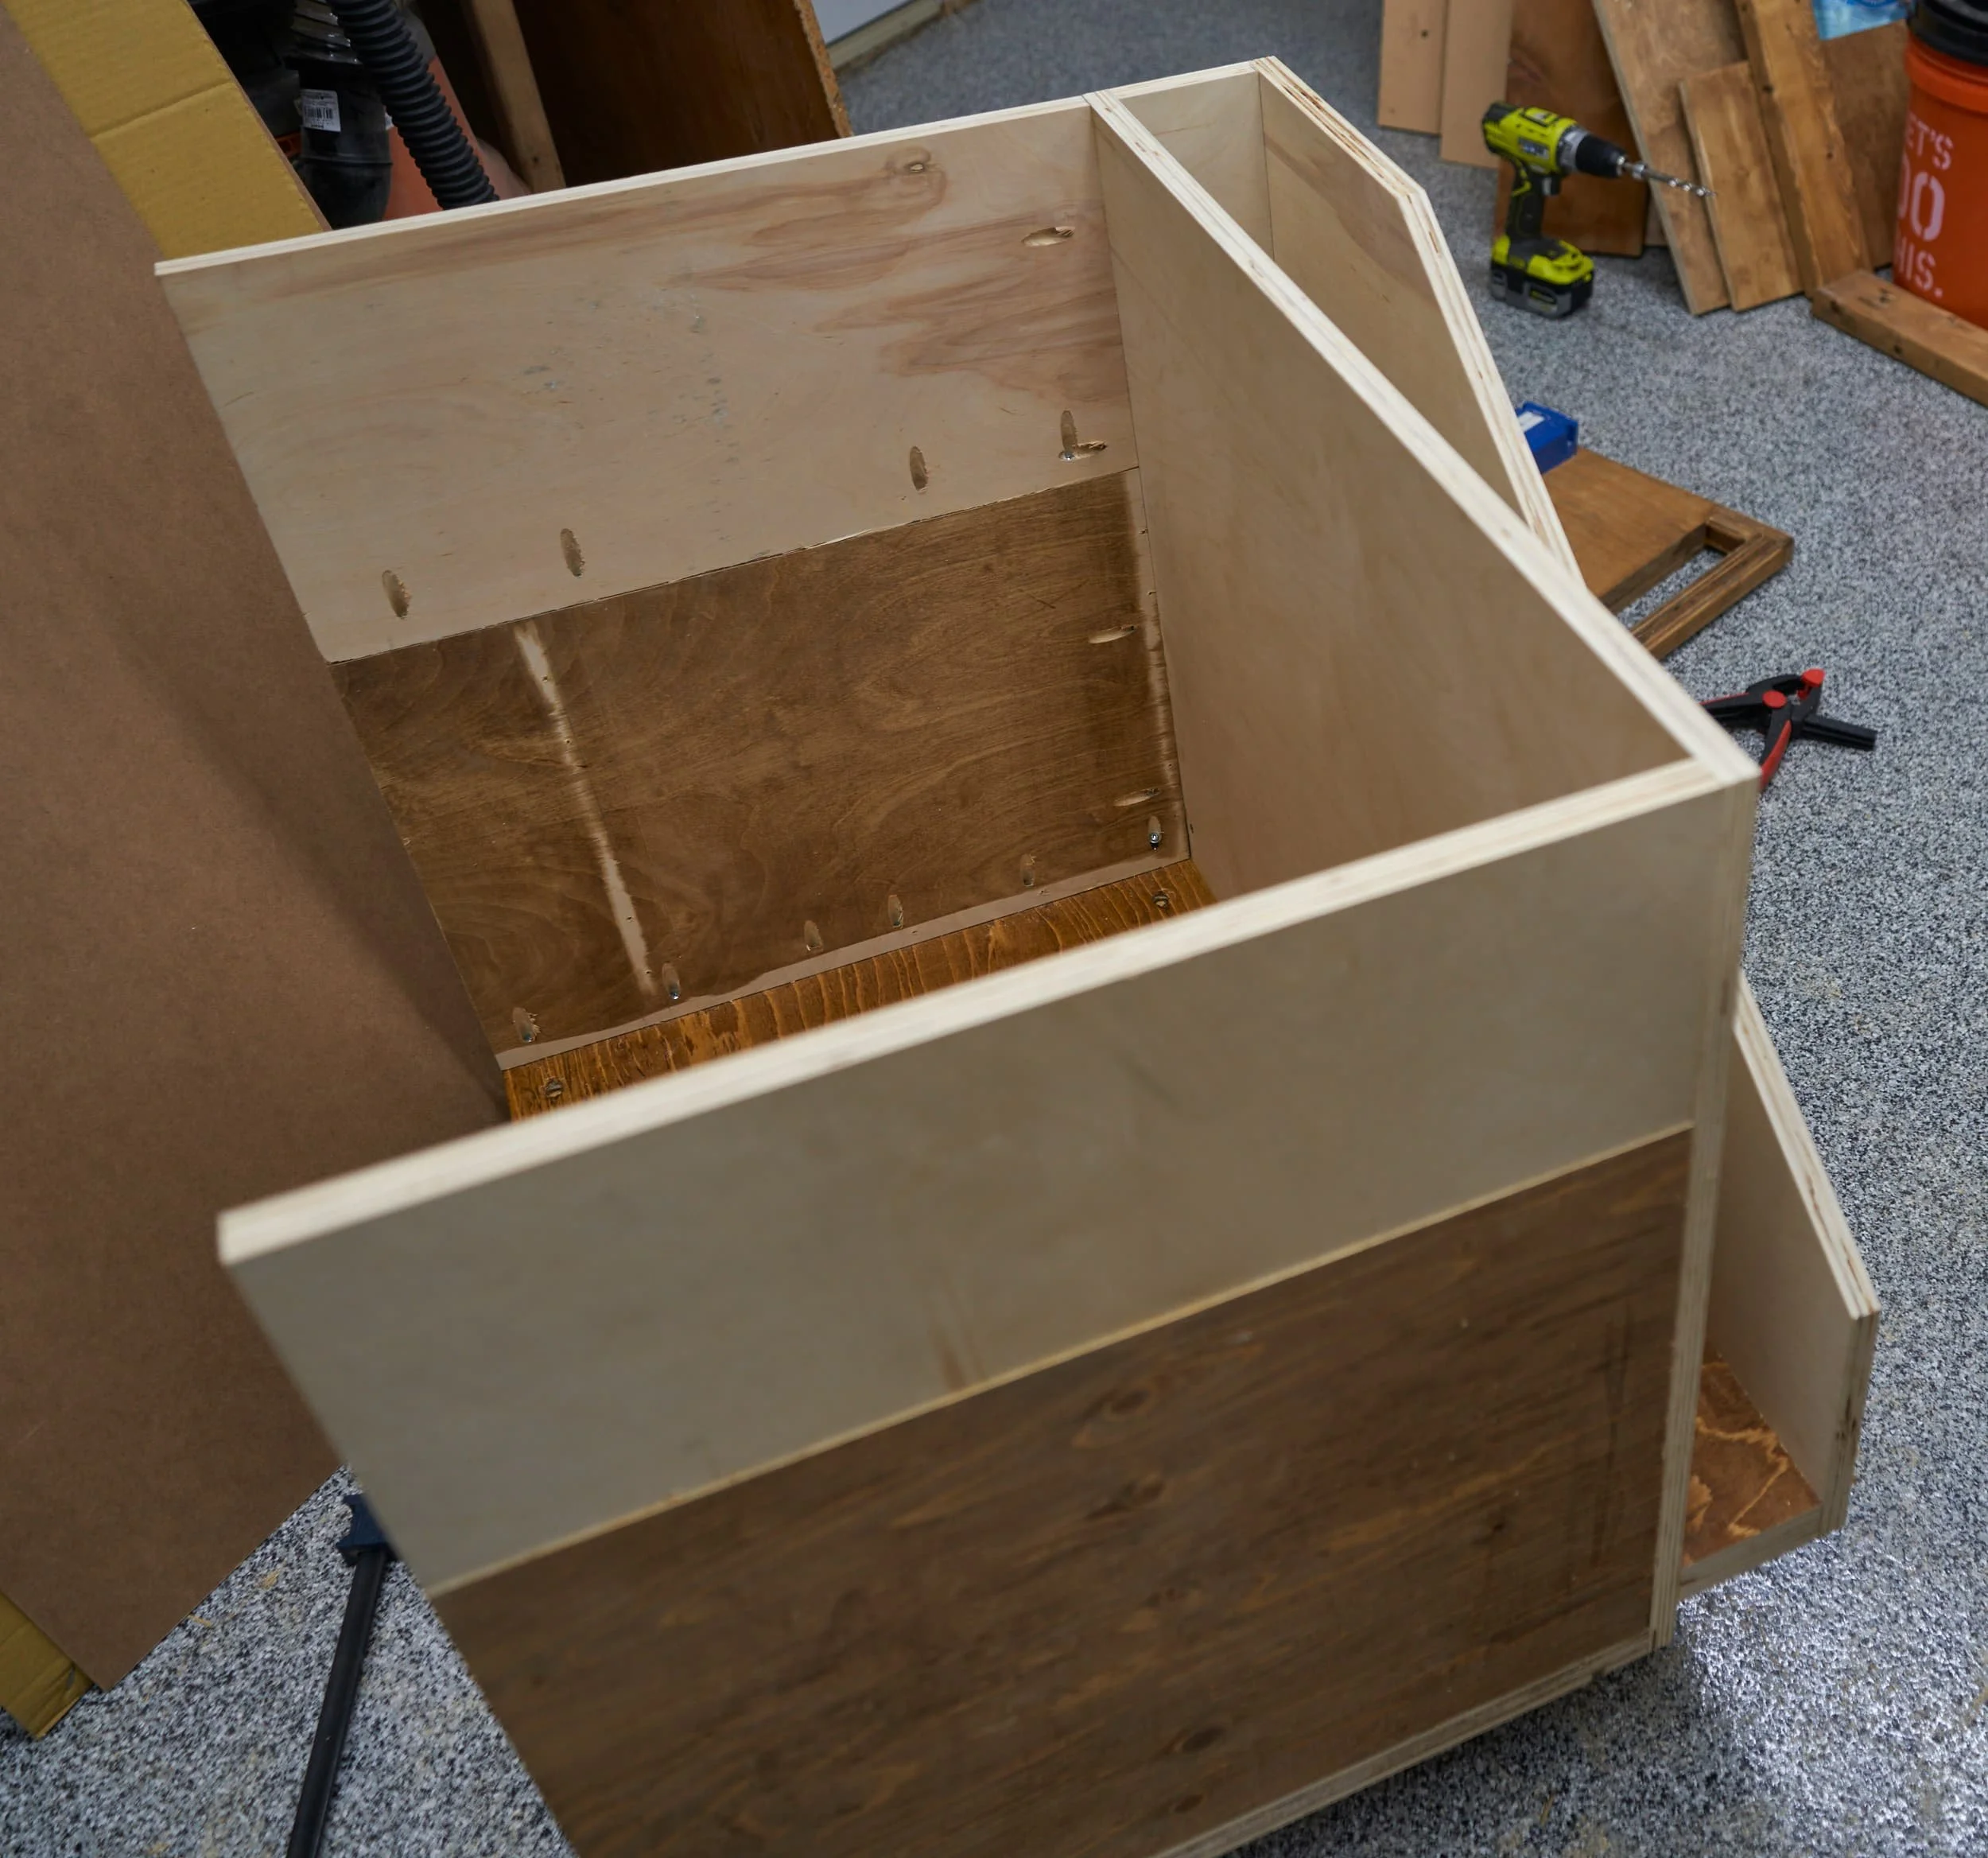


Step 3: Dividers
I didn’t want to just make a single open mouthed box to stuff everything into — that would result in this becoming just a dumping box. In an attempt to create some sense of organization, I reused the dividers from my previous cart (which in turn, were leftover MDF scraps)


So one thing to remember when screwing into MDF is that you definitely should predrill everything — screws will split it very easily. The good news though is that you can repair splits by goobering glue into the split and clamping it back together.

Almost done, just a quick test of the cart.
At this point, I wasn’t yet sure what I was going to do with the very front of the cart: I considered adding a bunch of slots and using adjustable dividers from hardboard but laziness got the better of me and I opted to use this space to store my not-often-used table slot sled.
Step 4: Handle
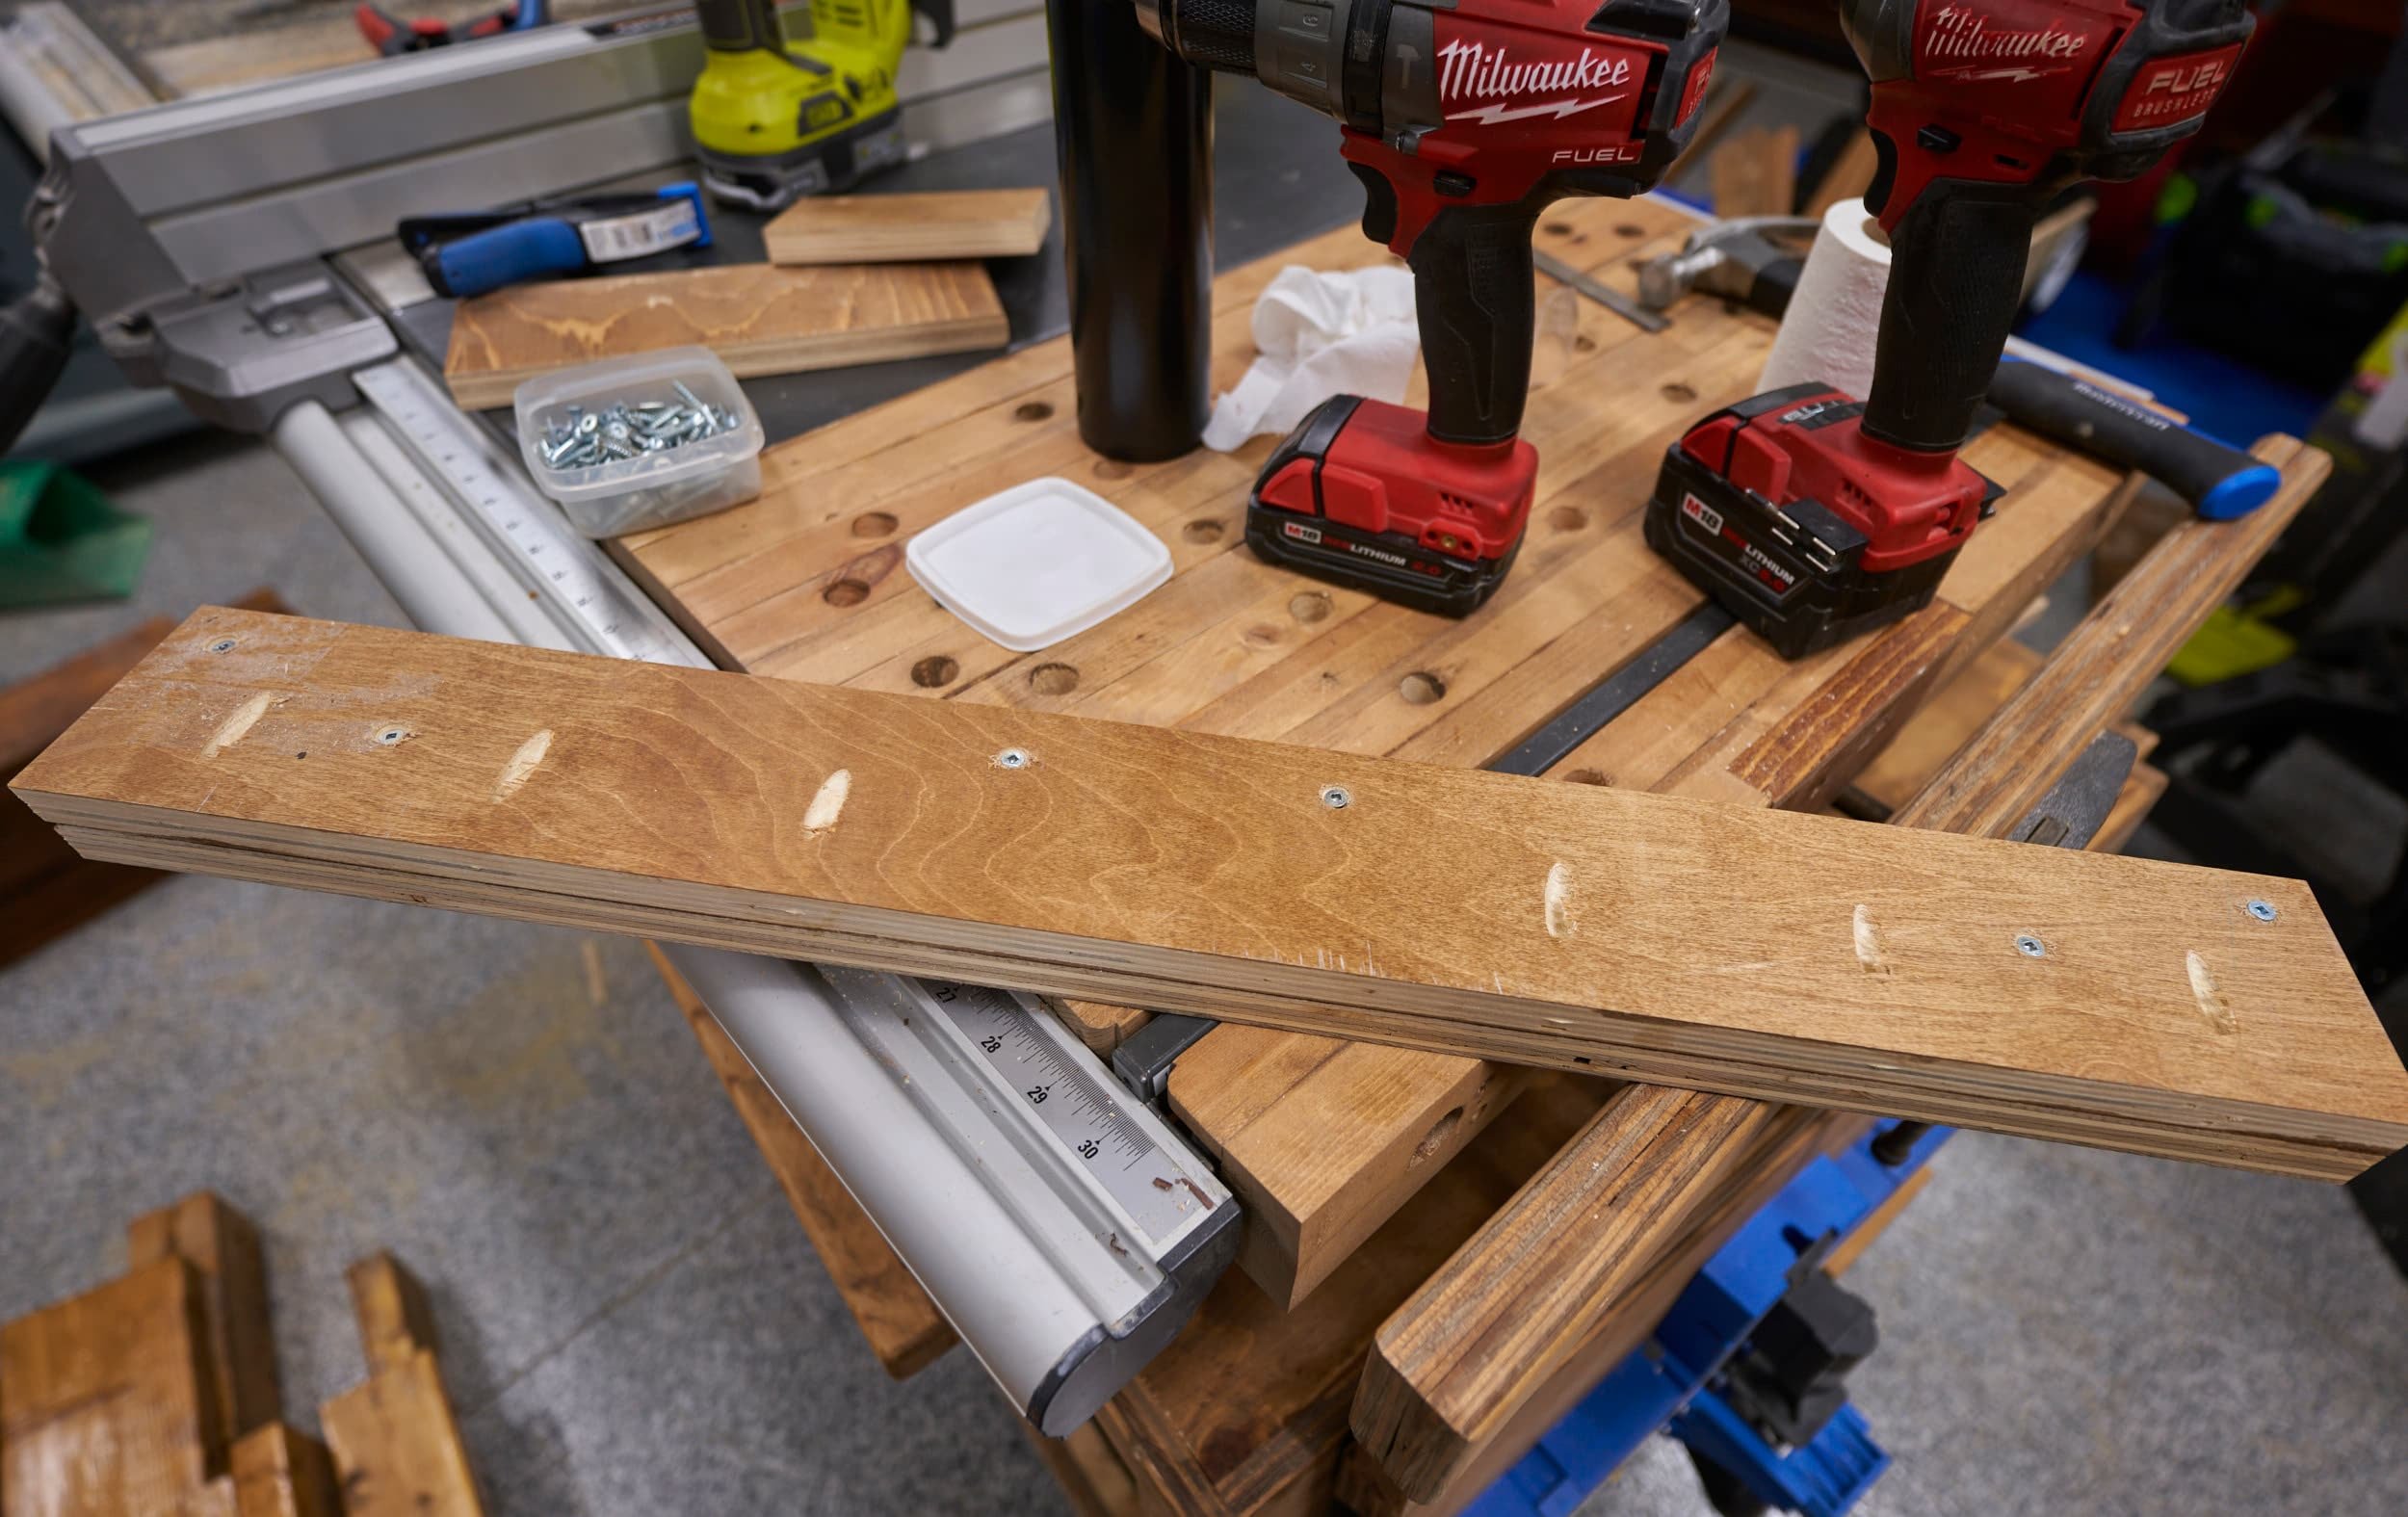
To enclose the front space, I needed to make a handle and a bottom stopper. I wanted to make the handle beefy enough to allow me to handle the cart when it was loaded up.
I actually got lucky with the dimensions here because I only loosely checked the fit of the table-saw sled before going off and making the handle (which then was partially inset — reducing the amount of clearance). Thankfully everything still fits!


Step 5: Finishing touches
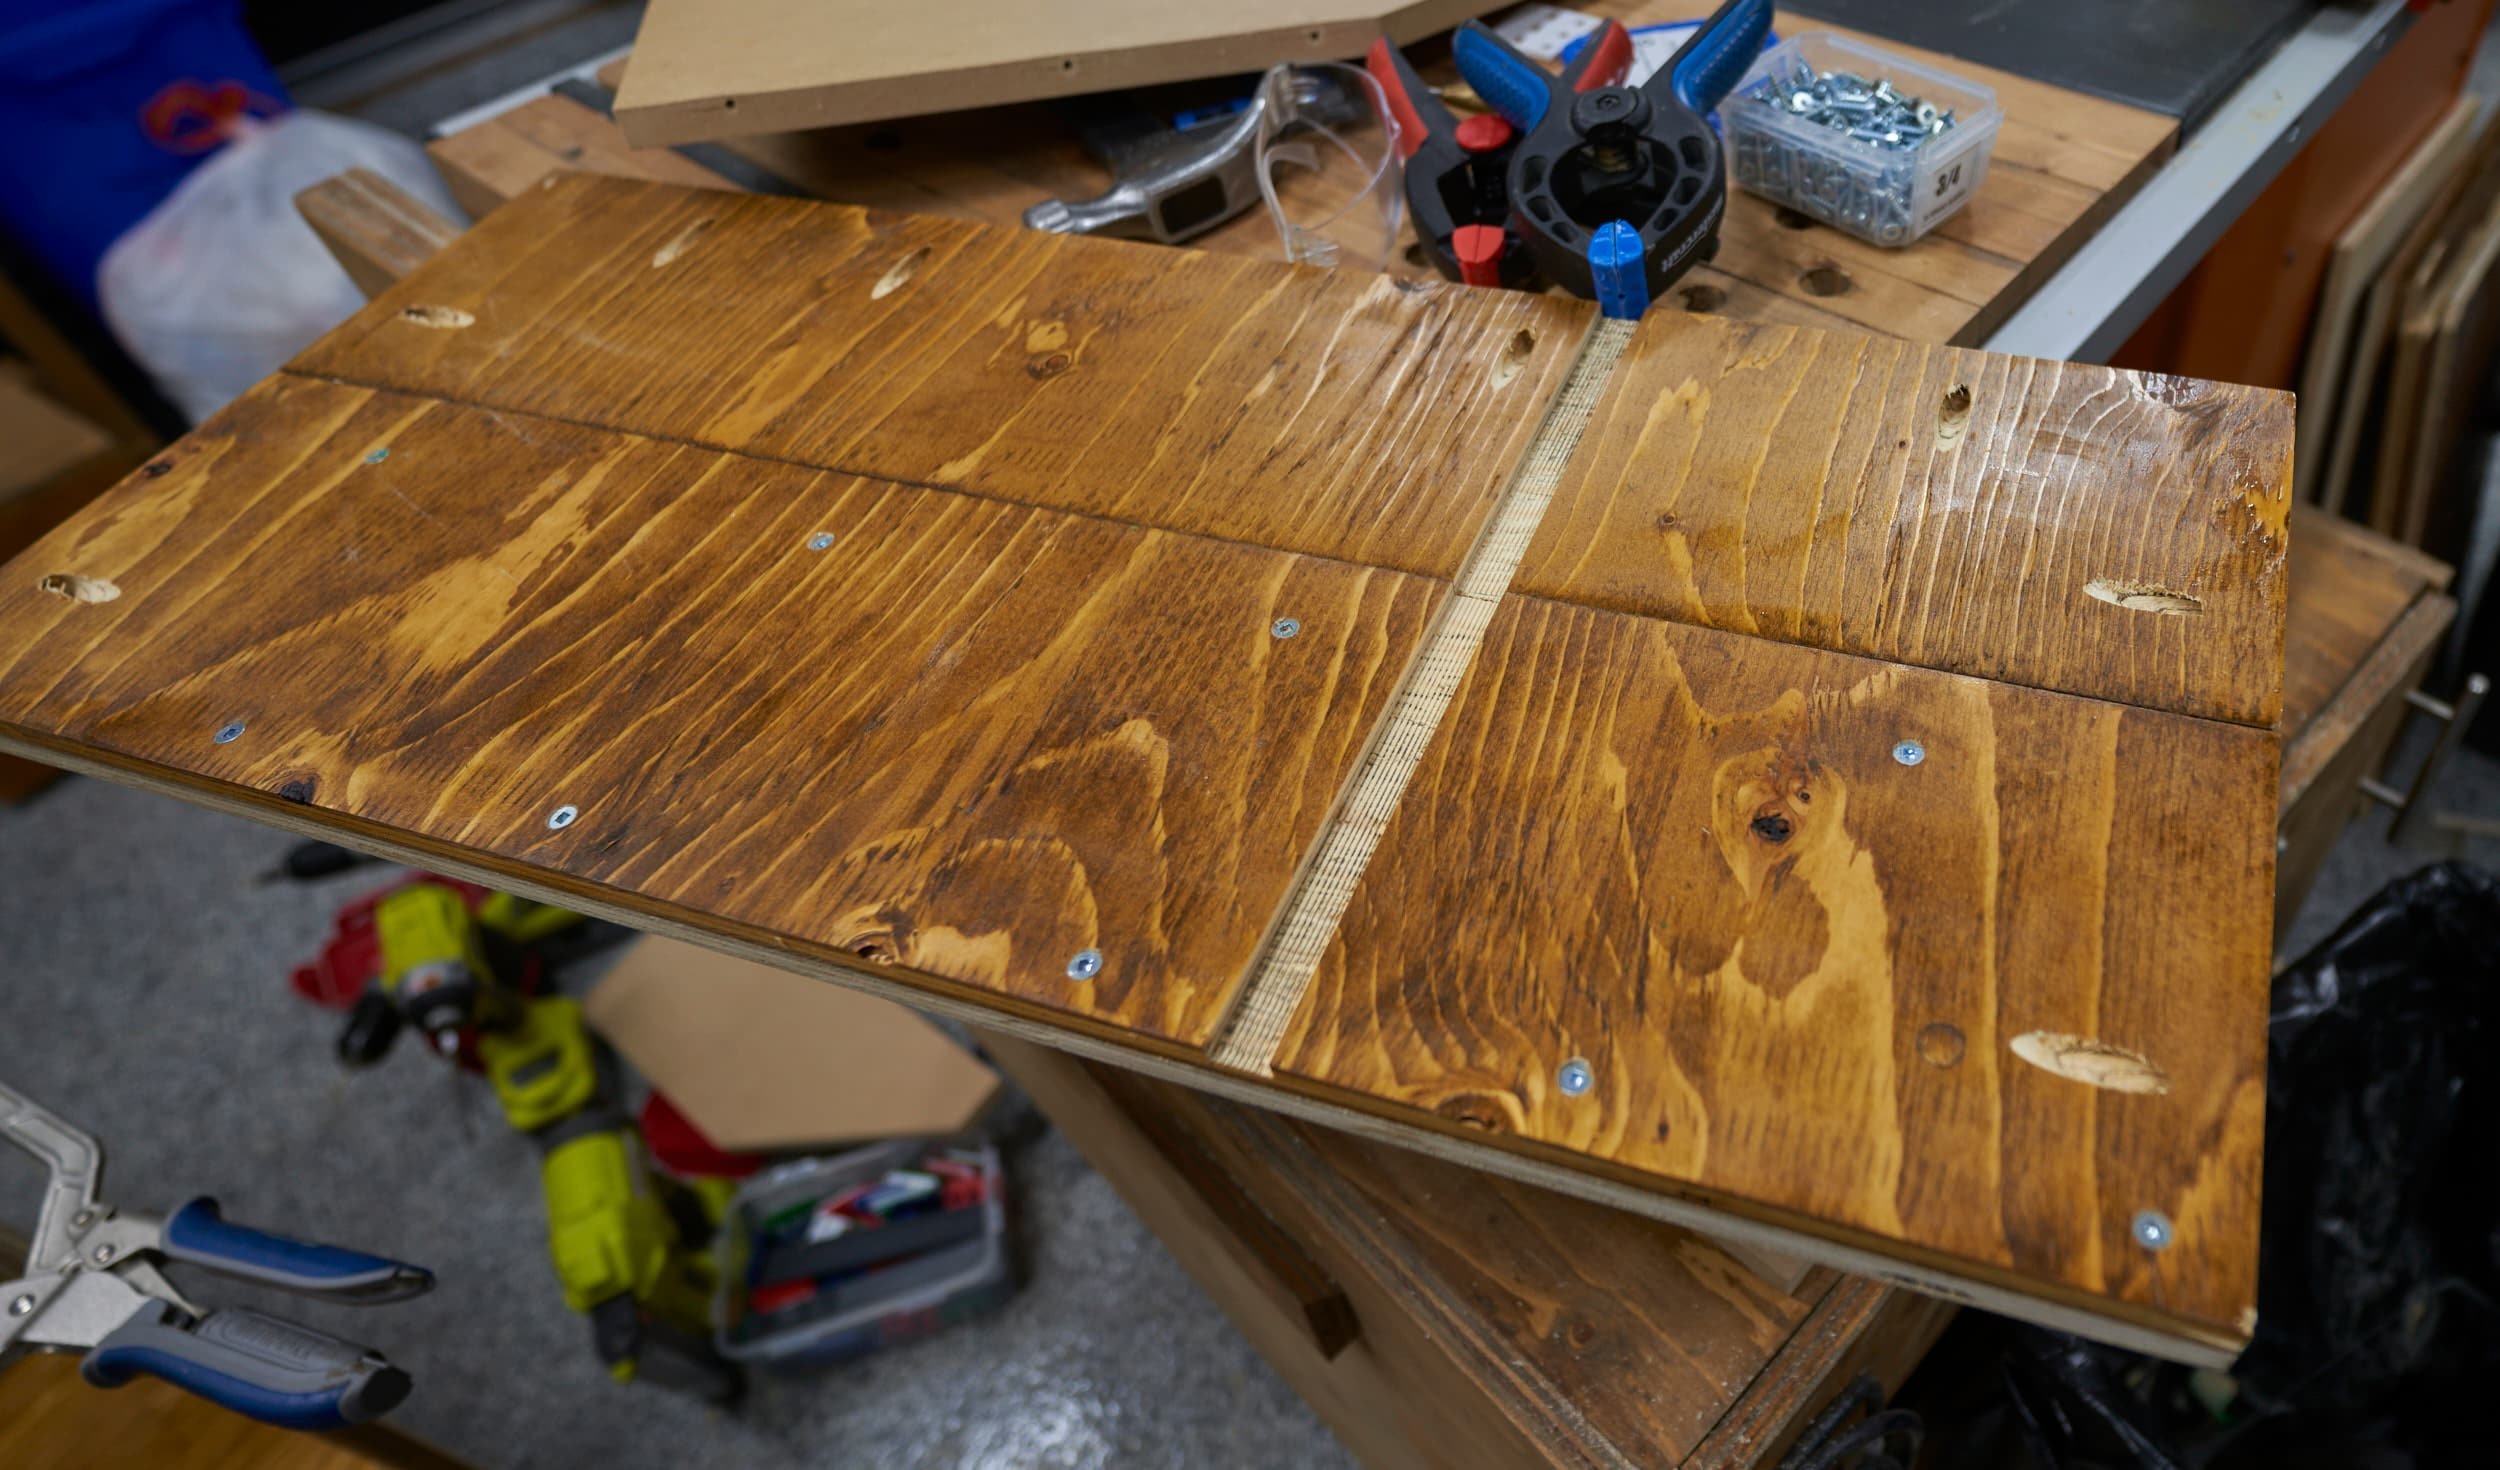
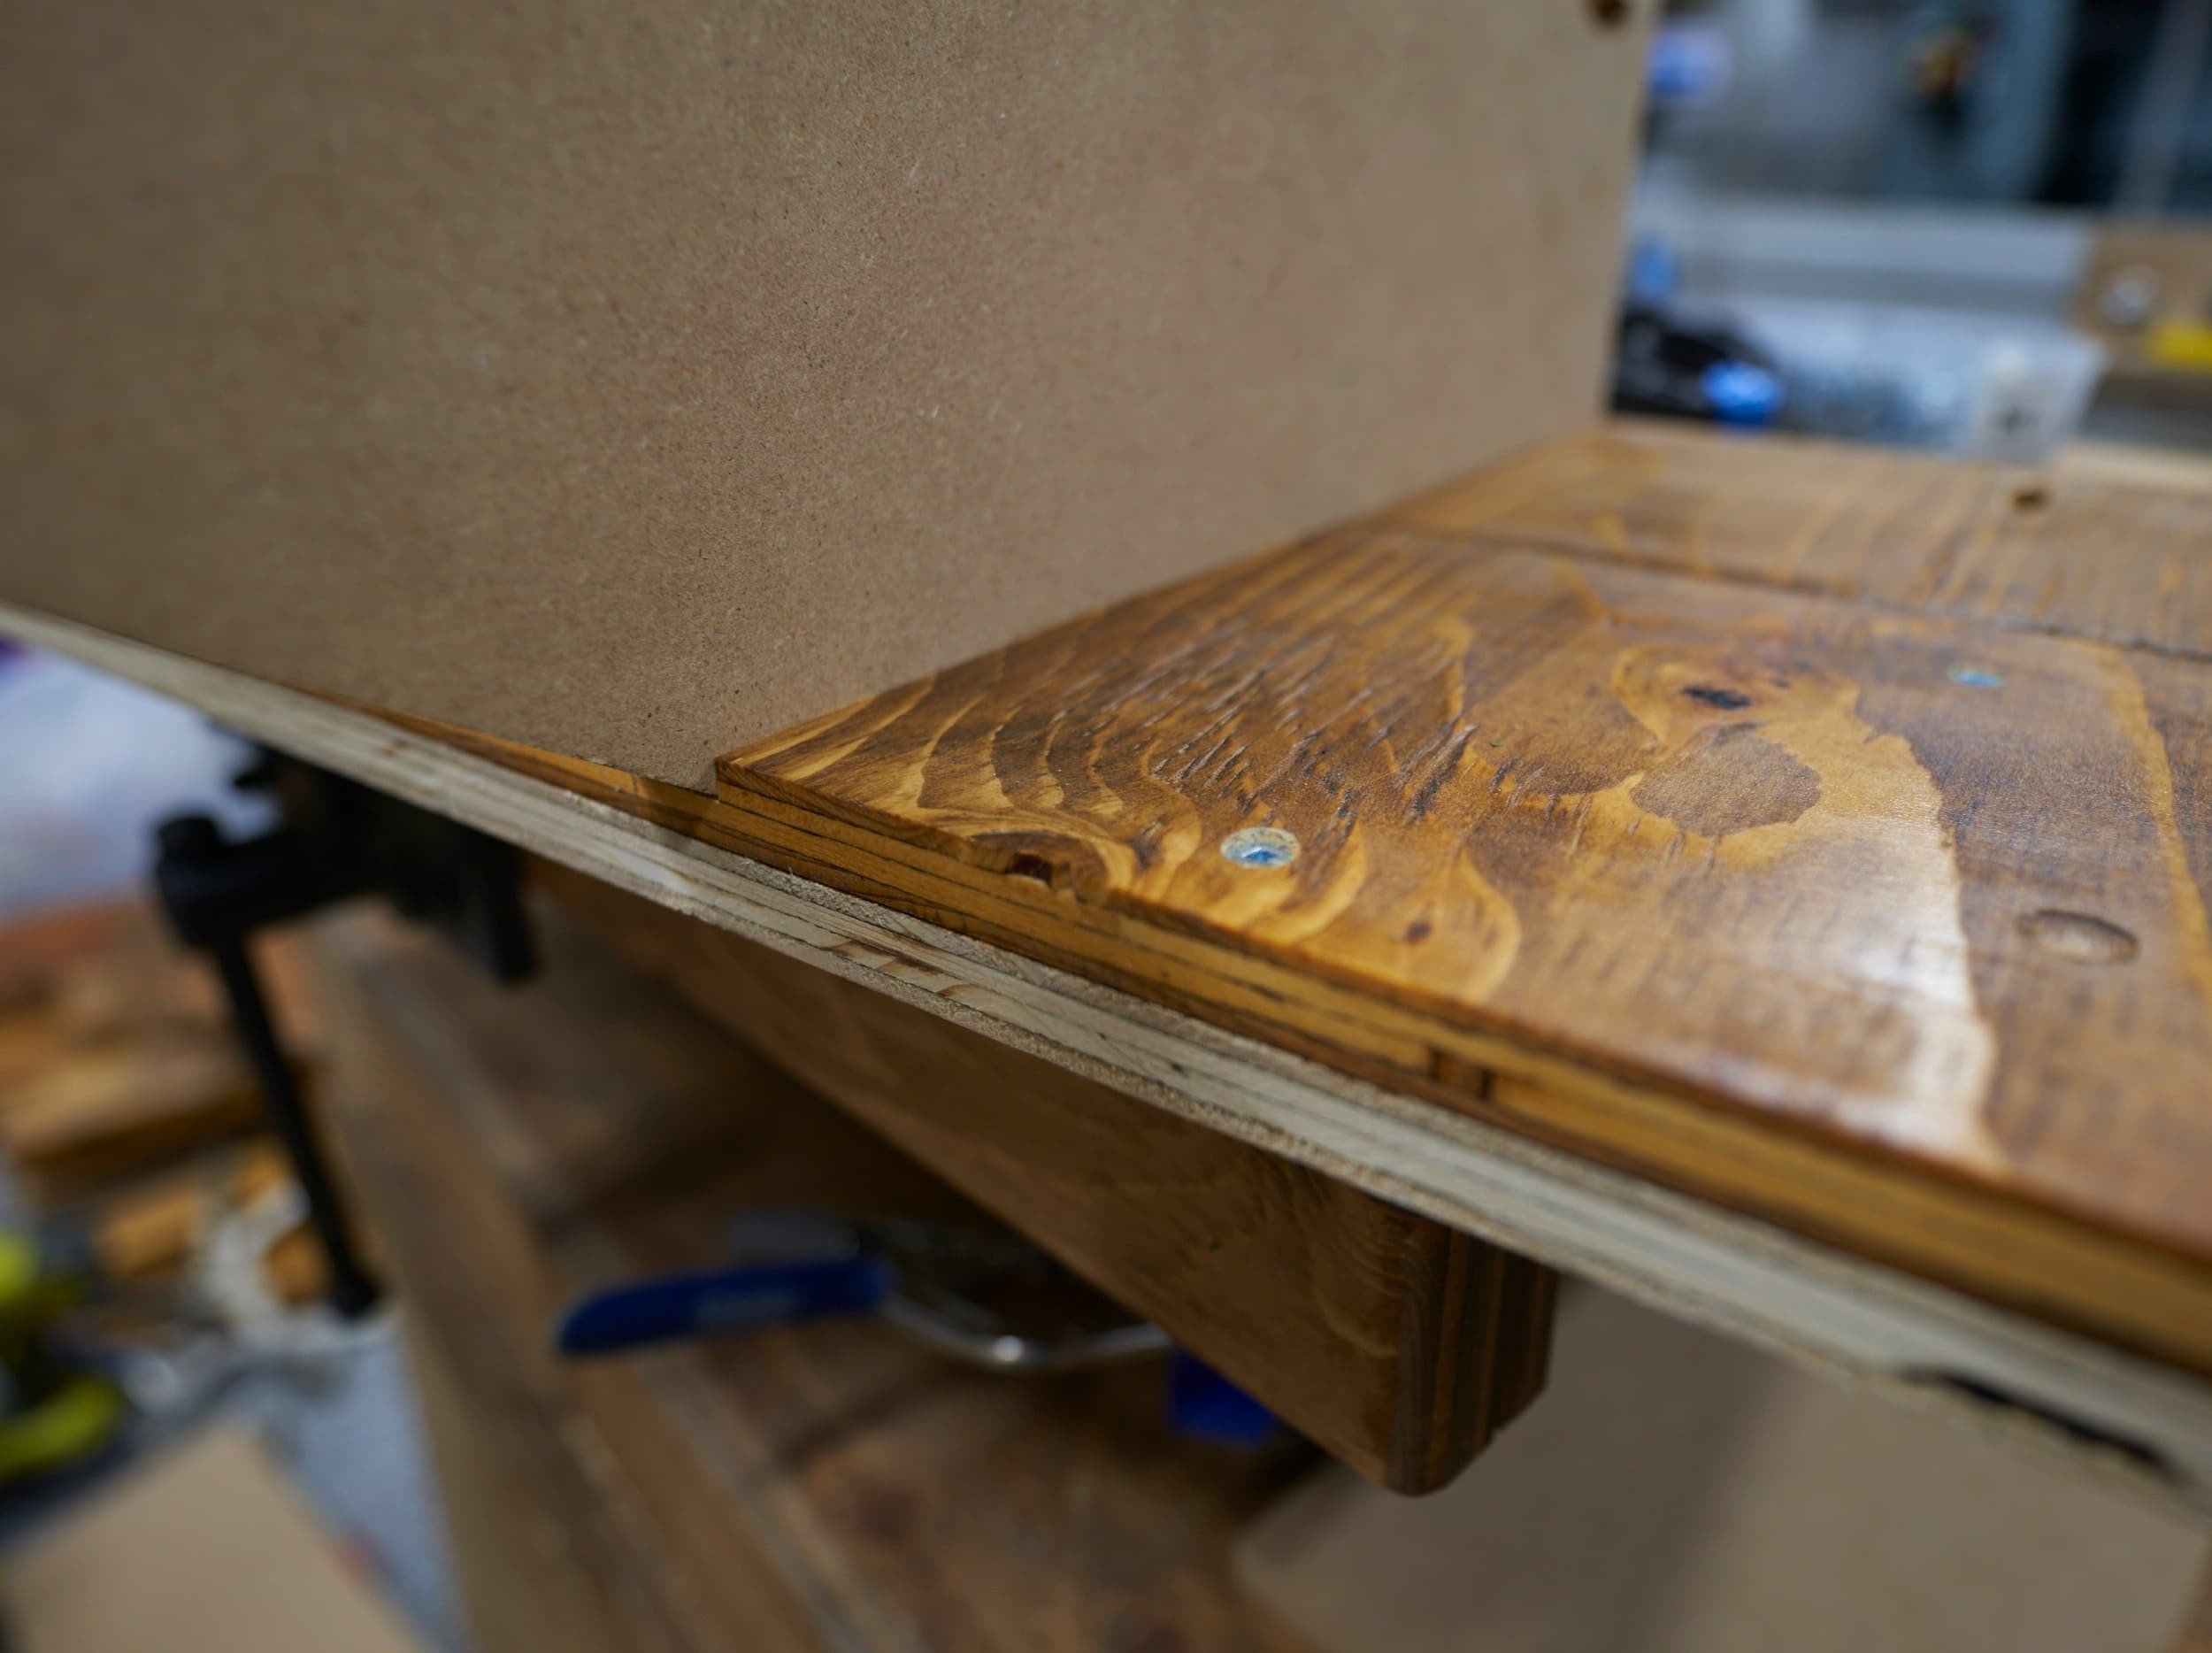
To finish it off, I quickly gave the cart a coat of standardized stain — the magazine holder was ‘not fun’ to do — totally should have done that up front. Oh well, lesson learned.


Milestone
I was a bit sad to finish loading all the offcuts onto the cart and still have piles of it in the shop — guess I’m going to prioritize using up or getting rid of those offcuts as soon as possible. I don’t want to be tripping over it anymore!
With the cart parked in the corner, I can still open the door most of the way and if I need to fully open it, the cart can be moved out of the way temporarily.
Thinking of a future rebuild of this cart, I might make the bottom platform a torsion box — this would allow me to put drawers or slide out cubbies/trays into that space to hold even smaller pieces

Loaded up for now.
Product links may be affiliate links: MinMaxGeek may earn a commission on any purchases made via said links without any additional cost to you.