

Build Log: Improved Miter Saw Station (Mk III)
At the last place I lived, I finally built (or perhaps, rebuilt) a miter saw station (read about that here). For me, it was a pretty big achievement at the time and I learned quite a bit building it (namely, that I hate working with drawer slides), I decided that when moving to the new shop, I would take all the little things I’ve learned and make another one. The old one would be repurposed as a wall cabinet bay and work surface.
The new miter saw station would be an opportunity to address all the shortcomings with the previous iteration, not only in the design flaws but also my techniques for putting it together.
Quick Links
Where we started

My miter saw station, from the previous shop
At the last shop, one of my big projects was finally building a miter saw station and while I was fairly proud of it, as the one who built it, there were a few things that just bothered me about it. Hopefully having learned a thing or two in the interim, I was hoping to tackle these flaws with a rebuild. At a glance:
Drawers
With the previous design, I made the shelves specifically sized for specific things; this was very cool and I thought it was neat that everything was sized for the thing I was trying to store in it. However, the mismatched drawer sizing bothered me aesthetically but more importantly, as I eventually changed things around, I found that repurposing drawers didn’t work out as well
This was my first real project really working with drawer slides and I had a heck of a hard time leveling the drawers and making them coplanar with each other
The previous shop had a lot of slope in the floor
I had to add an additional (read: unplanned for) 1.5” of leveling to the cabinets at the end of the garage. With the rebuild, I would learn from this and spend a bit of time up front to pre-level the base as to not have to think about this
This also meant that there would be gaps (and uneven ones at that) between the cabinet bodies as the individual cabinets tilted at slightly different angles
Dust collection
The dust collection box I built, while very cool, was clumsy, in particular with the bump out box on the left of the shroud. I eventually ditched the zero clearance back fence as well
The cabinets were open from the back so dust would always blow into them from behind (especially since the wall wasn’t plumb/straight/flat)
I thought it was clever to have a very easy to hit power switch for the vac (and it is) — it would certainly be a lot more convenient if this was automated
I had initially hooked up the vac to a massive 24-in collection port which all but wiped out the suction force
I have a fence support on both sides but there were problems
I didn’t route a big enough dust groove so dust ended up collecting and it would bind the stops
Making the L-bracket for the fence from wood also meant that it wasn’t truly flat nor at a right angle
I totally didn’t spend enough time setting up the fences to be collinear
The saw was nigh impossible to level out — there’s only so much you can do with shims and it’s super tedious to play the shim game. And if you ever take the saw out to work somewhere else? You get to re-shim it all over again
The depth of the countertop (front to back) changed quite a bit due to the wall not being straight — but that meat that the cabinets on the left were a little short
Goals and objectives
While I had a lot of ‘complaints’ with the previous build, they mostly boil down to three overarching goals:
Improve dust management, both with the miter saw enclosure but also for the individual cabinets
Improve the reliability and precision of the station
Make the station more ‘nicer’ as a whole
So with my previous miter station, I build the cabinets out to fit very specific things, in a very specific way - this meant that each cabinet was sized uniquely to fit the stuff I wanted to put in it. Of course, I didn’t think I was ever going to need to change things up too much, so that felt like a cool idea at the time, but the down side is that aesthetically, all of the different sized drawers gives the cabinets a bit of a confused look. To fix that (and to make construction easier!), I’m totally standardizing my drawers this time around.
I was going to follow the same rough template:
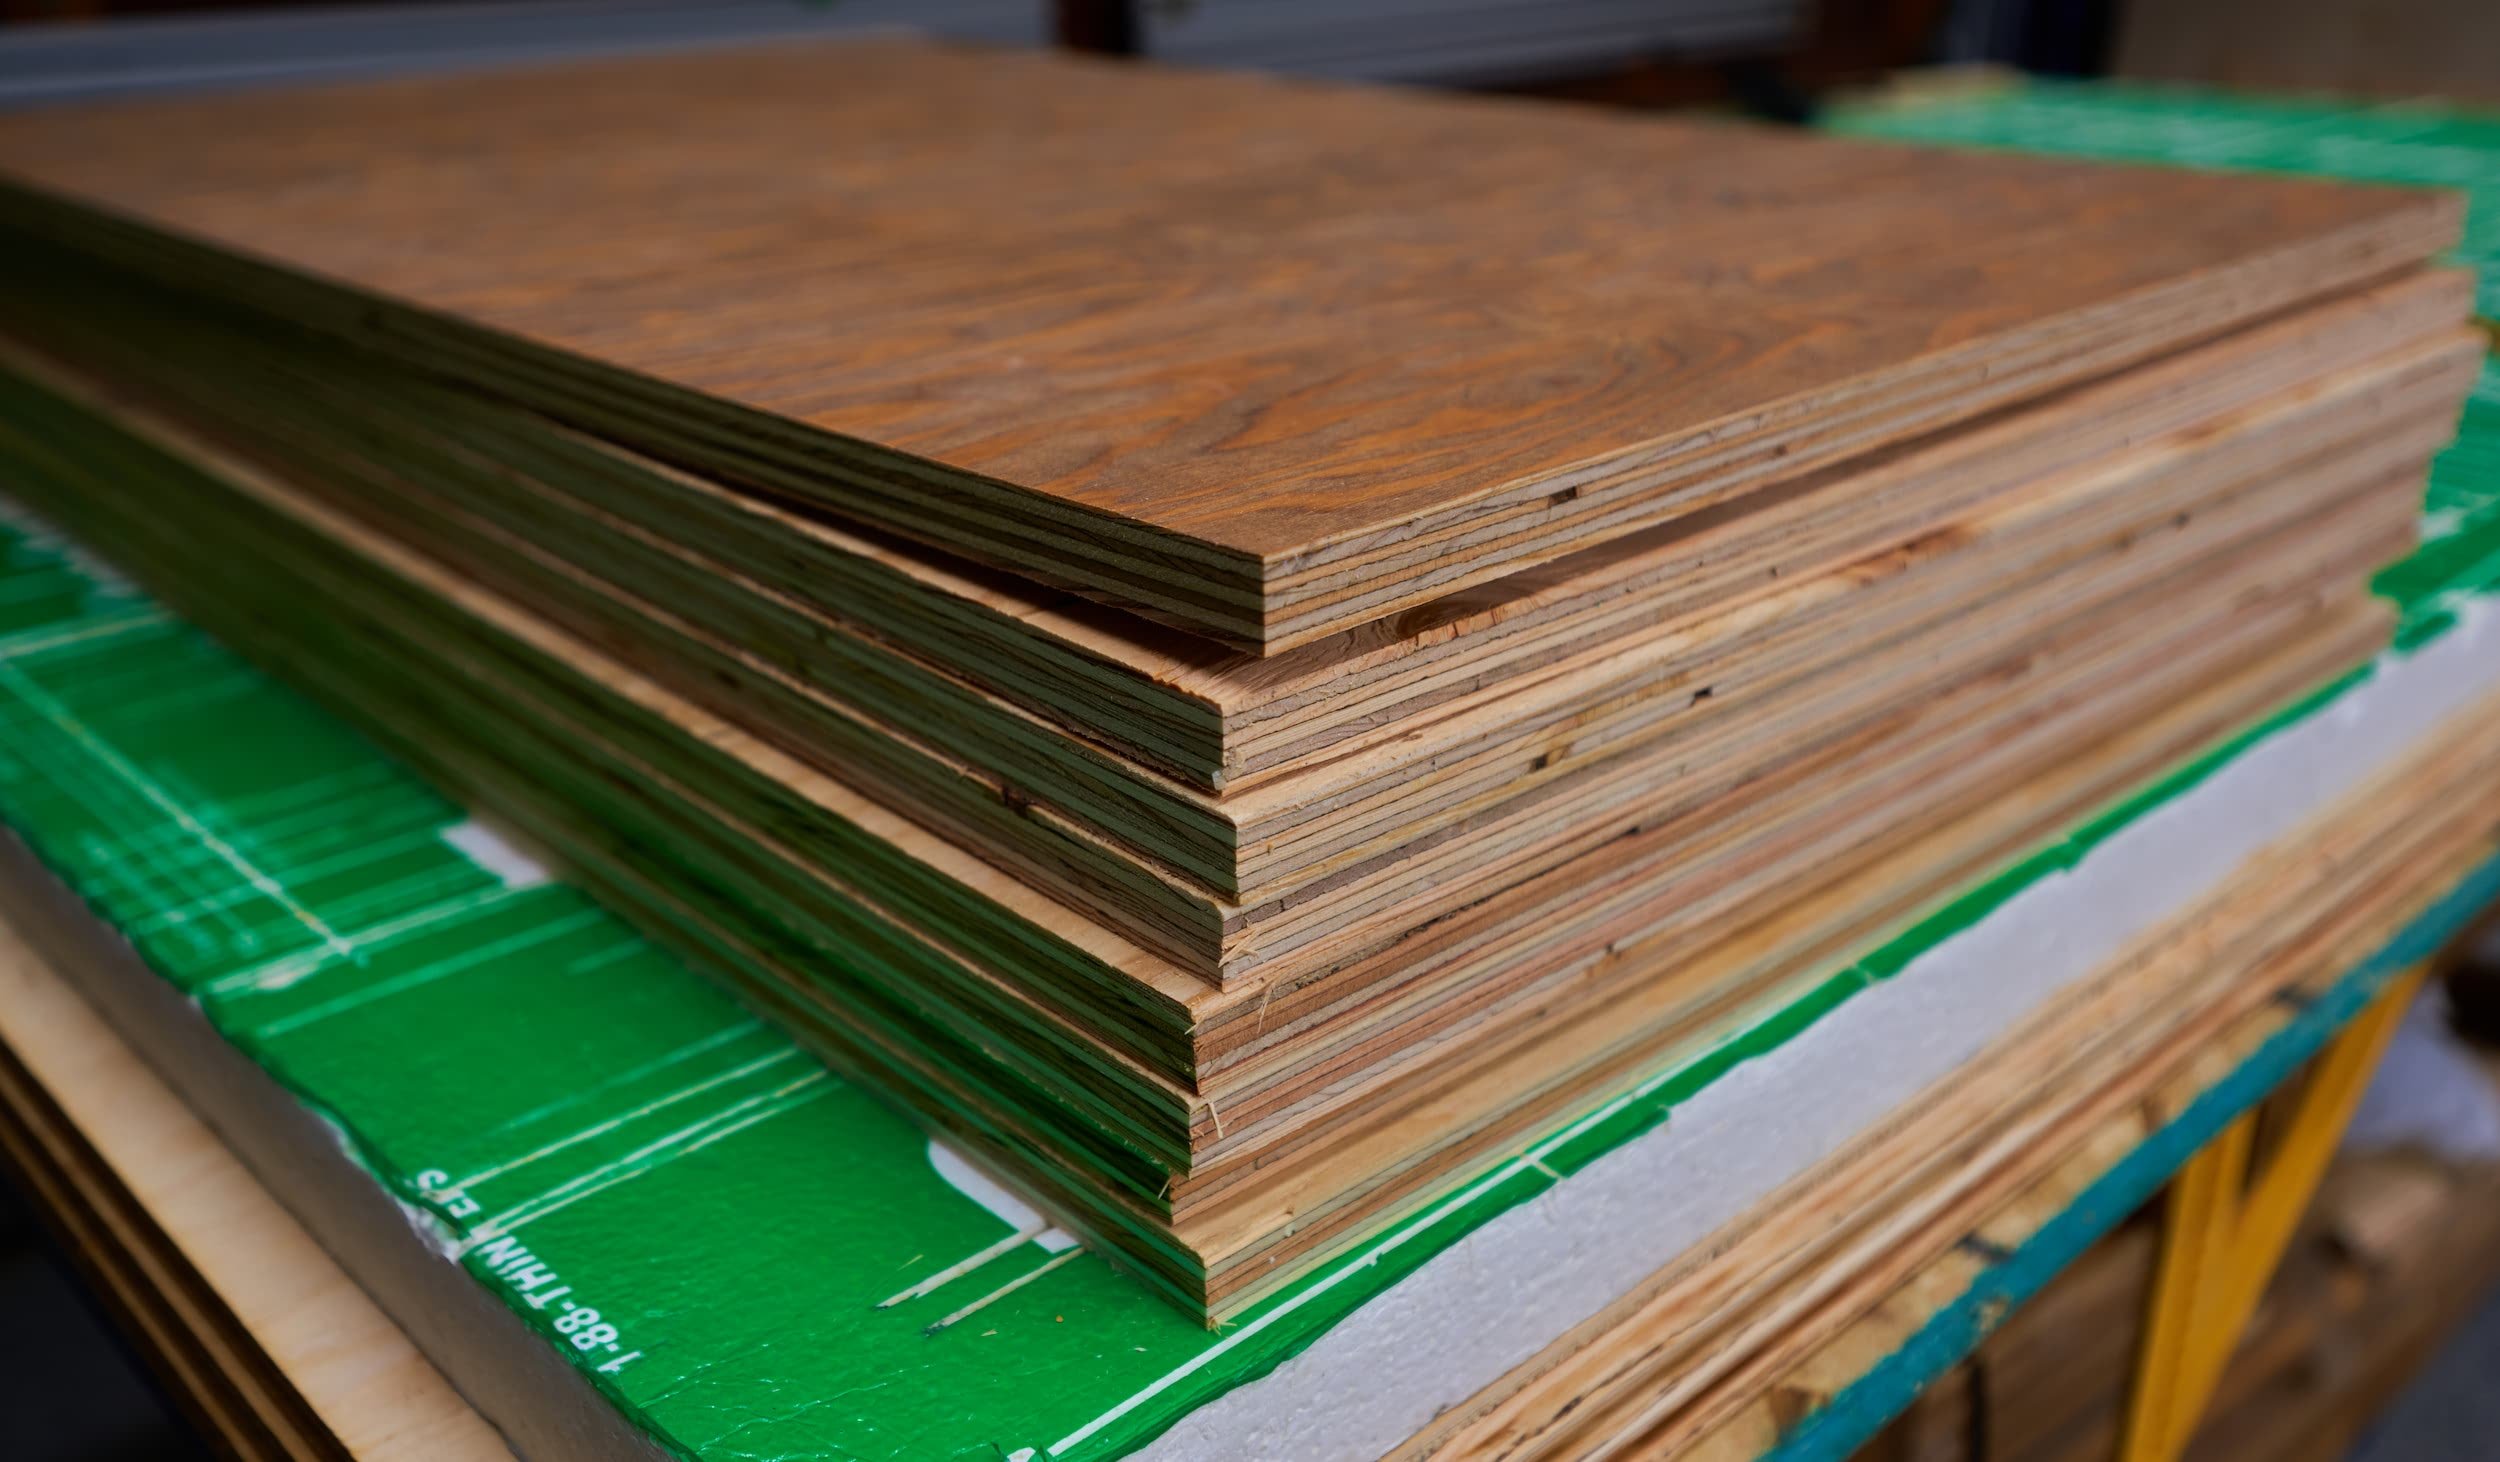
a bunch of cabinet carcasses
some plywood on top as a work surface
a box of some sort to enclose the miter saw itself and contain the dust
a fence with stop blocks
The two major improvements would be having a pre-leveled sub-base that would act as the toe-kick and spending a bit more time with the dust-box to make it more rigid and dust-tight.
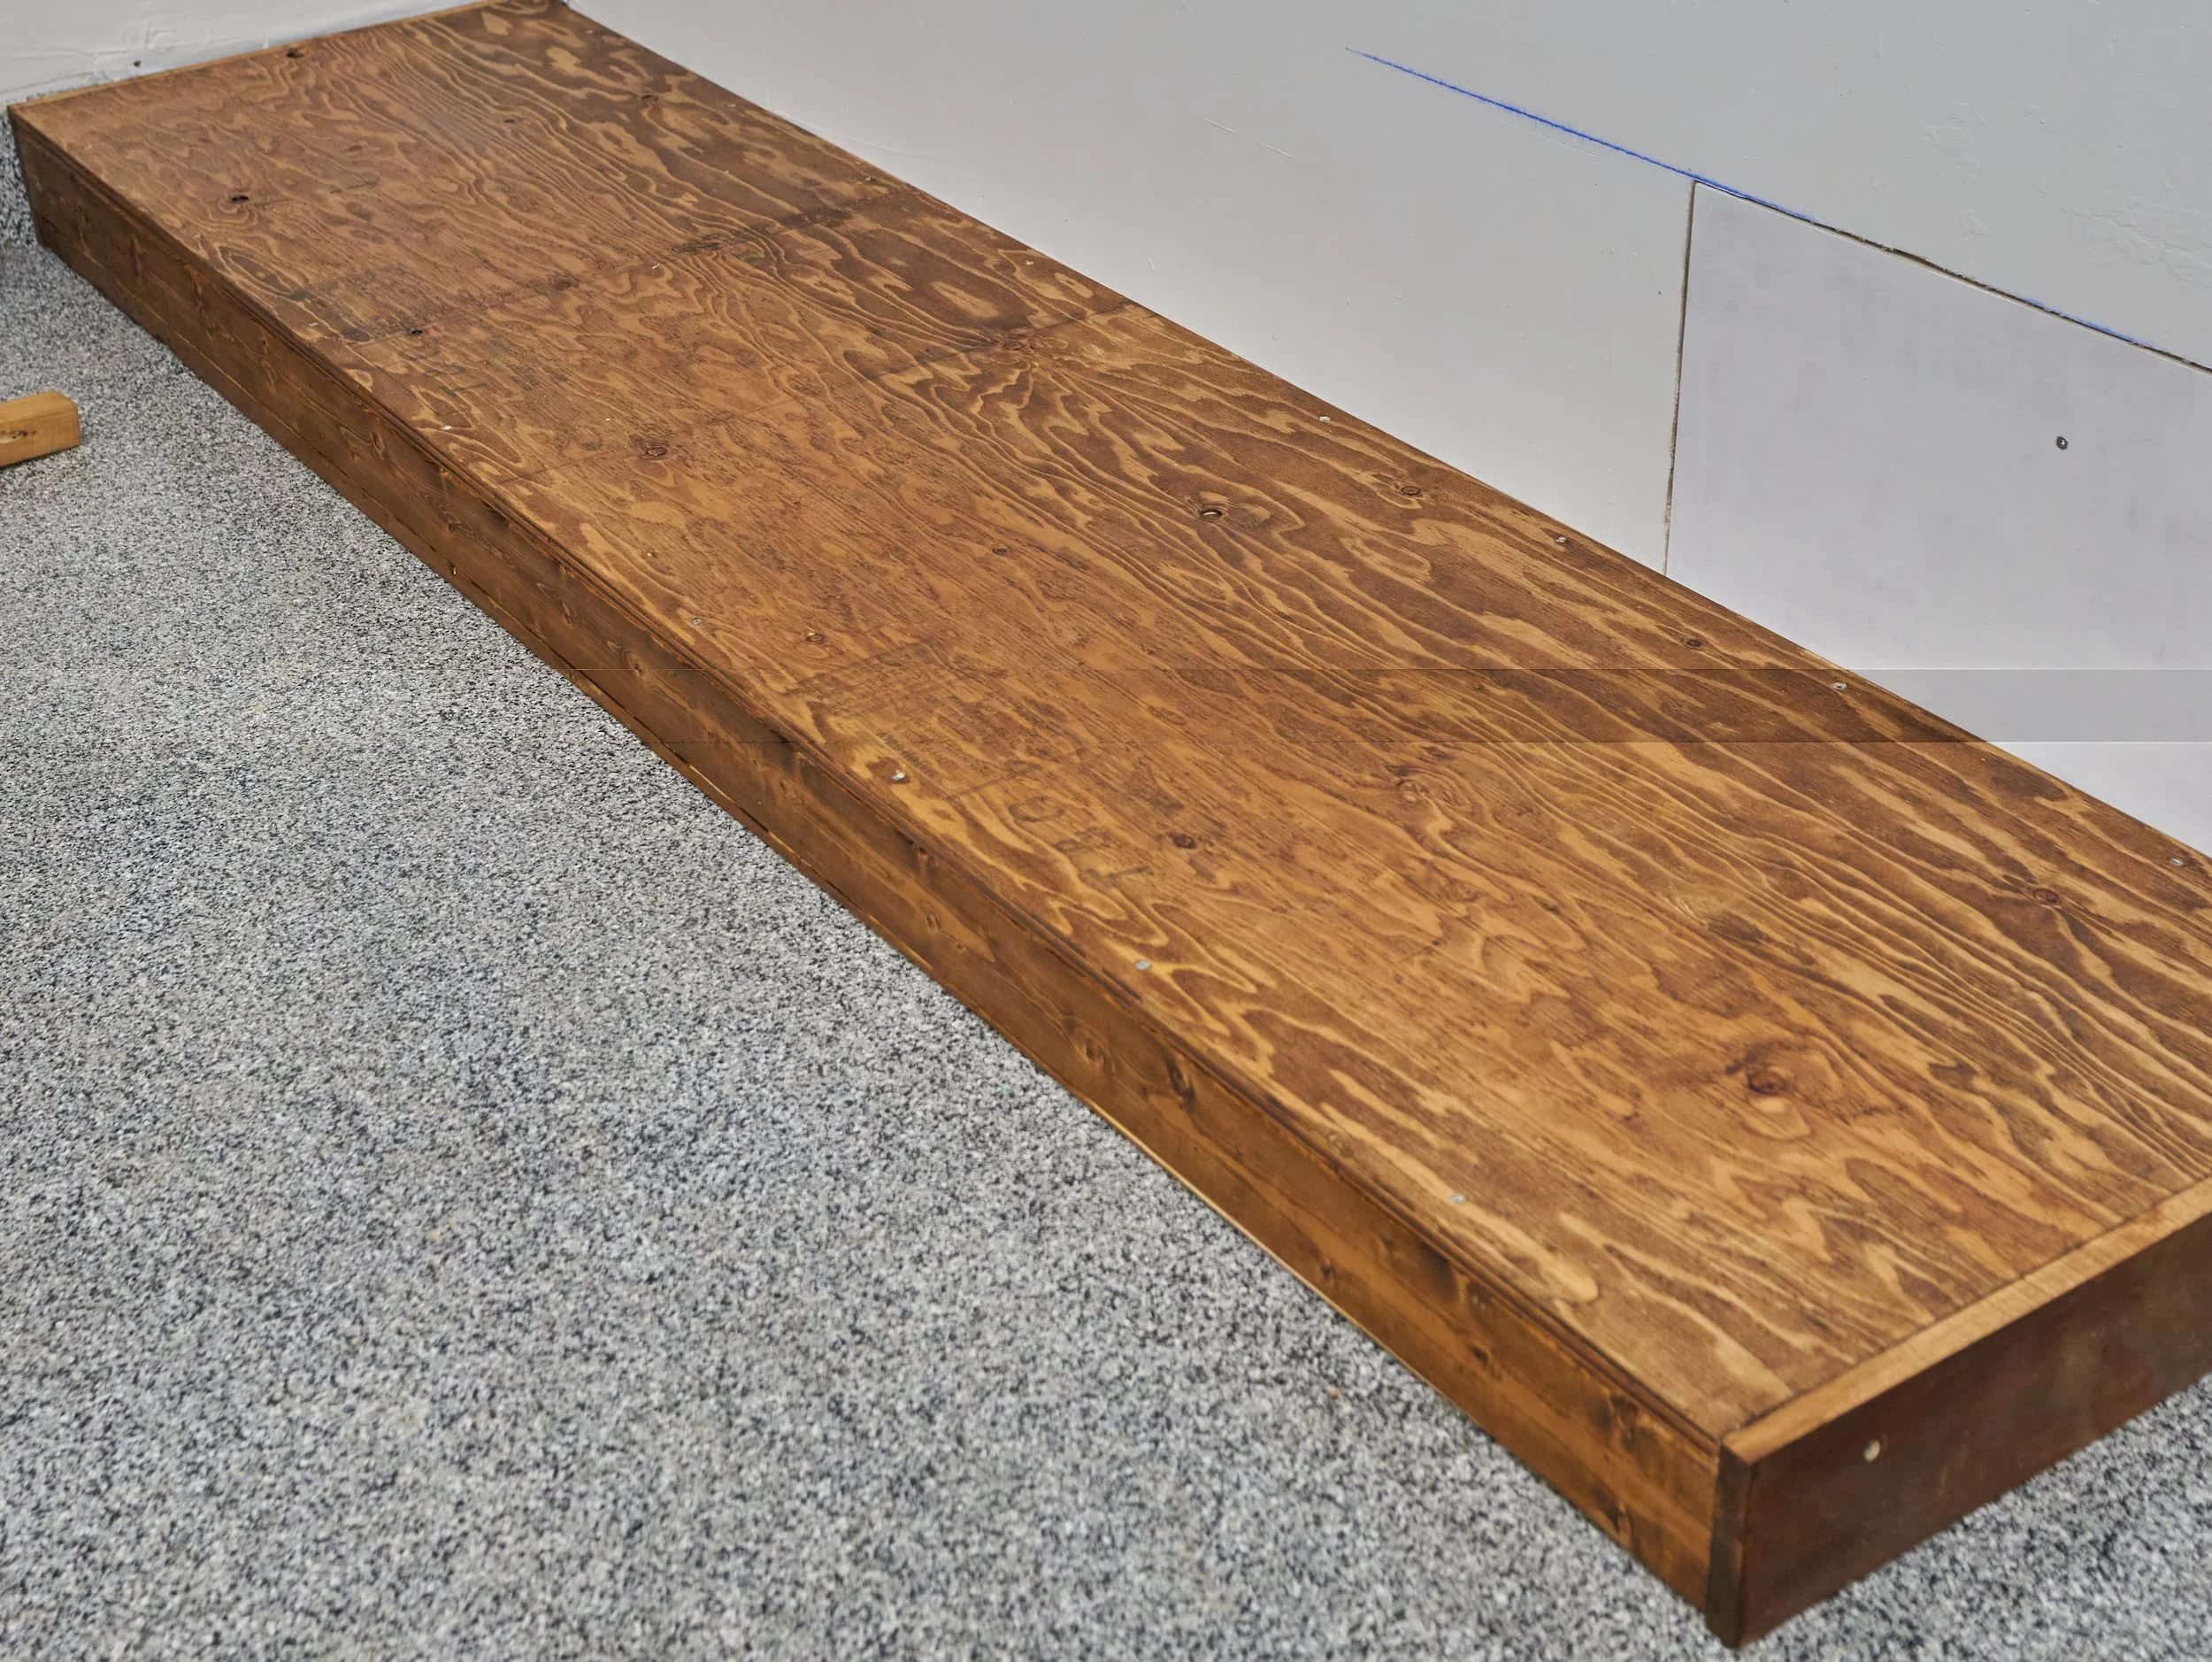
Step 1: Repurposing the previous miter station
While I had complaints about the old setup, it wasn’t bad so I didn’t want to trash it (or even take it apart to rebuild). The best alternative was to make them into a single back of cabinets with a light top on it. And I lucked out: the wall I was hoping to put this by perfectly fit all five cabinets! Building the leveled base for this also gave me a bit of practice in making the tapered supports for the sub-base.


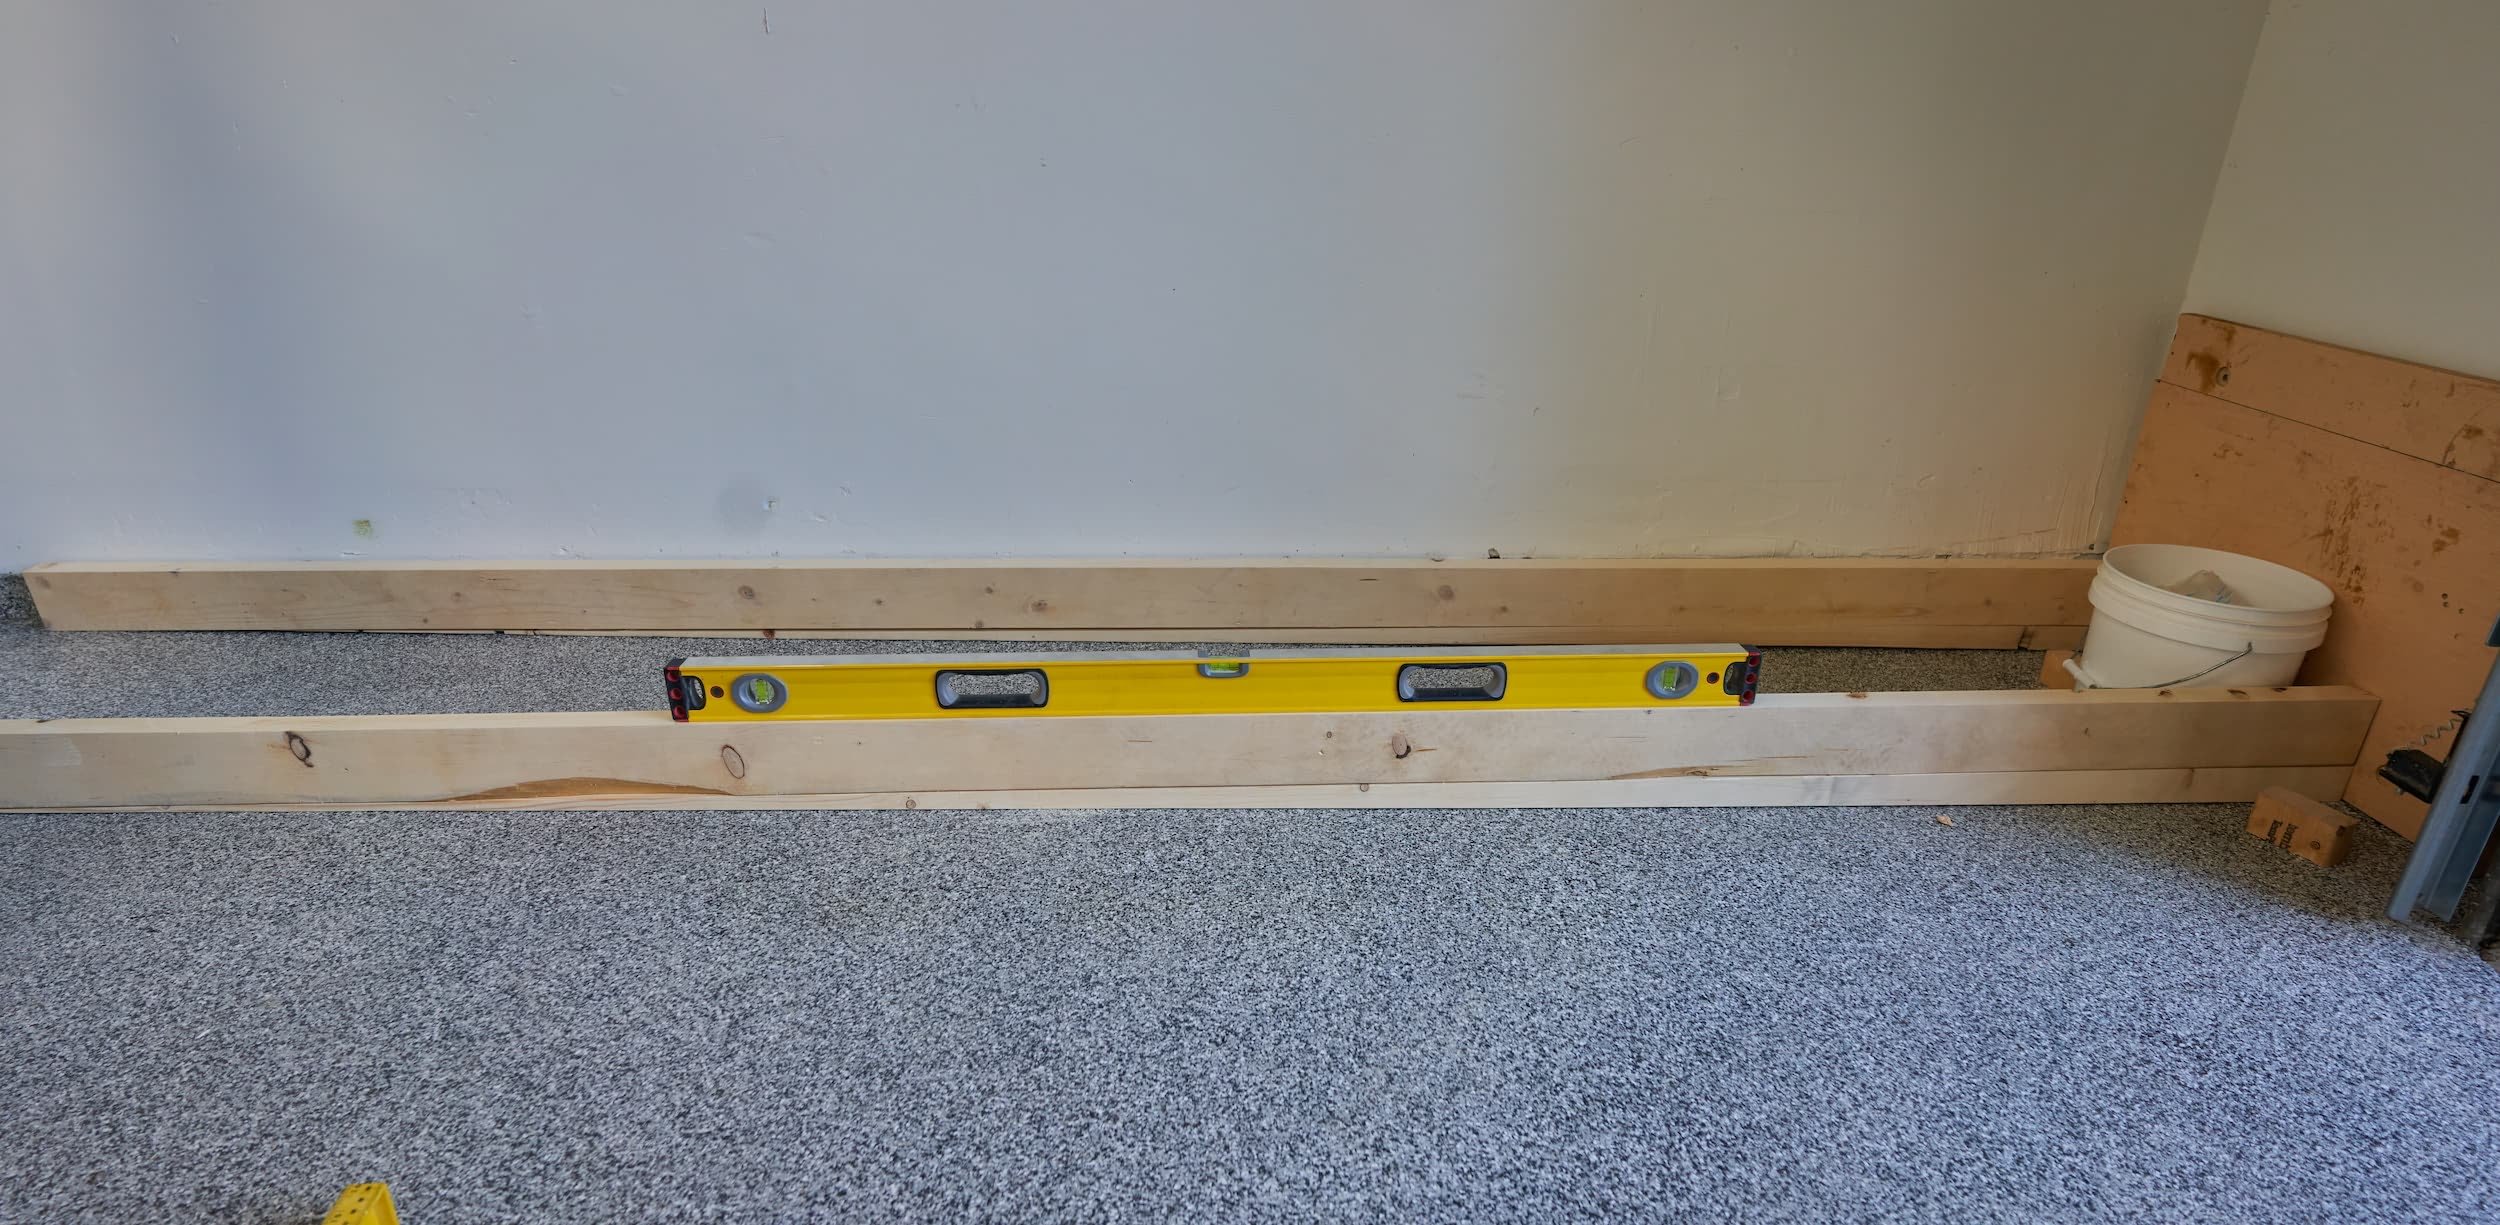


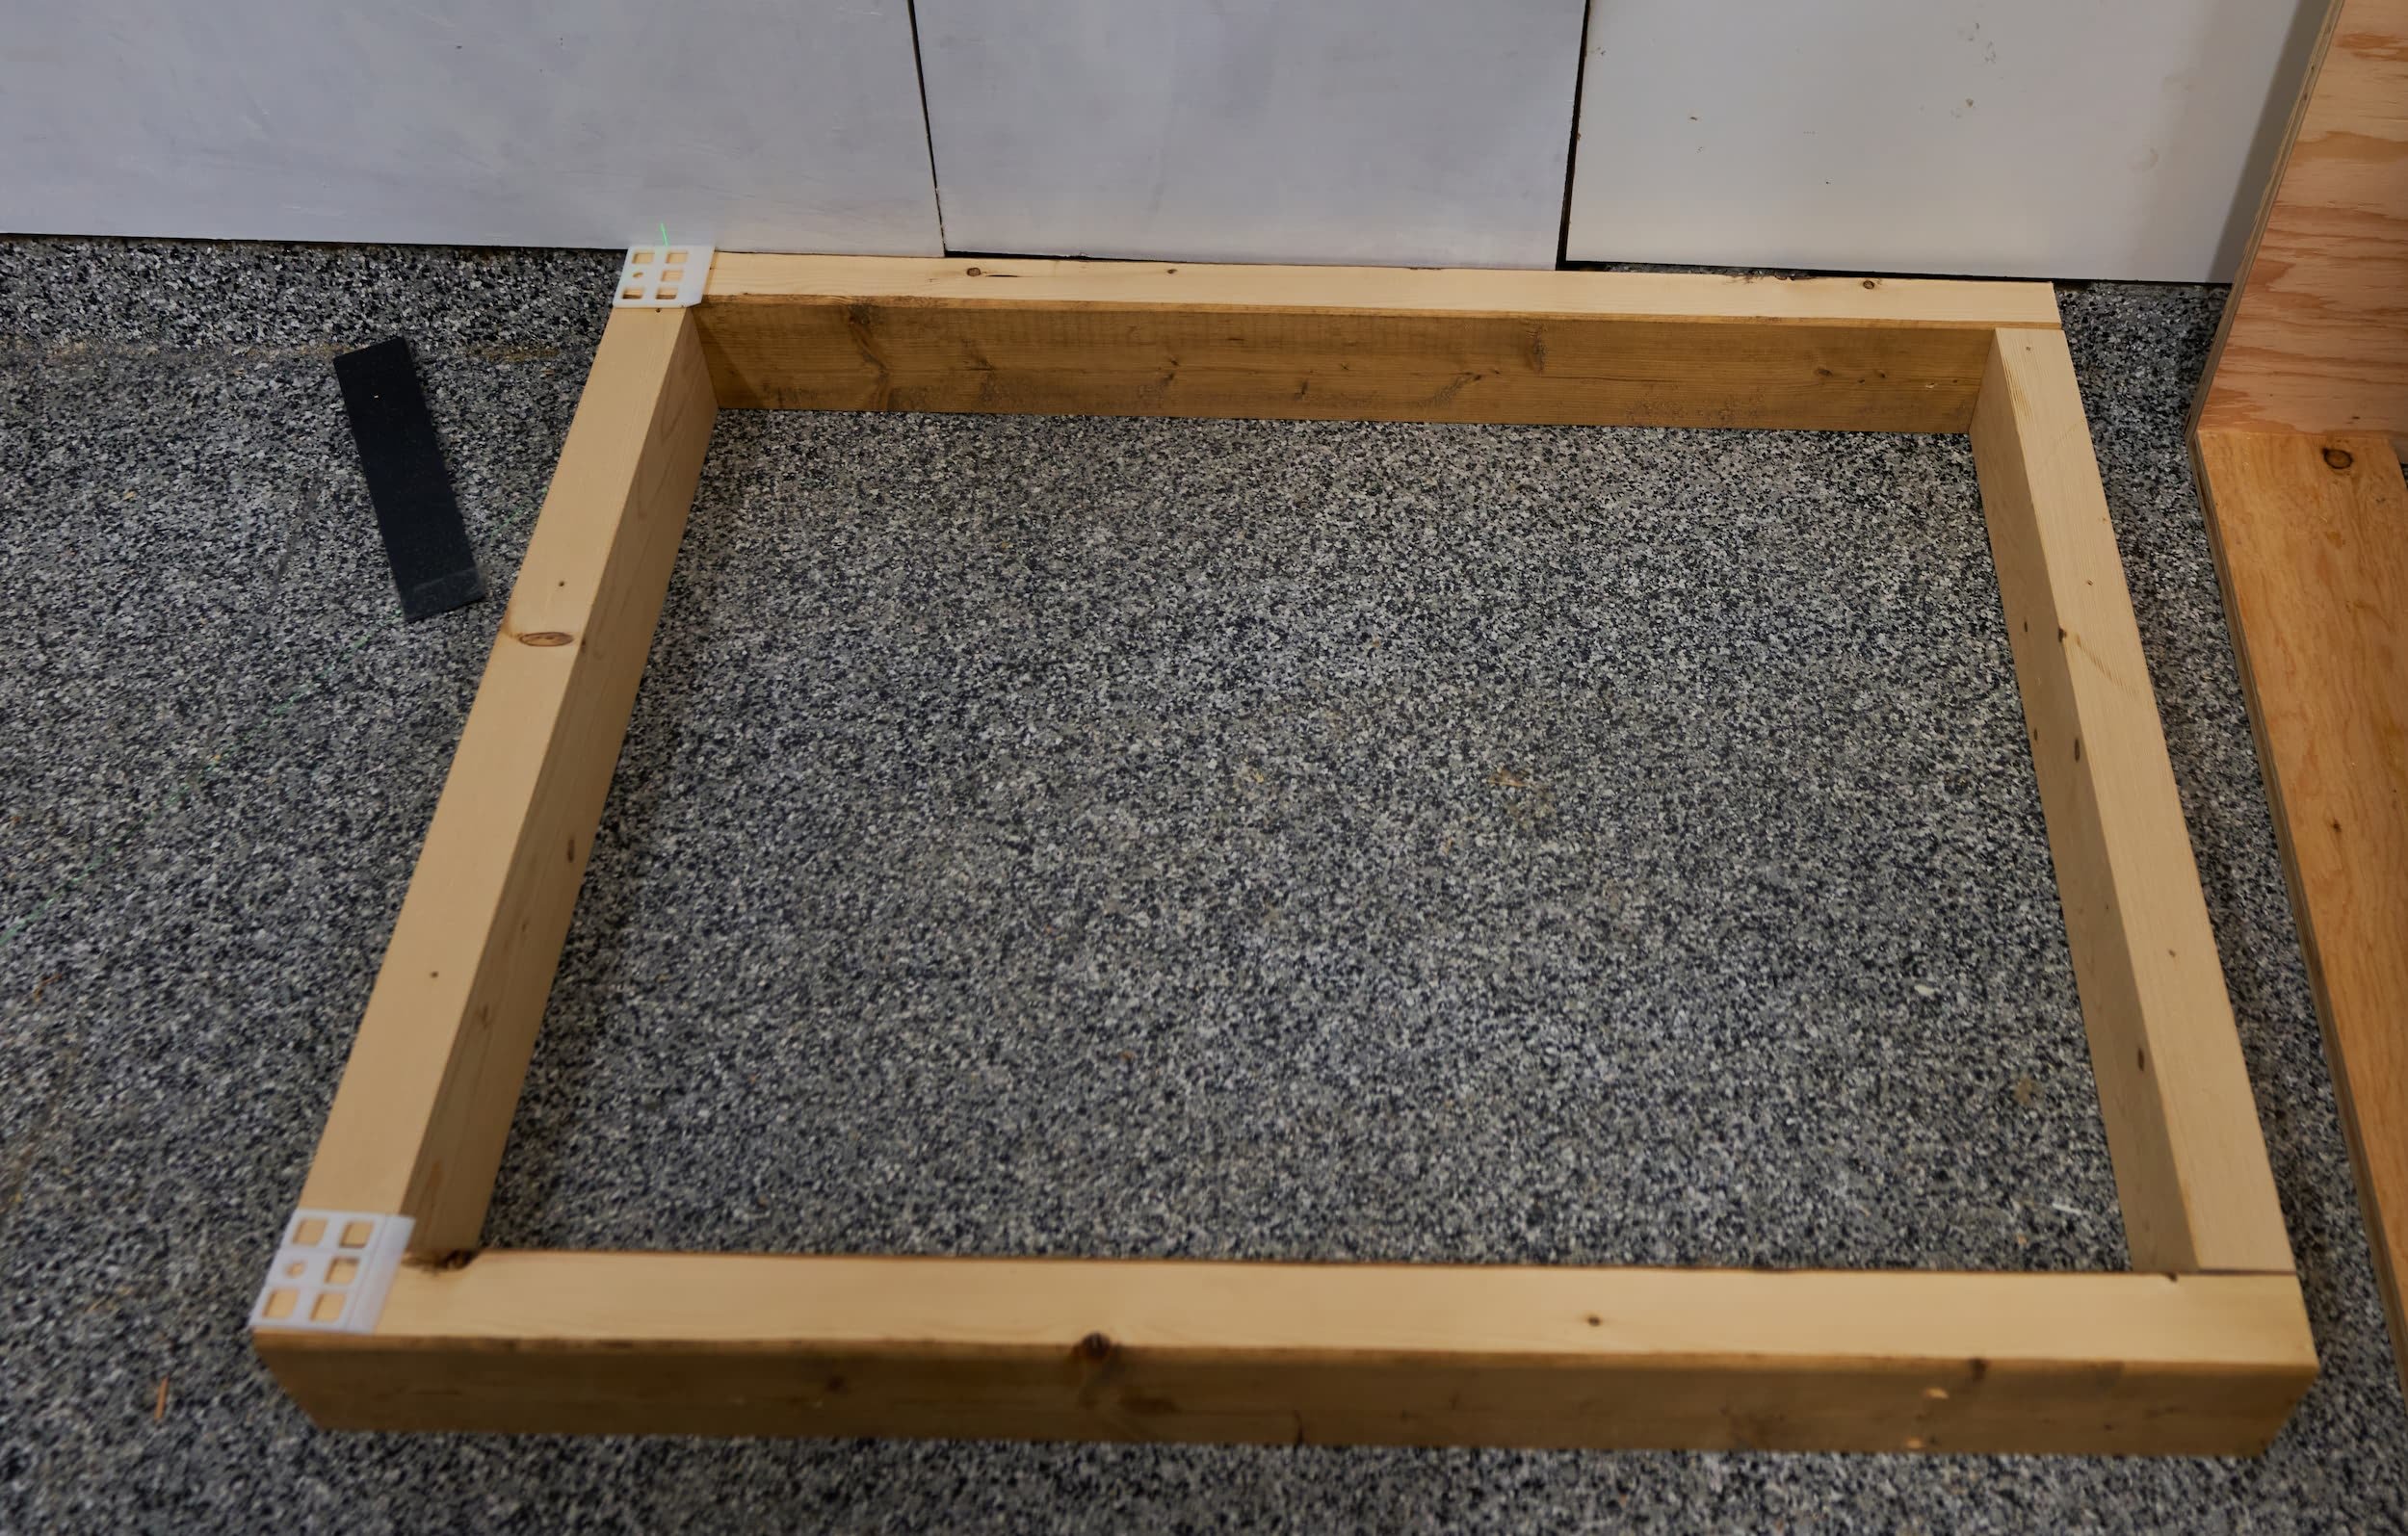
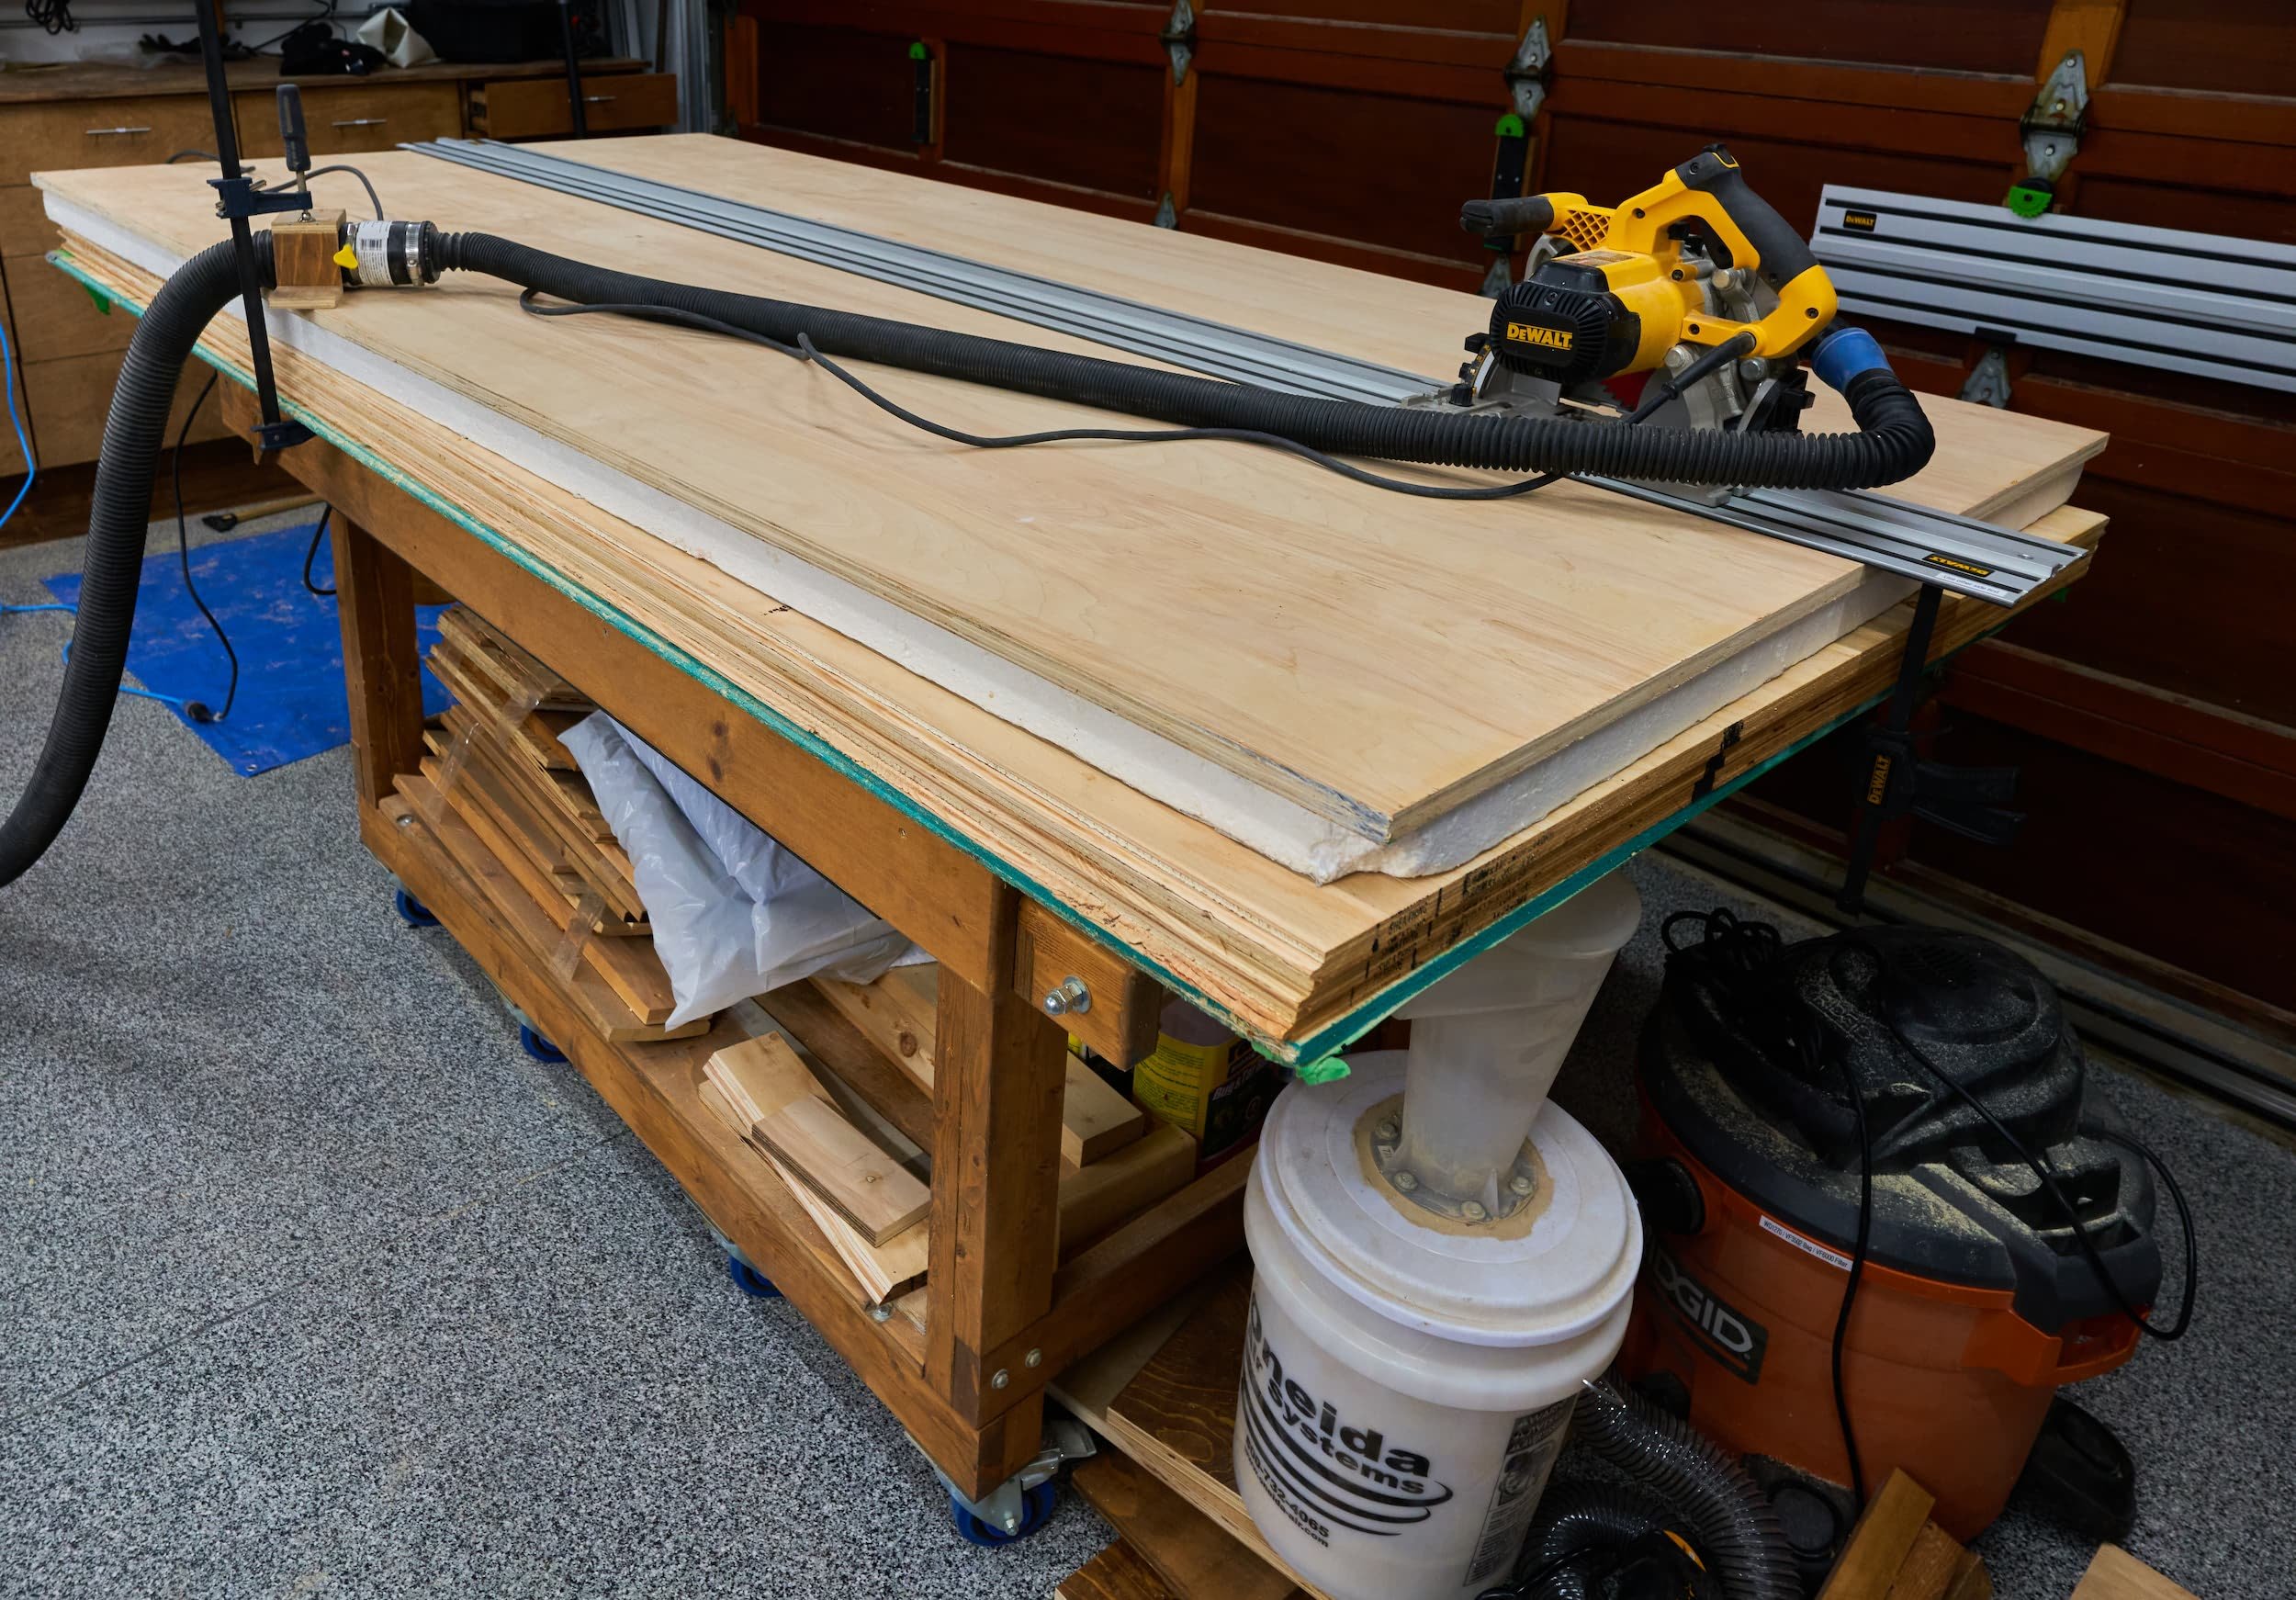
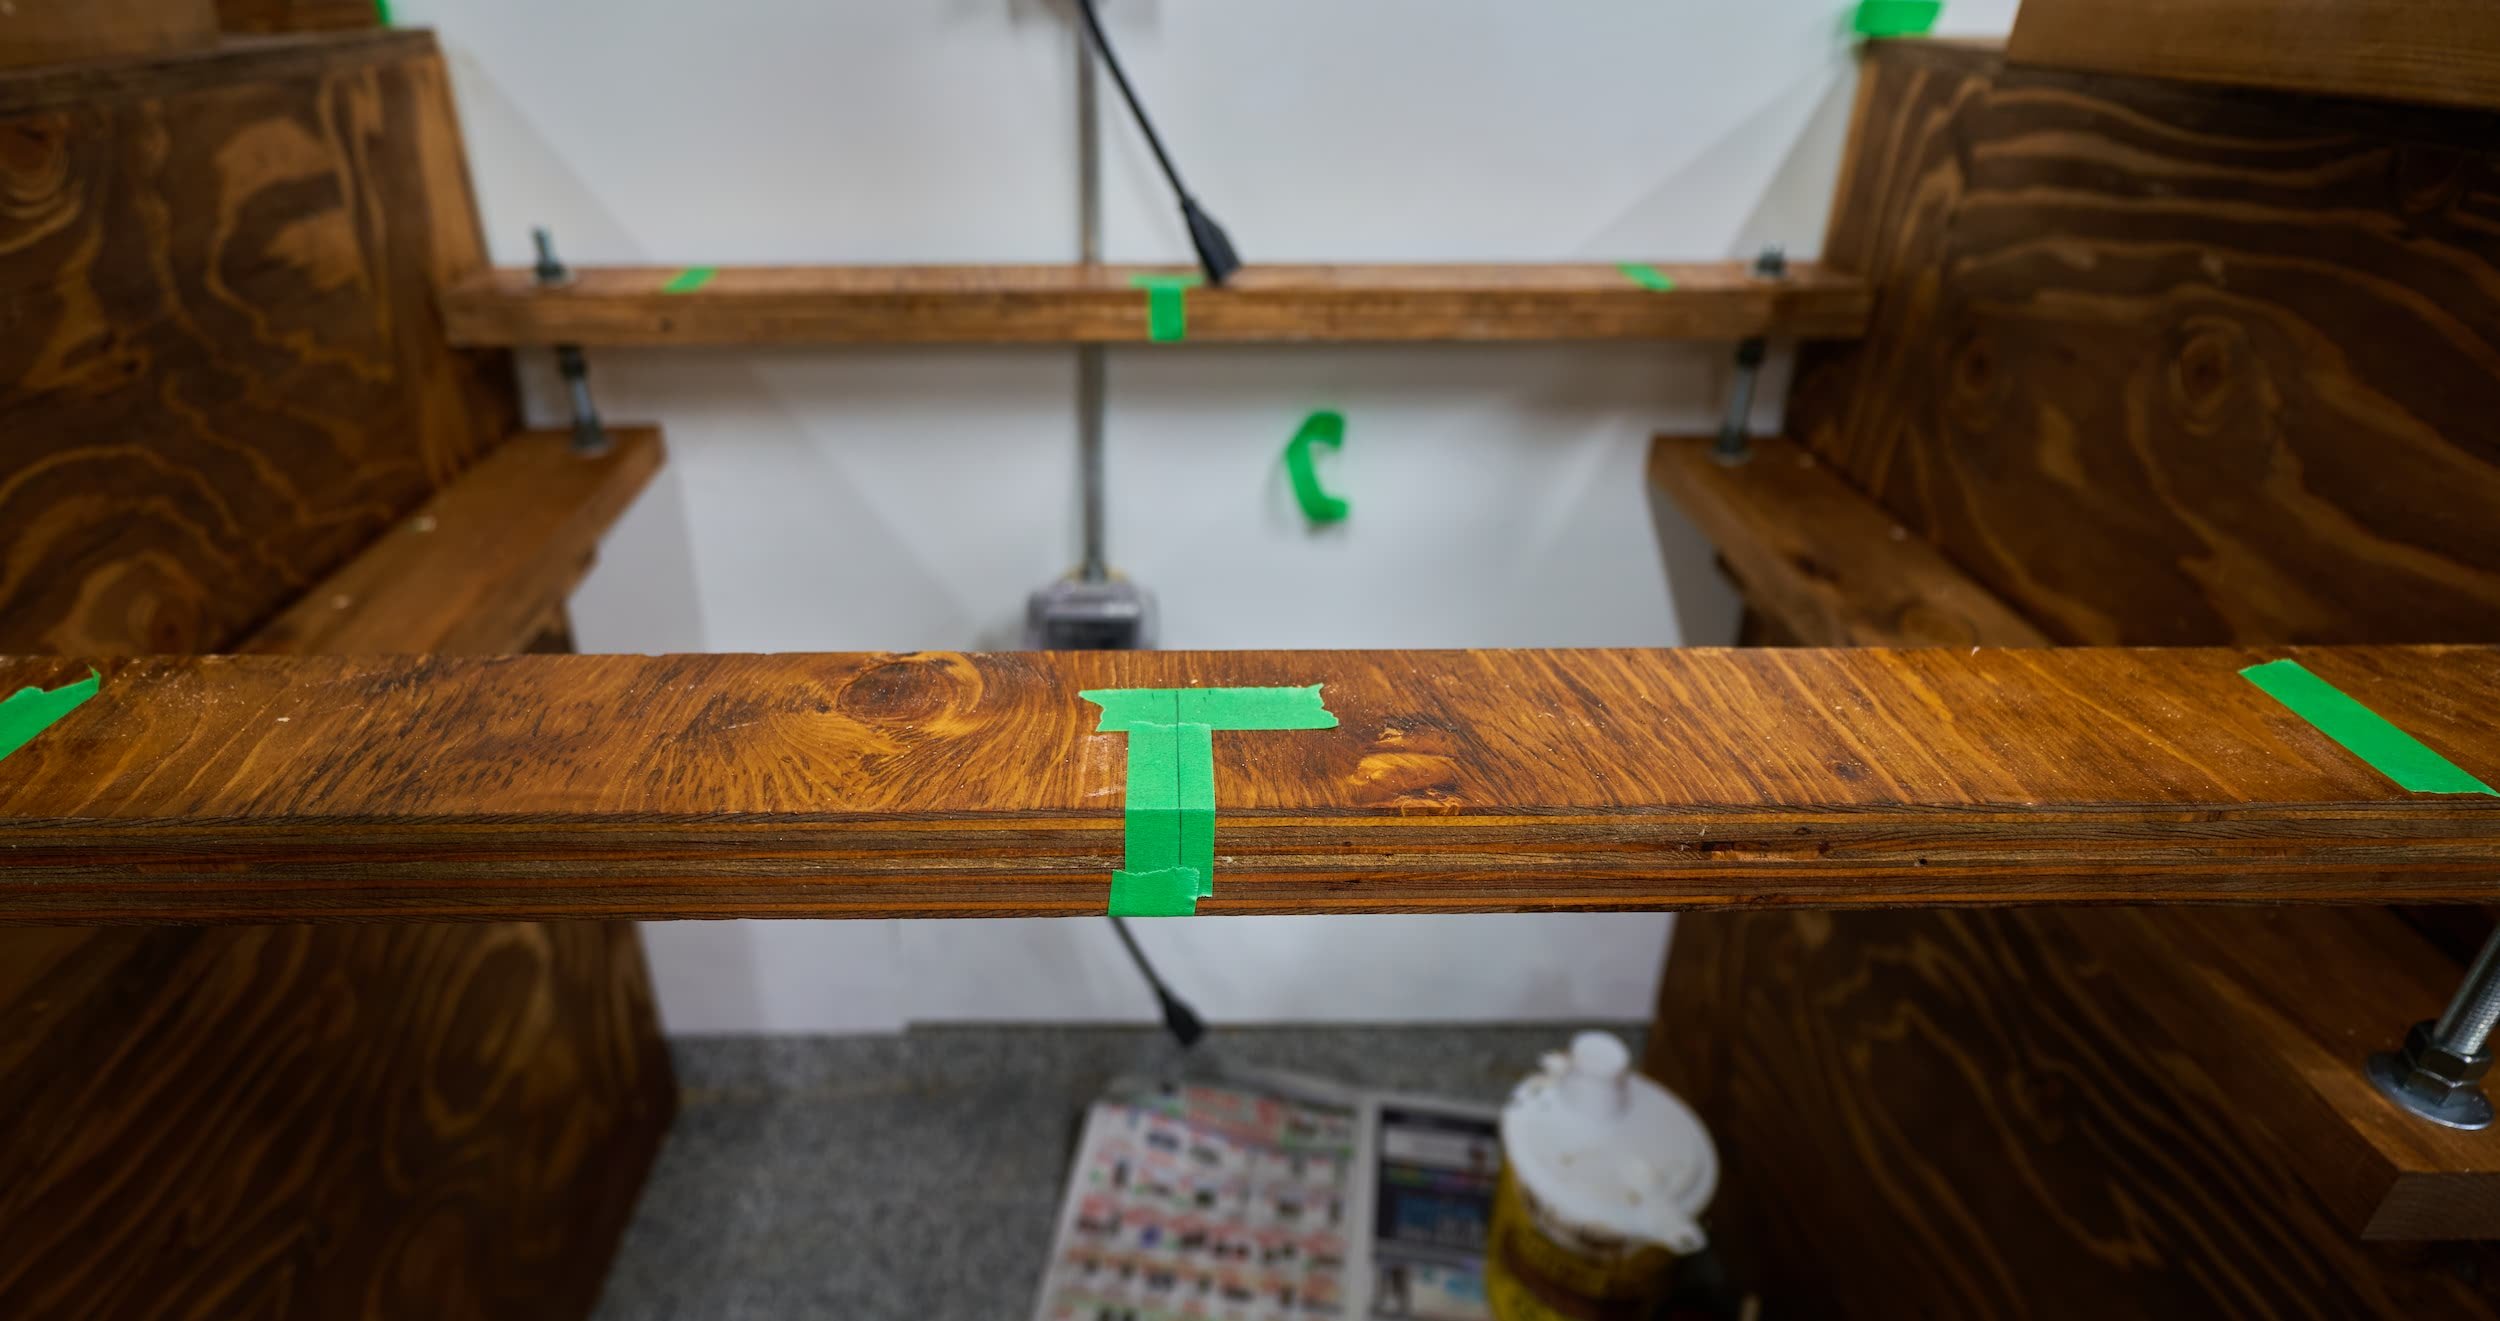
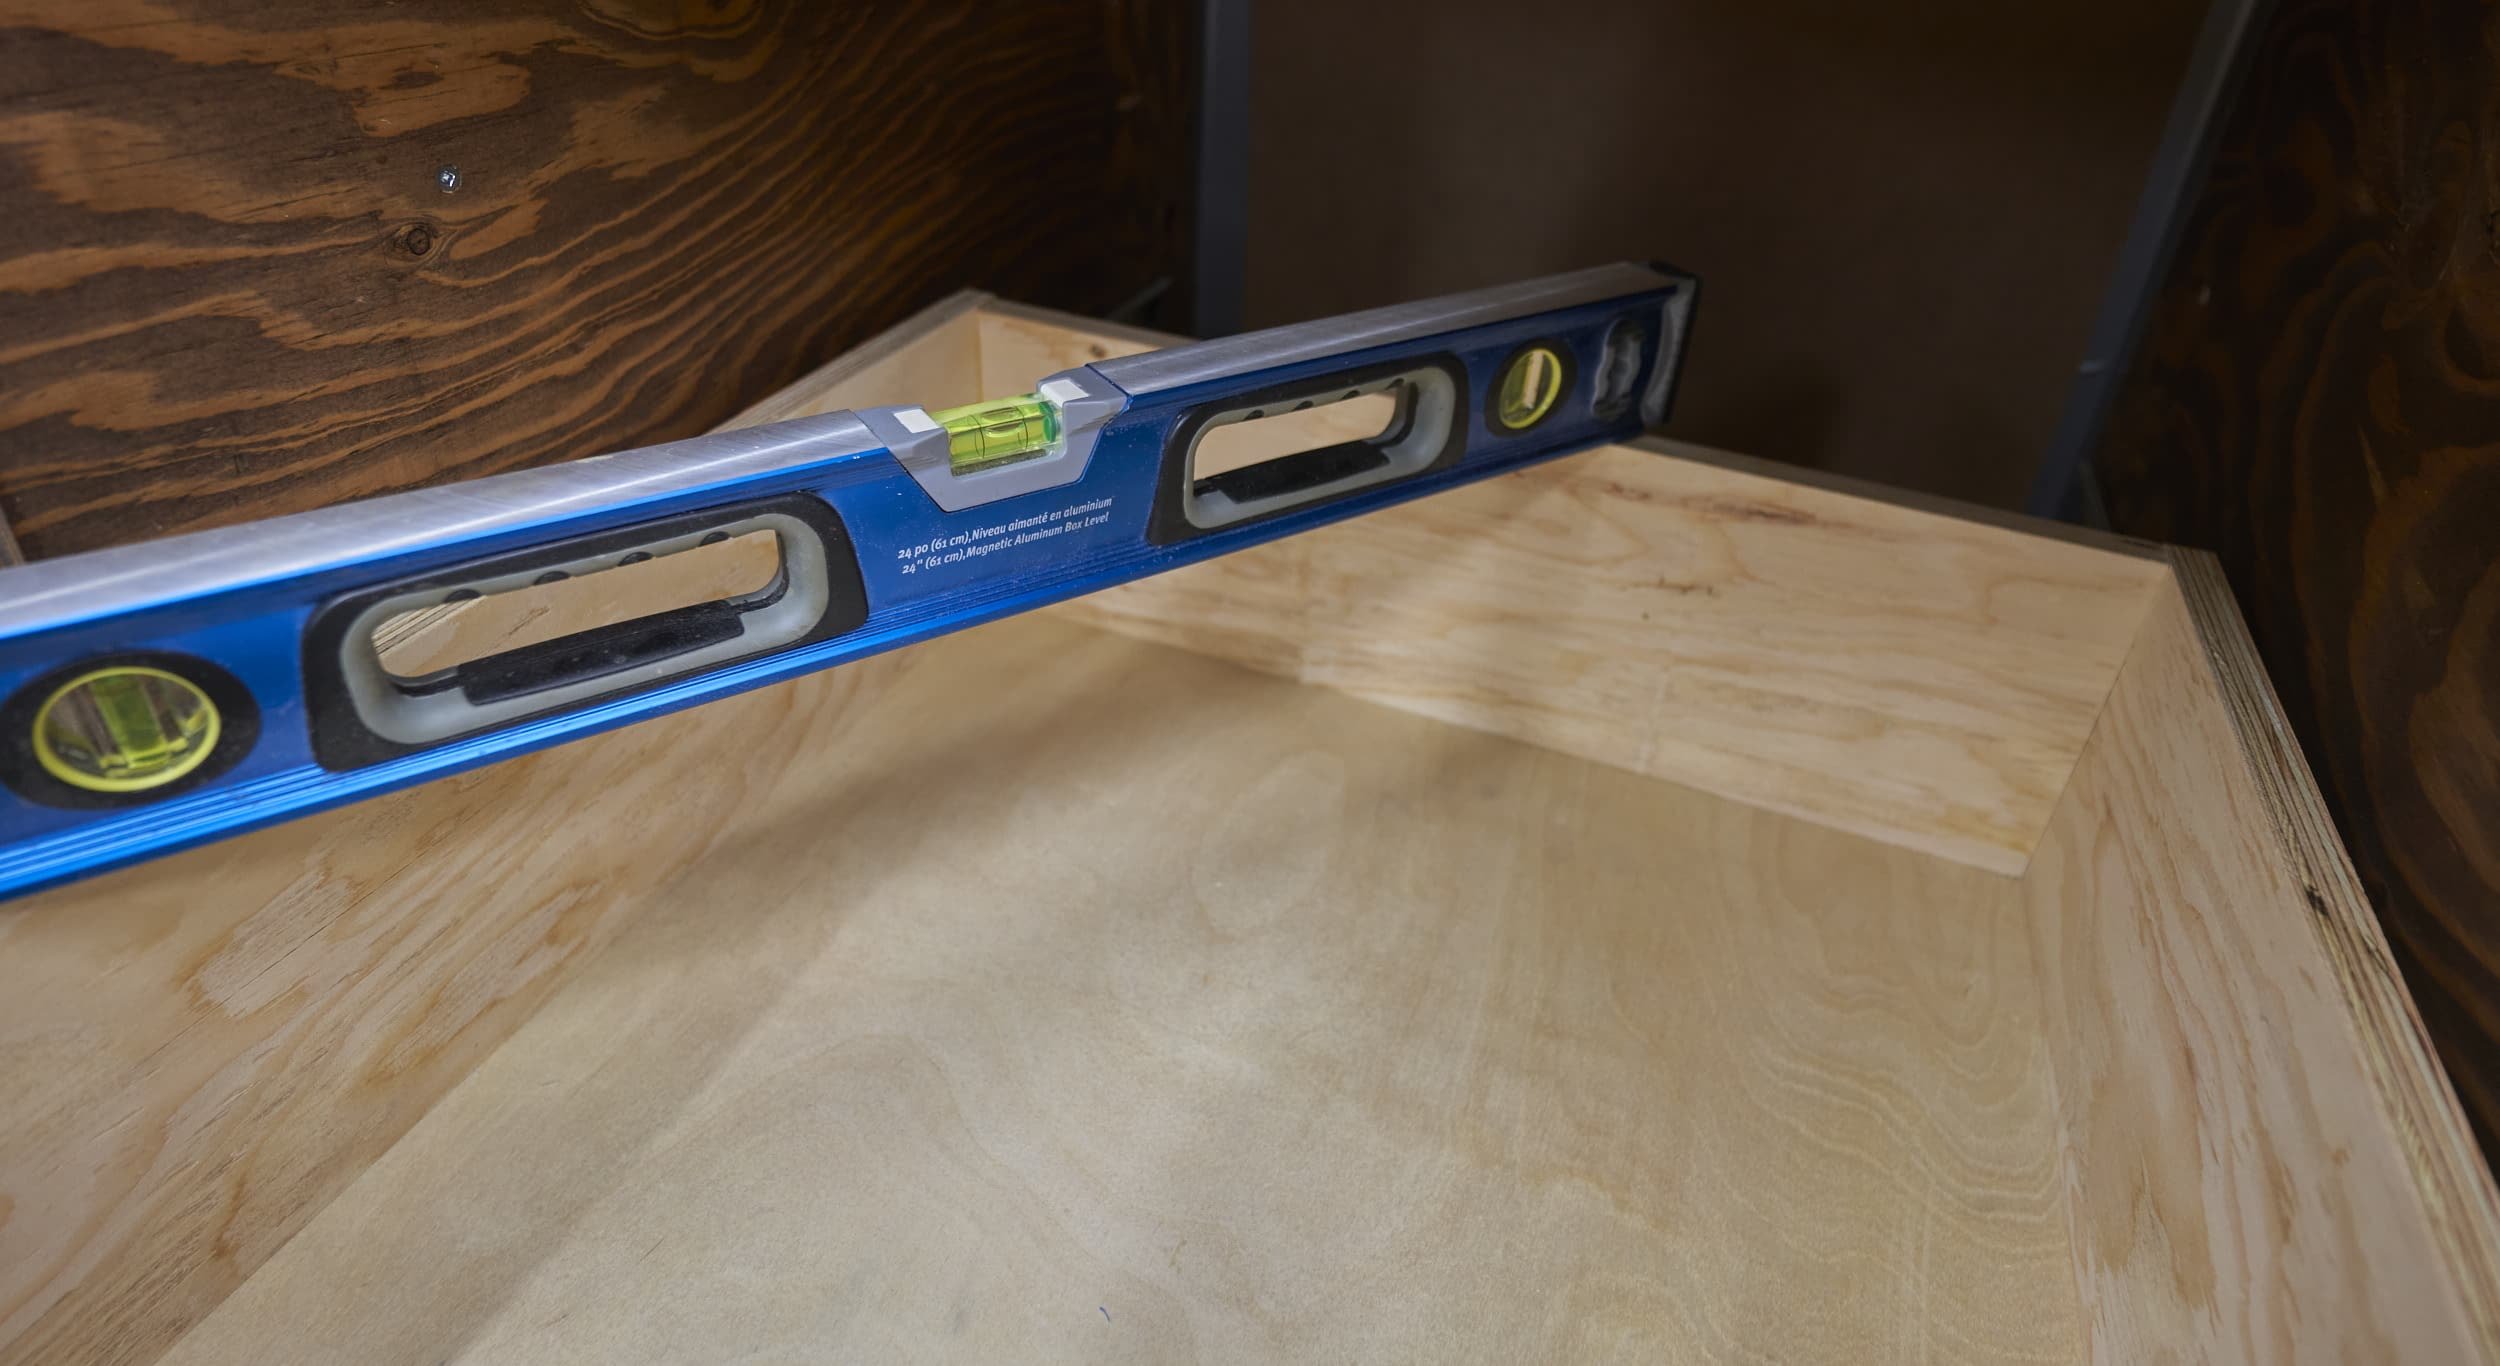
Step 2: Making a pre-leveled base
Making the pre-leveled base was a really nice warmup exercise: it was easy to make and now with a leveled base, anything I put on top of it, should be reasonably leveled. Also, the leveled base could be my toe-kick so that’s one less consideration I have to think about when making my miter saw station. Knocking out the second base was a lot easier since I already had an idea of the amount of taper I would need.


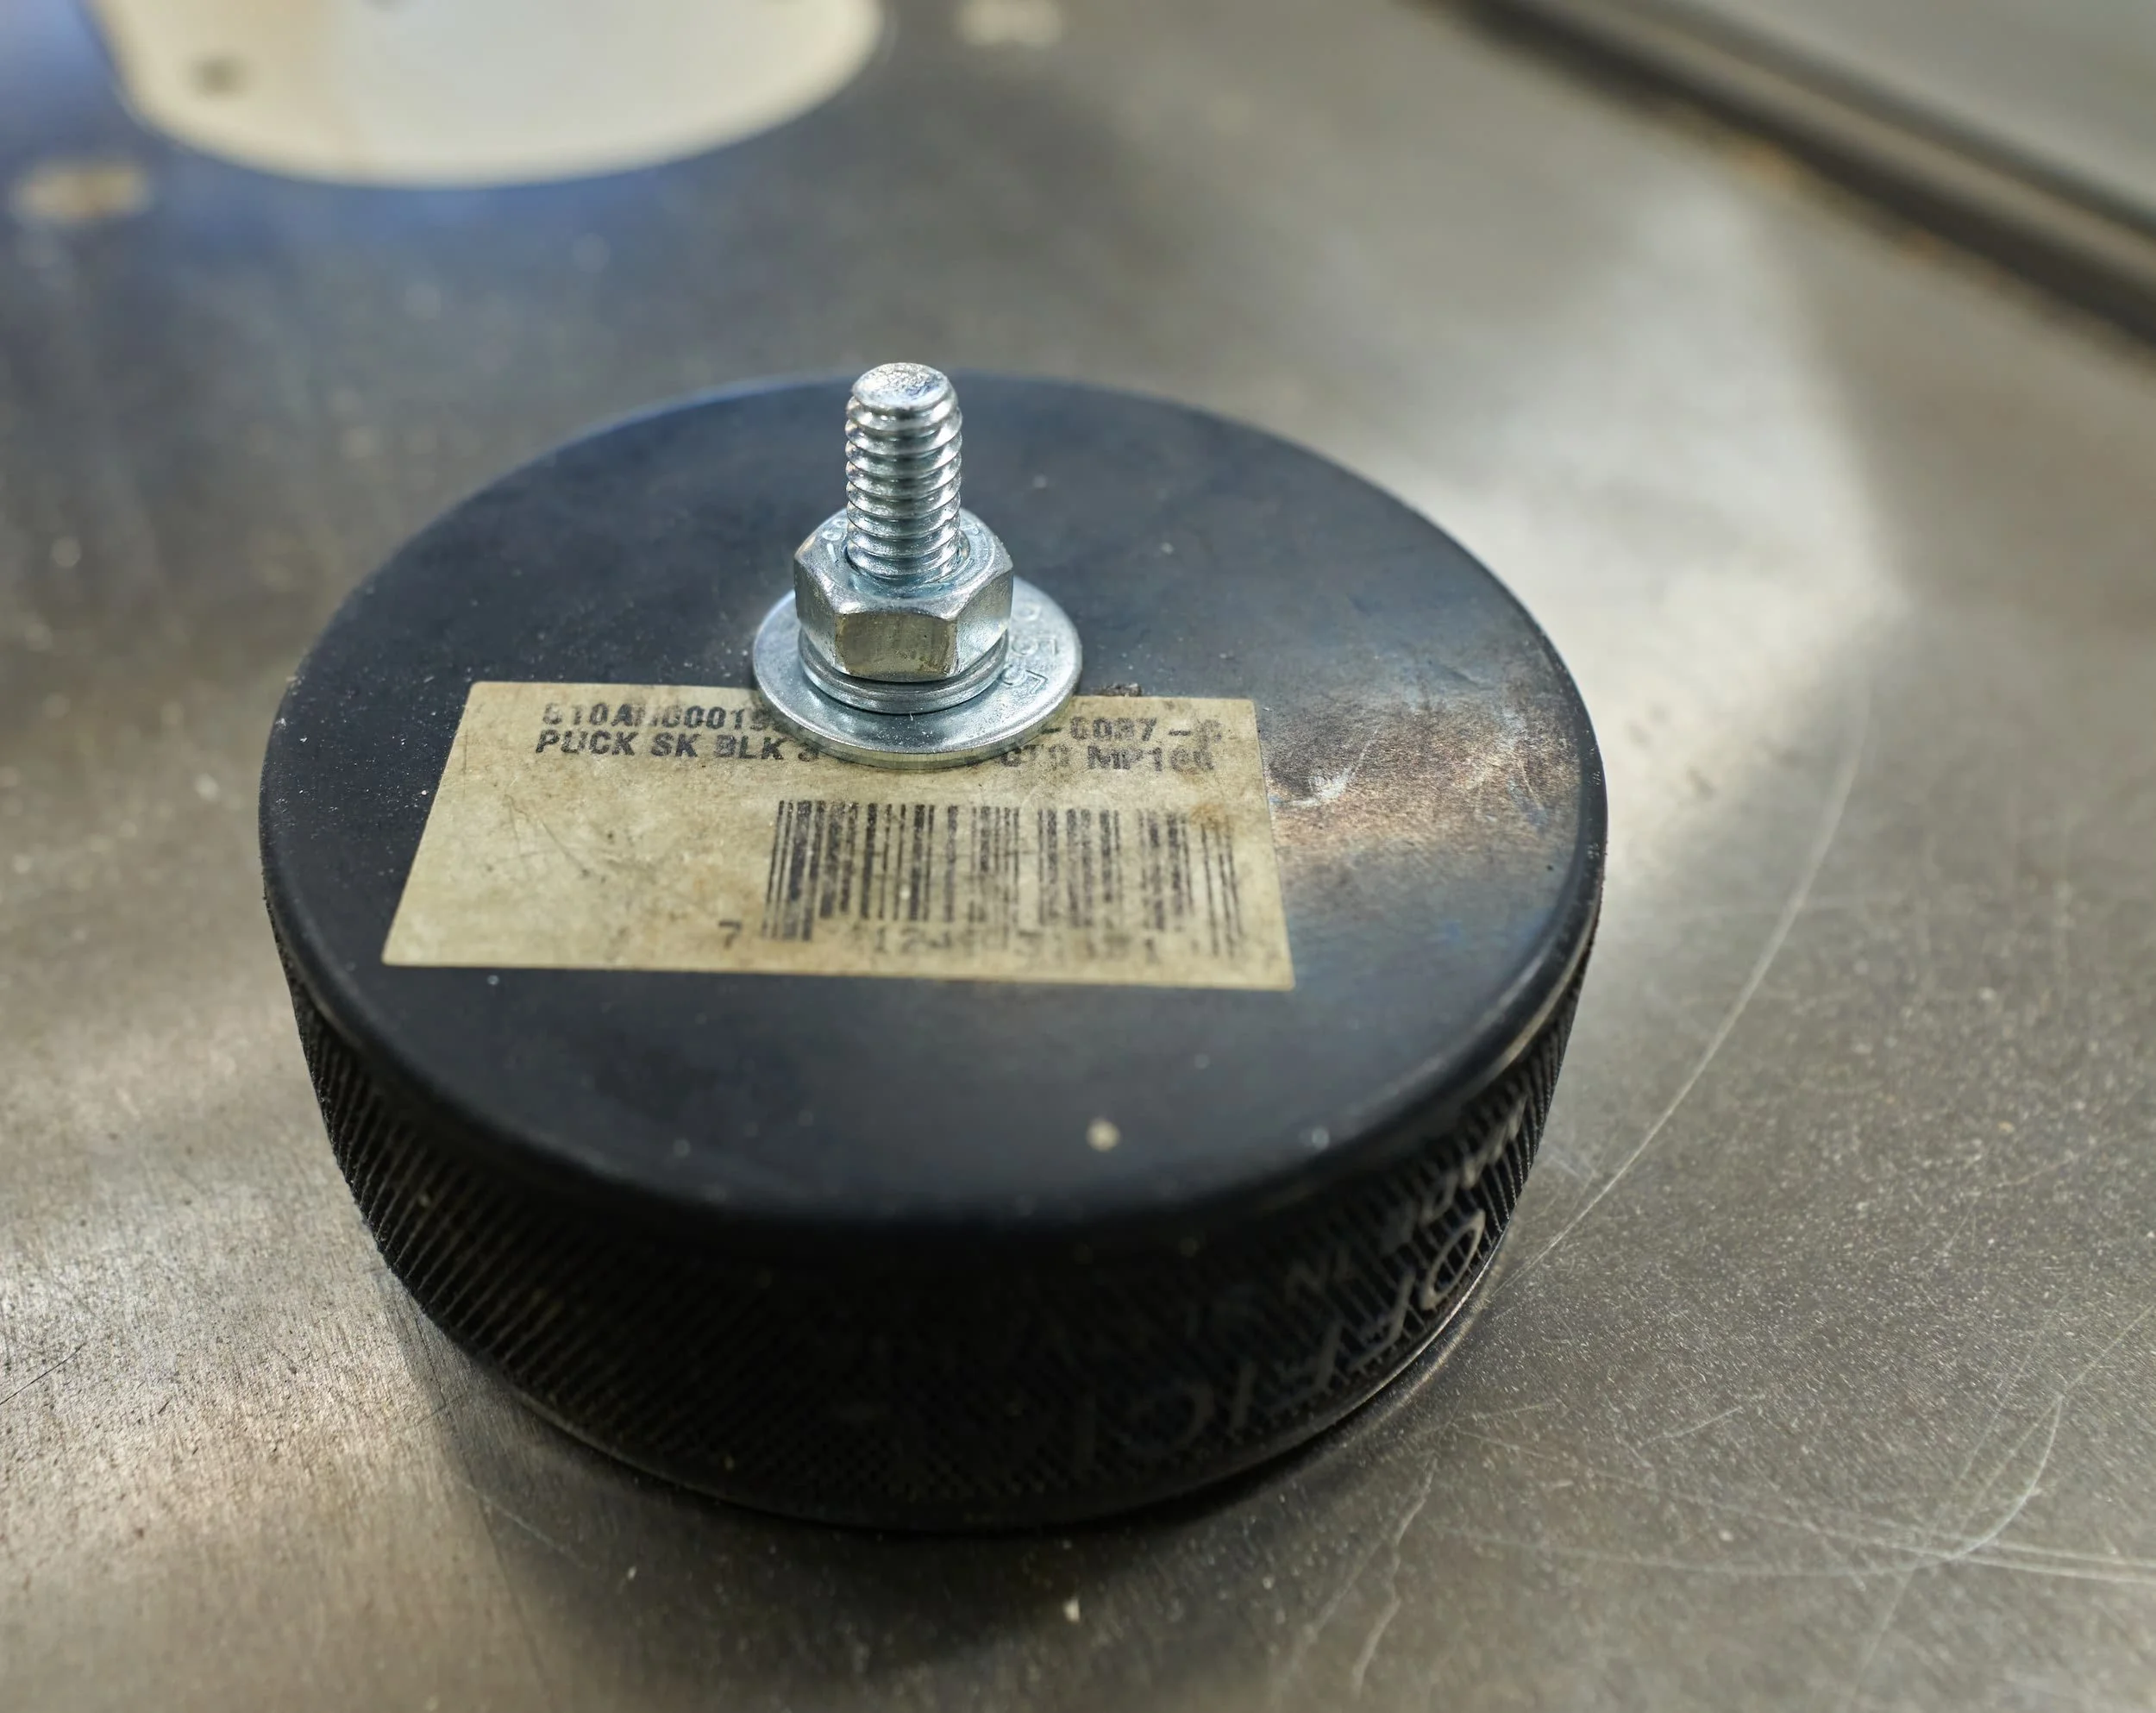
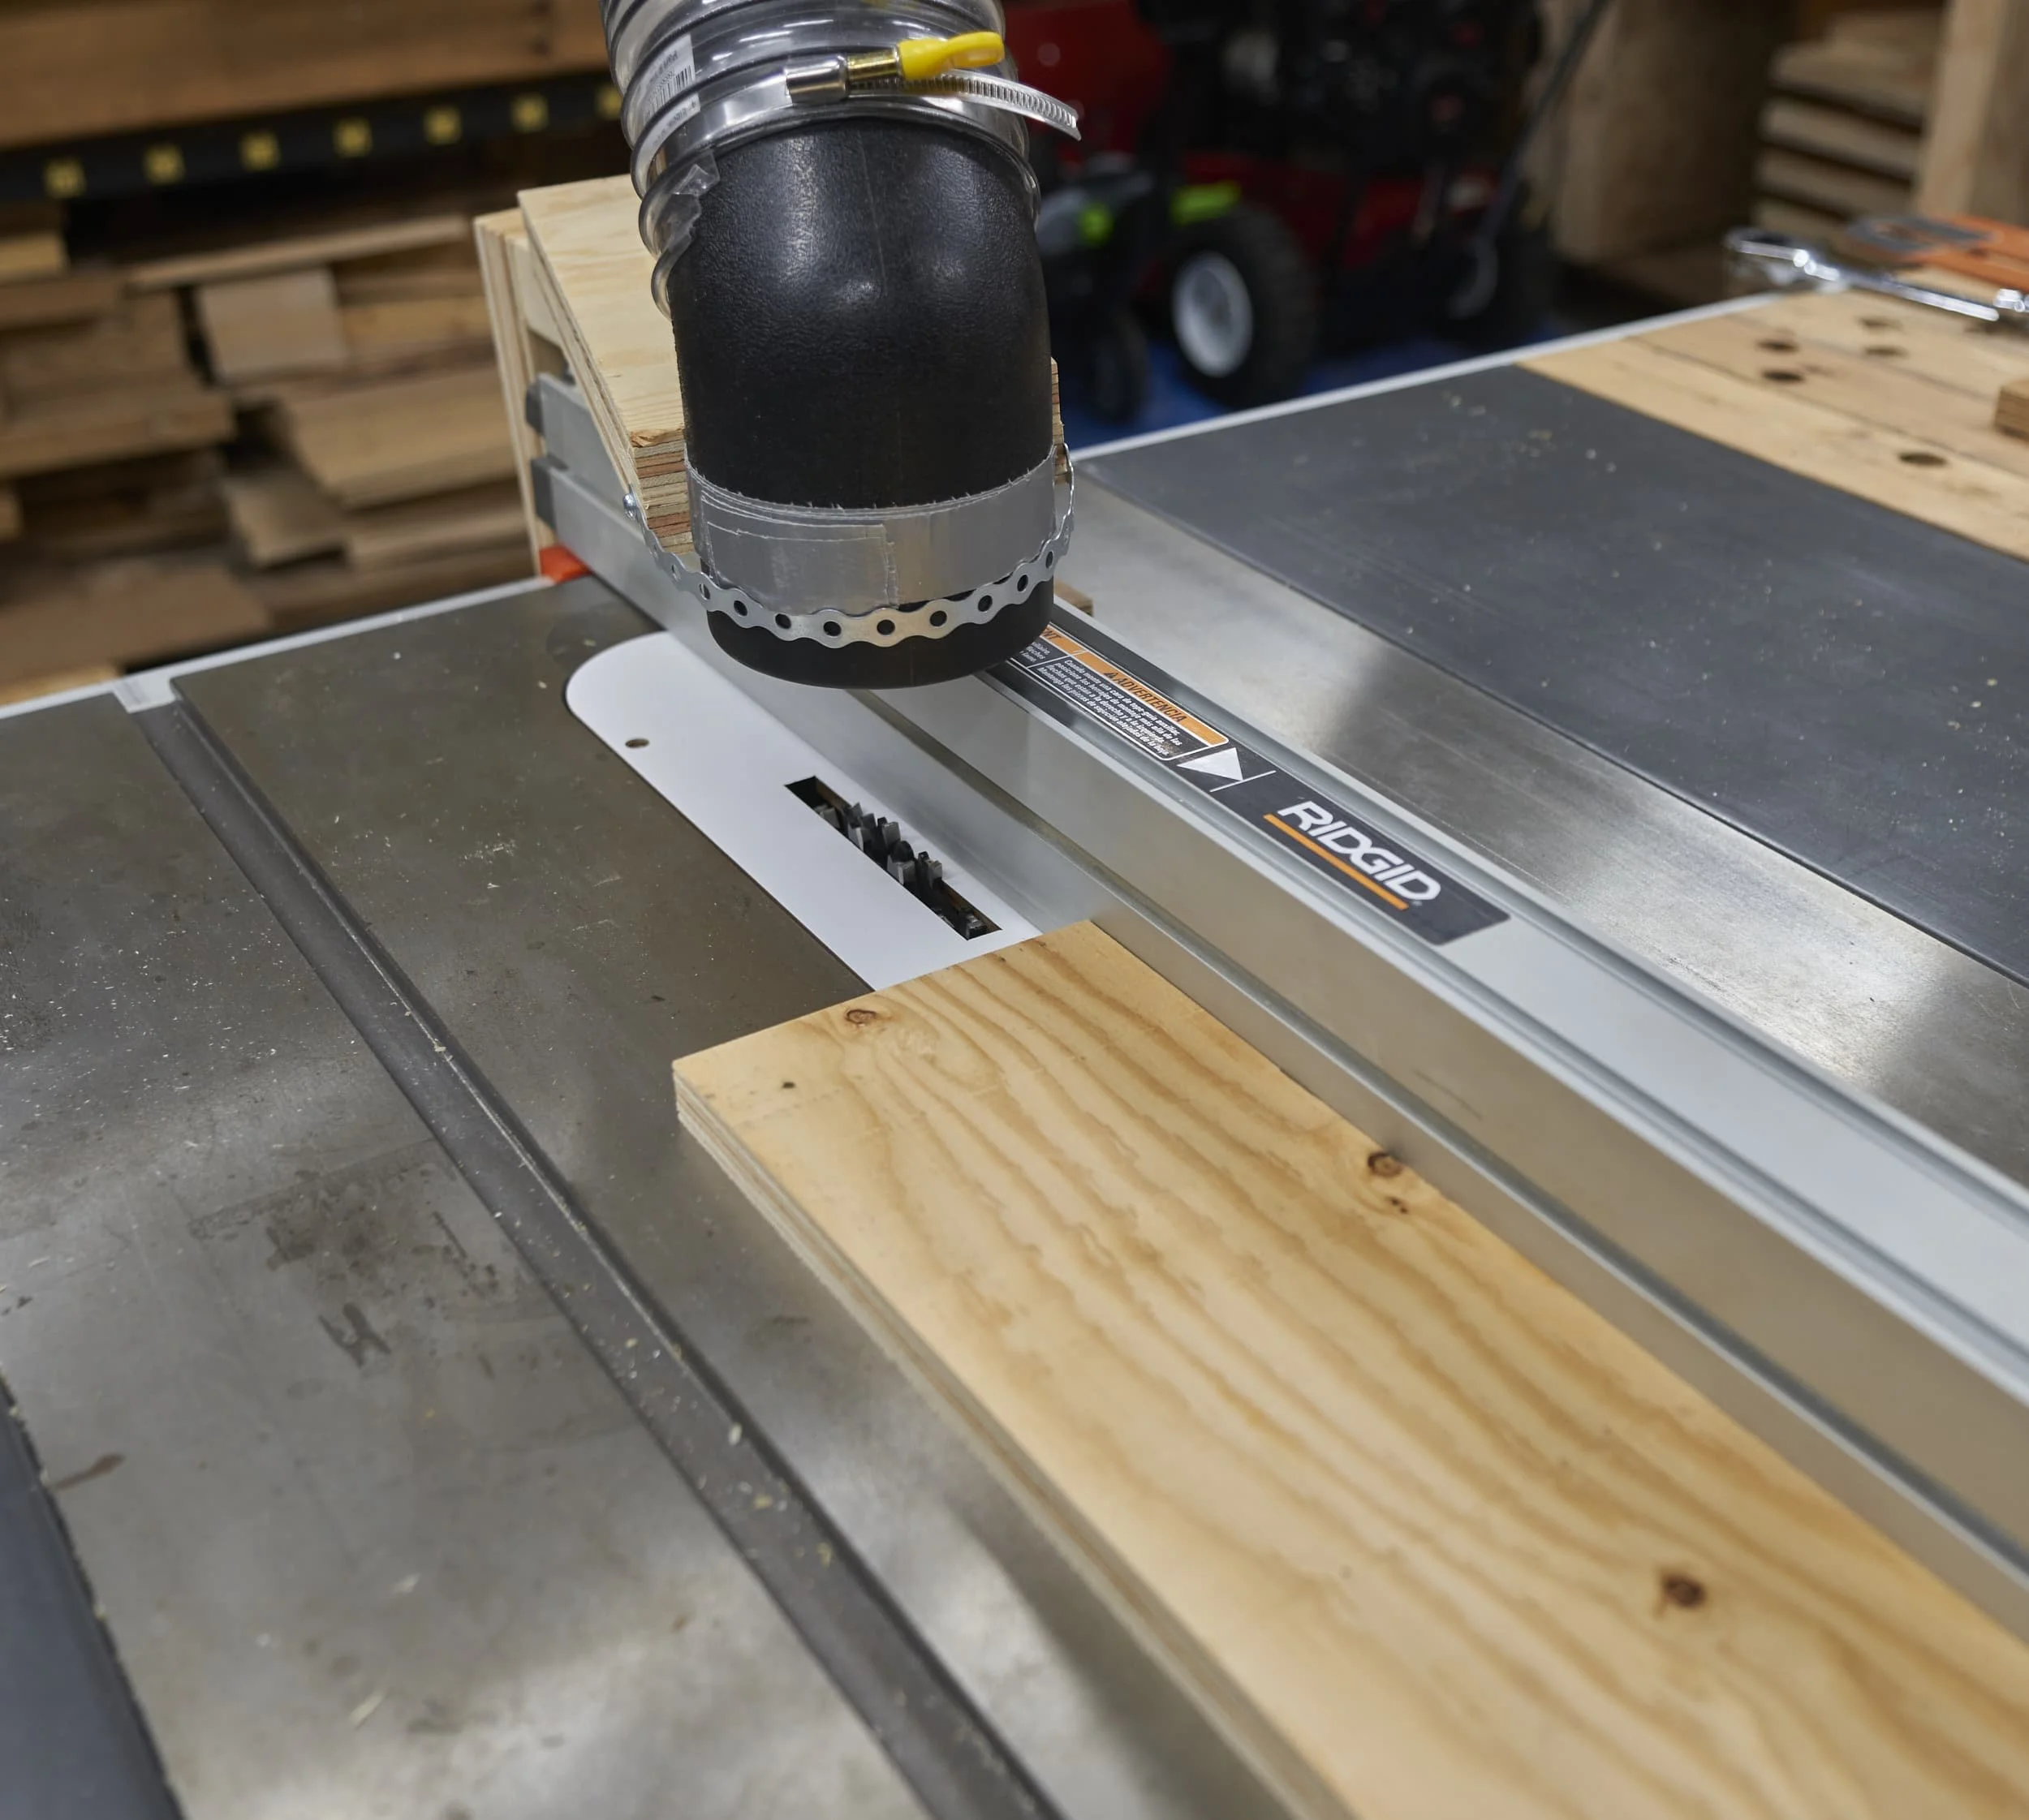
Why the full length-taper? Why the hockey-puck feet?
Yes, I probably could have just use a single bolt (or similar) to jack up one end of the 2x4 and that 2x4 could likely support any structure that I would realistically place atop of it. But by having a full length taper, the entirety of the 2x4 is supported allowing for a lot of weight to be transferred to the ground. The addition of the hockey puck foot-pads in the middle just give the platform another contact point with the ground.
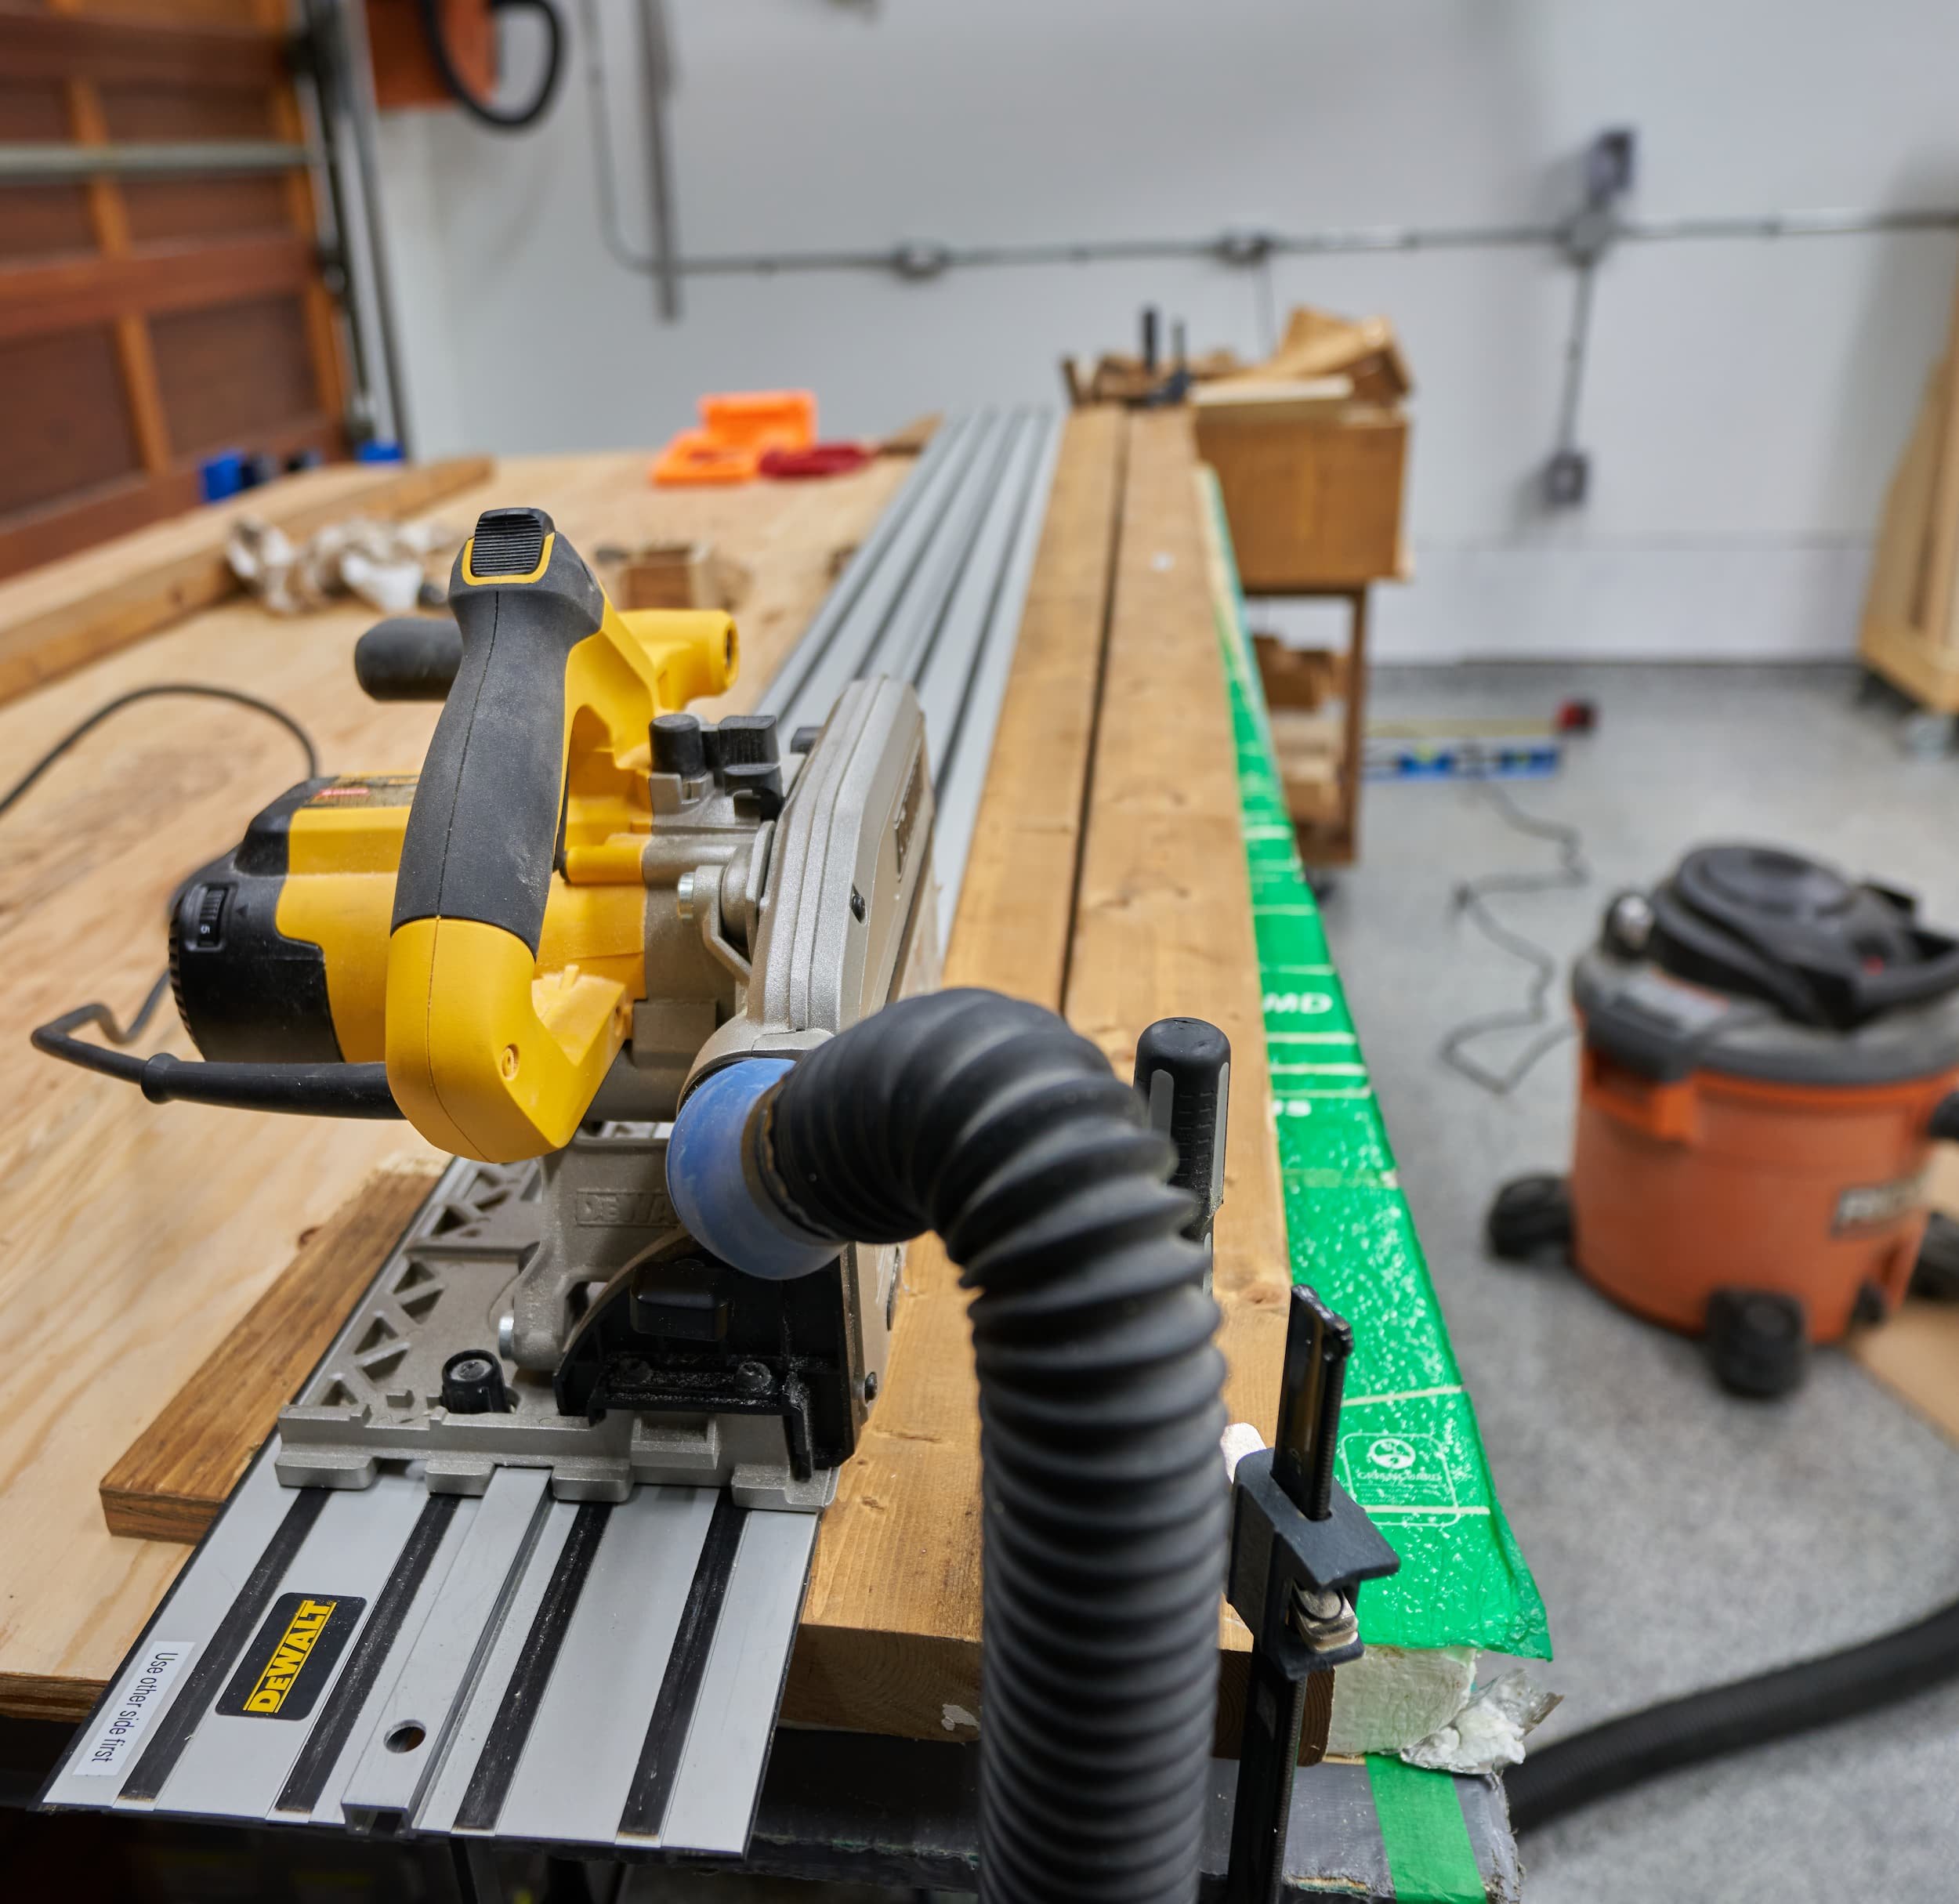
This was easy enough to build and didn’t cost me much more in materials or time/complexity (made simpler with a track-saw) so I went with the ‘build it once’ approach. By making this base [mostly] pre-leveled and super-sturdy, I never have to worry down the road if I decide to swap this miter station out for something else.
I did not end up anchoring the base to the floor or the wall or anything. I’m planning on relying on the sheer mass of the combined structure to keep it from shifting too much. Of course, if there is a problem, I could always secure the [not-built-yet] cabinets to the wall.
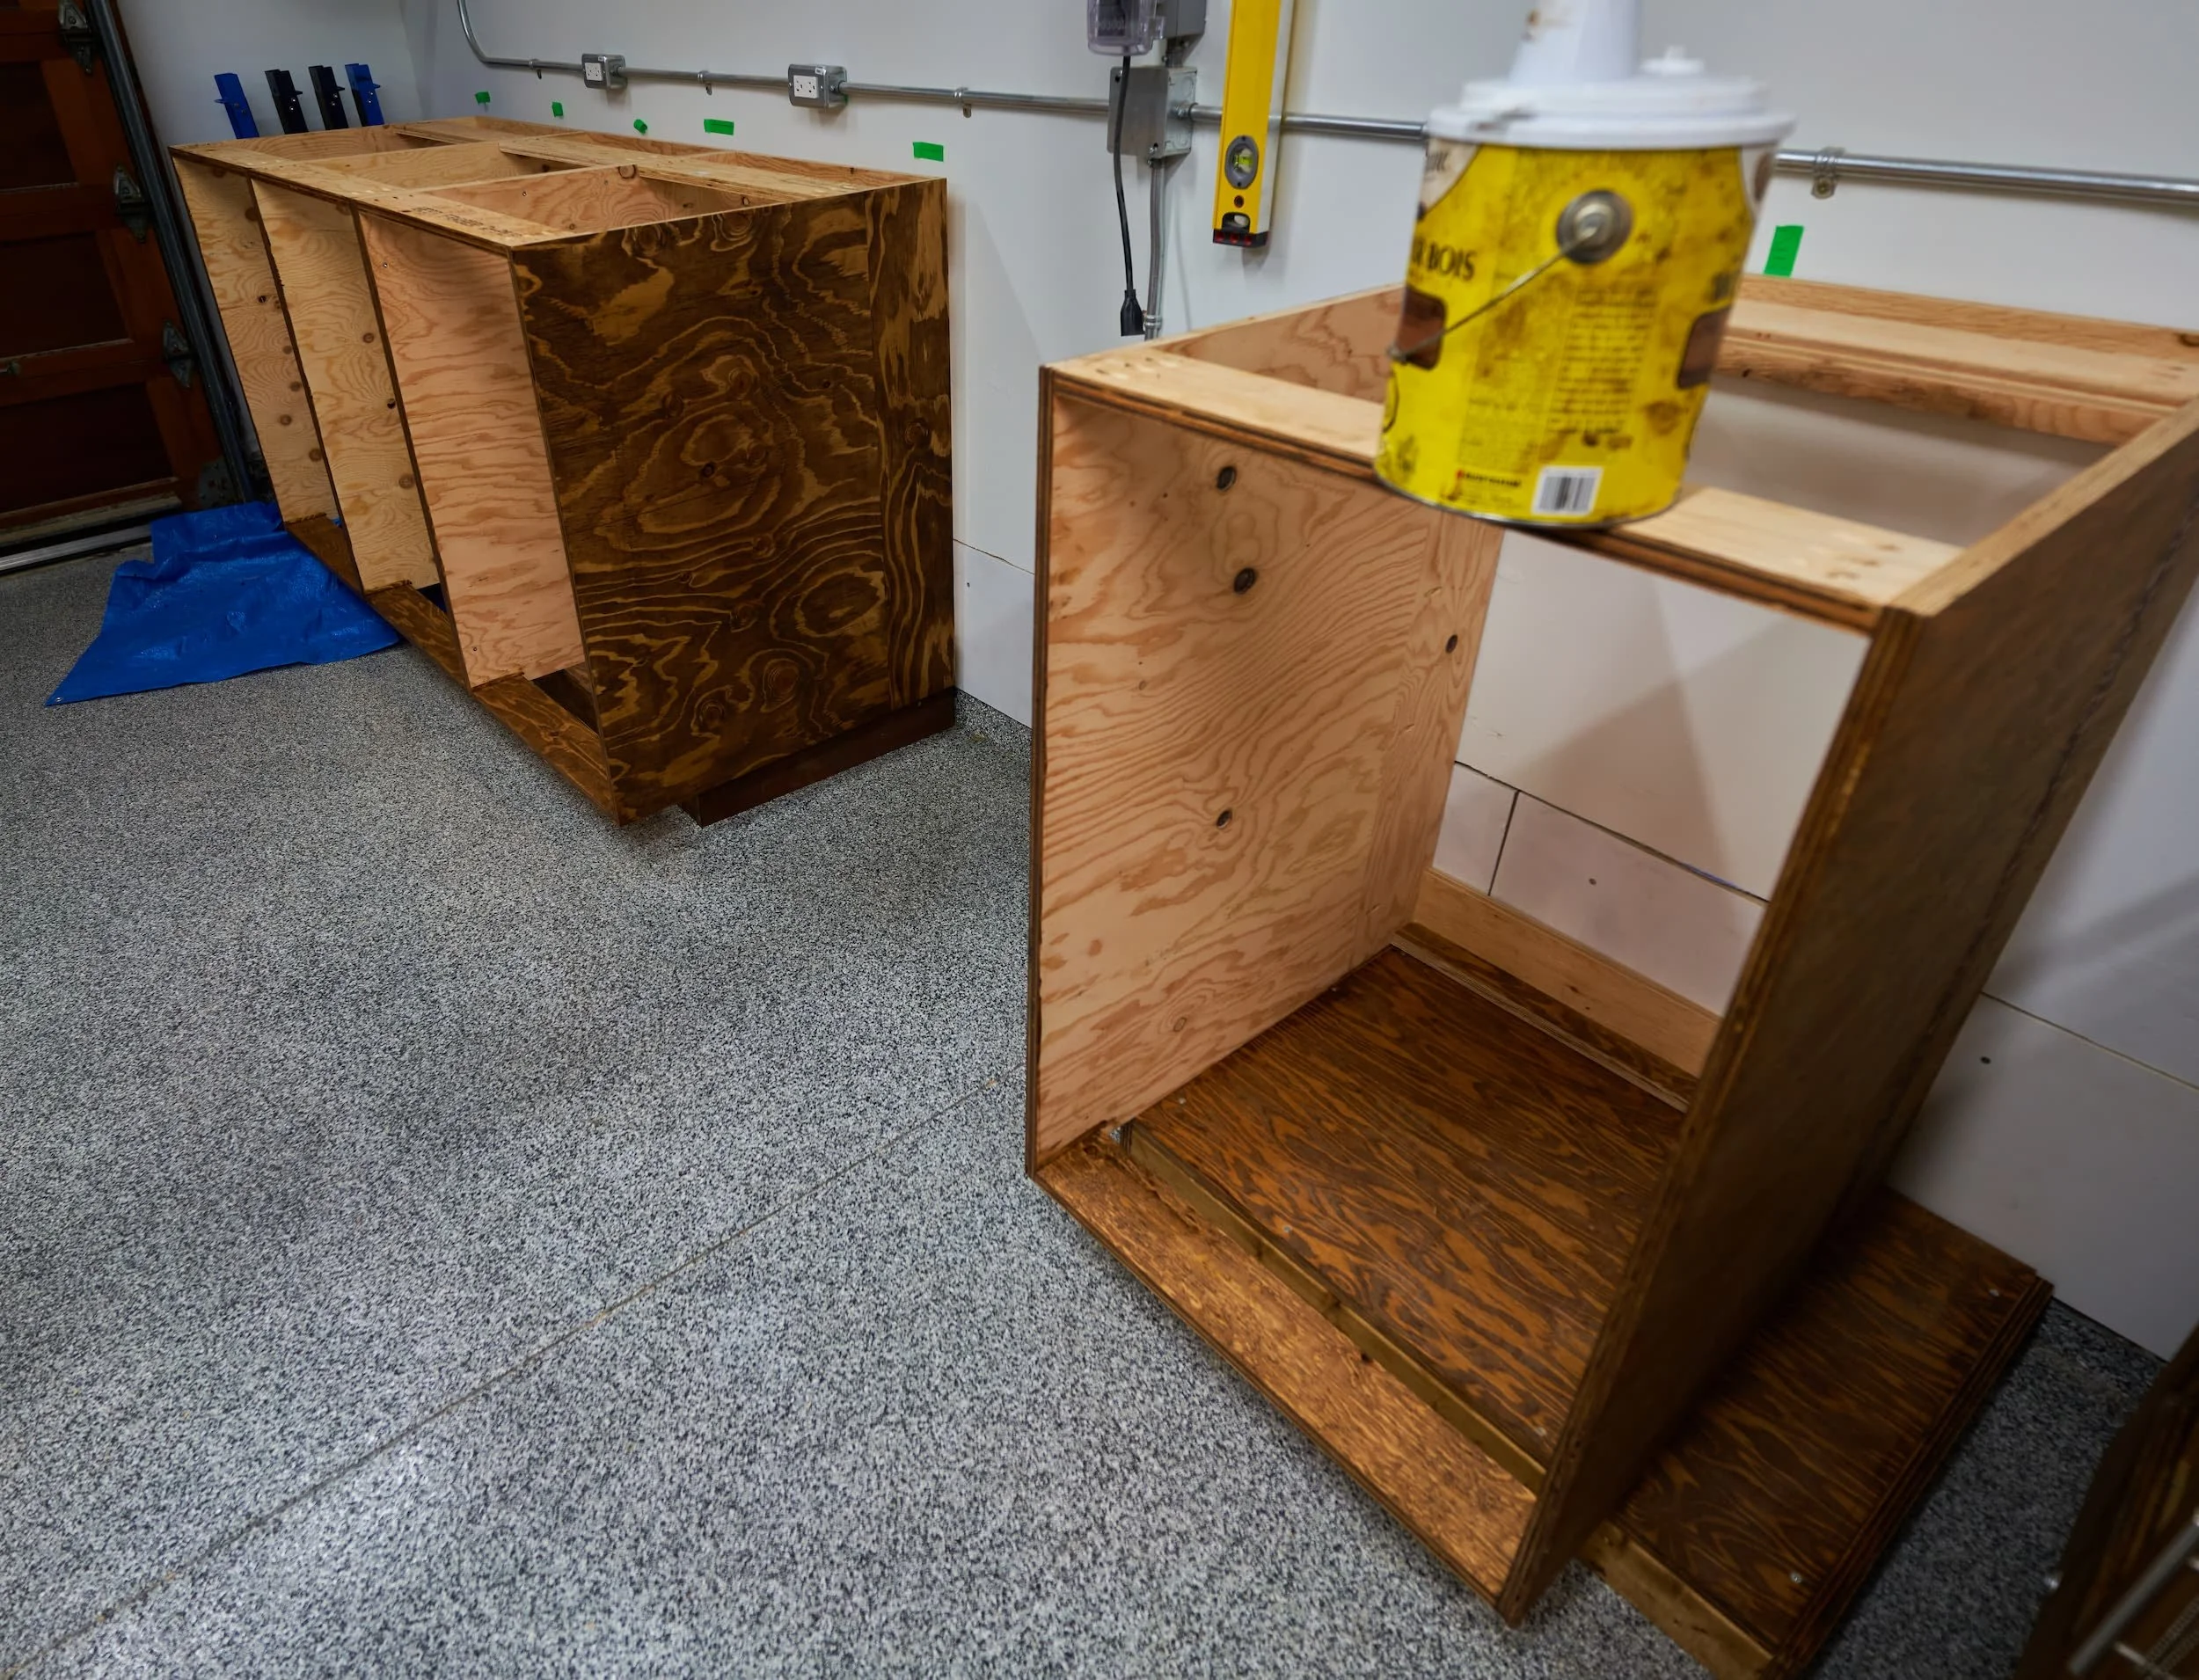
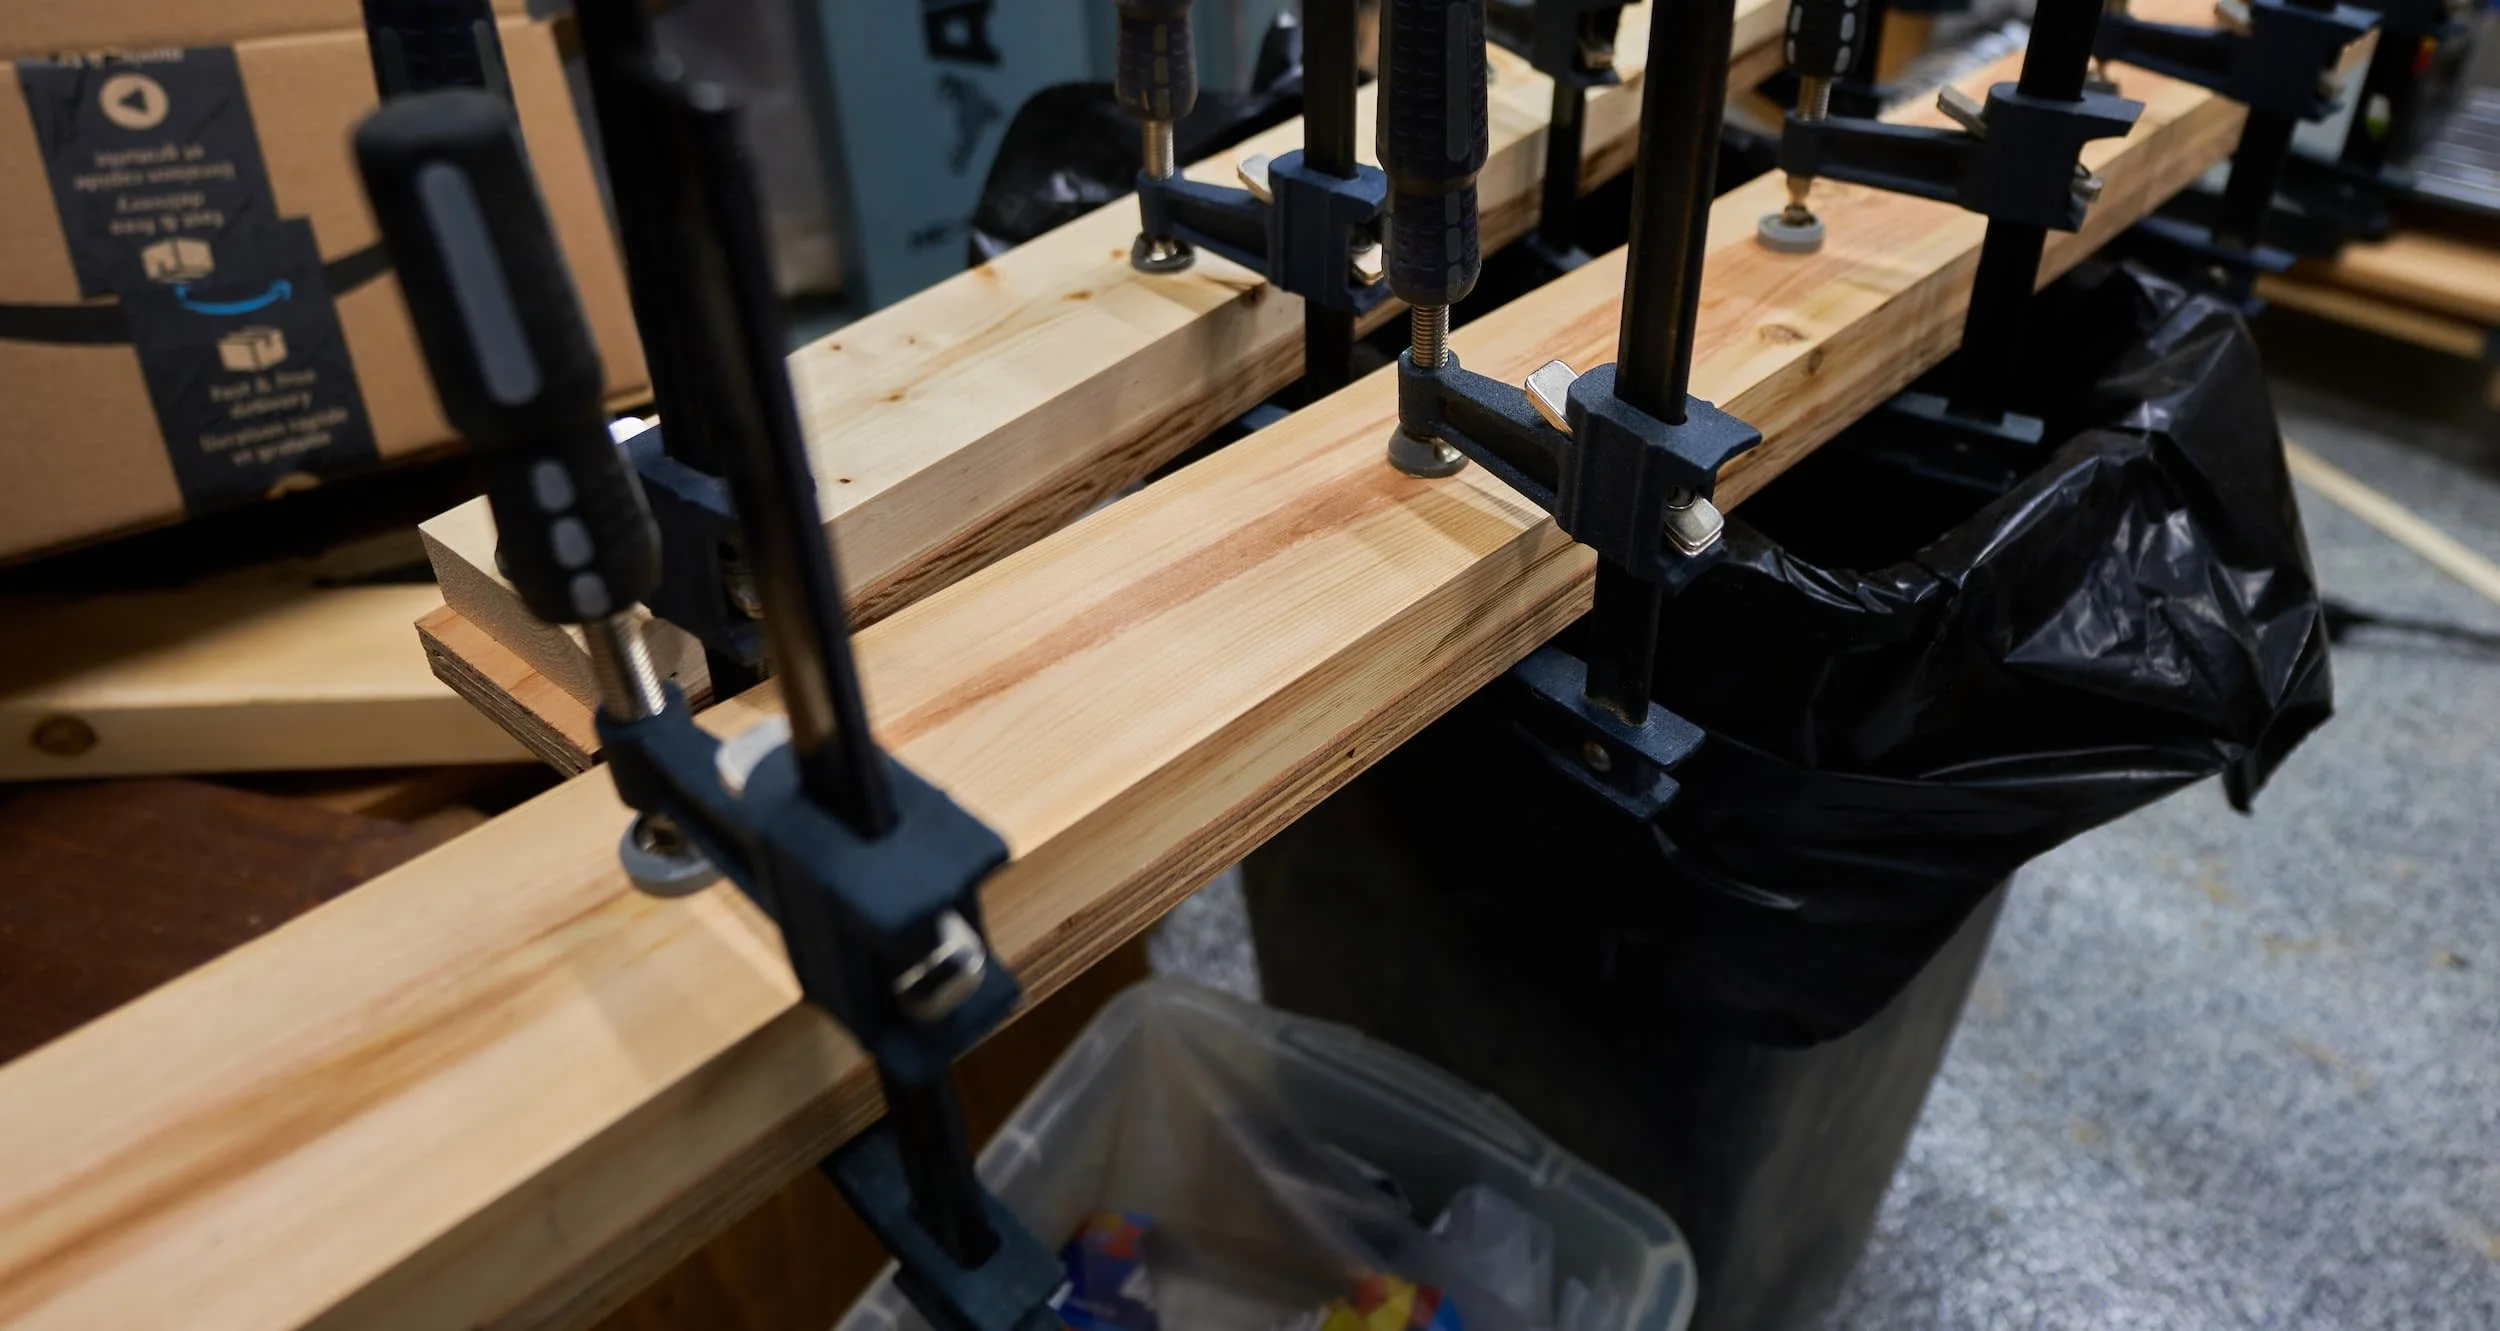
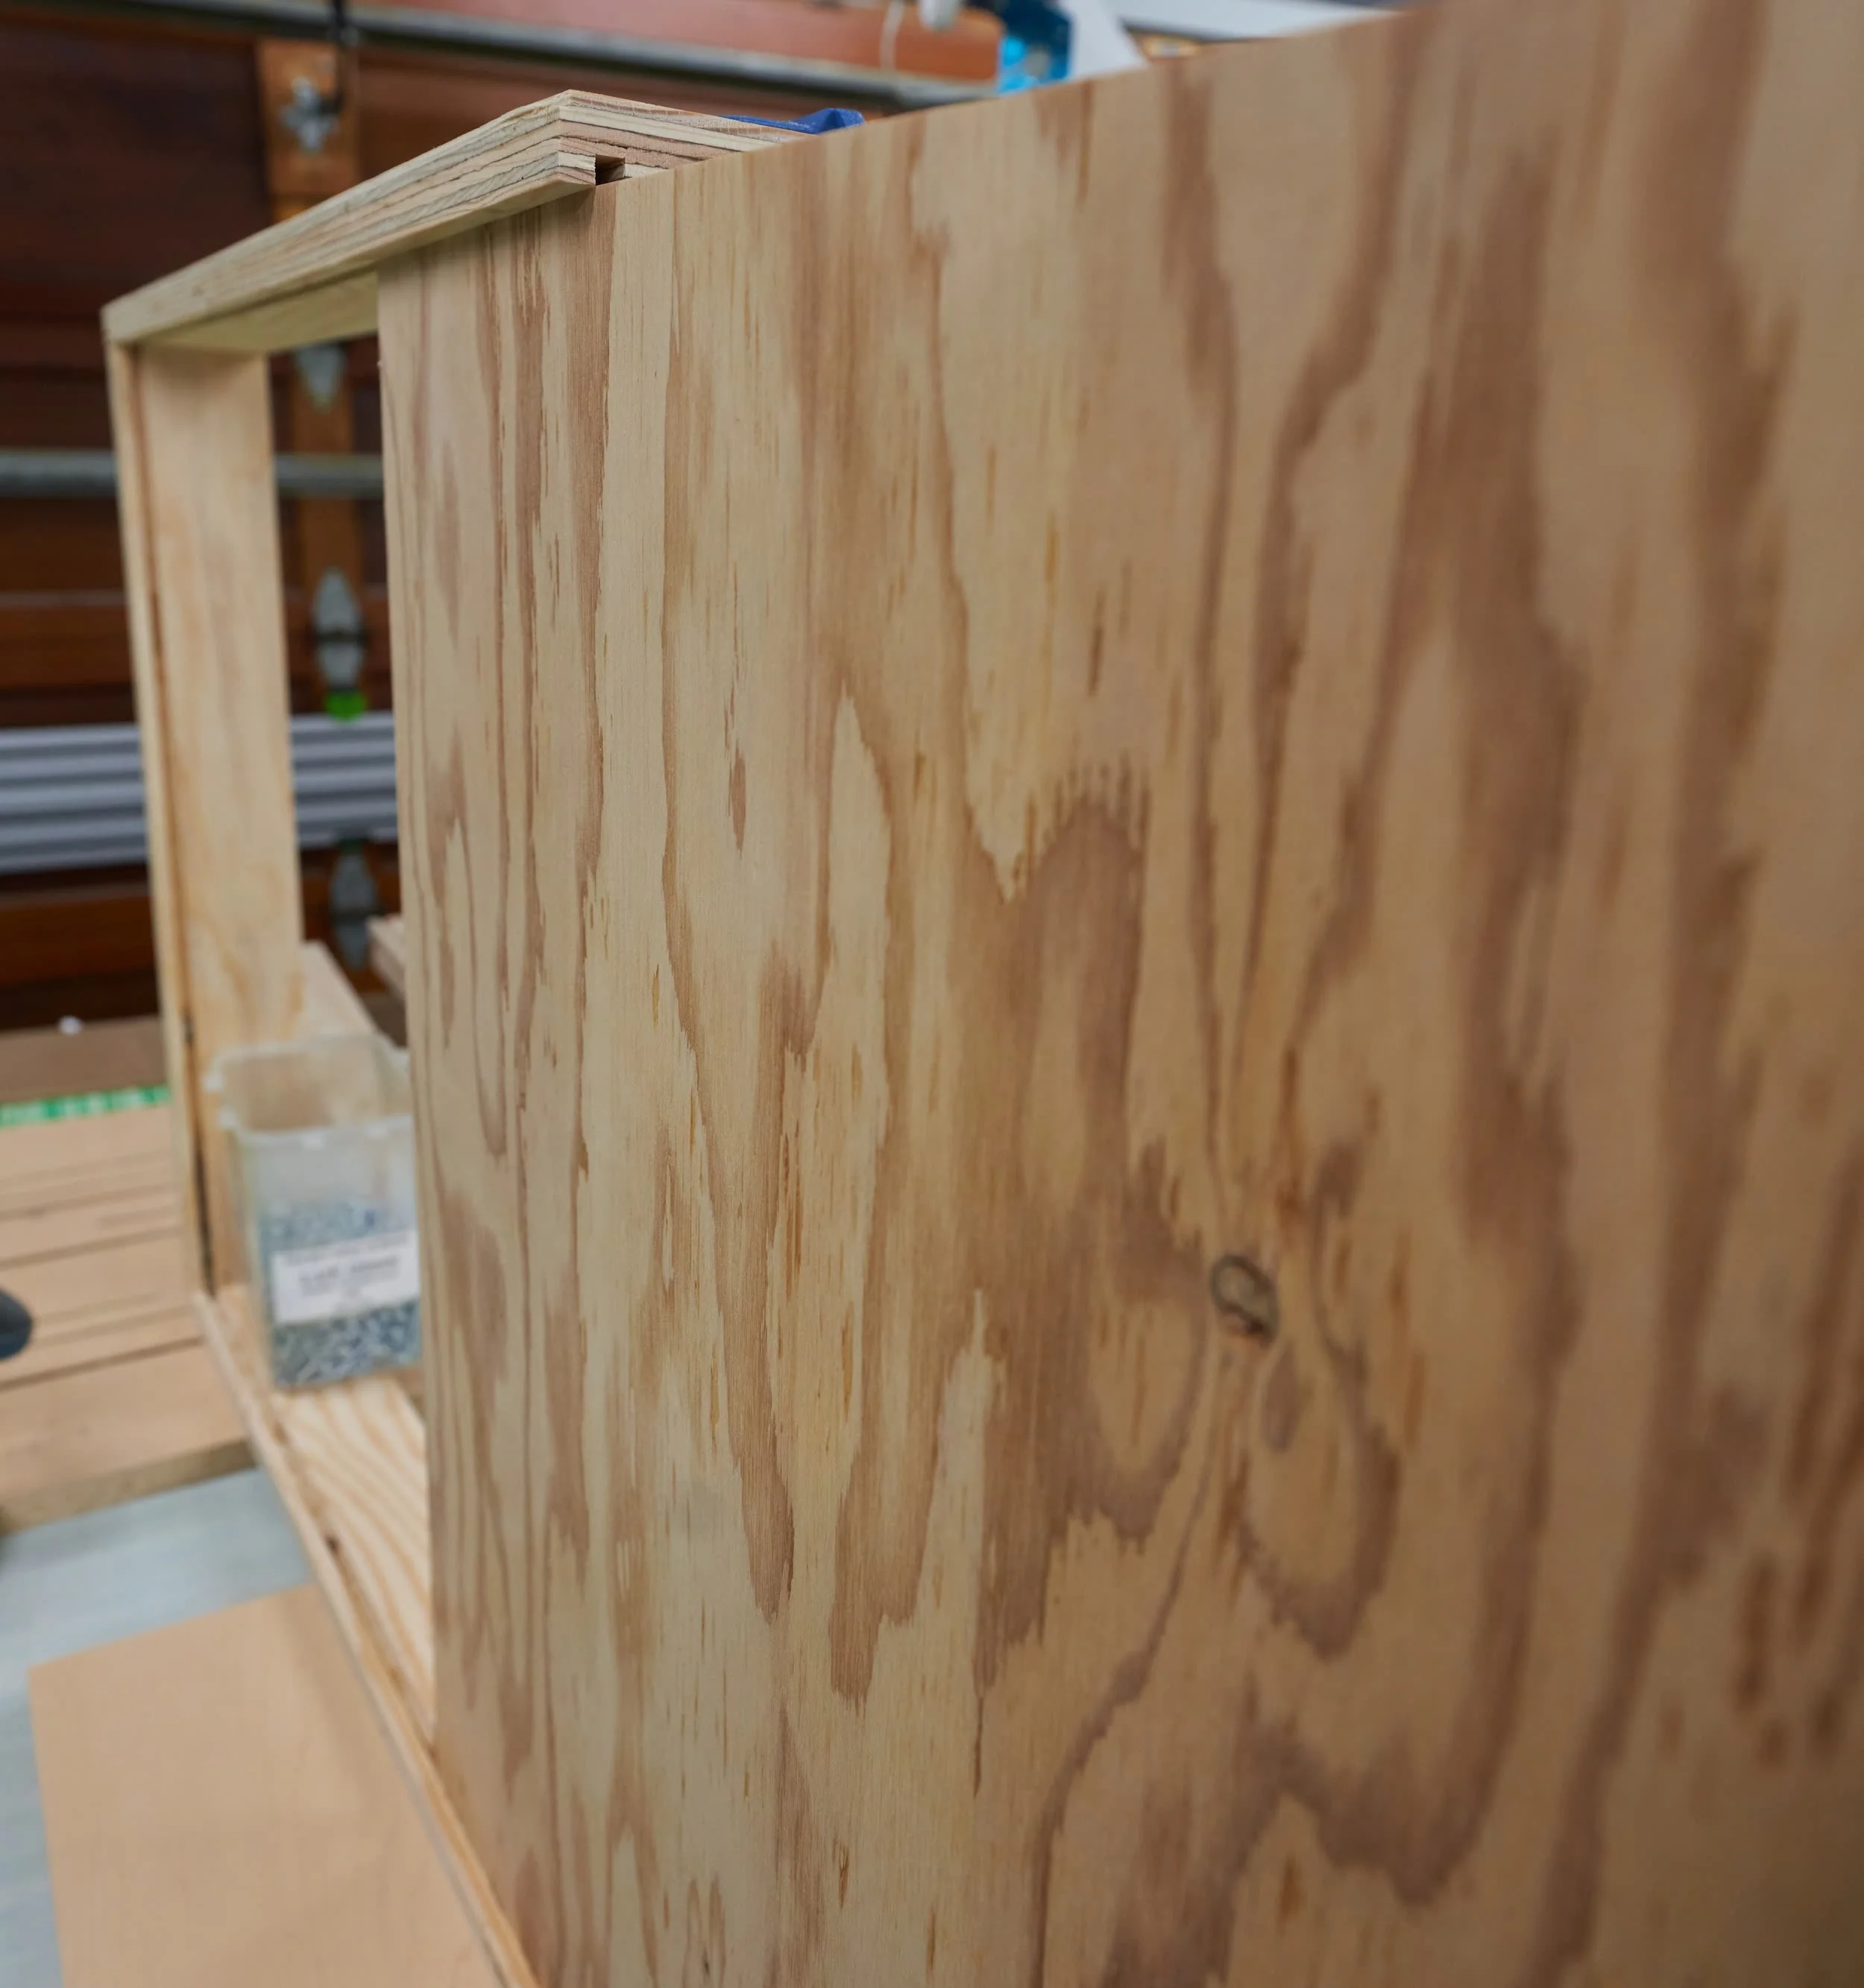
Step 3 - Cabinet carcasses
This was [supposed to be] straightforward: make a bunch of straight cuts and put a box together! After a bit of drama, everything is back on track: now with cabinets one the left and right of the miter saw.


Step 4 - Cabinet top
Thankfully, this step was very low-stress: cut a rectangle.


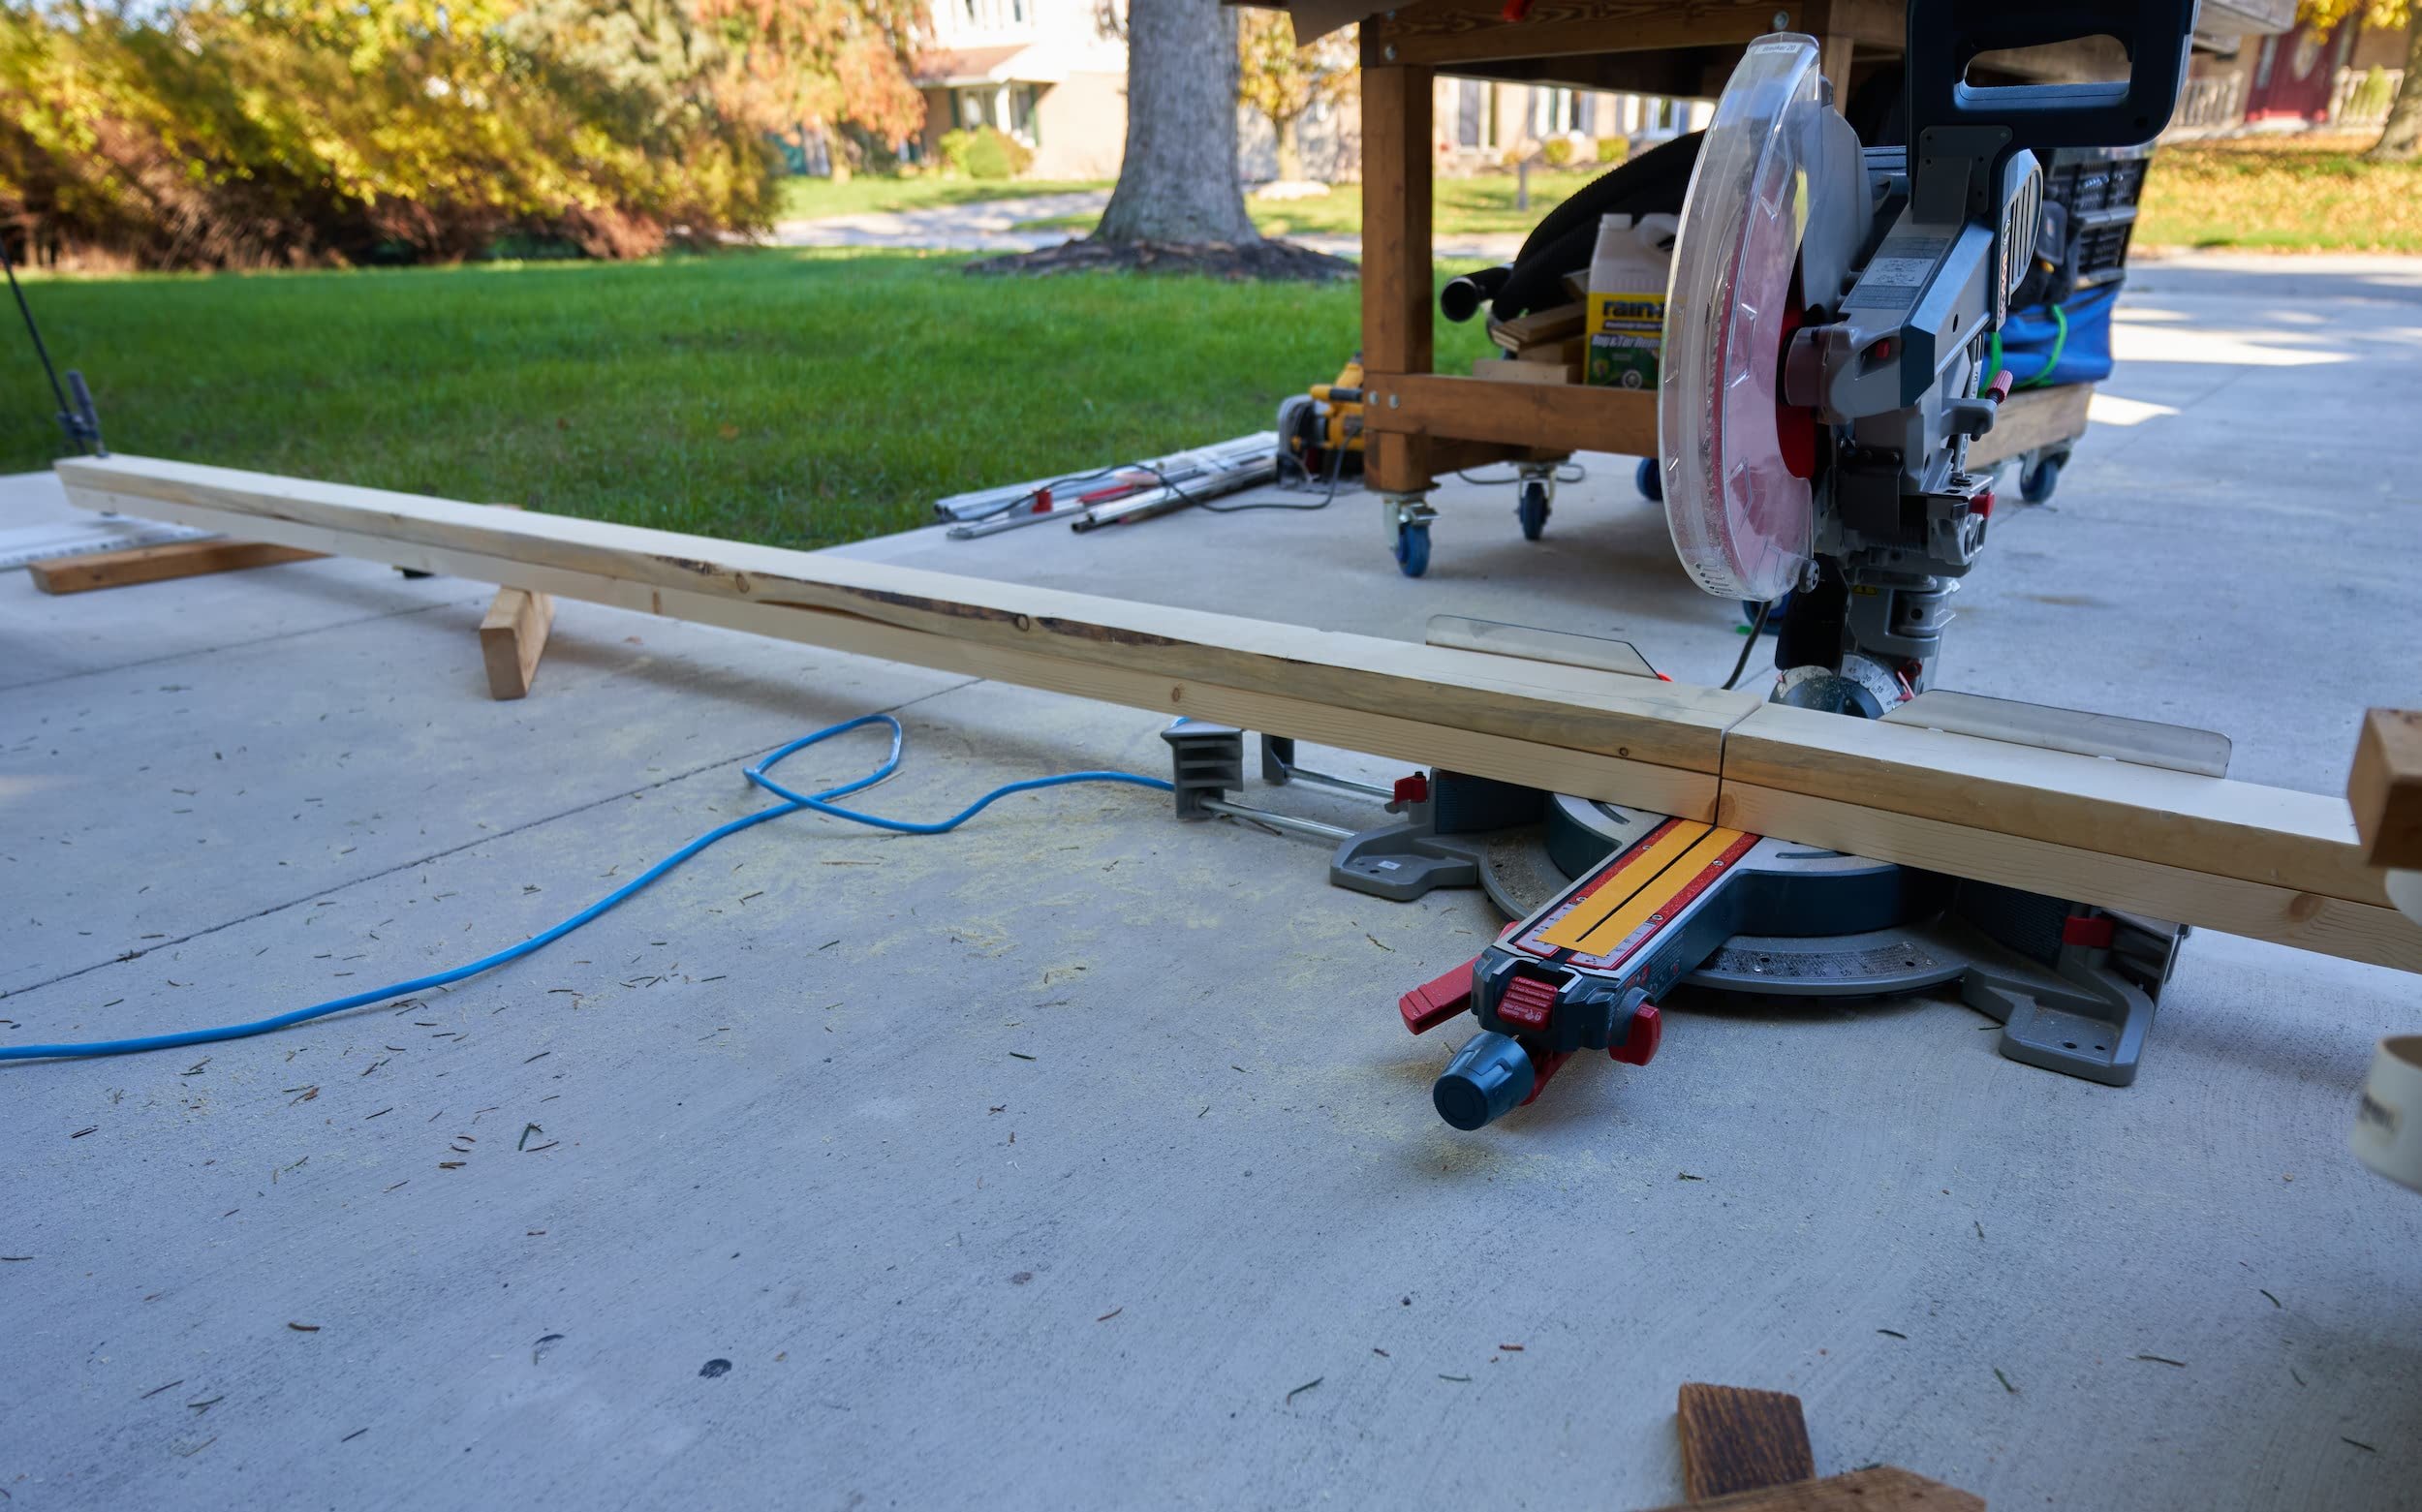
Step 5 - Miter saw levelling platform
This is probably the coolest bit of this new station: I wanted to make use of bolts to level out the miter saw platform. This way, no matter what I put on the platform, it was already pre-leveled — and making minute adjustments would be super easy. I hit my hardware store up for 1/2” bolts and 7/16” washers (can use 1/2” washers too, these were just a snugger fit).


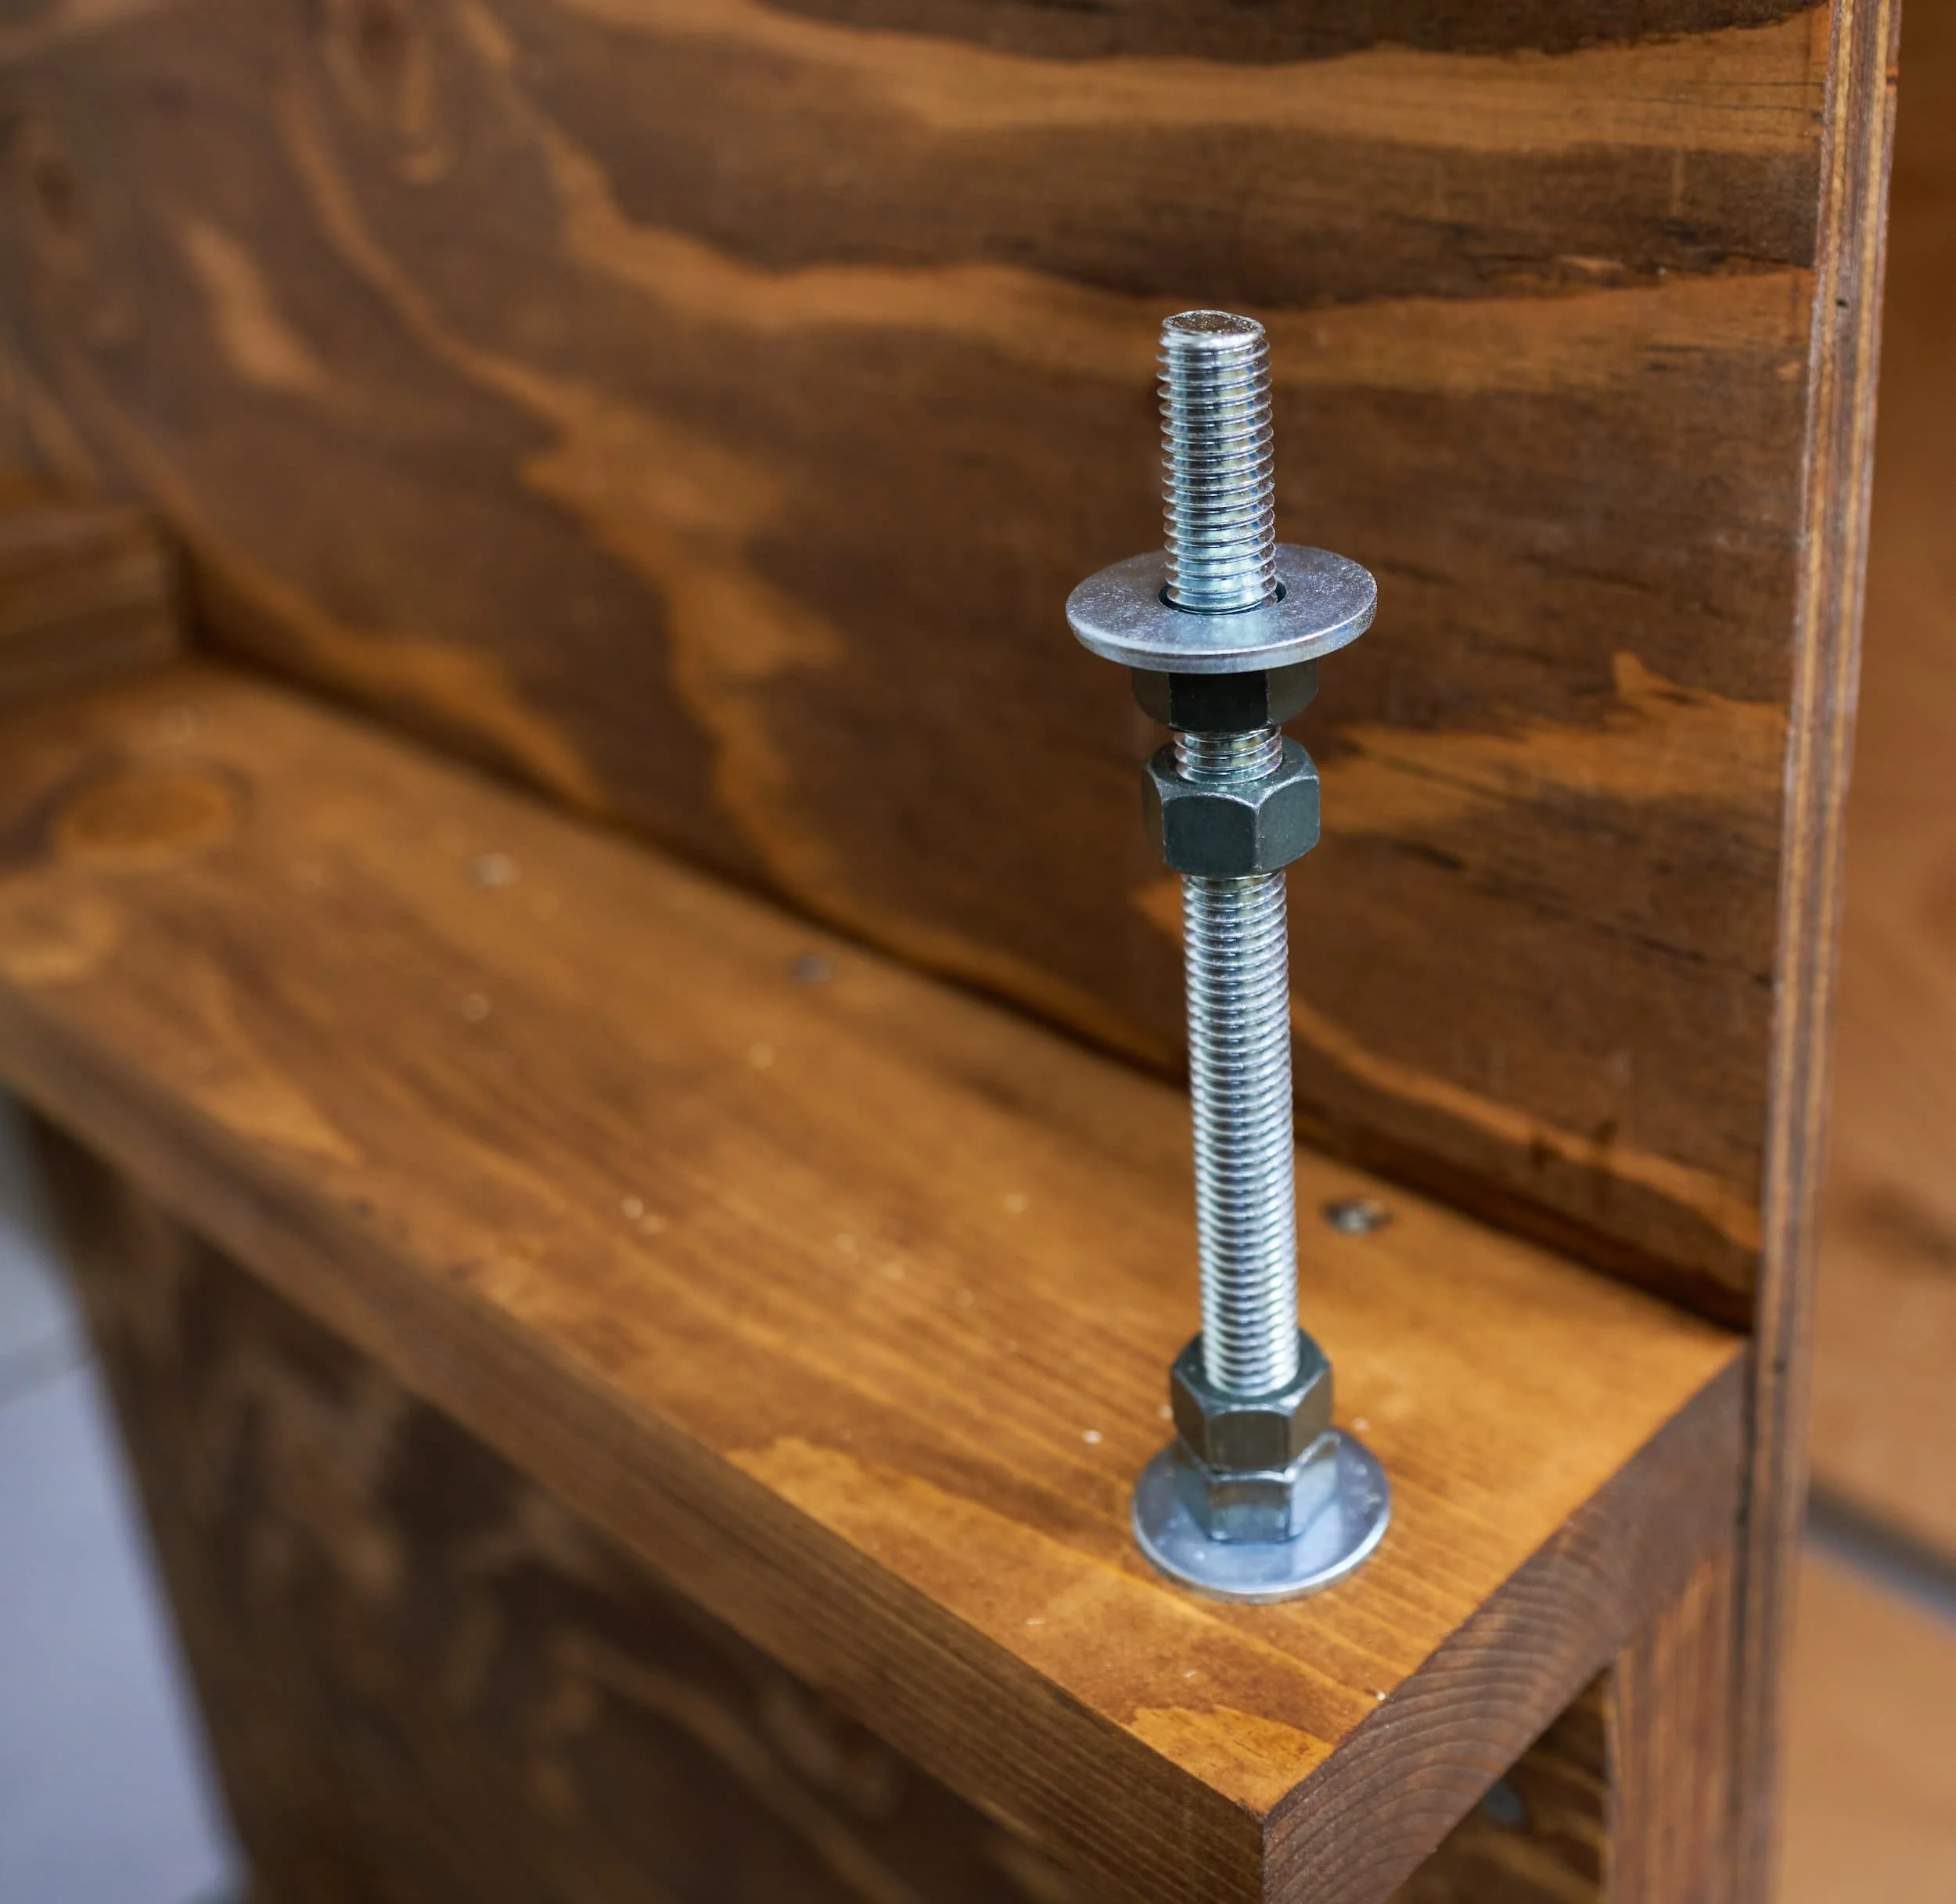


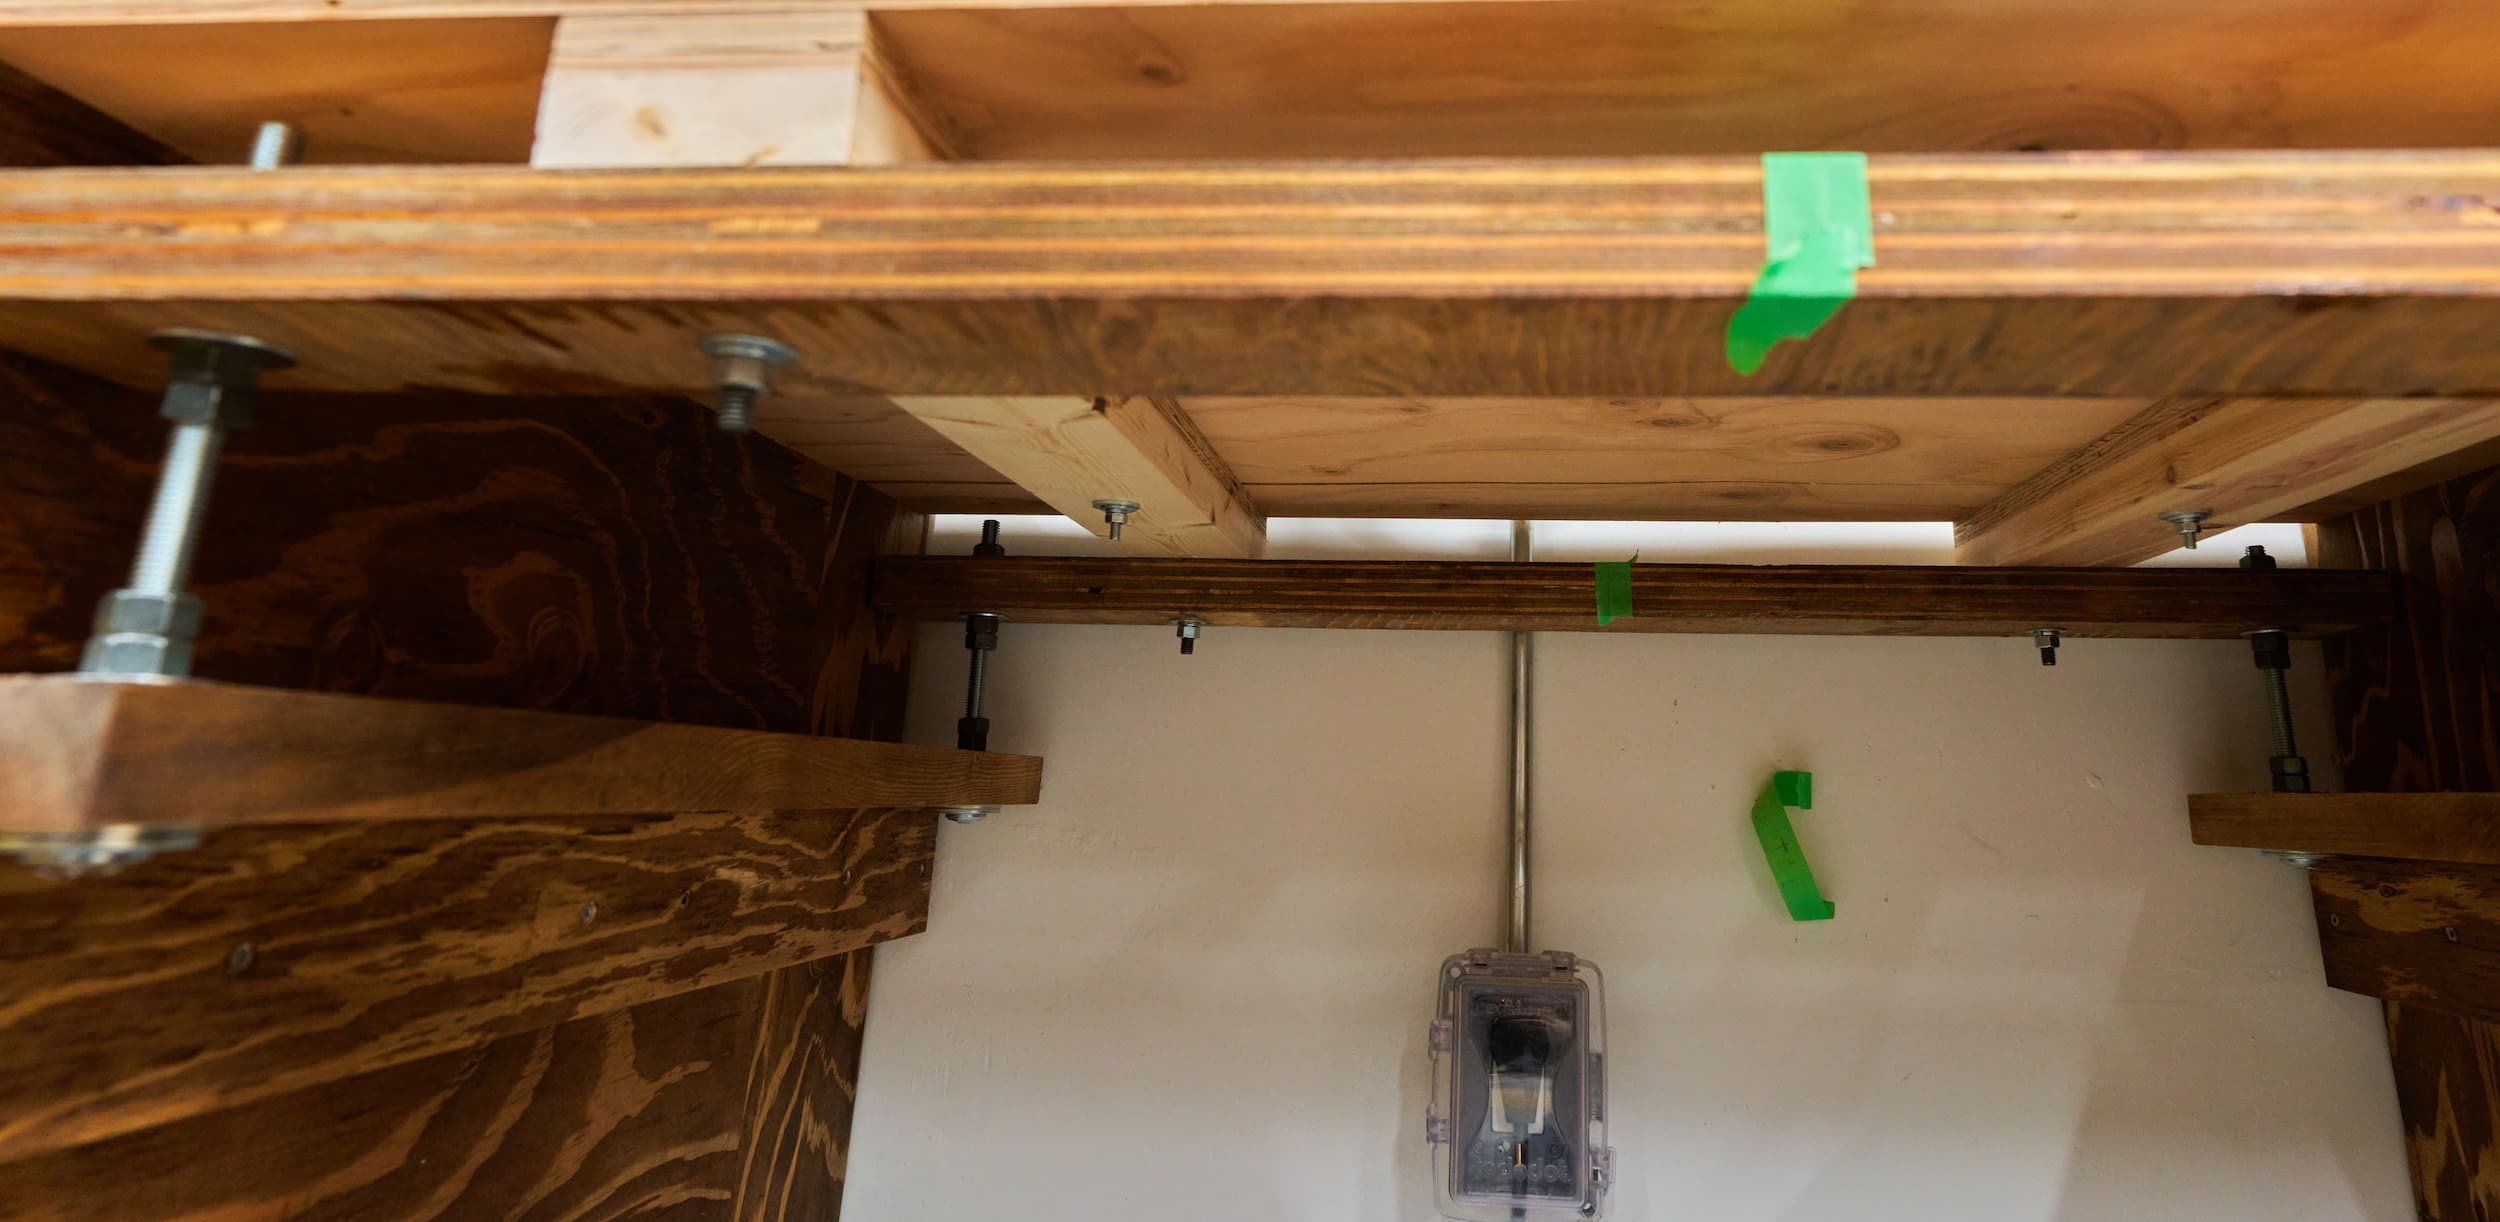
The overall leveling mechanism can be a bit of an overwhelming mess of nuts, bolts and crisscrossing wood. I find that looking at it as a cross sectional diagram helps.

Working from bottom to top we have:
Green: these are fixed to the side cabinets. The first set of nuts and washers keep the bolt from falling down. The bolt continues up running through…
Yellow: this is the adjustable height platform. The nuts and bolts determine the height of this platform.
Blue: this is a detachable platform that we mount the saw to. We run bolts from this into the adjustable platform, to tie everything together
The end goal is that the deck of the miters saw is level with the top of the cabinets (red dashed line)
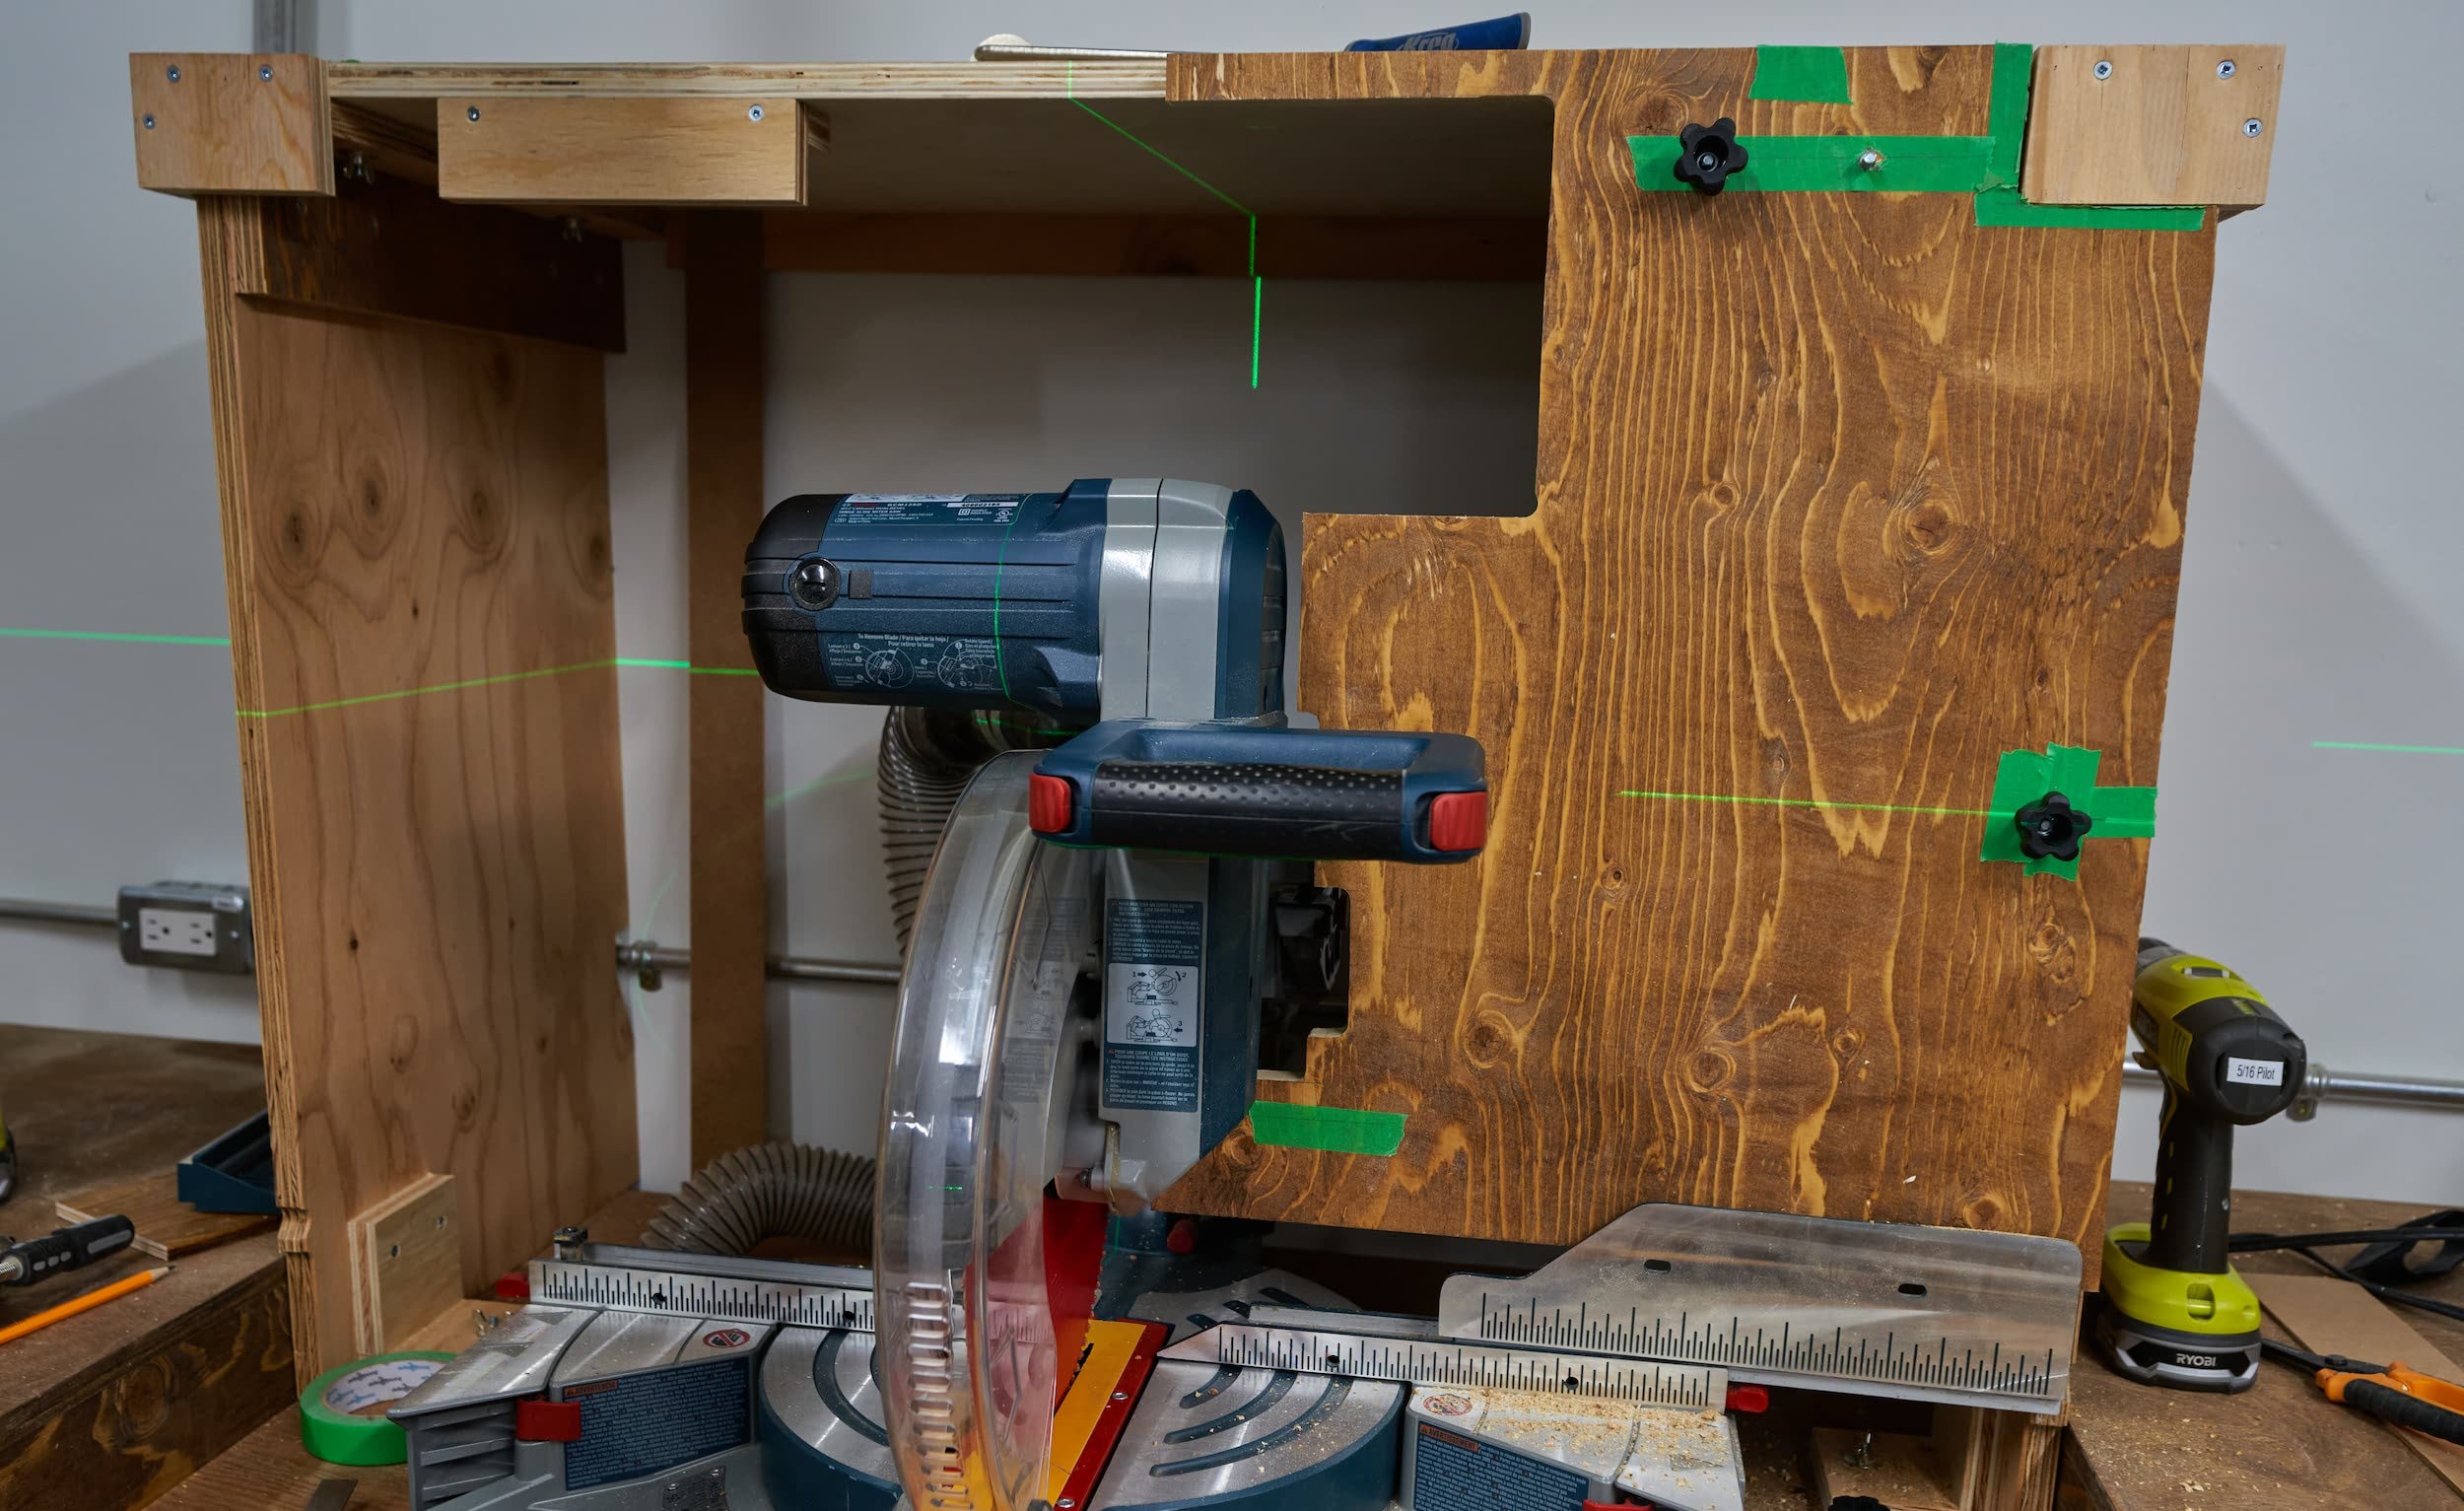
Step 6 - Dust containment box
Miter saws generate a ridiculous amount of dust and they toss it everywhere — even with dust collection. Short of cutting outside and having a substantial breeze blow all the airborne dust away, you’re not going to be dust-free. So while I planned on having some form of dust collection, the bigger goal was to contain all the crap that the dust collection wouldn’t be able to pick up. I went with a containment box for the last station as well but there were a few flaws with it:
It was a bit too shallow (front to back)
I built it assuming the wall was plumb (my mistake), and since the wall wasn’t plumb, there was a substantial gap for dust to fall down at the back
It wasn’t very sturdy
This time around, I planned to use bolts and star knobs to increase the rigidity (as opposed to having magnets) — I don’t often take the box apart anyways so this won’t be a big inconvenience.


Step 7 - Dust collection
For the last miter station, I had the vacuum hooked up to the dust box with the hope that all the dust would settle in one area and the vac would just suck it up. Of course, vacuums don’t move nearly enough air (by at least one order of magnitude, if not two) so that didn’t work so well. This time around, I opted to hook the vac up to the miter saw directly — the vac would collect whatever it could at the source and I would rely on the dust box to contain the rest for regular cleaning. One big change was that I would use a cyclone pre-separator in the mix to hopefully extend the bag-emptying/filter-cleaning interval.


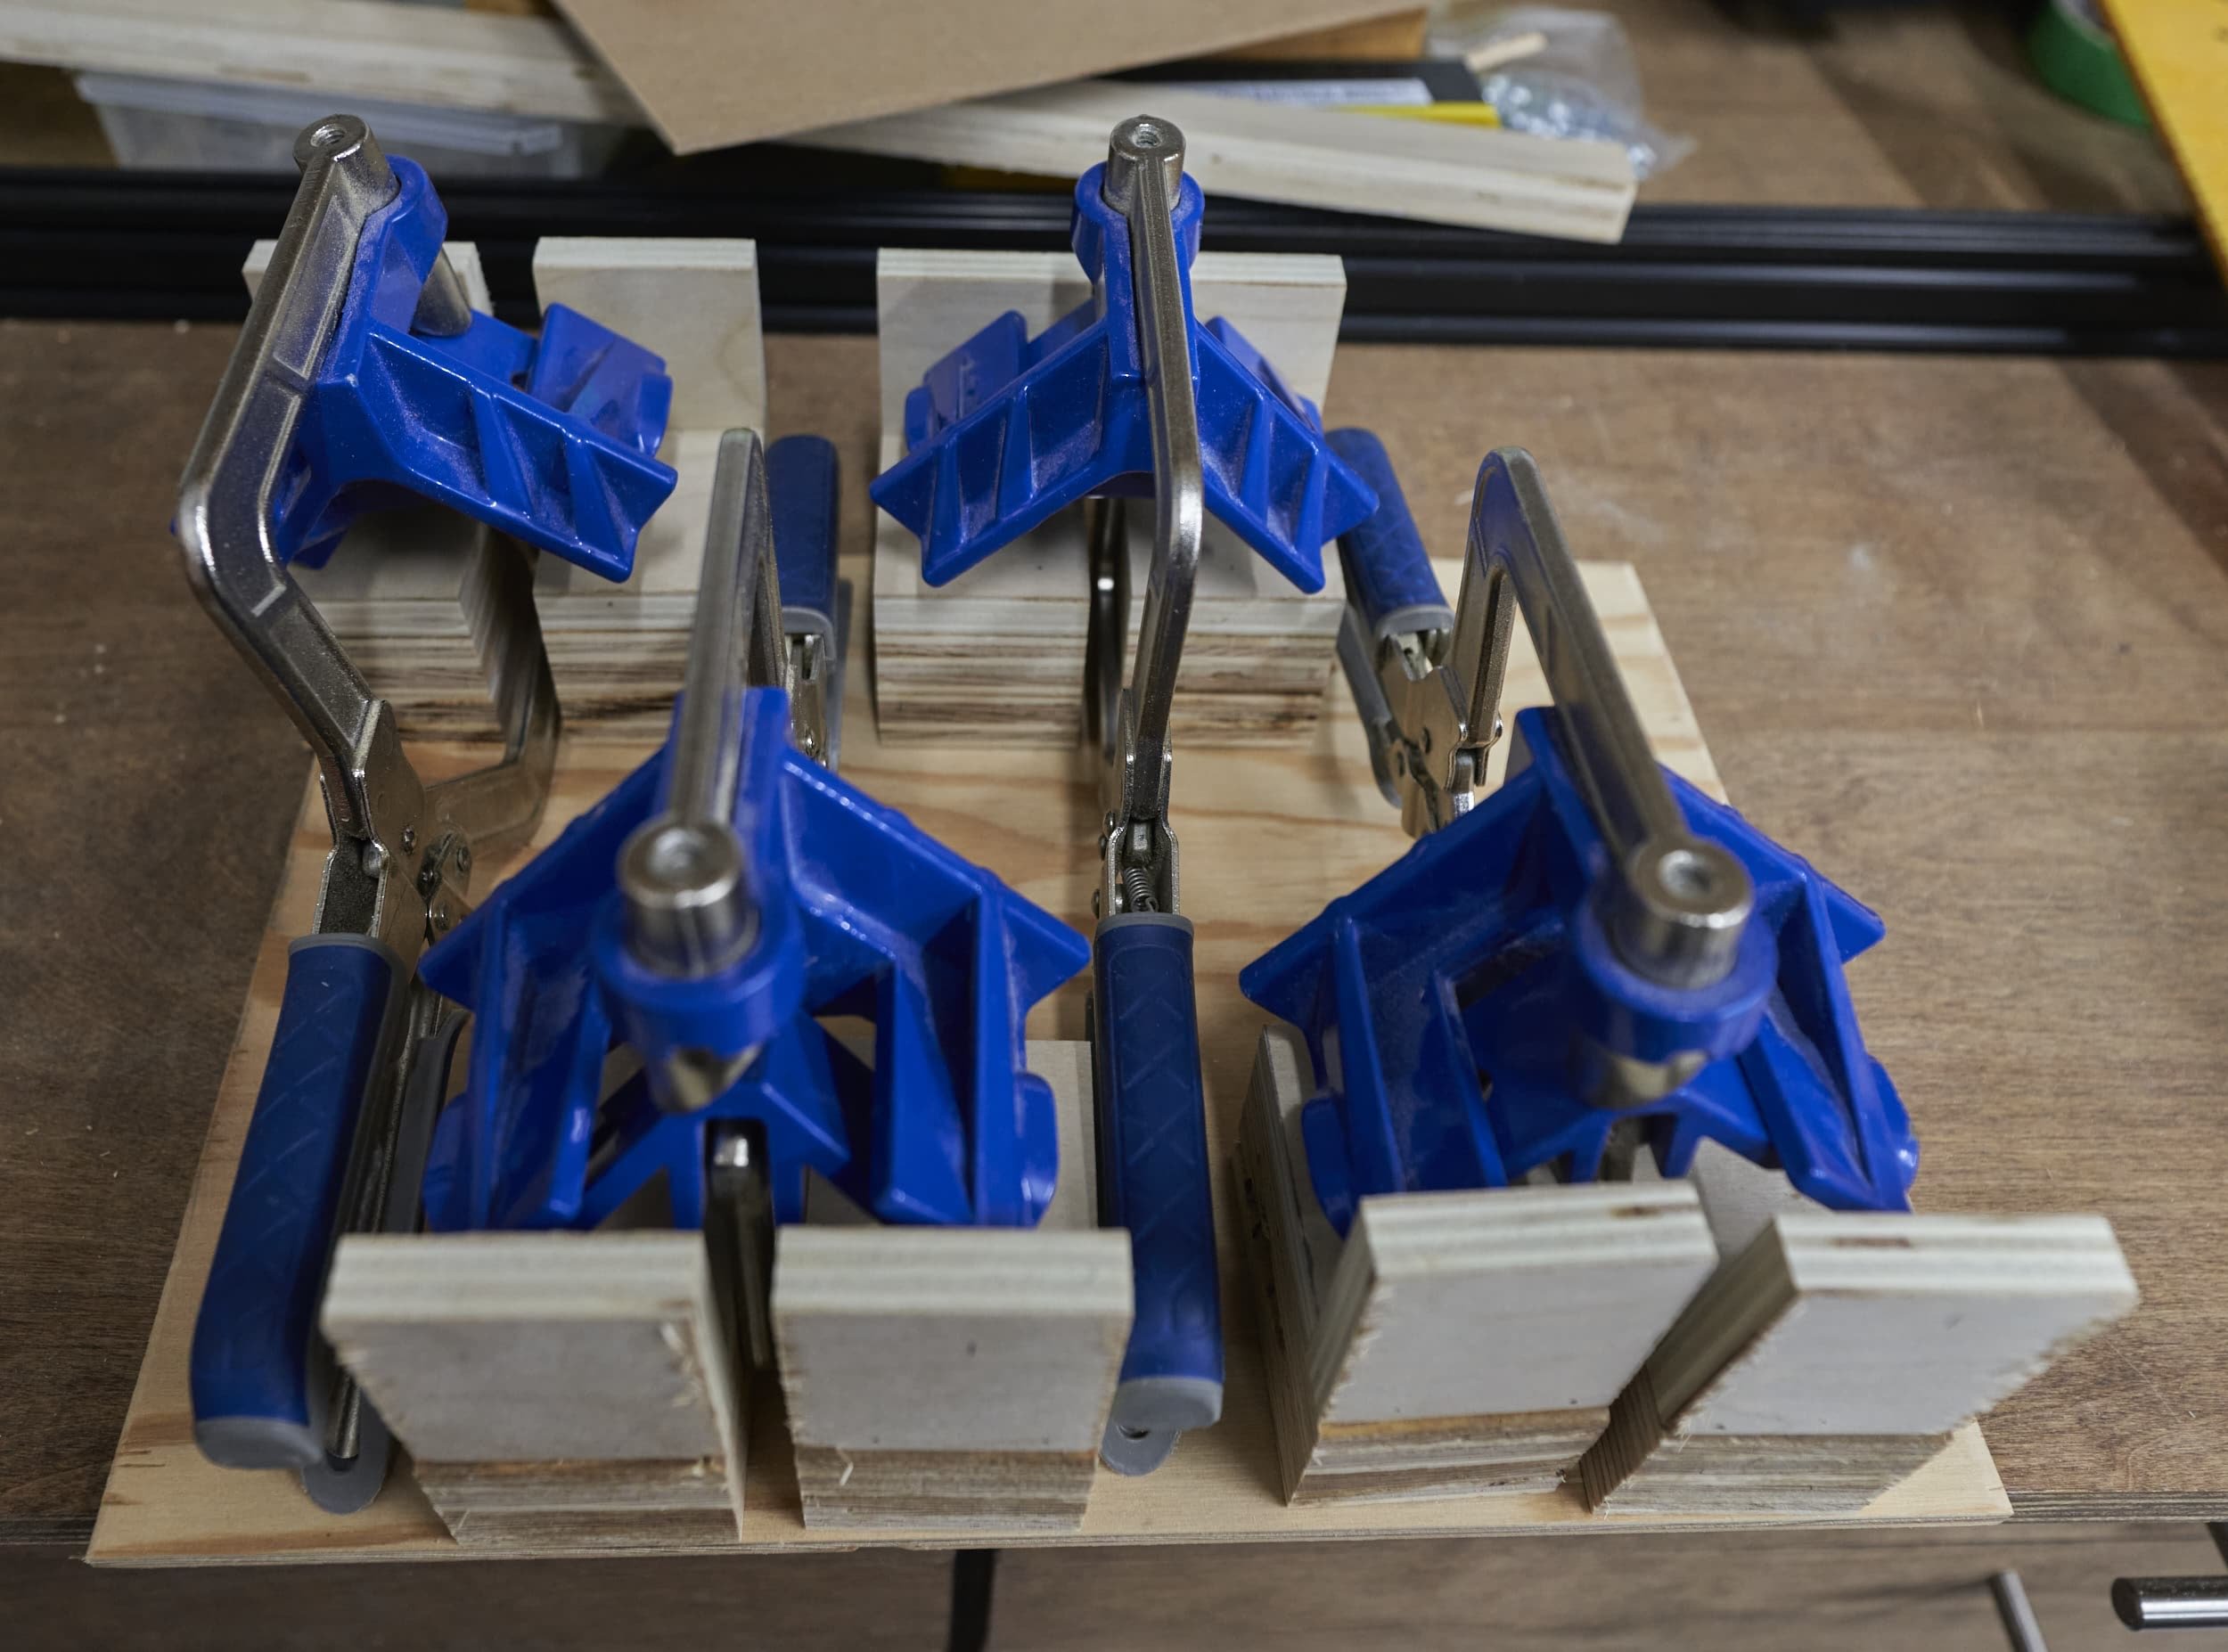
Step 8 - Integrated hold-down
About halfway through this build, I needed a bit of a break — I wanted something easy (ish) I could knock out and add some value. My miter saw doesn’t have a quick release hold down because Bosch didn’t think it would be a good idea? I don’t know. Hold downs are great, but they have to be quick to engage and disengage — ain’t nobody got time be twisting a knob a bazillionty revolutions to tighten/release the hold down. Here, I set out to make use of an auto-clamp to try and replicate the quick-set/release functionality.


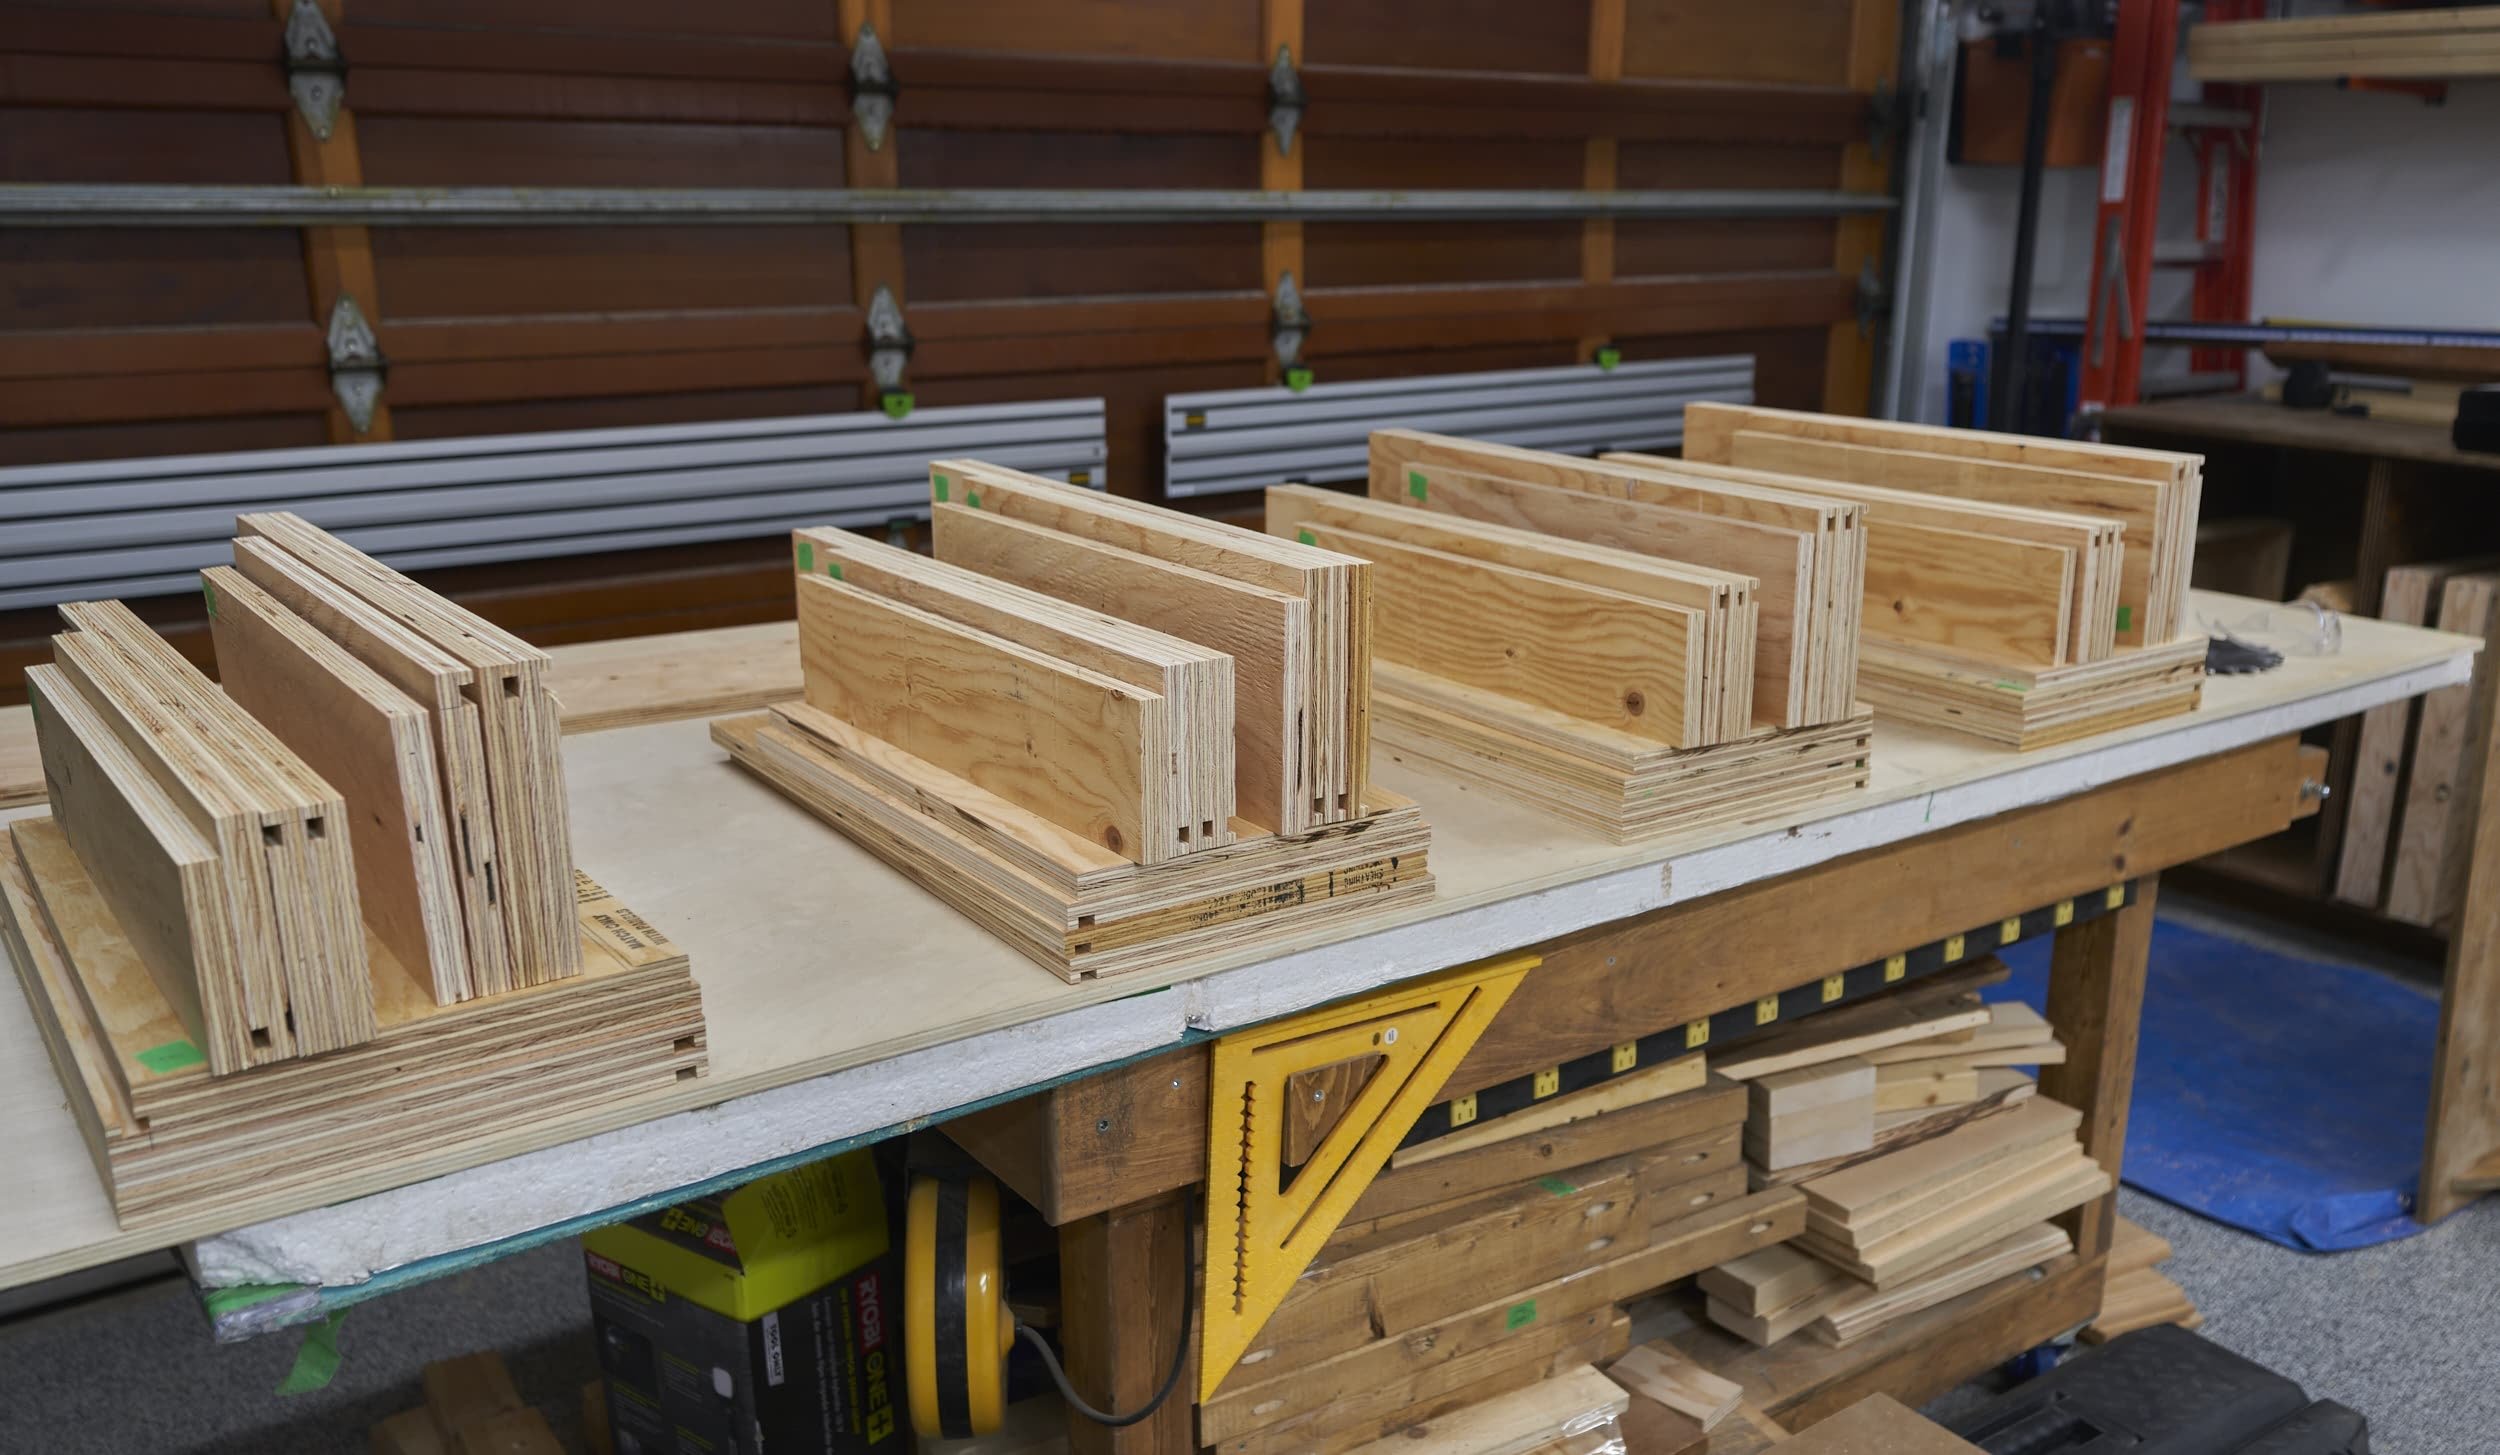
Step 9 - Drawers
Ah, the moment I’ve been dreading — I hate drawers. I hate making the drawers because nothing ends up being square and I hate hanging the drawers because drawer slides are the devil. I forced myself to make a whole bunch of drawers so that maybe, by the end of this, I might be a bit more proficient.


So everything so far has been progressing well — perhaps even a little too well. After I built out my first few drawers, my mistake set in. I assumed that, since I gang cut everything in nice neat batches, that the cabinets would all be the same width. Nope. There was a bit of variance with my cabinets so some of the drawers were a bit too wide. One of the downsides of pocket holes is you can’t “un-pocket hole” something.
Thankfully, I caught this after only doing the first size of drawer so I only had to fix a few drawers. So, pro-tip: drill pocket holes after you have the box sized to the actual opening.


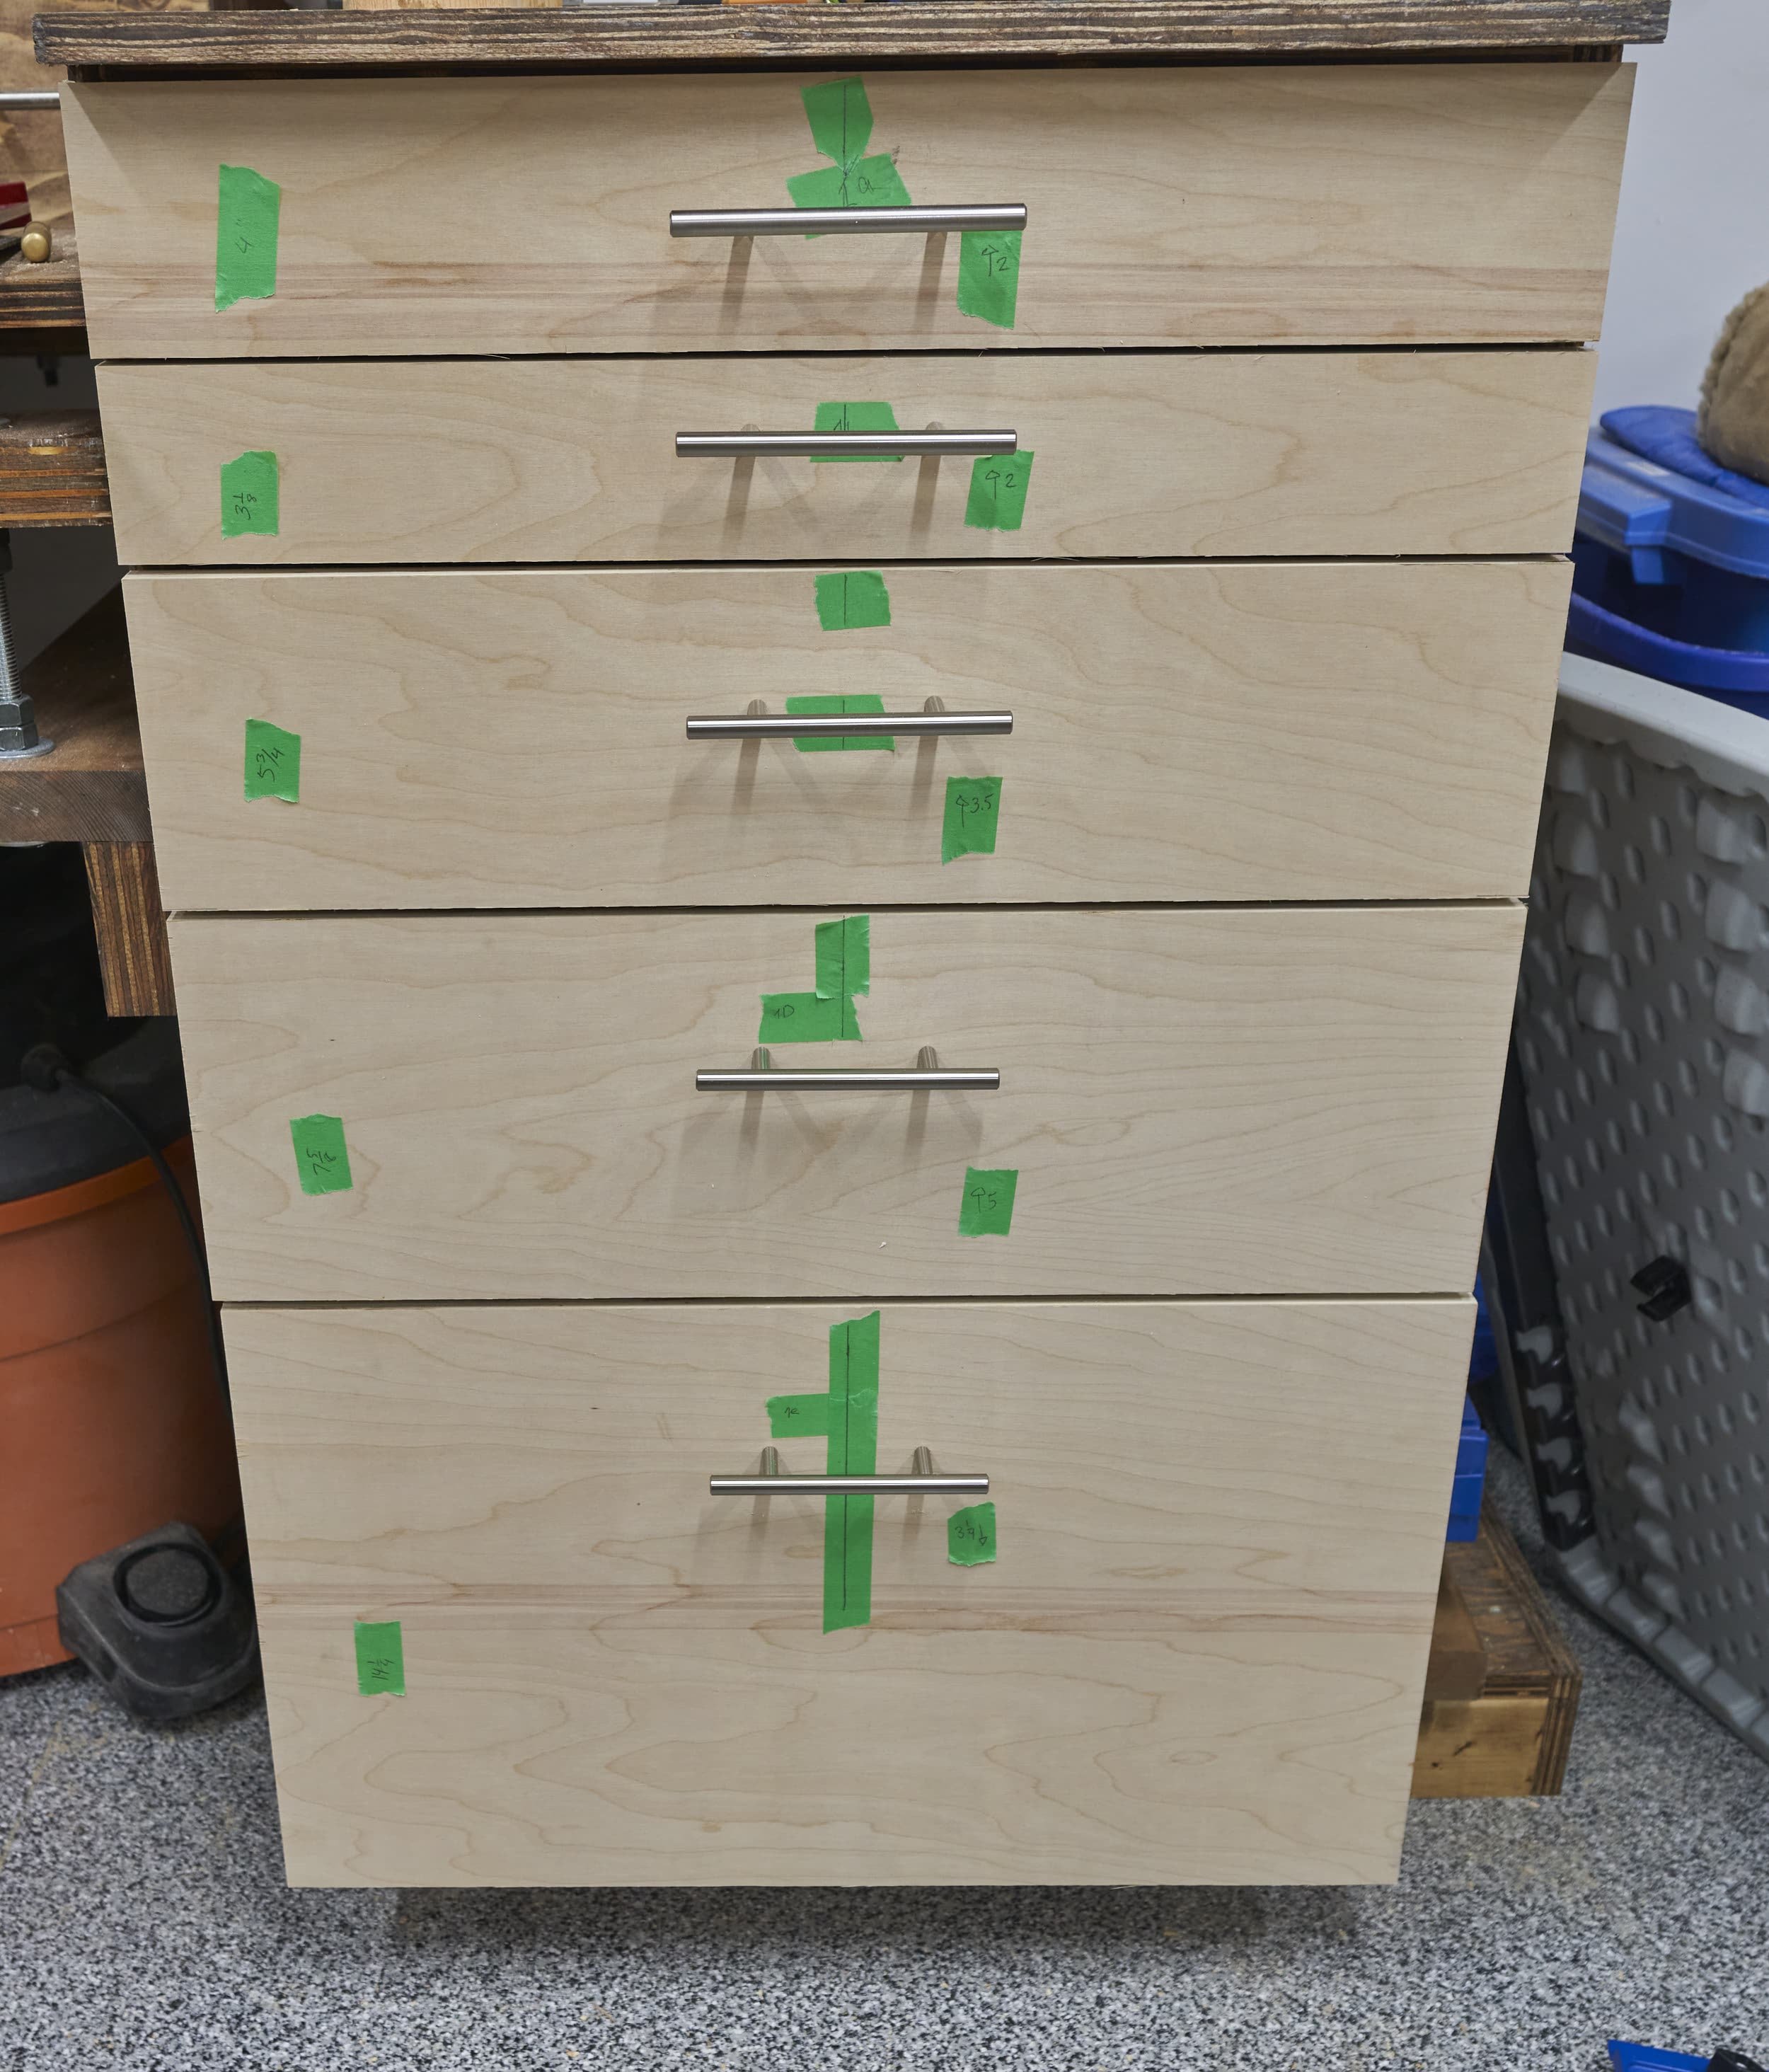


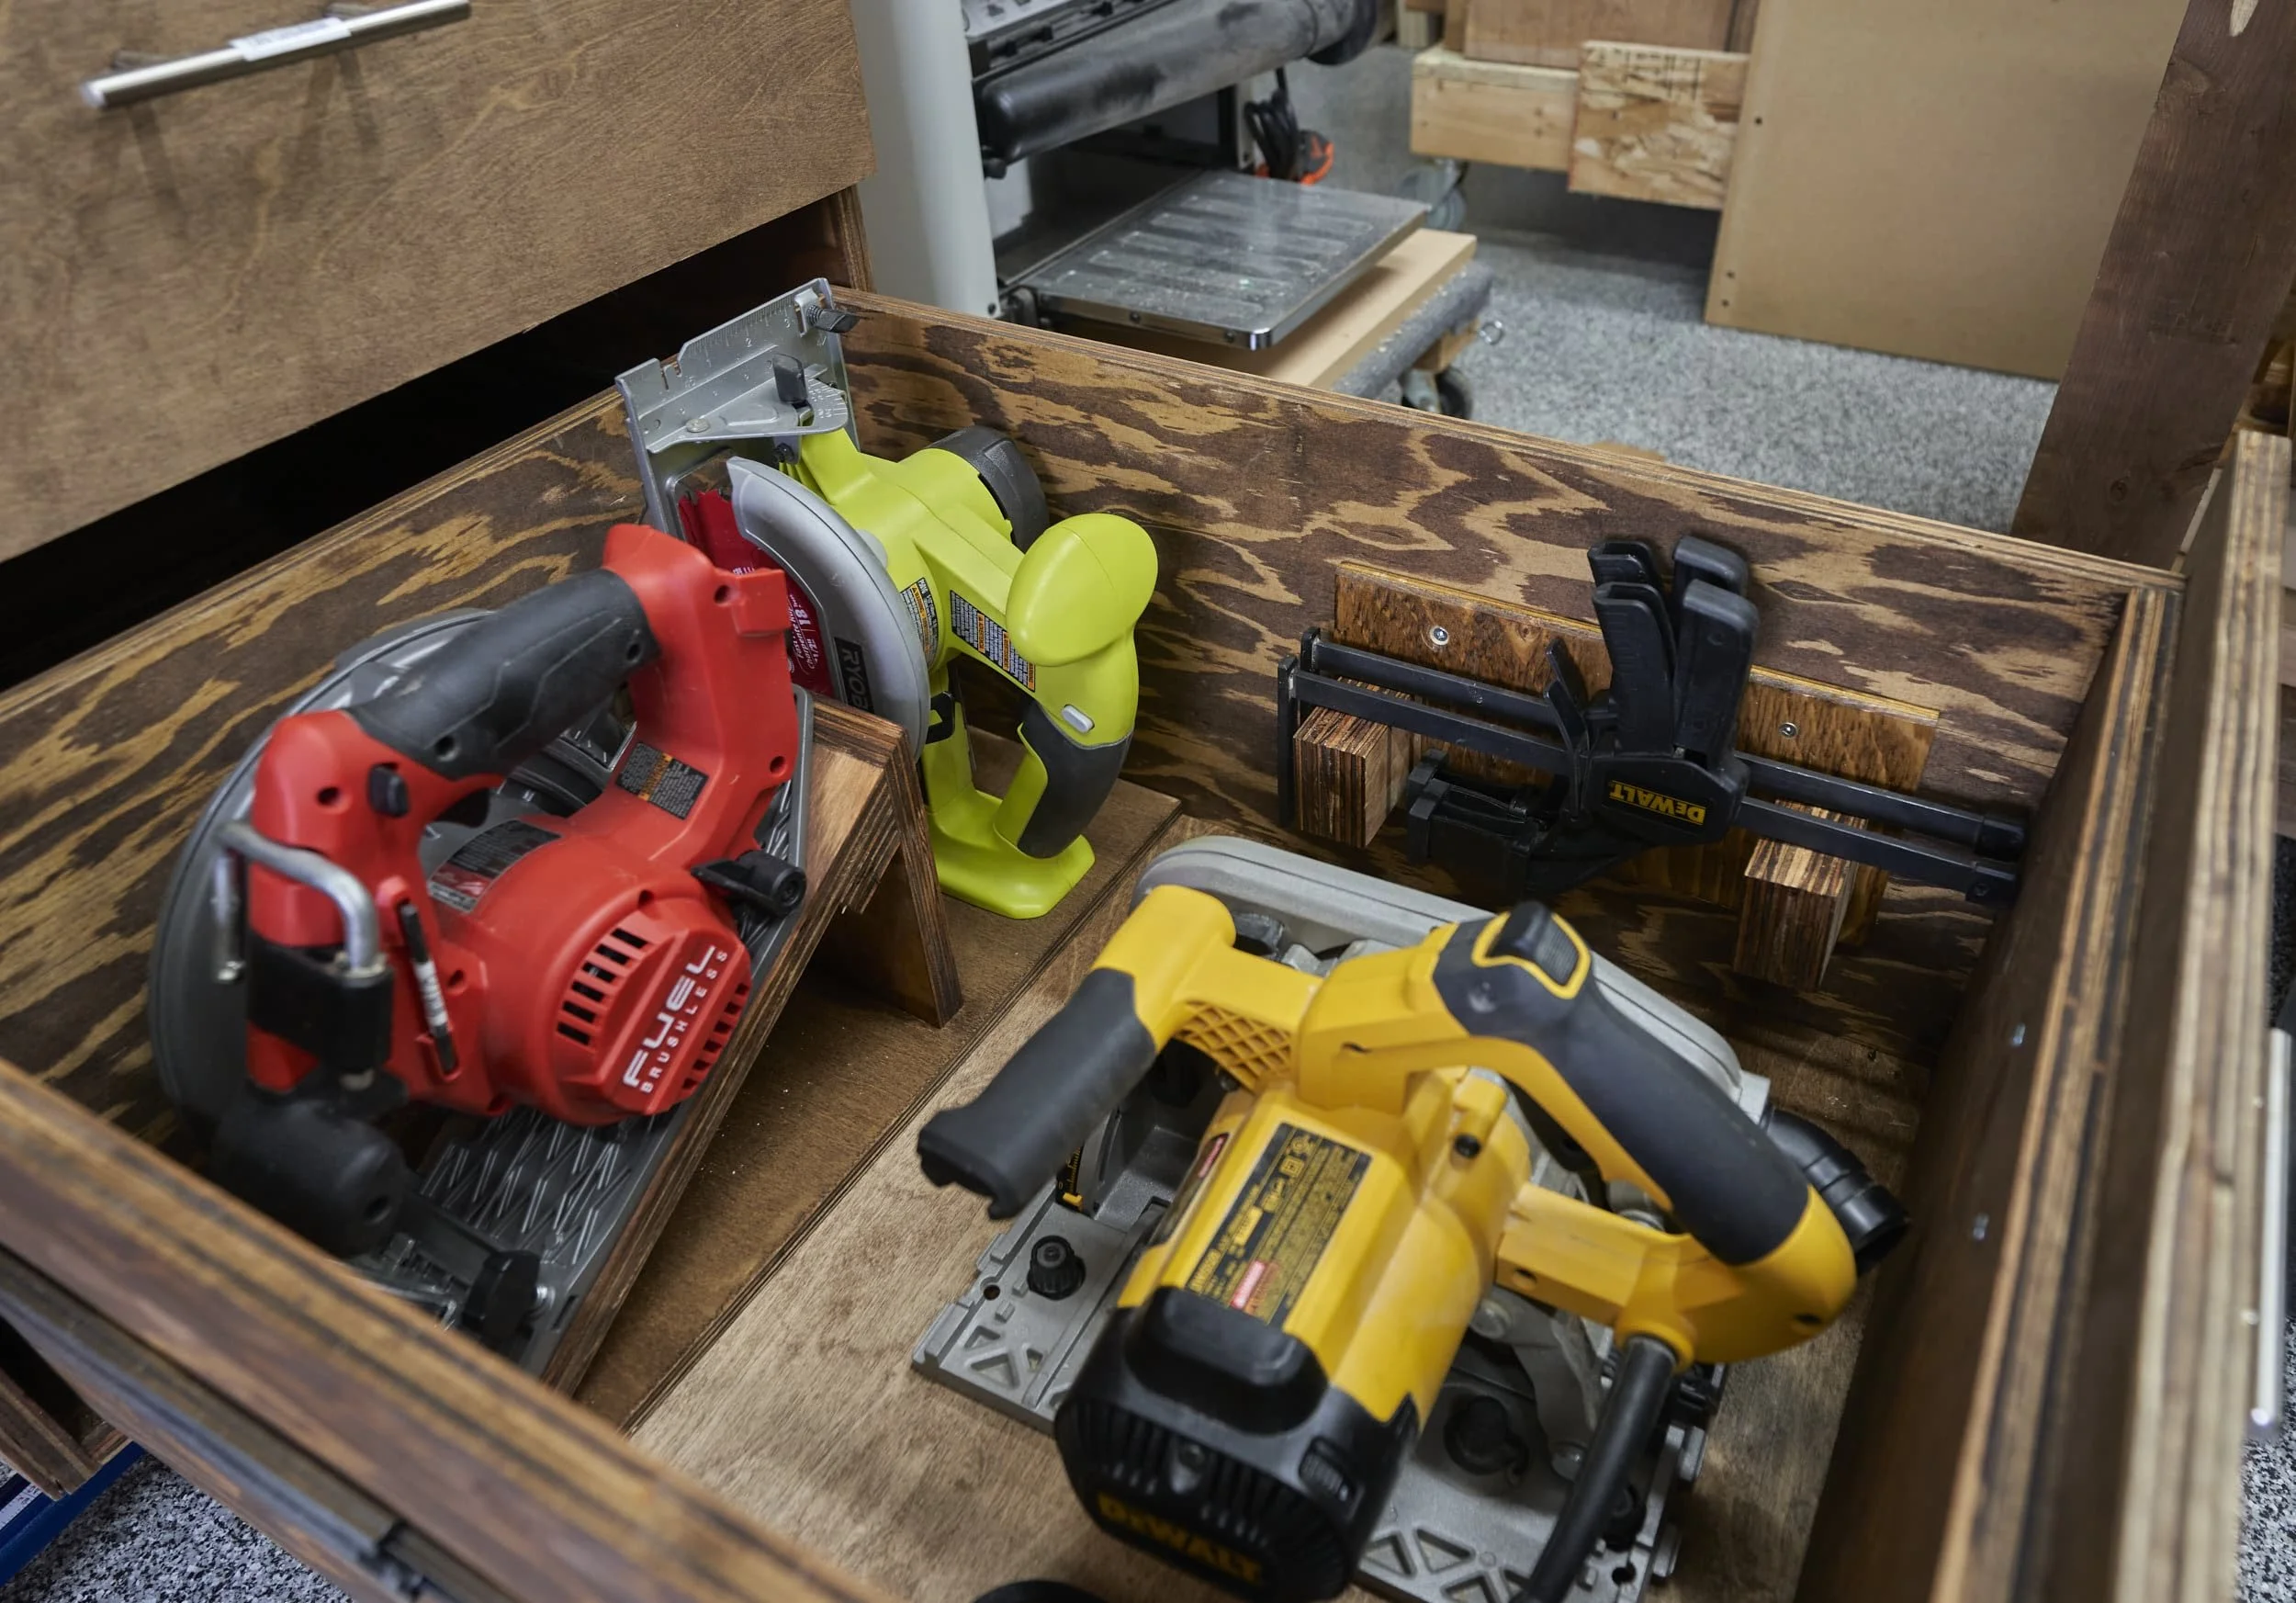
Now that the drawers are built and ready to be loaded, I spent a couple days moving stuff into their “final” home. For a few of the drawers, I made some specific drawer organizers.


Step 10 - Fence
There are arguments for and against having a fence — I see value in both but I’ve always had a fence and it’s just something I’m more familiar with. And, since I know these work surfaces are just going to be covered in crap anyways, having a fence allows me to shove everything behind it and presto, I can use the miter station! Also, having the Kreg top track and stops already probably doesn’t hurt.
In my previous builds, I made an extended length L using plywood but I never really trusted it to be true; this time around, I went with aluminum extrusion which is likely going to be way more true than anything I’m going to be doing. There was only one catch (other than cost and availability in Canada) — the Kreg top-track requires a certain amount of height off the table (for the stops to work) and my extrusion wasn’t tall enough. My workaround was to use a piece of 3/4” plywood as a buffer; but in order to attach this, I needed to counter bore specific and consistent holes for the M5 machine screws to recess into. Of course, I don’t have a drill press since moving, so I did the only reasonable thing: I got a new one (which of course, took months to get here).


Step 11 - Small touches
Removable side plugs
I sized the width of the miter platform to allow for the expansion wings on the miter saw to be extended, but almost all of the time, the wings are not extended. To keep dust from just blasting out the sides, I needed to make some kind of cover/plug that can be easily installed/removed. Also, by having the panel that can be easily removed, makes cleaning out the dust box a lot easier.


Lumber rack
One difference with this shop is that I don’t have as much linear wall space to put my lumber rack so I opted to get the generic pivoting metal-arm lumber rack. I bought a cheapo set and they aren’t great — thankfully I was able to drill out the holes to be inline with each other and I had a supply of smaller bolts (that would give me a bit more adjustment range) etc.


Shadow cut line indicator
The miter saw I have doesn’t have any kind of laser or shadow cut line indicator. There are aftermarket lasers that can be used (triggered with the rotation of the blade), but I found an option on Etsy for a 3D-printed sewing lamp mount that provides a nice shadow cut line. I put this light on a foot-operated switch - step on it and you the light comes on..


Milestone
This has been a multi-month project in the making with a lot of “side quest” projects I’ve done along the way as I procrastinated (from doing drawers) and/or needed a thinking-break. There are a few small things I have left to do:
An extended fence stop for distances when I’m making cuts less than the smallest length on the fence (about 24”) — I think a single piece of 24” aluminum extrusion will work very nicely there: don’t have to worry about precision or warpage (as much)
I’d like to replace the zero clearance tape I’m using on my saw now with a more proper zero clearance
But for now, this project was a long time coming and it’s finally done.
Mix-ups, surprises and lessons learned
The two biggest whoops moments were:
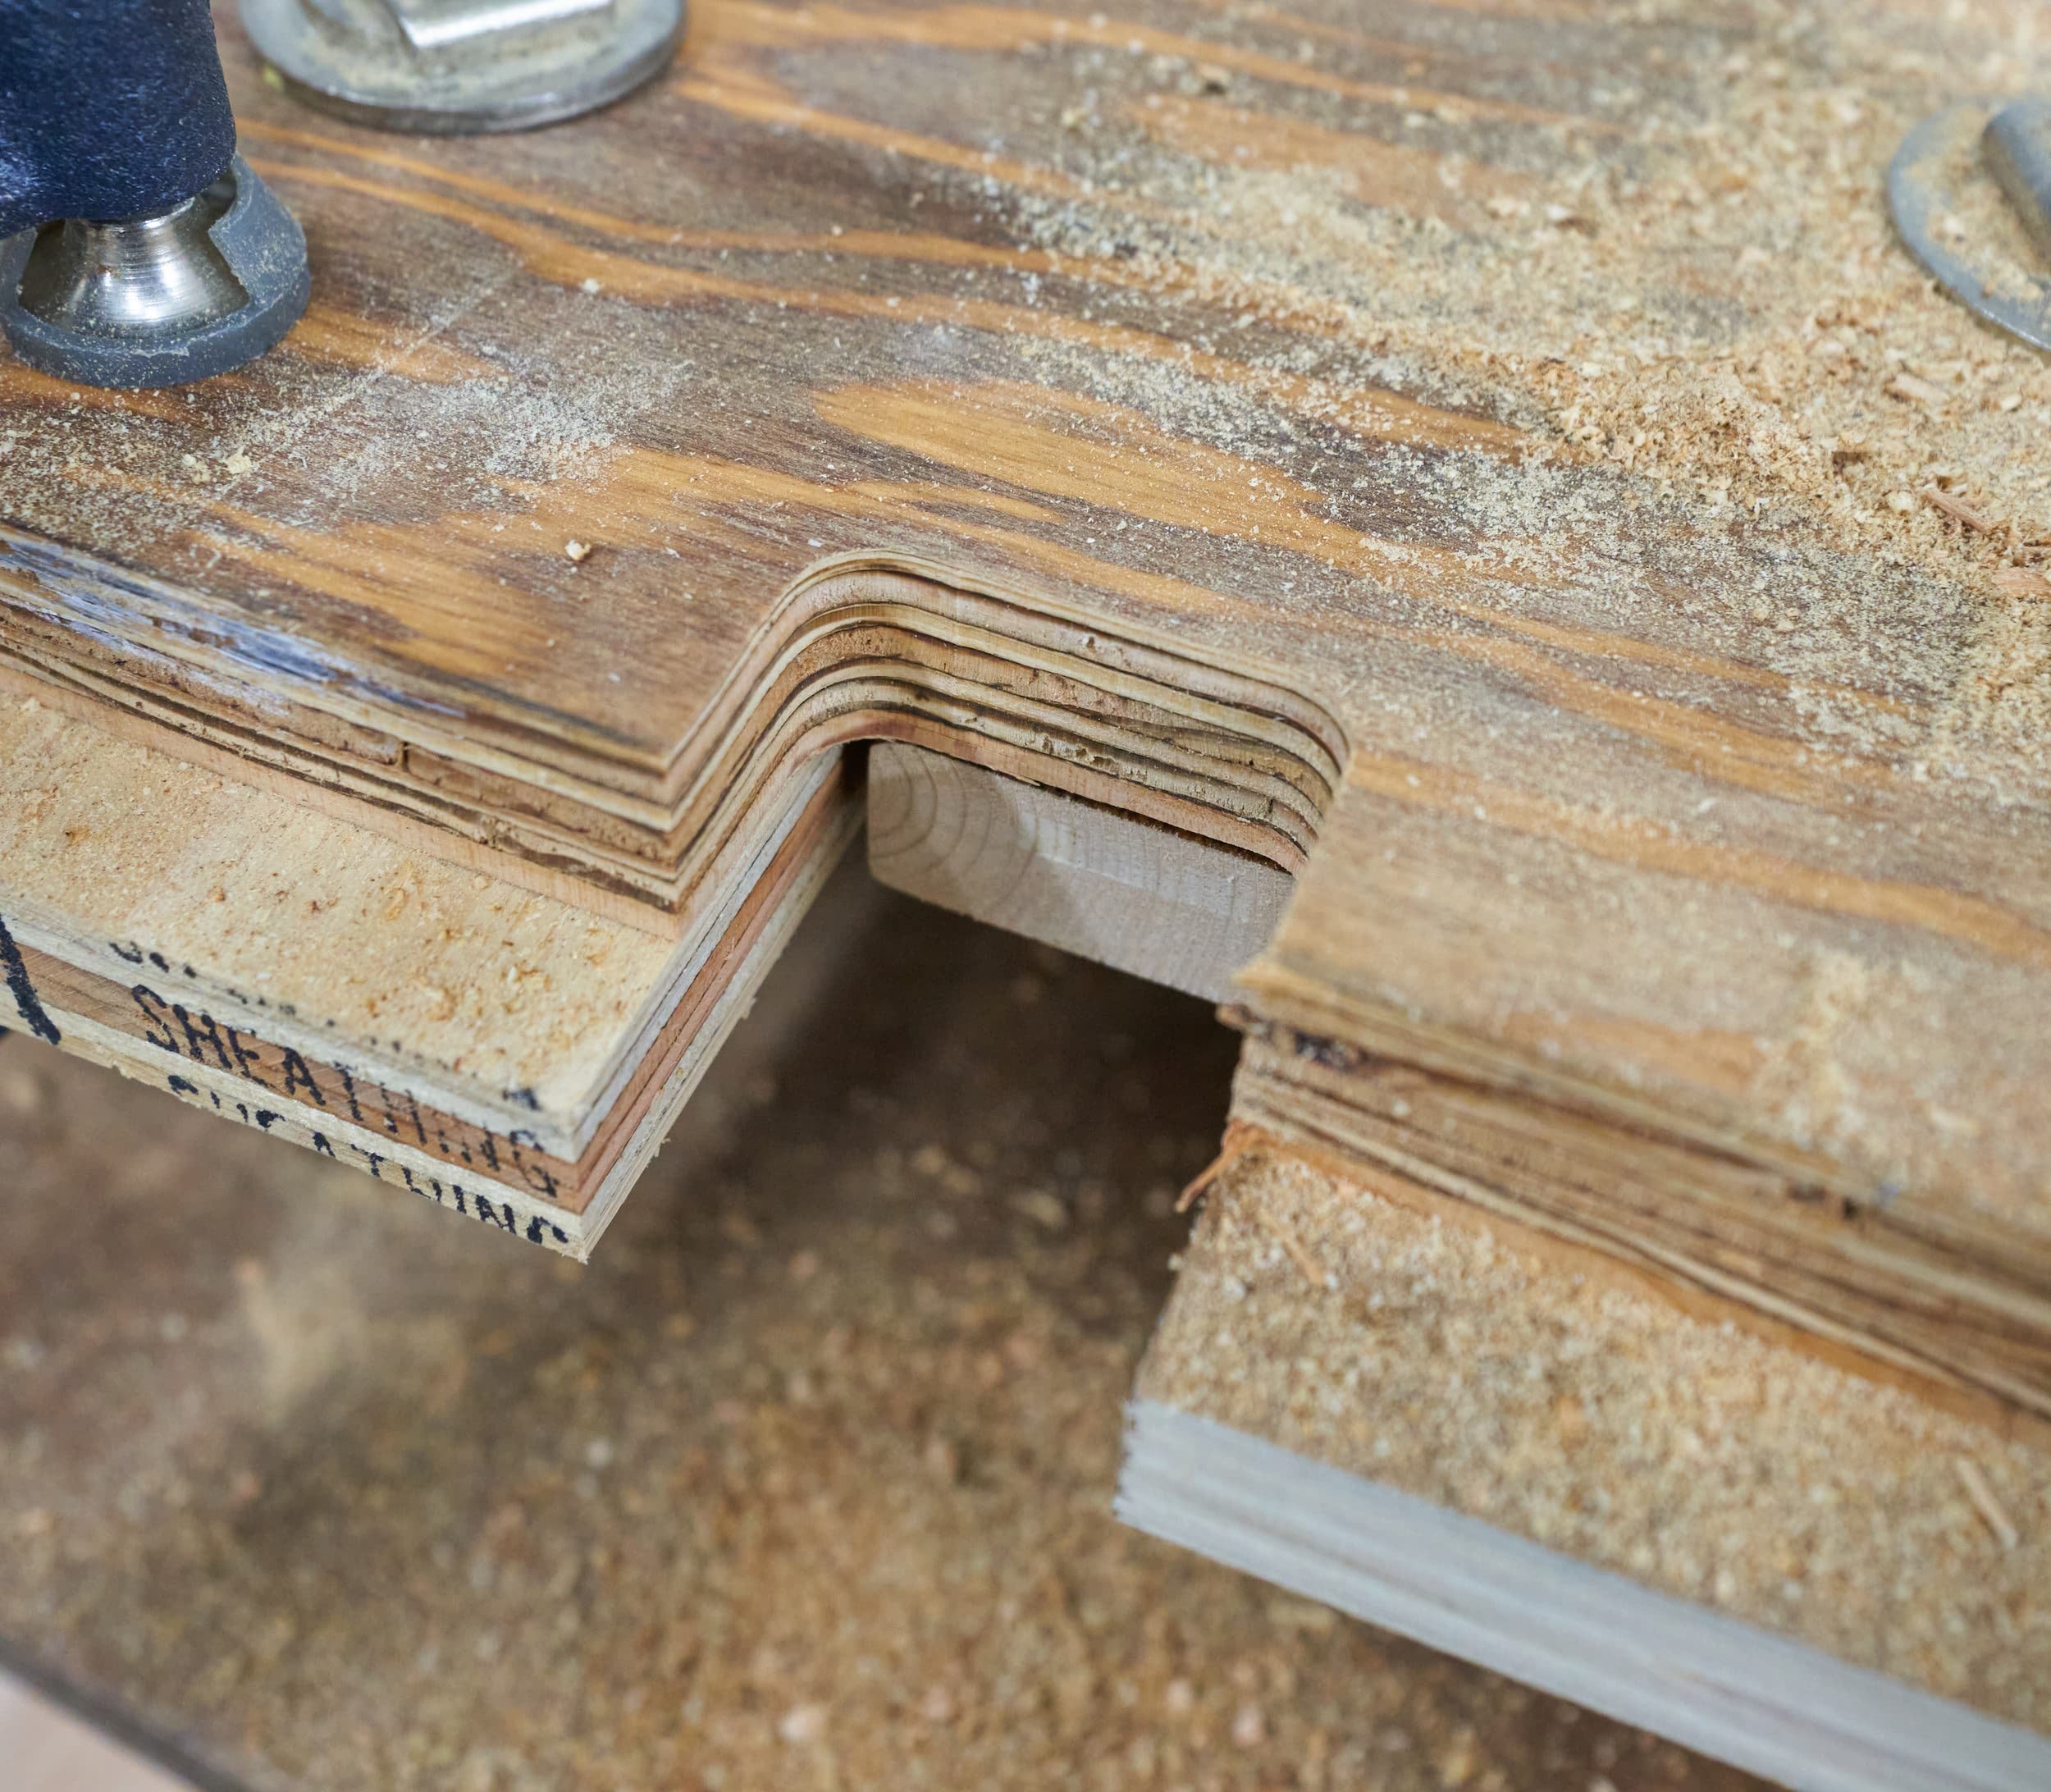
Measuring the correct depth needed for the cabinet sides but then writing the wrong number down
Forgetting to cut the drawers front/back to the exact final width before drilling pocket holes
With the former, I ended up getting ‘lucky’ in a sense: if I had correctly written down the dimensions and made the cuts as planned, I would have needed another sheet of plywood (not the whole sheet, but I definitely would have needed to start into a new sheet). The way things turned out, I could use various offcuts to pad the missing span without any additional material being ‘wasted’. There doesn’t seem to be any substantial structural problem with doing this so maybe I got lucky…
Also, when purchasing the drawer slides, I bought 26” slides for all but two where I accidentally picked up 24” slides. Whoops.
With the drawers and getting everything lined up across the left and right cabinets (which were NOT connected by a pre-leveled base), this was super tricky and tedious. Pro-tip: only use 2 or 3 screws to attach drawer slides until you are absolutely certain you’re all done and everything is set in place. Then go back and fill in the remaining screws if you want. This way you’re not waiting forever screwing/unscrewing screws and you’re not wearing out the wood.
Appendix - What's all there
Everything is built around the Bosch GCM12SD. I bought this saw back in 2015 — apparently, Bosch did a stealth update without updating the model number in any way
Some differences between the old and new GCM12SD
On the front of saw, where the saw blade is mounted, if there is a black plastic module, you have the old revision; if yours is silver, then you have a newer one
On the main handle, if you have two thumb-activated safety buttons, you have the old model
On the fence, if your fence is mostly ‘squared off’, you have the old model; if yours has multiple peaks, you have the new model
Also on the fence, if your lower fence has measurement markings on it, you have the old model
I’ve seen reports that there is a difference in the number and placement of the bolt holes in the throat plate. I’ve read that the front and back set of screws on the throat plate differ: on the old model, the front and back screw holes are four inches or so from the edge whereas on the new model, they are within 3/4 inch of the edge. That being said, Bosch’s official image of what I imagine is the ‘new model’ doesn’t have this aspect
For dust management, I have a Ridgid WD1270 (‘5HP’ vac, 2-1/2 hose, 141 cfm); I have a reusable filter bag and a VF6000 HEPA filter. I threw a diffuser on to reduce the amount of dust kicked up by the vac exhaust
Instead of the hose that came with the vac, I switched to 2-1/2 flex hose which I can cut to whatever length I need
To hook up to the saw, I used the Bosch VAC020 adapter; there are a few adapters and I found the information available on the website to be horrendous, but this unit worked well for me
I used 2-1/4 90-degree elbows to relieve the strain on hoses in a few places and used 2-1/4 x 2-1/2 Quick Couplers to seamlessly connect to the hose and for hose clamps, I used left-hand bridge clamps. Bridge clamps are great because they span over the coil in the flex hose so you can apply pressure, but without mangling the hose
For pre-separation, I happened to have an extra Dust Deputy around, but I imagine a cheaper/knockoff option would be sufficient as well
To automatically control the vacuum, I used a Mastercraft Intelligent Dust Power Switch; something like the iVac Automated Vaccum Switch would provide the same functionality
For the fence, you would have to size that to the space you have available. I used a combination of 400mm and 500mm 2040 Aluminum extrusion. I used some inside-connectors to link them together. I picked up a kit of profile connectors and an assortment of M5 connectors to secure everything down. From the previous miter station, I had already bought the Kreg Precision Trak and Stop kit so I had all of the bits I needed
For the hold-down, I used a very short length of T-slot and a Bessey auto-adjust inline clamp. When I built my own foot pad, I had to replace the bolt: I had to find a M8-1.25 bolt at the hardware store.
To provide the shadow cut line, I found this option on Etsy and have it always-on and connected to a WEN foot operated switch
For now, I use FastCap Zero Clearance tape which is universal; I happen to use as 100T blade
The lumber rack was a really cheap row unit: once you get it installed, it’s fine, but out of the box, it’s not great — you maybe better off waiting for a more mainstream option to go on sale

Related
This miter saw station was modeled after and improved upon my previous one. The previous one was built with a different skill set and tools available.
Product links may be affiliate links: MinMaxGeek may earn a commission on any purchases made via said links without any additional cost to you.