

Build Log: Miter Saw Station (Mk II)
At our previous place, I had put together a very limited miter saw station - and by ‘limited’, I totally mean ‘limited skills’ (and materials). Taking inspiration from a few other miter saw station builds (most notably, Jay Bates and I Like To Build Stuff), I wanted to revisit this, but this time with a bit more experience under my belt so to speak (and a bit more of a budget for materials).
Quick Links
Starting Point
I started this project at the previous house and ended up transplanting this build to our current house. Considering i only used a a few sheets of plywood (— two, maybe three sheets), I thought the previous build was great. I had planned for three cabinets with drawers but never got past the first one. Other than the missing drawers, there wasn’t anything glaringly wrong with this setup, it was so-so at everything I needed of it for the time.


Goals and Objectives
I had six broad goals when starting this project
To put my commonly used tools all together — or at least on the same side of the room
I’ve never been good at drawers. It’s just an exercise in frustration as nothing is ever coplanar with anything (spoiler: I’m still not any good at drawers)
My previous dust enclosure around the miter saw was a bit janky at best, I wanted something better
I wanted to have some kind of stop-block system to make repeatable cuts. It would be nice to get an integrated ruler system (that I could count on) but baby steps first
Horizontal surfaces inevitably just become magnets for crap. I wanted a way to accommodate the crap but not interfere too much with the utility of the station
We aren’t going to live here forever, so eventually we’ll need to move. With that in mind, I needed to make sure as much of this was reusable (or scalable) as possible.
This miter station was built around a very specific saw, the Bosch GCM12SD whose claim to fame was a novel design that allowed it to be pushed up against the wall. With this station, there were a few problem areas I wanted to improve on:
Even though (like most miter saws), 95%+ of the workload is a straight 90° chop, there are times when you need to angles or bevel the saw. My previous station had accounted for this extended range of motion — but with a smaller saw. This larger saw couldn’t really go through the range of motion available to it
This larger saw was quite a bit heavier too and while the previous dresign was fine, it flexed a bit more than I wanted
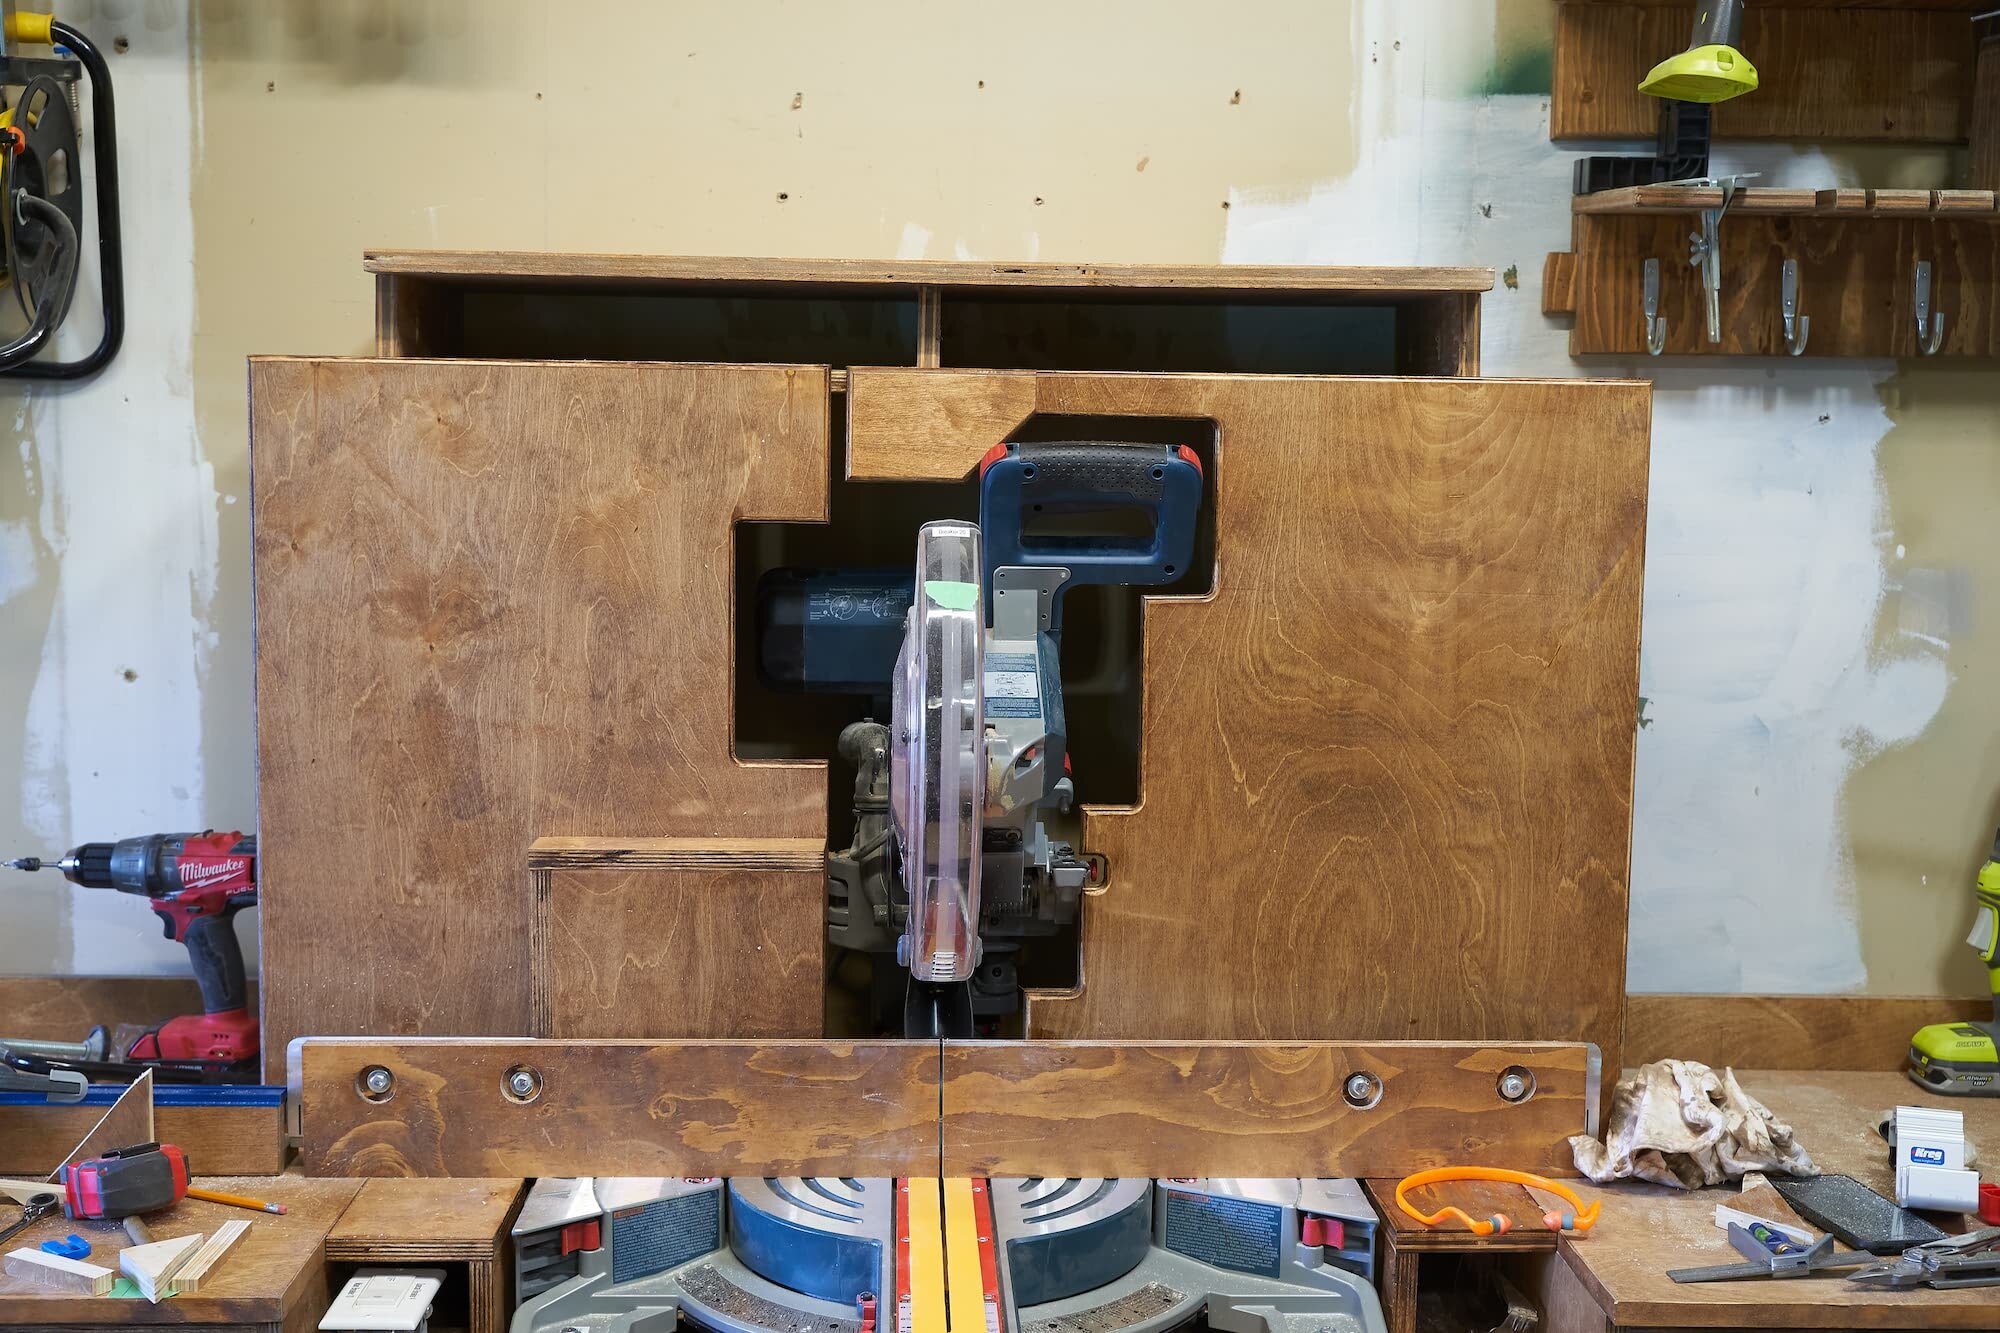
The dust containment shroud I had built before was a bit of a mess. I used flappy hinged panels to open and close up the box. With this do-over, I planned on just removing the entire front panel entirely whenever I needed to do anything other than a 90° cut. Being able to remove the front panel would make cleaning it easier too
I bought a wet-dry vac dedicated to this saw and I wanted to better integrate it
I wanted to integrate a toe-kick since I kept stubbing my toe on the previous one
I wanted to design it in such a way that I could remove the saw from the station if needed and replace it easily. This should also accommodate the off chance that I ever replace the saw
Rough Design
I would mostly follow the same pattern as before: a bunch of cabinet carcasses with some plywood laying on top and in the middle, I’ll suspend some plywood to make a platform/deck for the miter saw to sit on. Once the basics were done, I would expand on this by moving over (or rebuilding) some of the existing shop shelving I had for other tools.

Seems easy enough: a bunch of rectangles mashed together right?
Step 1: Building the cabinet carcasses
To make this build easier, I decided all of the cabinets would be the same: there was more than enough space along the depth of the garage to spread them out as I needed and there’s no point customizing this build to this rental house exactly. These carcases would just be two sides of plywood with some plywood stretchers pocket-screwed together; the toe-kick would just be two such stretchers butted up against each other.


Step 2: Getting the cabinets in place
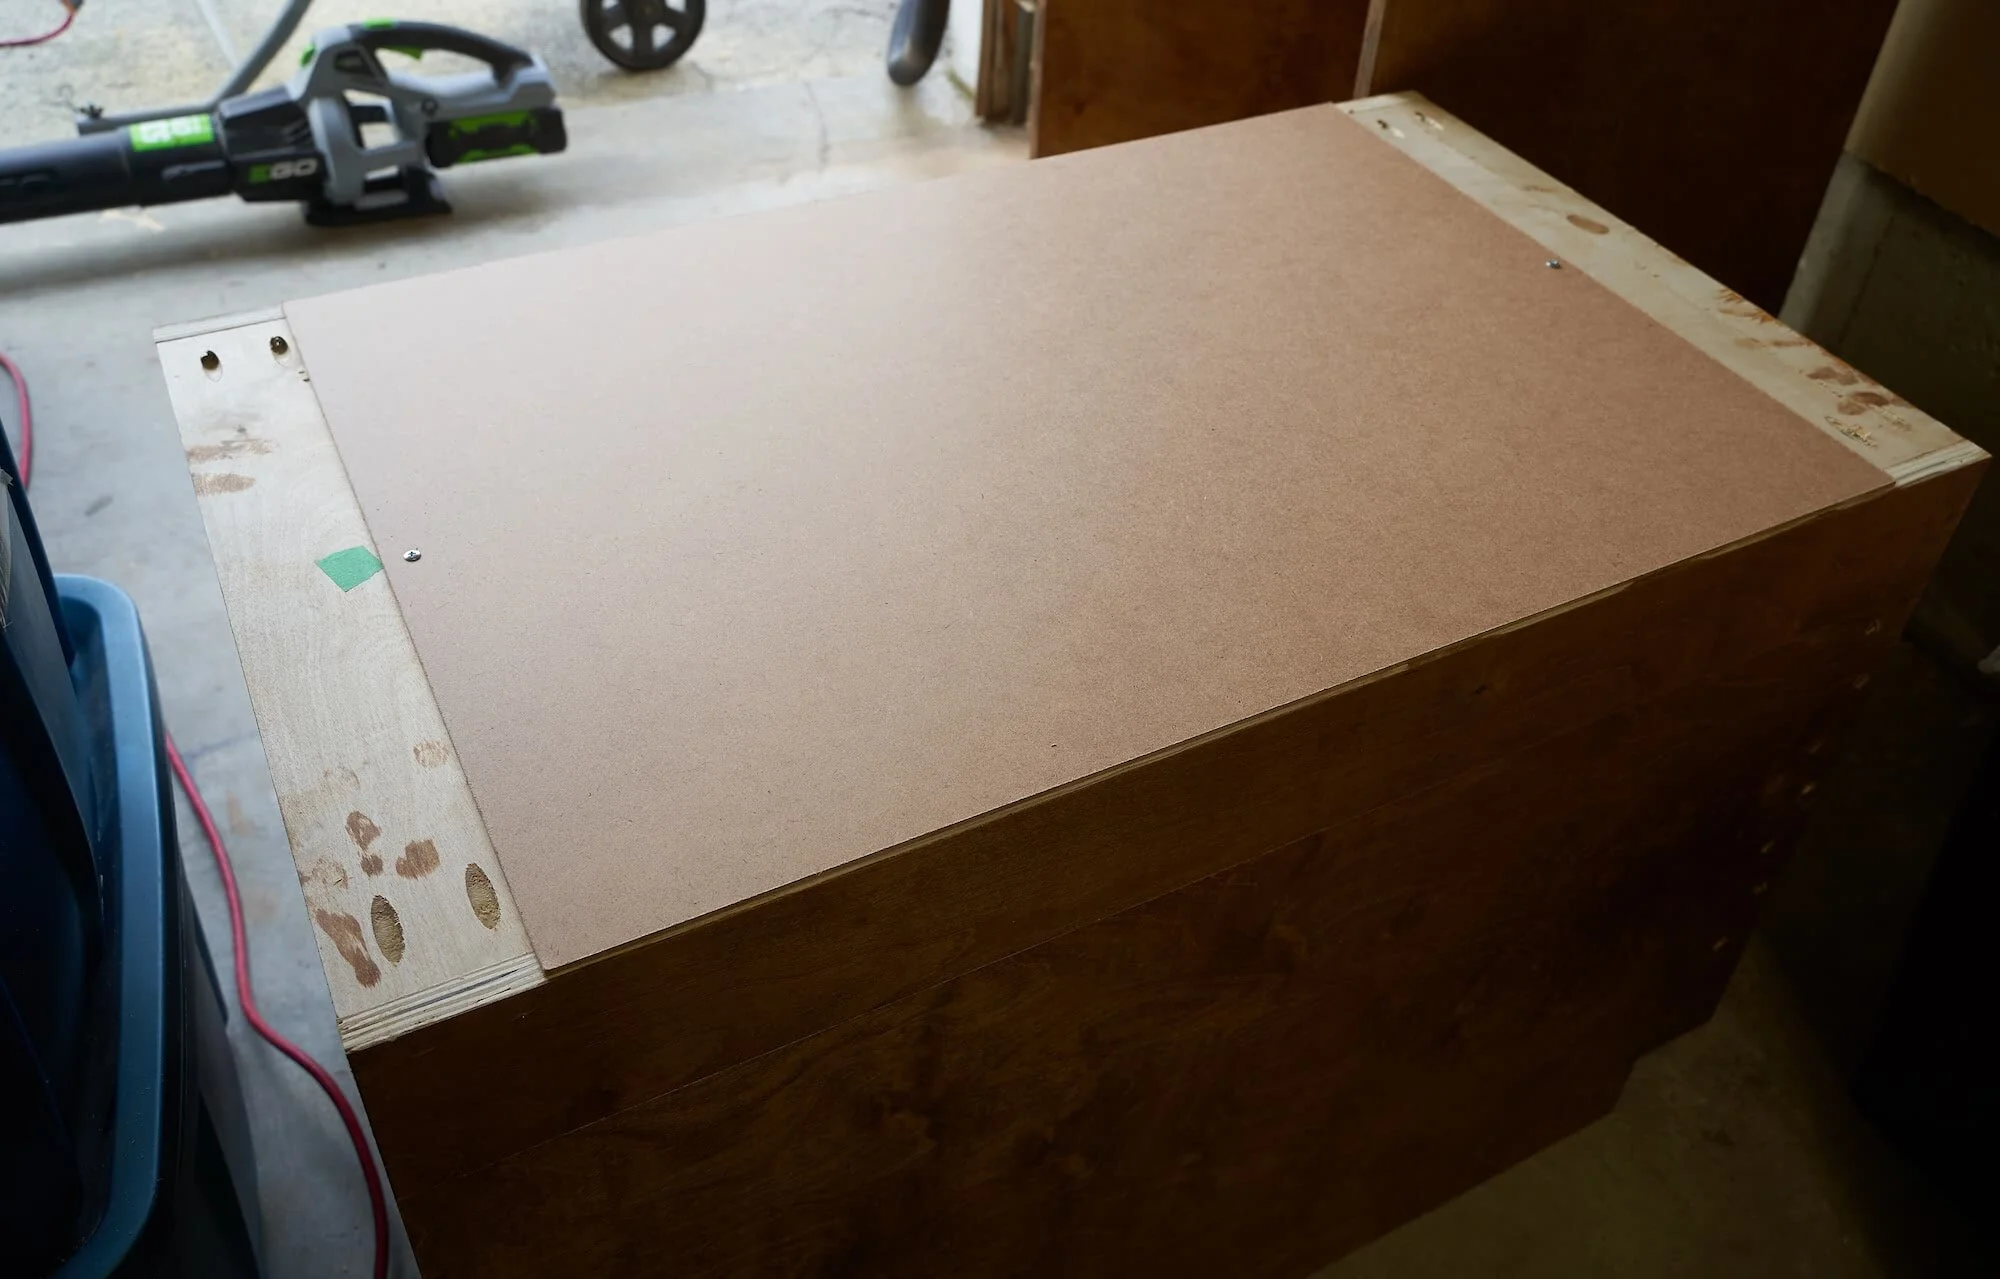
Now that the basic frames are built, this is the point of no return - pulling the existing station off the wall and displacing all of my existing stuff. During this step, I decided I wanted to roughly ‘seal off’ the back and bottom side of the cabinets — mostly to limit the amount of dust and bugs that can get into the drawers. I probably could (should?) have done this using plywood — even thinner ½” plywood to totally stiffen everything up, I opted to go for cost effective hardboard.
Actually getting the cabinets in place and more importantly, leveled was a tedious task - I totally could (should?) have spent more time on this. Our garage slopes pretty aggressively and the walls aren’t necessarily plumb nor straight…


Step 3: Worktop and Saw Platform
The next step is to get a platform for the miter saw to sit on - it needs to recessed relative to the top since the saw has its own table. The platform on my first station flexed slightly with this saw; this time I made a torsion box — no more flex! To make it easy to remove the saw, I used captive threaded-inserts to receive ¼-20 bolts from the top side. To finish this off, I added a large dust intake.


Step 4: Dust shroud & fence
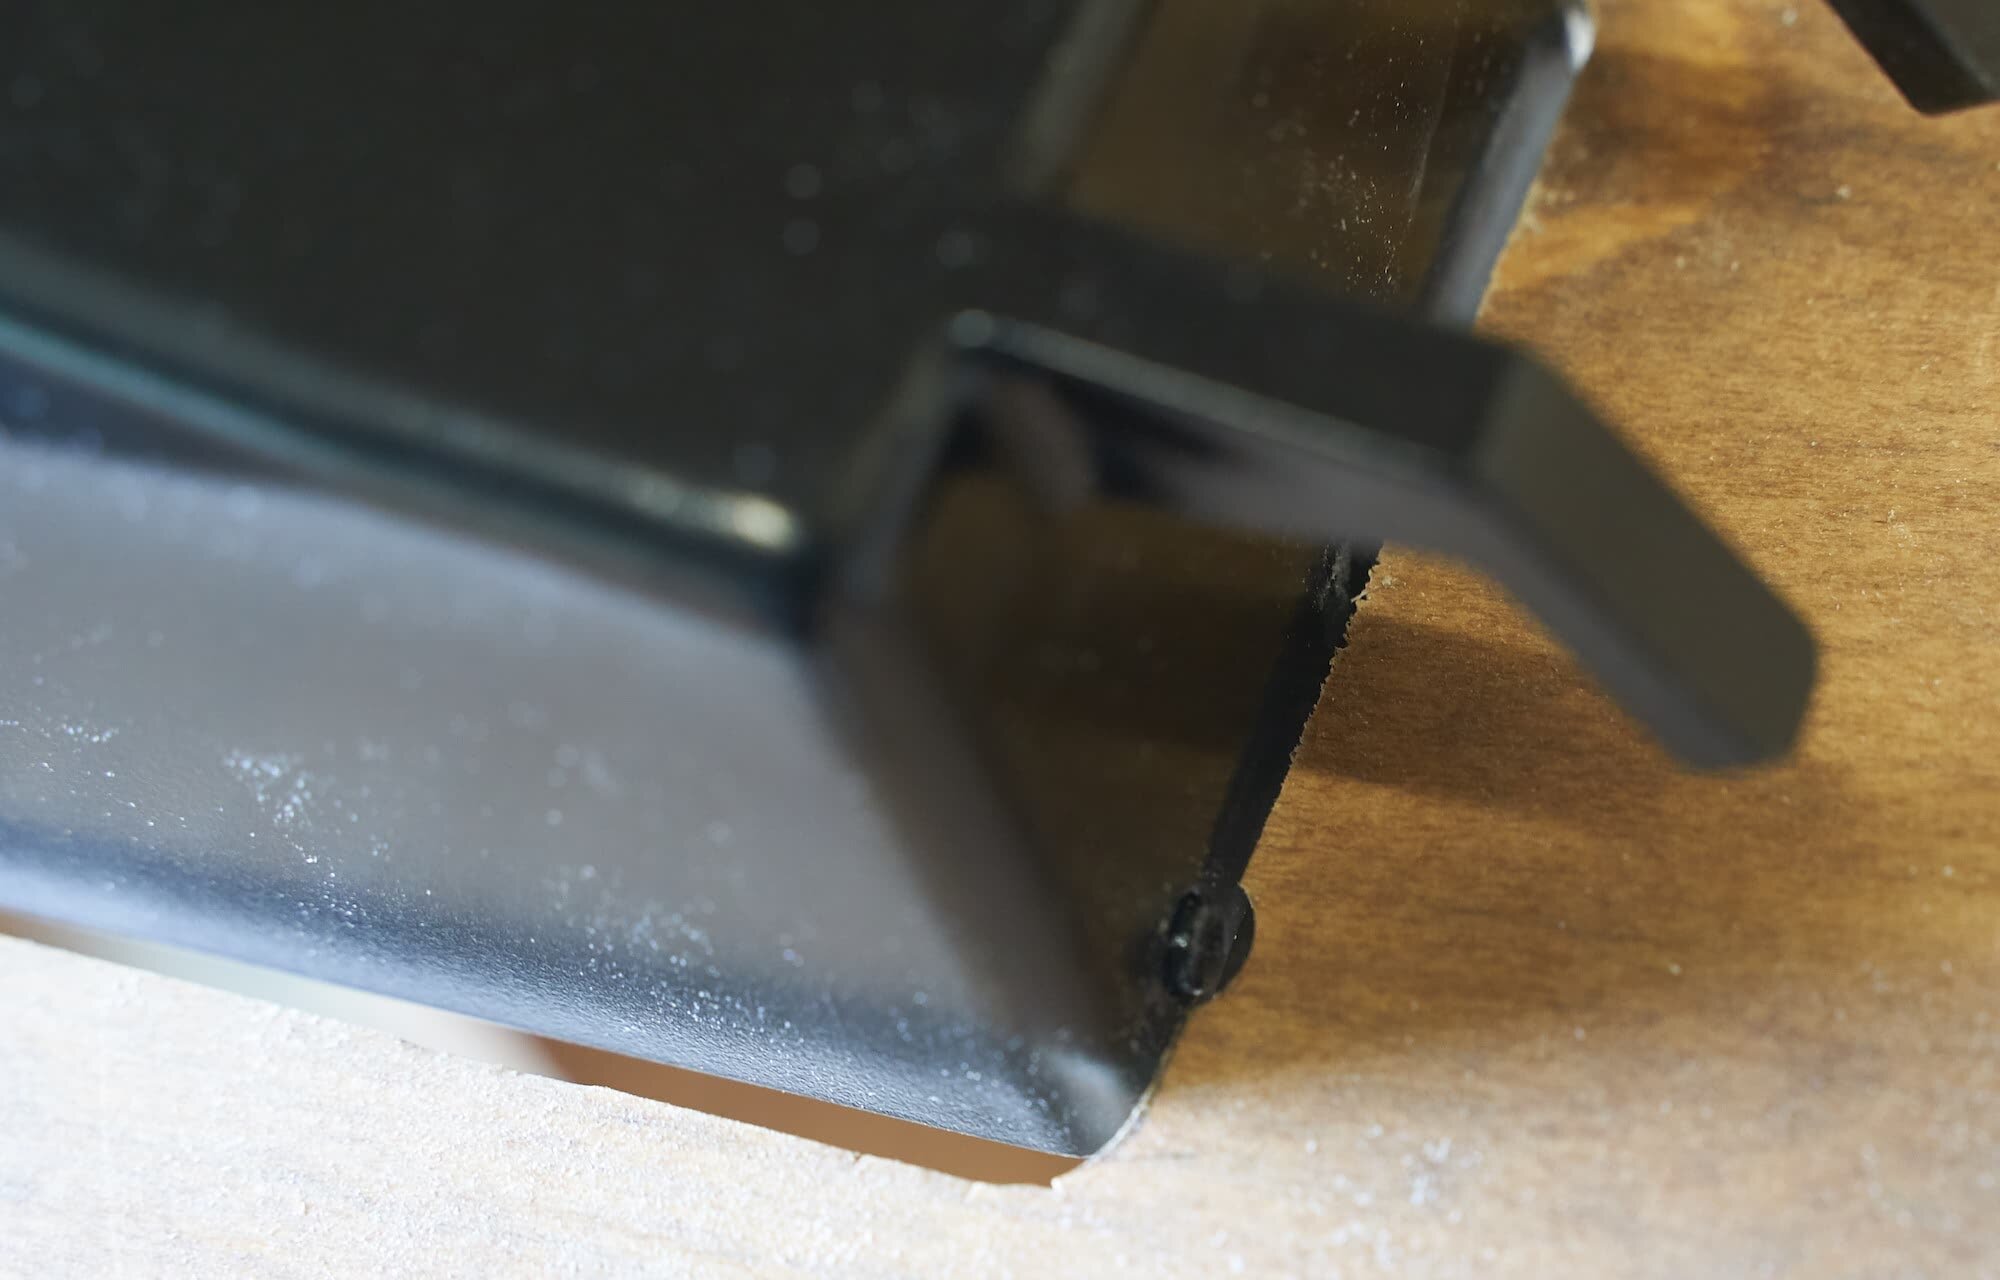
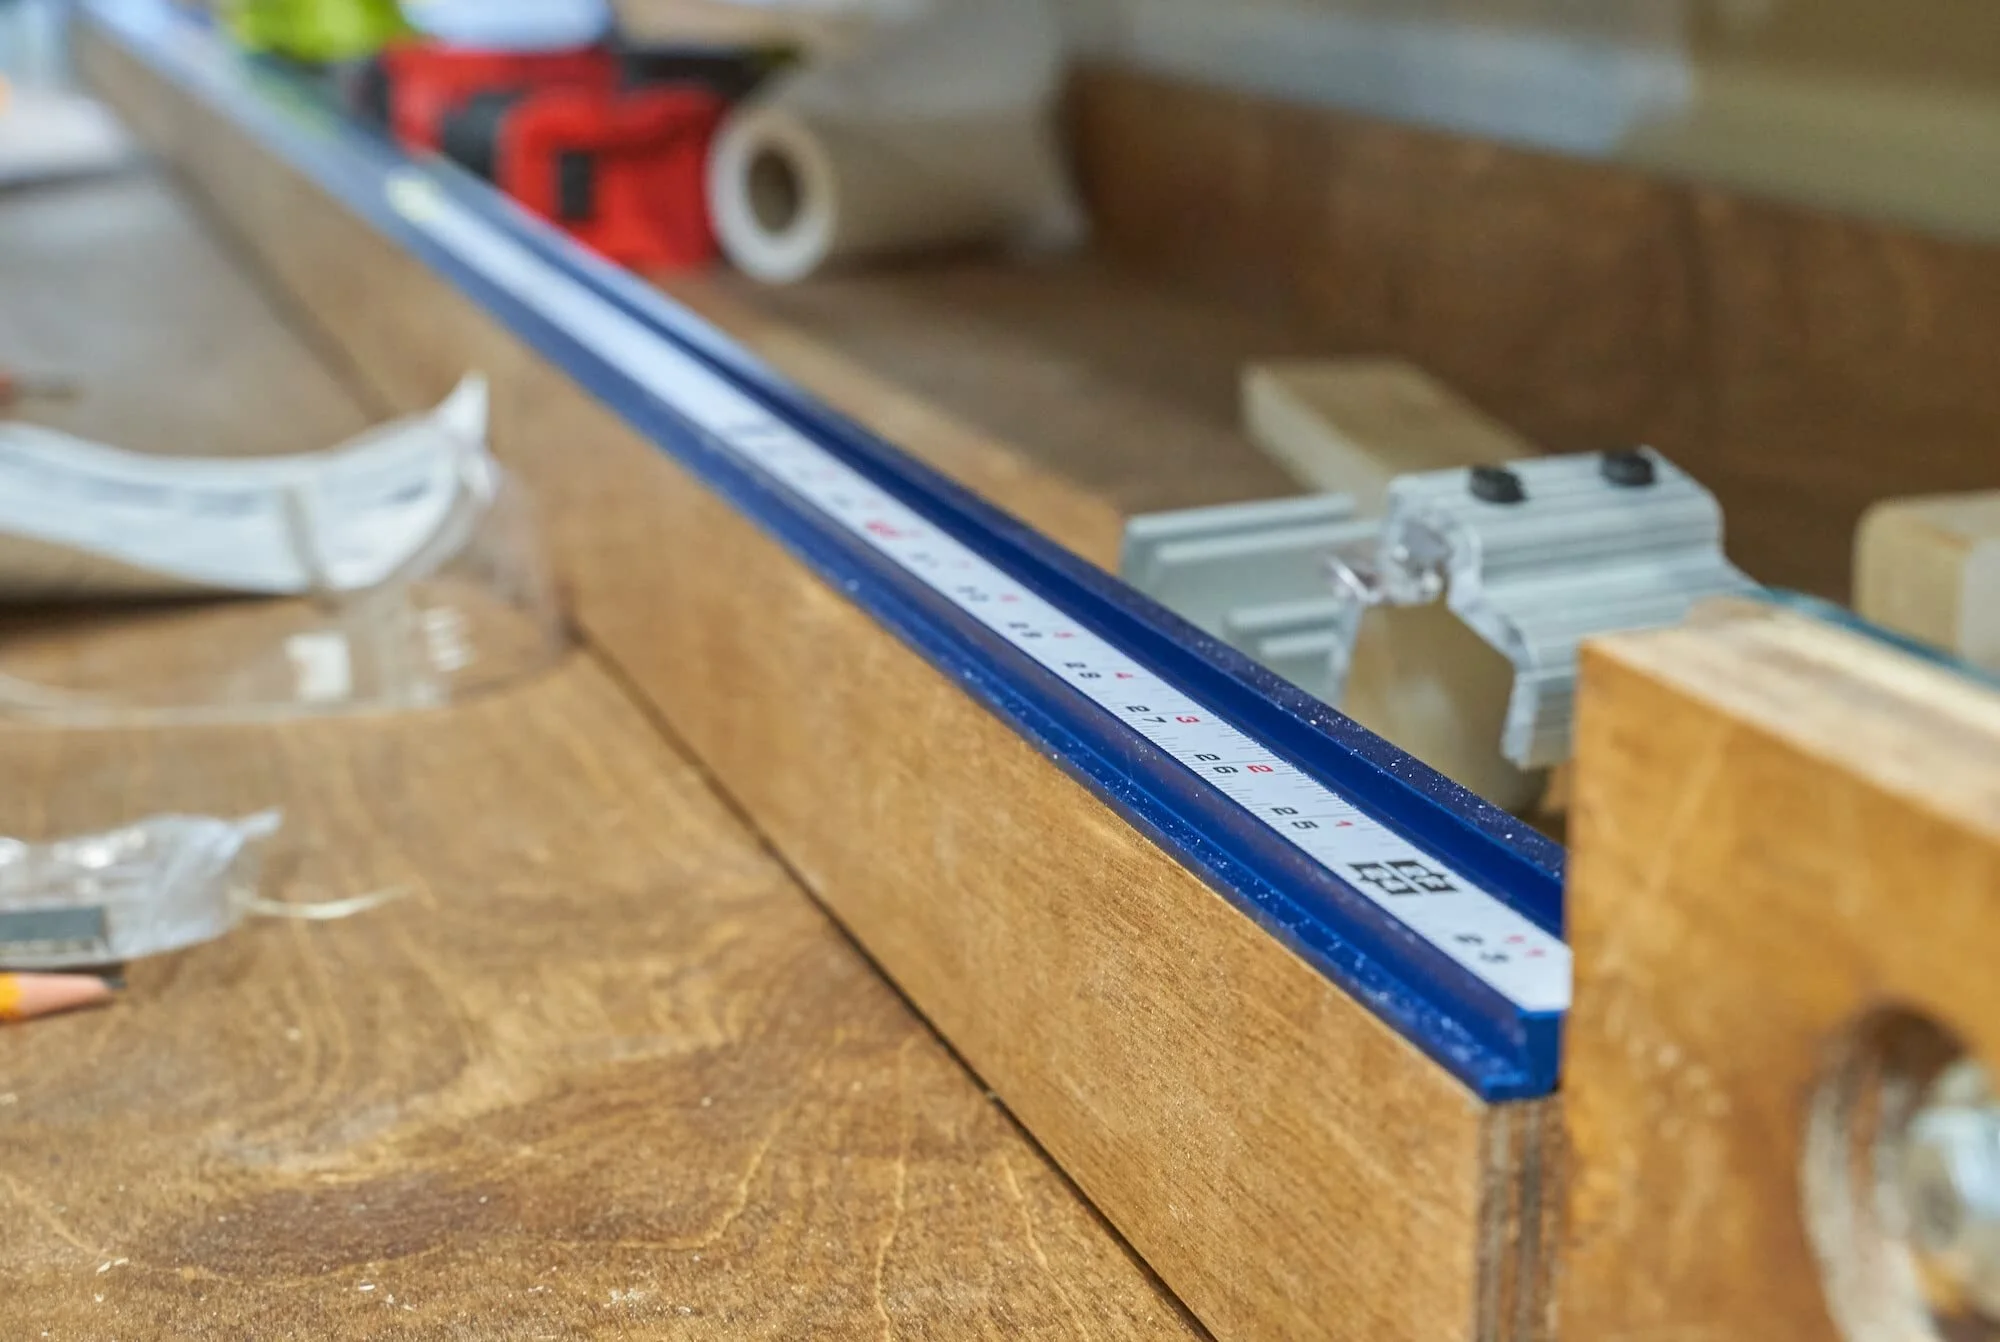
Moving to the top side of the station, here I’m adding zero clearance fence as well as a fence stops along the top. I have about 10-feet on the left and 8-feet to the right of the blade. To try and simplify things, I went with Kreg’s Precision Trak & Stop kit (with an additional top-trak kit since I have a longer working span)


Step 5: Drawers!
Finally, the step I’m not good at! This was an a good opportunity to use up tons of scrap plywood I had lying around; I also made the drawers with specific storage in mind so they are all sized slightly differently depending on what I planned to store in it If I were to do this again, I’m not sure if I would do that again — it’s nice that drawers are sized to fit exactly what I needed but it did add (unnecessary?) complexity and tedium to this step.


Step 6: Tool cubbies
Left
This was a large motivator for this project: to bring all the ‘other’ tools that I kept on the other side of the shop and bring them all to one side so that I wasn’t walking back-and-forth all the time. This step was pretty great: if I were to redo this, I would add another layer to the cubbies to be able to organize more tools.


Right
On the right hand side, I had traditionally kept my hand tools (pliers, drivers etc.) so it made sense to make use of the space to better organize these. I also worked in a drawer to hold all the different types of tapes I have.


Center
Parts bins are always a nightmare - it’s great when you can interlock them and stack them but random access is a pain; this center cubby aims to collate all my parts organizers into a single spot. The only way to make random access not infuriating is to have a dedicated ‘shelf’ per organizer.


Step 7: Clamp Racks
One of the mantras of woodworking is that you never have enough clamps but one of the problems of having clmps is organizing them - they are heavy, can be awkward and never quite hang just right. Here, I had a field day with scrap parts to organize this a bit better. If I were to redo this, I might consider something more ‘standardized’ - perhaps ½” black iron pipe with flanges.


Milestone
Just in time to start considering the next shop!

Mix-ups, Surprises and Lessons Learned
Overall
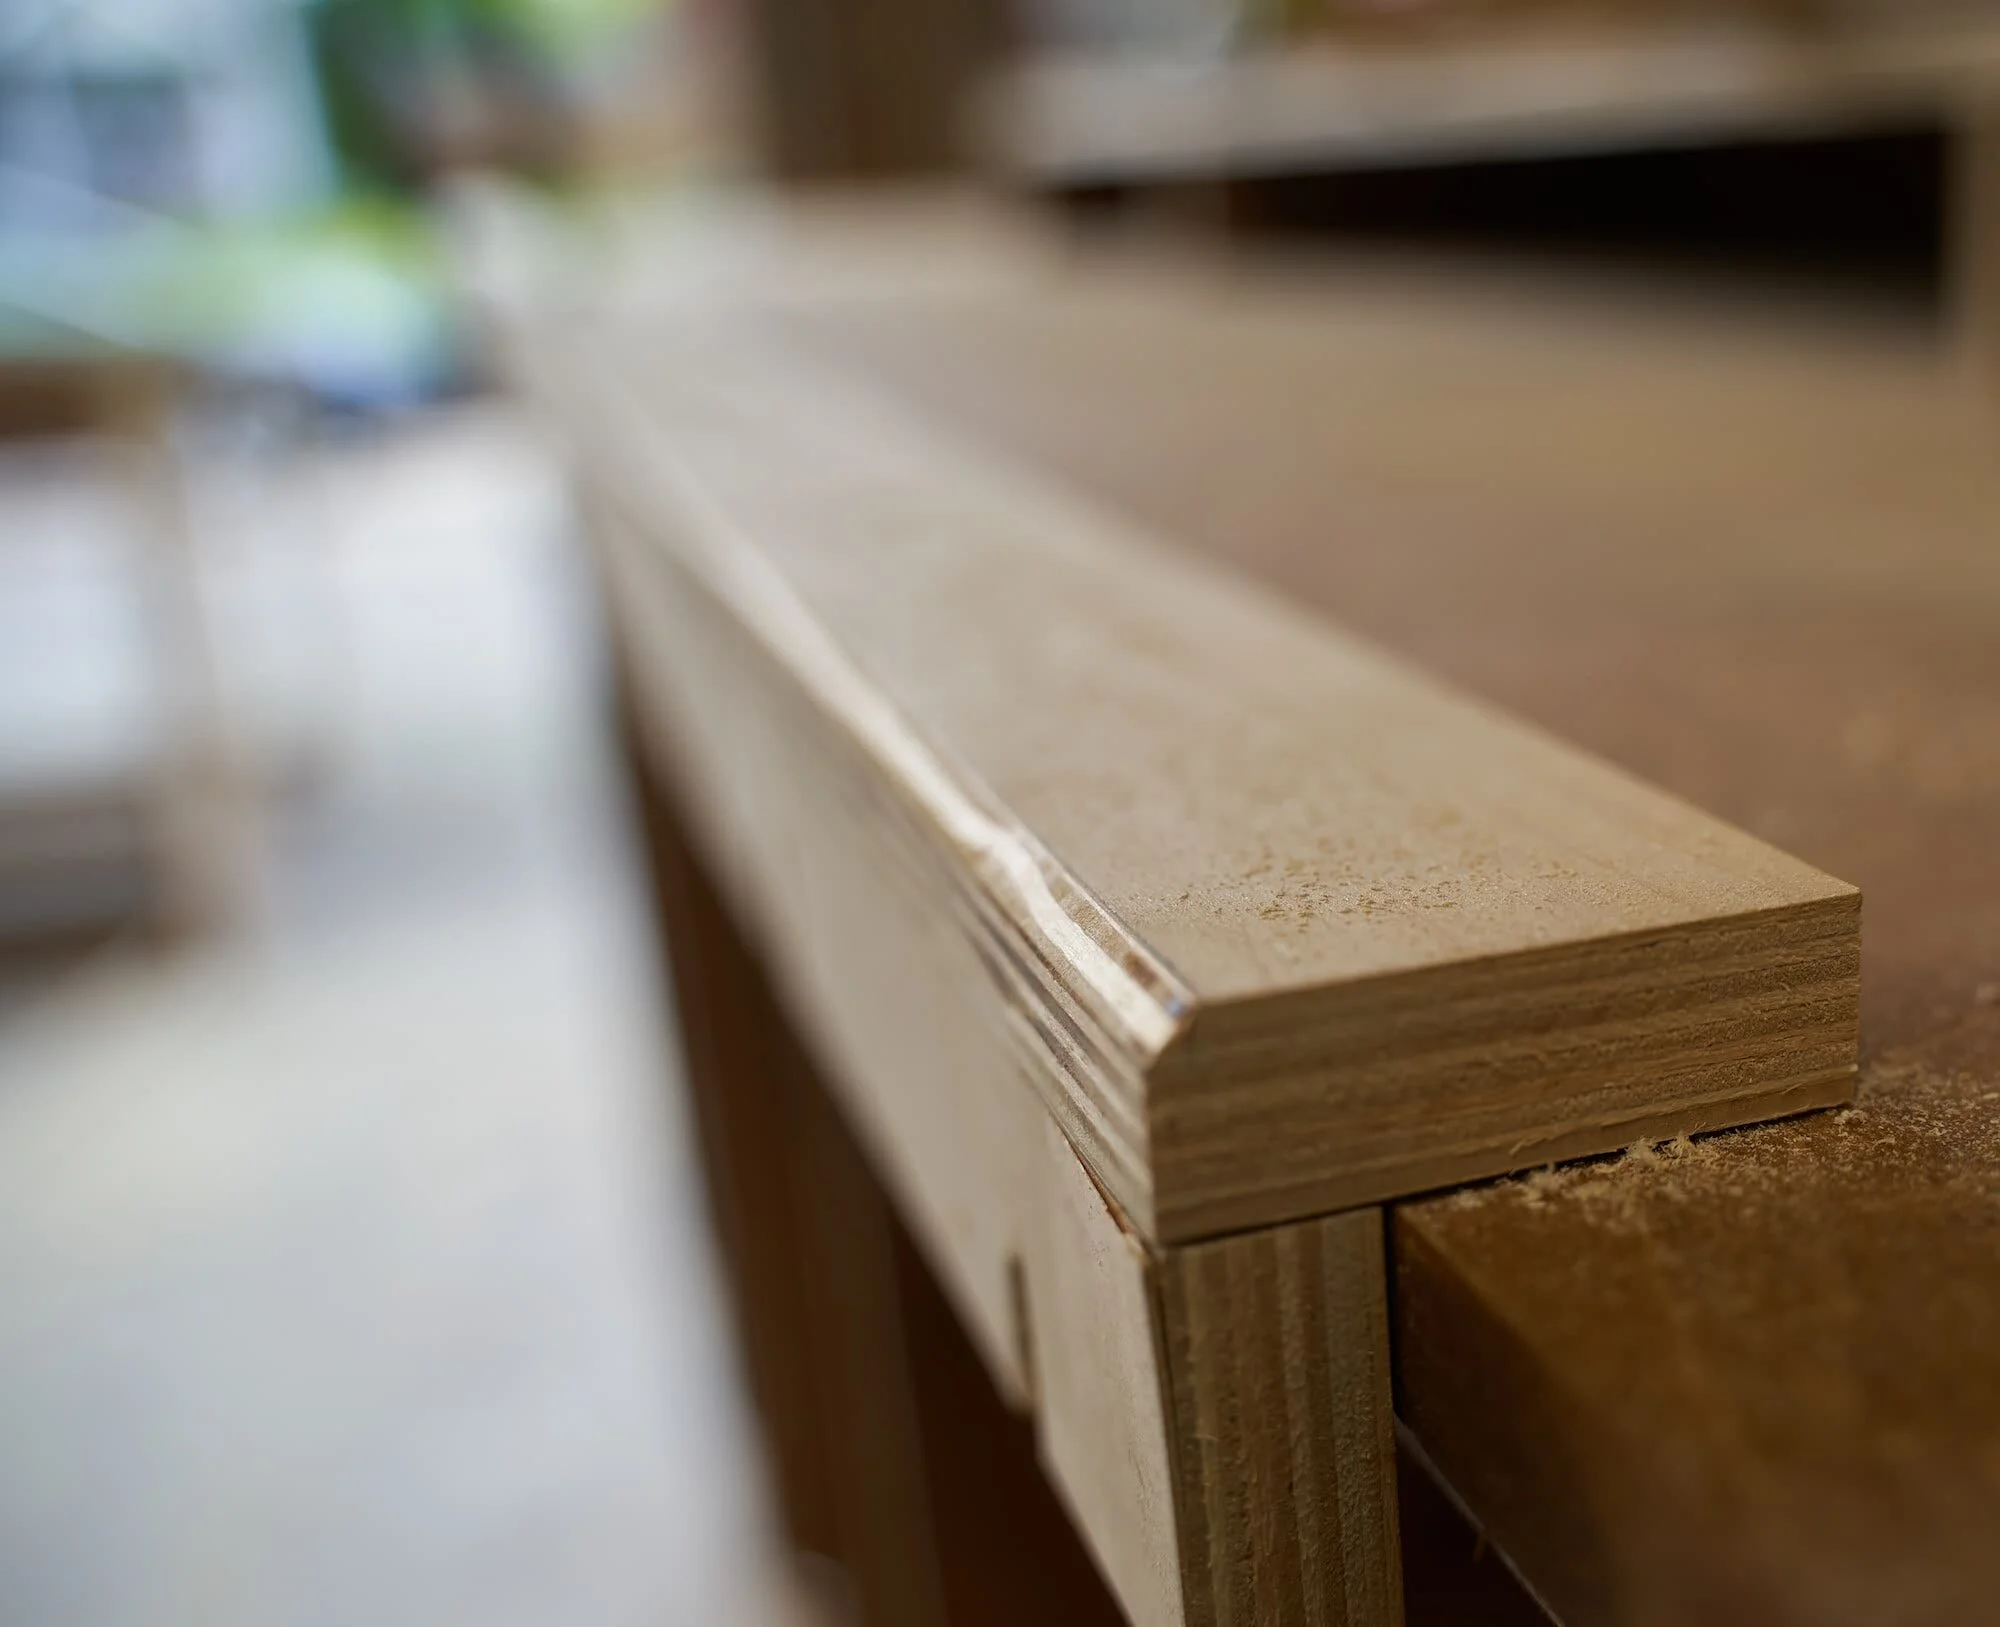
One of the best things about this project was making the switch from cheap sheathing plywood (C-grade) to a higher quality plywood. Up until this point, I had mostly worked with the sheathing plywood from Home Depot and a large part of any project revolved around sanding down the plywood so that I wouldn’t have to spend an even longer time during the stain process (mostly since the gnarly surface would catch on the foam brushes). I switched to a paint/stain ready ply (A-grade mostly) and obviously it’s a night and day difference - instead of spending hours at 80- and 120-grit, I would just blast through at 220-grit.
I switched to this mostly due to pricing - in the past, there was a substantial price difference between the cheap stuff and the nice stuff ($37 vs $52 in my area) but recently the price gap has closed considerably ($48-52 vs $55). With the price gap all but gone, it didn’t make sense not to go with the nicer stuff.
Dust Box
There are two big changes I would make for the next revision: first would be to ditch the attempt at dust collection via the chute entirely — there’s just simply not enough brute-force airflow from a vacuum to pull the dust and chips out of the airstream. Instead, I would consider making a gravity-fed chute for the dust that eventually settles directed towards the vac. To support this, the second change would be to seal the back of the dust box. When I originally made this, I was under the assumption that the wall would be reasonably plumb and flat but that’s not necessarily the case.
By having the dust box entirely (or at least mostly) enclosed, I can consider something like hanging that off of a cleat - this way, if needed, I can totally remove the box off the wall. I’d have to consider a way to gasket the bottom seal (where the dust box meets the main surface) to ensure dust doesn’t escape there/
Cabinets
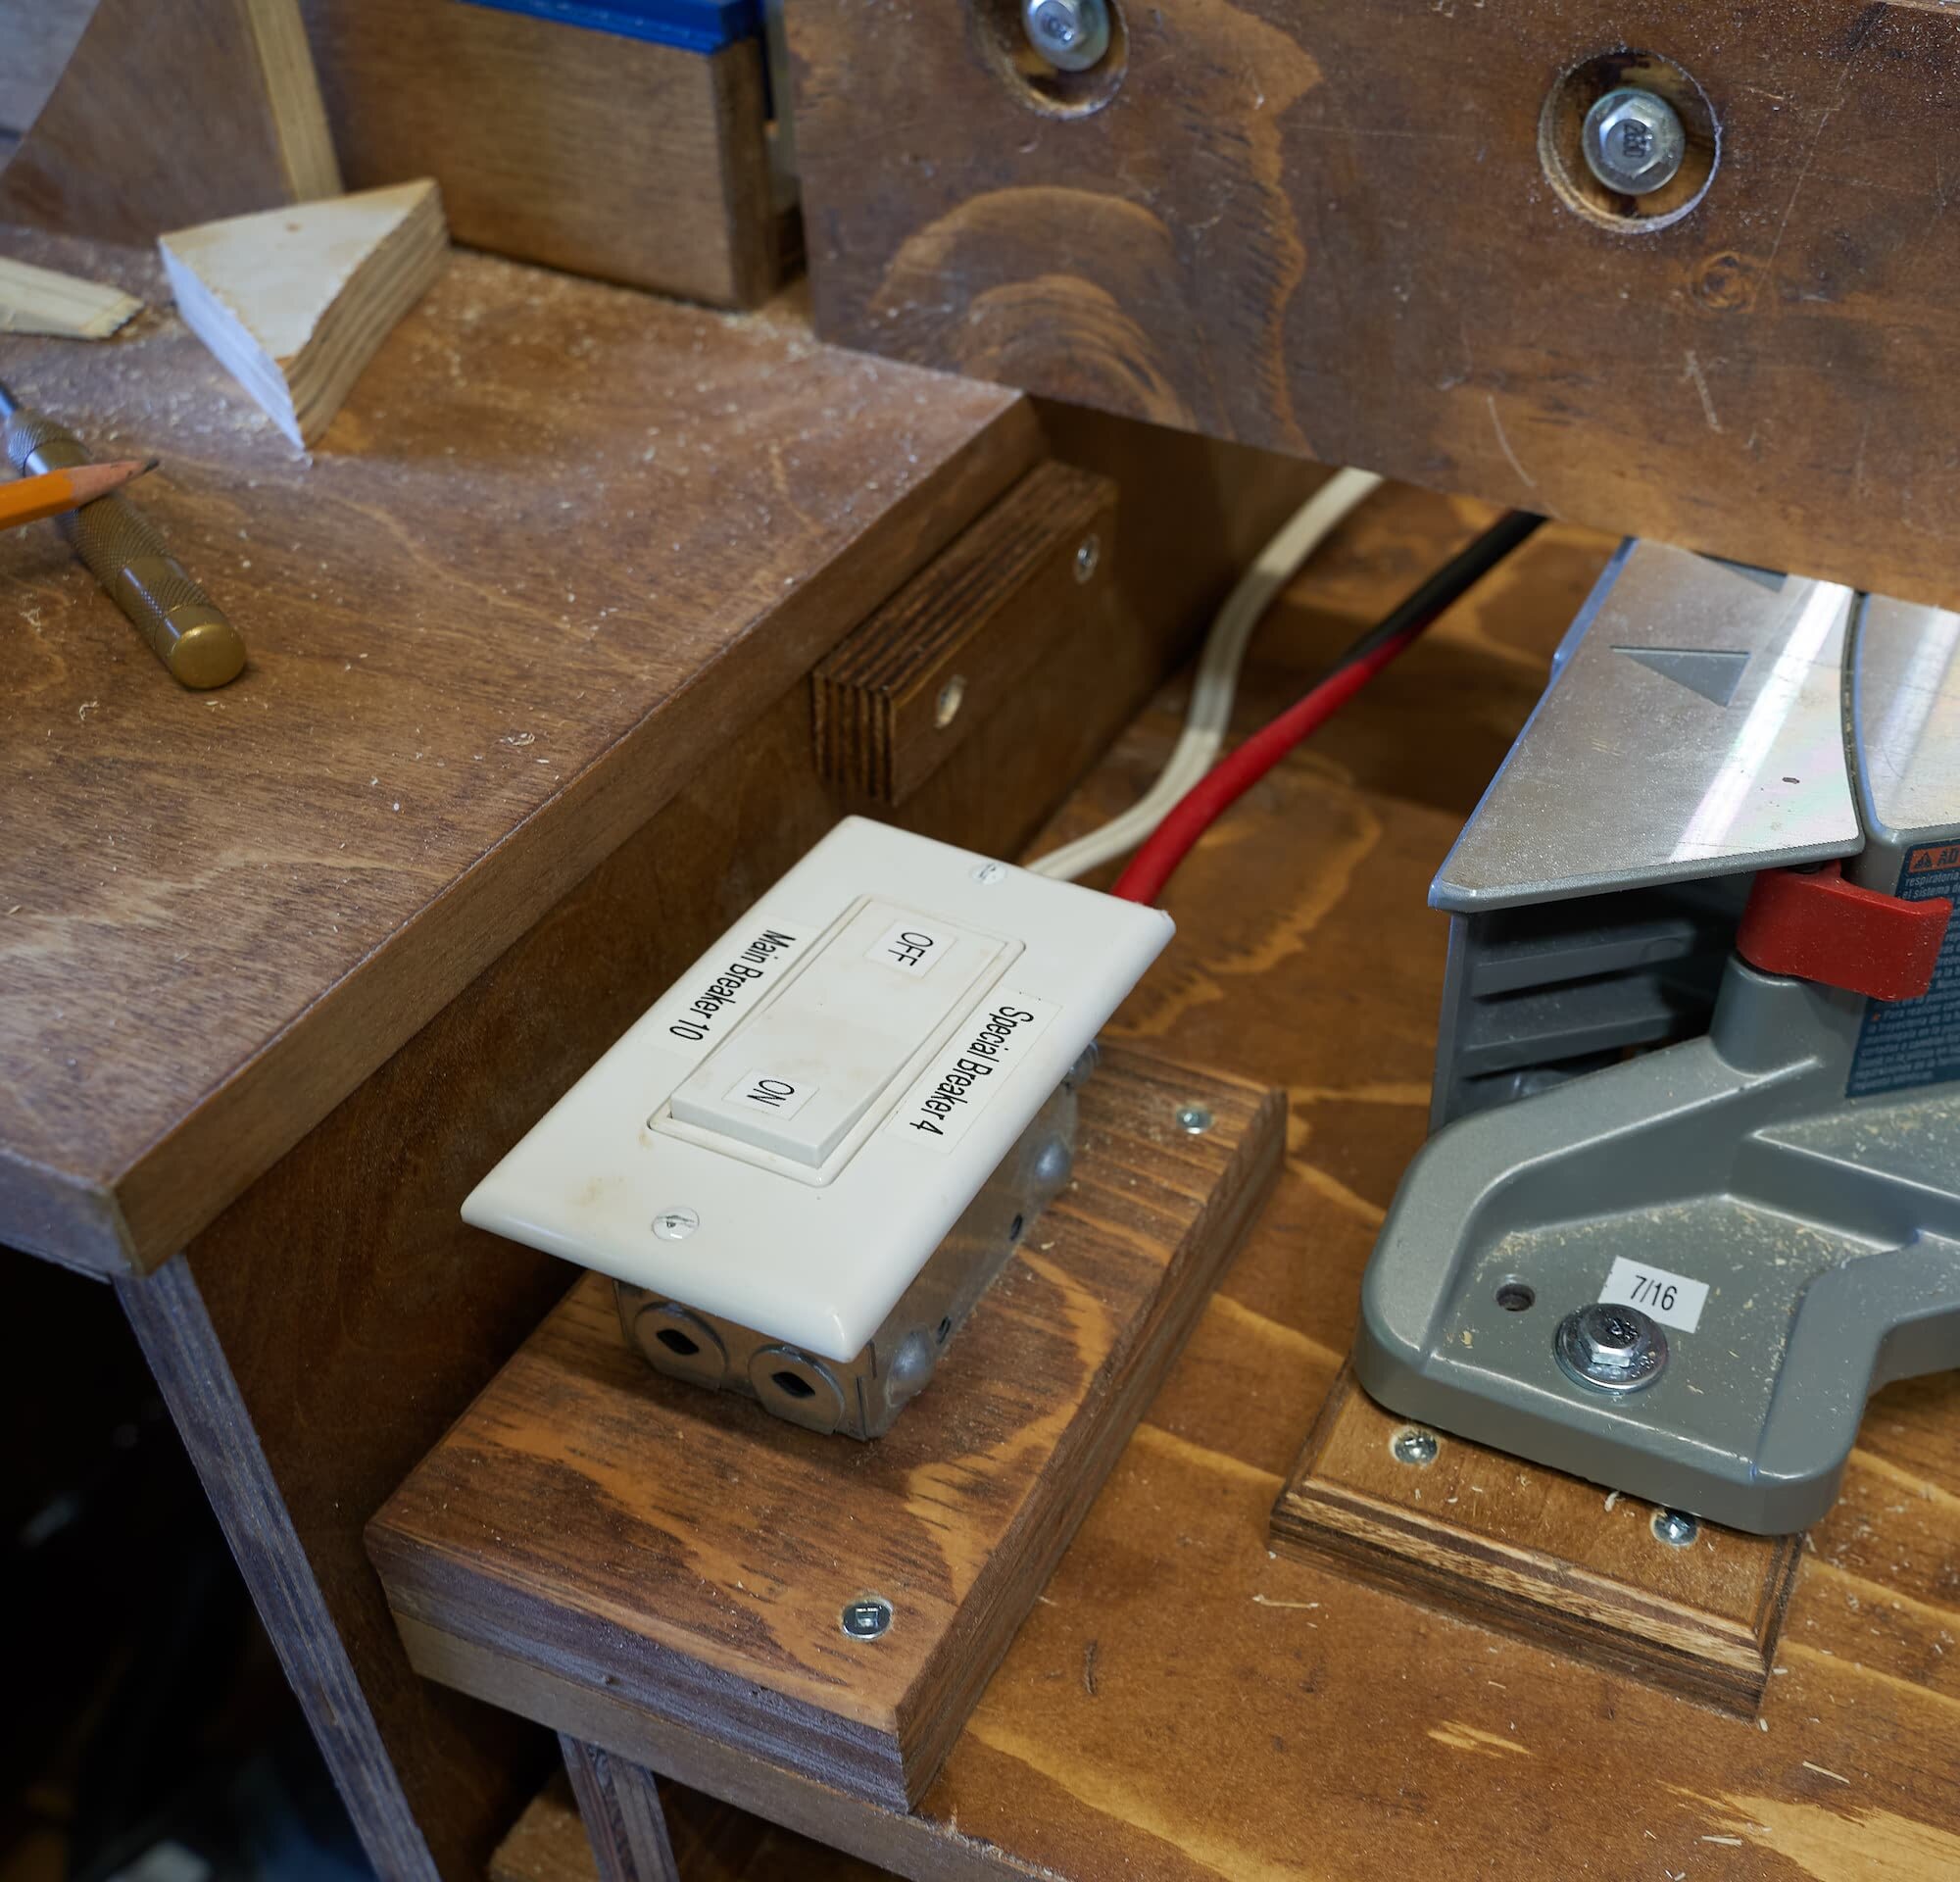
When I built this, I wasn’t entirely comfortable doing electrical stuff (not that I’m exactly a pro now either), but I’d consider adding some power outlets along the two sides of the worktop, behind the fence as well as in certain drawers (where I keep some of my one-off chargers).
A bigger change would be to switch out the toe-kick design for building the entire miter stand atop of a leveled base - think a bunch of boxes (the cabinets) on top of a custom built sub-base (which accounts for the slope of the garage. This may be something I could retrofit at the next shop — simply chopping off (or at least truncating) the toe-kick portion and building an exact base to then secure the cabinet carcass to. I would also take this opportunity to replace the threaded carriage bolts with full on hockey pucks with bolts threaded into them to give a much bigger and stable contact surface.
Lastly, I would consider cutting out a reverse-toe kick so that the cabinets can clear the difference between the foundation and the wall — currently, I get around this by having a 1x strip of wood to screw to. One advantage of having this gap on the back side is that I could route cables running left-right behind the cabinets: perhaps this could work well with the leveled base idea as well.
The Fence & Guides
This setup isn’t exactly locked down: there is a little bit of play in the placement of the saw platform (intentional) but I need to add a way to lock it down so that I can rely on the fence, rulers and stop block. Also, the fence was tricky to get lined up since the walls were neither straight, plumb nor consistent; this meant that the worktop (that I was referencing everything against) was potentially at a different depth at any given point along the wall. Definitely something to consider in the future.

Related
After moving into our new place, I built a new miter saw station that addresses many of the grips and issues I had with this one.