

Build Log: Drill Press Table, Part 1
Now that I’ve had a drill press for a little while and finally starting to make regular use of it, it’s probably a good idea to build a drill press table for it. In the long term, I knew that I would likely build something so that it would best suit my needs but for the short term? I waffled between buying something basic, sucking it up and buying something nice or bumping the priority up on building my own. While I did end up buying a drill press table, I quickly decided that this wasn’t the way…
Quick Links
Starting Point
So I ended up buying a cheap table to start — this was largely motivated by finding a basic table that was on sale for $50. I was initially quite stoked to have something that I could use for a few months to do other projects. It wasn’t until I got home and got everything unboxed that my enthusiasm was dampened a bit.


I’m guessing that this drill press table was better suited for a smaller benchtop-top press that comes with two slots. If I used hold-downs on the bottom side, I could technically clamp the table to my drill press but that bothered me for a few reasons
I wanted to use those hold downs on the top side to hold down actual parts!
Even if I was able to secure the drill press table, the table was only 12” deep, which was giving up a lot of front-to-back space for me
I could rig up a quick sub-base for the table so that I could mount it using the existing holes but at that point, I might as well just make a drill press table.
Goals and Objectives
Since I wanted to get my replacement drill press table built before I returned the first one, I wanted this project to be fairly quick. I had a few high-level objectives though:
A bigger table! My drill press has a swing (distance from the column to the drill point) of 16”
Whatever mechanism I opted to use for the fence, I wanted it to be smoother to engage
I wanted to have some form of clamping and/or hold-down system
I wanted to have some form of flip-stop
Instead of a square zero-clearance insert plate, I wanted to use a circular shape
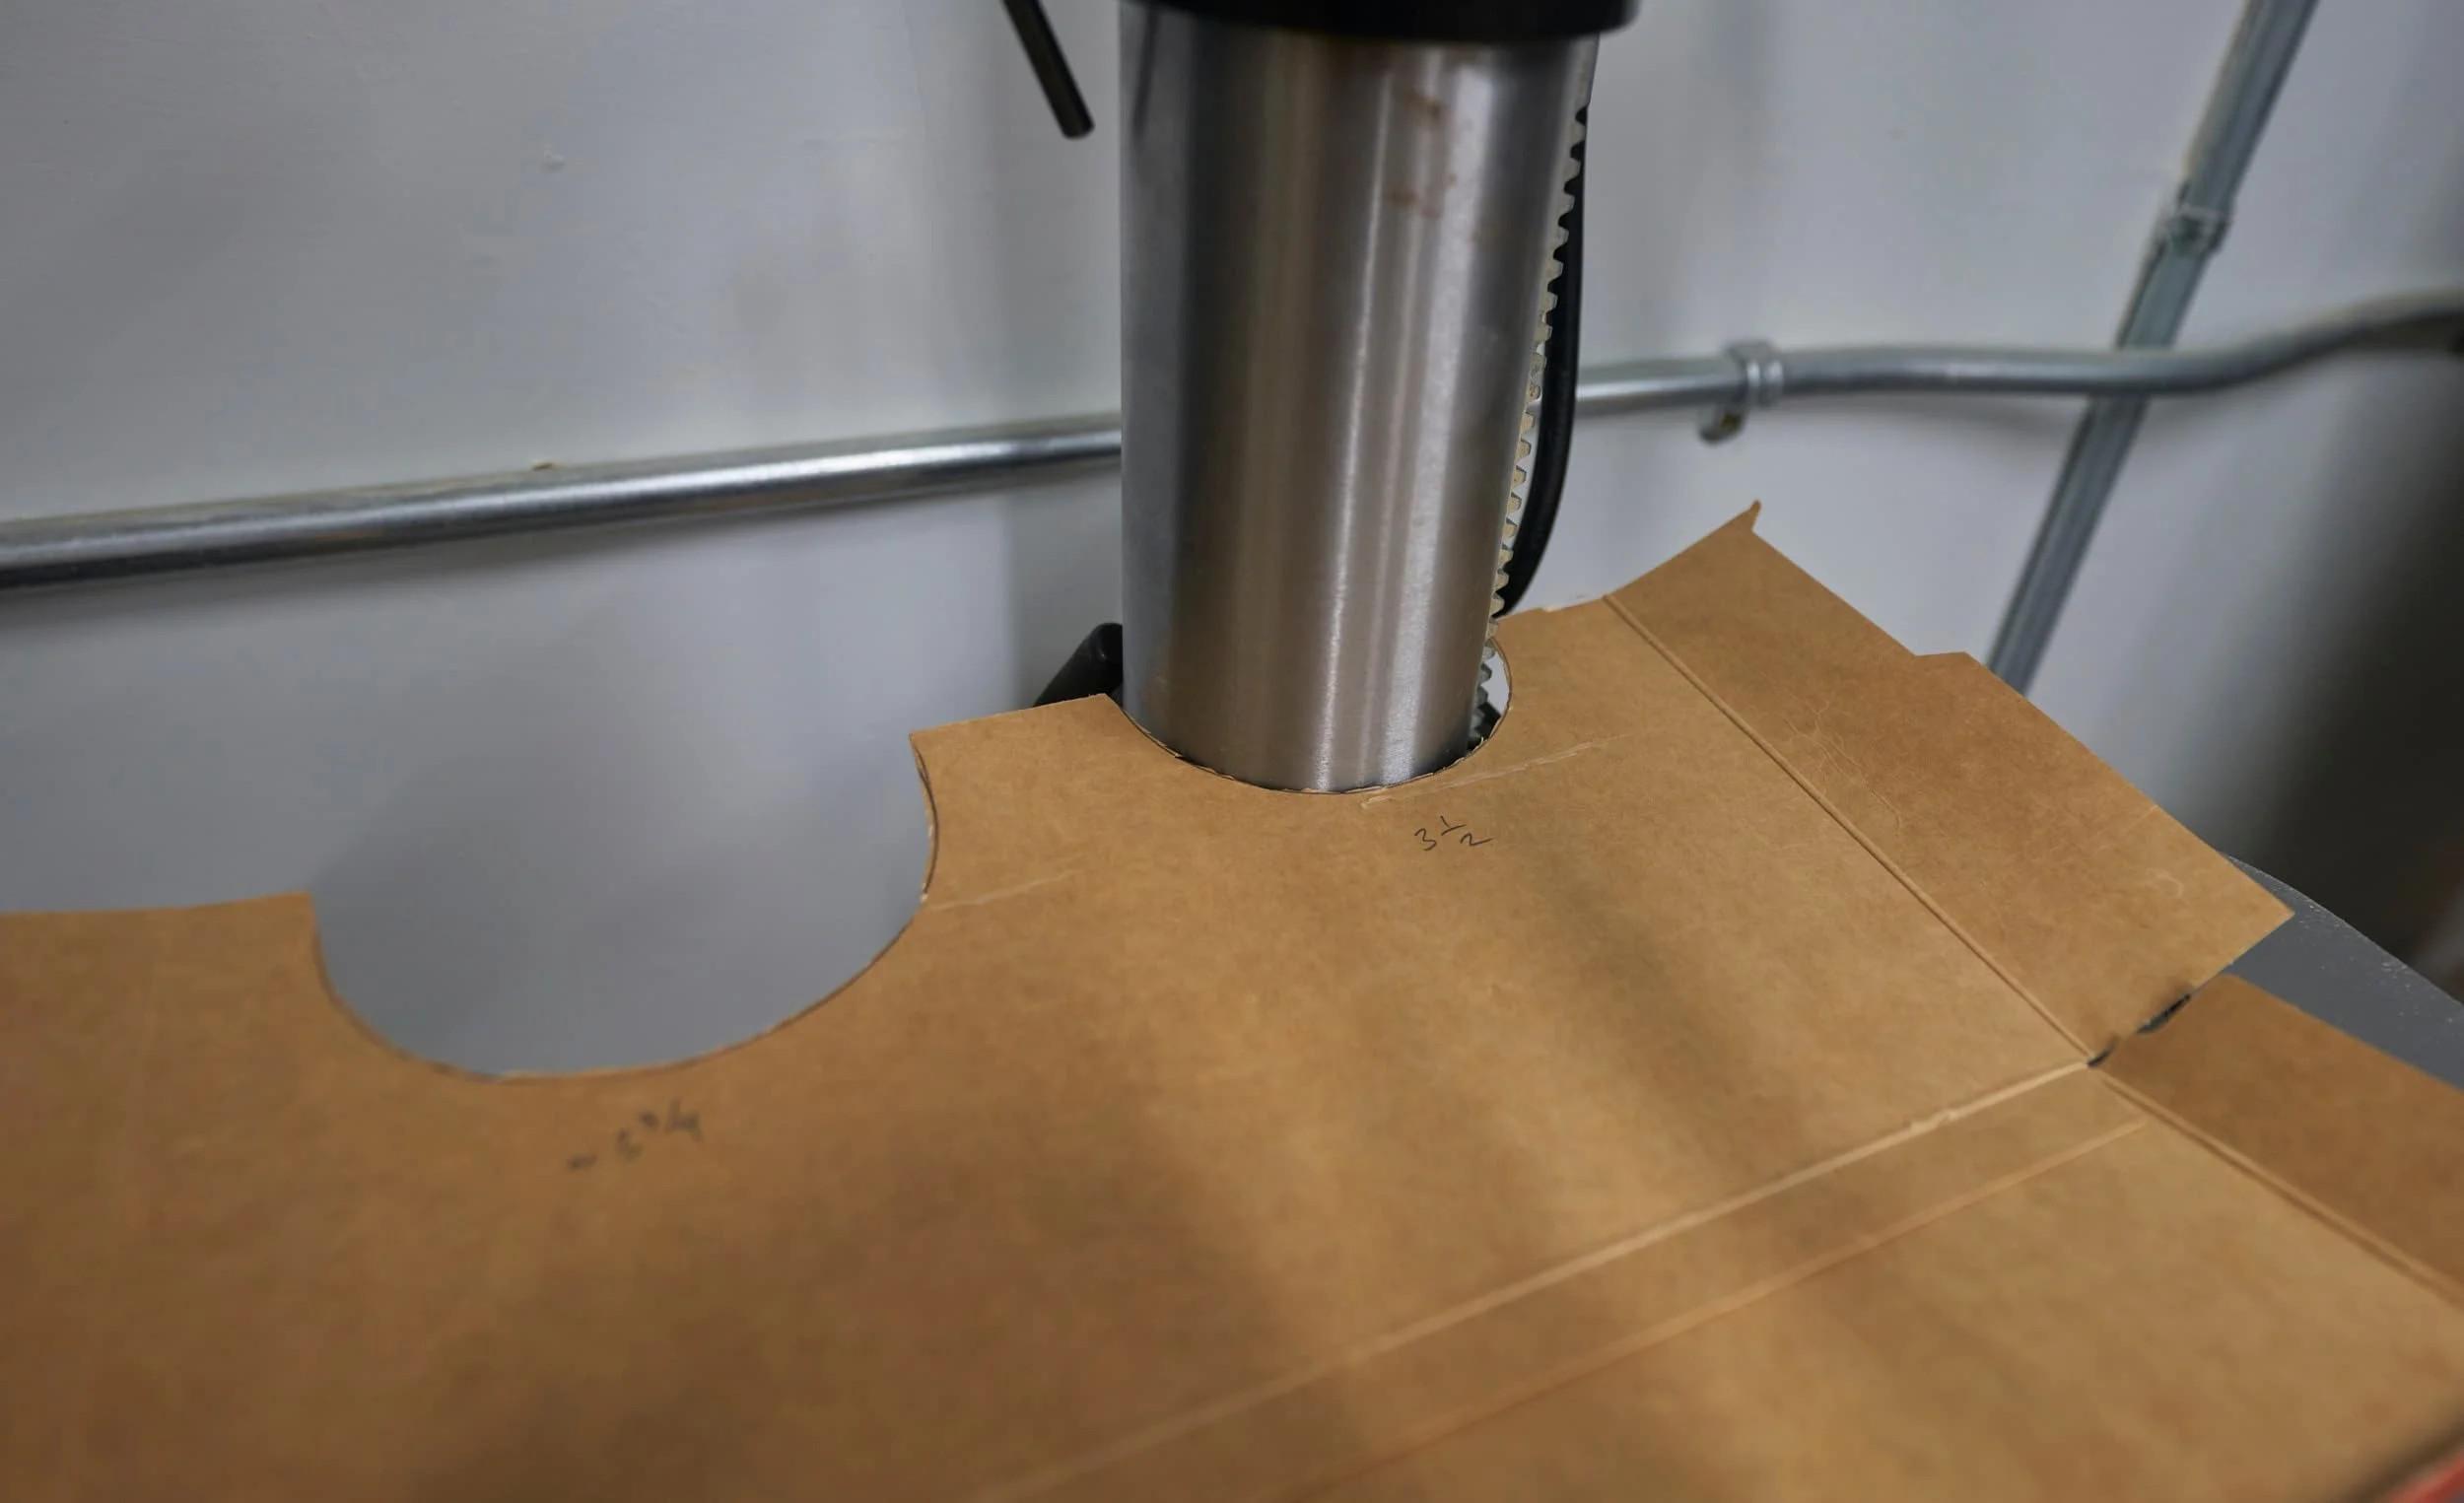
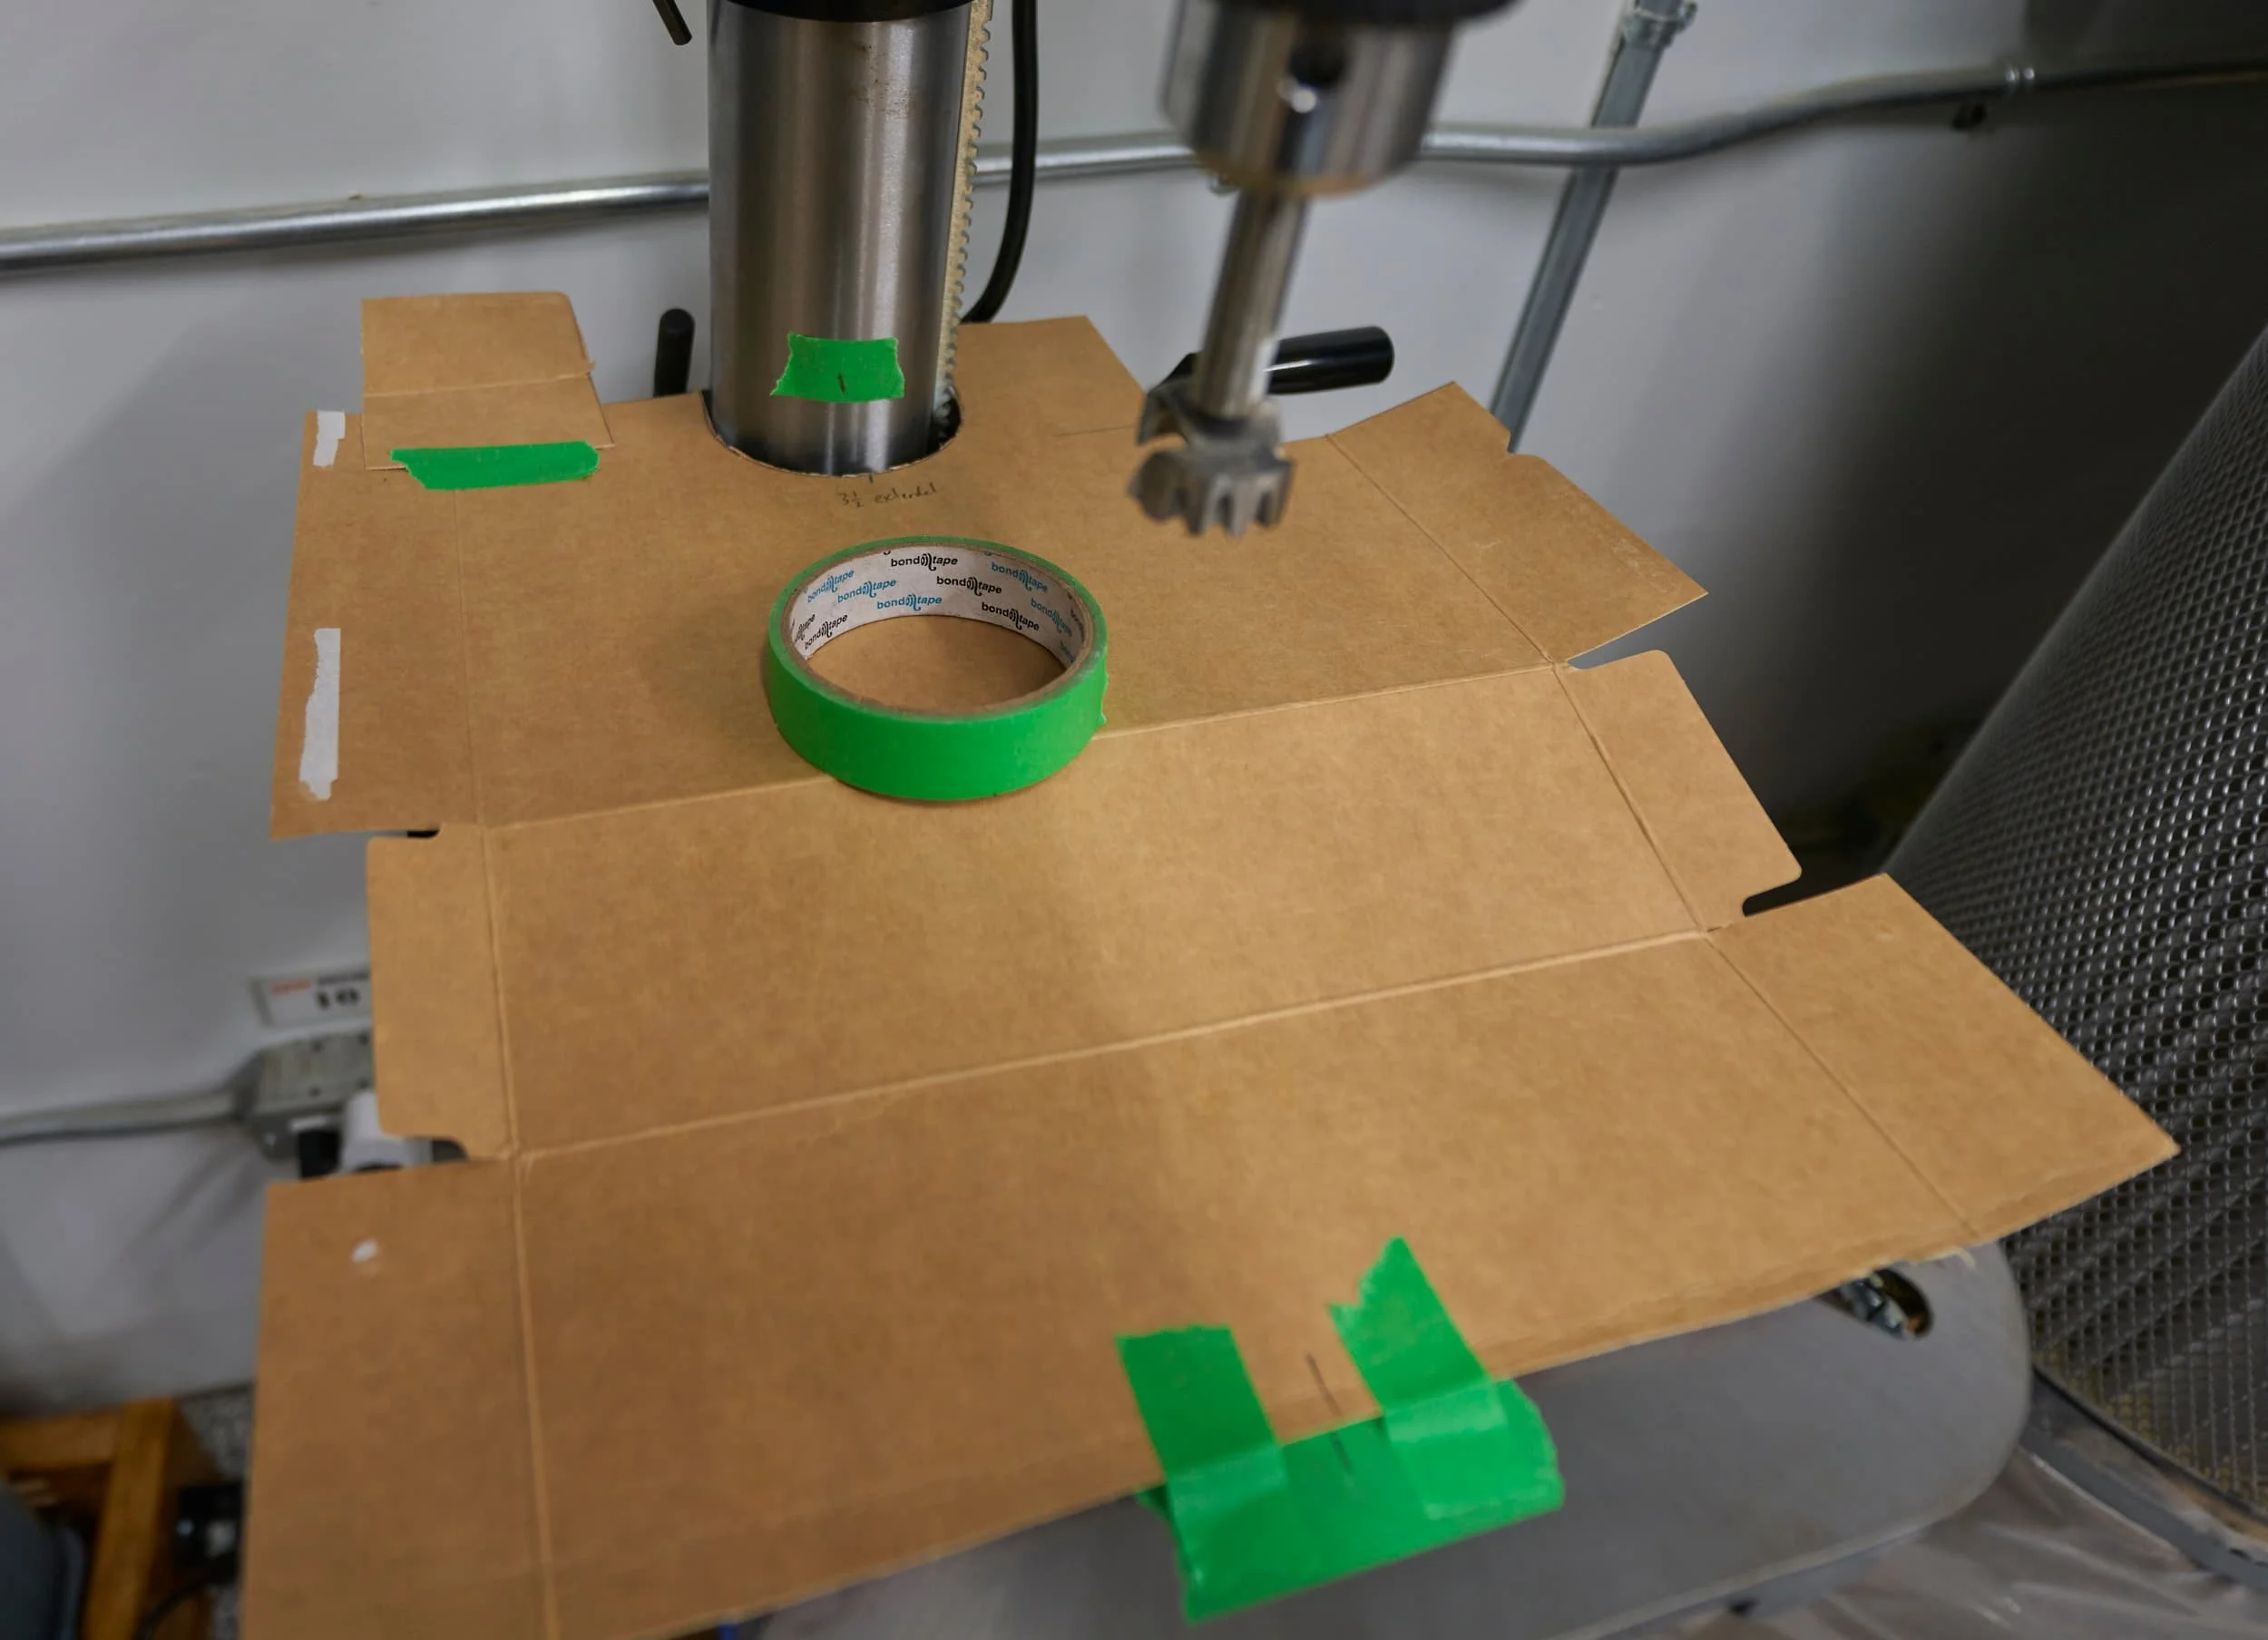
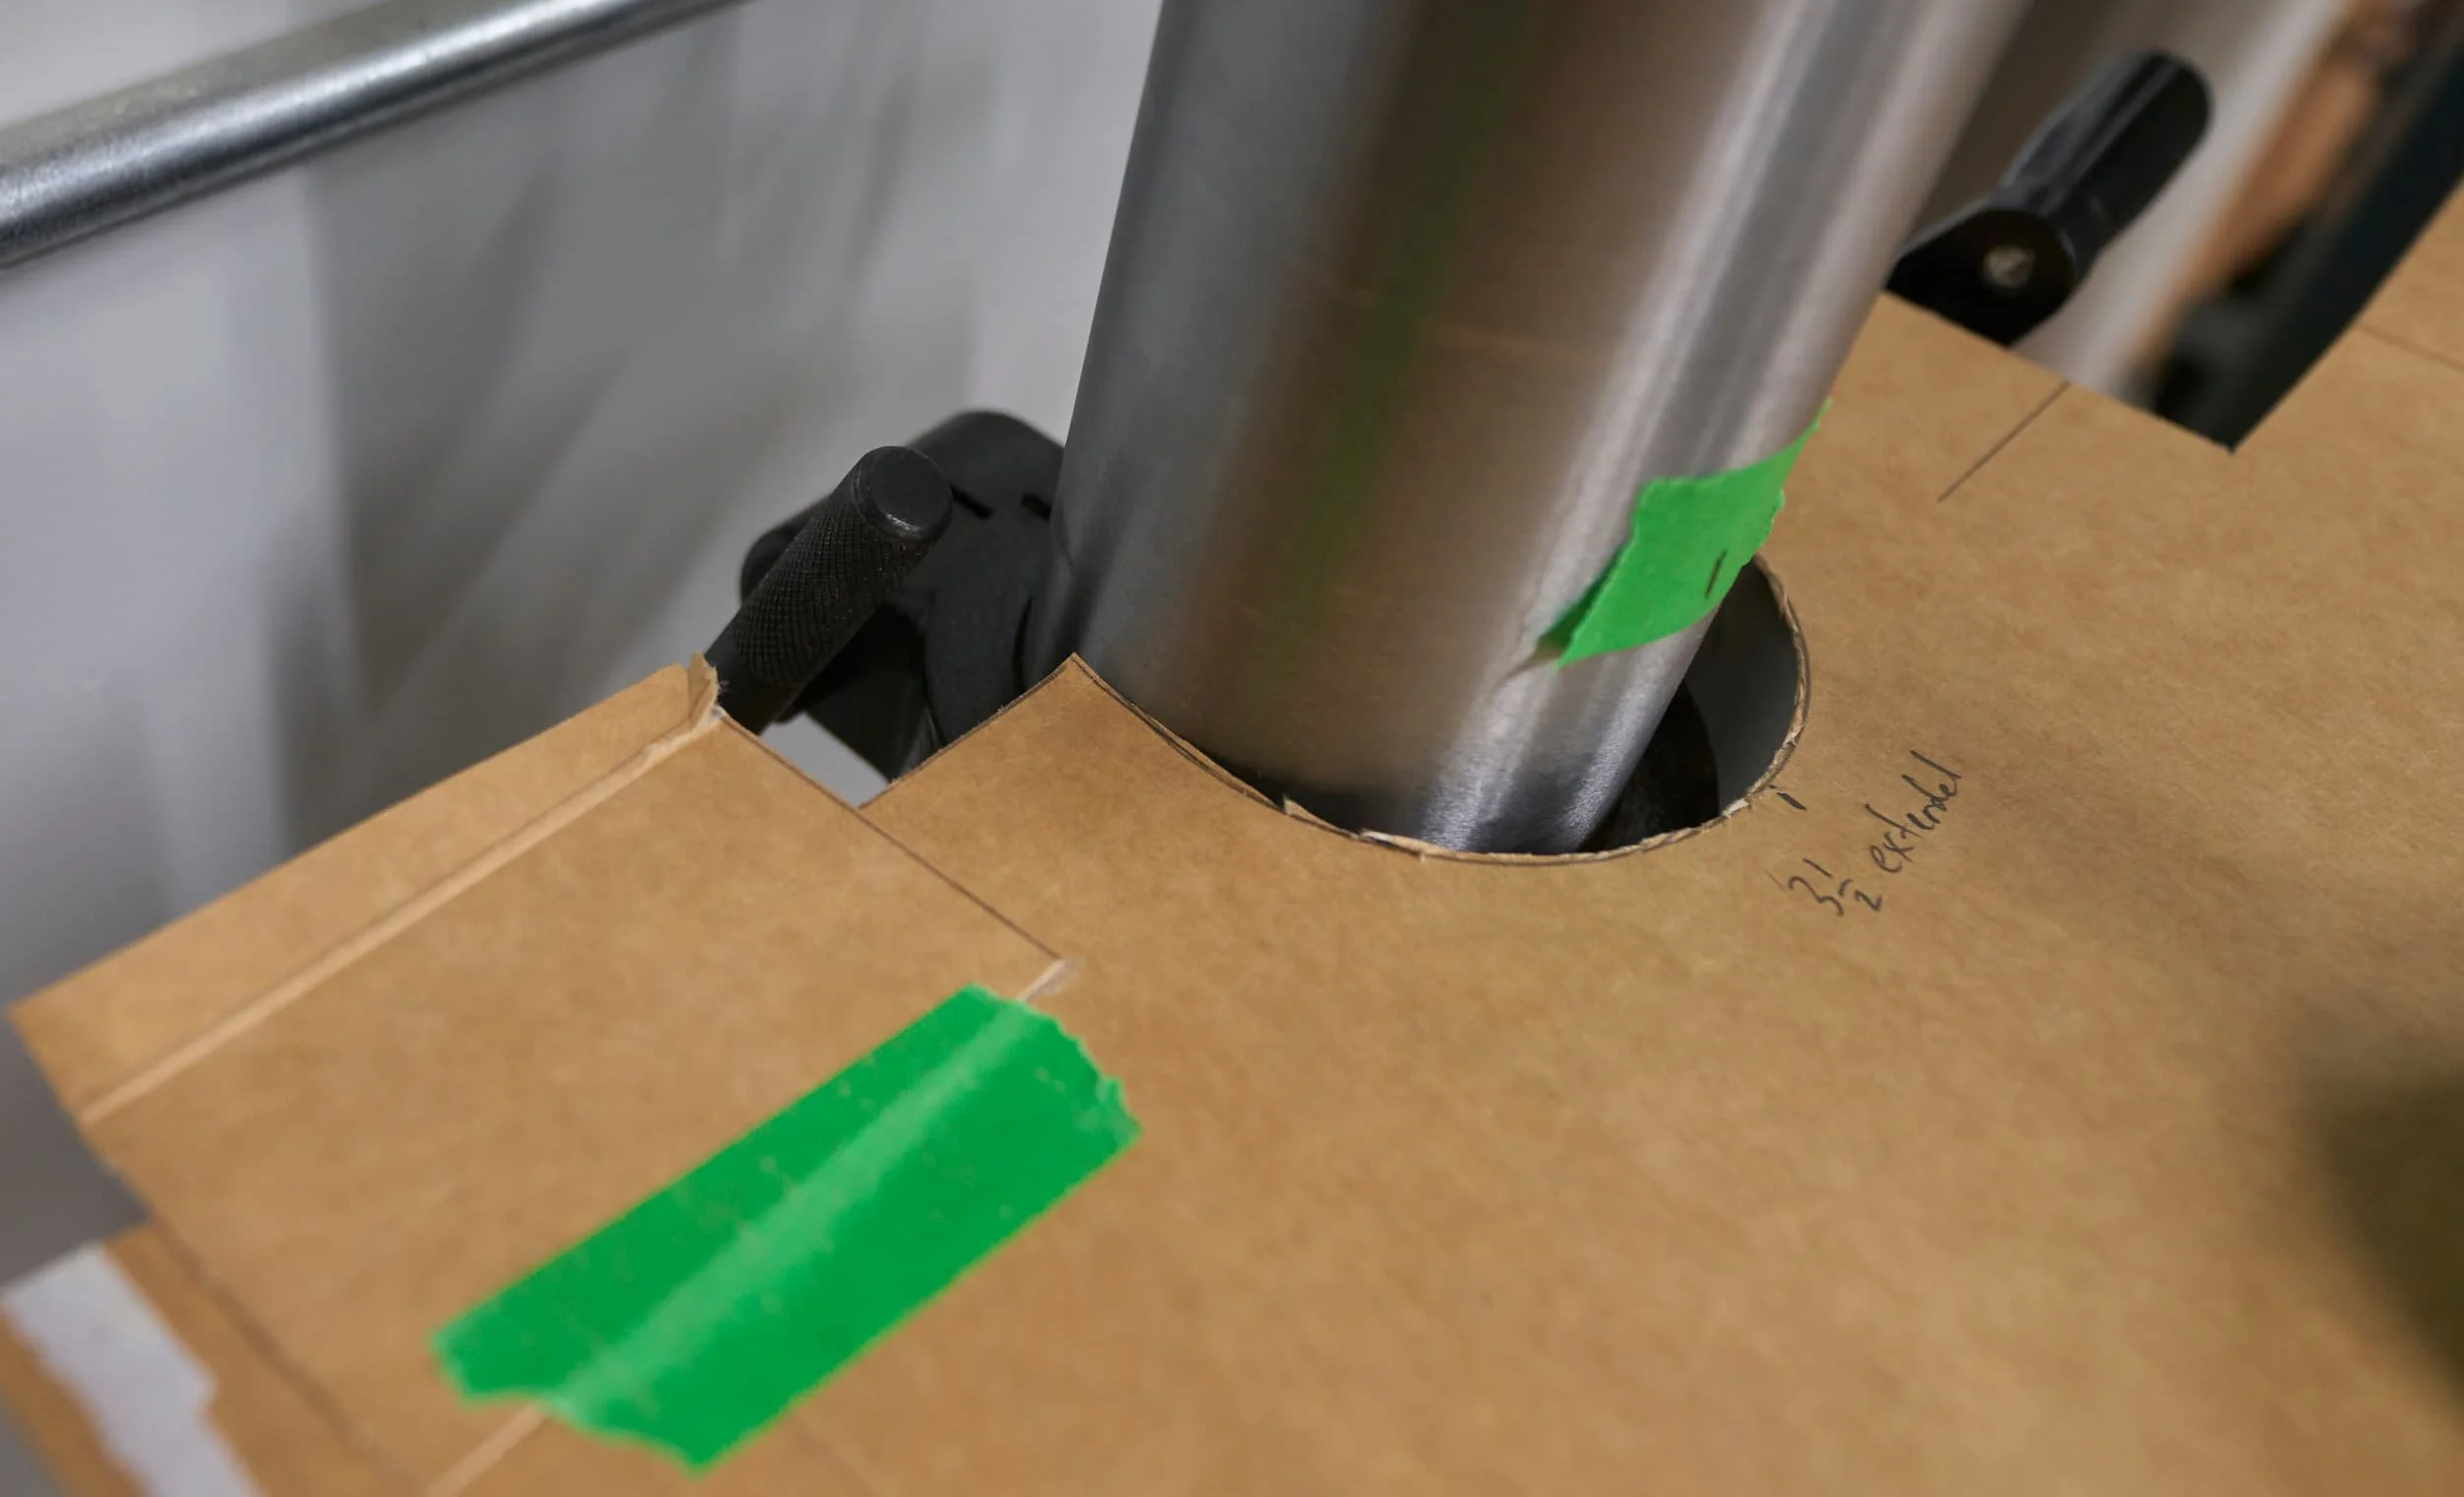
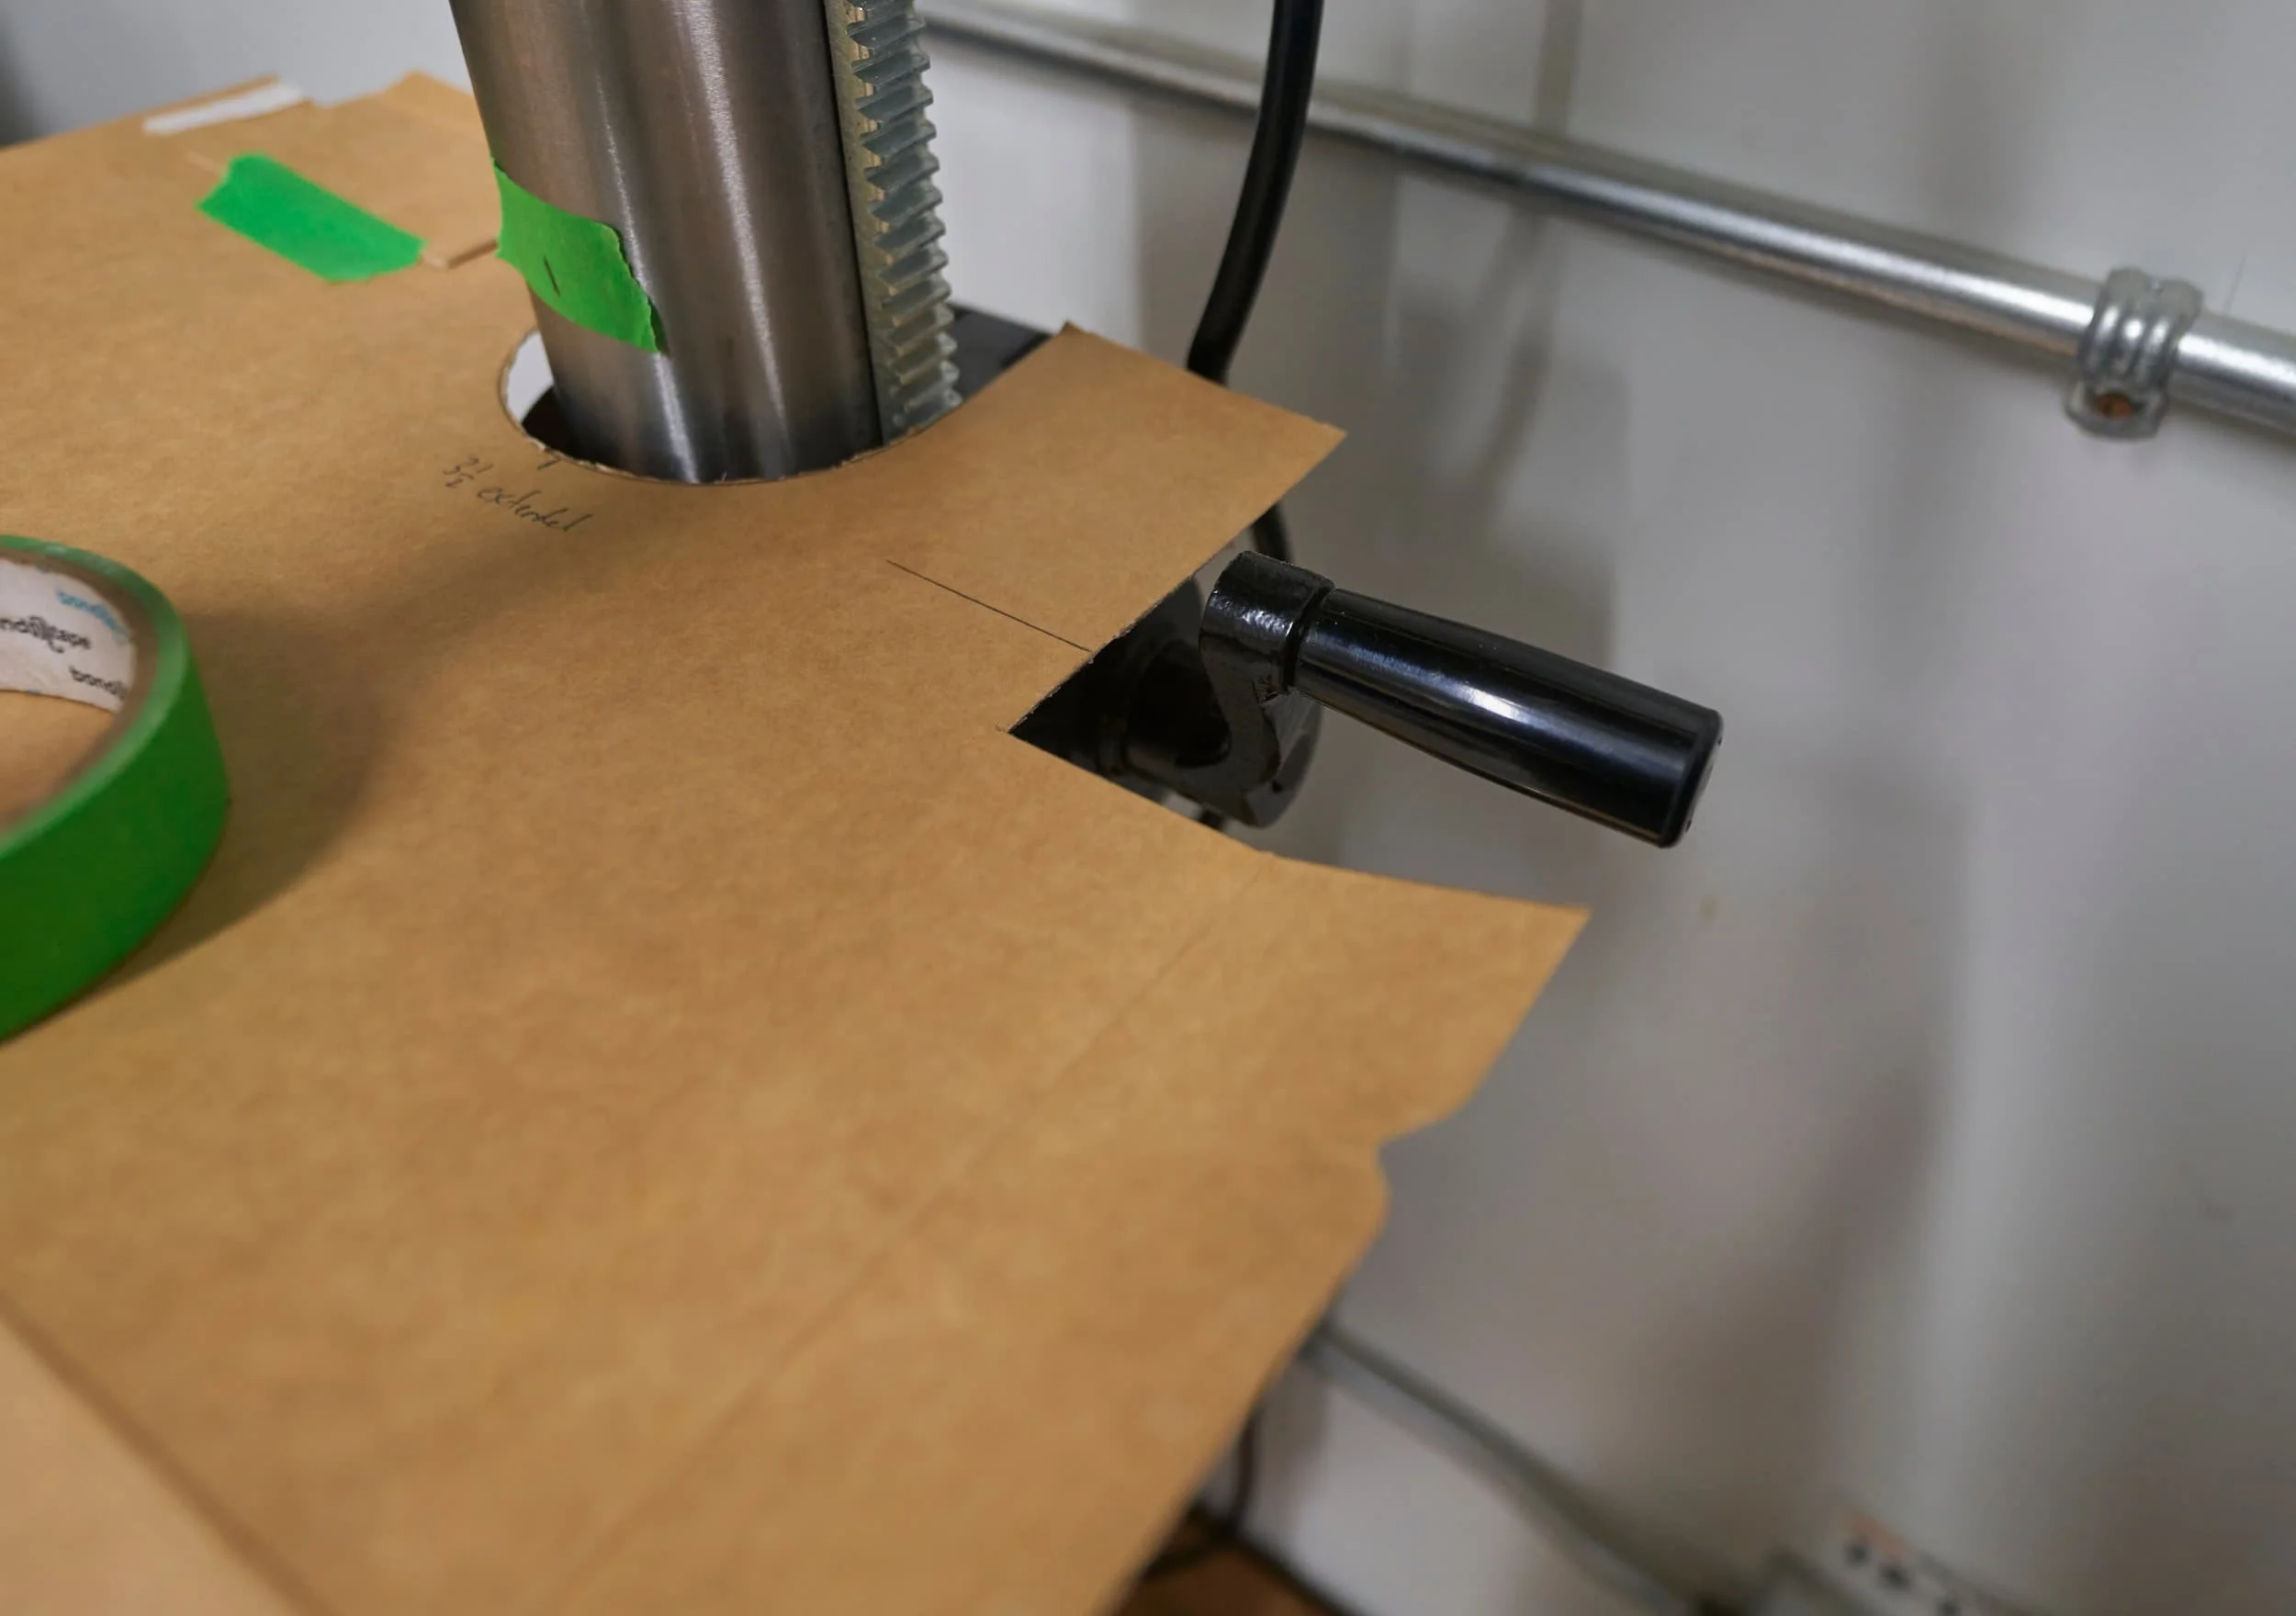
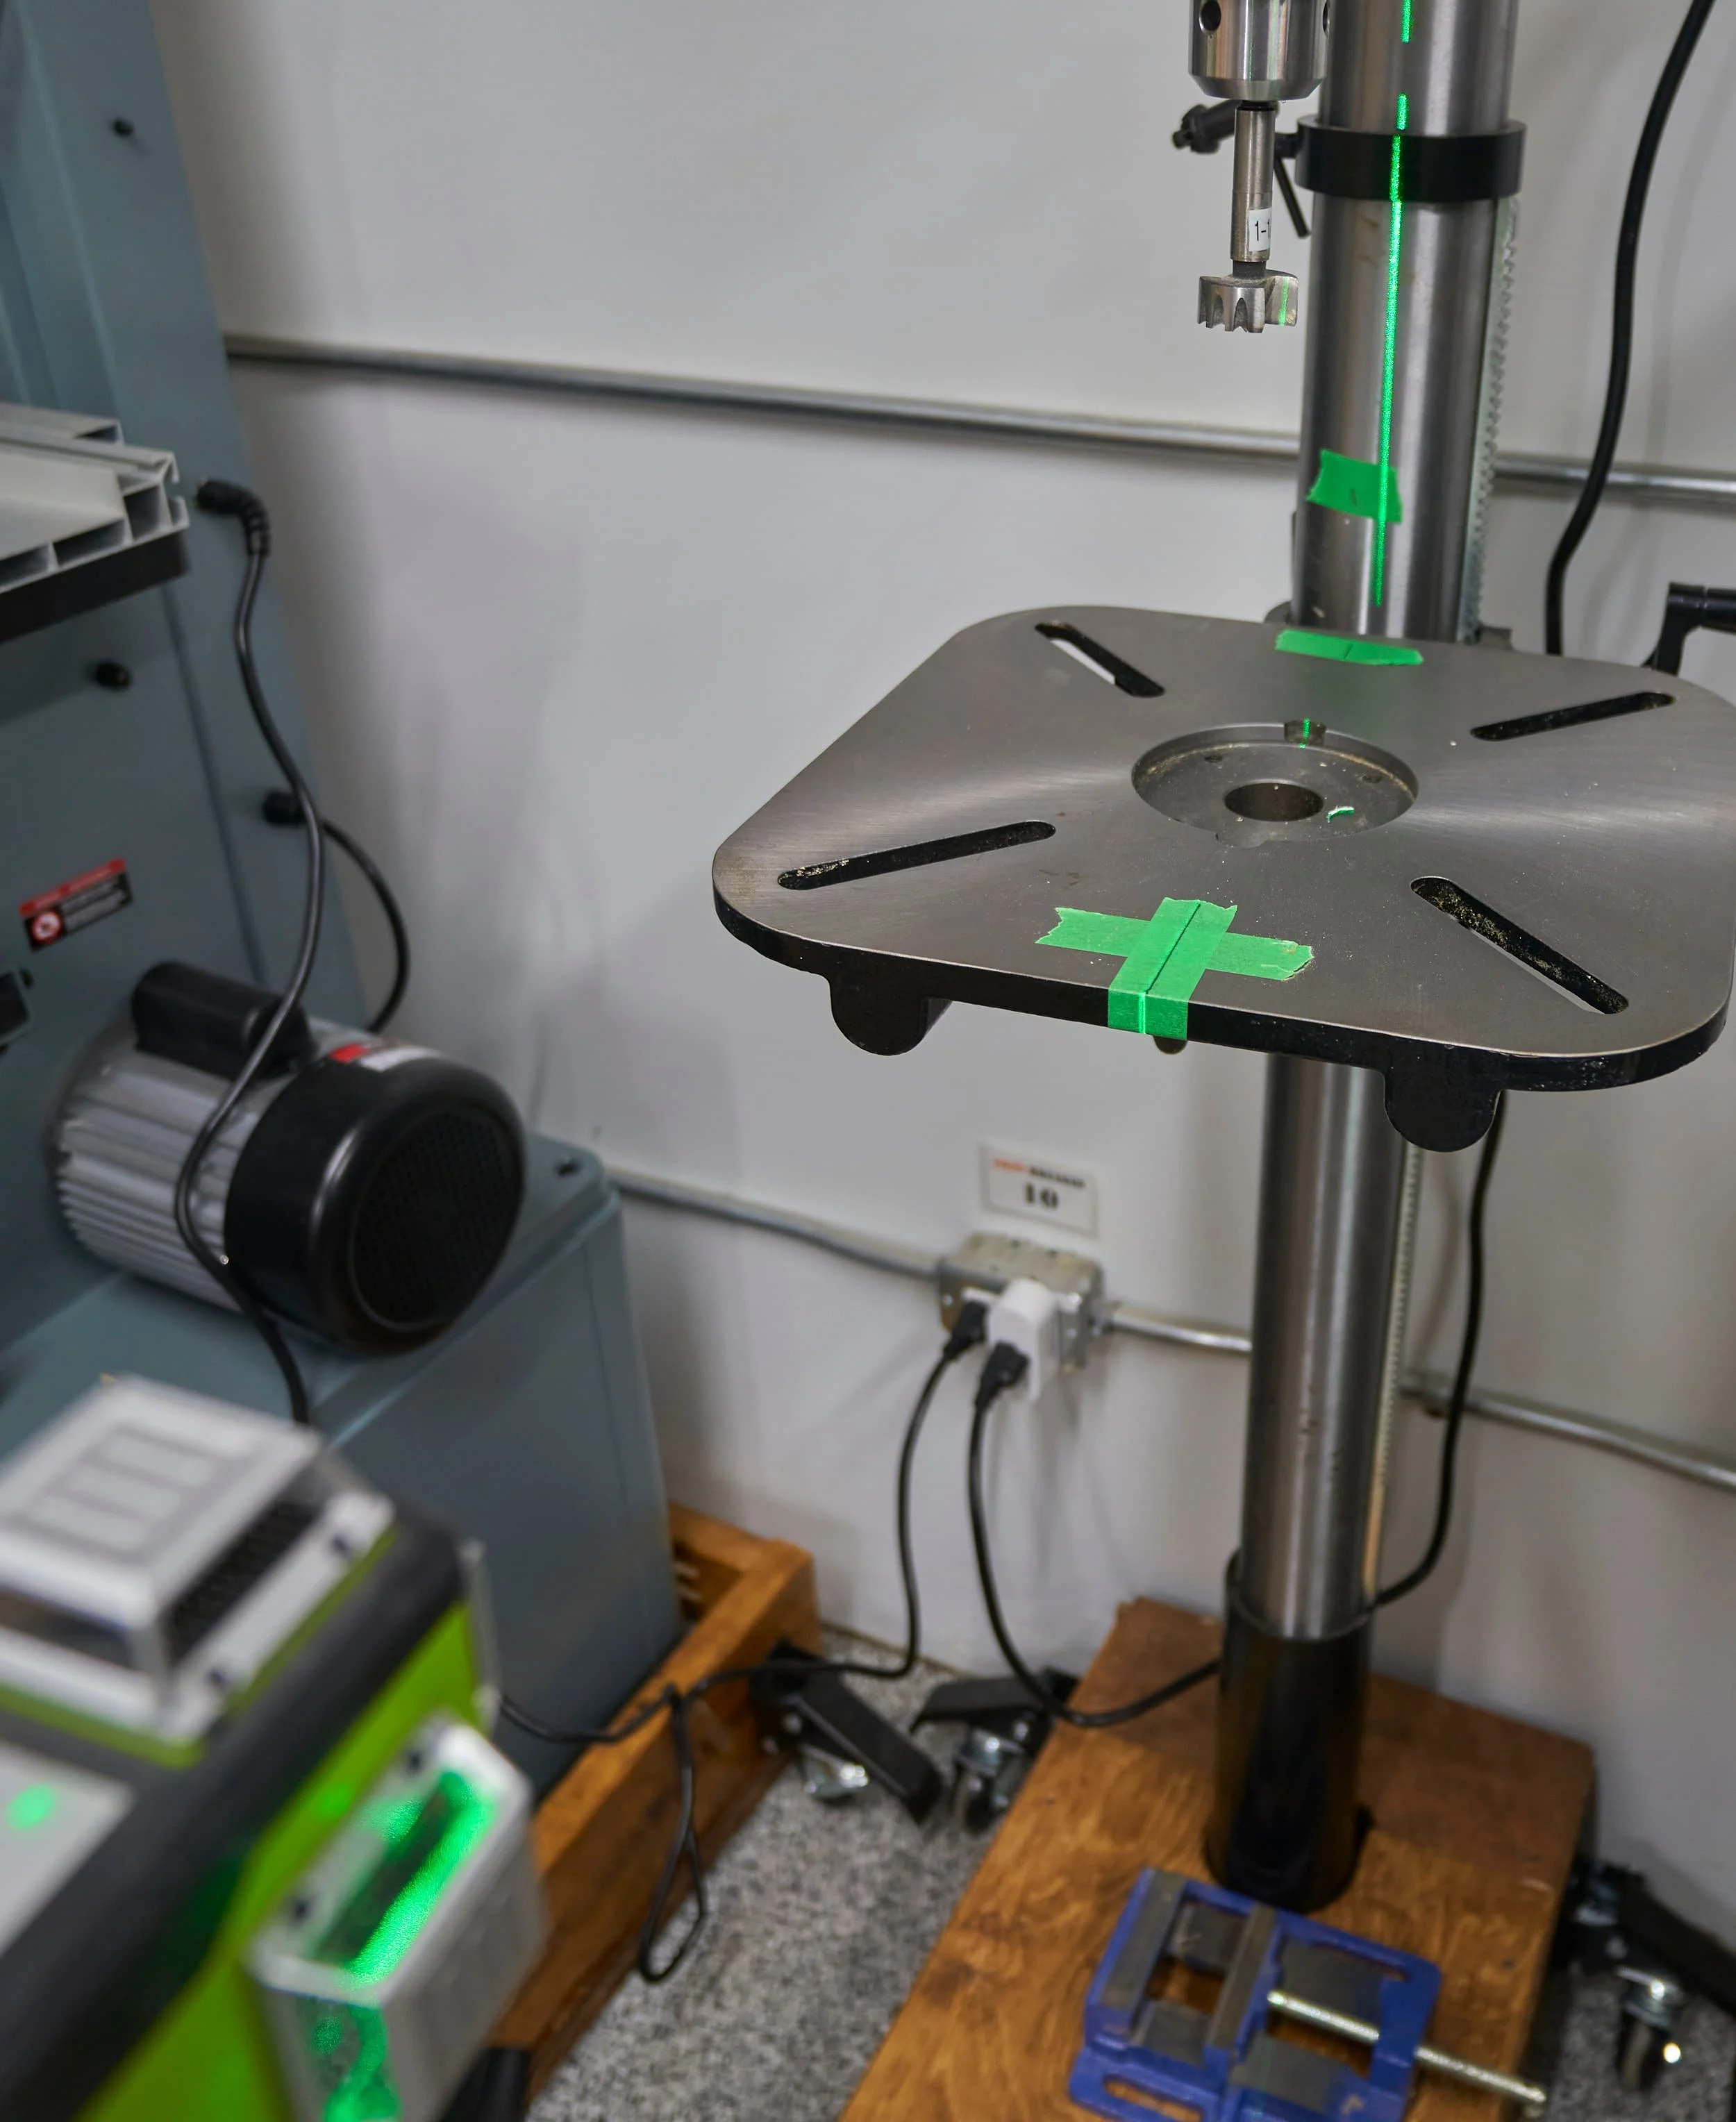
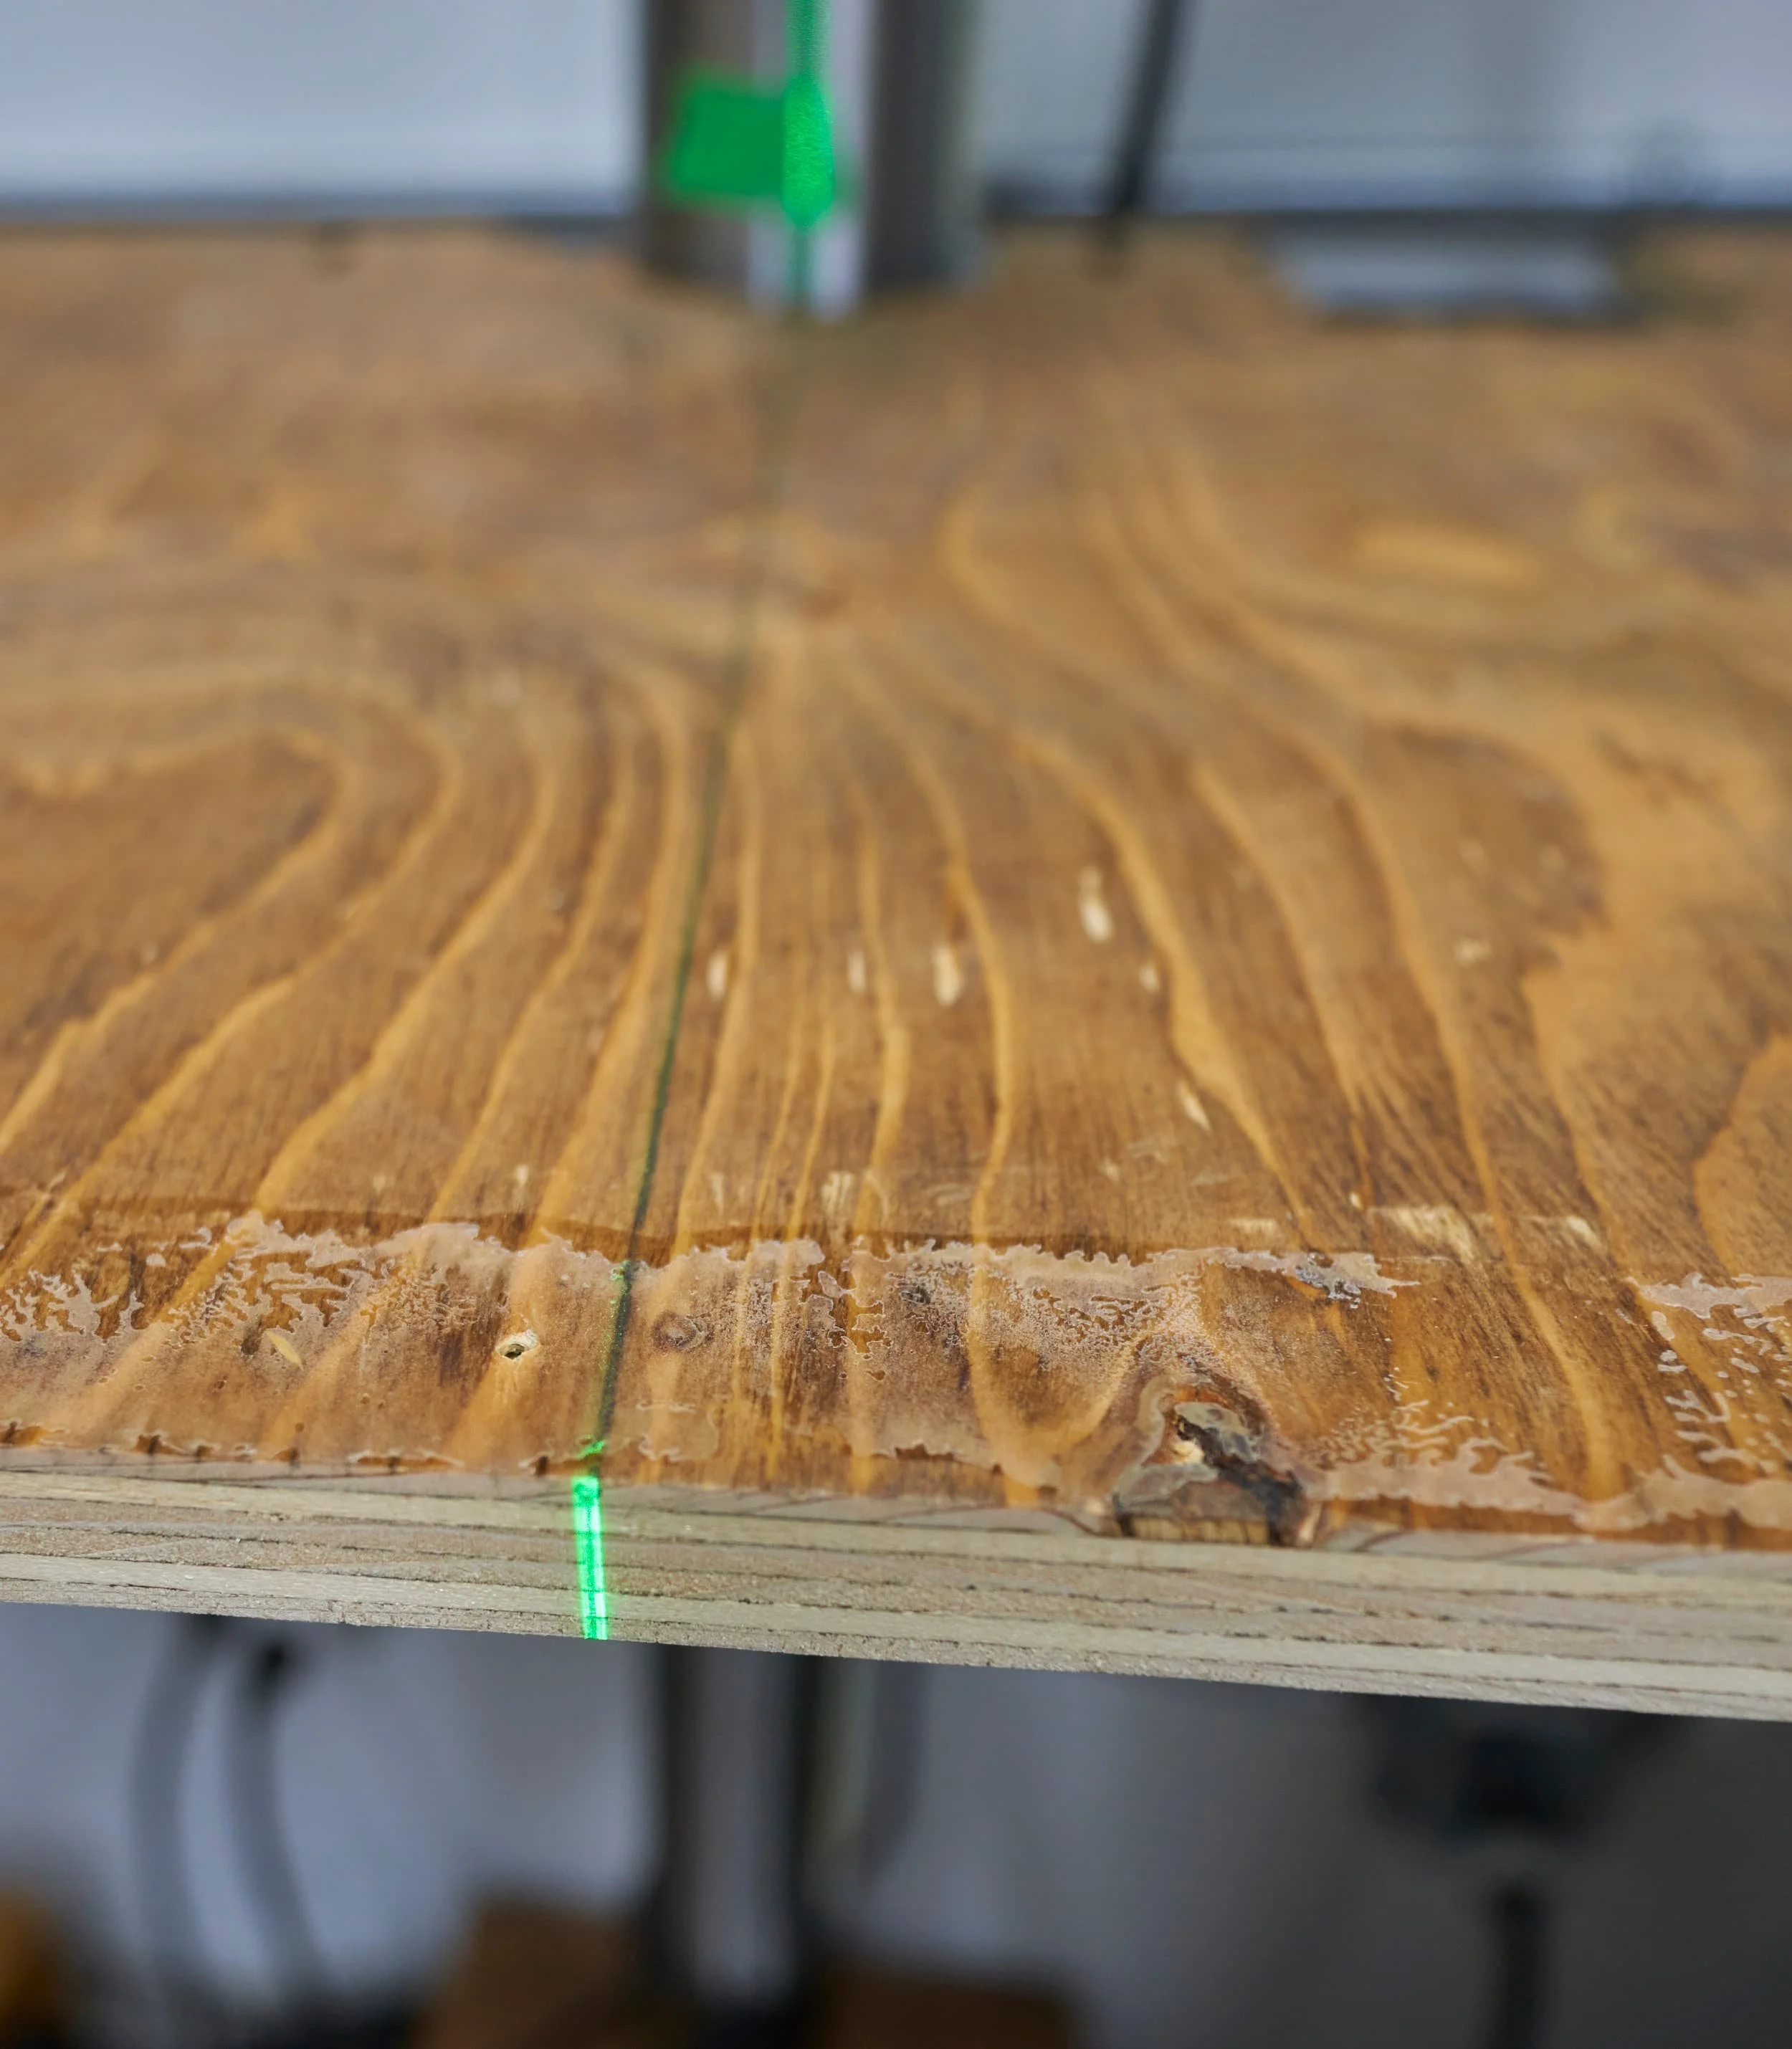
Step 1: The basic shape
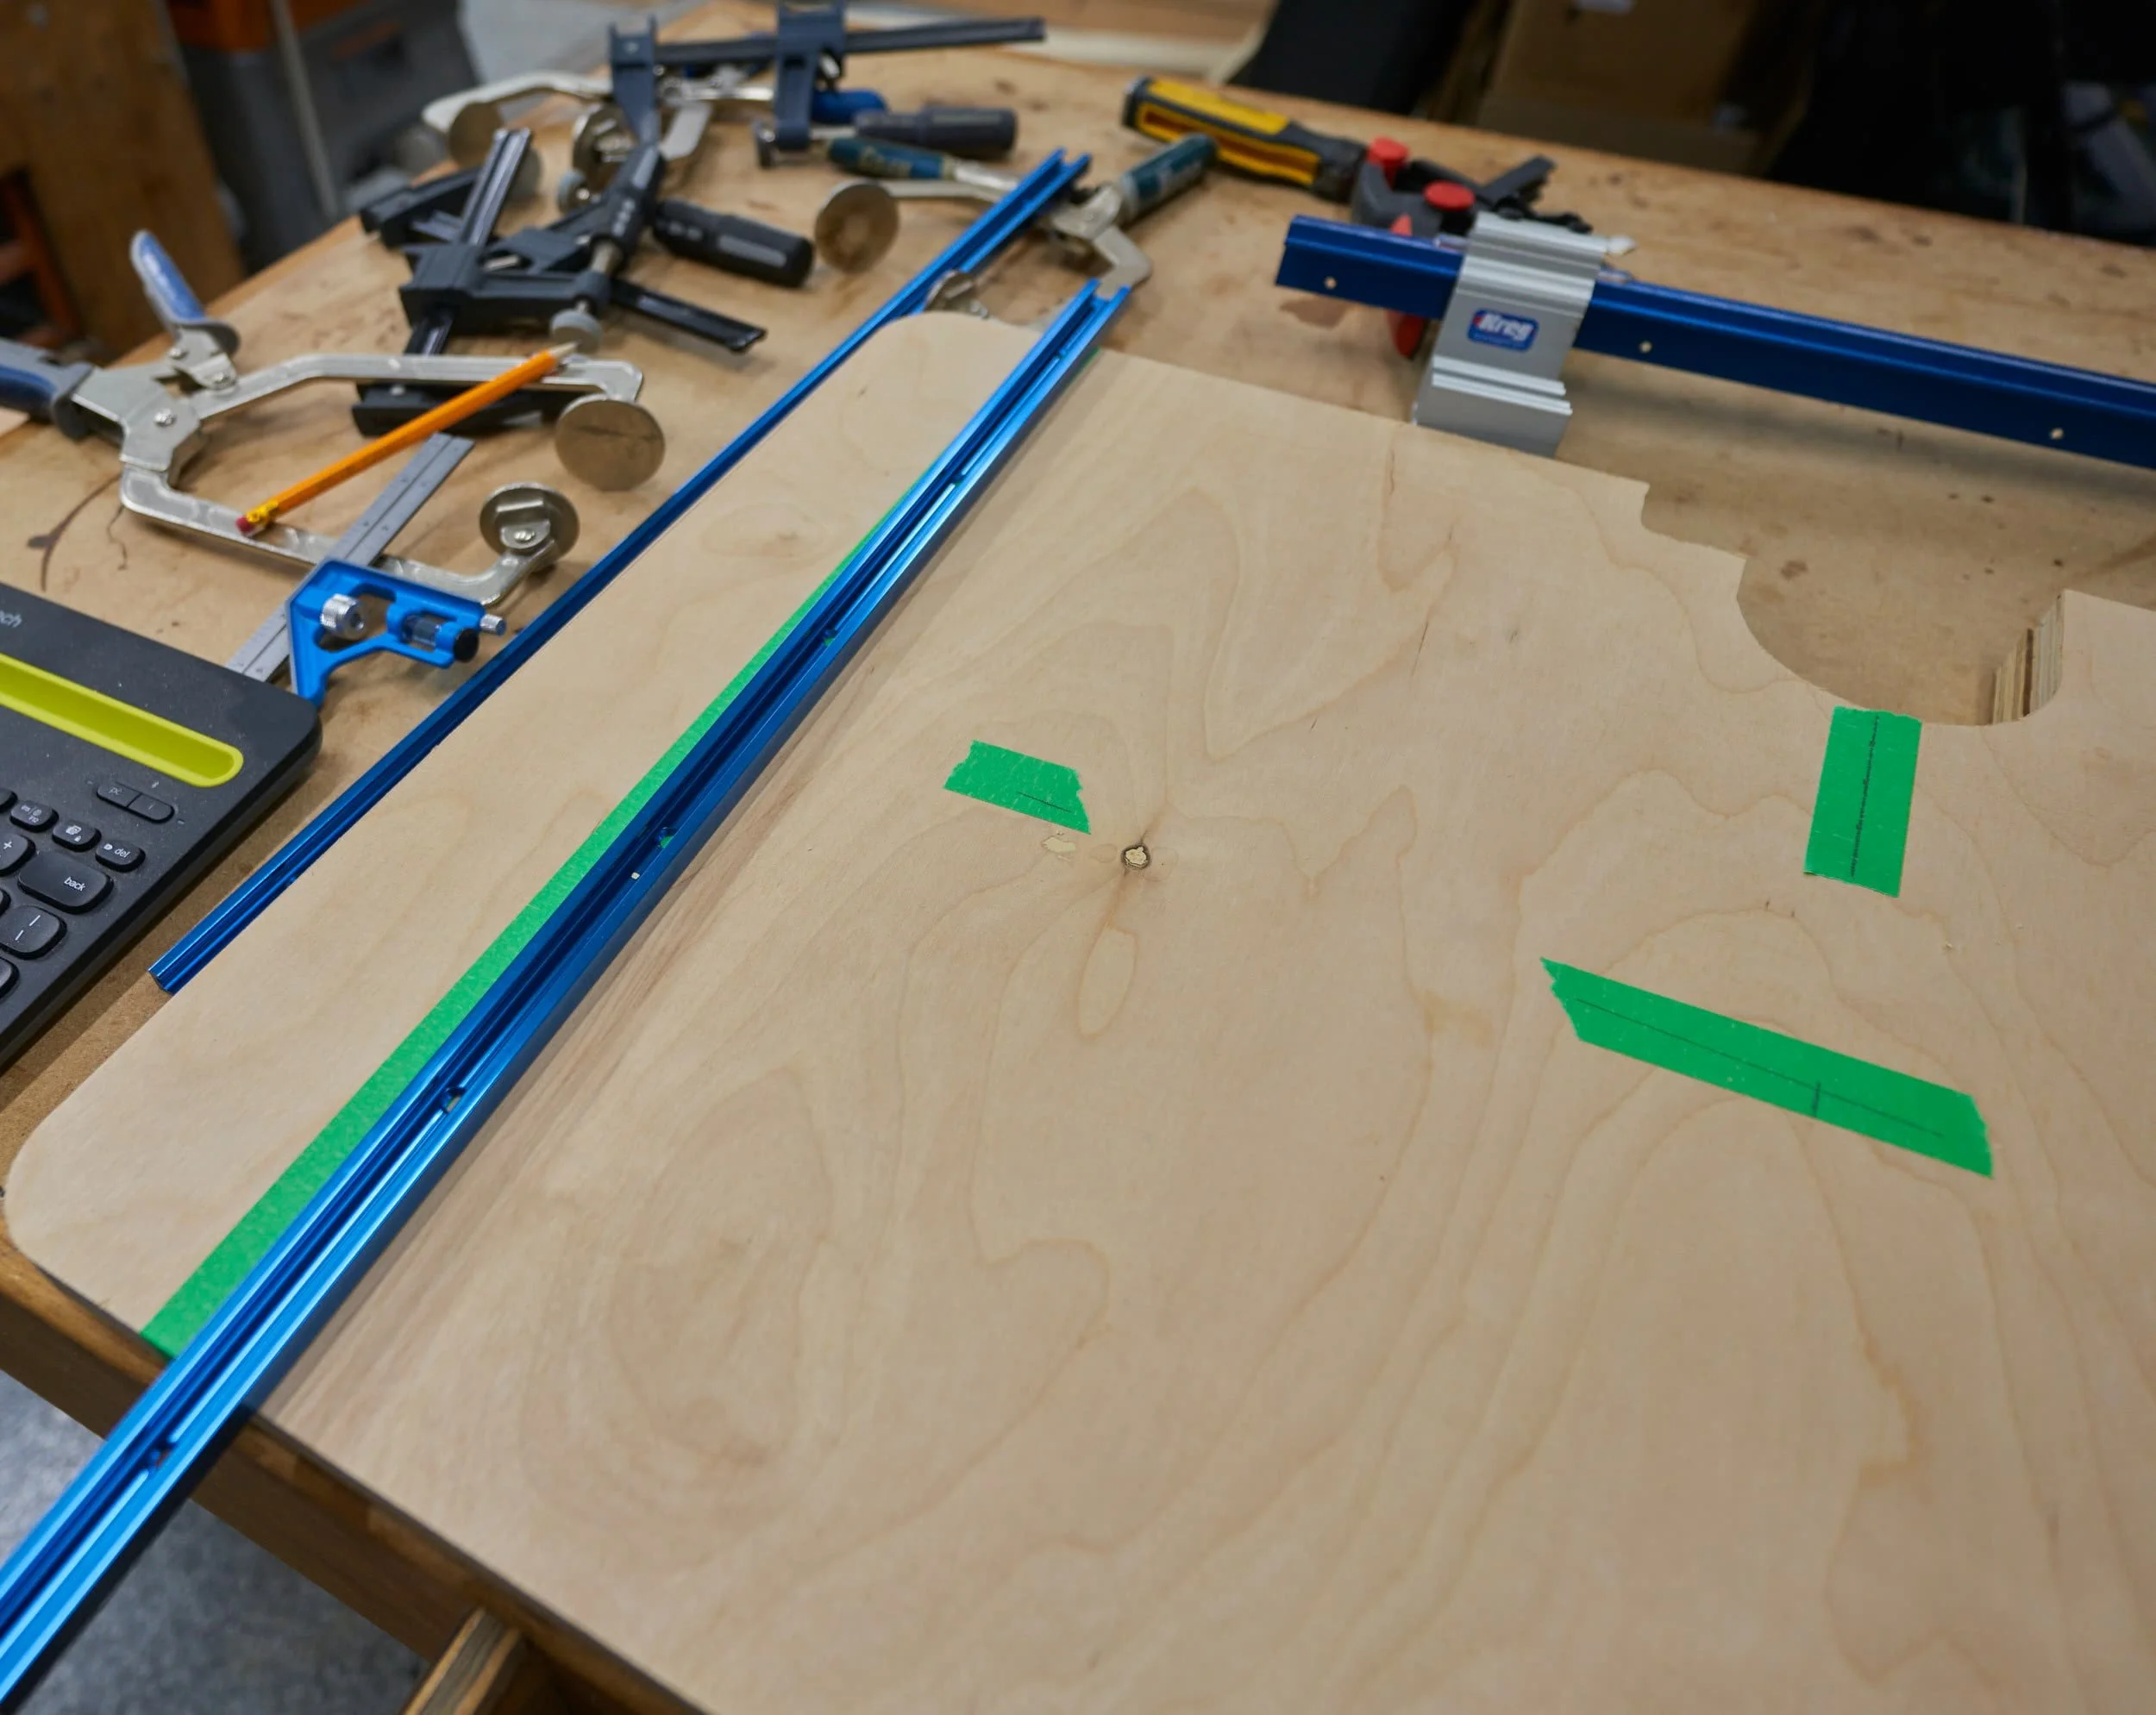
In order to maximize the table size, I wanted to ‘recess’ the table against the center column so the first thing is to use some cardboard to make some planning templates.


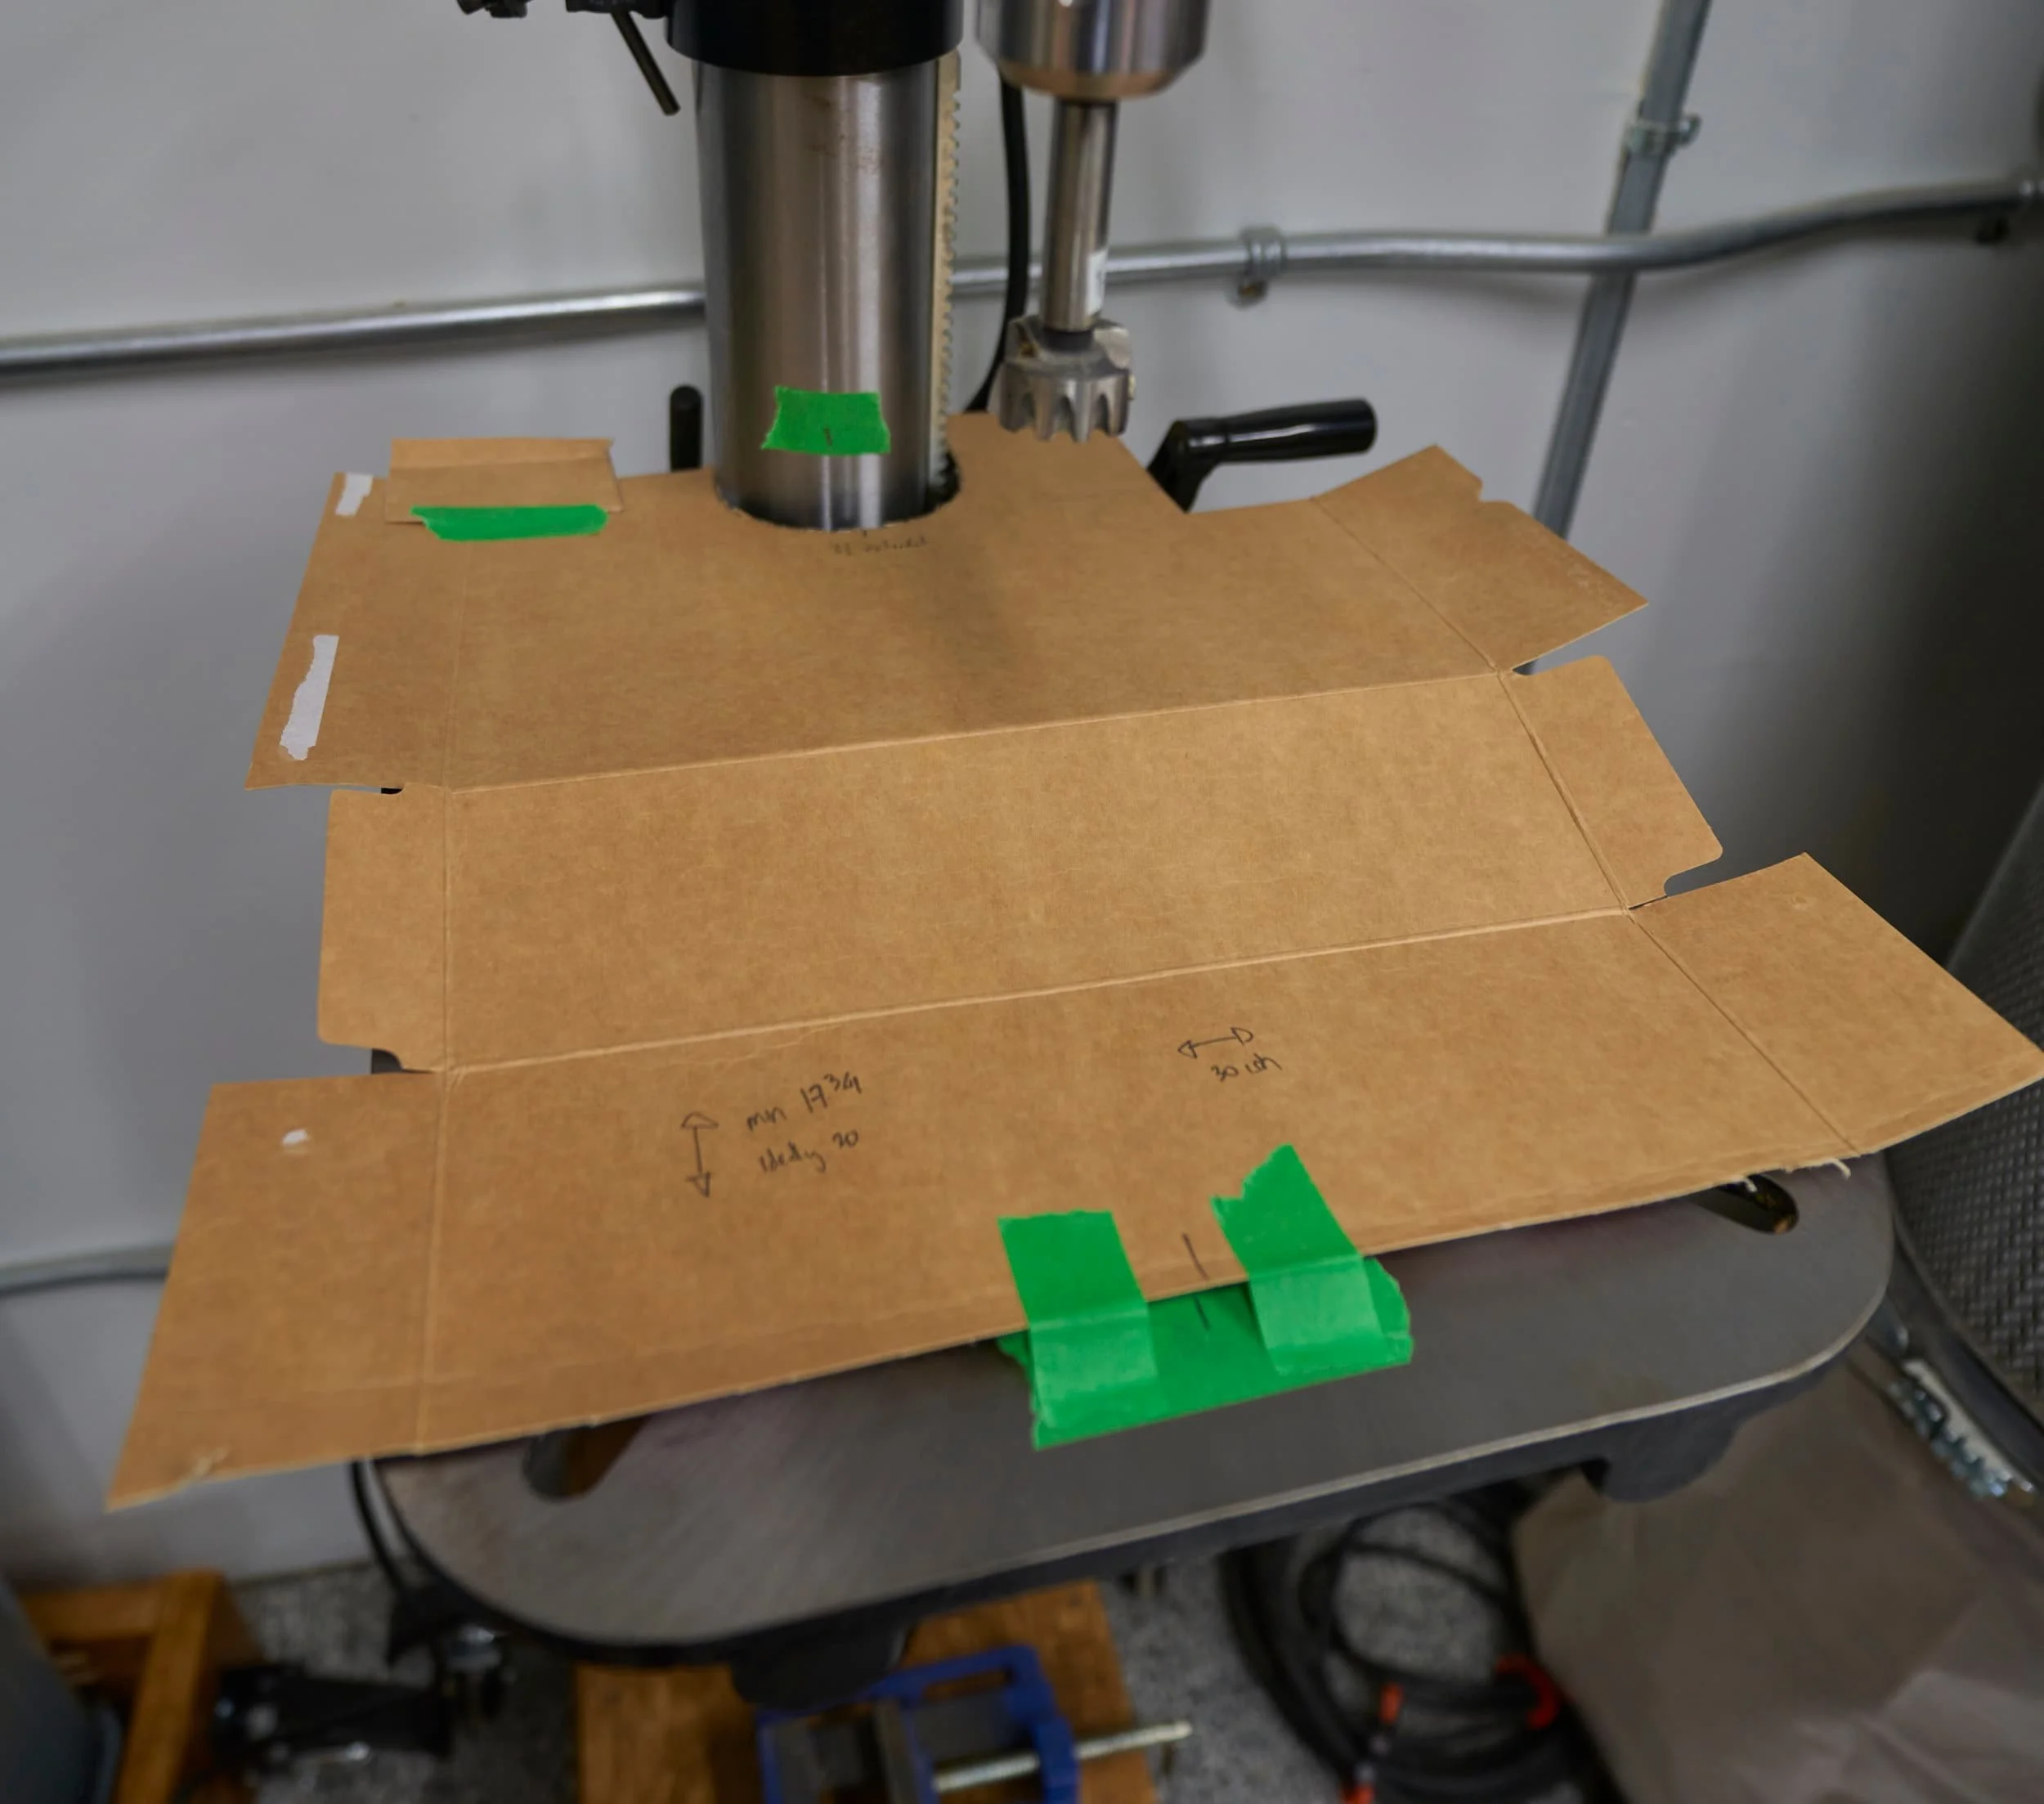
Once I settled on the important cutouts, I could transfer the cutouts onto some plywood
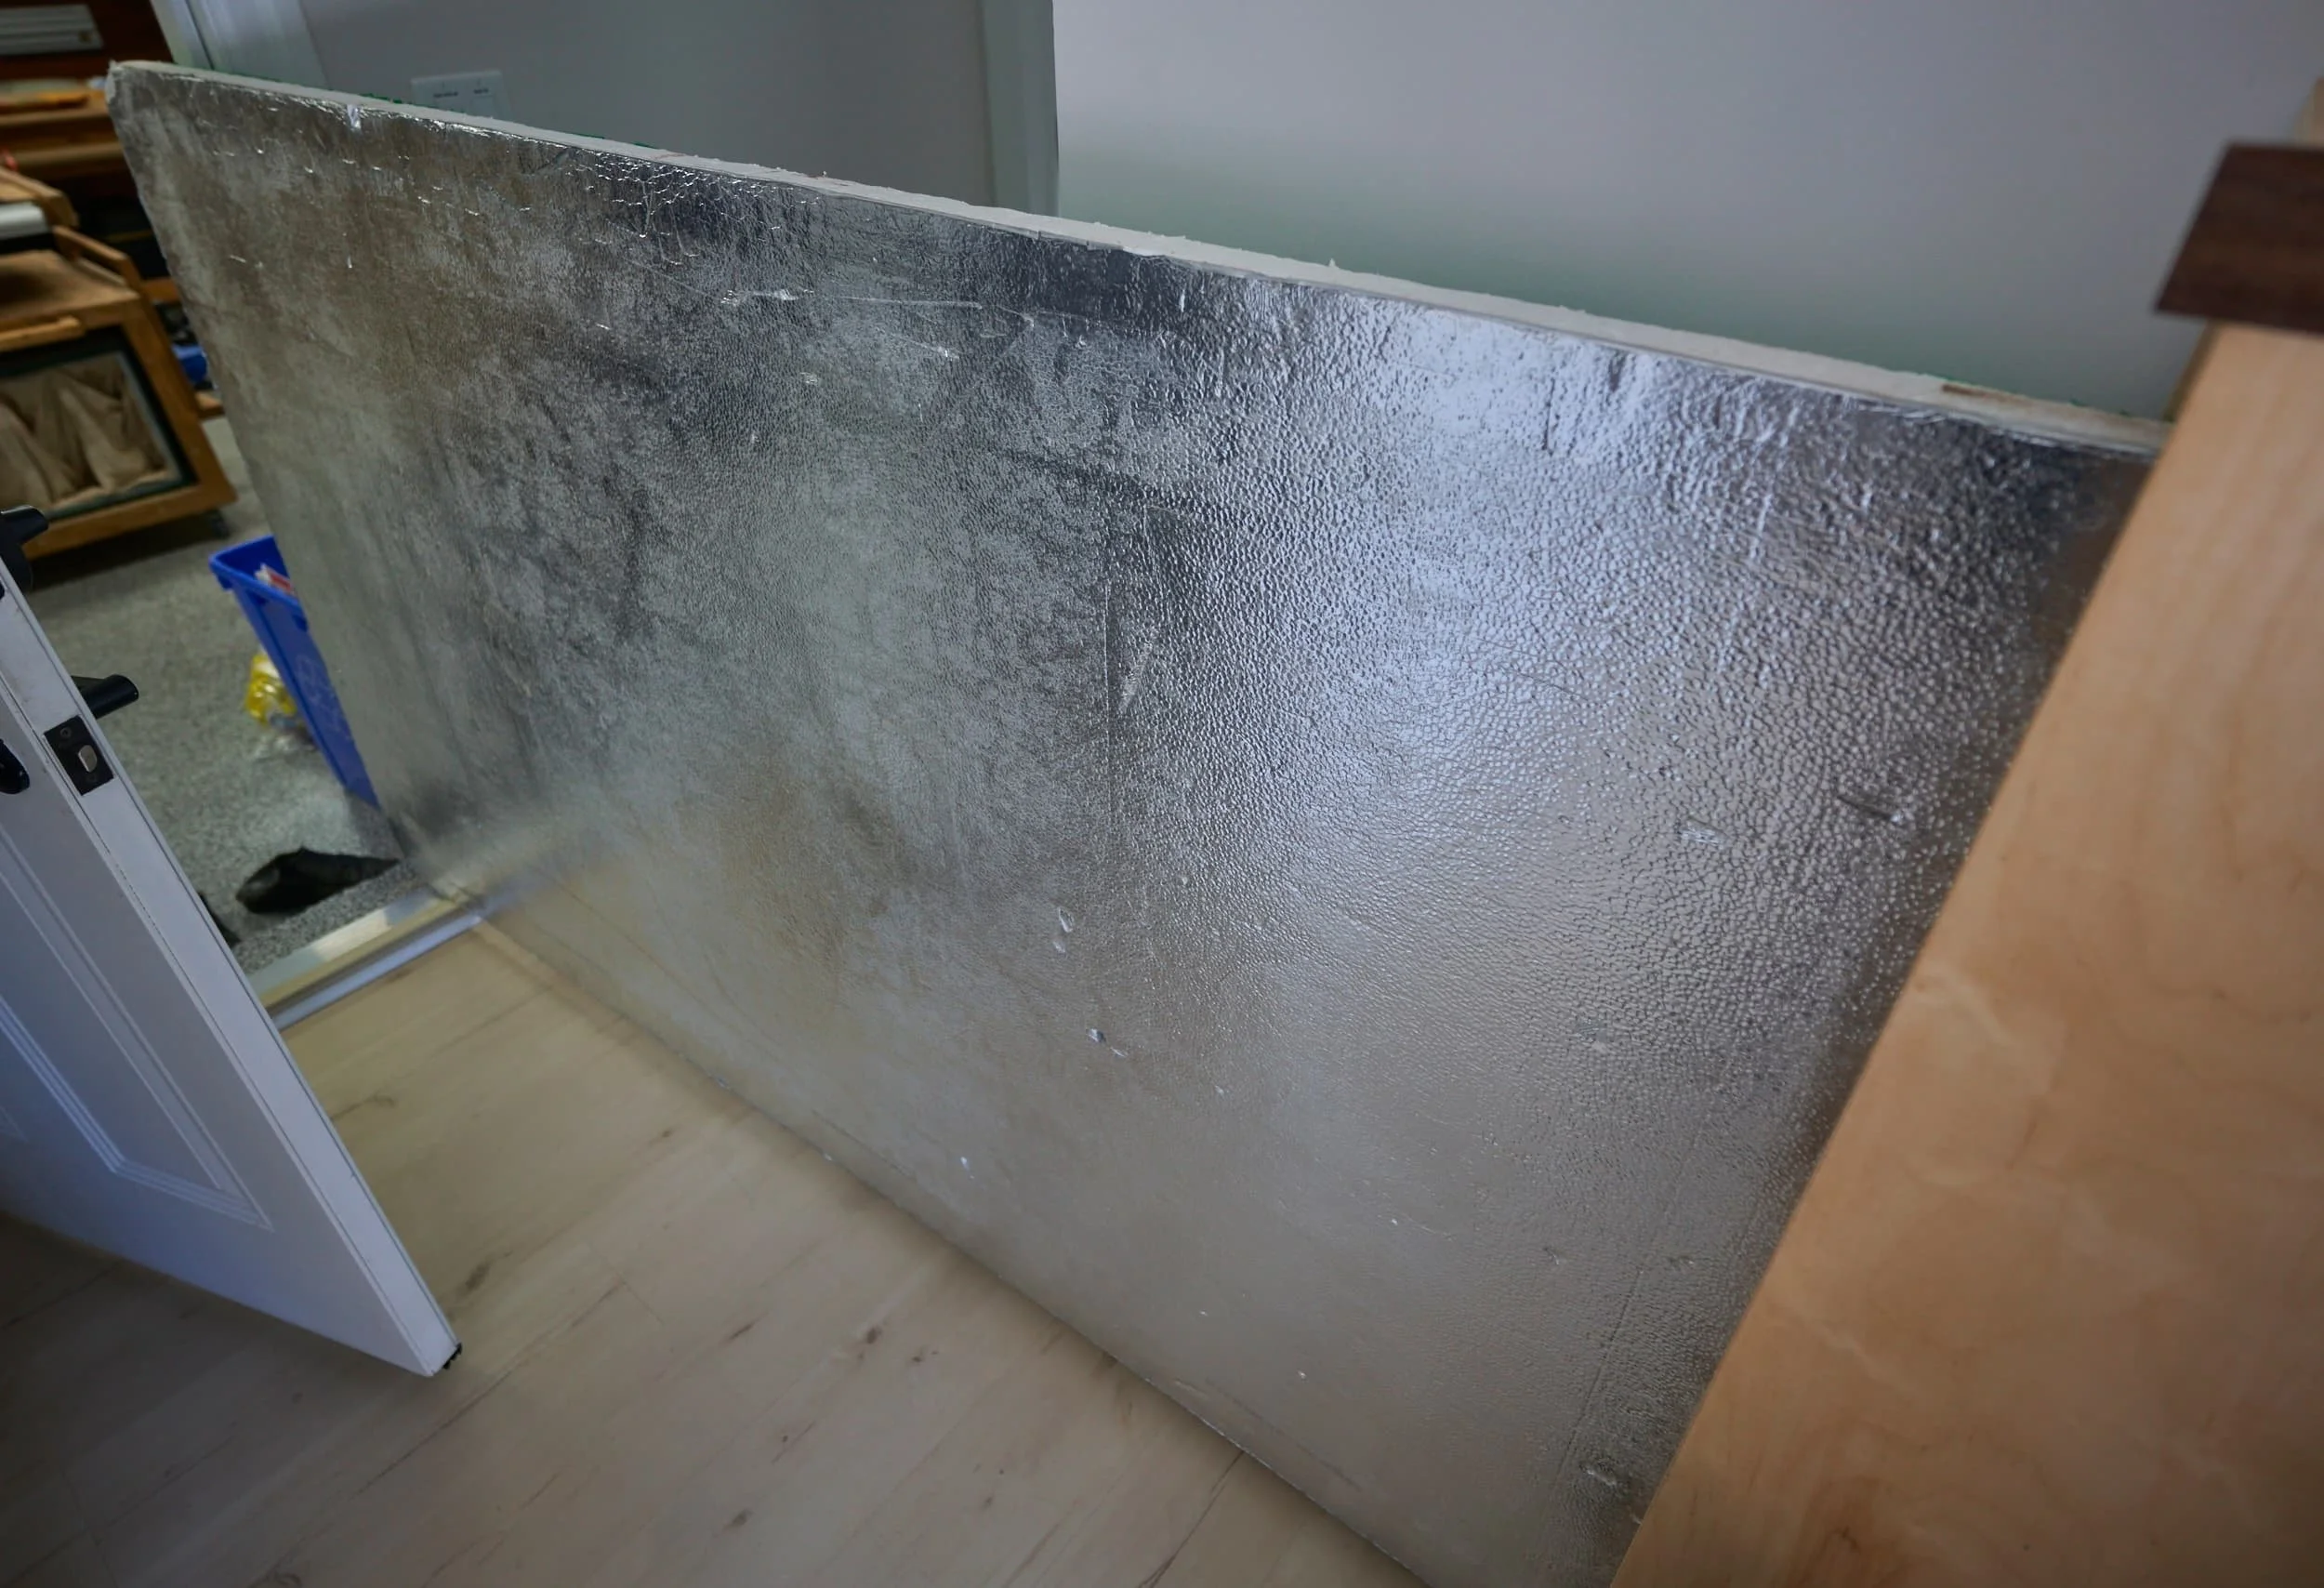


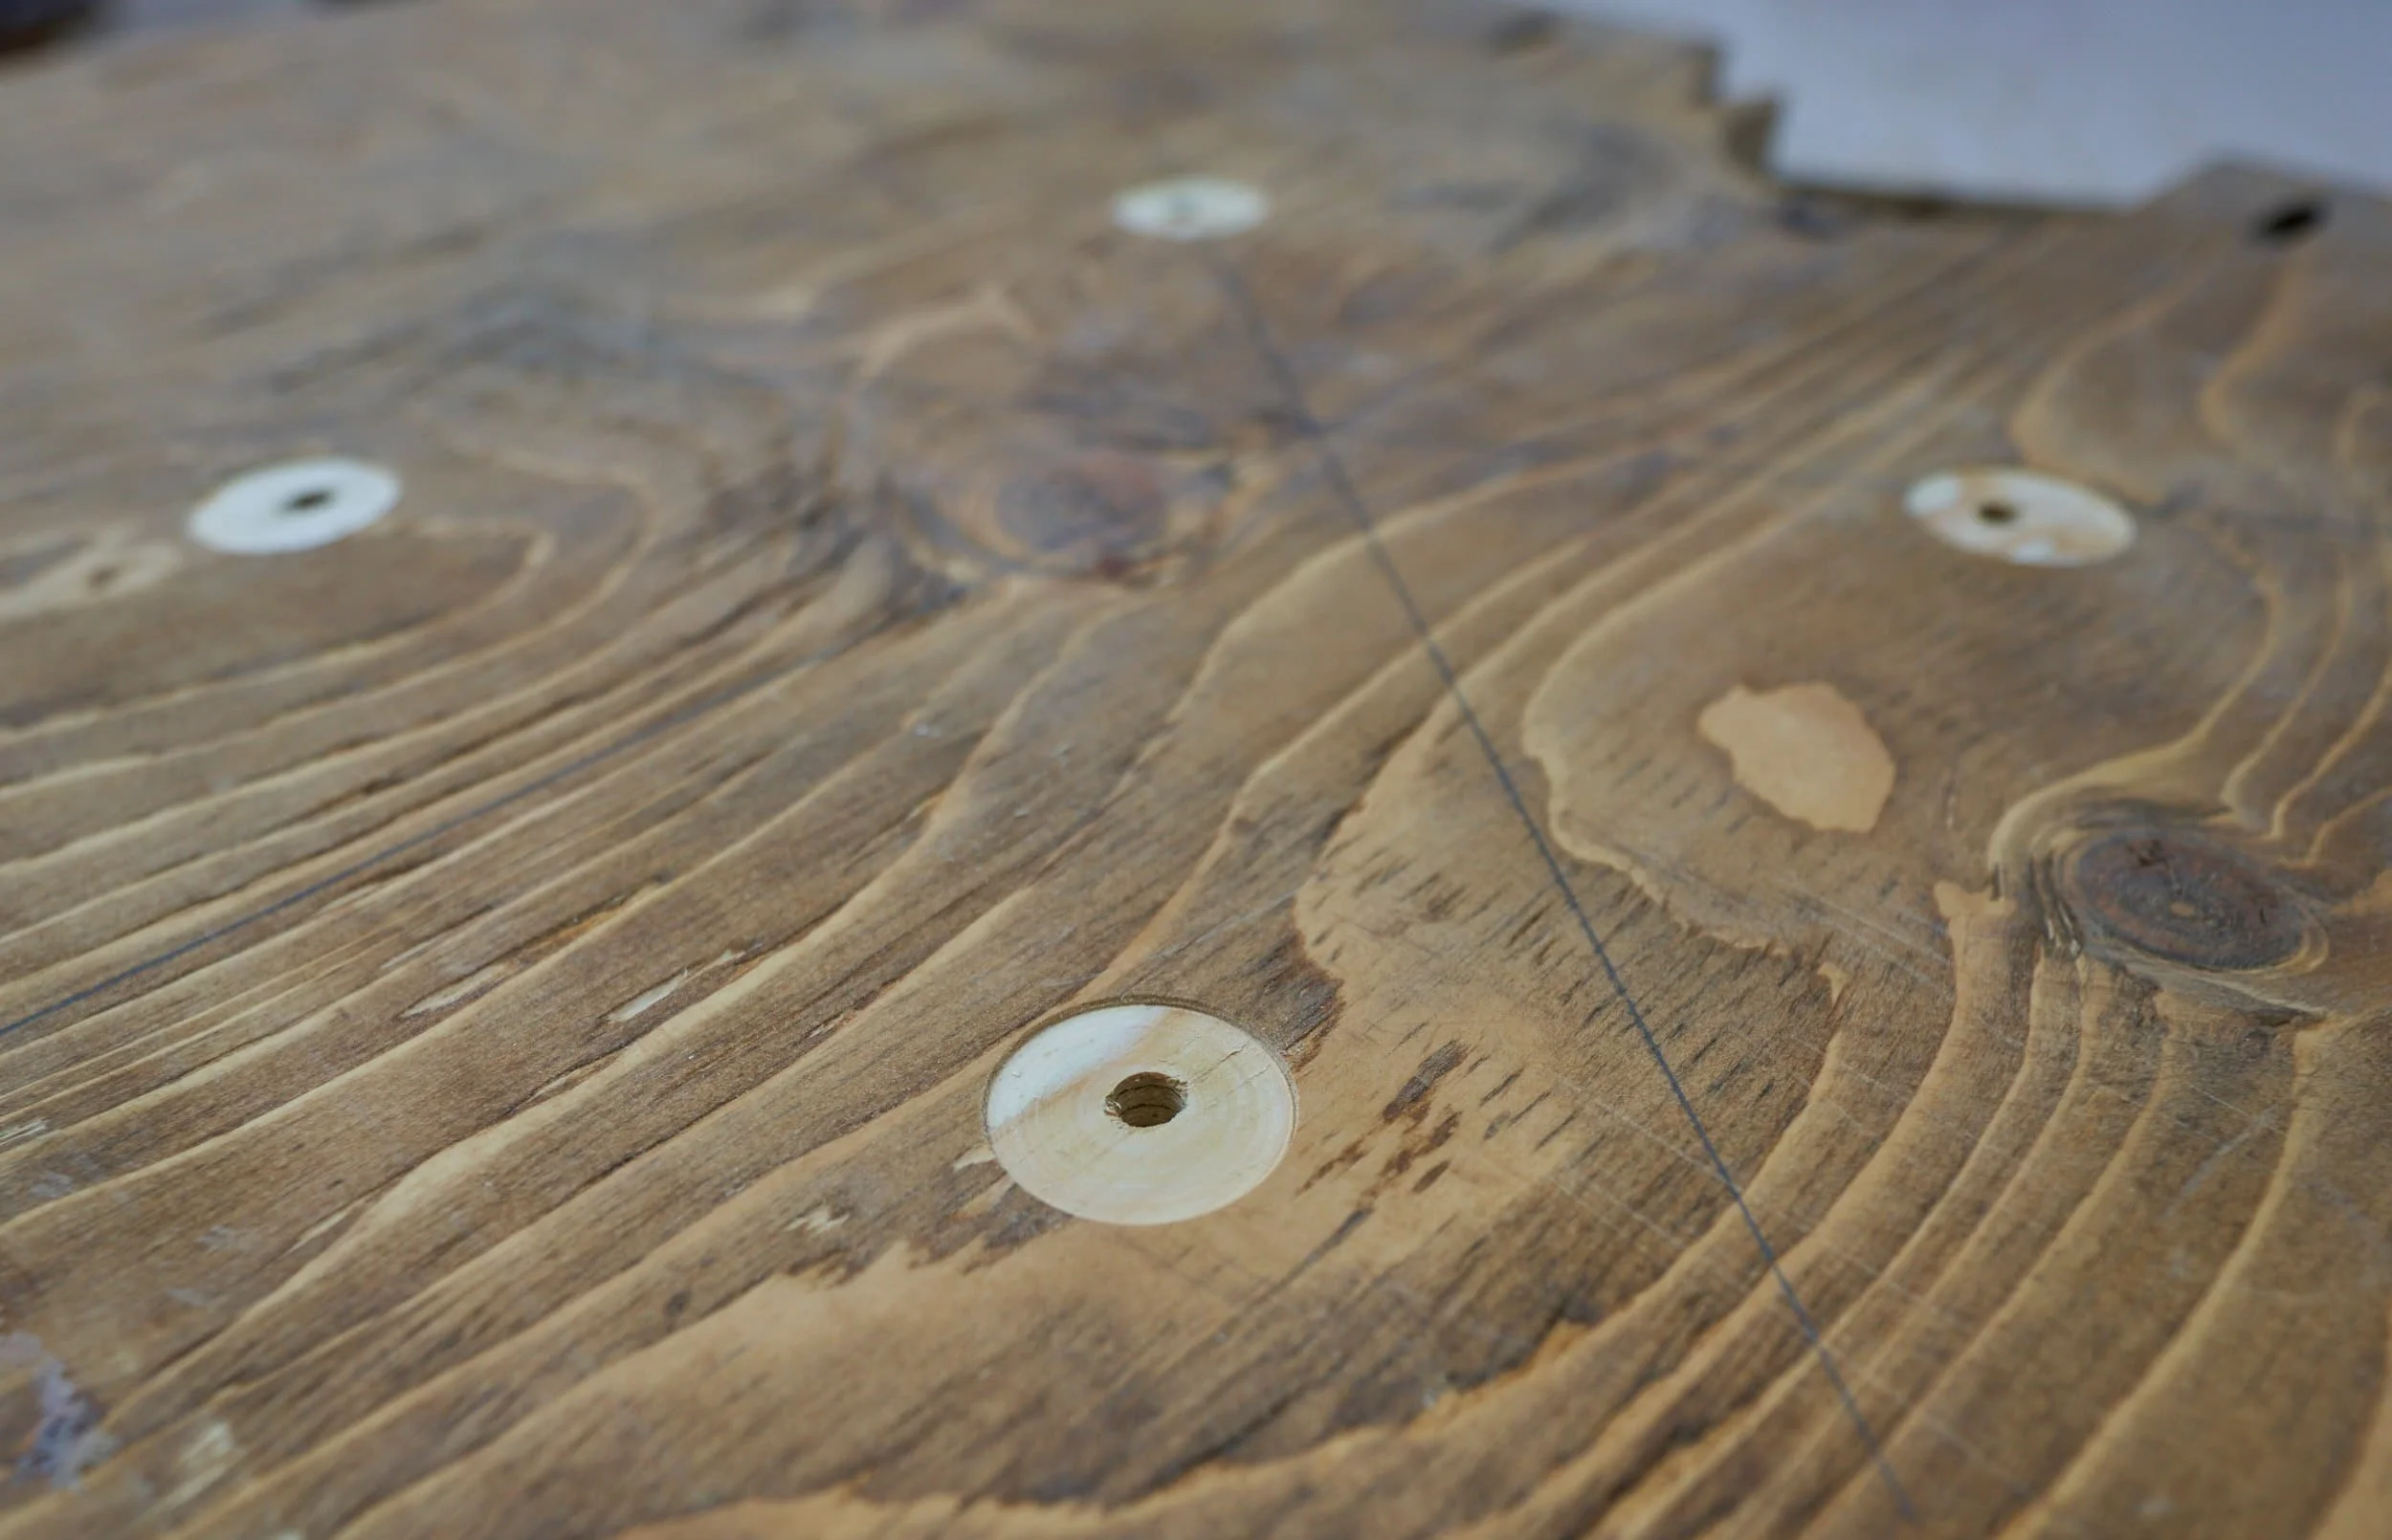


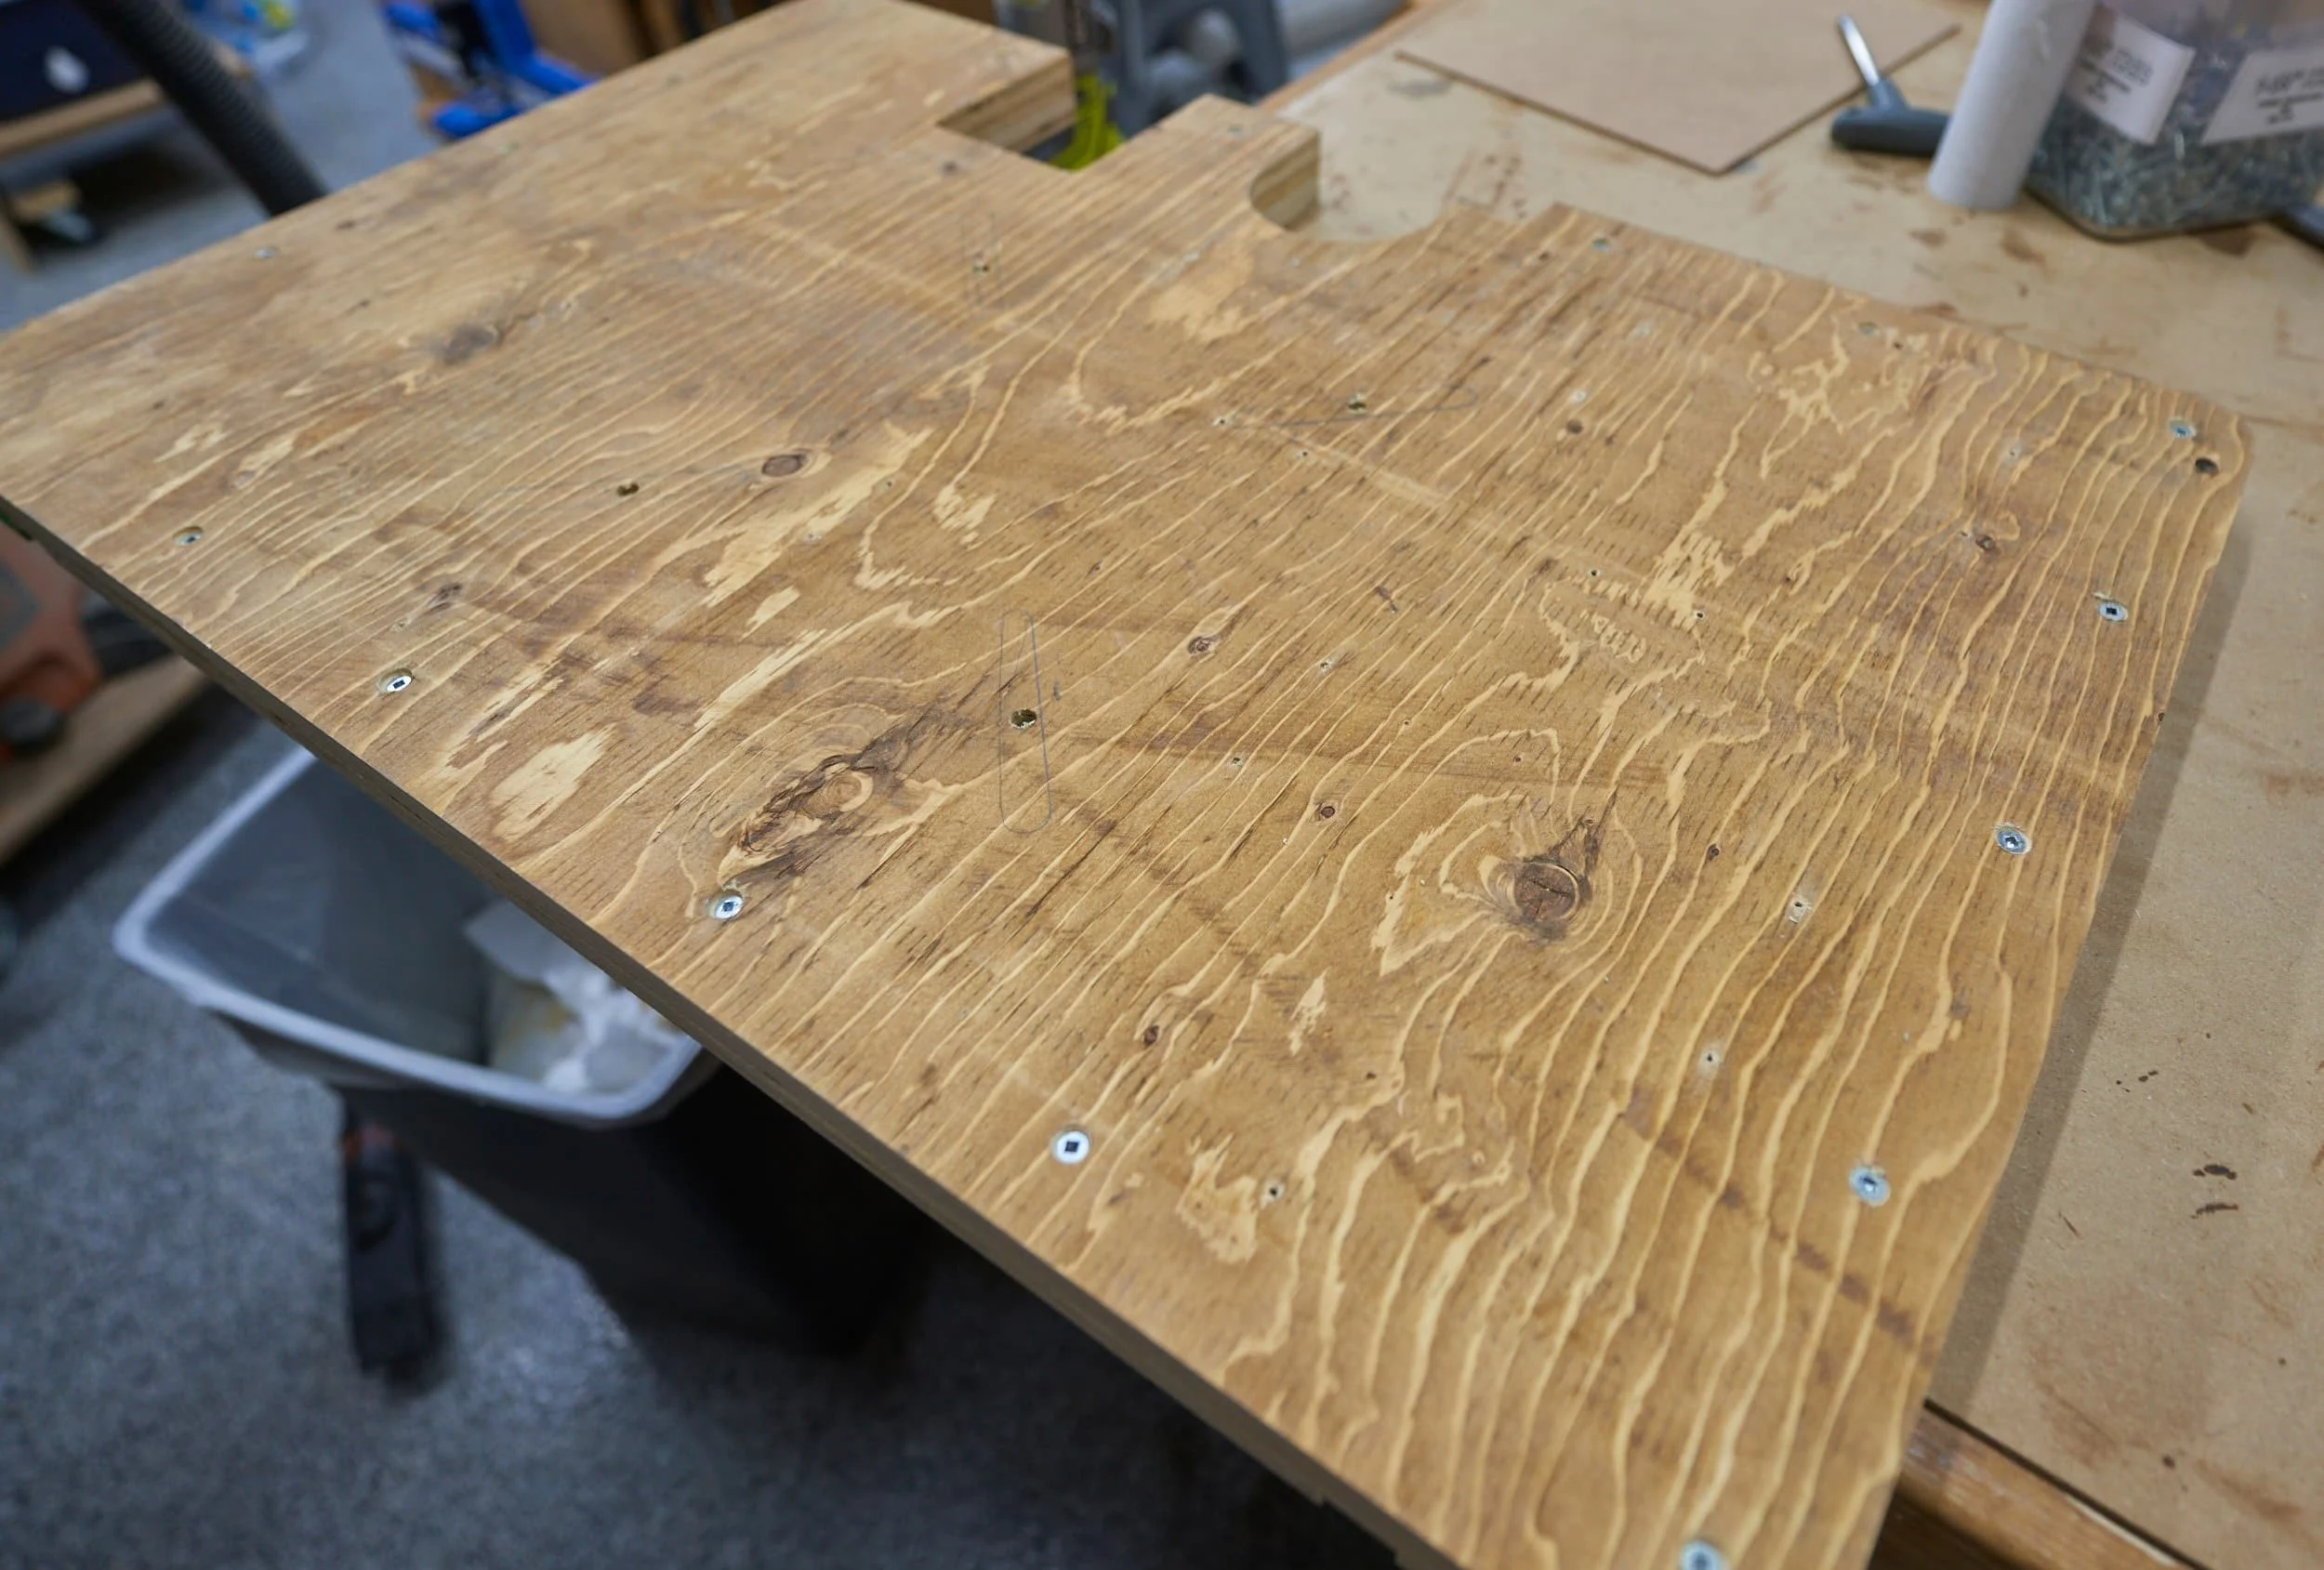
Spoiler: I made a bit of a mistake with the whole lamination process…
Step 2: T-track and bench-clamp
I am not good at routing dados with a router. Even with the use of a track-saw adapter for my router, not only do I struggle with this, it gives me the creeps all the while doing it. One day, I’ll get better at this but after spending an hour doing test routes, I ended up just using the table saw (after swapping out for my combination blade).


I wanted to have some kind of ‘active’ clamping mechanism - I thought of using toggle clamps mounted to the fence (which didn’t exist yet) but them remembered Kreg makes a bunch of clamps that would be perfect in this application. And as an added bonus, the clamp I would use here could be used on future projects as well! All I needed was a common base plate and I could pair it with a 3” clamp or a 6” clamp.
I ultimately went with the 6” clamp so that I could position it further back — the center area was still ‘in flux’.

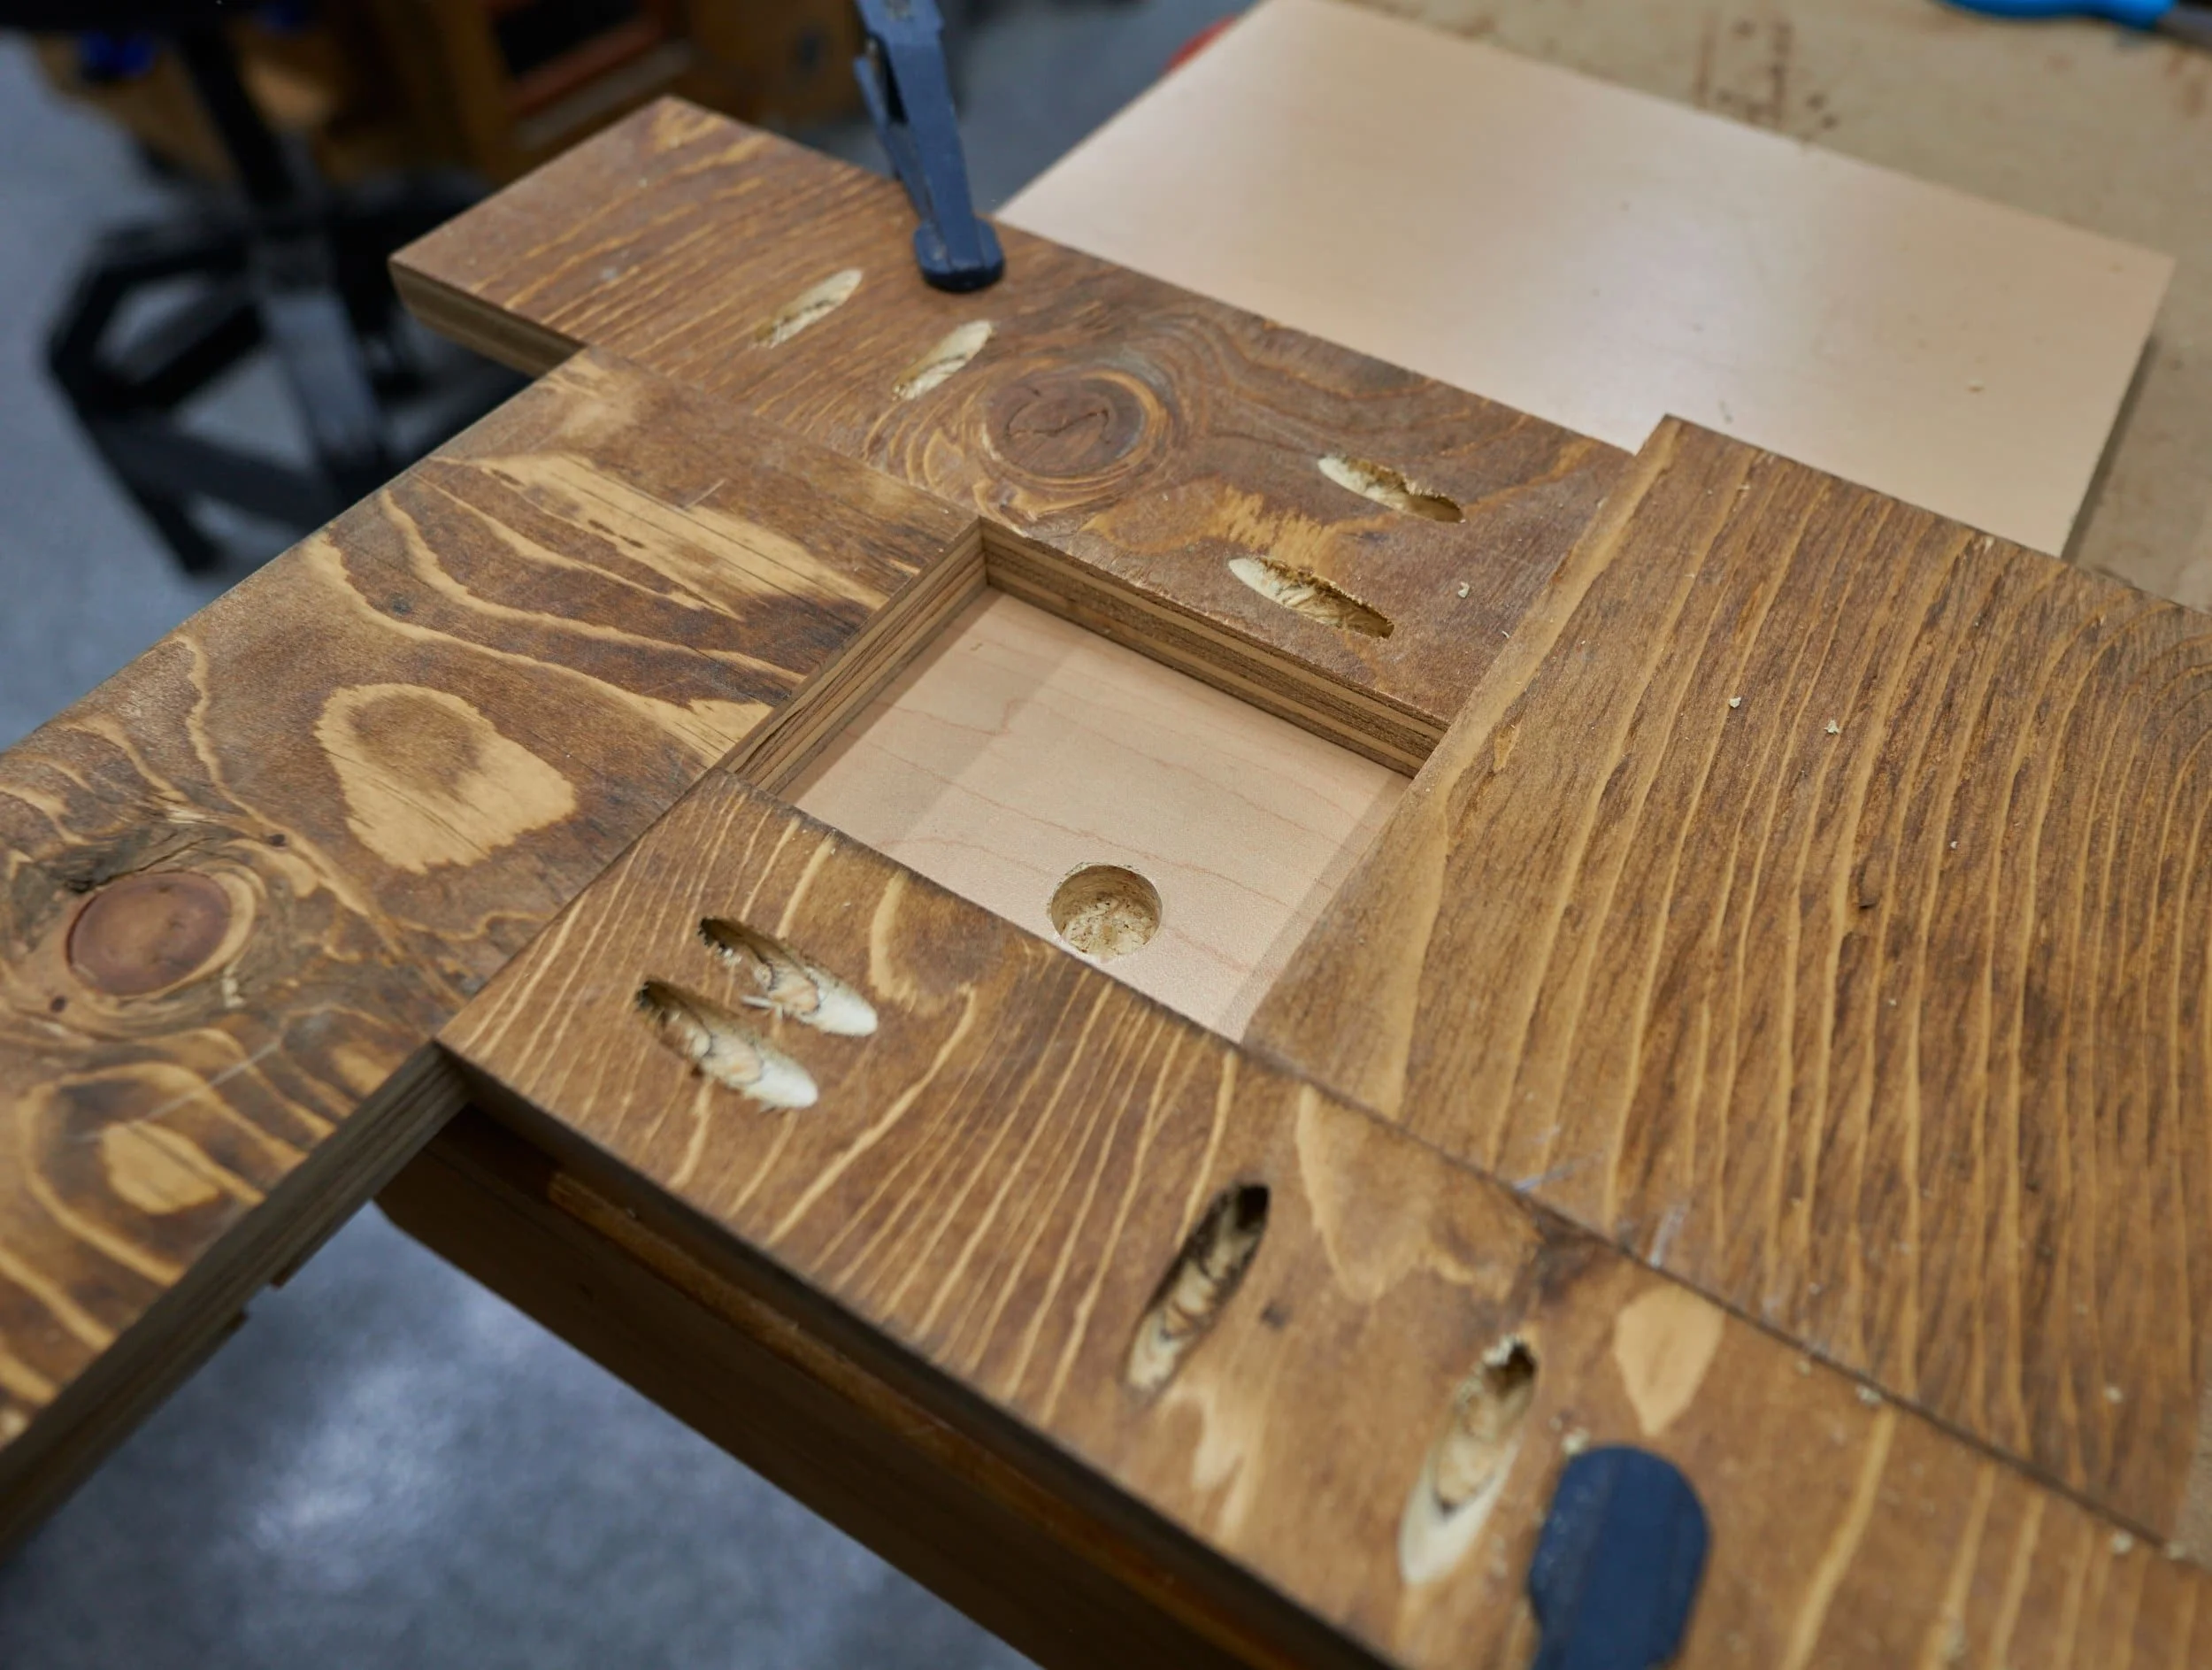

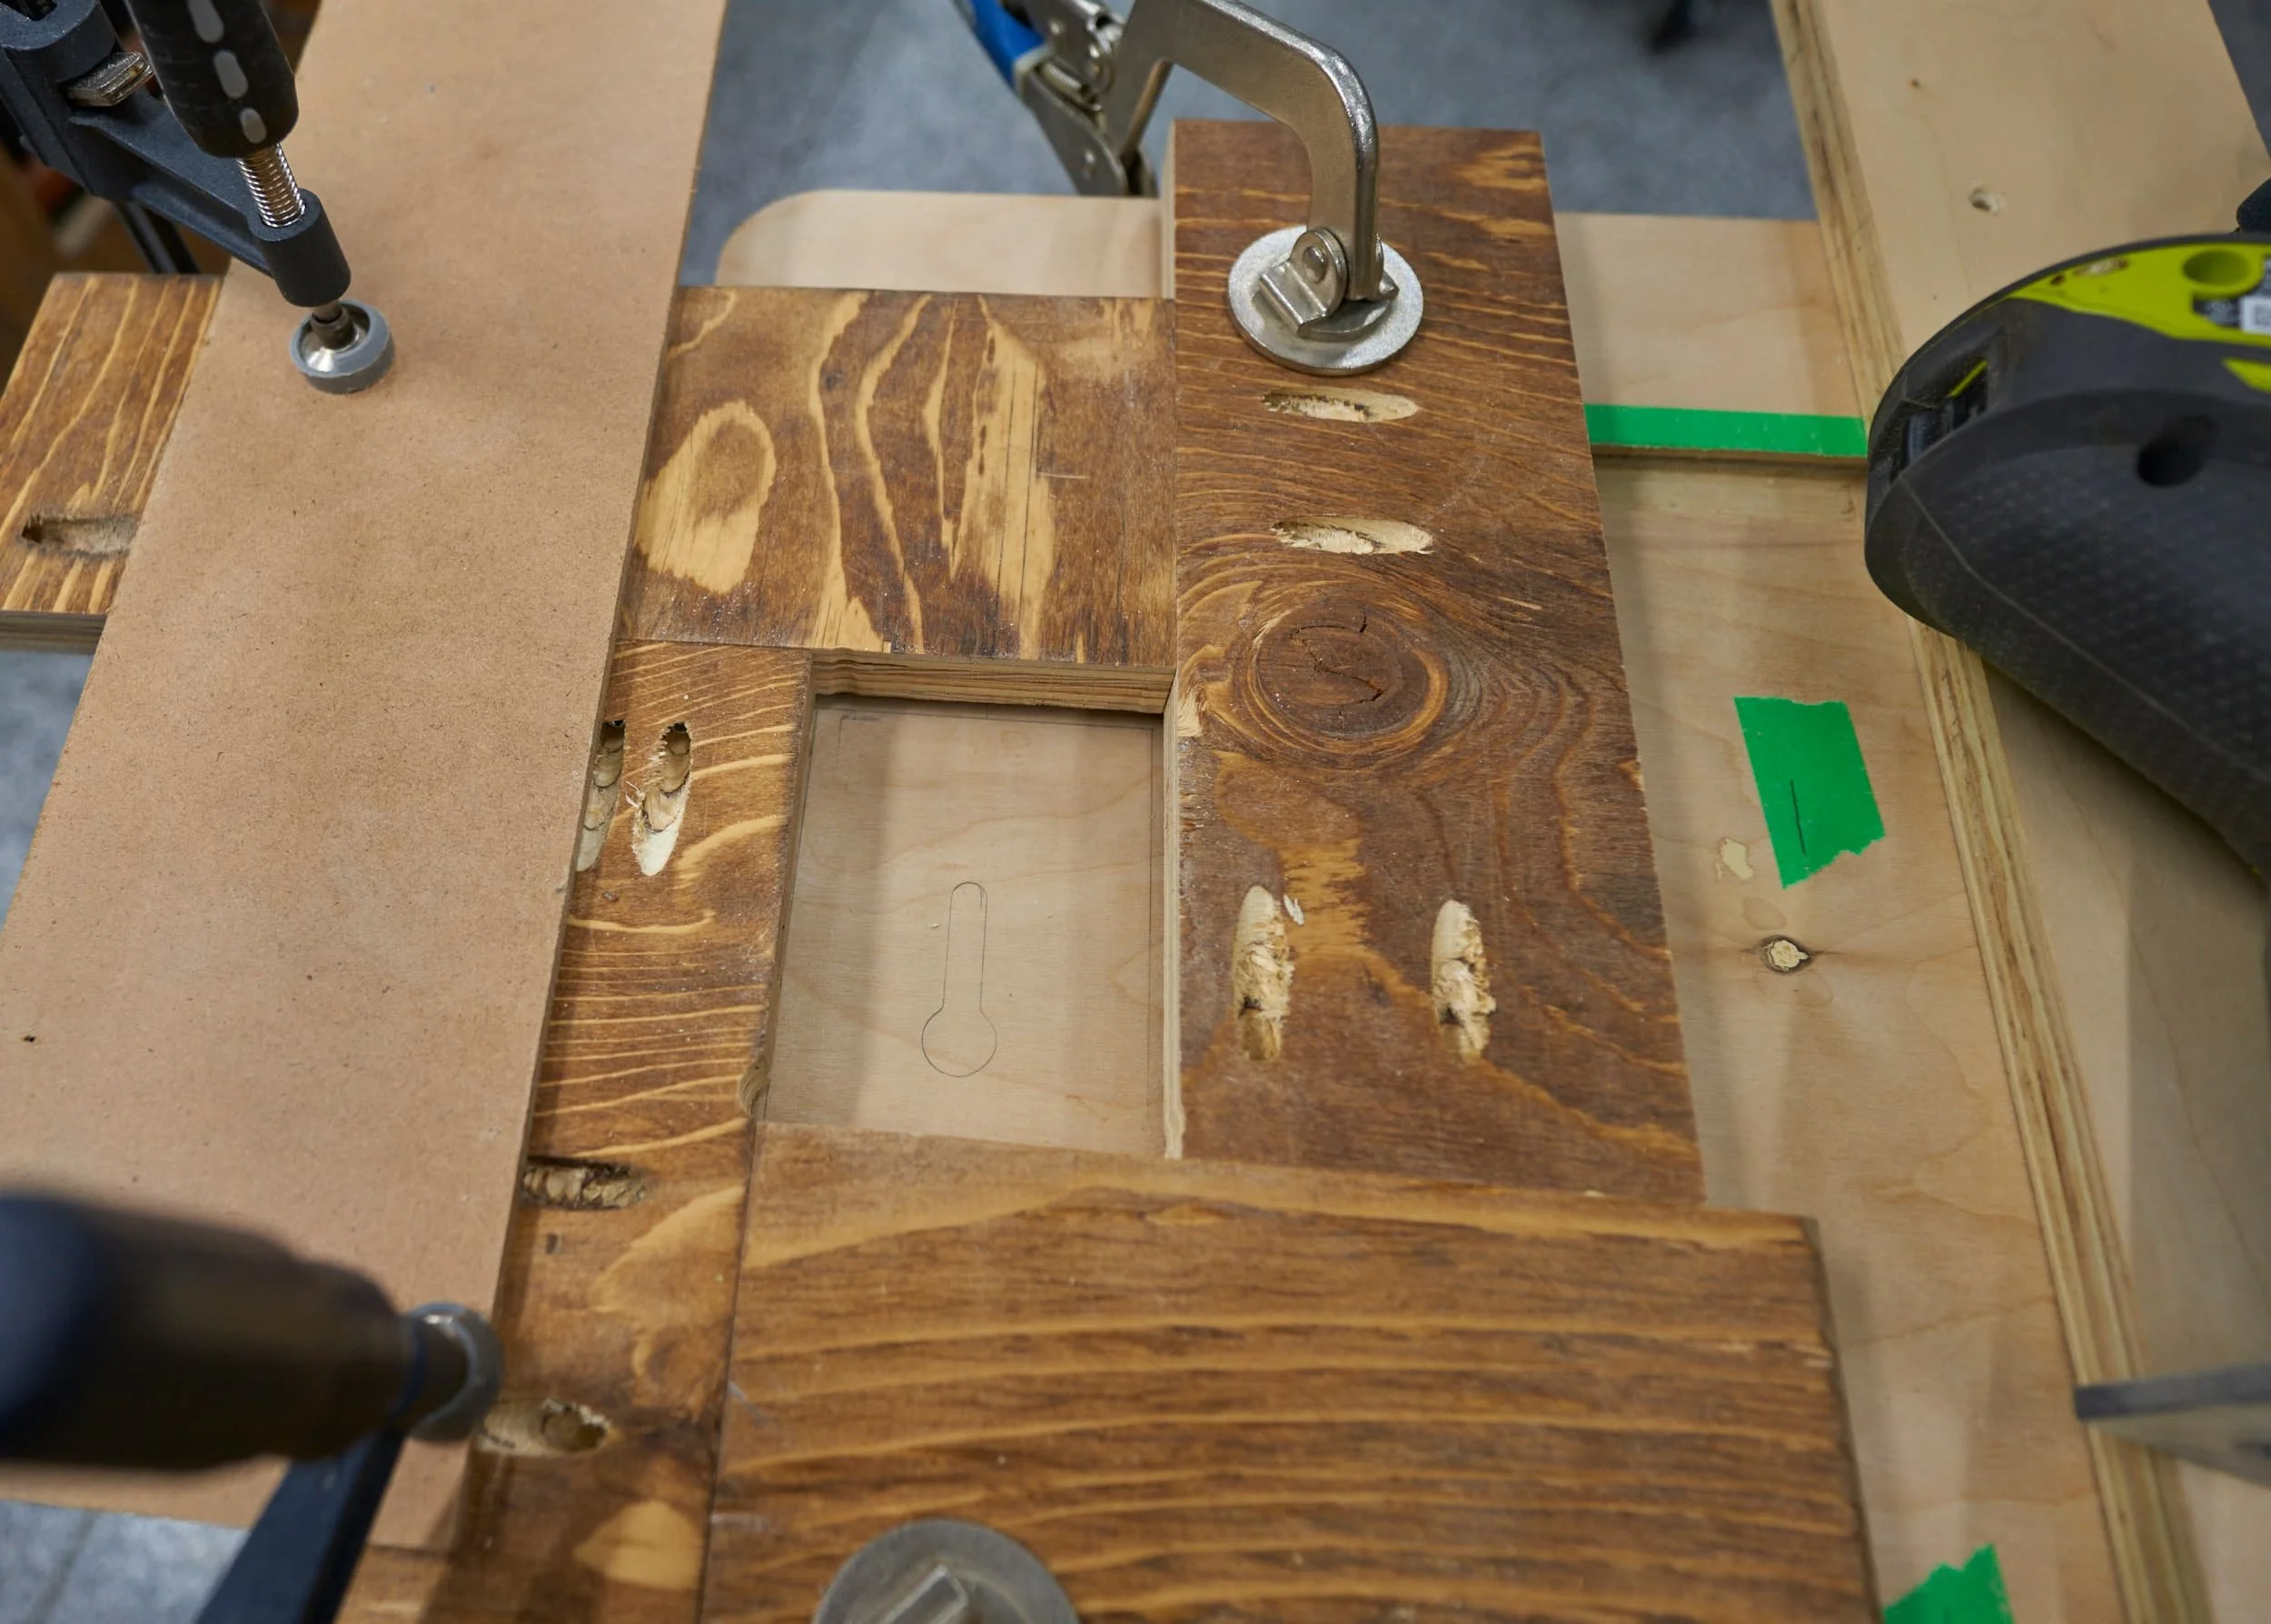


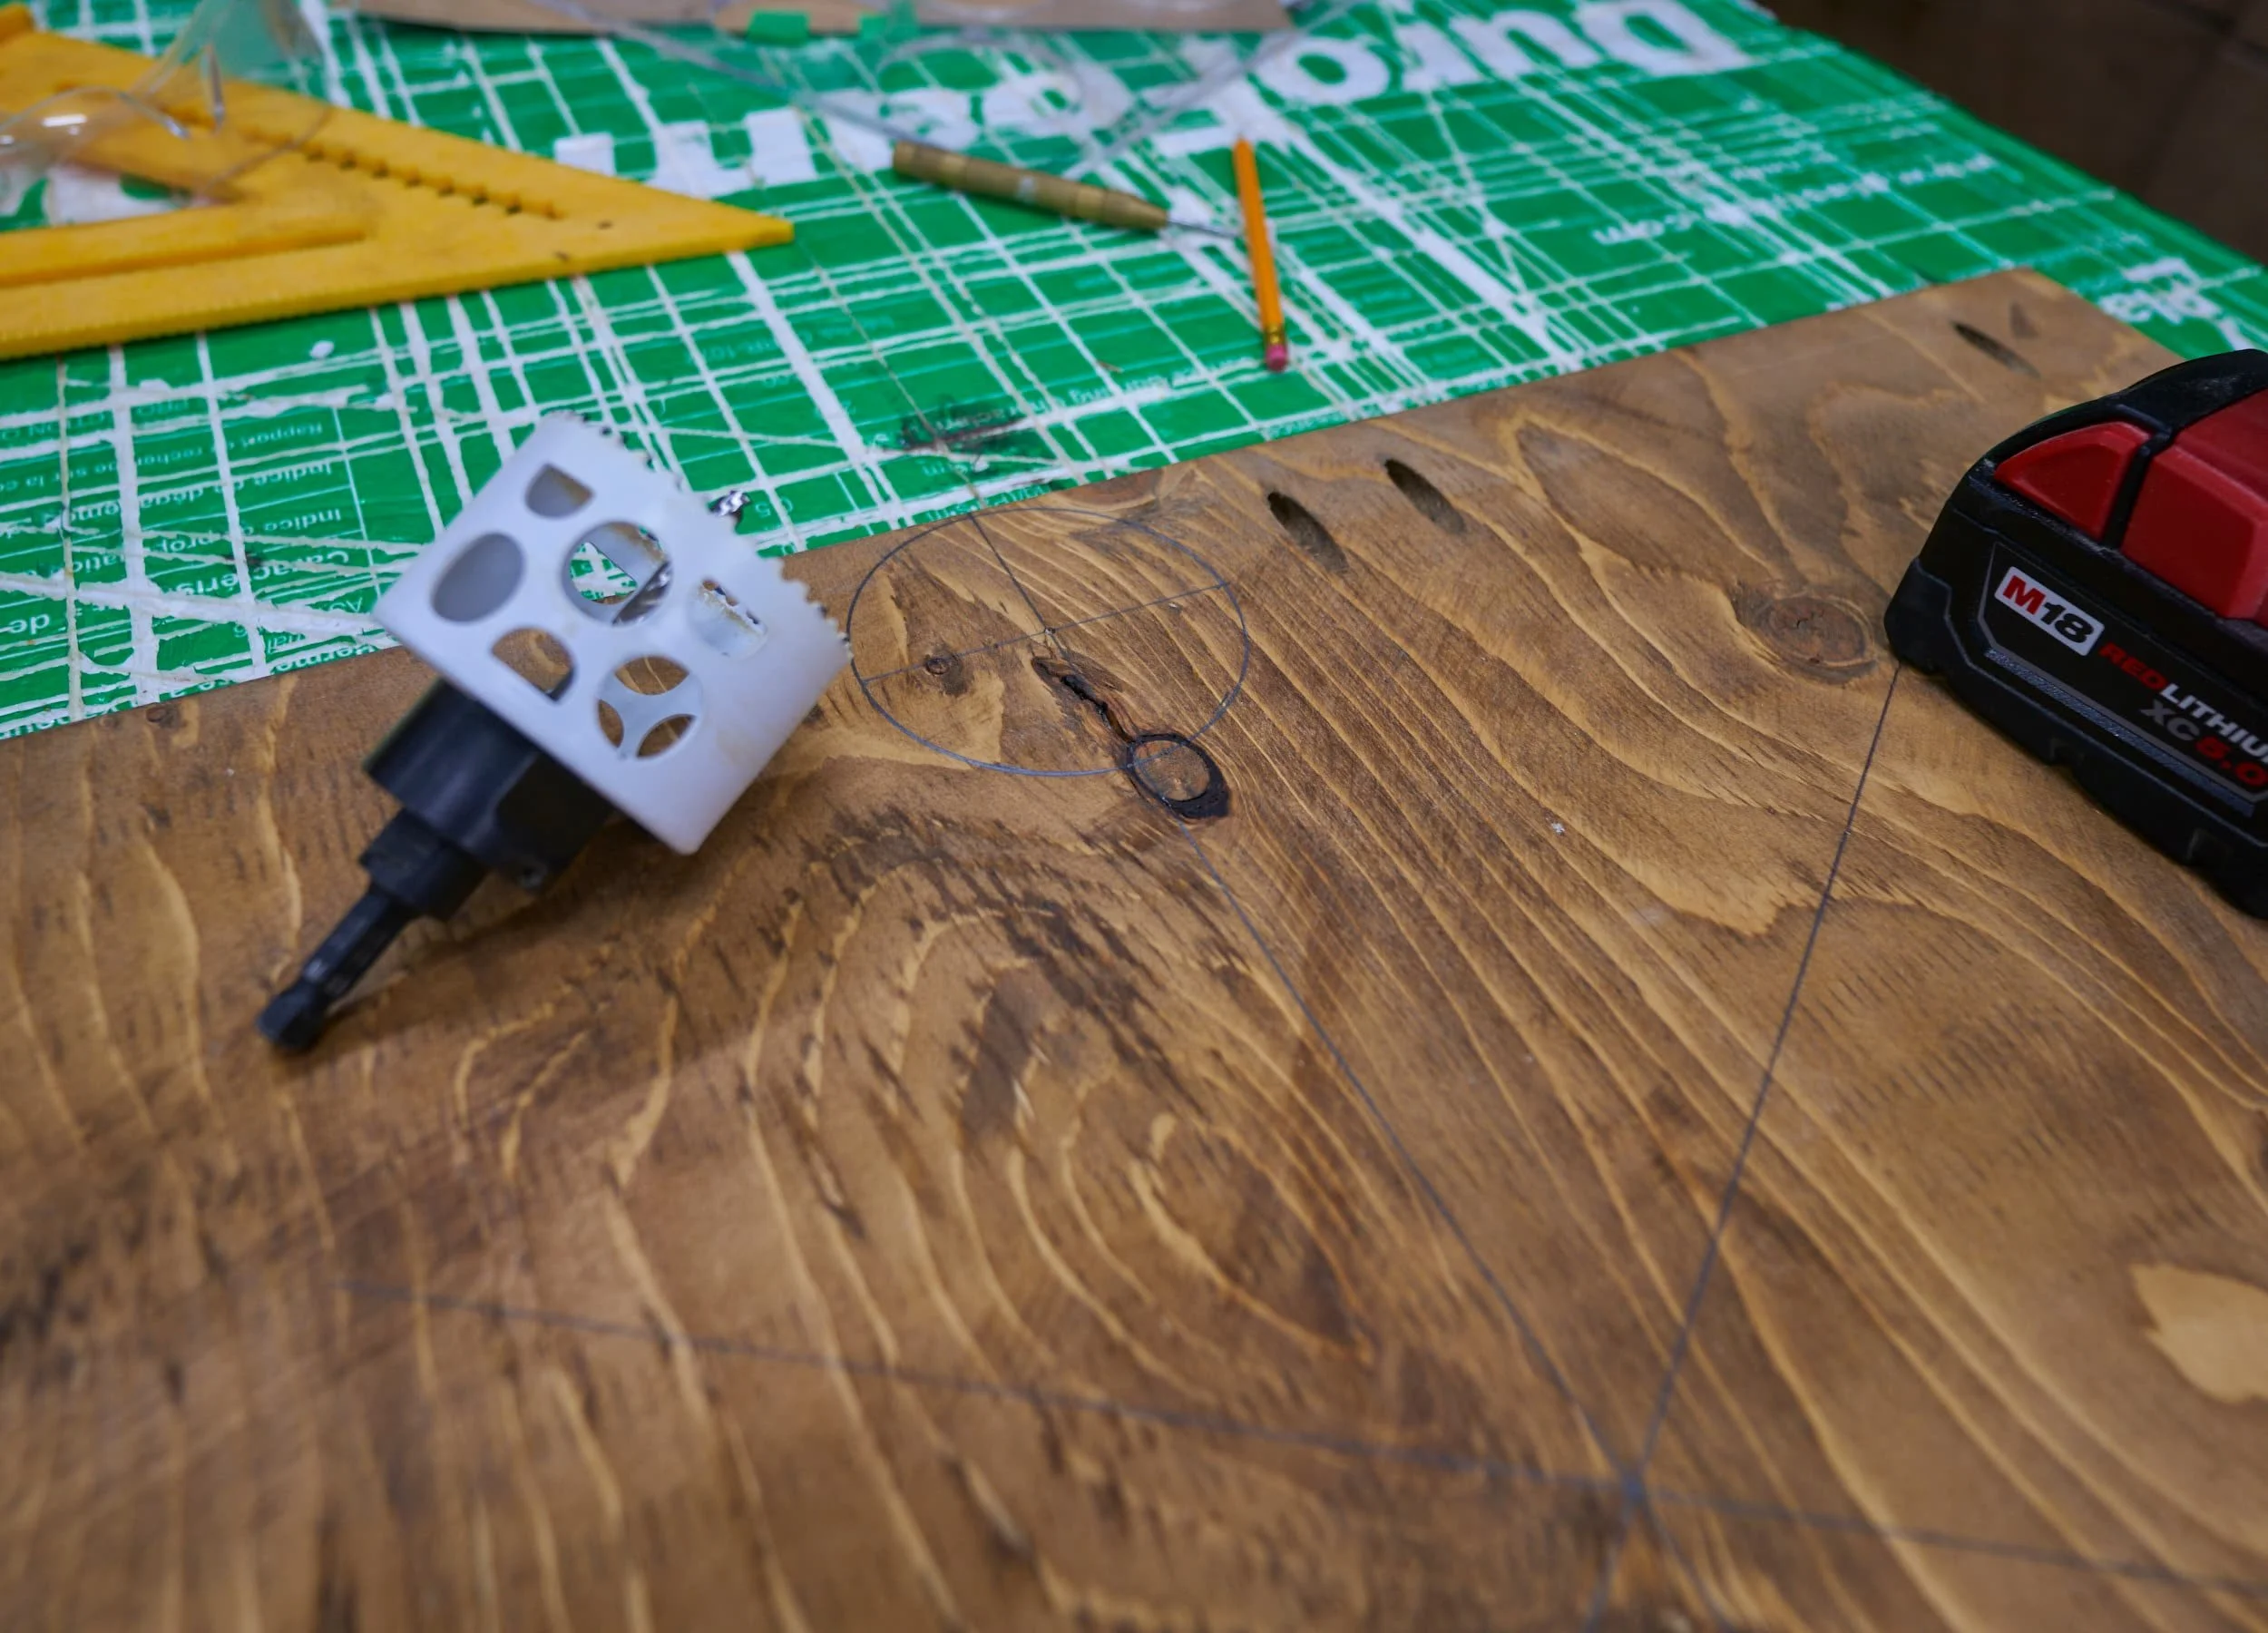
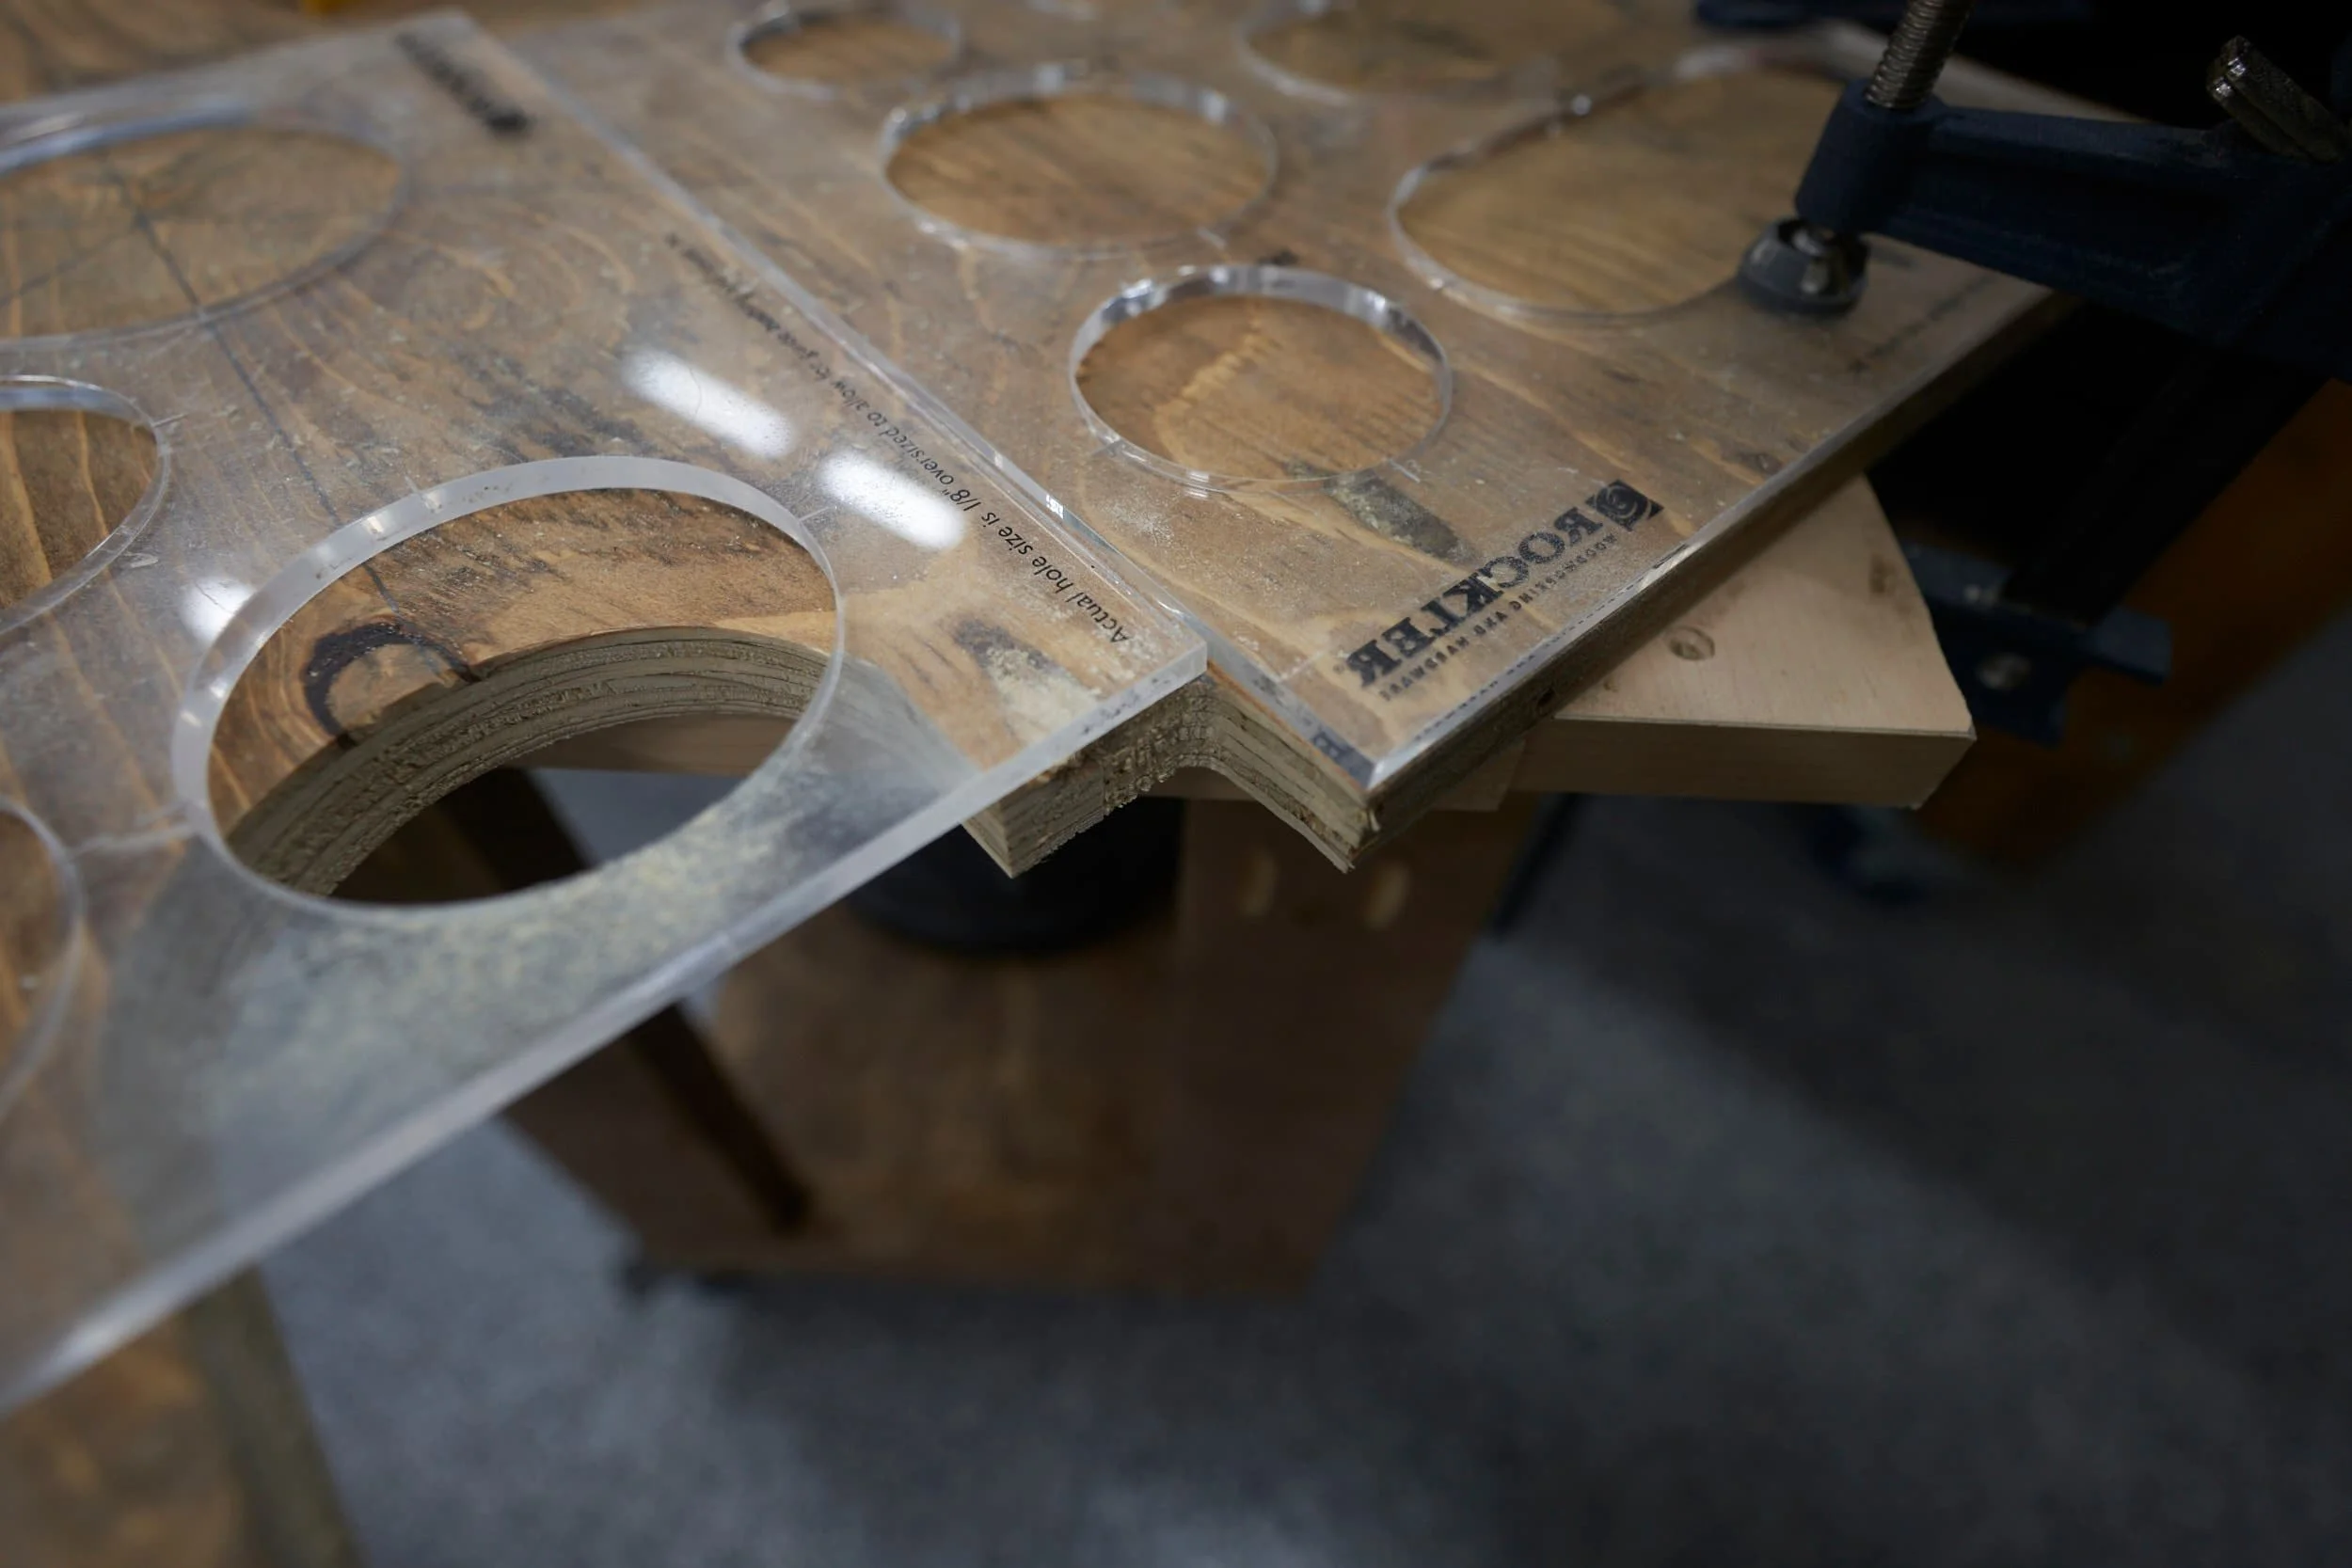
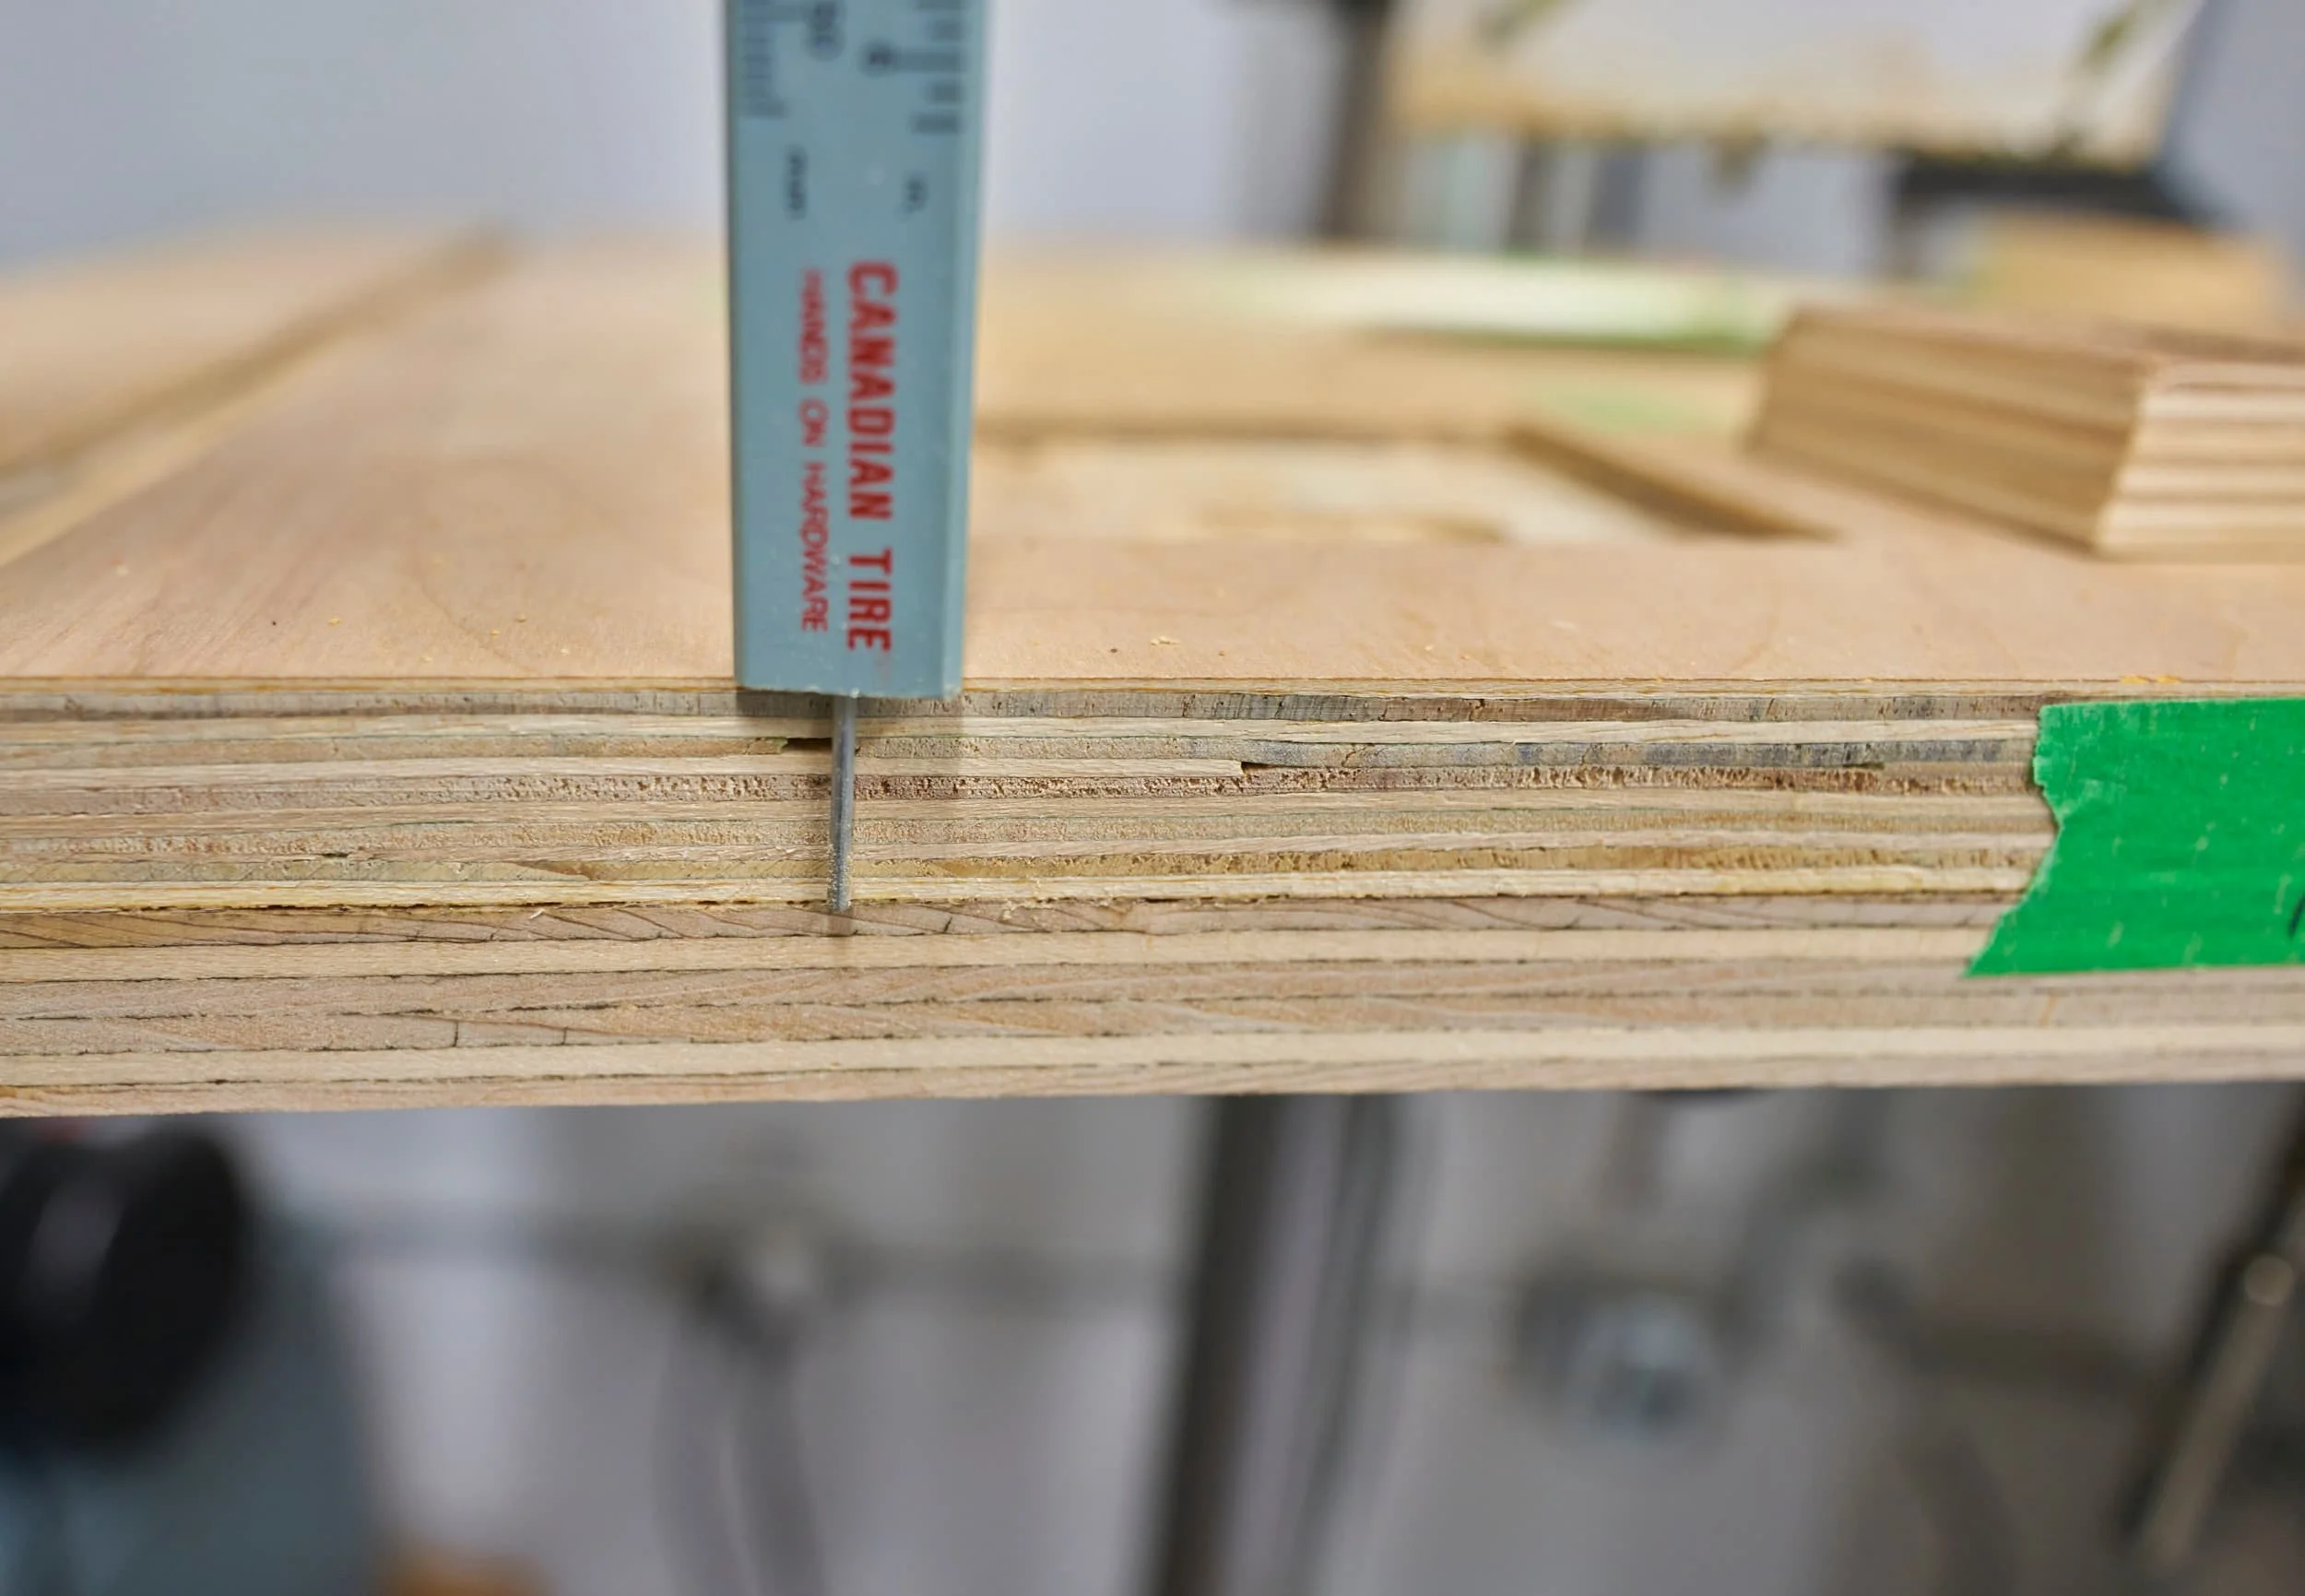
Step 3: Cutting out the sacrificial insert (oops!)
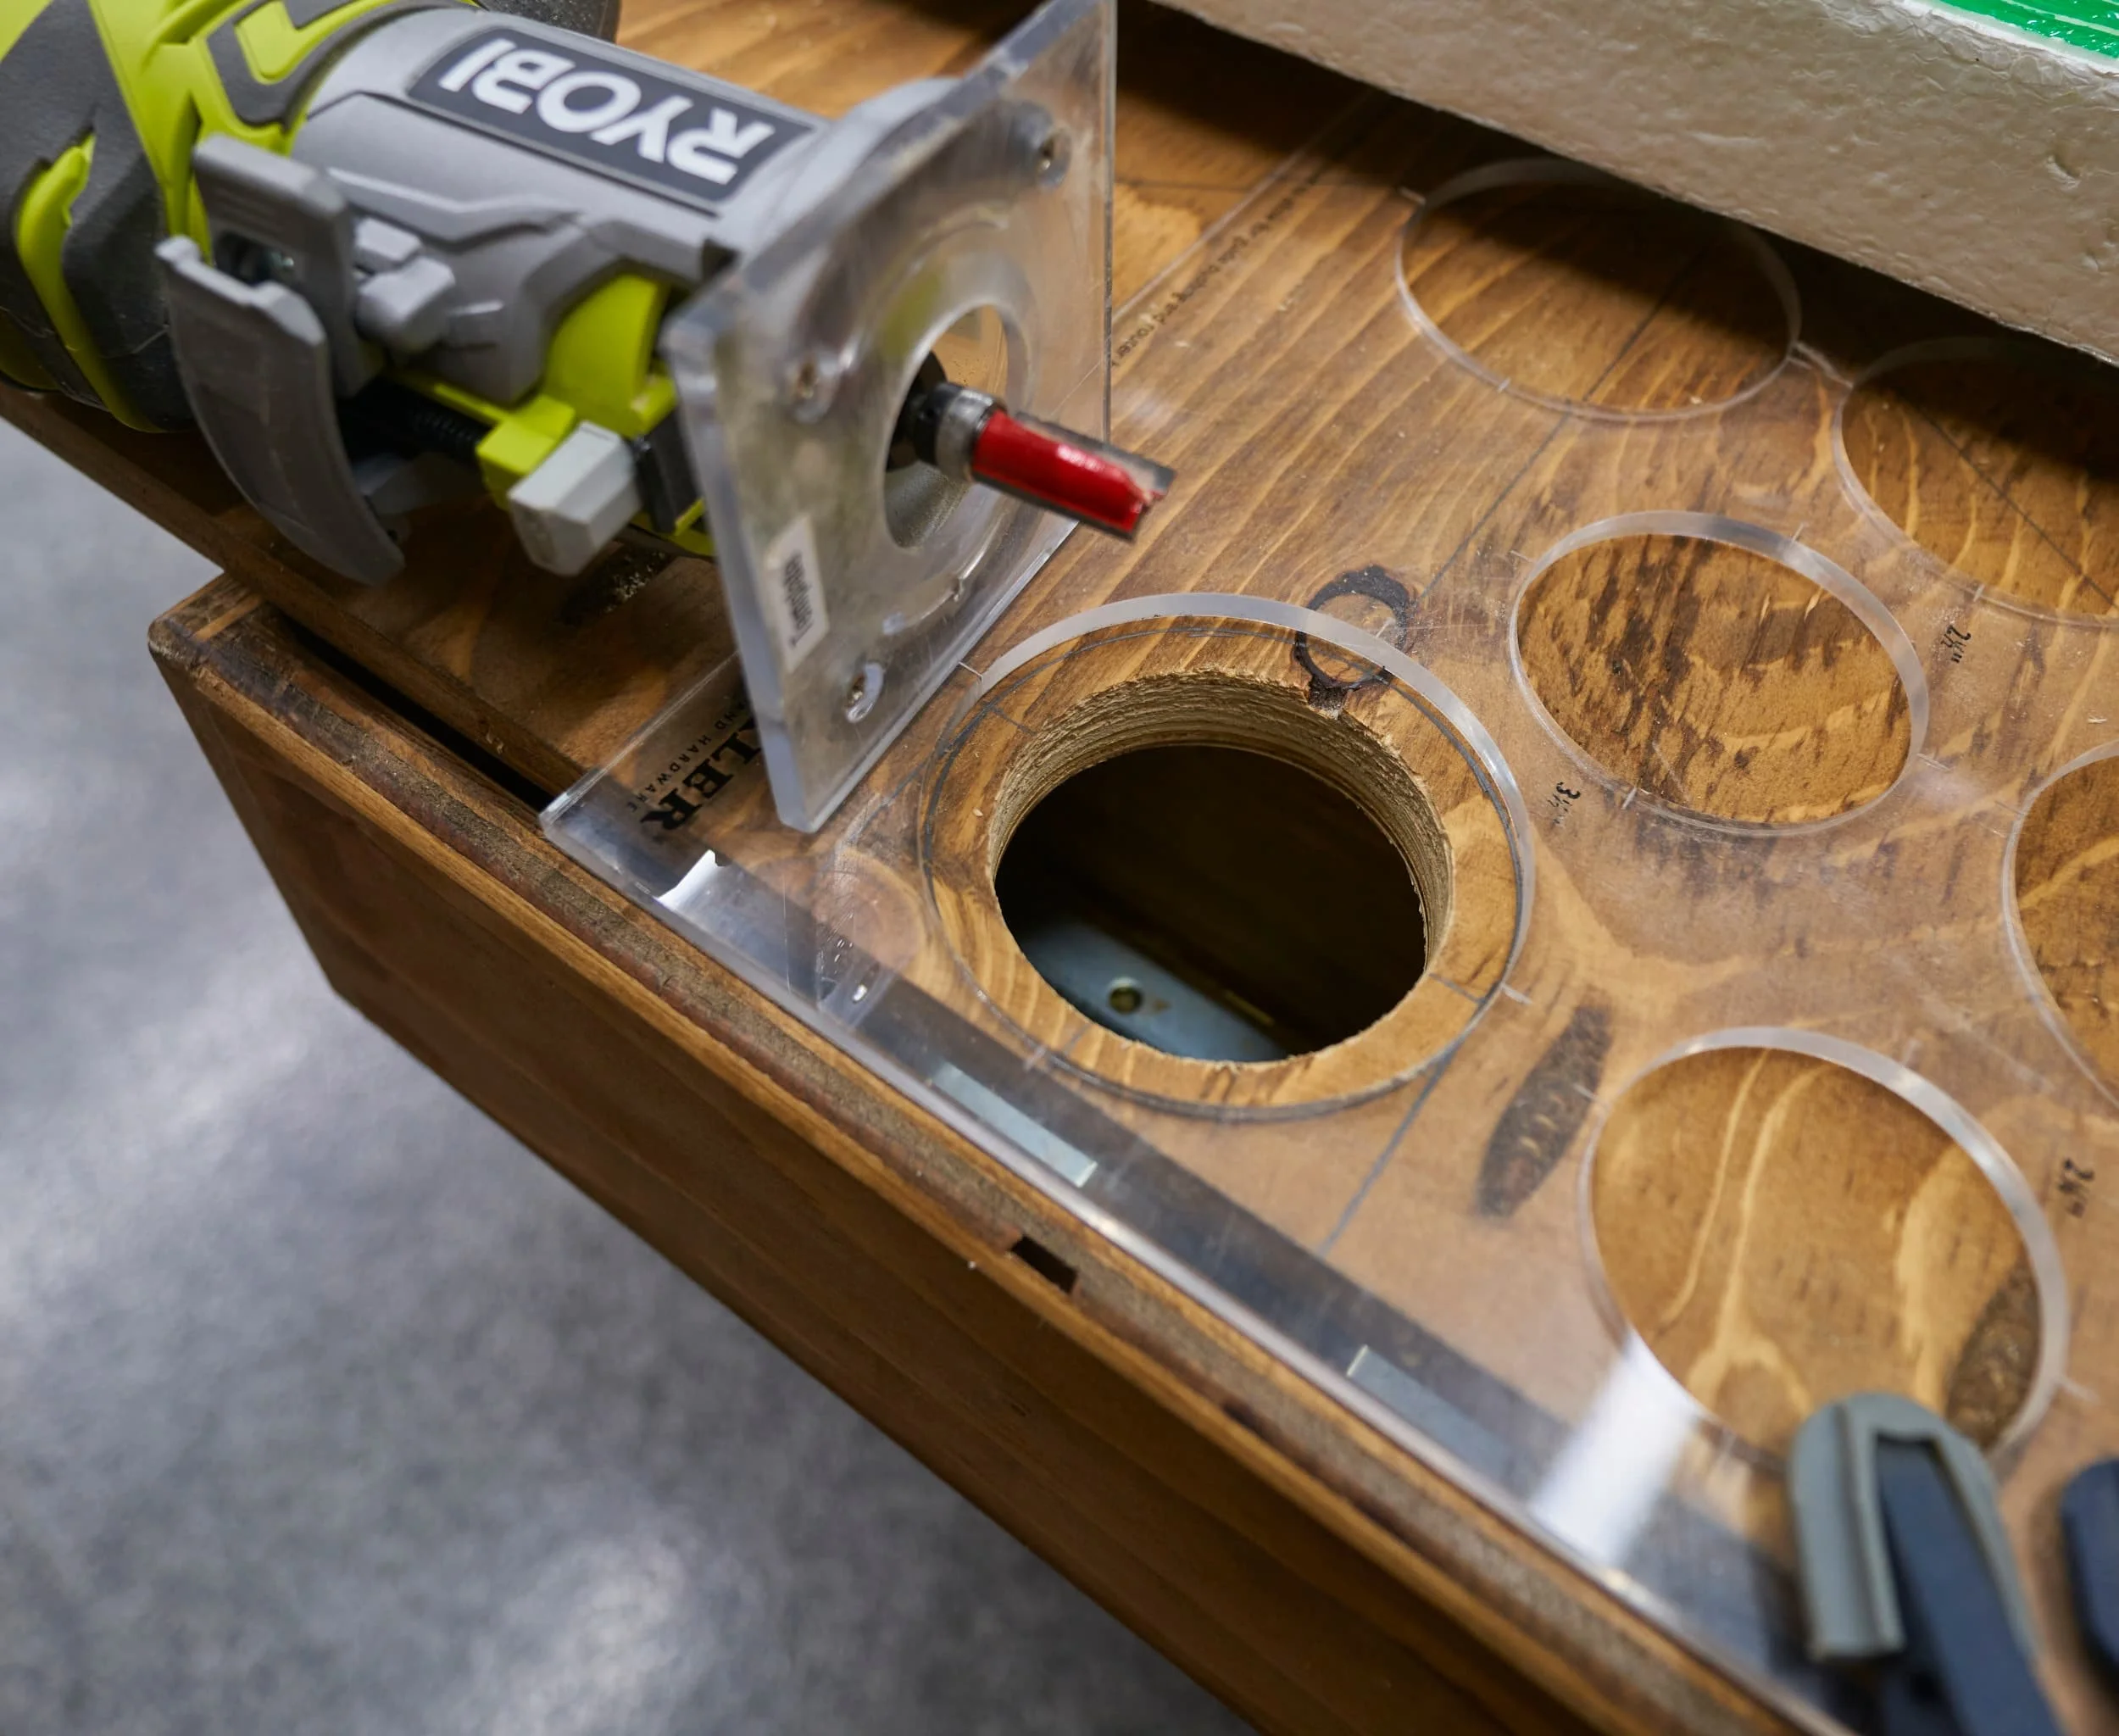
So I screwed up and glued the two layers together, which makes cutting out one of the layers, a bit of a tricky endeavour. My plan was to use a hole saw to cut a nice, clean perimeter and then hog out the middle — very carefully, using a router.

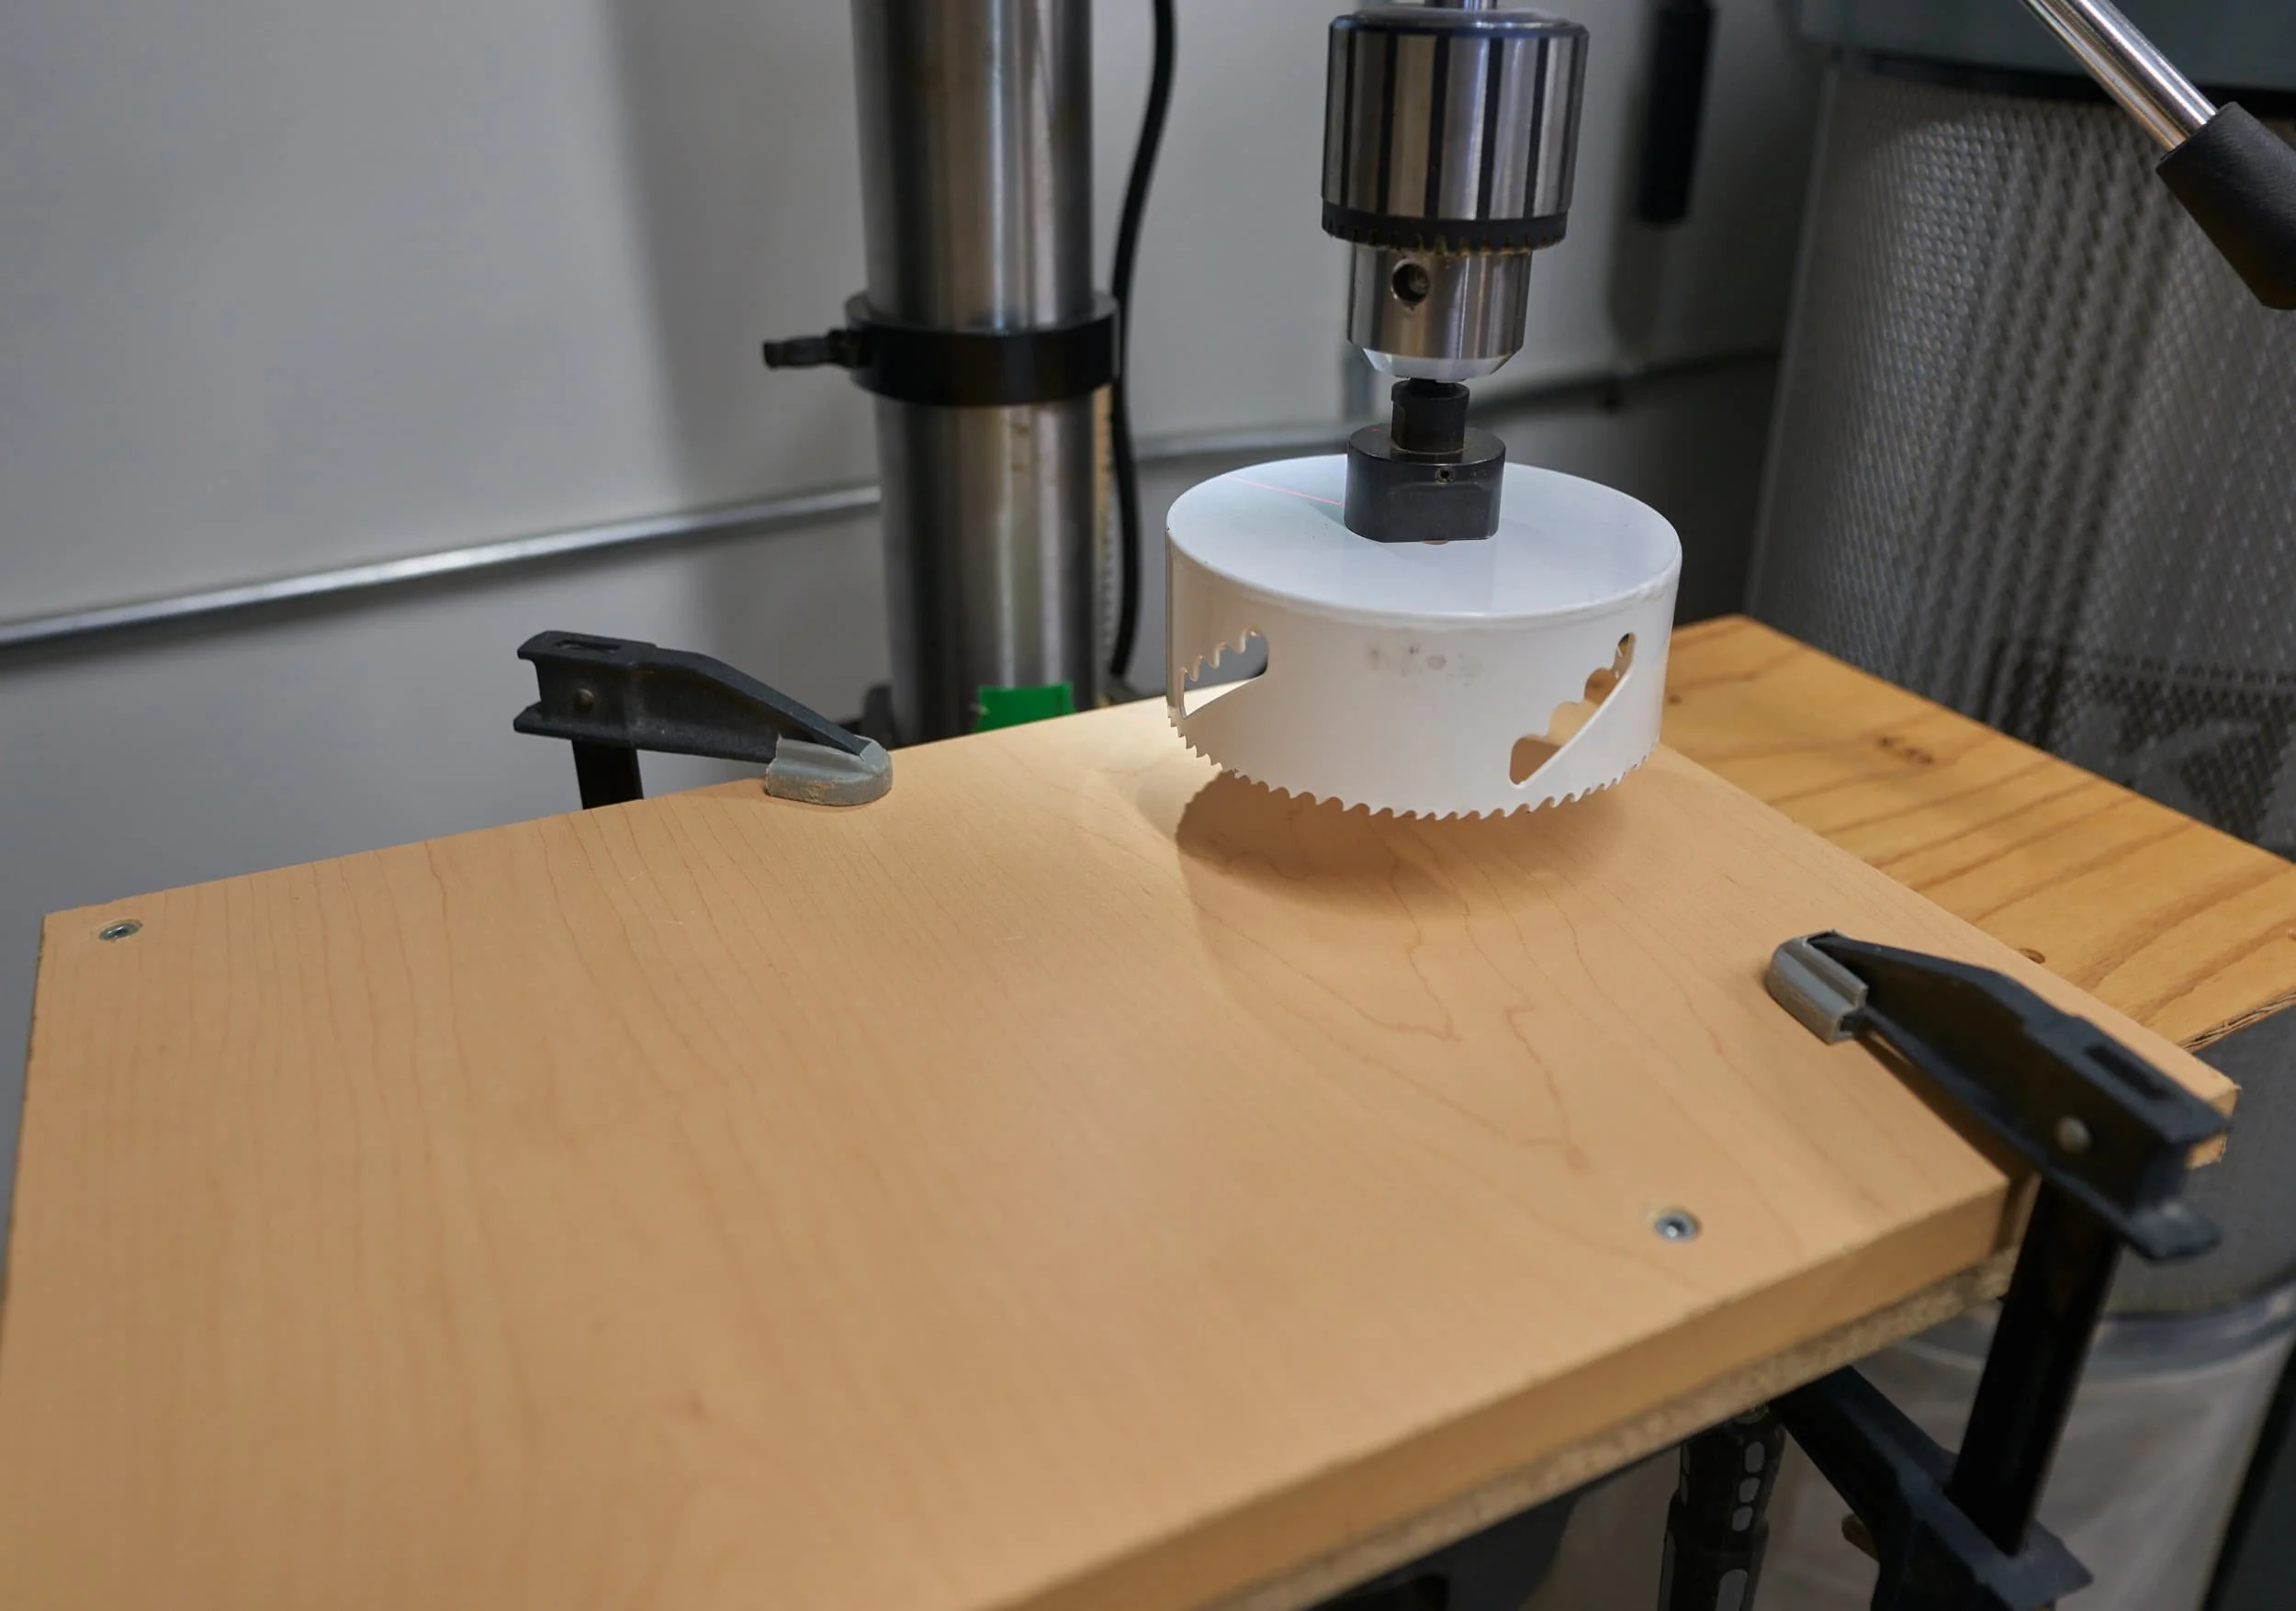


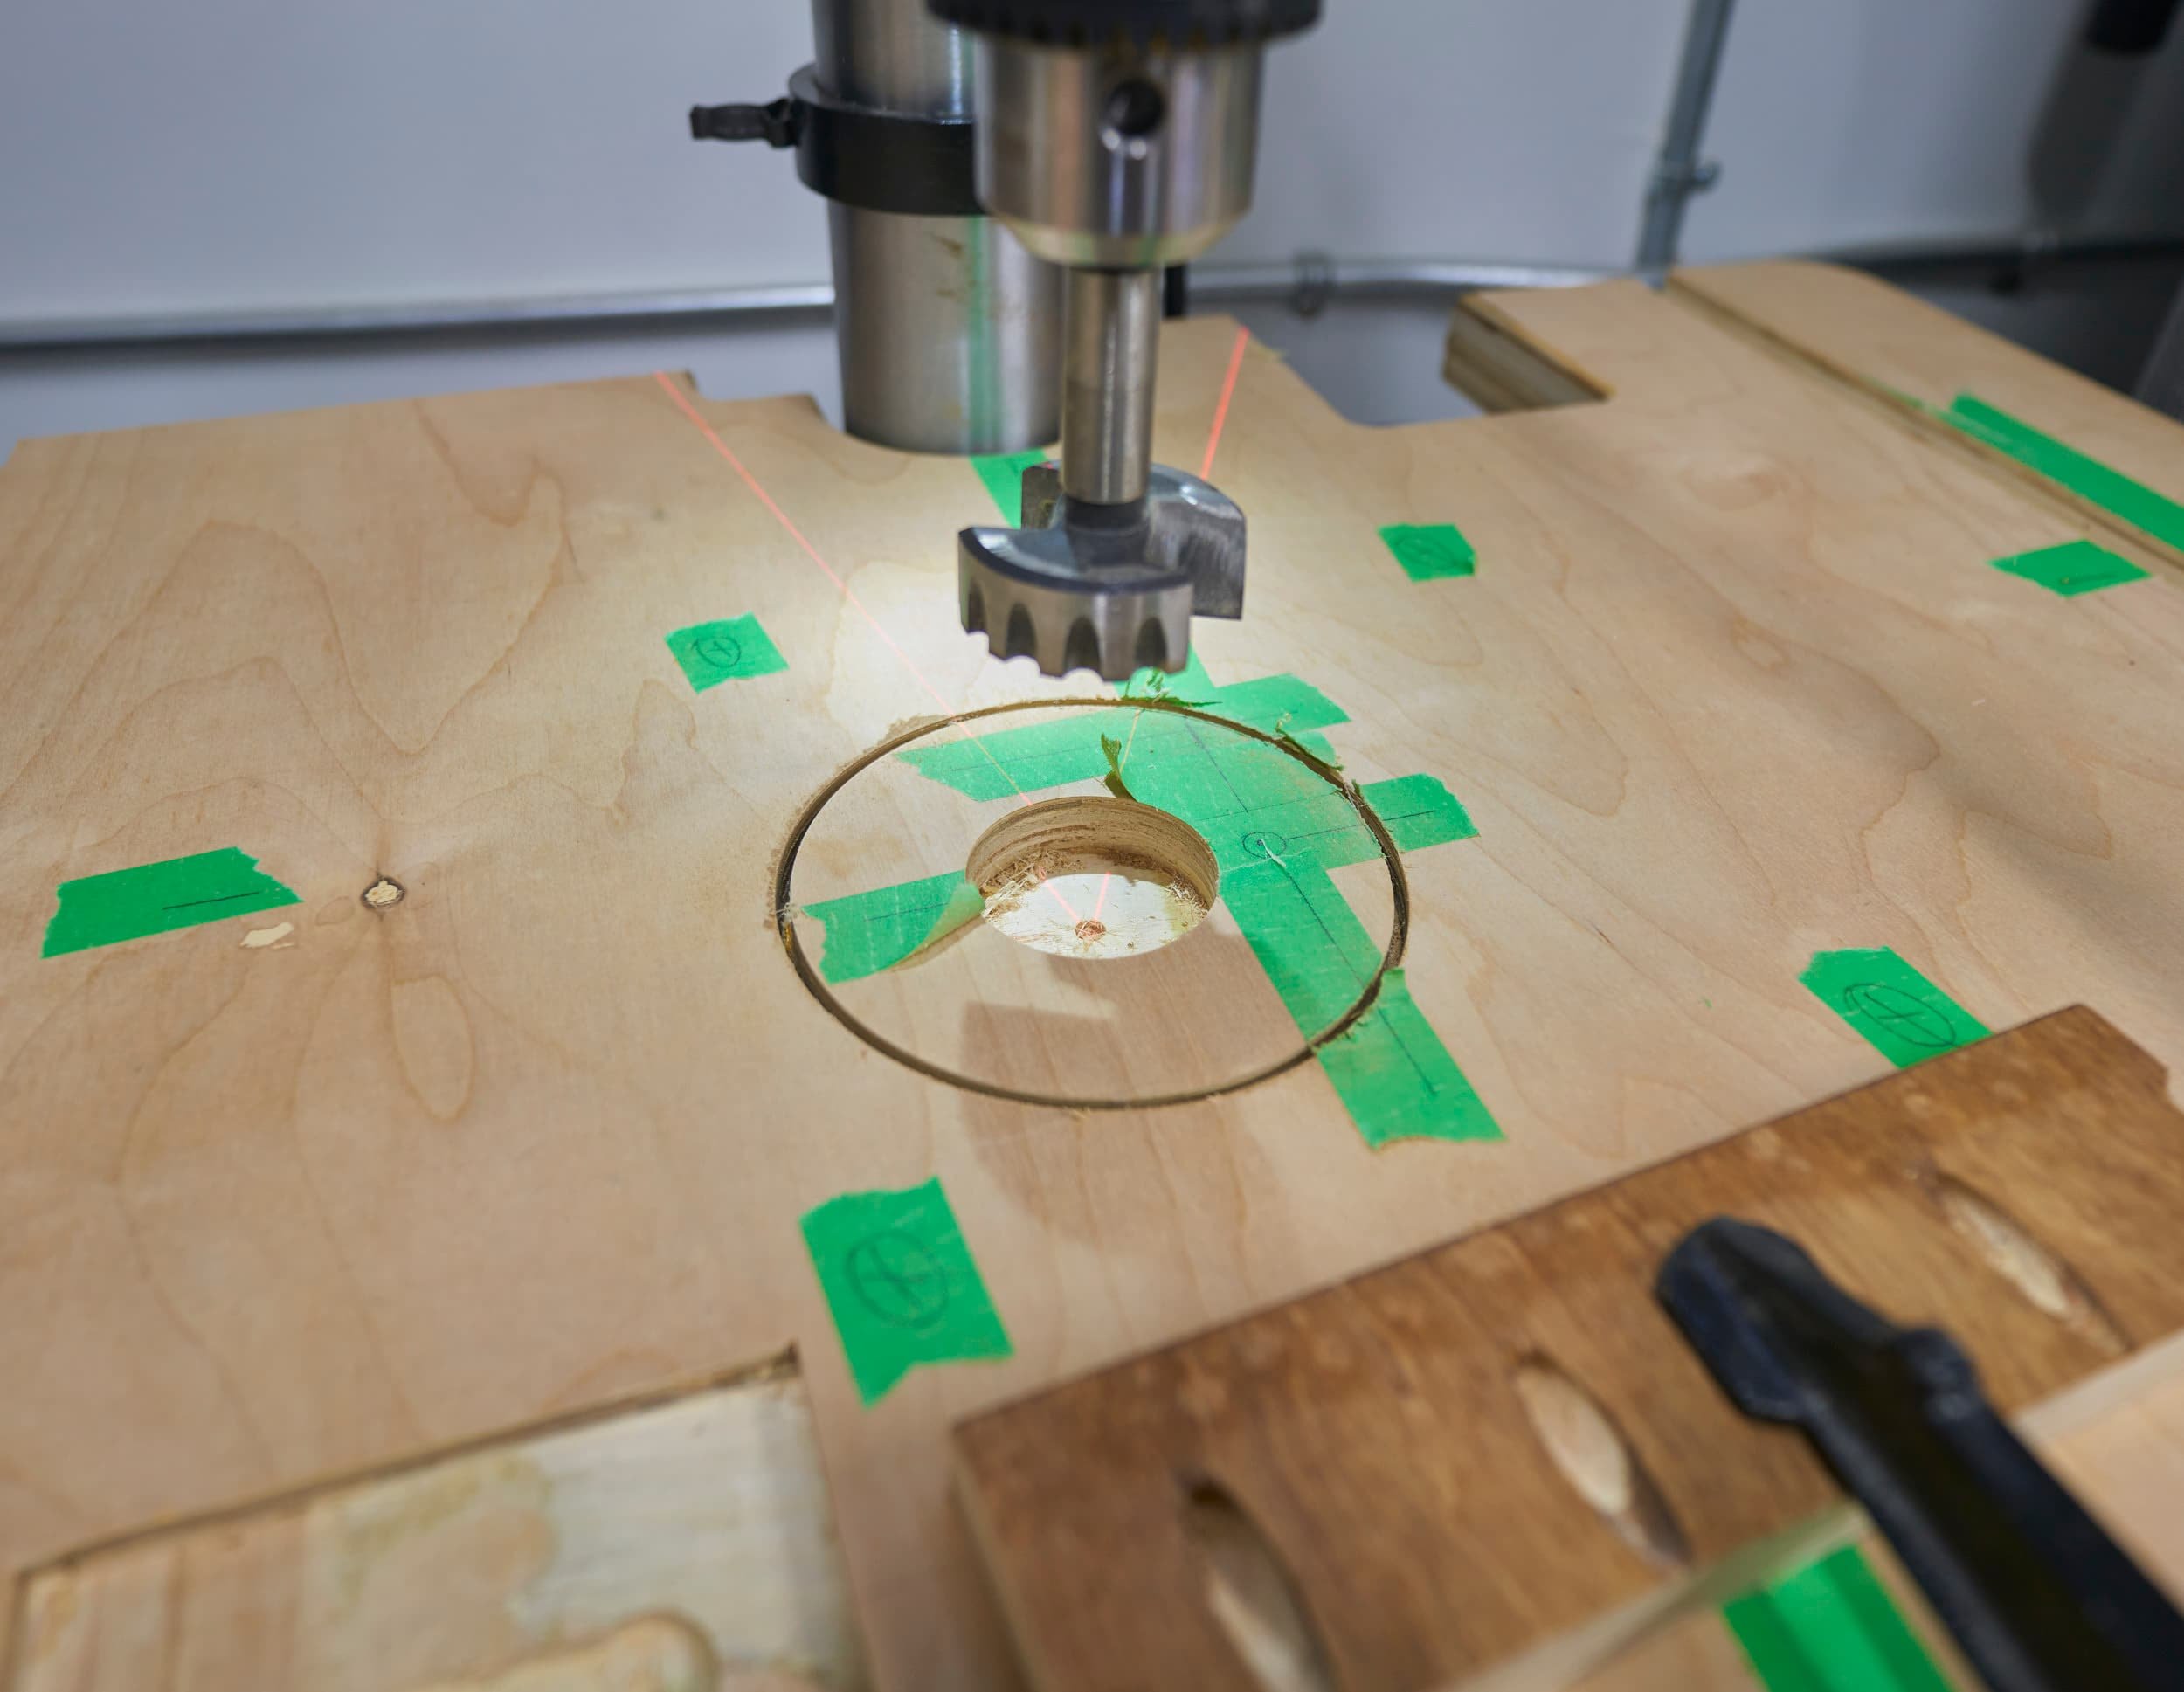
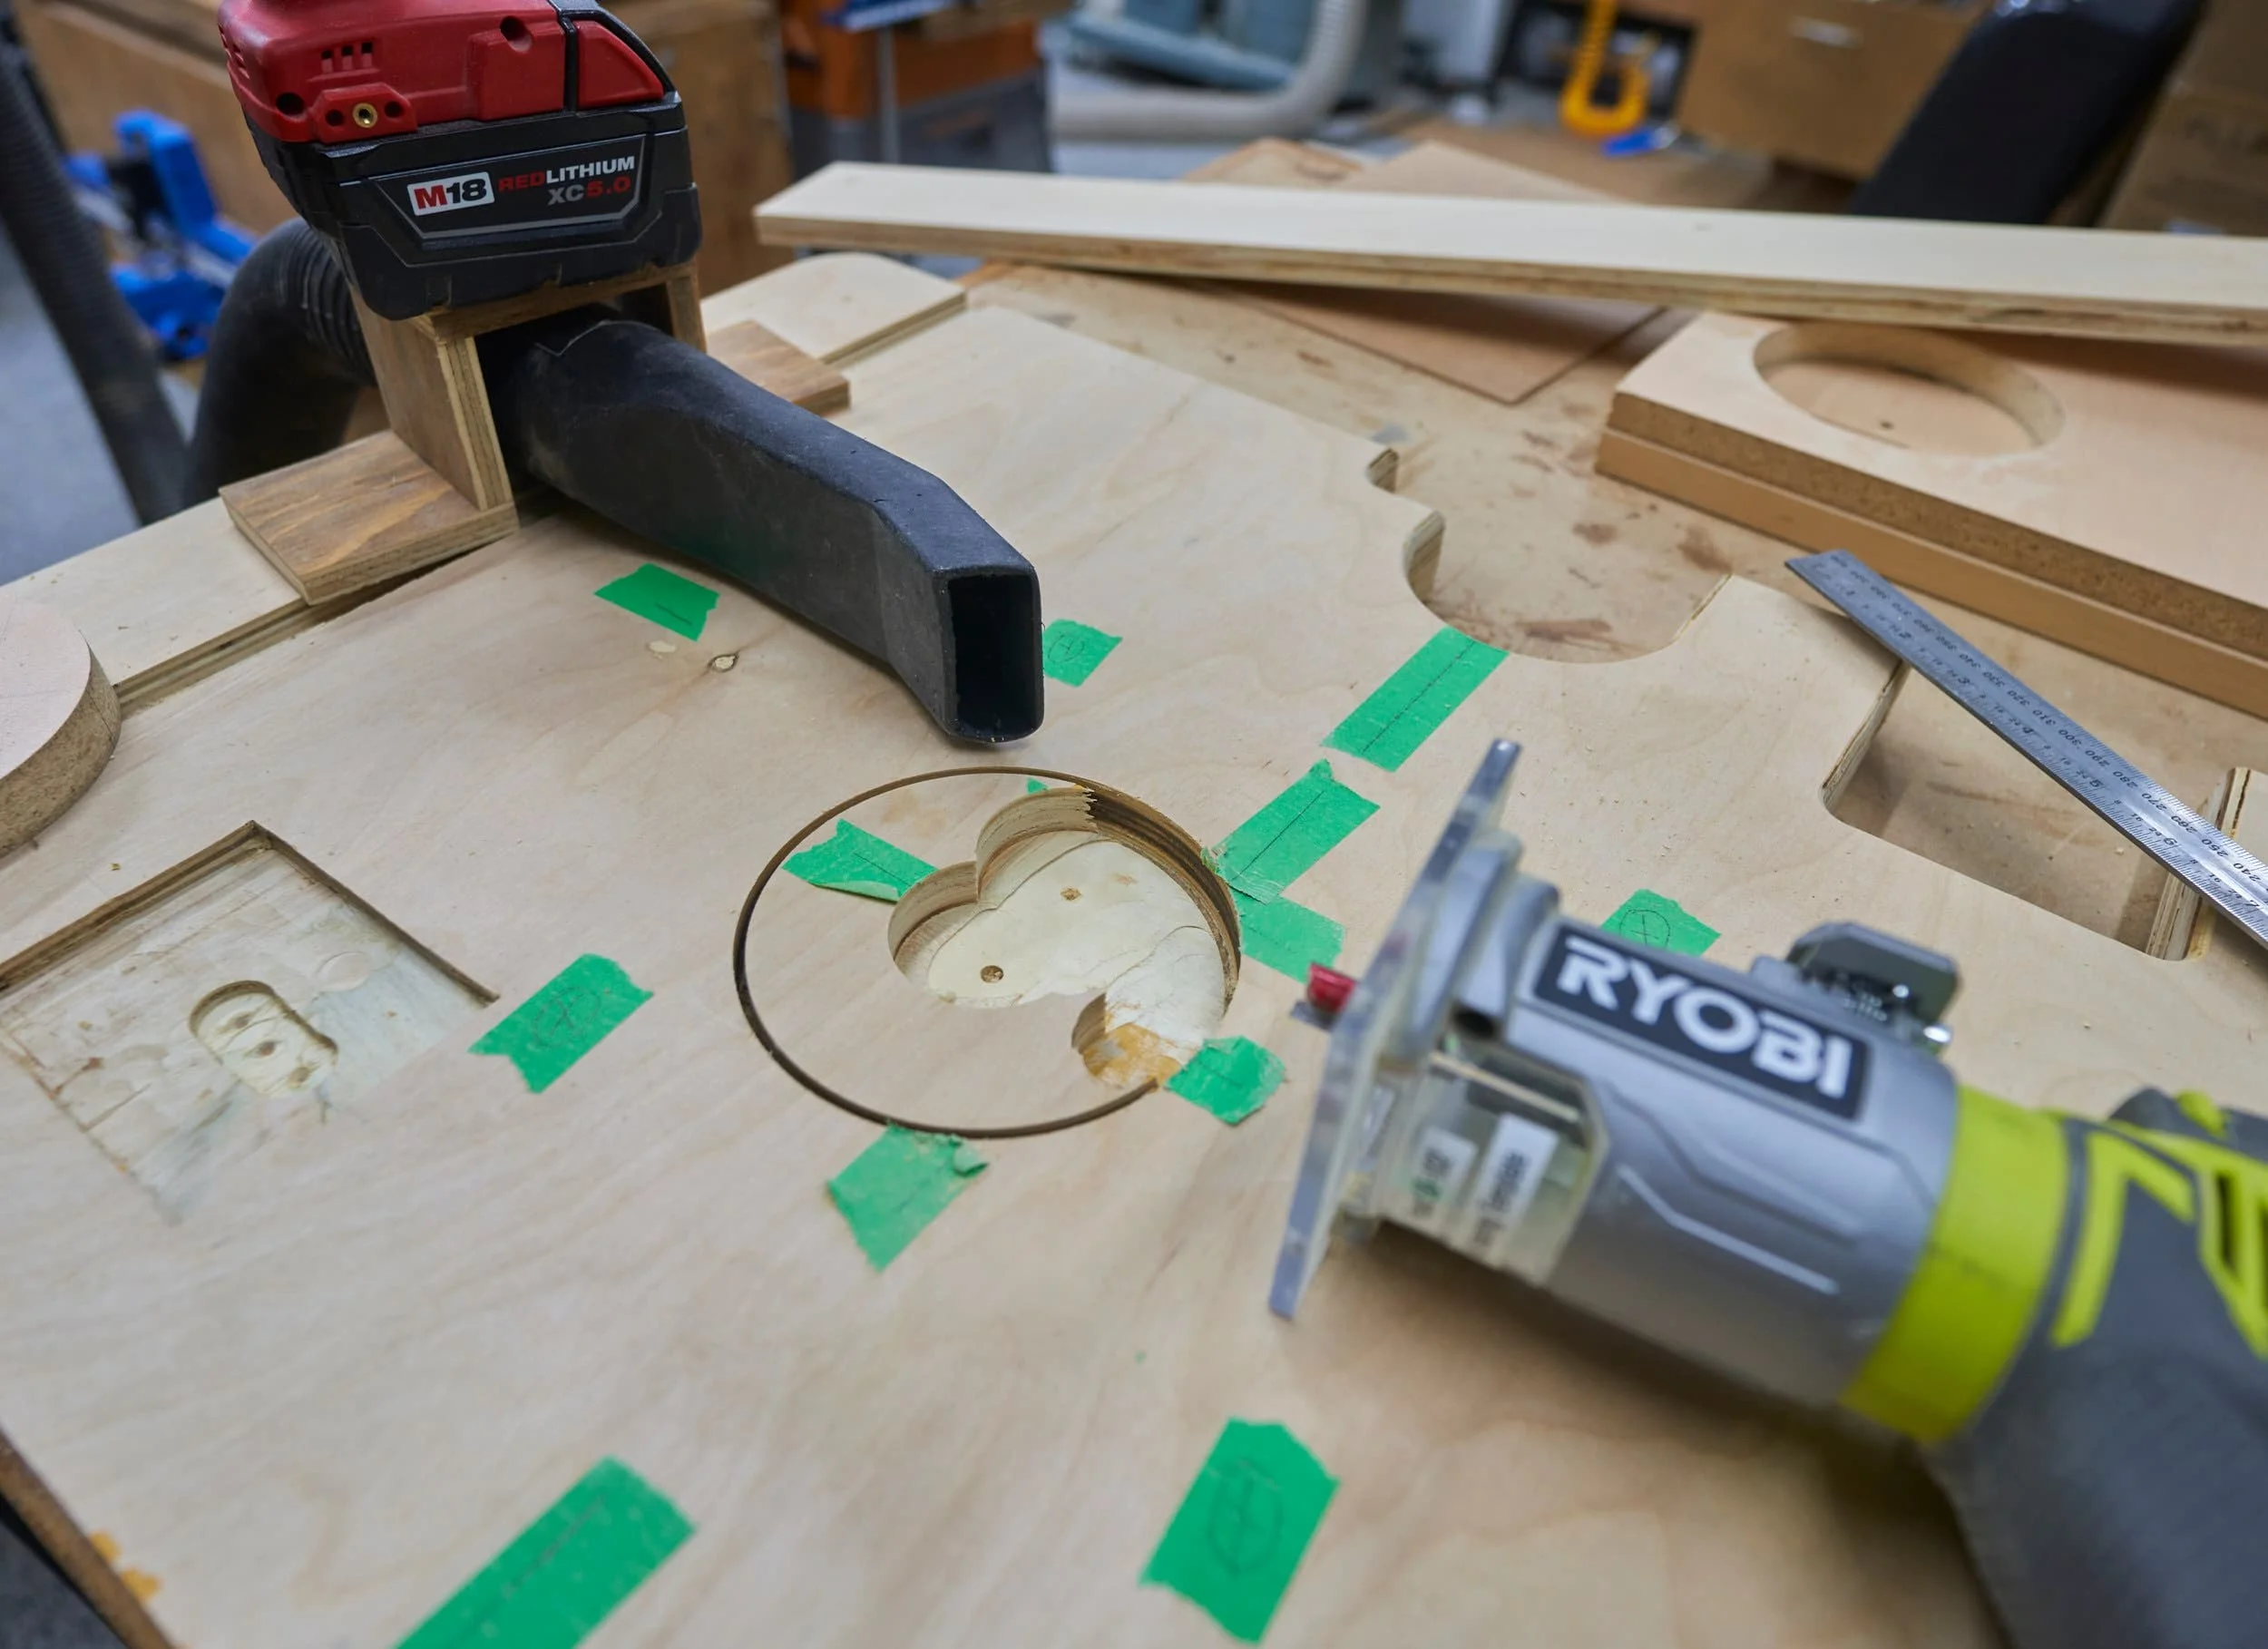
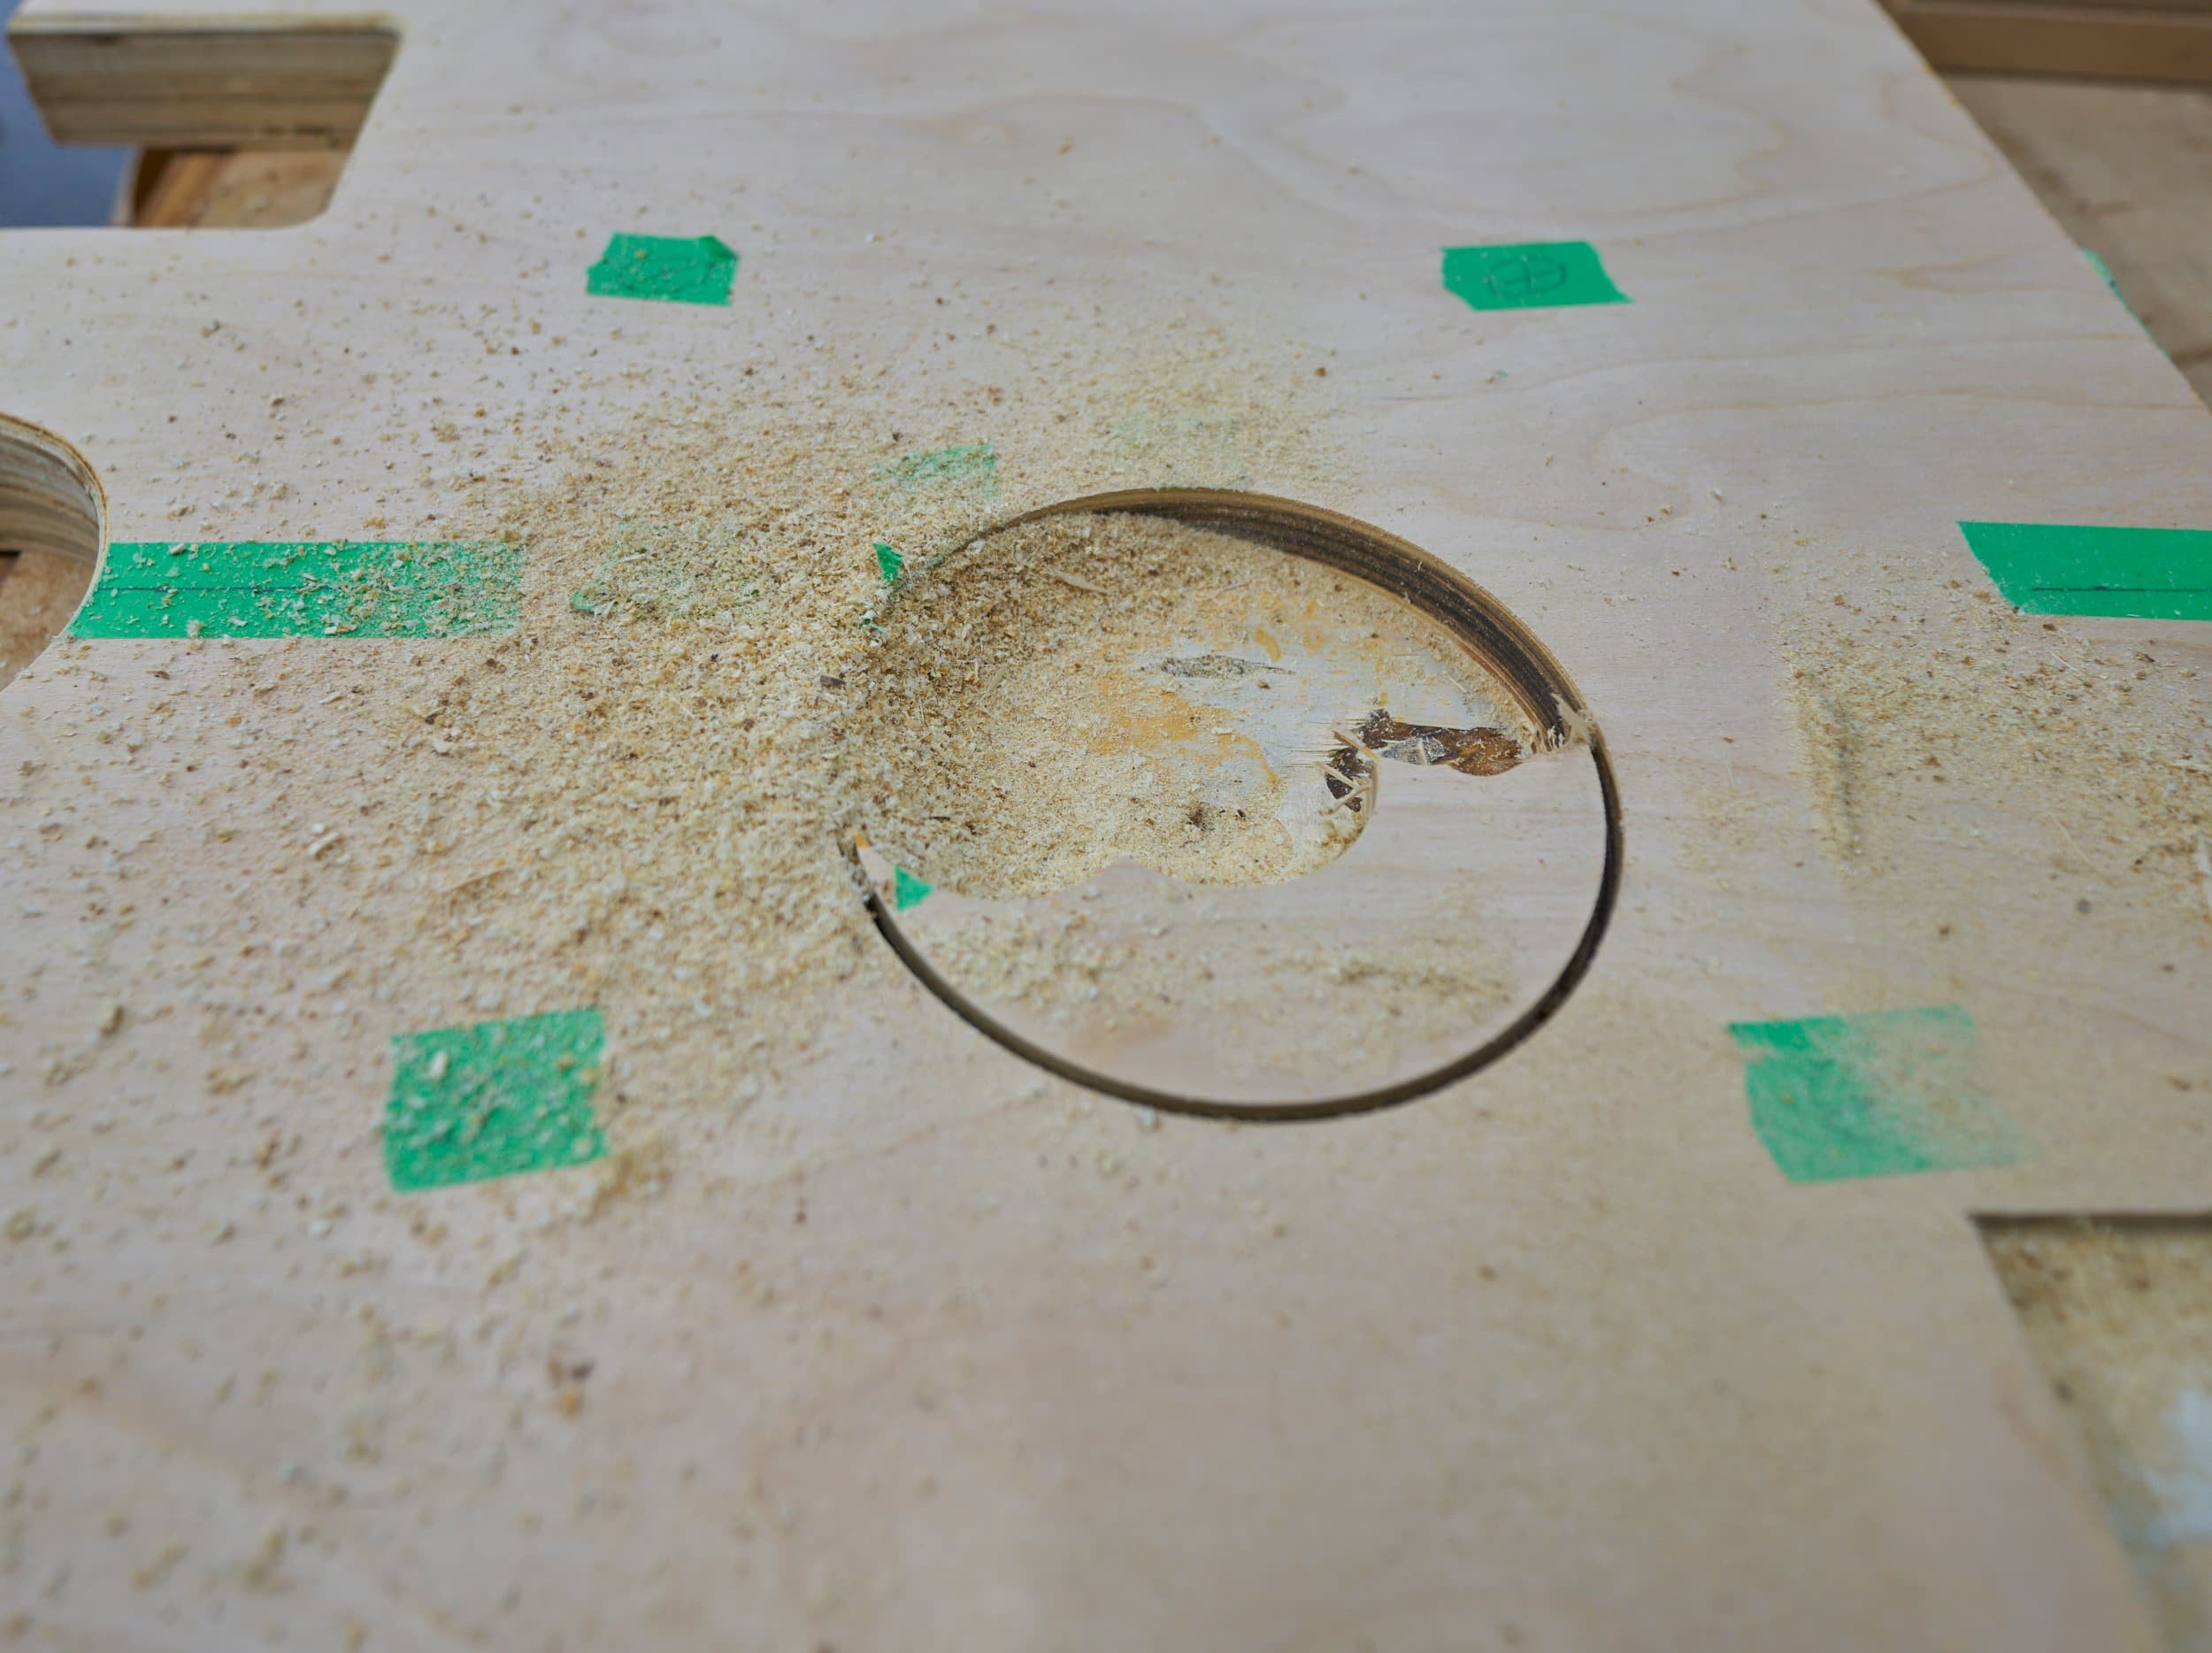
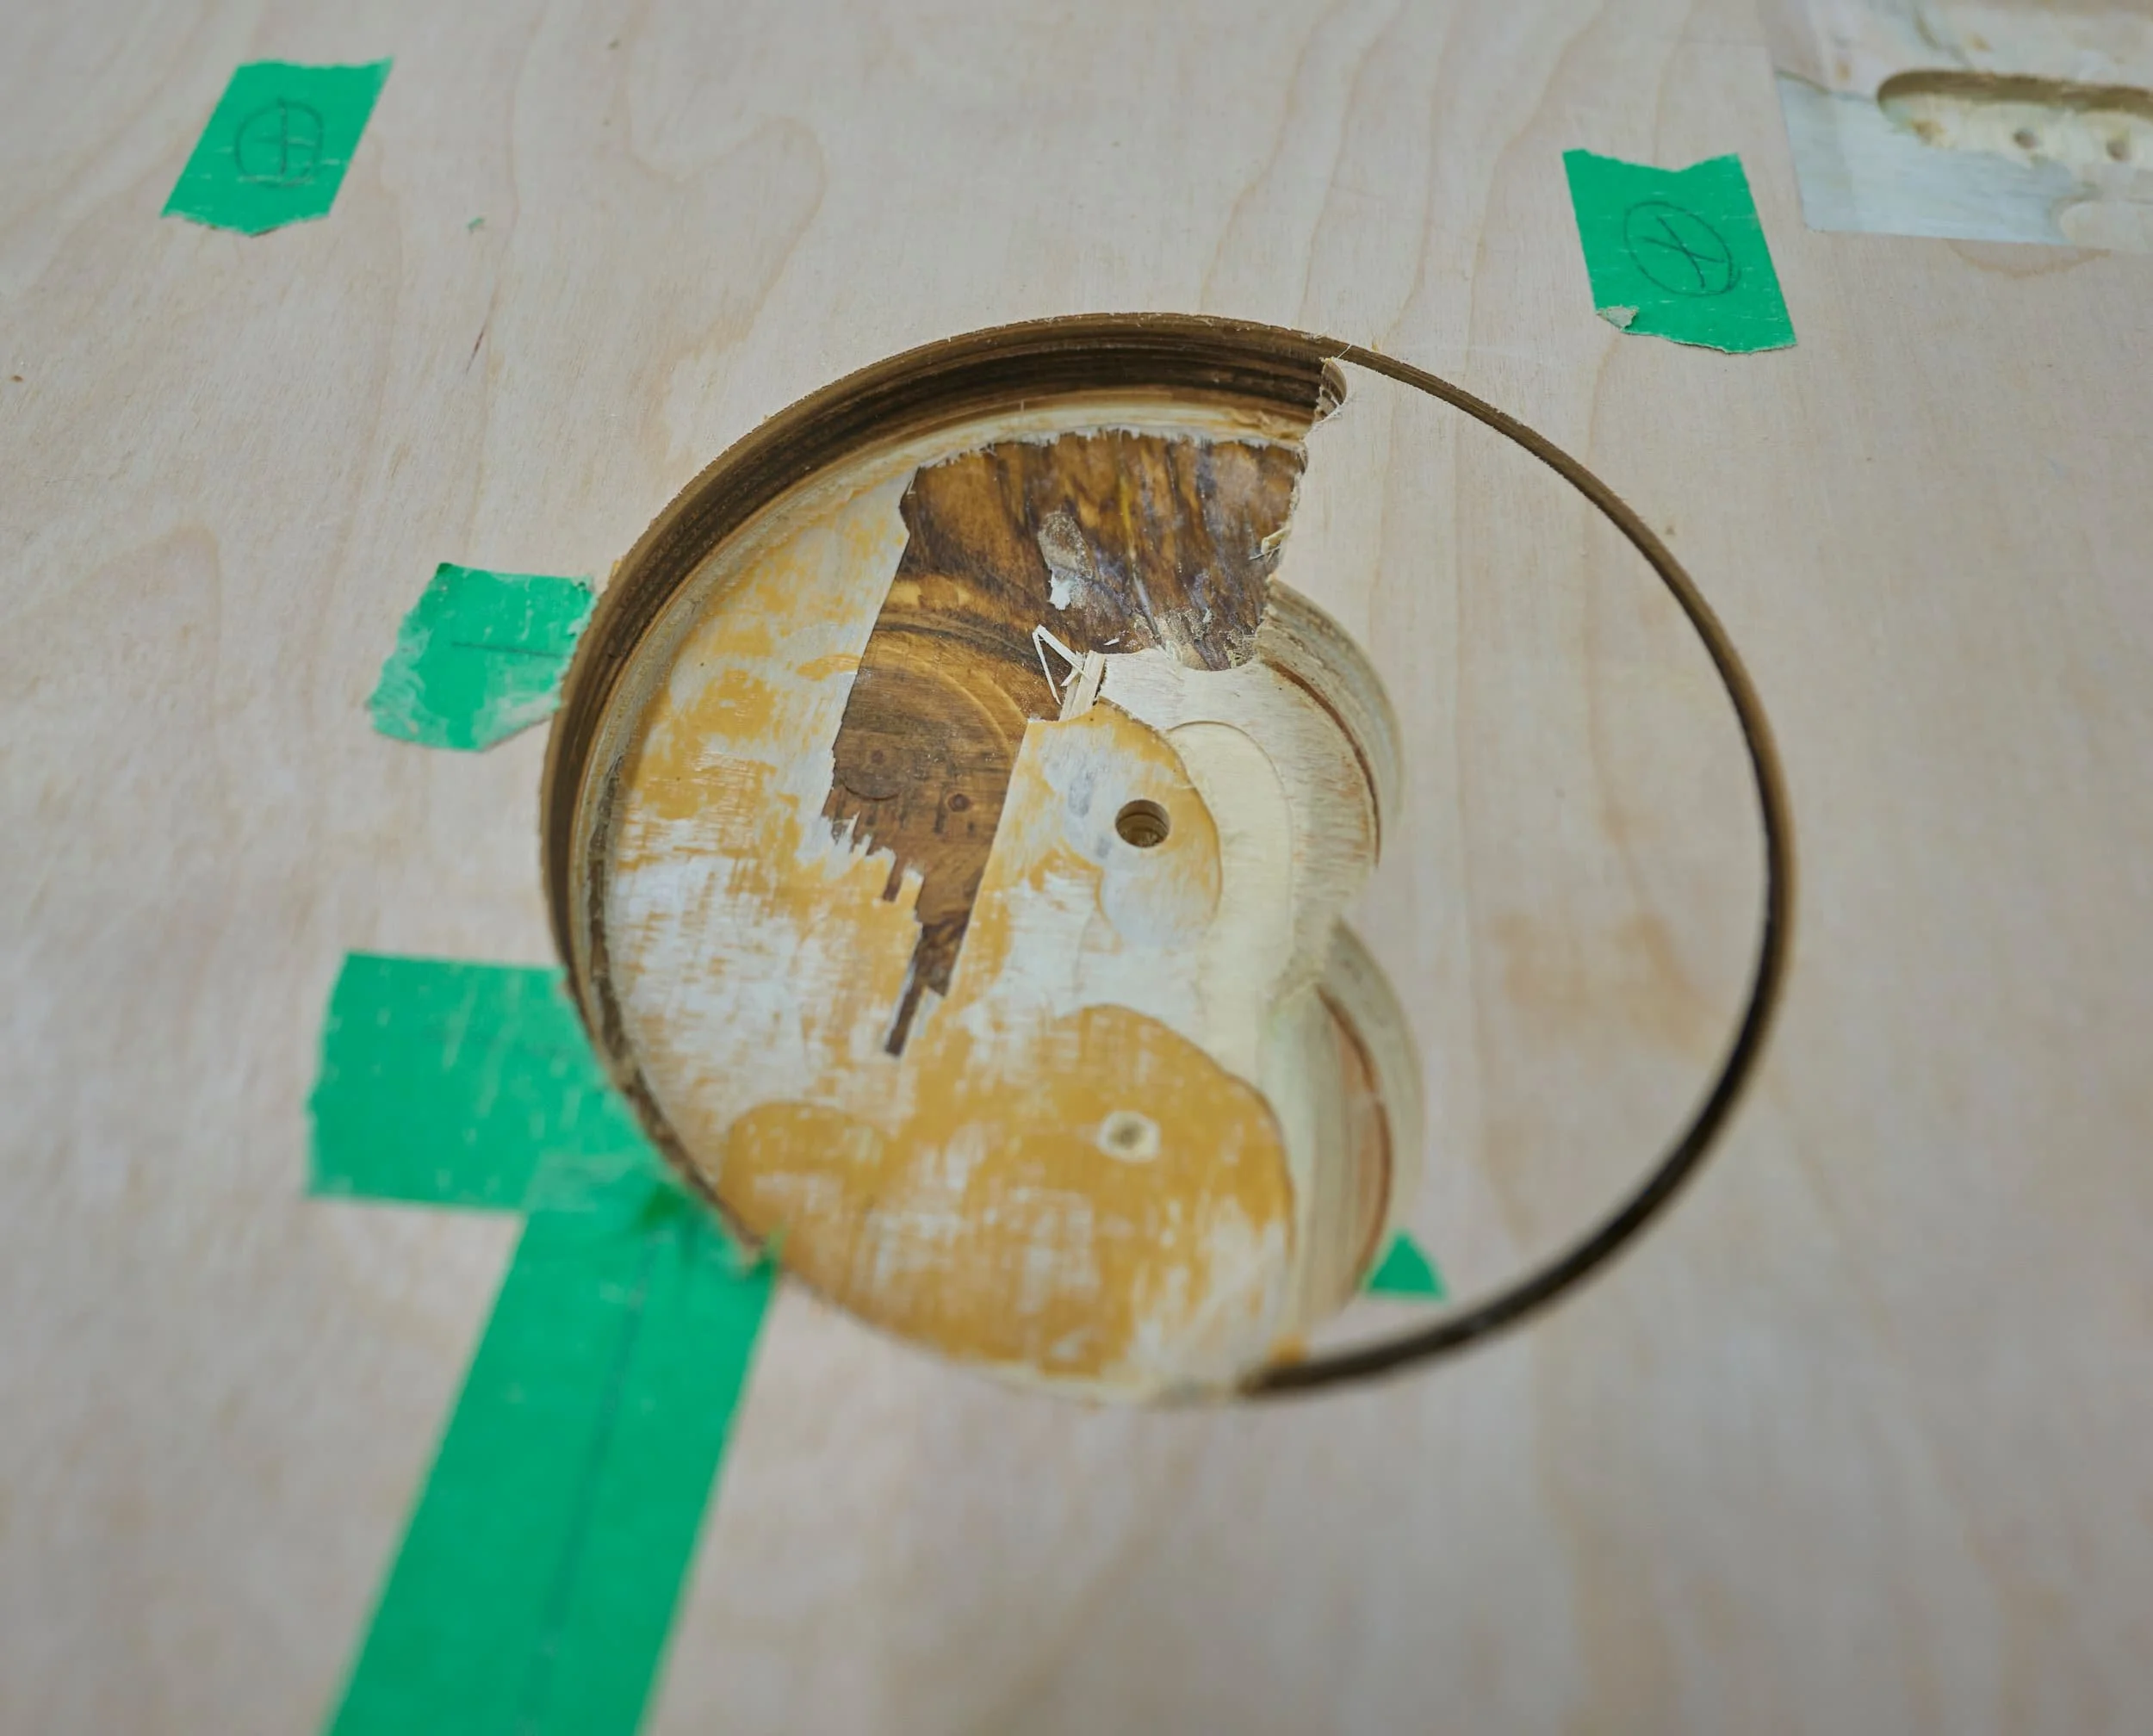
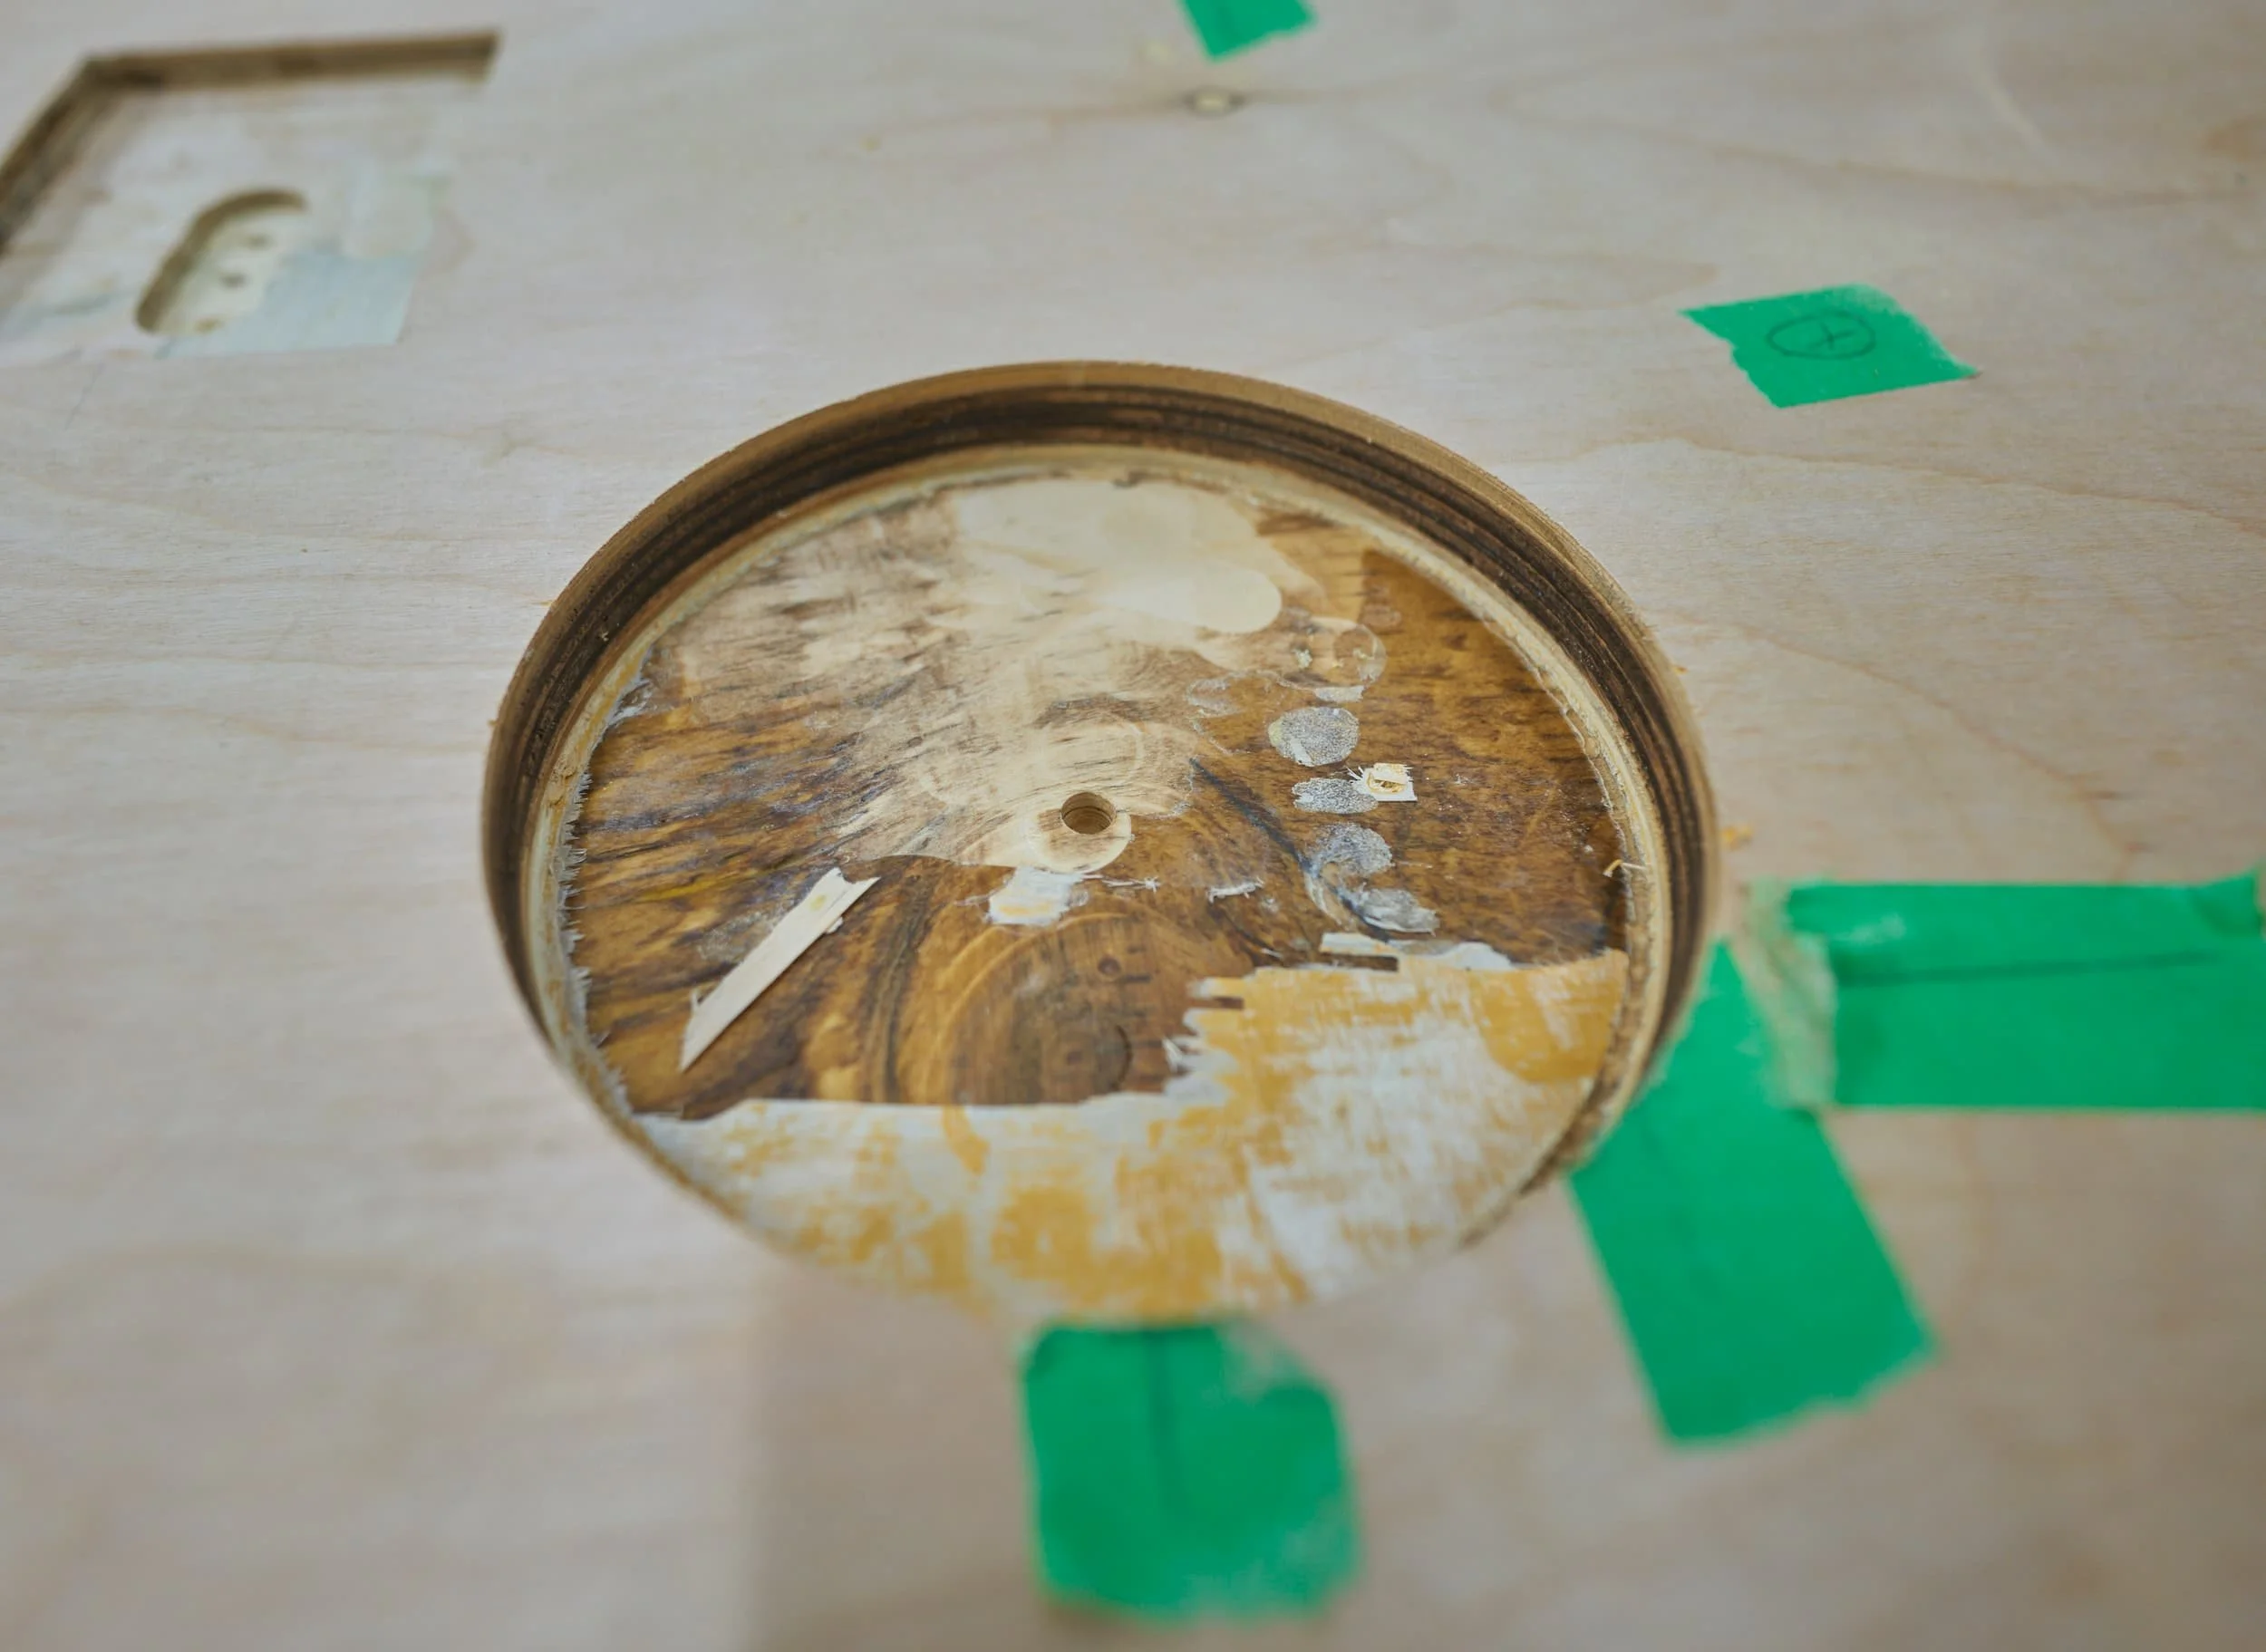
This was exciting and terrifying - I had the thickness of the holesaw blade as my margin of error while I hand-routed the material out. Definitely hold the router with both hands and moving very slowly was the way to go!
Step 4: Fence
I had some left-over Top Trak from my miter saw station so I wanted to adorn the top of this fence with it so that I could have some cross-use of both the Kreg Swing Stop and even more so, the Production Stop. First, I needed to get the table portion put together:


Next, I pulled out the plywood strips that I had used as part of my old miter saw station got a basic fence put together. I opted to not have a full bottom edge and instead, have the fence secure to the table two disconnected points. Doing this lets me push the fence as far back as I can.


Adding the Kreg Top Trak was mostly an issue of cutting it down to size (and filing down a bit of a dent so that it would be smooth) and screwing it to the back side of the fence.


Step 5: ‘Custom’ flip stop
I have a flipstop from a Rockler CrossCut sled that I don’t use much and I wanted to see if I could use this on the Kreg Top-Trak. Sadly, the Kreg track is smaller than the standard track. Surely, this isn’t going to stop me…


Now that I have a modified T-bolt, I can swap out the bolt on the Rockler flip-stop but there’s a minor problem: the Rockler fence is a bit taller than the fence I have here so I needed to find a way to bump up the height of the flip stop and reduce the tendency for it to spin.


Milestone
This was a fairly quick project with the only major mistake was gluing the two layers of the table together before first cutting the sacrificial insert out; I was also disappointed to find out that Kreg Top Trak isn’t compatible with normal &^$@!# T-bolts or hex-head bolts — thankfully that’s a quick fix if you have an angle grinder. I did learn that I need a lot more practice with routing so that’s good - gives me something I can work on.
For now, I’ve opted not to put any measuring marks or tapes on the fence - I may pencil in some quick marks, but for the way I use my drill press, I pre-mark everything first so it’s less of an issue.
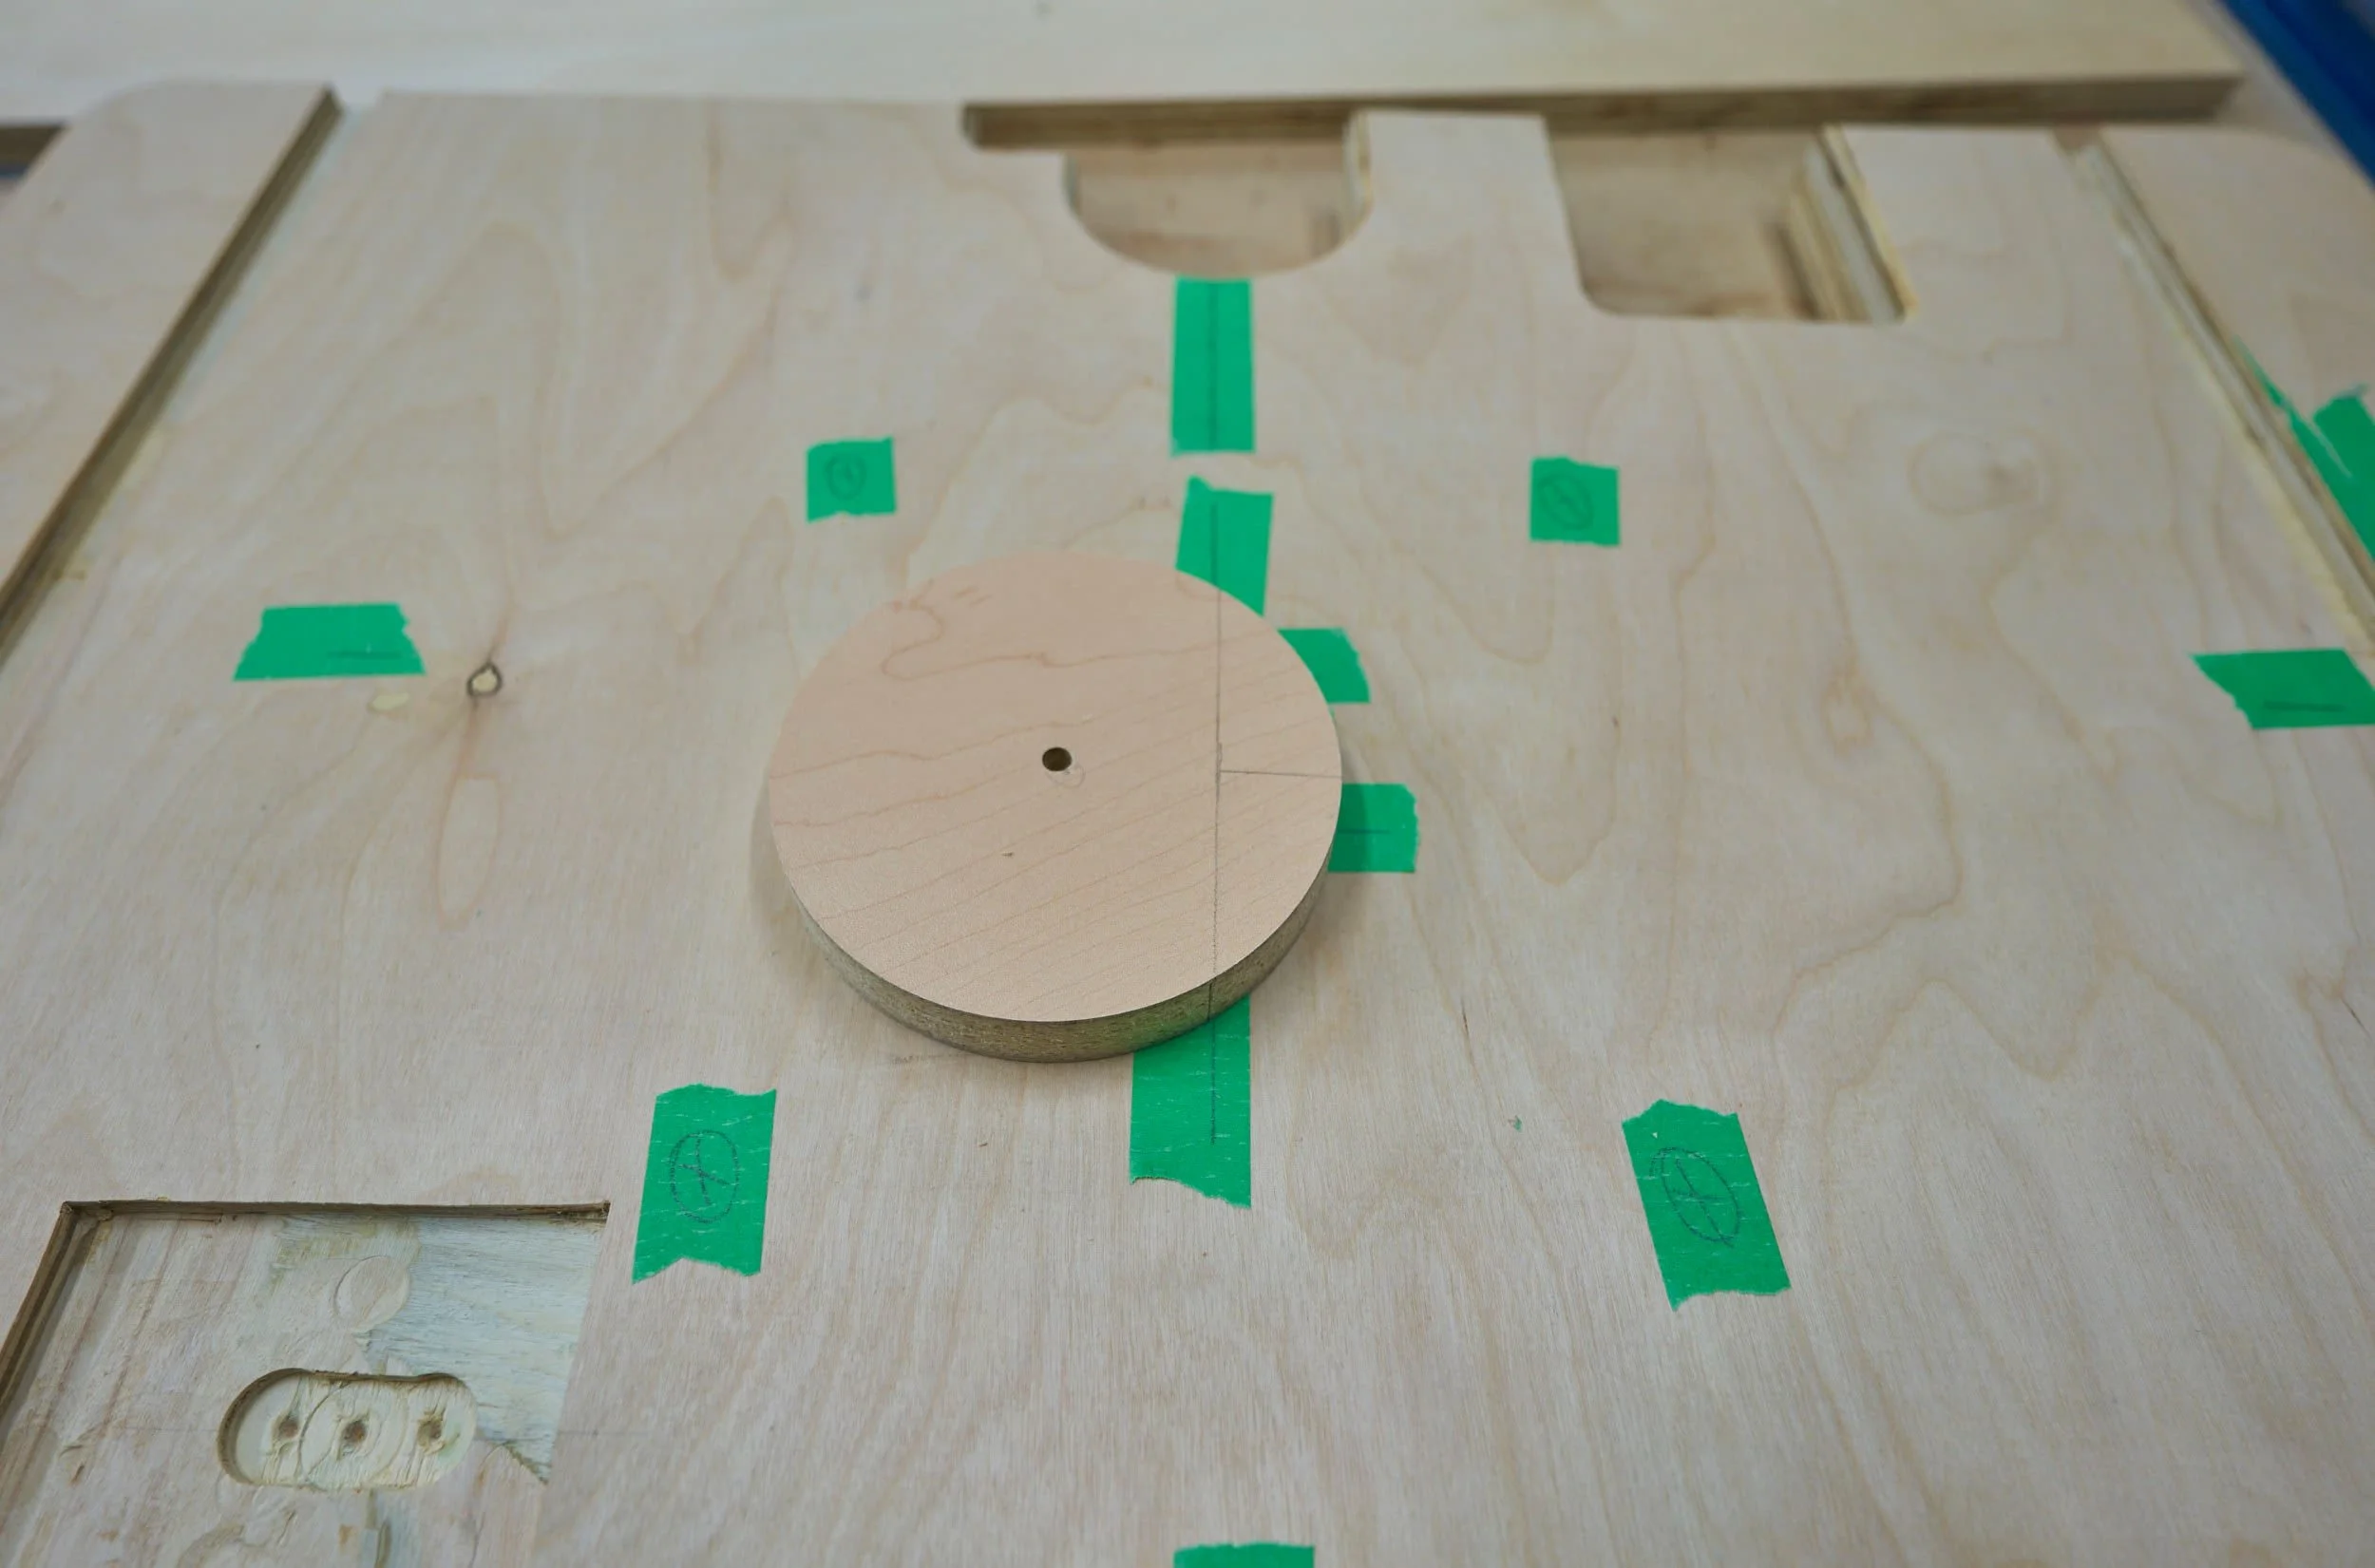
By sheer coincidence (or maybe habit), I haven’t drilled into the sacrificial piece yet — I keep finding ways to insert another layer as a sacrificial surface (old habits die hard!), but once I do start to chew up the sacrificial puck, I can easily make a new one — just punch a hole using the 5” hole saw!
Product links may be affiliate links: MinMaxGeek may earn a commission on any purchases made via said links without any additional cost to you.