

Small Shop Improvements (2023.1)
Now that I have a more permanent work space, I can start to chip away at making small upgrades to make the space more enjoyable (or at least, less frustrating) to work in. I look at these little ‘micro-projects’ as small upgrades I can work on whenever I have an hour or two with the hope that over time, the snowball effect of them all will make for a much nicer workshop experience.
Quick Links
Miter gauge rack
I have the Kreg Miter Gauge for my saw and I’m generally happy with it but like almost every miter gauge on the planet, it’s huge, awkward and delicate (I definitely don’t want to be dropping it or banging it around if I can help it!). So, I find that my miter gauge is constantly in the damn way. I wanted to make a home for it so that I’m not constantly moving from one flat-surface to another.
To store the miter gauge, I went with a simple shelf: I wanted it to be super easy and quick to pick up and put down the miter gauge. I initially wanted to leverage the hex-head screws on the back of the saw to bolt a ledge to, but the included screws were super short so I opted to use magnets to hold the shelf. I used a combination of Magswitch magnets and some cheaper, permanent magnets. Rather than throwing a ton of cheaper, permanent magnets at this, by using switchable magnets, I could reduce the holding force on demand, in order to remove the ledge if needed.


Levels & rules storage
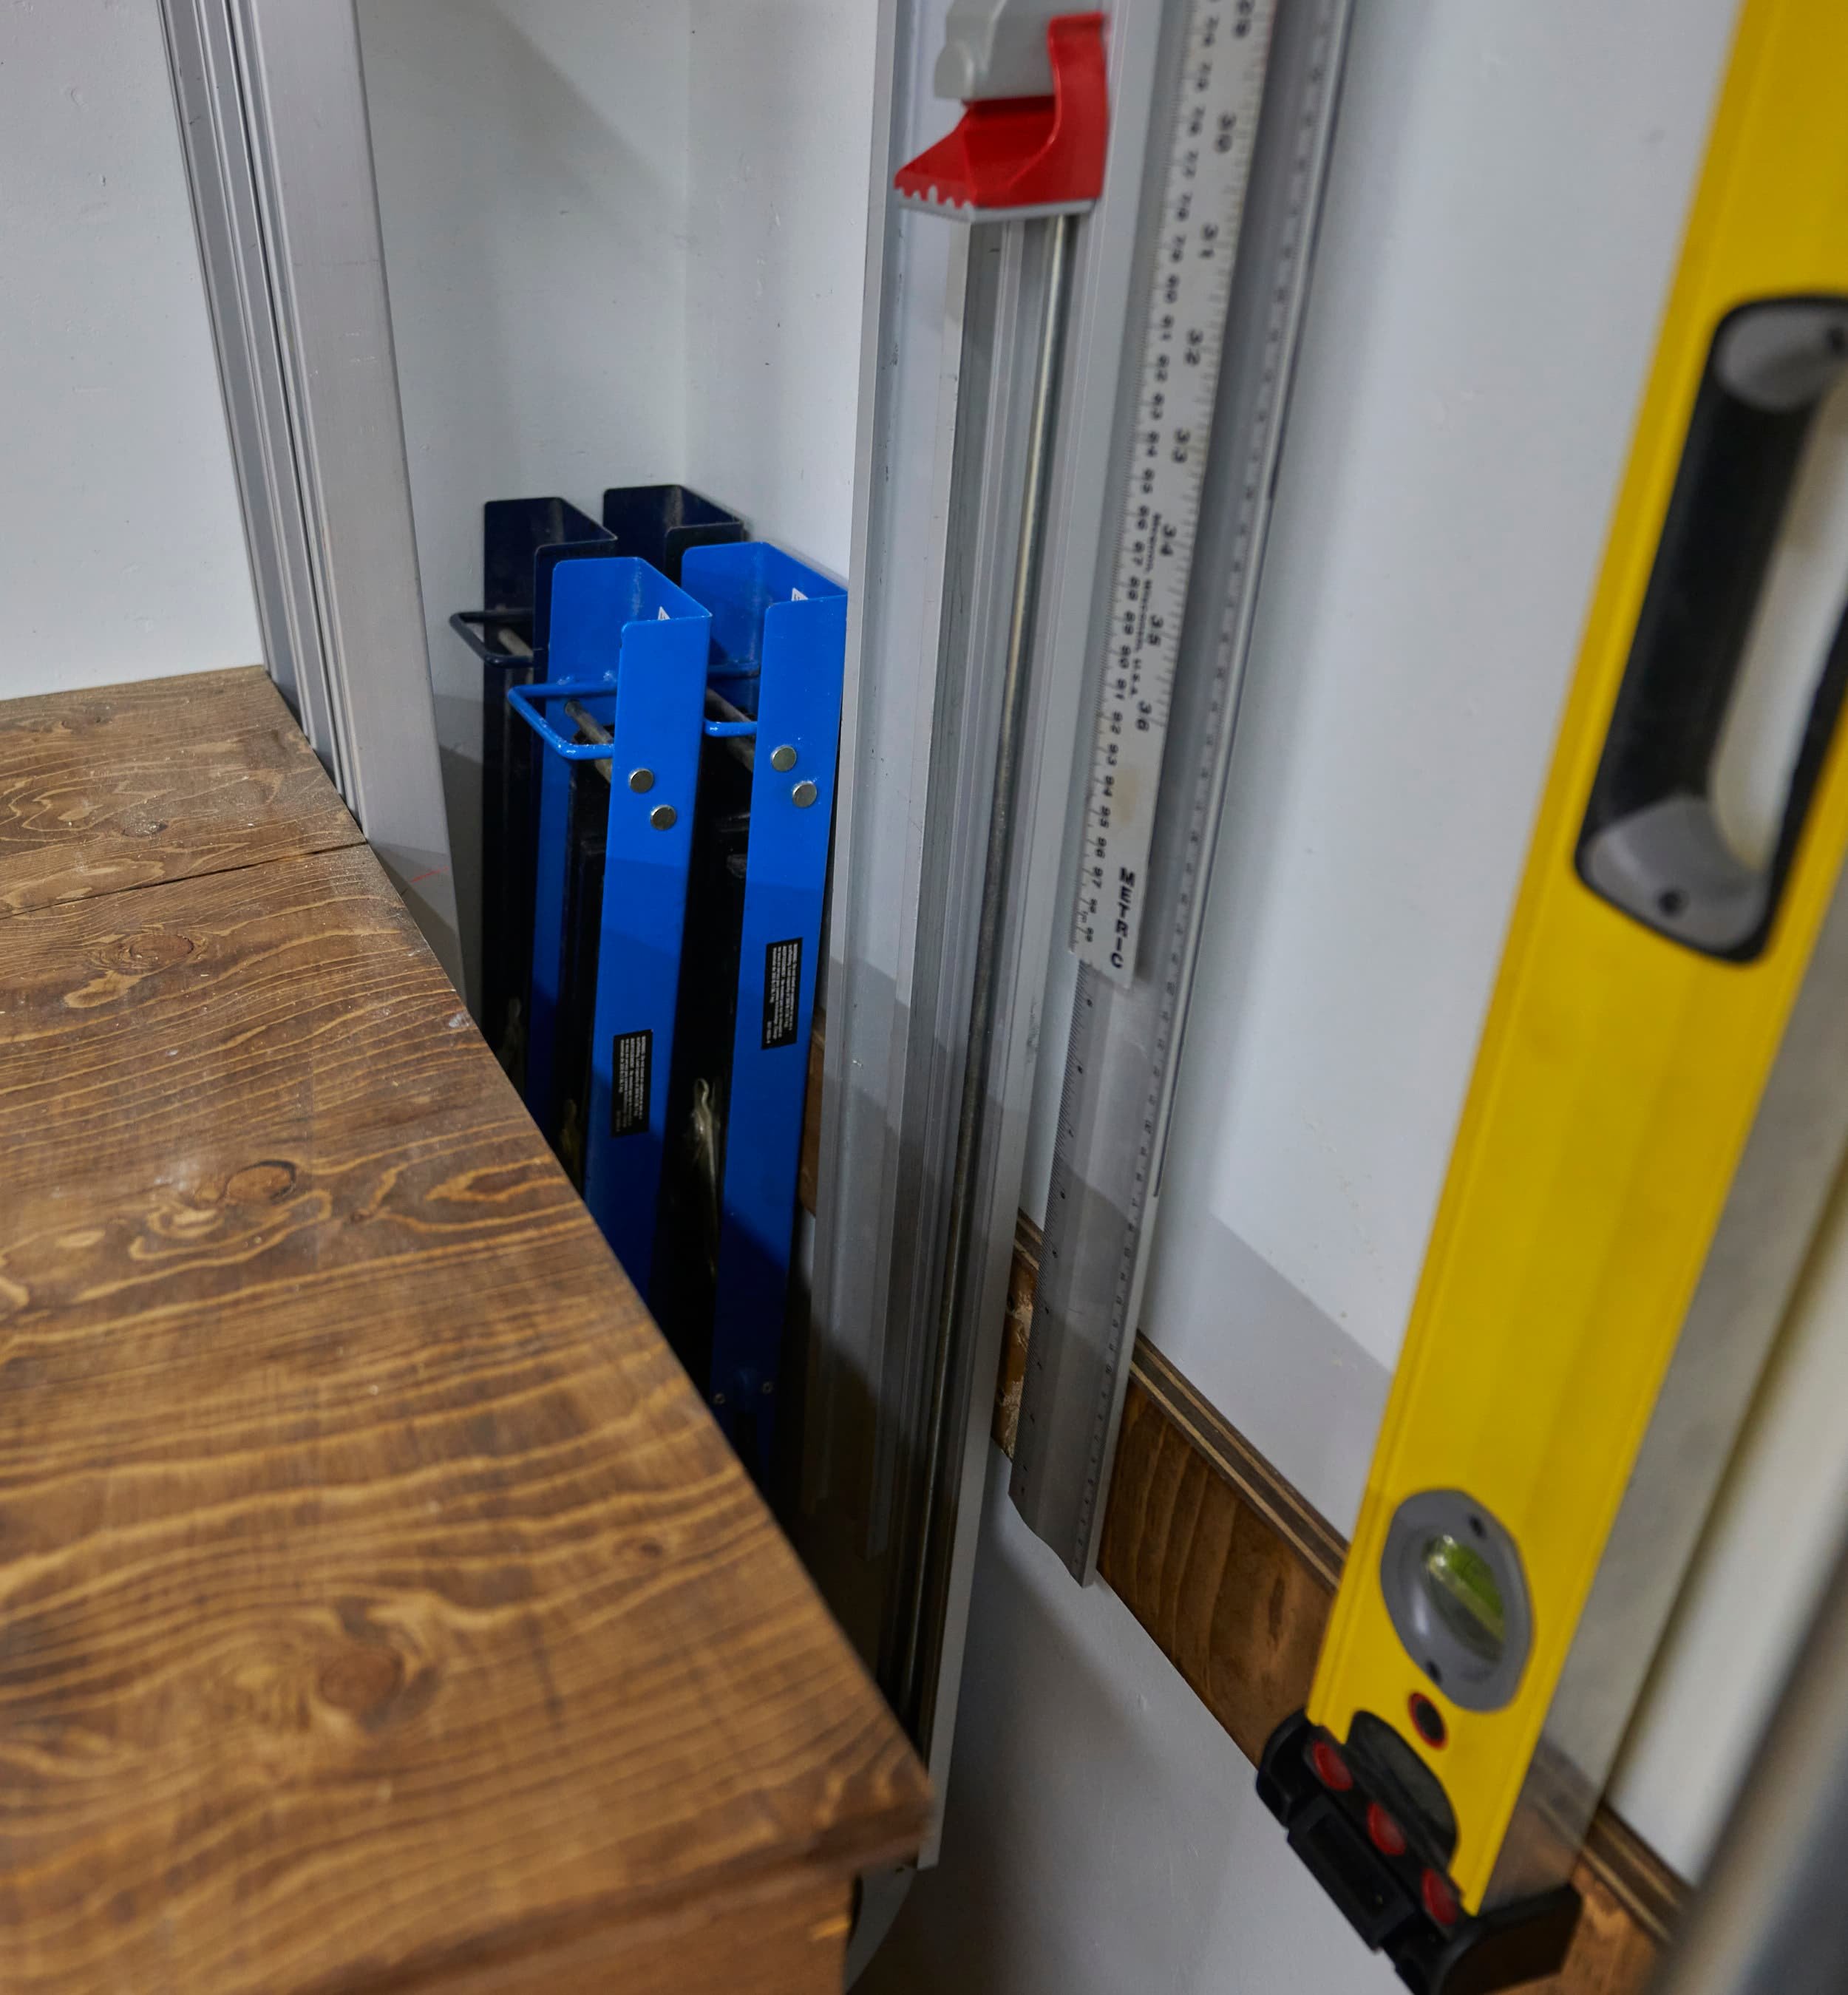
In my ideal world, all of my [larger] levels would have super strong magnets on them and then I could magnet-mount them to the steel bracing on the garage door. Sadly, while three of my four levels are magnetic, only two of them have strong enough magnets that allow me to mount them to the garage door. Until now, I’ve been keeping the remaining two levels propped up in a bin and of course, every time I need to pull something else out of that bin, it’s a game of which thing is gonna topple over.
This upgrade started with ‘Universal Level Holder’ clips; let me say that the fitment of these ‘universal clips’ isn’t great. Generally speaking, if your level has a cushy rubber endcap (like many do), the fit is going to be somewhere between, “a little close” and “too tight”. I ended up hitting my rubber end-caps with the sander to ease the fit a bit more, but even still, it’s a bit tighter than I would normally like. In my specific application, the fit is manageable.
The challenge with what should have been a very easy project was the stud in the wall was nowhere near where it should have been: I found what I thought to be a drywall screw in the middle. At the top, the stud was an 1-1/2 inches to the right of that line and at the bottom, the stud was 1 inch to the left. And that drywall screw I found? Drilling on that got me nothin’ but air.


Revisiting my dust collection cart
It was about a year ago that I made what I thought was an improved dust cart and the cyclone has been a total disappointment. So what went wrong? The cyclone separator I had on the vac was the Woodstock Mini and technically? It works. If I vacuumed up heavier things, the cyclone had no problems separating it, but for lighter things (like sawdust), they never stood a chance and went straight into my vacuum.
To provide some context, I’ve had my vacuum, the Ridgid WD1680, paired with the original Dust Deputy for almost ten years now and I used that combination for everything: hooked up to the table saw, router table, jointer, planer, track saw, sanders and general shop cleanup. The separation was incredibly effective: I only did one bag change over eight years.
In this current space, now that I have a big dust collector handling the table saw, jointer and planer, I moved the cyclone to the miter saw. I thought that for general purpose cleanup and for use with the track-saw, router and sander, I could get away with cheaper and lower-profile separator. Compared to eight years of ‘do everything’, I had to replace the bag on my vac after a just one year.
Instead of trying to stay low-profile or cheap, I went back to what works: I ordered a new-and-improved Dust Deputy 2.5 which supposedly is the same proven Dust Deputy formula but now built for more powerful vacuums. Initial impression, I’m super impressed: it was actually able to separate literal dust-bunnies, something I normally would have considered to be too light to be separated.
At the end of the day, I think what’s happening here is that my specific wet-dry vacuum is too powerful and has too high of airflow to be used with the Woodstock Mini. The way the Woodstock Mini is designed, there isn’t enough time/verticality for dust to drop (and thus, get outside of the suction range of my specific vac) — most particles enter the intake and are immediately sucked into the exhaust, bypassing the cyclone effect for all but the heaviest particles. The way the Dust Deputy is designed the airflow has to travel at least in one rotation — before hitting a barrier causing a substantial amount of turbulence giving time for gravity to do it’s thing. I’m by no means, fluid-dynamics expert, but that’s my best guess.


Revisiting table saw dust collection
Last year I bought an aftermarket dust hood for my table saw and paired with my dust collector, it’s great. This solution depends on having the blade guard installed and man, working with the blade guard is a huge pain. Problematic scenarios are
Non-through cuts - since I have to remove/lower the riving knife, I can no longer use this extractor
Thin cuts — the blade guard gets in the way of using GRR-Ripper type push blocks
That being said, for the scenarios where this works? It’s incredible. There’s virtually no dust on those cuts at all. It’s so effective that, for now, I’ll deal with the hassle of pulling the guard off when it’s impractical. For the time being, I adjusted the length of hose to reduce the amount of slack and make the runs more streamlined,


Long term
In the long term, I want to find an over-arm blade guard type dust hood, but instead of an over-arm, I want it to be ceiling-based. I would also like to replace the straight run on the ceiling with some clear straight pipe to improve airflow. At this time, I can’t justify the price.
Product links may be affiliate links: MinMaxGeek may earn a commission on any purchases made via said links without any additional cost to you.