

Build Log: Drill Rack Mk II
Something I’ve procrastinated since moving into this shop was making specific shelving for this shop - I’ve made do with shelving that I brought from previous shop(s). This weekend I took some time to make a new drill rack - it was an opportunity to use up materials cluttering up the shop and I was hitting the capacity limit of my previous drill rack.
Quick Links
Starting point
I built my previous drill rack back in 2015 and it has held up great in the interim years. As I add more tools, it’s time to take a second look at the drill rack to both increase capacity but also to change the design to be better suited for this (more permanent) space.
Original drill rack
Goals and objectives
When I built the original drill rack, I didn’t have the drawers/storage that I do now — so I kept all the extra drill related stuff on it. This facilitated the design of having the high side walls to keep things from falling out. In this shop, I have drawers dedicated to holding drilling accessories and screws so I having a more streamlined design will allow me to better use the limited vertical space that I do have.
I wanted to make the top of the drill station flat without side walls so that I can use this as a shelf of sorts to store tools that I don’t use often. As such, I want the top to be relatively wide - which is great as it lets me support hanging more tools than my current setup. As a rough starting point, I’ll target something around 10 slots and can go from there based on the materials I have on hand.
Rough design
I debated on going with an adjustable drill rack using a pair of t-tracks to allow the dividers to slide to fit whatever it is you’re holding but [a] I didn’t have any t-track on hand and [b] in the eight years I’ve had the previous drill rack, not once did I feel like i could have benefited from adjustable width.
The basic design will be based around a collection of inverted T-shapes.
The three important measurements for a drill rack
There are three measurements that I need to settle on
The space between the inverted-T bars (red) — this will balance the total number of tools you can hang for a given width vs the size of the tool you can hang in the holder. For example, a big impact wrench will require a lot of space vs a compact driver
The height of the vertical portion (orange) — most drills and drill-shaped tools will fall within a fairly tight spread of heights (measured from above the
The amount of overhang (purple) — this will be somewhat tool specific; some tools will have a more or less of a deviation between the width of the handle (usually the narrowest part) and the width of the motor housing (usually one of the bulkiest parts).
There is one more additional measurement (not shown), which is the overall depth of the drill rack: a deeper rack will allow you to hang drills with longer bits (say, pocket hole bits) attached to them.
Step 1 - Cutting strips of plywood
I settled on a front-to-back length of roughly 13-5/8” — this would allow me to fit even the longest drill, chucked with a pocket-hole bit comfortably. I gathered up a bunch of scrap plywood and batch cut that.


You kind of have to have a rough idea of the dimensions of your inverted-T so you know roughly how much plywood to set aside. I started with a plan to use roughly 3-3/4” for the verticals (red) to start.
Step 2 - Determining the spacing
I opted to do the final two pieces (the left and right book end) separately so for now, I’m focused on getting the spacing for the inverted-Ts. To figure this out, I cut some scraps to a bunch of sizes so I could play around with it. I marked the size on the scrap directly to avoid mixing them up. I made spacers for both the gap between the T’s (red) and the overange (purple). I also switched to millimeters here to make it less frustrating.


There is not a lot of wiggle room with the gapping (for the handle) and the position of the lockout selector can cause the tool to tilt one way or another. This doesn’t damage anything (and my previous rack did the same thing) but this….bothers me, so this led me to play with the spacing a whole bunch to get it so things hung straight
Sometimes the position of the lockout can tilt the drill
In the end, for my specific tools, I went with the following sizes:

The final measurements that work for the tools I have
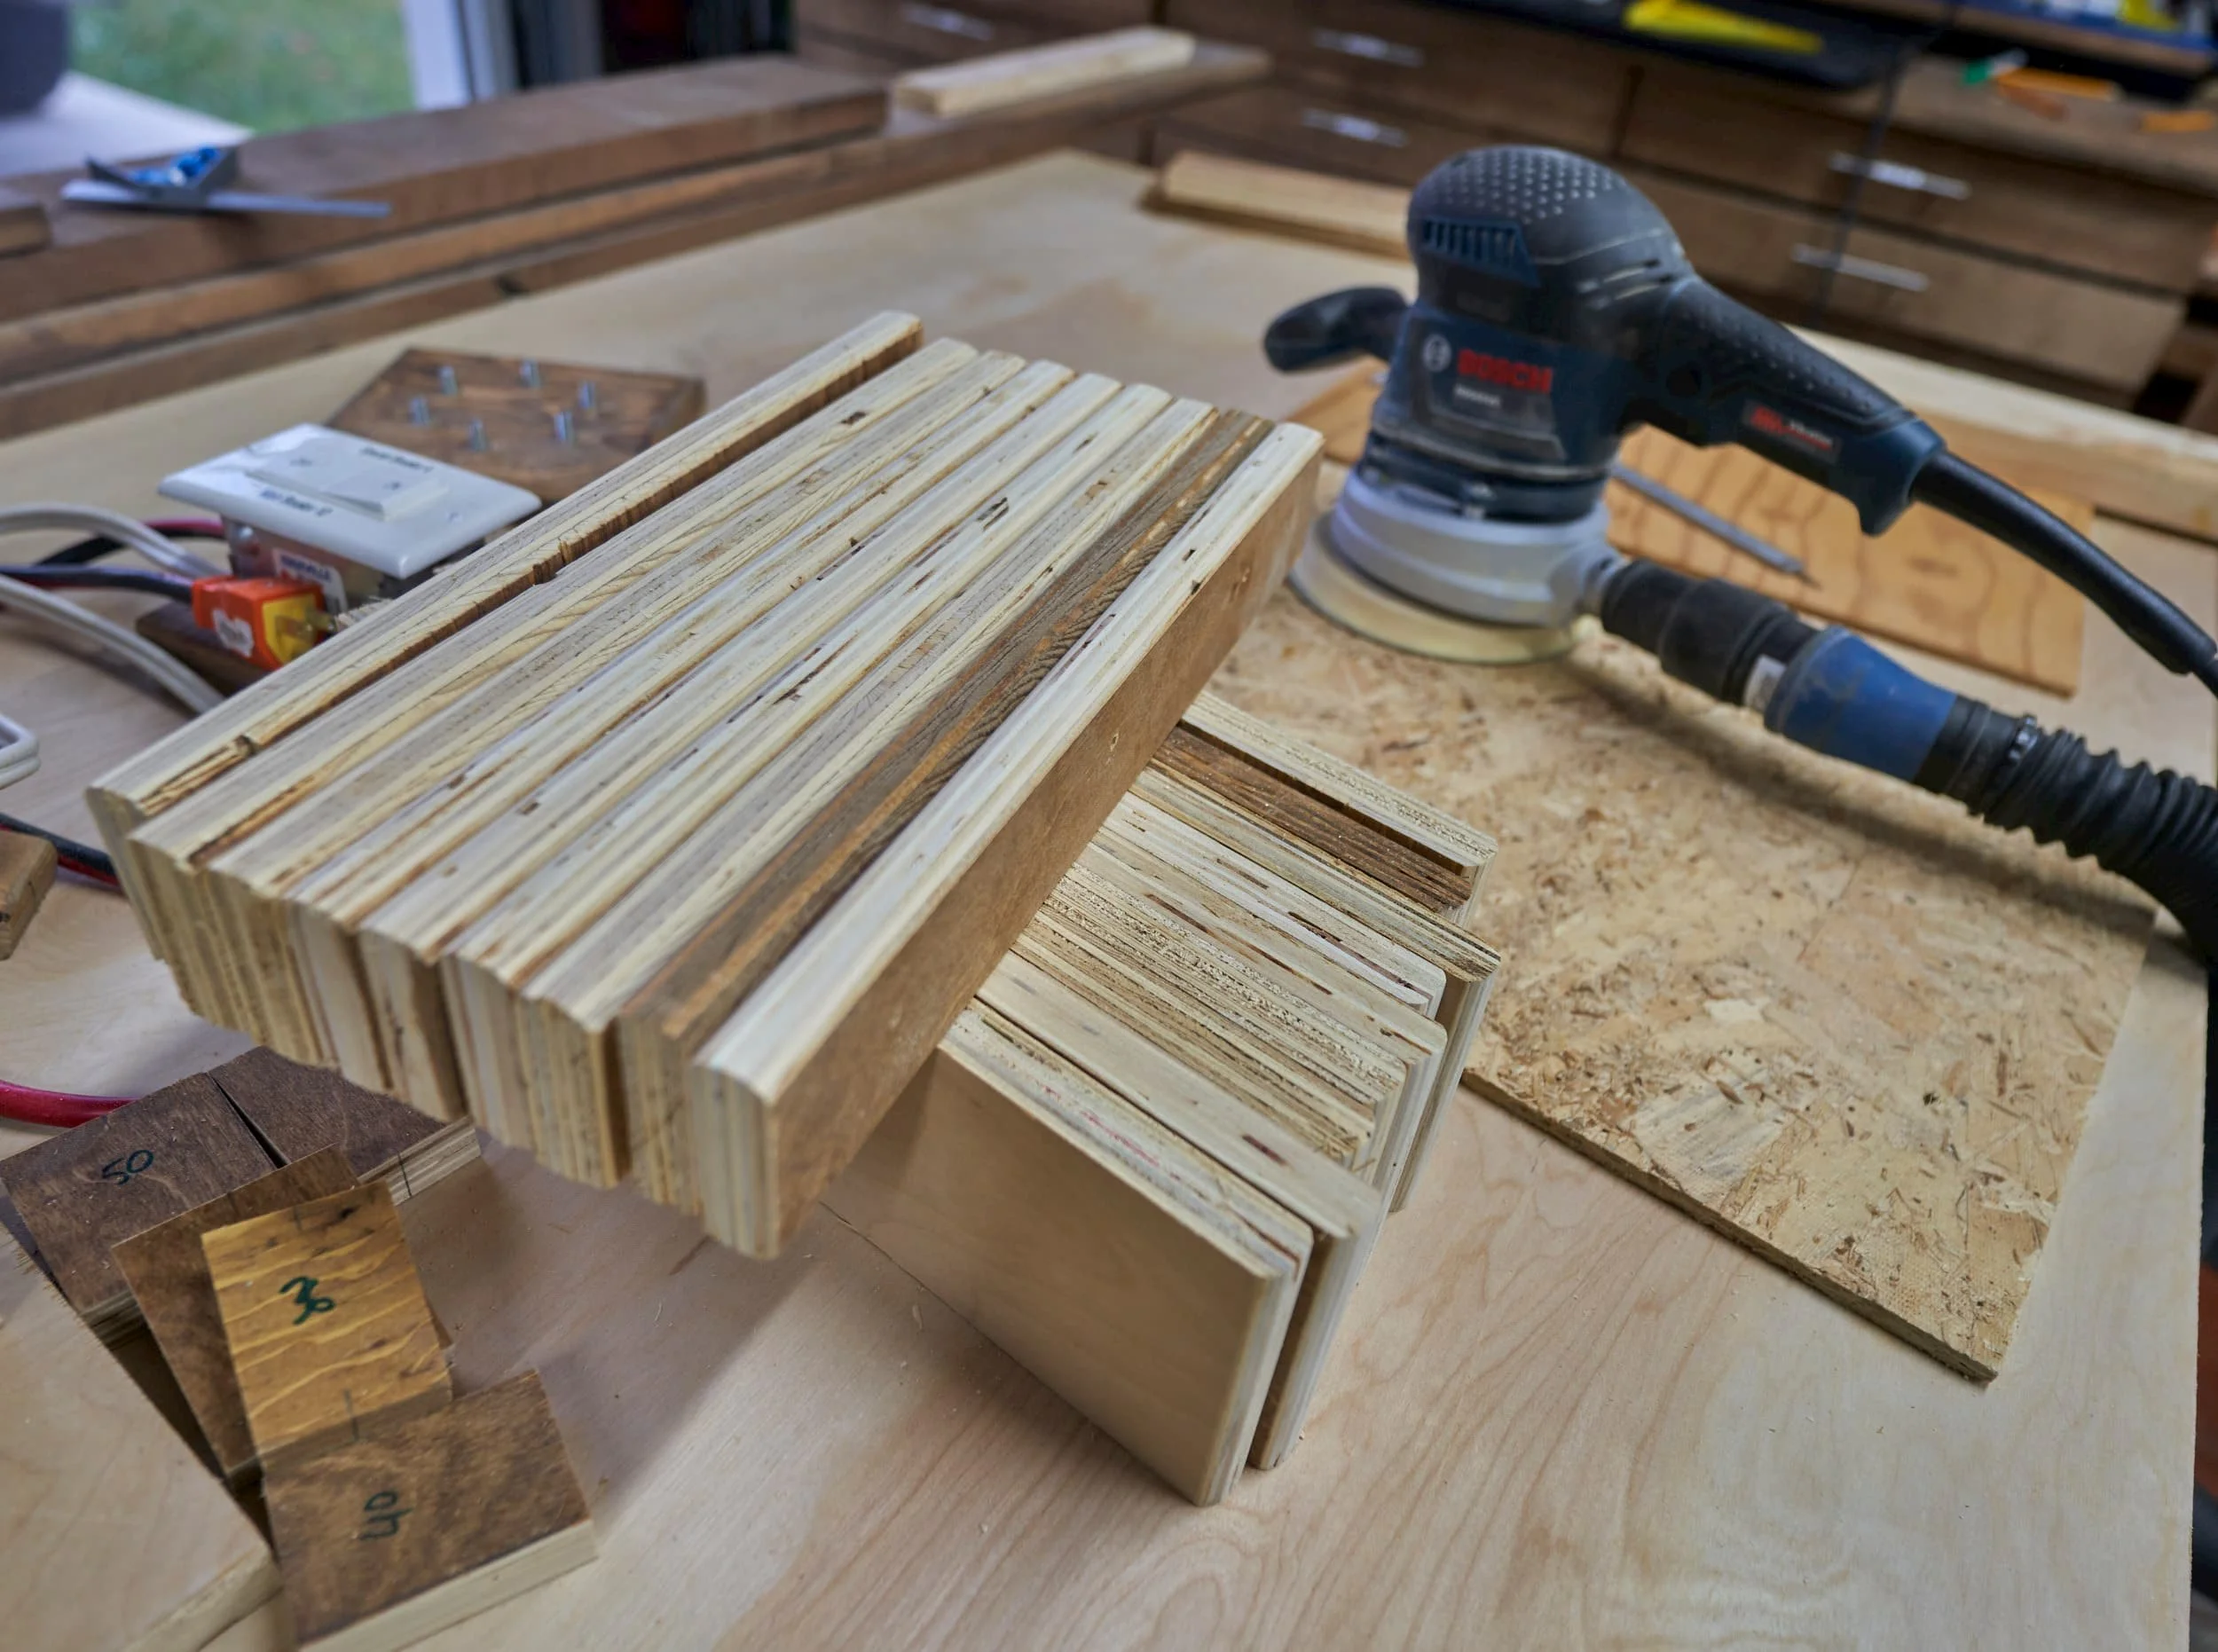
Step 3 - Batching out the T's
Now that I’ve figured out the sizes, I can rip the plywood down to the required sizes and get the pieces ready for assembly.


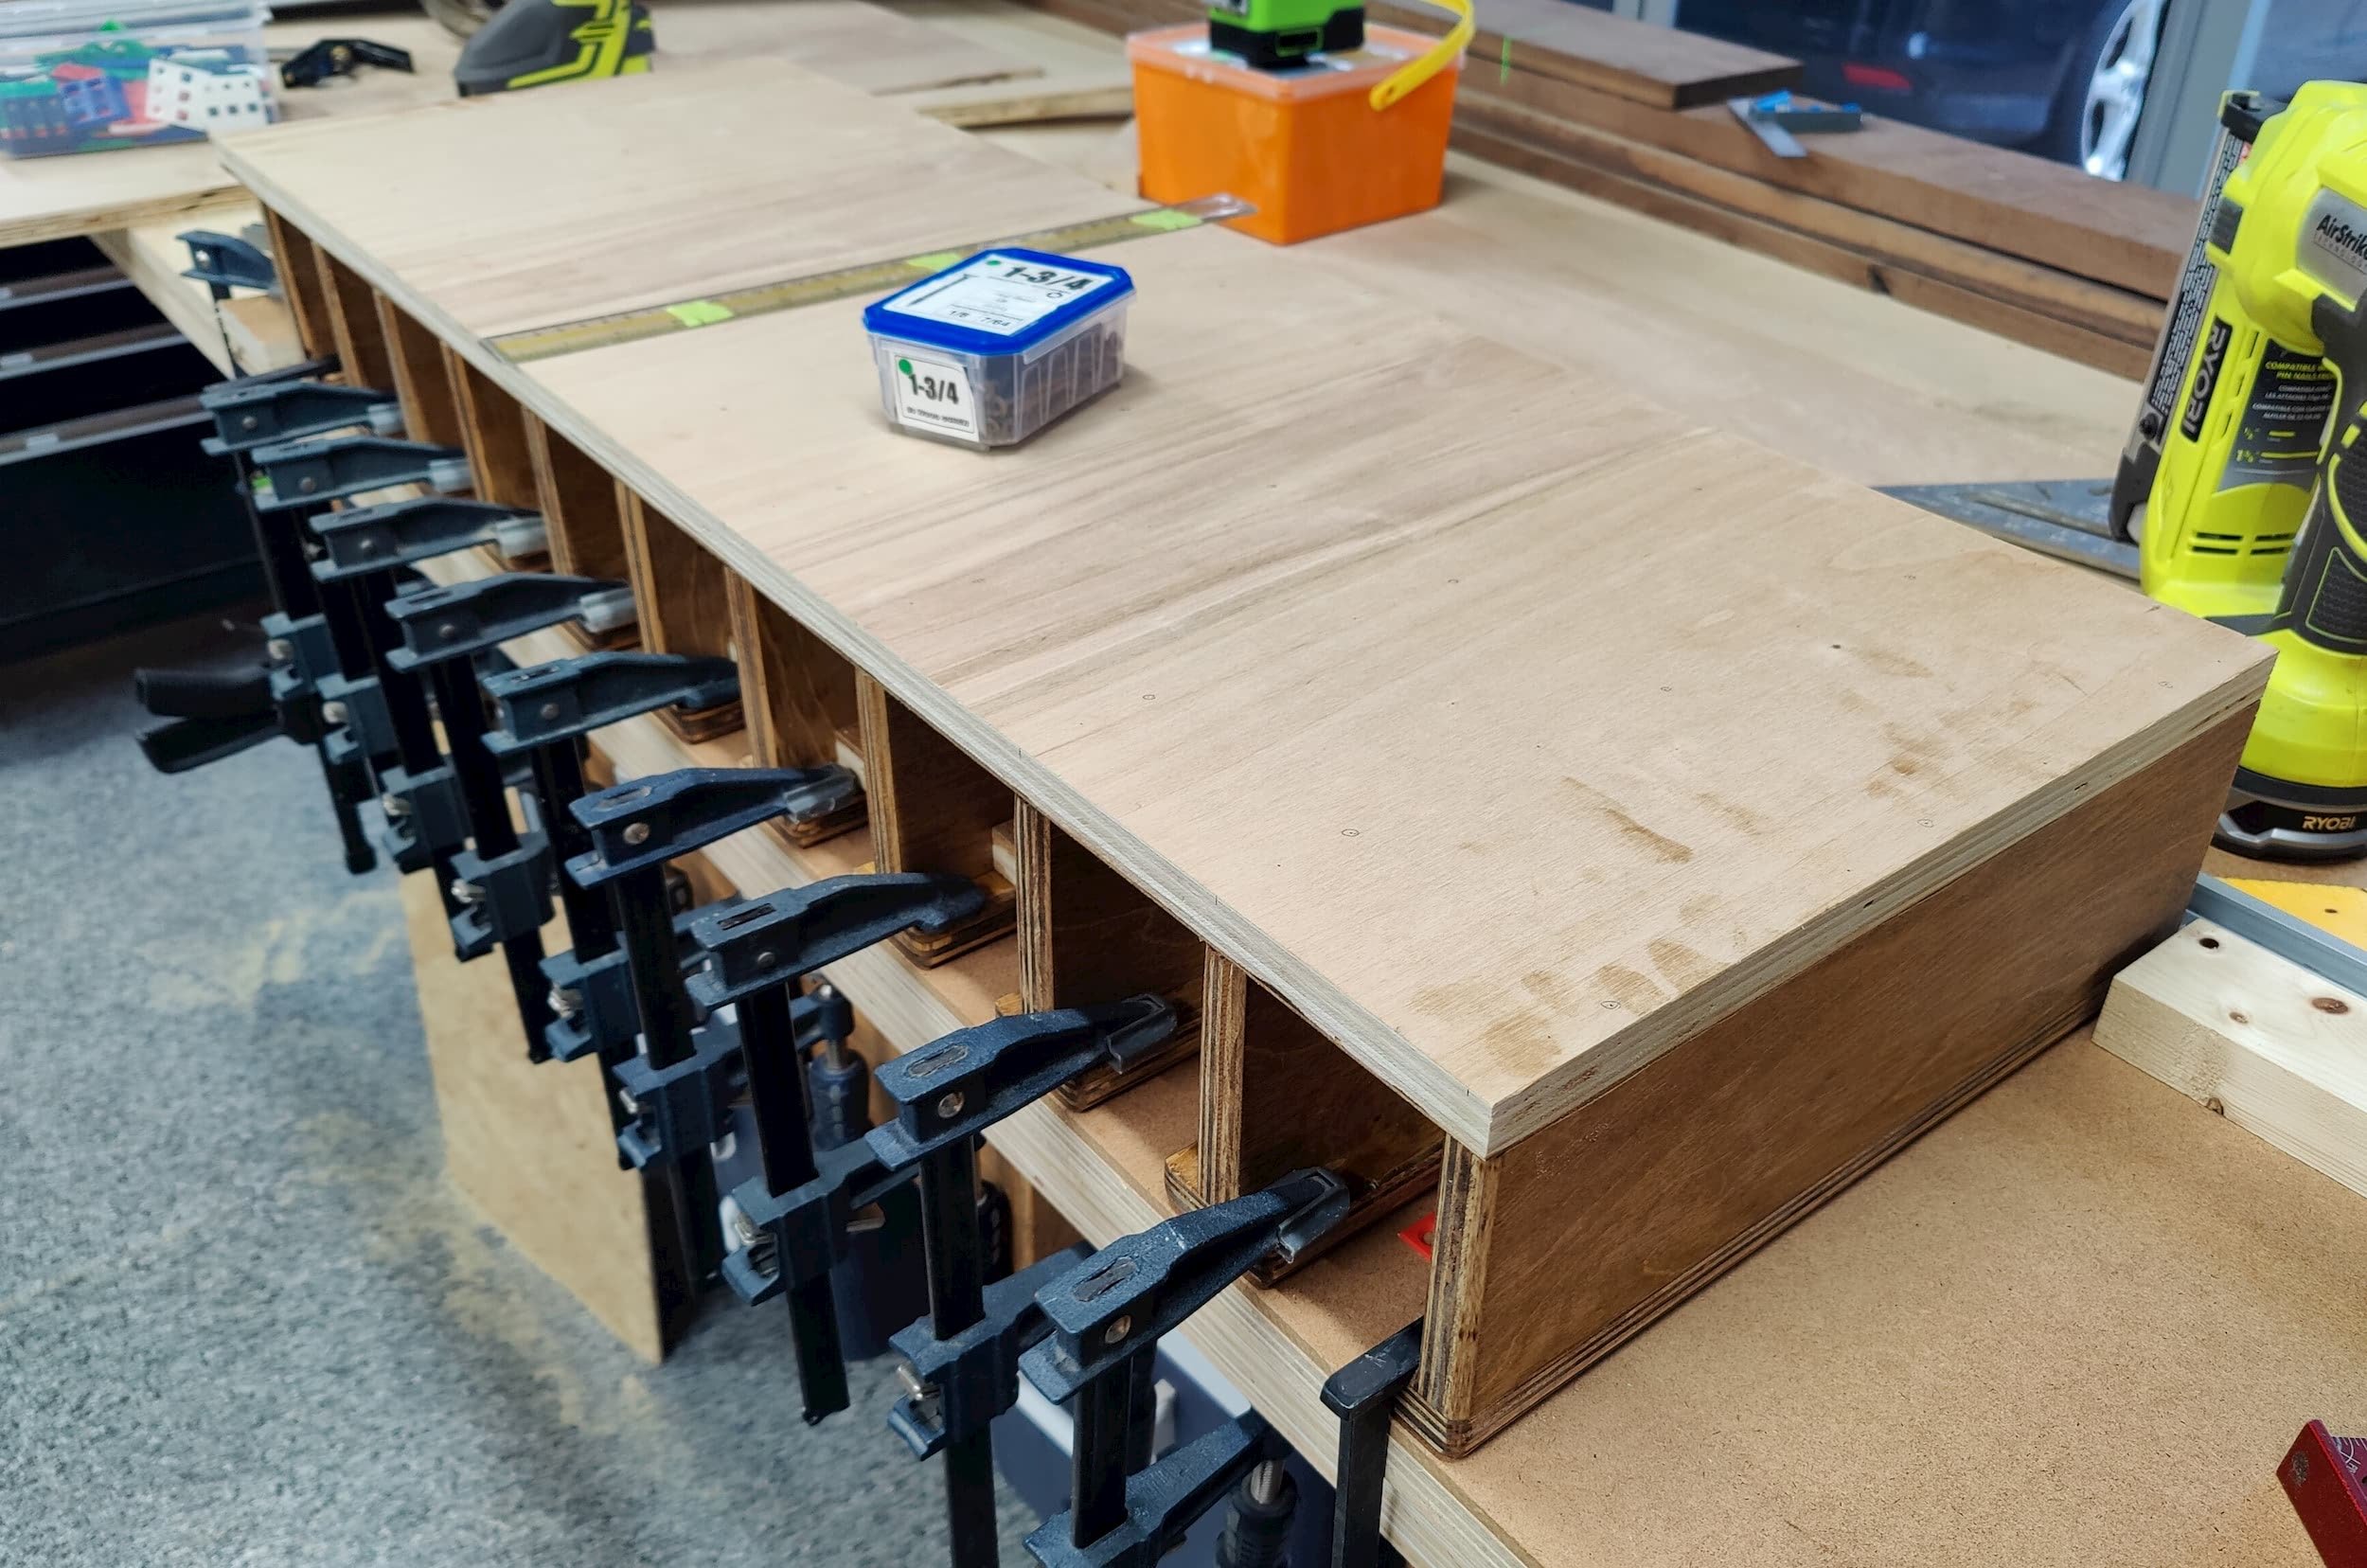
Step 4 - Attaching the top
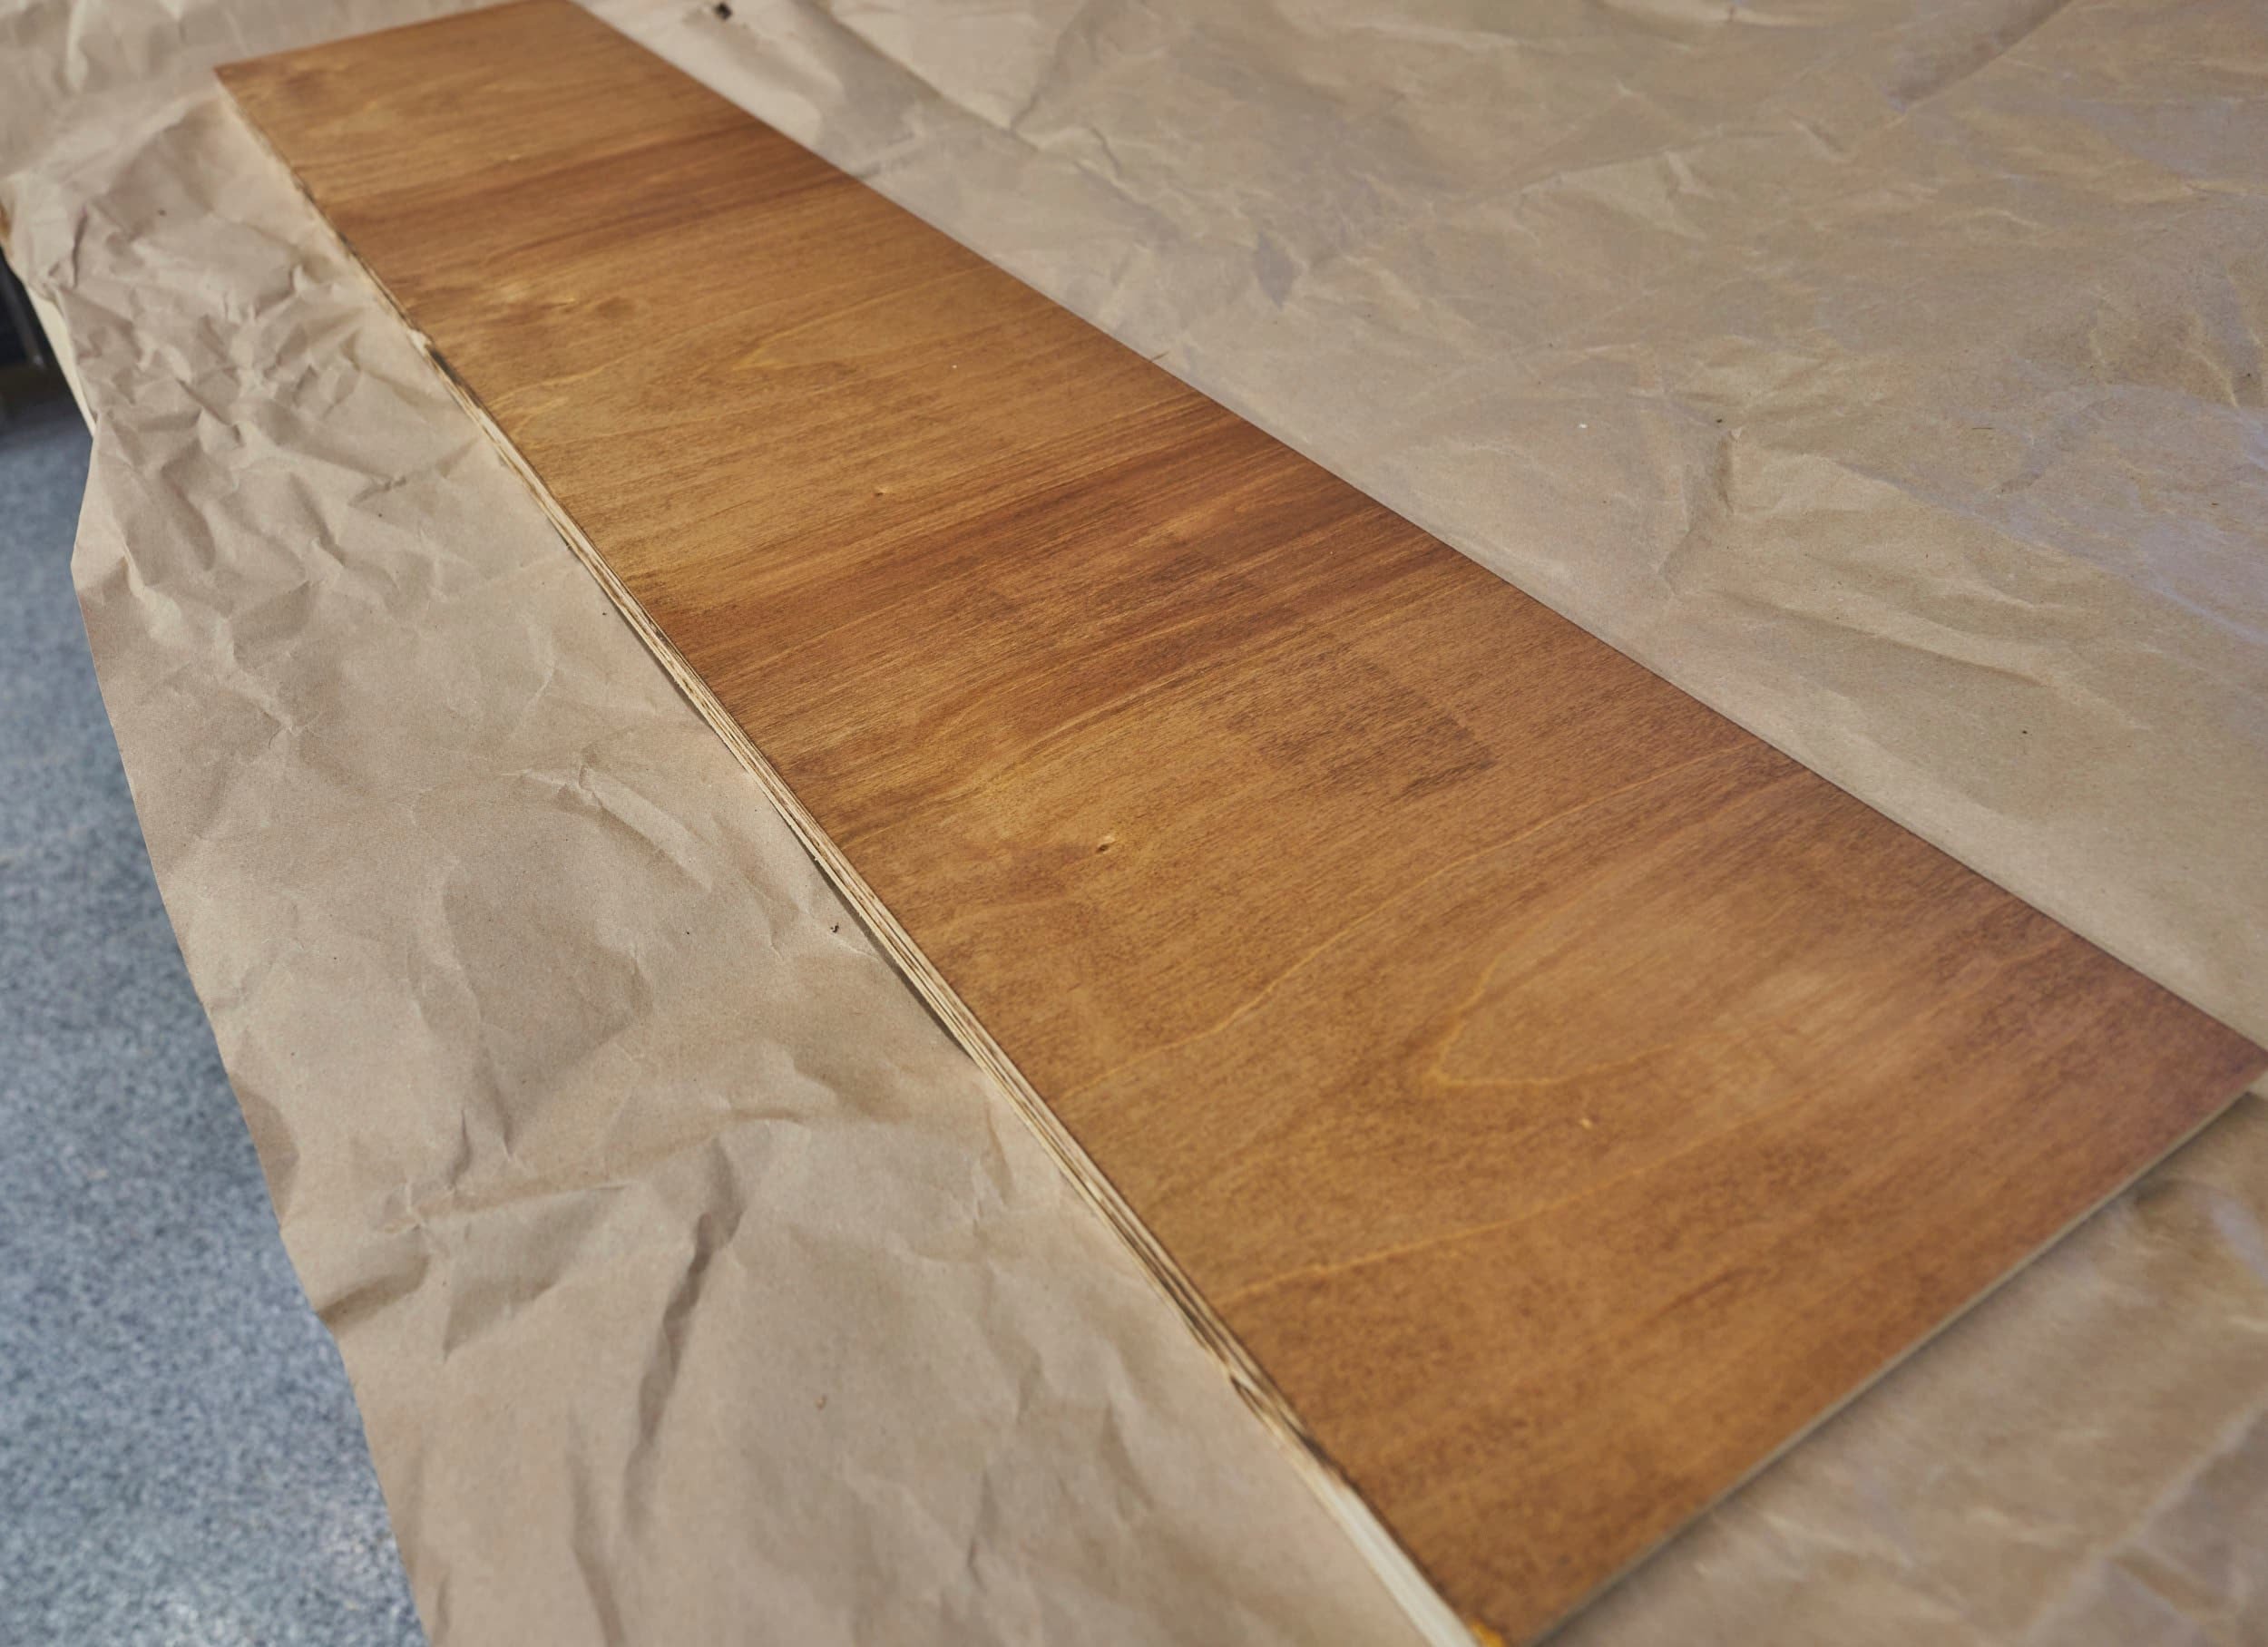
I have a top plate and a back plate to connect all of these inverted-Ts together. Due to the place I was planning on placing this, I opted to have a bit of an overhang with the top-plate whereas the backplace would be sized to fit. Since I was planning on having overhang, I split this assembly into two phases: the first phase, I would get everything gapped correctly and use the top-plate to roughly tie everything together. Once everything is tied together, I would cut the back plate to exact size. Before assembling, I stained all of the surfaces that would be a pain in the butt to get to after assembling.


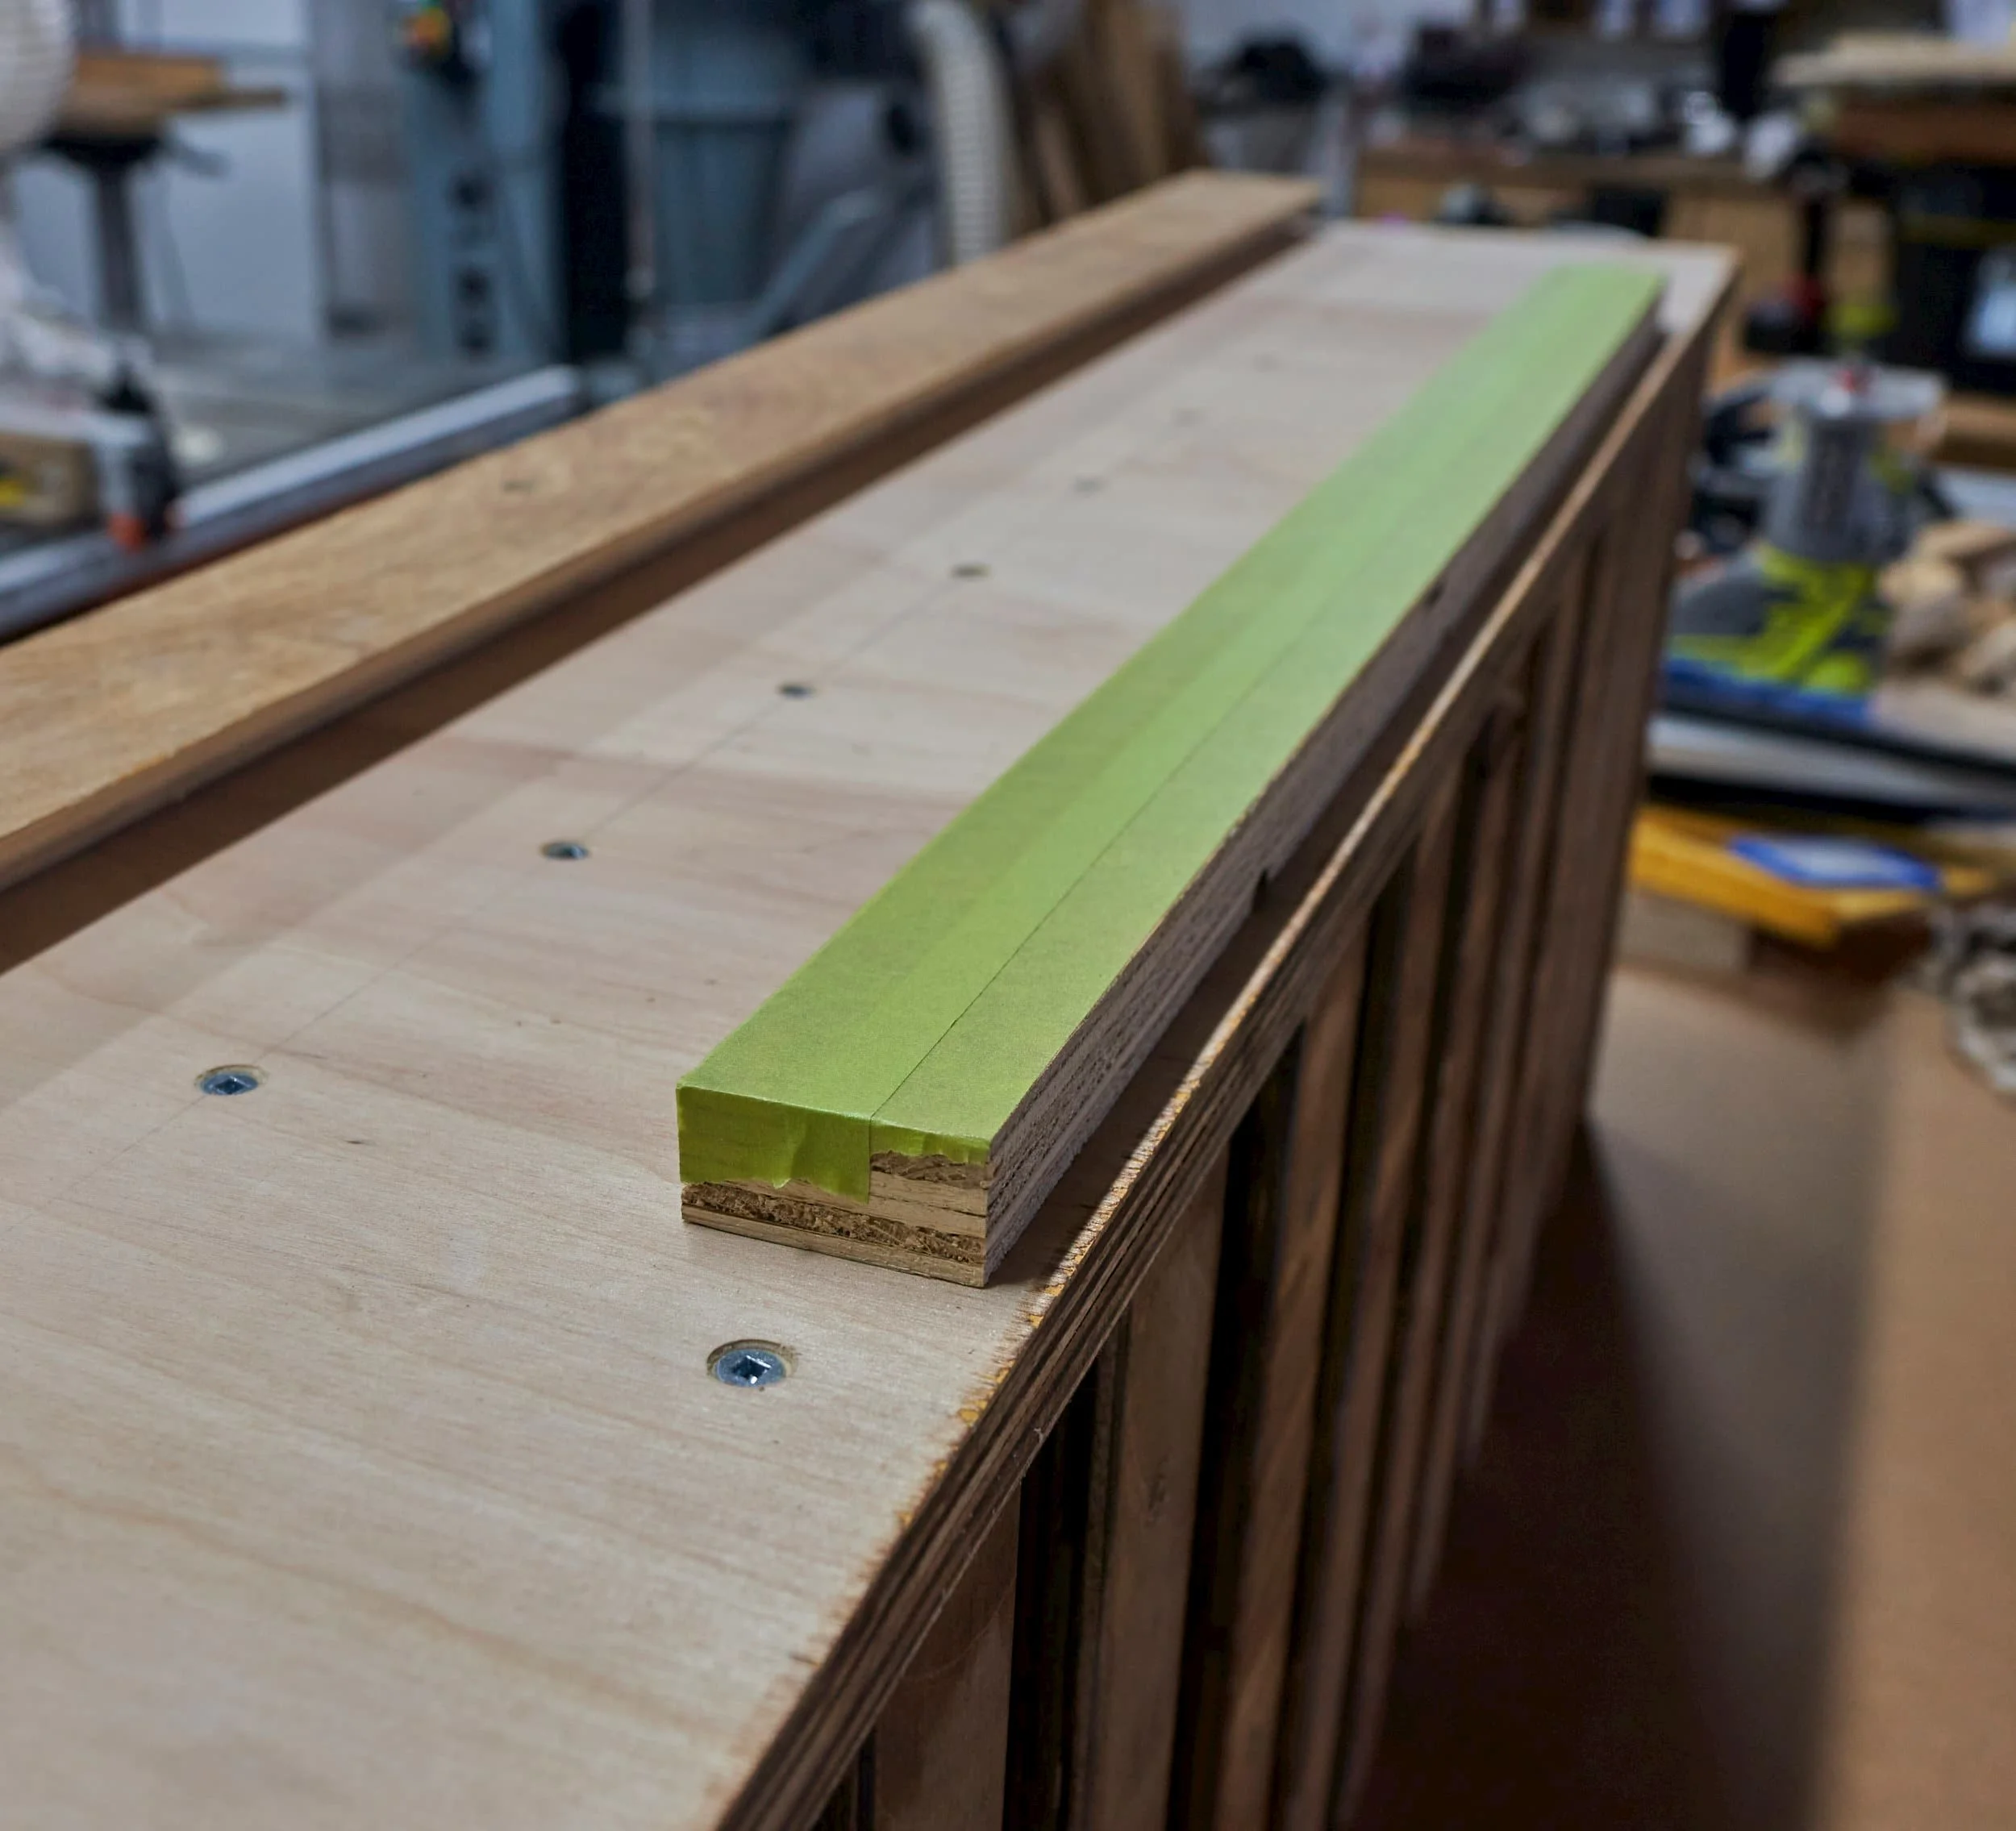
Step 5 - Attaching the back
Now that everything was tied together, I cut the back plate to exact size and screwed it on along with the French cleat and standoff.


After assembly and some test mounting, I gave the entire thing a coat of stain:
It’s been a long time since everything ‘just lines up’…
Step 6 - Finishing touches
And we’re essentially done!


Milestone
This was a quick little weekend project that I could use up some leftover plywood kicking the shop: I thought about using glue but am glad I didn’t — getting all of the T’s to line up straight, parallel and perpendicular was quite a challenge and required a ton of finagling. I probably could have made do with two screws top and bottom to attach the T’s, but it was easier to just roll with three screws and not think about it.
In my zealous endeavor to use up plywood, one thing I didn’t take into consideration was that the two types of plywood I have (I call them ‘rough’ and ‘nice’) differ in their thickness by a not-insignificant amount. I tried to account for this by placing the T’s in a symmetrical pattern based on the use of the ‘rough’ plywood.

All done for now!
Product links may be affiliate links: MinMaxGeek may earn a commission on any purchases made via said links without any additional cost to you.