

Build Log: Table Saw Work Surface
I own a Ridgid R4512 hybrid table saw which is a great weekend warrior saw and like many saws, the right hand side has a gap (to keep costs low and reduce weight). I was tired of having stuff constantly roll or fall off into this hole so I put together a work surface that I could mount here.
Quick Links
Where we started
The Ridgid R4512 is a great saw for me and a very welcome step up from my previous jobsite saw (- also a Ridgid saw, the R4513). Most of the saws I was looking at ‘featured’ a hole on the right side; on bigger cabinet saws, this hole could optionally be populated with a laminate or cast-iron top, or even filled in with a router table or downdraft table. The fence, mobile-base and the saw itself wasn’t really designed for substantial weight to hang in this opening and although I had heard of some users swapping out the stamped steel wings for cast iron ones, that was outside of the budget for me. I just wanted to make something to fill in this gap that didn’t weigh or cost too much.

Great for hanging air guns and for dropping off cuts…
Step 1: Milling 2x4s
I raided the lumber rack to finally use up some of the boards I’ve been holding onto for ages - some of the more gnarly boards with edge damage were chewed on by bunnies which we had years ago. The rough plan was to laminate the 2x4s together and mount a light duty vise on here (remember: the fence and saw assembly isn’t exactly built for with heavy weights in mind).


Step 2: Mounting this to the saw
The existing strut connecting the front and back side of the fence conveniently has holes drilled in it. The plan is to run a bolt through from the outside-in, into the worktop assembly into a captive threaded insert: this would make it easy to disassemble by just popping the bolt.


Step 3: Mounting the Vise
I didn’t want to spend too much on this since I don’t generally use a vise but I wanted a vice that supported dog holes.


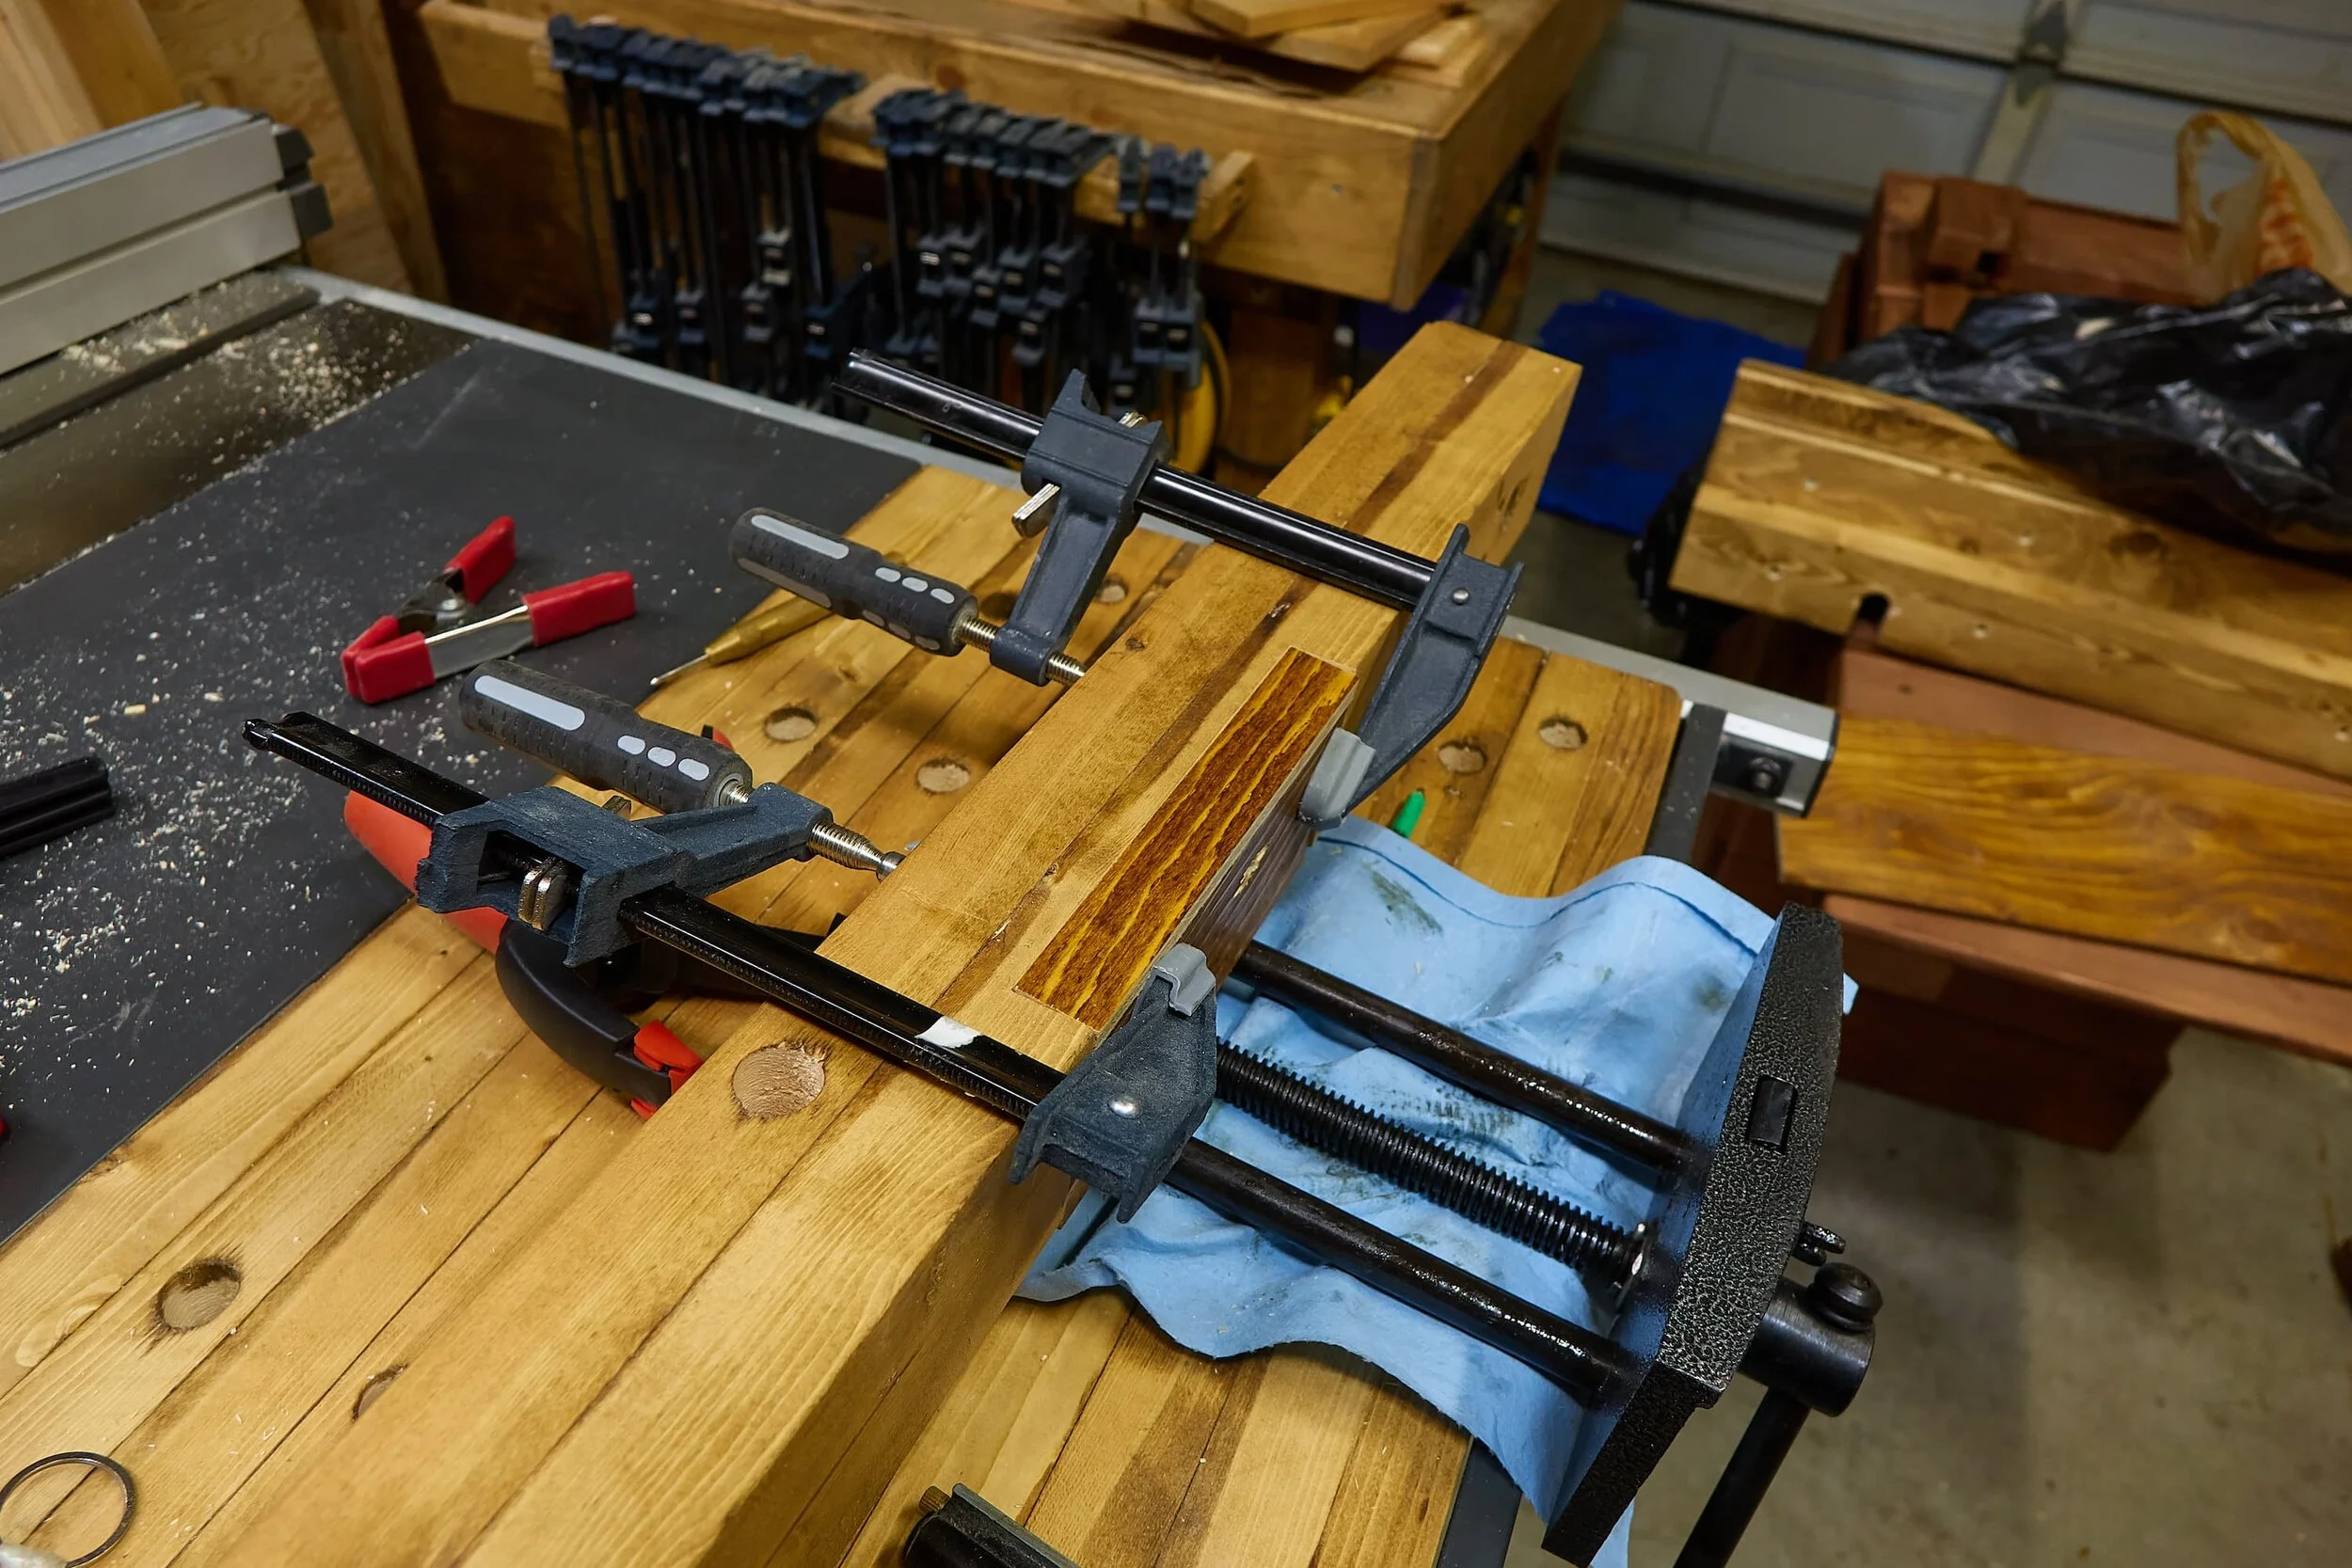
Milestone

Good enough for now!
Mixups, Surprises and Lessons Learned
Having the vise in the middle makes it tricky to apply even pressure across the entire surface of the jaws: this can be mitigated by placing the material in the middle. The bigger regret is not spending the money to get a quick-release vise: it’s a small thing (especially since I don’t use the vise that much), but it’s a huge pain to fiddle with it to open and close the jaws.
If I redid this, I don’t think I would bother with laminating 2x4s and instead would just use plywood