

Build Log: Convertible Picnic Table
At the last place we stayed, I had built a fancy picnic table: built-in misting fans, shade, bug zappers and bottle openers. Unfortunately, for one reason or another, we weren’t able to take it with us when we moved. It’s been a few years since that and I wanted to build another picnic table, but this time hoping to make it a bit less unwieldy.
Quick Links
Goals and Objectives
Our previous picnic table was pretty awesome for a first attempt (I had an additional requirement that I just didn’t want a super intrusive A-frame design where I’d inevitably bash my knees with) but I had two regrets about it:
It was just so unwieldy. Picnic tables are monolithic and even for the small one I had built, it was pretty awkward to maneuver around.
I used 2x4s for building everything. There’s nothing wrong with using 2x4s per se - just that it makes the proportions look off.
With this new picnic table, I wanted to prioritize making it more easy to handle and move around. We had bought a patio umbrella previously so the need to have a shade built in was taken care of. This project had to be easy enough to knock out too - I only had a week (of after-work time) to get it done before it needed to be thrown into service.


Rough Design
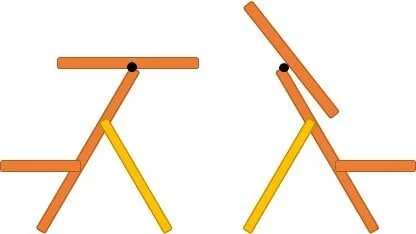
To reduce the sheer bulk of a picnic table, I wanted to cut it in half. To reduce the profile even further (and give this a bit more use) the table top would pivot, allowing each half to act as a standalone bench and when pushed up against each other, could be a bed of sorts.


Step 1: Bulk cutting the framing lumber
This step was made especially easy because I had two miter saws so I could configure one for making the angled cut and the other to cut the boards to length.


Step 2: Rough assembly
This process was easy but extremely tedious - I wanted to give the wood as much protection as possible so this meant multiple coats of primer and paint before doing some of the fastening — and then coming back and doing multiple coats of primer and paint after filling the holes.


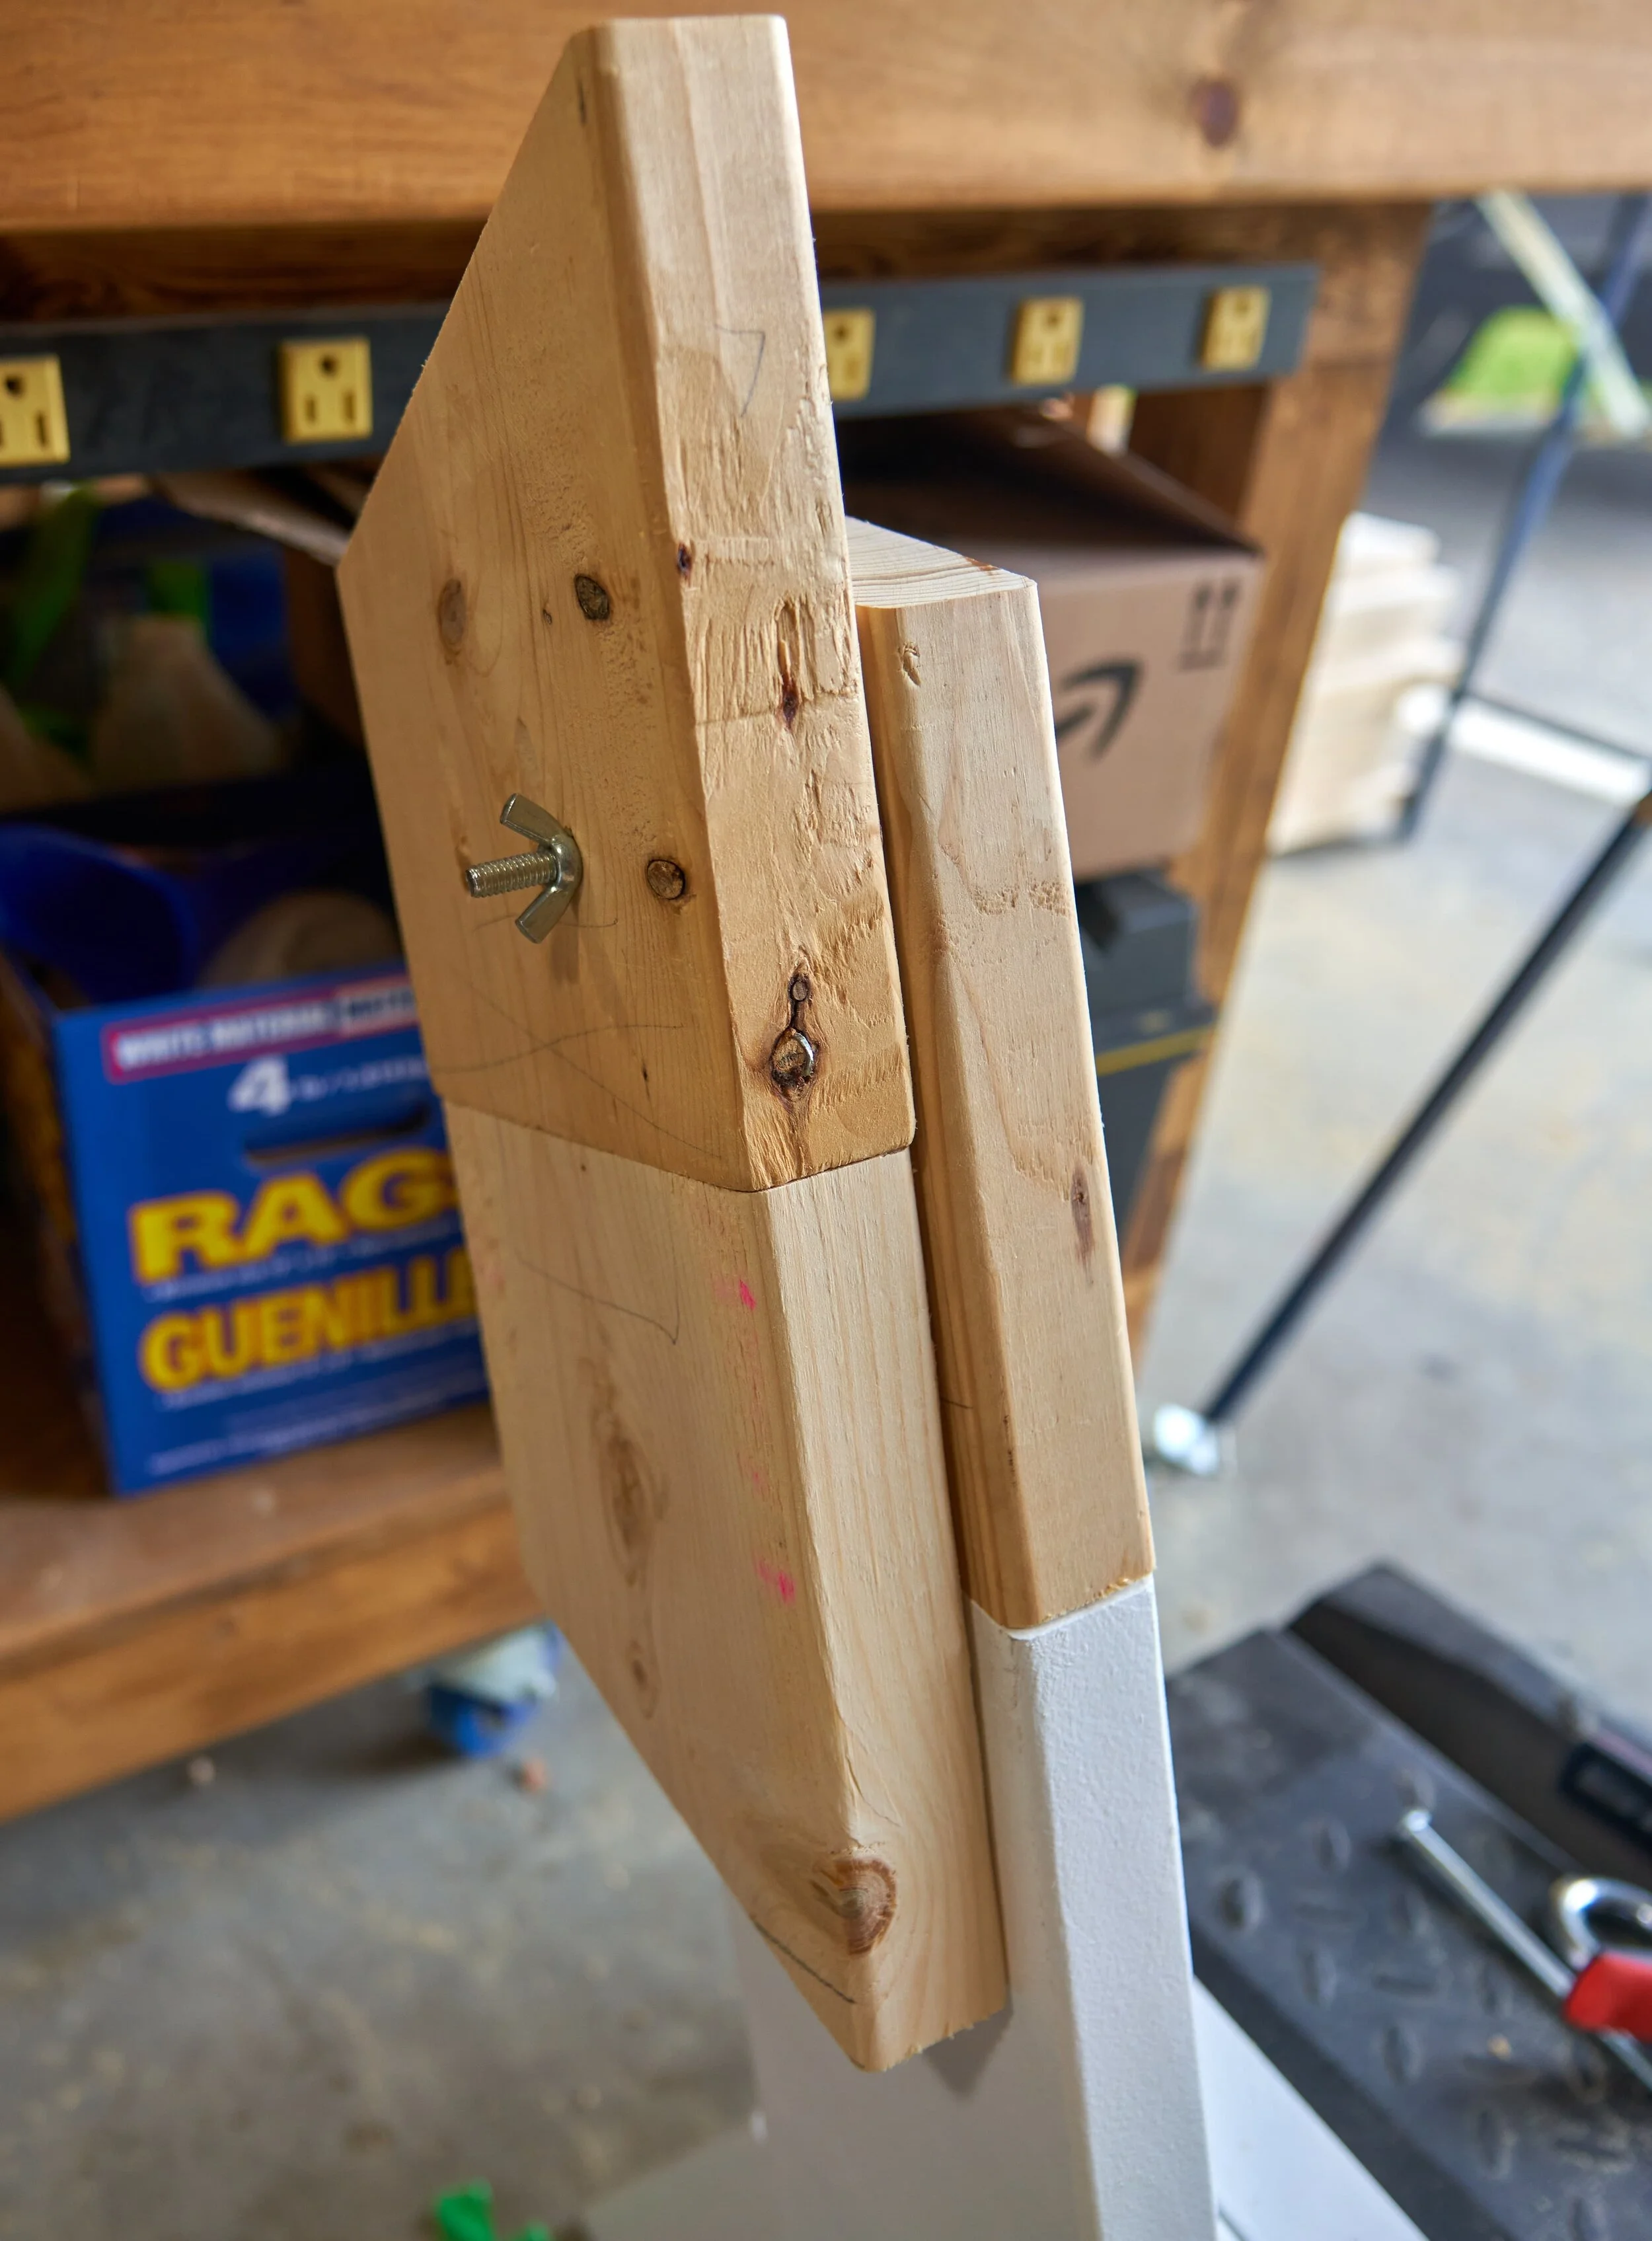
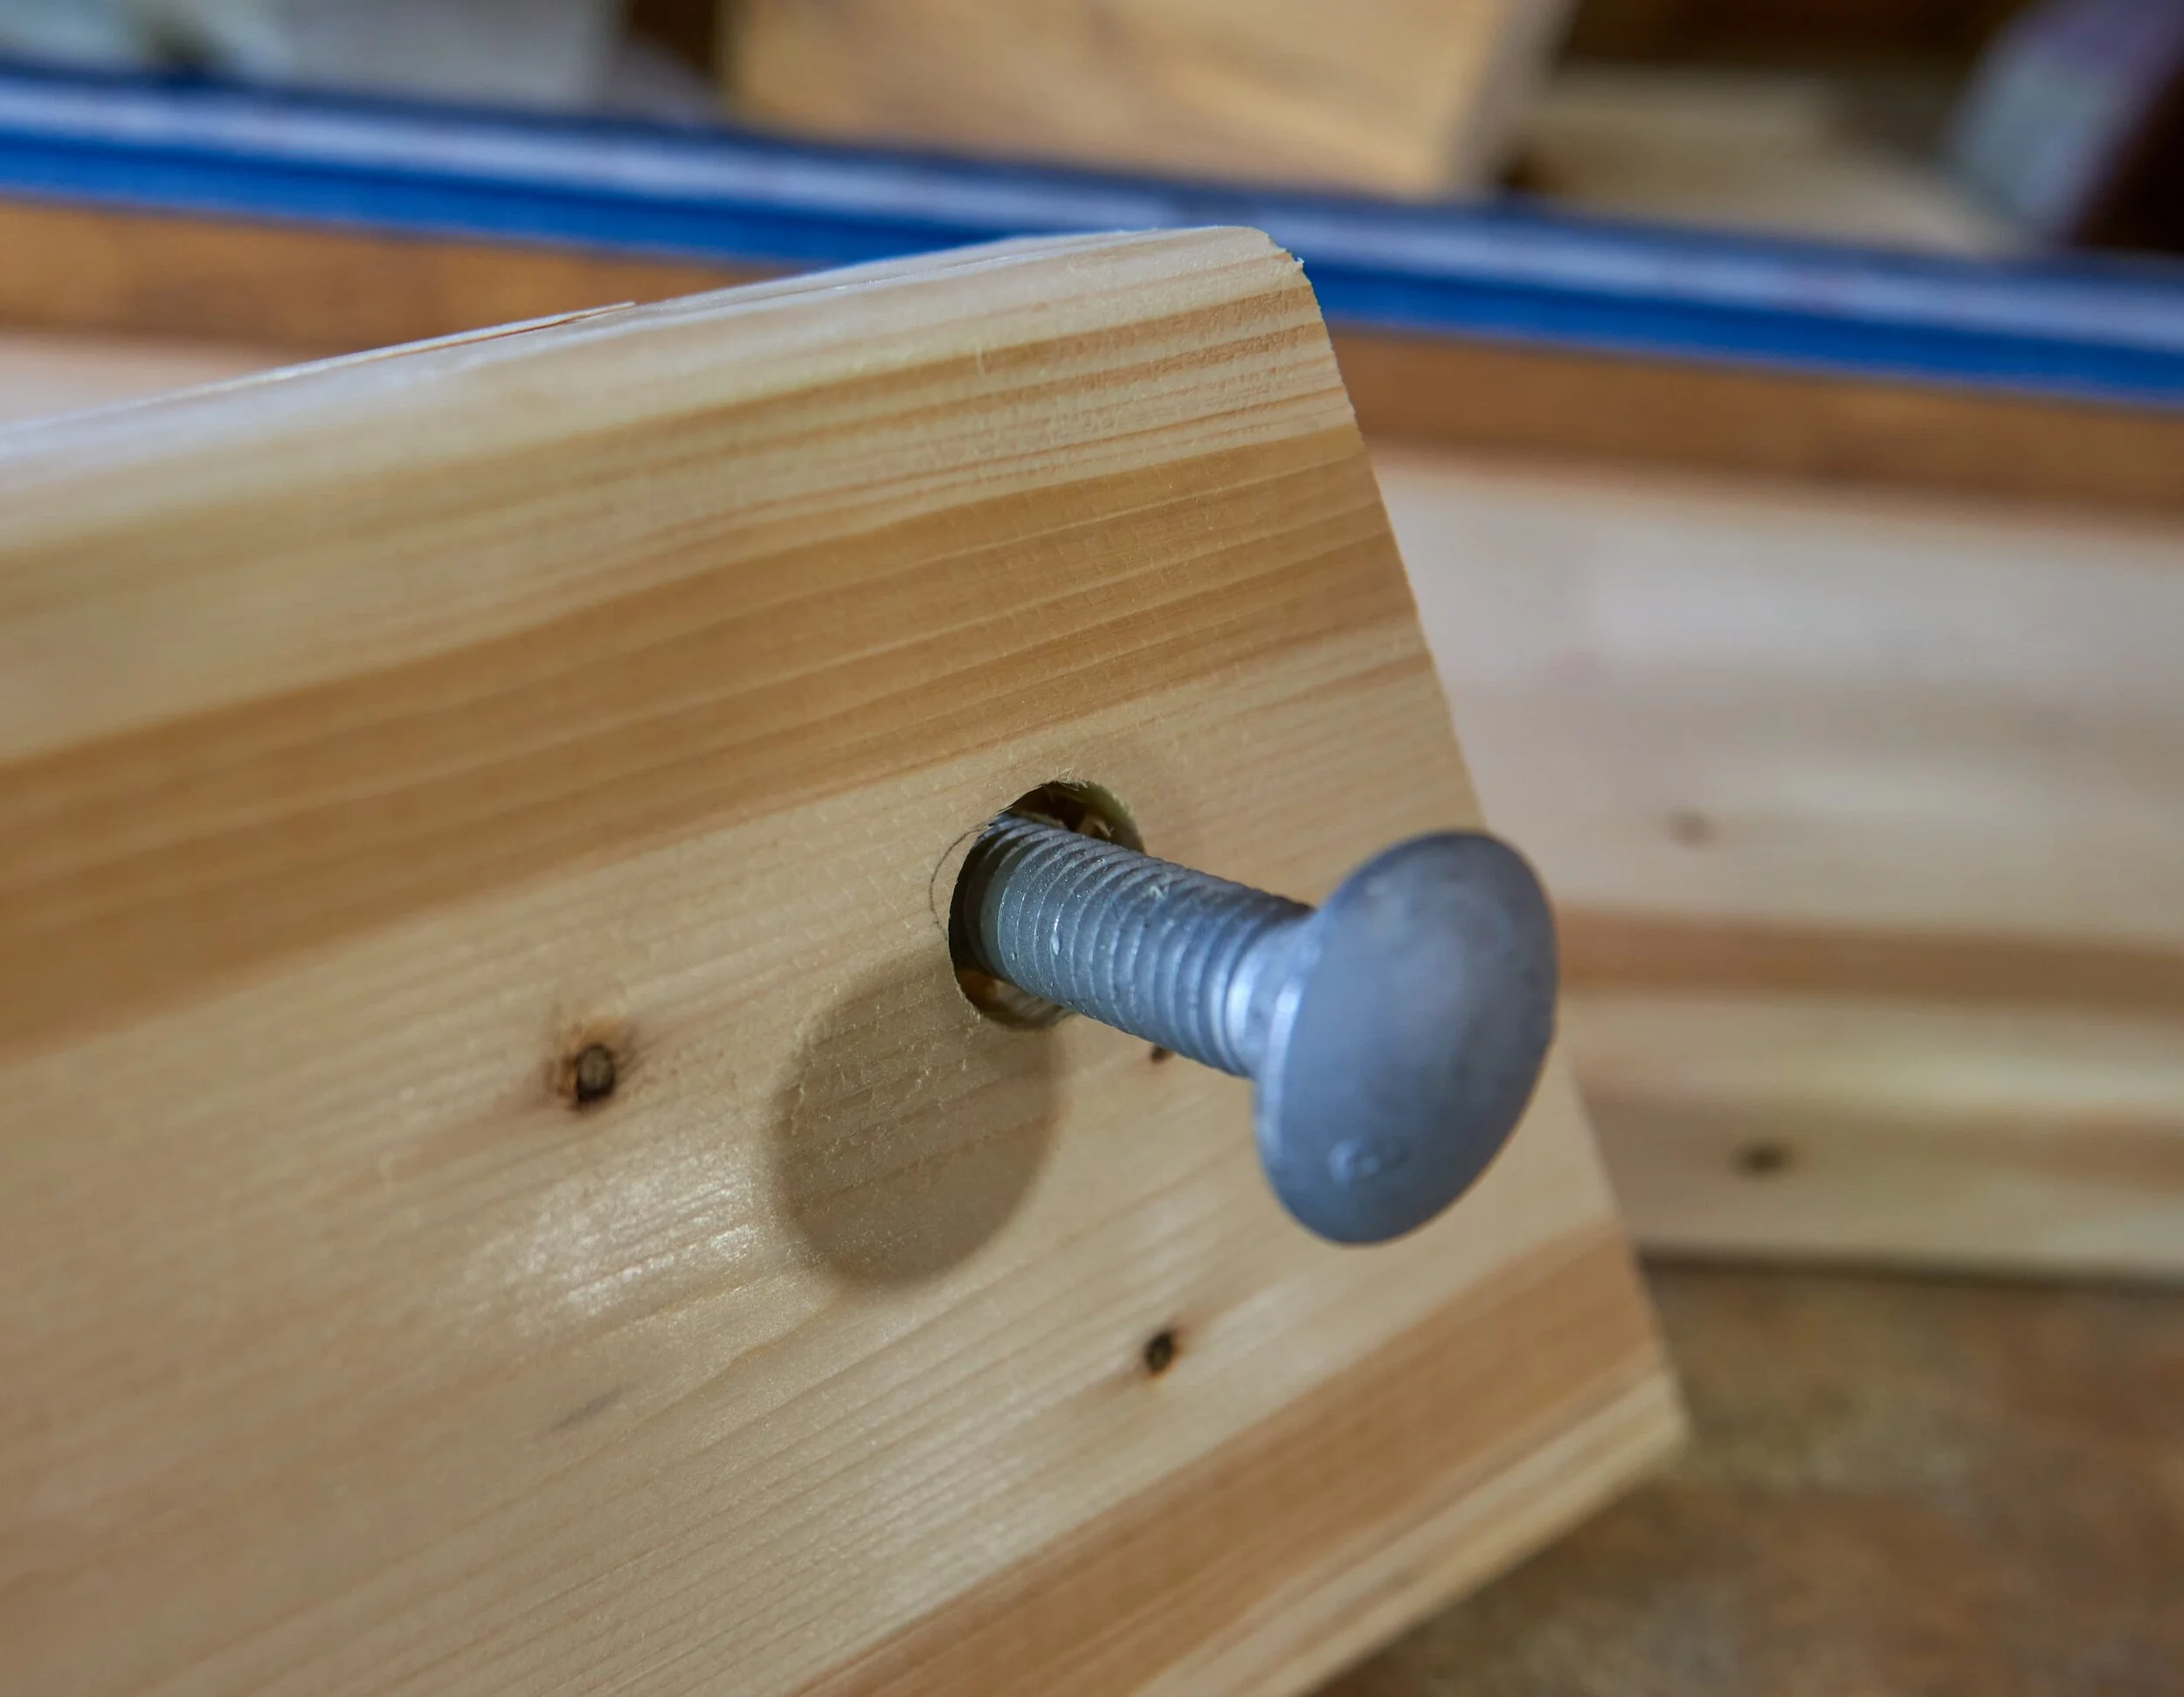
Step 3: Table Pivot
When this all comes together, it’s kind of magical - the trick here is to definitely make sure you have some 2x6 offcuts with the angles cut - this way you can visualize and orient the wood accordingly.


Step 4: Legs and Table Top
Back to easy stuff - this is just cutting 2x8s down to size, sanding and doing some minor tweaks.


Milestone 1
You could probably stop at this point if you wanted to.


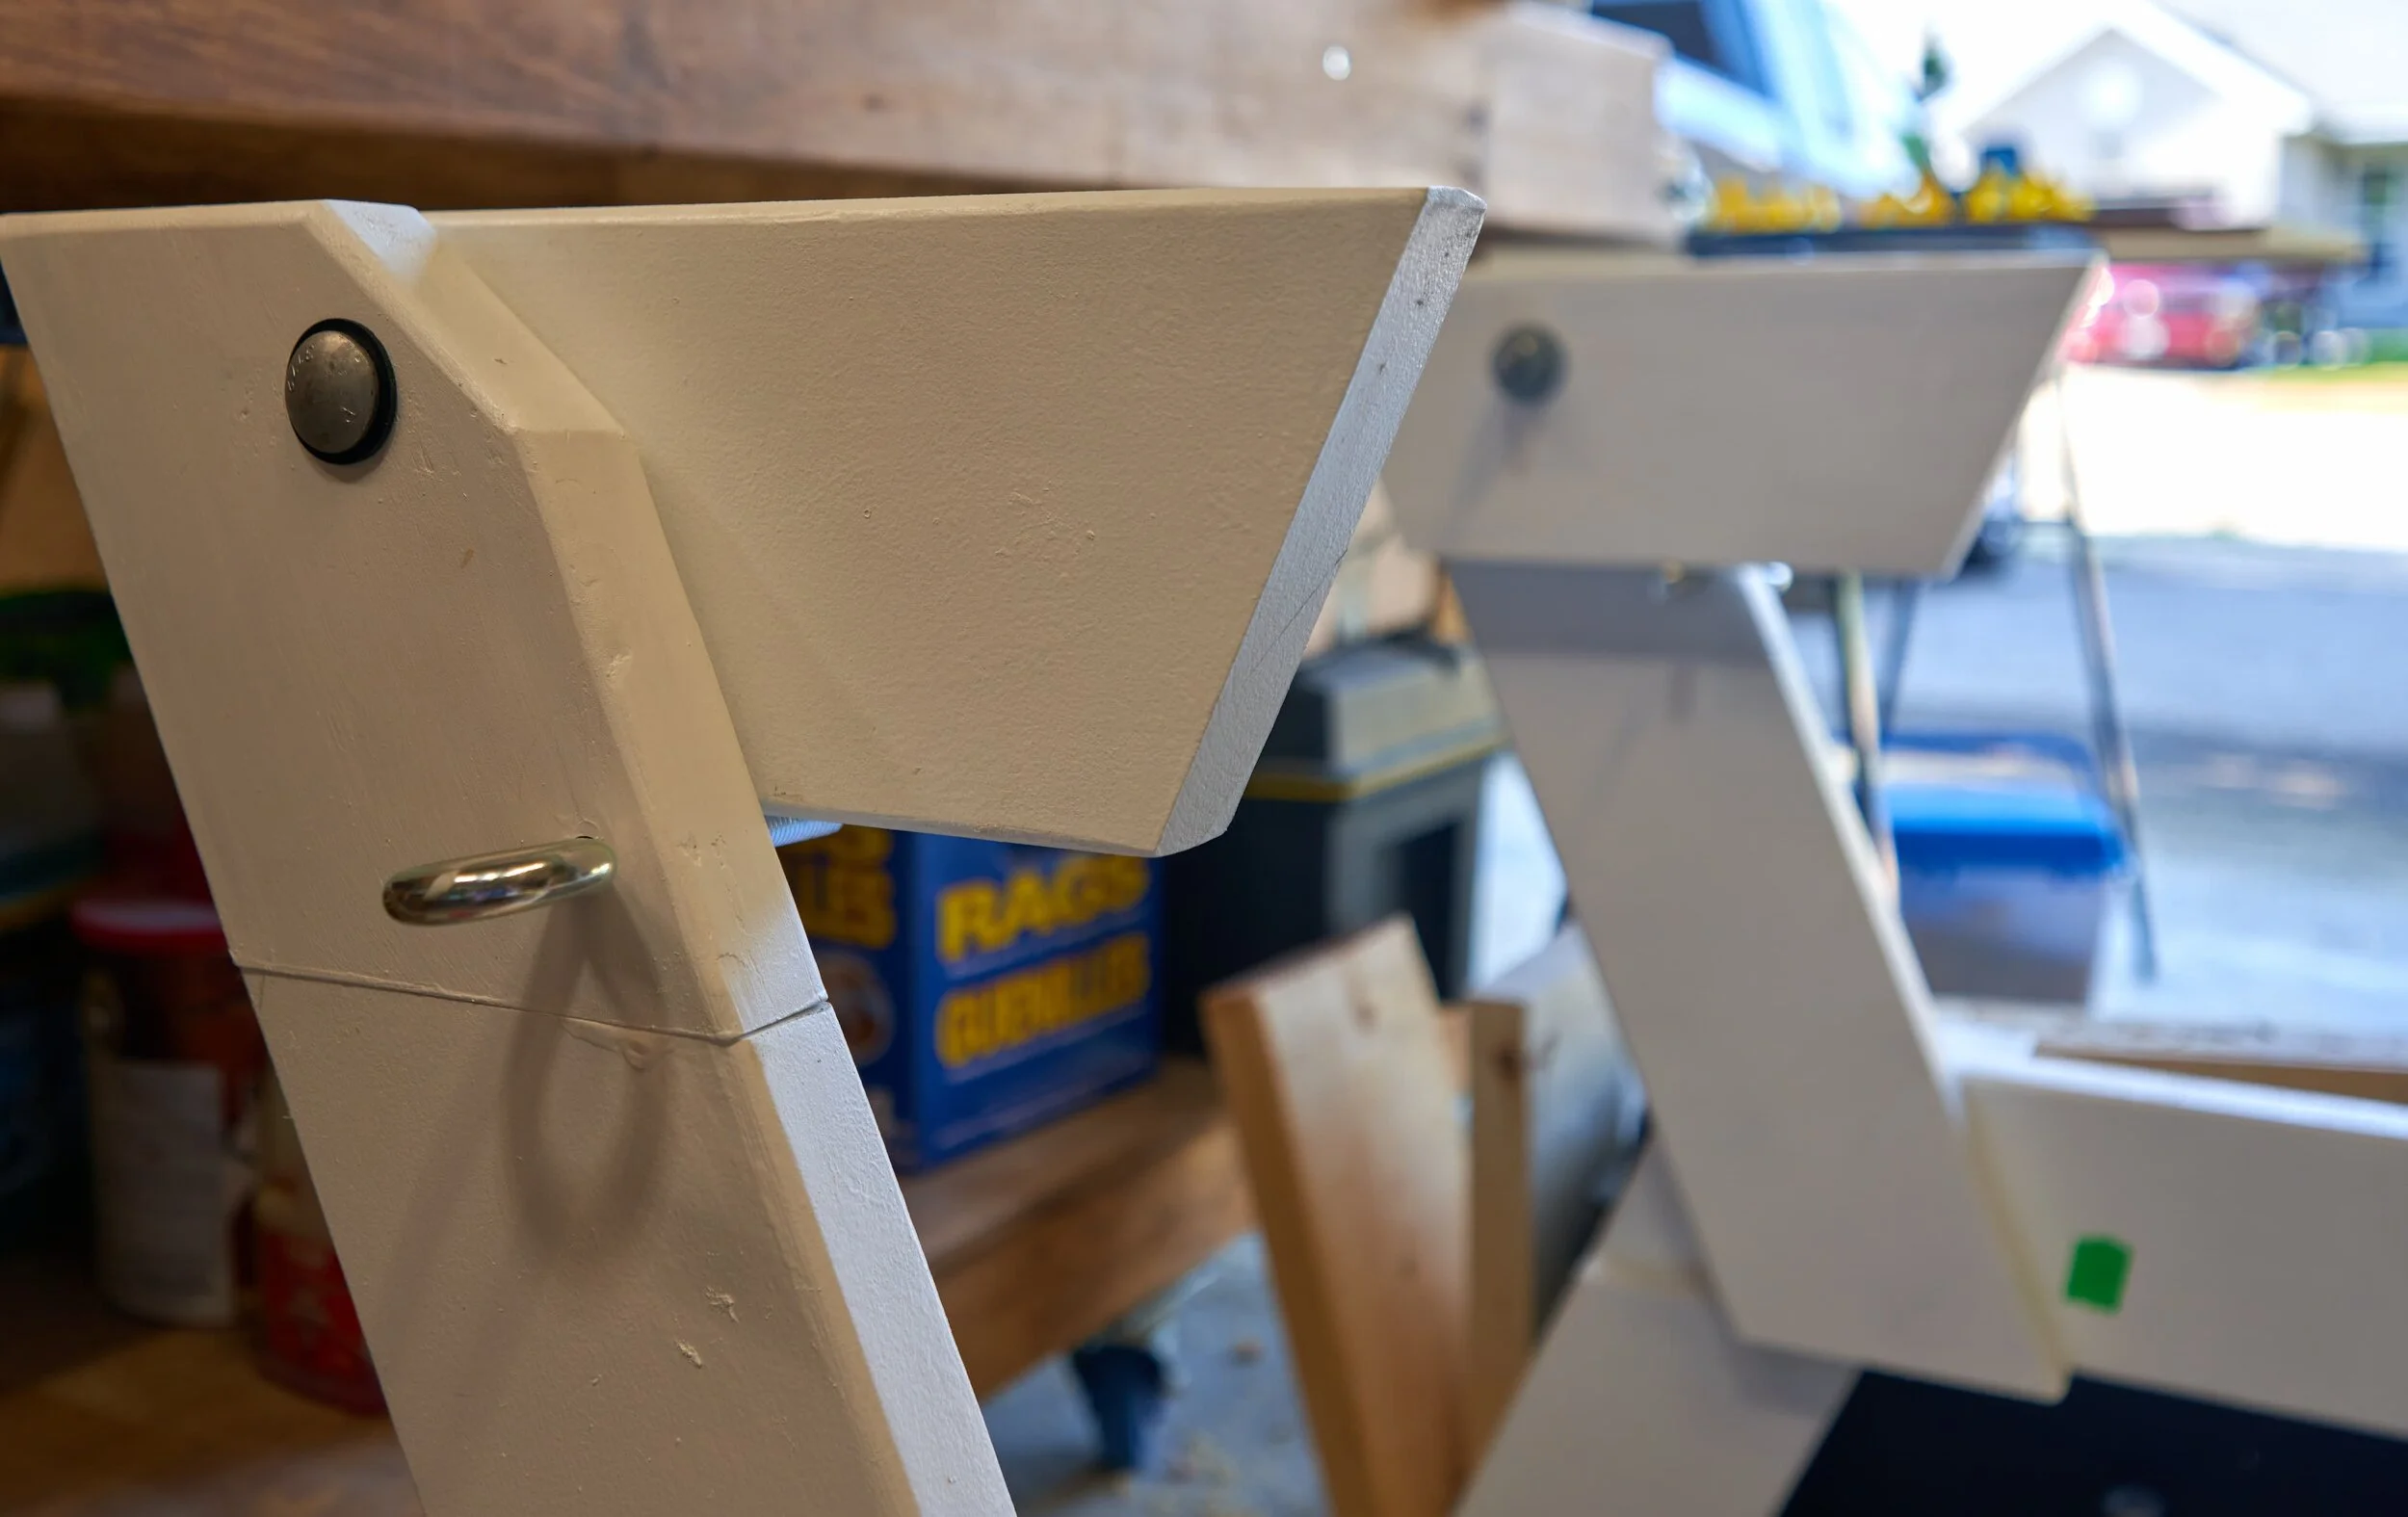
Step 6: Finishing Touches
By filling in all of the screw holes, the entire look is much cleaner and we give the wood just a little bit more protection from the elements.


Milestone 2
The hardest part of this step was the upside down brushing (to get the underside of the bench seat). I stopped after five coats on the bottom side.


Mix-ups, Surprises and Lessons Learned
There were two actual mix-ups:
I initially only cut two table pivots (need four!). Thankfully I made the measurement sticks and had the miter saws in their dedicated roles.
When I was cutting the relief cut for the pivot to be able to clear - I didn’t cut it enough. Currently, when the table is in the bench position, the table-top never truly sits against the leg assemblies because it can’t pivot down enough.
Thankfully, these are minor issues. If I could do this over again, I would change a few things:
When pocket-hole screwing the pivot mechanism to the back riser, I would have used Kreg HD screws (especially since I have them). The only reason I didn't was because I didn’t have any means of plugging the screw holes
The foot pads to keep the table out of standing water: Instead of directly screwing them into the endgrain, I would consider a magnet or encased shoe style — this piece will be the first to wear so it should be replaceable.
I would consider adding a third leg (or shortening the width). As is, the picnic table is okay but there is a bit of flex over the span. This may be something i retrofit in a few years. I considered adding a spreader bar to stiffen up the entire assembly - maybe I integrate this into stiffening up the bench.
This project is actually quite accessible as you only really need a means to consistently make the 22½° angled cut, a drill and optionally, a plug cutter. A pocket hole jig would make life easier but you could face-screw everything as well. Having a power-sander makes the sanding process much less painful.