

Build Log: Coffee (and Tea!) Bar
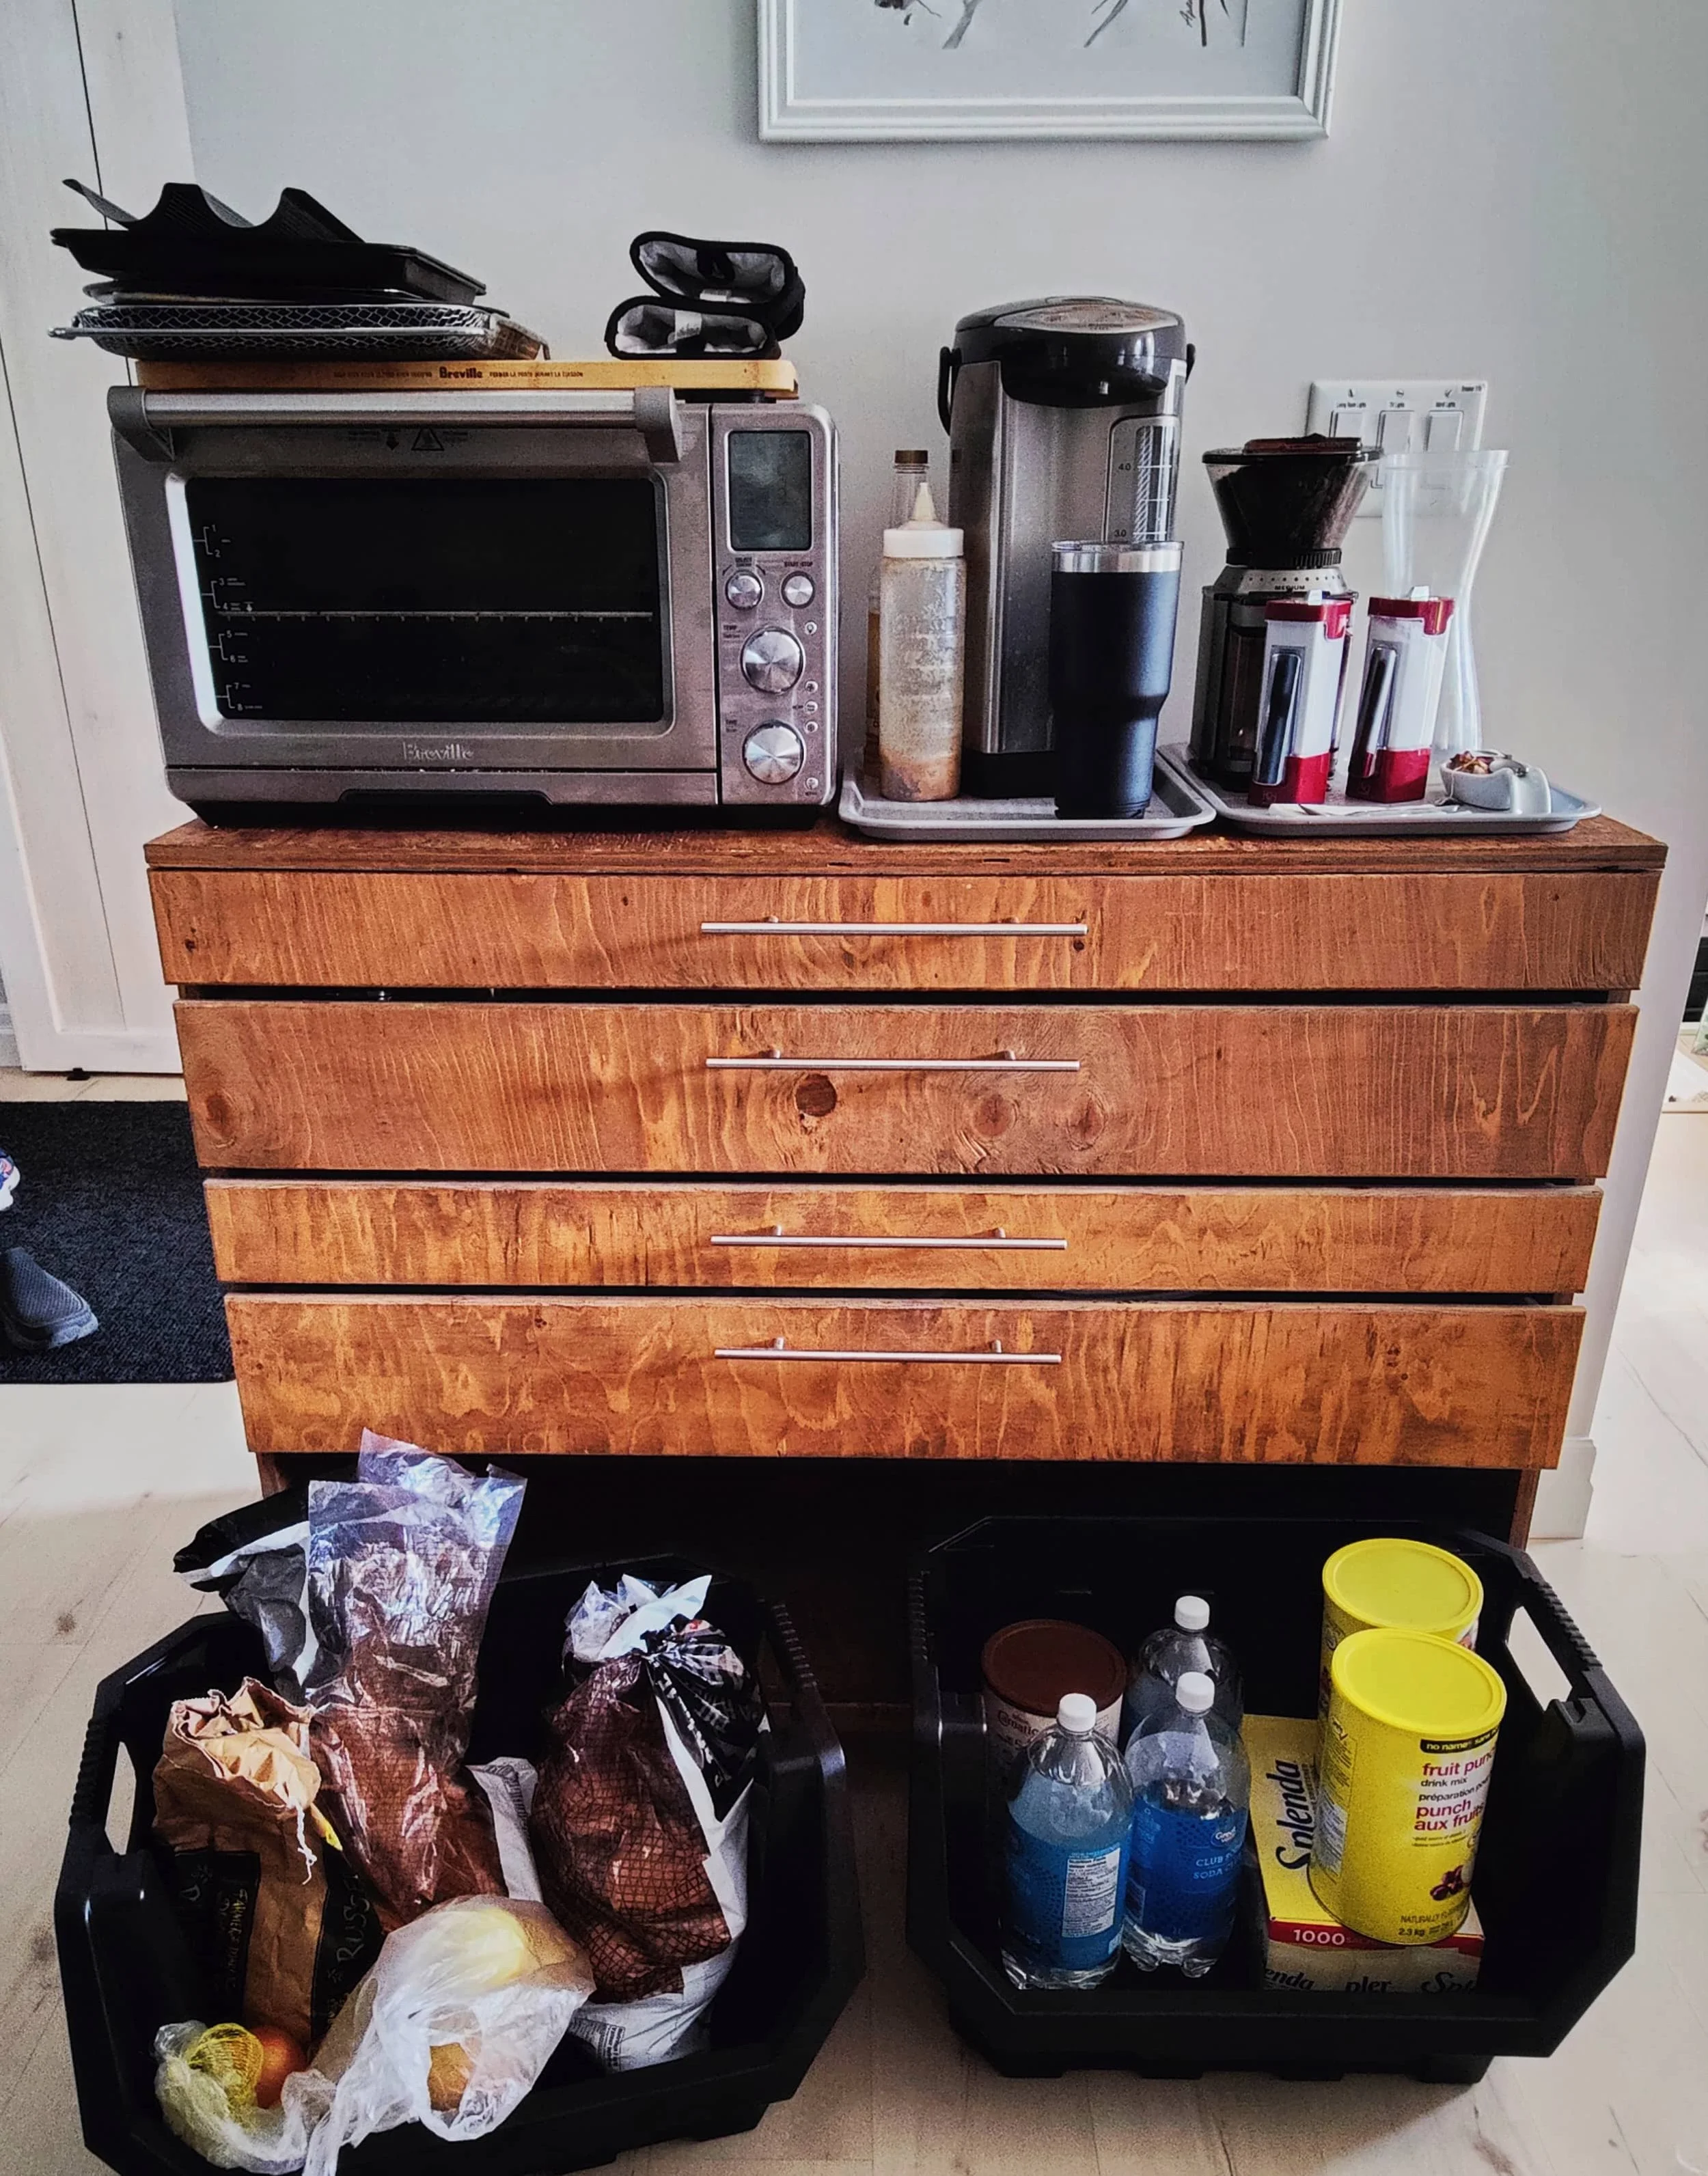
We have a ‘drink station’ in our kitchen which is a repurposed DIY tool chest that I built a long time ago. It works - but it’s far from great. The biggest shortcoming is that the top surface sags because I didn’t better when I built it originally. We keep a toaster oven and a water boiler with 5L of water on the top: this isn’t enough sag to be dangerous but more so an annoyance. I’ve been wanting to rebuild this station for a little while now and finally decided to just do it.
Quick Links
Where we started
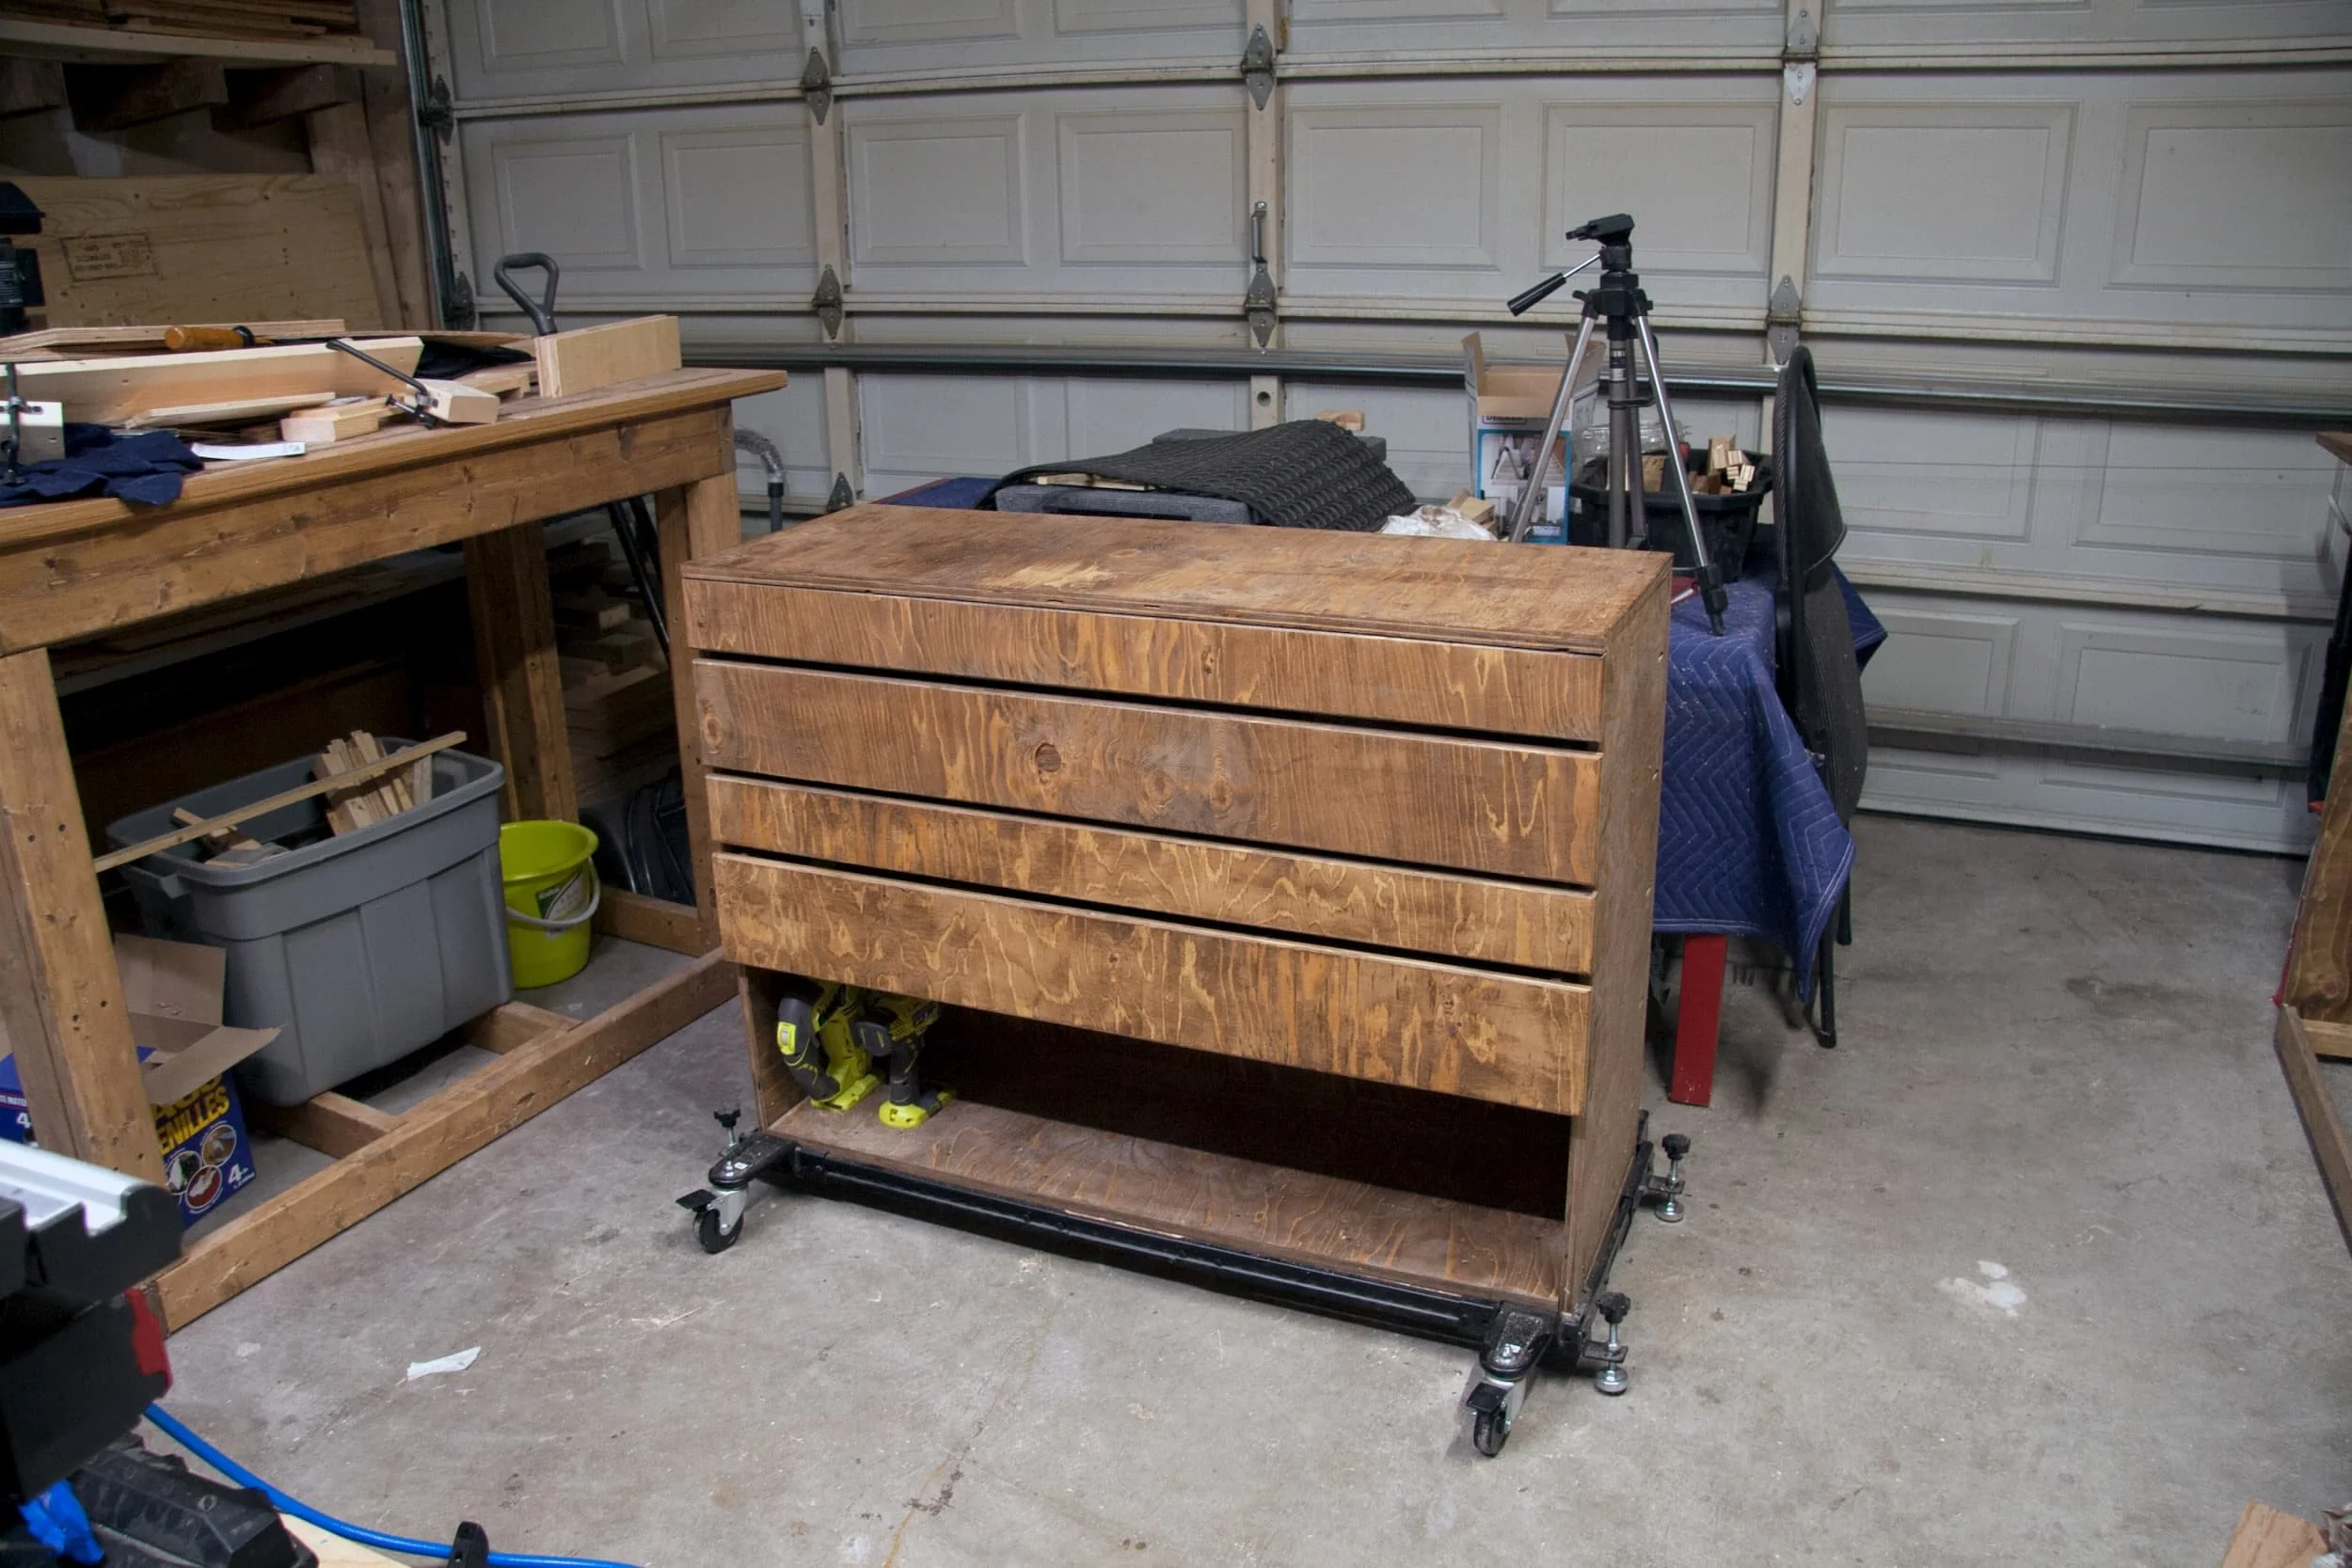
A few years ago, I tried to build my own toolchest of sorts (partially as a learning exercise). After moving to this house (and after I ended up getting a real rolling tool chest), we repurposed the toolchest as a drink station of sorts. There was really nothig special about this setup: it was a bunch of drawers on a mobile base and the top was definitely not supported well so it was very sag prone.


Goals and Objectives
In addition to the sag across the top (since I didn’t know to add bracing when I originally built it), there were three other things I wanted to address now that I have a moment to revisit this:
We recently got a new robovac (the Eufy X10) and this new unit is a bit taller than our outgoing model. It’s tall enough that it doesn’t fit underneath the cart anymore, so I definitely wanted to increase the height to ensure that the robovac can clean under there. The alternative would be to make a fixed base flush on the floor to limit crud building up under the coffee bar.
When we setup the drink station, we just threw a hodgepodge of stuff into the drawers - I wanted to make a more-focused use of the space
We use a water-boiler which is great because we have readily-available hot water. Since it’s not hooked up to a water line in any way, we have to refill it every few days using a pitcher. I really wanted to find a way to make this ‘better’
Rough Design
I originally planned on using a pair of stacking bins to store things like potatoes, onions, pop bottles etc. I would then allocate drawer space for all the ‘expected’ things:
cups and mugs
tea bags and tea supplies
dried goods: sugar, whitener, hot chcolate, etc.
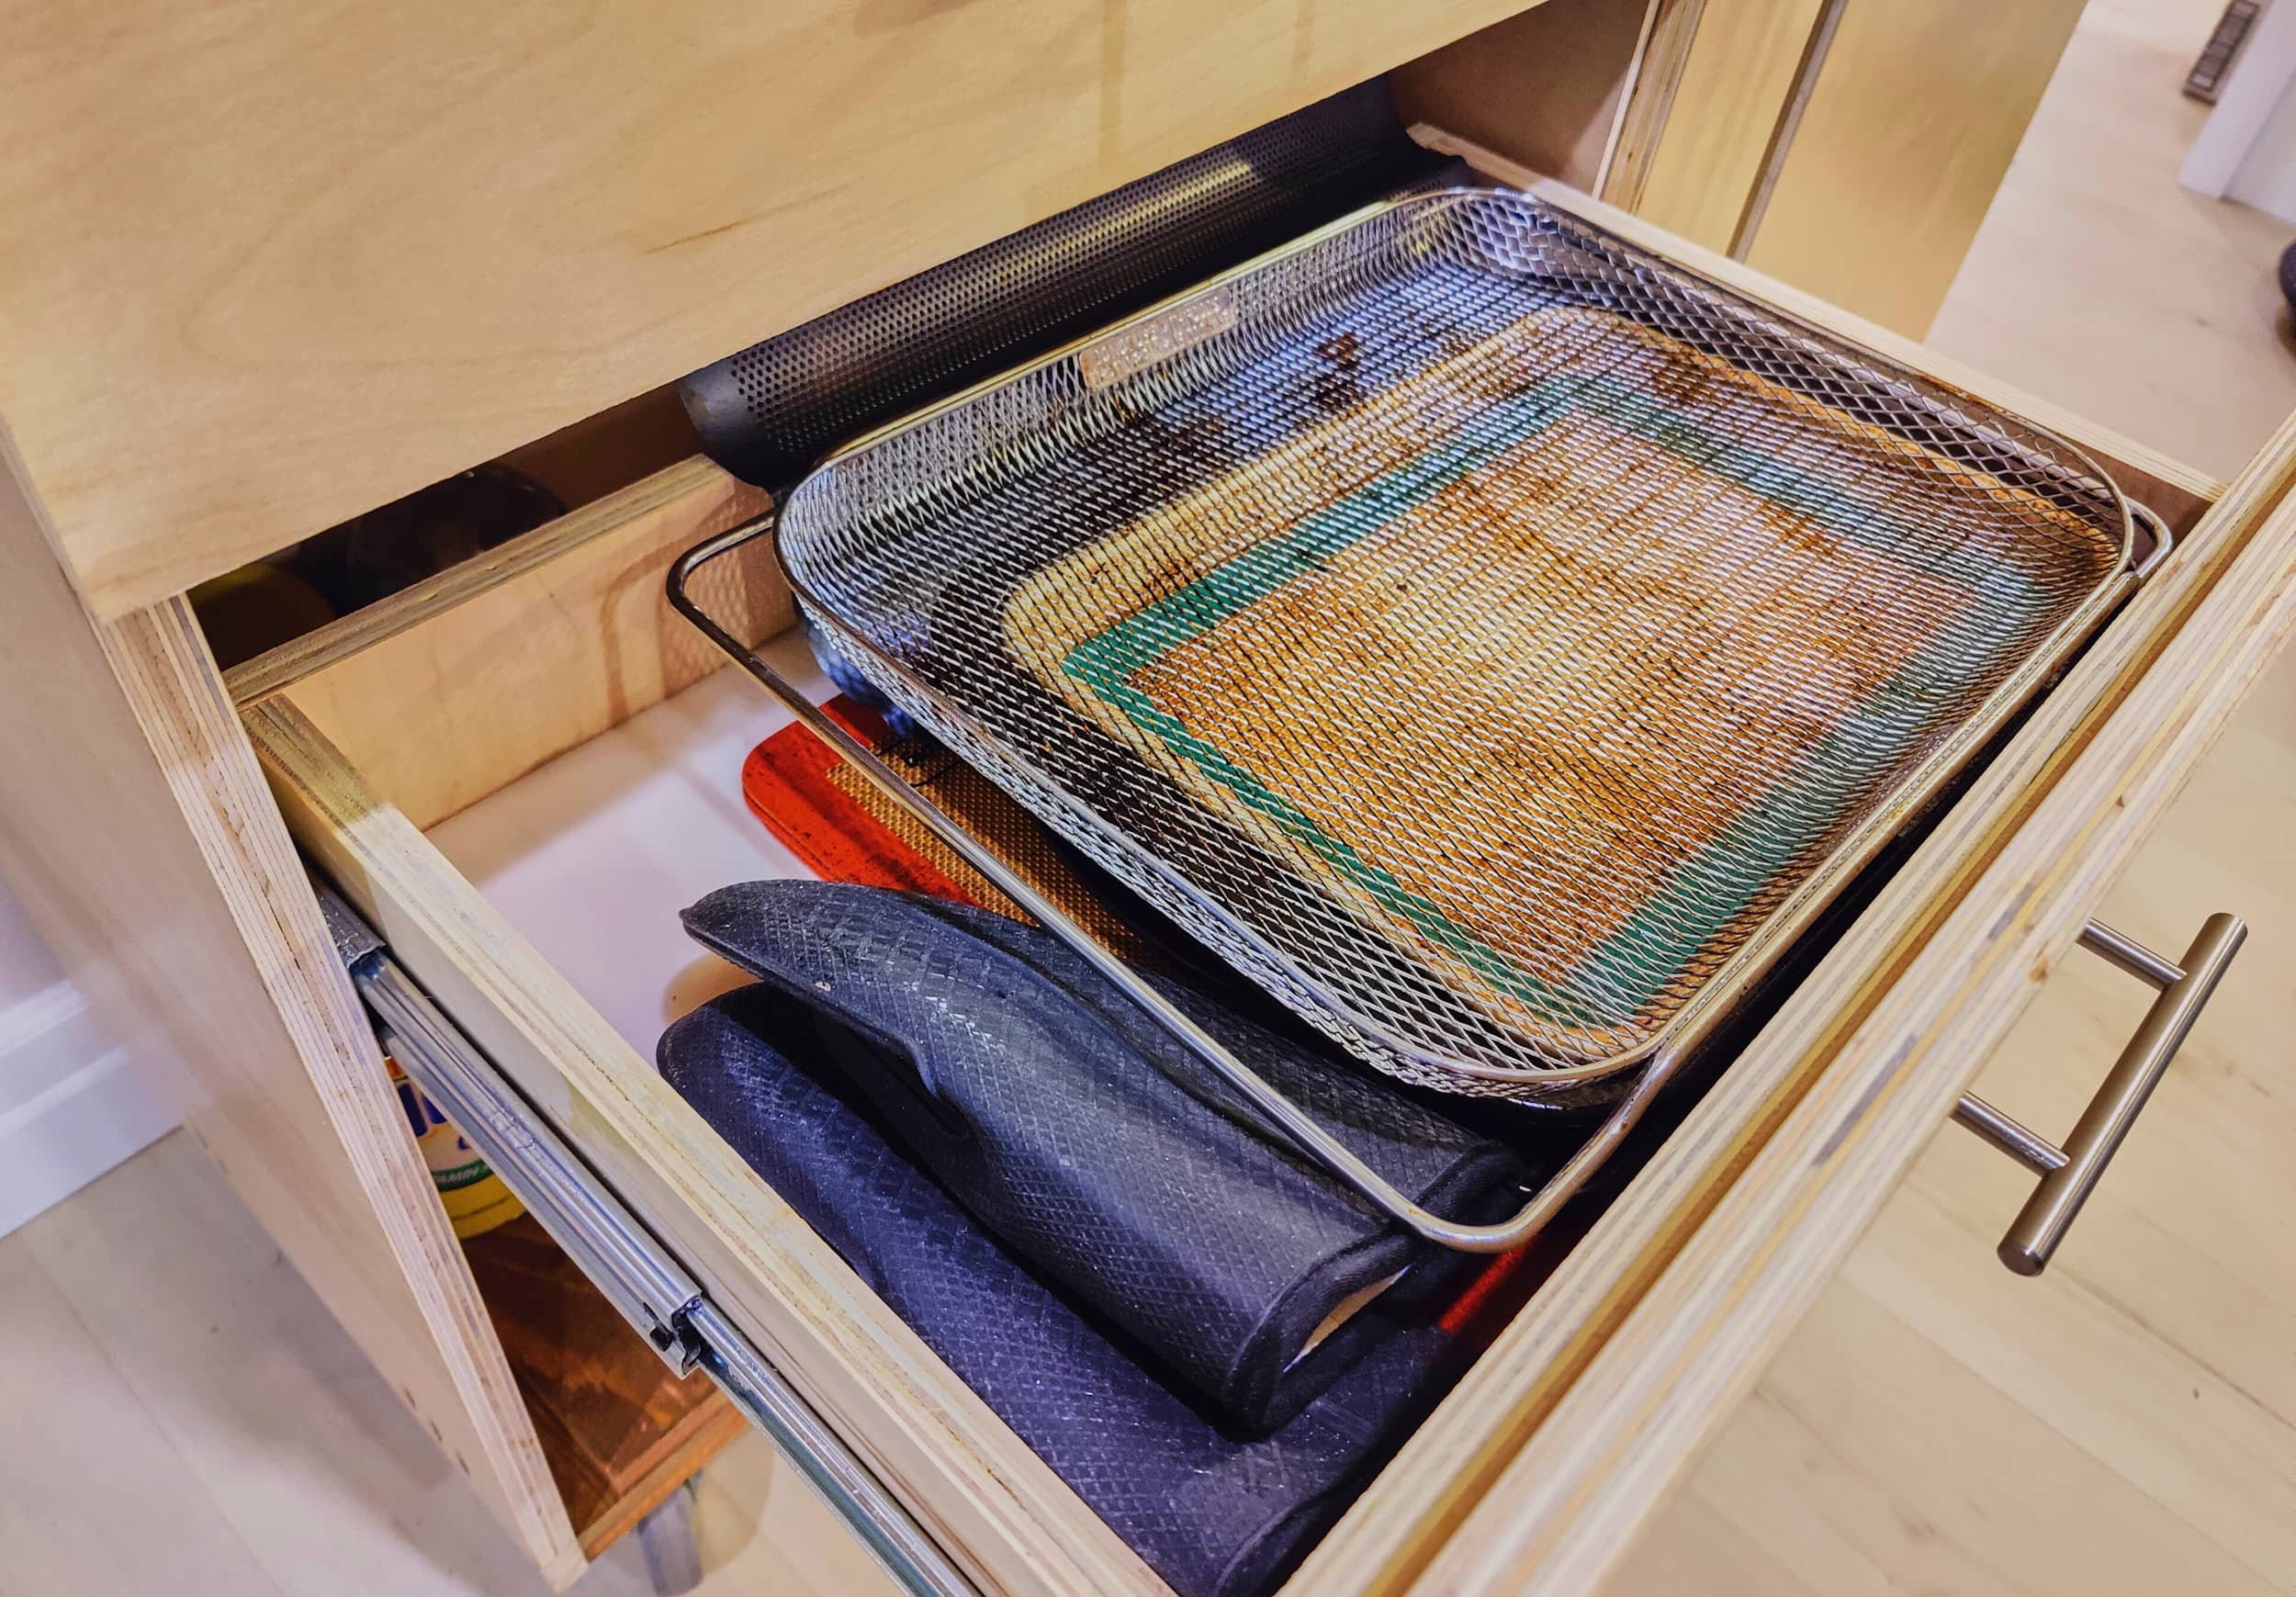
storing all of the different racks and accessories for our toaster oven
dog treats
napkins and towels


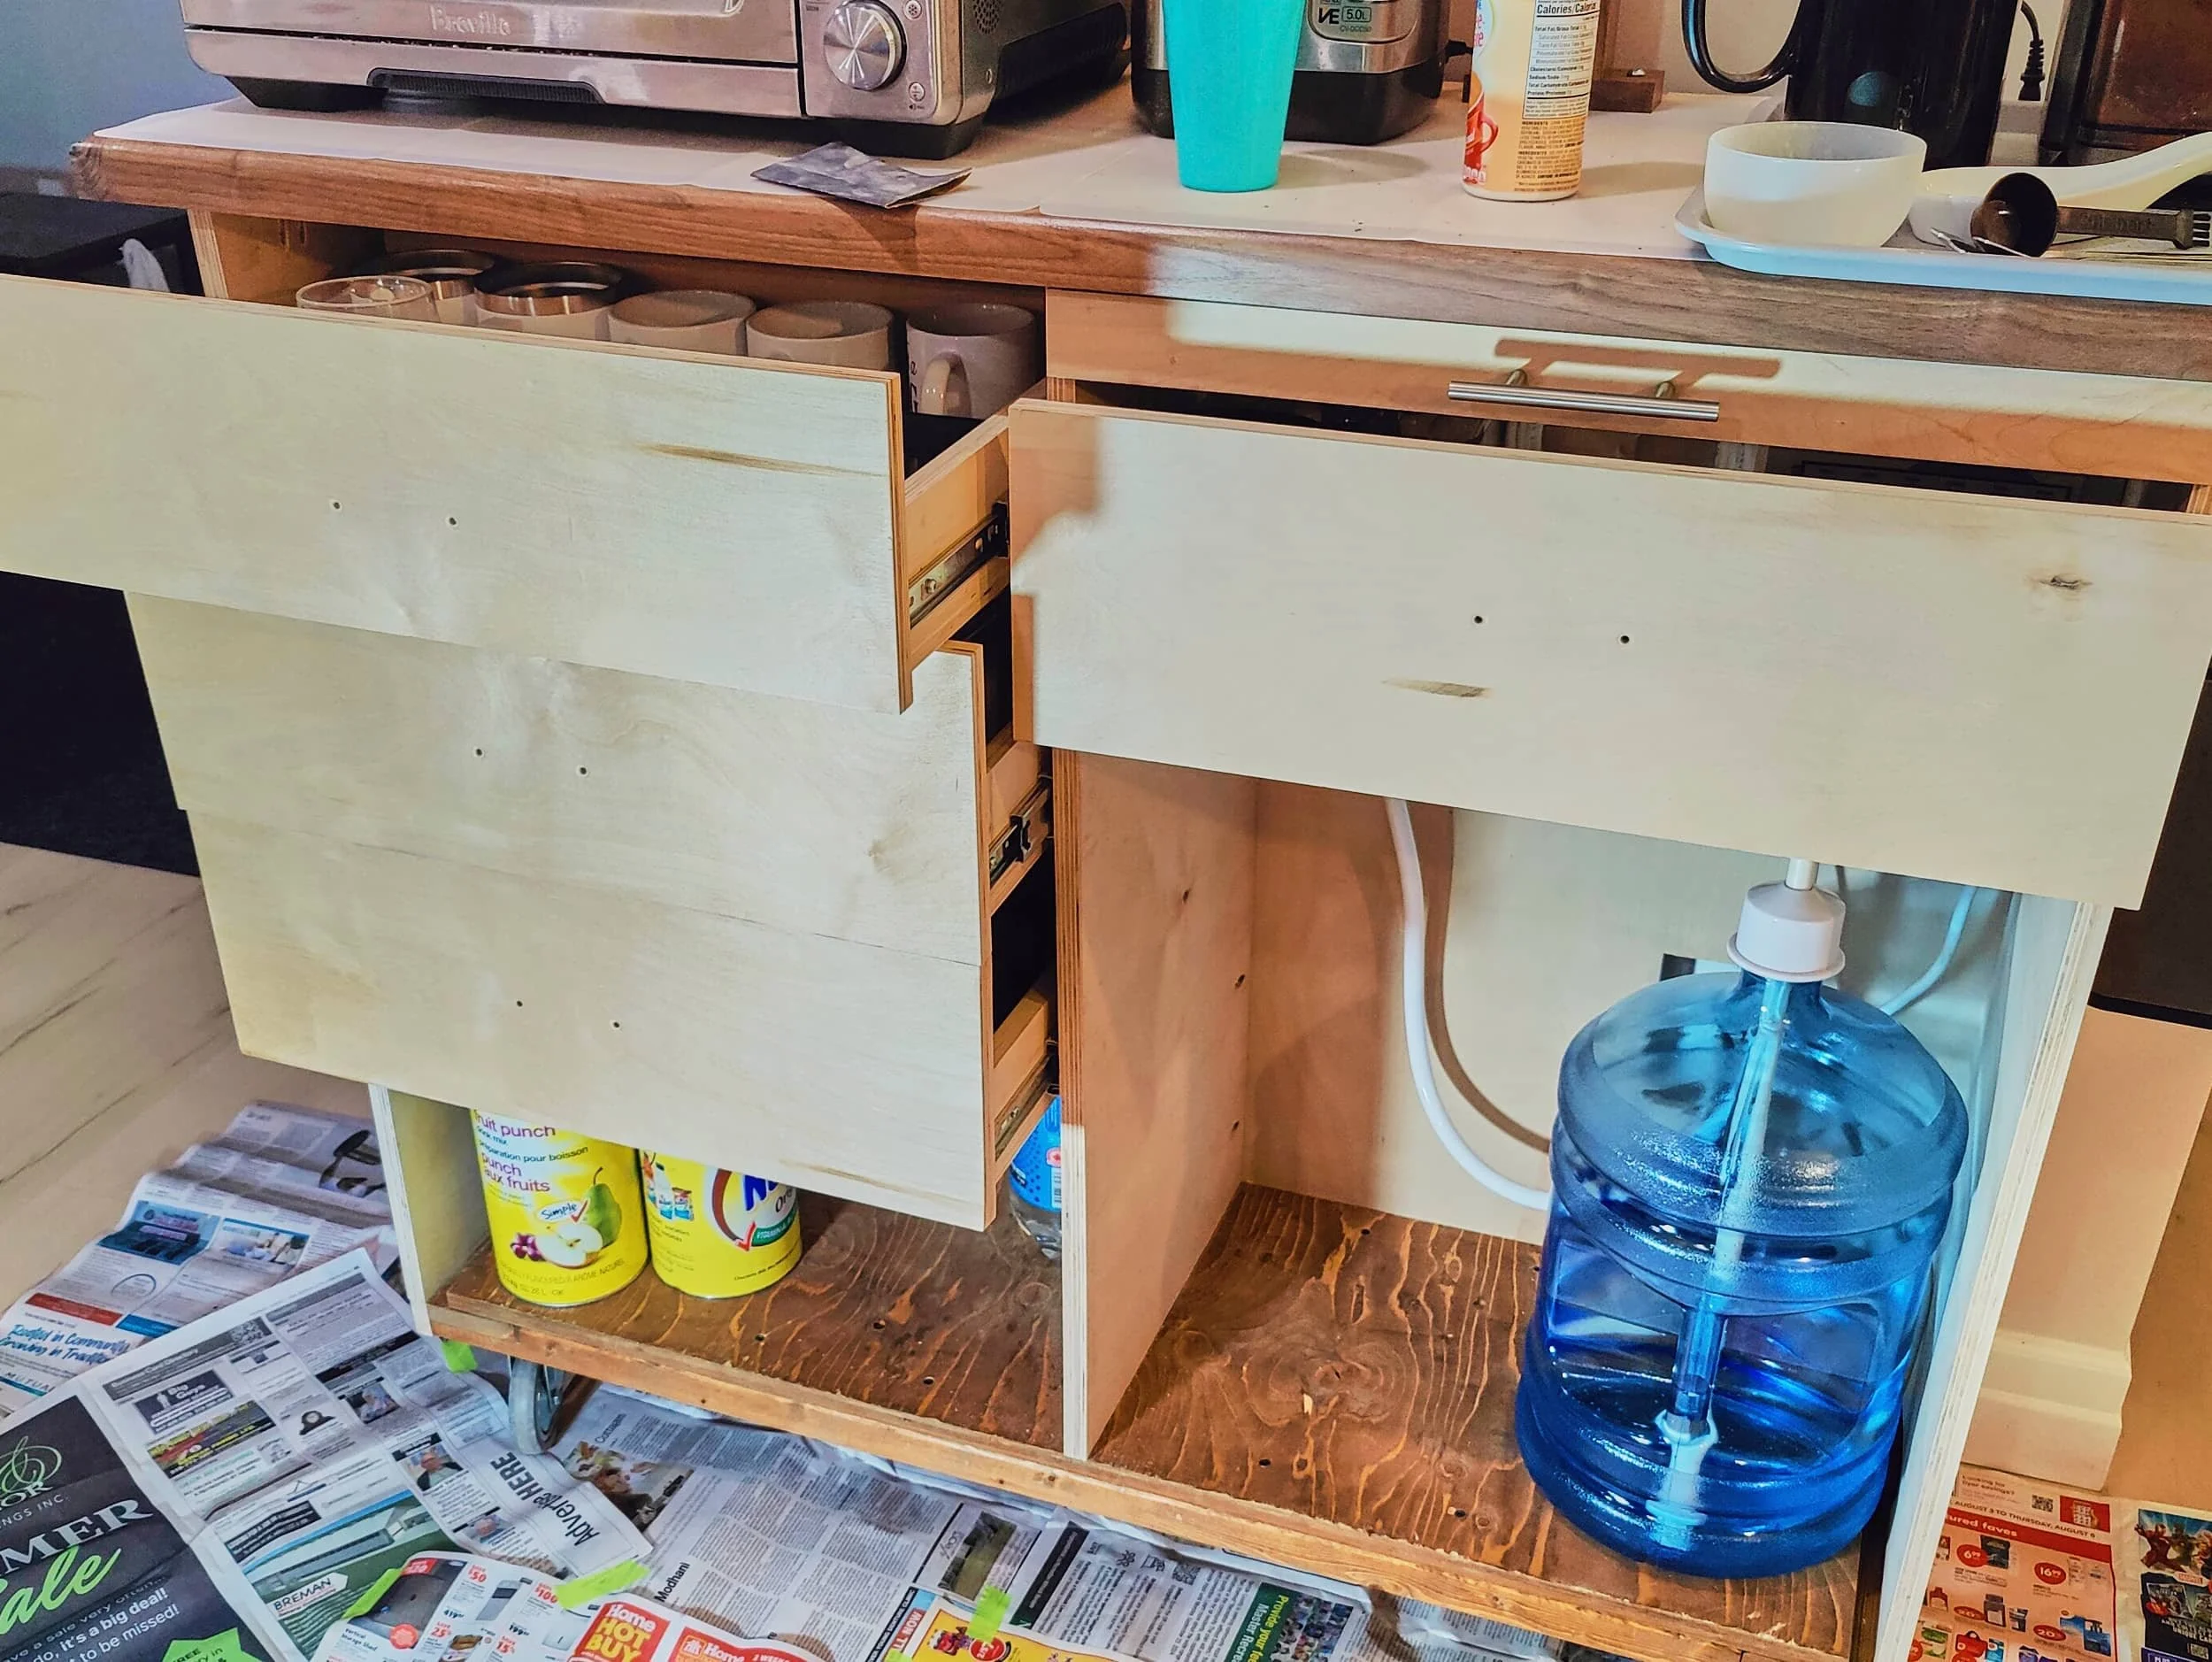
This is already a ton of stuff to cram into that footprint. Of course, I wanted to do ‘one more thing’ — have some way to make the refill process of the water boiler a bit less tedious. I envisioned using a 5-gallon water jug as a reservoir and ‘somehow’ getting the water to the boiler. Somehow.
That somehow started off as one of the many commonly found cheapo 'desktop water dispensers’ but I ended up going for something a bit more robust — a plug-in water dispenser pump. Of course, the tricky part now, is ‘where do we put this 5-gallon jug’.
If we put the jug on the outside, then I get to keep all drawers and storage I had originally hoped for — but now there’s a 5-gallon jug on the floor
If we put it inside the coffee bar, then everything is cleaner but something has to go
In either case, this was a problem for Future Me.
Step 1 - Reclaiming the base
First step was to breakdown the existing cart and repurpose the base: the base was reasonably flat, true and sturdy so there was no reason to rebuild that. I swapped out the wheels for 5” softer rolling ones. While I was looking at this, I cleaned up some of the uneven surfaces as it was relatively low-effort. I did have to extend the width of the cart ever so slightly, so I added some solid wood side strips. This brings my width out to an even 48”. I triple checked and the base was definitely 48”. #foreshadowing.


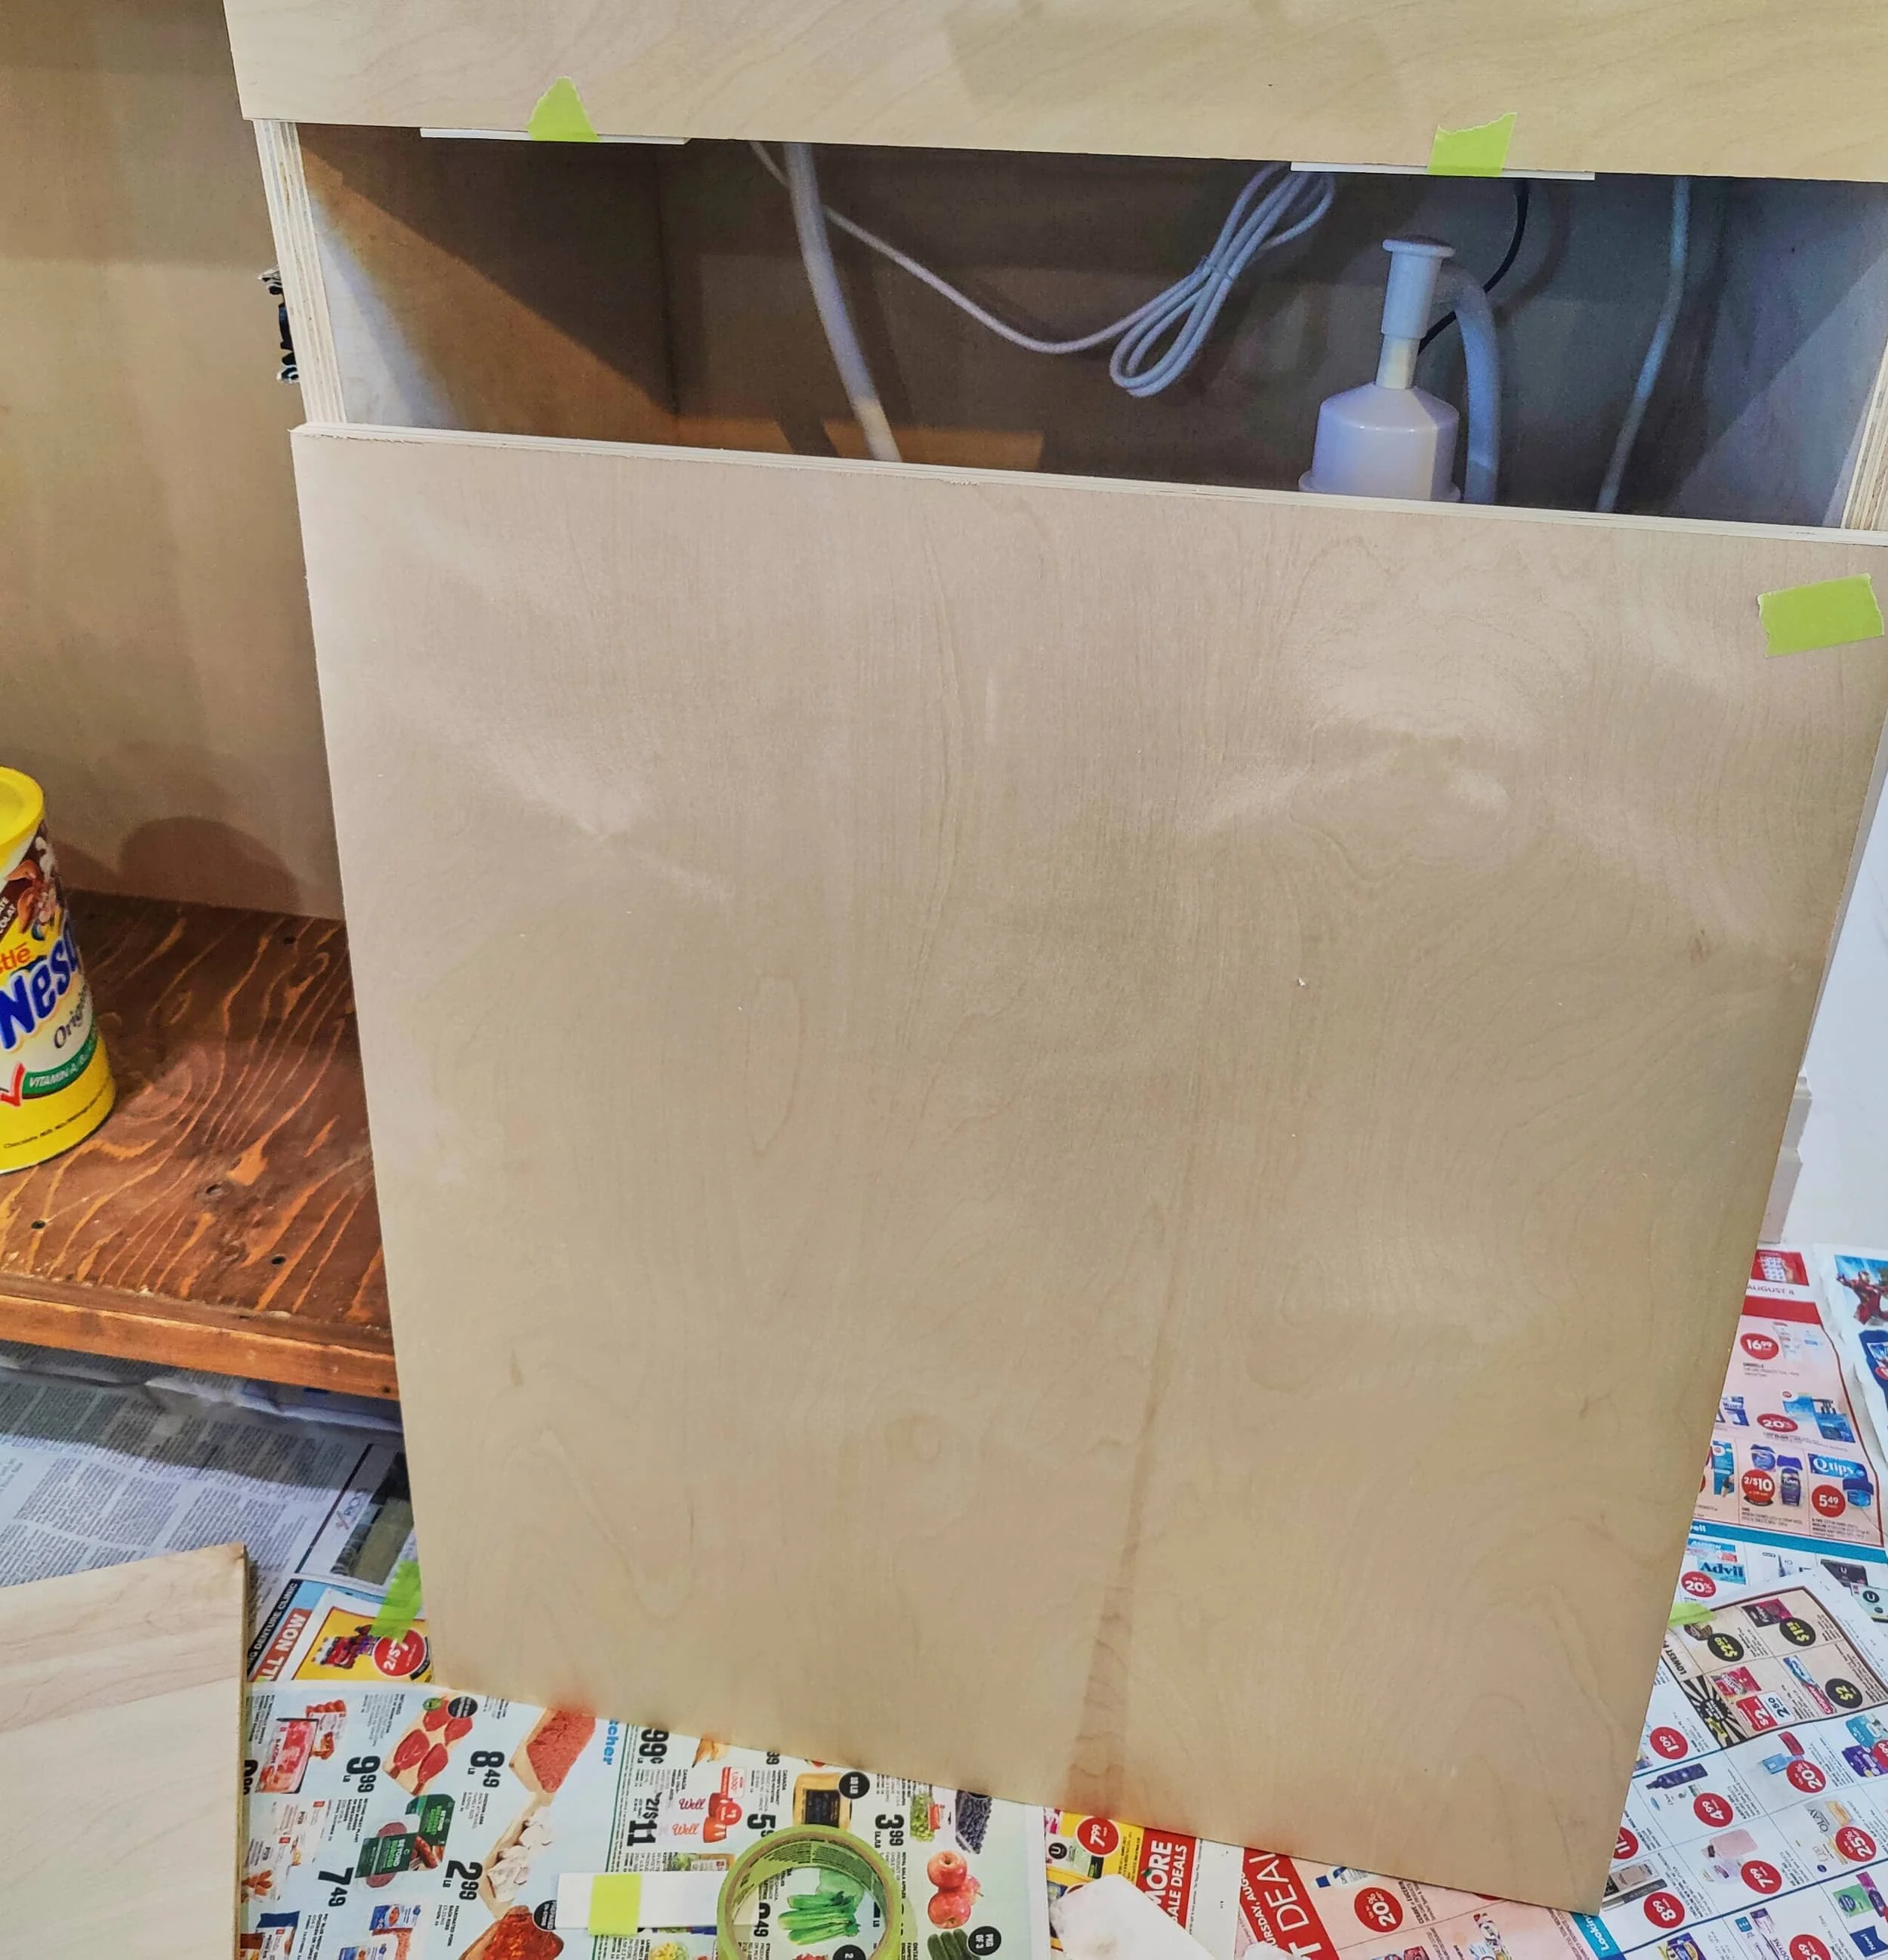
Step 2 - Building the carcass
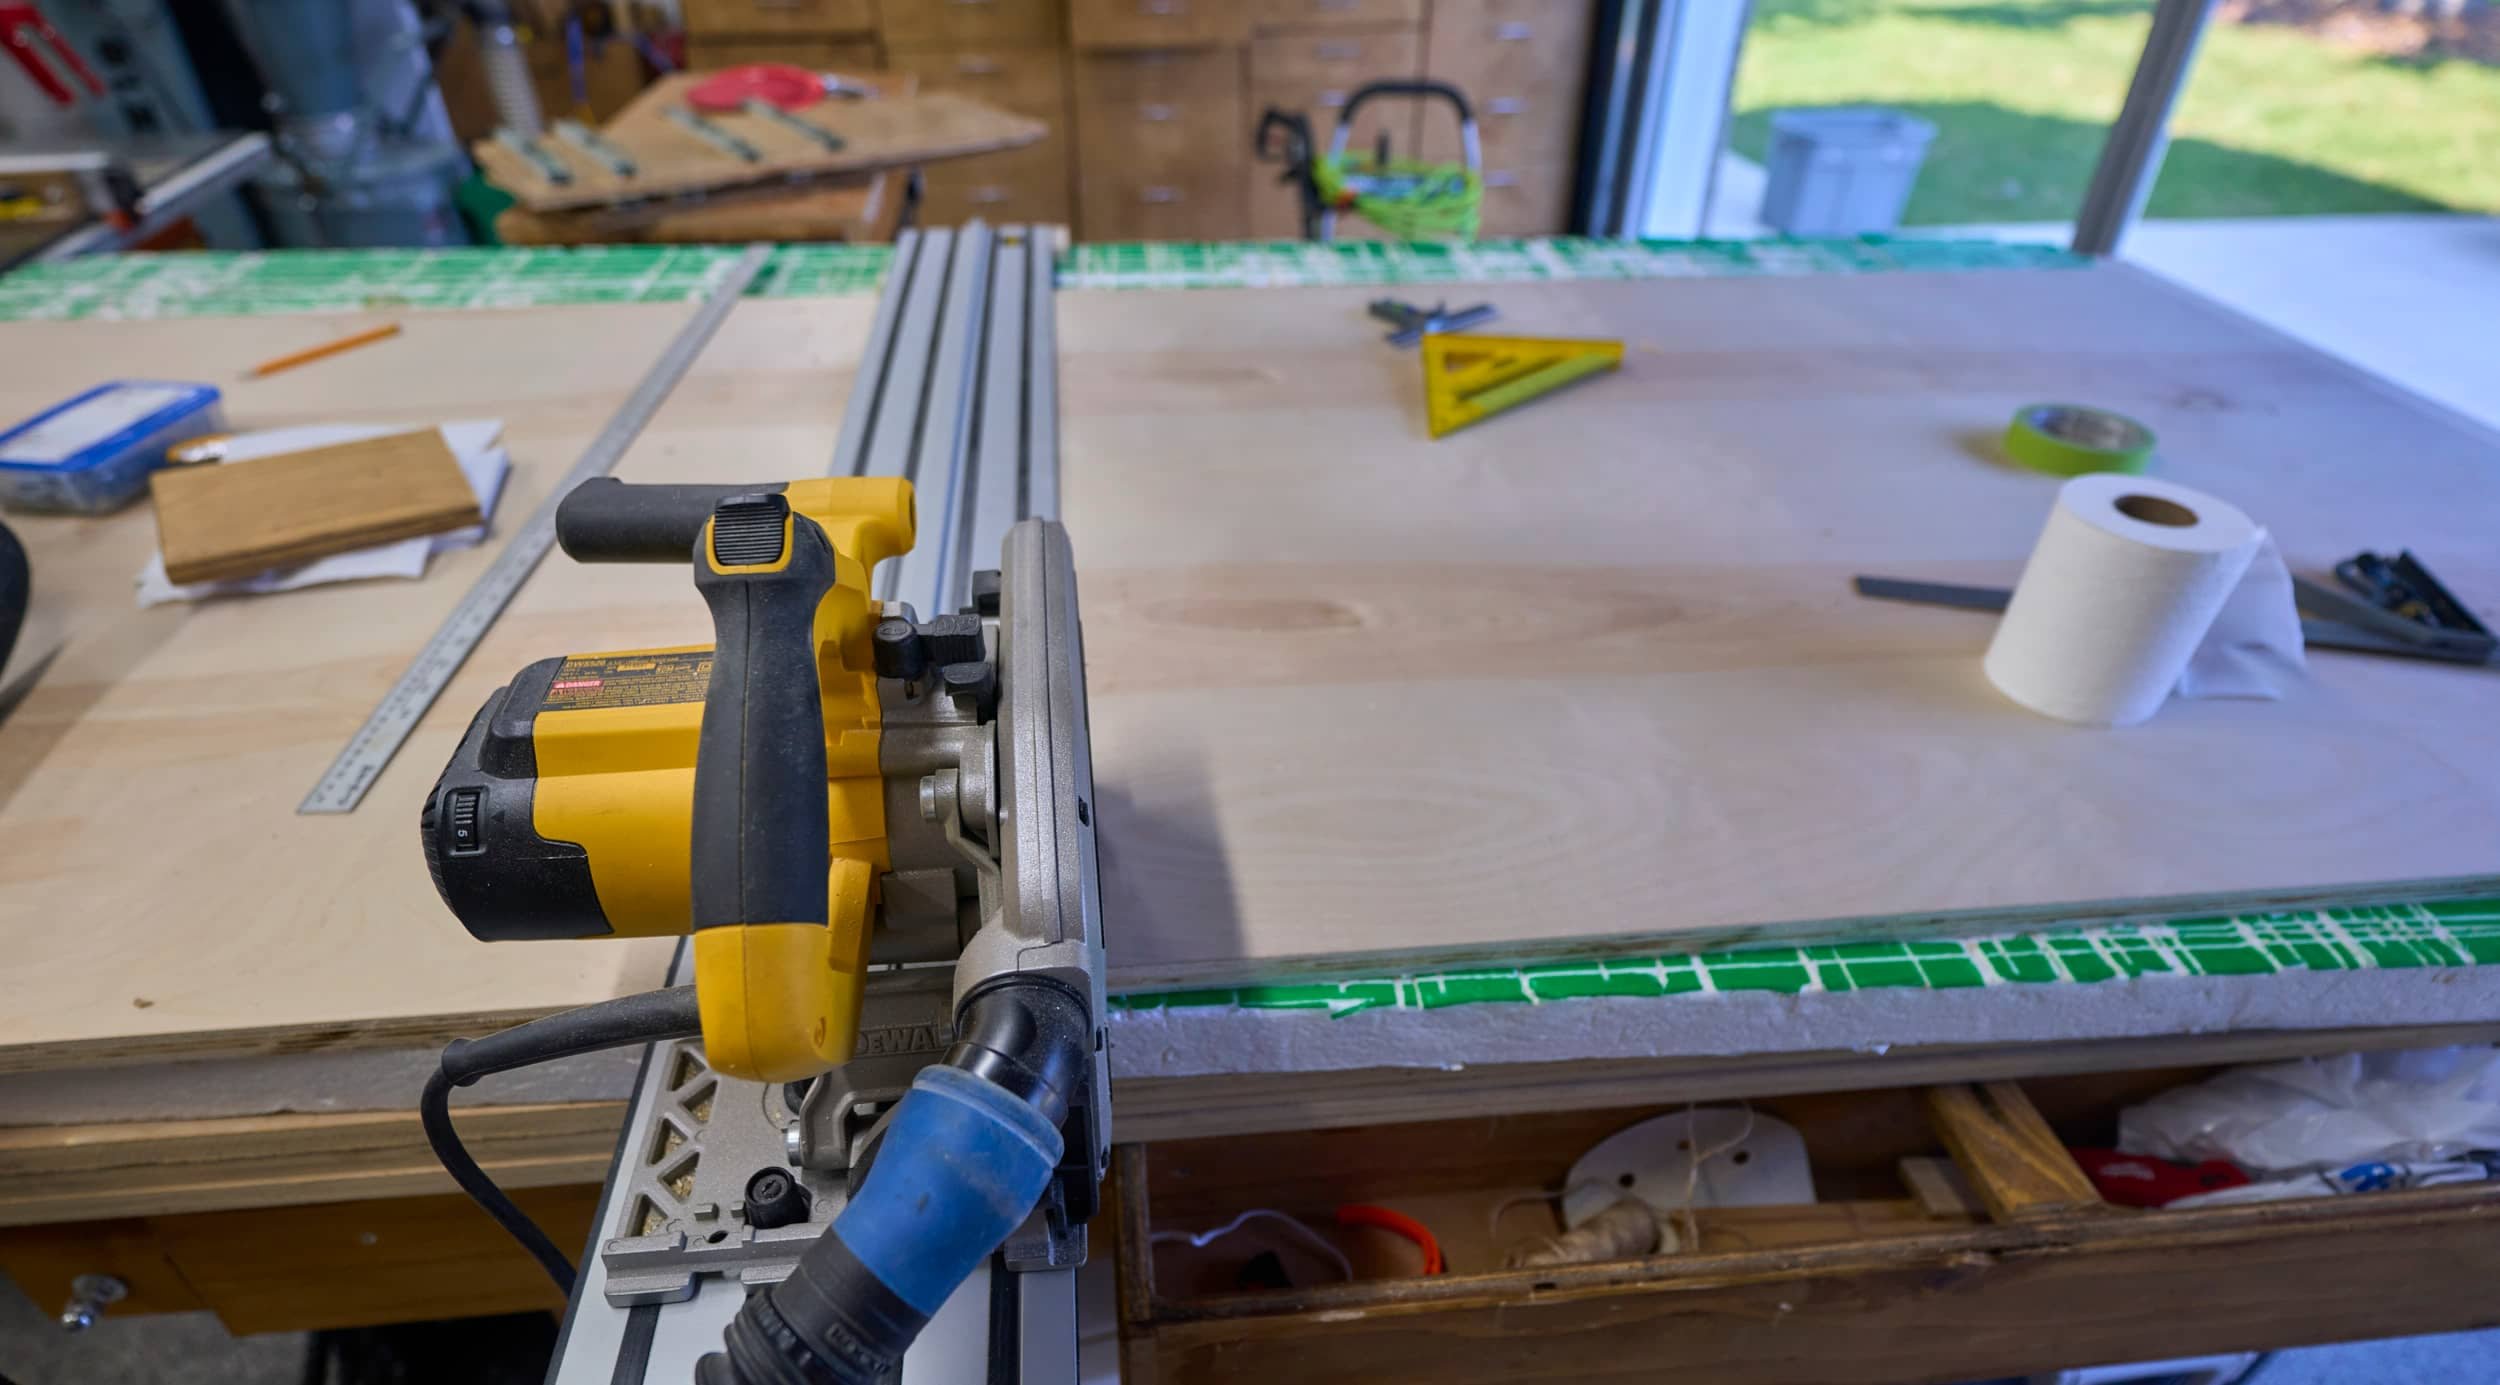
Next up, I’m now building a back, two sides and a middle divider. For the most part, this process was suspiciously smooth.
Break panels down with the tracksaw
Pre-sand everything to 220-grit
Mark where the screws go
Glue, pins and screws
Done
The back panel was 48” wide so it was super easy to cut to size. #foreshadowing.


Now about that foreshadowing: the plywood was actually 48-1/8 wide — not the 48 that I assumed it would be (and built the base for. You can’t really tell that the two sides hang over the edge ever so slightly unless you’re looking for it. But this was a rookie mistake — I should have double checked that measurement. Since there’s a center divider, I wasn’t concerned about any weight distribution issues (and the sides are still 95%+ supported anyways). Lesson learned for next time.
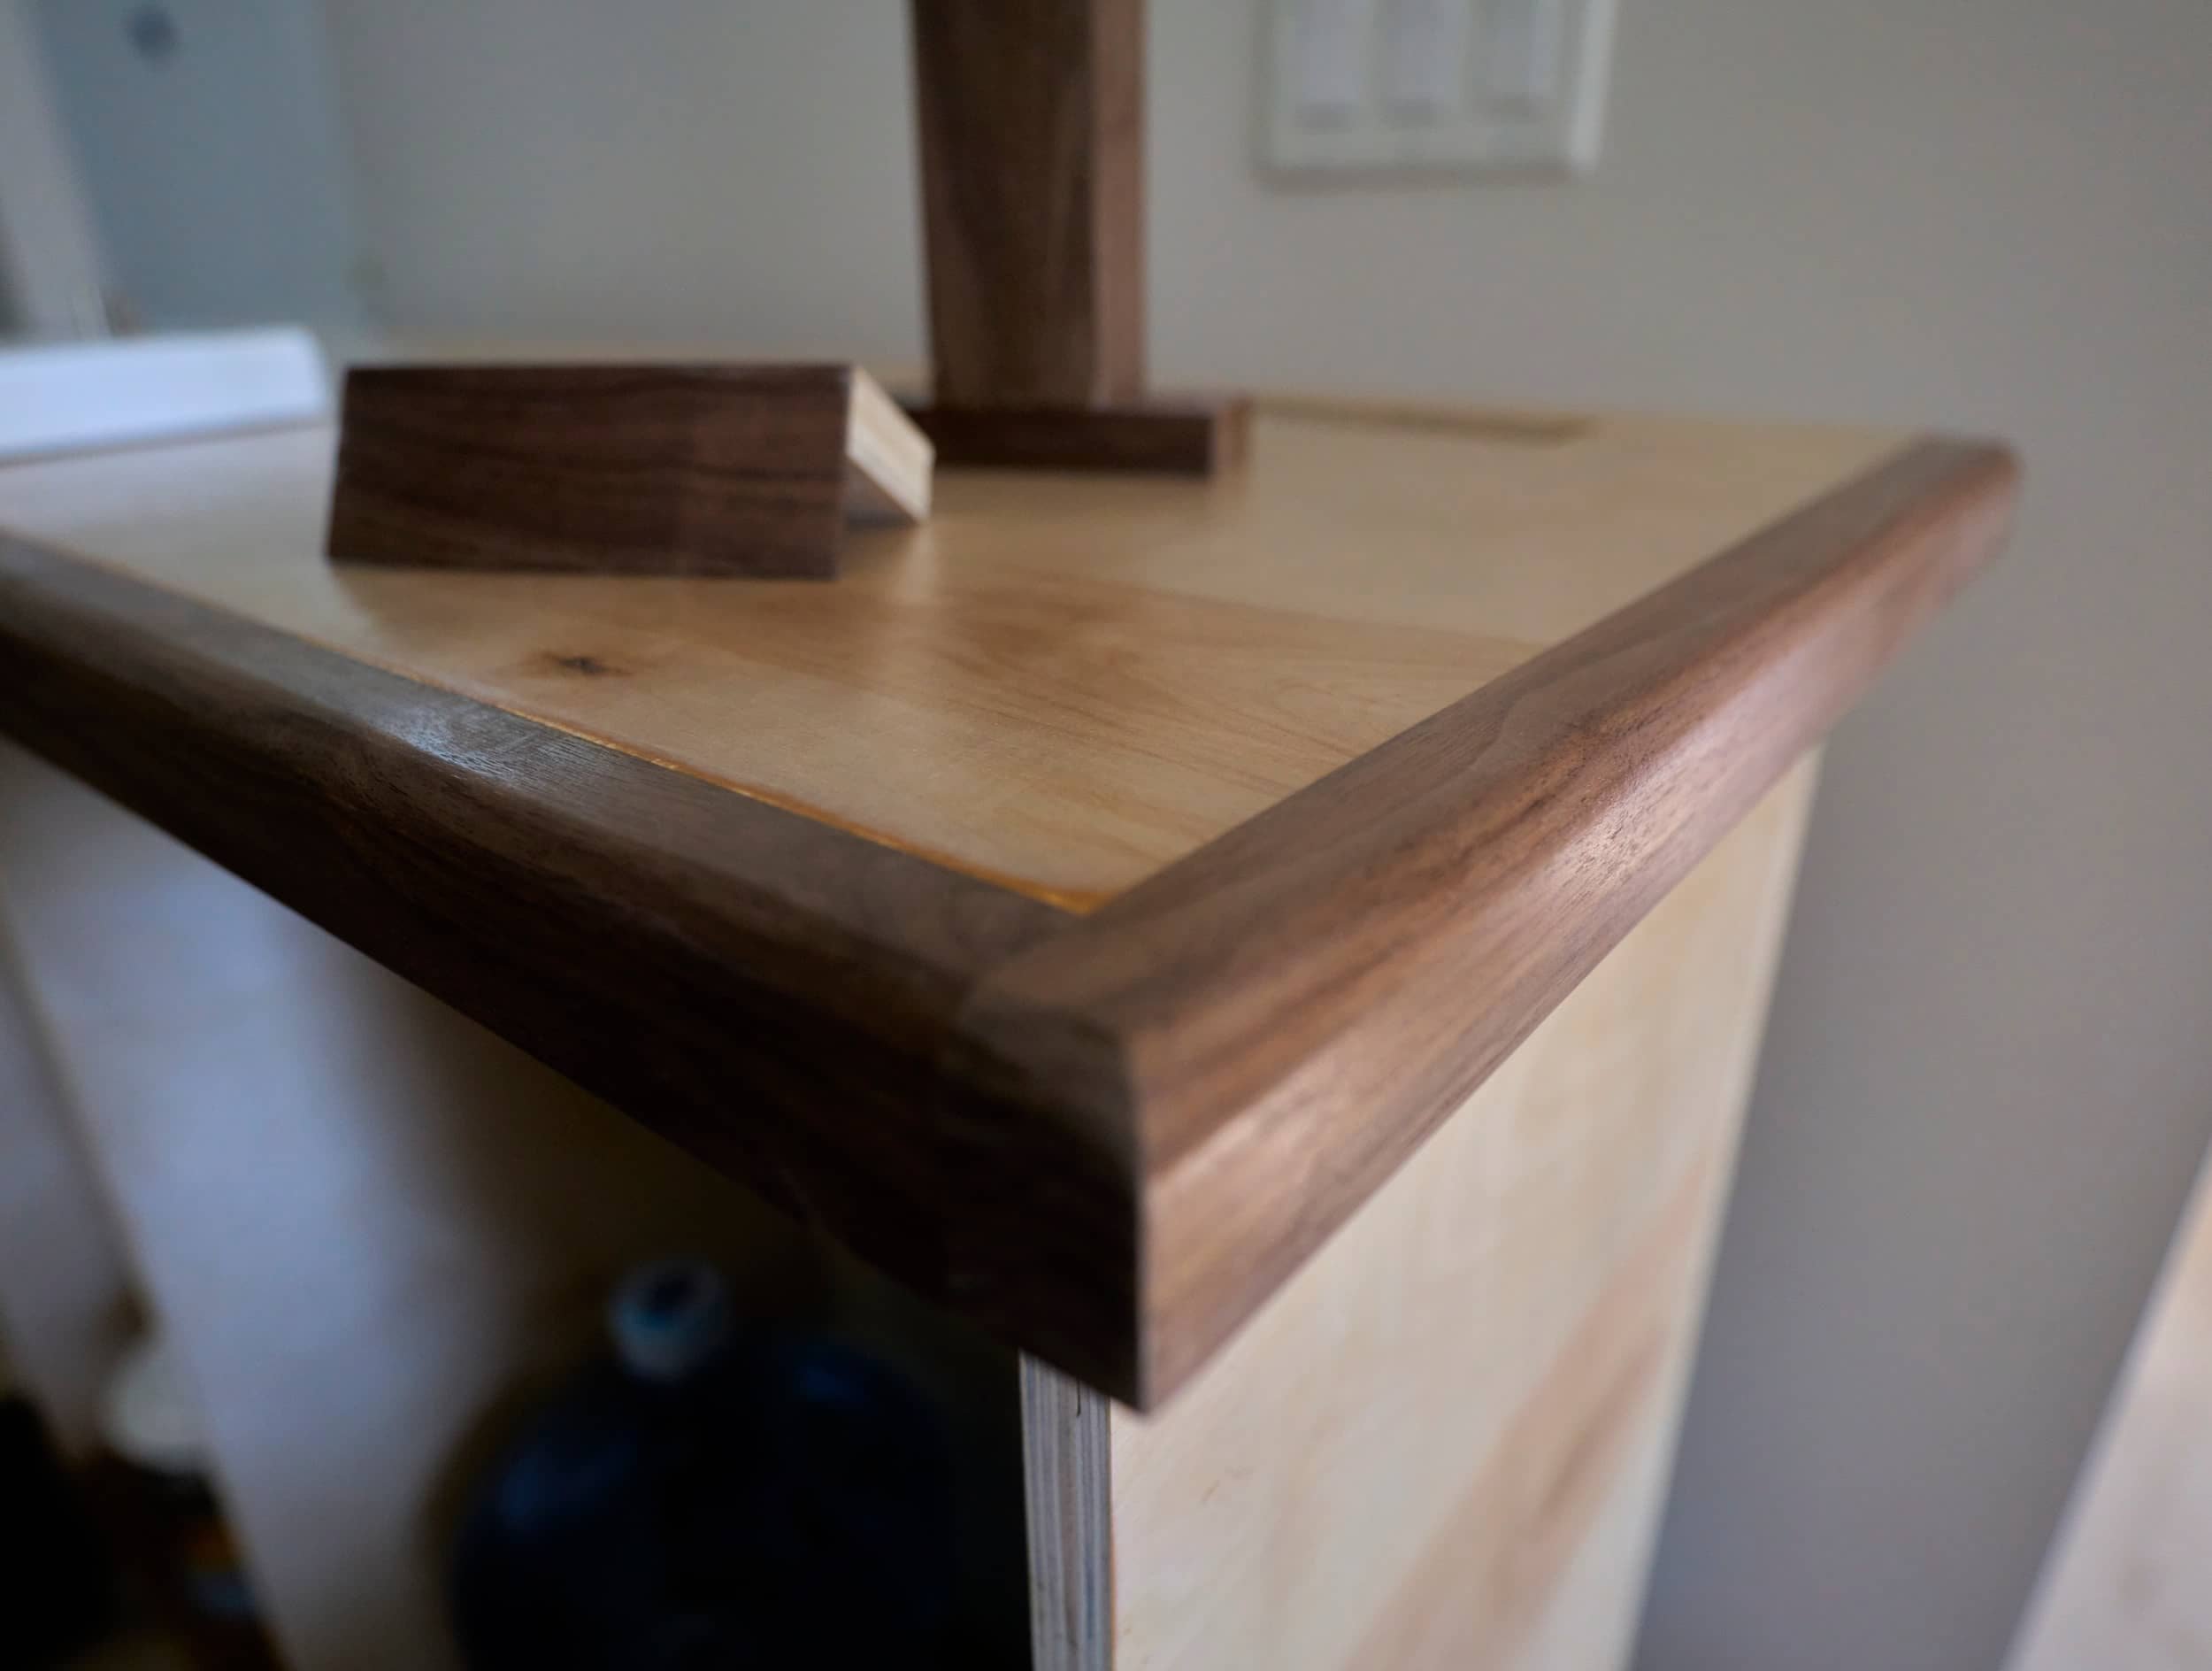
Step 3 - Building the top
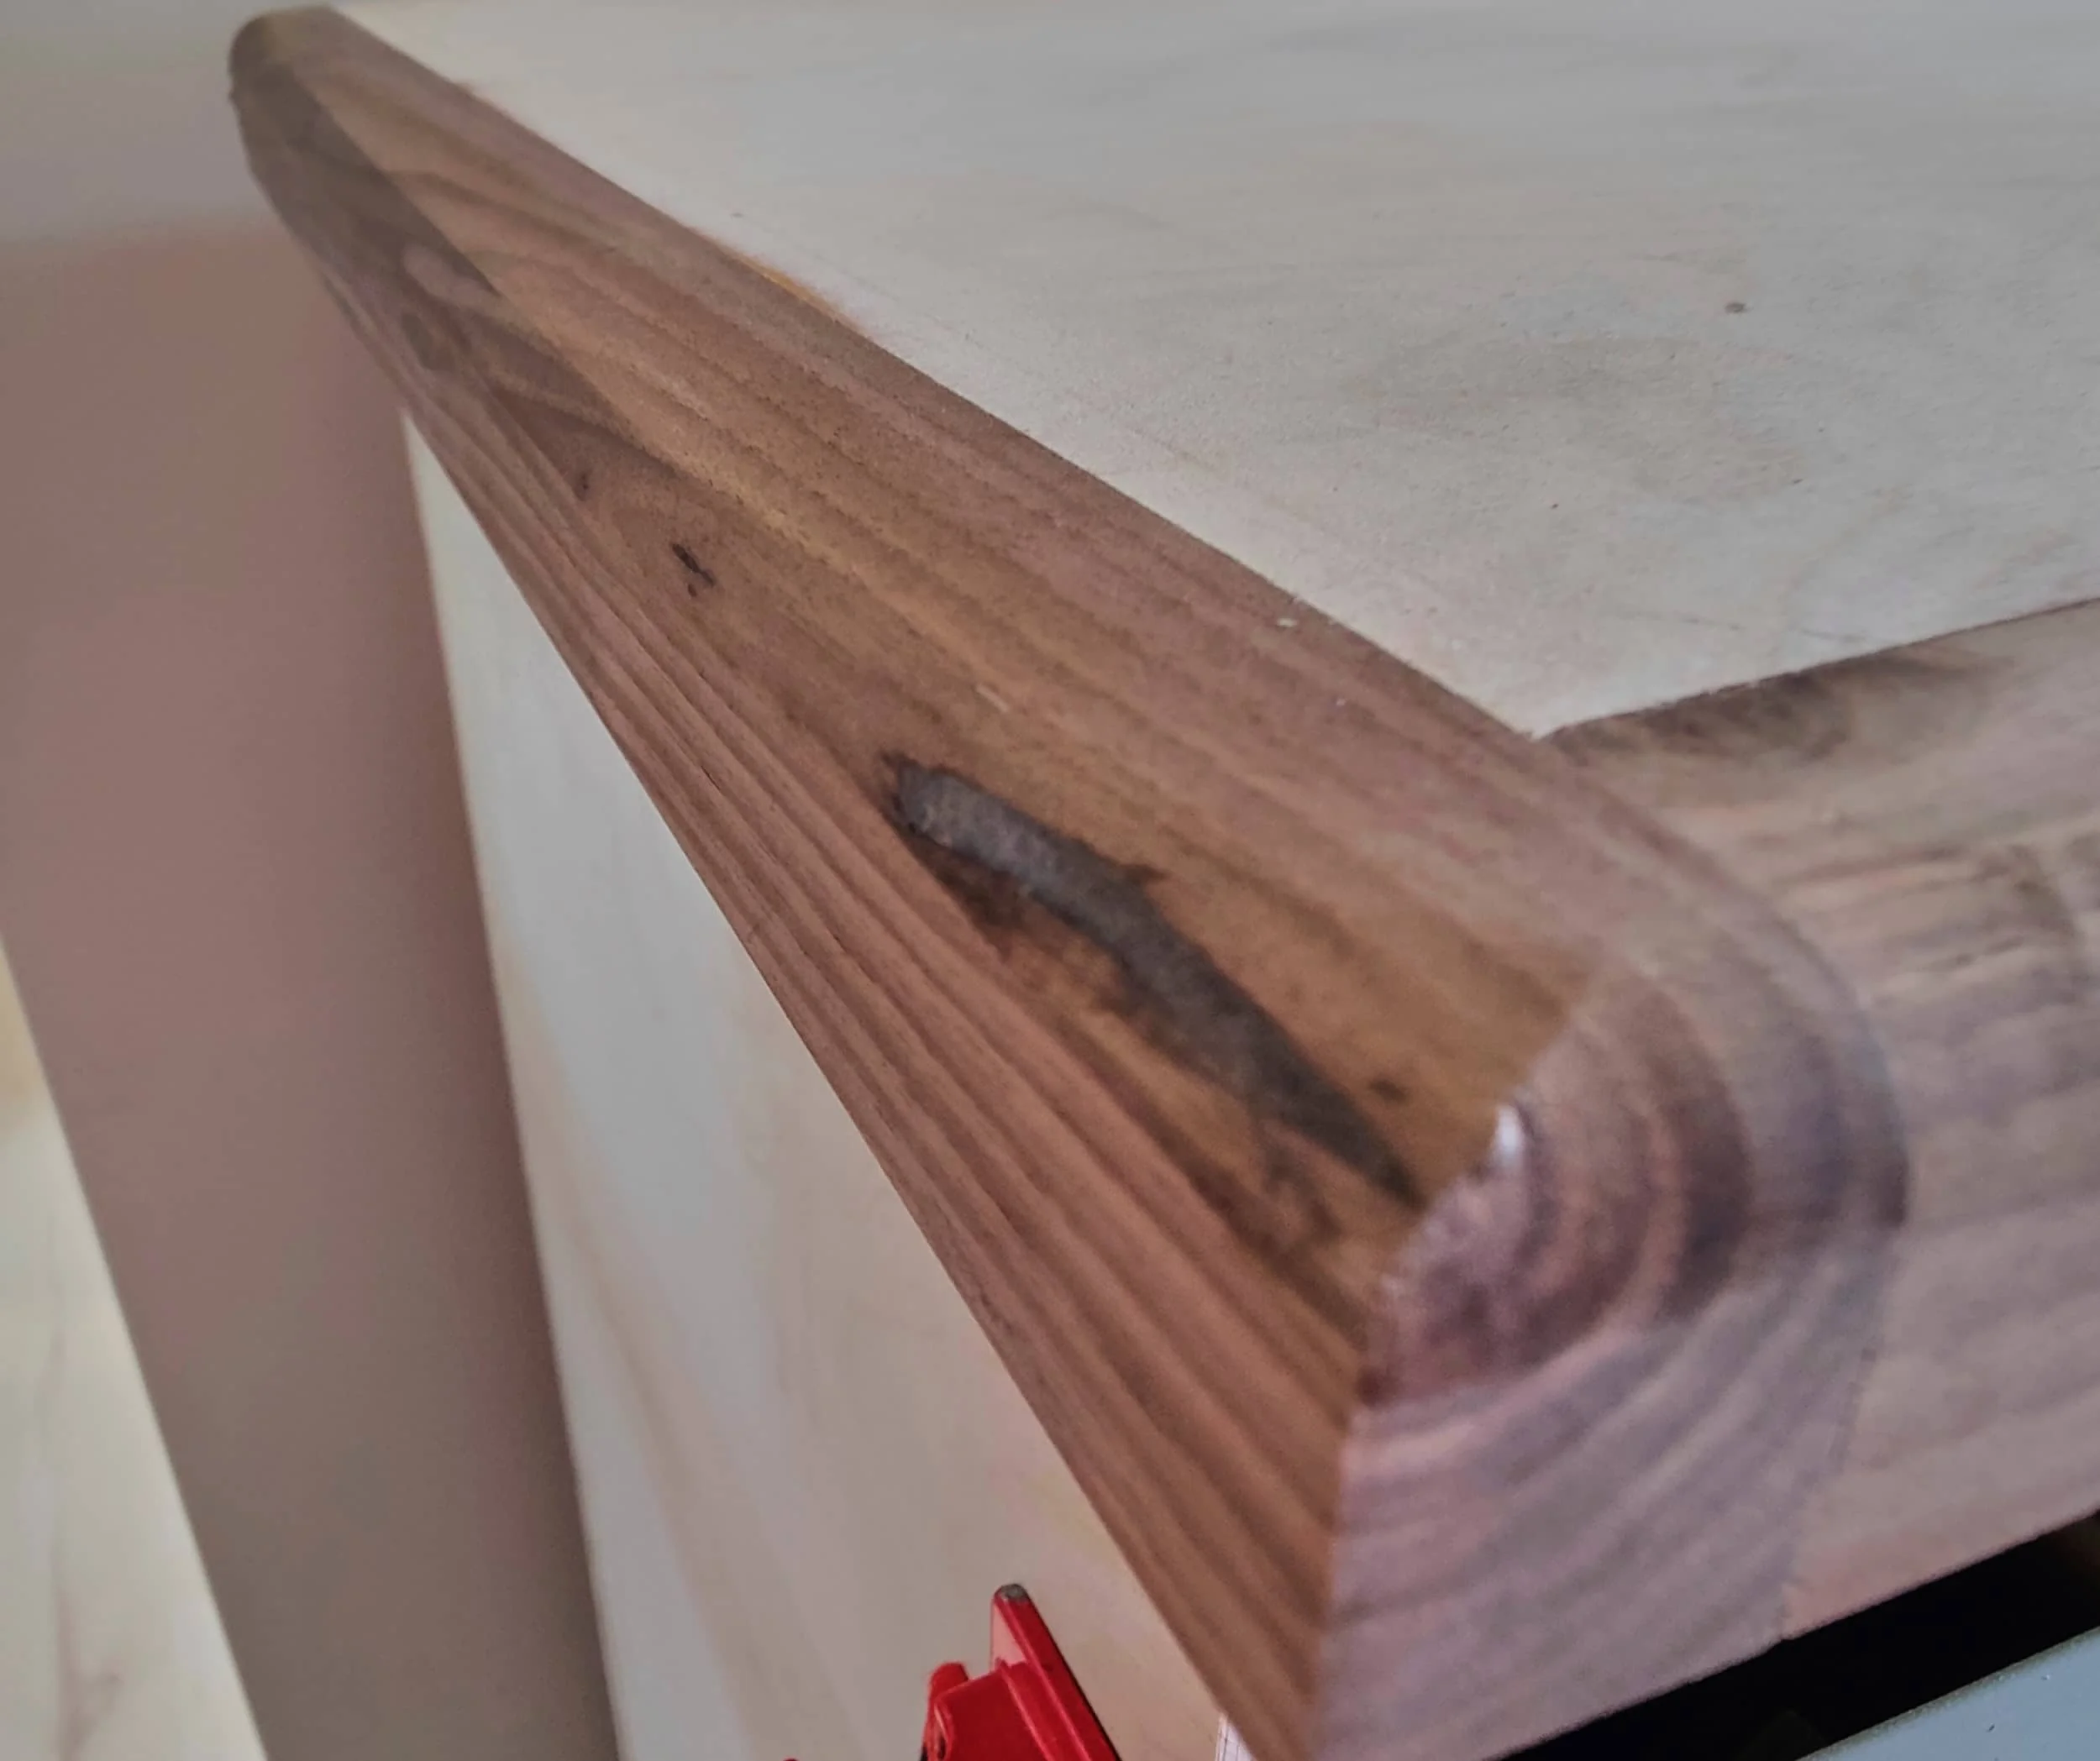
Now that I’m rebuilding this coffee bar, I wanted to keep the aesthetic the same as my dining table; thankfully, I still had a bunch of walnut leftover from that build.


Step 4 - Finishing the top
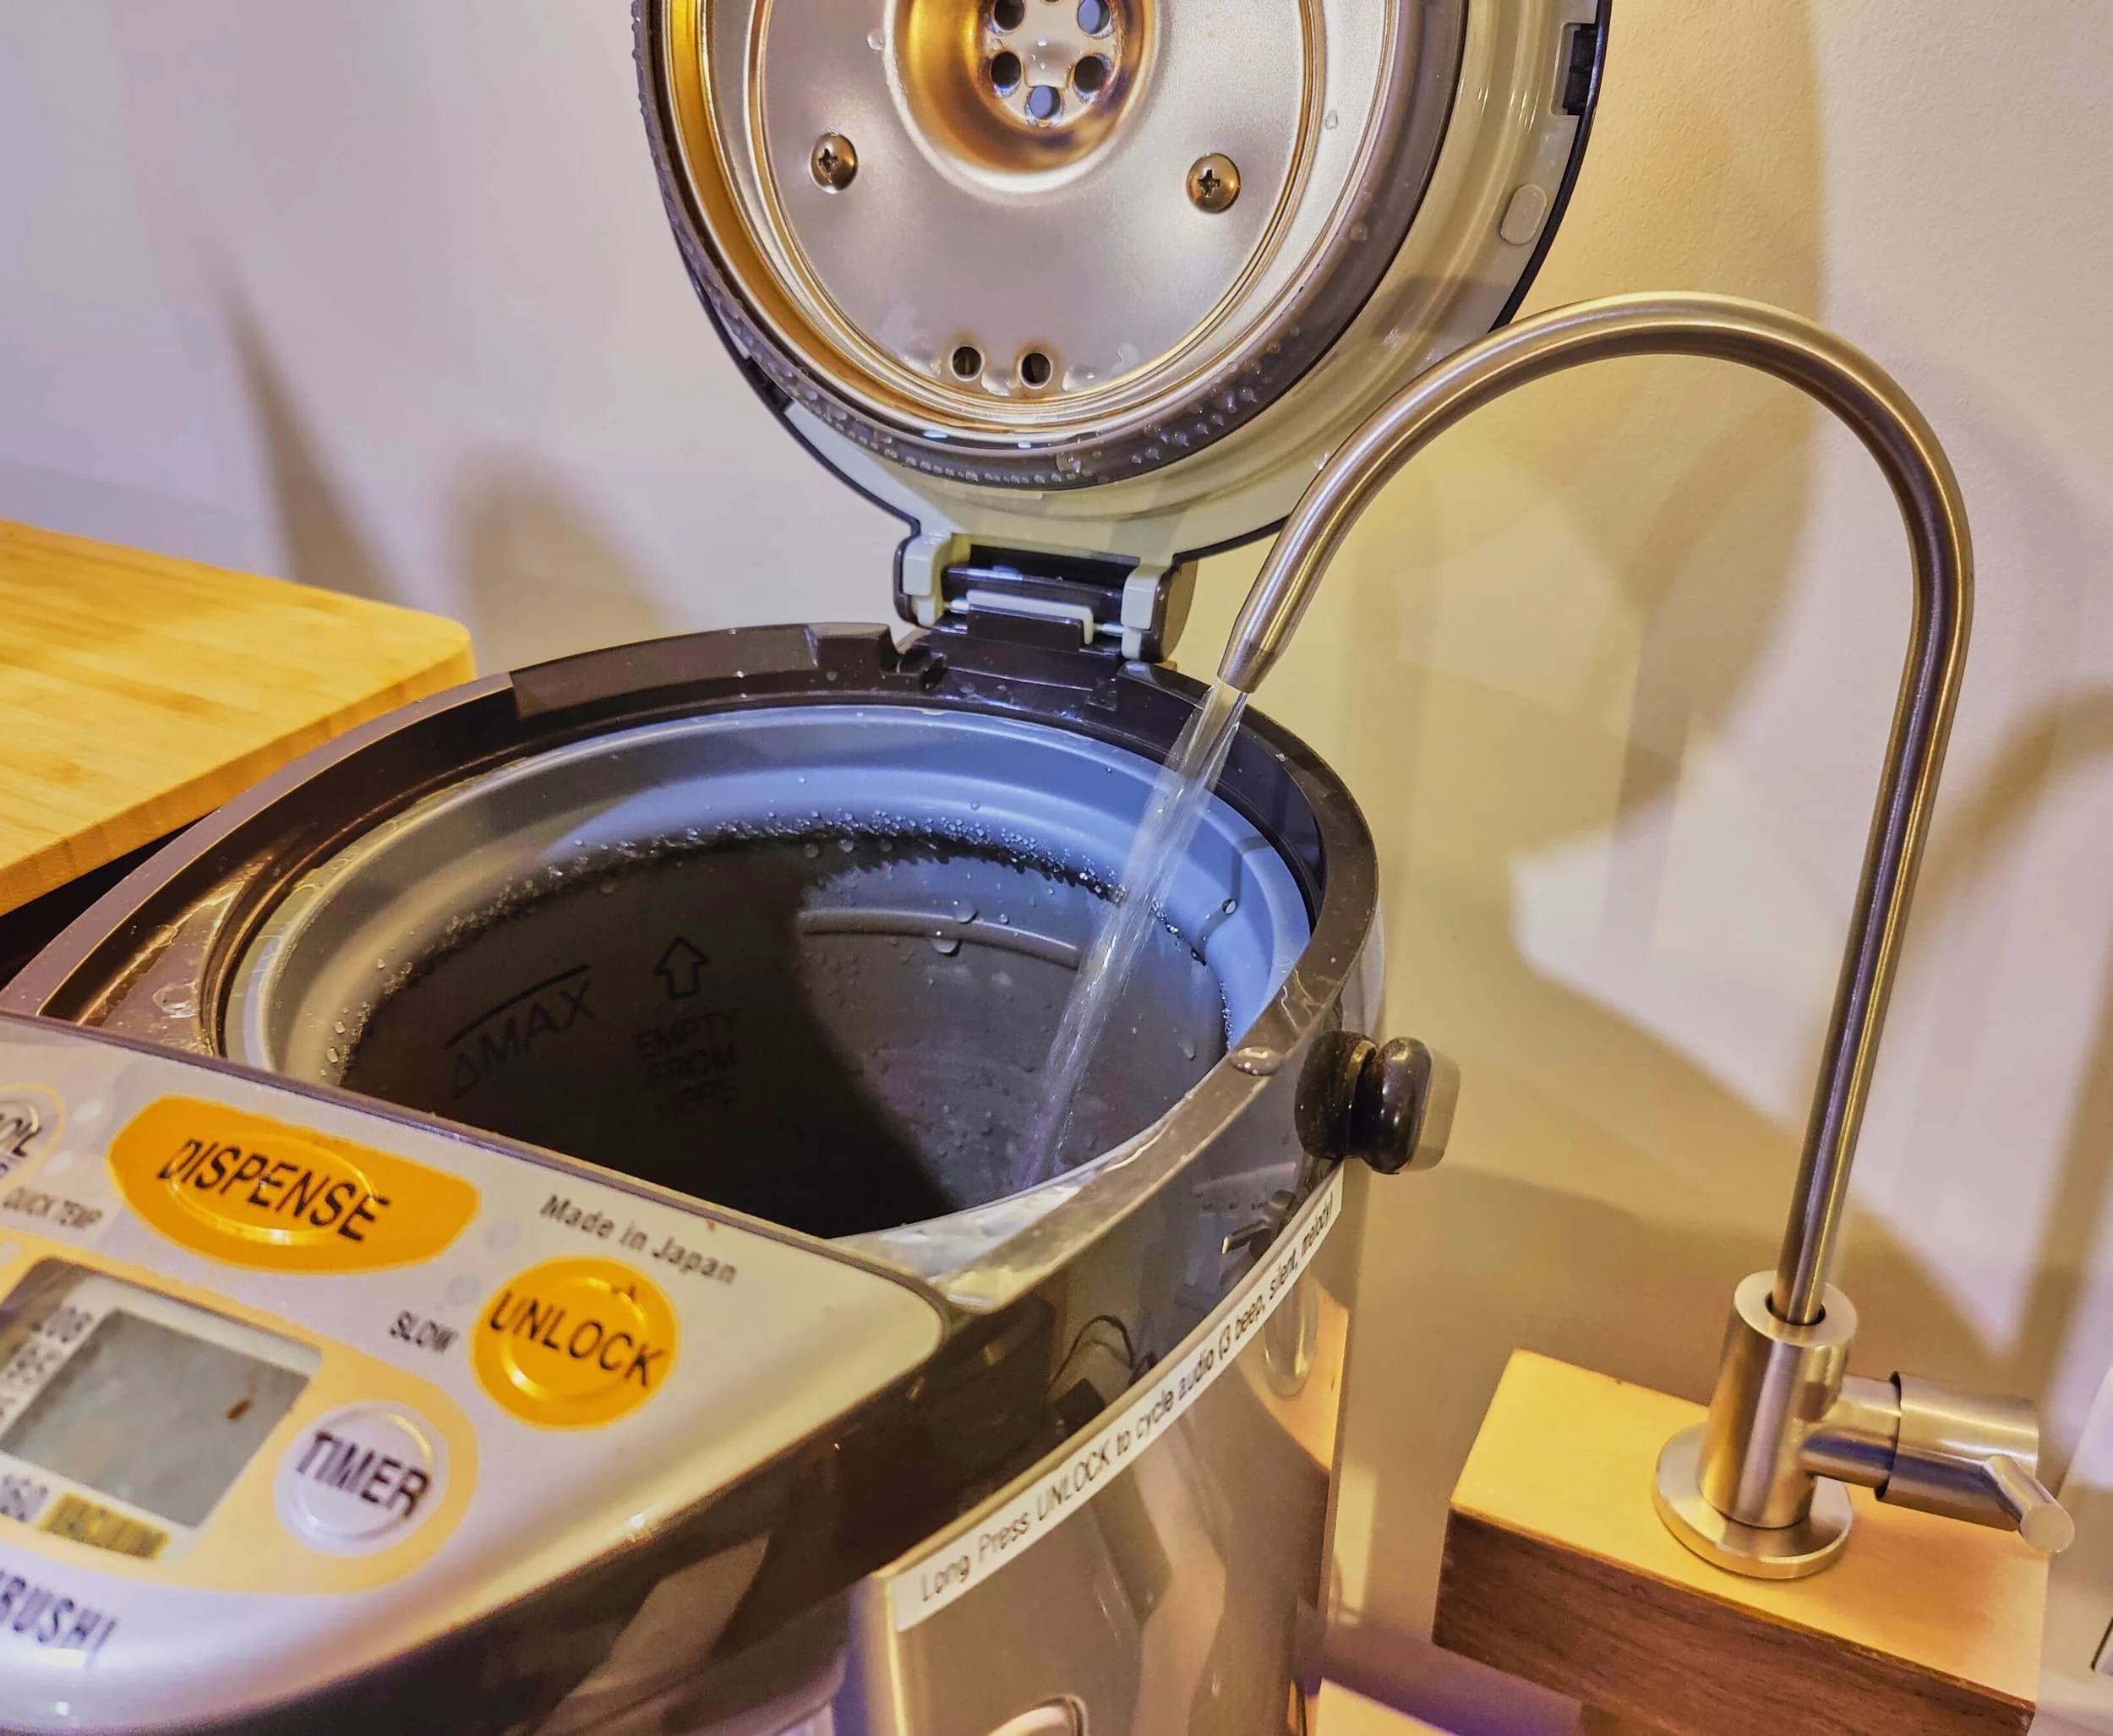
The big challenger here was finding a way to increase the height of the faucet so that the faucet pours straight into the water boiler - and to make it pretty. I opted to make a walnut riser block to encapsulate the faucet I had bought and bring it to the necessary height. The challenge here was to ensure that I could service/replace the plumbing components if needed.
Making the riser


Drilling & cutting the top
Now the scary part: I needed to make very permanent, risky cuts and holes in the laminate top. Making the cutout for the power strip was a lot more unnerving because I only had 15/64” (6mm) of trim overlap — not a lot. Thankfully this was all stress and no drama.


Mounting the faucet
The faucet I bought came with everything I needed and thankfully, at this point, everything was ‘plug and play’


Mounting the pump
Now that the faucet is in place (and I did a quick plumbing test), I can mount the the pump inside the cabinet. To keep things simple, I opted to mount the pump to it’s own board and then screw the board to the back panel.


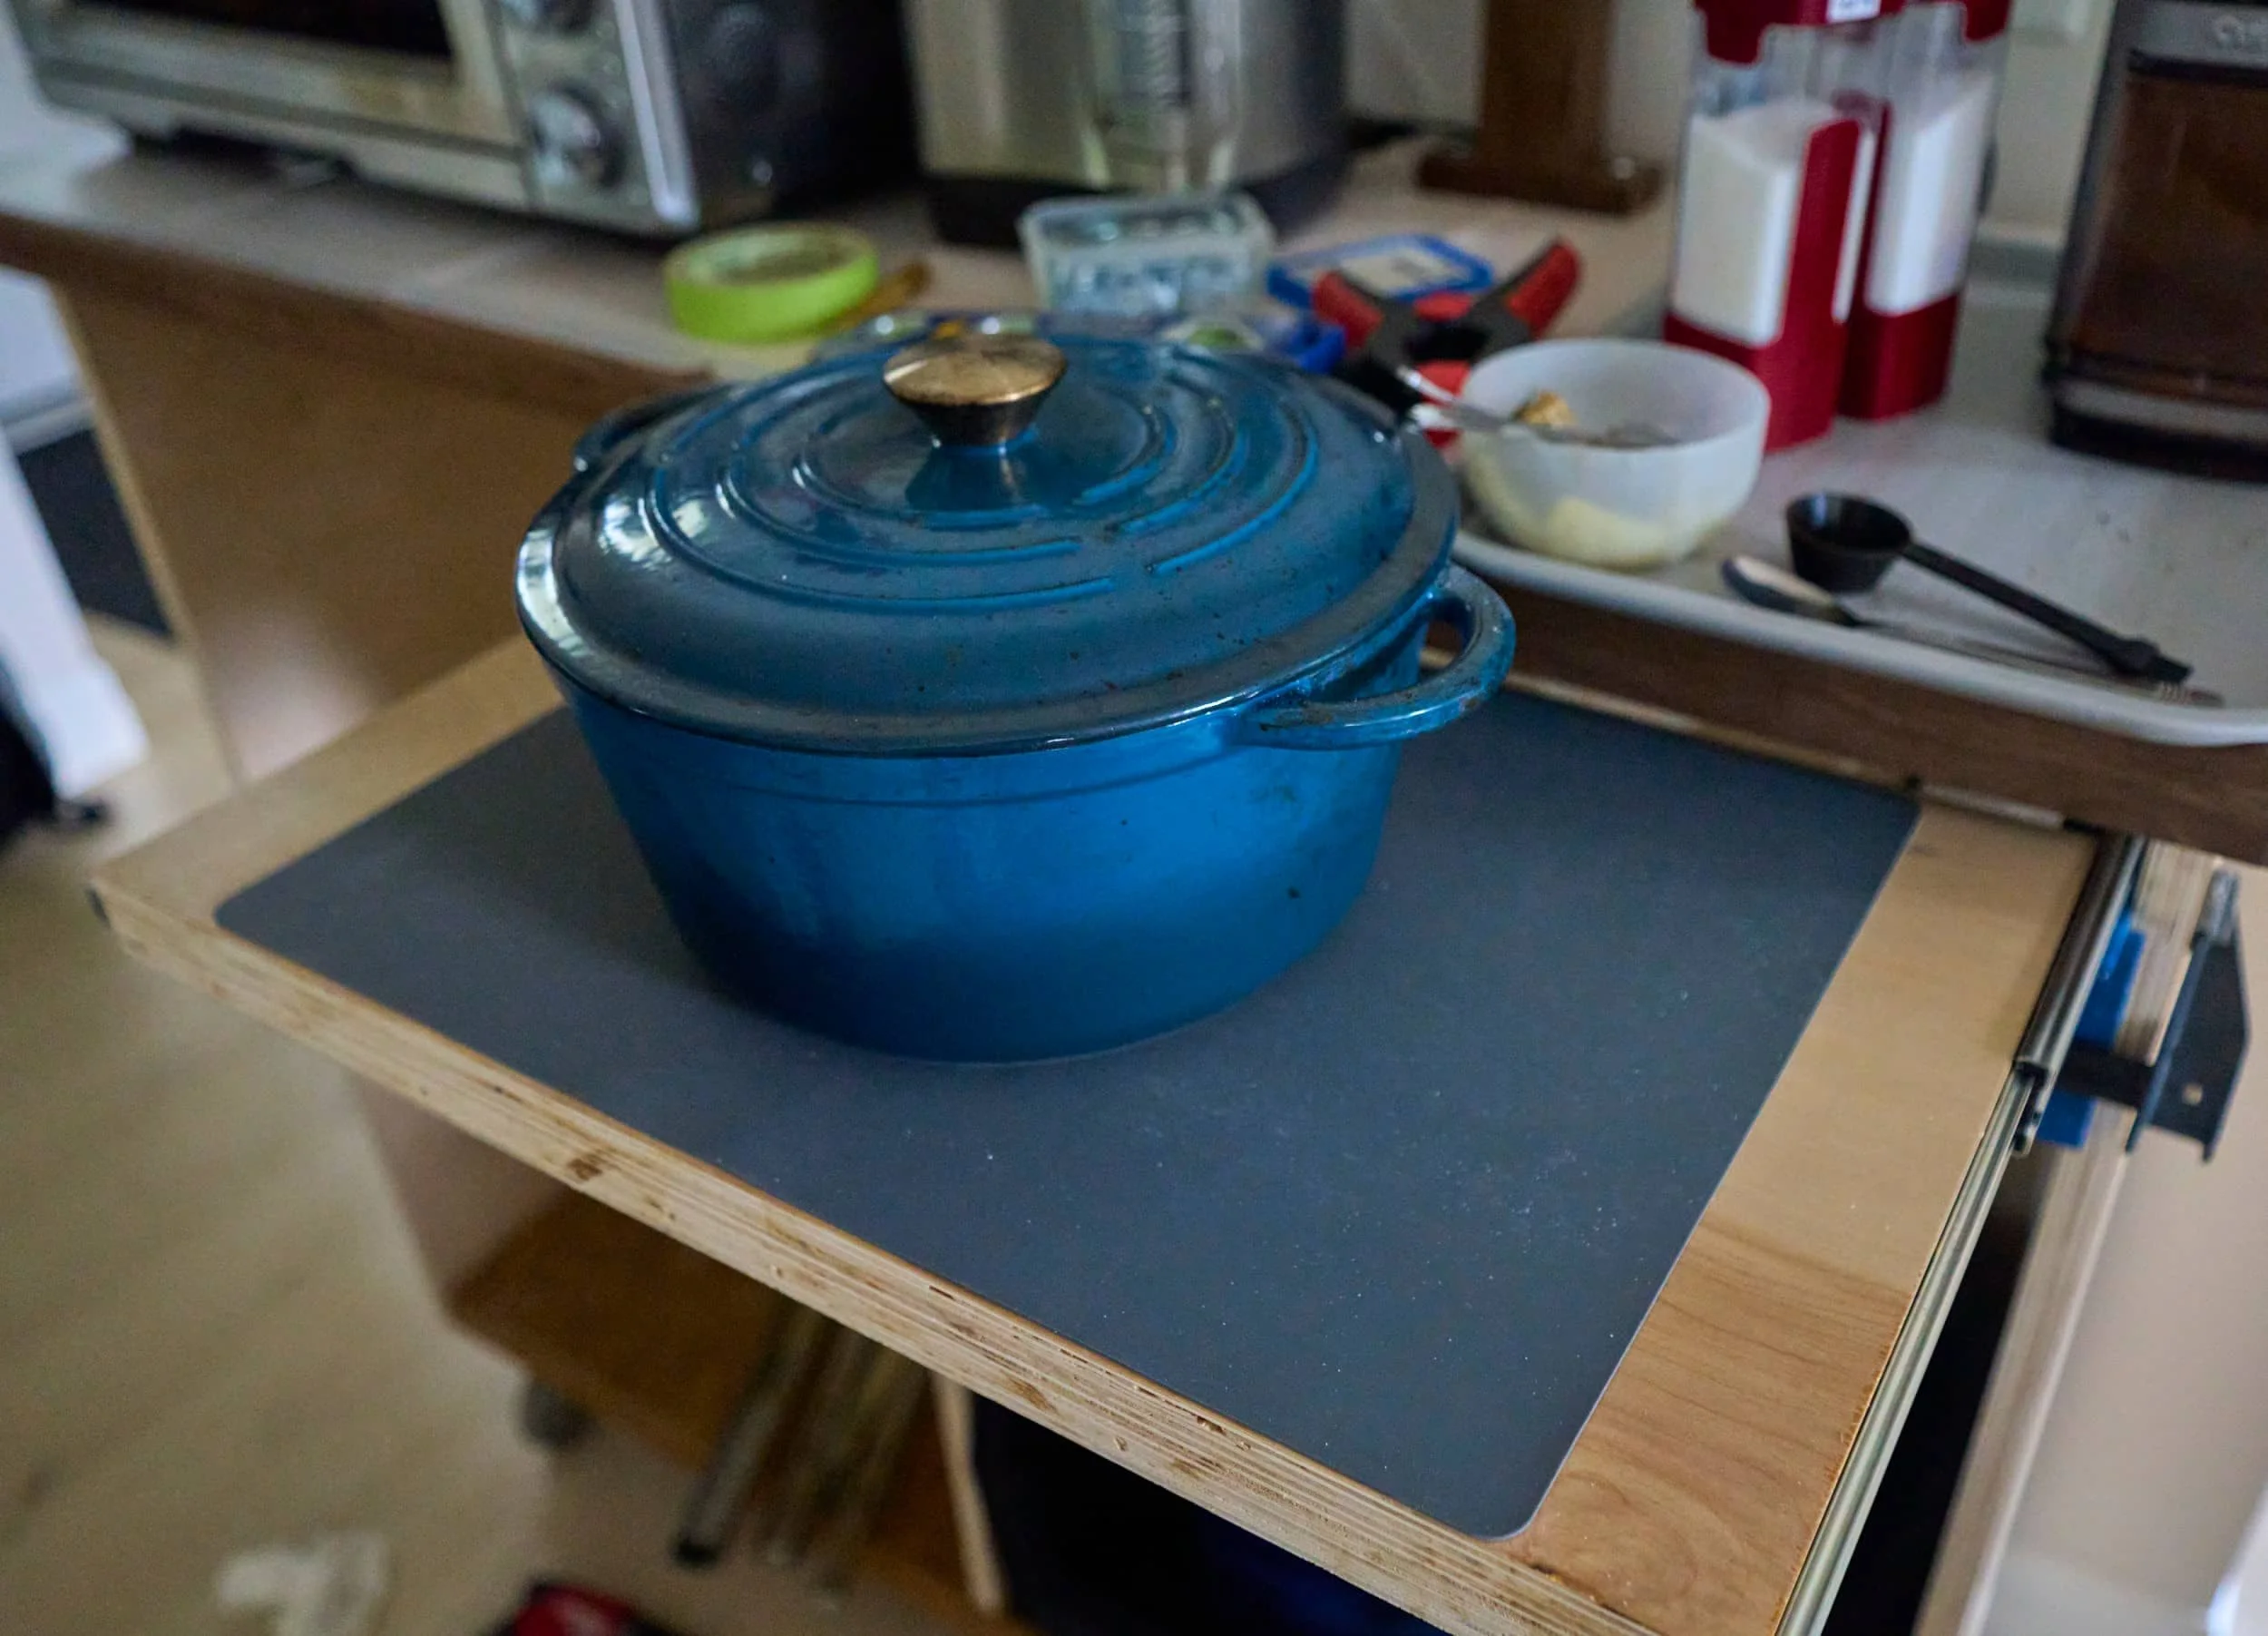
Finishing touches
I bought a pair of super sized silicone mats to keep the top deck safe as long as I could. Using an X-Acto knife, I made the cutouts for the fauce and power bar for a perfect fit.


Step 5 - Drawers
So far, this has been the ‘easy stuff’. Moving onto drawers is something I dread as I’m not very good at it (need more practise really). This time around things were a lot smoother than they used to be — I didn’t have to re-drill mounting holes for the slides at all, so that’s huge progress. The biggest lessons to take away (at least from my experience) is:
Don’t try and maximize every last millimeter of space with drawer — it’s ok that there’s breathing room between drawers
I made the drawers first and then only after all of the drawers were in place, then, I made the drawer fronts


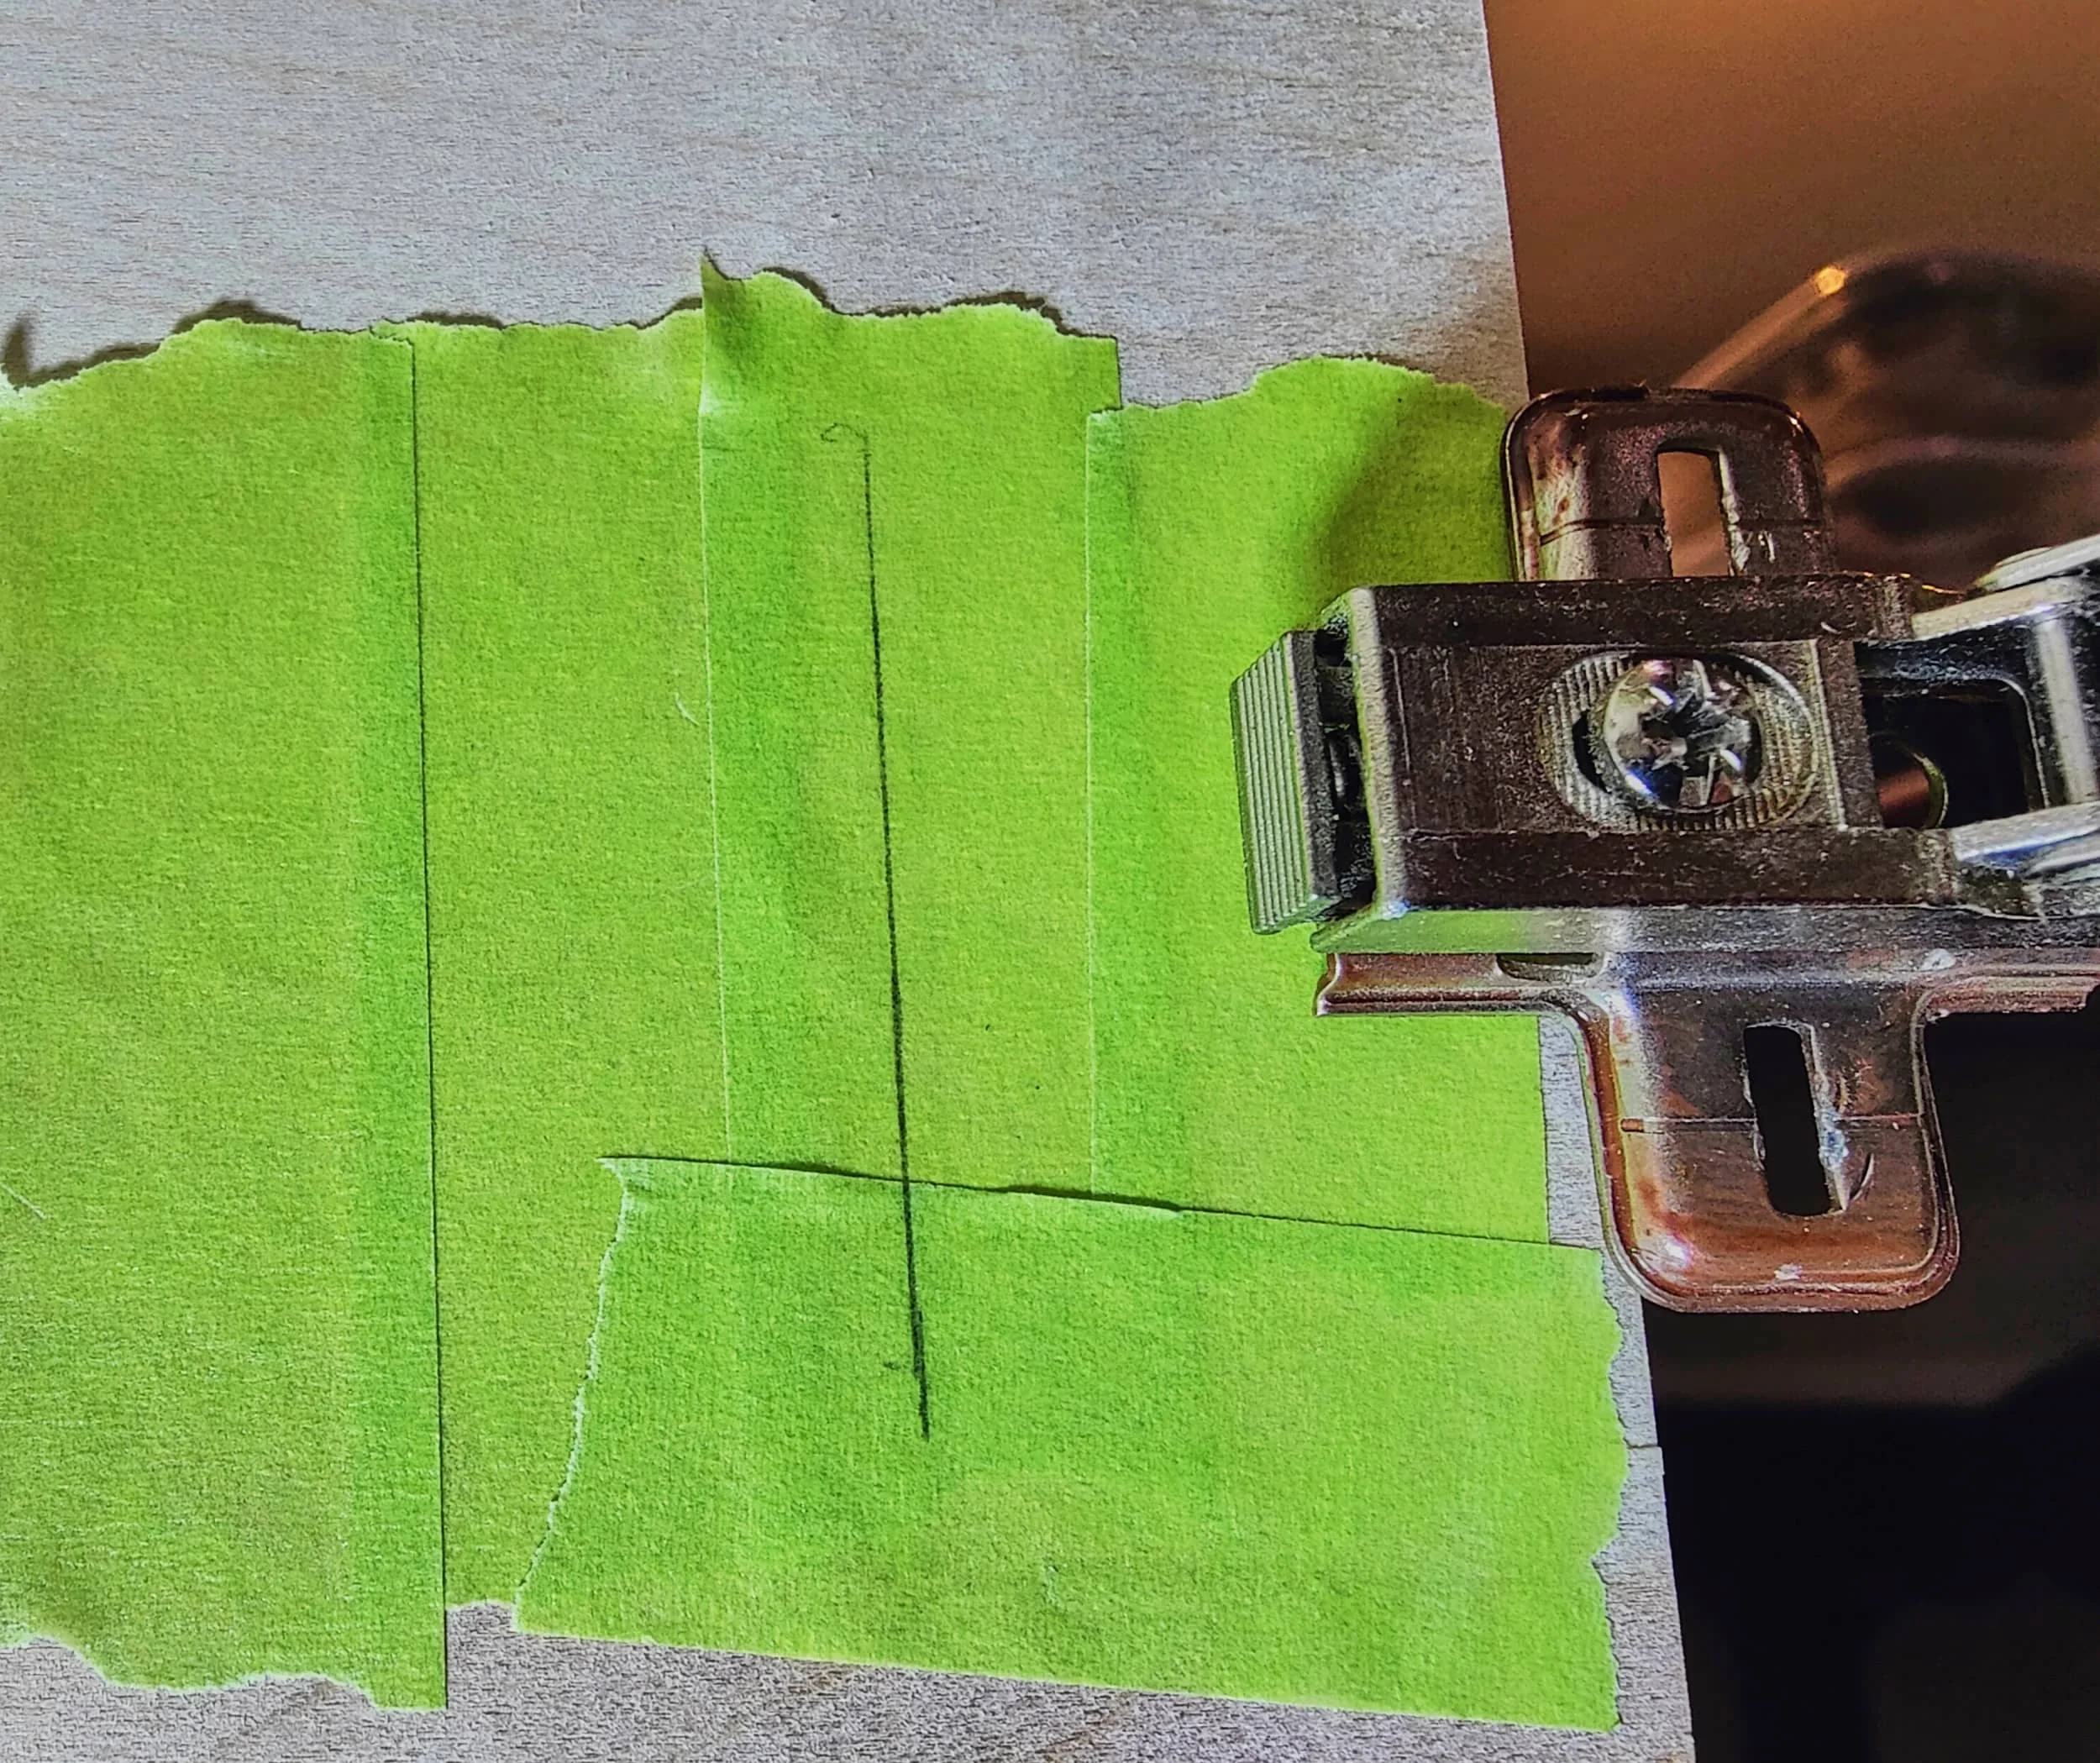
Step 6 - Door
I threw together a quick plywood panel door to cover up the plumbing bits. I almost screwed up when it came to mounting the cabinet portion of the euro hinge (due to inexperience). I was just going to slide the hinge in place, with a 1/8” gap and YOLO it. Thankfully, I had done a test door hinge installation and I needed ~1.5” gap (between the edge of the open door and the edge of the cabinet)


Step 7 - Finishing touches
There were a few small quality of life touches I added to the coffee bar.


Milestone
Once done, this was a fairly satisfying project — I had set out to make a better-built cart that holds all my tea & coffee bits as well as housing all of the stuff I need for the toaster oven in one place.


I’m done for now — maybe one day we’ll get a water line run here; theoretically, that should be a very easy connection to the faucet
Mixups, surprises and lessons learned
Shockingly this was a fairly uneventful build with only a few screw ups
I assumed the plywood back would be 48” wide and sized the base for this super exact size when in fact, it was 48-1/8”
When cutting the opening for the power outlet on the back panel, I should have cut this bigger to accomodate sliding the cart left-right if needed. I expanded the existing opening and thankfully it was low-drama
The door appears darker — it’s not just a trick of the camera, it’s visible to the eye too. This is because the door was an afterthought — by the time I got to it, I cut the door from a different sheet of plywood versus the drawer fronts
I have a power bar on the inside of the cart: I have the power for the pump, toaster oven and the LED light connected to it. The latter two require passing a cable and plug through the back of the cart — I forgot to drill a hole when I had easy access to everything and had to do that afterwards
Speaking of power bars, I would have also considered using a double-sided power bar to keep the cabling inside the cabinet tidier
In hindsight, I probably should have figured out what the thread-pitch was for the faucet and put a nut on there to keep the screw clamp from backing out. I still may do this if it bugs me enough (or if it loosens).
Appendix
Tech
LED Sign: this one. I specifically wanted one that included tea and would power on when power was provided (without having to push a button)
Smart switch: TP-Link KASA KP125M. The Kasa ecosystem is decent. So far definitely has failed-less than SmartLife.
Power bar: 4 LEAF recessed power bar. I’ve used thi sone before without complaints.
Appliances
Toaster oven: Breville BOV900BSS with bamboo cutting board. The cutting board is stupid expensive for what it is — especially since I can build something similar. But I bought it for the custom silicone feet more than anything
Water boiler: Zojirushi DCC50XT. Can’t say enough good things about this
Coffee grinder: Cuisinart DBM-8. It’s okay, loud as hell. I’m nto a fan of how readily coffee grinds go everywhere but I don’t know a lot about grinders, maybe this is normal
French press: OXO Brew Venture and ESPRO P7. The OXO is my daily driver it’s super well built and I don’t have to worry about breaking glass; the ESPRO has more capacity and better filtration for when we have company or I want to make more coffee
Plumbing
Faucet: TEKXDD Drinking Water faucet. I picked this one because it was cheap, had all the fittings I could need and included a water line.
5-gallon jug: I went to my local water store and just bought a bottle of water — the pump I bought has no issues working with nearly any type of bottle
Stuff in the Drawers etc.
Glass mugs: Zwilling Sorrento double-wall glass mugs. I love these but you do have to be a bit delicate with them and their roundness can lead to tipping over if you’re not careful
Insulated mugs: Yeti Rambler 14oz and Milwaukee Packout 30oz. The lids for these two are interchangable: the Milwaukee lid holds heat better, the Yeti lid is less aggravating
Insulated travel mug: Zojirushi SM-SHE60BZ (20oz) and Zojirushi SM-KHE48AG (16oz). Can’t say enough good things about these in terms of insulation value
Spoons: Callyne spoons. Nothing particularly noteworthy: I wanted a whole bunch of little spoons specifically for drinks without having to raid my normal dessert spoons
Tea kettle: Zwilling Sorrento tea kettle. Very nice tea kettle, but as before, need to baby it a bit
Tea steeper: Bottom dispensing tea-steeper. I’m not sure if ours is a DavidsTea or not (doesn’t really matter, they are all the same-ish). Works pretty well
Tea organizer: Clear tea organizer
Containers: OXO Good Grips 2.6L and OXO Good Grips 1.6L. I debated doing a full product comparison for various other brands of products (in particular, the President’s Choice Click-n-Store) but [a] didn’t have time to do it and [b] the OXO stuff has been around for a long time and will likely continue to be around for a long timer — other brands have product lines that come and go.
Silicone mats: 25.2” x 17.7” silicone mat. Nothing to it, it’s a silicone mat, cuttable with a sharp knife
Dispenser: Honey Can Do KCH-06074. Seems really stupid, but being able to consistenty pop 1/4, 1/2 or 1 teaspon in a squeeze without spilling everywhere is kind of awesome
Garbage can: Mbillion 1.05-gallon hanging garbage can. I was looking for something tiny, was pretty and had the least amount of front-to-back depth
Product links may be affiliate links: MinMaxGeek may earn a commission on any purchases made via said links without any additional cost to you.